


RGL
-
Posts
5,388 -
Joined
-
Last visited
Content Type
Profiles
Forums
Gallery
Events
Posts posted by RGL
-
-
-
Or Tamiya rattle can fine white primer
- mtaylor, popeye the sailor and cog
-
 3
3
-
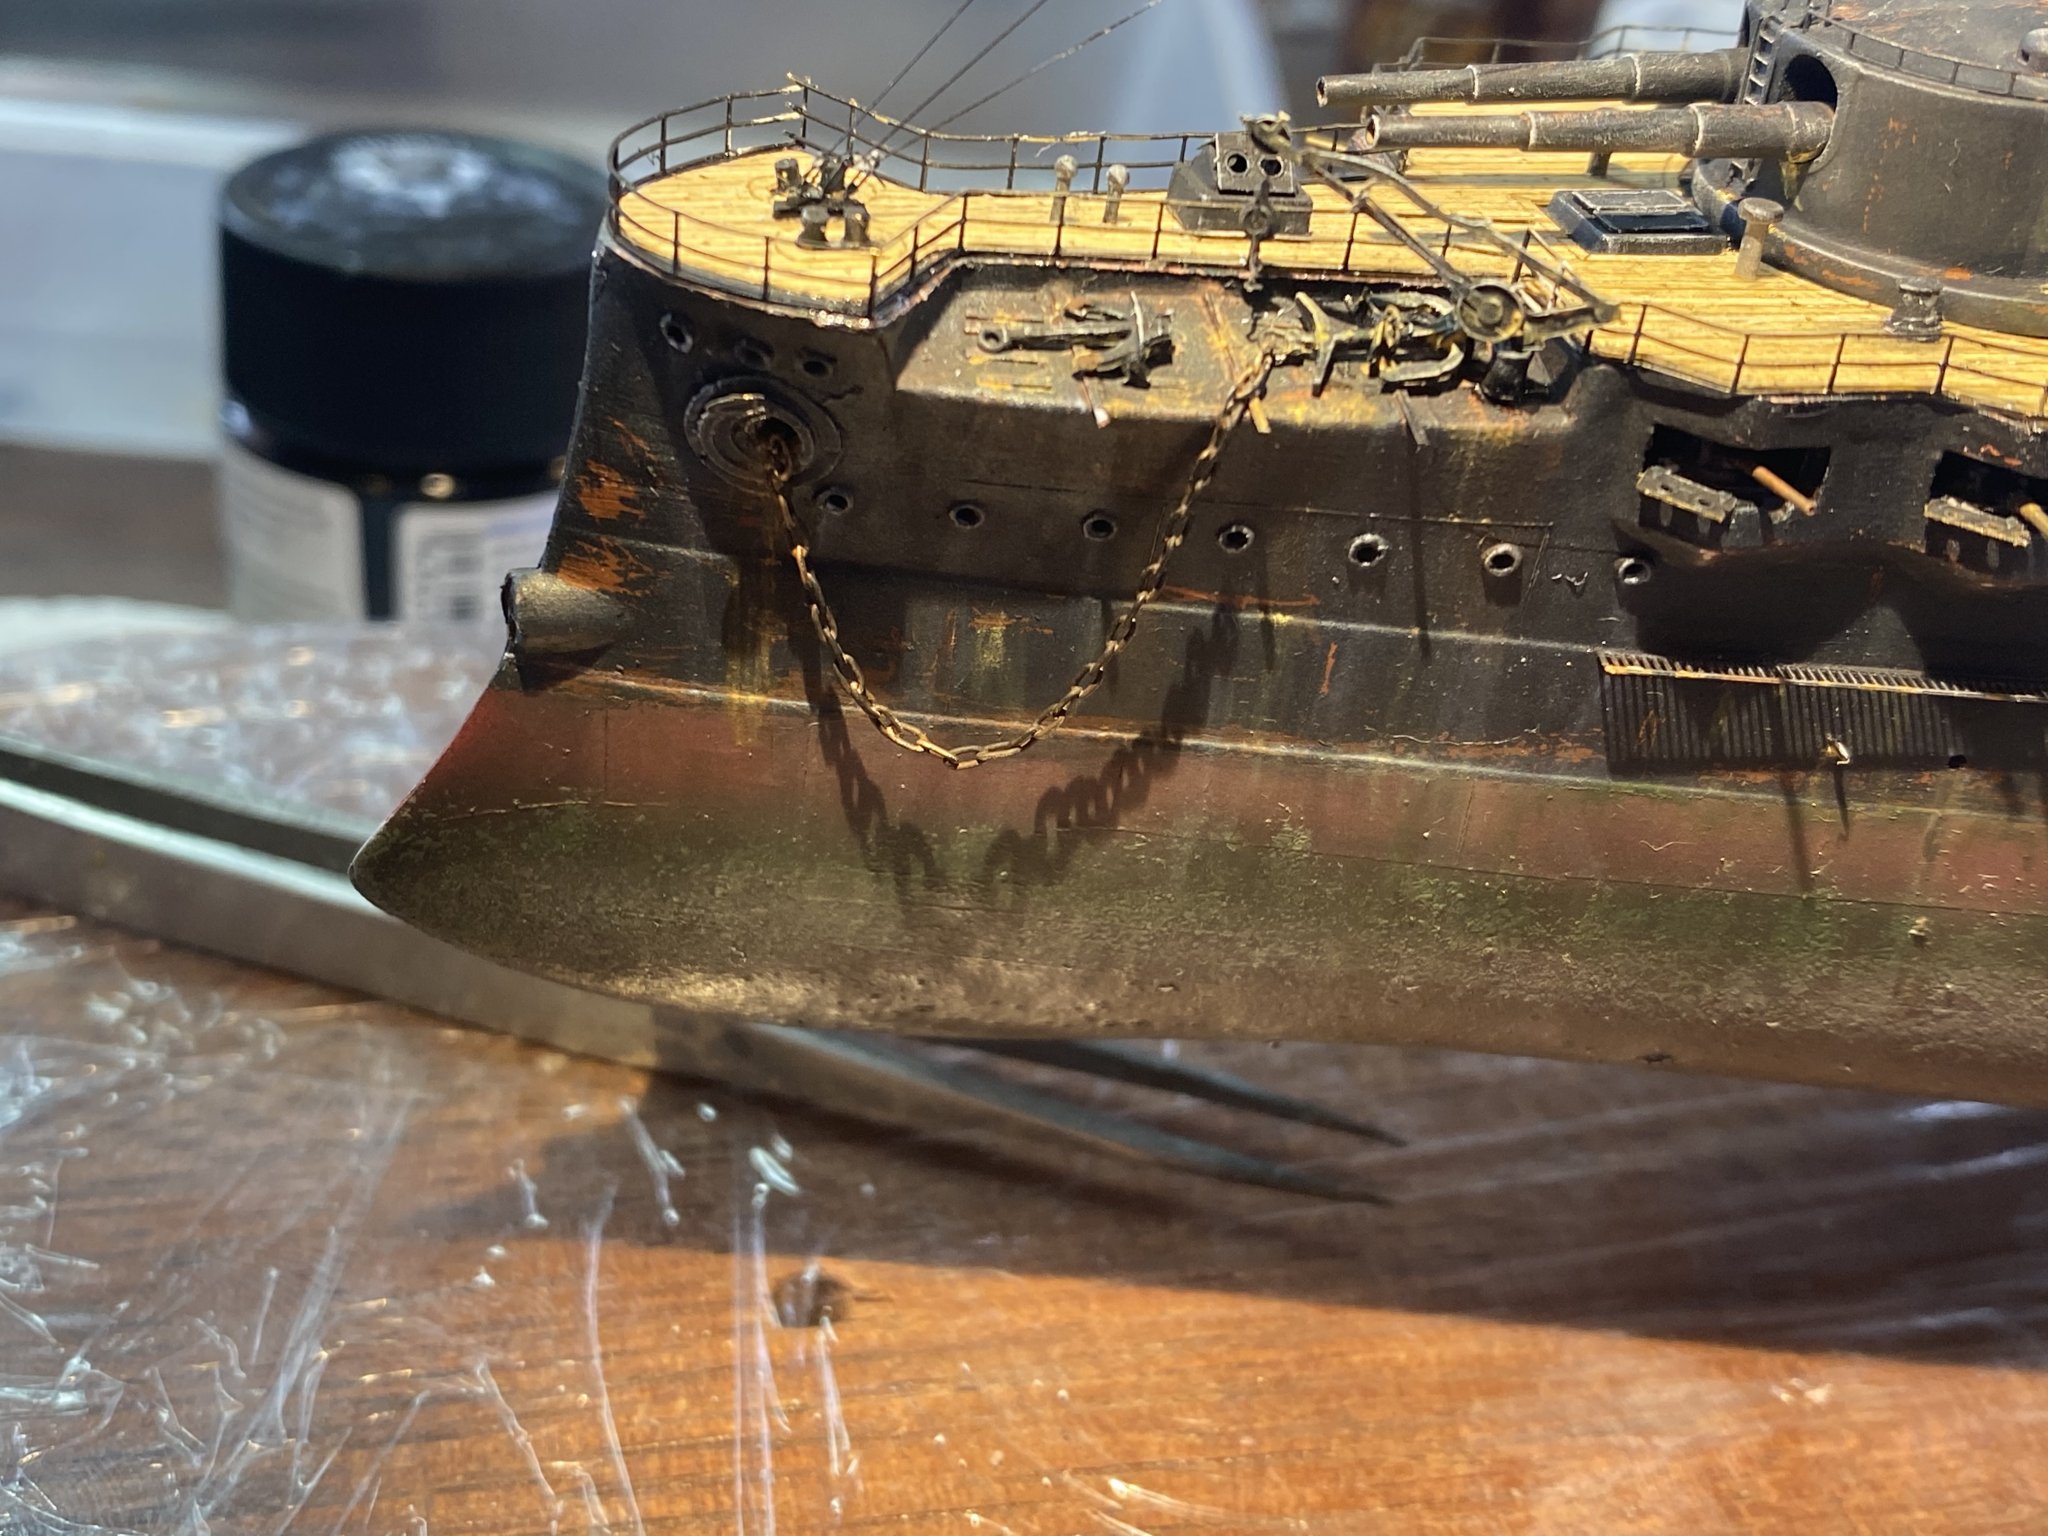
Depends on what colour they are in real life (I airbrush mine, Primer, base colour then a rust wash). Otherwise it looks like cheap jewellery
-
As long as you paint it, the shiny chains really distract
-
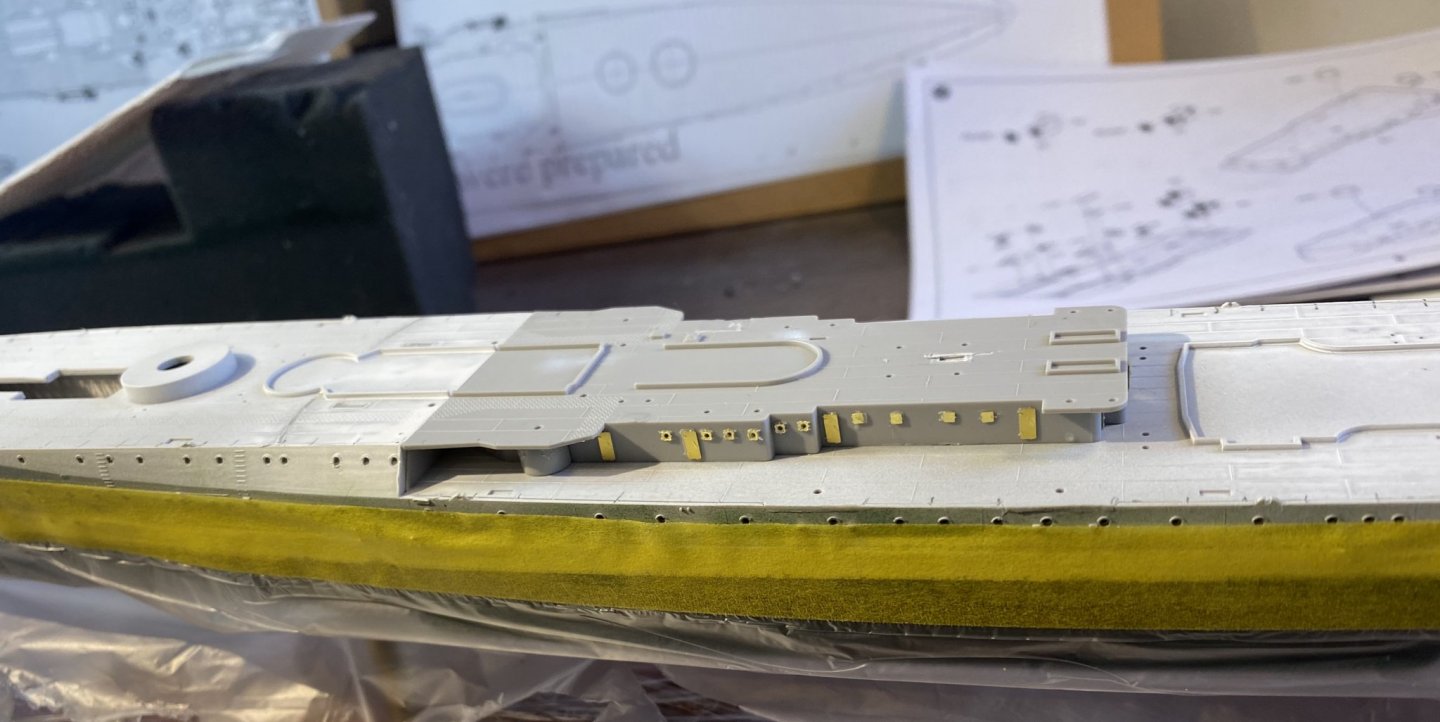
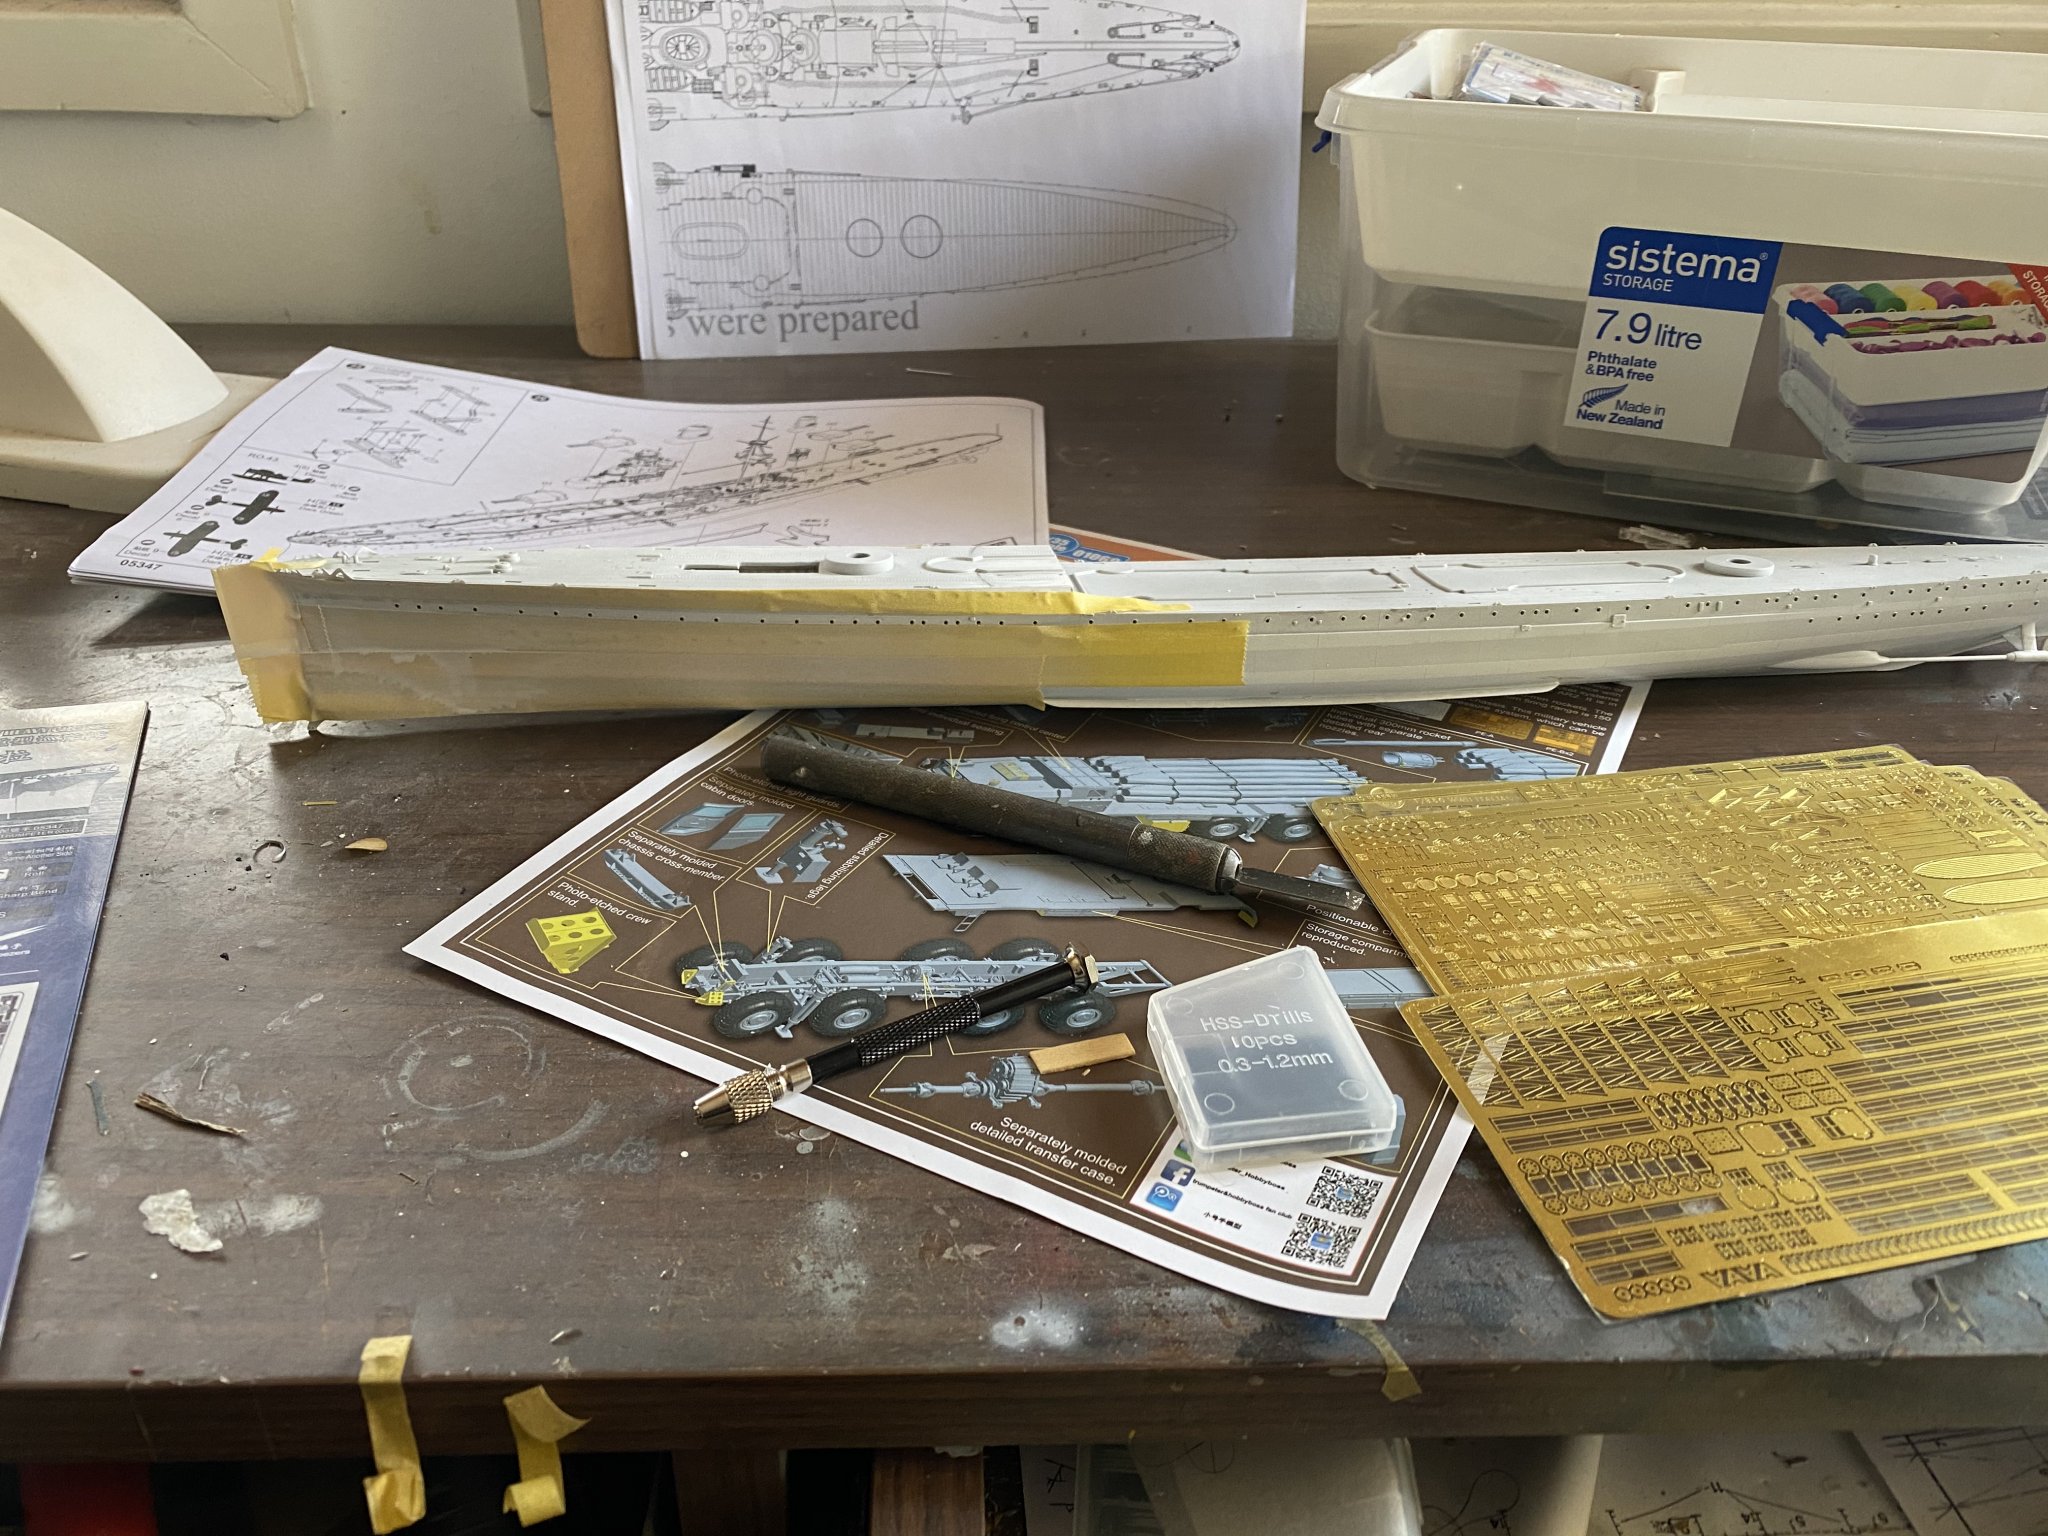
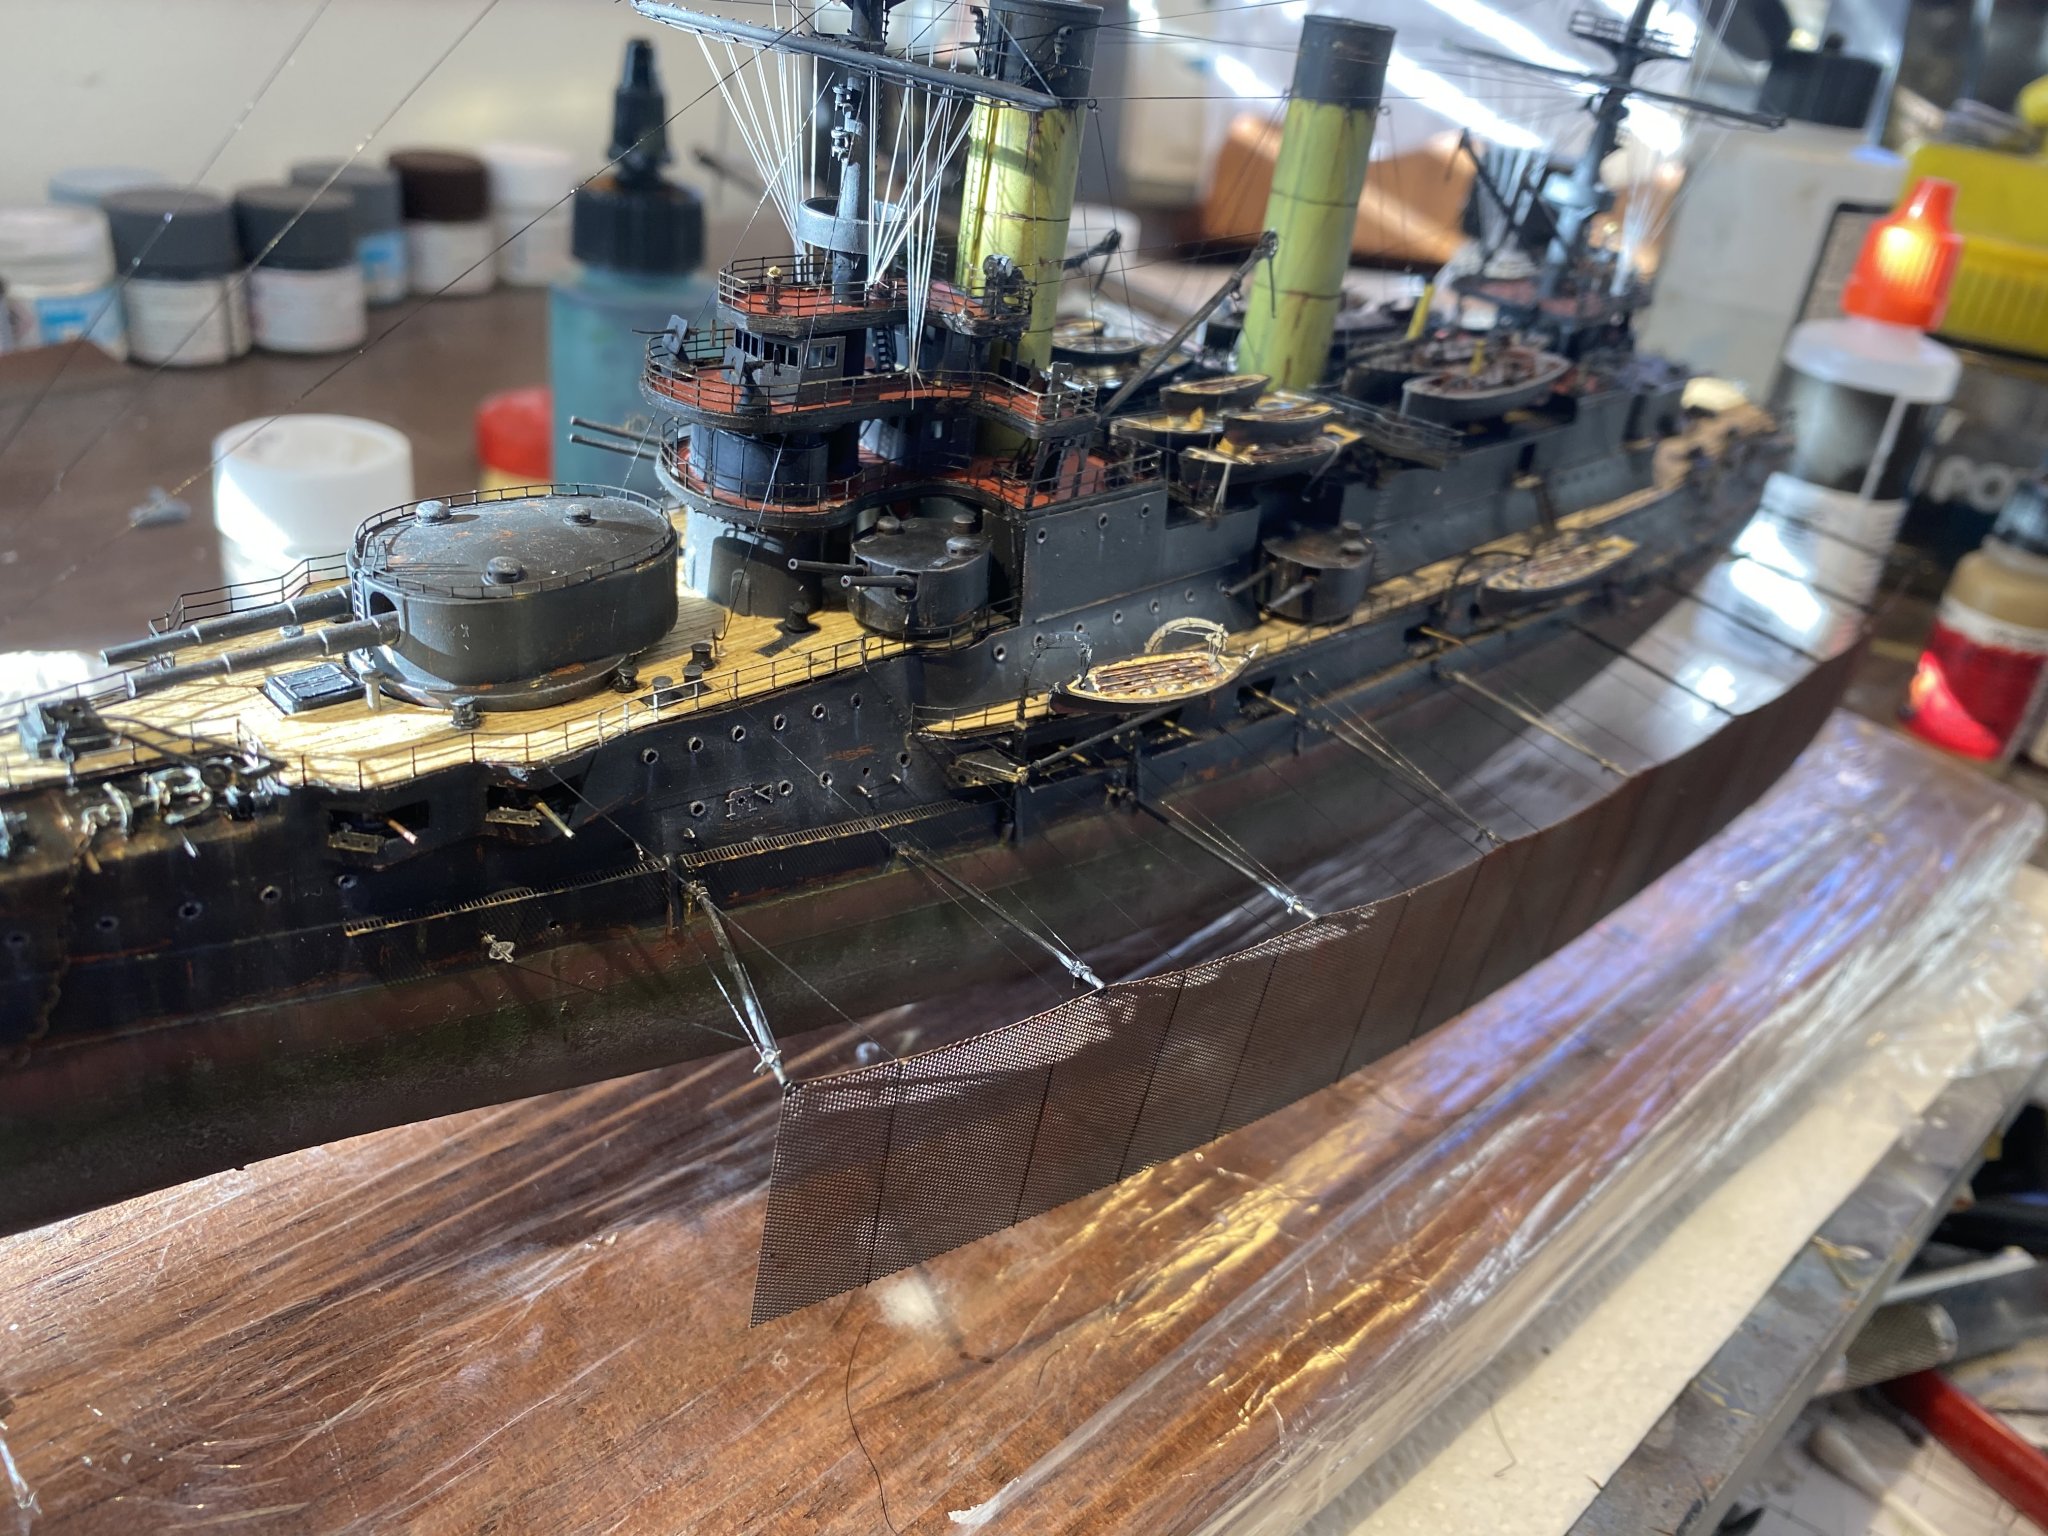
The PE starts. With this piece stuck down I can start the deck features.
- Tigerdvr, Canute, GrandpaPhil and 11 others
-
14
-
-
-
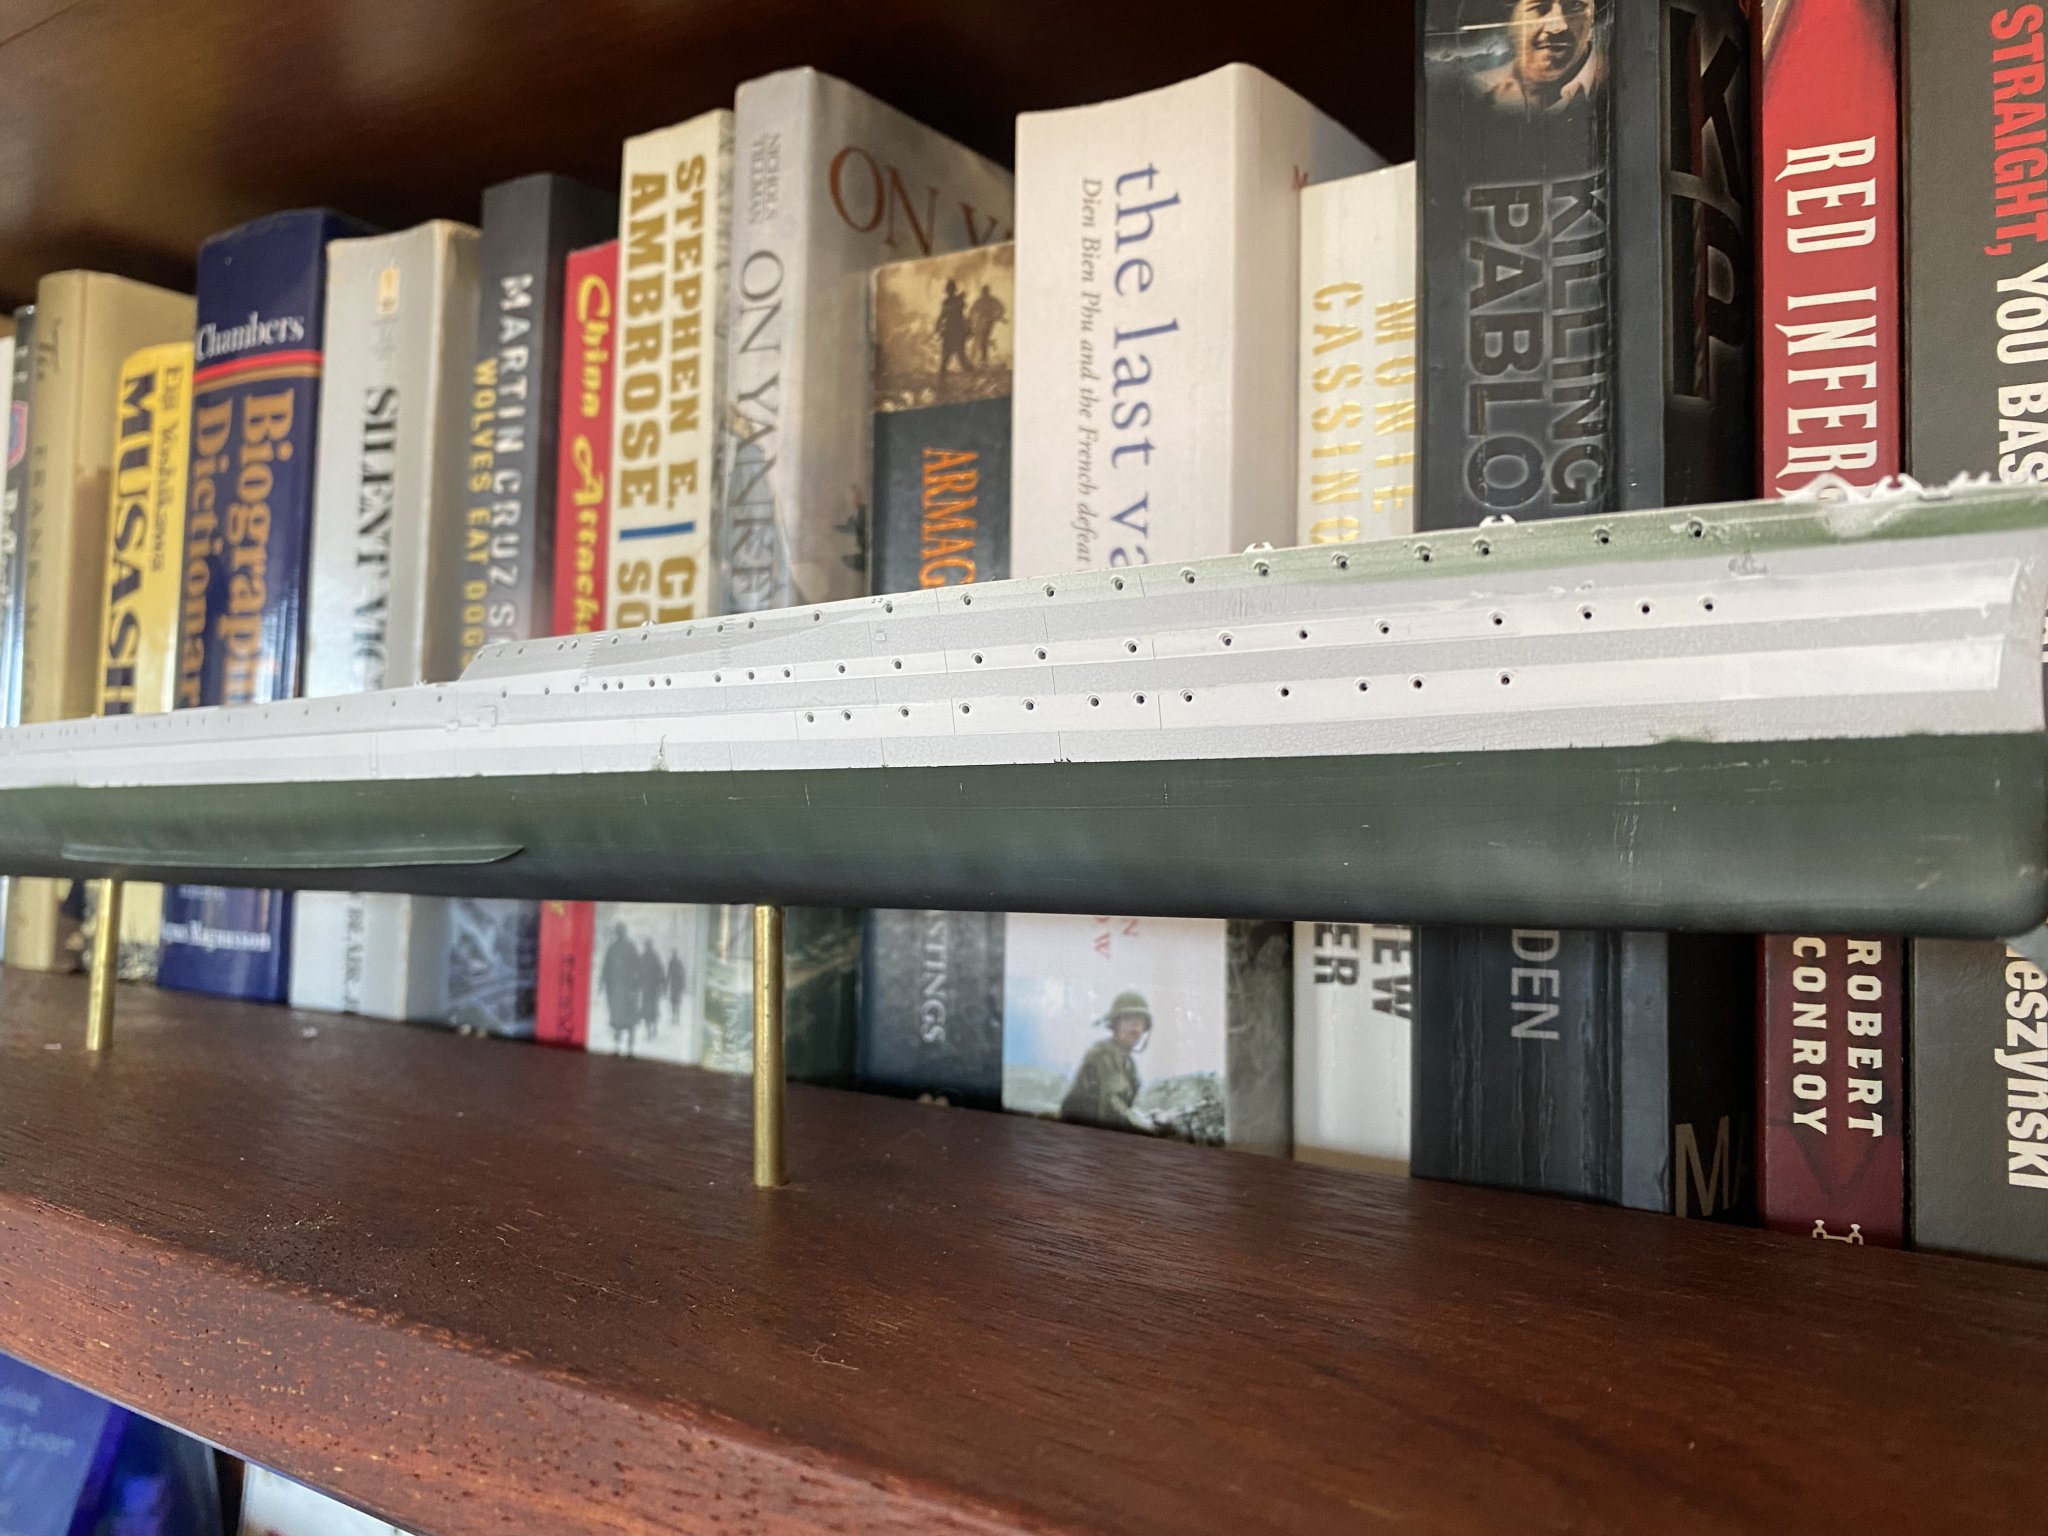
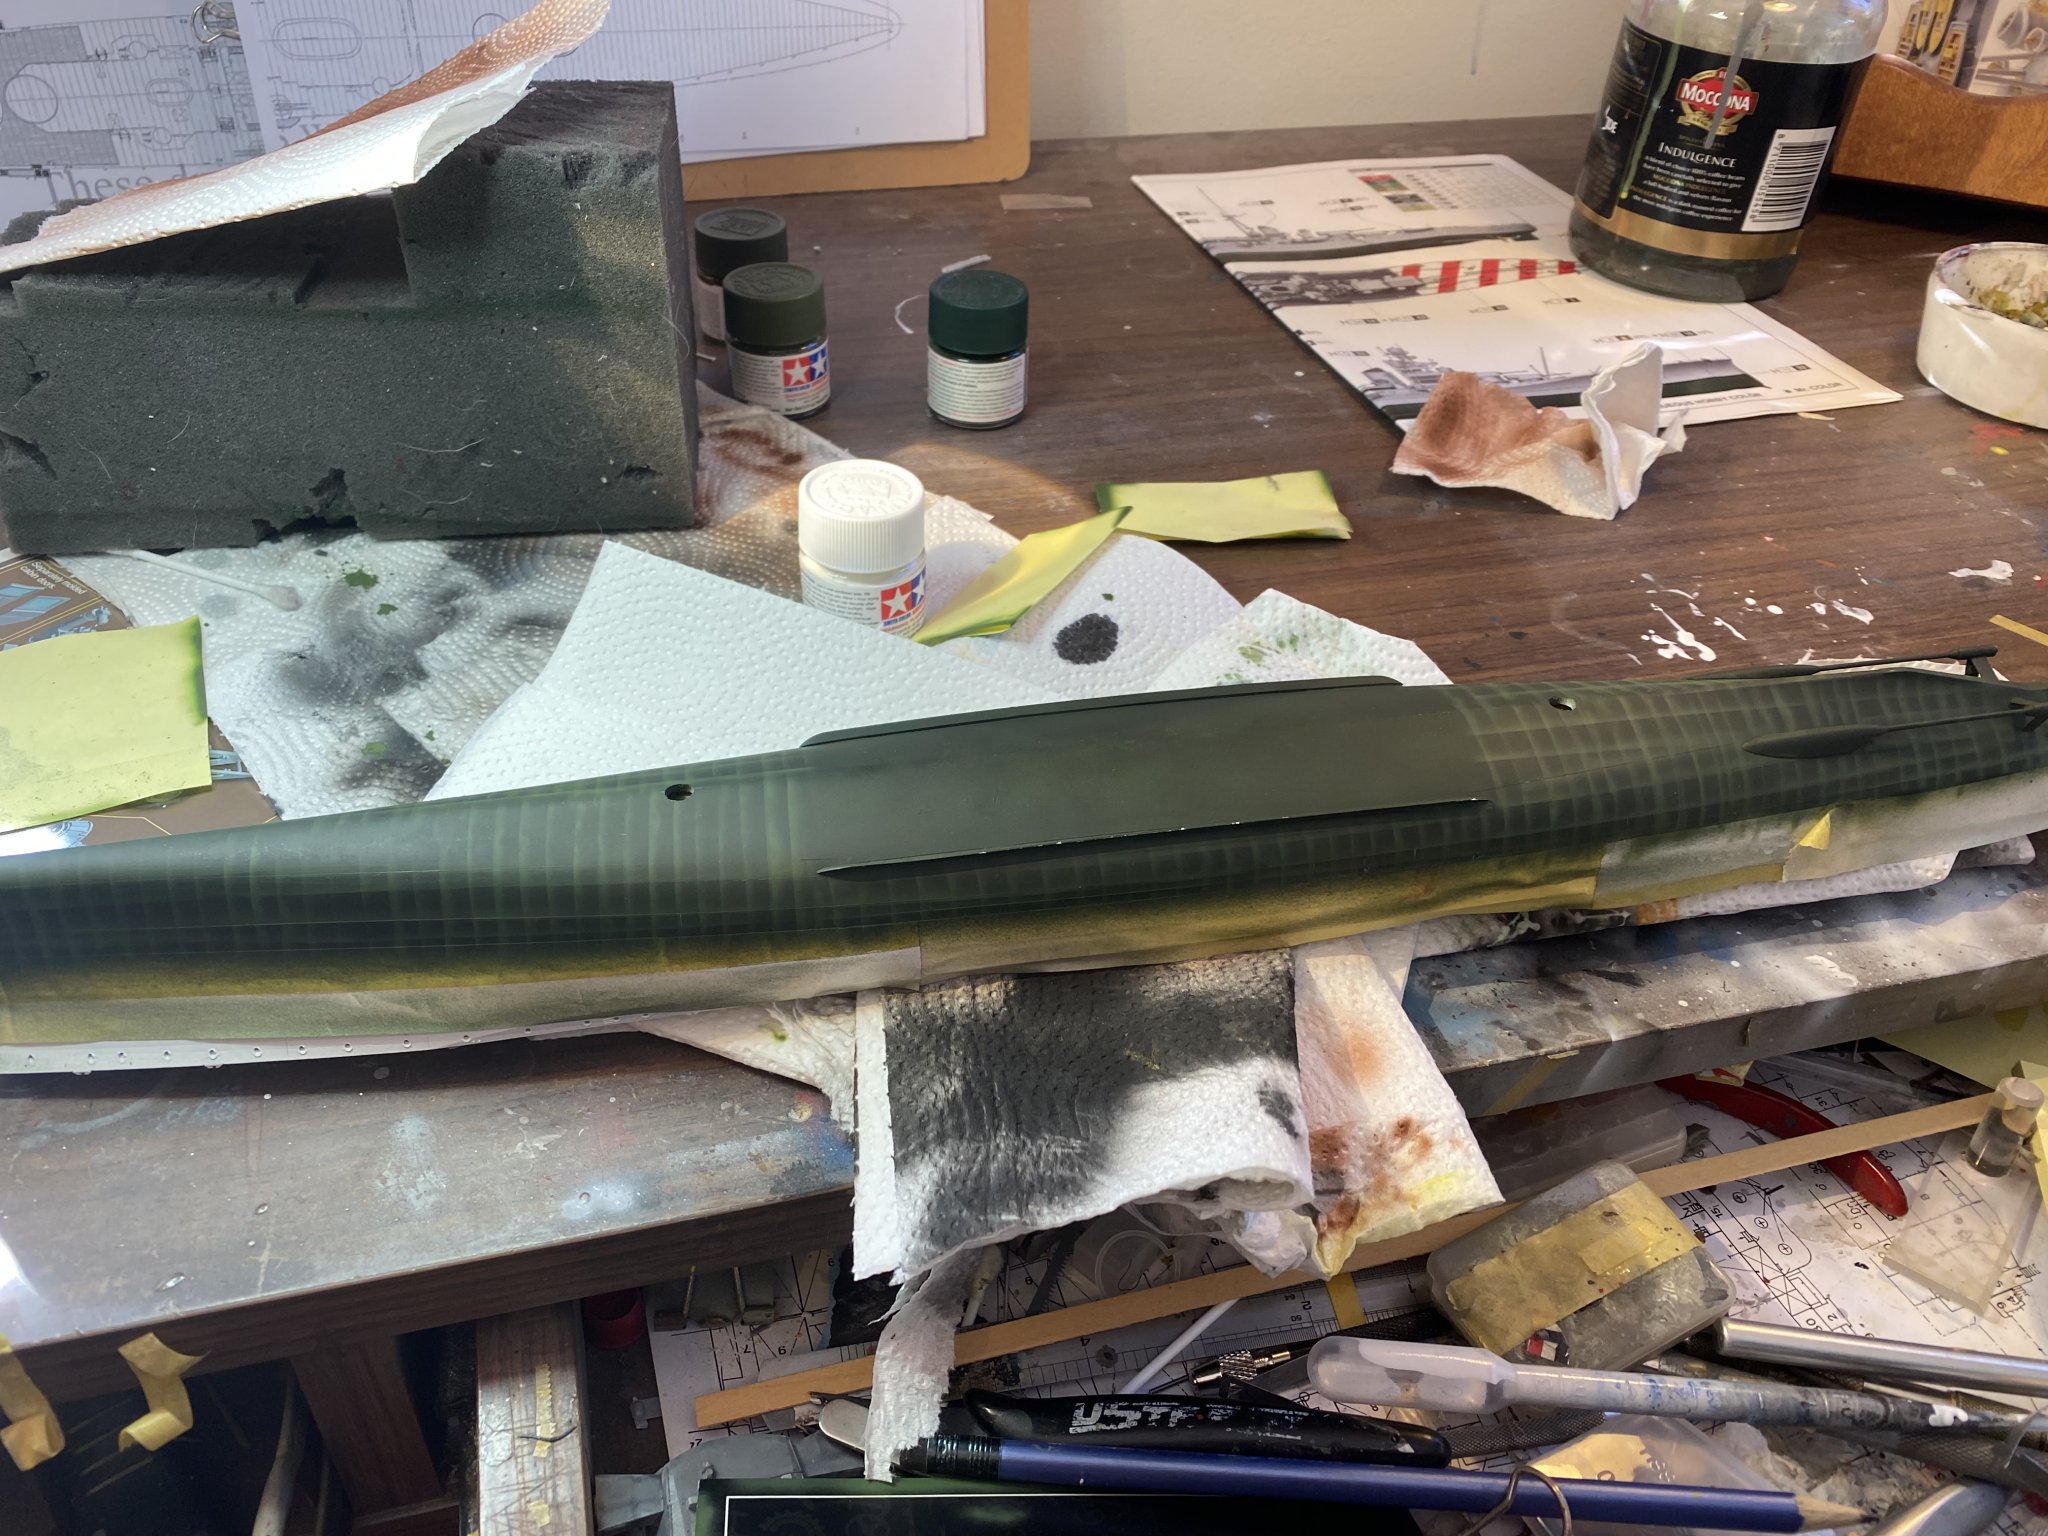
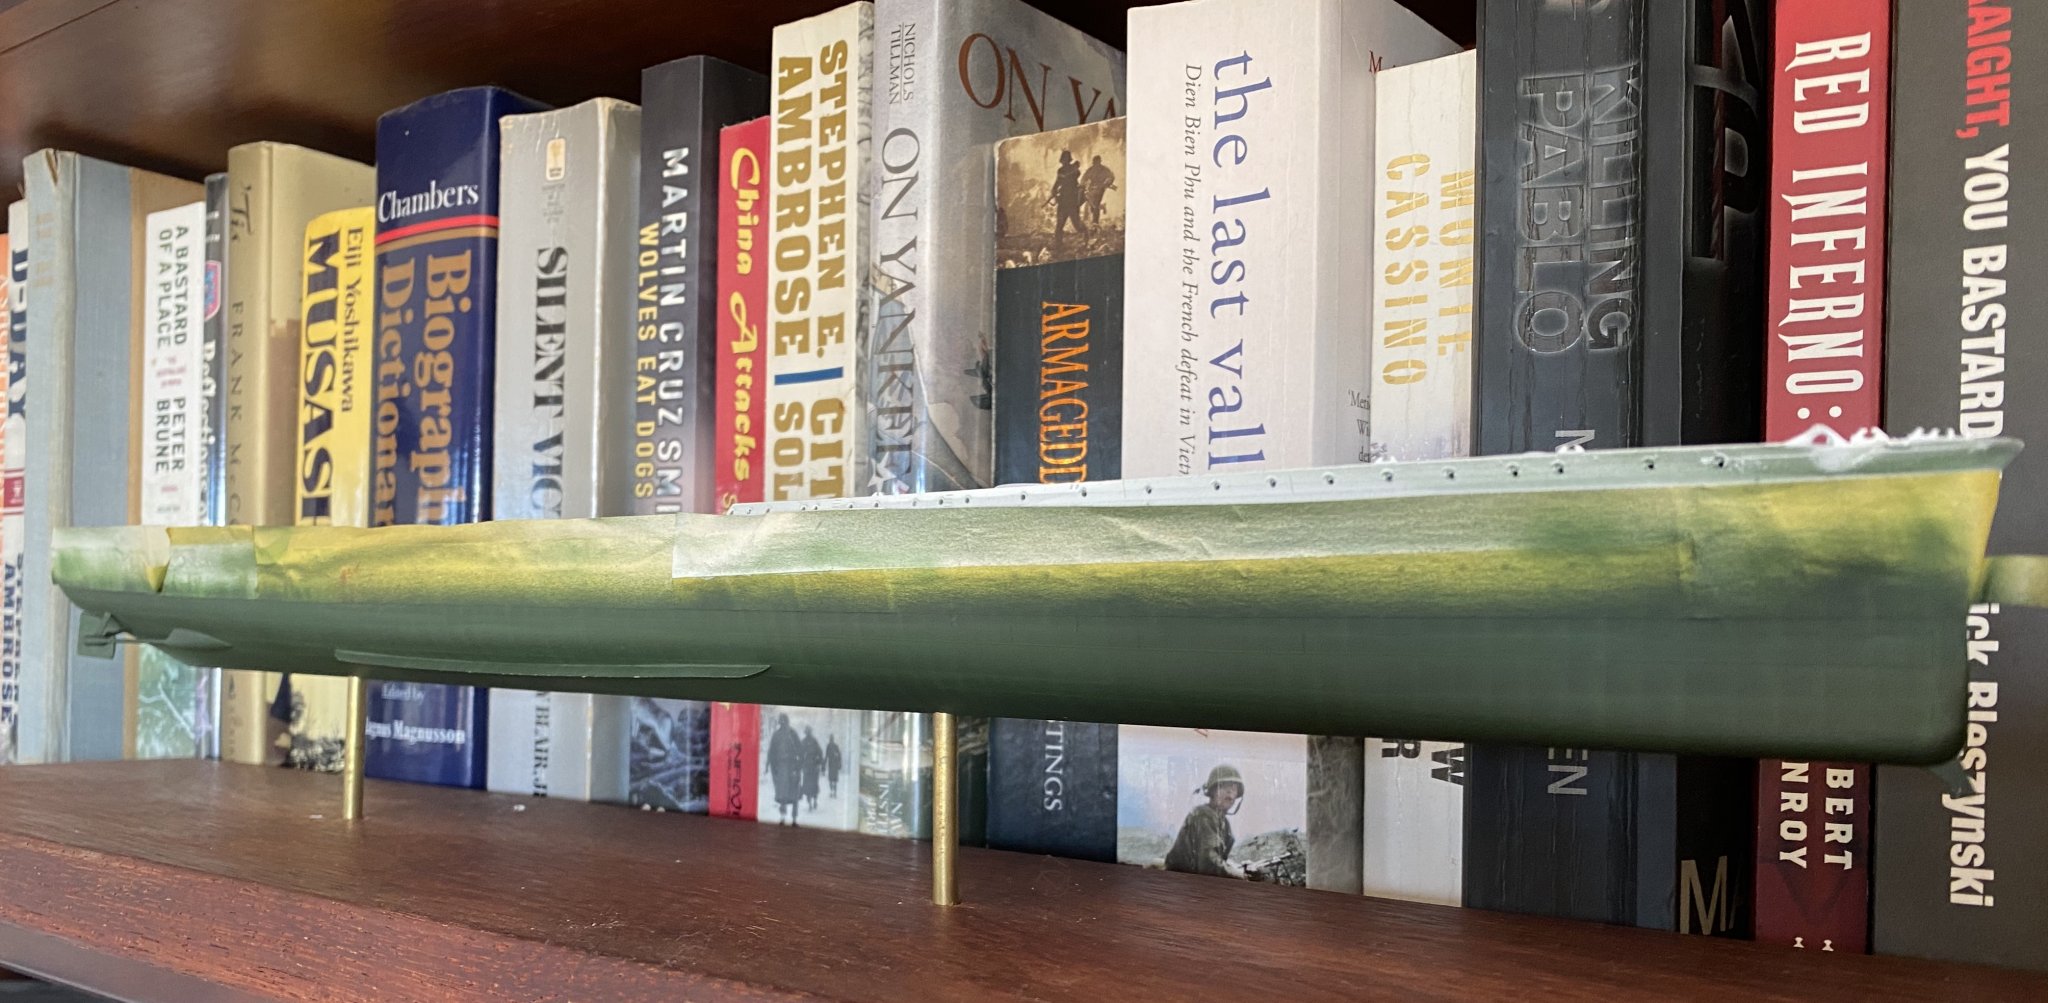
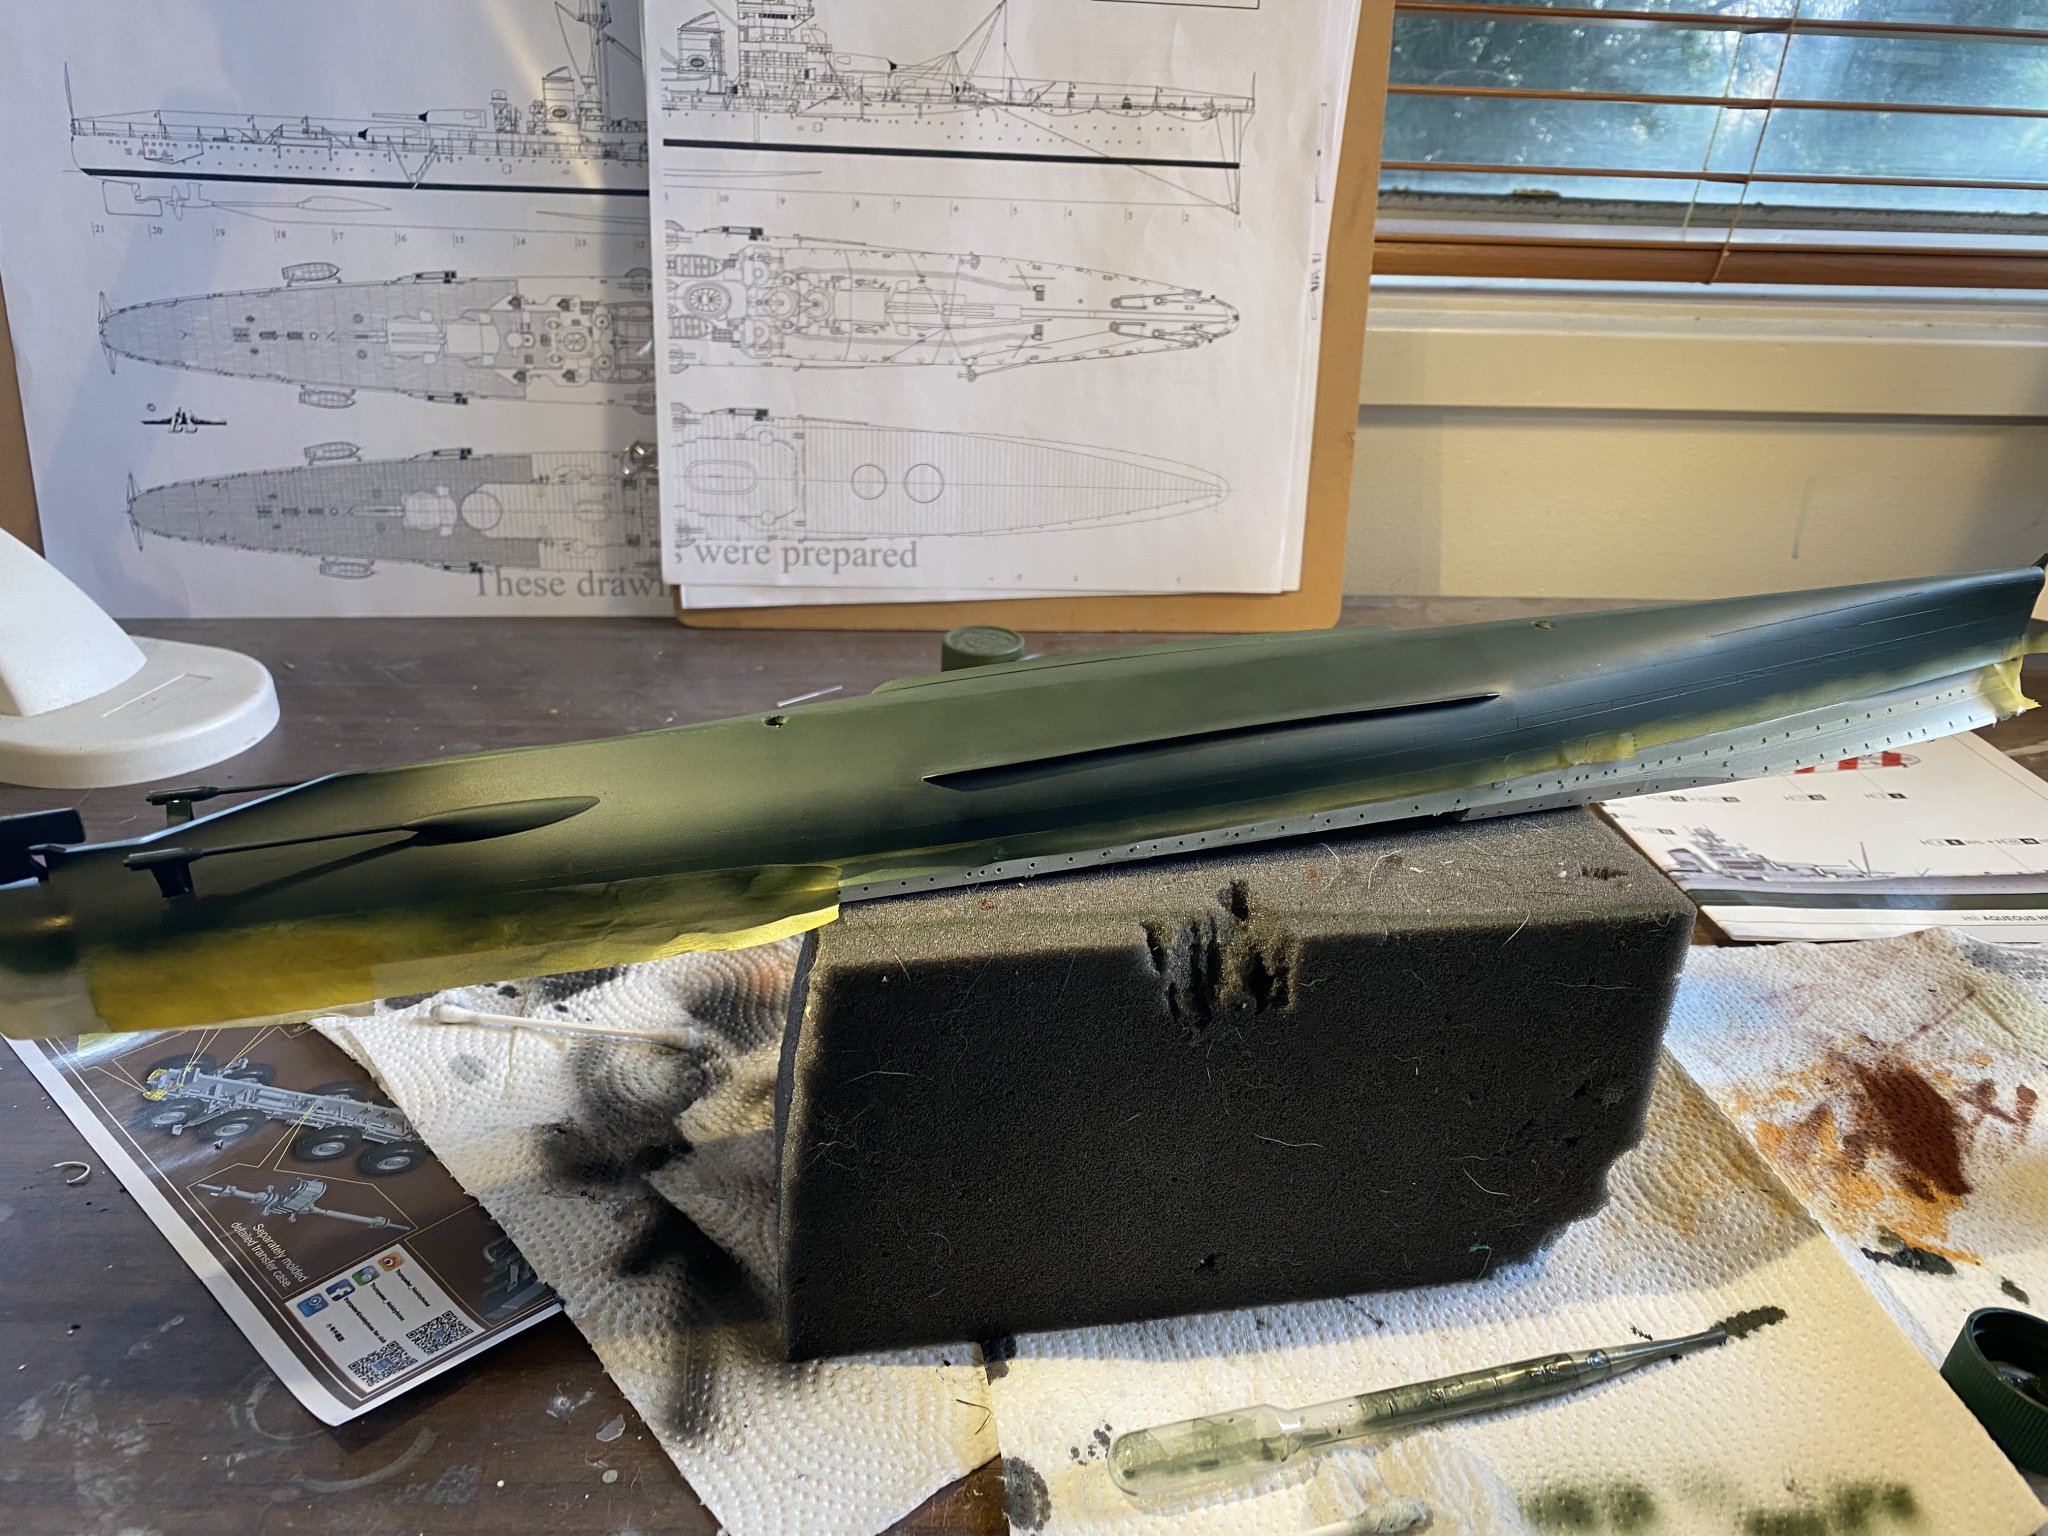
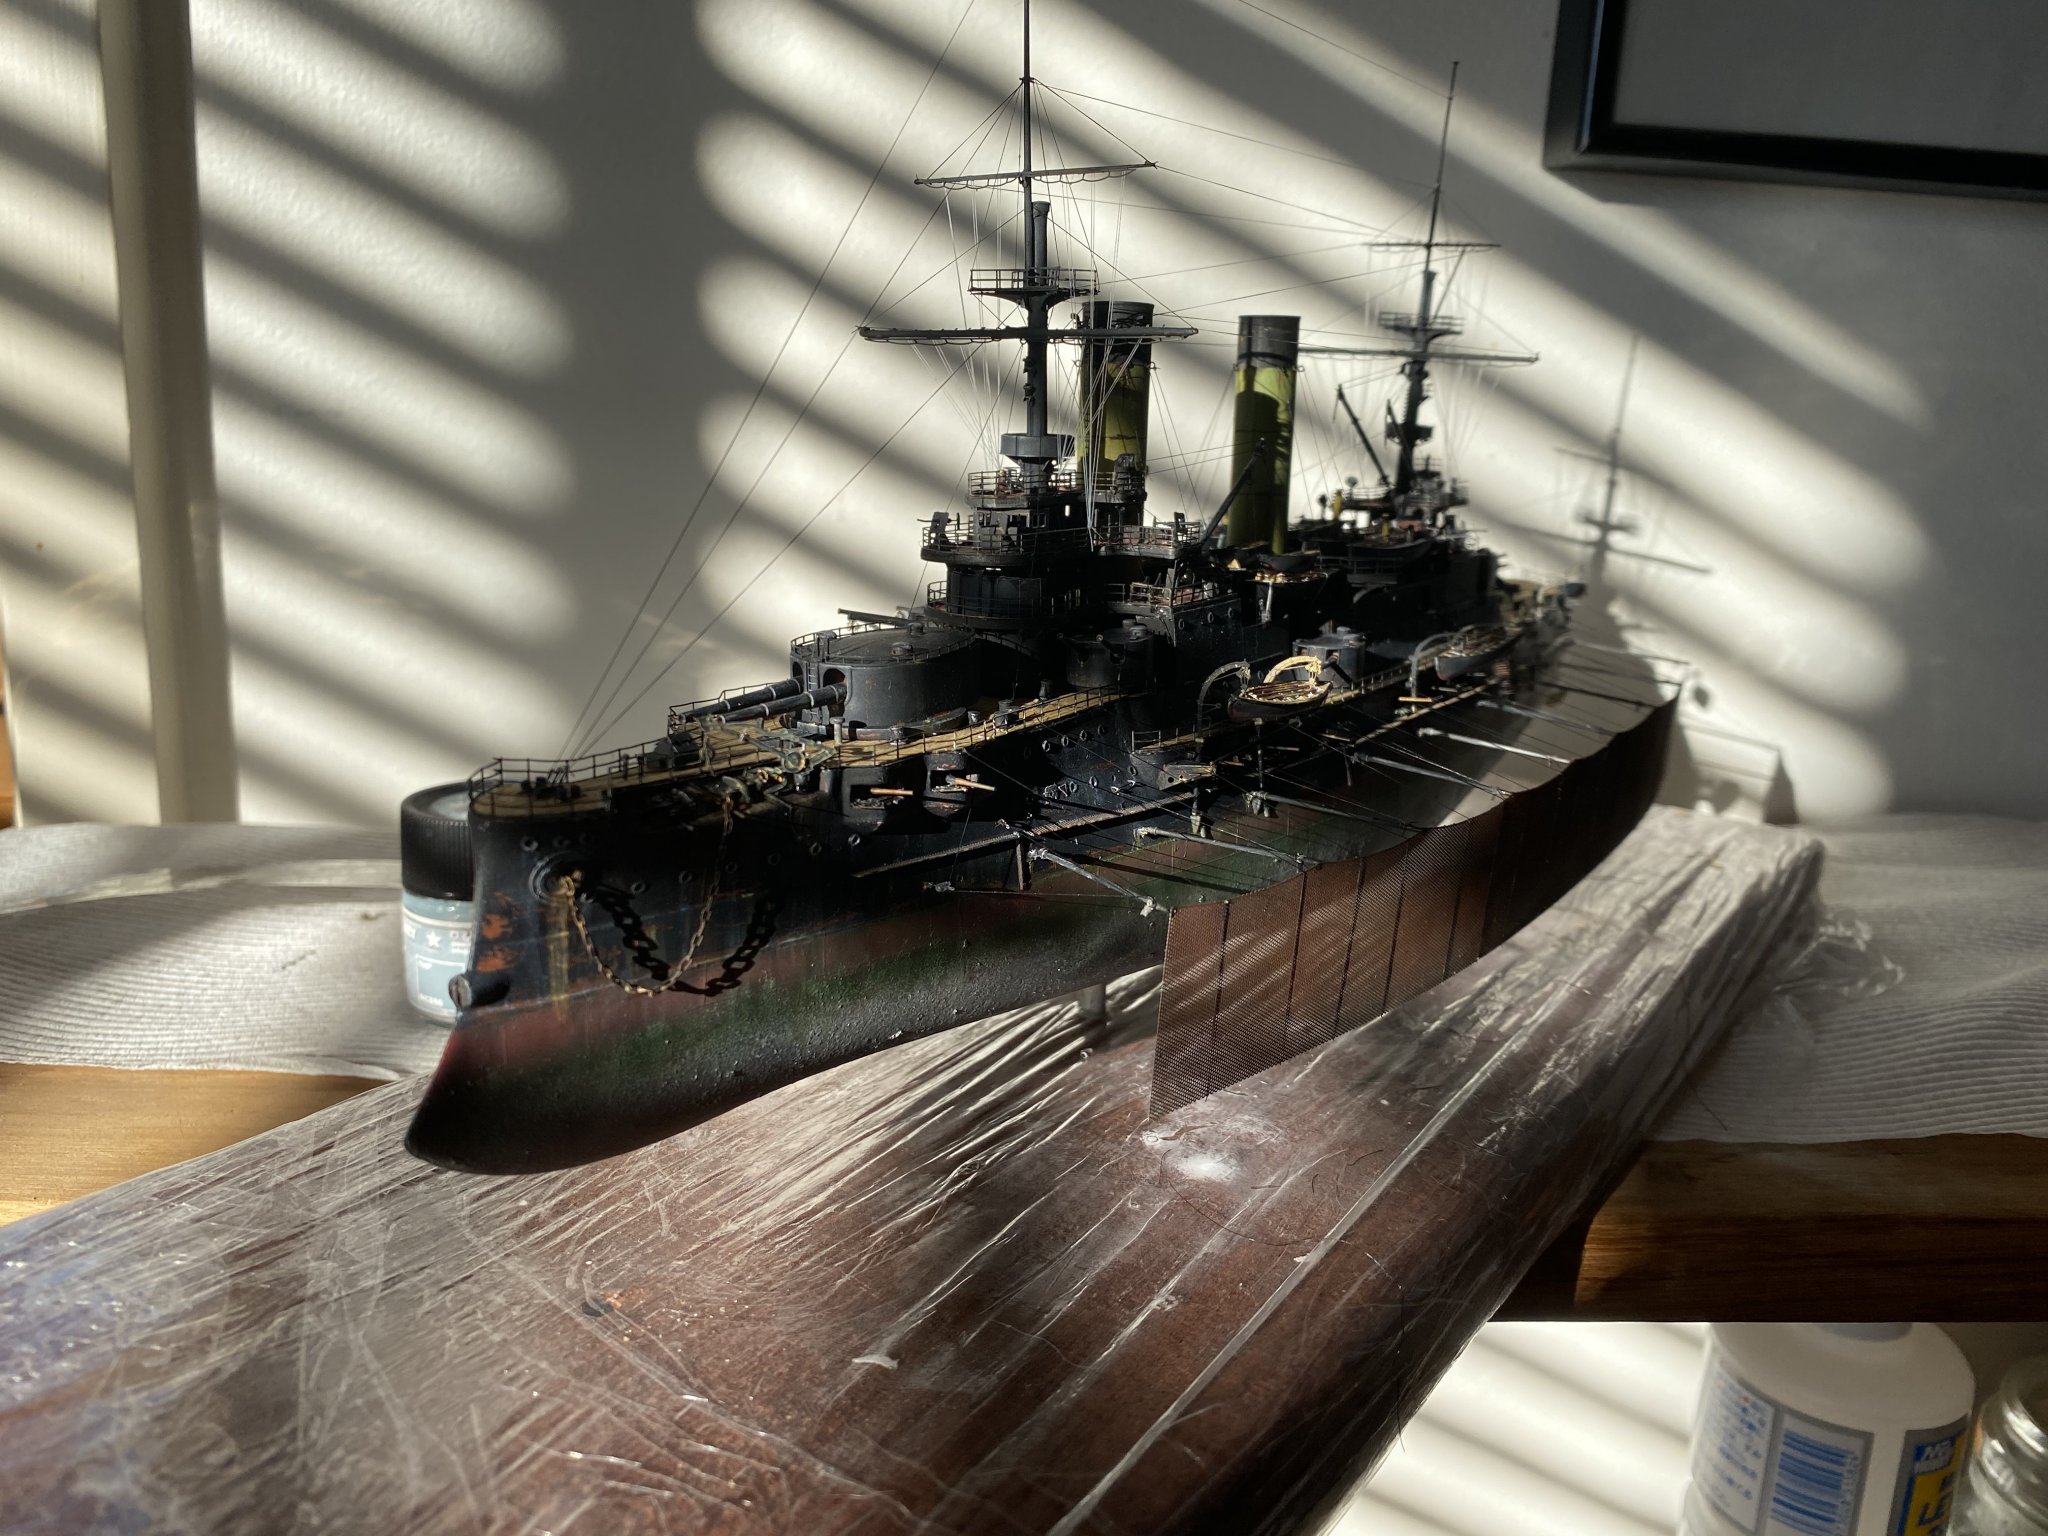
So, back to work. Strange to do a green Hull. New challenge step 1

- Ringadingdong, lmagna, hexnut and 2 others
-
5
-
-
Denier is not wire, it’s the name of the rubber compound
- Canute, popeye the sailor and lmagna
-
3
-
BNA is still shipping, and they have denier line. The AUD has tanked so it shouldn’t be that bad. The fading thing is a nice effect. Look up a bloke called Jamie Duff, he runs a site dedicated to warship camouflage
- lmagna, popeye the sailor, Canute and 1 other
-
4
-
Mate you’re doing an amazing job. When I did KGV I still can’t understand how to put those cranes together. Looking forward to following
- Old Collingwood, Canute, ErnieL and 3 others
-
6
-
He does 1-2000 scale (and sells them too). His tool set must be amazing as he’s also really fast and scratch builds them
- mtaylor, popeye the sailor and lmagna
-
3
-
-
-
-
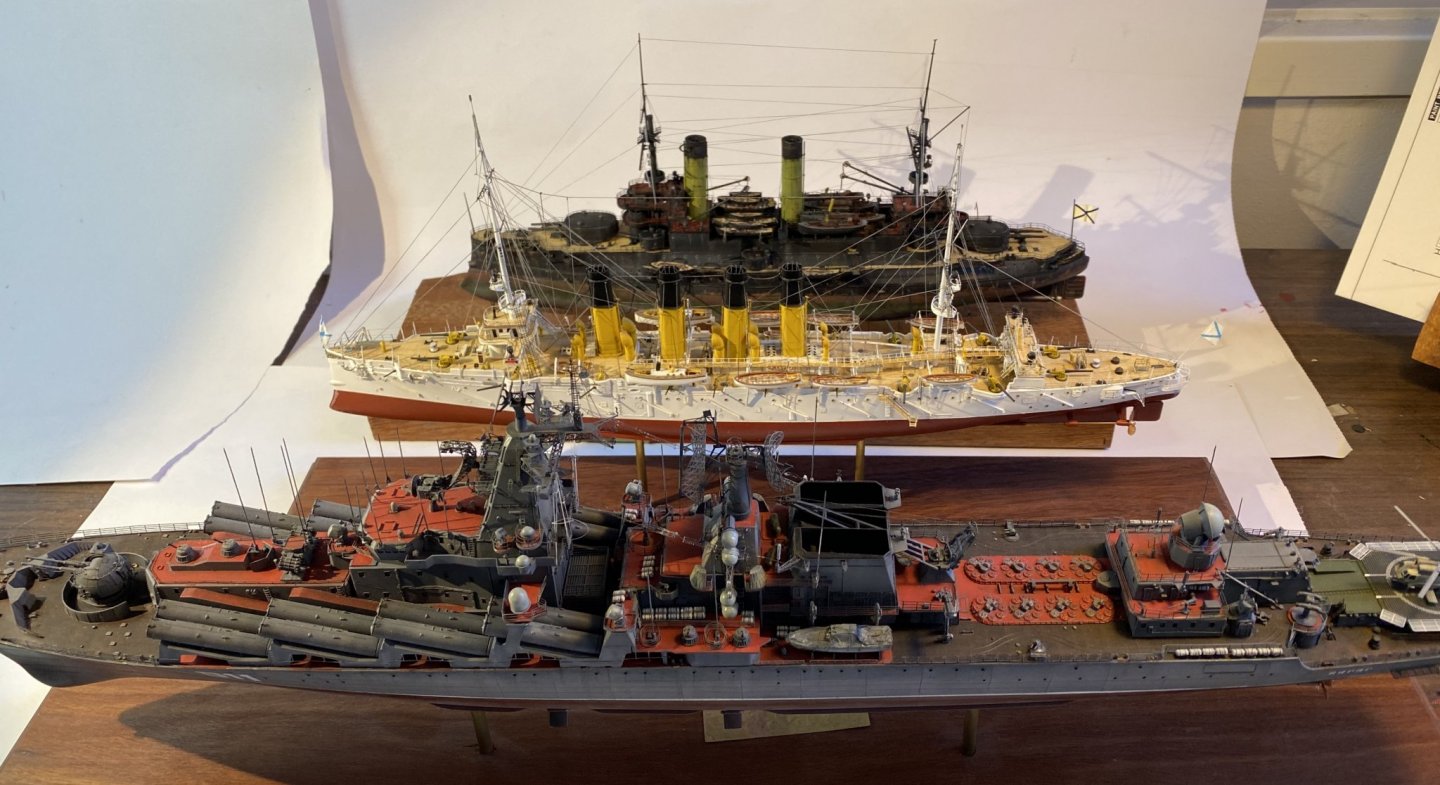
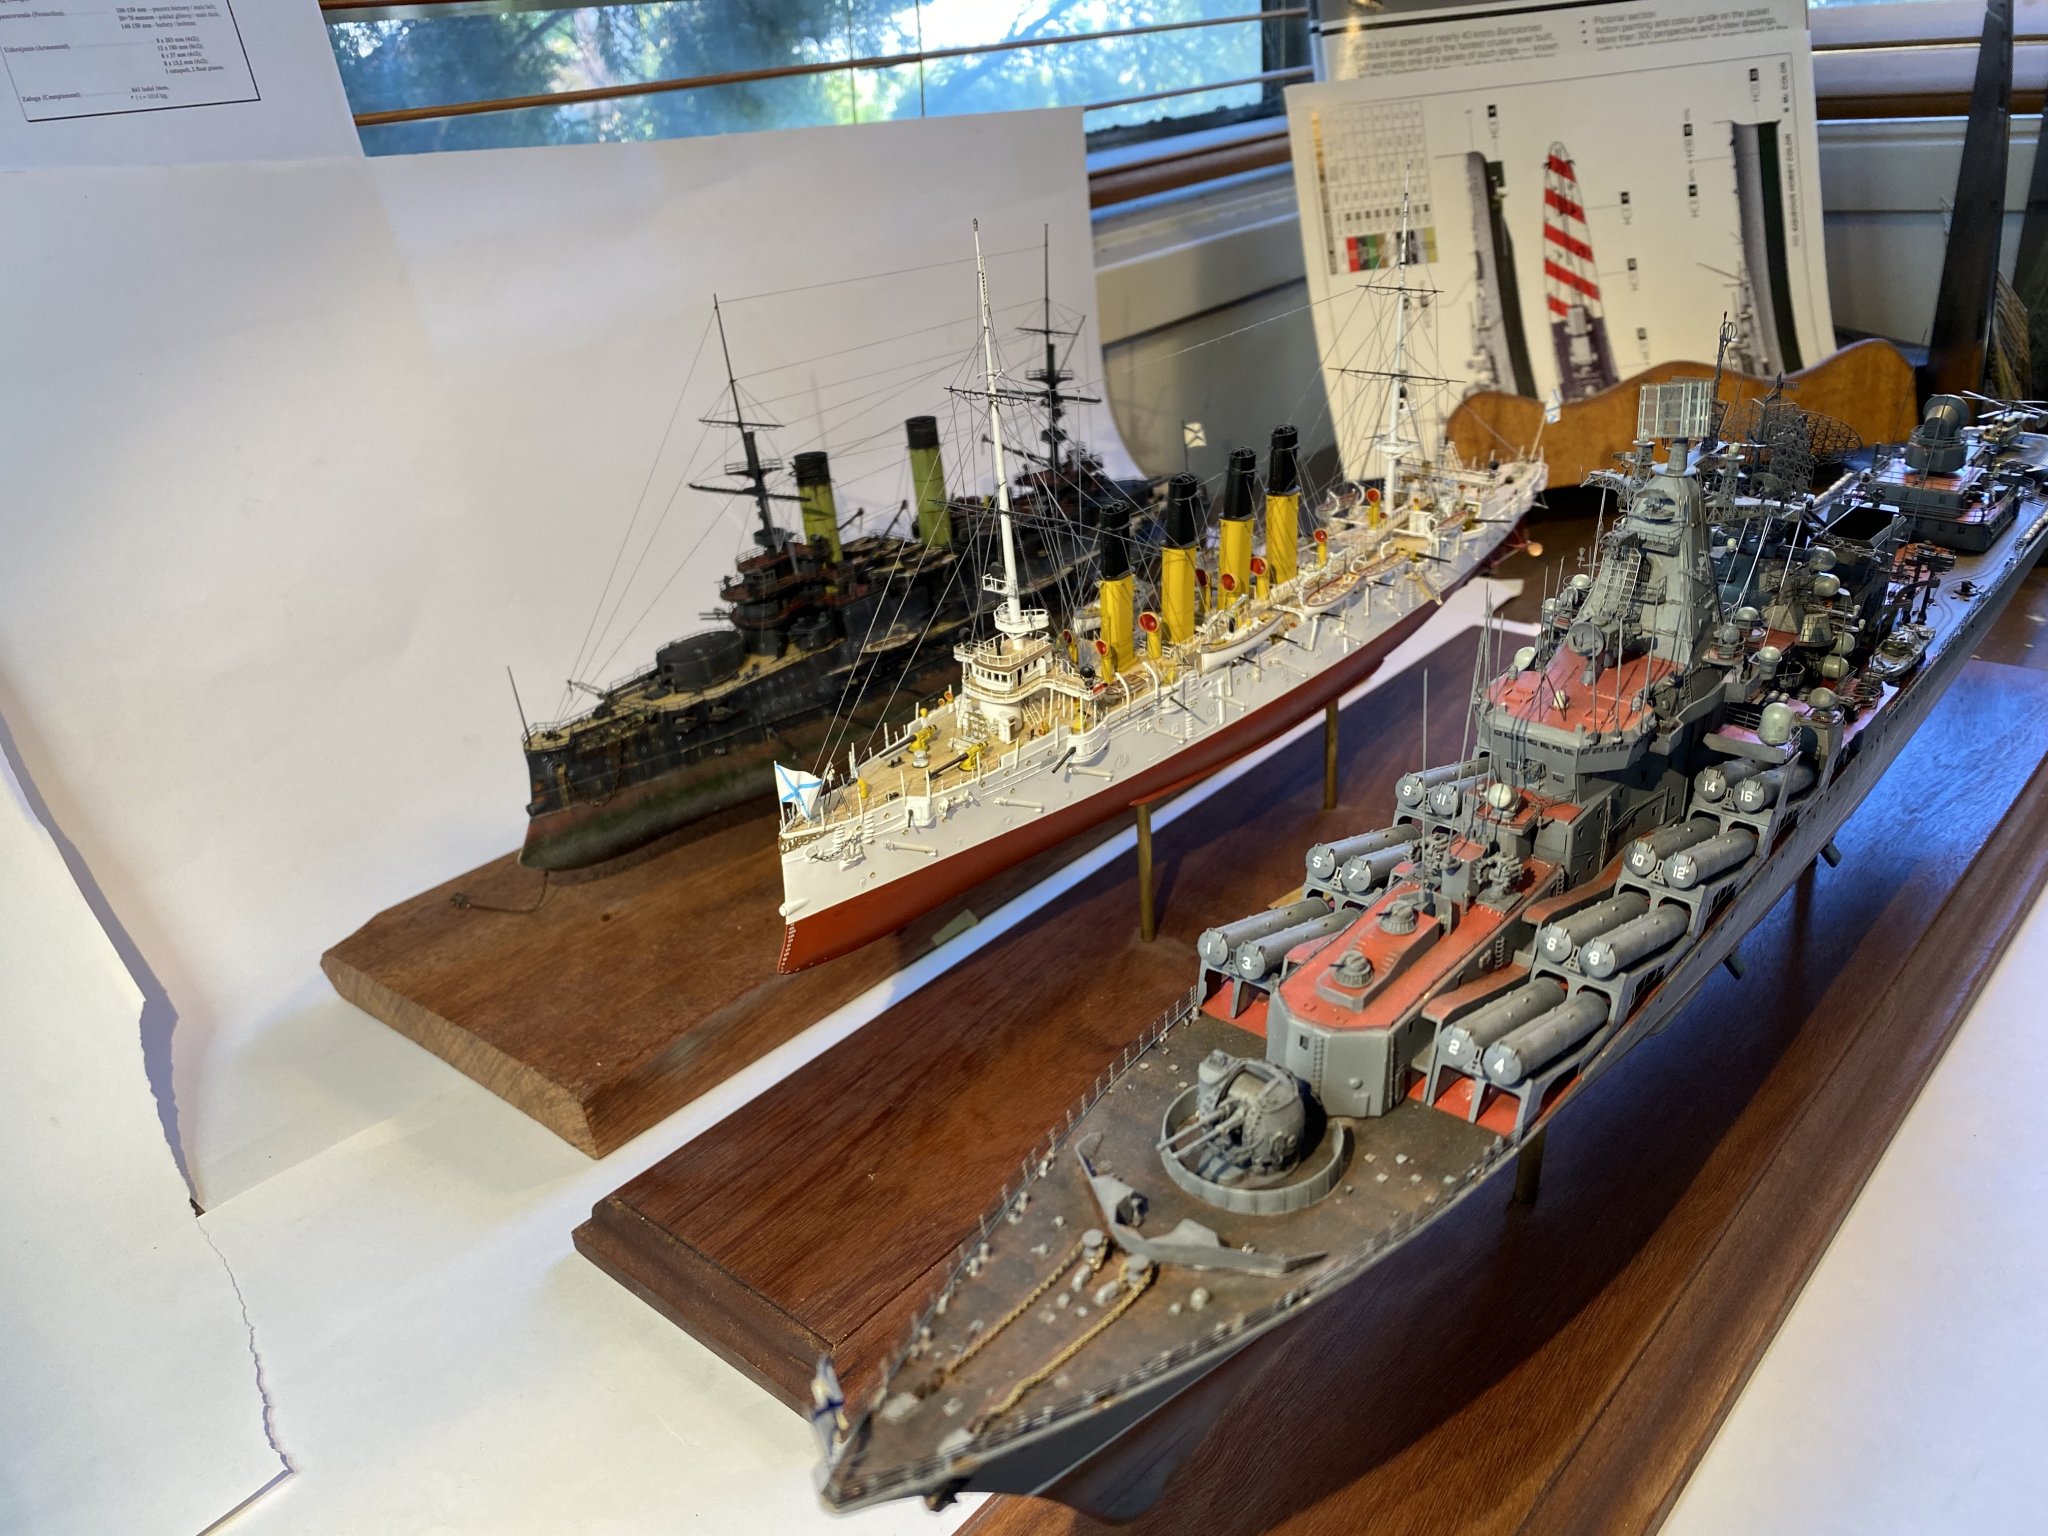
So that’s the 3 Russian ships done now, parked in the digital graveyard

-
-
Done. I don’t think I’ll ever build another Zvezda kit.

-
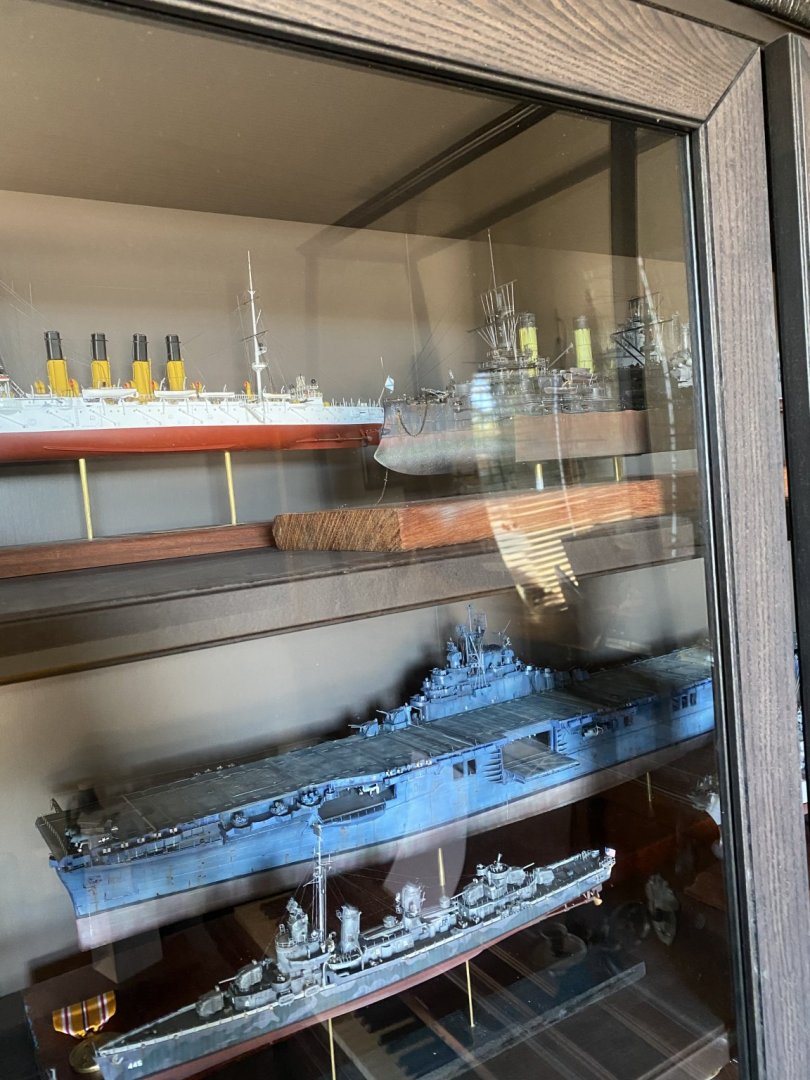
Some of the water dioramas are fantastic but they take up a lot of space unfortunately.
-
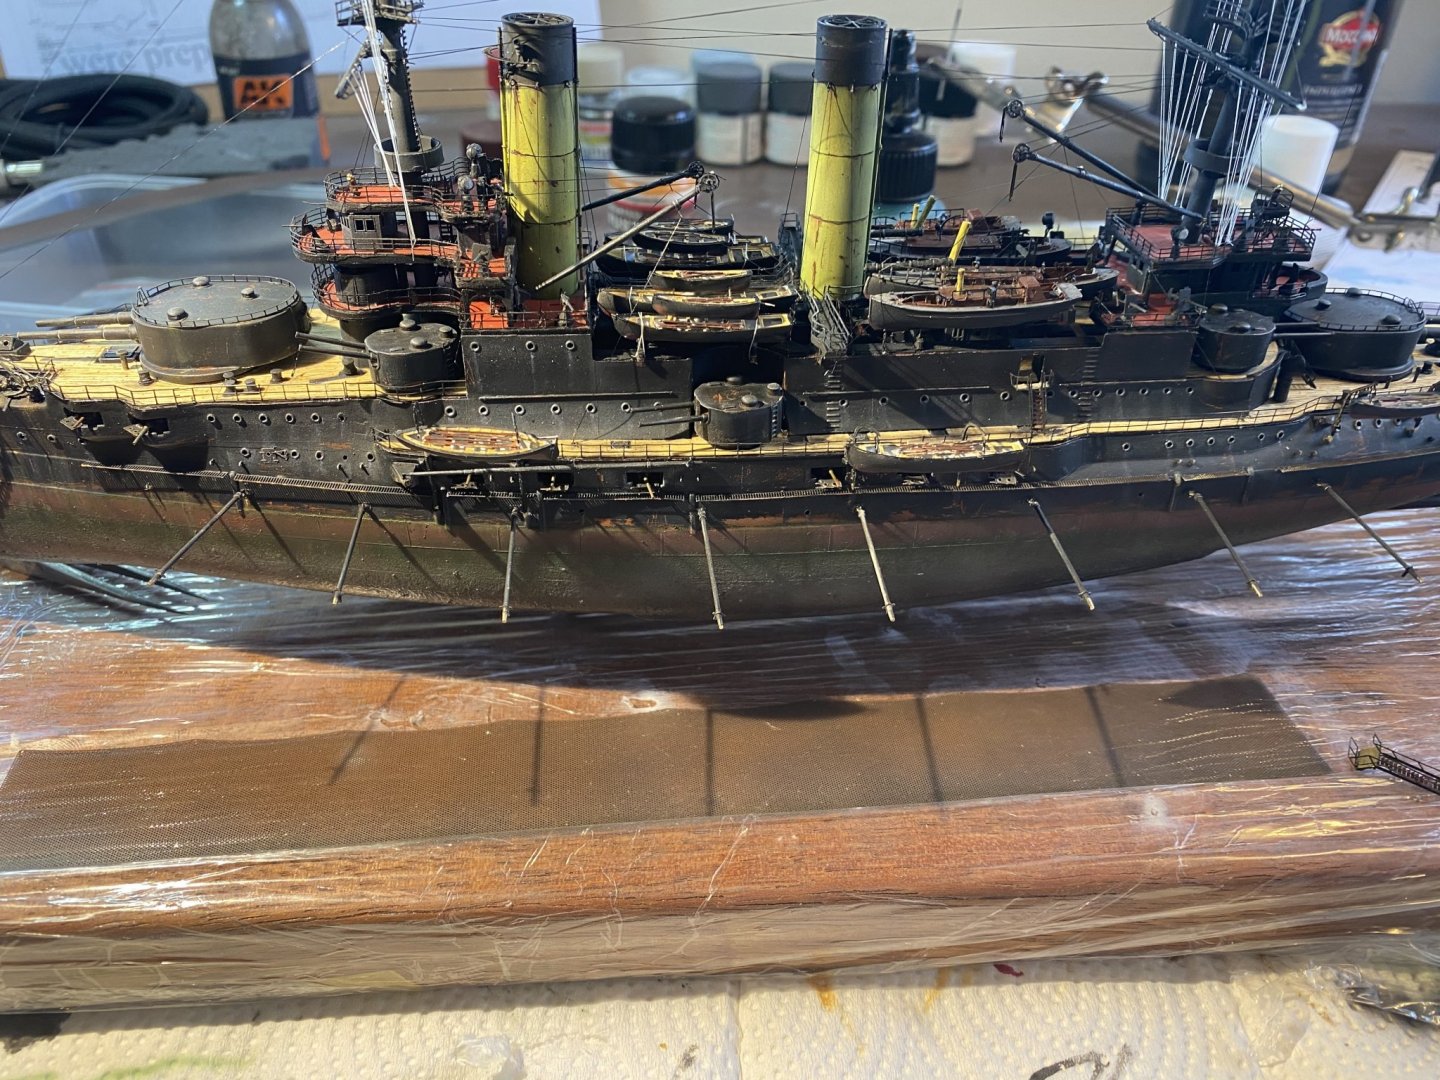
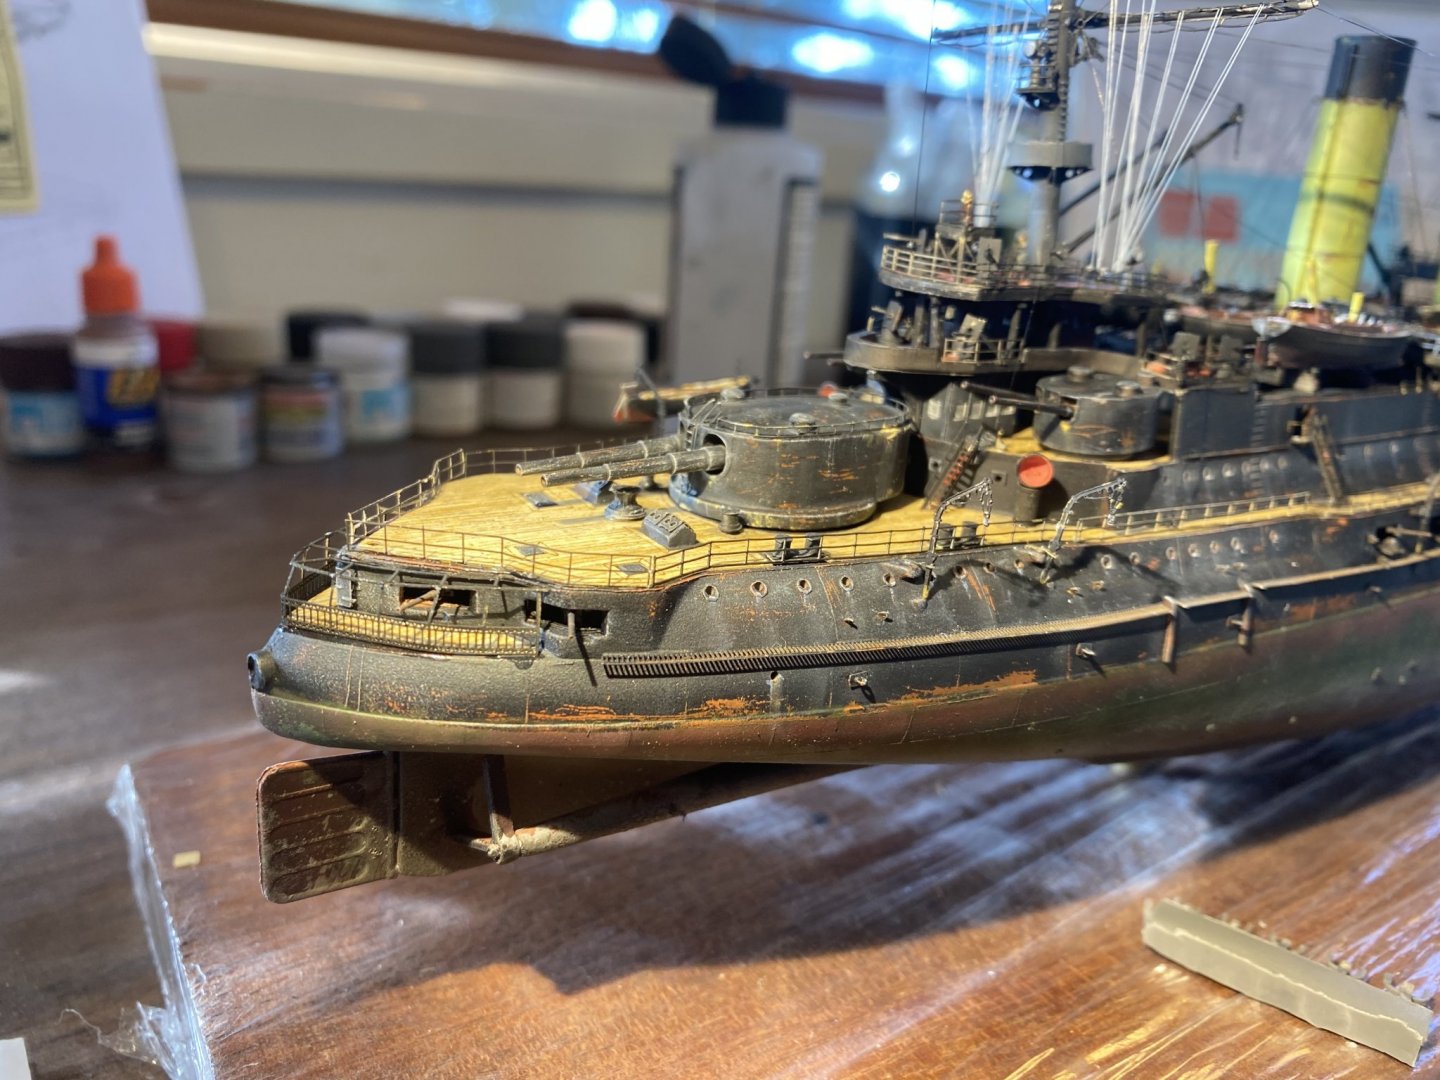
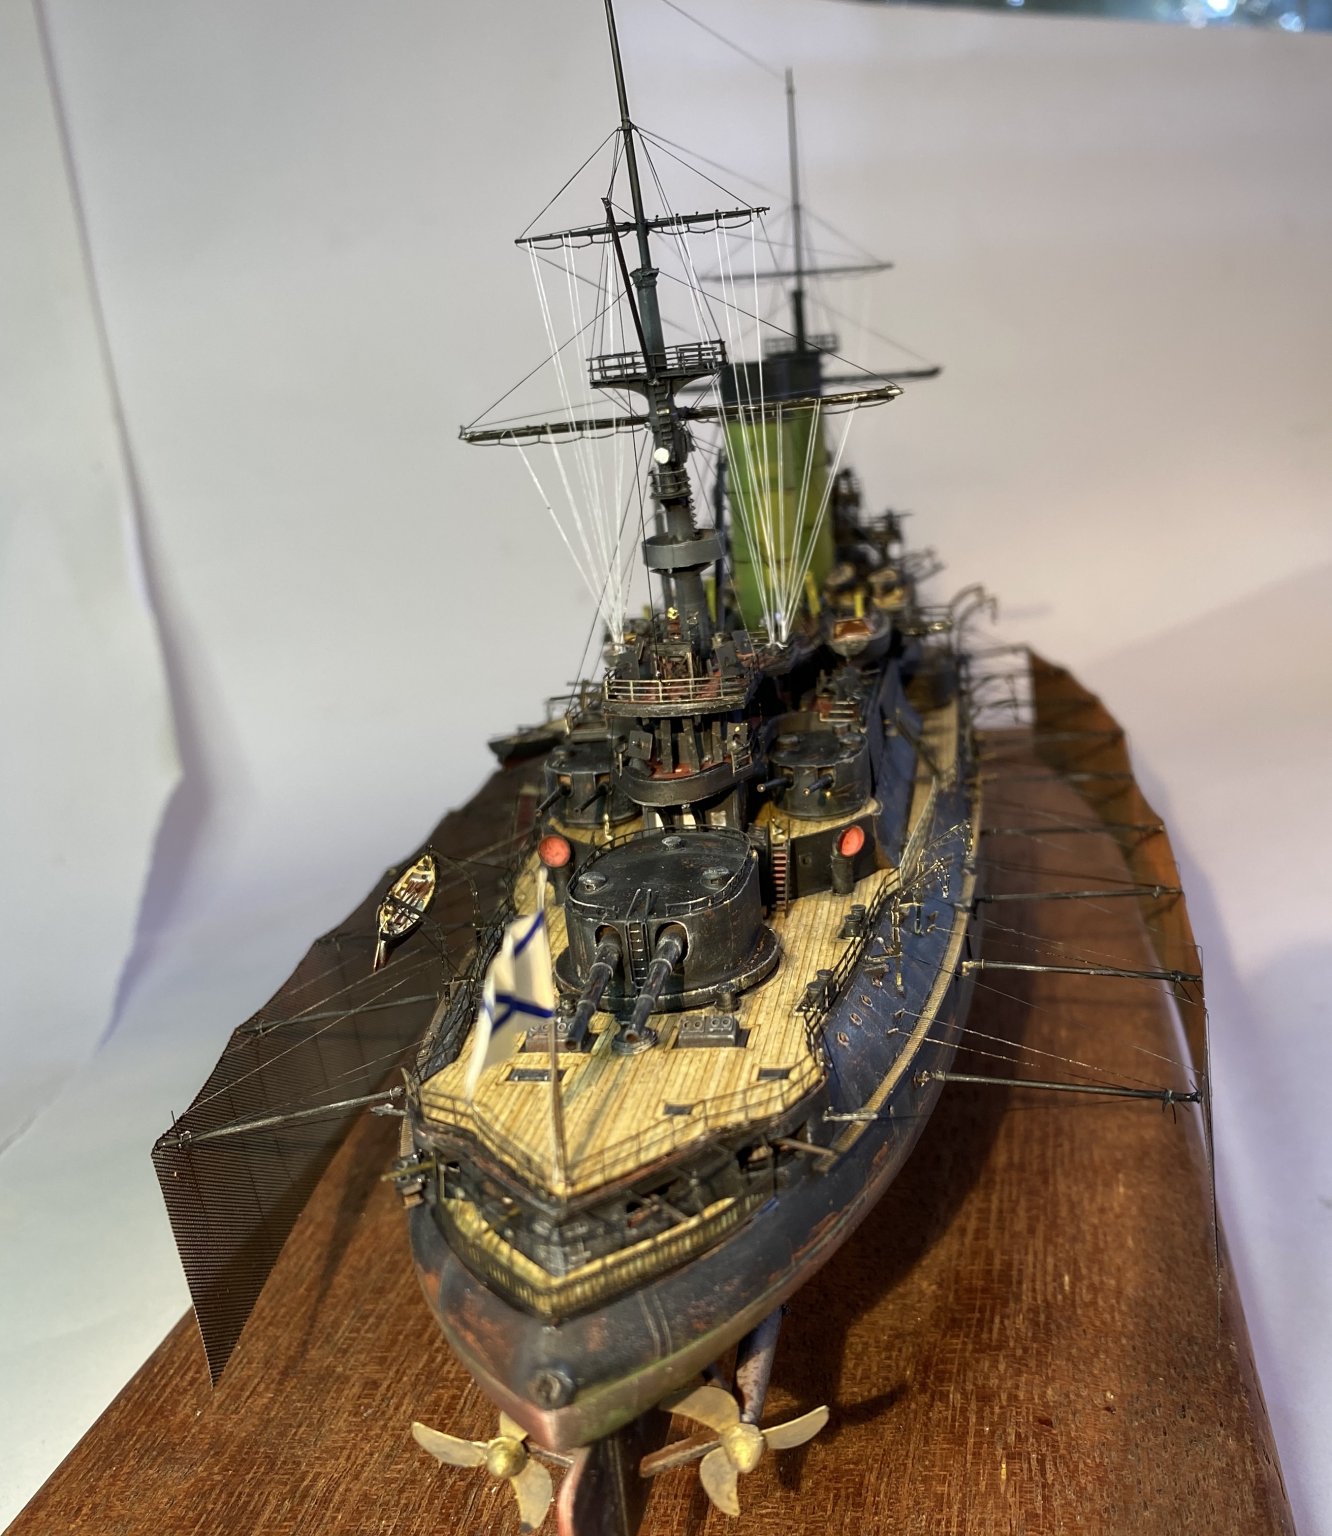
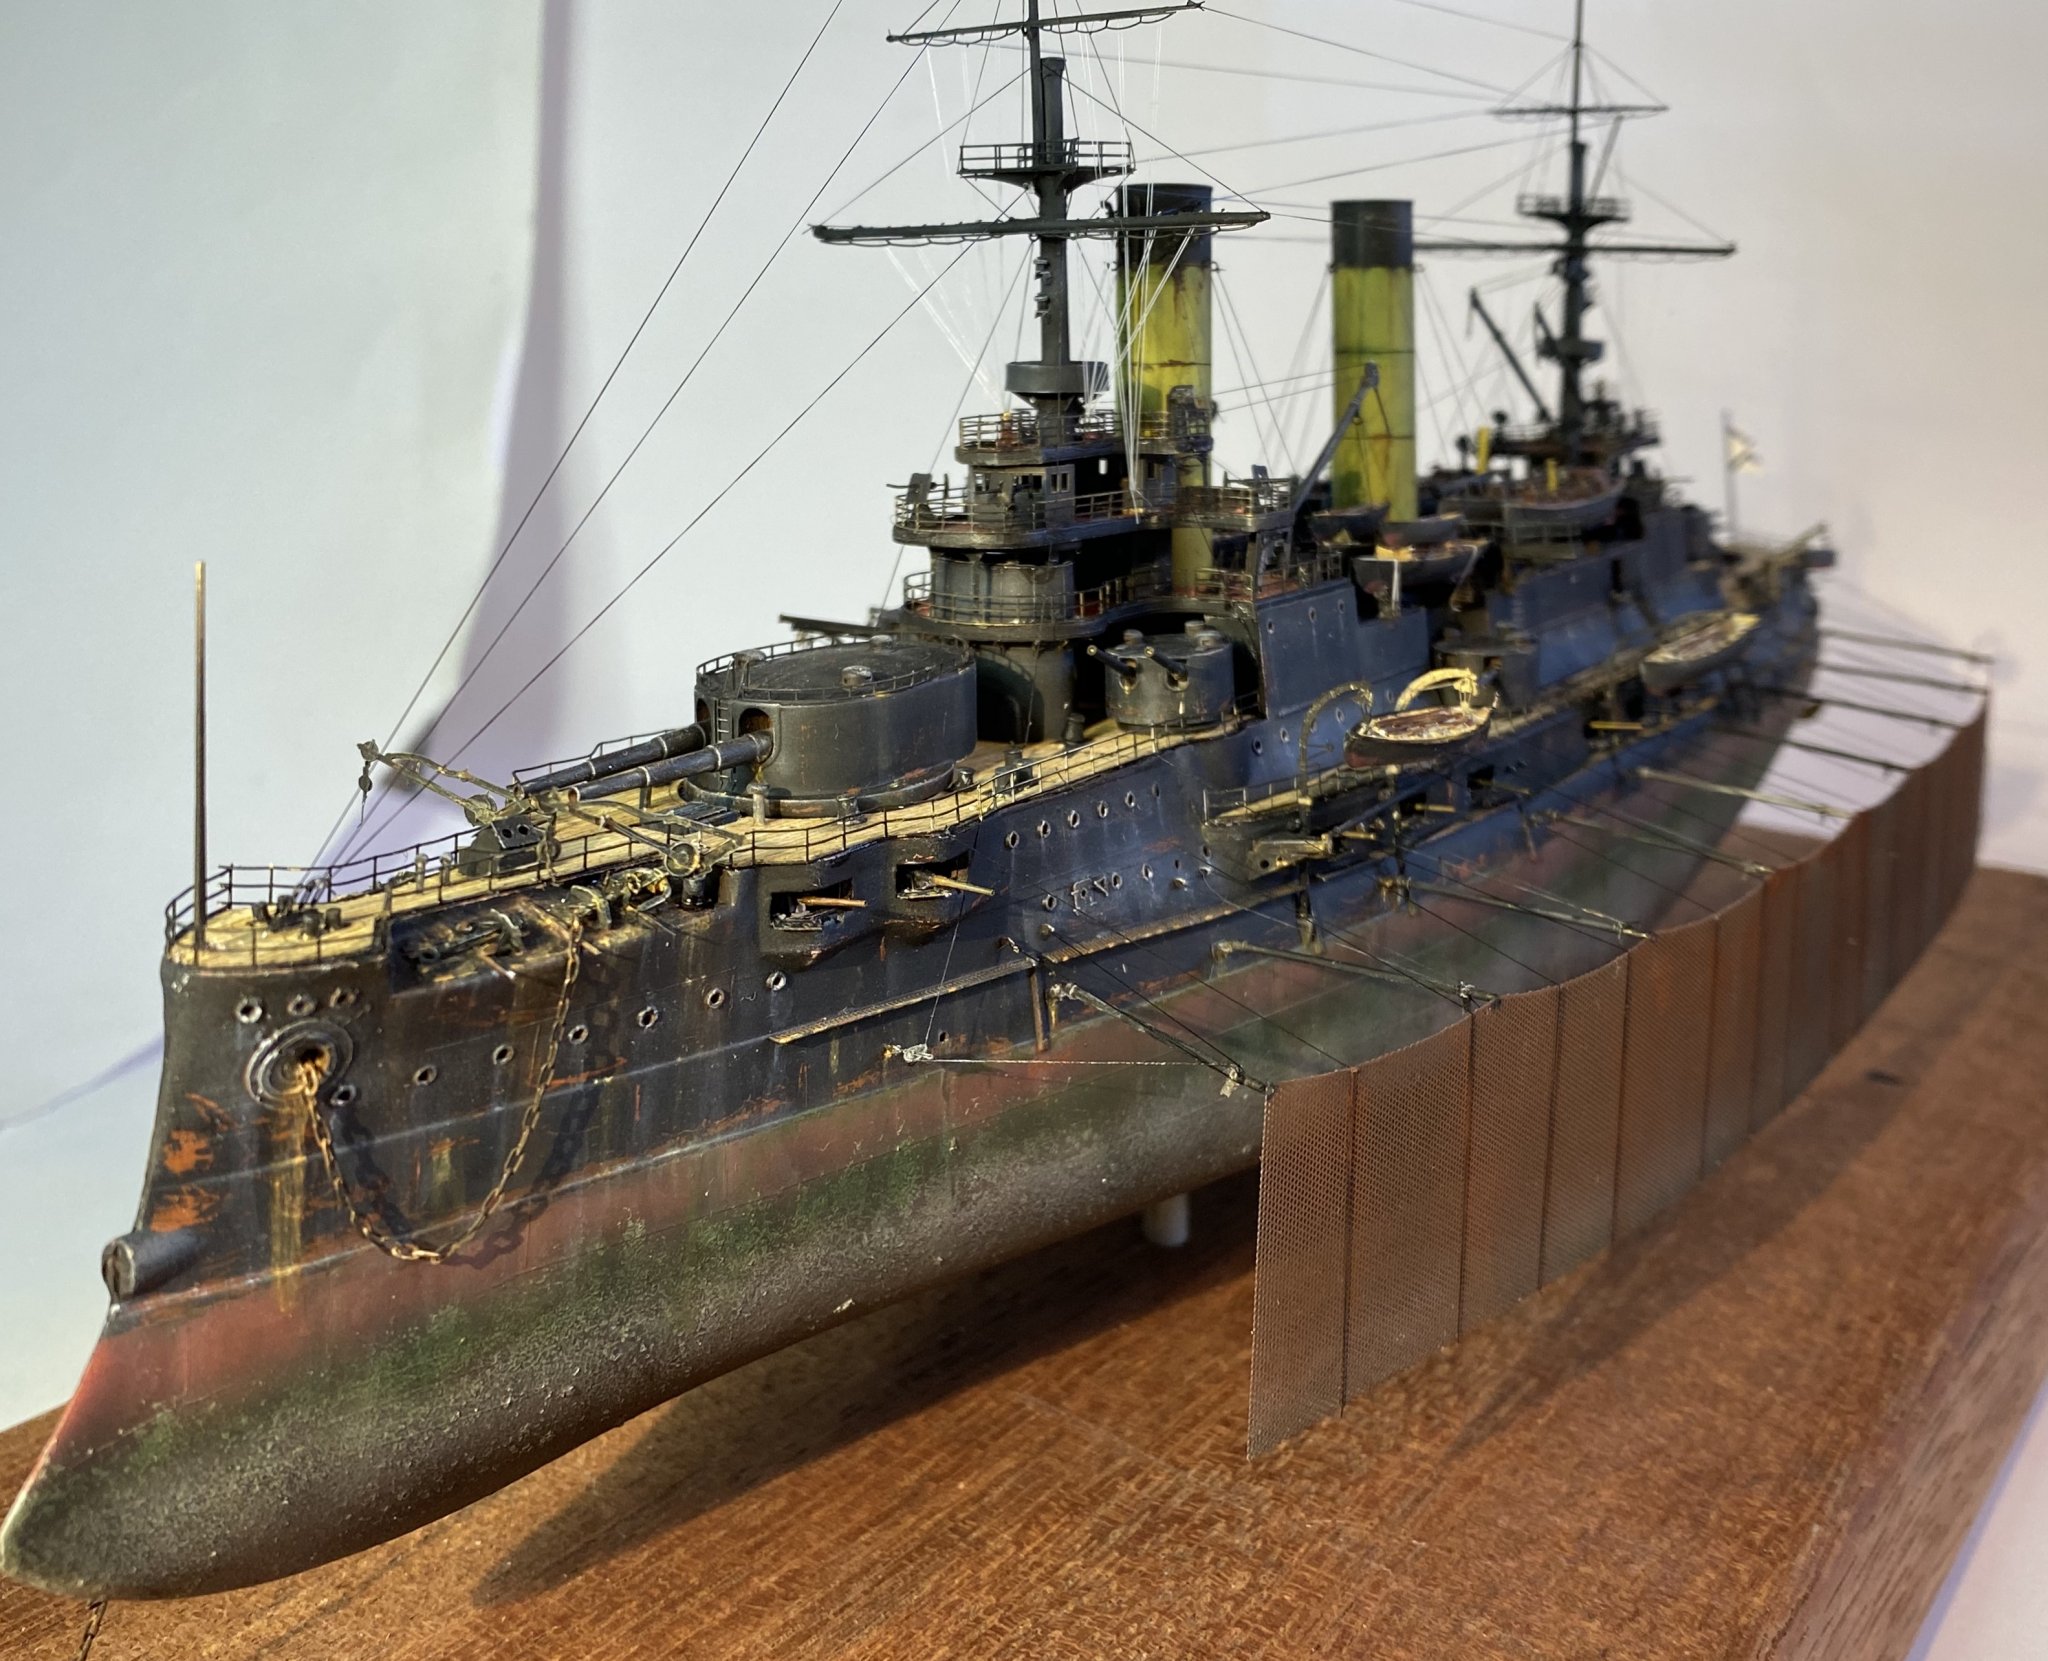
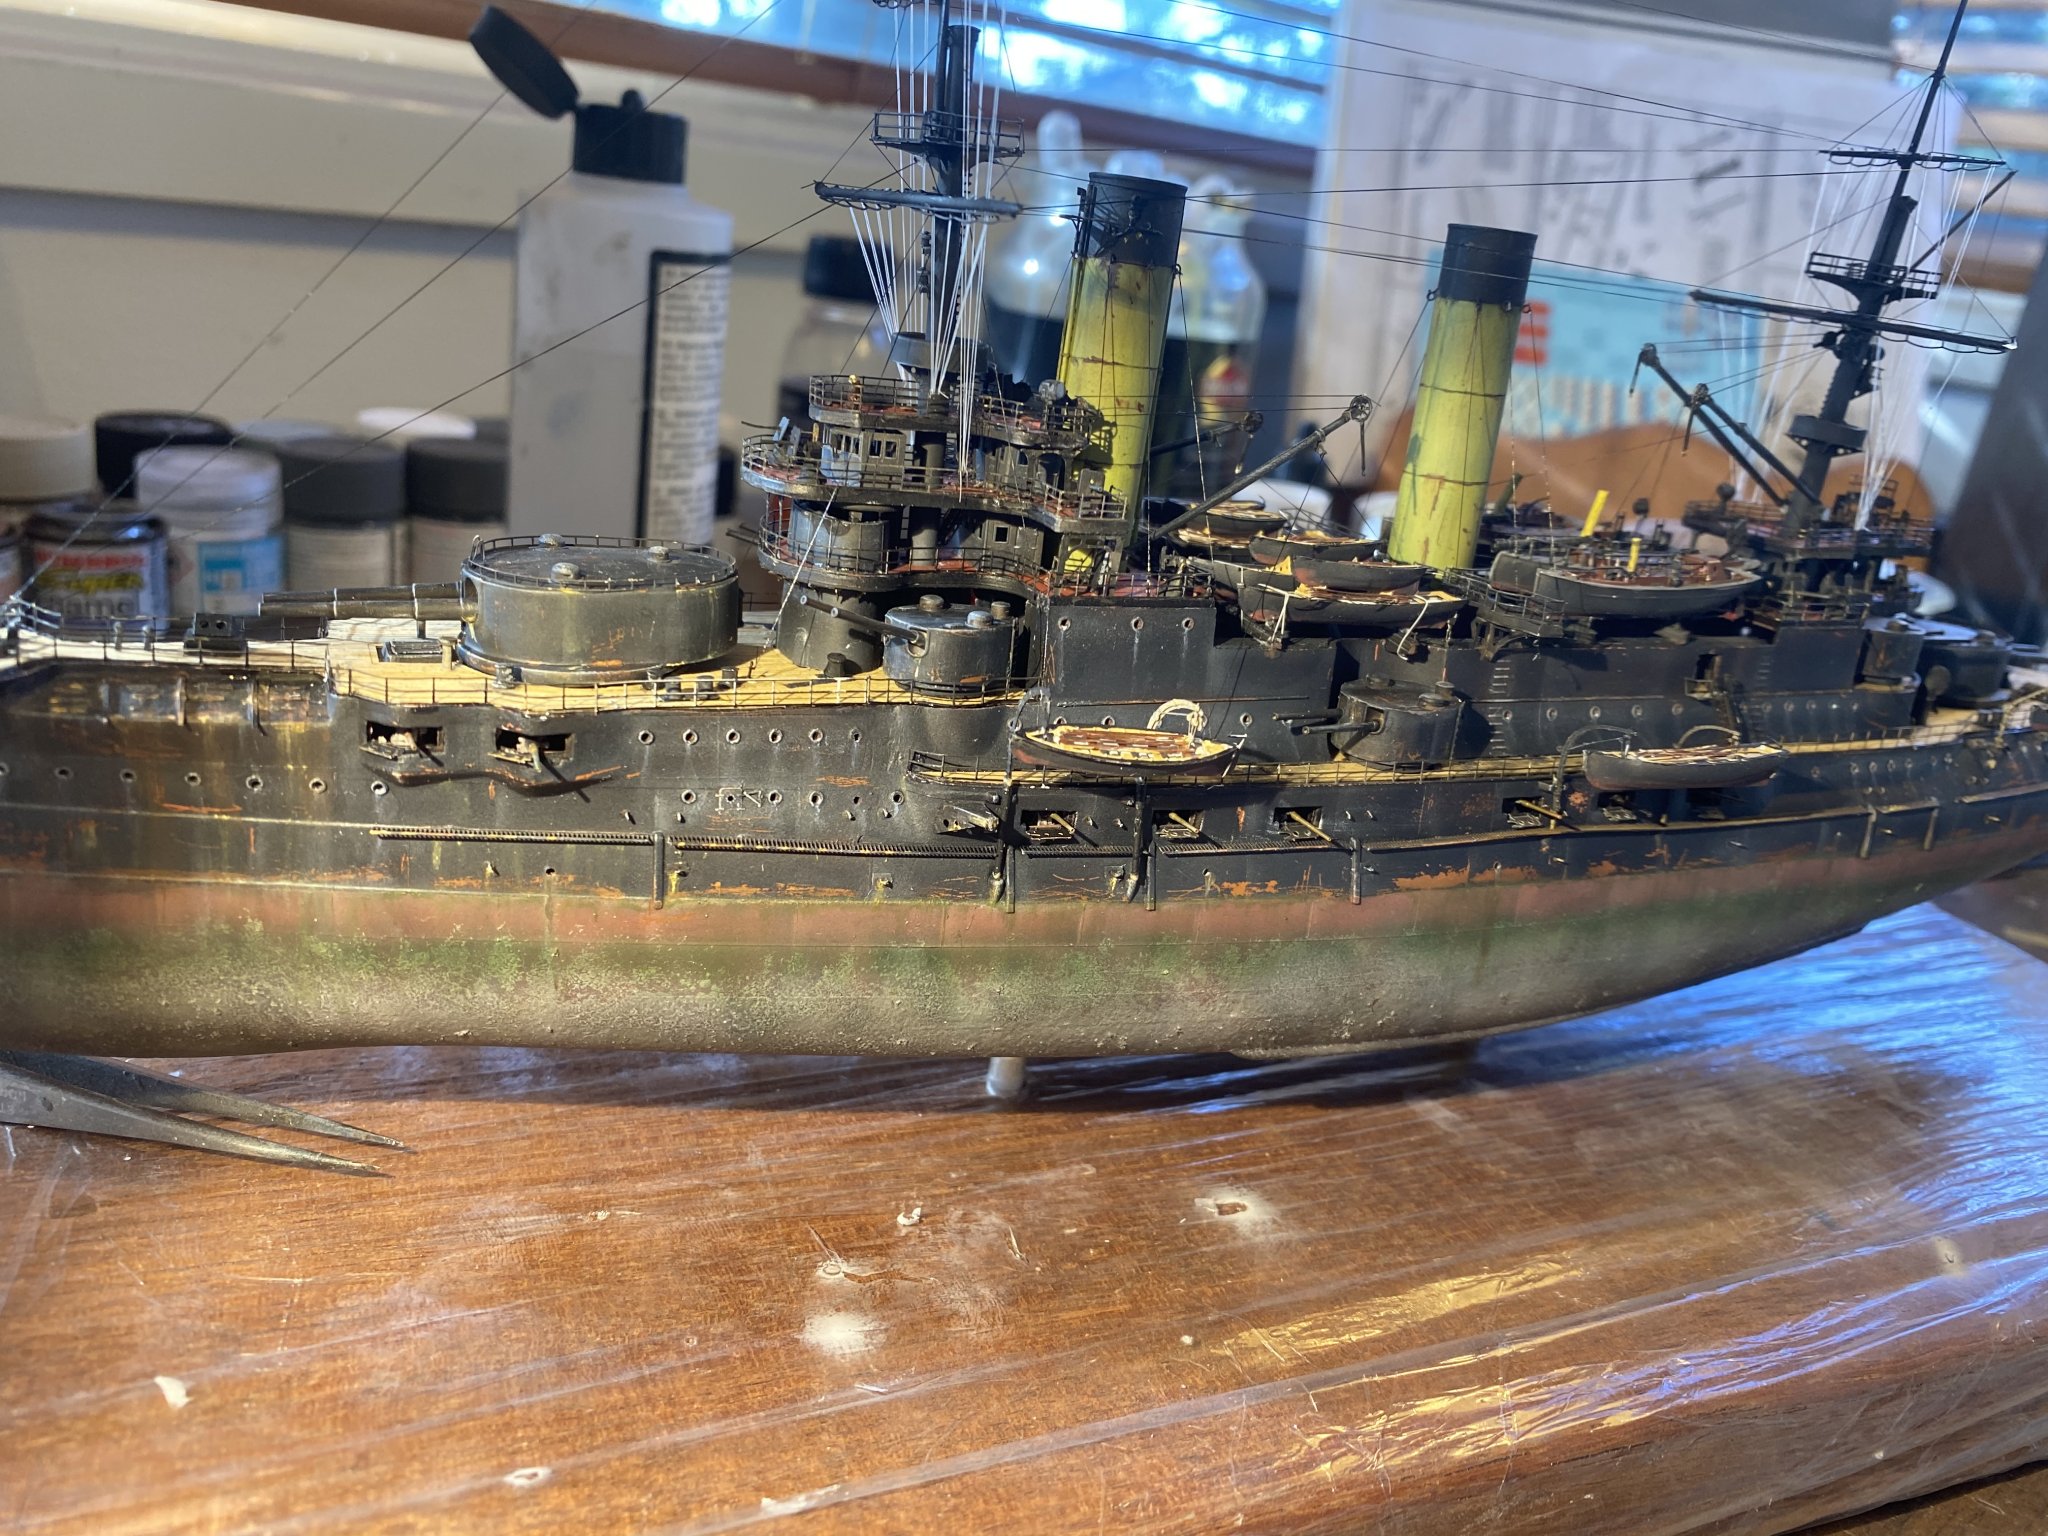
Hardest ship ever to work on, black is not slimming
- cog, mtaylor, Landlubber Mike and 4 others
-
7
-
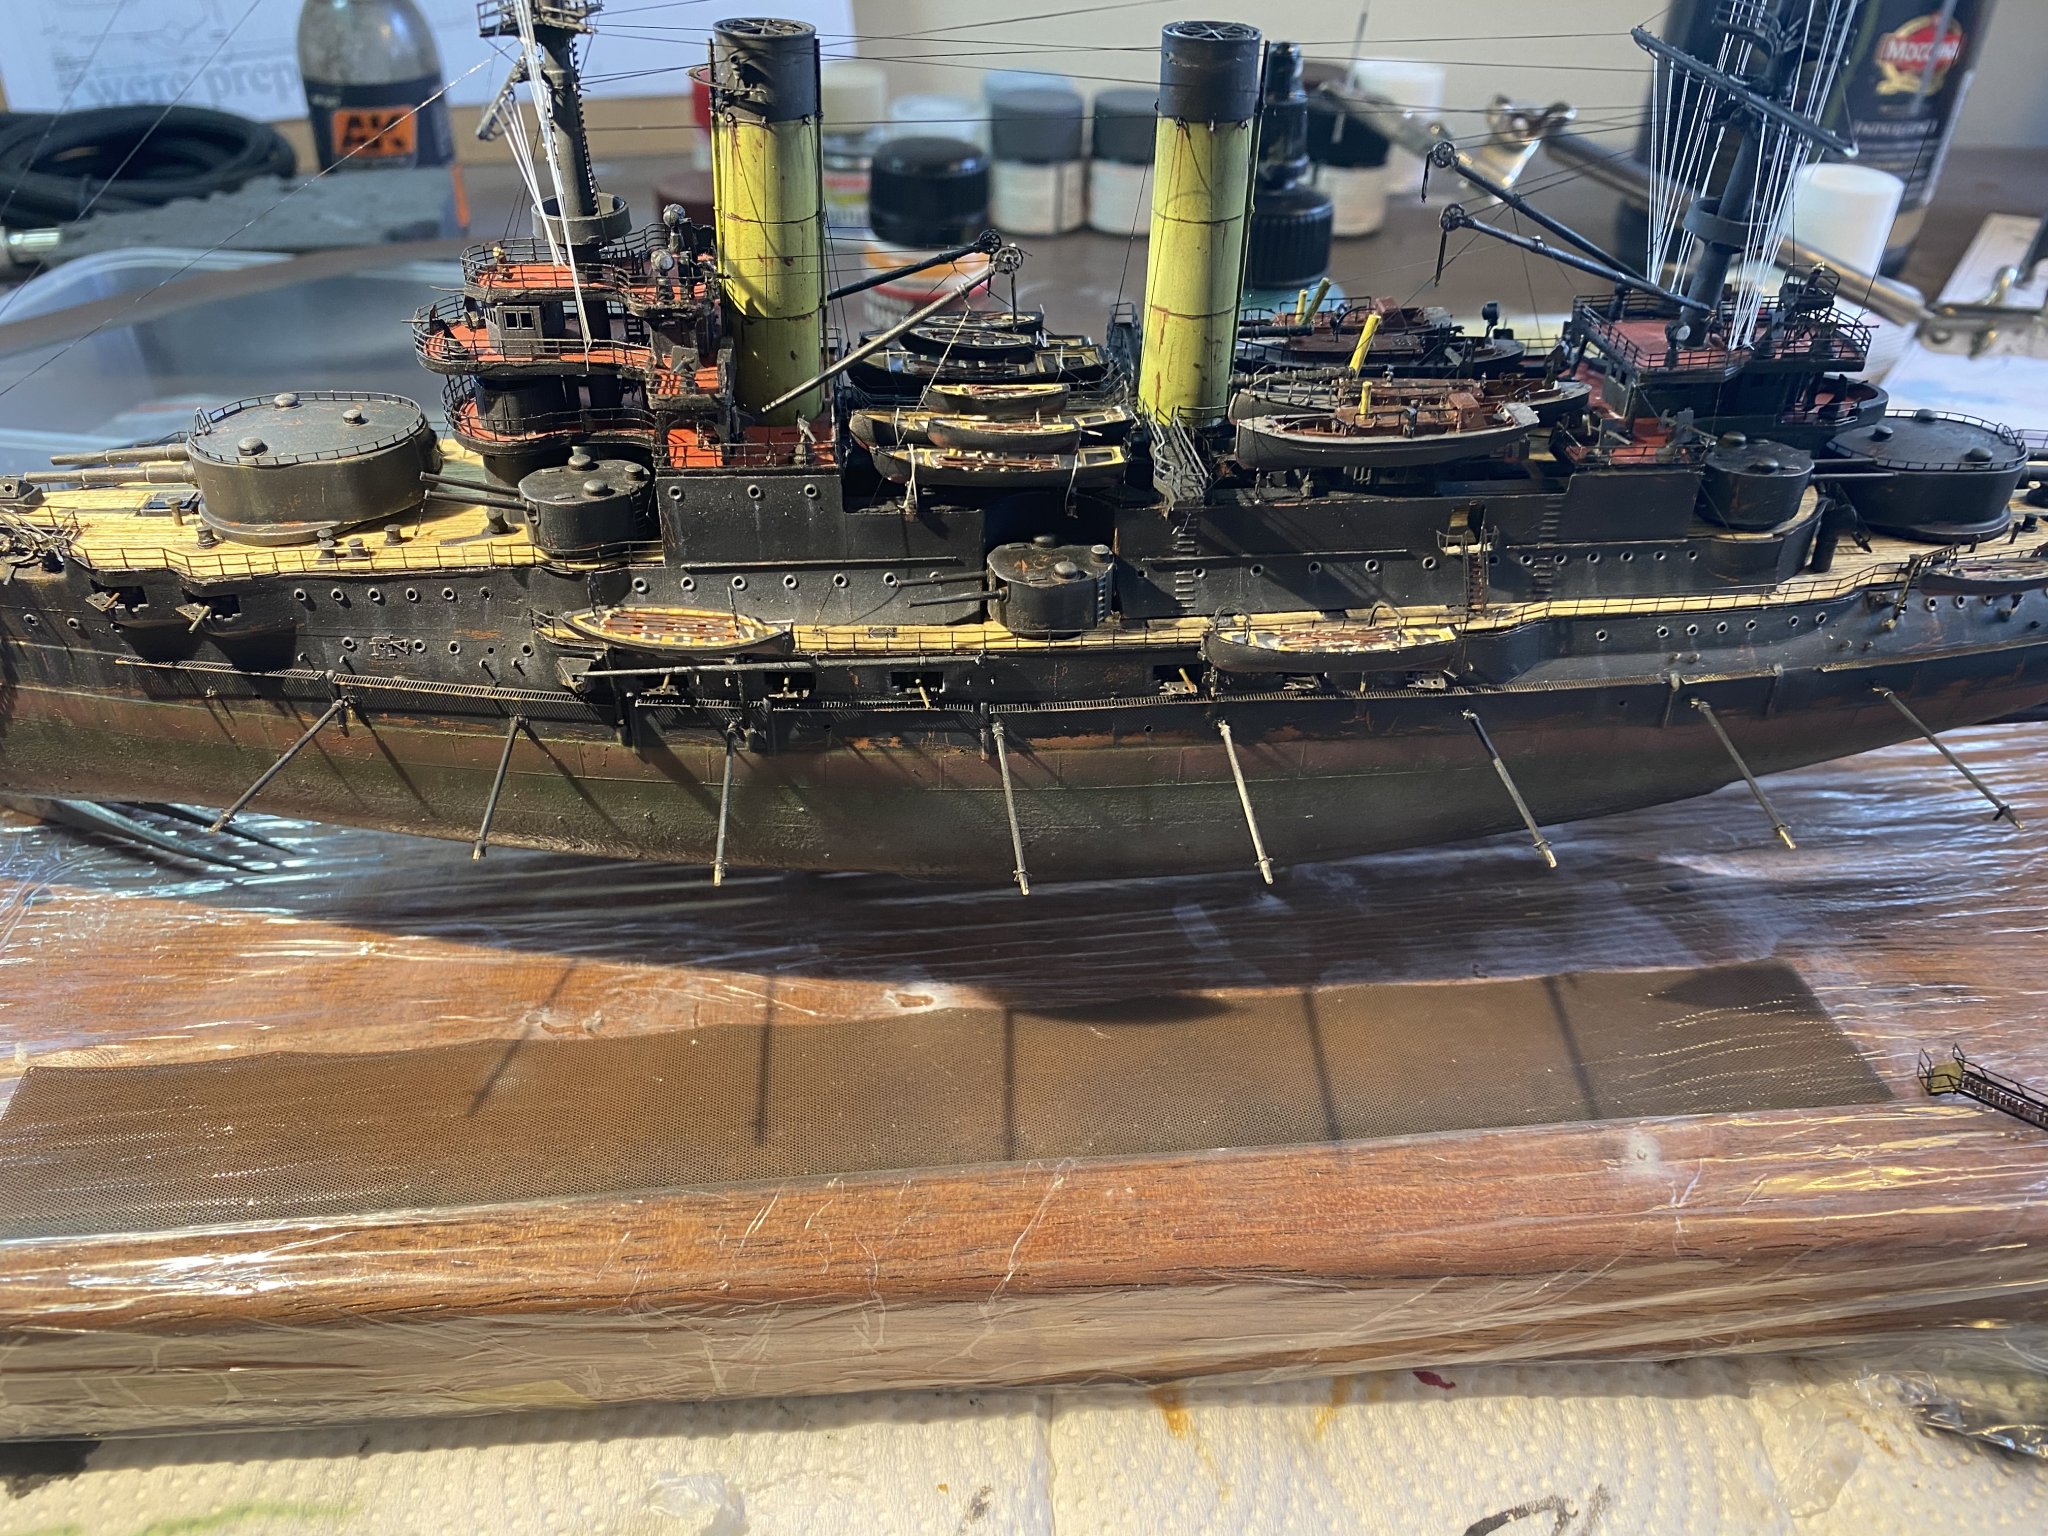
First net on and rigged.


-
Anchors and the start of the torpedo net deployment

- cog, Landlubber Mike, coxswain and 12 others
-
15
-
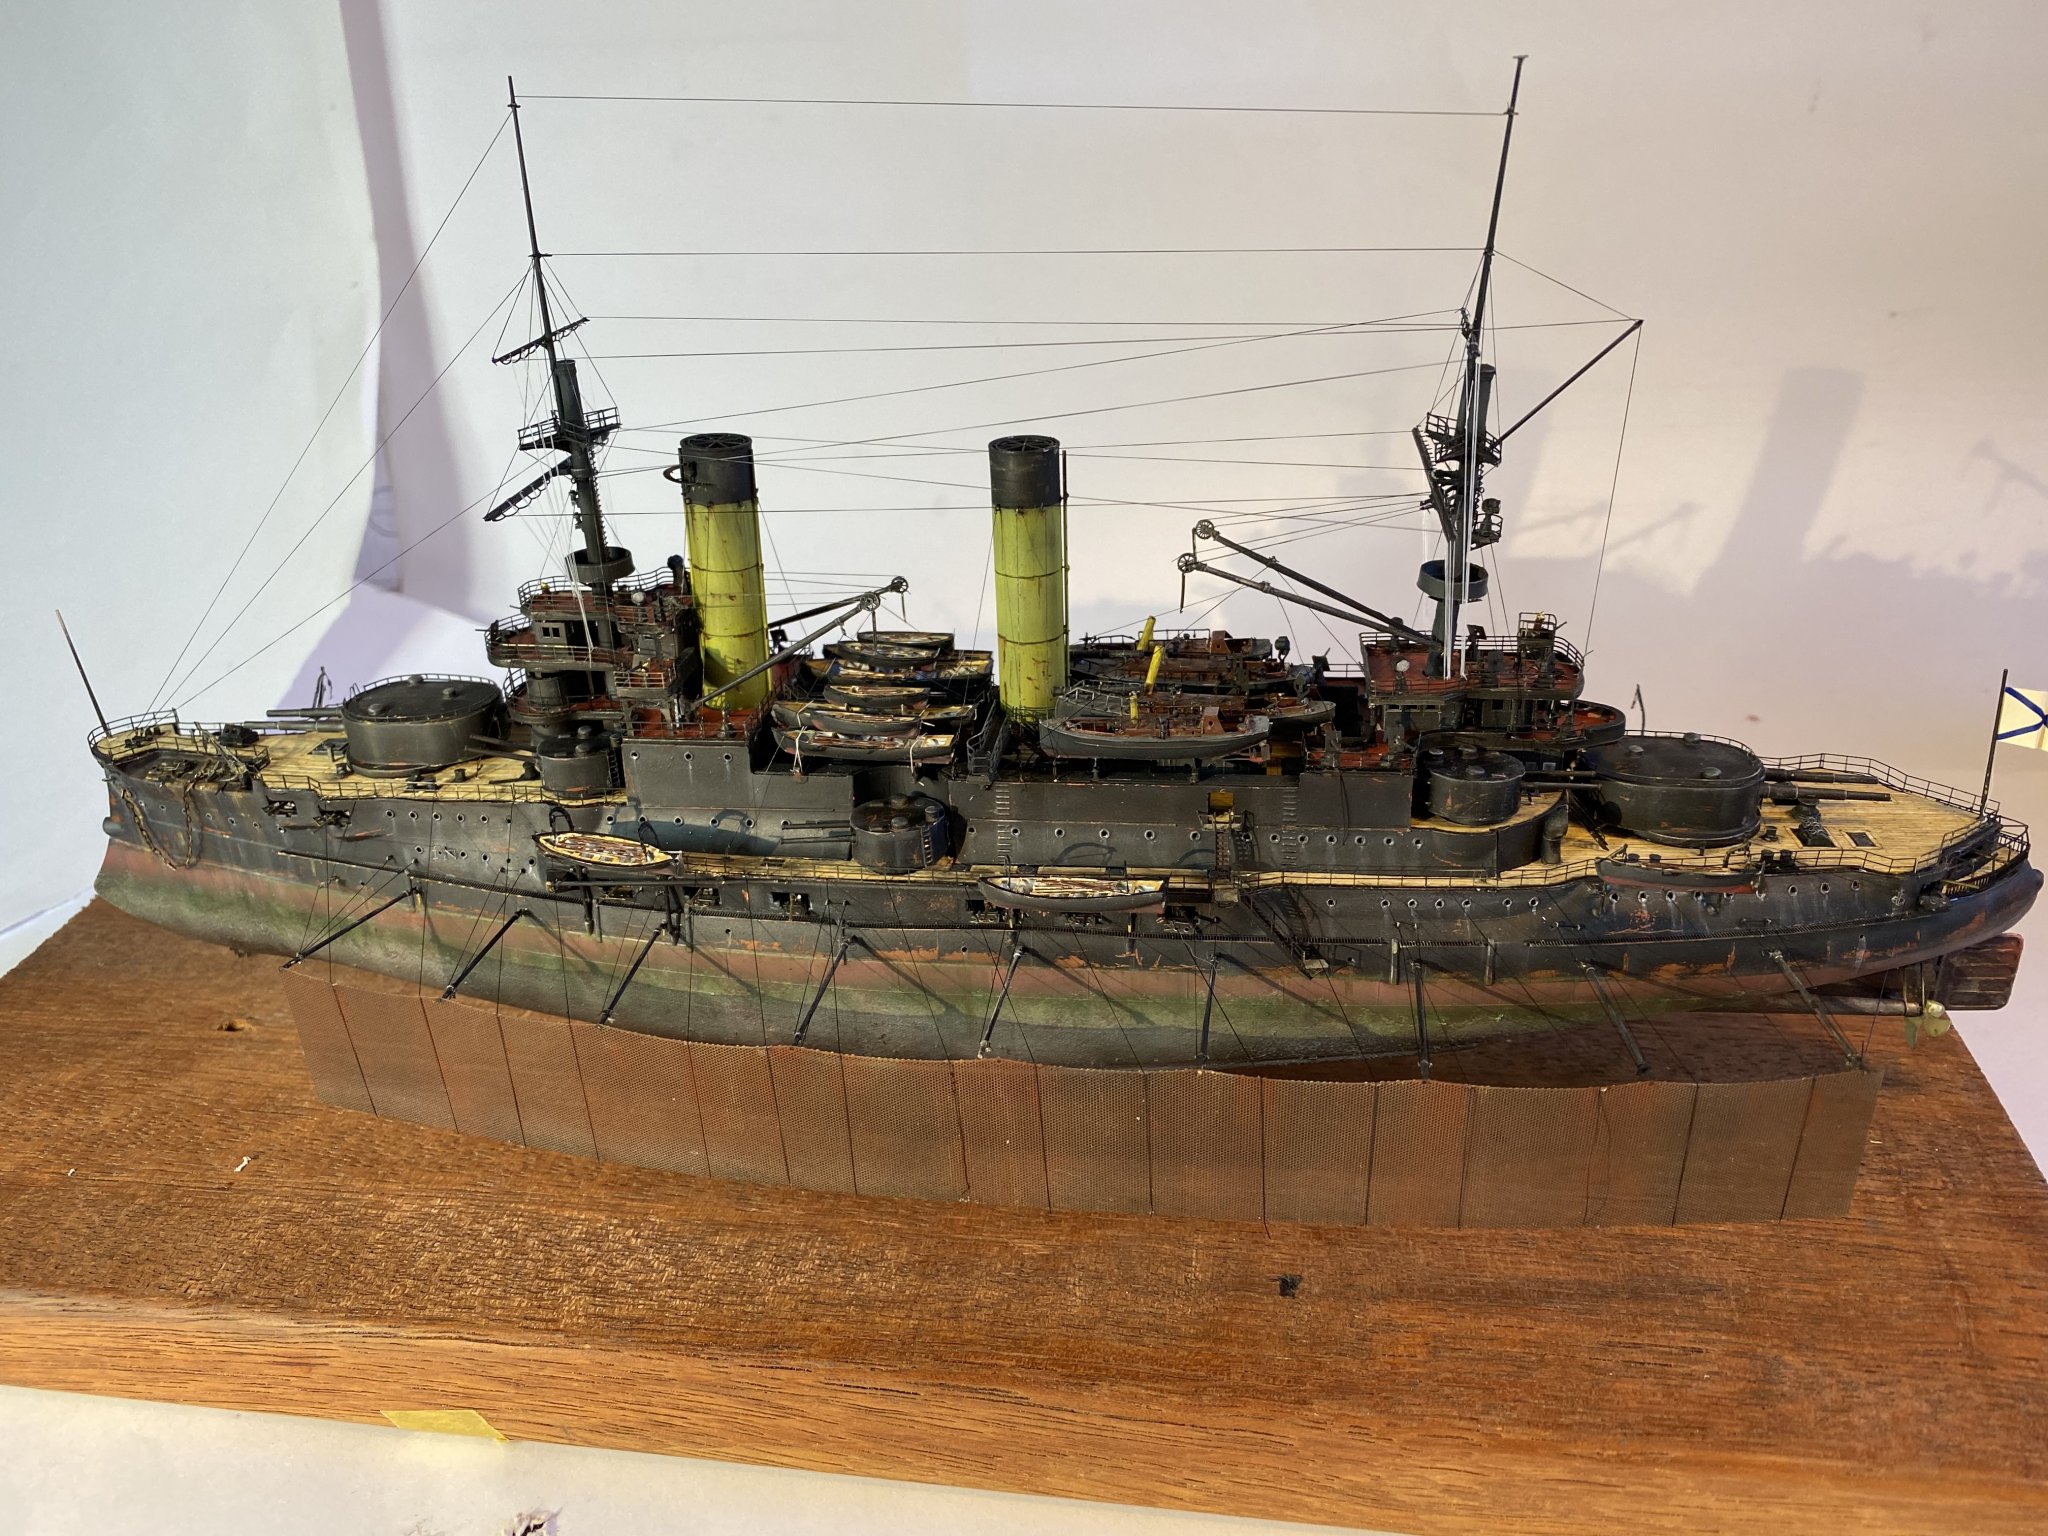
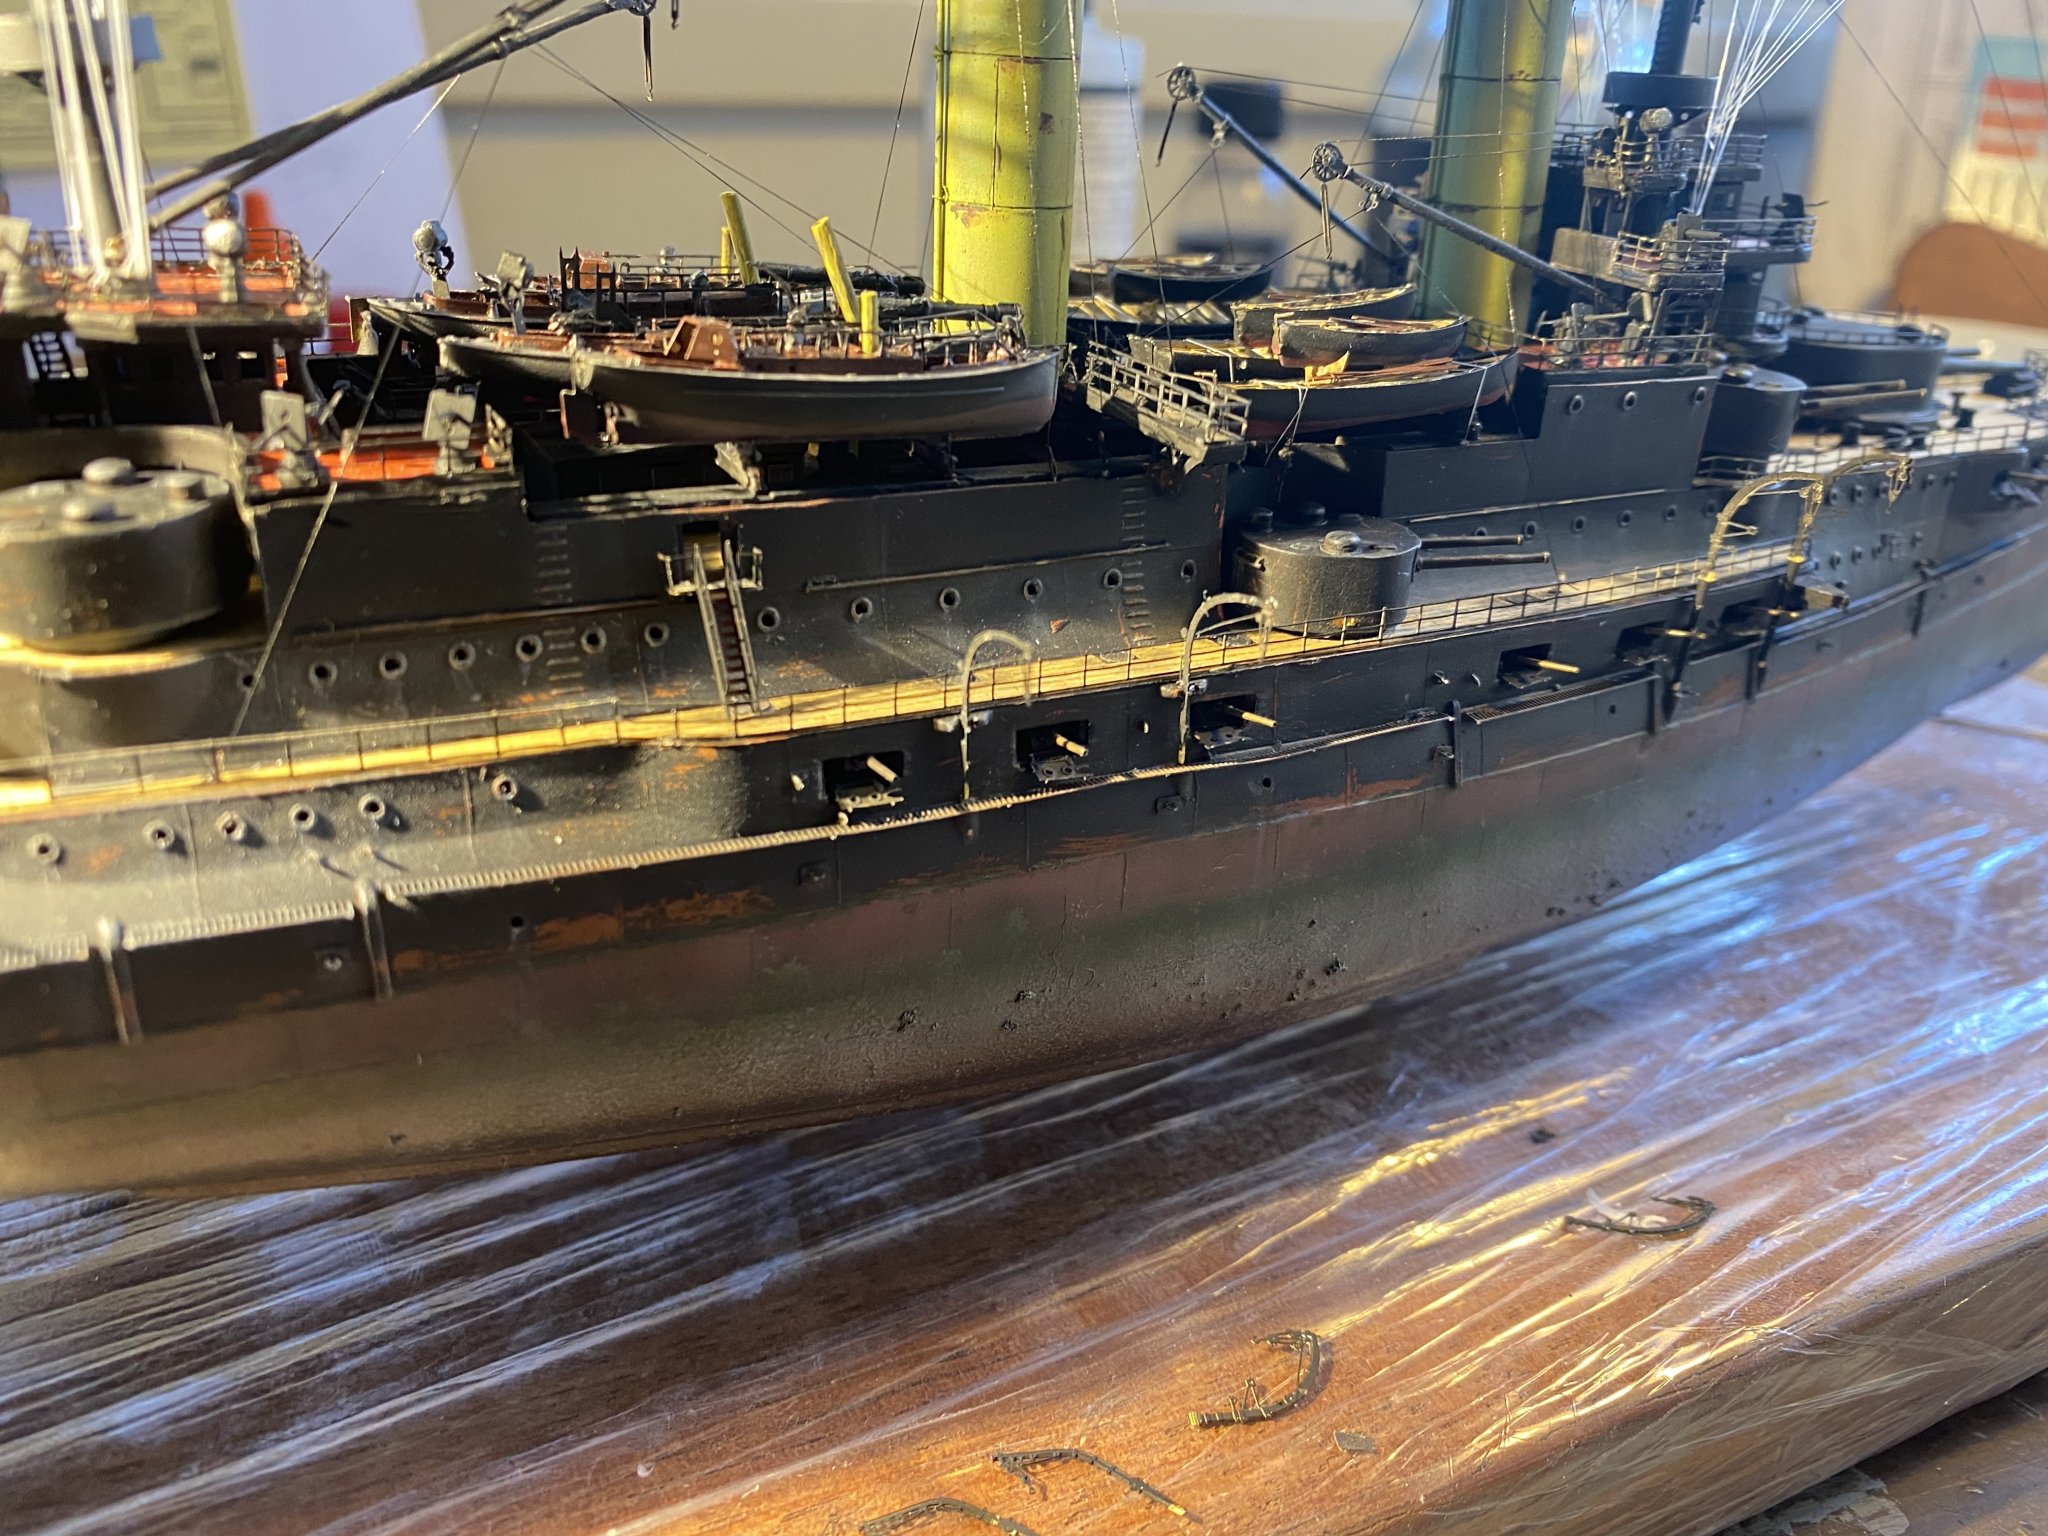
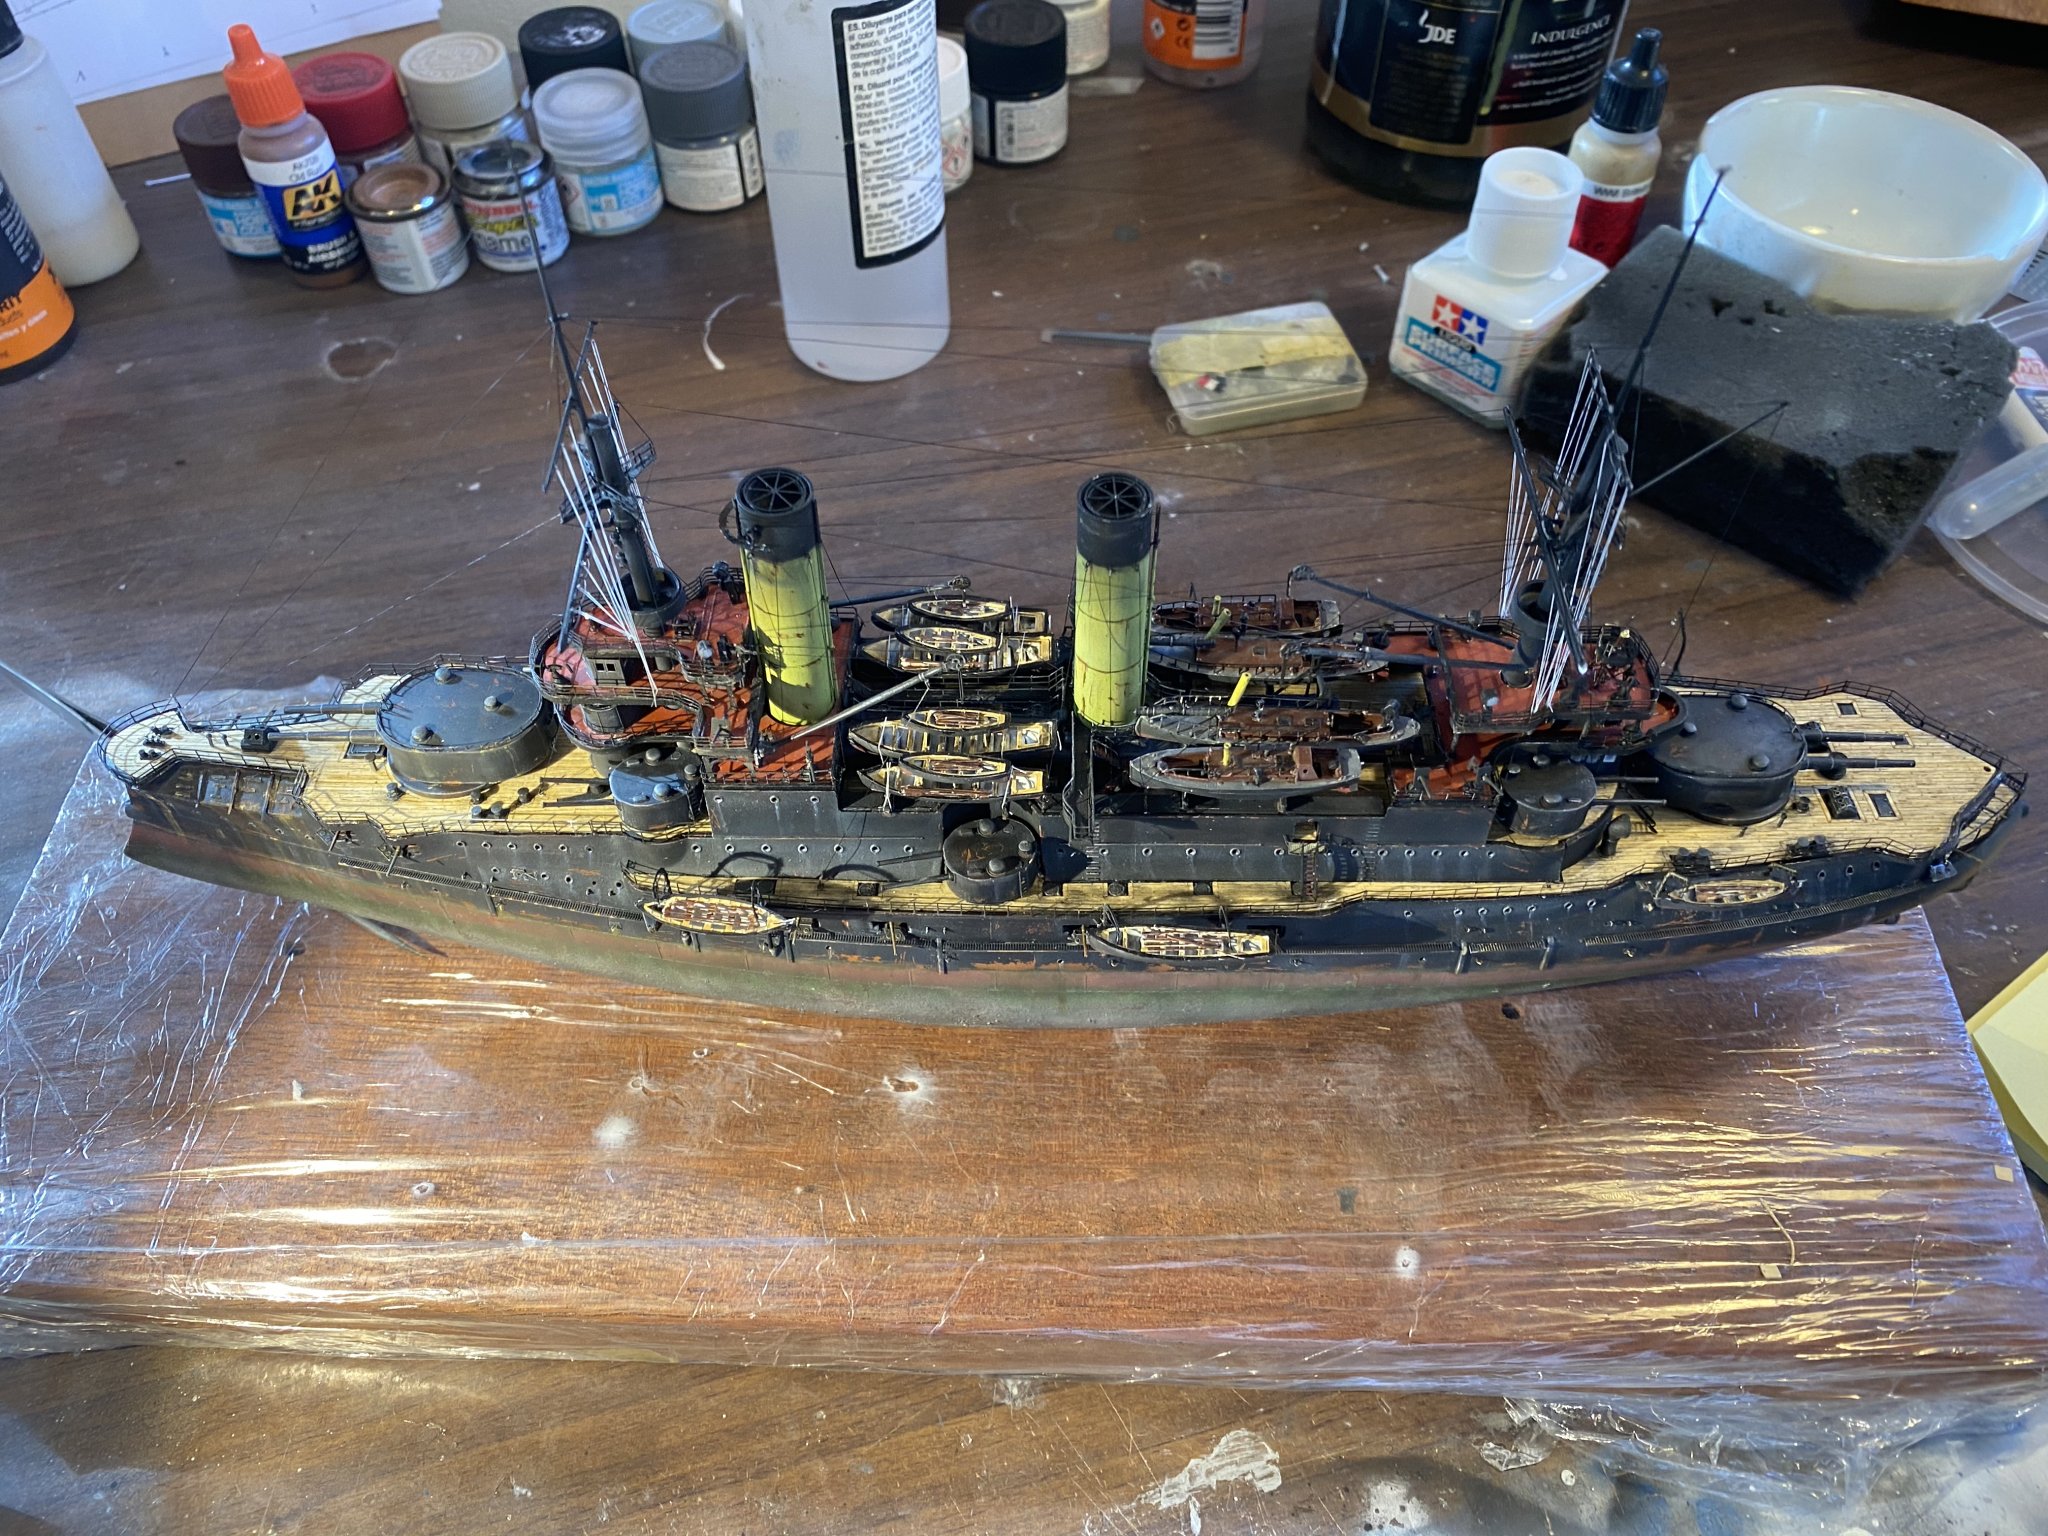
Railings added, barrels for the waist guns plugged in, kit provided plastic sticks Davits replaced with generic aftermarket Ones, and the port side boats added.
I’ll leave the paint touch ups till the end.


- J11, CDW, Landlubber Mike and 18 others
-
21


Zara by RGL - FINISHED - Trumpeter - 1/350 - PLASTIC - Italian heavy cruiser
in - Kit build logs for subjects built from 1901 - Present Day
Posted
The aircraft launch rails, tiny, painful with 50 little guests on each side. The hangar cover scratch built ( you can see the brass one behind it that is too small) and it appears to be a canvas covering