HOLIDAY DONATION DRIVE - SUPPORT MSW - DO YOUR PART TO KEEP THIS GREAT FORUM GOING! (89 donations so far out of 49,000 members - C'mon guys!)
×


Tigersteve
-
Posts
1,327 -
Joined
-
Last visited
Content Type
Profiles
Forums
Gallery
Events
Everything posted by Tigersteve
-
 A small update, but one worth posting for me. Back on track with the Mayflower build. It is full speed ahead as I work on the interior planking of the bulwark templates and redo the metal work for the door handles. The first planks on the templates are basswood, as they will not be seen on the model. The remaining planks will be cherry. I had a small surgery in the last few months, but mainly I have been procrastinating on this metalwork. It’s good to be back. I ordered a cheap optivisor and some thin CA glue. Hopefully it will be easier to work with than the medium CA that I have. Steve
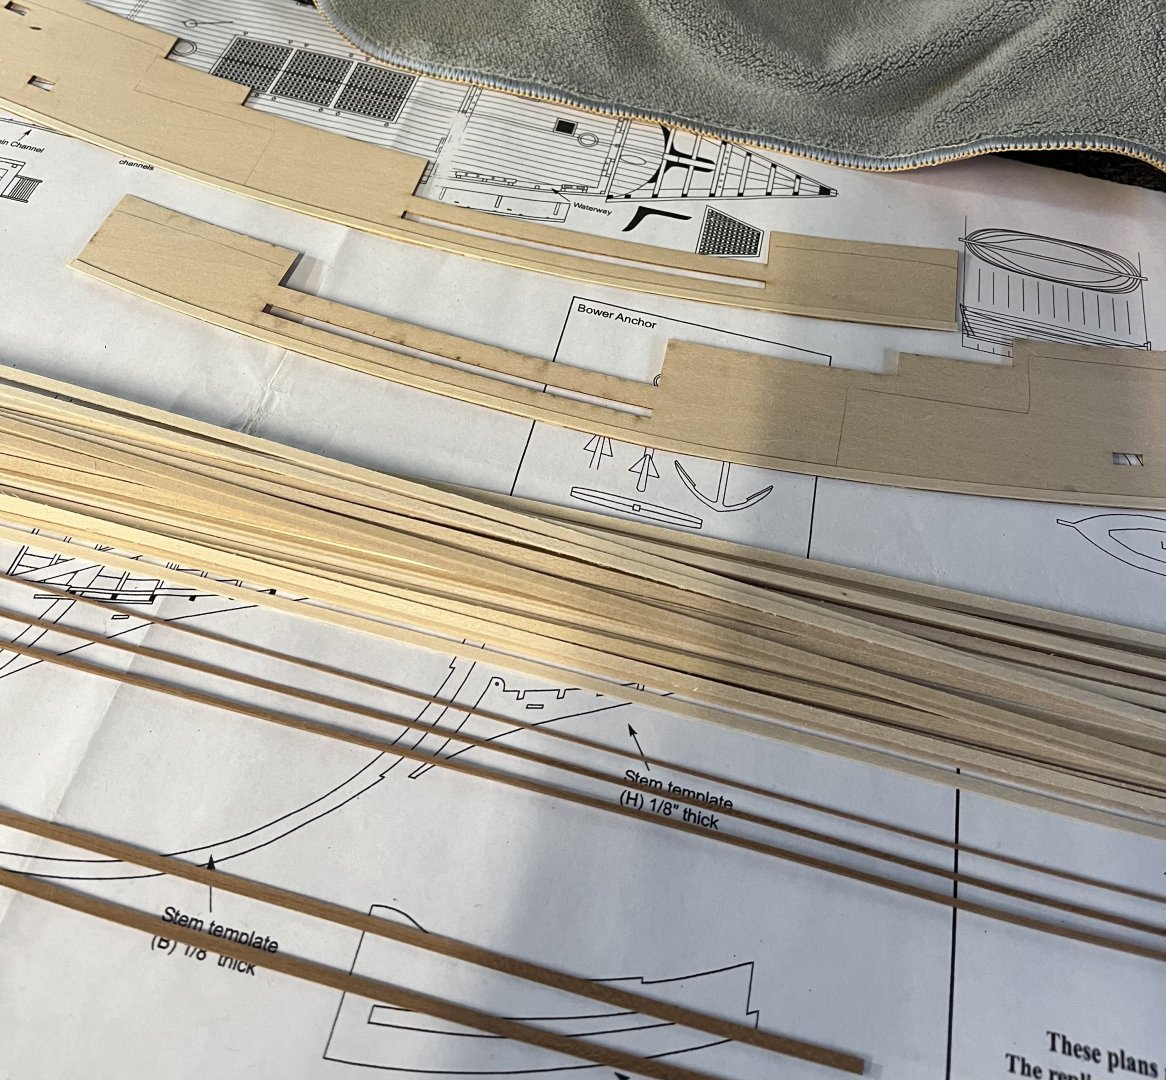
-
Perhaps he was infiltrating other workshops. 😎 Steve
-
Wow, great progress. I really have to get back to mine! Steve
-
It’s perfect! Steve
-
Looking really good. The copper plating aged nicely. Steve
-
Keep up the momentum. It’s looking great Erik. Steve
-
Looks really sharp Erik. I’ve found WOP on painted surfaces does not work for me. Too shiny. Not much help, I know. Looking forward to how you proceed w the model and the finishing. Steve
-
You could easily charge at least $850 for this. I’m not sure what the wood cost is, but I’m sure it’s extensive. Shipping alone will be expensive. Those two chapters really give builders a solid foundation for a great model. People are paying for the quality of your design and kit. (Maybe Mike has a better opinion since he’s built many of your newer kits.) Steve
-
Looks really good. Steve
-
Welcome back! I doubt anyone has forgotten your build of this. I was wondering when you would return. Lol Steve
-
Really great, complex work. Steve
-
Amazing job! Steve
-
Looks great! Steve
-
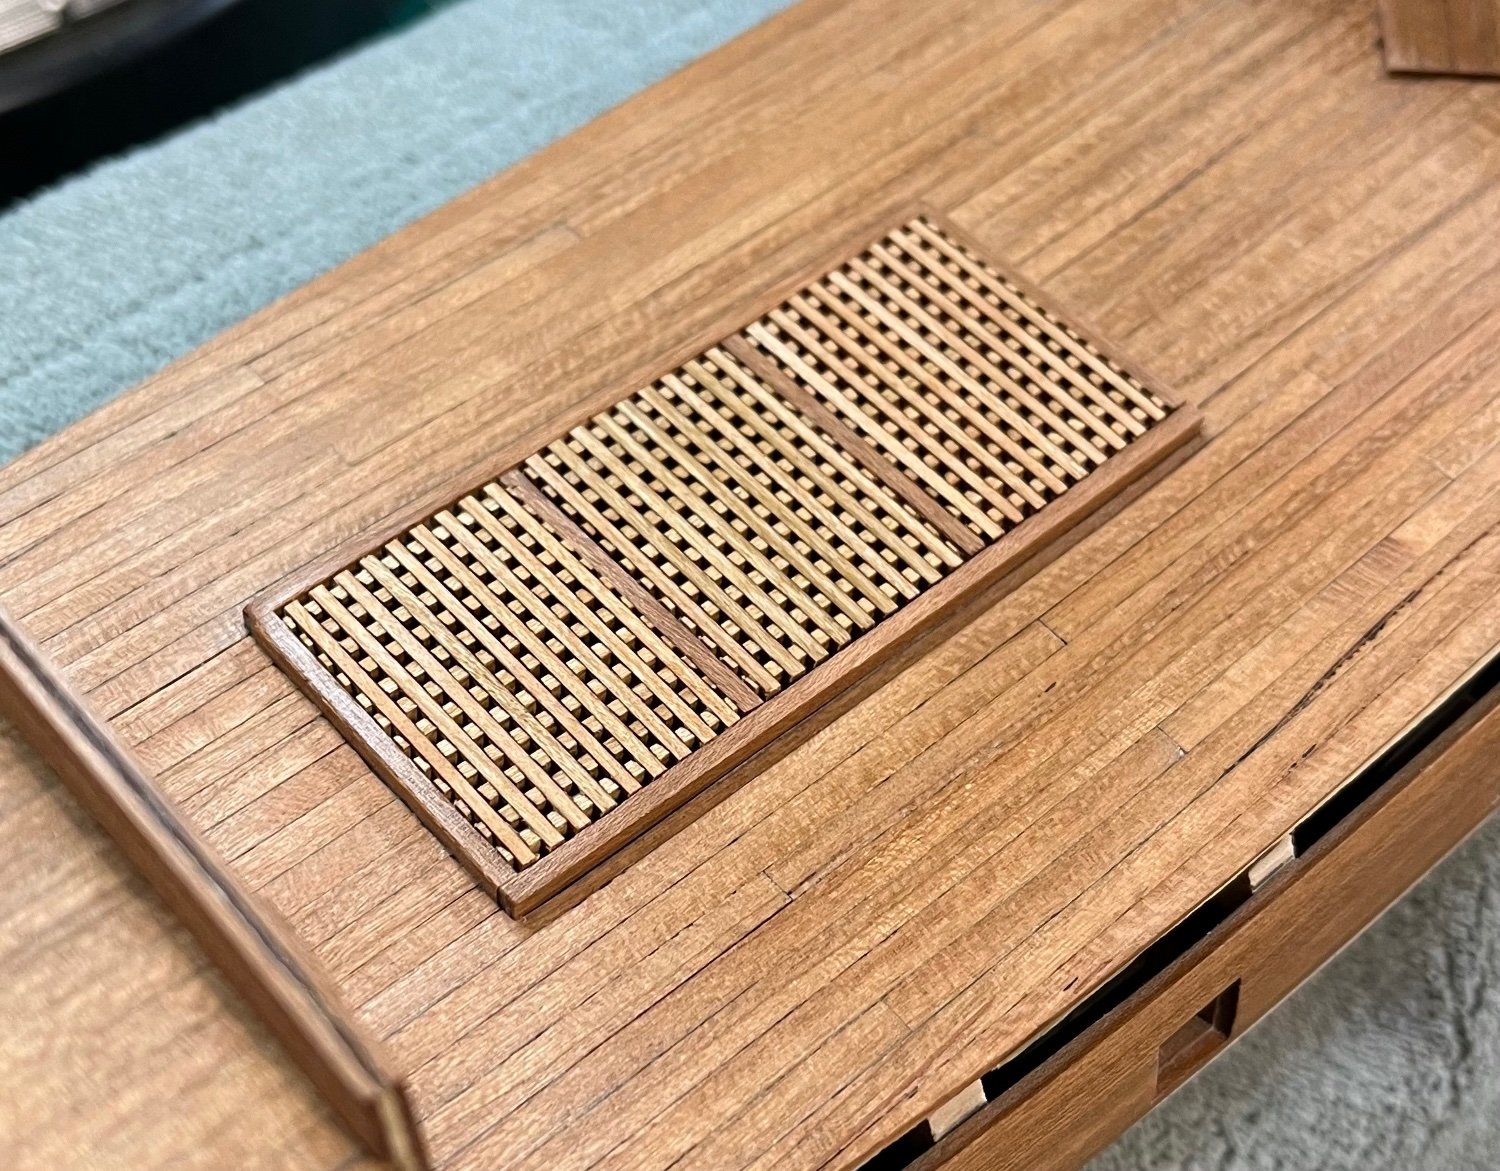
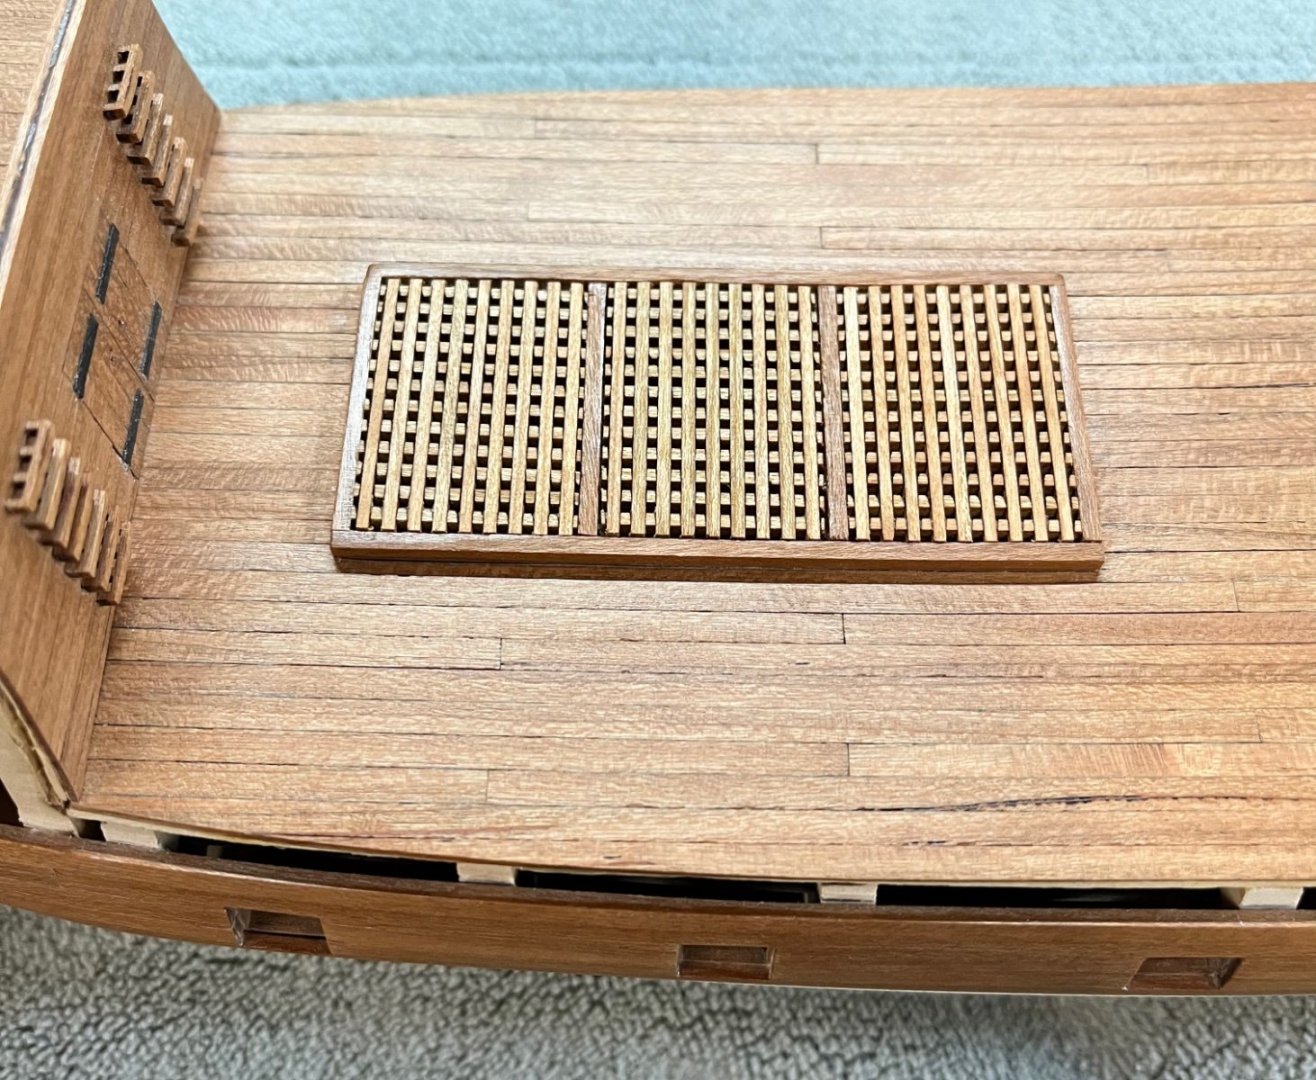
Completed gratings on the third attempt. I ended up orienting them so the top of the battens run port to starboard instead of bow to stern. (Hope that makes sense. It’s hard to explain.) I am shocked the transom is still attached after all the deconstruction. I deleted the redundant posts on this update as well. How many photos of this grating debacle do we need? Steve

-
Chuck is making char obsolete. Steve
-
What is this magic material? 😎 I like how you added the element of suspense in your prototype. Steve
-
Good stuff! Steve