


drobinson02199
-
Posts
917 -
Joined
-
Last visited
Content Type
Profiles
Forums
Gallery
Events
Posts posted by drobinson02199
-
-
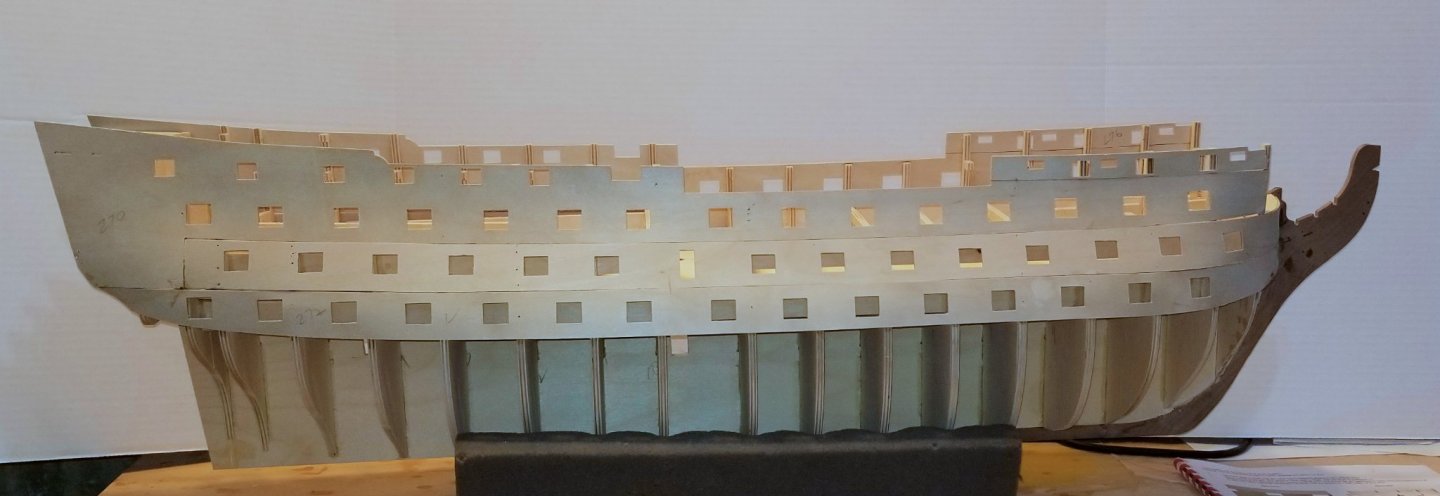
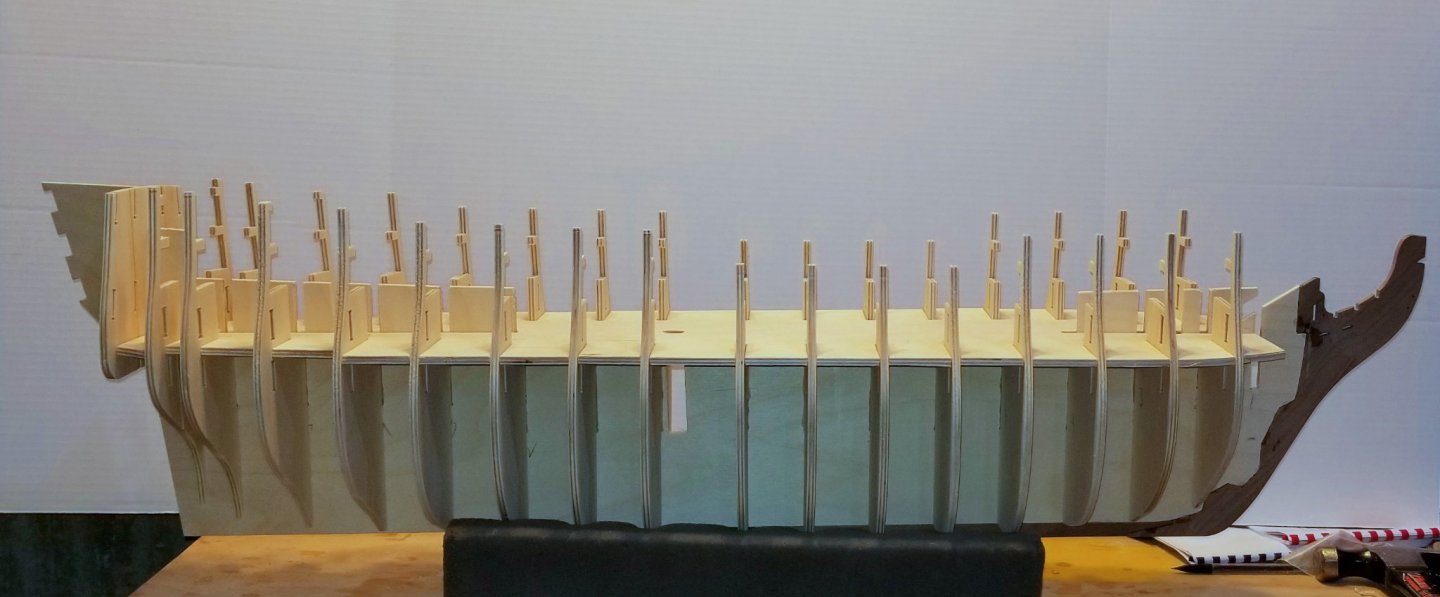
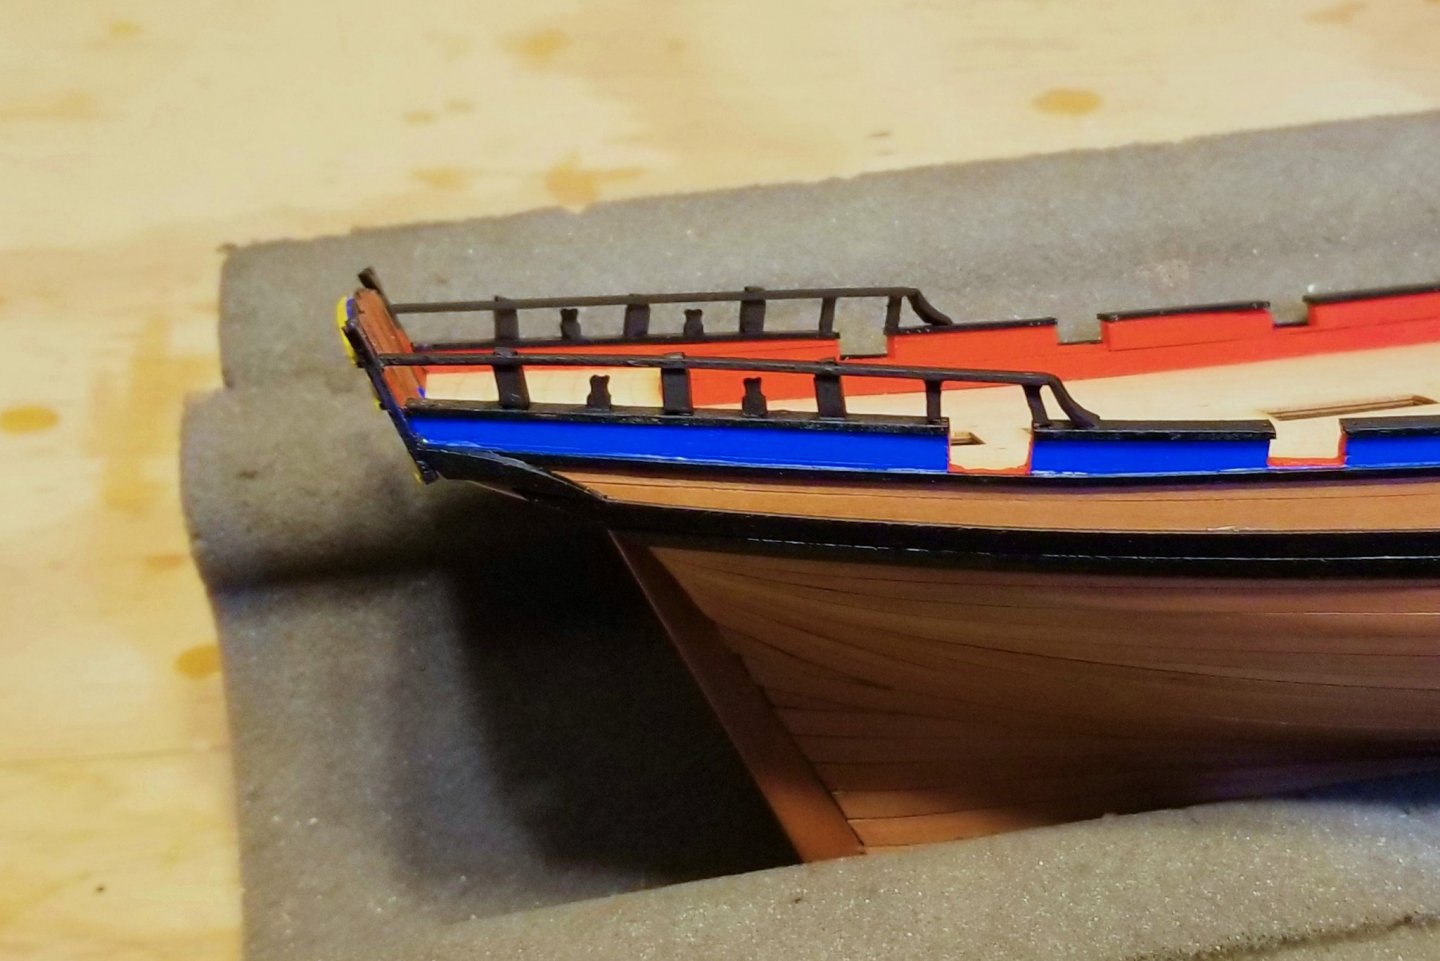
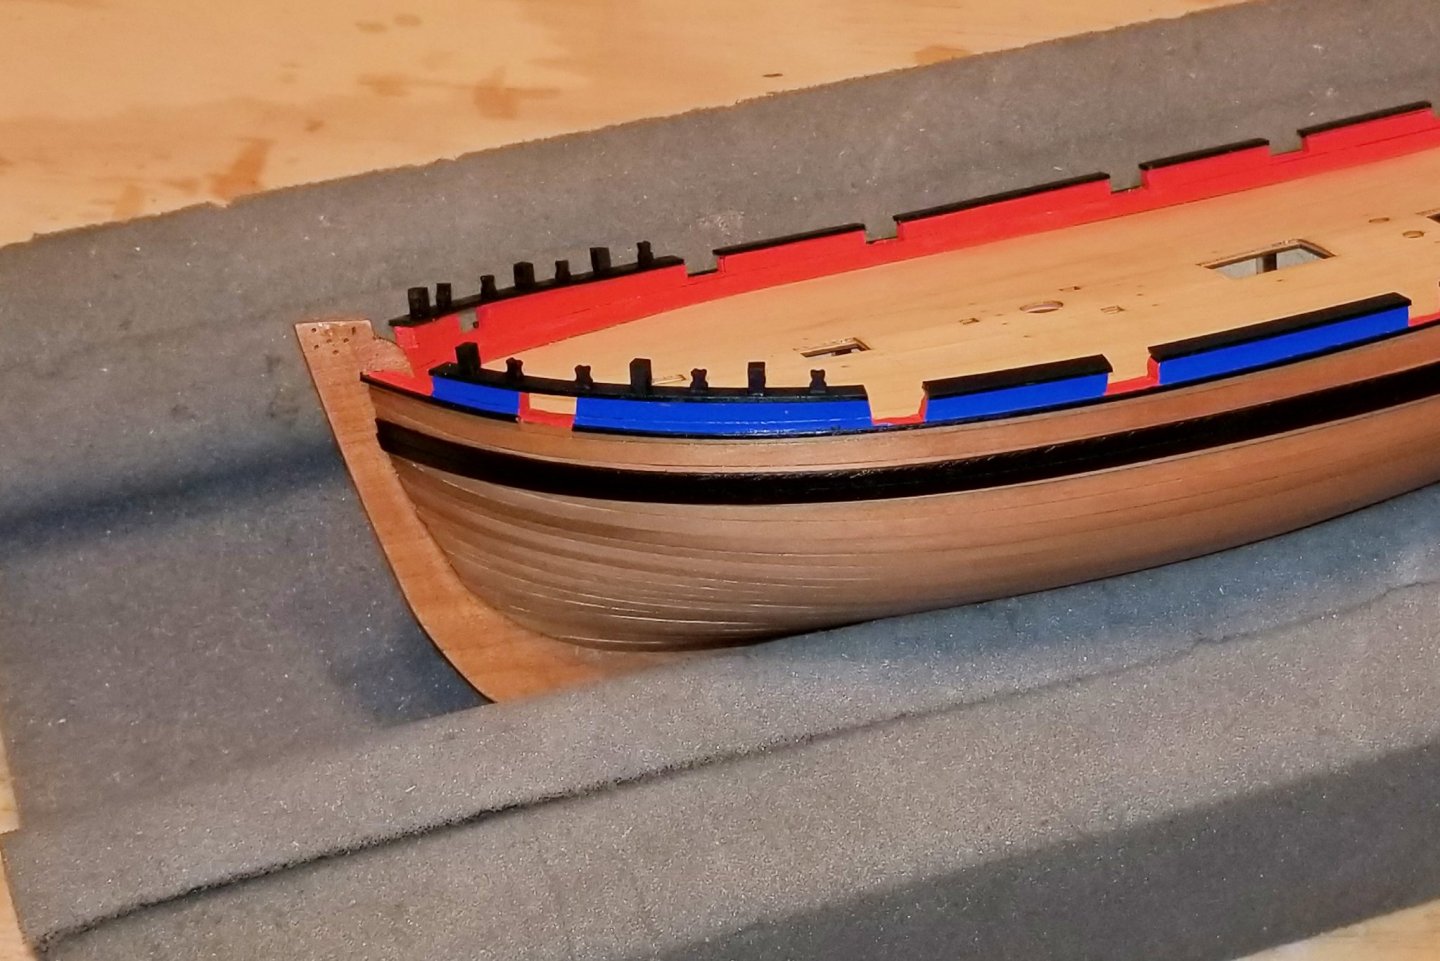
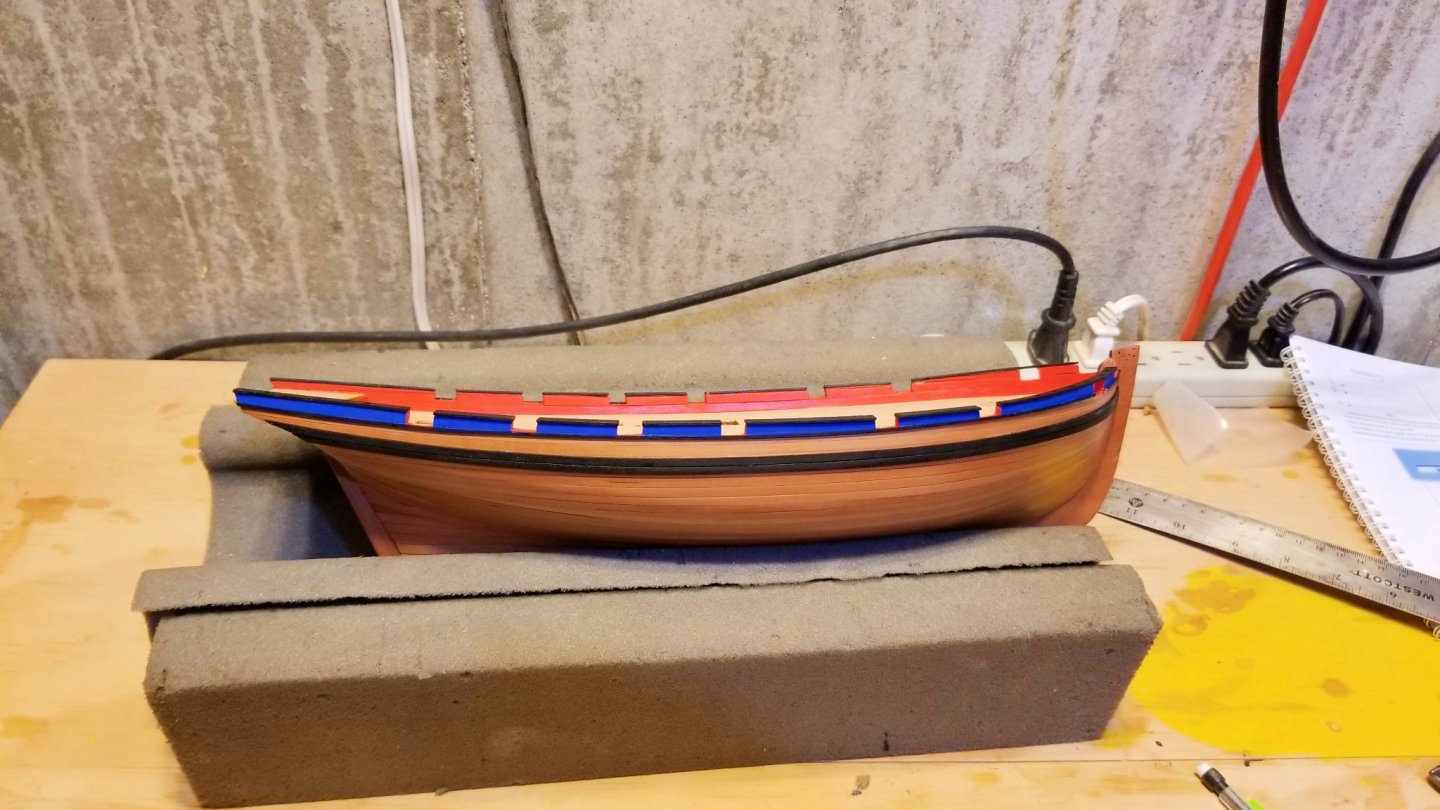
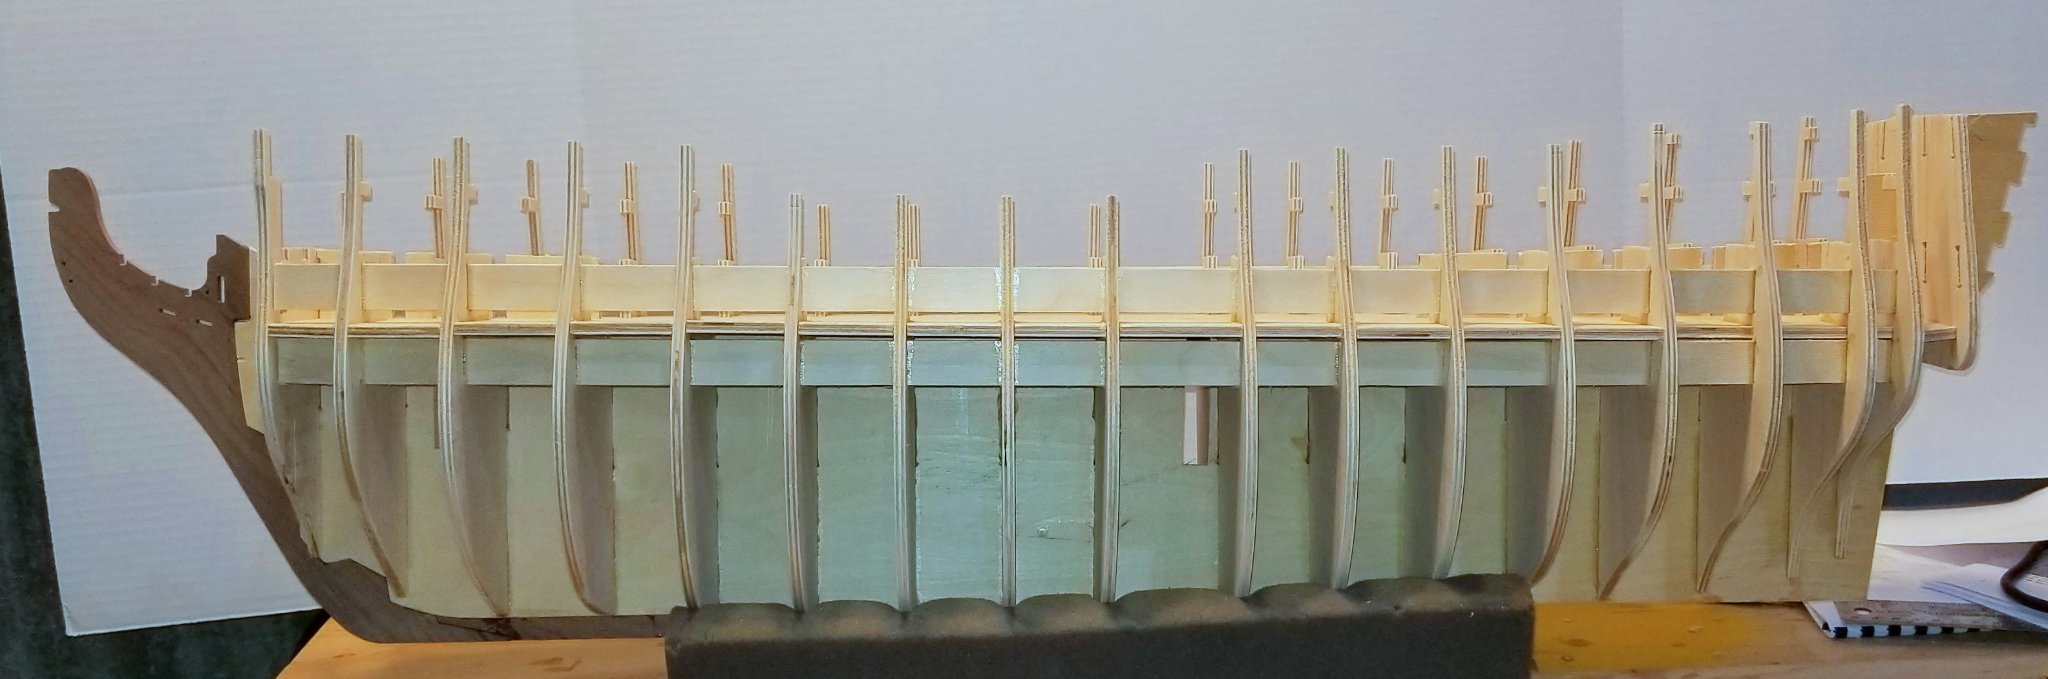
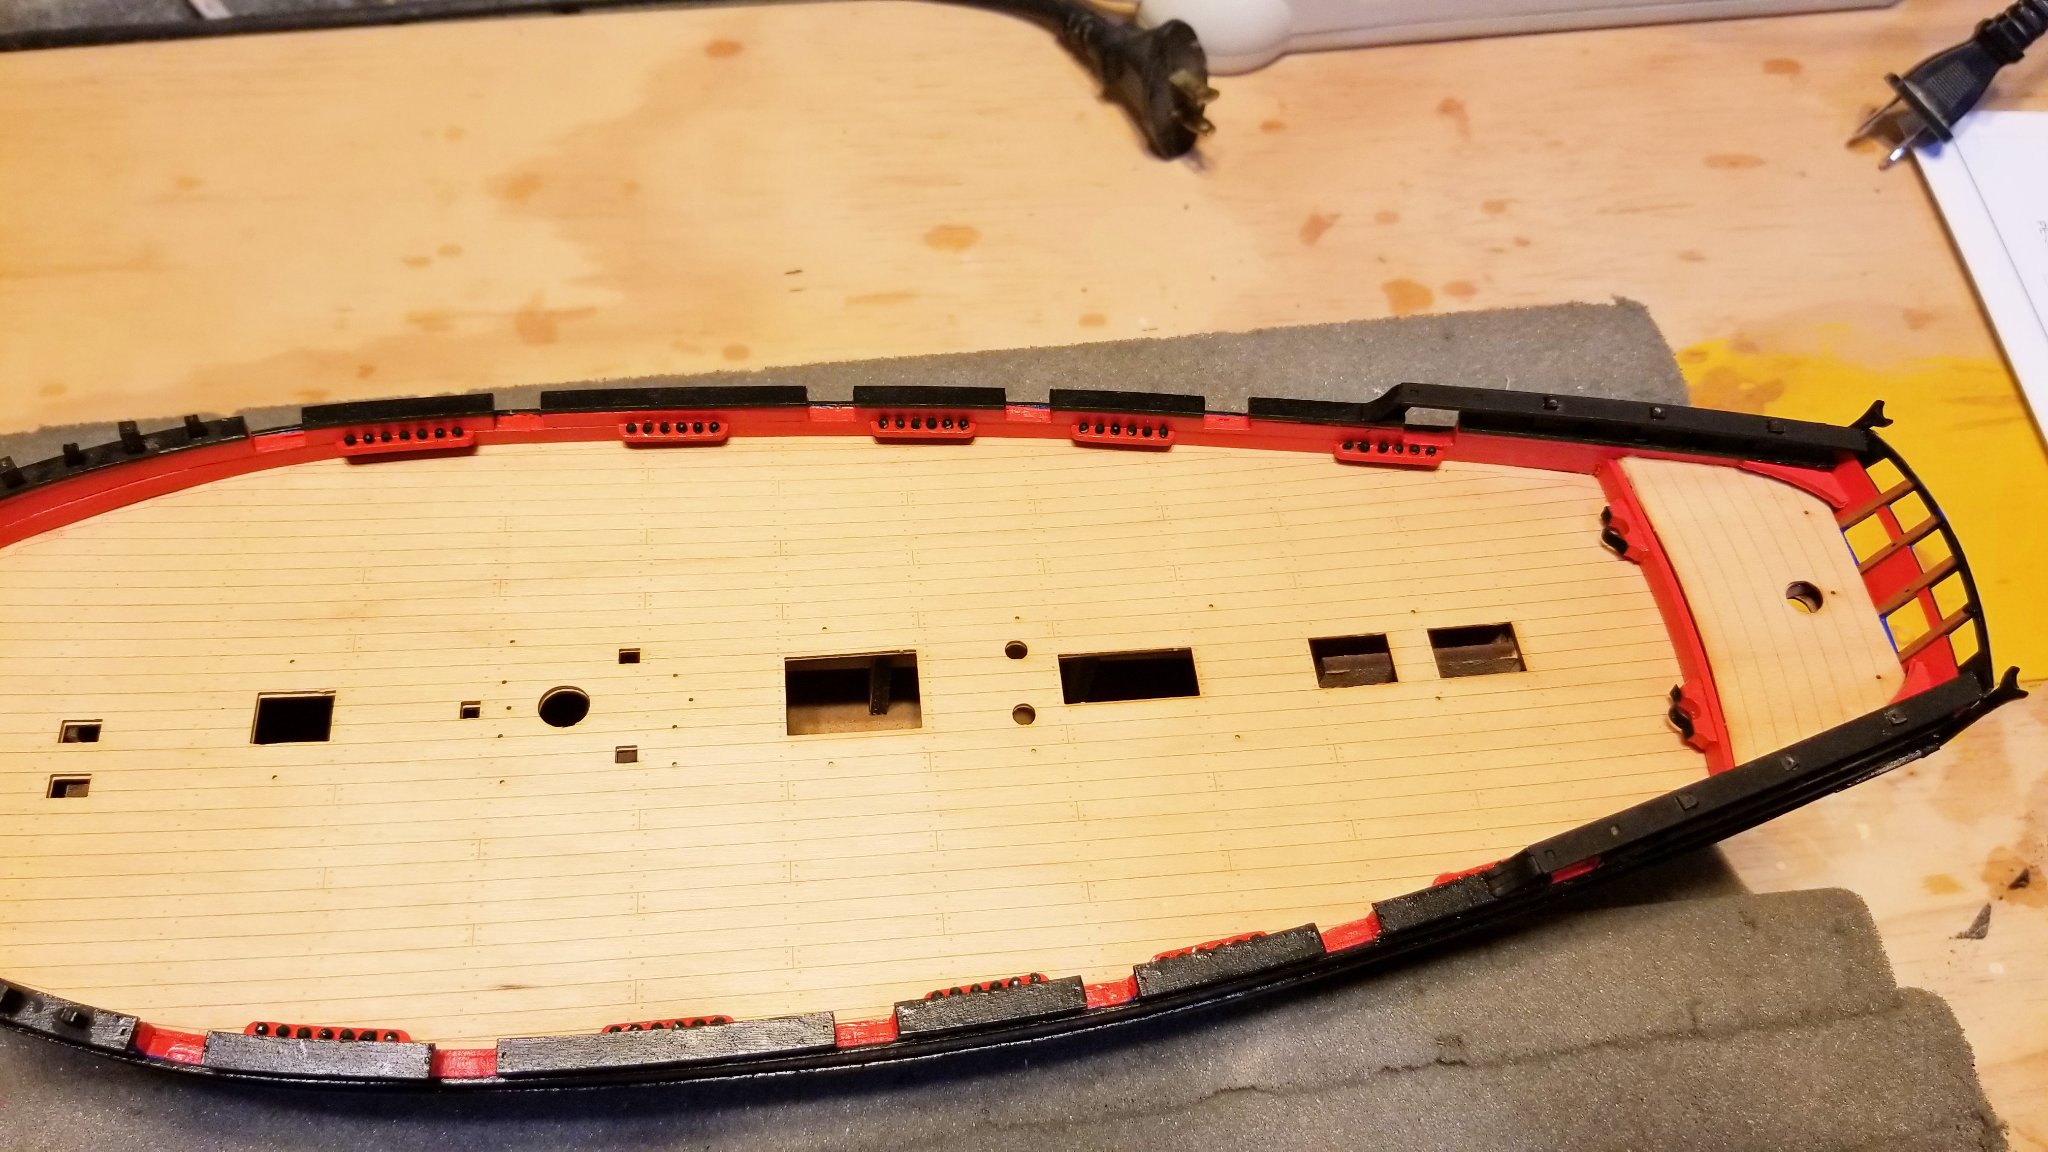
Finished mounting the gunport templates. Pretty much followed the manual instructions on doing this, and the strips that curve at the bow really do need to be soaked at the bow end for about 2 hours. I first dry-mounted them with pins to get the alignment right, then used a steamer to get a provisional bend in the bow section, and then soaked, remounted, and glued.
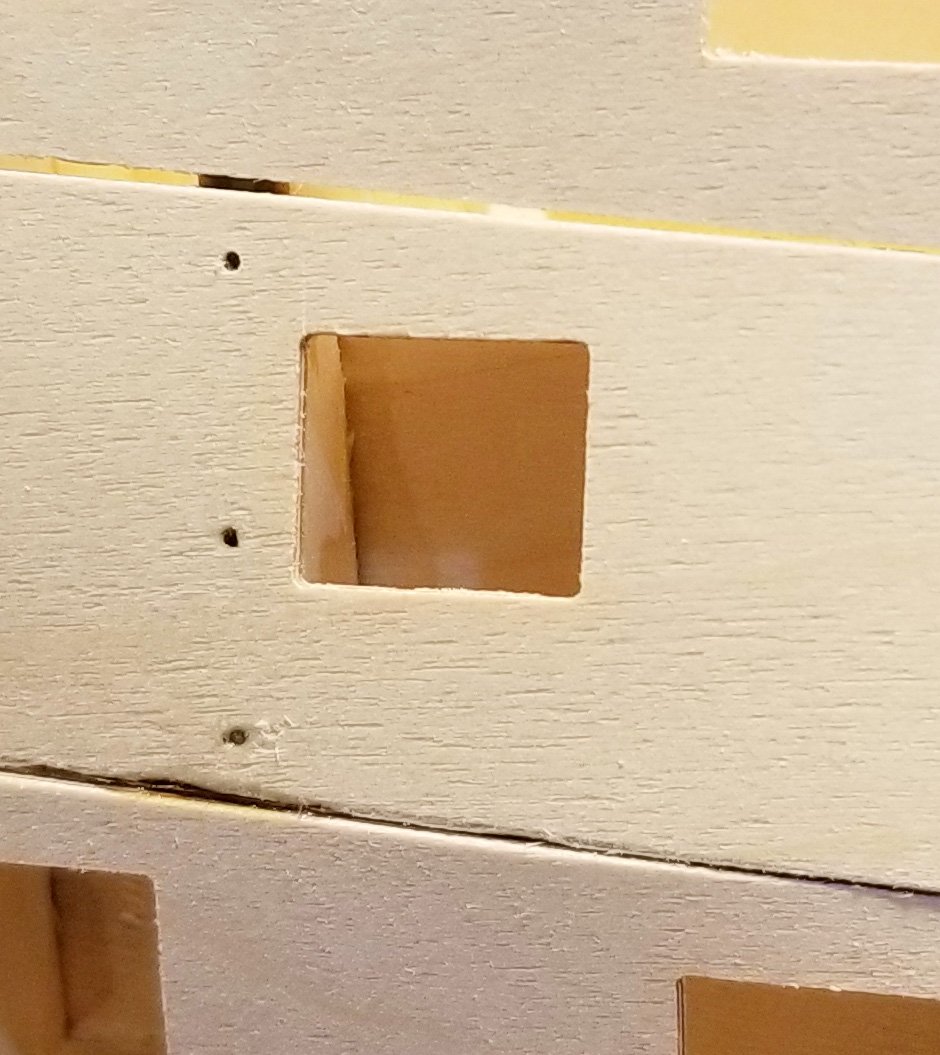
One end result was misalignment at the stern end. The key alignment point is a specific gunport window with bulkhead 17 (see picture). Everything else lines up with that first step on the first template. What's supposed to happen is that the end flange of the first template should line up with the stern support bulkheads -- and on the starboard side it pretty well did -- but on the port side it was 2 mm too long. When I measured, I found a 2 mm difference in the distance between bulkheads 17 and 18 on the starboard and port sides. That may have resulted from uneven widening of the lower gunport slots.
In any event, my first impulse was that the templates should be sanded back, but on reflection I think that the better approach will be to shim out the rear bulkheads to align with the gunport templates, since those were the critical items to align. So that's what I'll do and it should come out fine.
Regards,
David

- GrandpaPhil, Kingspoke, zappto and 3 others
-
 6
6
-
Something nice for a model this complex: Caldercraft offers PDFs of the manuals for download free from the Jo Tika website, and they are searchable. What this allows is a way to look in the manual to see where something is called for in the future. A nice aid to make sure I haven't messed up.
Examples:
- I wasn't sure if I had missed the poop deck, as it's shown on plan sheet 1, so I searched for "poop" and found the place in the manual where it's installed -- much further on.
- I couldn't figure out what the lowest row of cannons rested on once the gunport templates are installed, so I looked up "cannon" and found that they are dummy cannons that are installed through a drilled hole in the barrel strip -- again, much later on.
This is going to save a lot of searching through the paper manual when I have these types of questions. Hope this might help others.
Regards,
David
-
Well, not so fast on the manual and plan sequence.
I looked ahead a bit in the manual and I now see that the sequence for the decks is specific in the manual and not what I had assumed. Fortunately, while I have installed some beams ahead of where they are called for, I can work around them.
But I think I need to stop building and read the hull manual front to back to understand what goes when.
Regards,
David- BobG and Bill Morrison
-
2
-
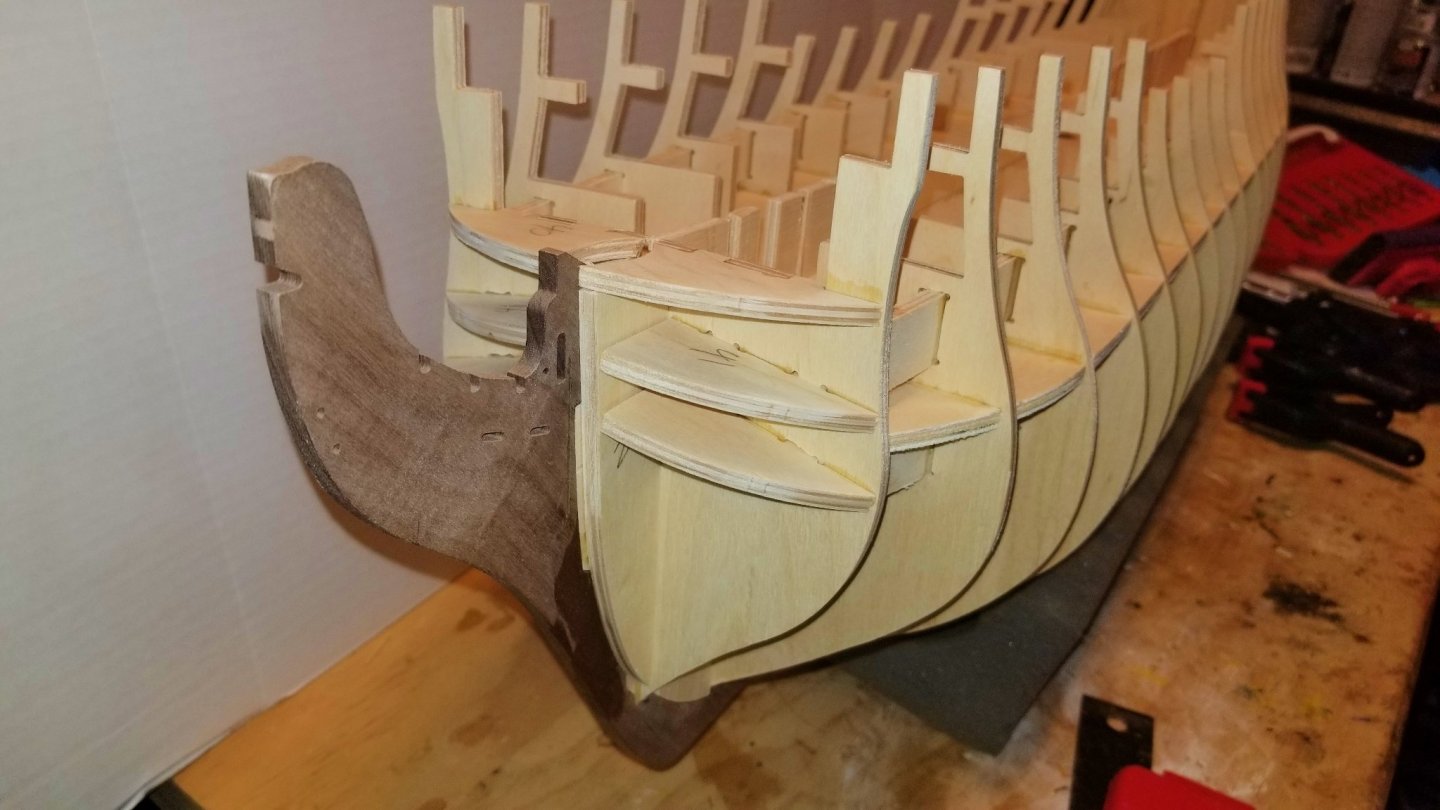
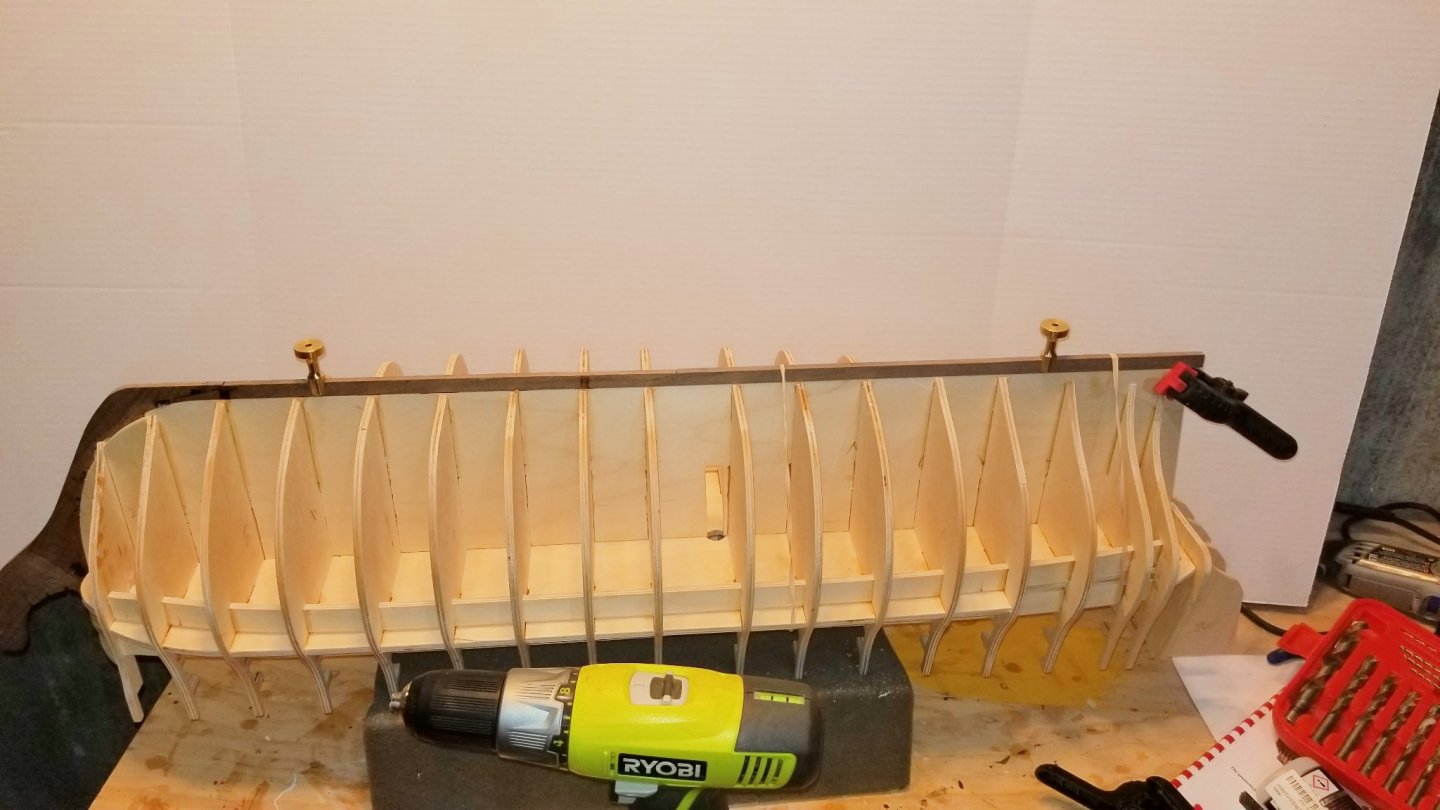
Added the bow and stern supports (pictured).
Also dealt with an interesting construction sequence. The manual has the front false keel installed right away, but not the rear one. I'm not sure why, but it must have something to do with the planking.
At the same time, at this stage, the manual suggests drilling the mounting holes. So I fitted and secured the rear false keel with rubber bands and a clamp for alignment, and then aligned and drilled the holes for the pedestal supports as shown. Now I'll put the rear false keel away until it's called for later on.
Speaking of the manual, it's tricky, because at the beginning it seems to run in detail along with the plan sheets, but then just after this mounting holes step it skips forward past the installation of the gun deck -- but you have to do that in order to get to the next section the manual deals with. So I've realized that this is a "one eye on the manual and the other one on the plans" kind of kit.
Regards,
David
- GrandpaPhil, BobG and Bill Morrison
-
3
-
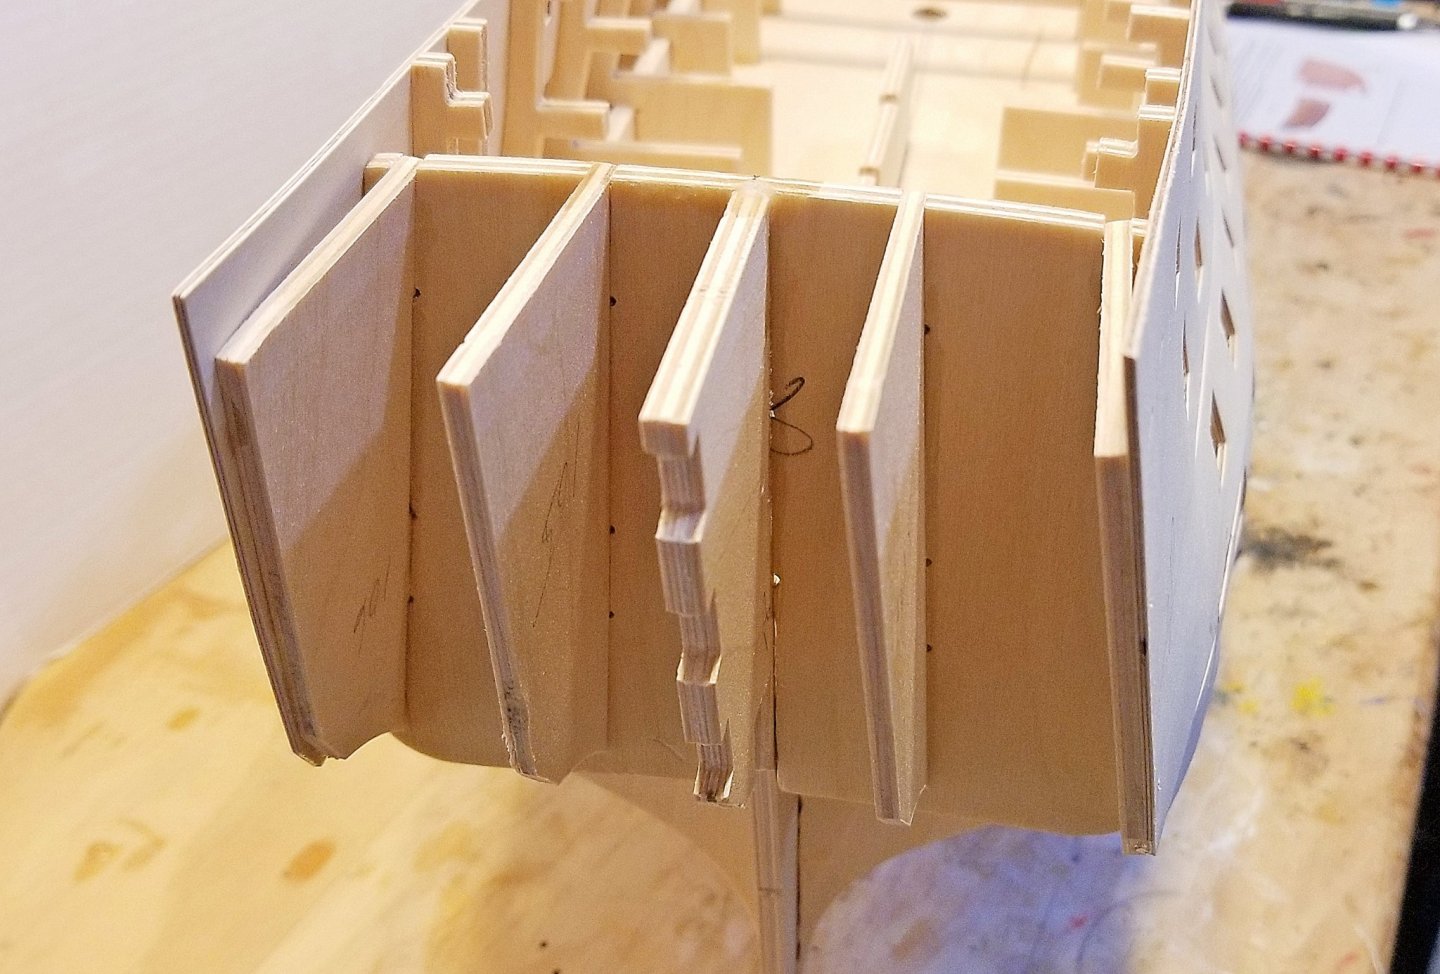
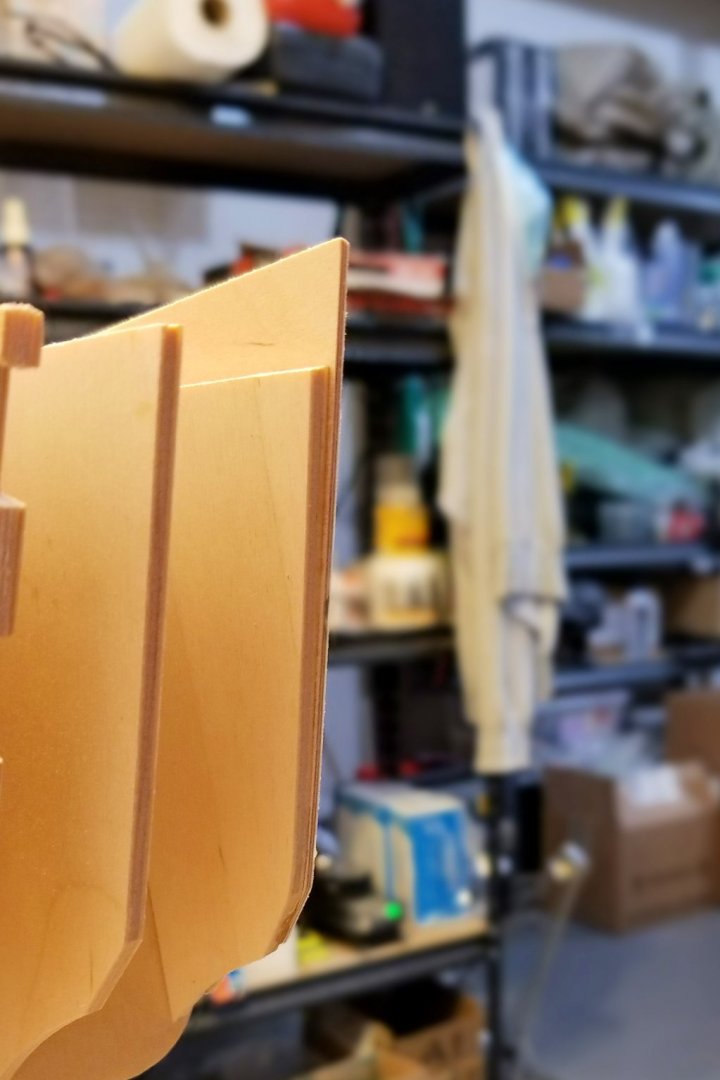
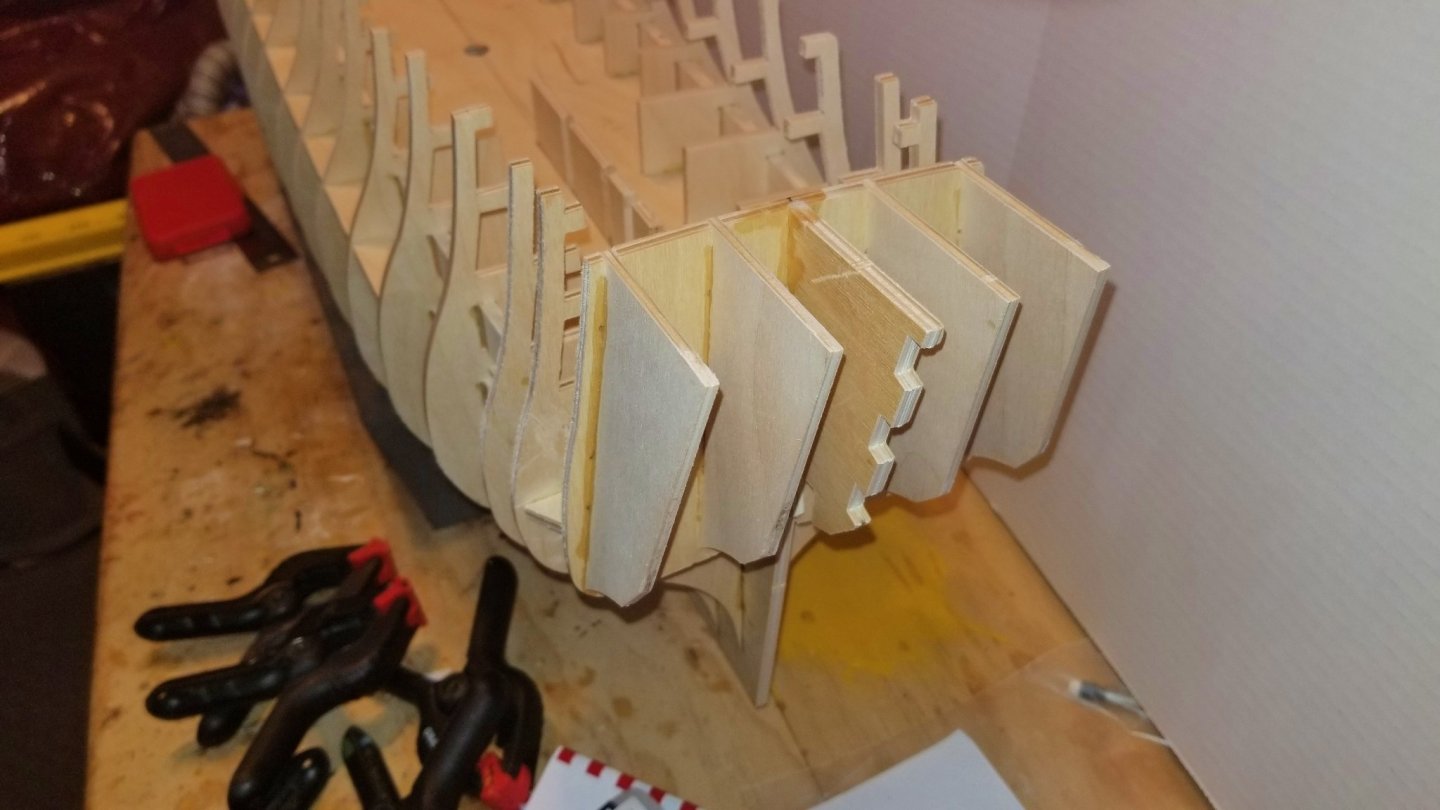
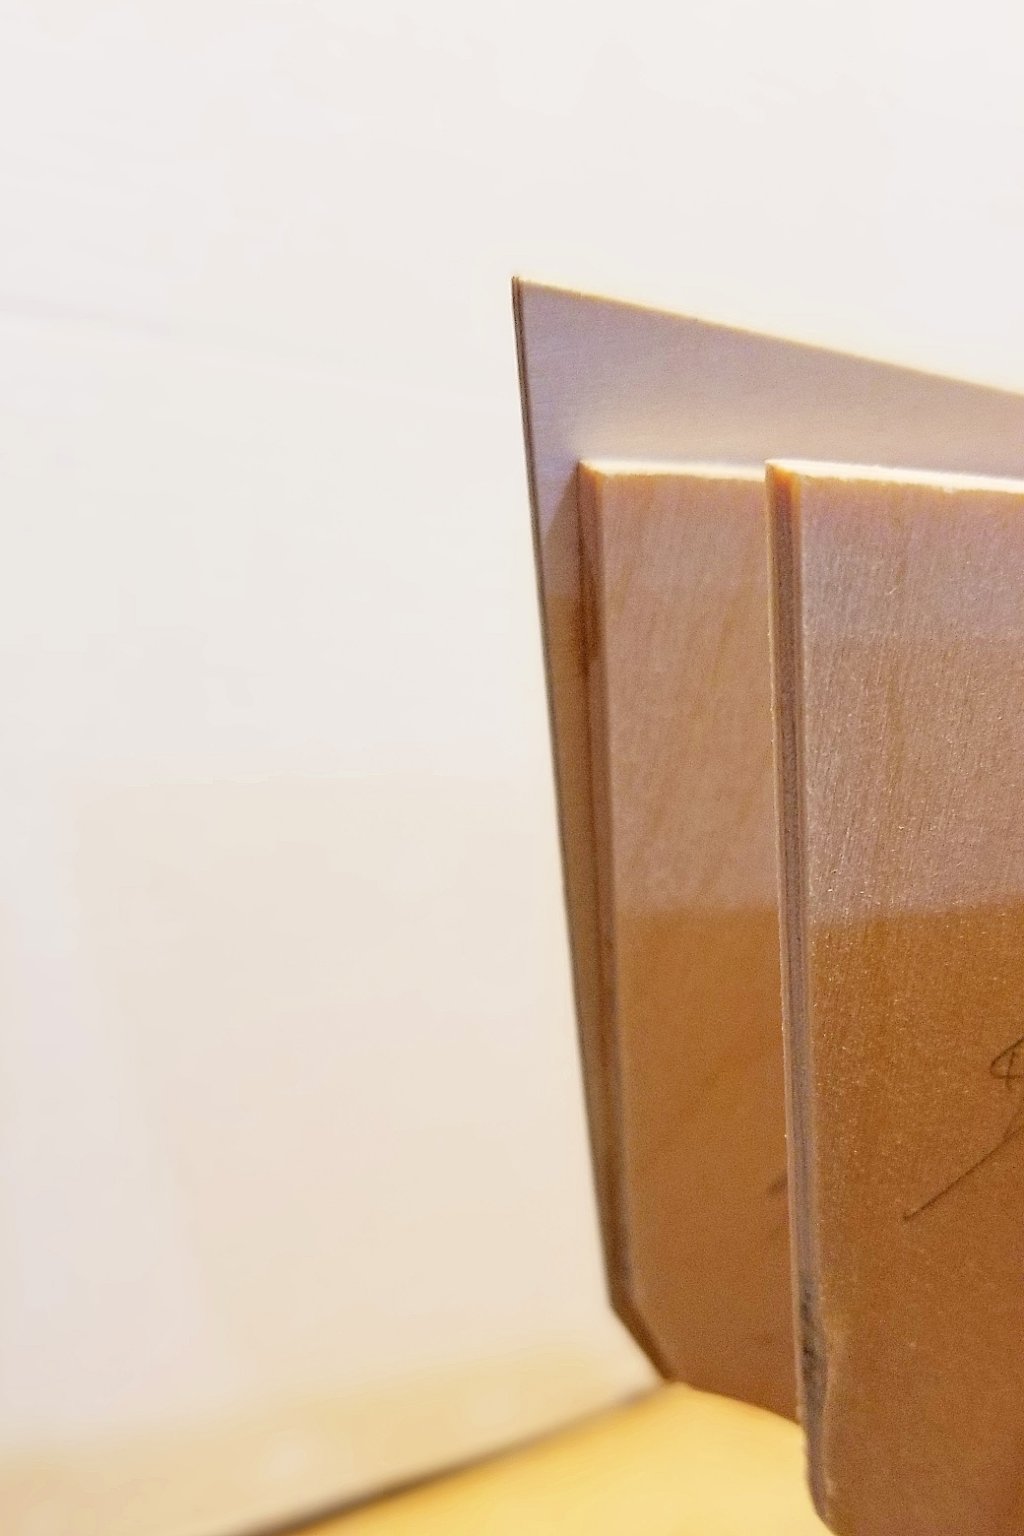
I've now added the "barrel strips" that run through slots on the bulkheads above and below the deck.
They aren't easy to install, as they are thick and have to negotiate a couple of curves. I soaked the bottom ones for 30 minutes and then used a hammer to knock them in, guiding them into the slot holes. Once you get them into frame #4, it gets easier. The curve on the top ones was less severe and I was able to install them dry, as is.
Regards,
David
- BobG, GrandpaPhil, Bill Morrison and 1 other
-
4
-
I had much less of a break after finishing the Alert than I had thought -- got the itch to start this kit, which I have been looking forward to. It's my first Caldercraft kit and I'm interested in the comparison with Amati and Vanguard -- my gold standards up to now.
There are a number of build logs on this kit by builders with much better skills than mine, so I don't know how much added value I can provide, but I find these logs fun to share, and what I'll try to focus on (as in this post) are construction details and issues, and how I addressed them.
So I've skipped the "what's in the box" opener, because what's in the box is what you'd expect. There are three manuals: one for the hull -- with pictures, one for rigging, and a third for parts -- which is great, as you don't have to wrestle multiple plan sheets up on the wall to figure out the wood panel and other cut sheet parts.
I also bought some white posterboard to provide a better backdrop on my workbench for my pictures.
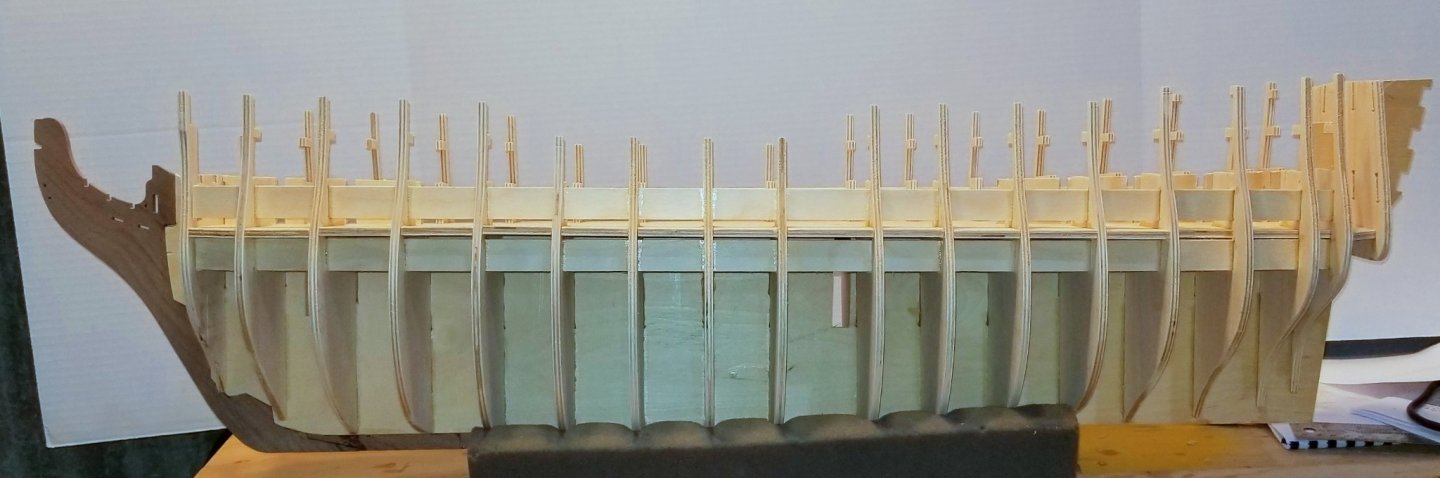
I have finished the first phase of the frame: keel, bulkheads and lowest deck. This kit uses 5mm plywood for all of that -- in all of my other kits these parts have been MDF, and based on my experience with MDF where all the parts slide together easily without sanding, I found working with the plywood a challenge.
NONE of the slots in the keel, bulkheads, or deck fit without some more-than-trivial widening. Regular sanding would take forever, and I tried a couple of times to use rotary tool sanding disks, but they get chewed up fast. So I found some 3mm rotary burrs on Amazon, and that did the trick. But with 18 bulkheads and 16 double-sided deck slots, it comes out to 68 slots to widen.

Got it done, and everything fit together as you can see. This is a heavy ship because of the plywood and its size. I'm looking forward to digging into it.
Regards,
David
- Kingspoke, GrandpaPhil, Morgan and 8 others
-
11
-
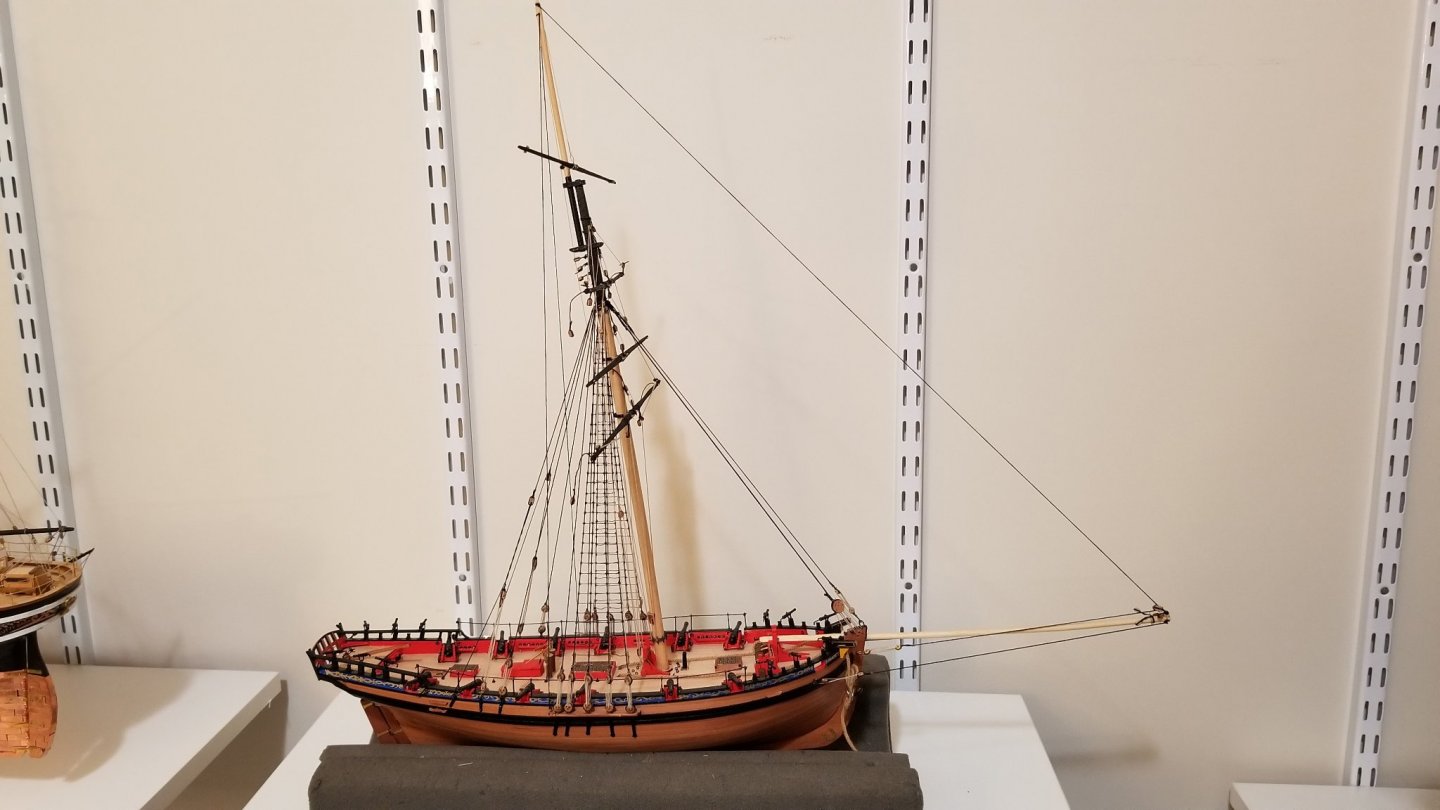
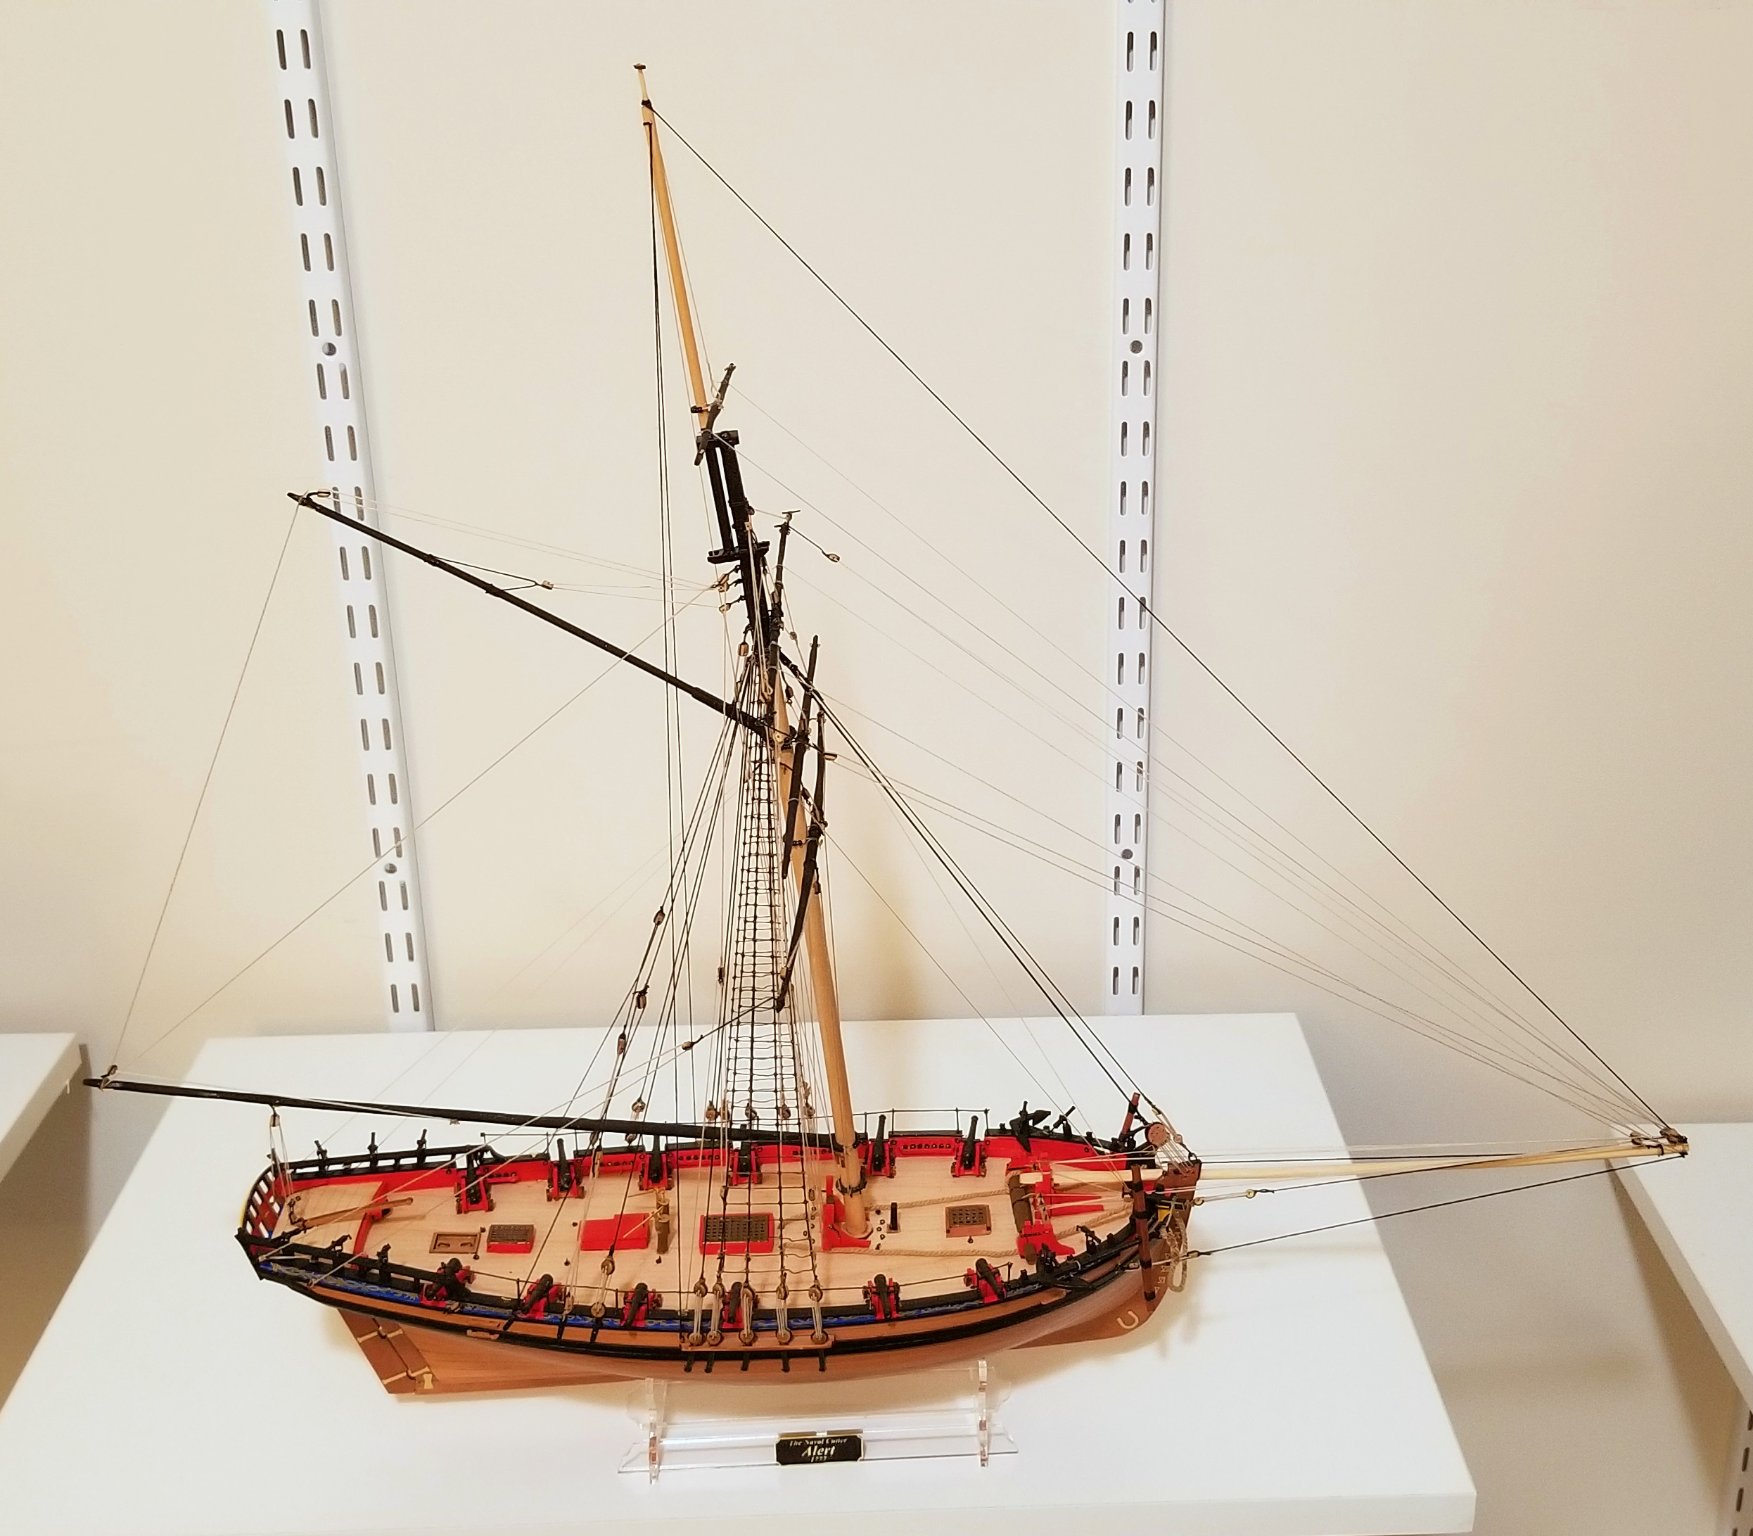
Alert is finished! Nice kit from Vanguard Models and Chris Watton.
A set of photos is in the Kit-Built Ship Gallery.
Regards,
David

- Thukydides, VTHokiEE, PhillH and 8 others
-
11
-
I've completed all of the stays. Some nice rigging at the bow.
As I noted earlier, the heavier black threads twist when under tension, so the trick with those is to pre-tension them and then rig the blocks to other blocks. That keeps things straight when under tension.
Regards,
David

-
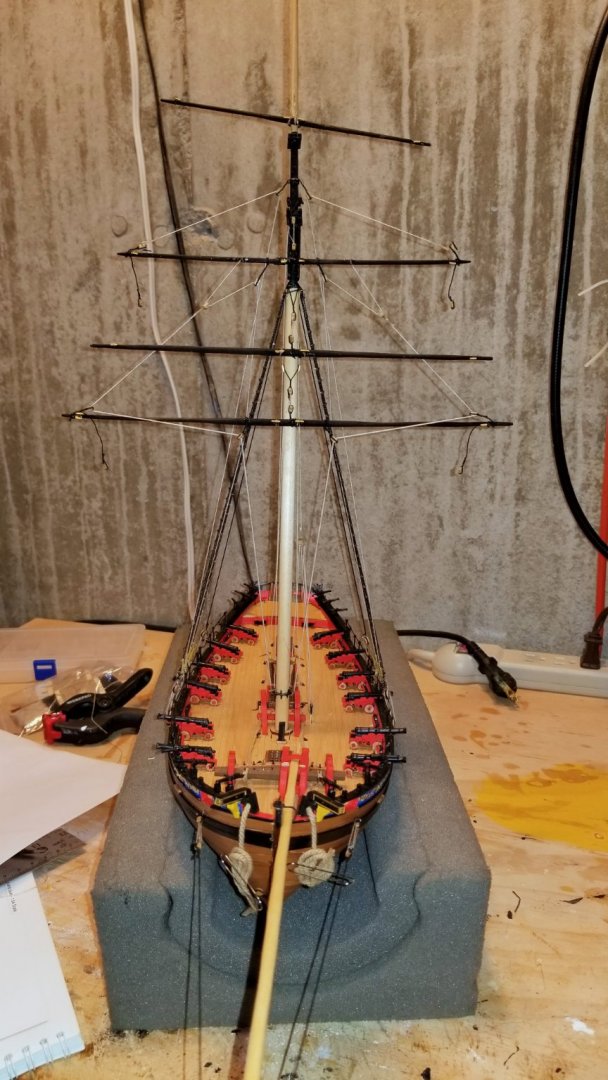
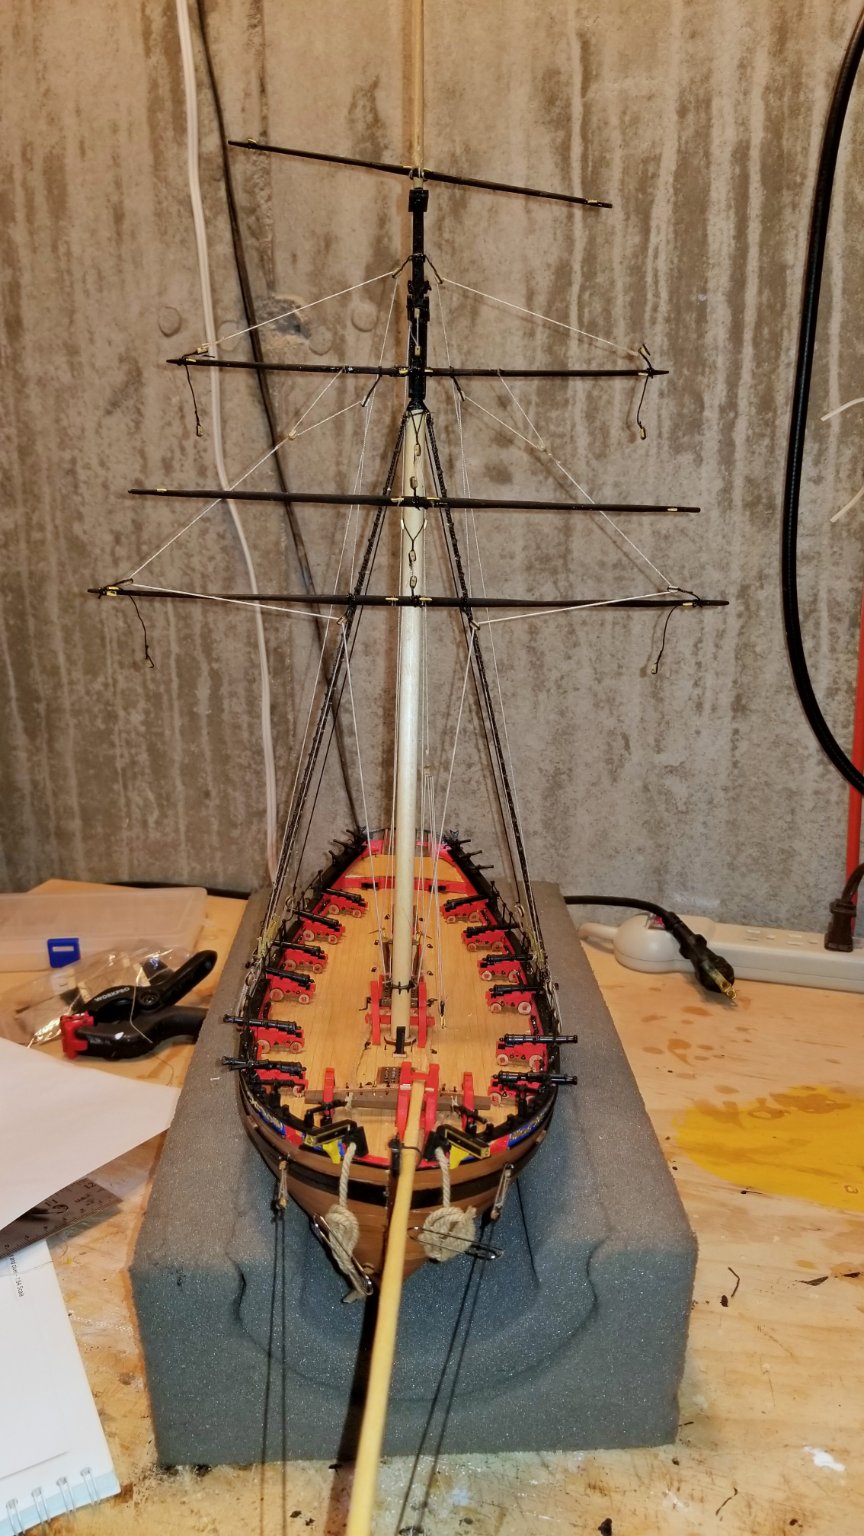
Yards are now up, with sheets rigged to two of them.
Regards,
David
- bruce d and Wintergreen
-
2
-
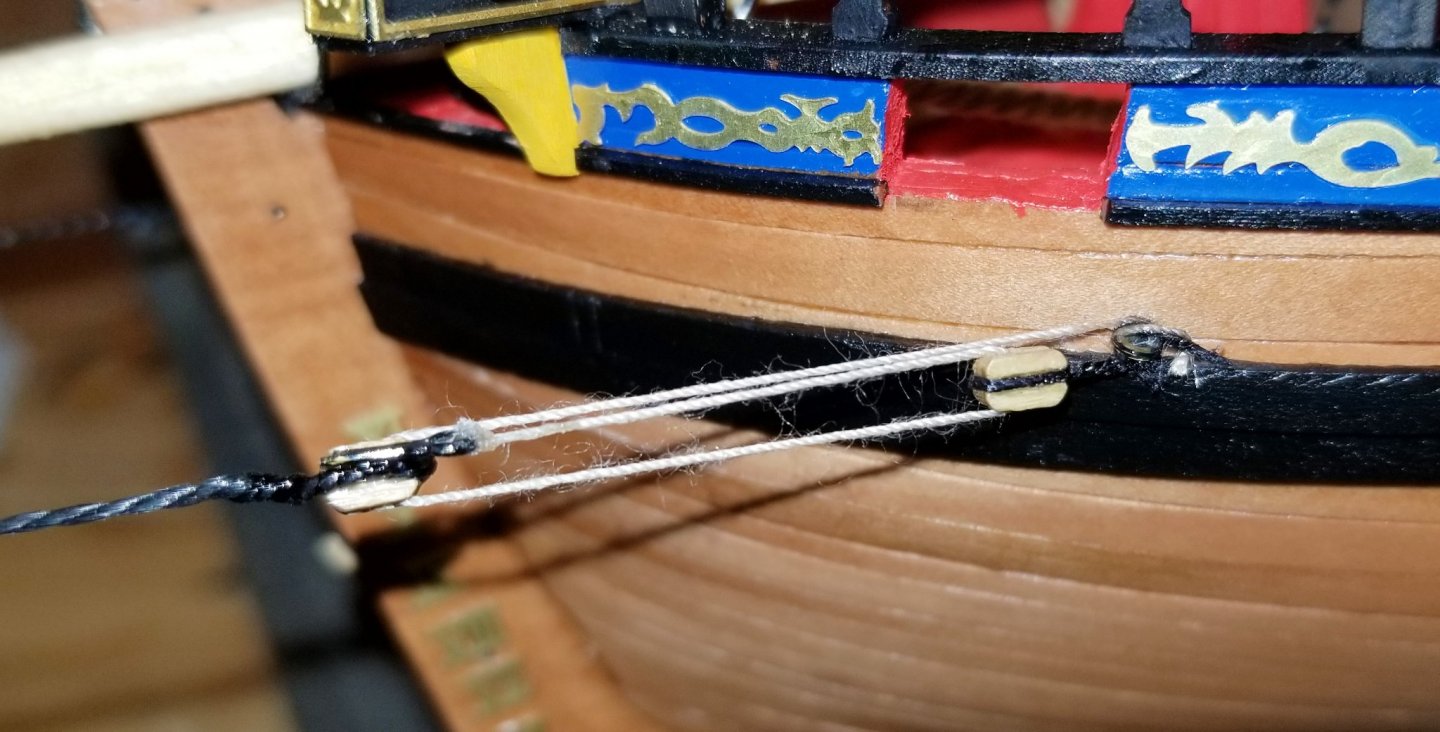
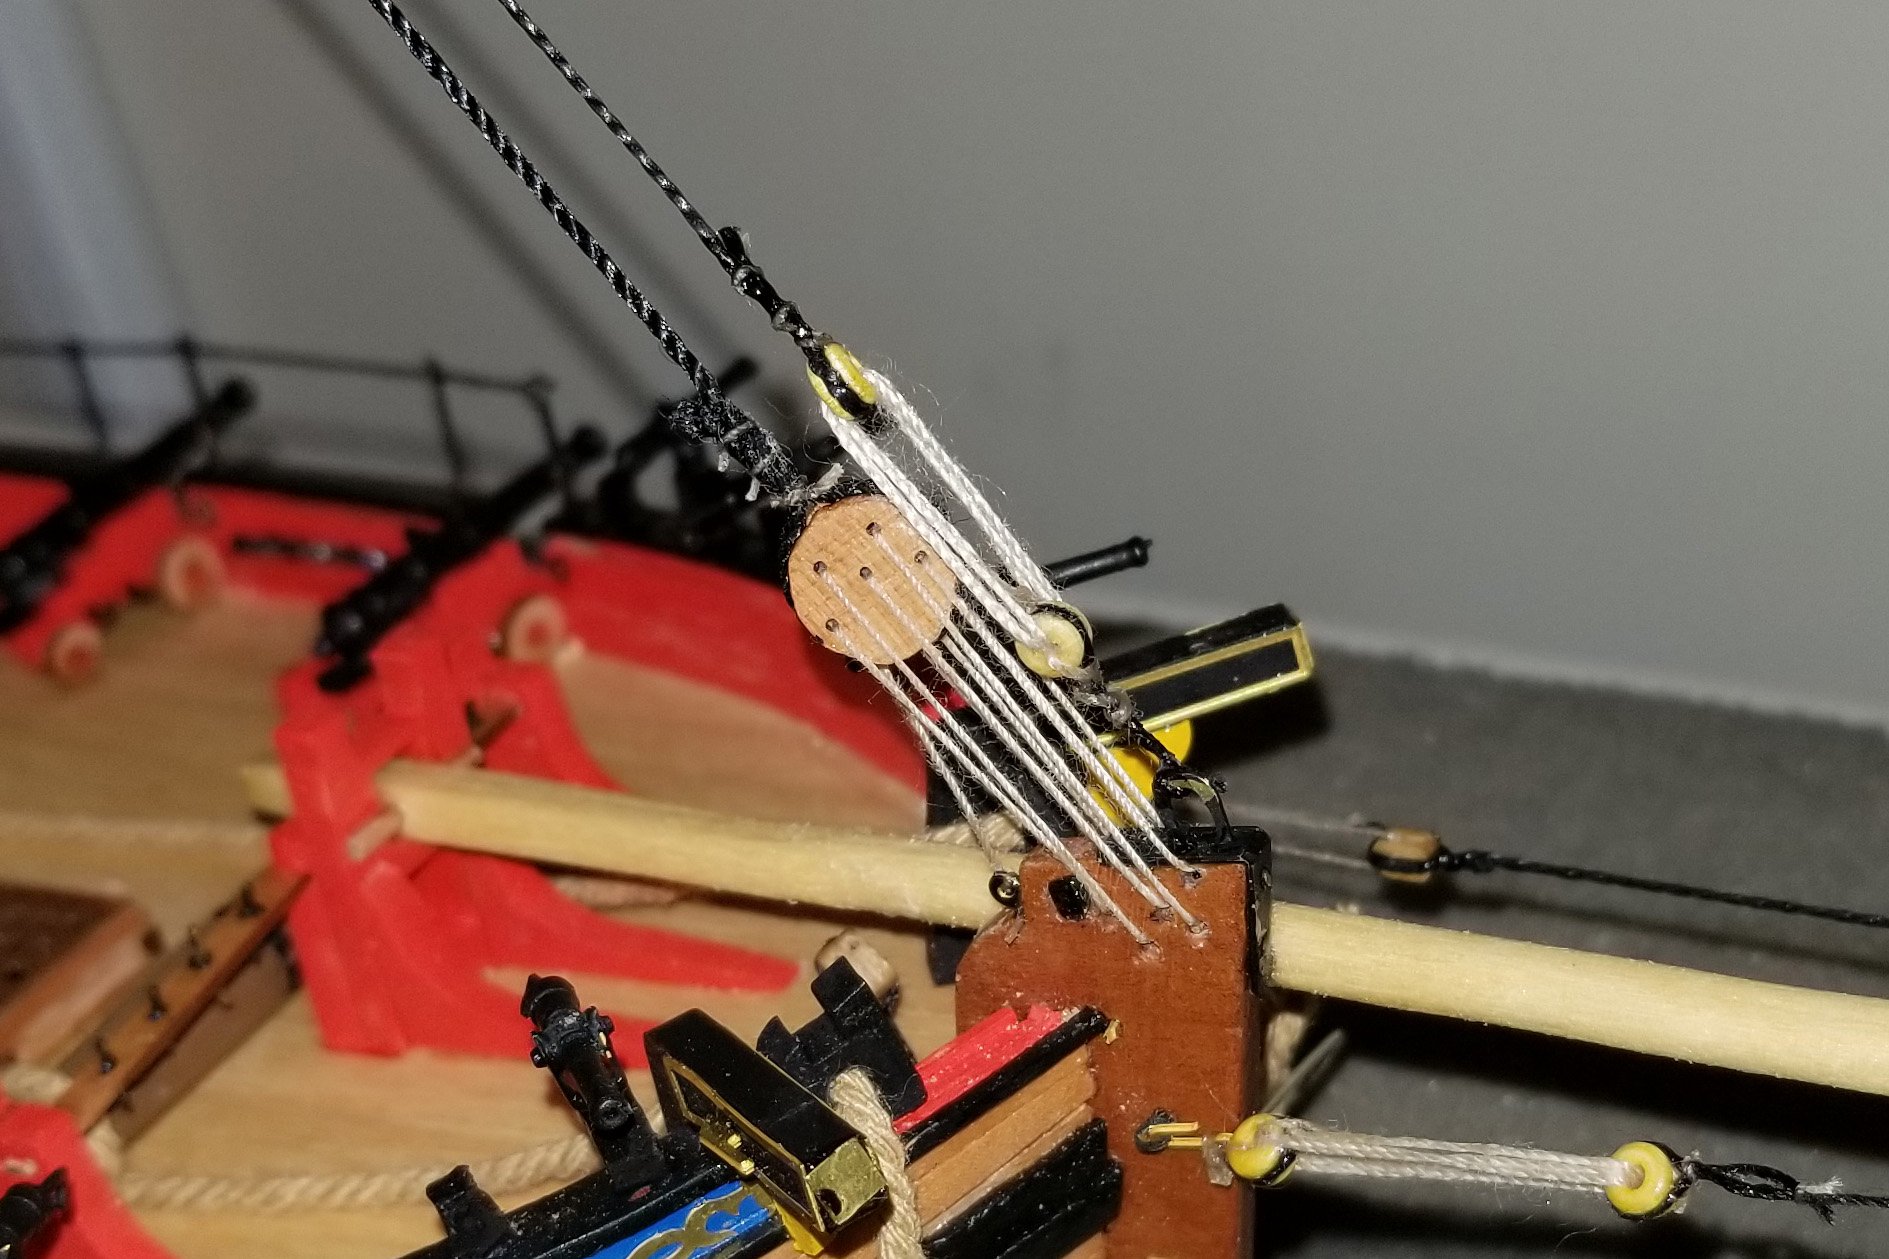
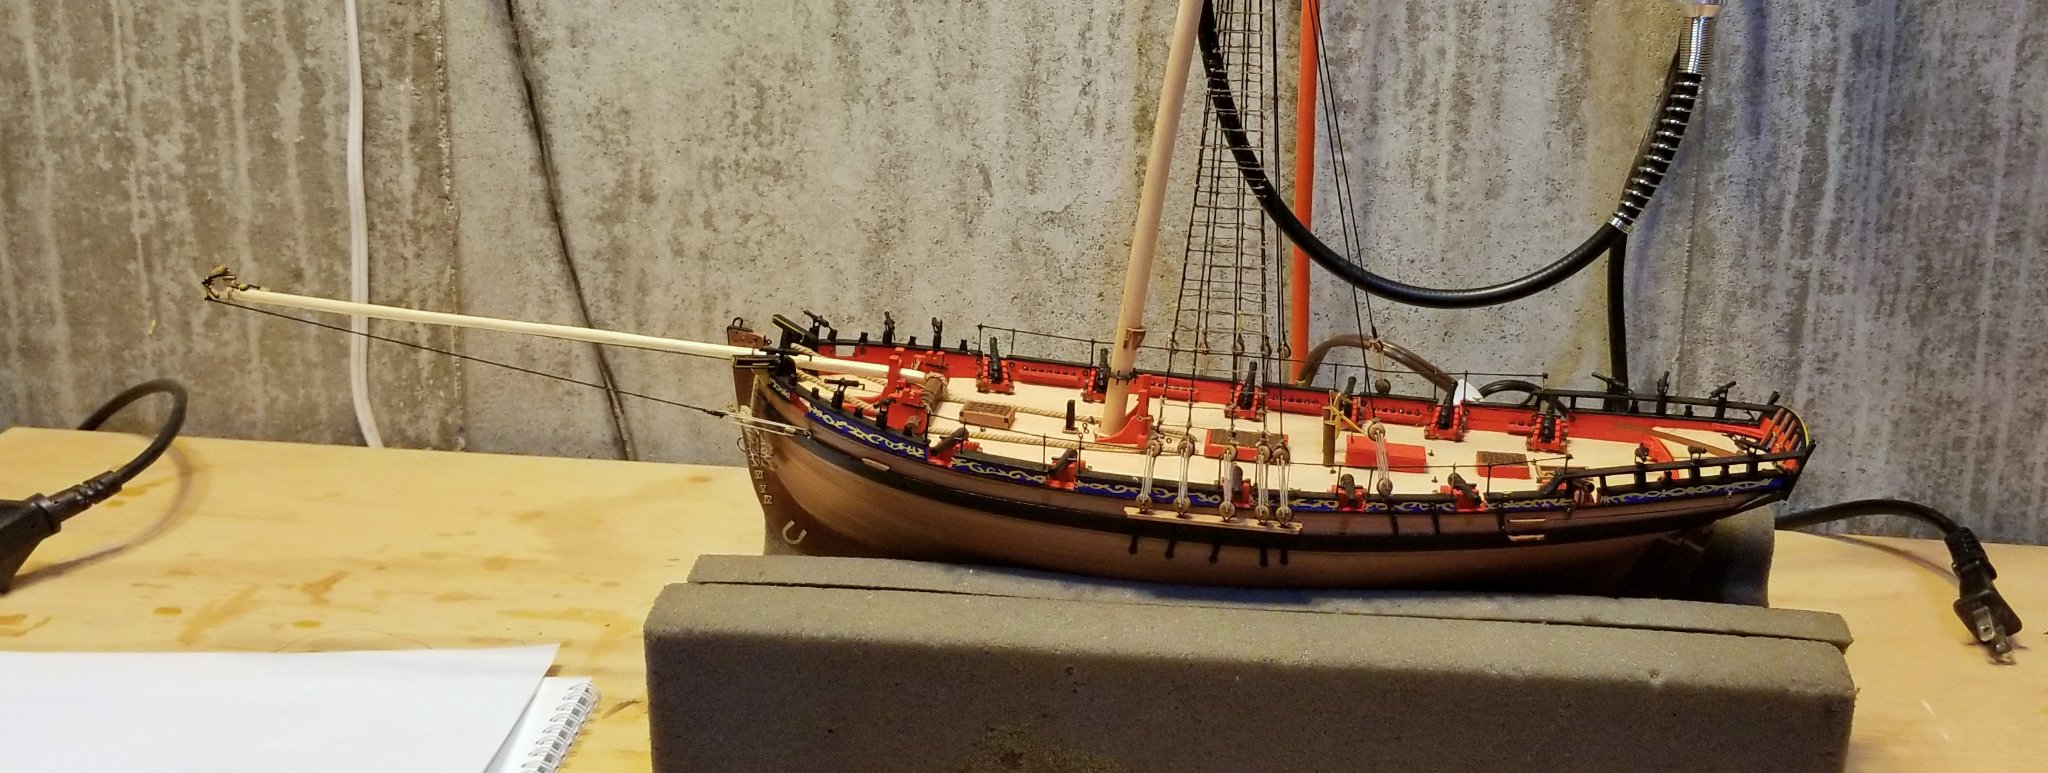
Installed the bowsprit and side rigging for it.
The stays on each side of the bowsprit are the same thread that was specified for the shrouds. When it's under tension, it twists. So if you rig the blocks loose all the way (the way you'd do with a deadeye) and then tighten them, the block on the stay spins and the rigging between the blocks twists -- bad look.
The way I solved it was to attach the thin thread to the eyebolt on the block attached to the stay, pass it through the block at the hull only, and then tension it. That causes the stay block to twist, and if you hold the twist there and then finish rigging the thin thread back through the block on the stay, the rigging aligns when you re-tension it and looks as you see in the picture. But it took some work to figure out a solution.
Regards,
David


-
Hakan:
Thanks for the comment on my ratlines. I use a homemade jig that helps me keep the spacing uniform and the ratlines level. I have included a couple of pictures below. I find that I make a new jig for each ship because the spacing varies.
Regards,
David
-
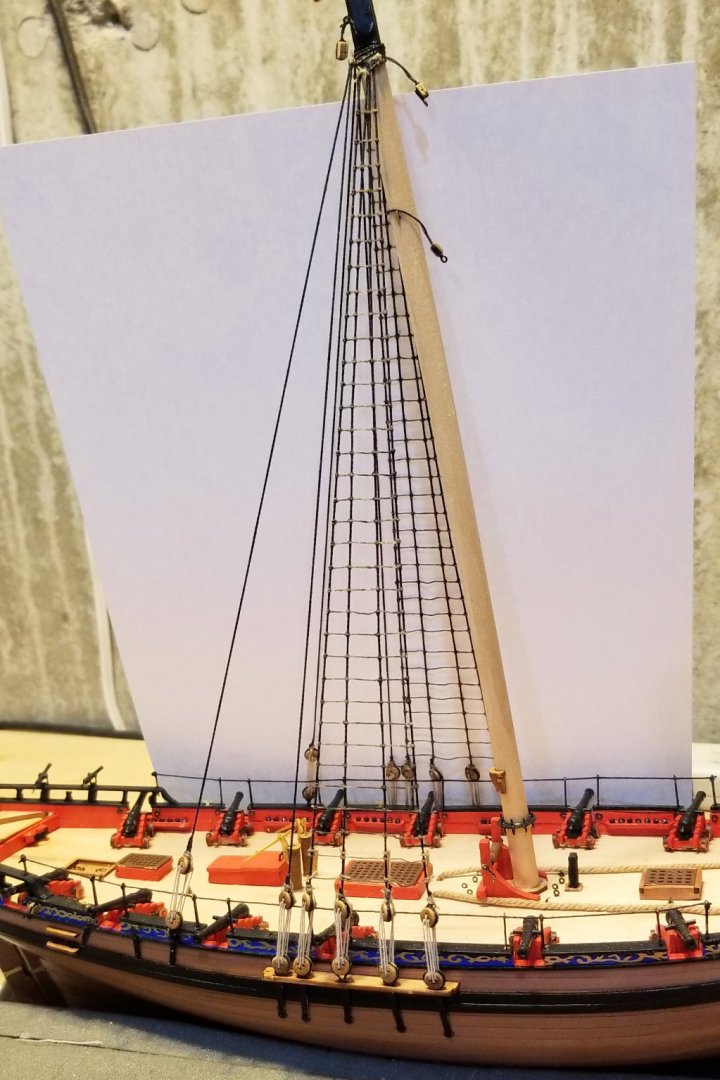
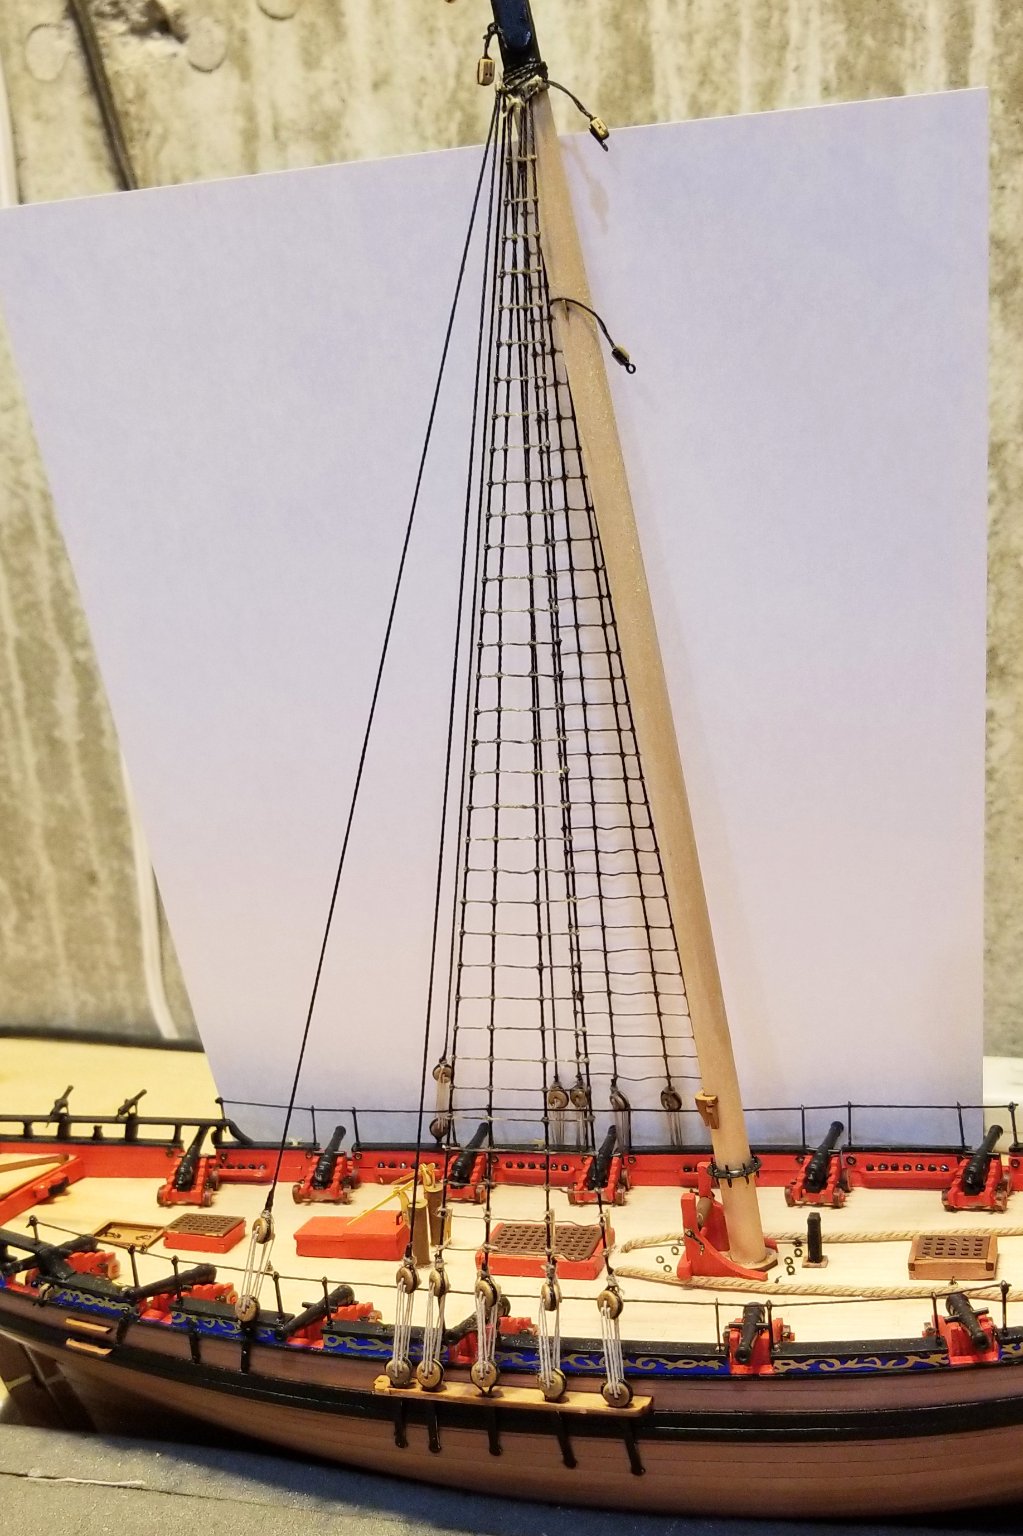
Remaining two shrouds rigged on each side -- they don't get ratlines.
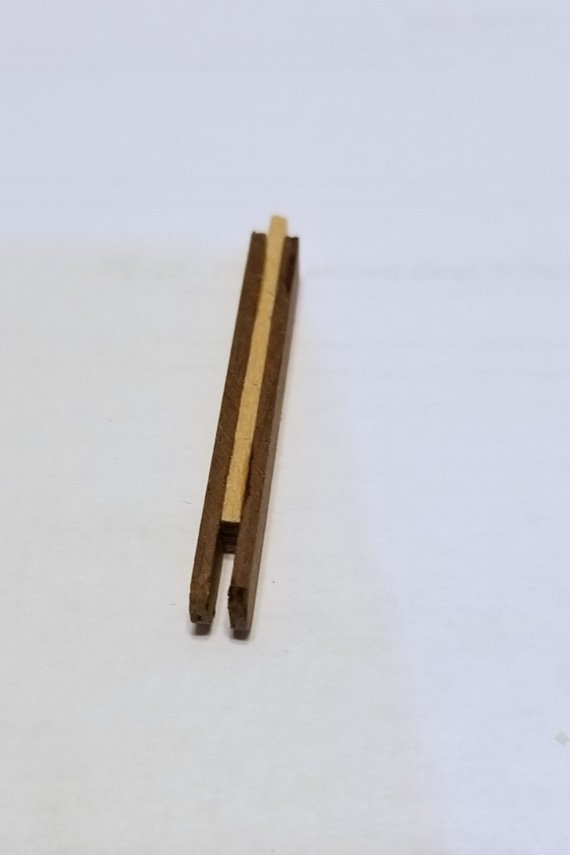
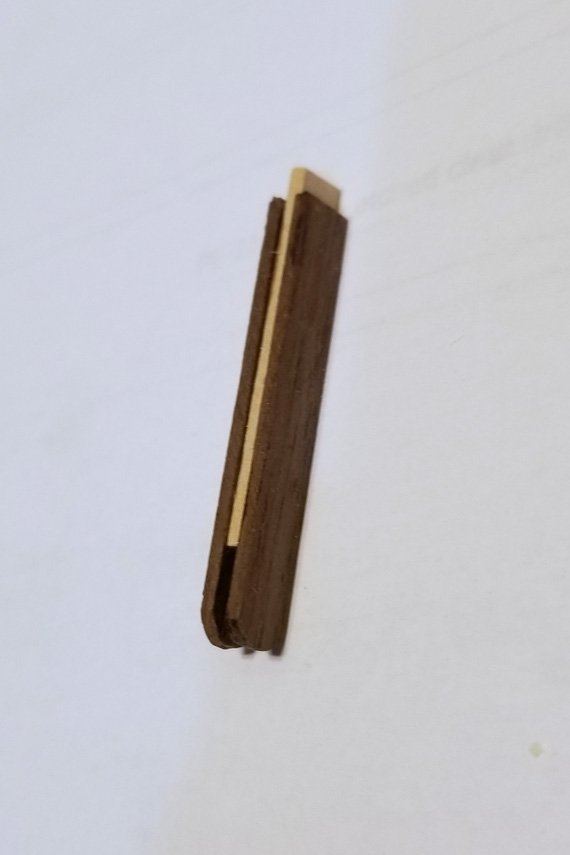
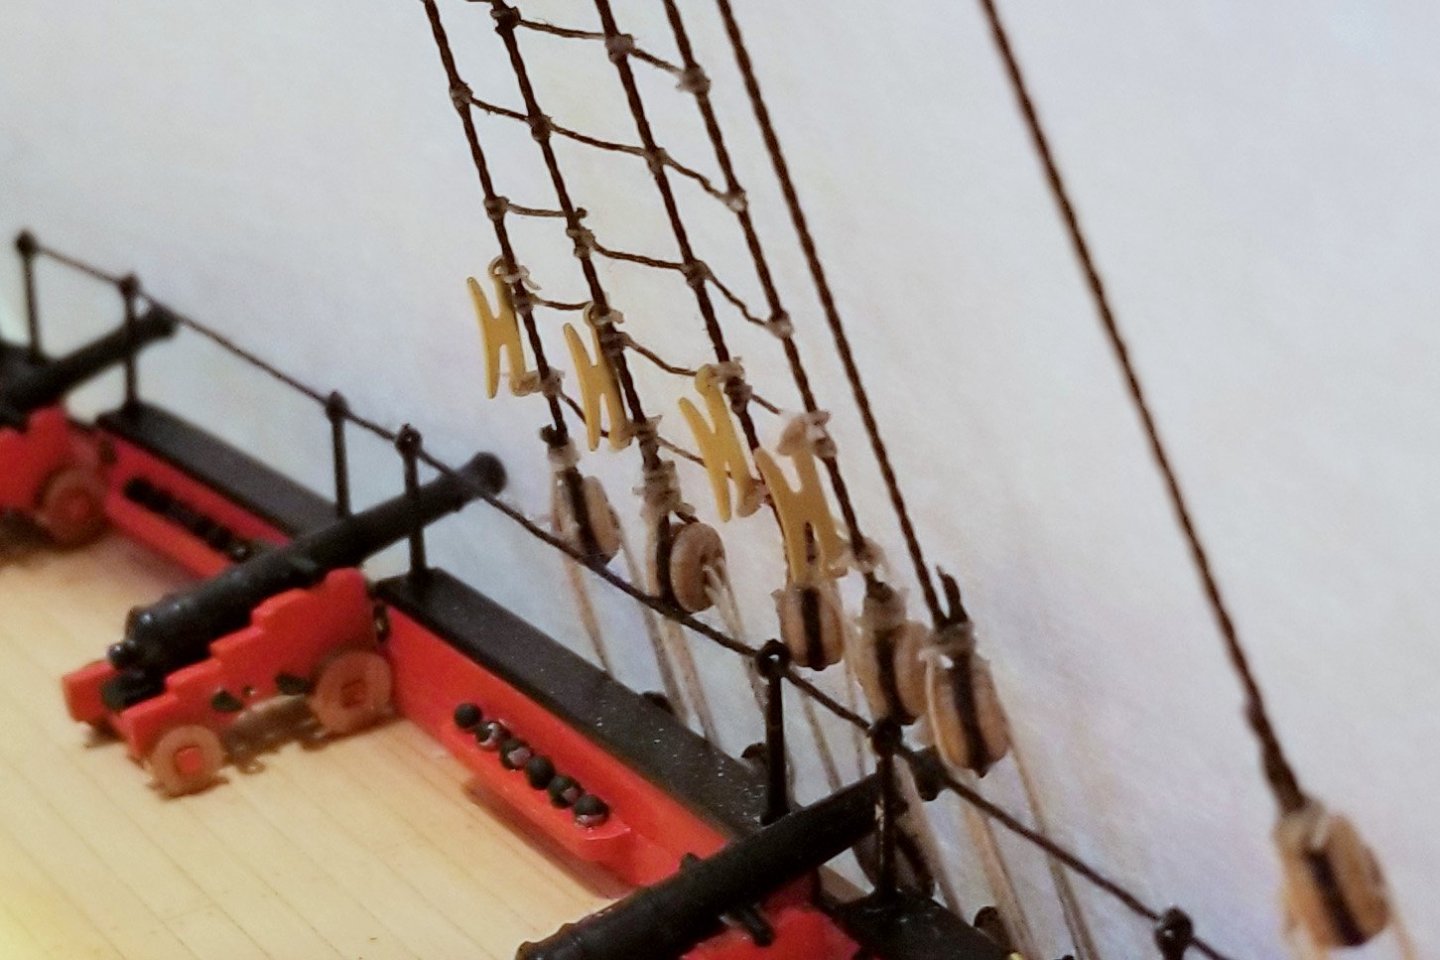
Also installed the shroud cleats. I haven't seen anything like these on other ships I've built, and I think they are kind of cool. The manual says paint them black, but as with the hull-mounted cleats, I left them unpainted and I think they will show better this way. Nothing is actually rigged to them in the finished model.
Regards,
David
- Wintergreen, PRS, Dfell and 1 other
-
4
-
Ratlines are now done. They are done in a natural thread, and then dyed black.
Now I can rig the last two shrouds on each side.
Regards,
David
- Wintergreen and Dfell
-
2
-
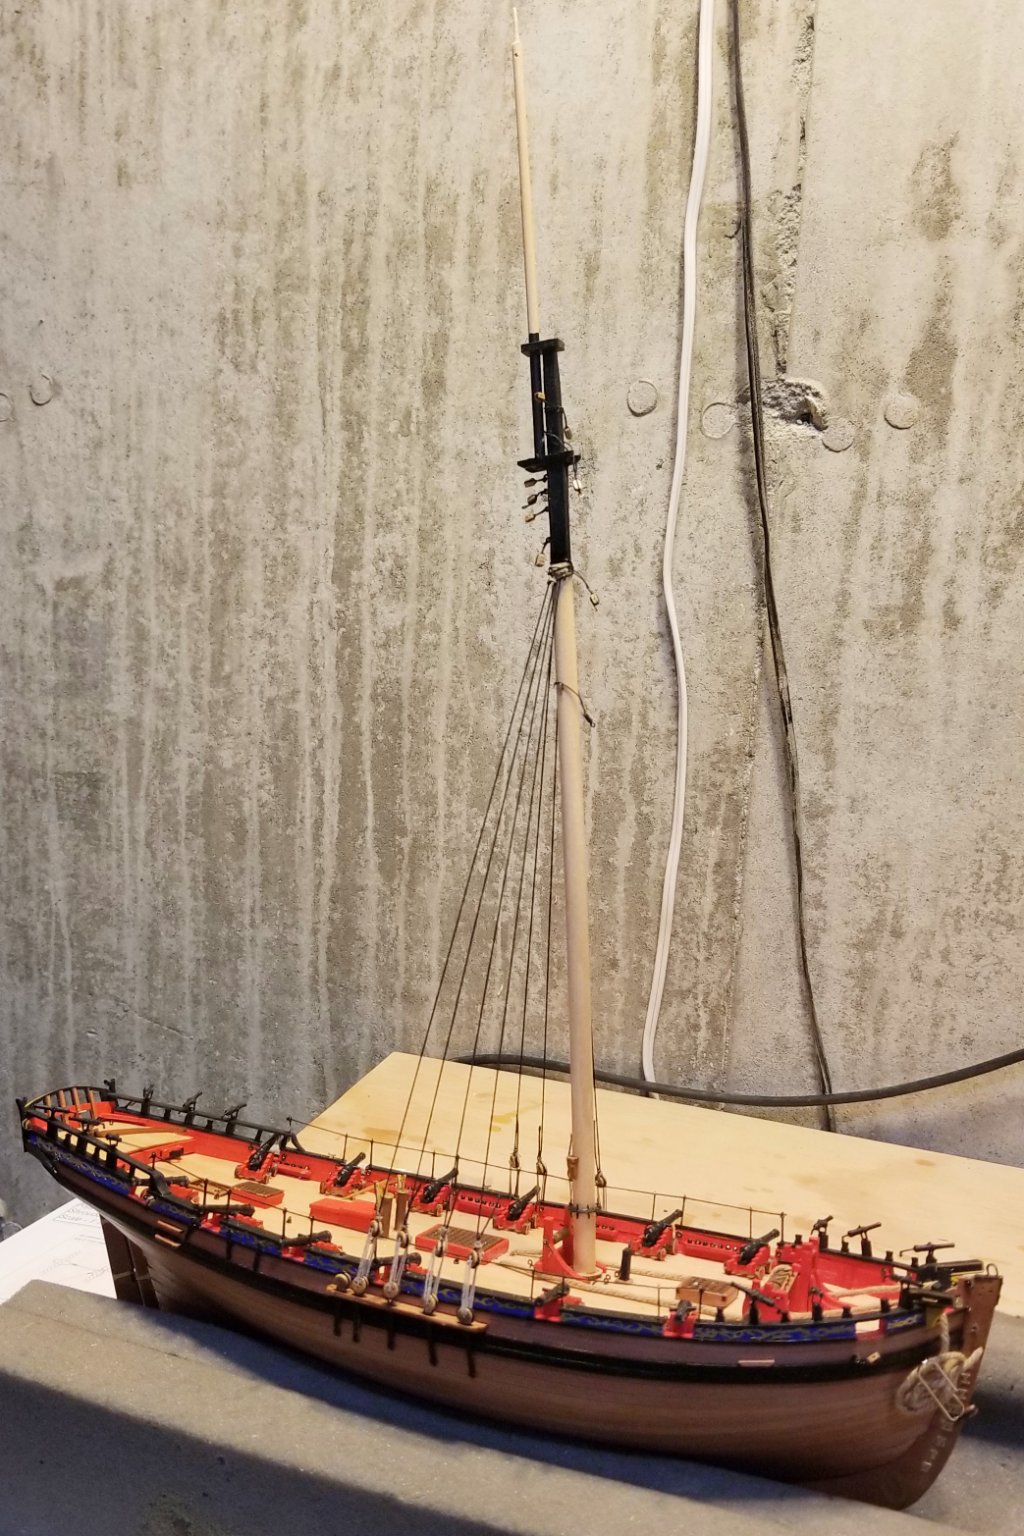
Mast is up and four shrouds rigged. There are two more shrouds on each side, but the ratlines only go across the first four, so easier to do the ratlines next before I put up the other two shrouds.
Regards,
David
- Dfell and Wintergreen
-
2
-
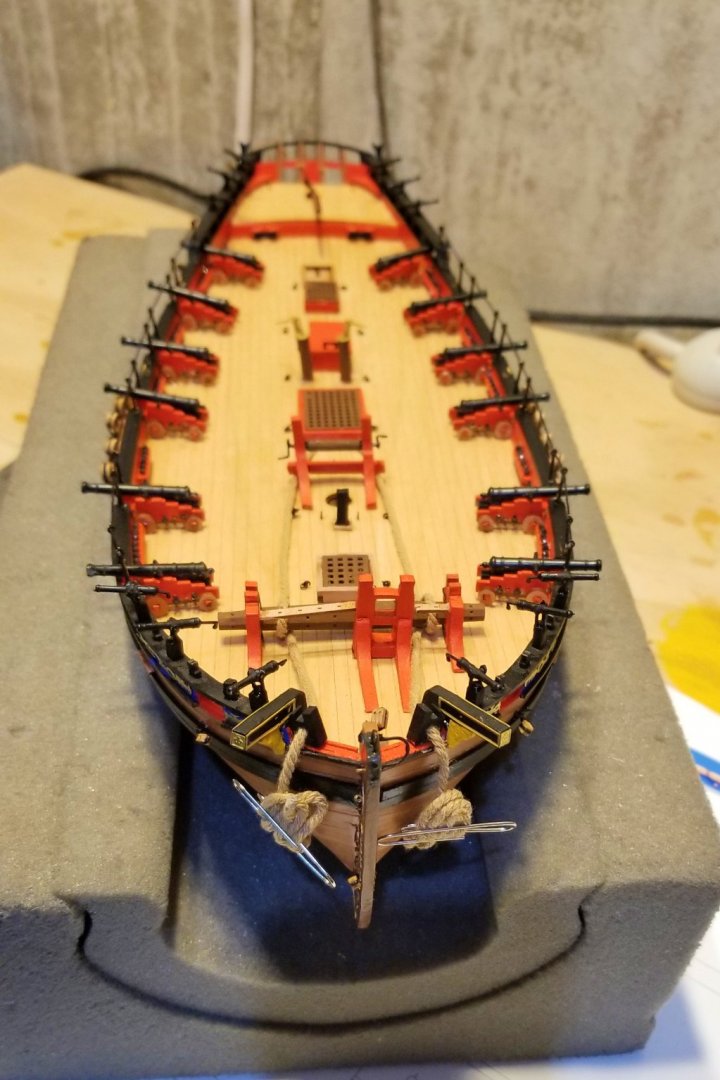
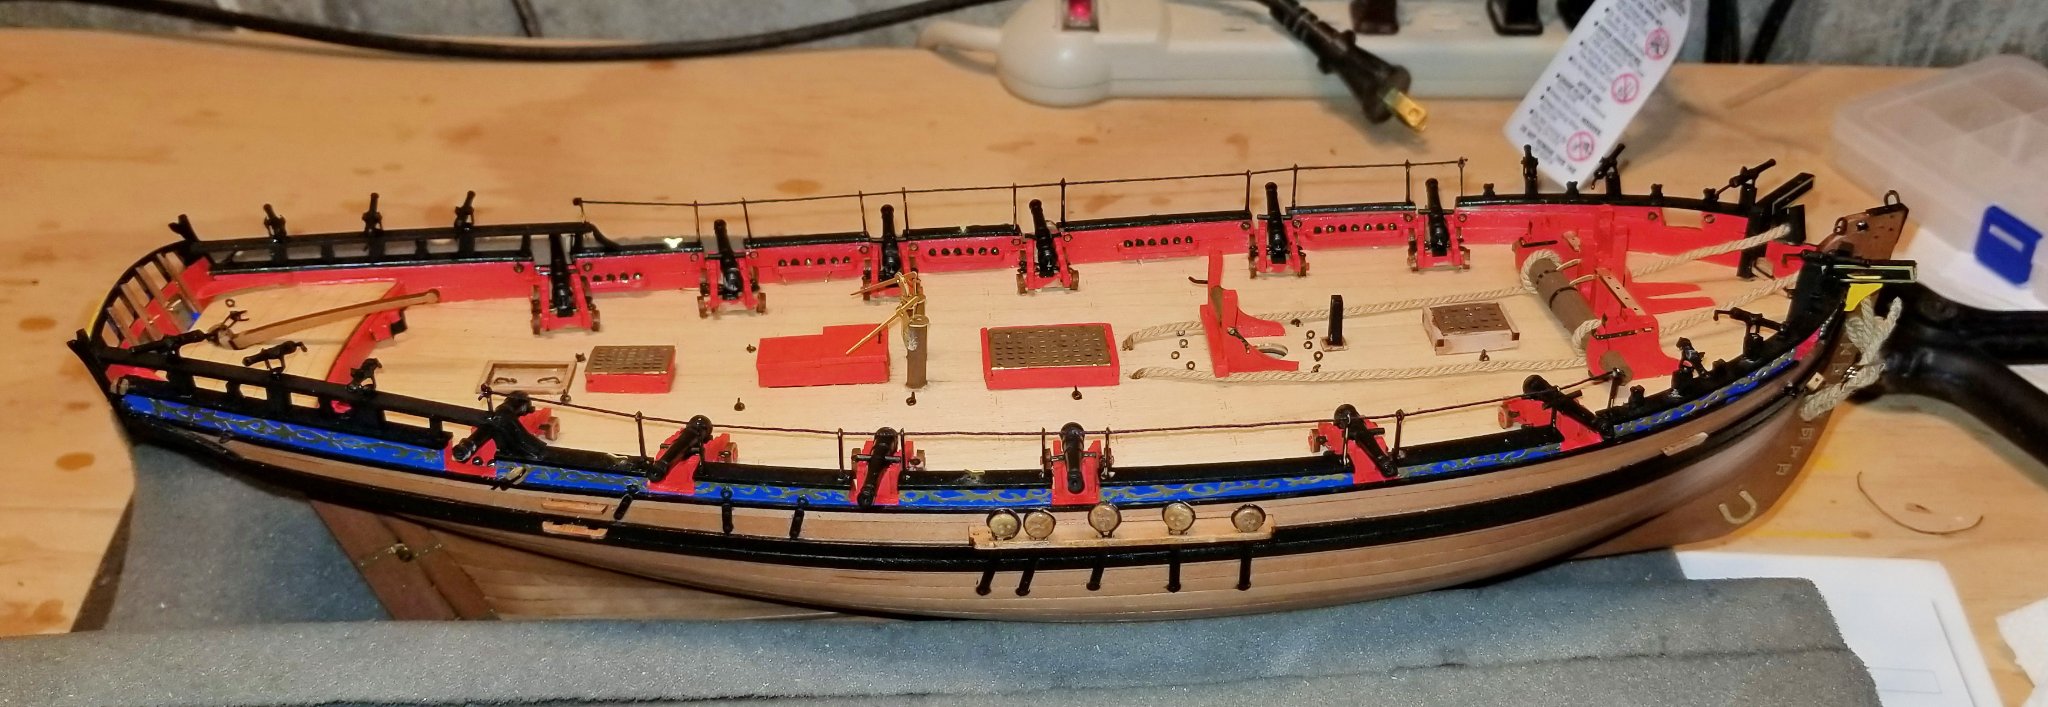
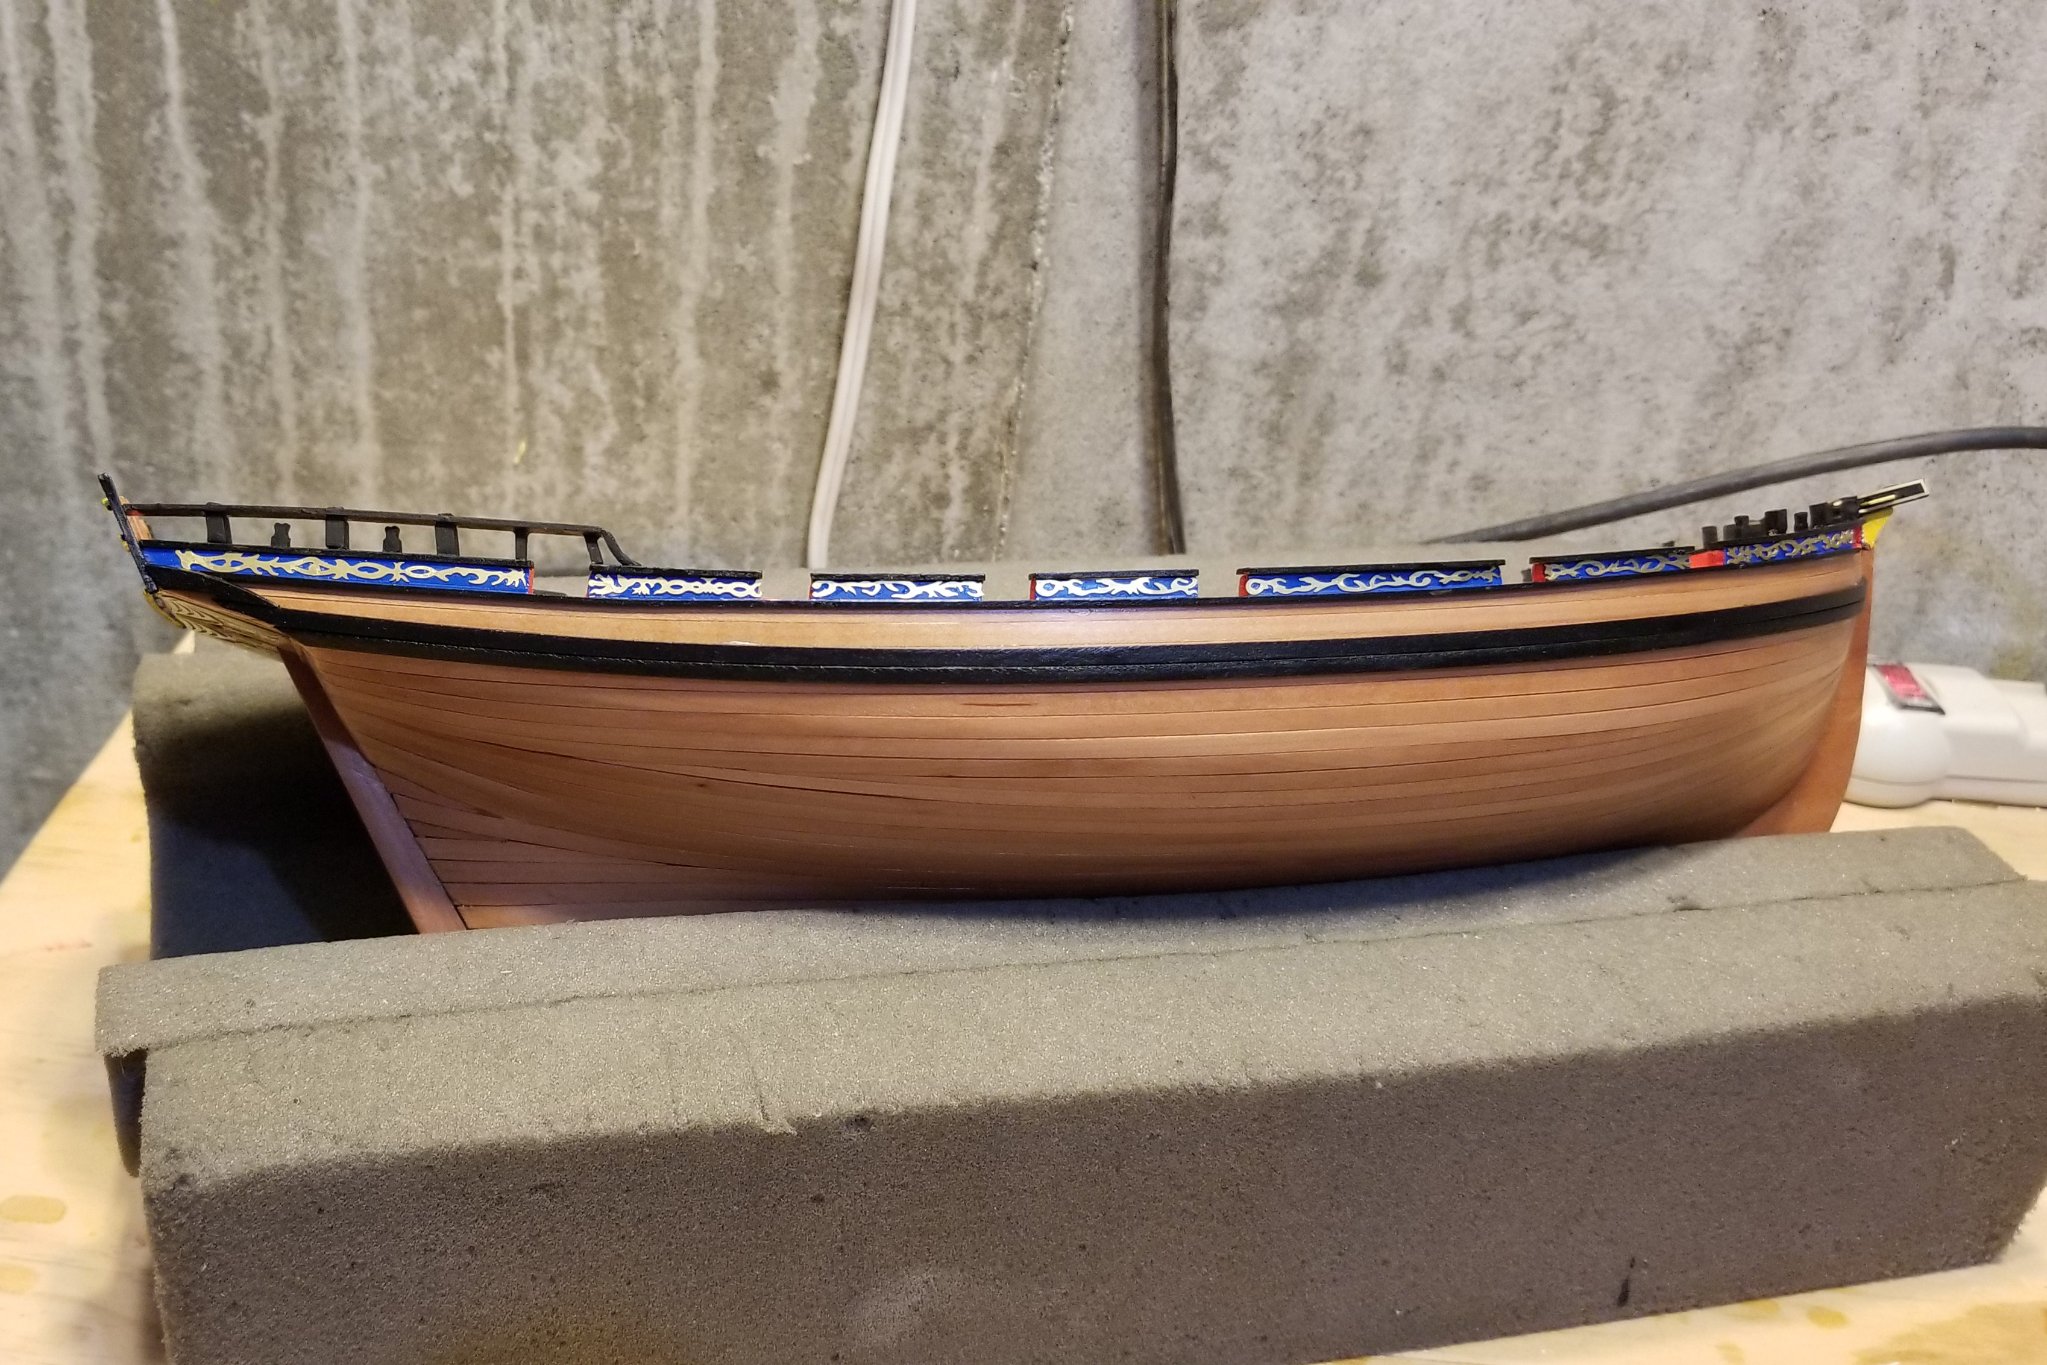
I have now completed work on the hull. Added:
- Deadeyes on channels
- Cannons
- Stanchions and railing
- Anchor cable
- Some side rigging
The manual says to wait to rig the anchors until the other rigging is complete (makes sense), but I installed the anchor cable across the deck and through the hawse because it would be tough to get at after the mast rigging is up. You can see the excess at the bow held with paper clips for later attachment to the anchors.
Next step is the mast and yards.
Regards,
David

-
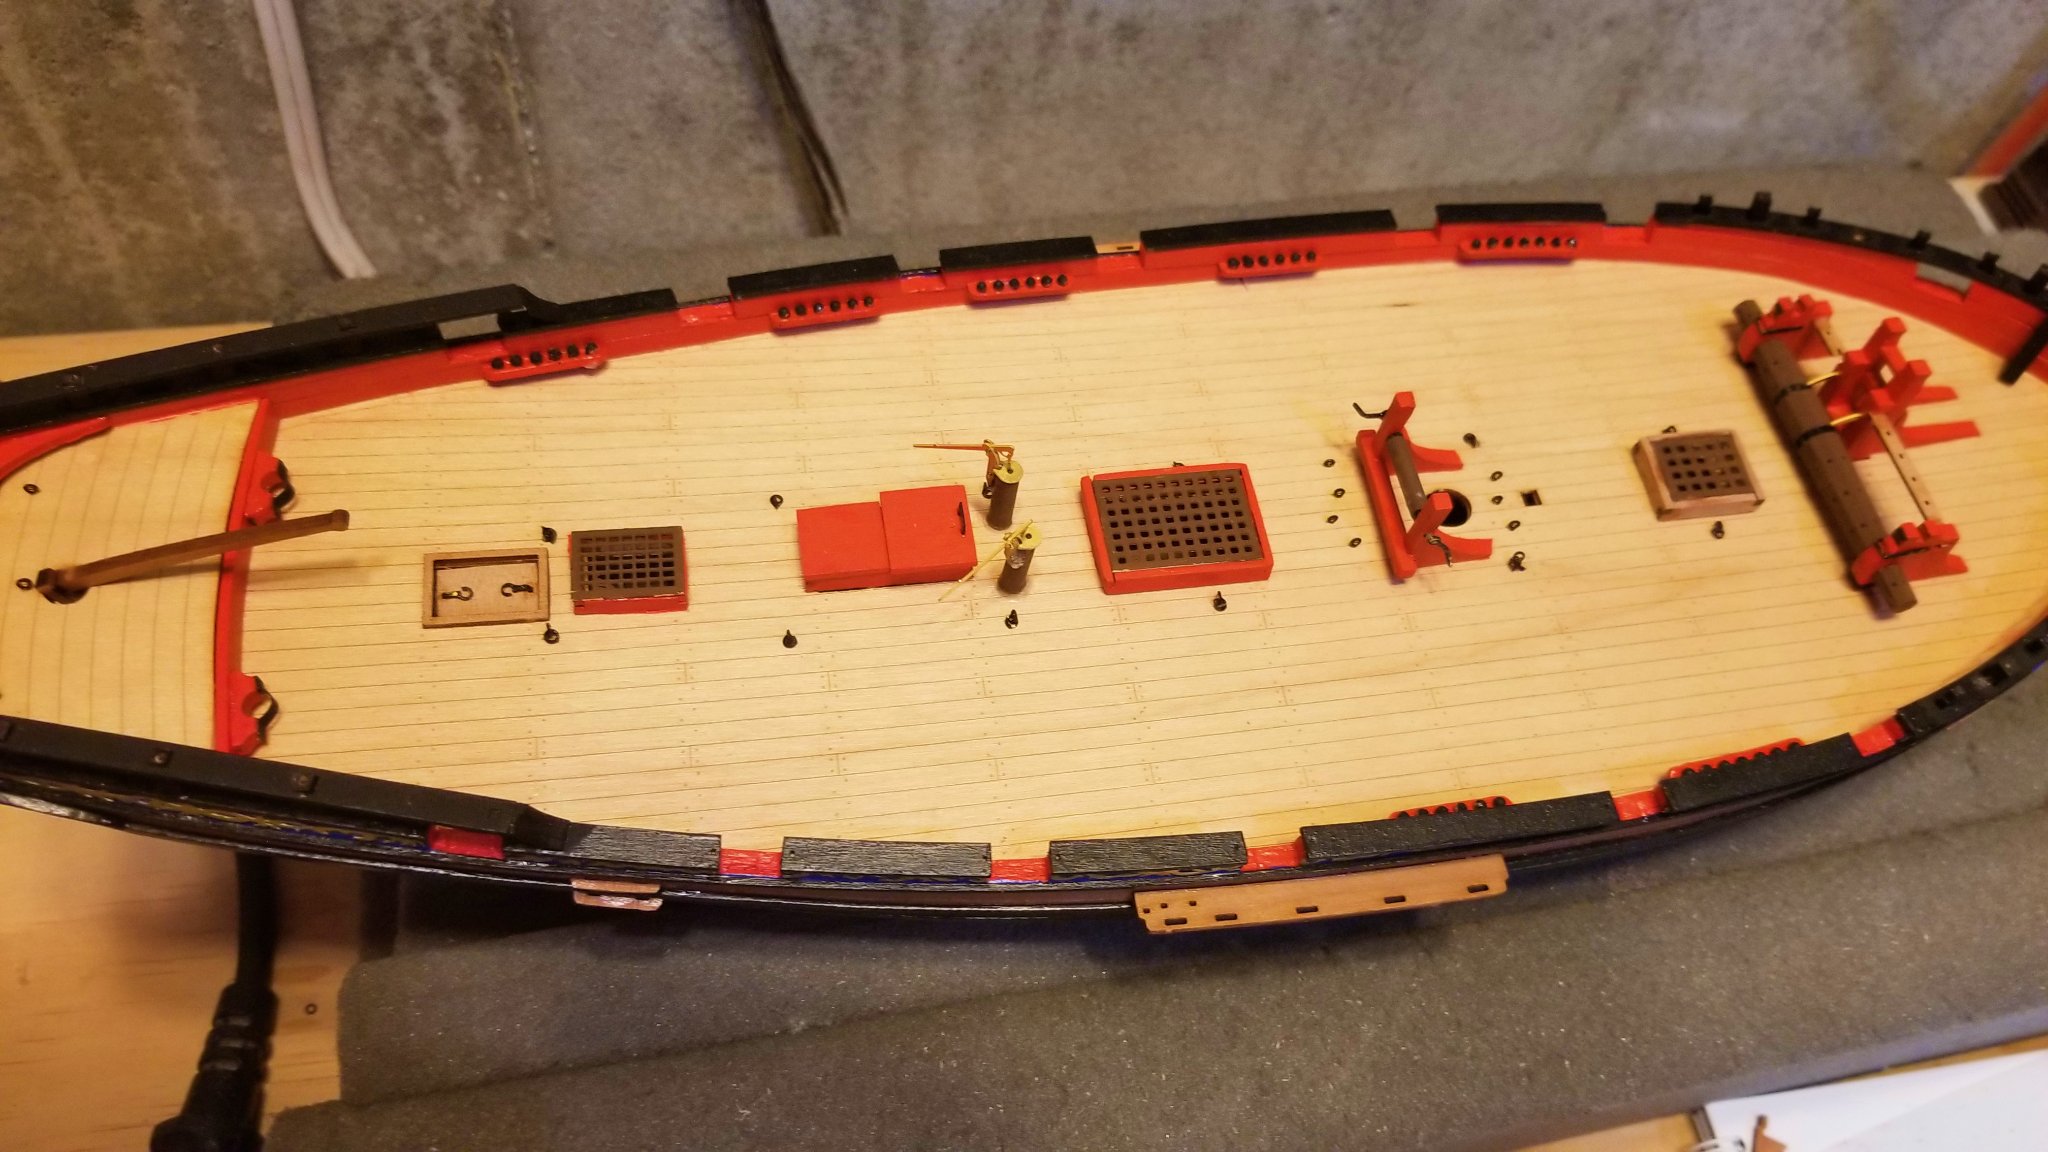
Deck fittings built and installed.
Regards,
David

- Wintergreen and Ryland Craze
-
2
-
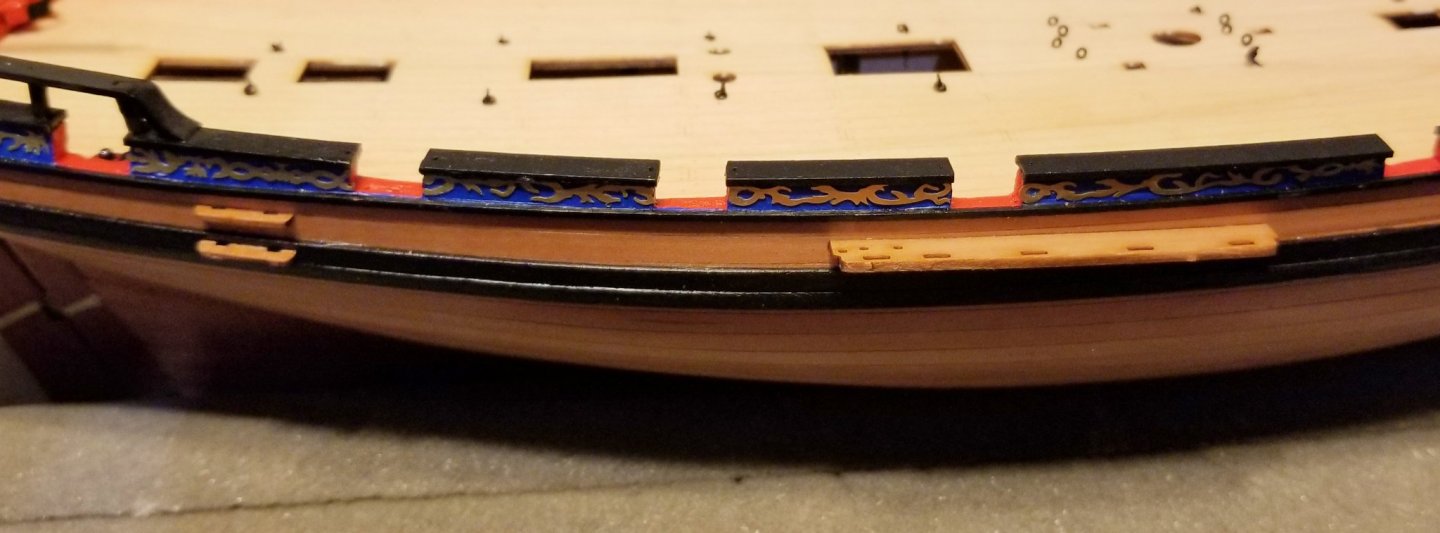
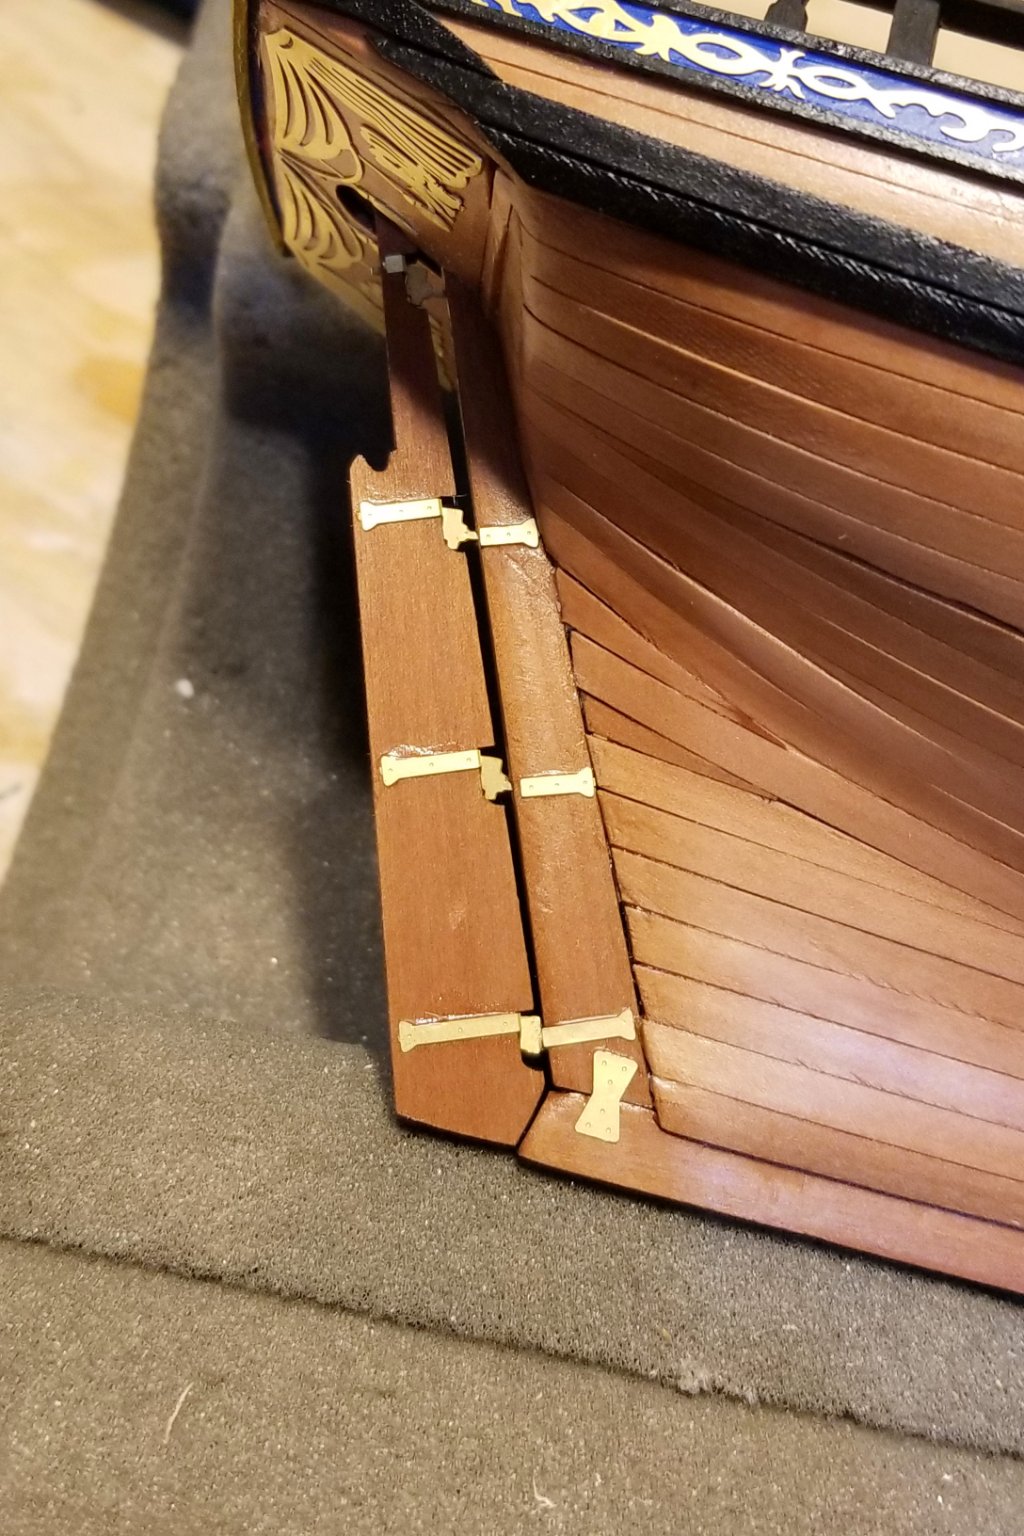
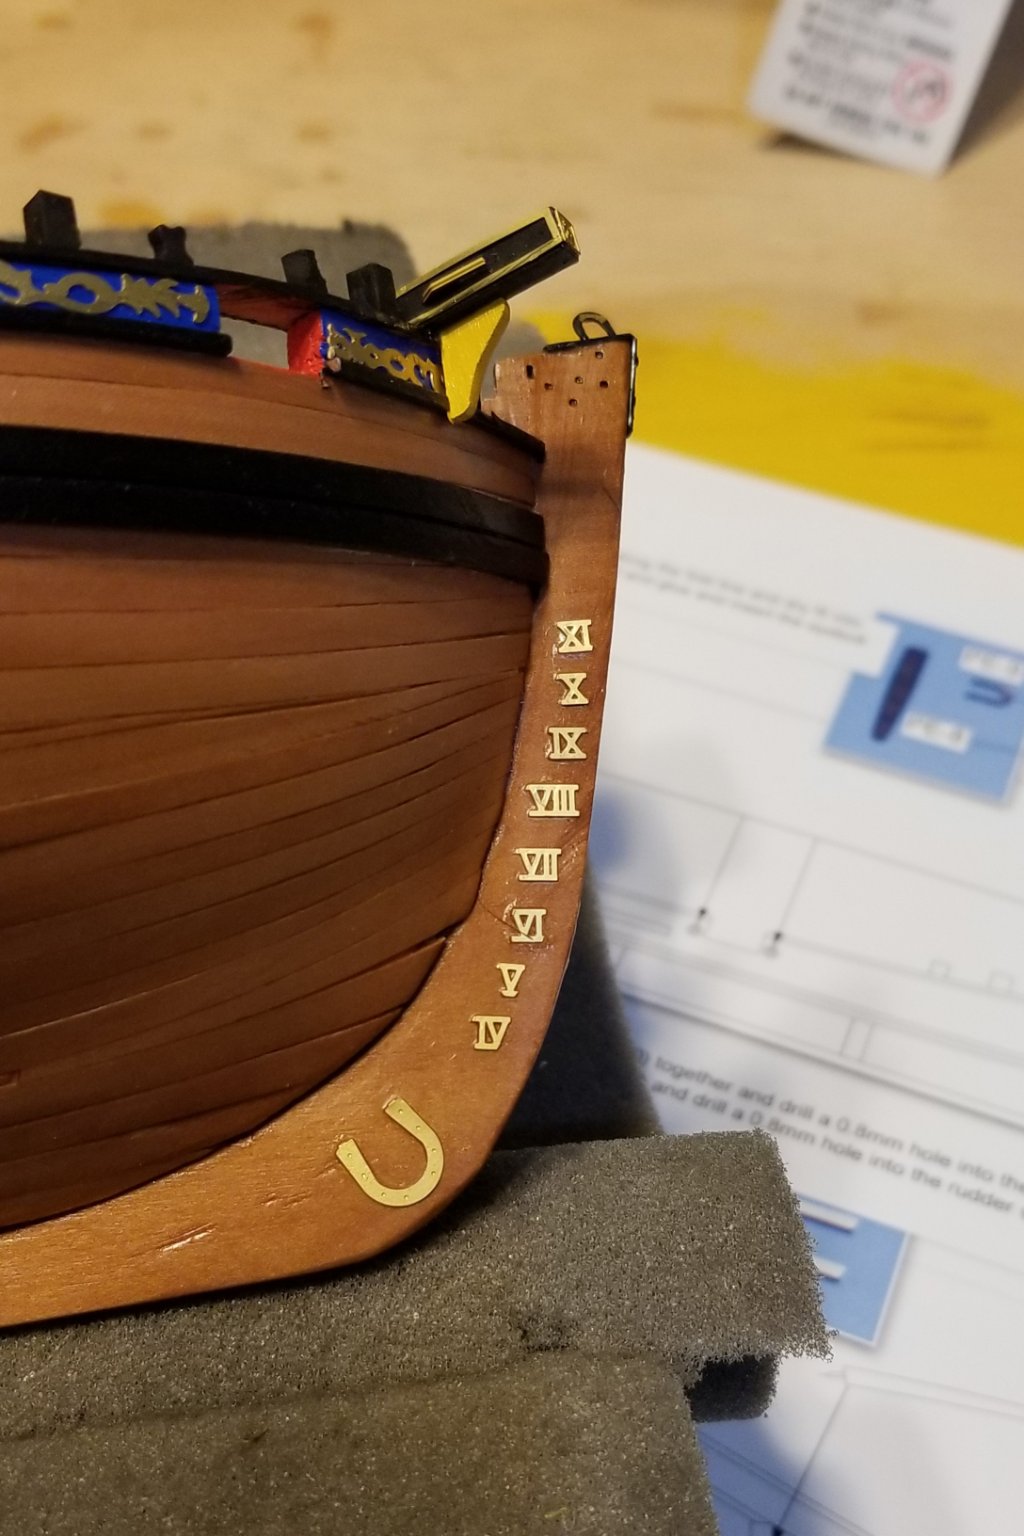
So my last post was January 2 just before I headed south to Florida for a few months, but now I'm back and have turned to the Alert again.
Pictures here of the rudder and tiller, the bow waterline decorations, and the channels and stern steps.
Regards,
David


- Wintergreen and zappto
-
2
-
Greg:
Depends on which ones you are talking about. The ones that I had difficulty with were the curved ones at the bow and forward cockpit. In fact, one of the stanchions broke off the railing and I had to glue it back on.
I did not heat them. Just bending and fitting.
Regards,
David
-
Hello, Brian.
I can't recall - but I would only have done so if they supplied balsa and called for it in the instructions. I use a steamer to take tension off the planks for bends like the ones you are referring to.
Good luck - it's a nice little kit.
Regards,
David
-
-
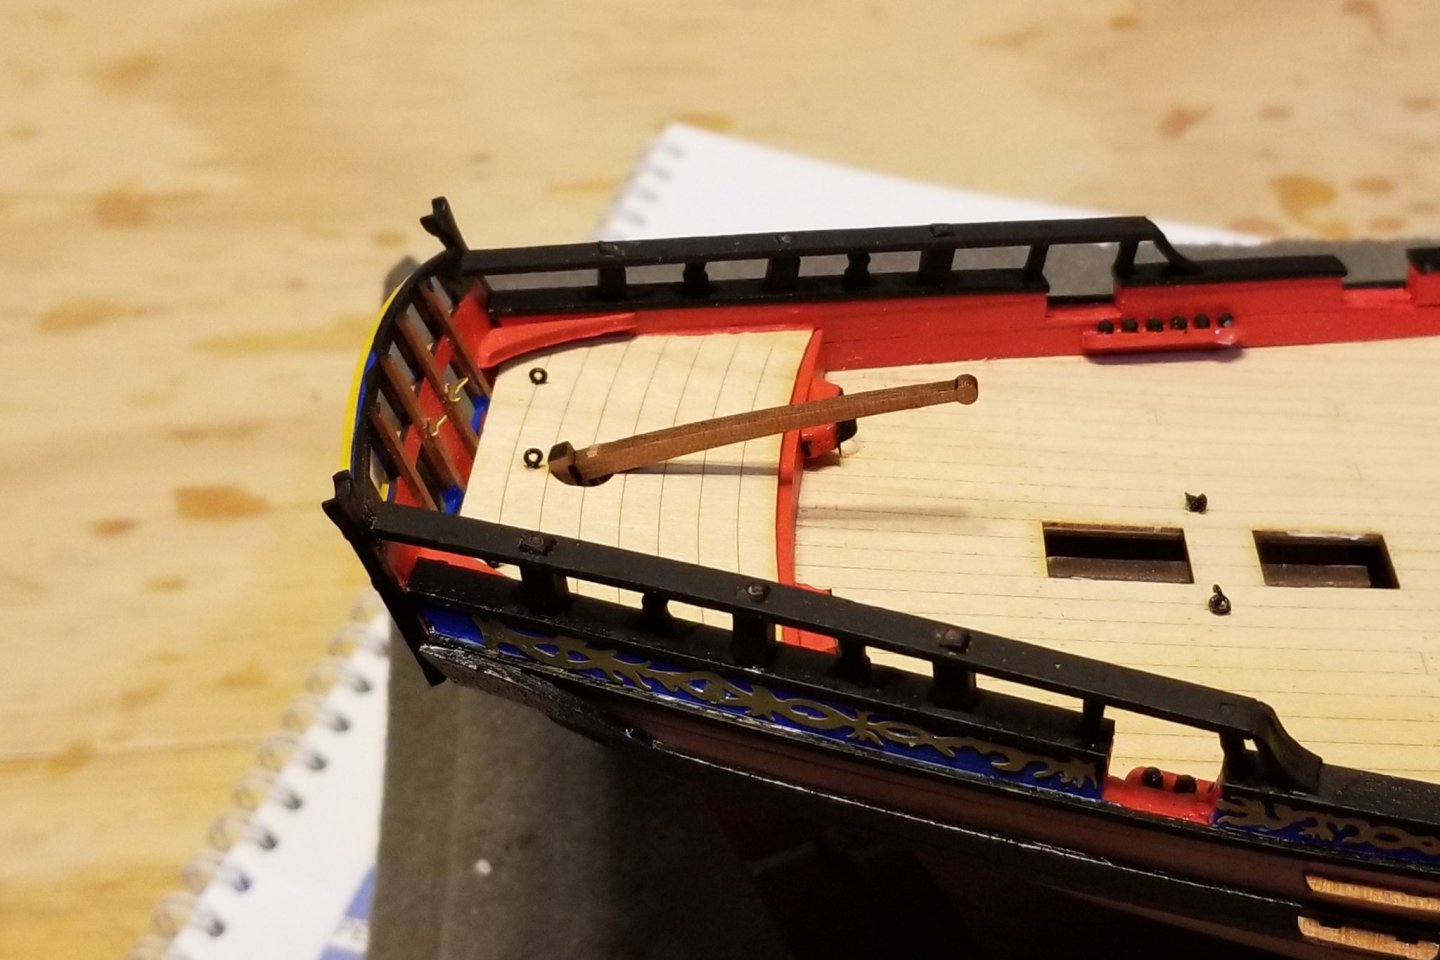
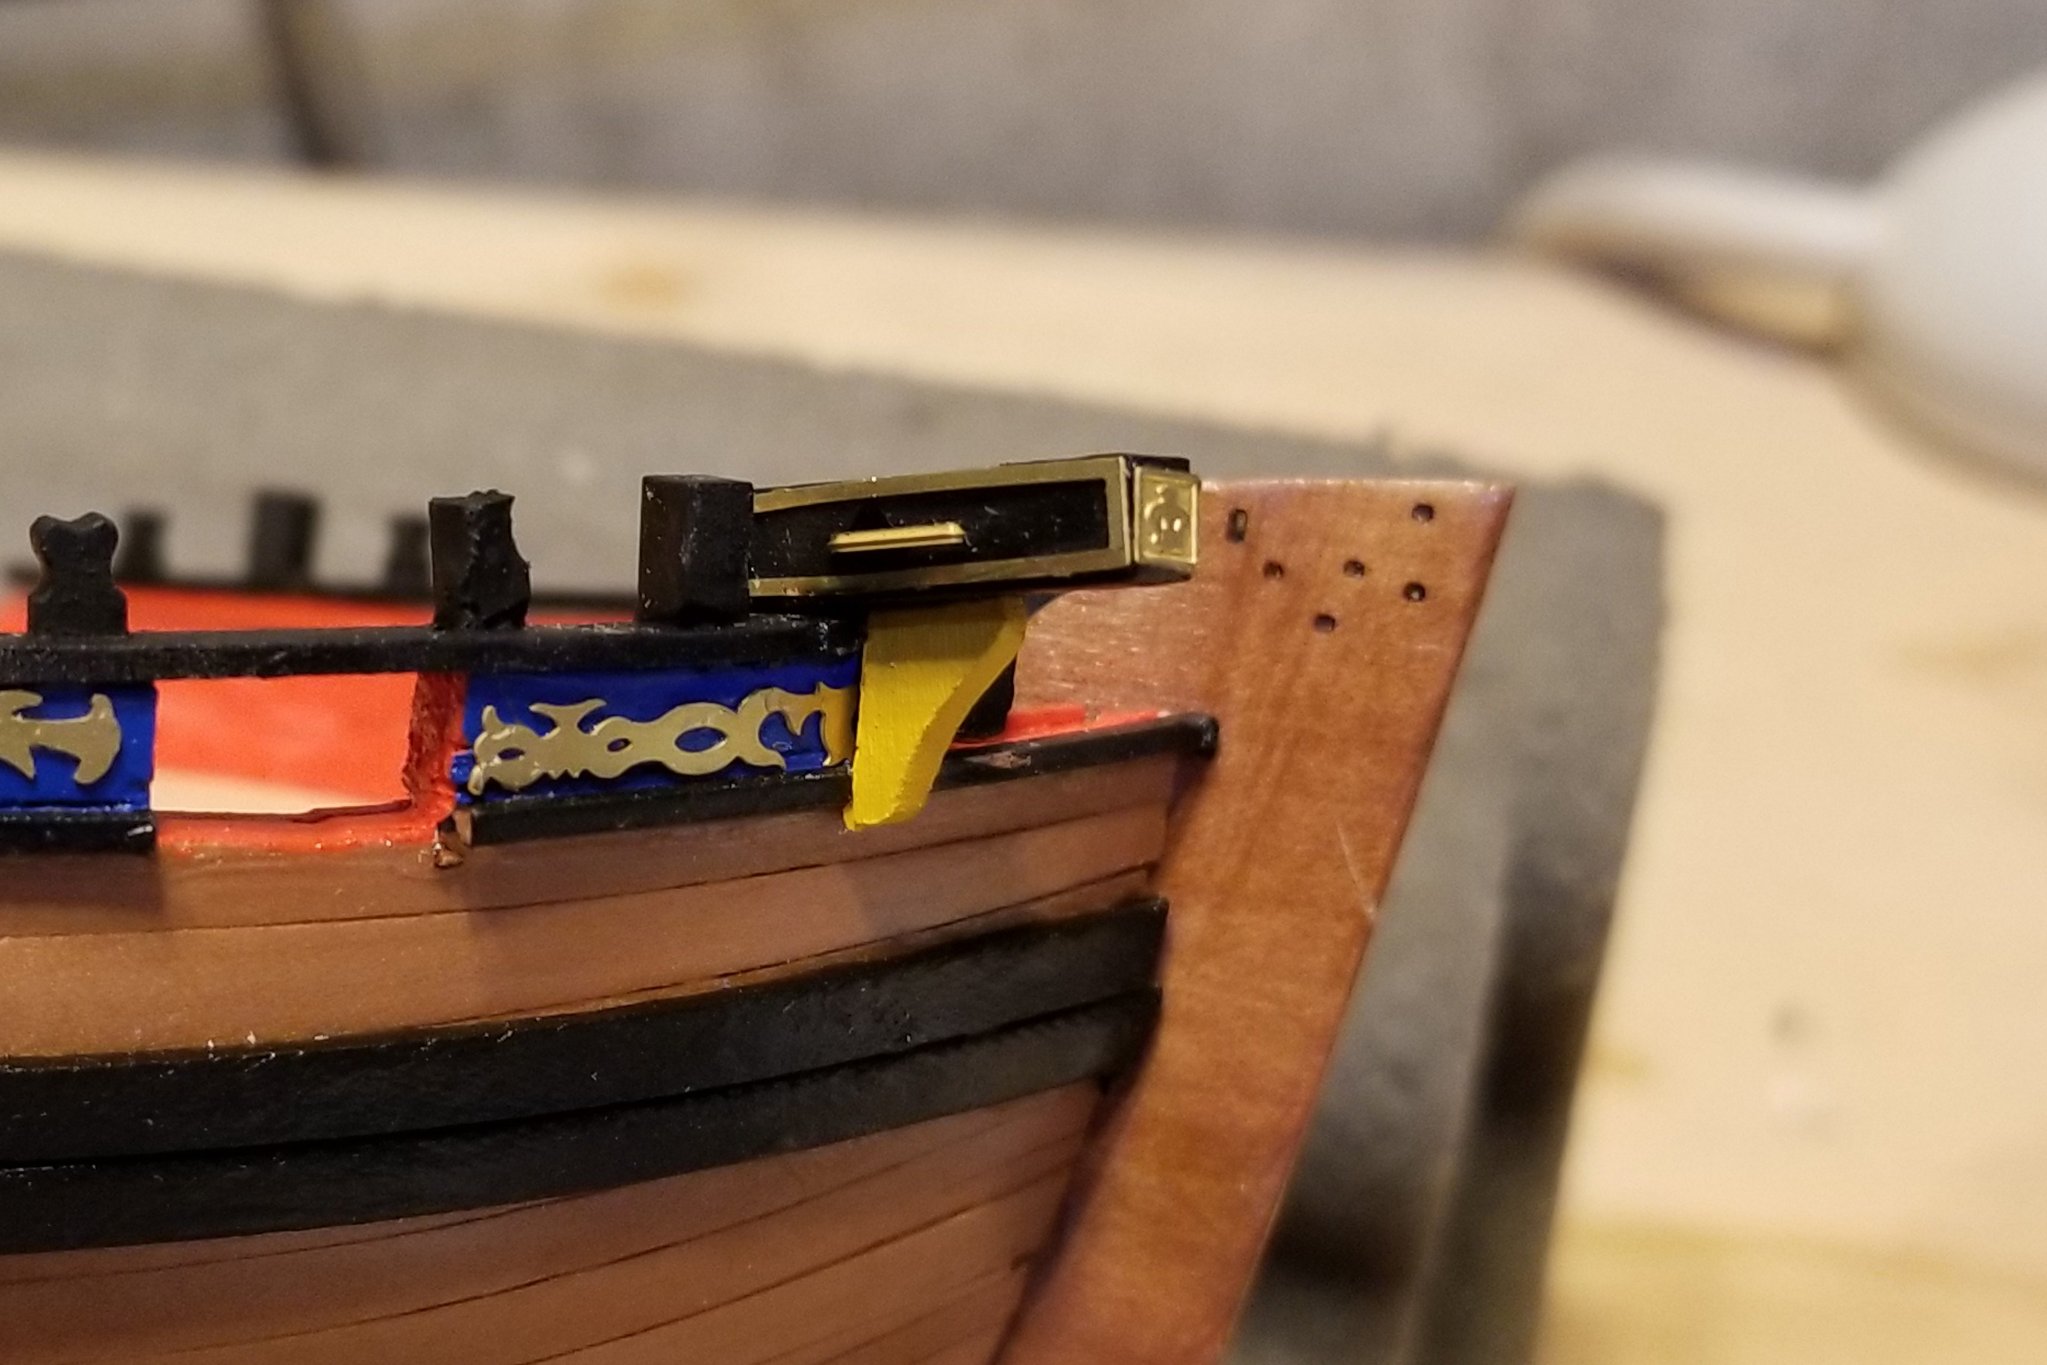
Added the catheads and all of the scrollwork. Some building notes:
- The hawse hole pieces next to the catheads are cut so that they fit perfectly -- if you fit them backwards from the way the manual says. So I had to sand down the bottom edges to get them to fit properly.
- The manual says to paint the scrollwork yellow. This is the same treatment (and same instruction) that Chris Watton used on the HMS Fly, which I also built. I love the look of brass, and don't see the point in painting it yellow -- so I left it plain (as I did on the Fly).
Regards,
David


- DPhilbrick and VTHokiEE
-
2
-
Tree Rail and Timberheads installed and painted.
All of the posts have to be sanded down to fit in the slots in the railings. I also found that it's best to install the posts in the top railing one at a time, align the first post and glue it, then trim the rail, then the next post and align that with the slot, glue it to the top, and so on. That way all of the posts align when you finally glue it down to the lower rail.
Regards,
David
-
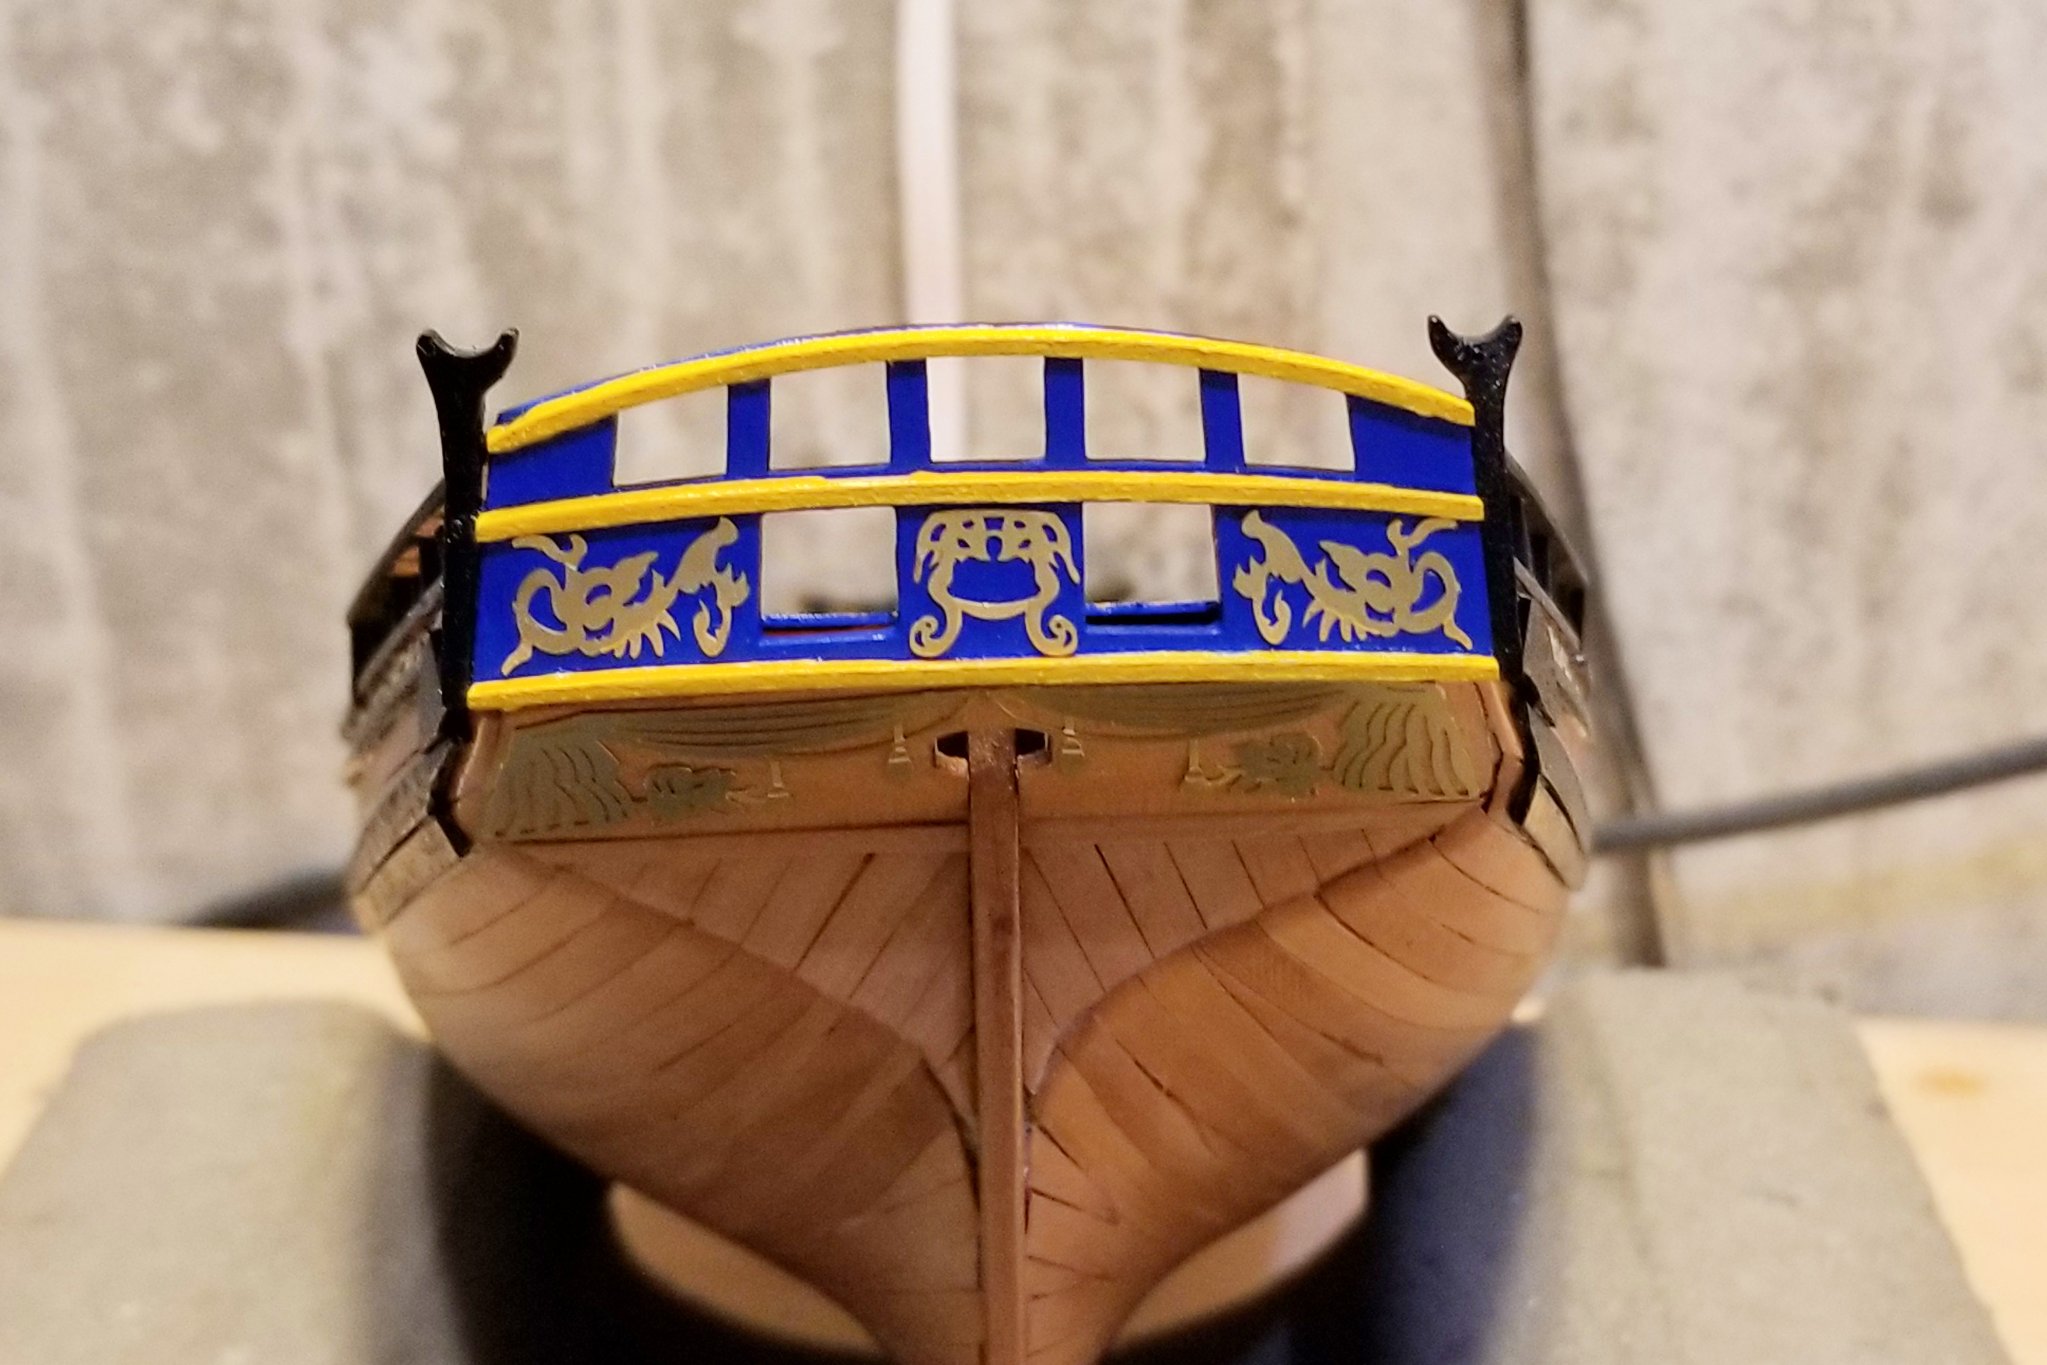
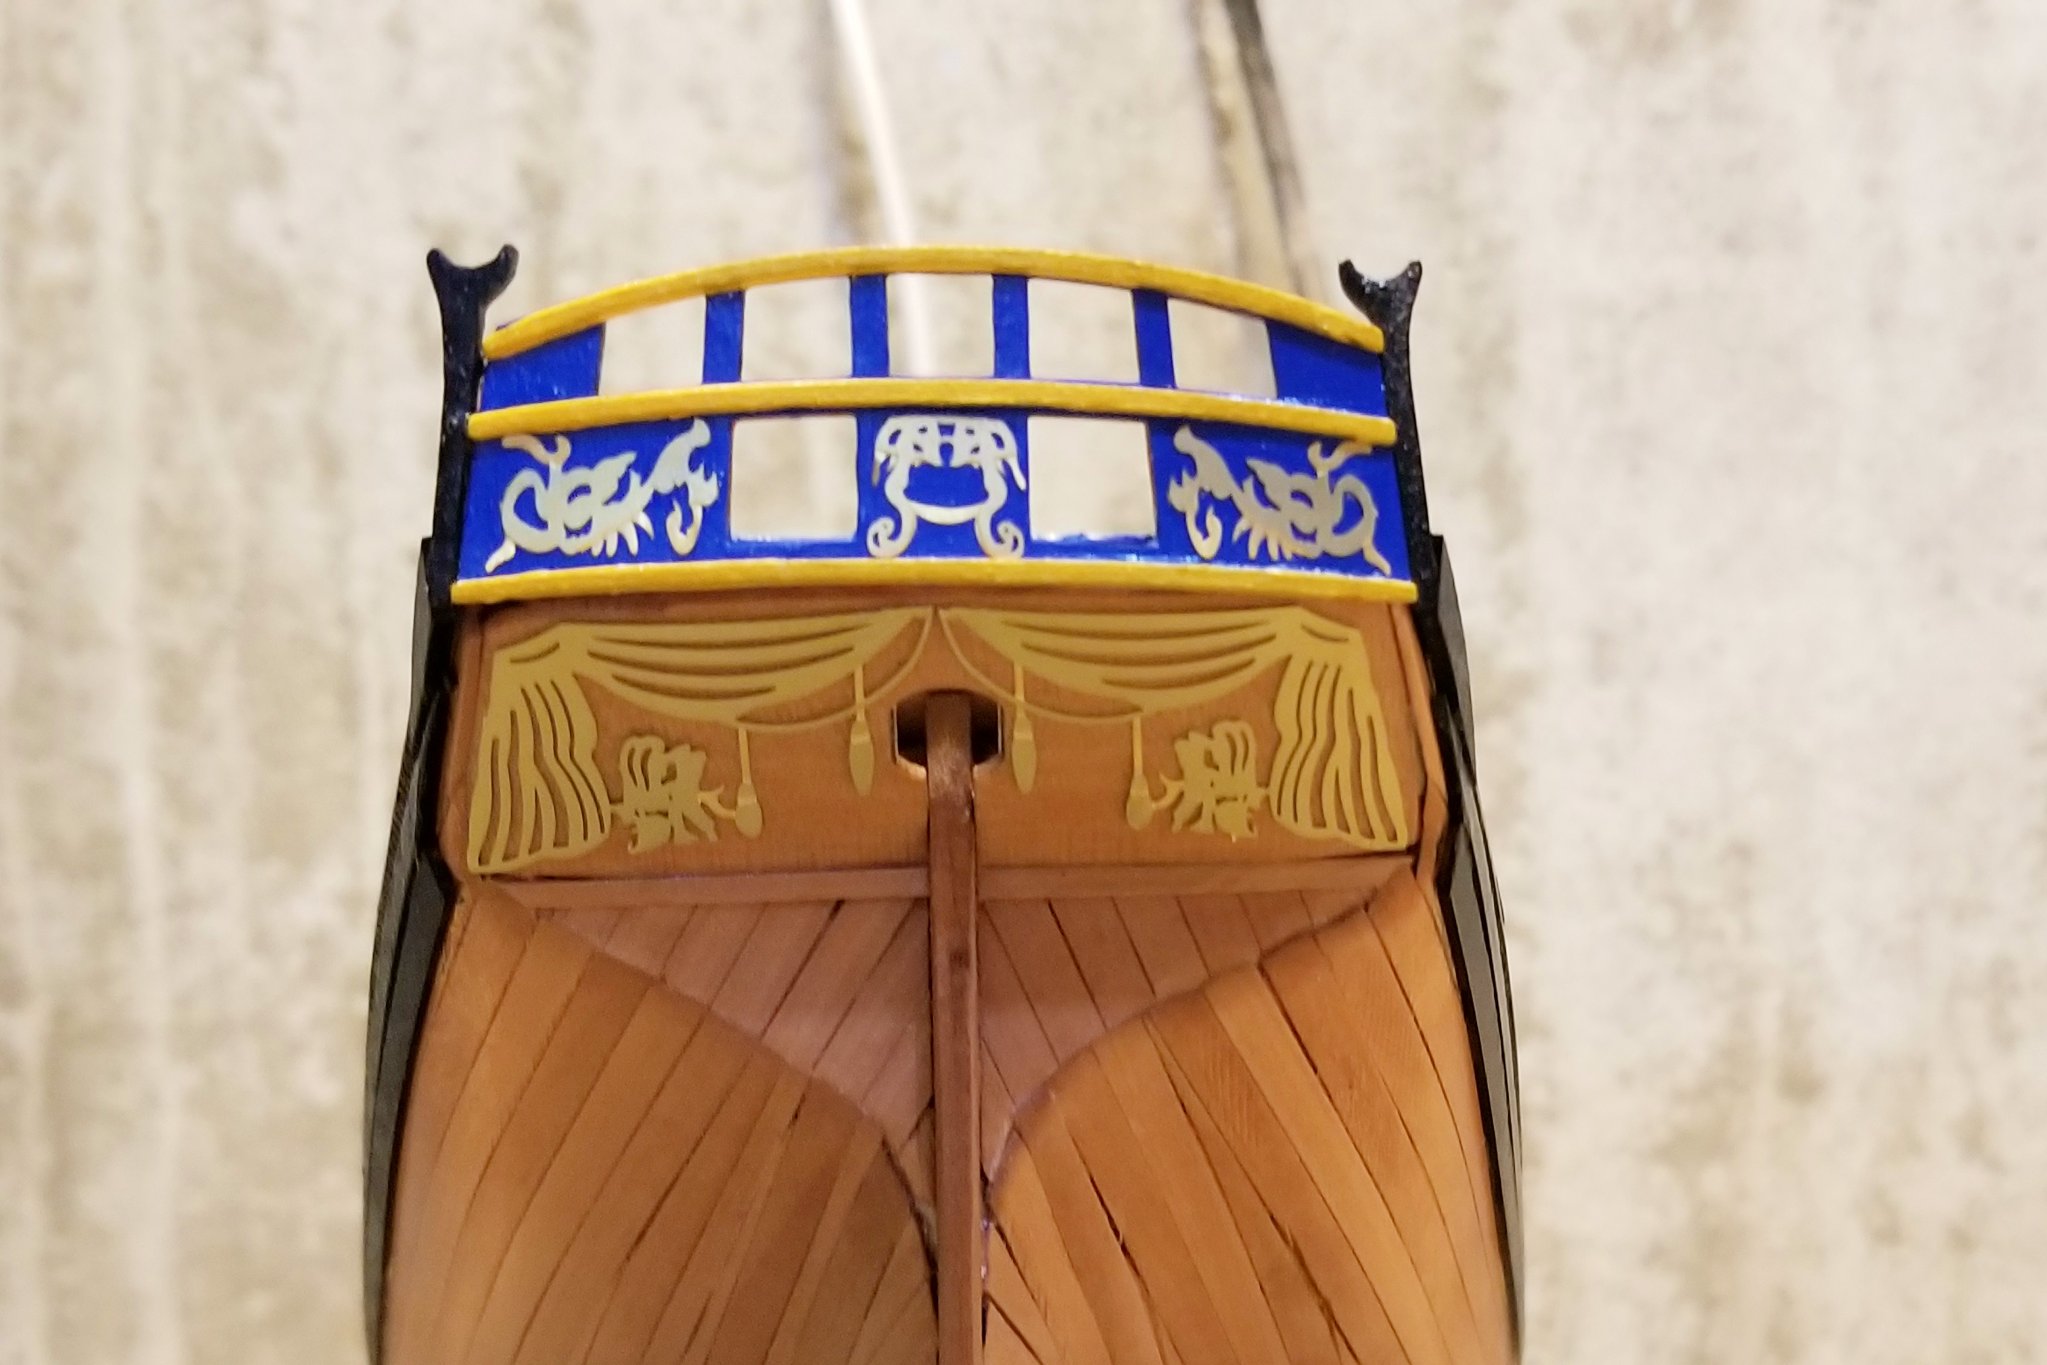
Stern transom assembled, painted and installed.
Regards,
David
- VTHokiEE, Edwardkenway, catopower and 3 others
-
6
-
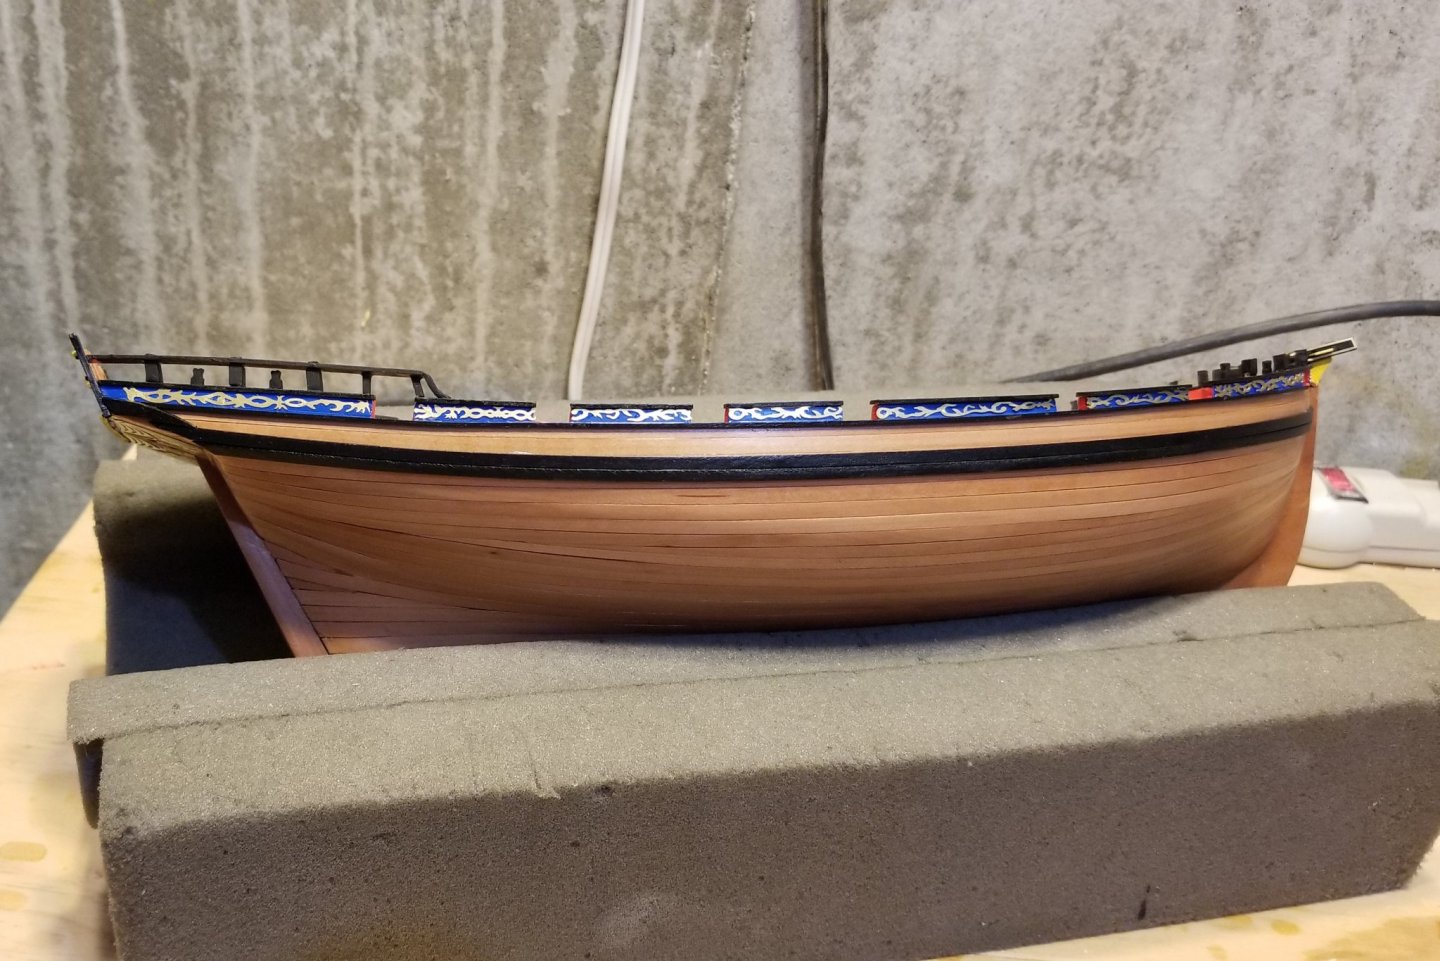
Main wale now added.
Regards,
David
- Jorge Hedges, bruce d, Edwardkenway and 2 others
-
5


HM Cutter Alert by drobinson02199 - Vanguard Models - Scale 1:64
in - Kit build logs for subjects built from 1751 - 1800
Posted
Hi Killickthere:
I don't have my manual any more to check, but I just looked at the pictures on the Vanguard site and they are not rigged on the model pictured. But there are eyebolts on each side of the cannon carriages for rigging, which I did install, so you can certainly do it yourself if you have some spare hardware -- and there may be enough spares in the kit to do it. I still have eyebolts left over (they are photo-etched brass).
Hope this helps.
Regards,
David