


drobinson02199
-
Posts
917 -
Joined
-
Last visited
Content Type
Profiles
Forums
Gallery
Events
Posts posted by drobinson02199
-
-
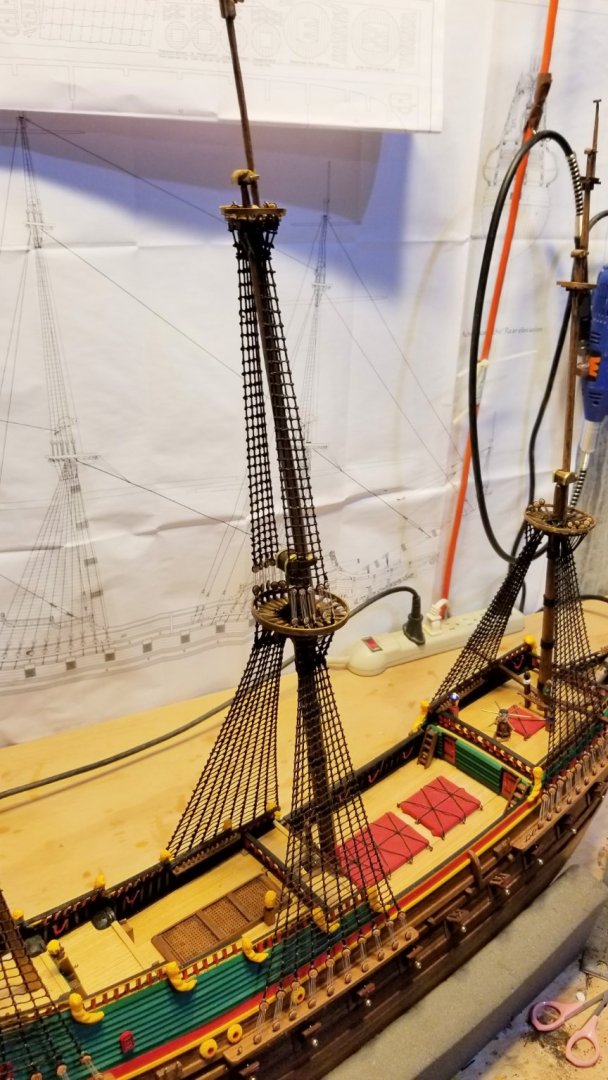
Completed all of the stays. Now on to the yards, anchor, and stern light.
Regards,
David

-
-
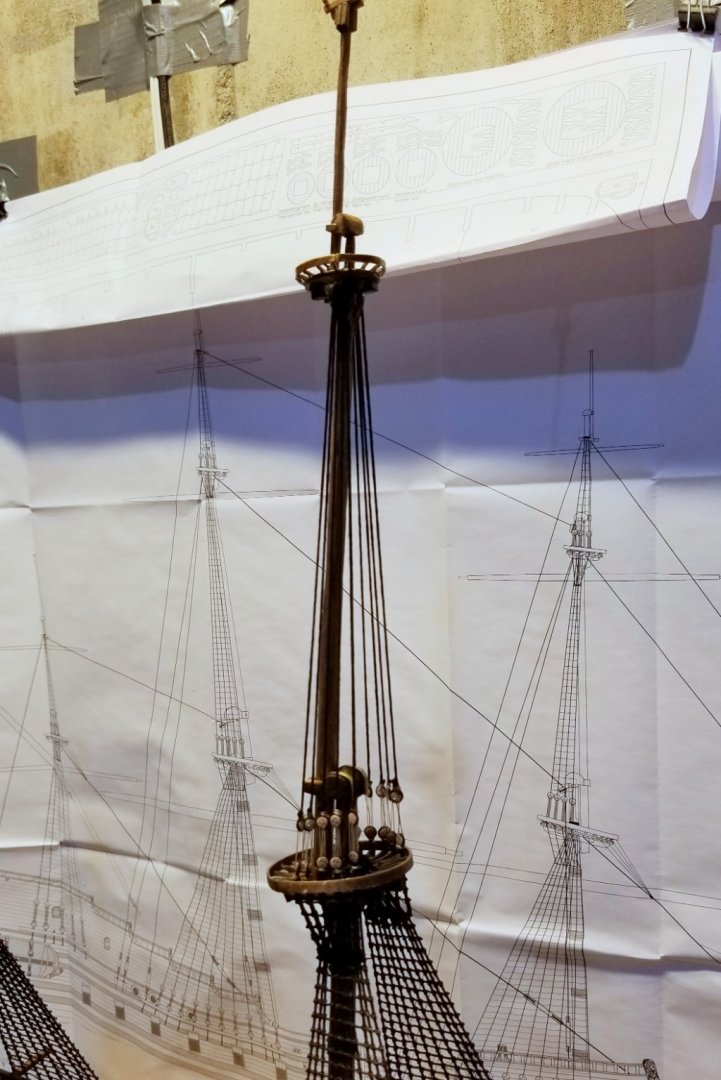
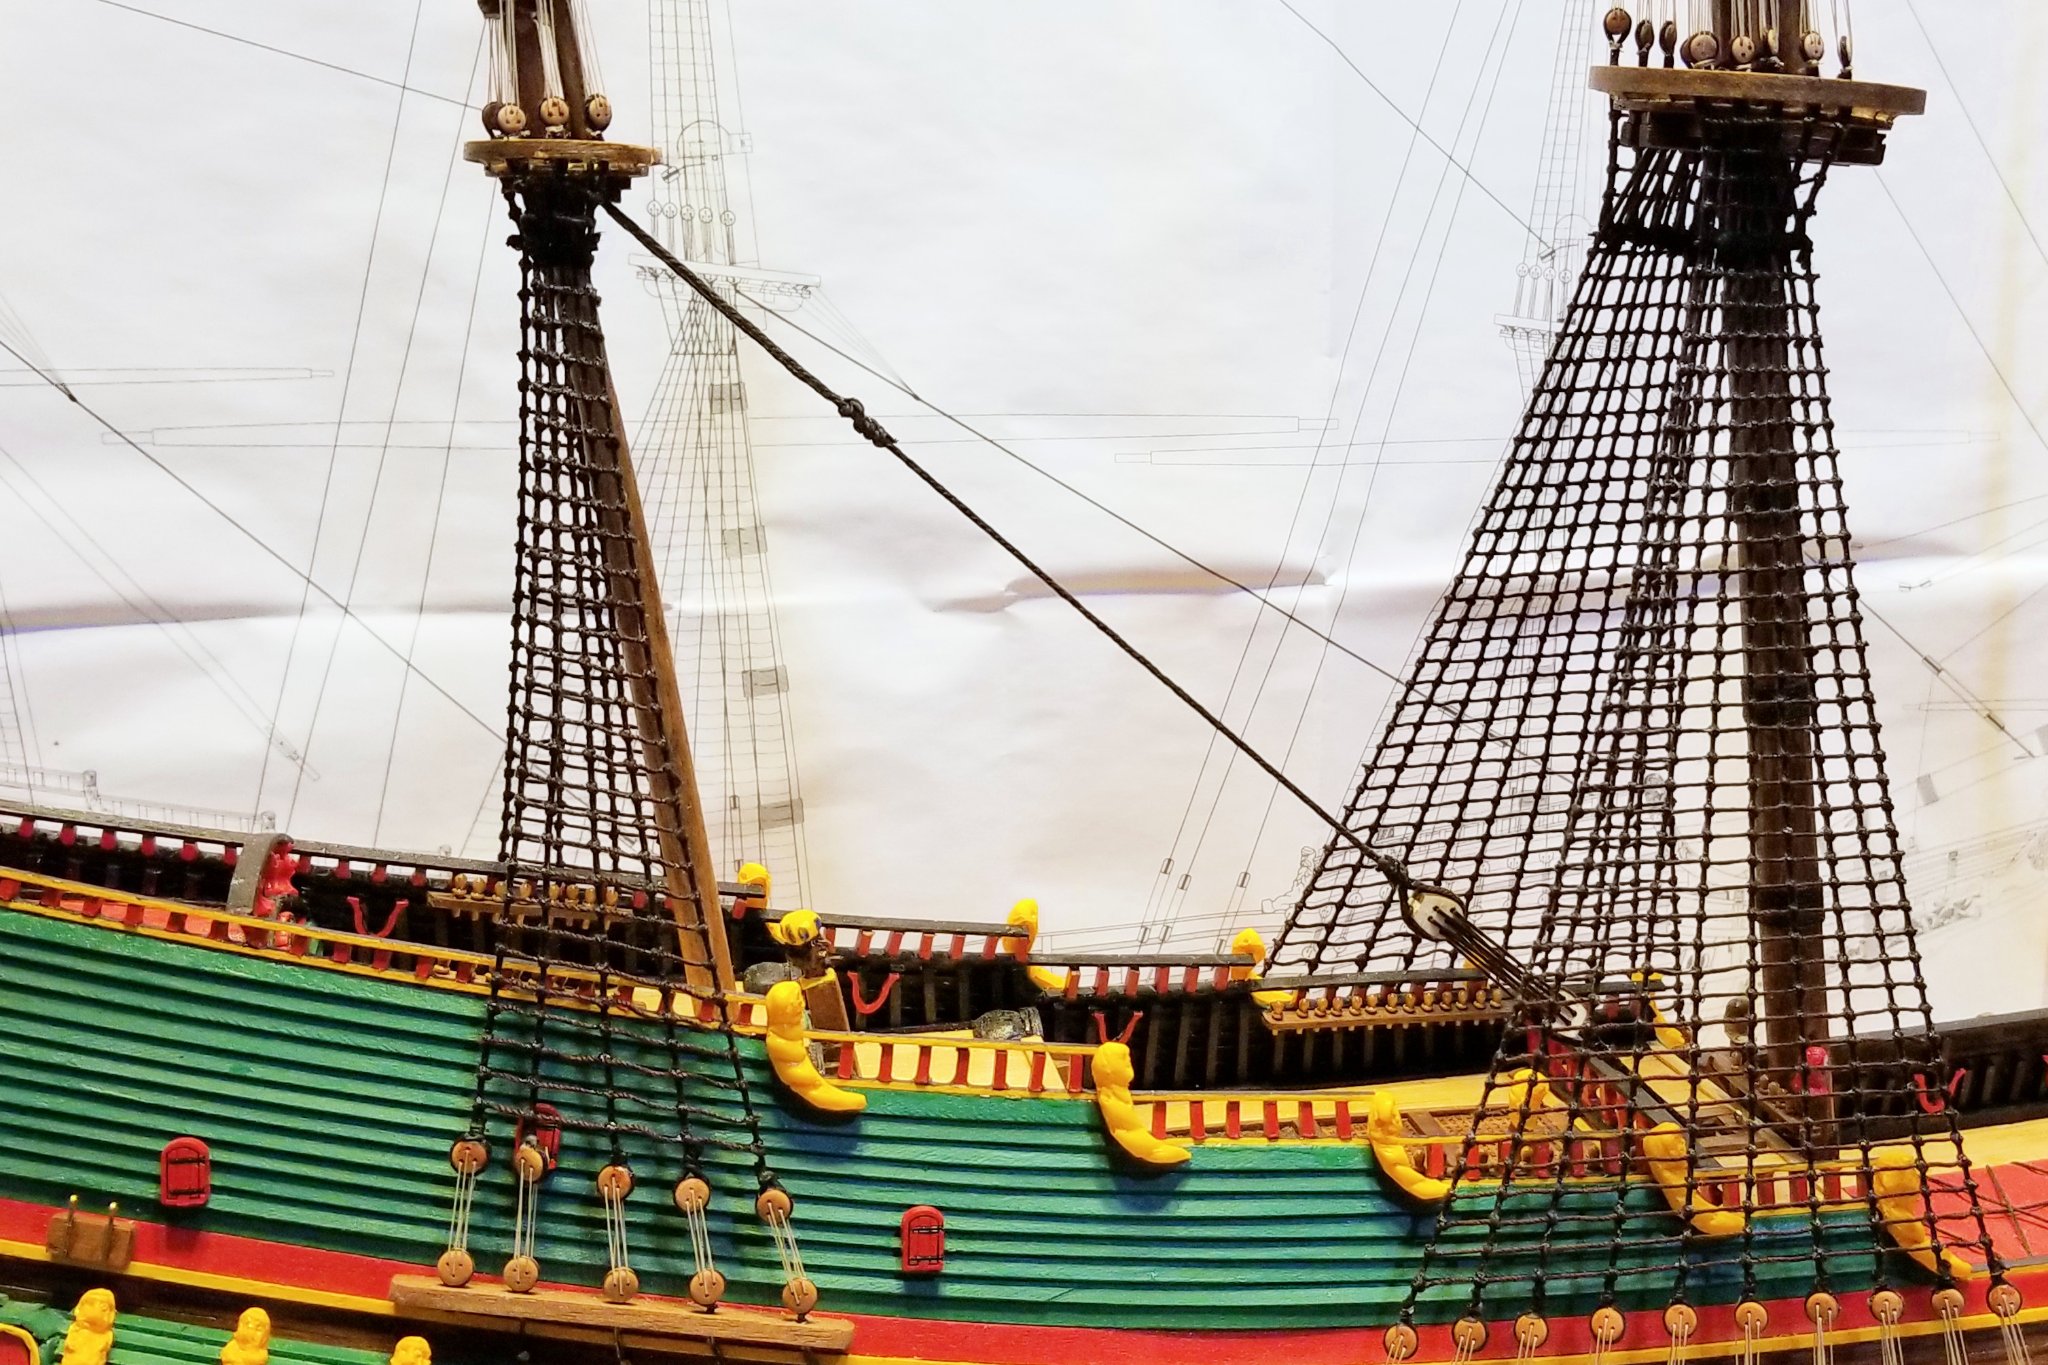
Now all 3 of the large forestays are done. Work goes faster now that the shrouds and ratlines are done.
Regards,
David


-
Installed the mizzen mast forestay.
Regards,
David


- sapperred1, Moab, marktiedens and 3 others
-
 6
6
-
Finally, all shrouds and ratlines done. I looked back at my log, and I've been working on shrouds and ratlines for 3 months! That's not so much a reflection of kit difficulty as it is my slower work pace (I've been reading more during the pandemic).
One tip for others: the deadeye holes are very small, and a thinner line is needed for those than what's shown on the plans. I used some leftover thin white that I had from a previous kit (Revenge).
One thing about that white line is that it leaves a sloppier tie-off than I would like (someone with better skills would have done it better). So I decided to dress those tie-offs with black paint, and the result is shown in before and after pics below.
Now on to the stays!
Regards,
David


- marktiedens, PeterB010, Edwardkenway and 1 other
-
4
-
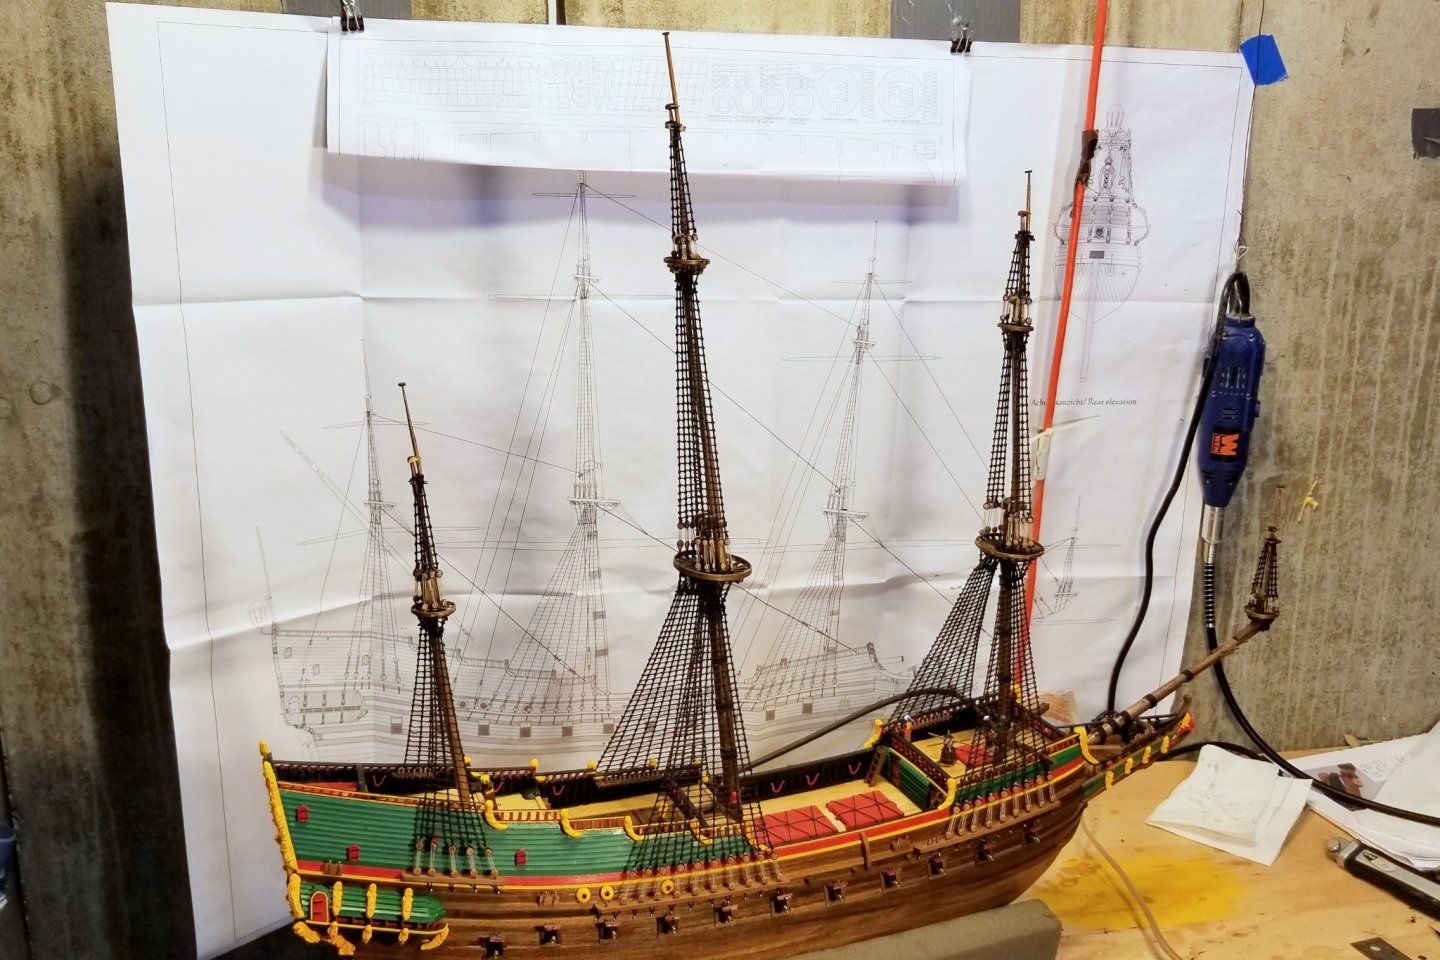
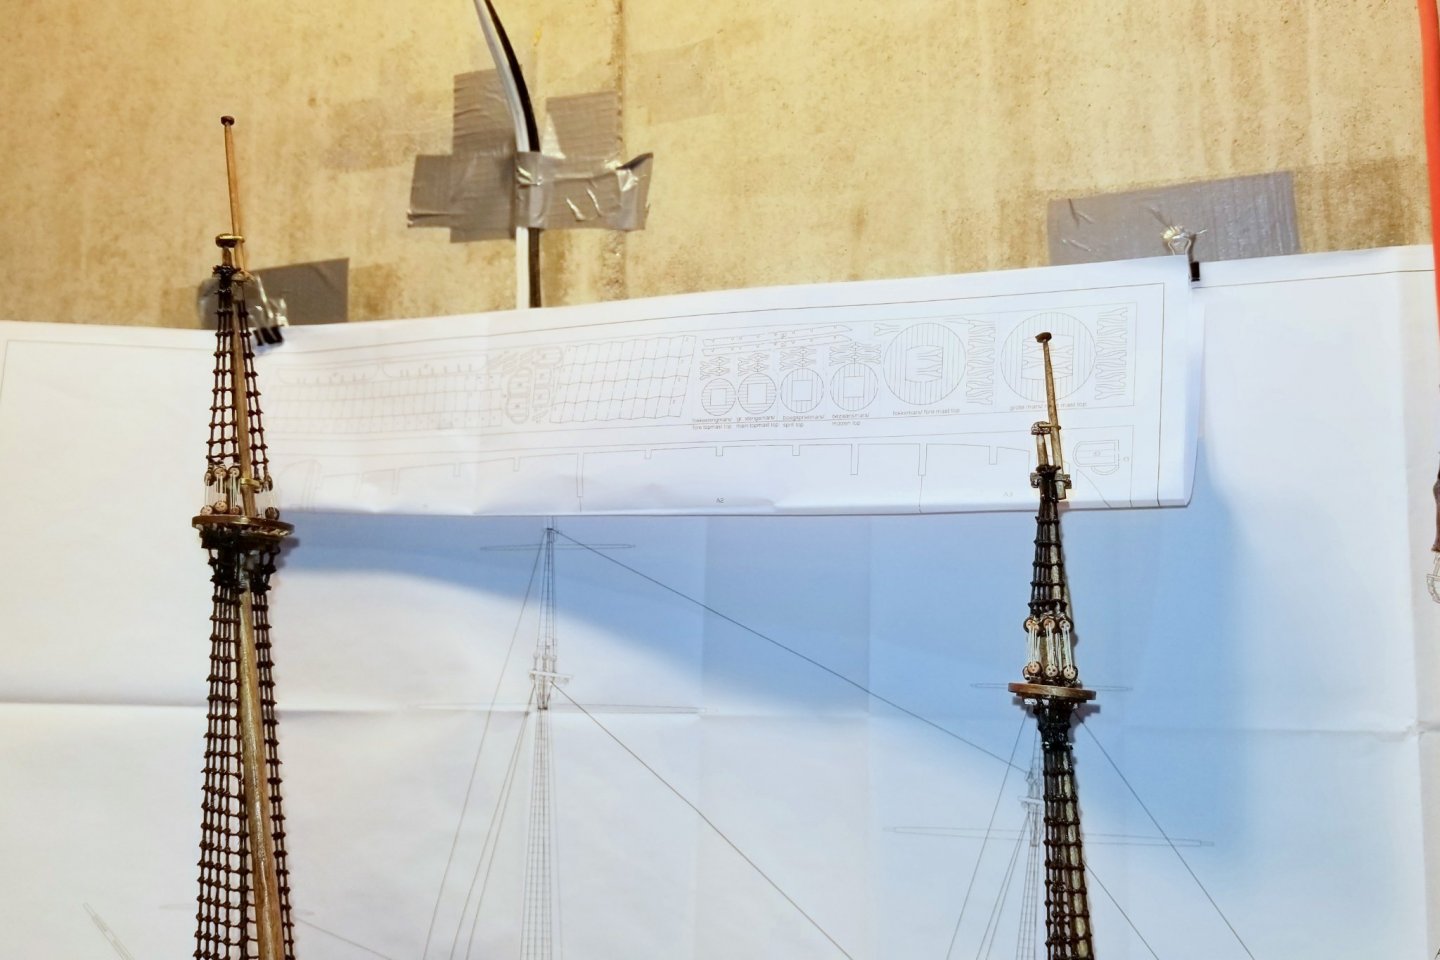
Midmast shrouds and ratlines completed. Now just need to get two tops.
Regards,
David


-
It's been a while, so I looked at my spray paint cans, and I THINK . . .
- The blue on the hull is RustOleum Painters Touch 2X Ultra Cover Satin Ink Blue
- The white is same paint, Blossom White
I haven't painted anything else that color blue, so I think that's right. Any bright white will do for the white part.
Regards,
David
-
Main mast upper shrouds and ratlines done.
Regards,
David
- Edwardkenway, Moab, marktiedens and 2 others
-
5
-
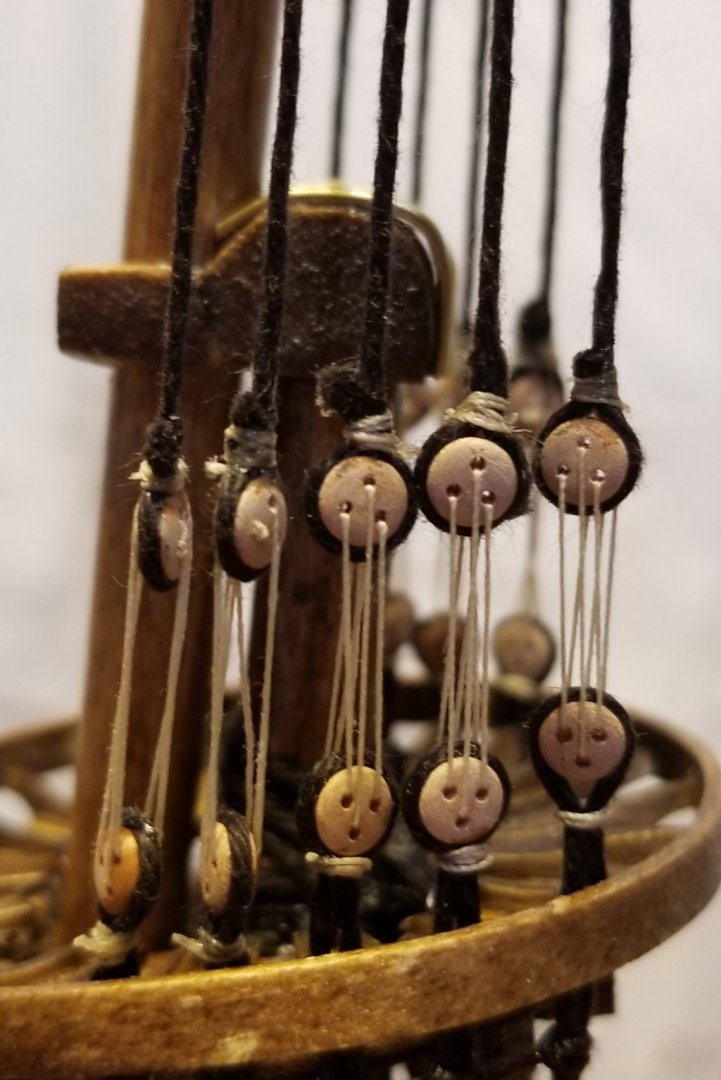
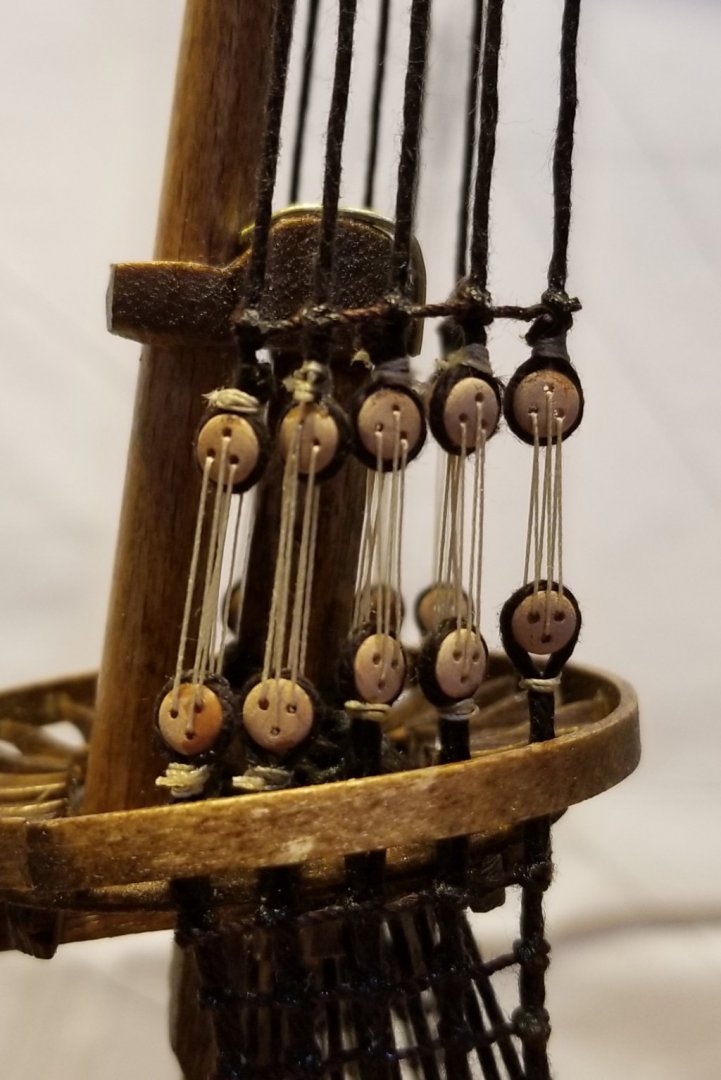
Started working on the upper main mast shrouds and ratlines.
One issue with these is that the lower deadeye in each pair is mounted with thread, which leads to a lot of swivel. That in turn leads to upper deadeyes that are aligned vertically, but that don't face forward uniformly. That is shown in the "before" closeup pictures.
The way I solved this was to carefully install the first ratline by aligning each shroud and then gluing the ratline knot before going to the next shroud. That got the upper deadeyes to face mostly forward as you can see in the "after" closeup pictures.
Regards,
David

- PeterB010, Edwardkenway, Moab and 1 other
-
4
-
Built the mizzen mast and completed the lower shrouds and ratlines.
Now I have 5 more double sets of shrouds and ratlines to do before moving on to the stays.

Regards,
David

- ObviousNewbie, Moab, PeterB010 and 1 other
-
4
-
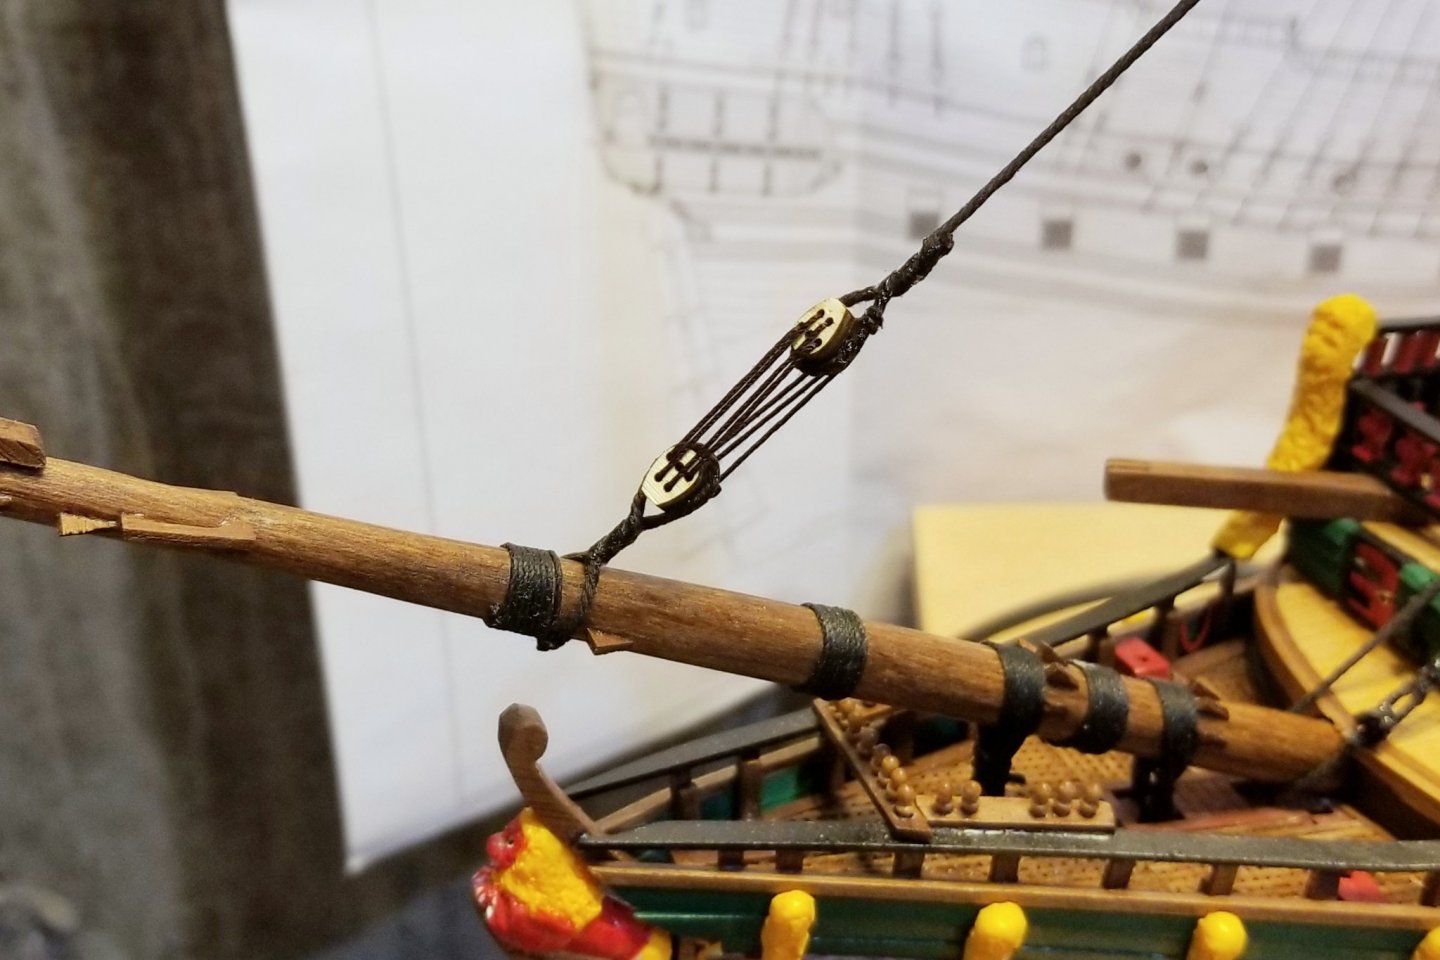
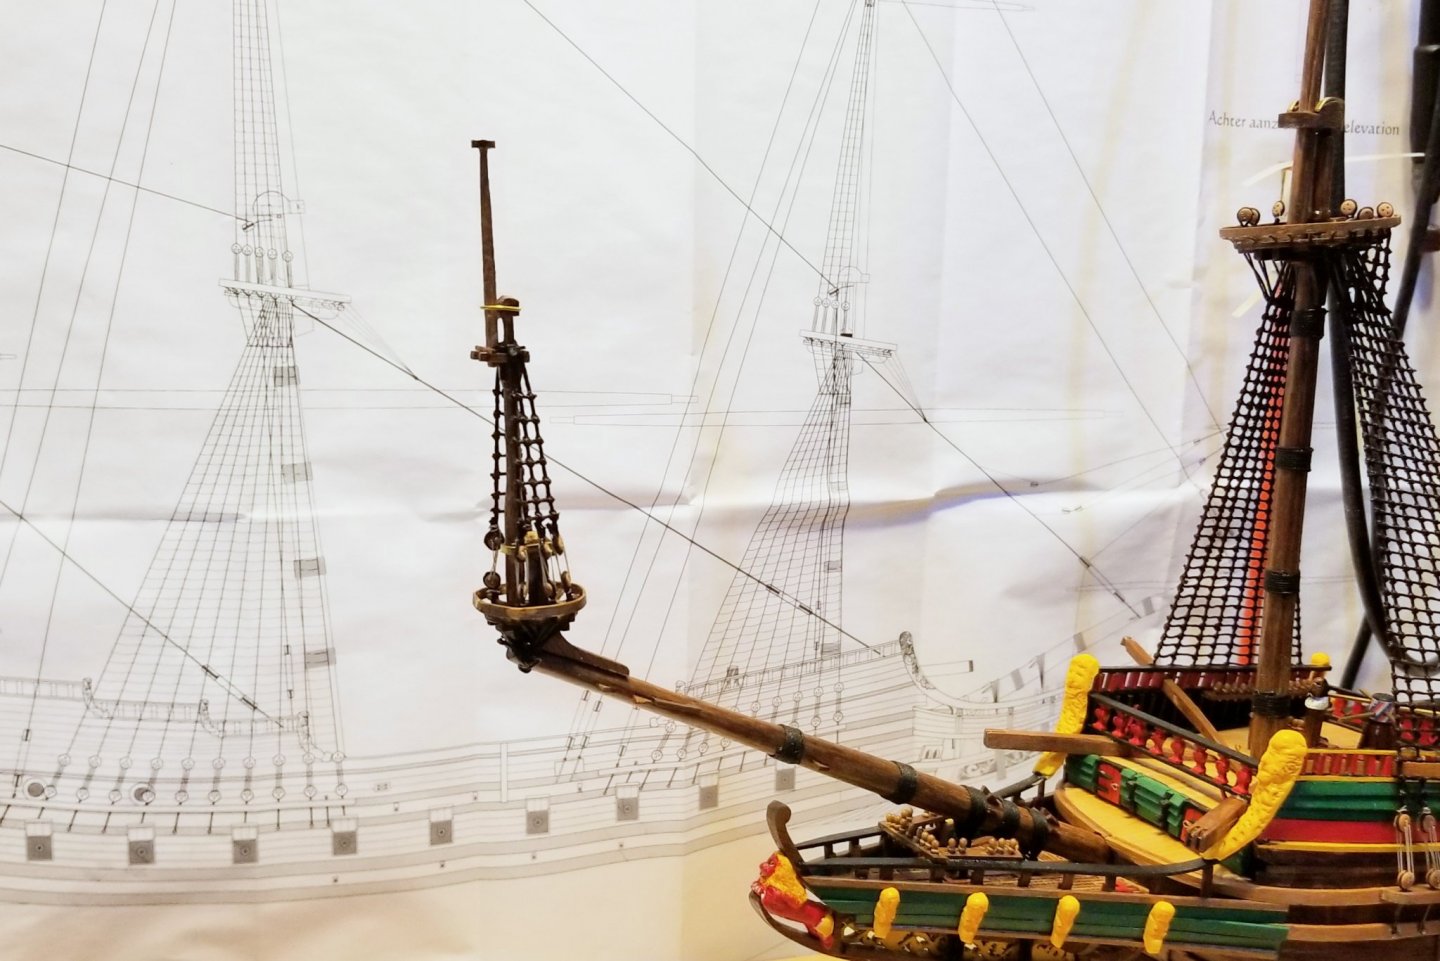
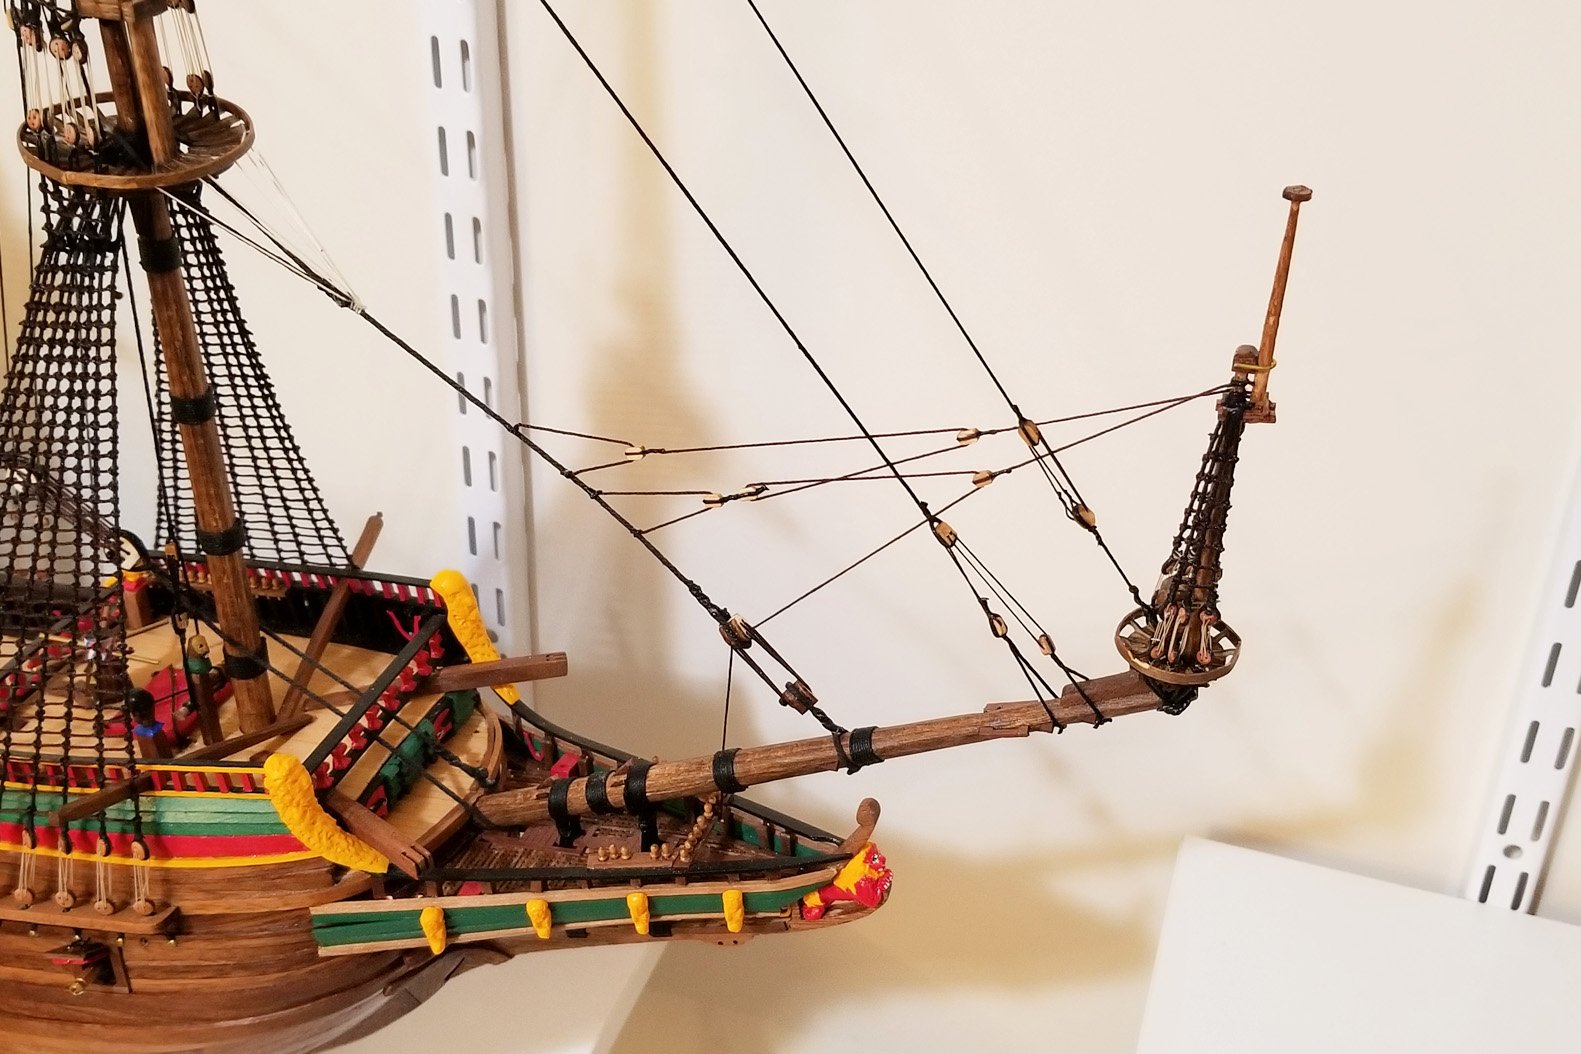
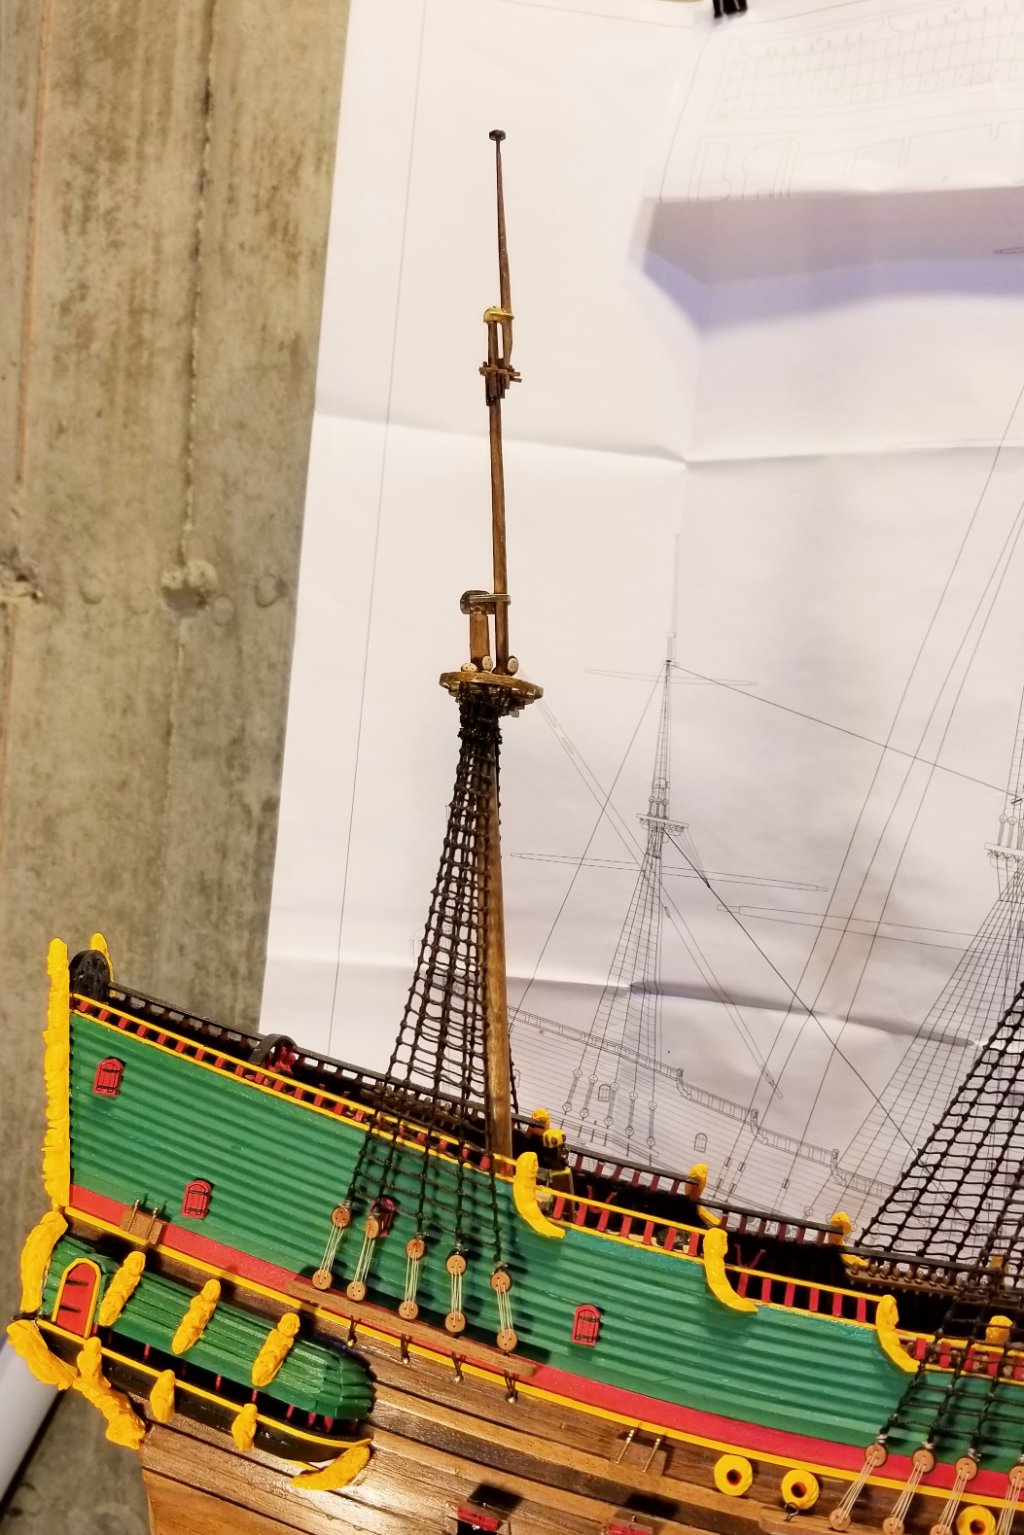
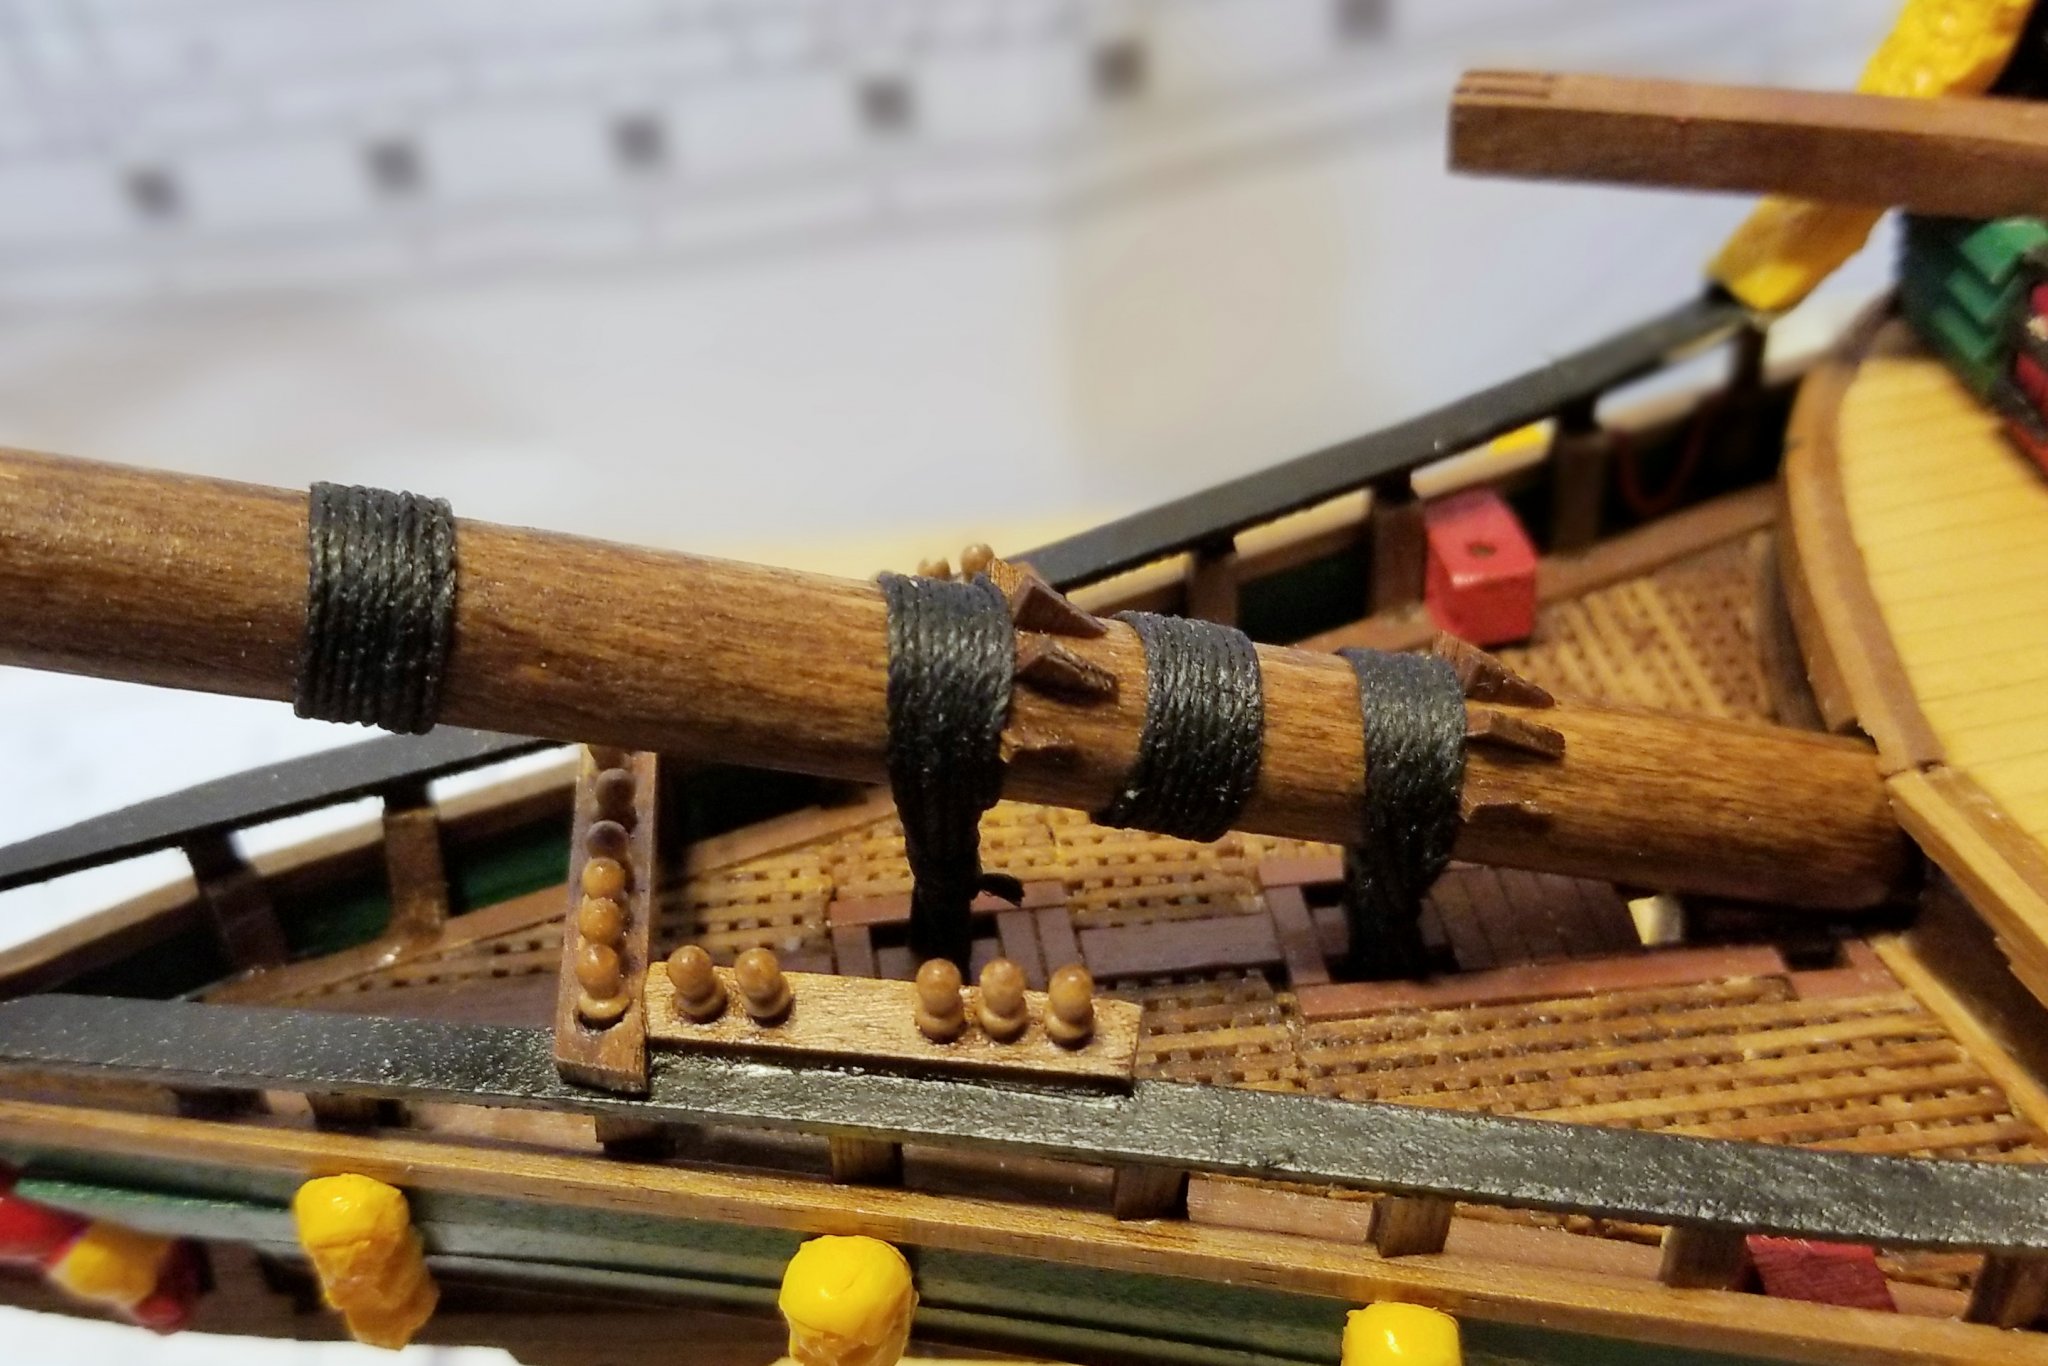
Finished the bowsprit (see pics), which is really interesting with the small mast & shrouds at the end.
I was looking at this and thinking about the spritsail, which on the real ship must have put a lot of torque on the sprit in high winds. Looking at the rigging plans, I don't see a lot of side bracing, but I may not be looking closely enough.
Regards,
David

-
Finally finished the foremast shrouds and ratlines. Goes slower than I recall from other ships -- possibly because I'm tying the knots correctly on this ship!

Regards,
David
- PeterB010, zappto, Edwardkenway and 3 others
-
6
-
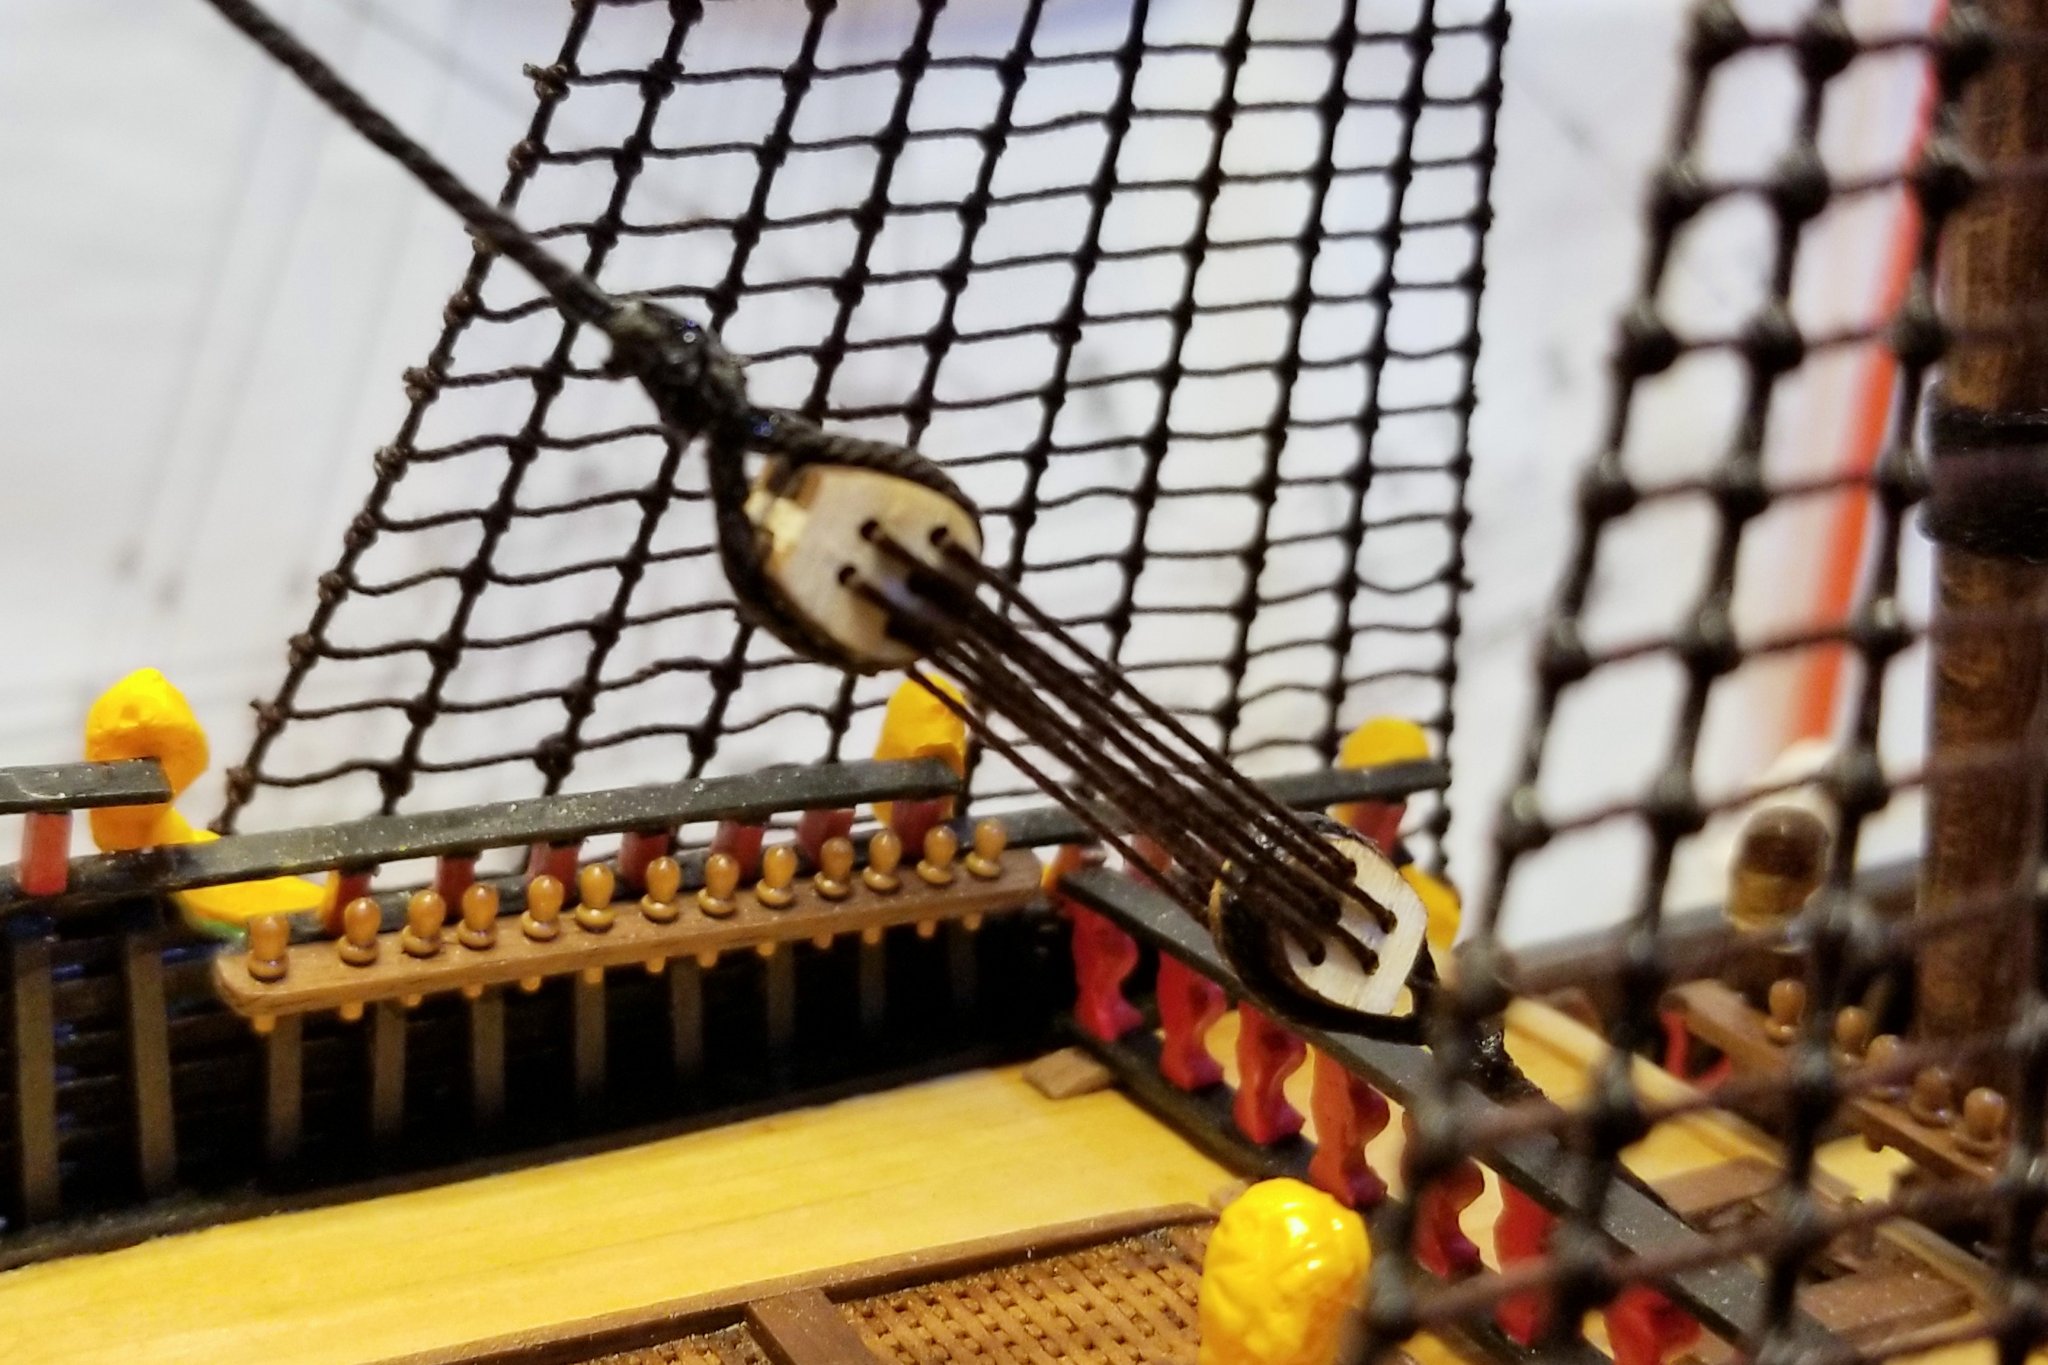
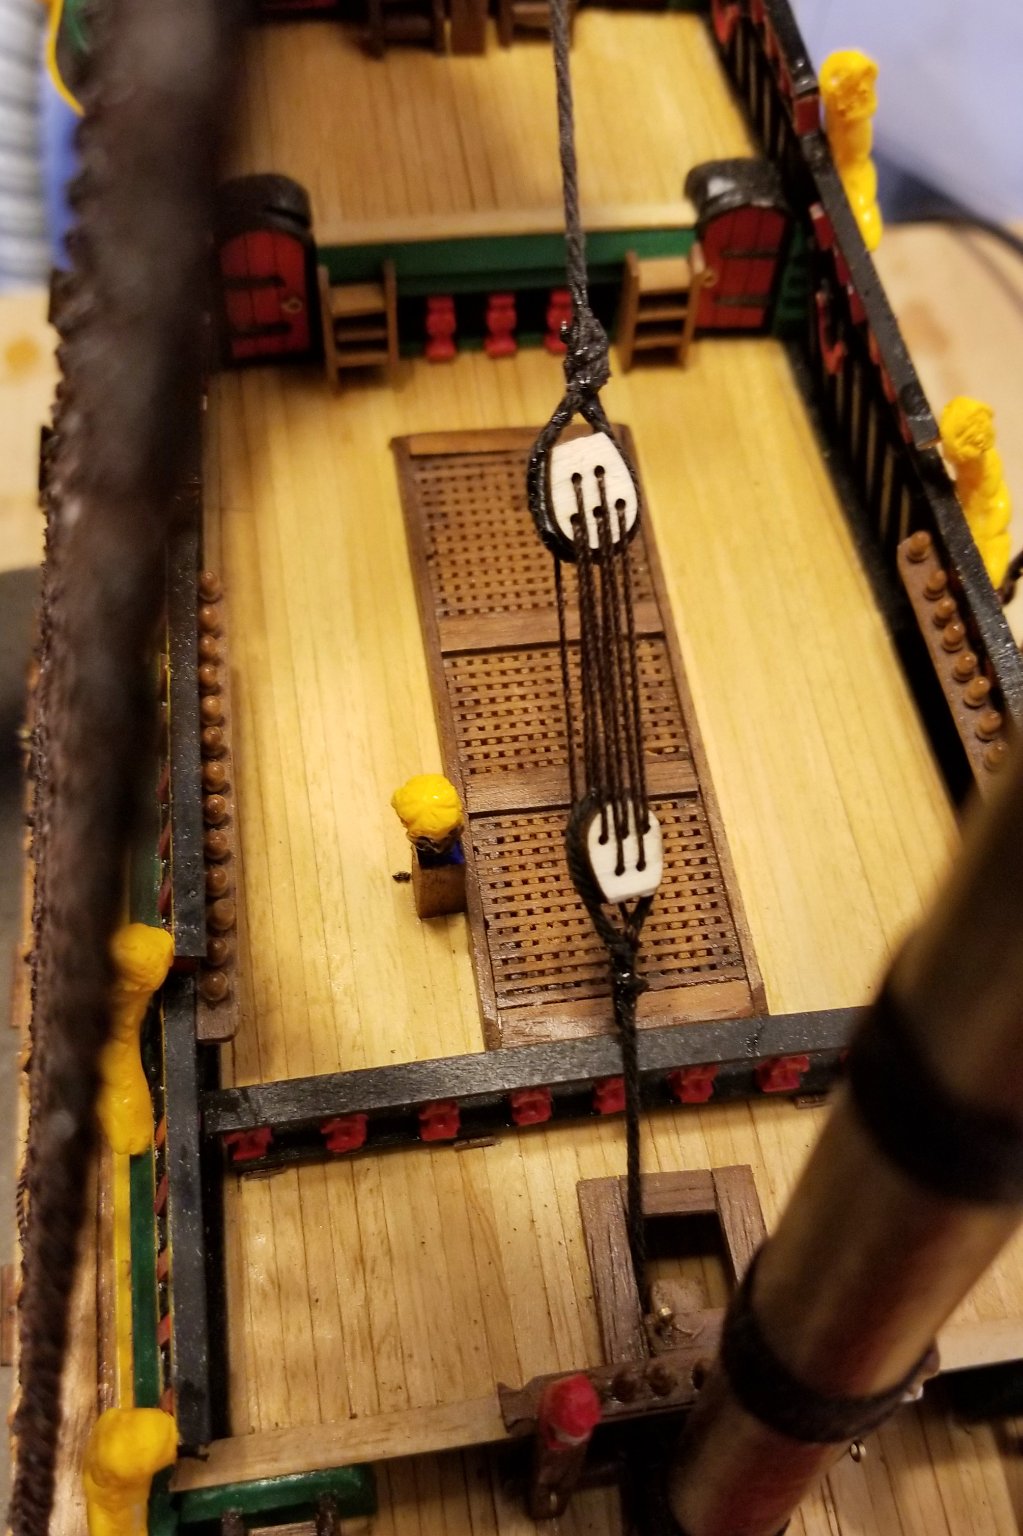
-
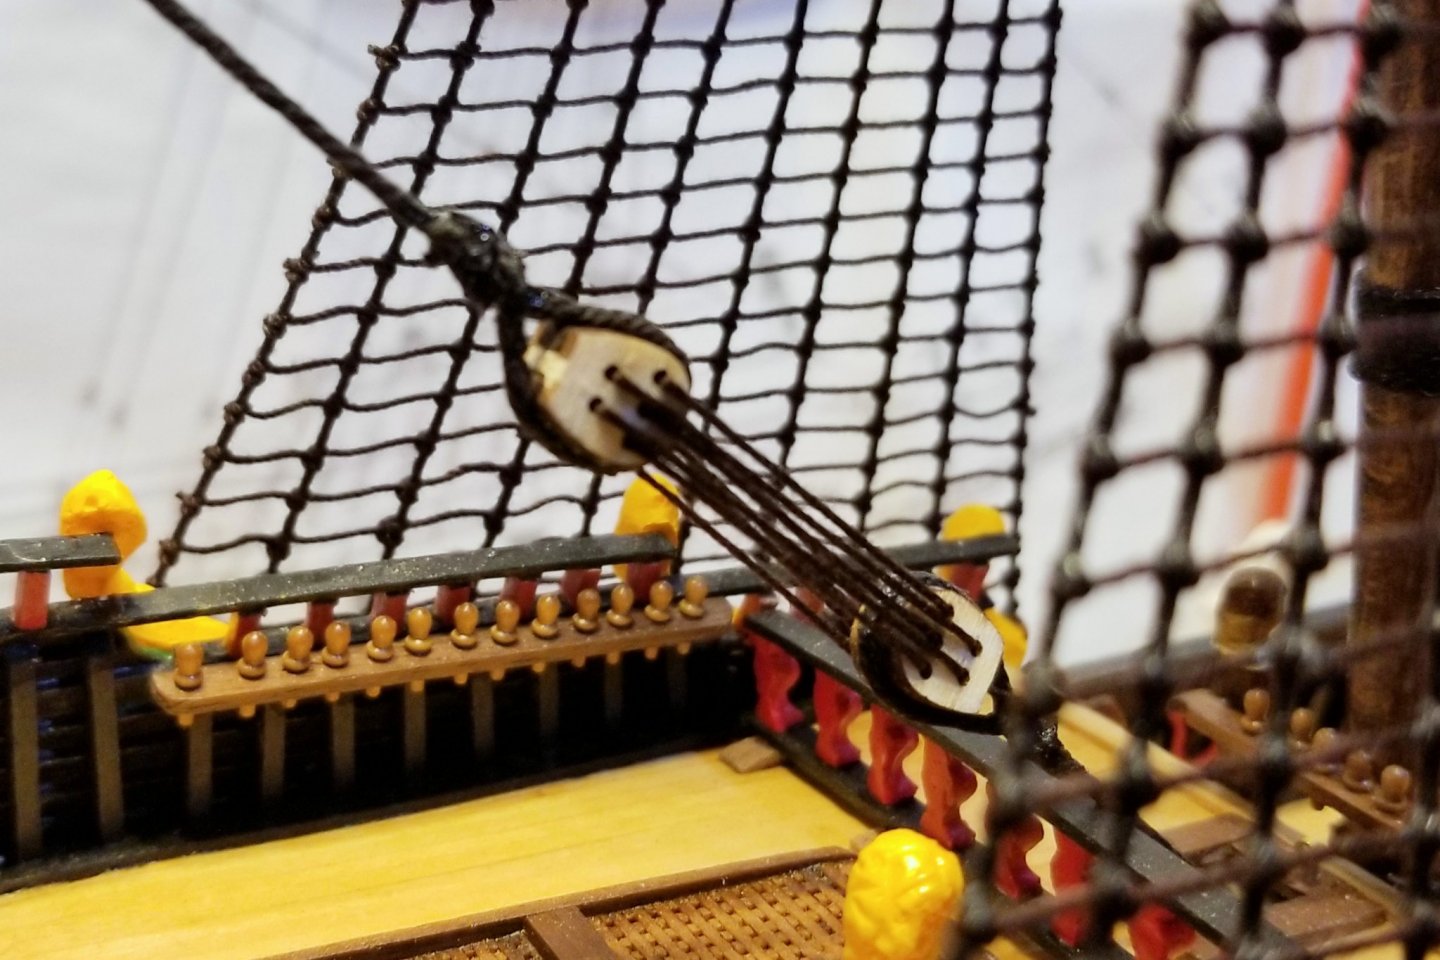
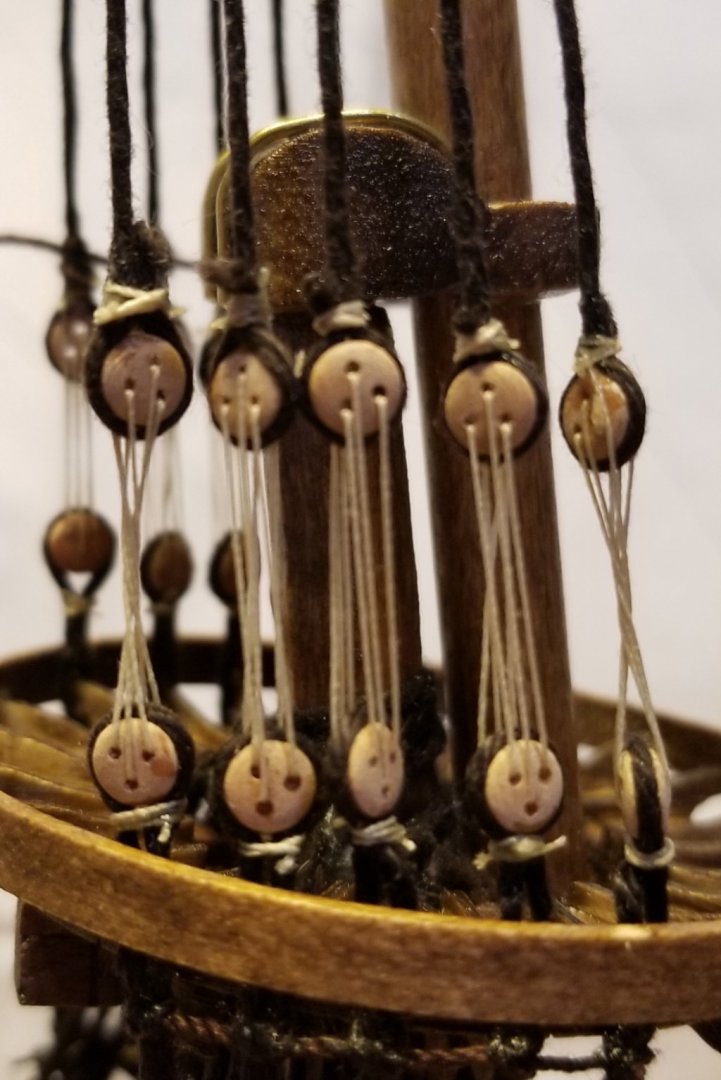
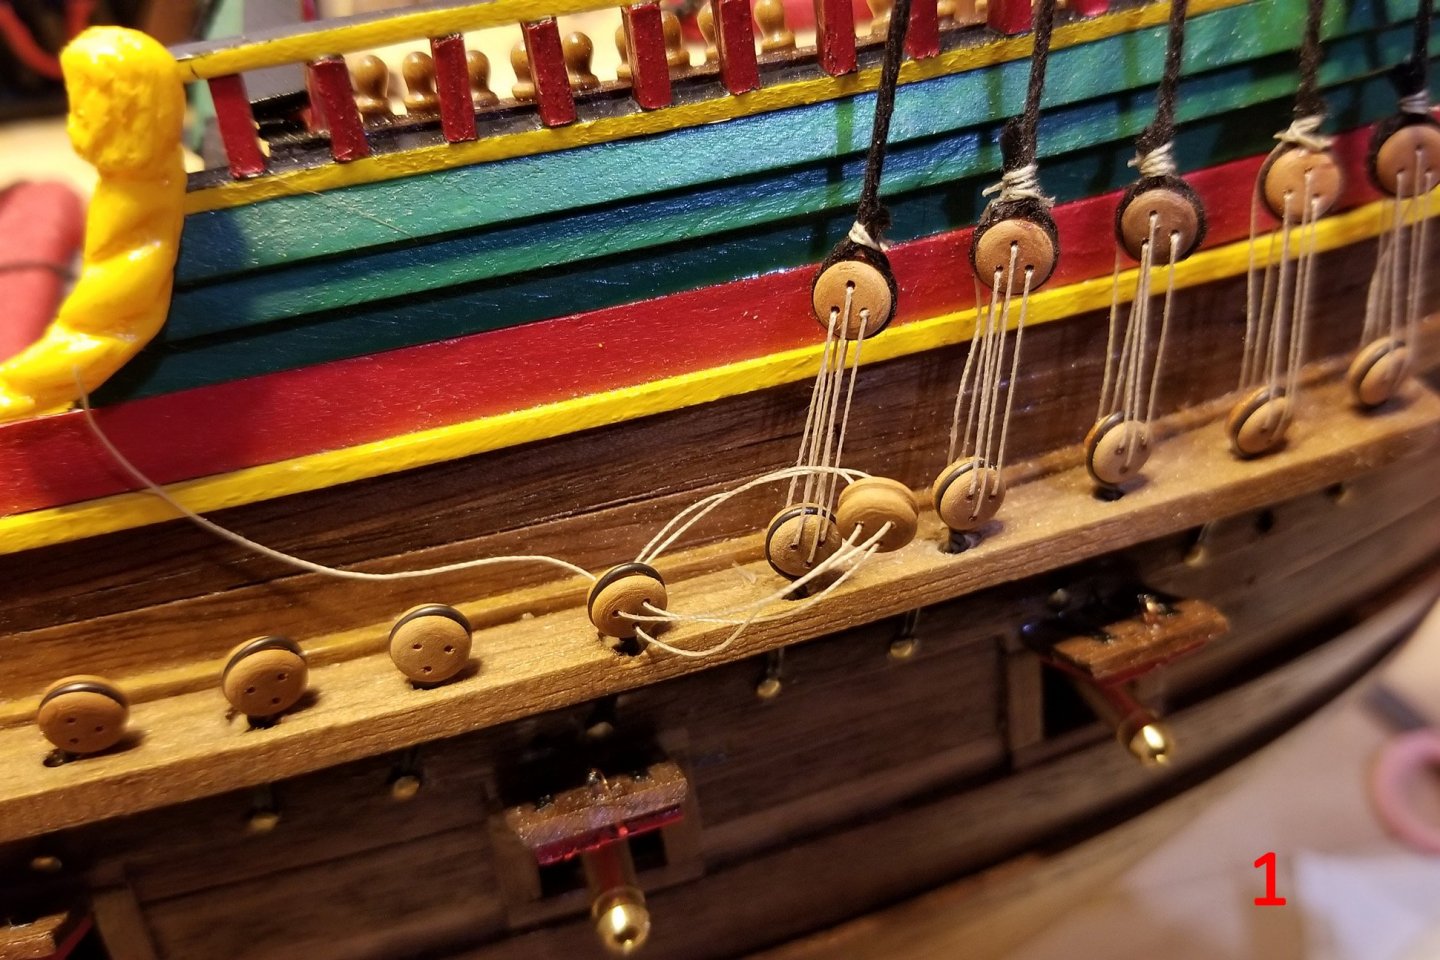
I have found it difficult and frustrating to get the second deadeye in a shroud "loop" installed on the shroud at the right height to be aligned and yet create some tension on the shroud. I've been getting it done, but lots of fiddling and trying.
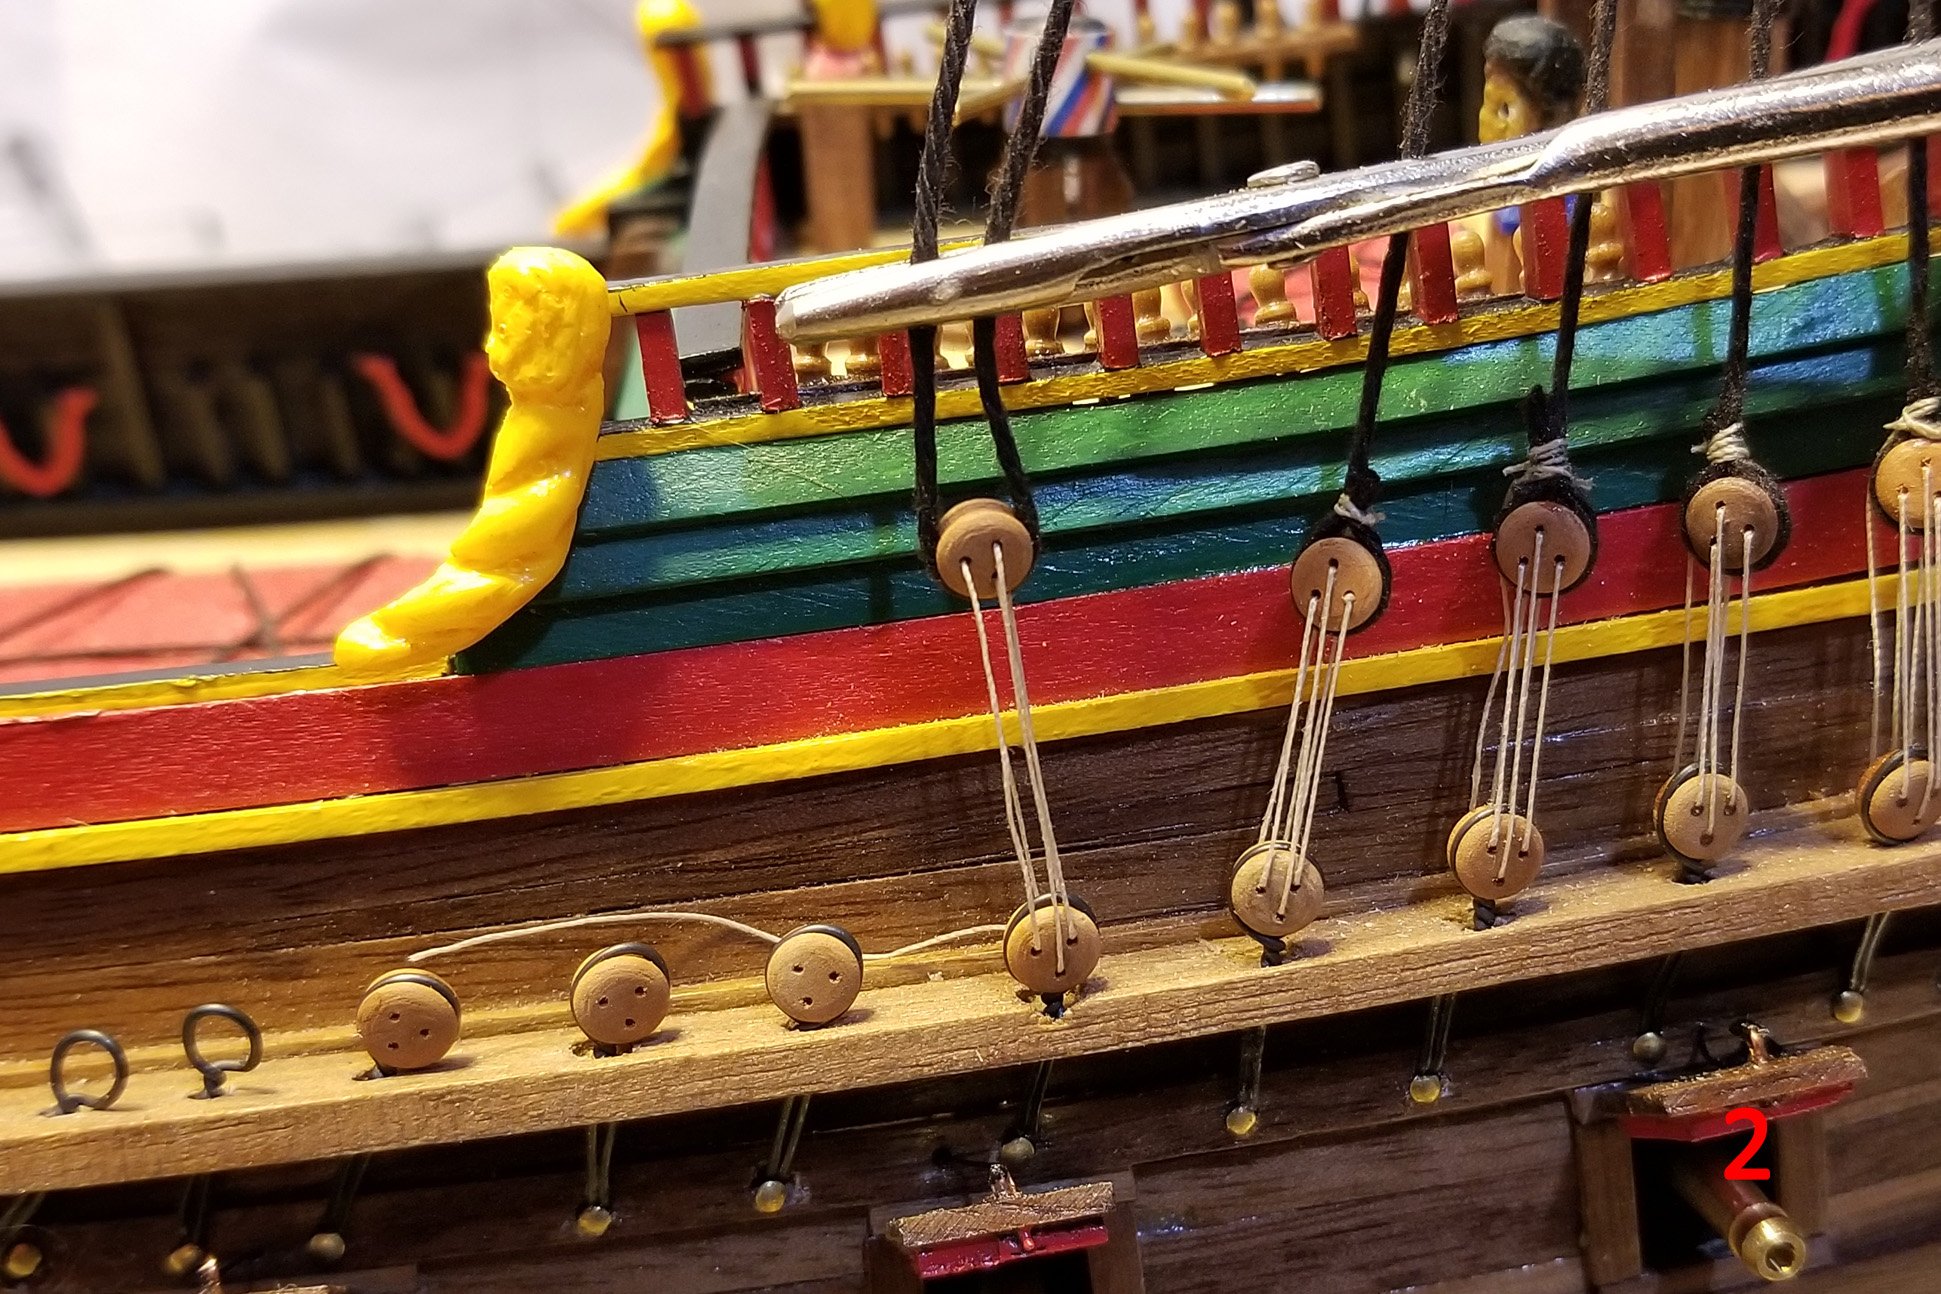
This morning I tried a new approach, shown in the pictures below (because this site sometimes puts the pictures in a different order than I upload them, I have put a red sequence number in the lower right corner of each one).
First, after rigging the first deadeye on the shroud loop, rig the second one by itself before attaching it to the shroud, but don't tighten (Picture 1).
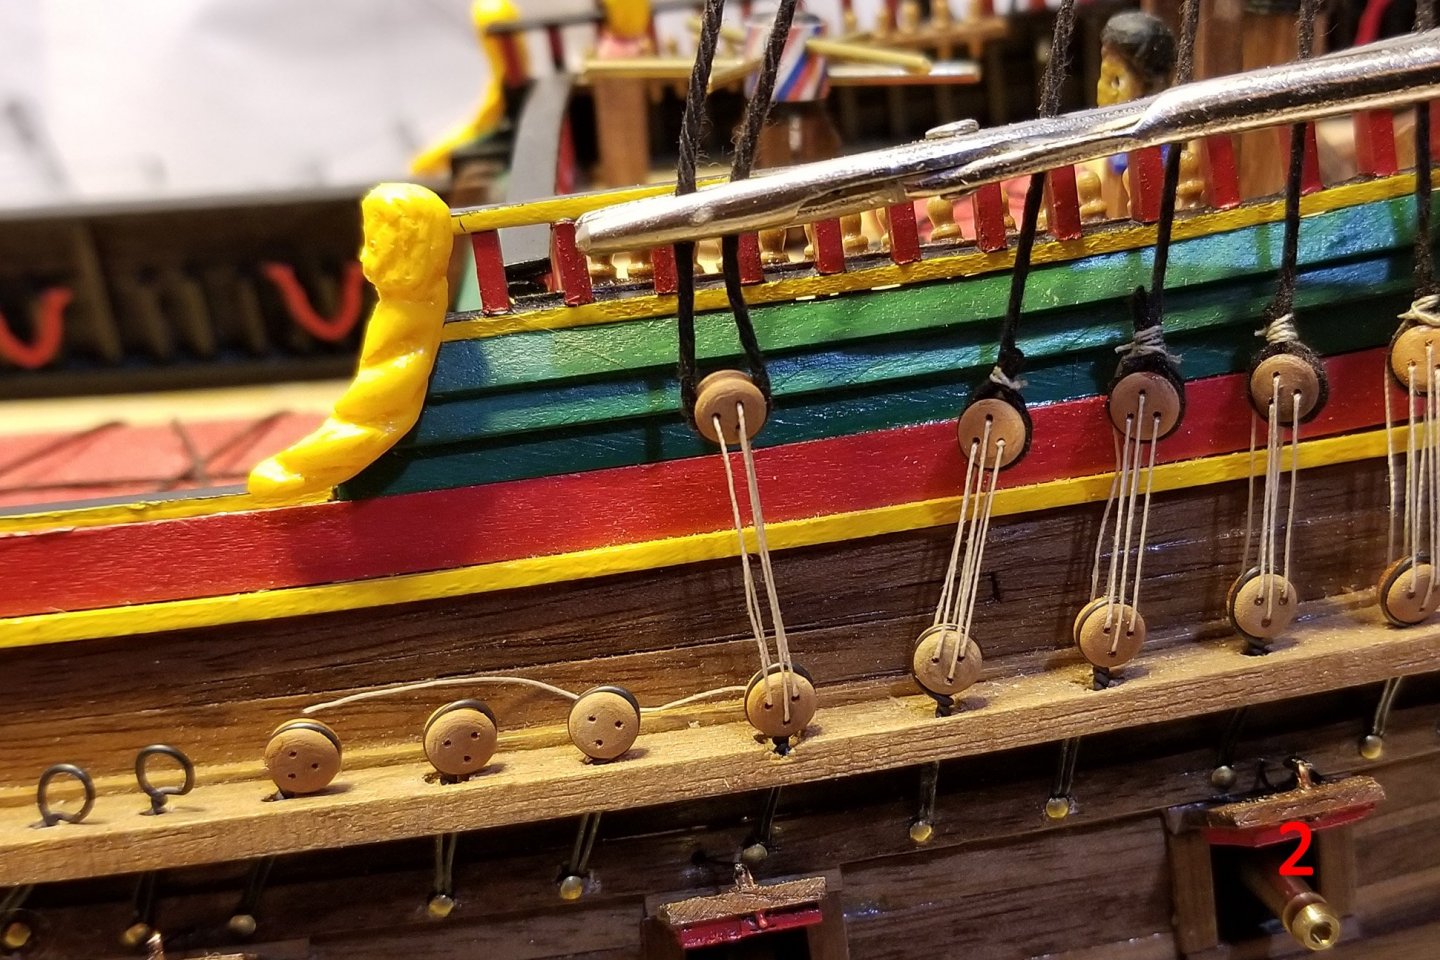
Then attach the shroud, test the height, and clamp it. (Picture 2). The hard part here is that you can't just pull up on the shroud end, because the deadeye will rotate. So I had to hold the deadeye in place while testing the length of the shroud -- then clamp it and re-test by pulling the deadeye lines tight. This was still much easier than trying to test the height while juggling the deadeye, before rigging it. [Hope that's clear]
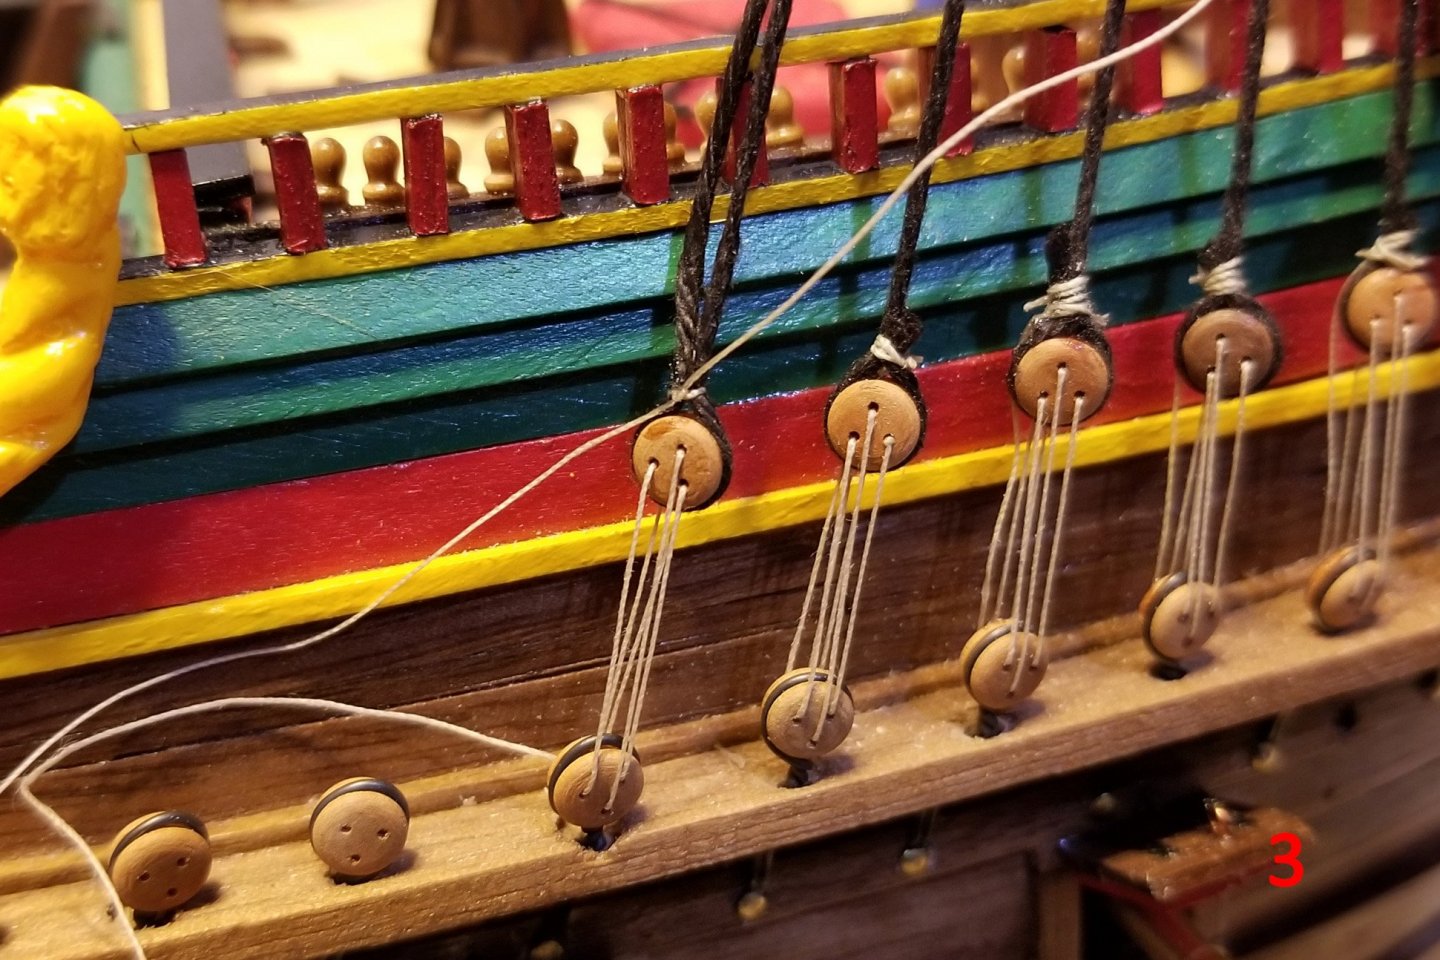
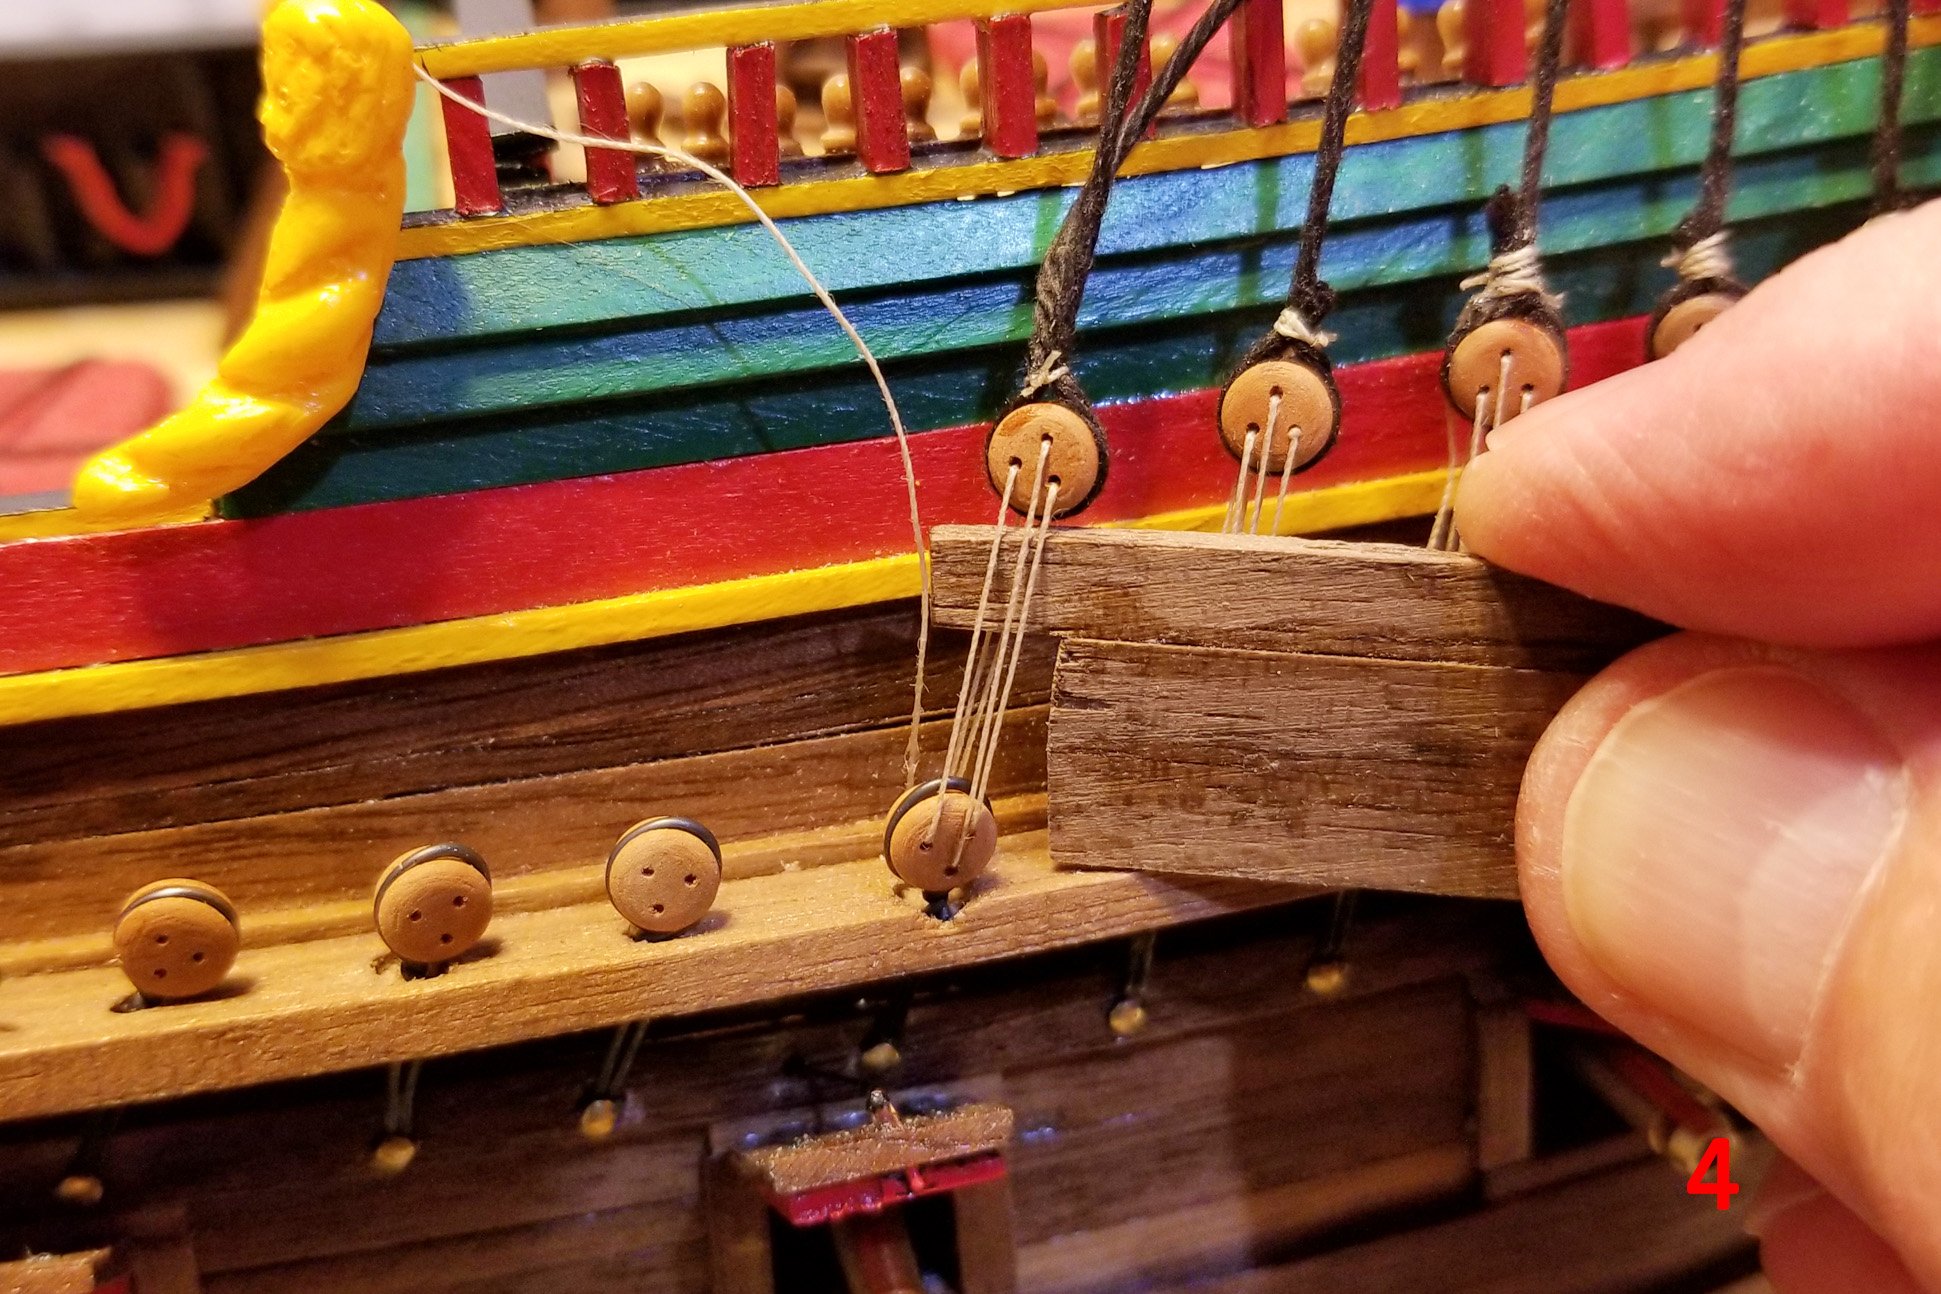
Then tie off the deadeye (Picture 3), and pull down the deadeye rigging until it's at the right height according to my jig (Picture 4),
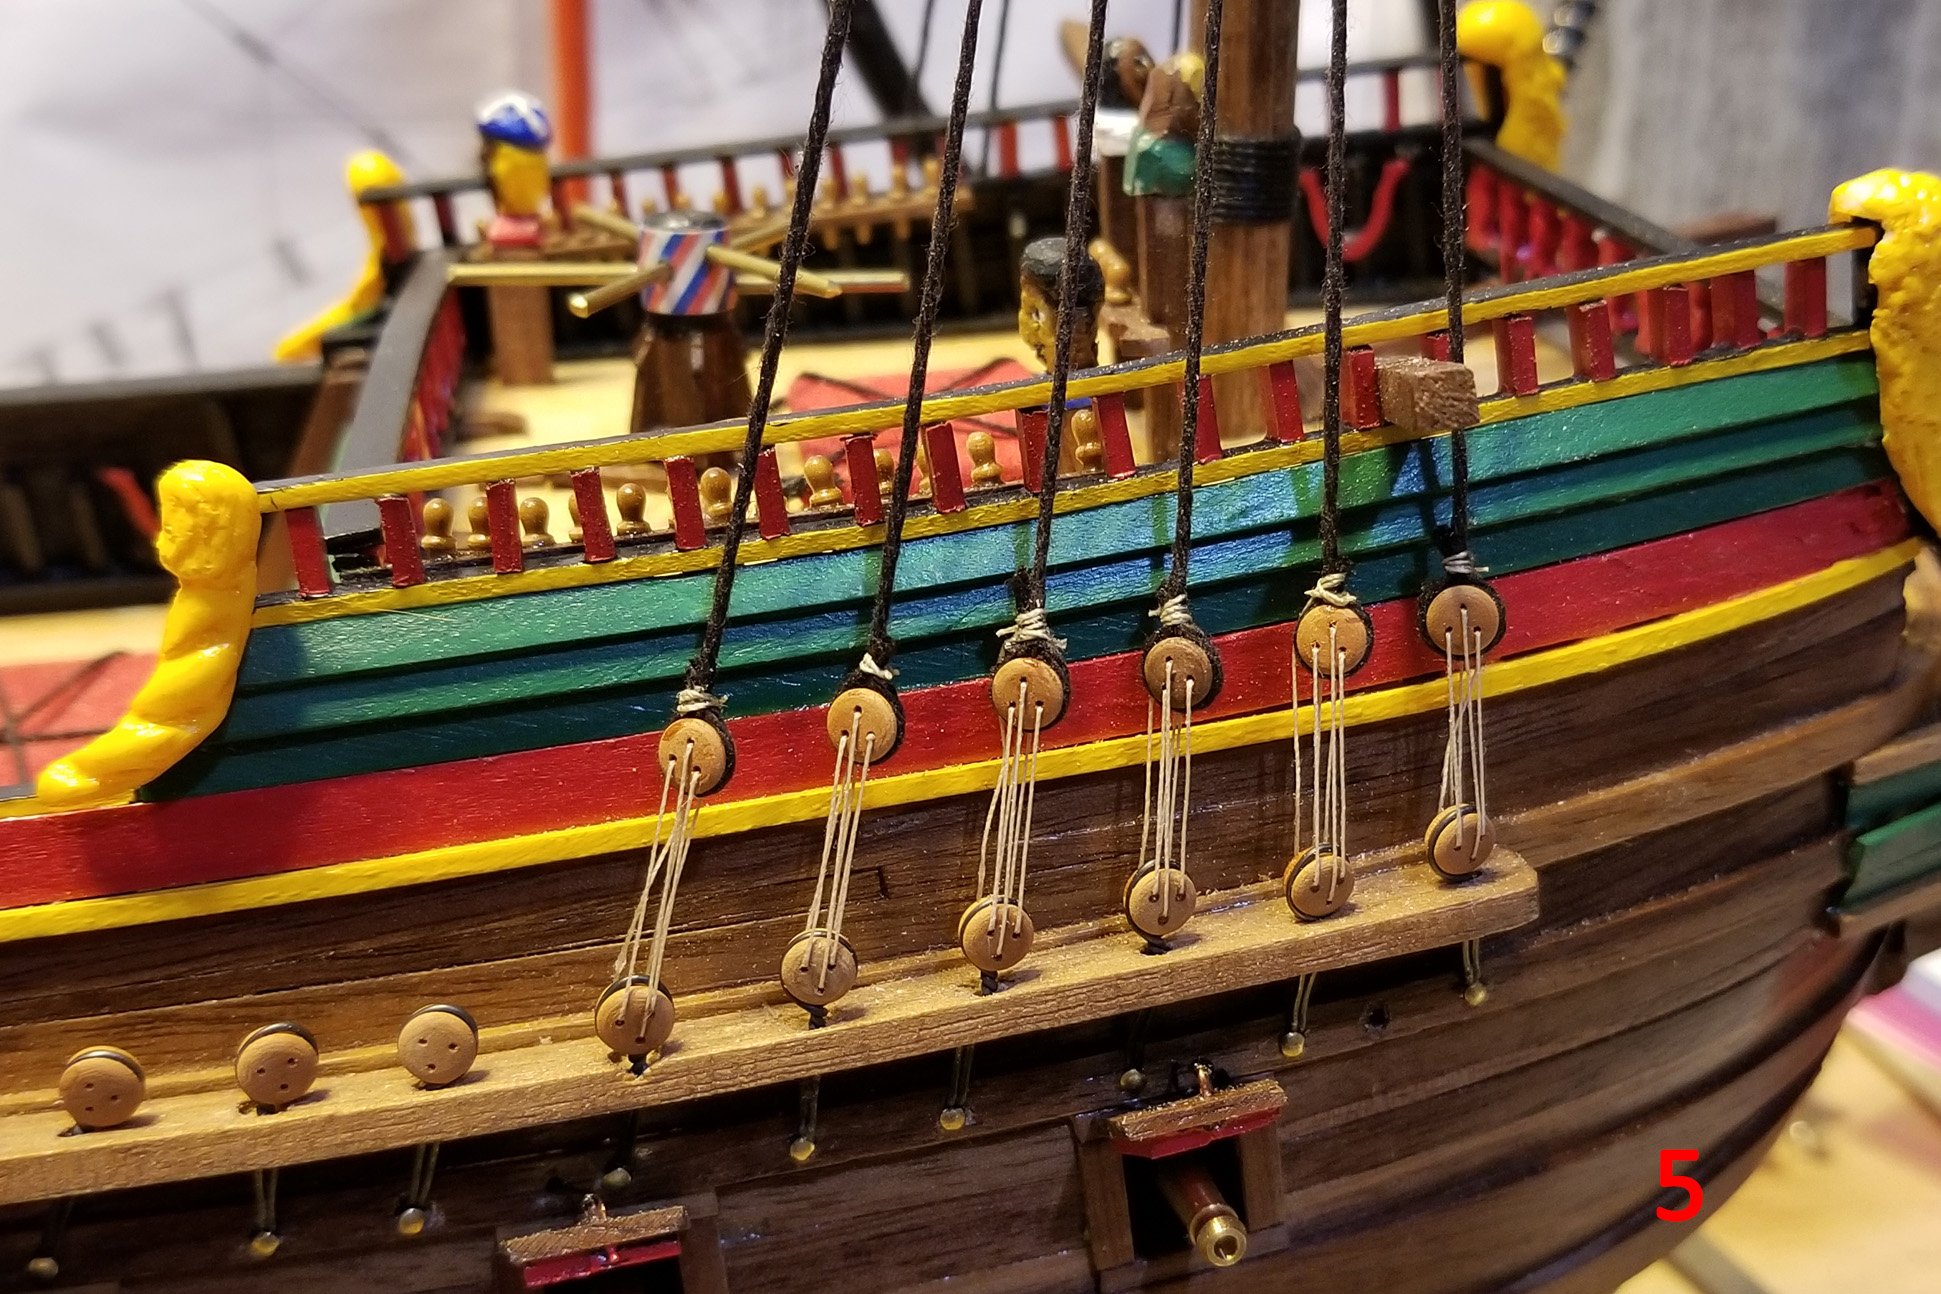
Picture 5 shows them lined up.
There is probably an even better way to do this, but this works a bit better for me than trying to align the deadeye height and then clamping and attaching it, and then rigging it.
On earlier models, I was so concerned about the alignment that I did the shrouds individually rather than using a two-shroud loop (which is much better).
Regards,
David


- Archi, ObviousNewbie, PeterB010 and 4 others
-
7
-
-
Futtock shrouds at the top of the lower main shrouds.
Regards,
David
- YankeeD, Edwardkenway, ccoyle and 4 others
-
7
-
Finally finished the ratlines on the lower main mast shrouds. Took a lot of time, which is why I haven't posted in a while.
Now for the foremast.
Regards,
David
-
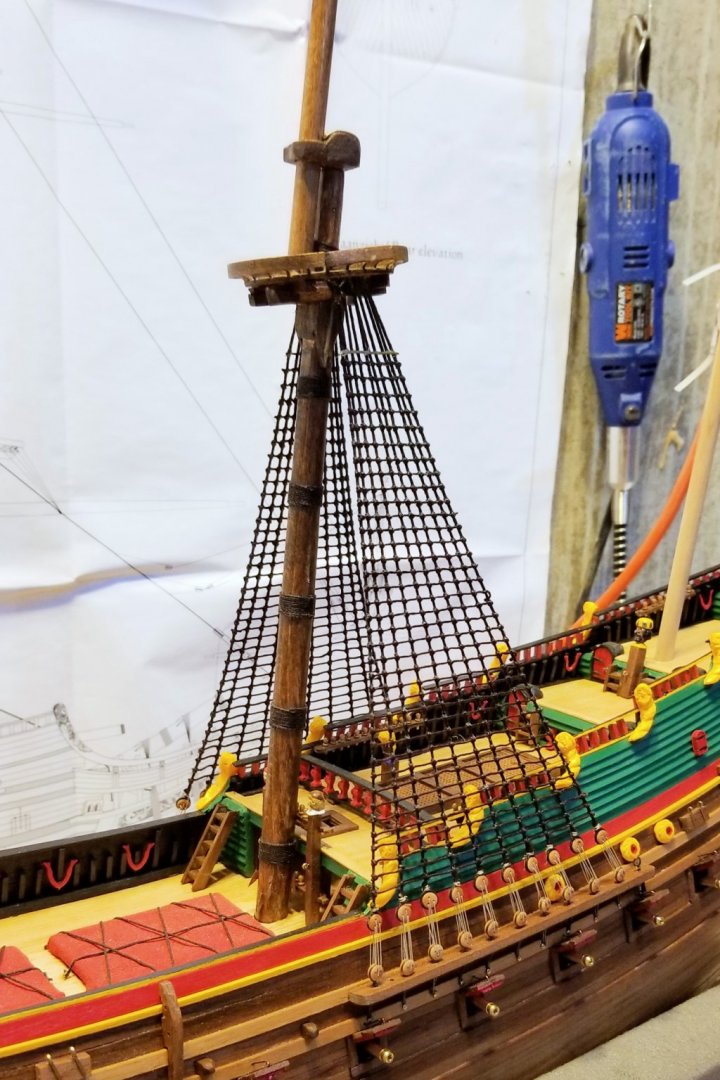
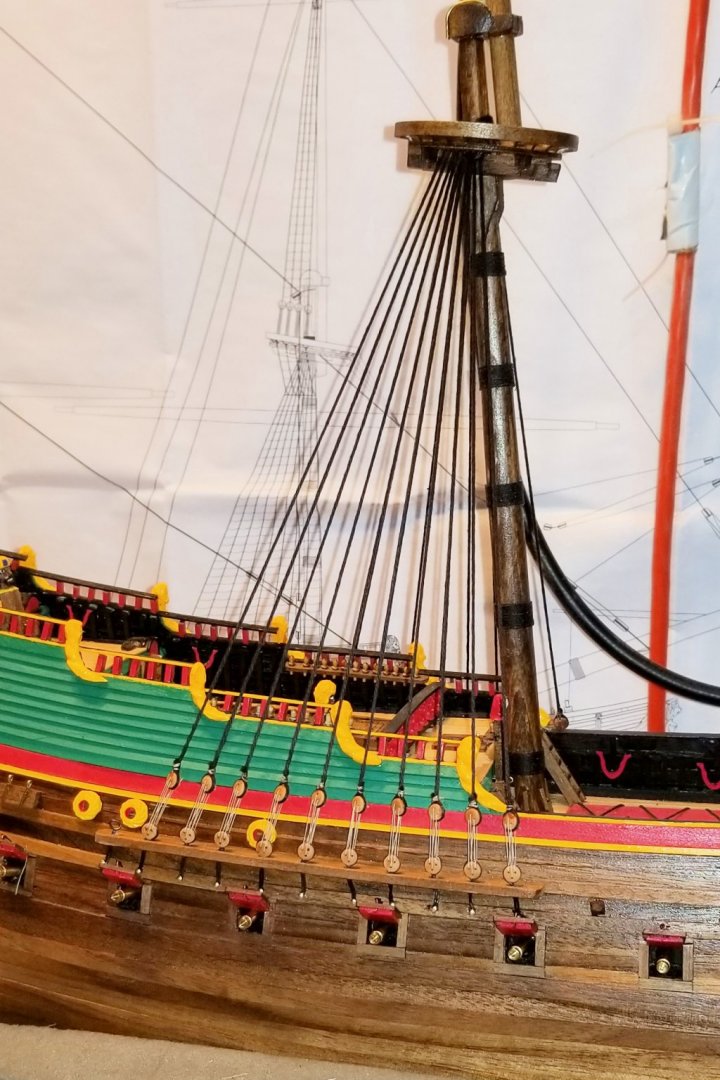
Main mast shrouds up -- ratlines still to come. I spent a lot of time getting my deadeyes to line up.
Regards,
David

- BLACK VIKING, chris watton, Archi and 6 others
-
9
-
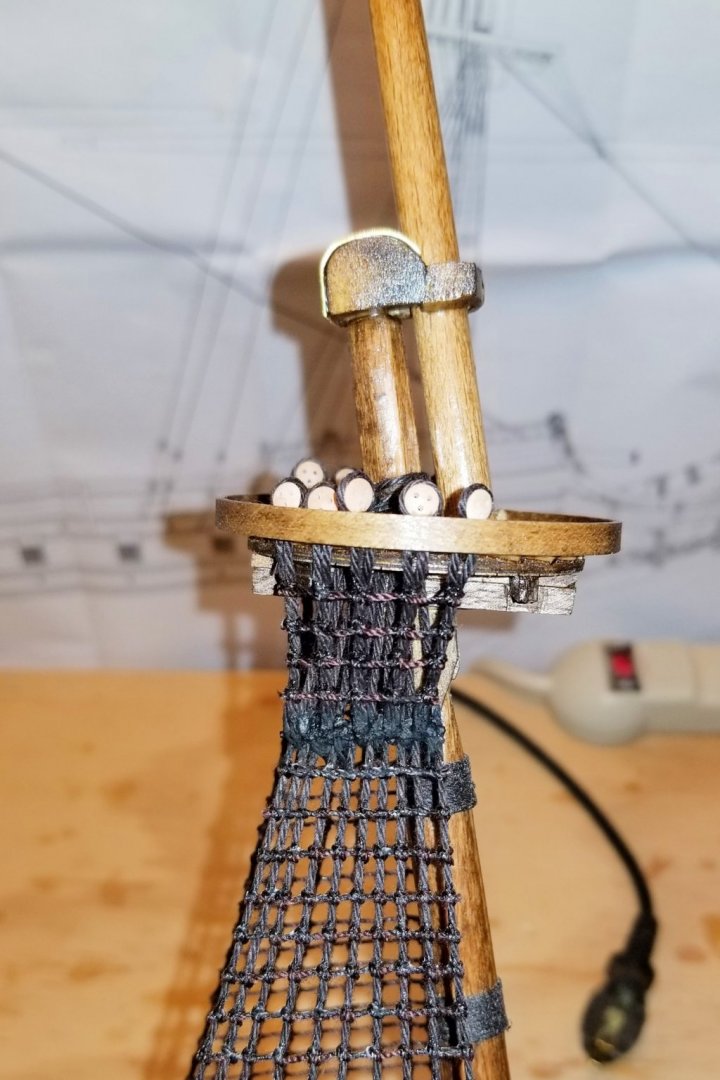
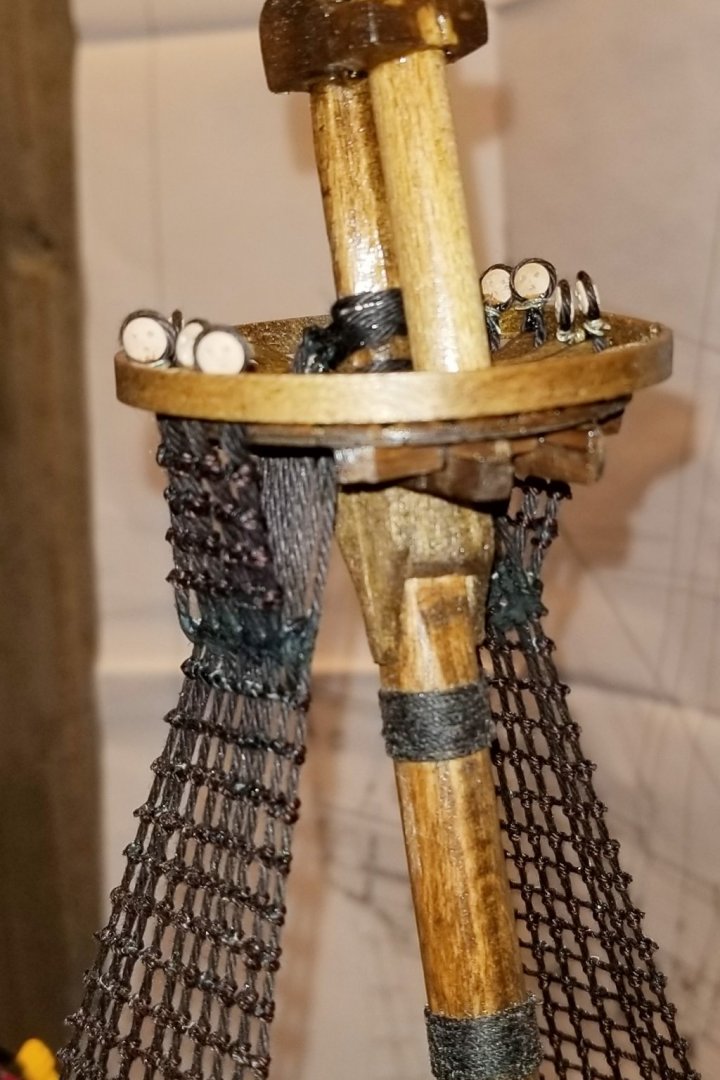
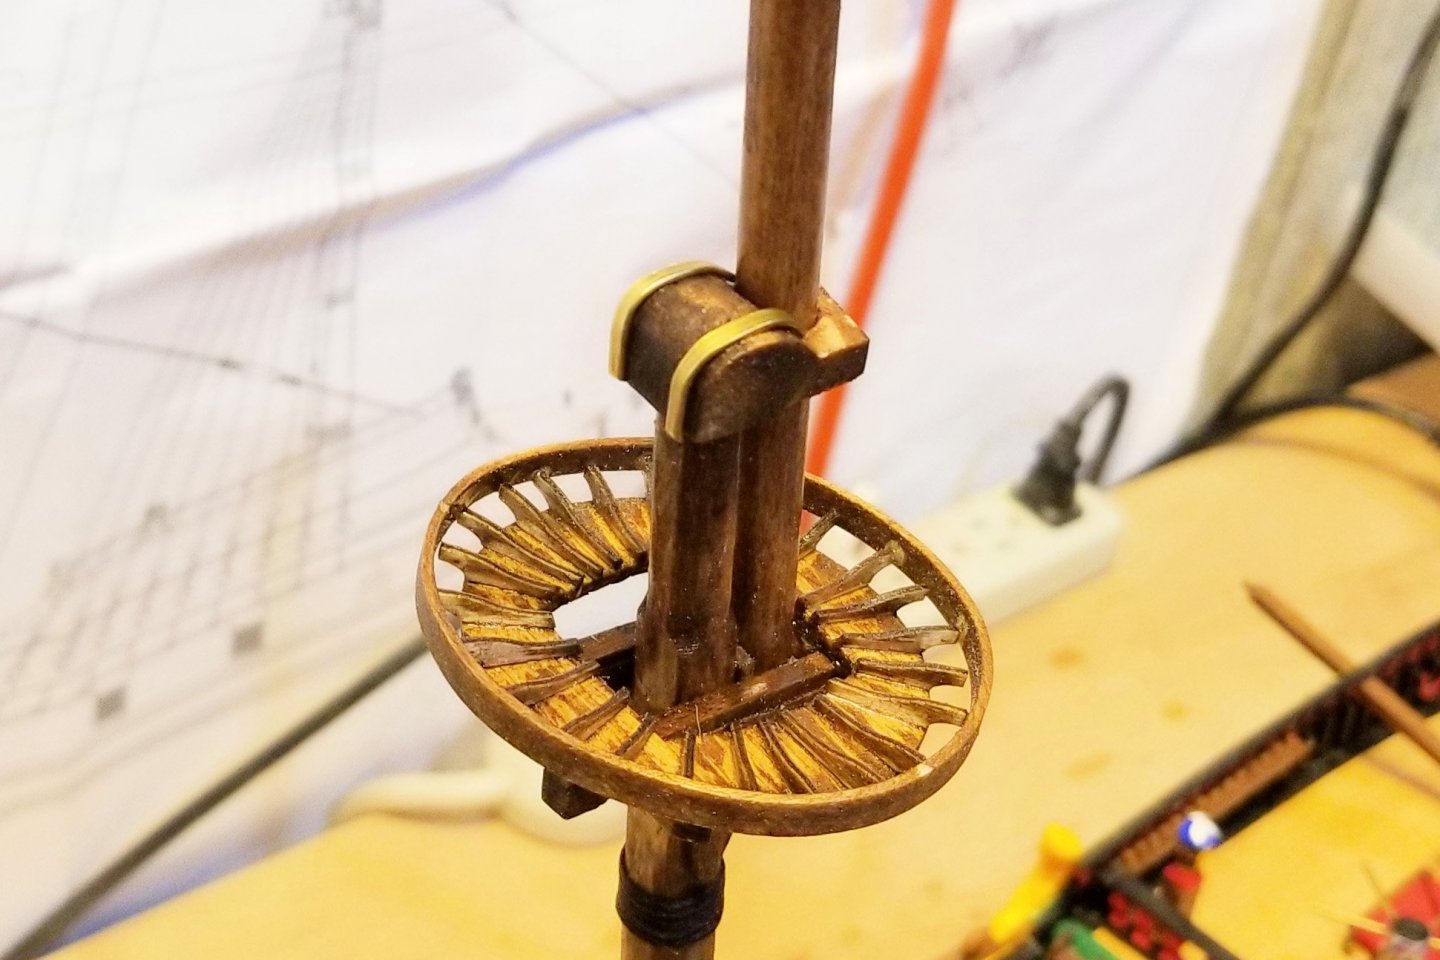
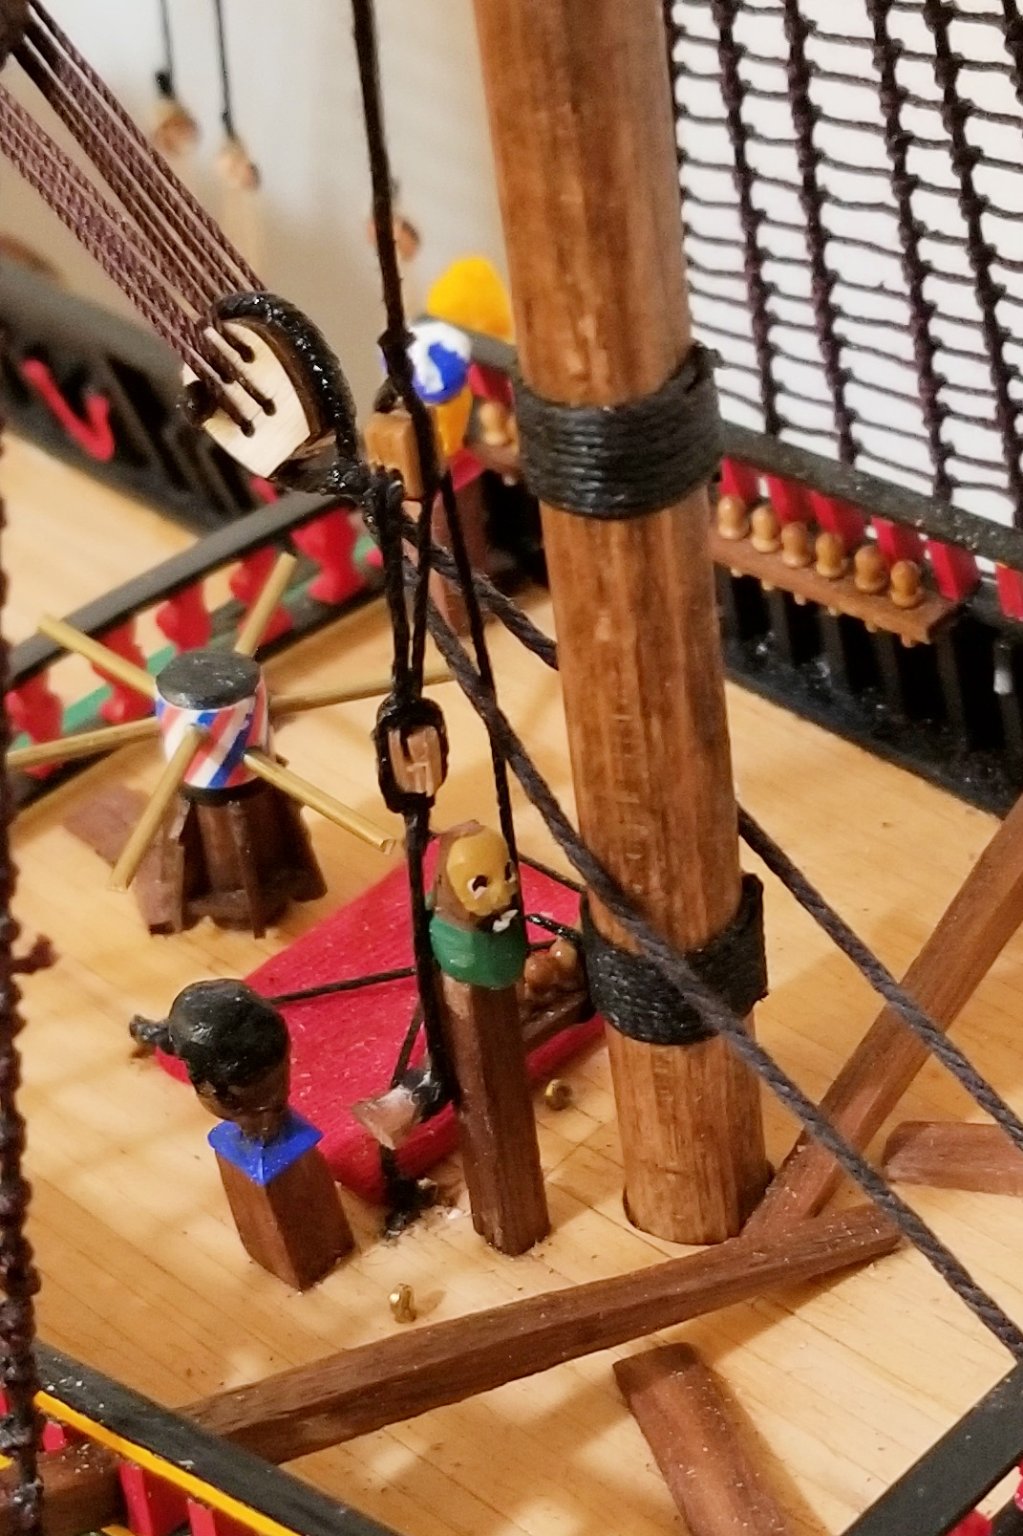
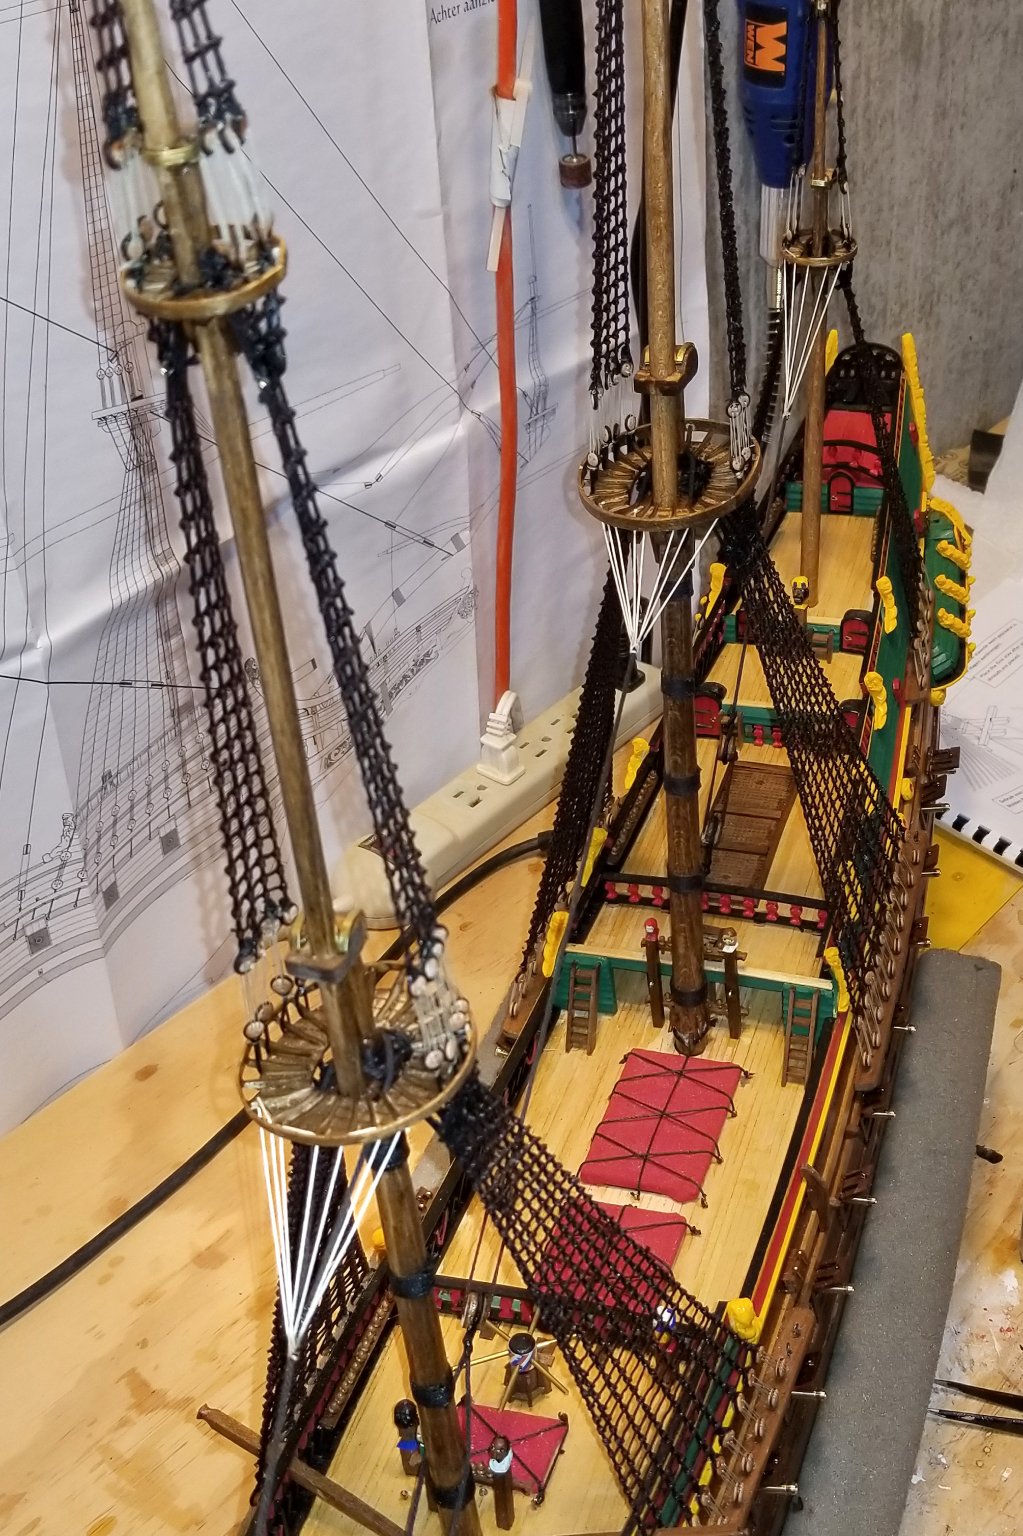
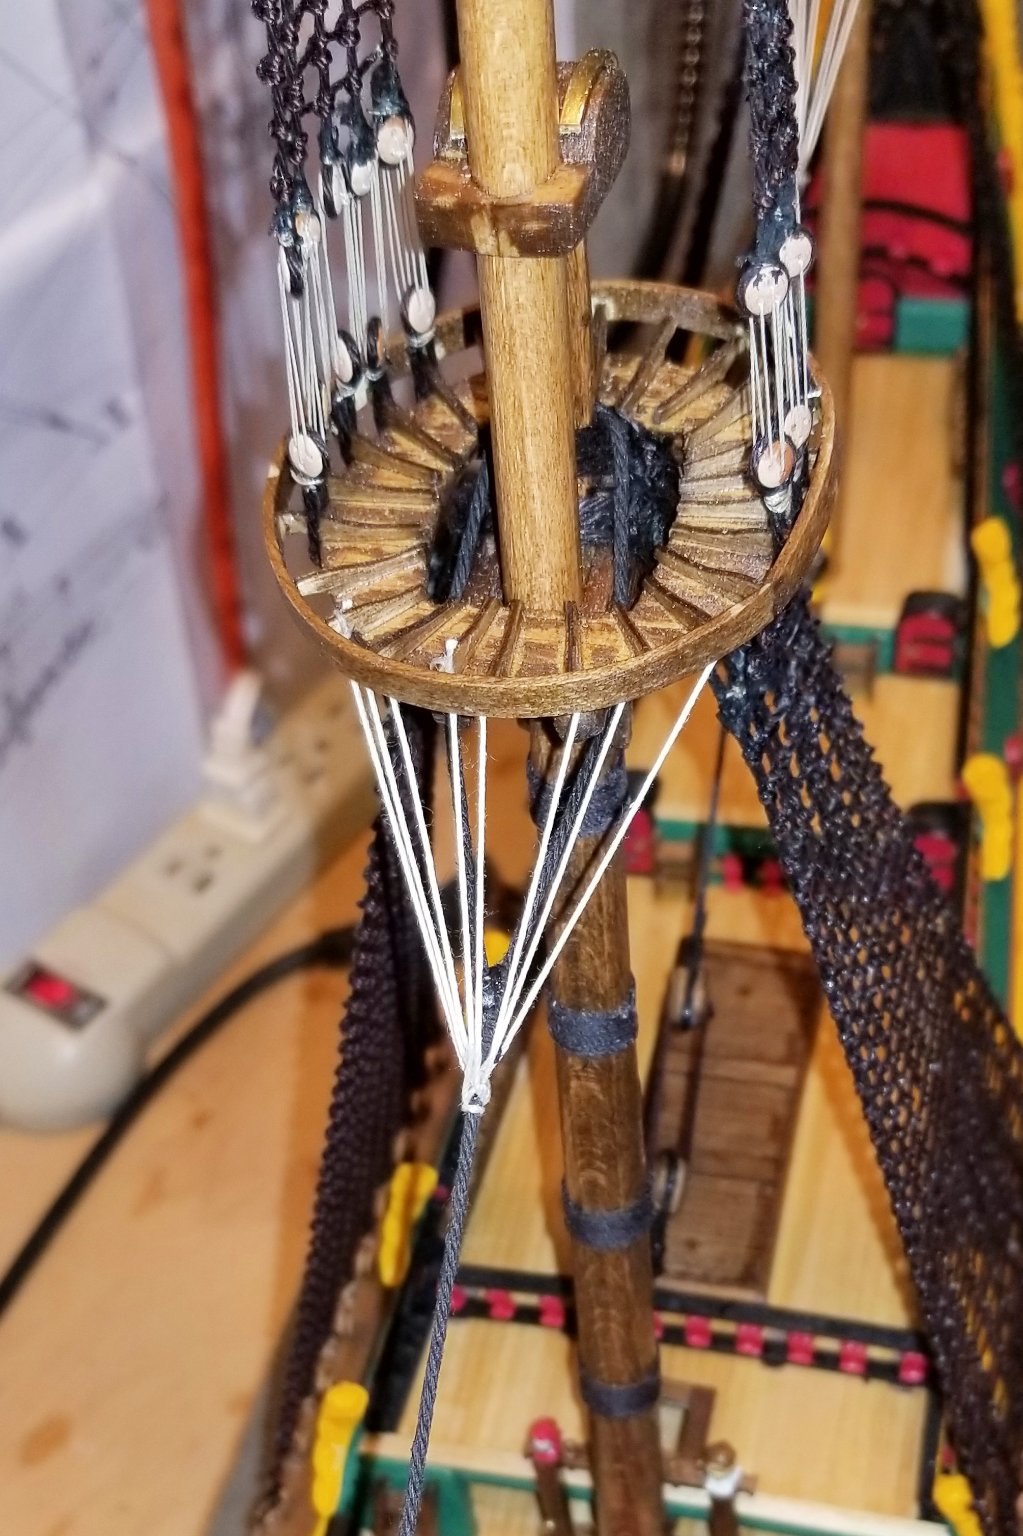
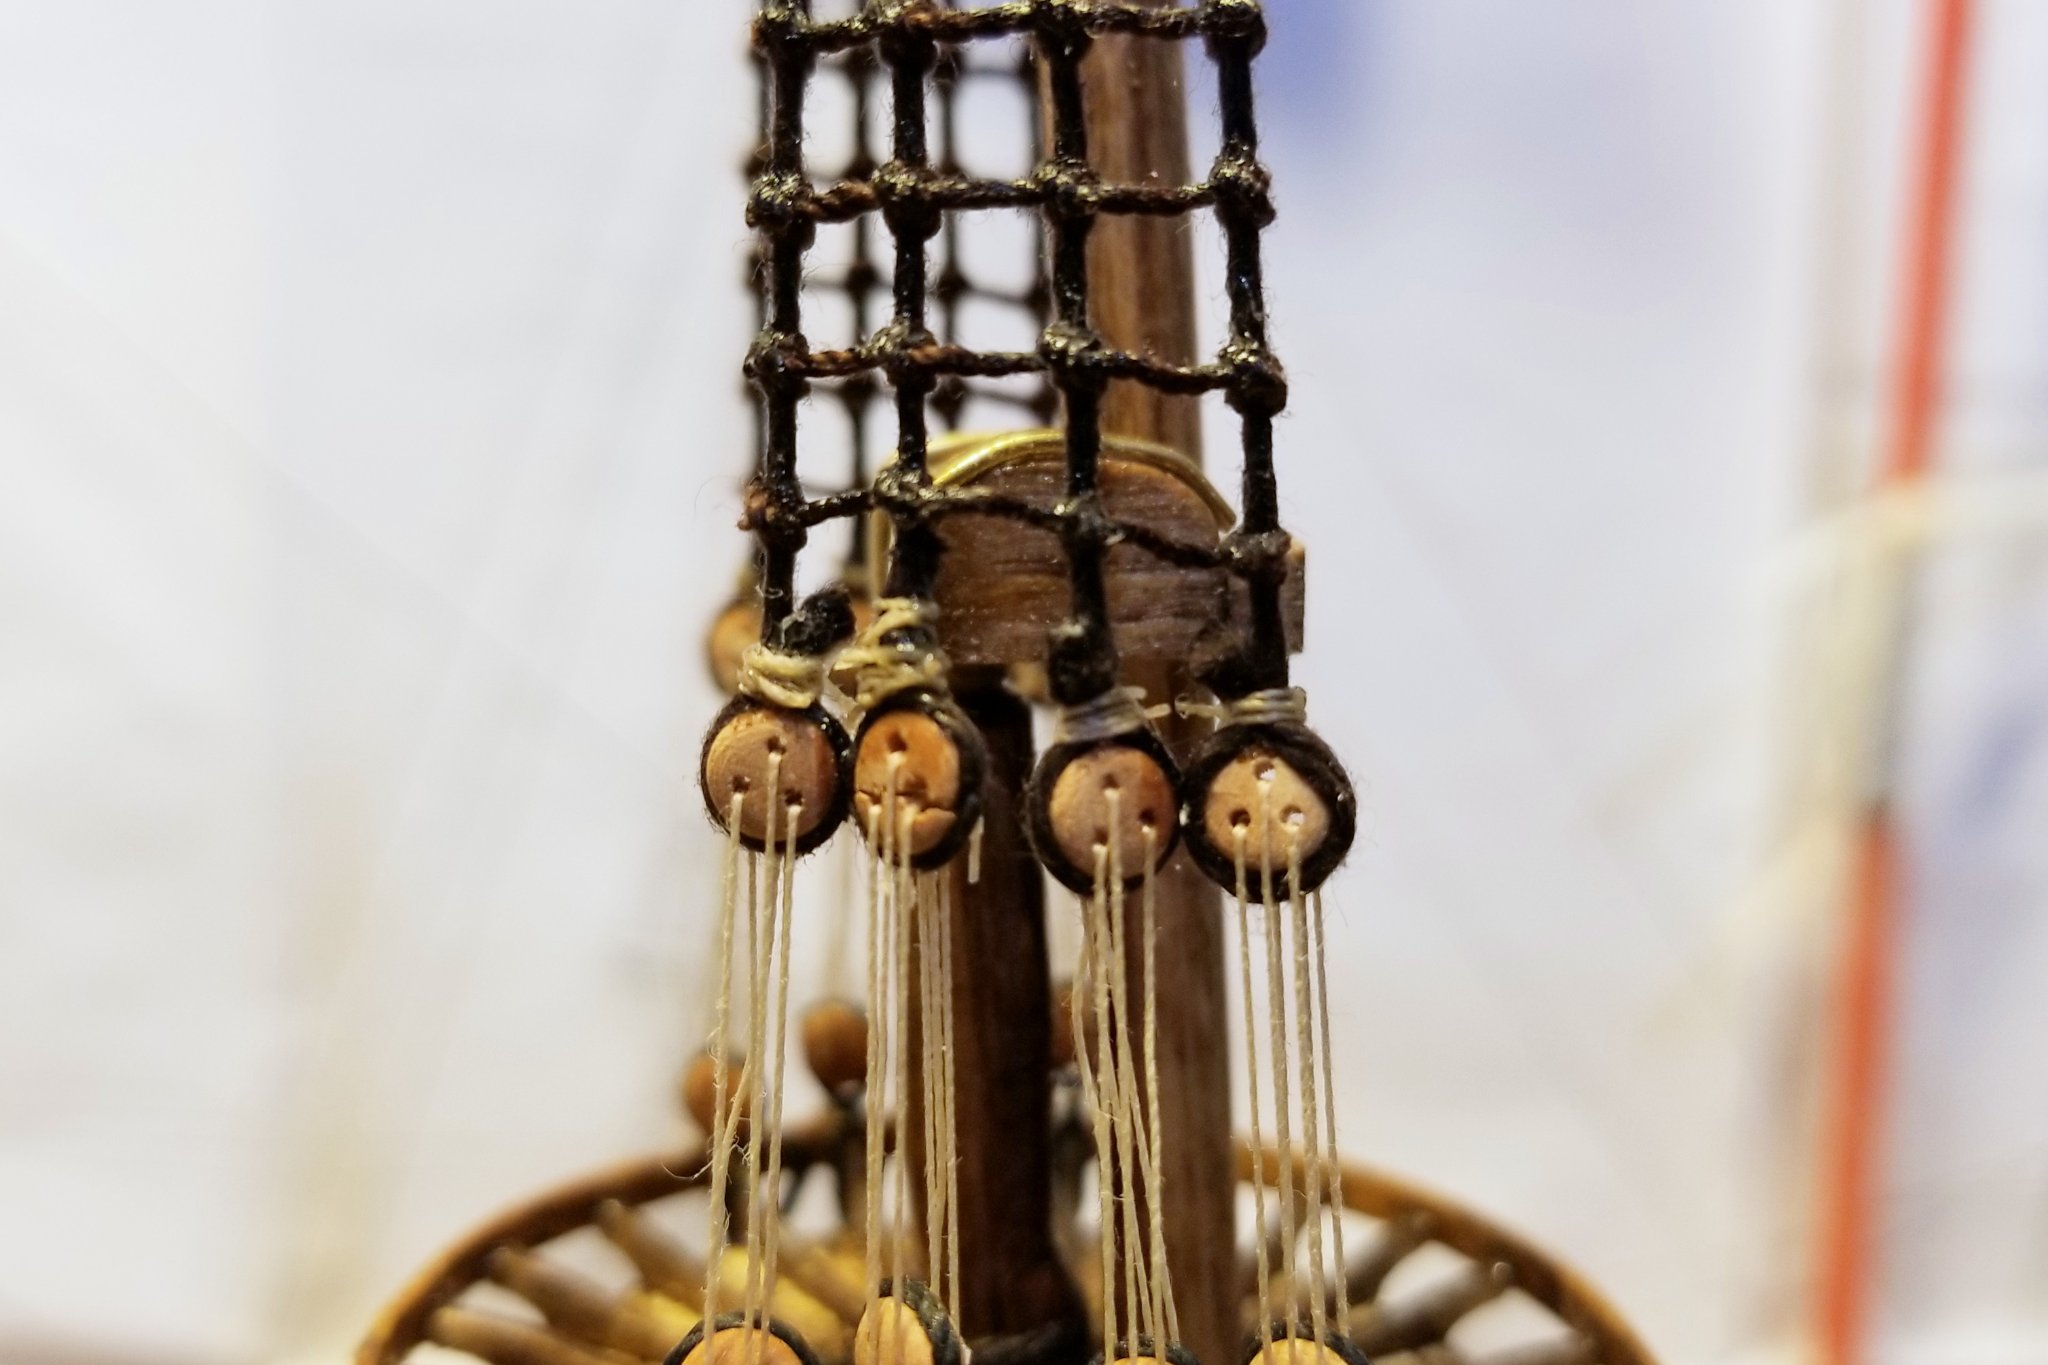
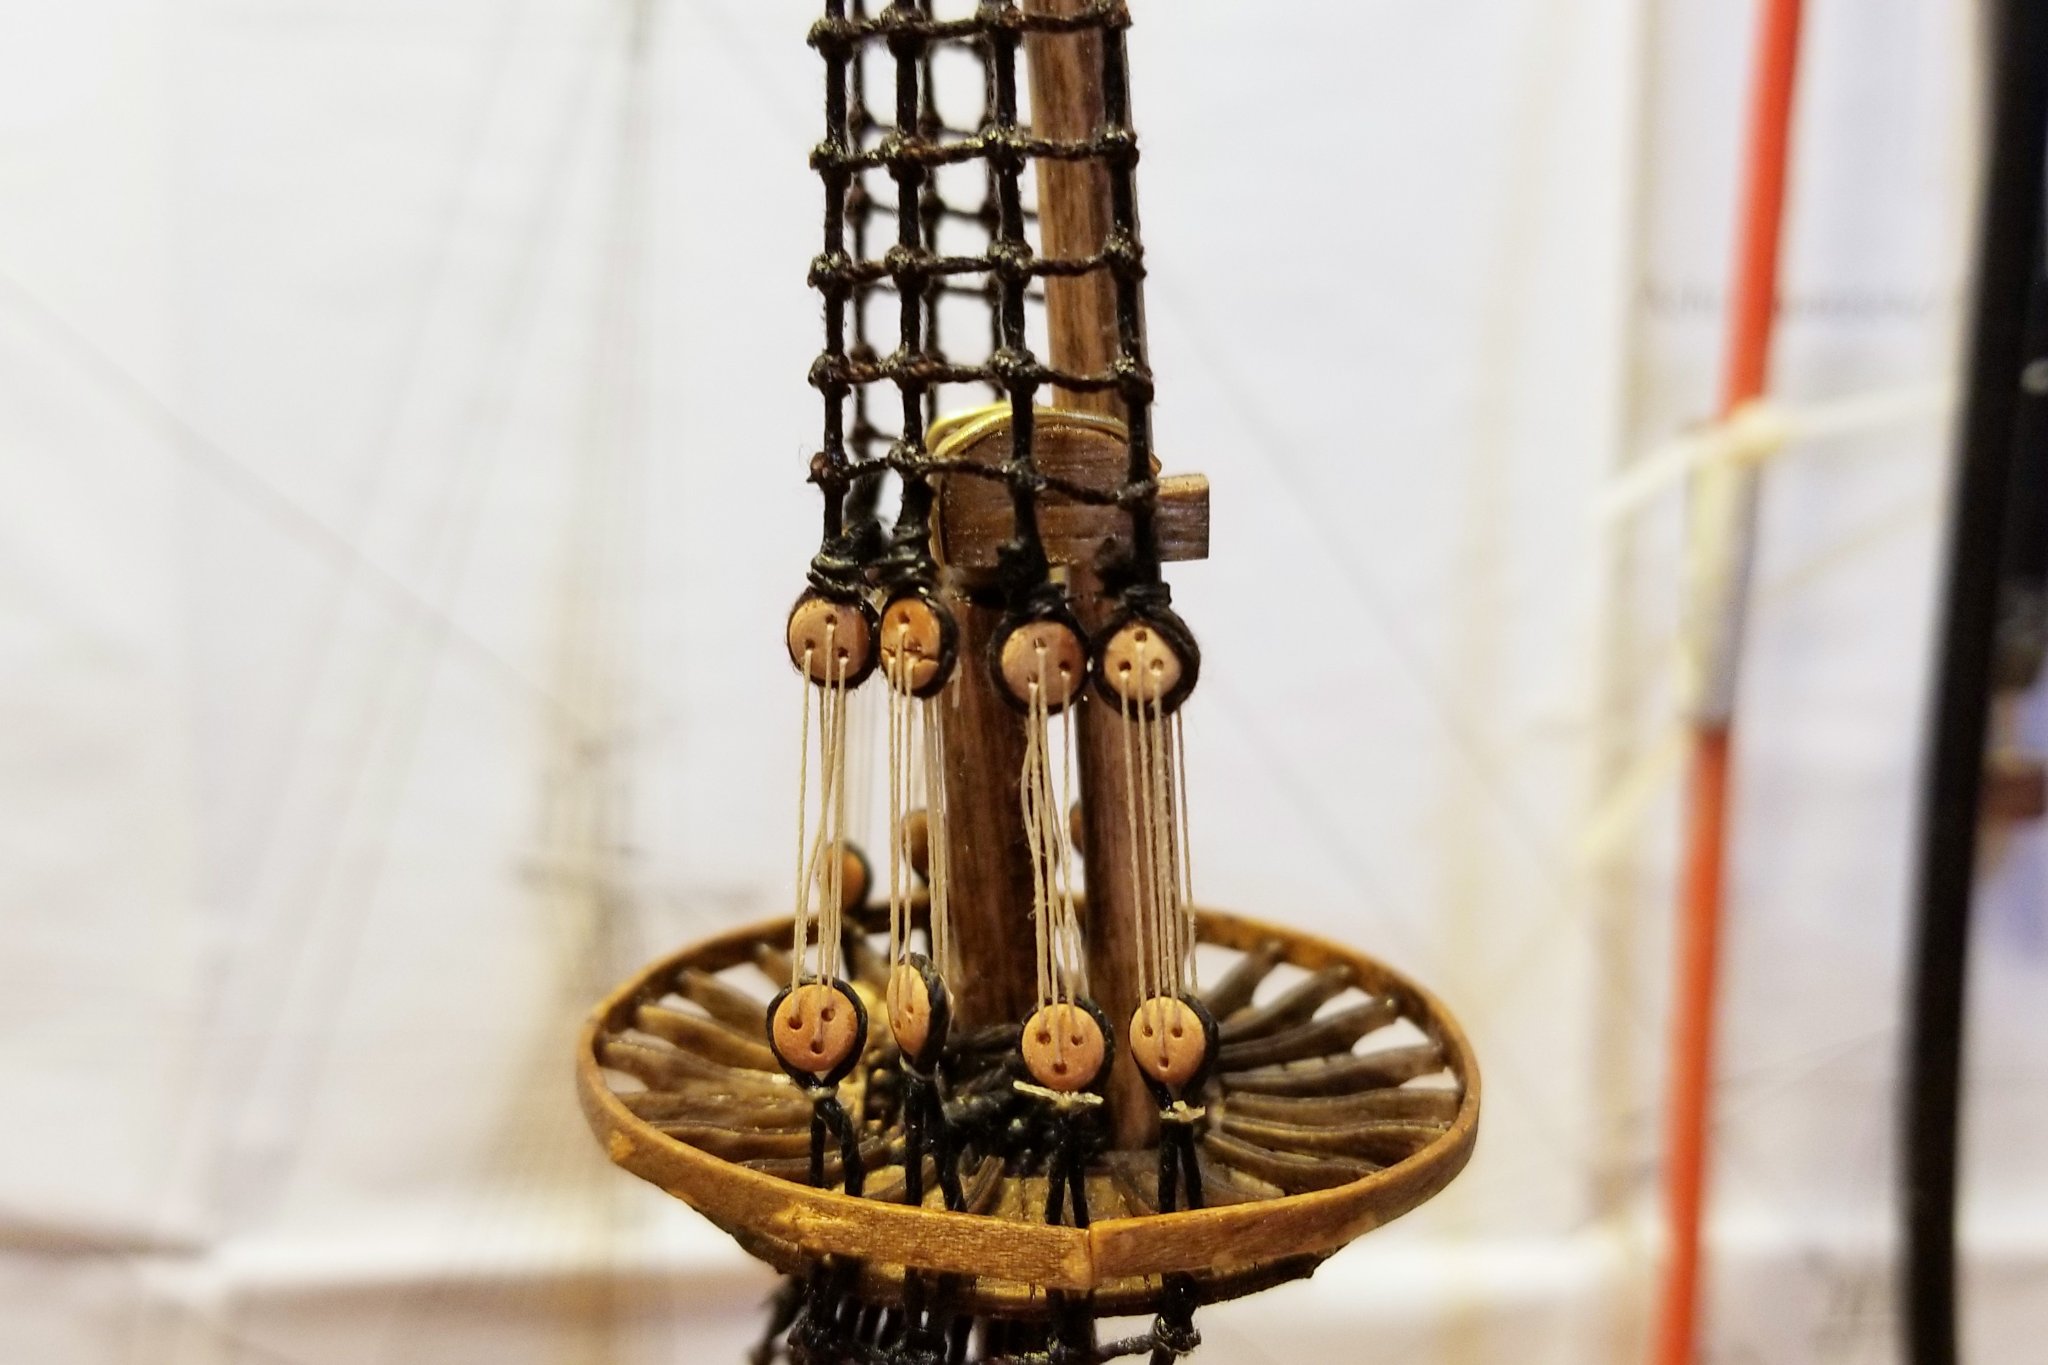
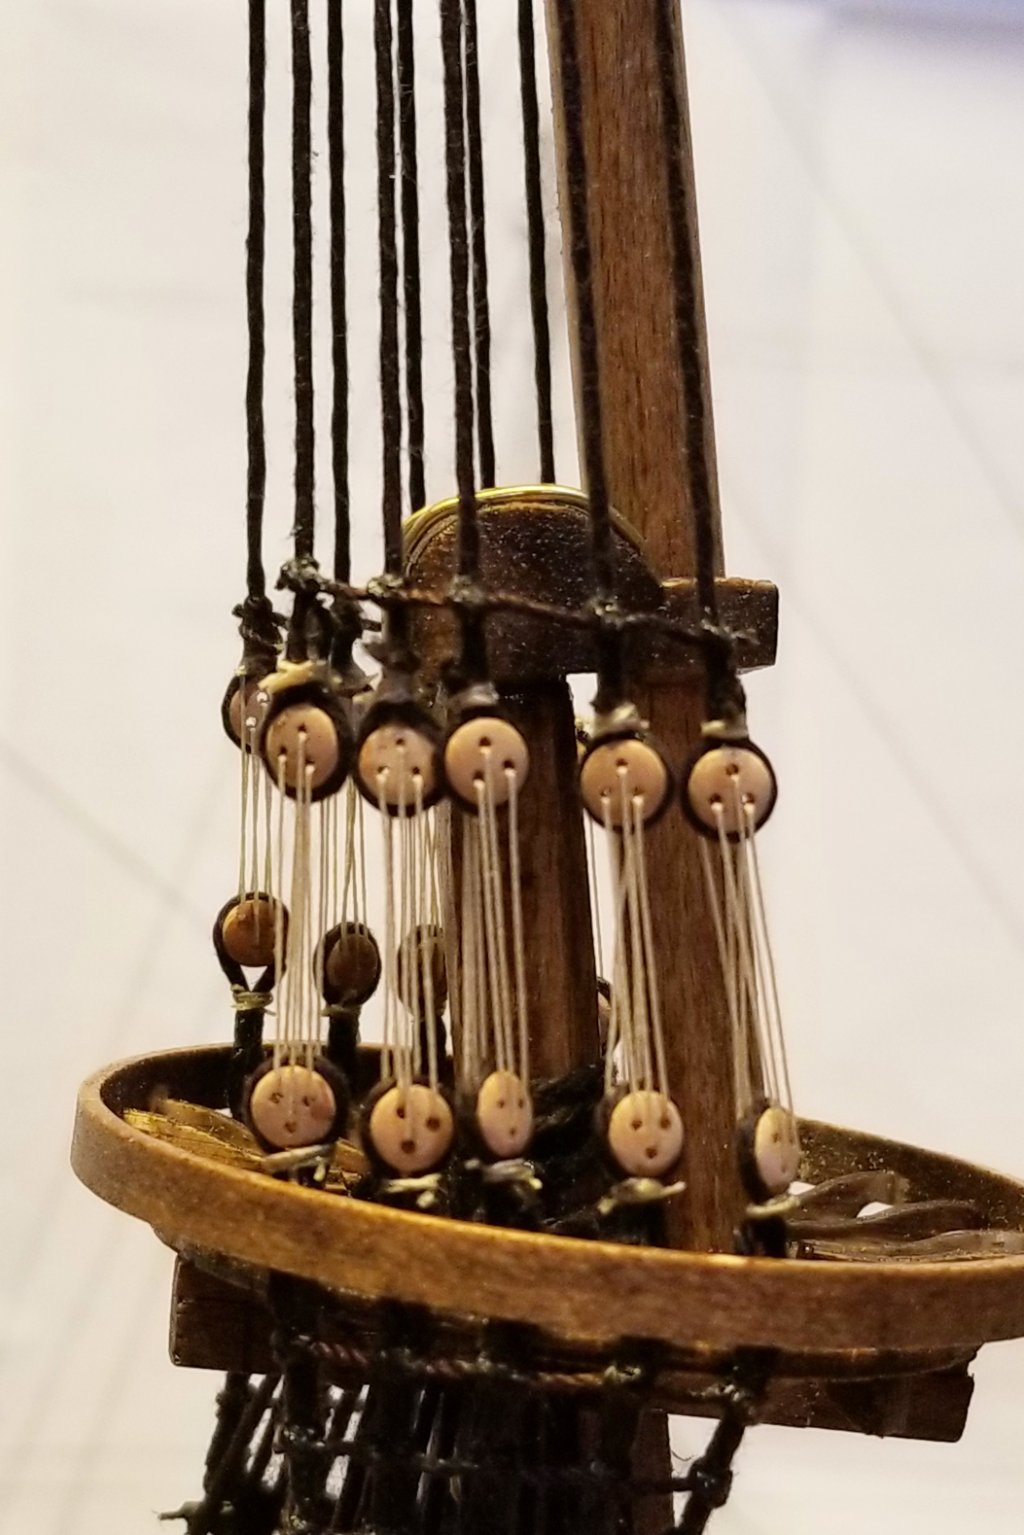
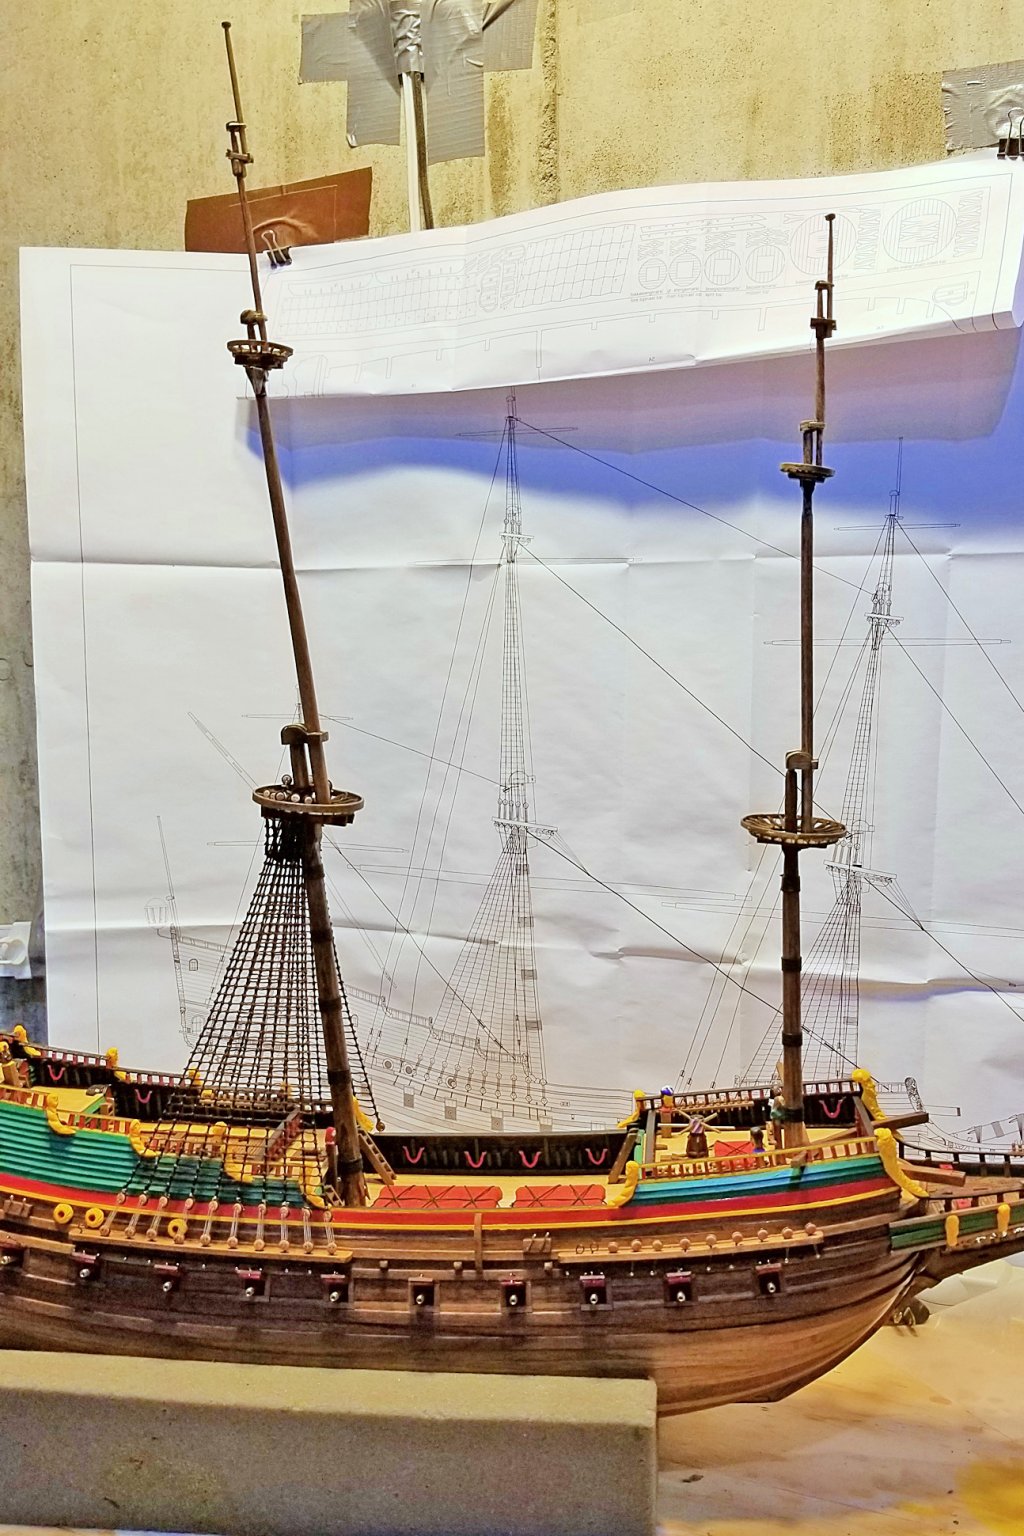
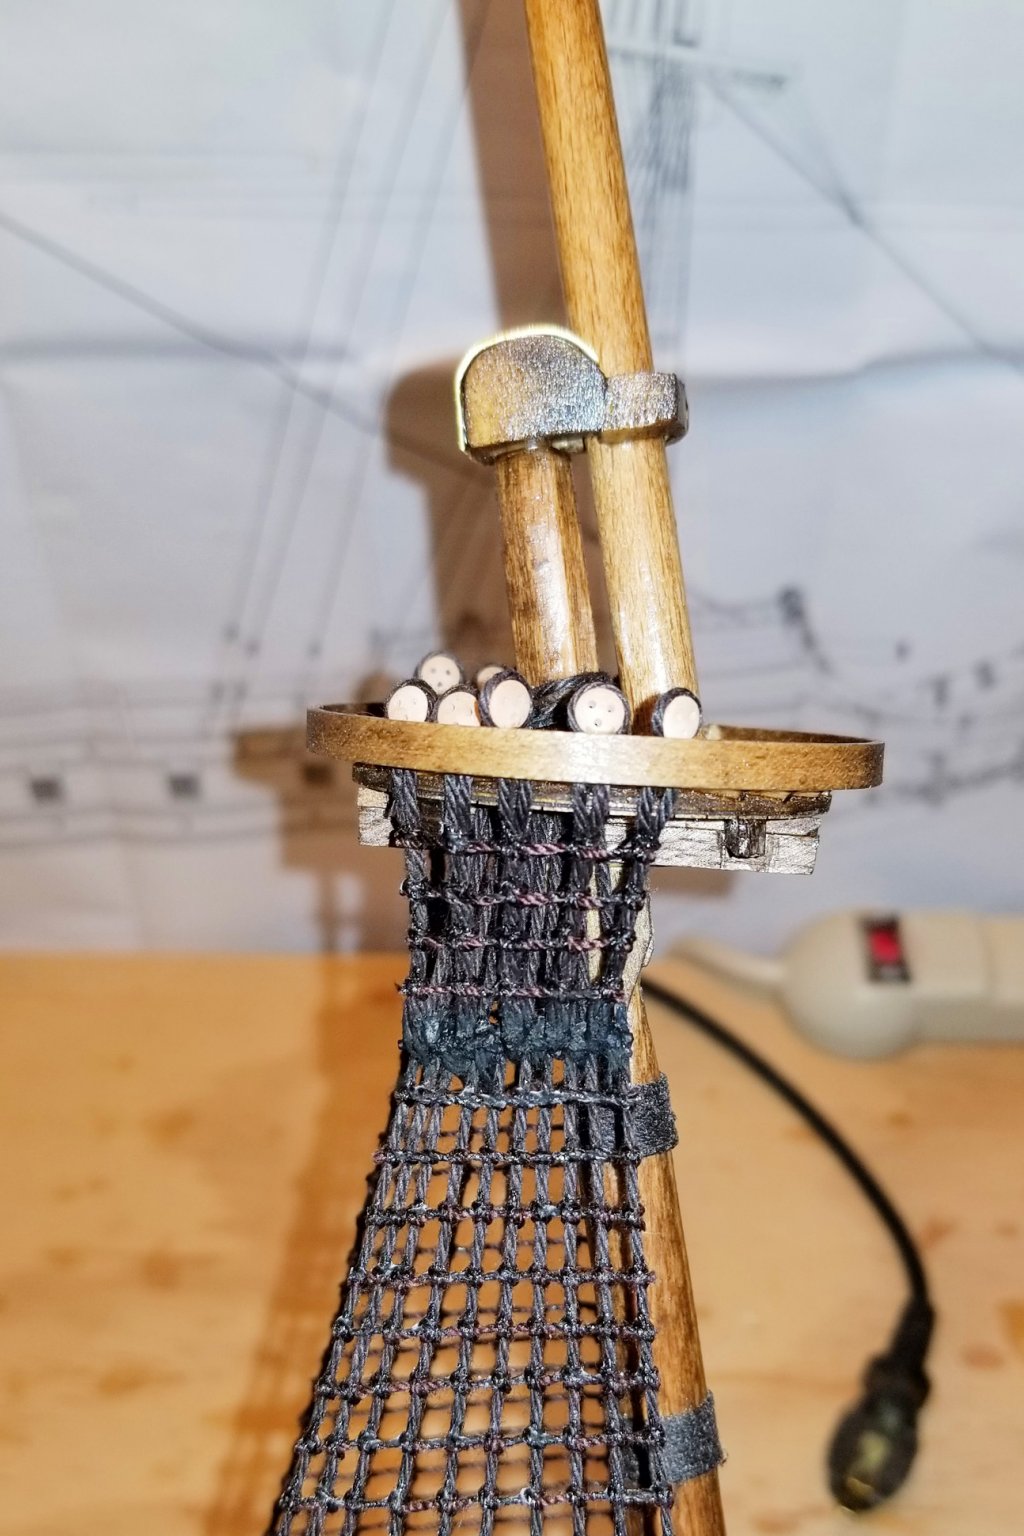
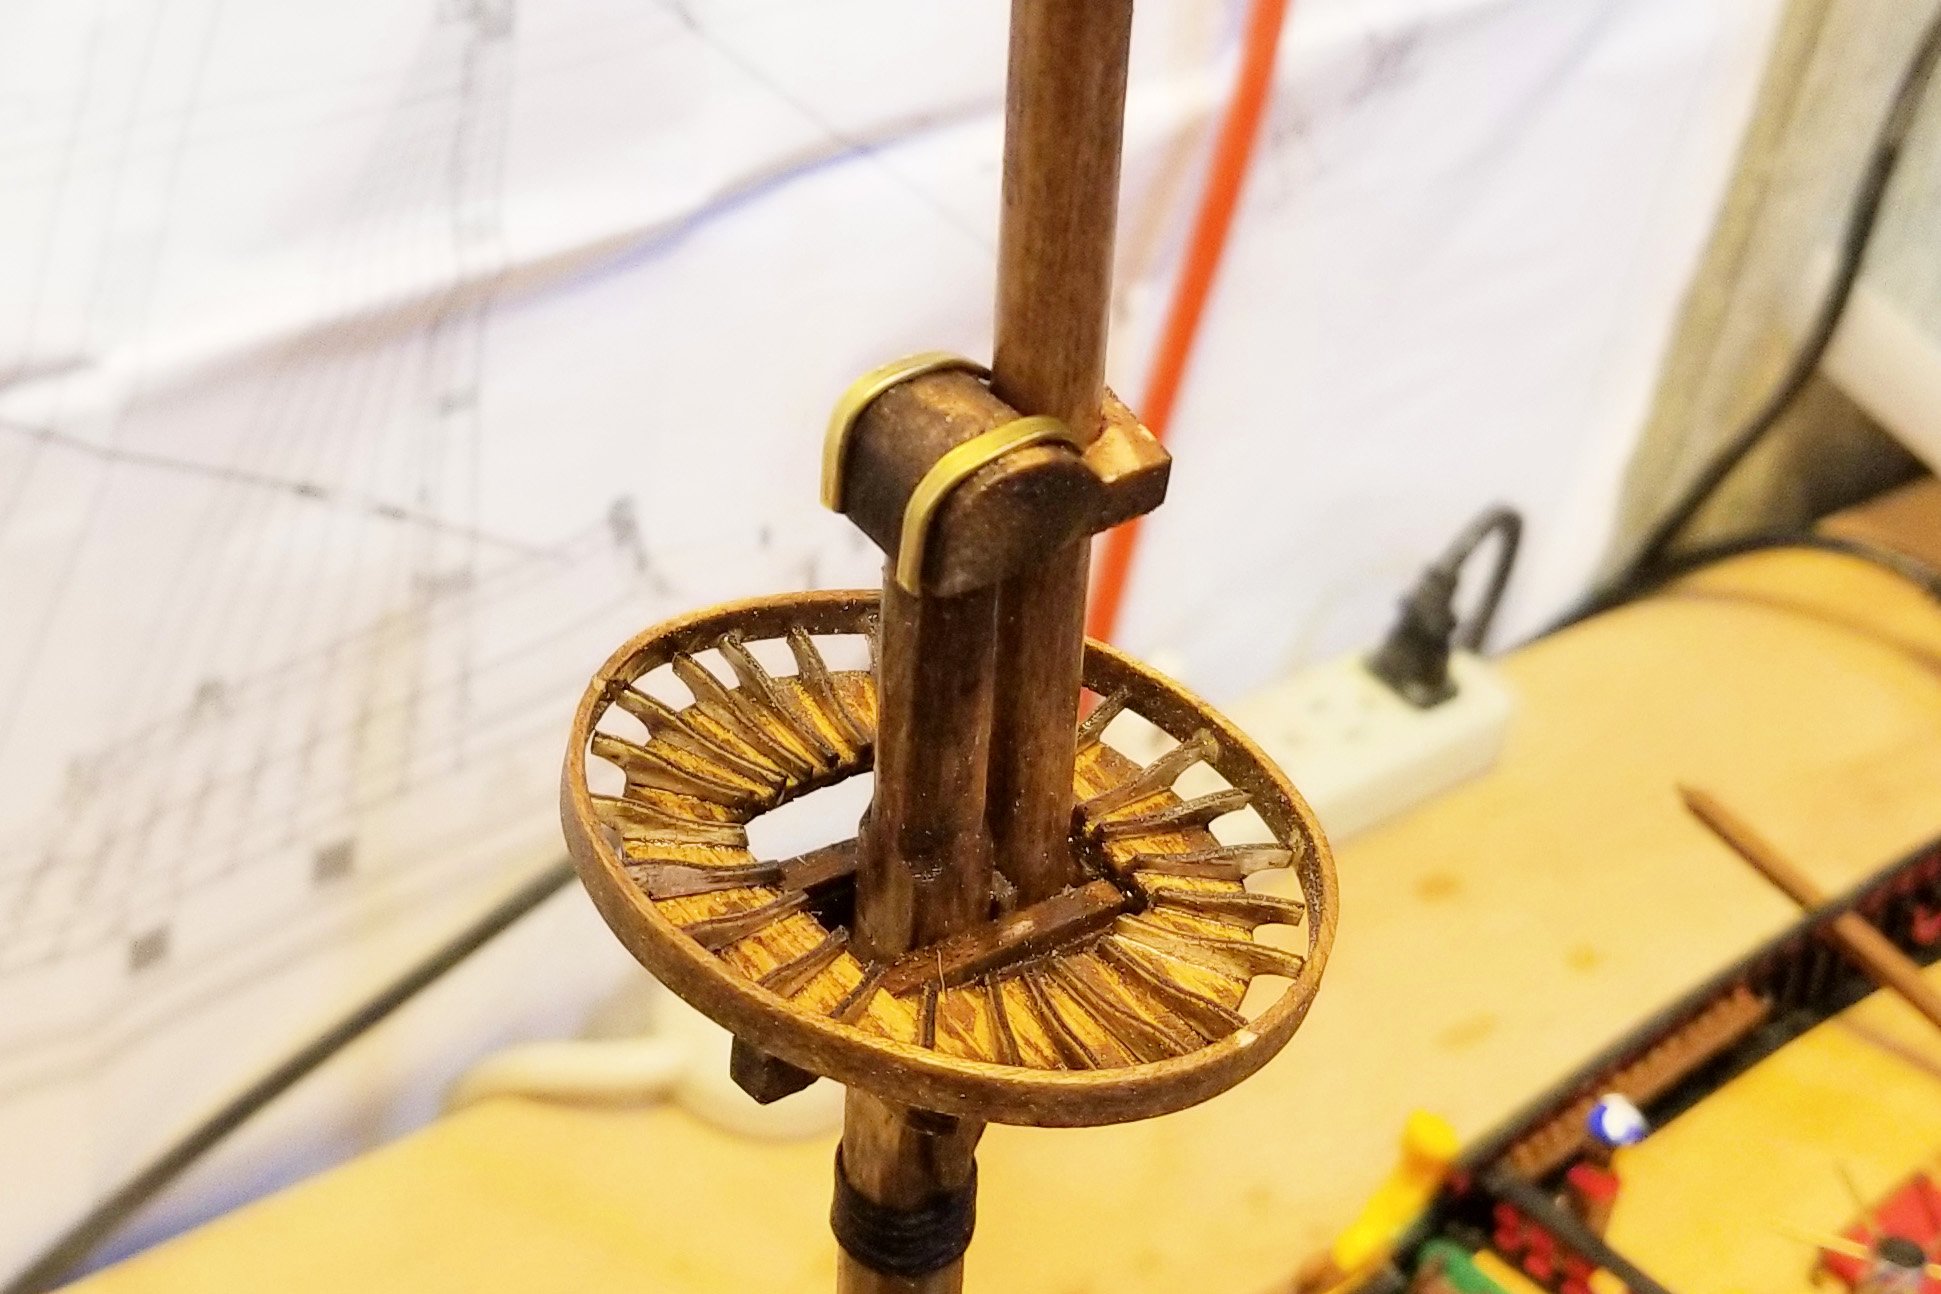
Here's the completed main mast. Many of the parts, such as the mast top shown in closeup, need to be hand-made following the plans.
I think my next step will be do to the shrouds on the lower part of this mast before moving on to the next mast. That will put some variety in the build, and also help to forestall "repetitive shroud fatigue" later on. 😛
In previous ships I have attached the yards before doing the shrouds and stays, but I think I'll do it after the shrouds are up on this one and see how that goes. Some concern about access, but we'll see.
Regards,
David

- Edwardkenway, YankeeD, PeterB010 and 4 others
-
7
-
1 hour ago, *Hans* said:
David, I'd like to make a small comment: the wood for the masts is beech wood 🙂
Hope you don't mind me saying this.
Hans, I don't mind at all -- want it to be right when I describe it.
For the benefit of other readers: the quality of wood in this model is excellent -- as good as any I have seen in the best of other models I've built.
James, I'm not sure I understand your comment. Other than the resin decorations, this is a fully wooden model.
Regards,
David
-
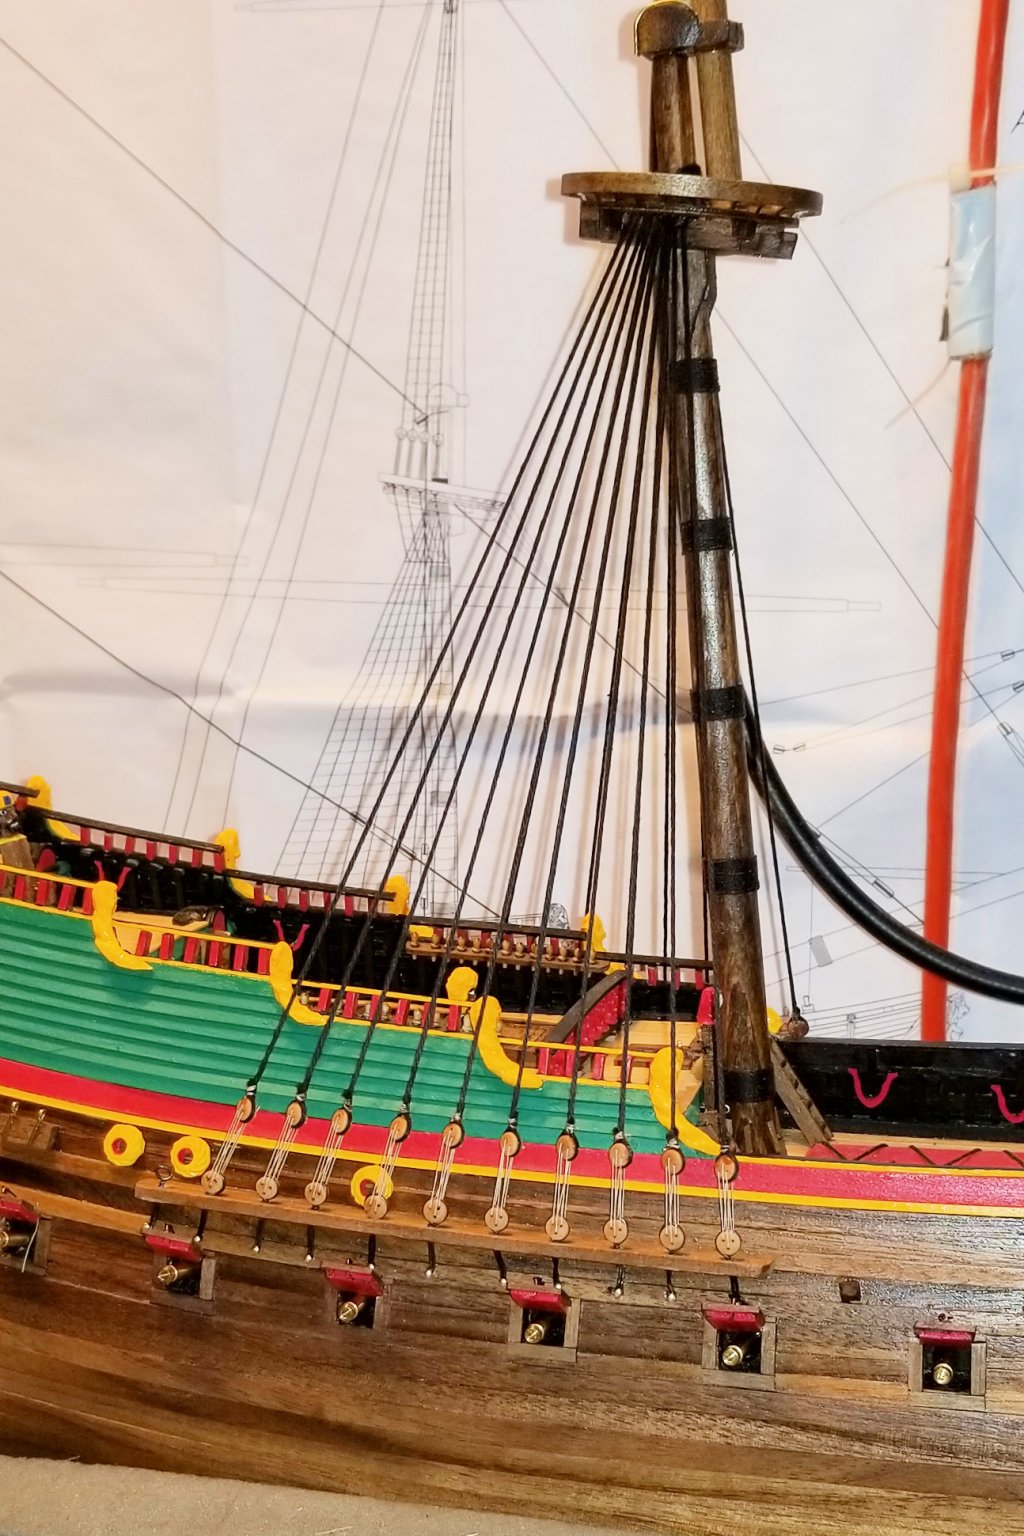
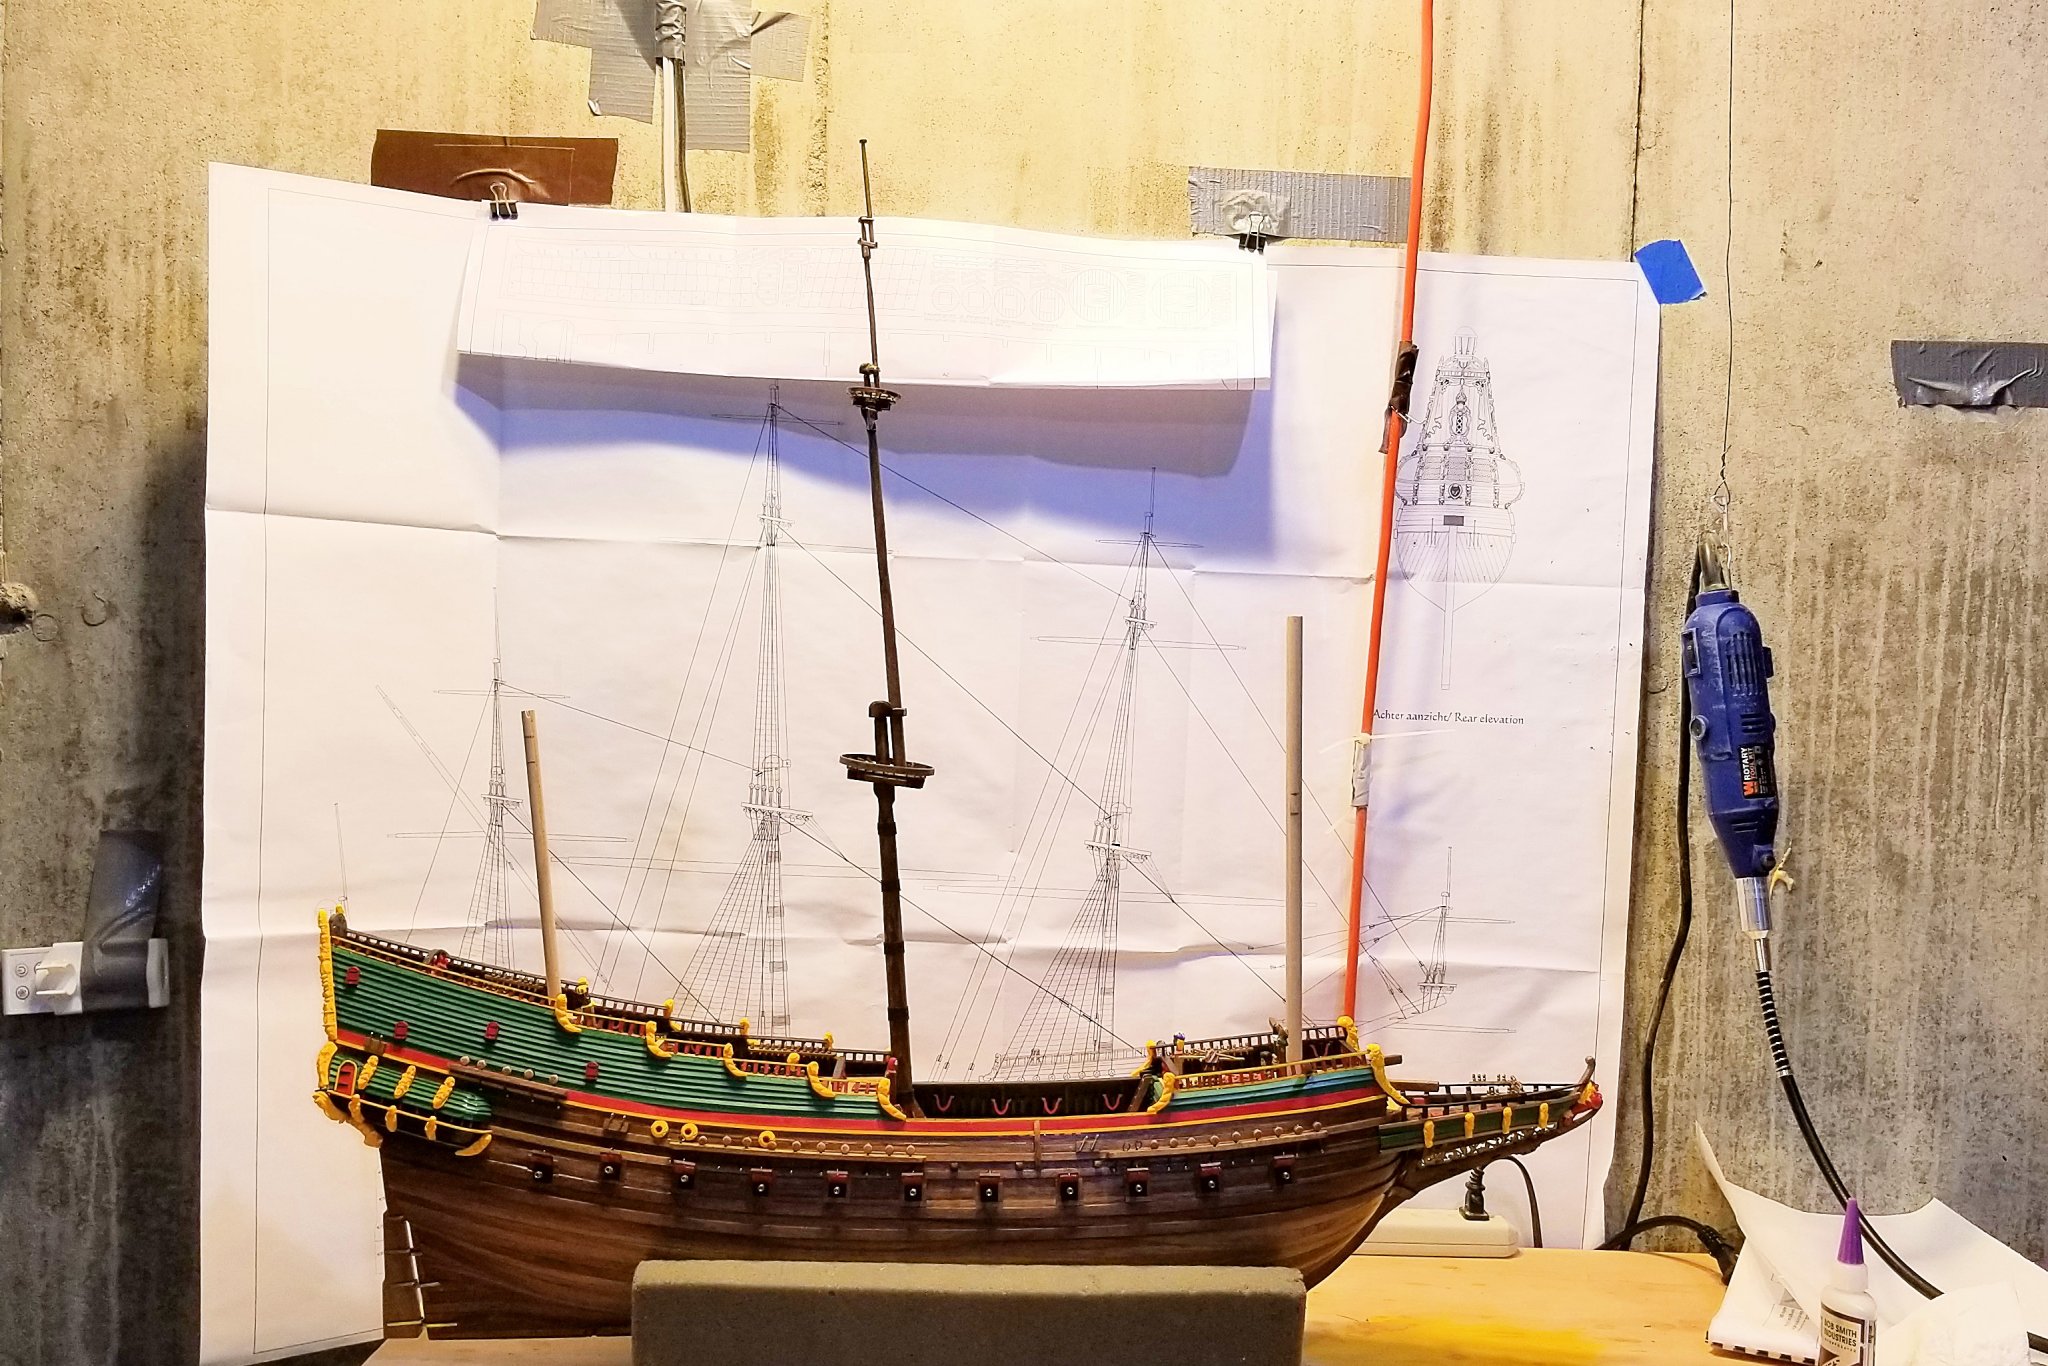
Here's the first section of the main mast. The supplied wood is basswood, so I had to stain it.
Regards,
David

- JeffT, GrandpaPhil, Cirdan and 8 others
-
11
-
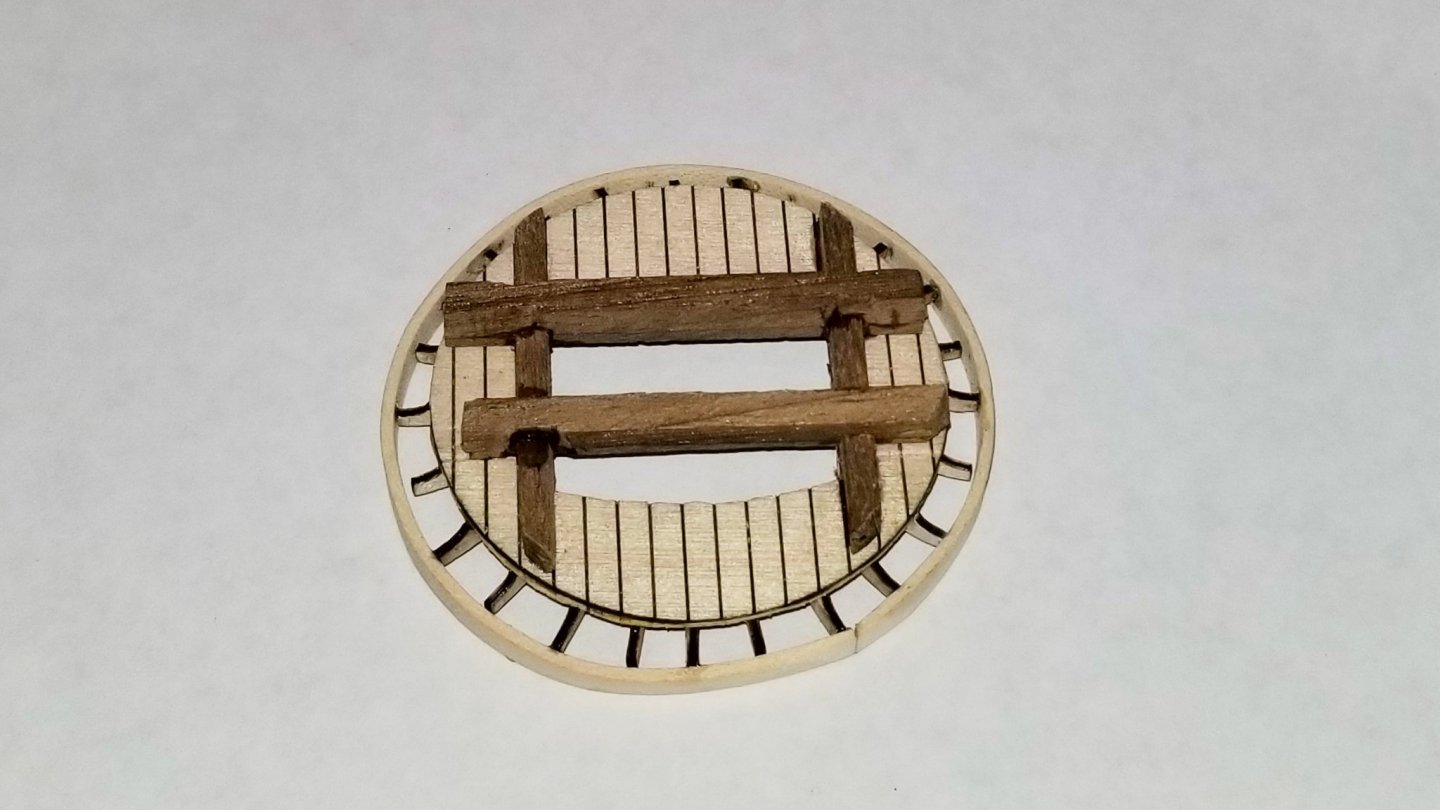
Here's the top for the first section of the main mast.
Regards,
David

- Edwardkenway, PeterB010, YankeeD and 3 others
-
6
-
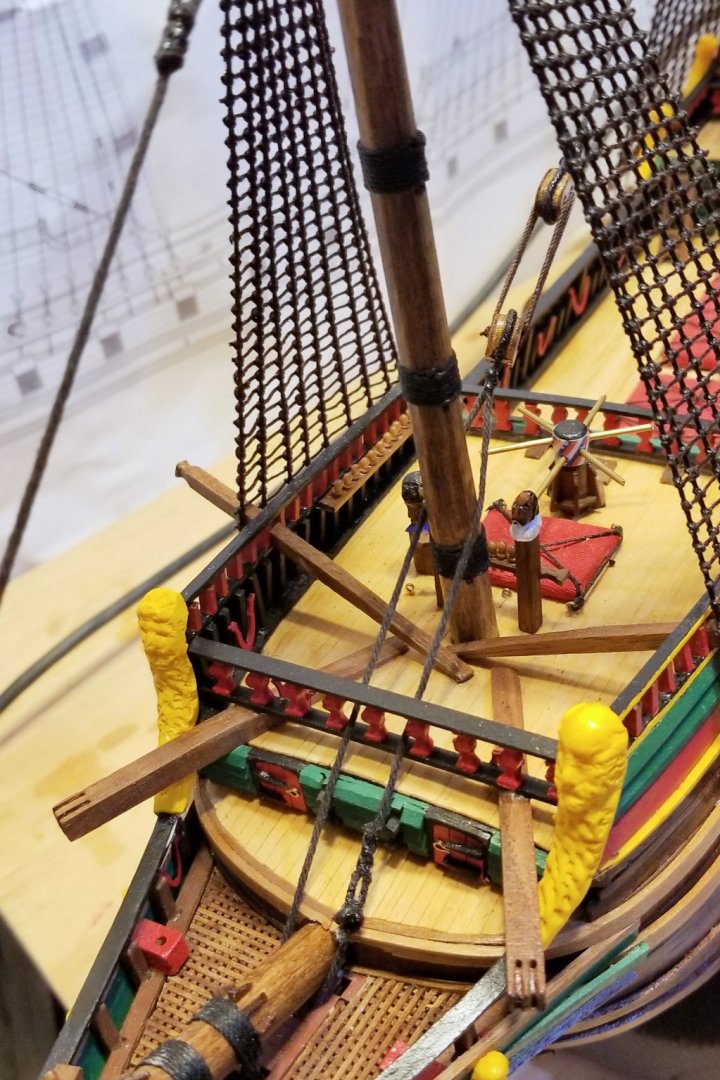
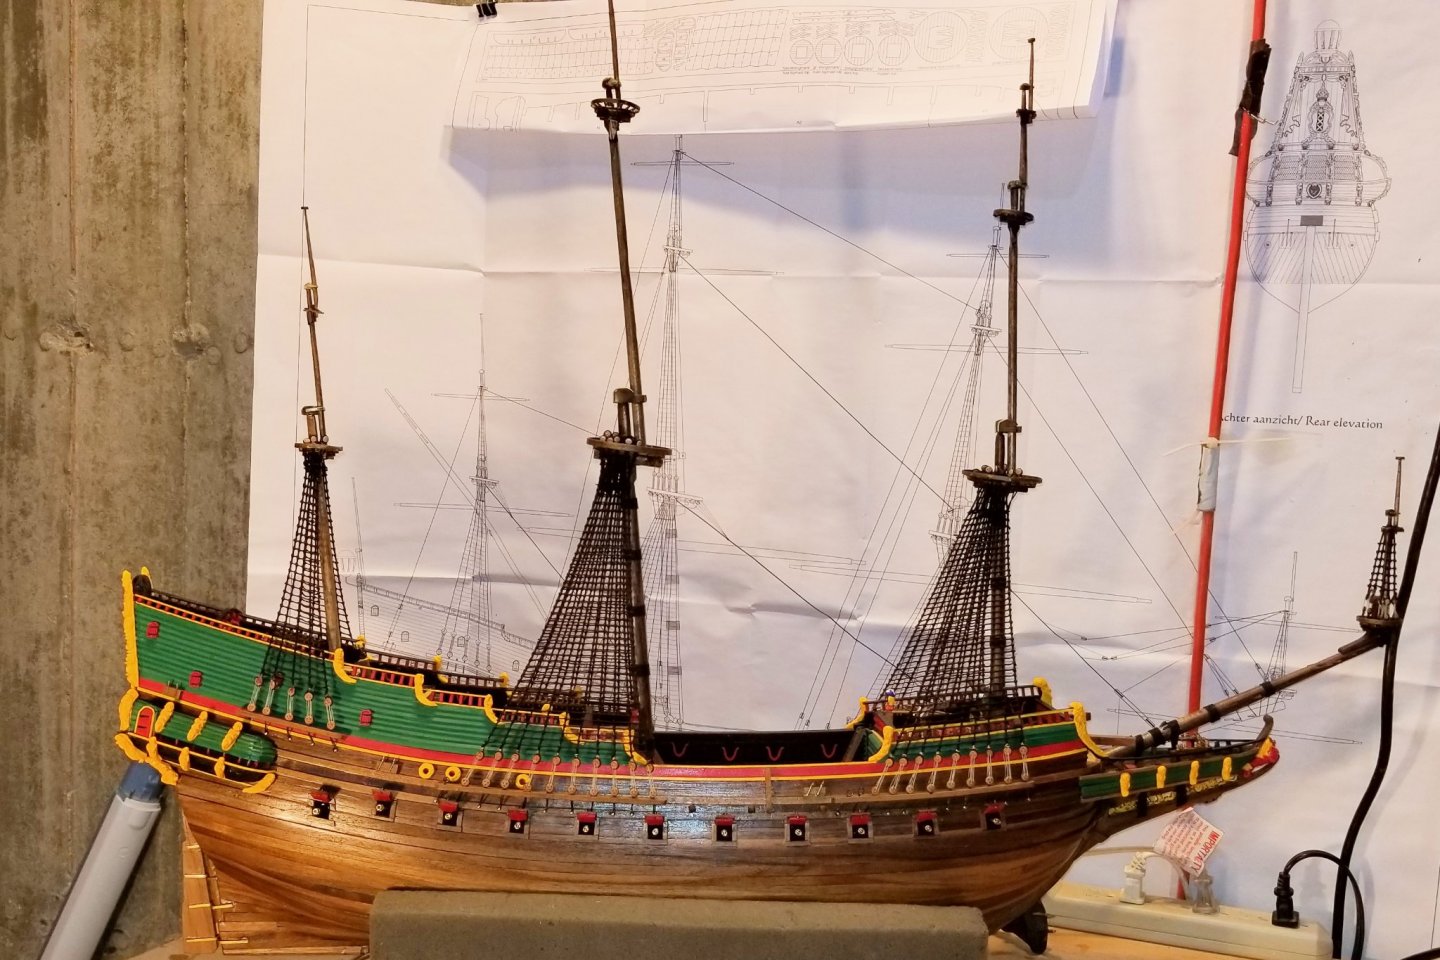
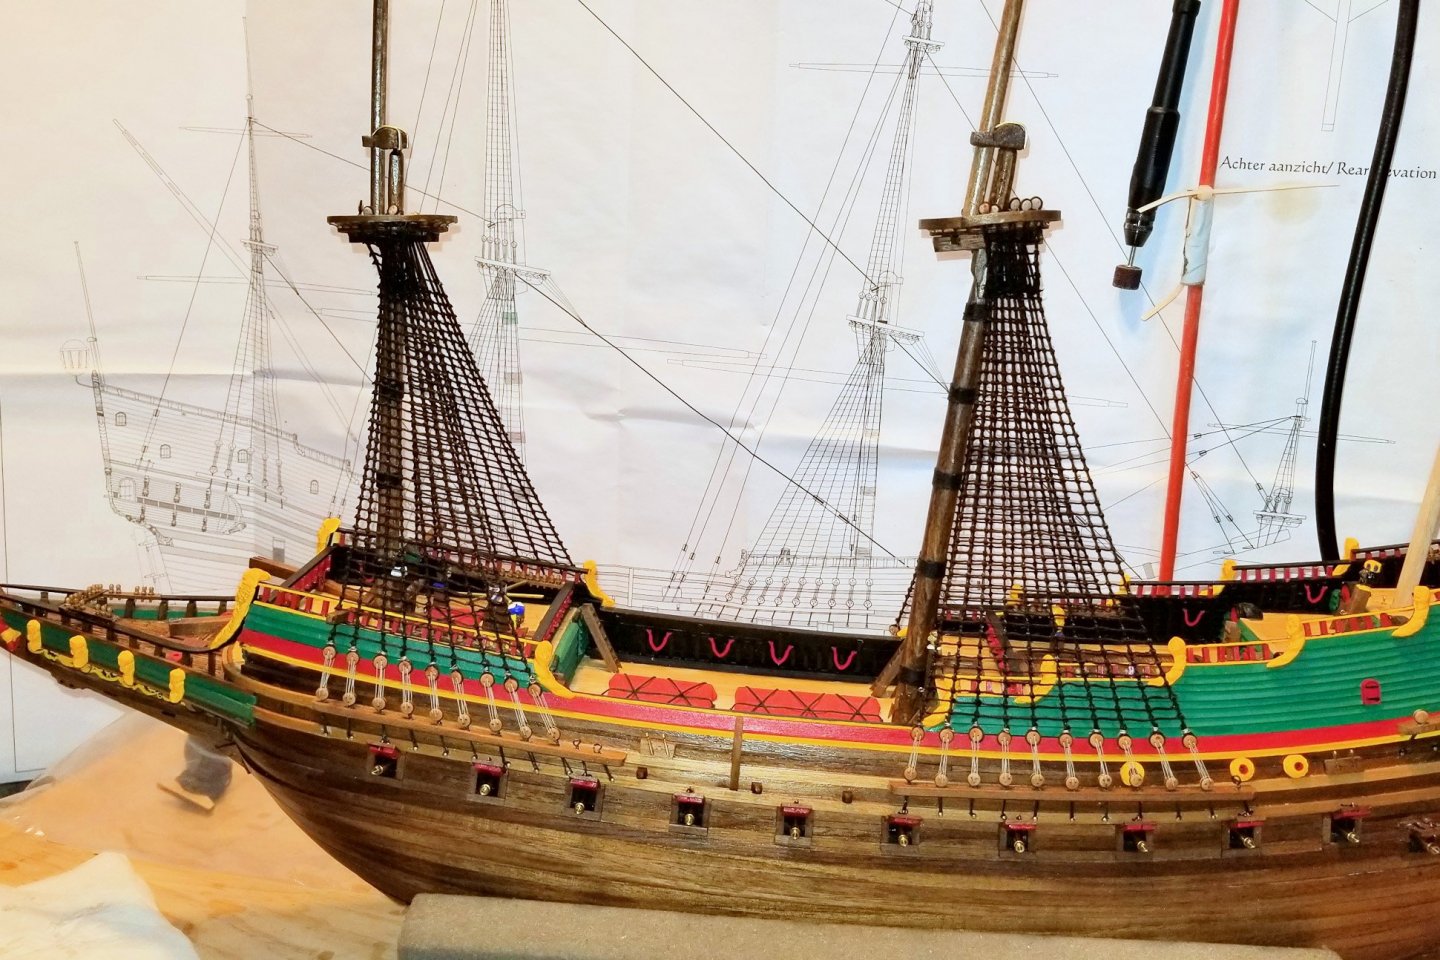
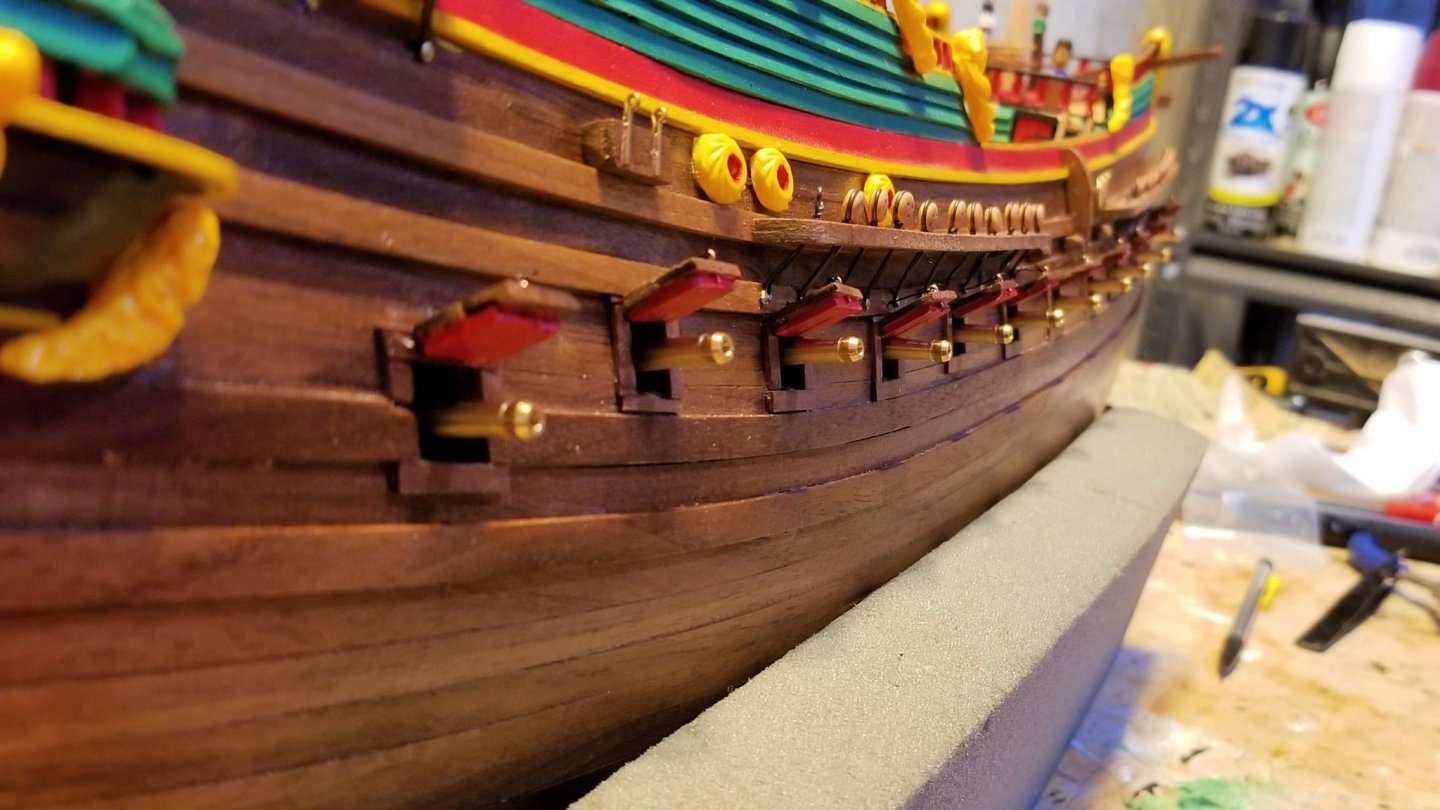
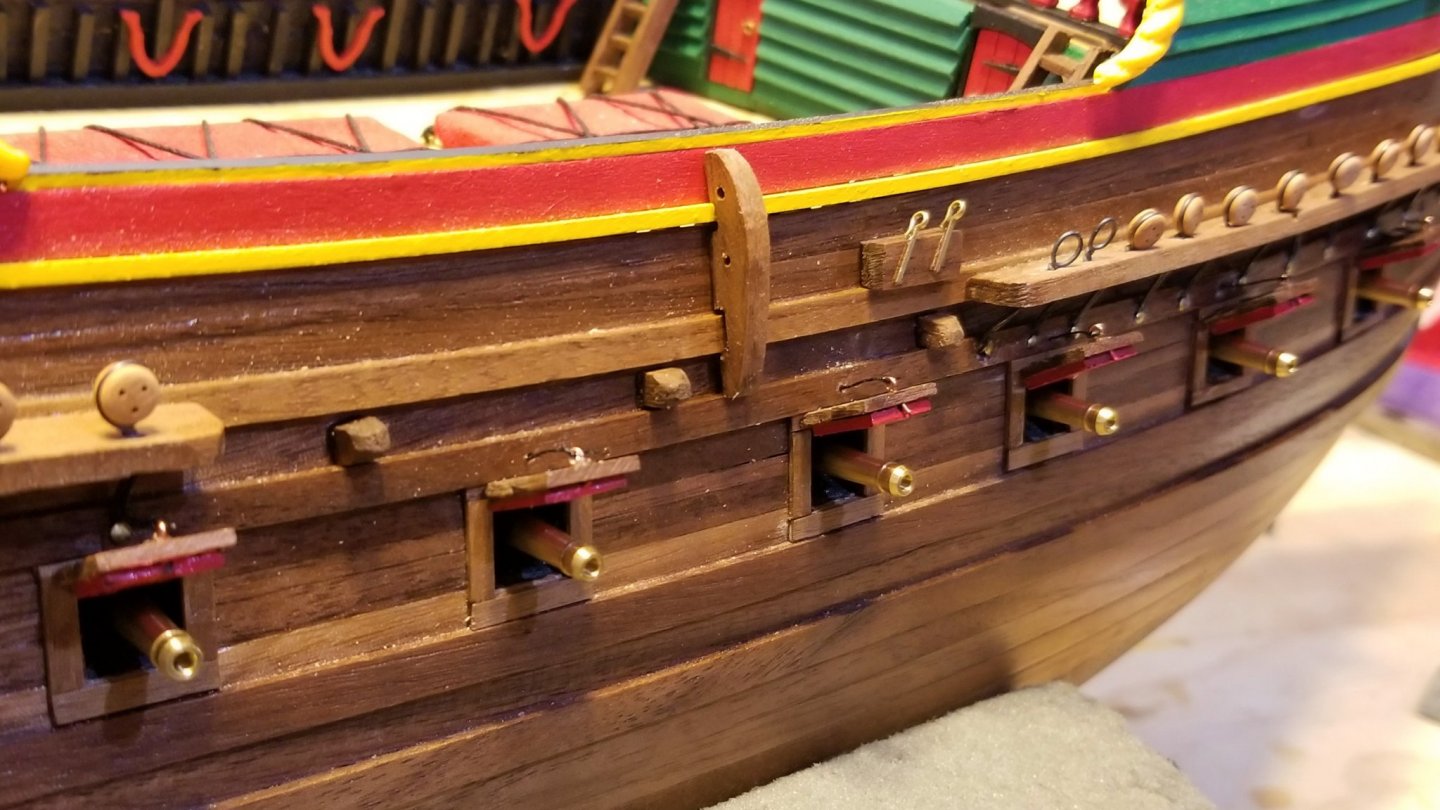
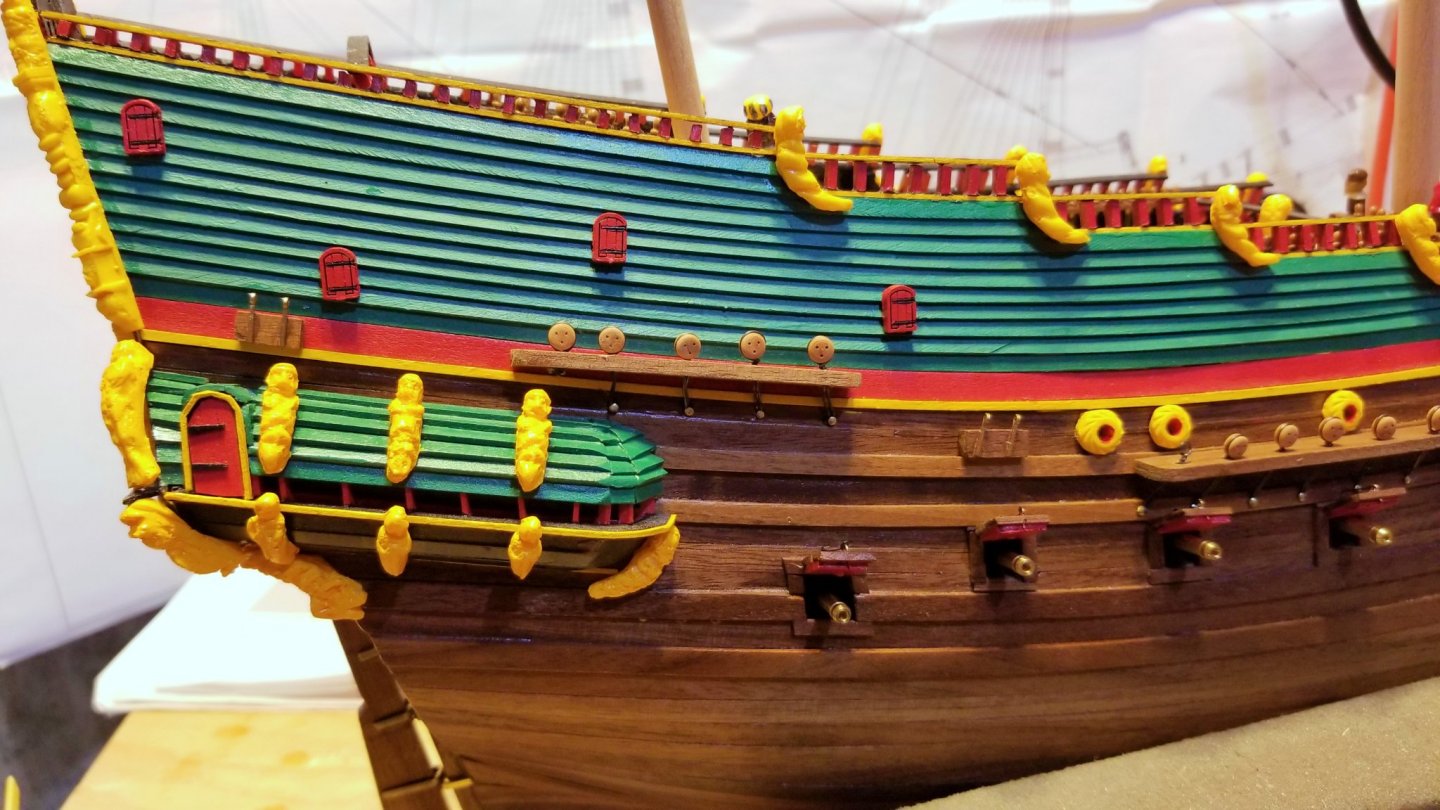
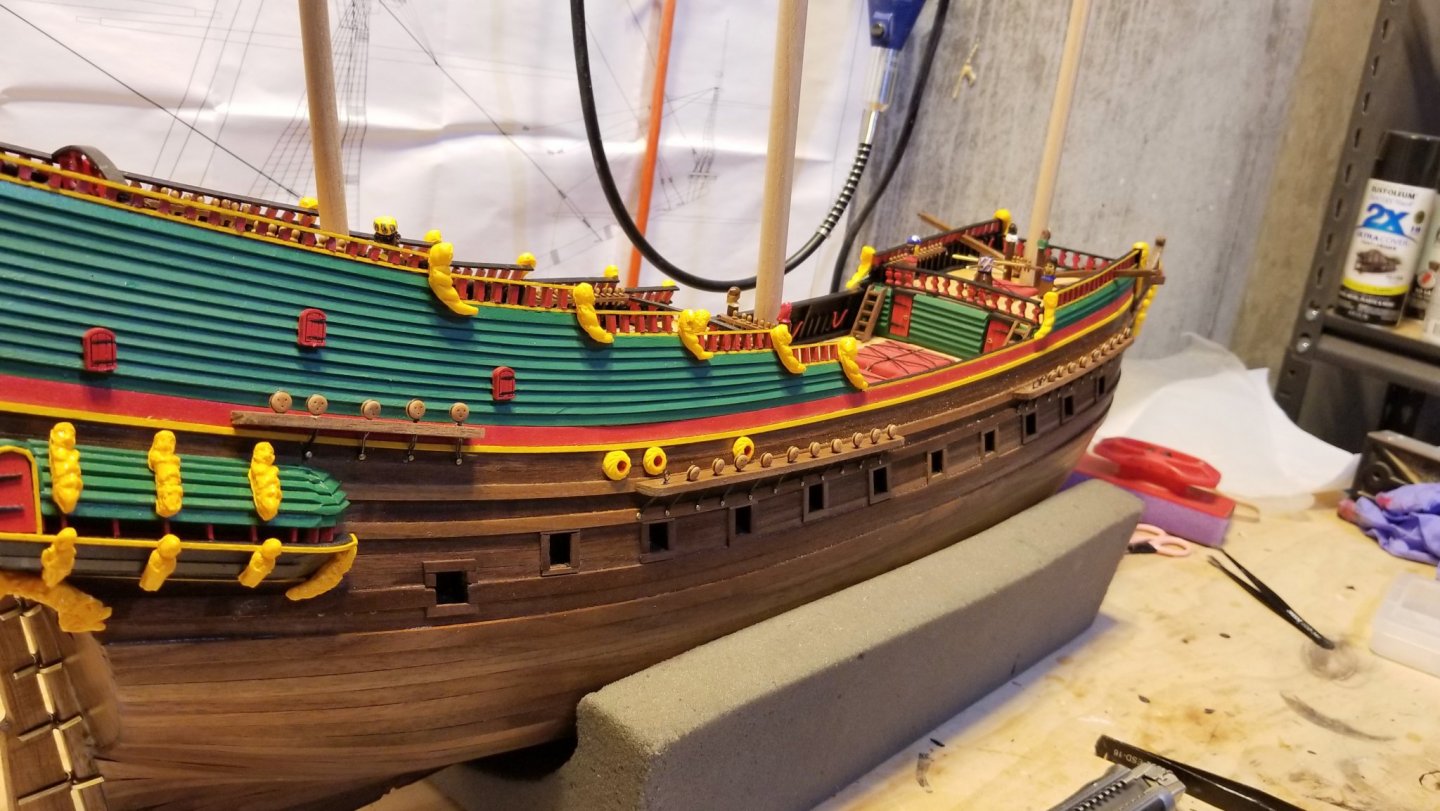
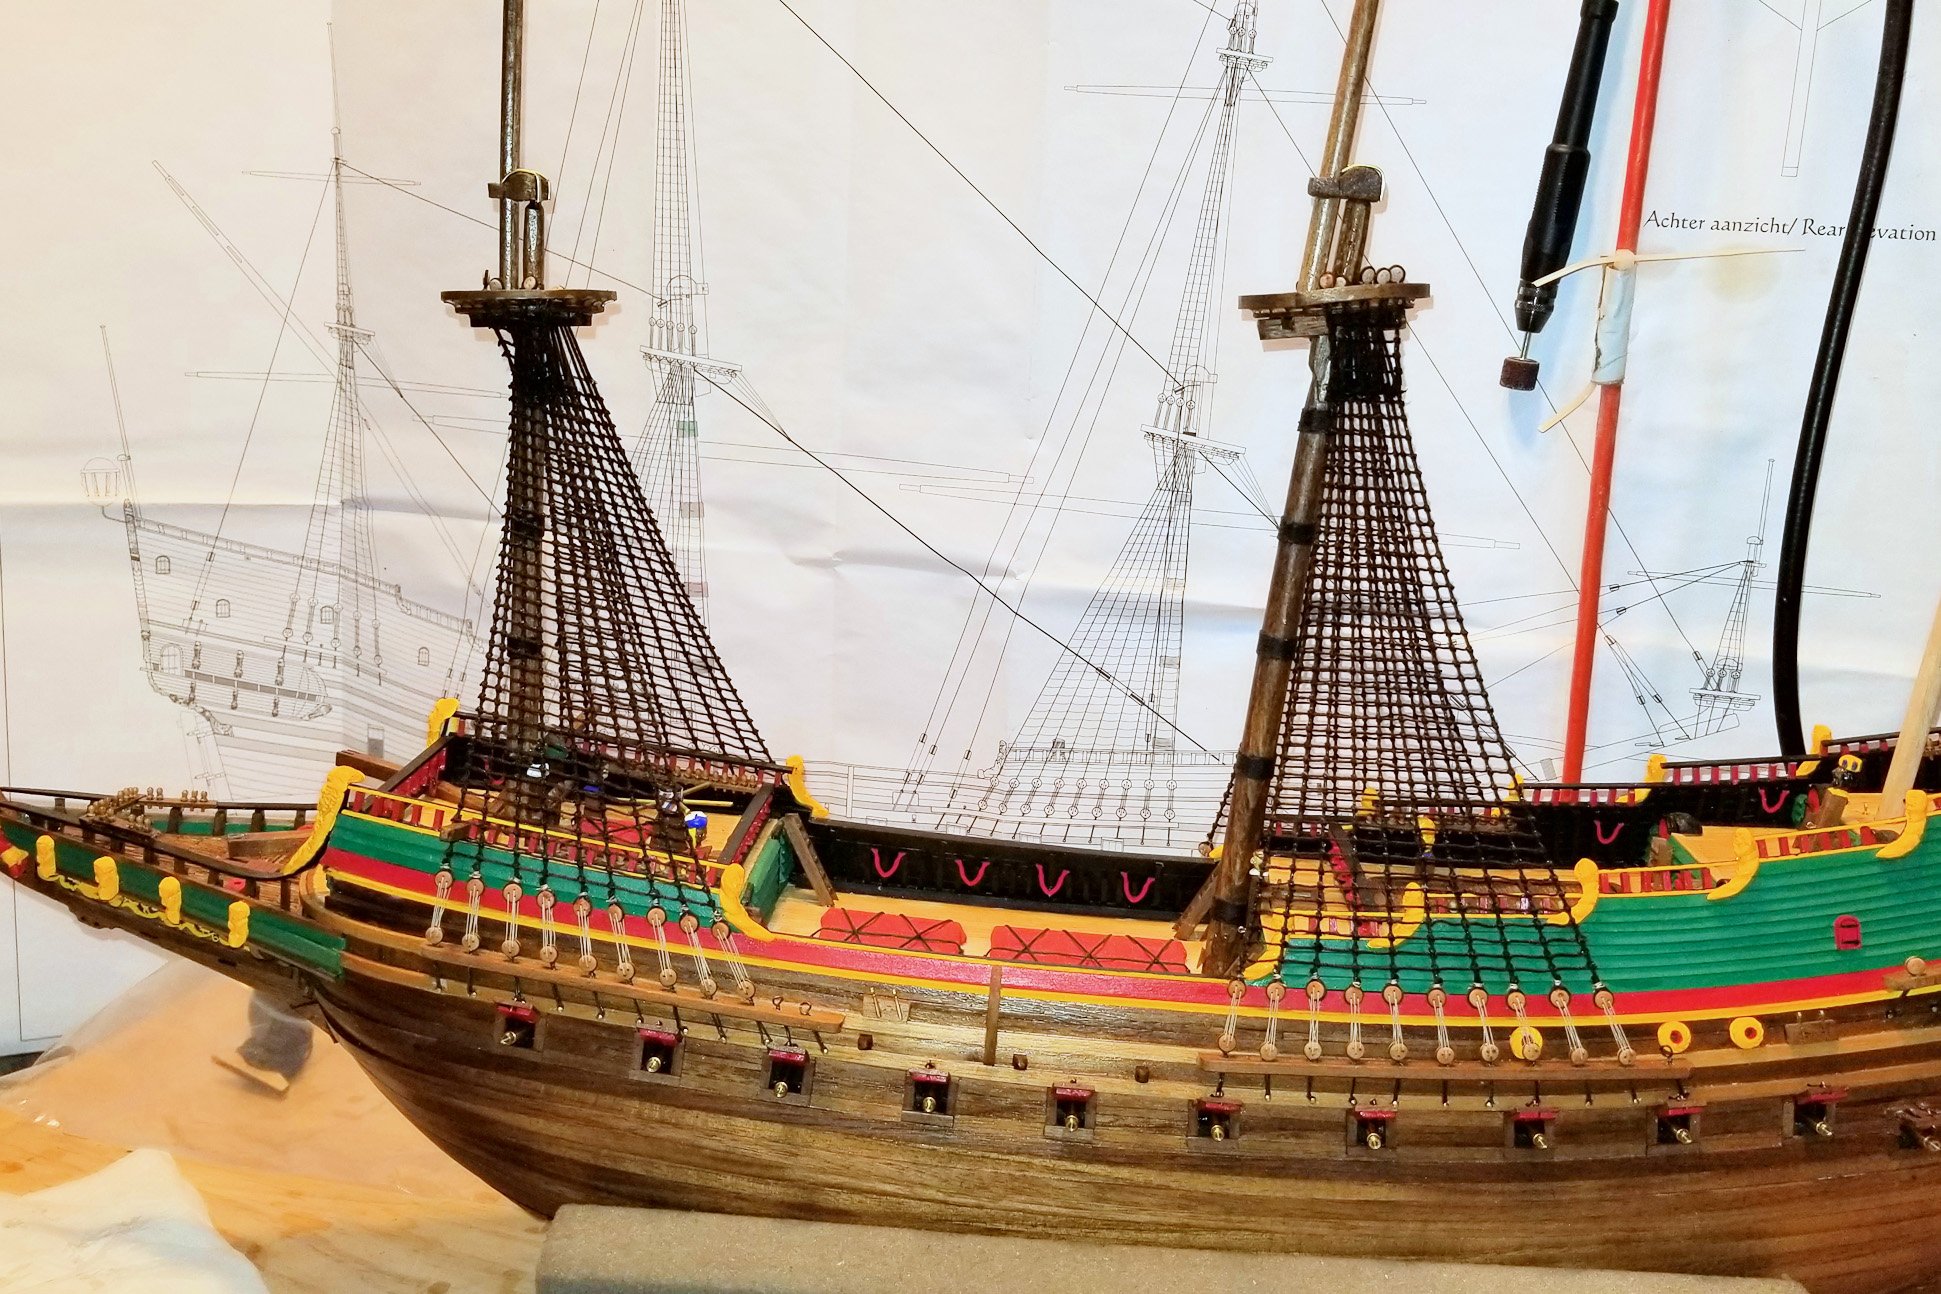
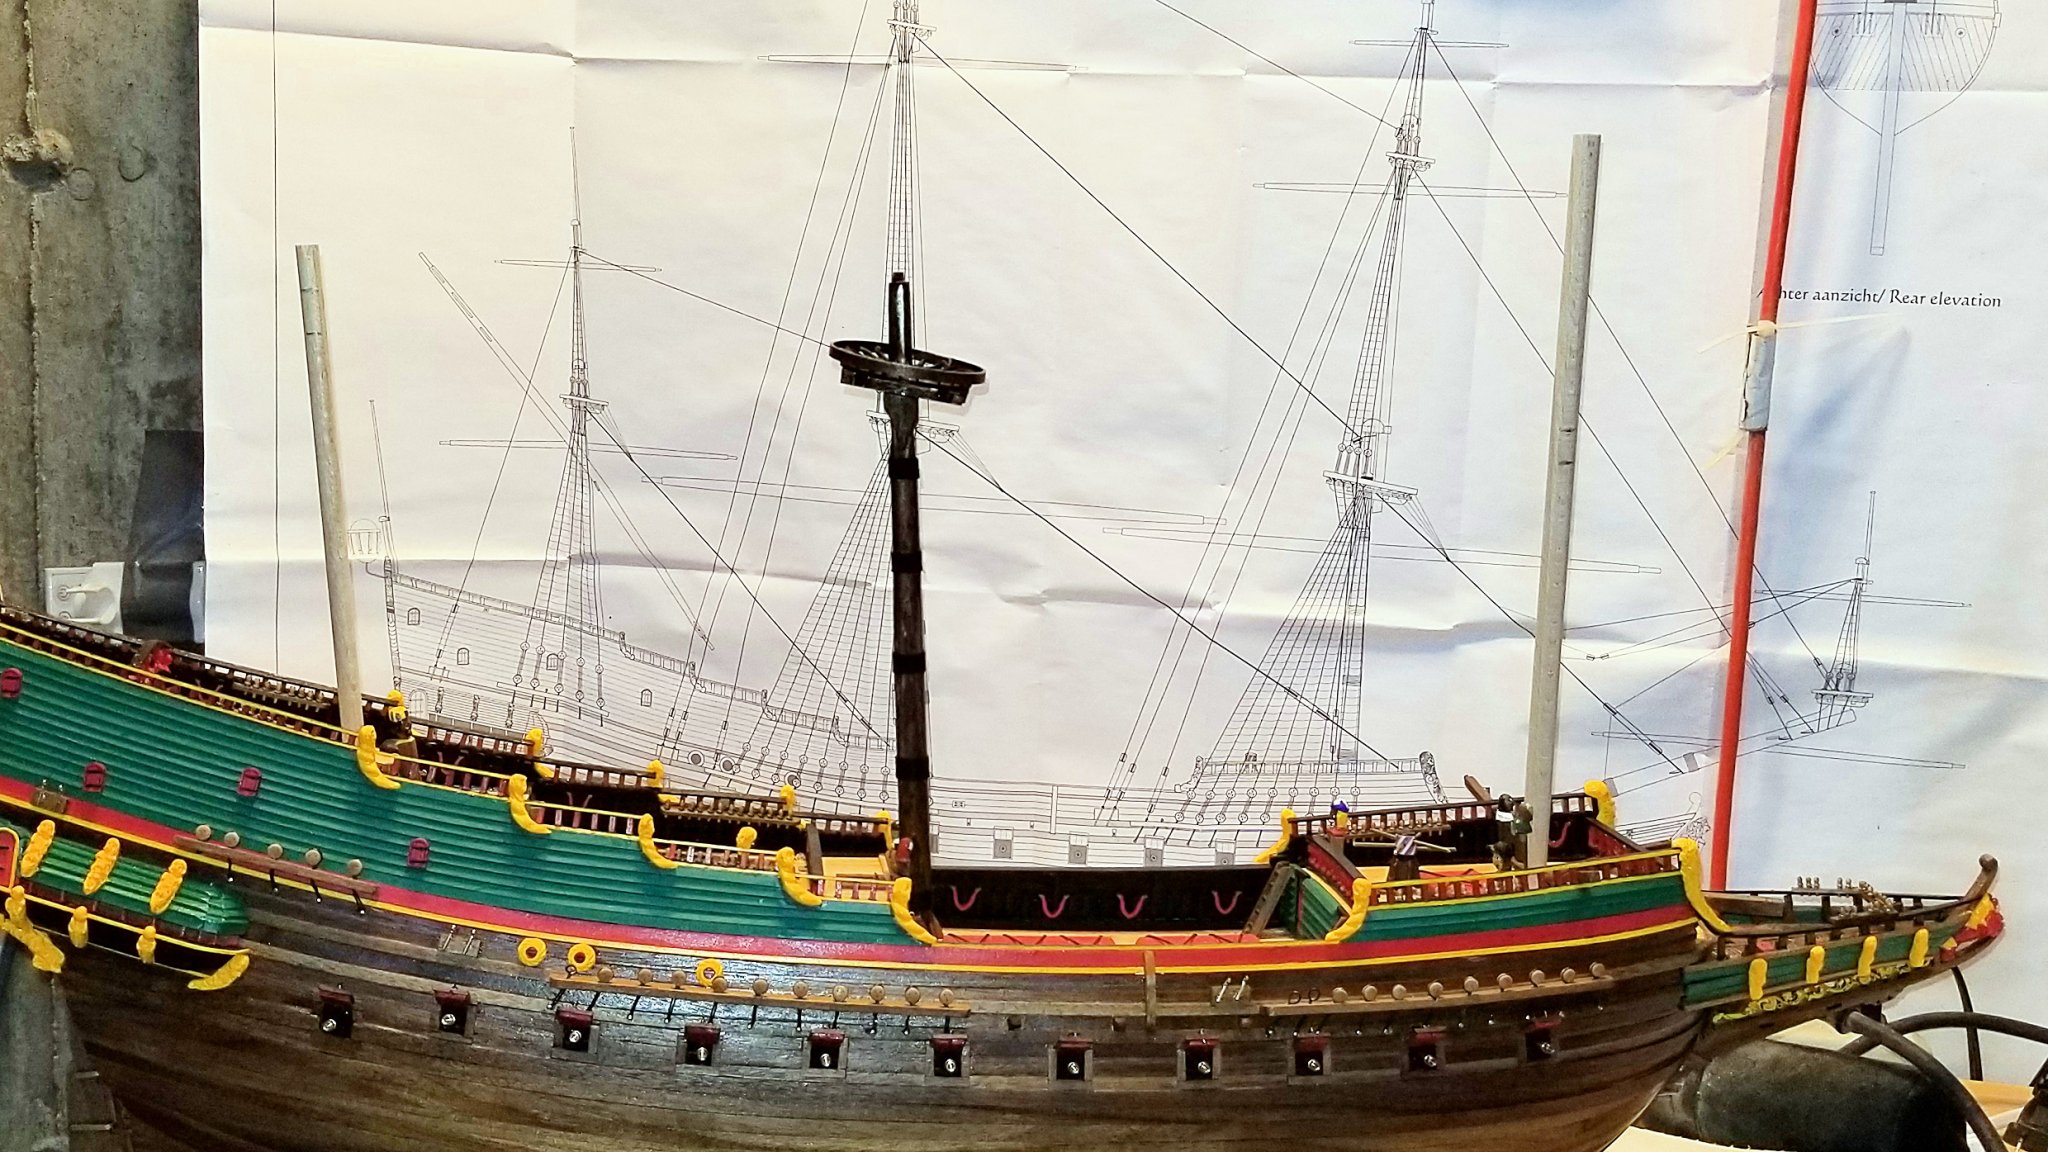
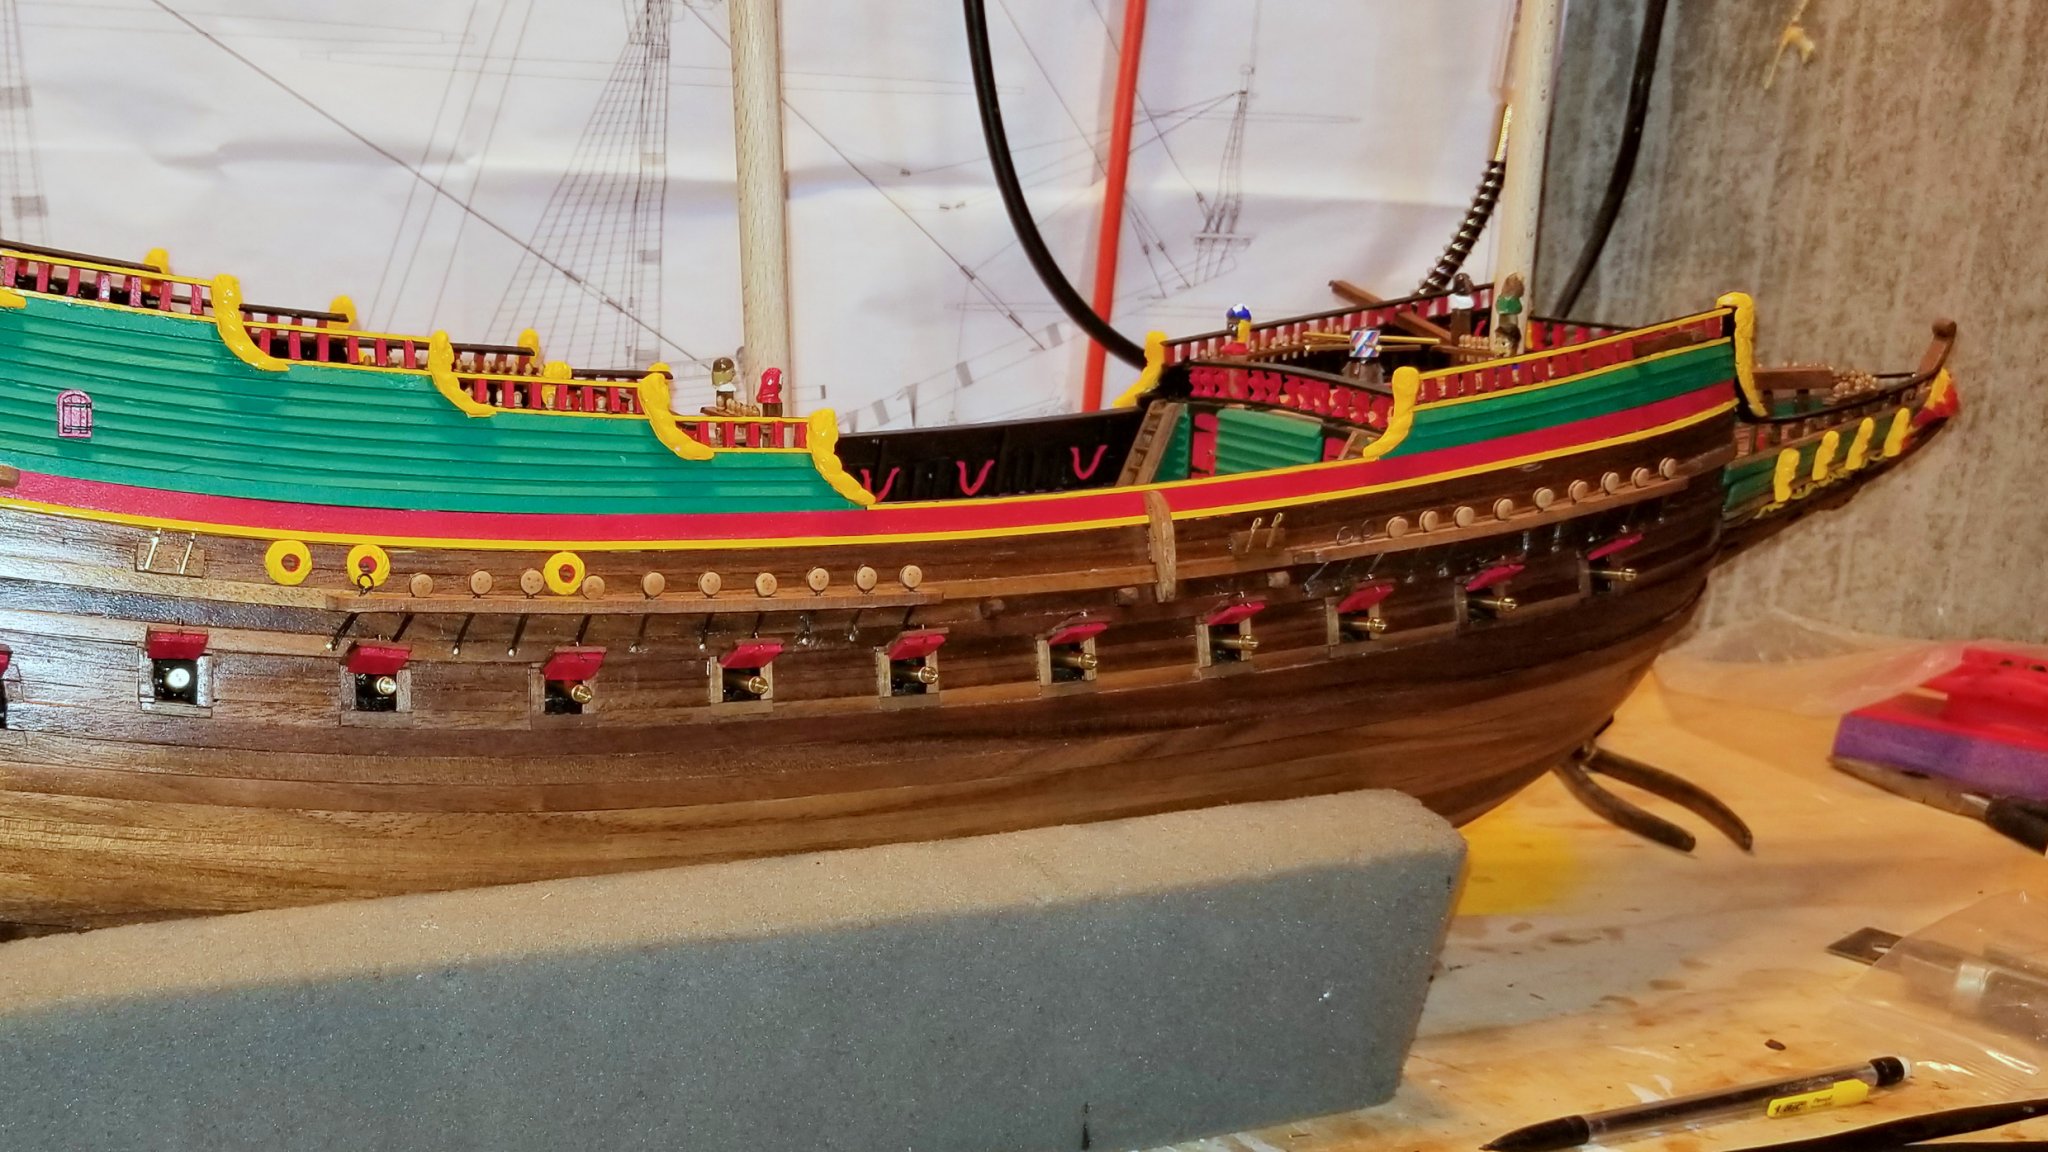
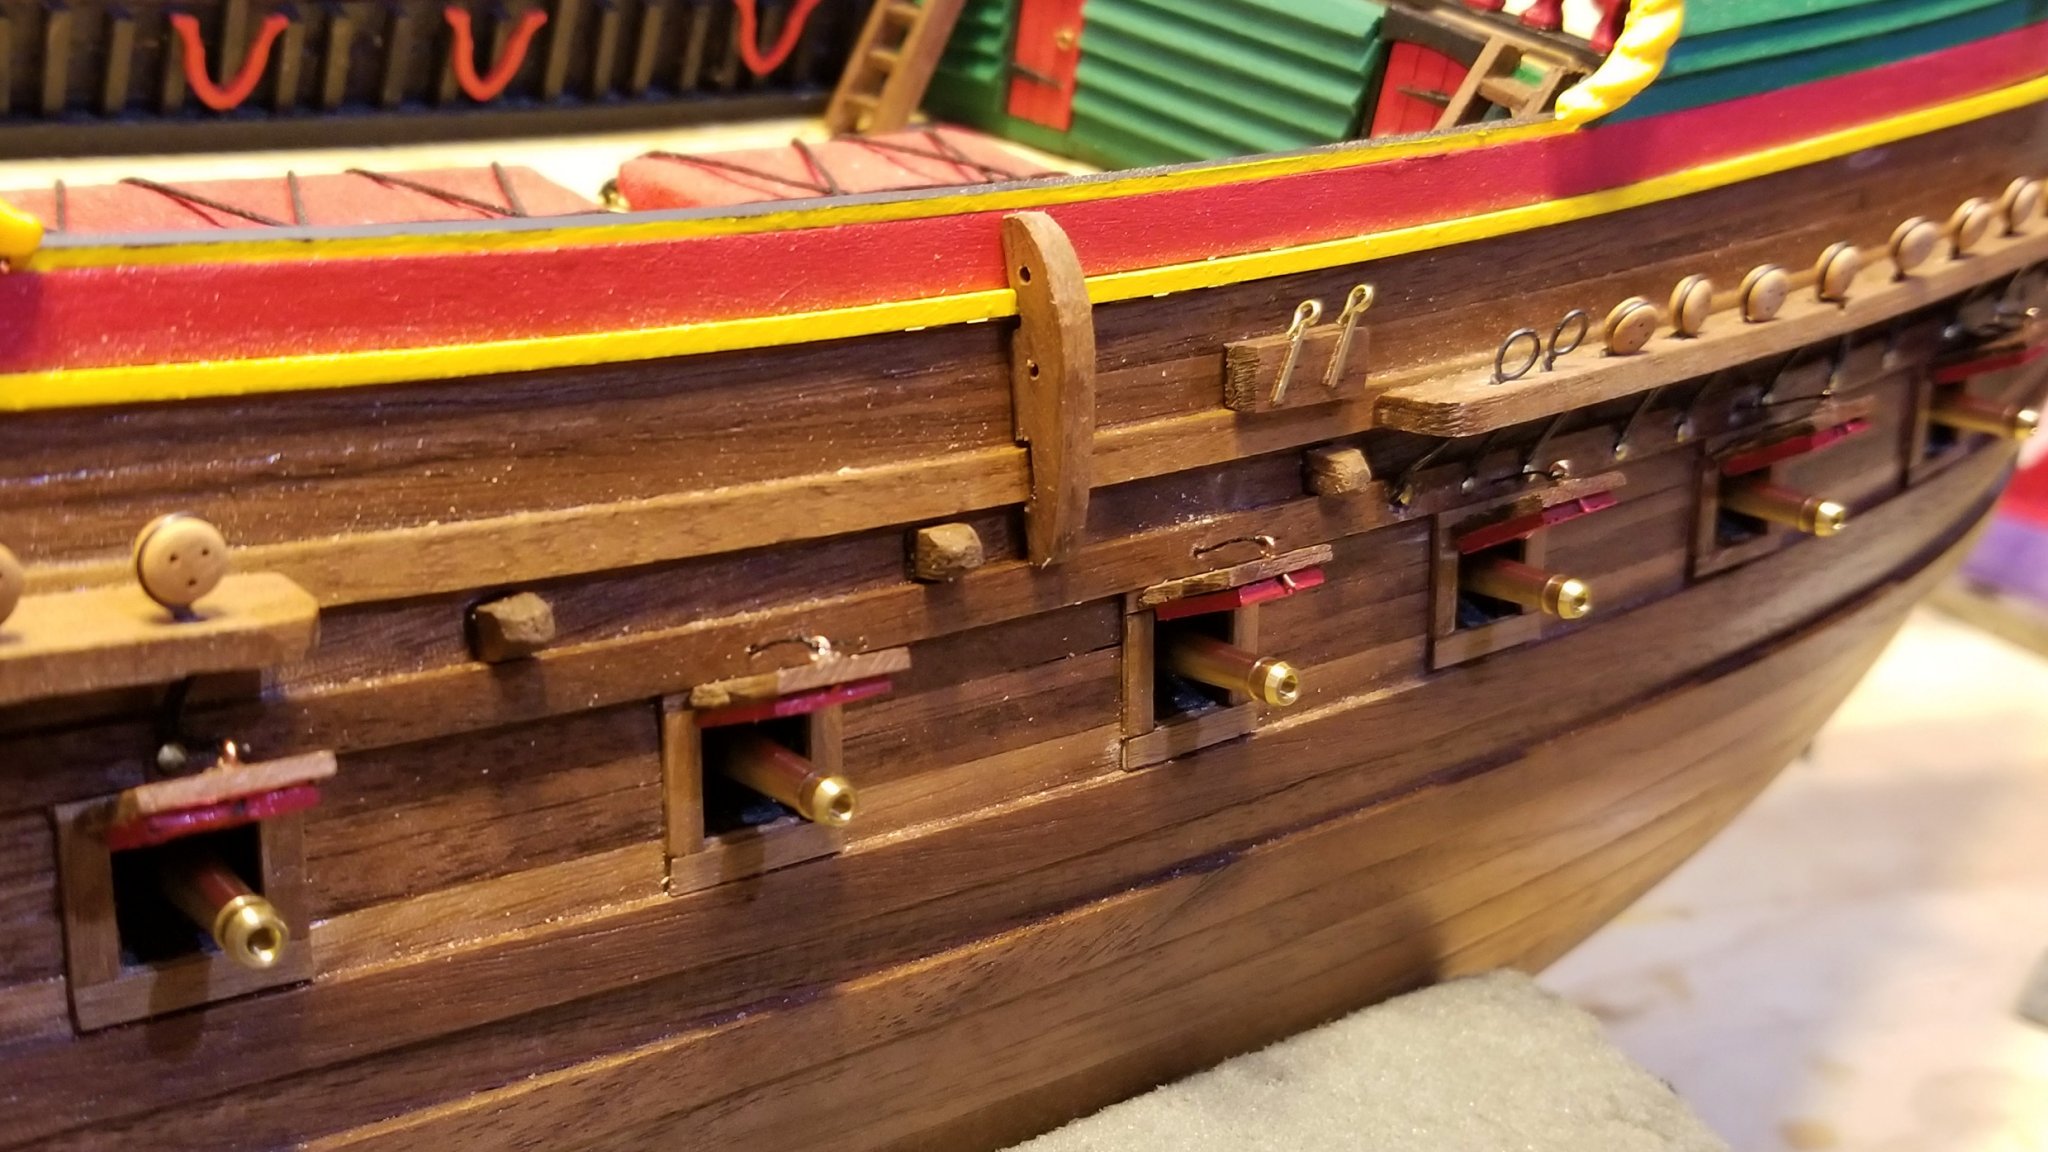
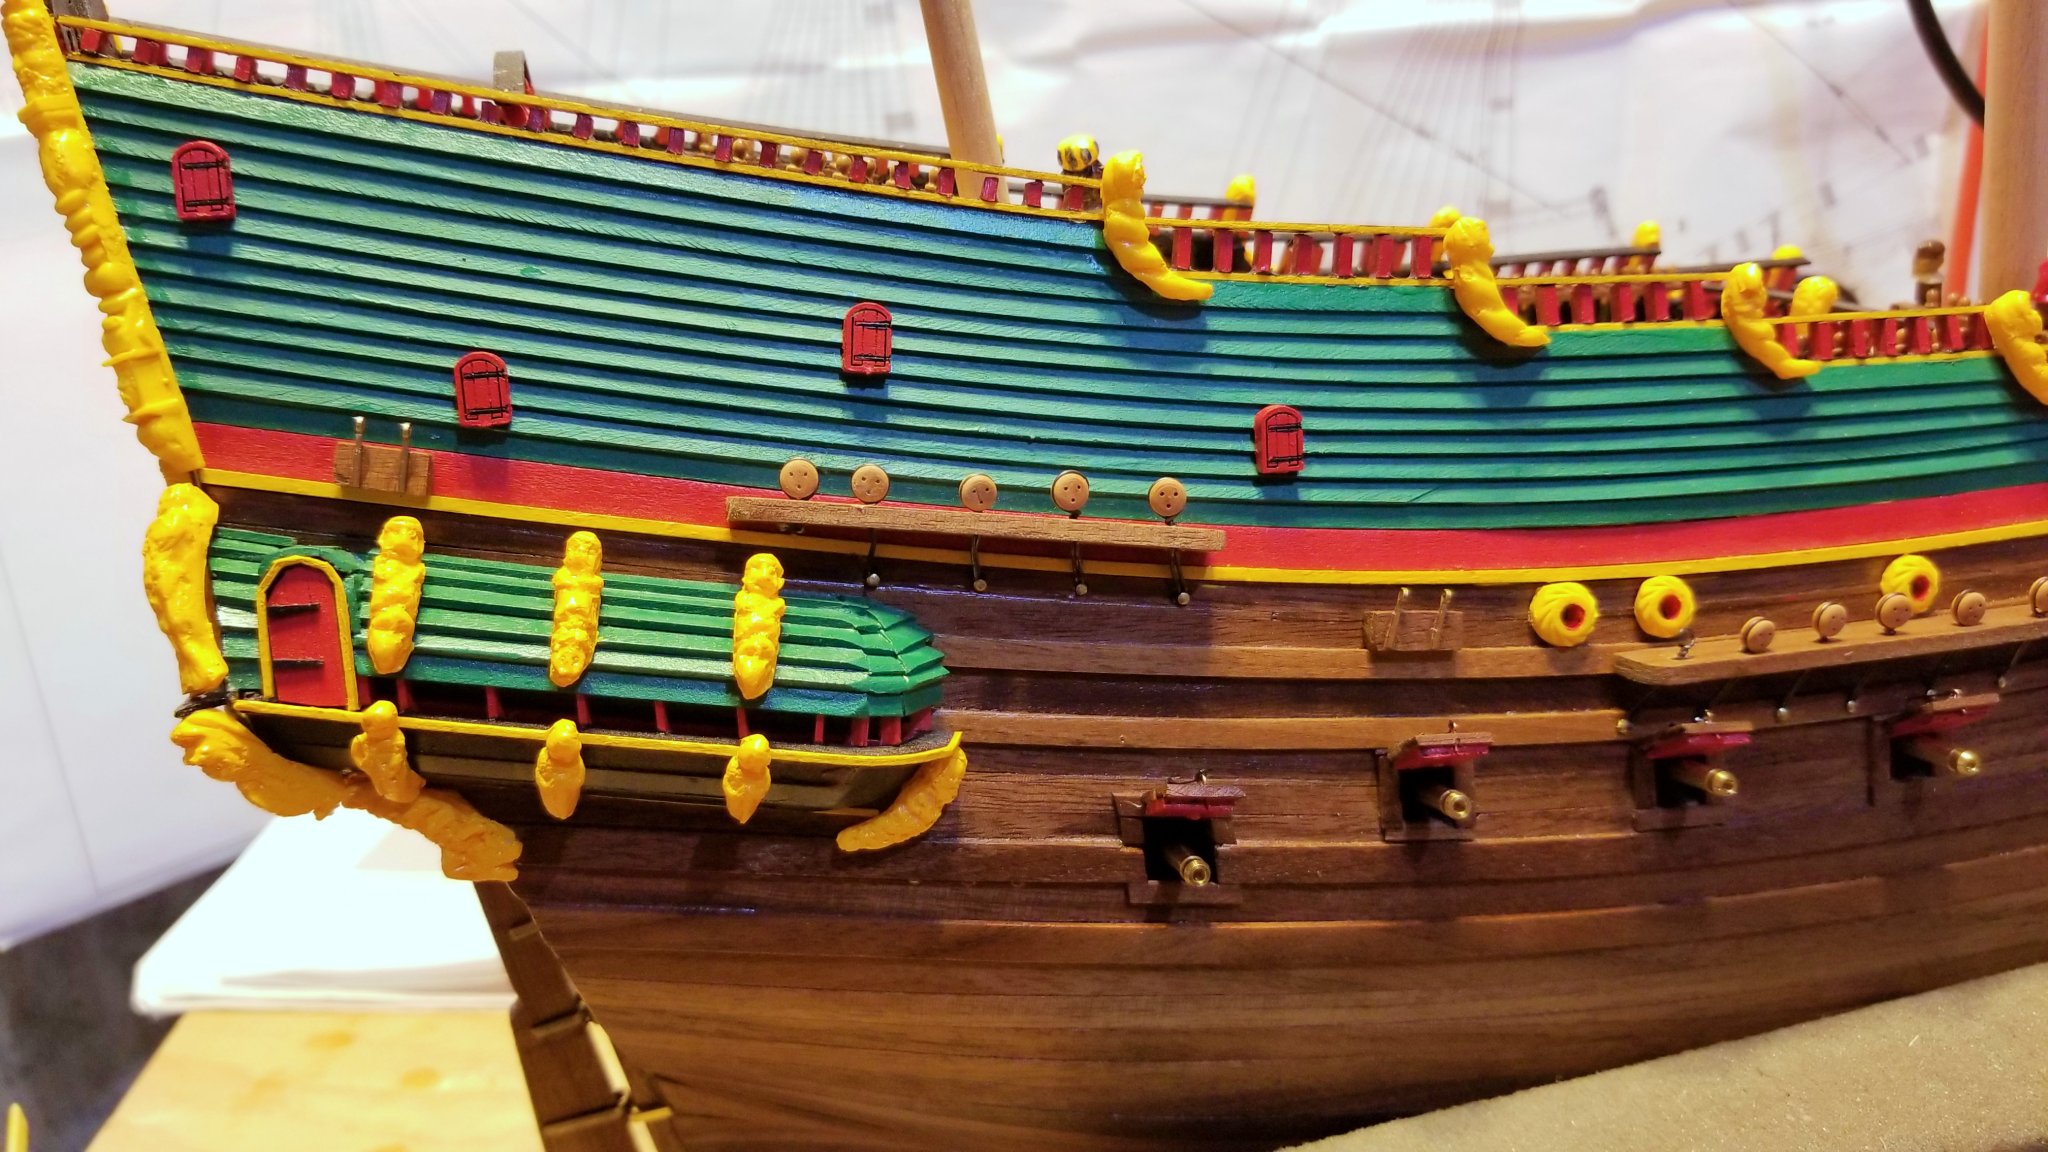
I have now completed all of the hull except for the rear lantern. It's mounted on two stiff wires and if I do it now I know I'll prang it during rigging, so it's the last thing.
These pics show the cannon port lids and cannons, external hull rigging points, and some external walnut hull decorations.
I have left the cannons brass vs. painting them black. I'm a sucker for the look of brass on a ship, and these are so beautiful that I can't stand to paint them black.

Regards,
David

- Moab, PeterB010, GrandpaPhil and 3 others
-
6
-
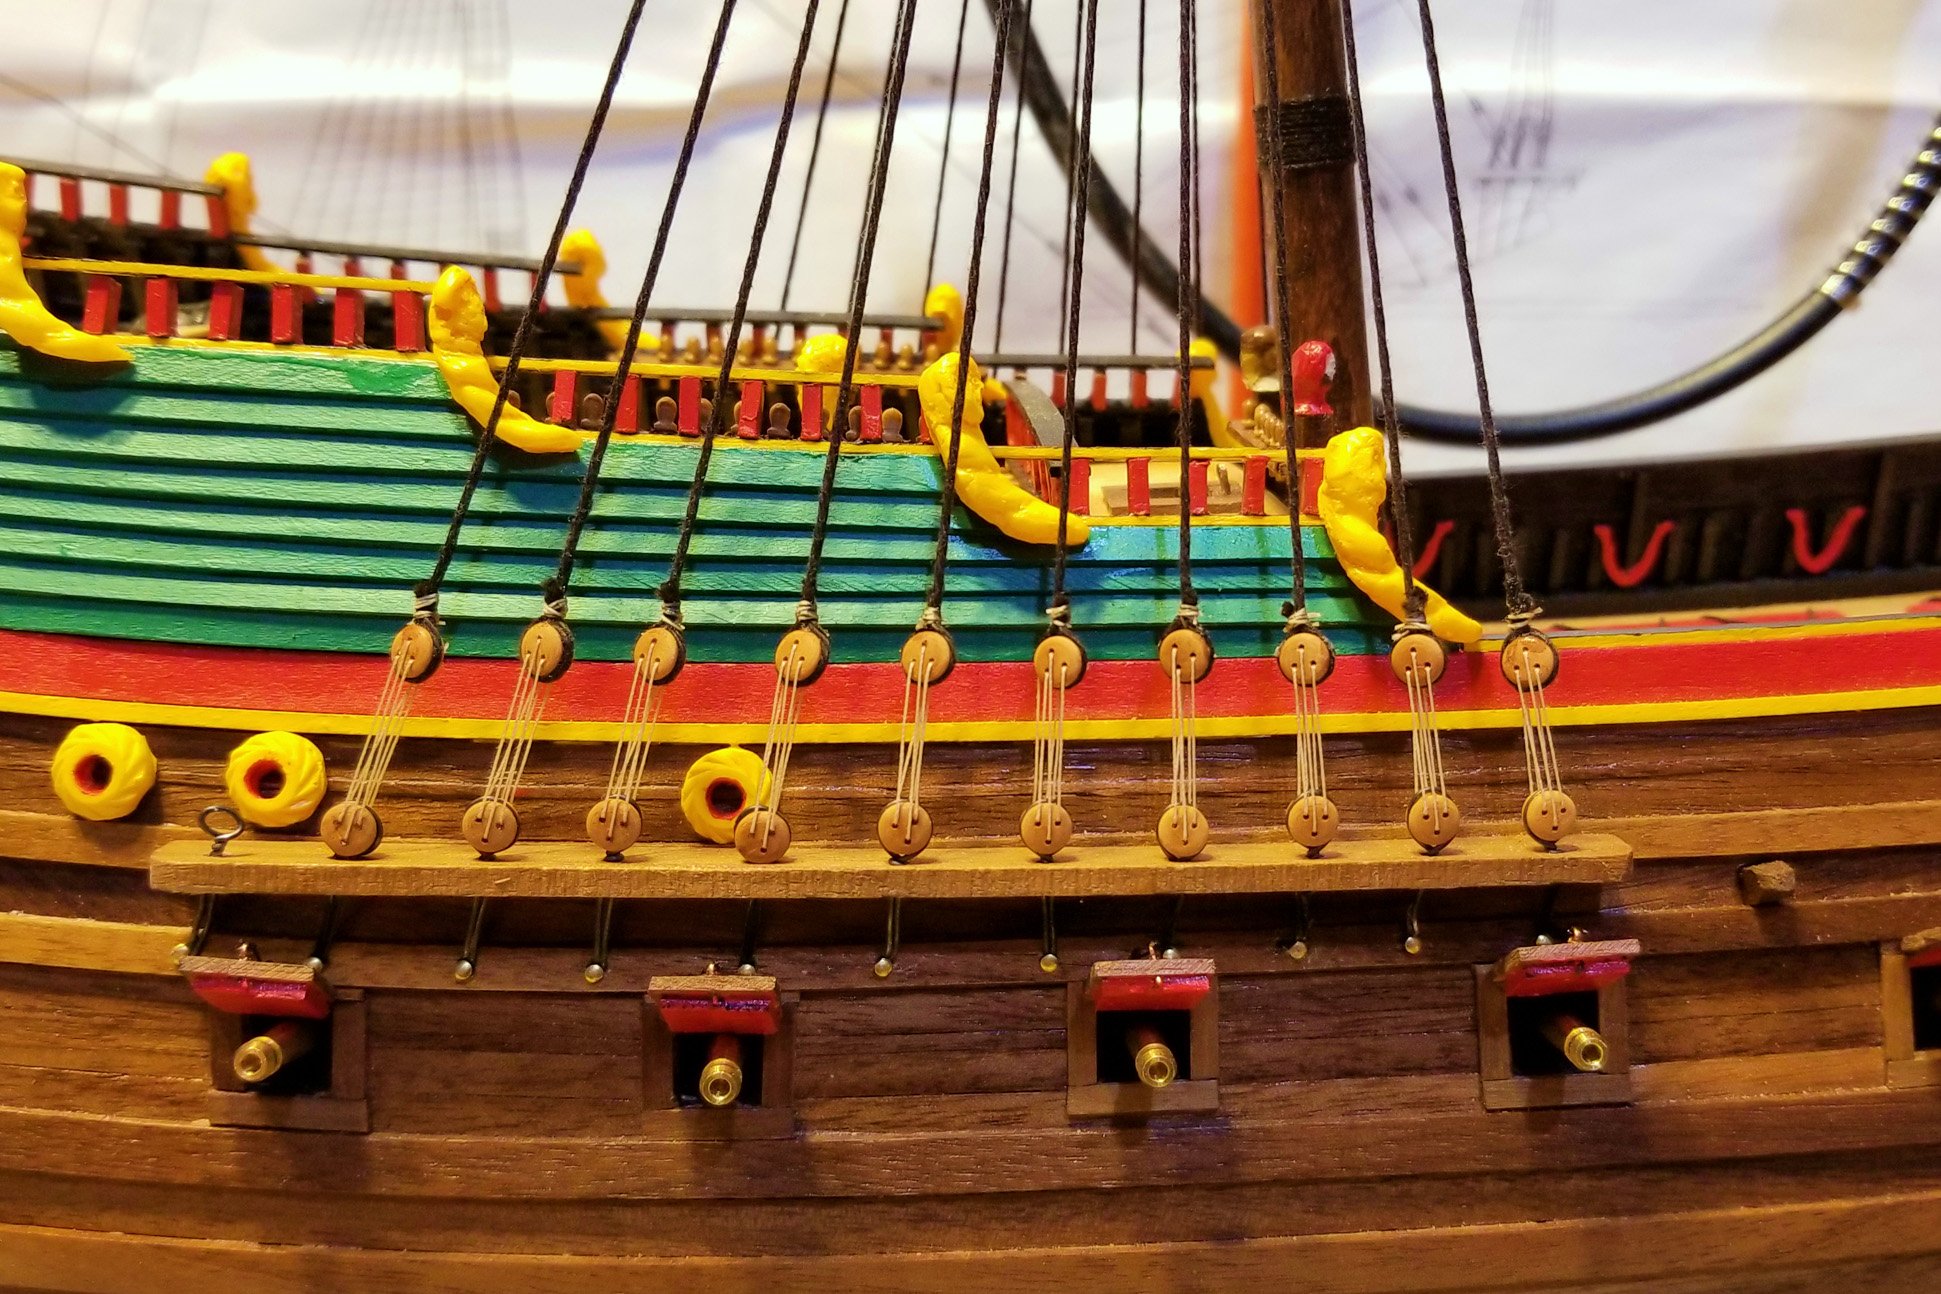
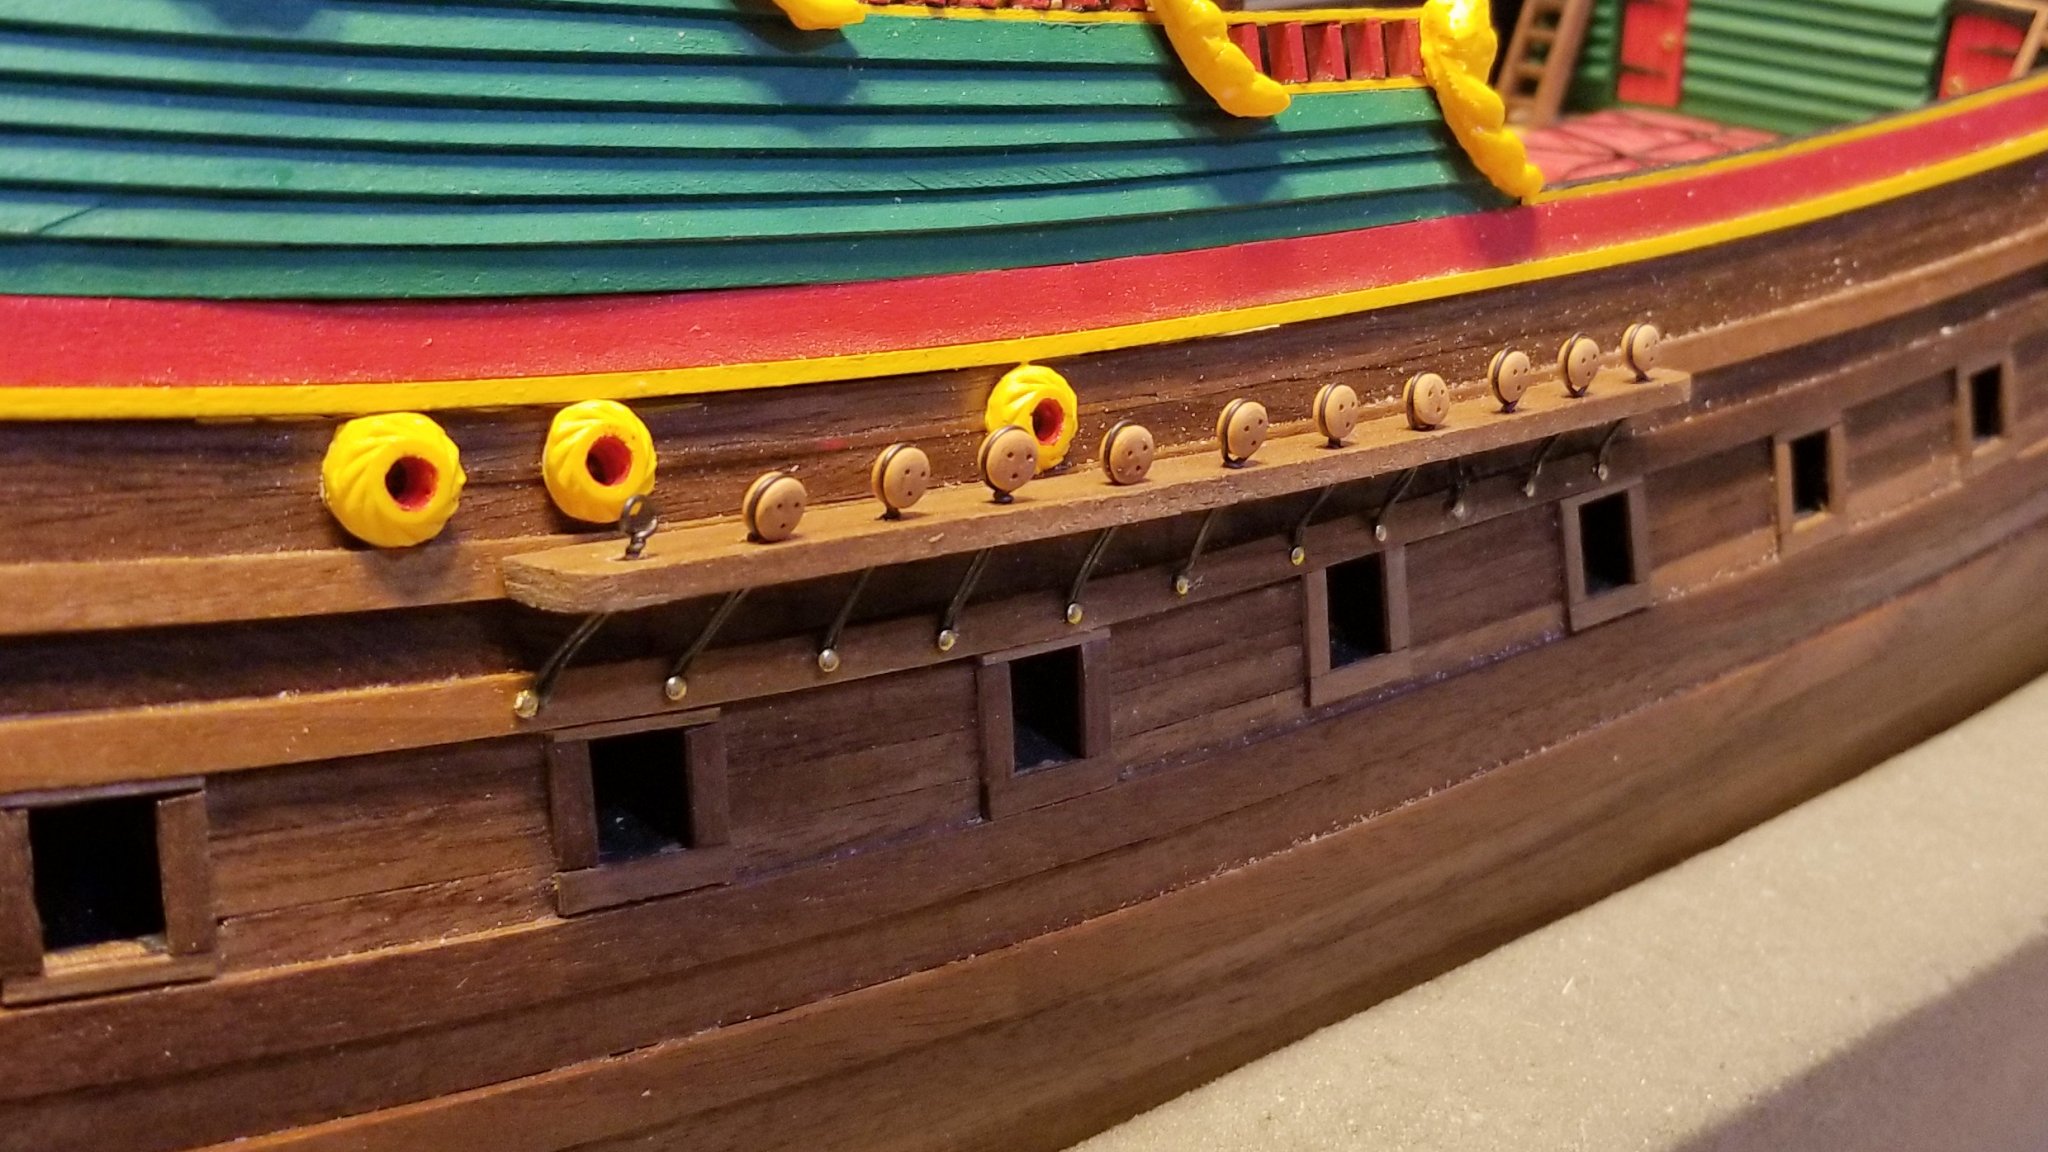
Finished the channels and the deadeyes for the lower shrouds.
The deadeyes are attached with stiff wire, which becomes the chain plate and attaches into holes in the hull with a nail and glue. The masts you see are just for alignment of the deadeyes to the shroud attachment points. I haven't worked on them yet.
Regards,
David

- PeterB010, GrandpaPhil, Moab and 1 other
-
4


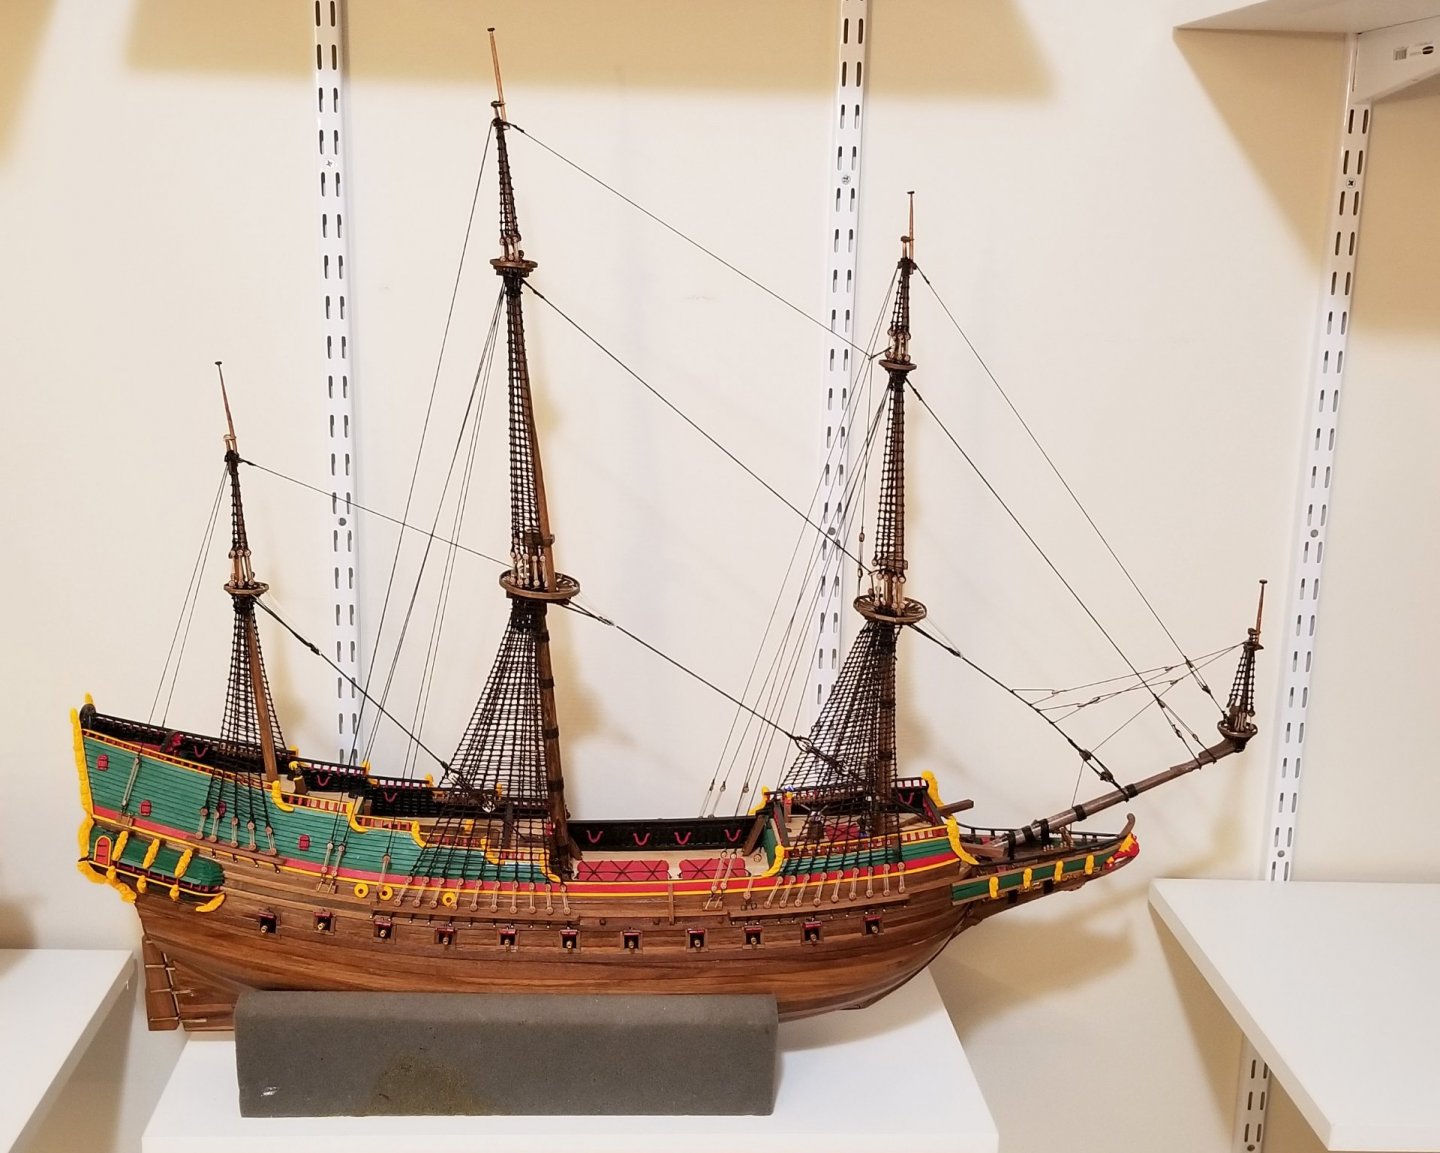
Batavia by drobinson02199 - FINISHED - Kolderstok - Scale 1:72
in - Kit build logs for subjects built from 1501 - 1750
Posted
Anchors on.
Regards,
David