


BlockPlane
-
Posts
38 -
Joined
-
Last visited
Content Type
Profiles
Forums
Gallery
Events
Posts posted by BlockPlane
-
-
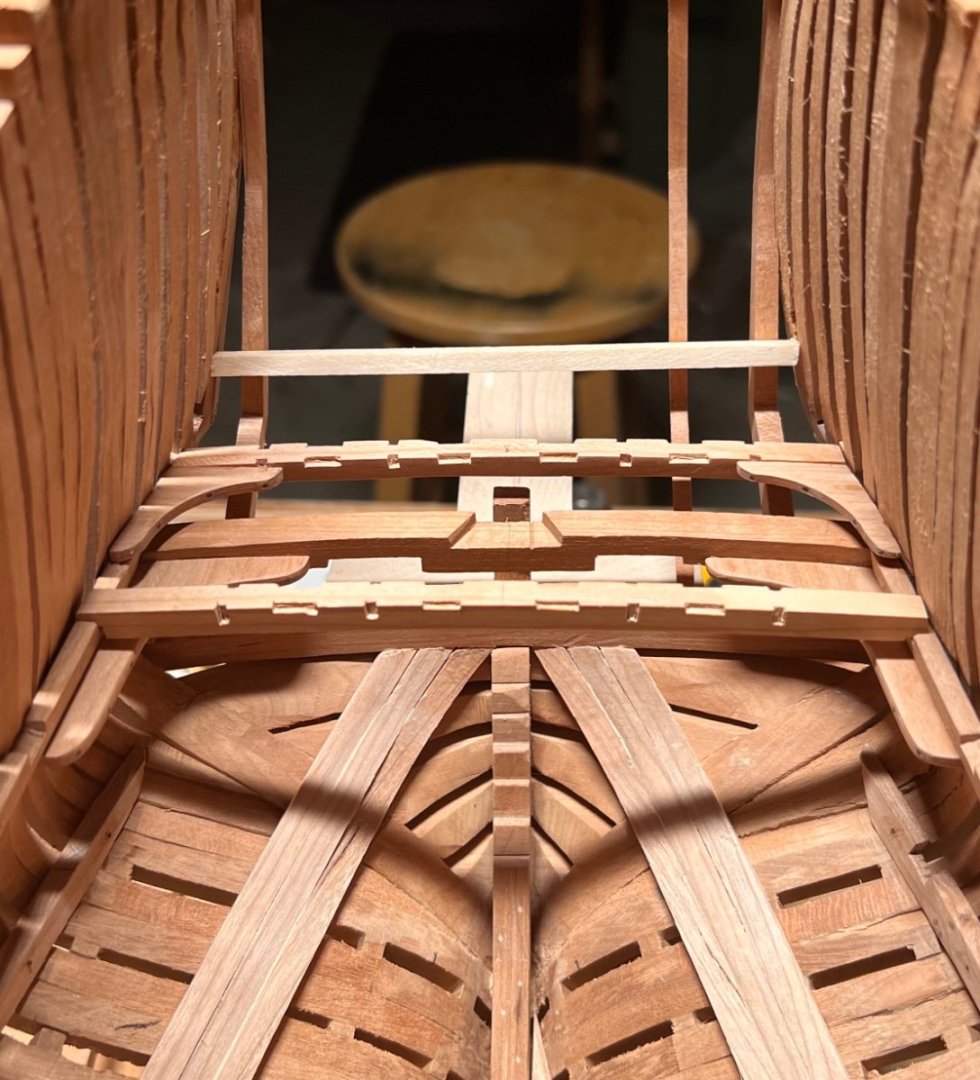
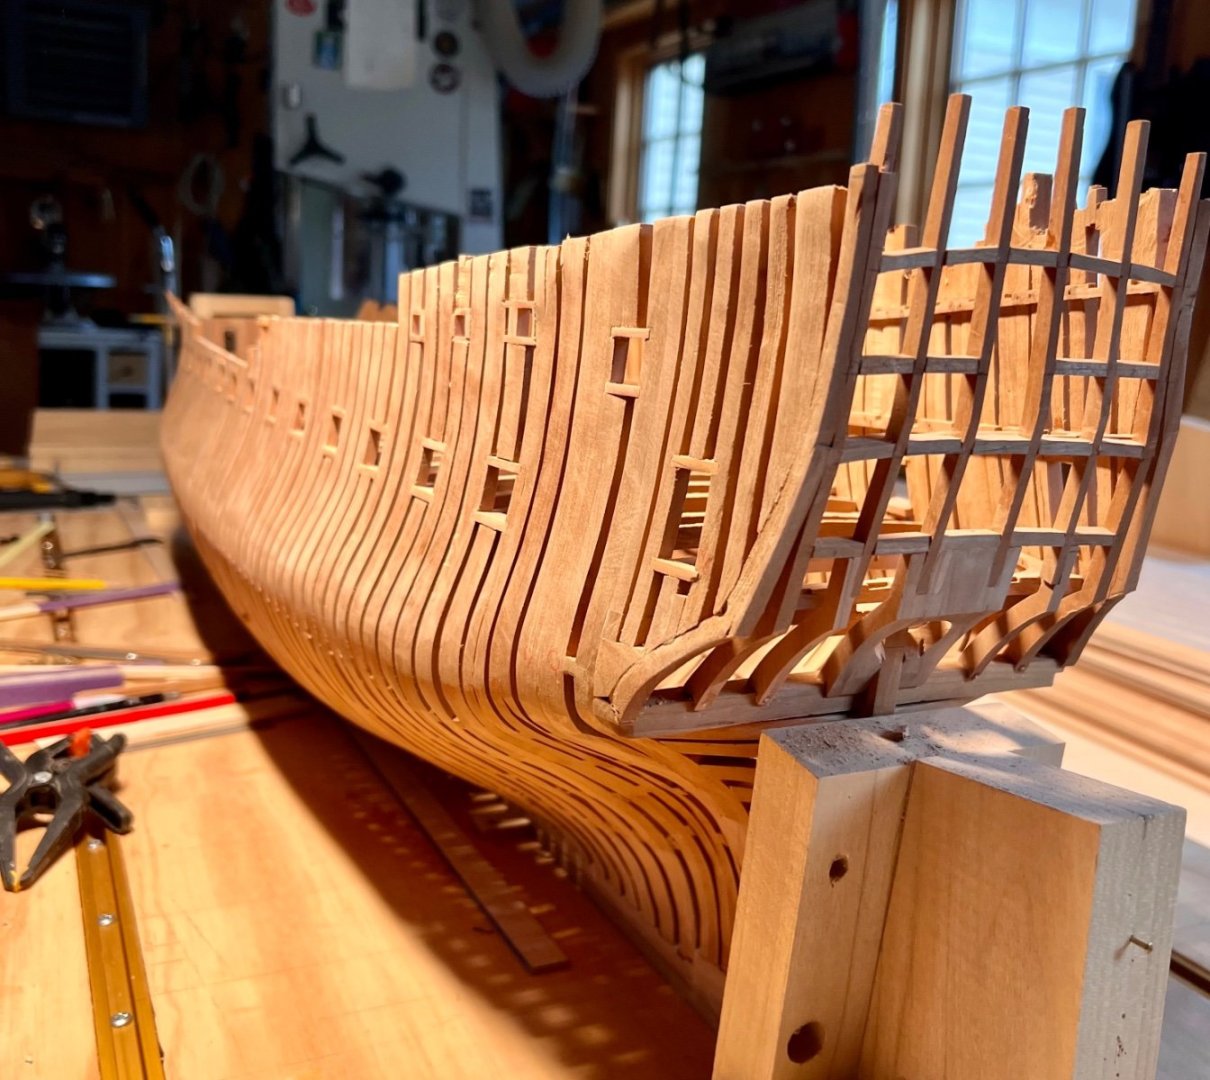
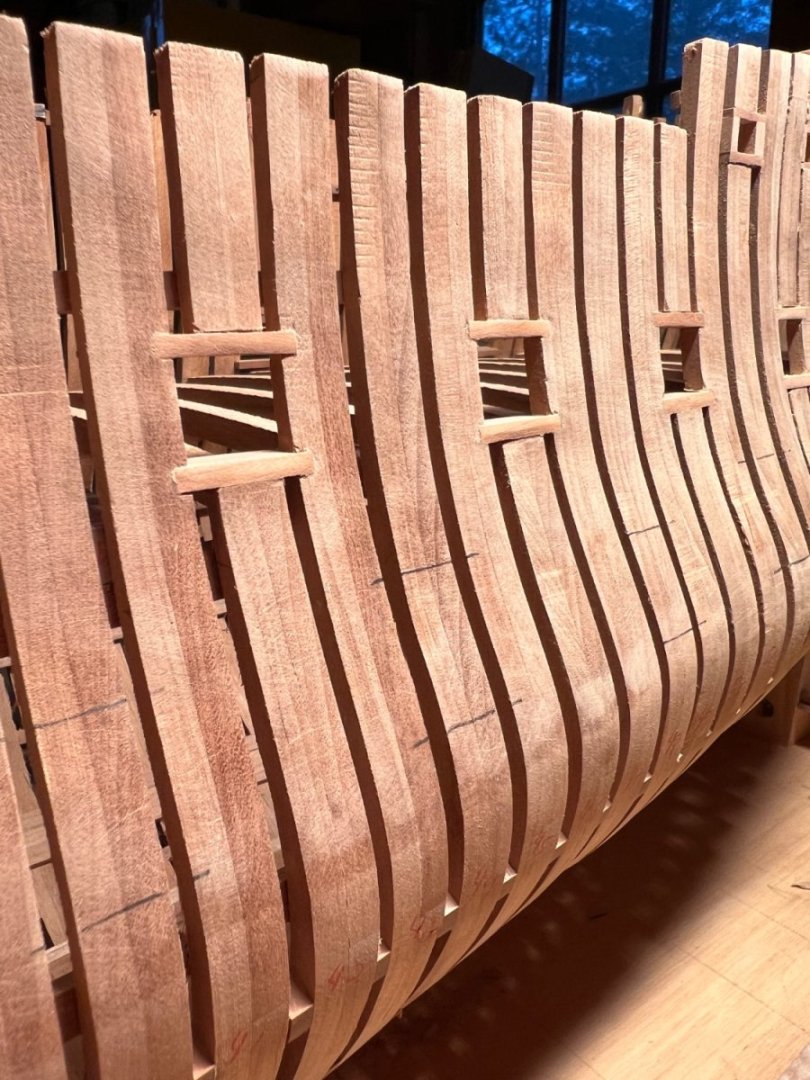
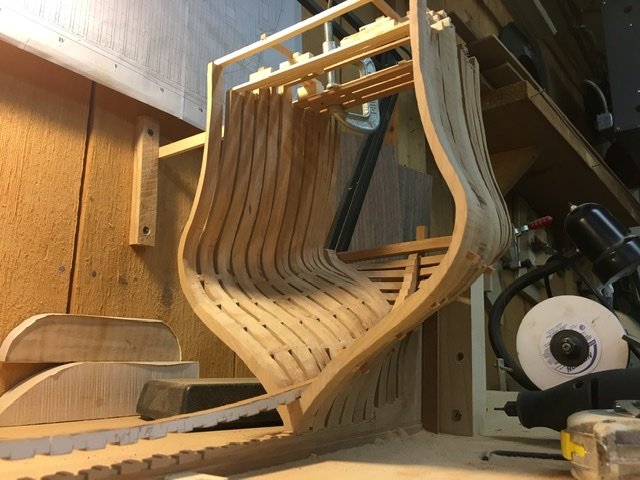
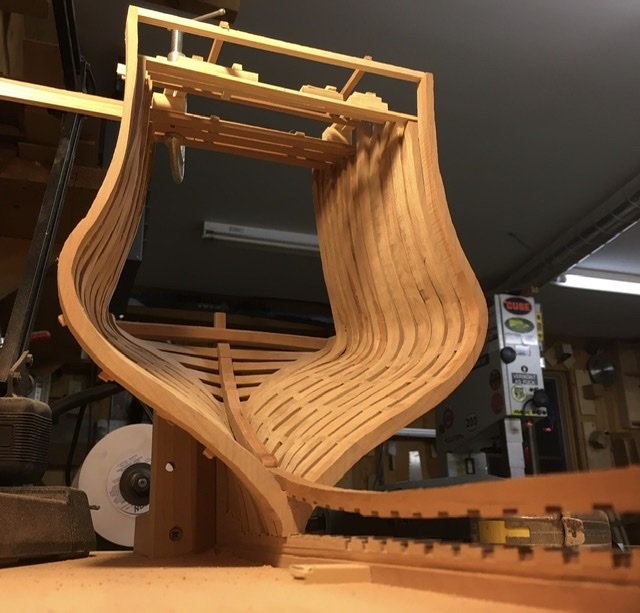
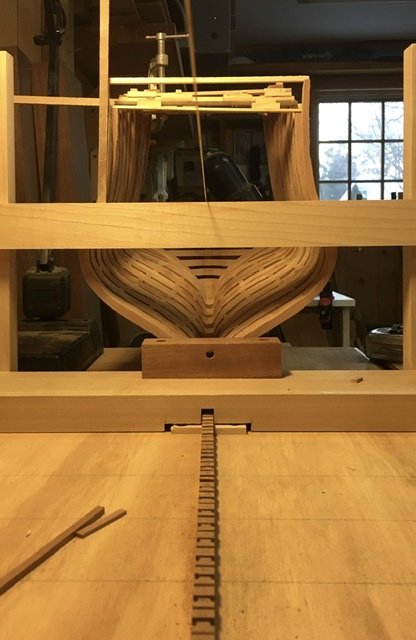
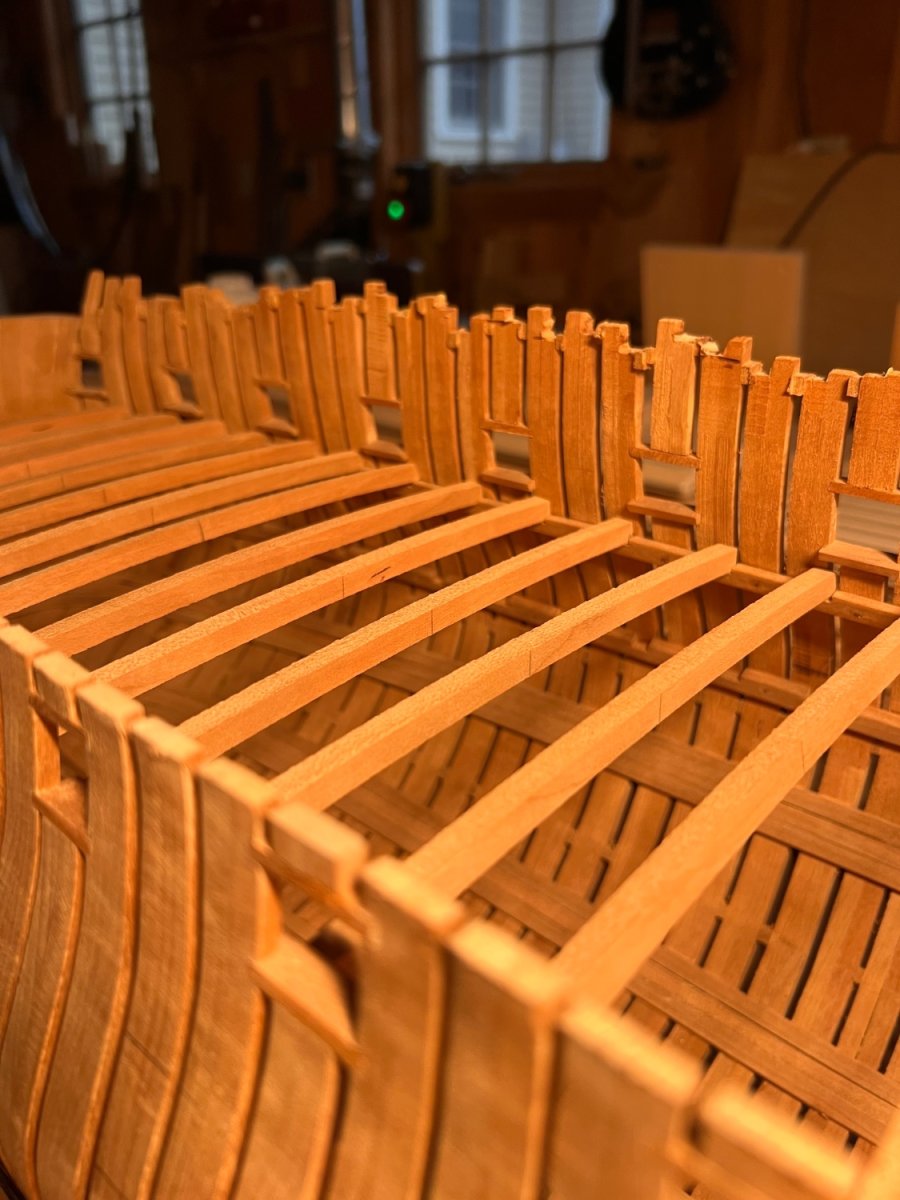
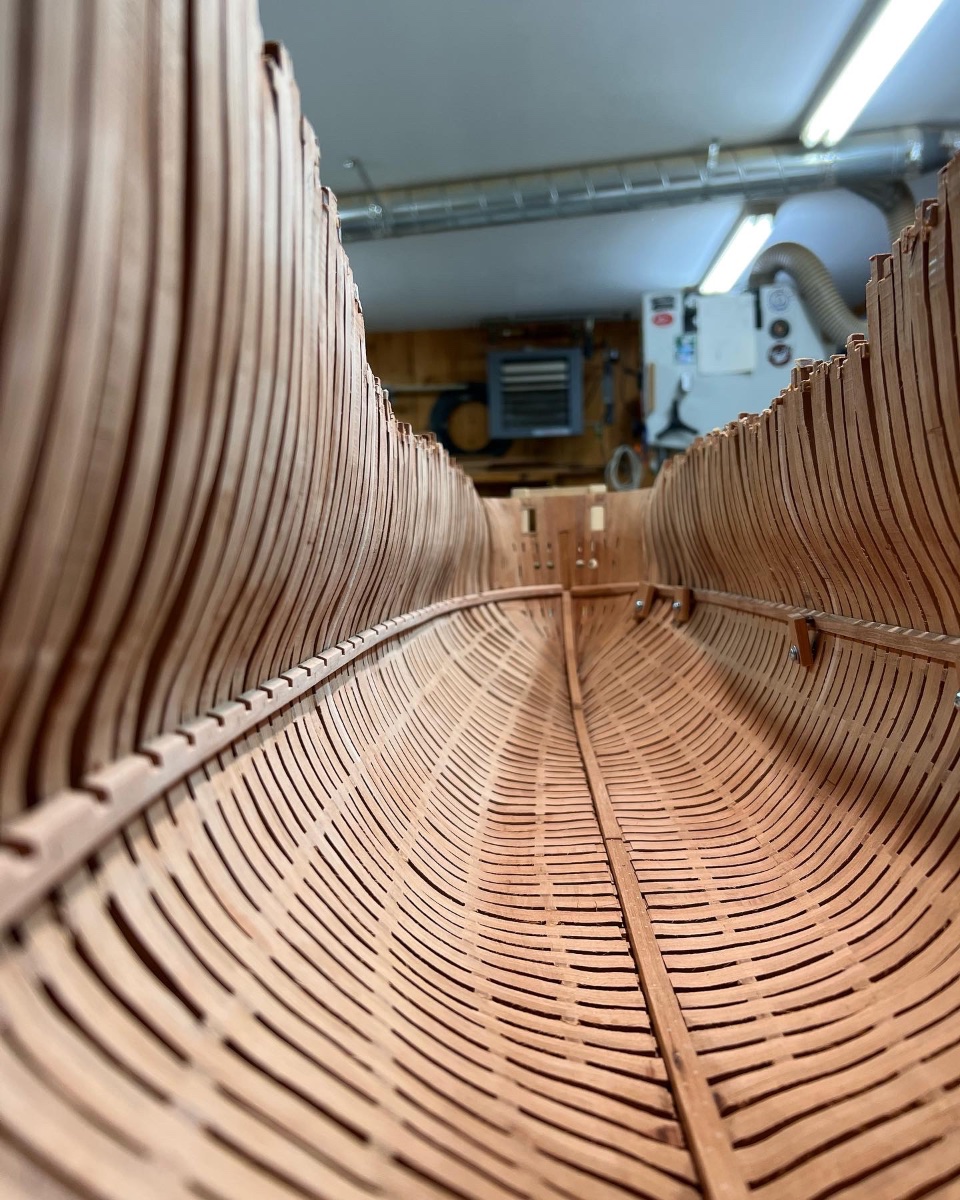
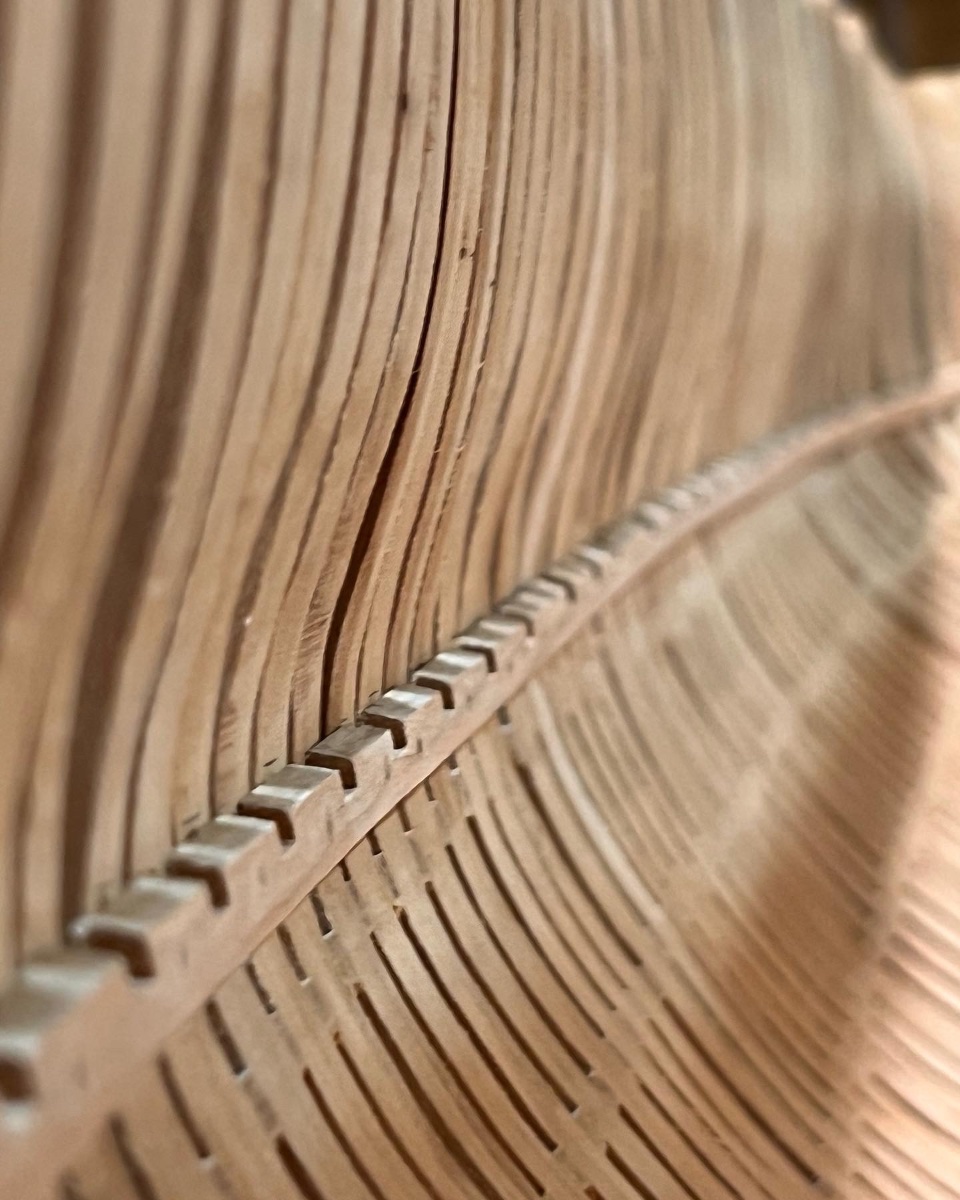
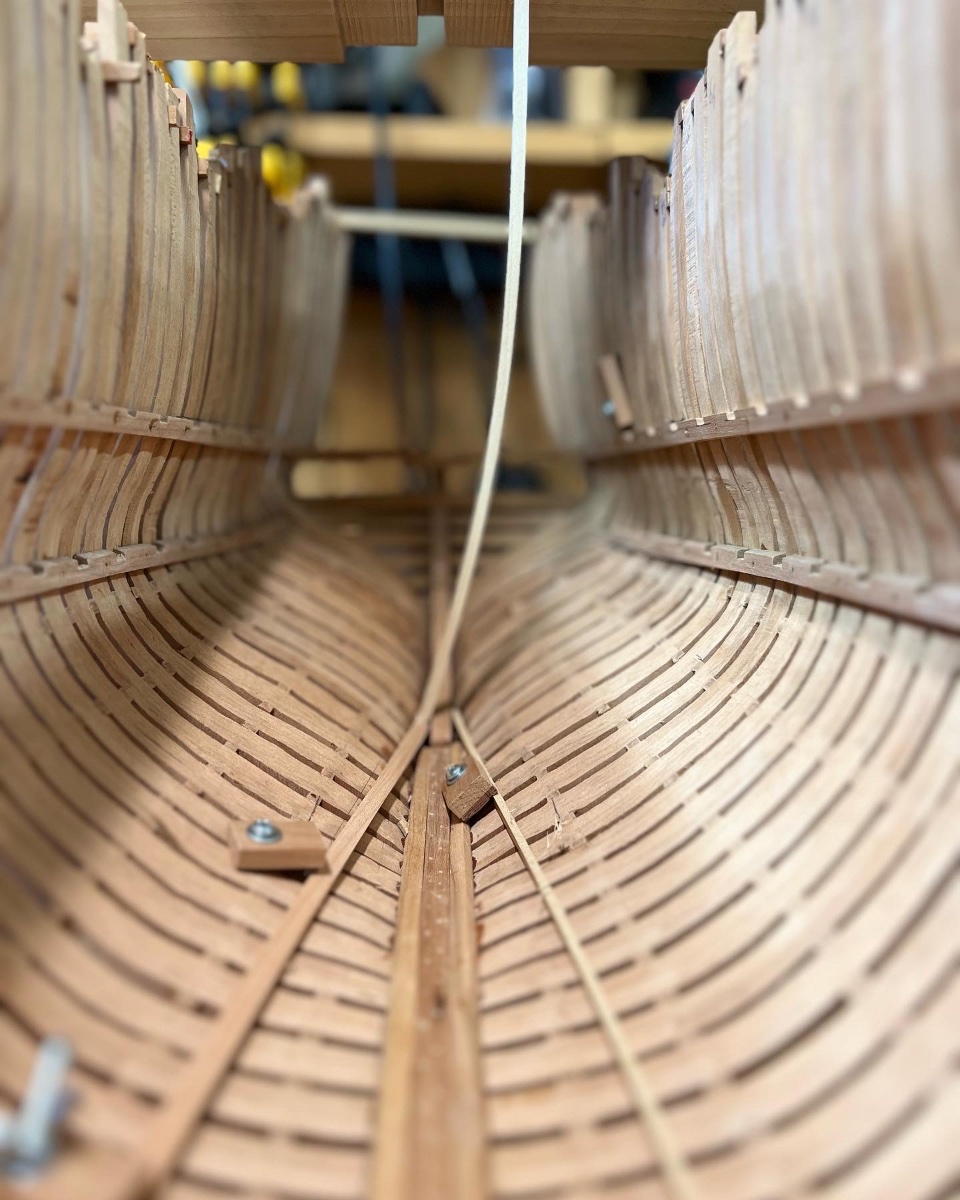
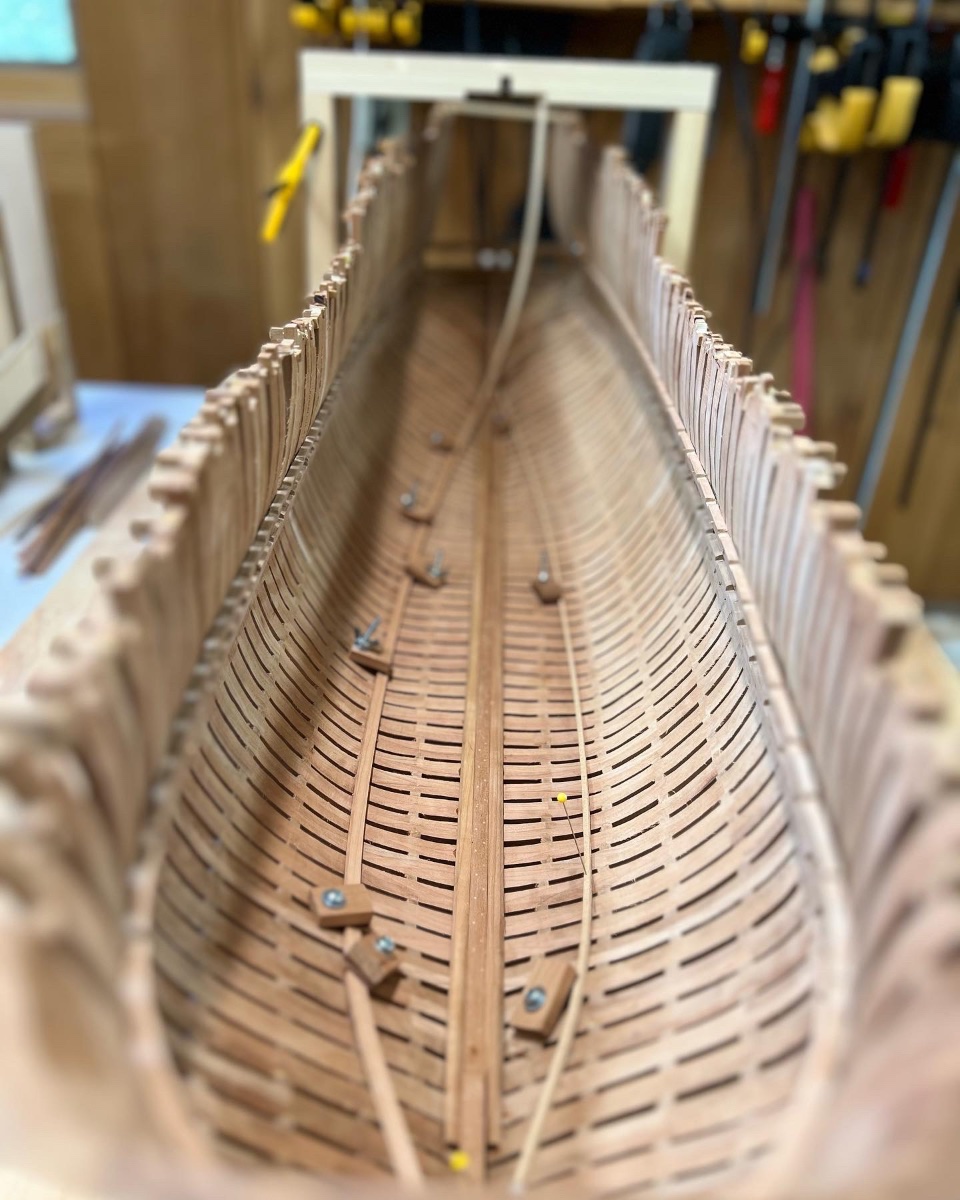
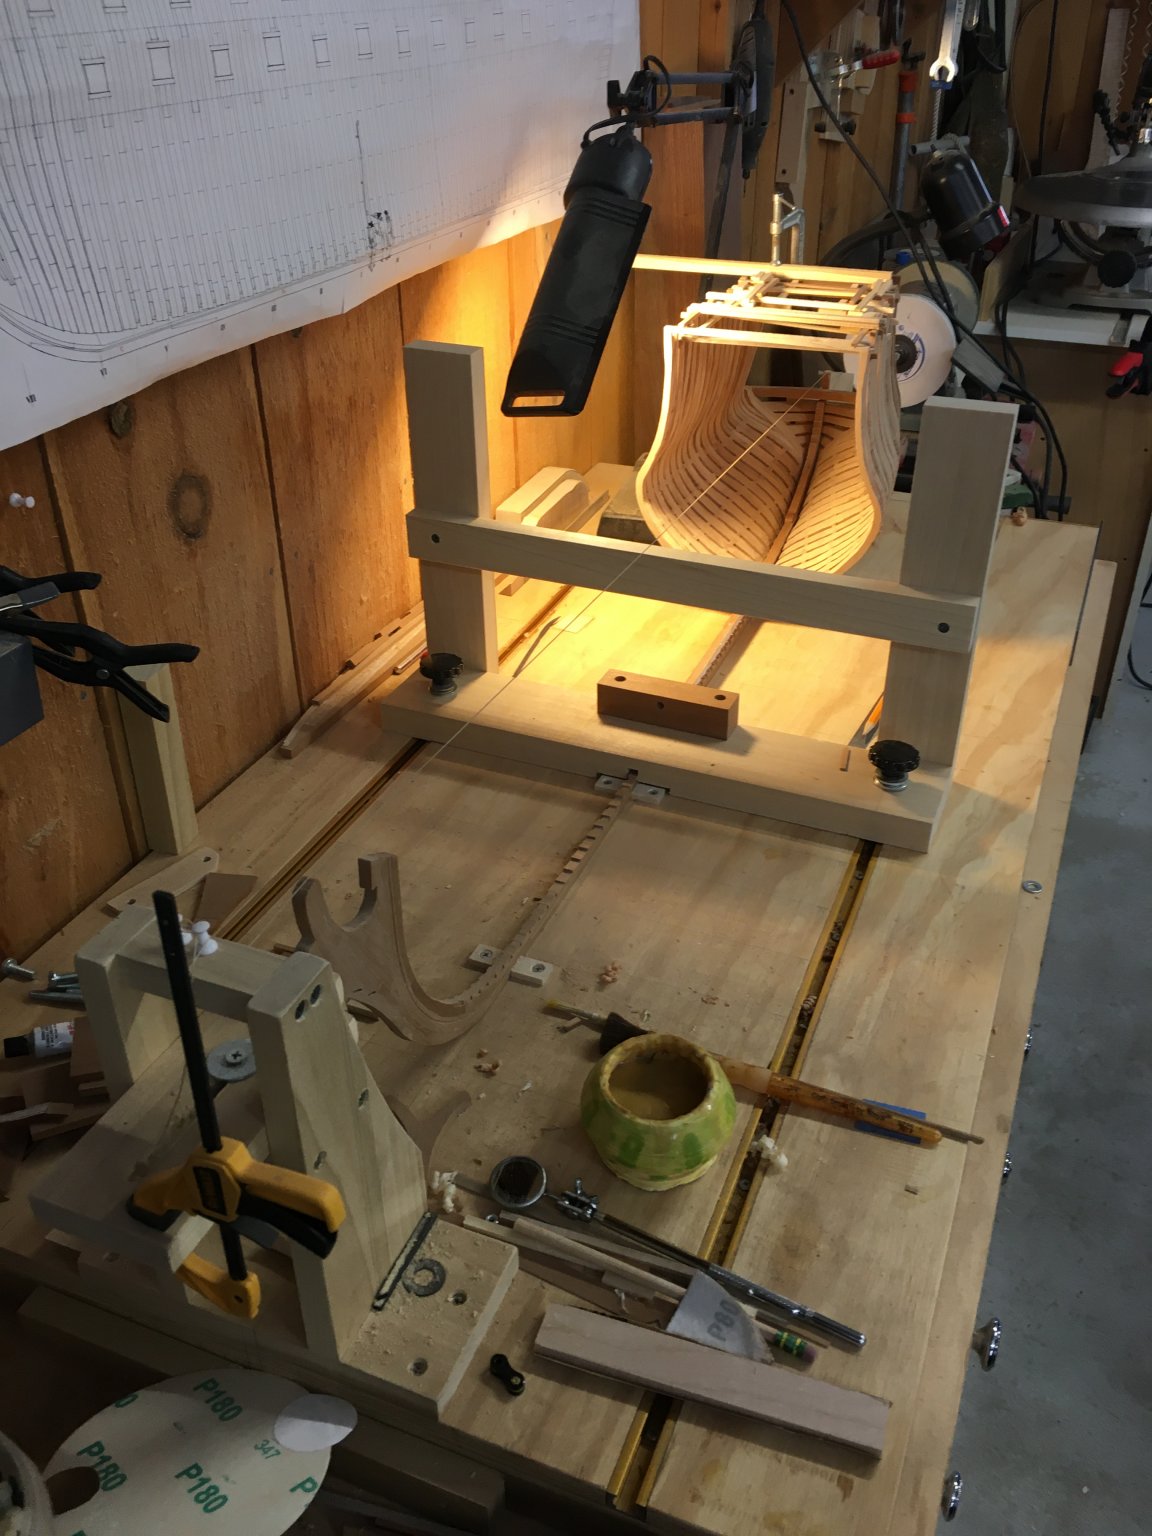
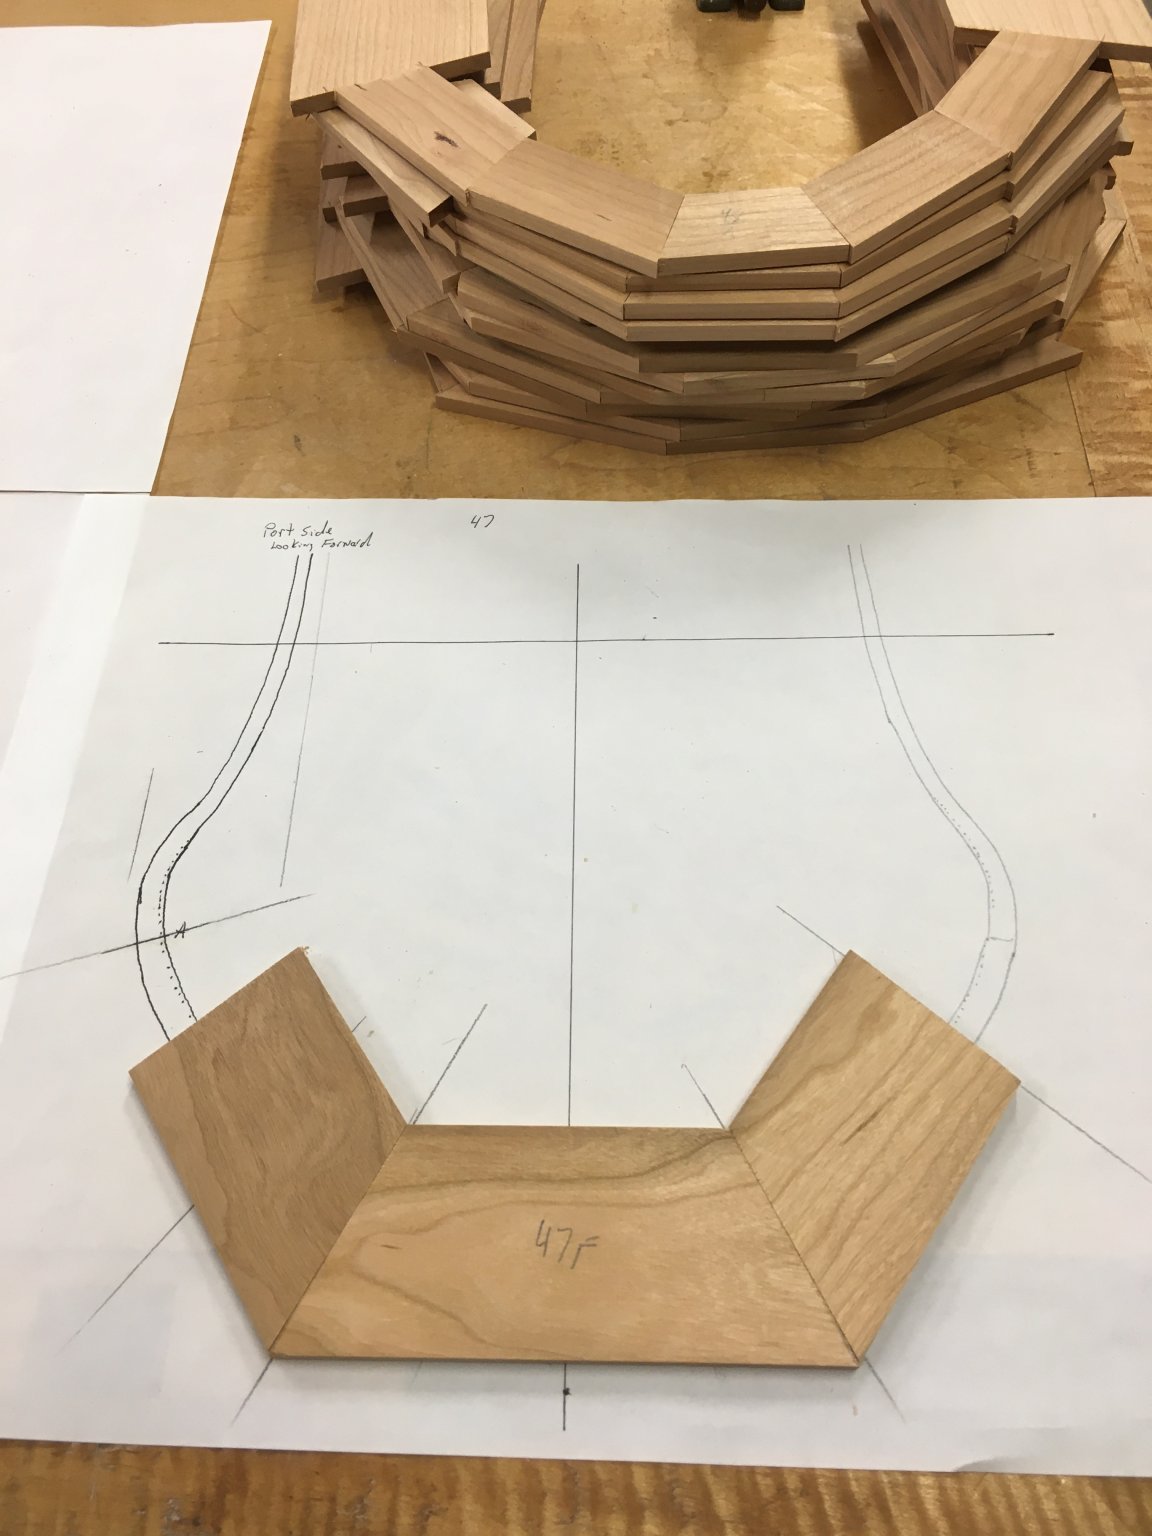
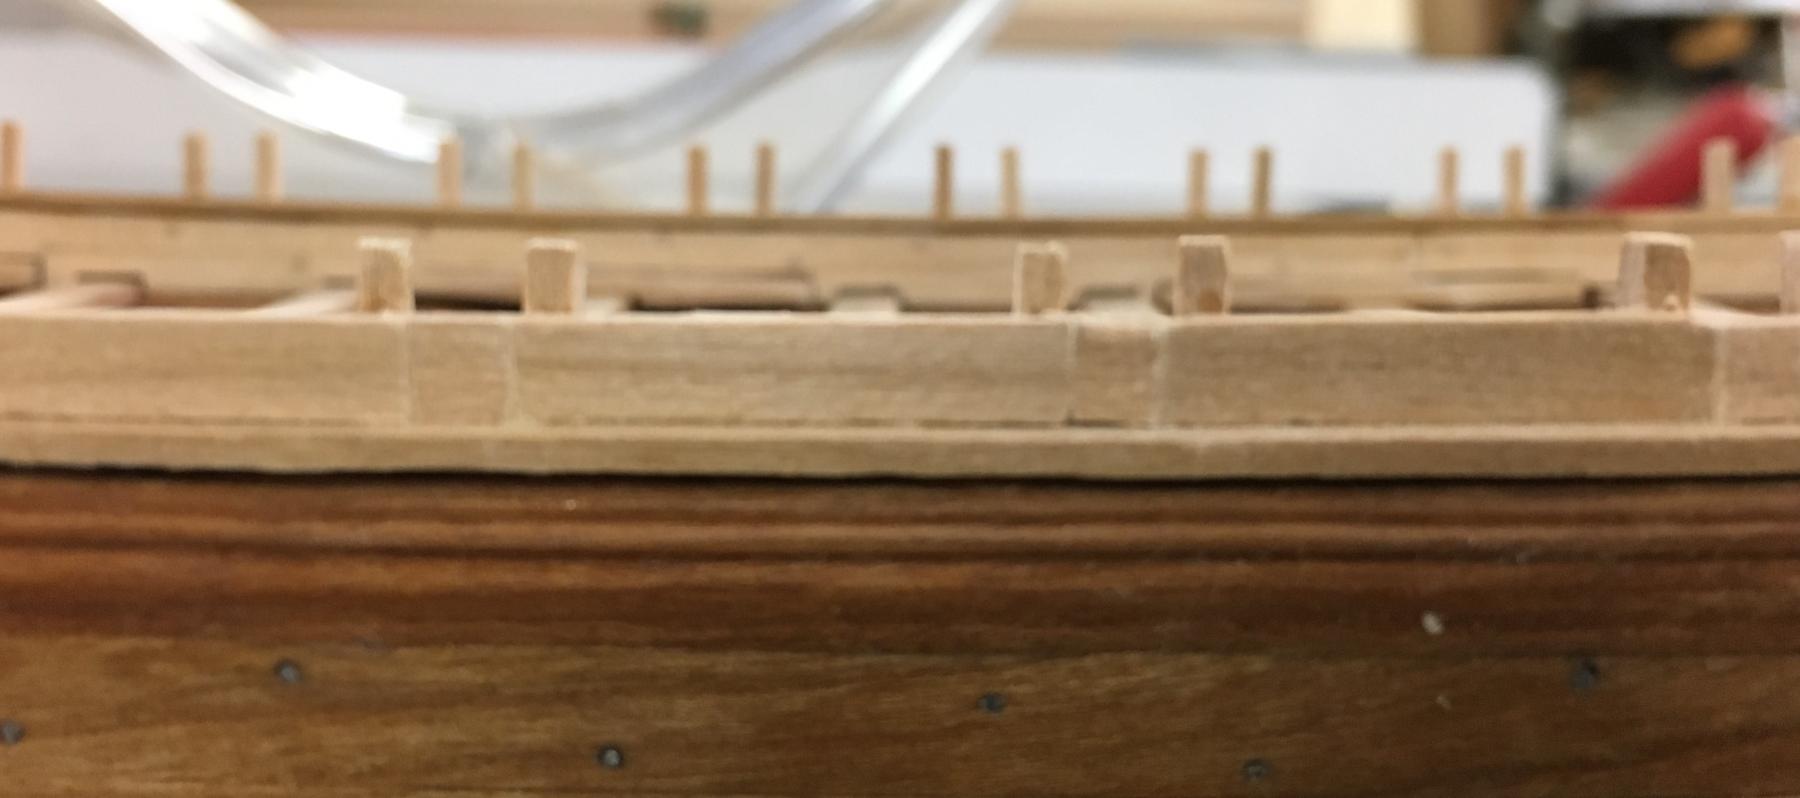
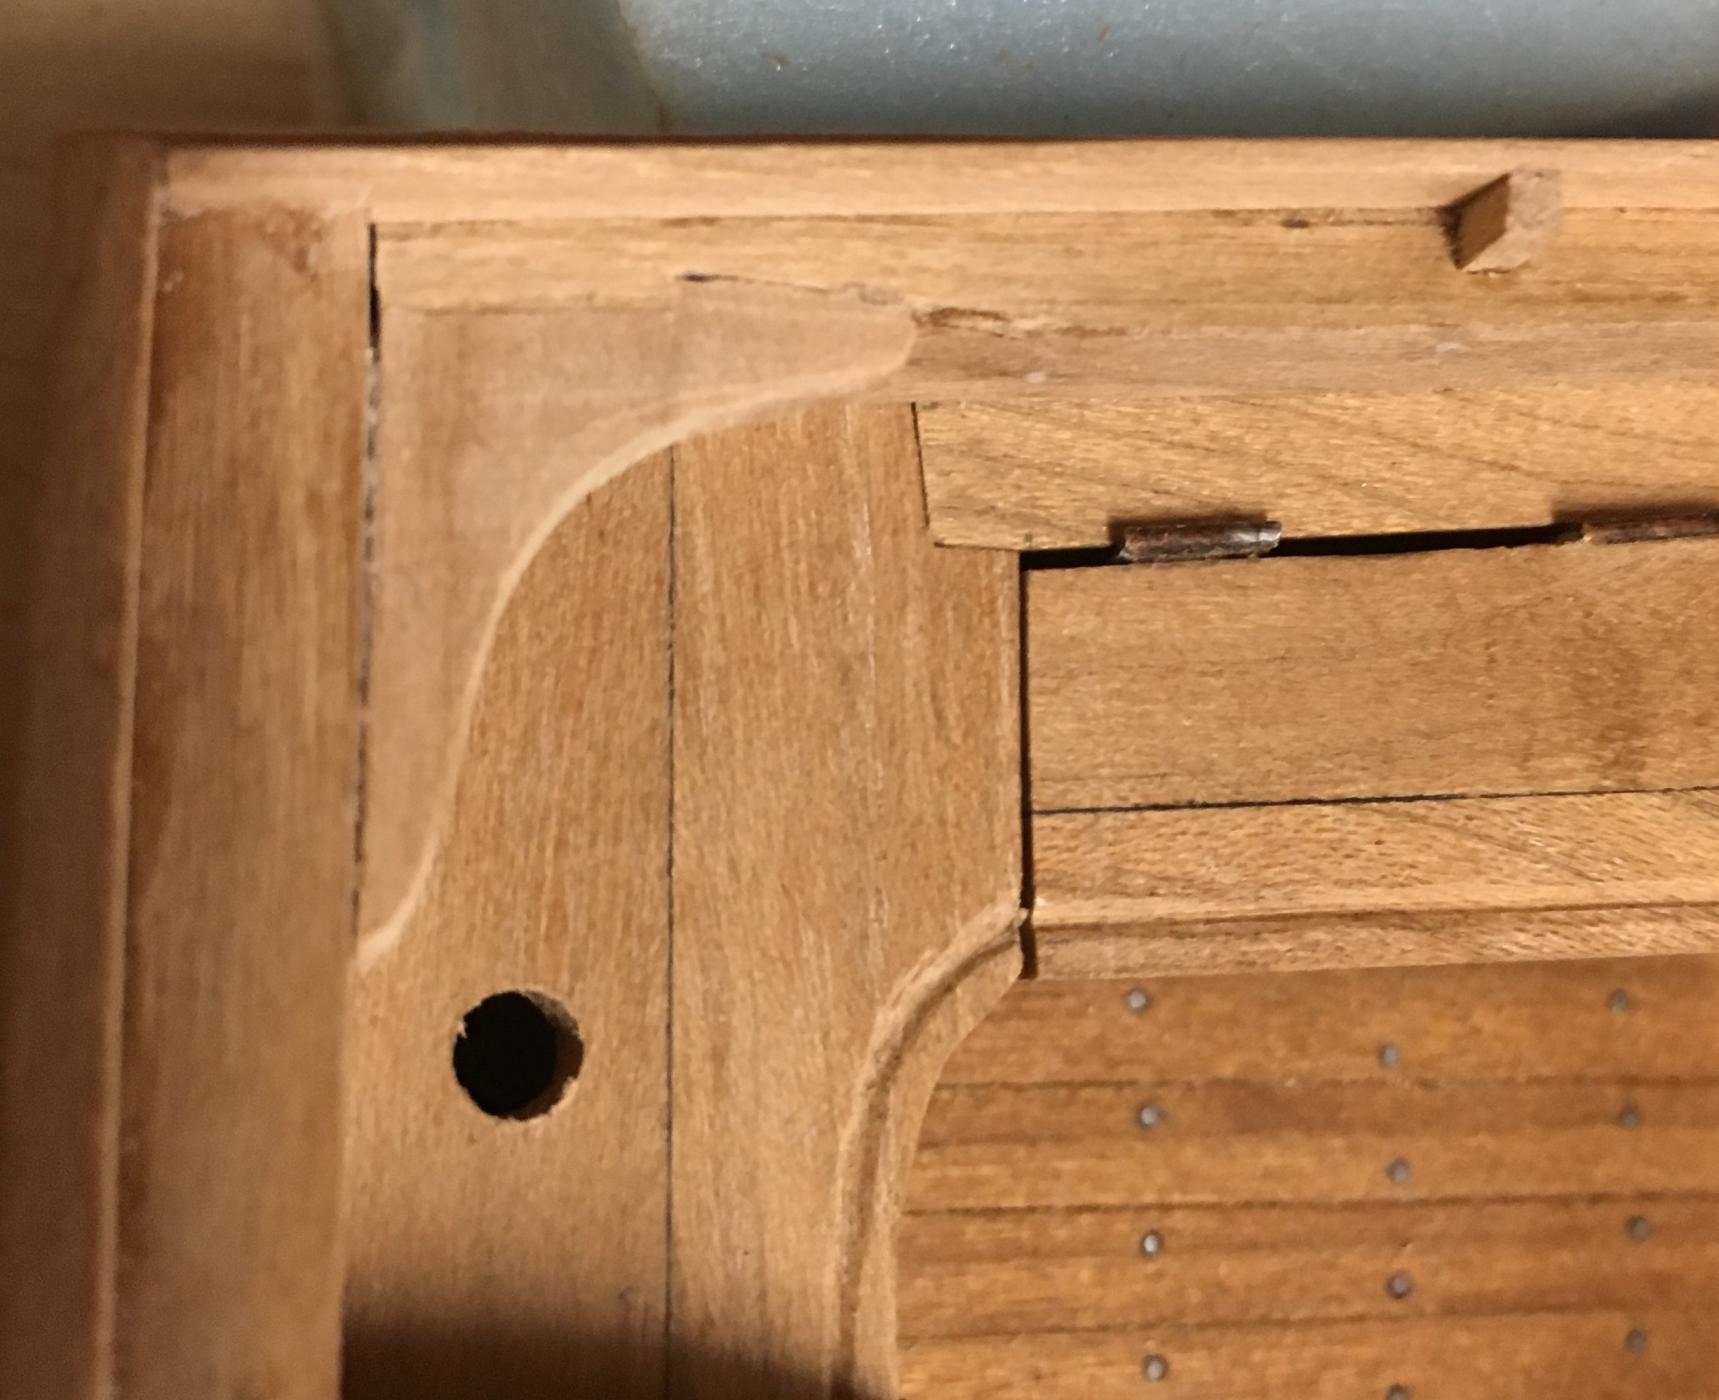
While a sizable amount of time has past since my last post. Work on the model has progressed at what I would consider a snails pace. As we can all relate, each step presents its own set of challenges. The stern section was something I was really looking forward to. Time will tell if I deciphered the plans correctly. I'm finding the process of cutting in the cannon port rather tedious. As a result, I only do it when the mood strikes. Enjoy the pictures.


-
-
I’ve been MIA, but still making progress.


- mtaylor, KARAVOKIRIS, scrubbyj427 and 14 others
-
 15
15
-
 2
2
-
12 hours ago, druxey said:
Please use your building board with retaining strips each side to keep your keel straight. You'll need that board for erecting the framing anyway. Once some longitudinal timbers are on, the keel will remain straight.
Druxey,
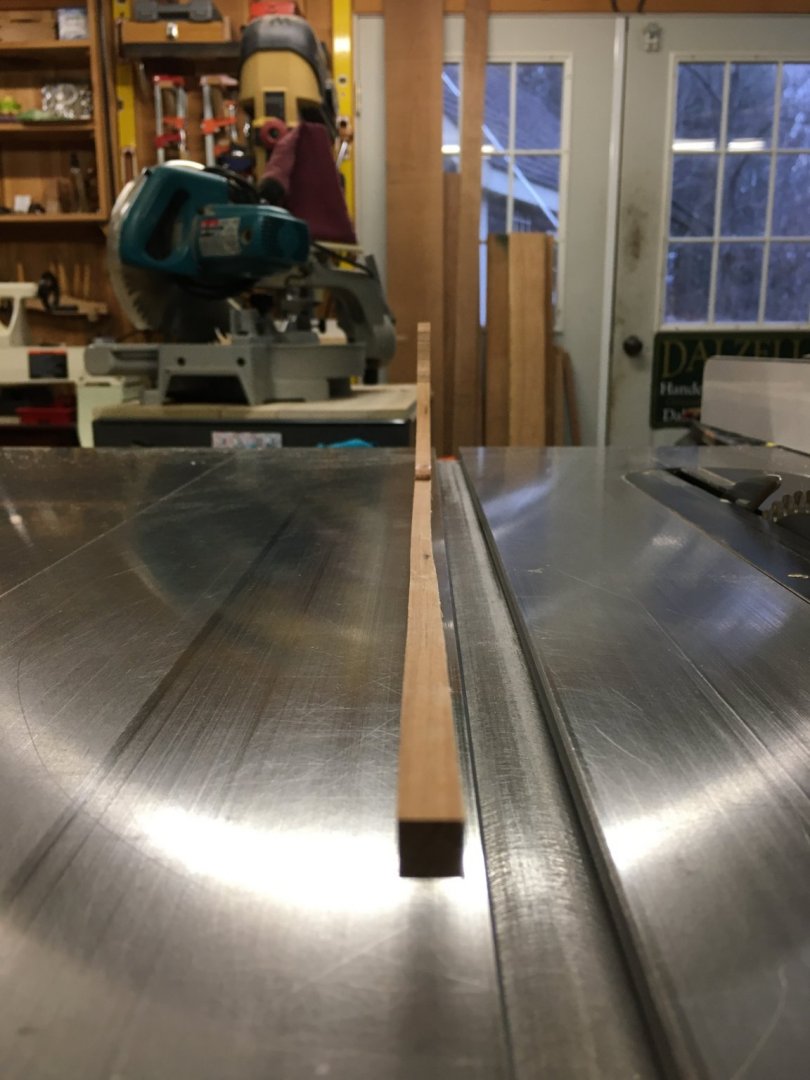
Sorry for the confusion. I do have a build board and the keel is secure. I developed a problem with the keelson, which sits on top of the keel. Perhaps I’m premature in working on the keelson, but fitting it to each frame as I go seems easier then trying to fit it to all the frames at once.

- CiscoH, scrubbyj427, GrandpaPhil and 8 others
-
11
-
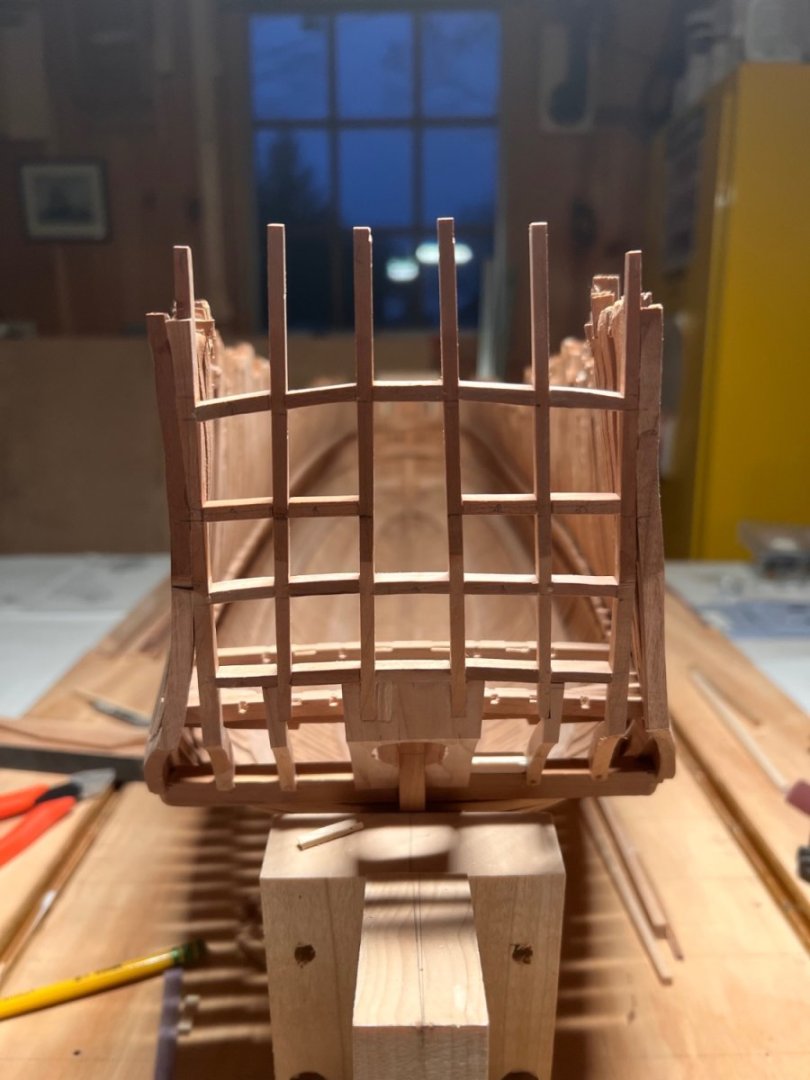
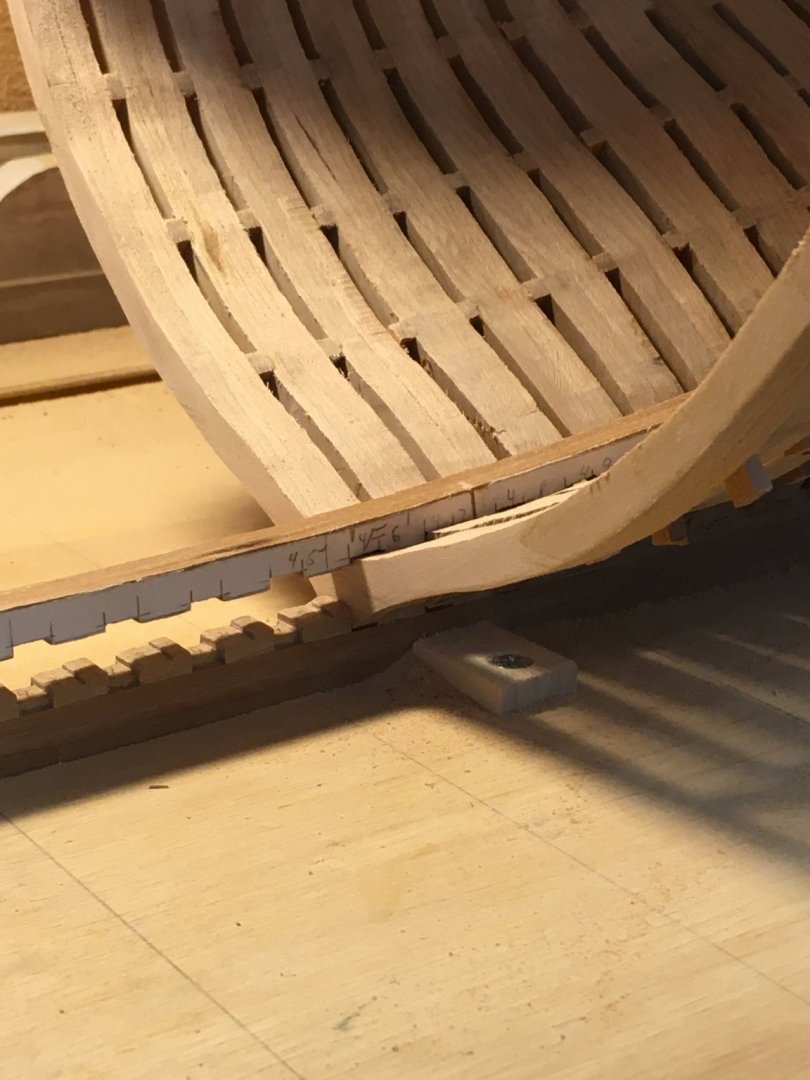
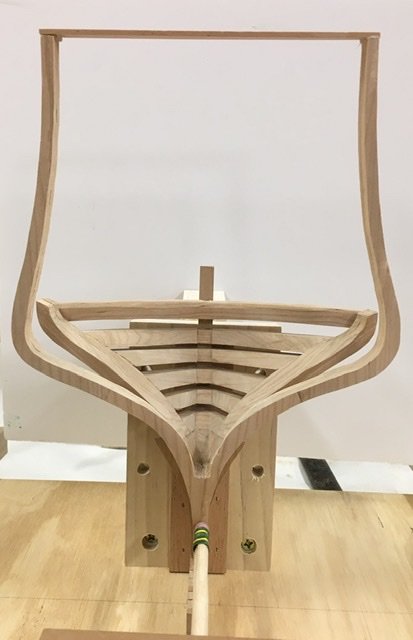
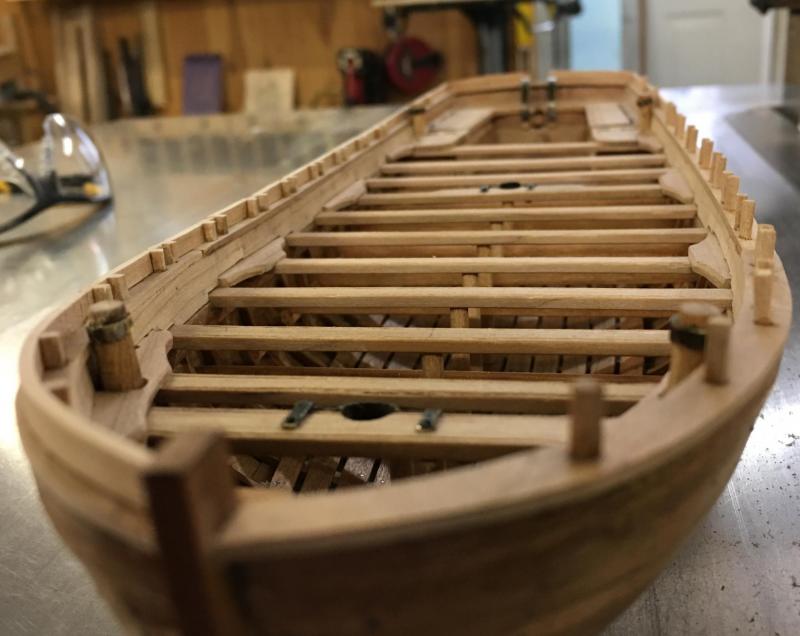
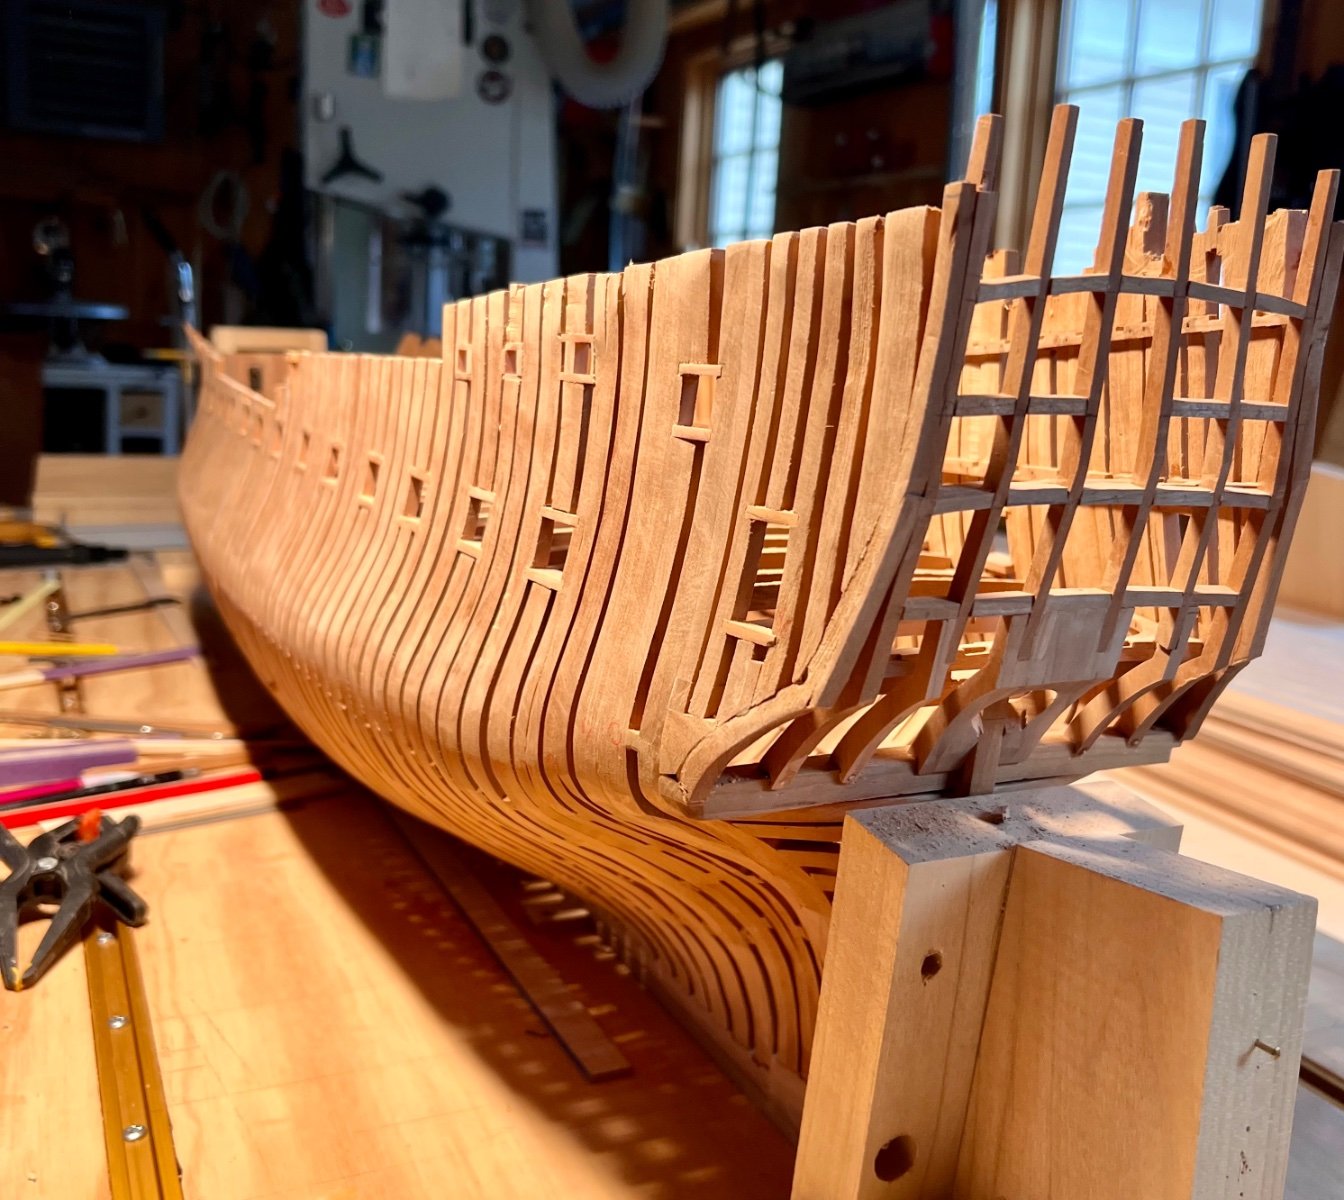
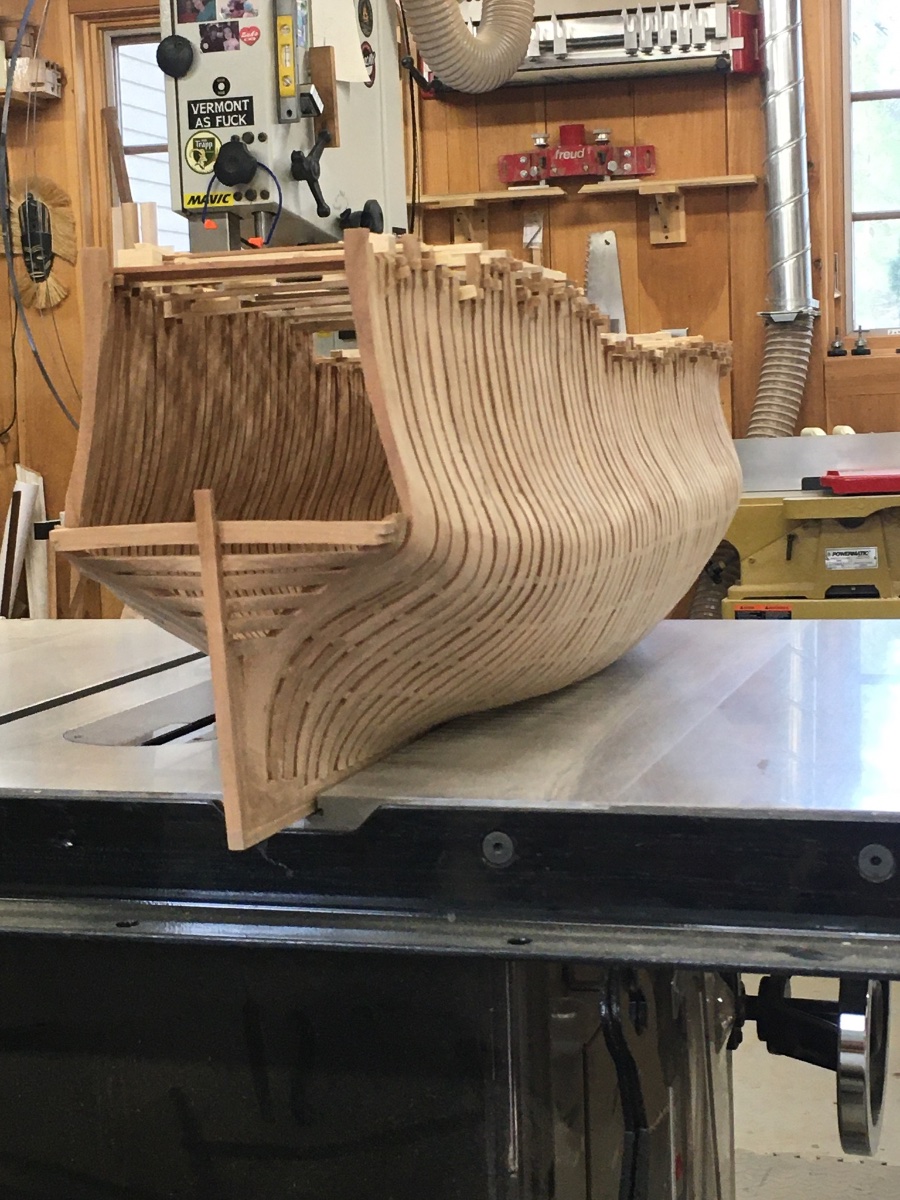
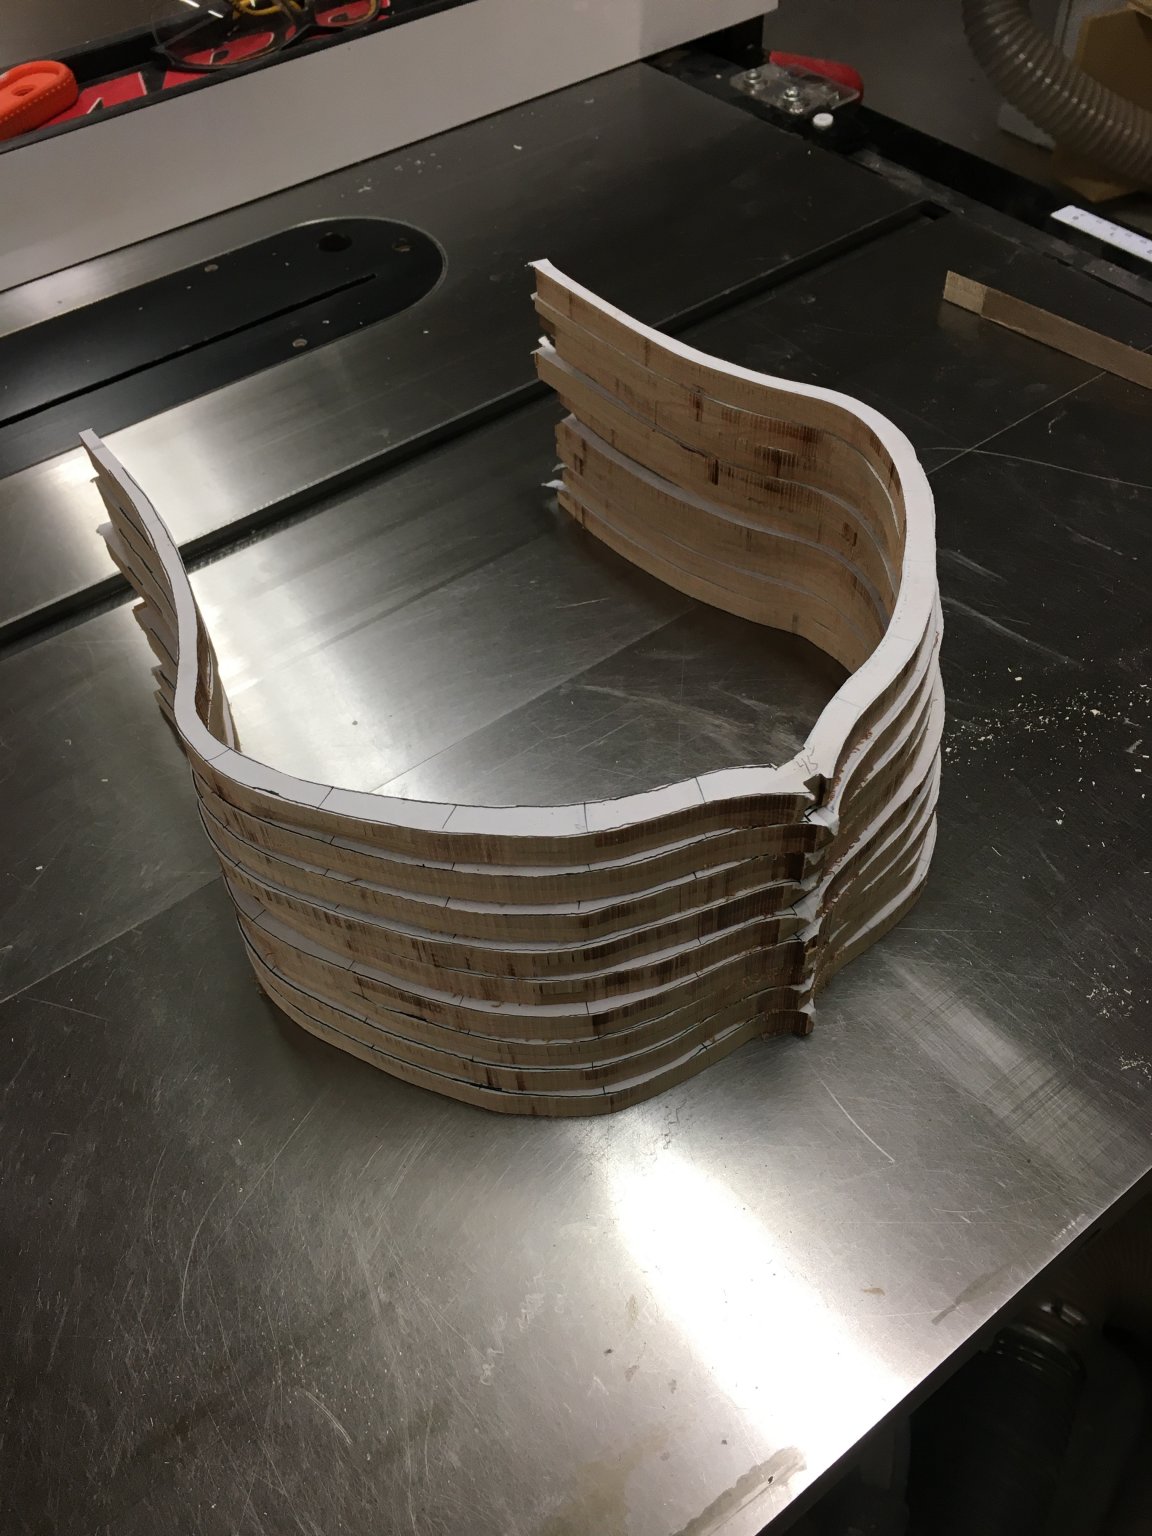
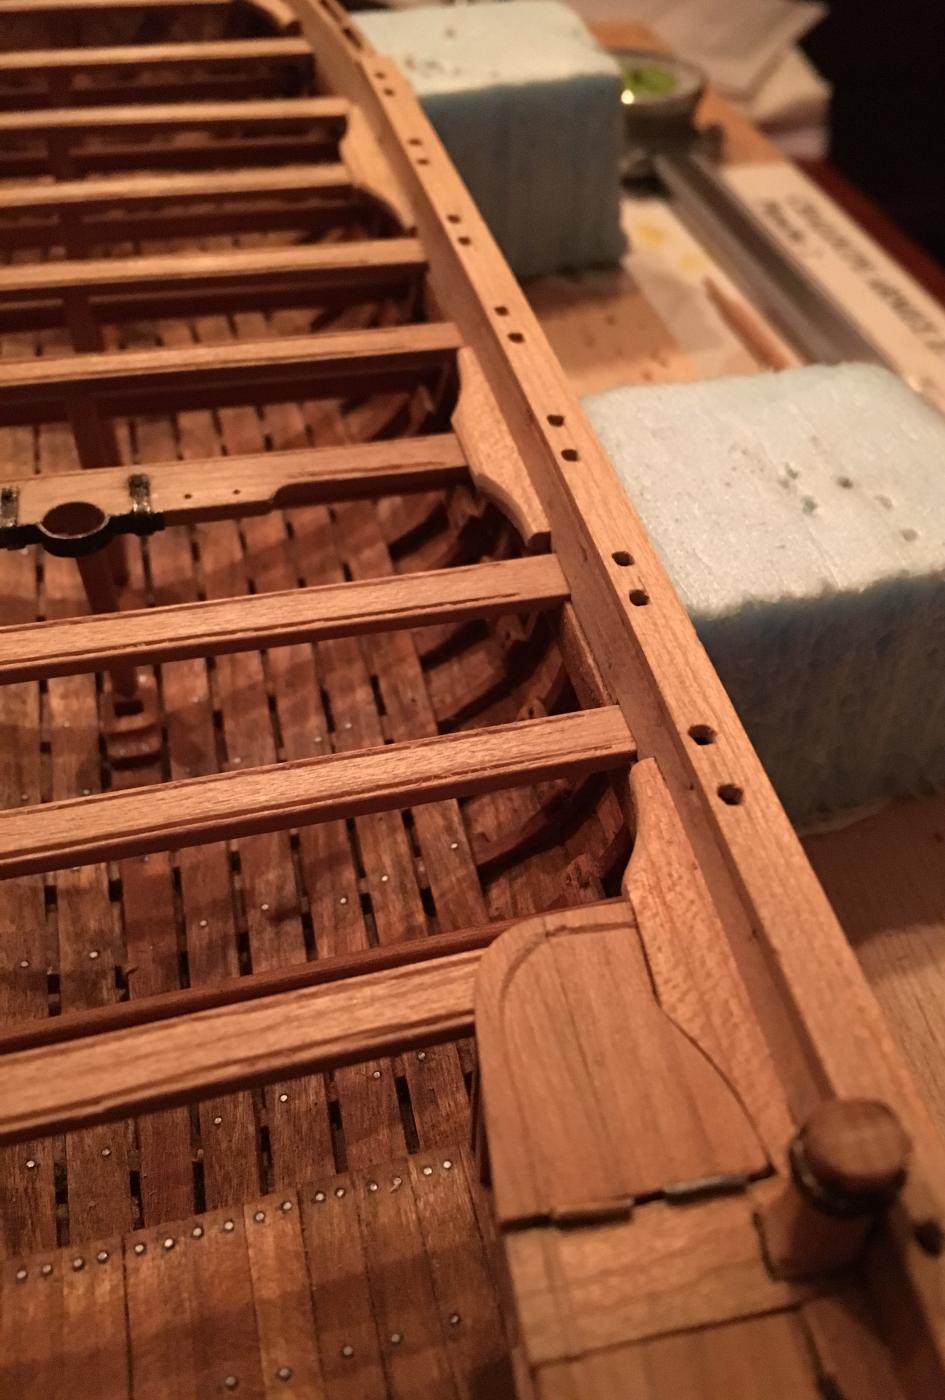
Work continues. The amount of time and material associated with one frame is incredible. Since my last post, I’ve installed 5 frames and have glued up and rough cut another 9.

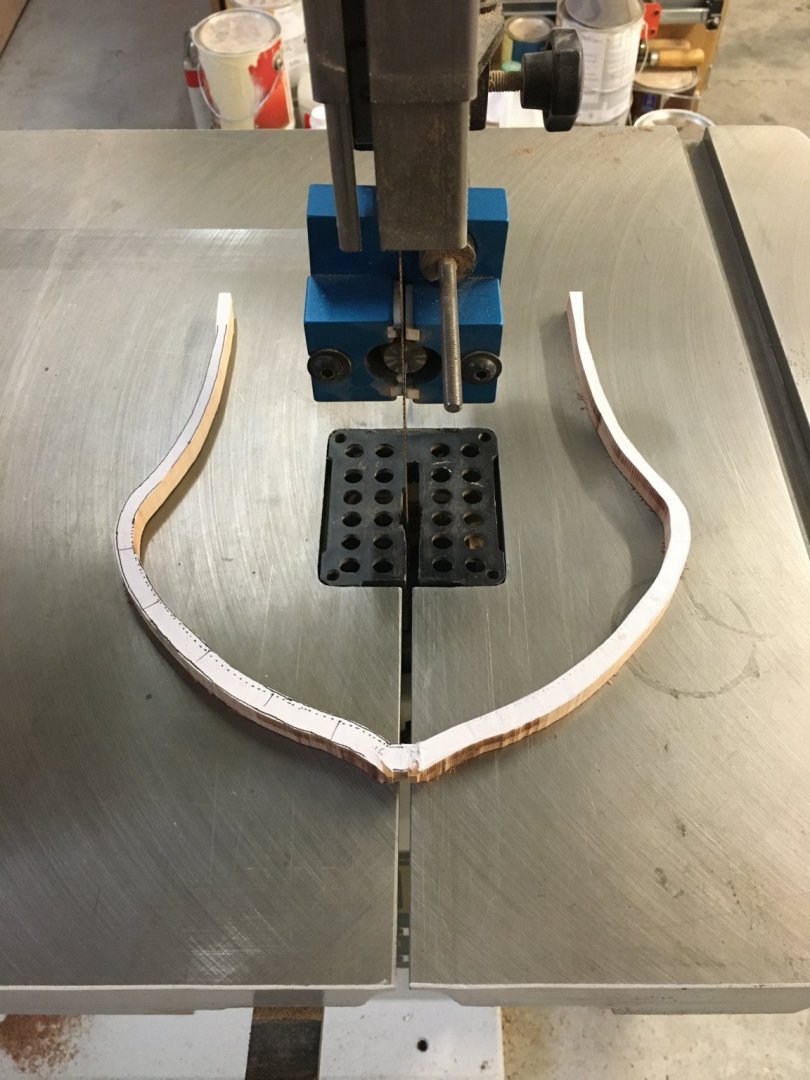

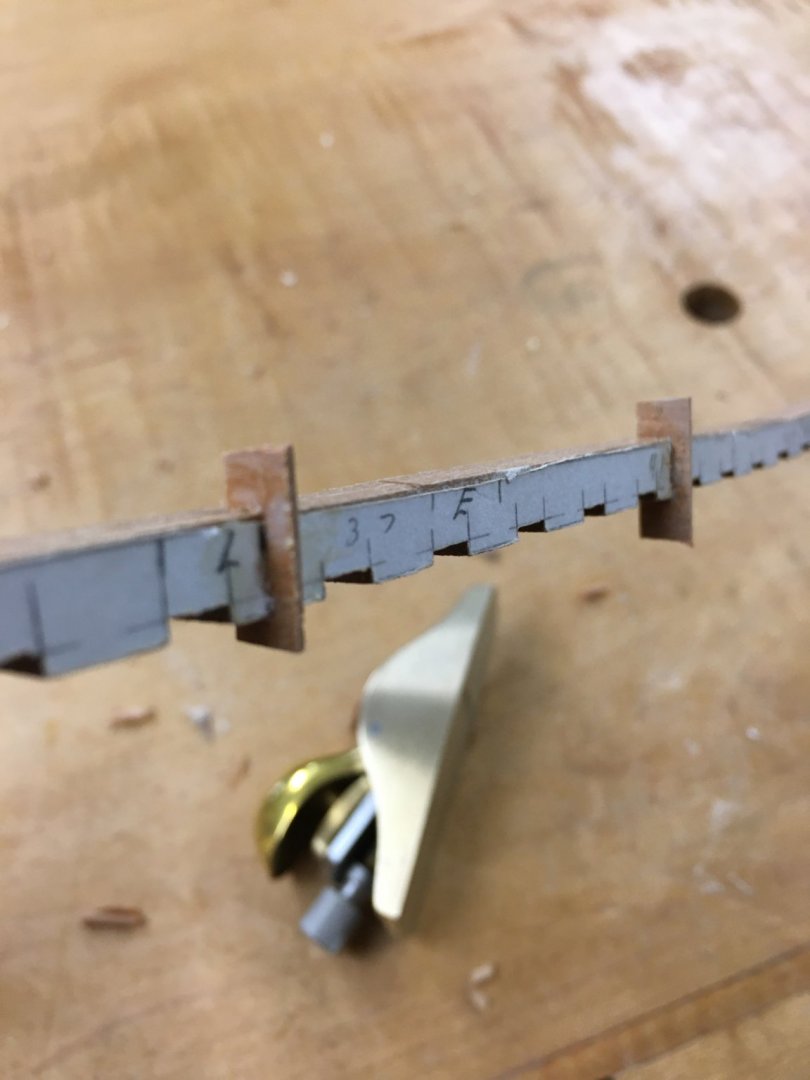
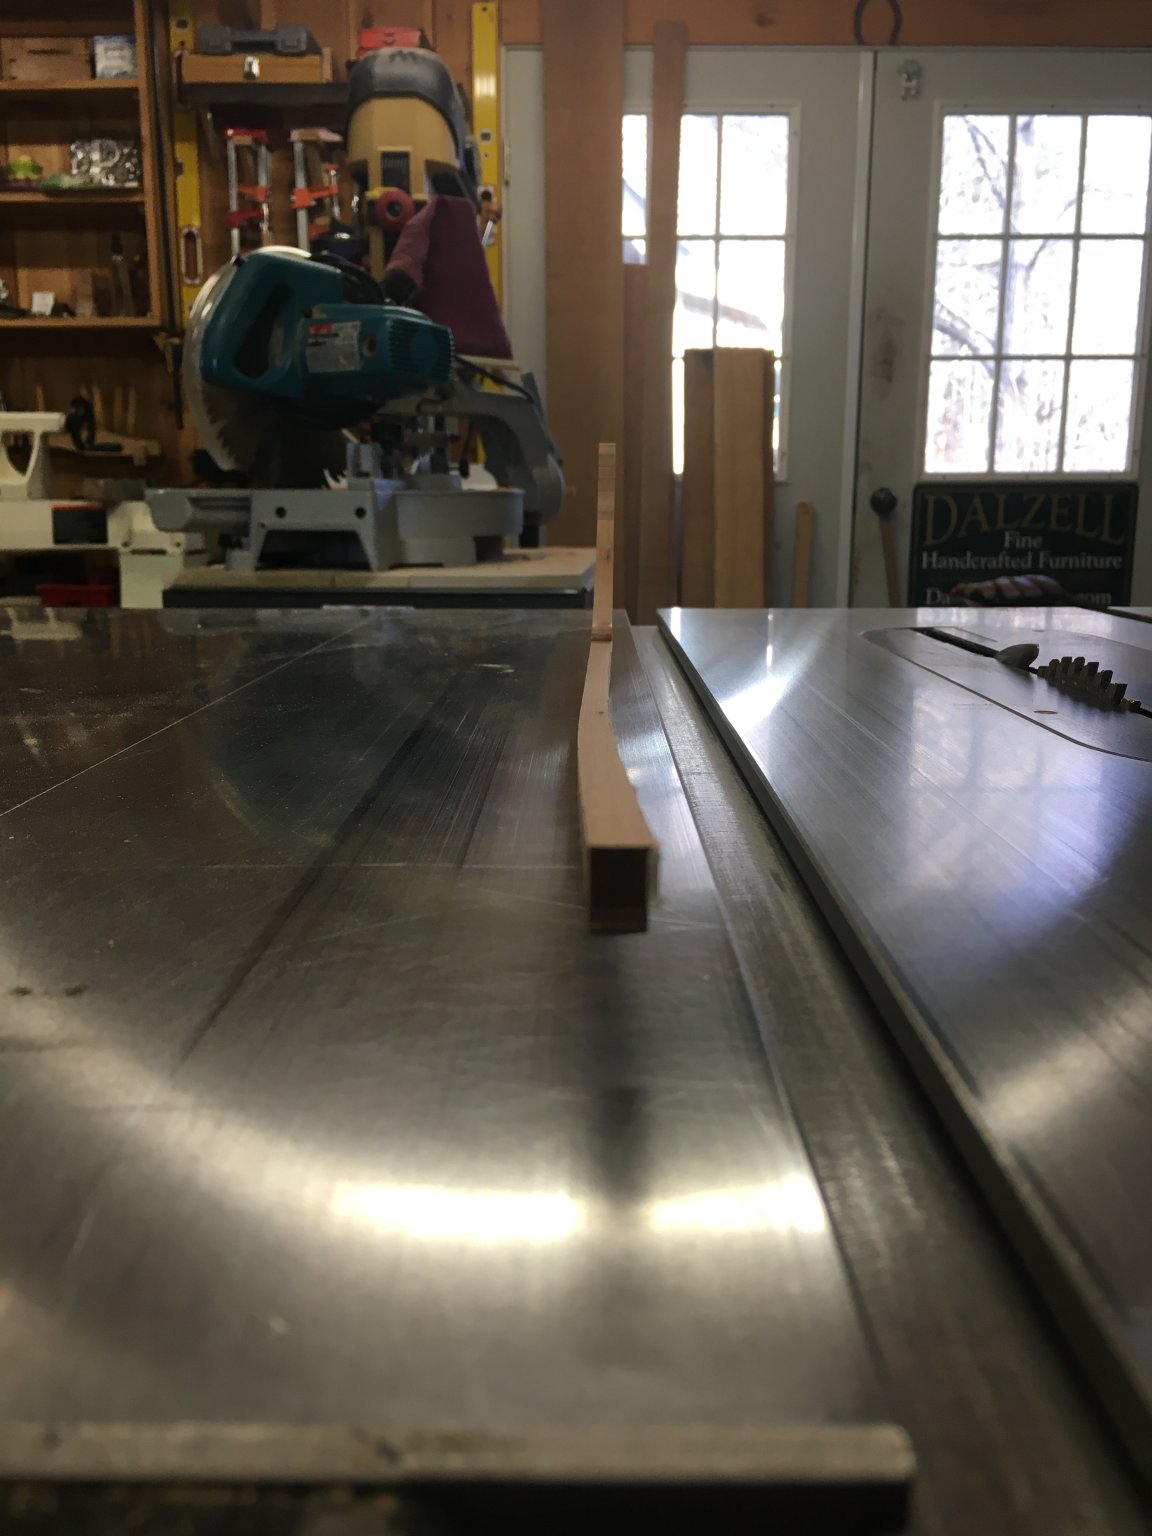
On another note, I noticed that the Keelson had developed a nice bow. To help relieve some on the stress, I made 2 cuts with a thin kerf handsaw then glued in small pieces to fill the void. After the initial two cuts were made the bend was pretty much gone. When fitting the pieces to be glued, I made sure not to have too tight a fit so as to not create additional stress in the opposite direction. One of my biggest challenges is to not create additional force when gluing pieces together. Meaning, if it doesn’t quite fit, don’t force it into place.

- Mike Y, KARAVOKIRIS, Edwardkenway and 5 others
-
8
-
My apologies for leaving out some, if all of the finer points. I made that post late in the evening and by that time of day, my verbal and written word functions are in shut down mode.
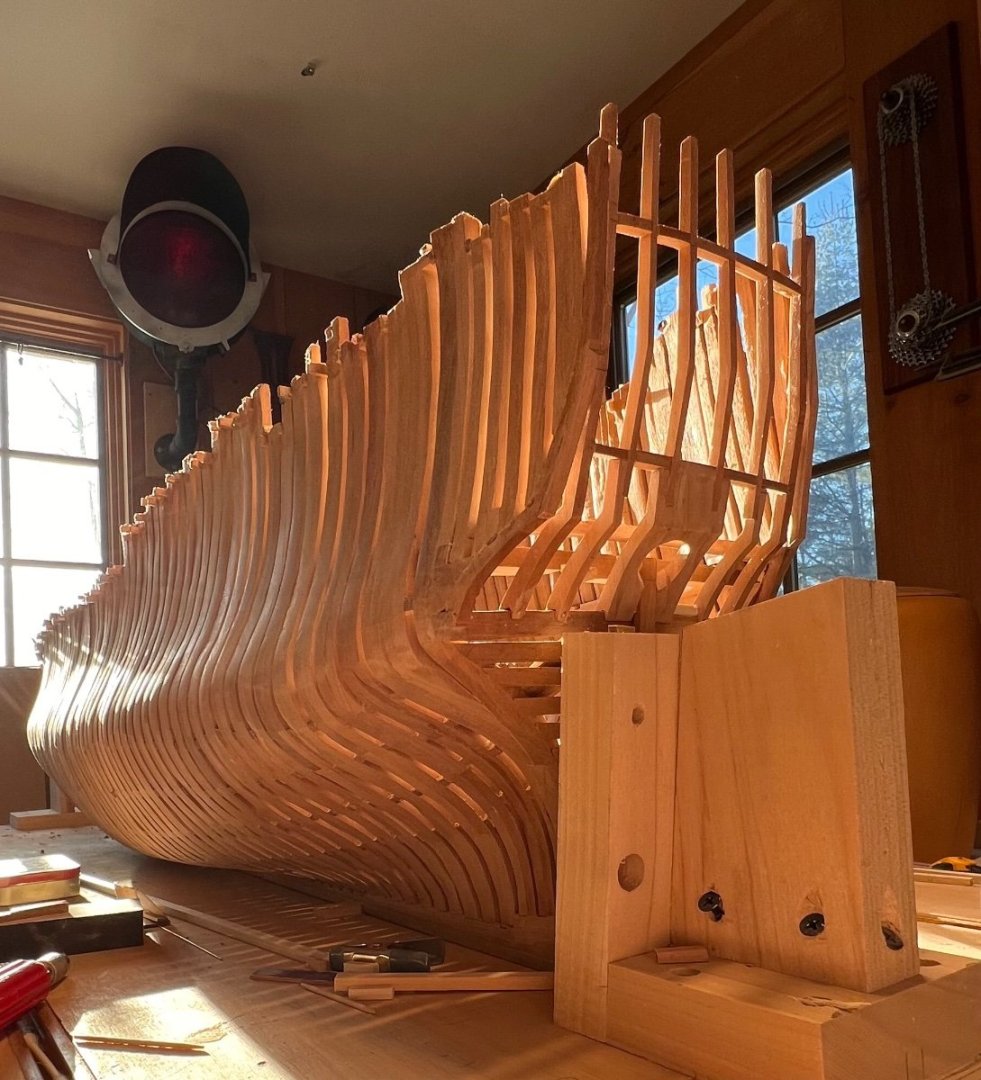
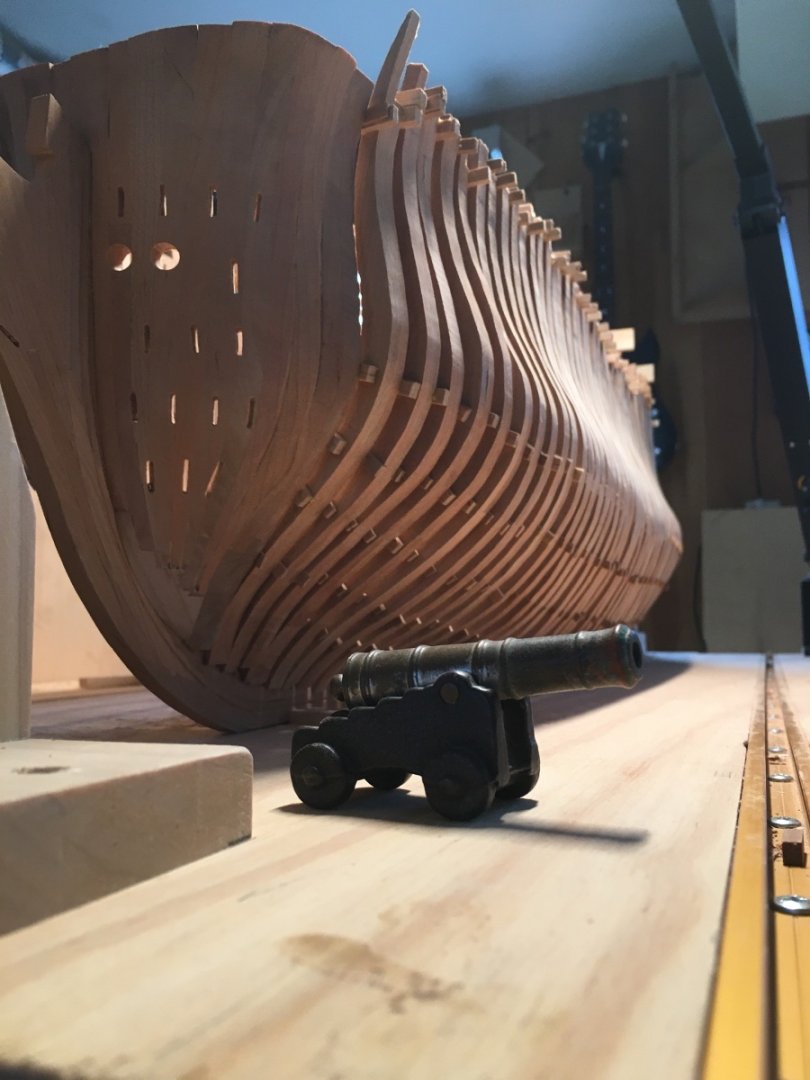
When I was initially trying to determine which Ancre monograph I was going to build next, I was drawn to the history of the Bonhomme Richard. Doing some research also revealed that there were very few actual builds of her. This being my second build, I still have a sense of being a Greenhorn and really don't feel like I know what I'm doing. Reminds me of when I was a Midshipmen. On occasion, while sailing into a stiff headwind, we would stand on the bow and throw a football hallmary pass into the wind and pray that it would find its way back to us. Praying that this stupid idea was going to work. My point being, that with every piece I glue on to this model, I find myself saying, "oh boy, I hope this is going to work." With that said, to give credit where credit is due, if it were not for Jeronimos exquisite, next level build and the depth and quality of his pictures, I would not have attempted this model!
After all of that, I'm using Cherry for this model. It's abundant, harvested locally, easy to work with and developes a wonderful patina. As of now, I'm planning on not planking her. I like the idea of having the framing exposed and looking in to see the finished interior. I do not plan on setting the masts either. At roughly 52" long +/- she is going to be big enough. I have a very long journey ahead of me and things can and will change.
Happy Modeling.
P.S. The life expectancy of a football on a ship, is about 5 minutes.
- Mike Y, druxey, Kikatinalong and 2 others
-
5
-
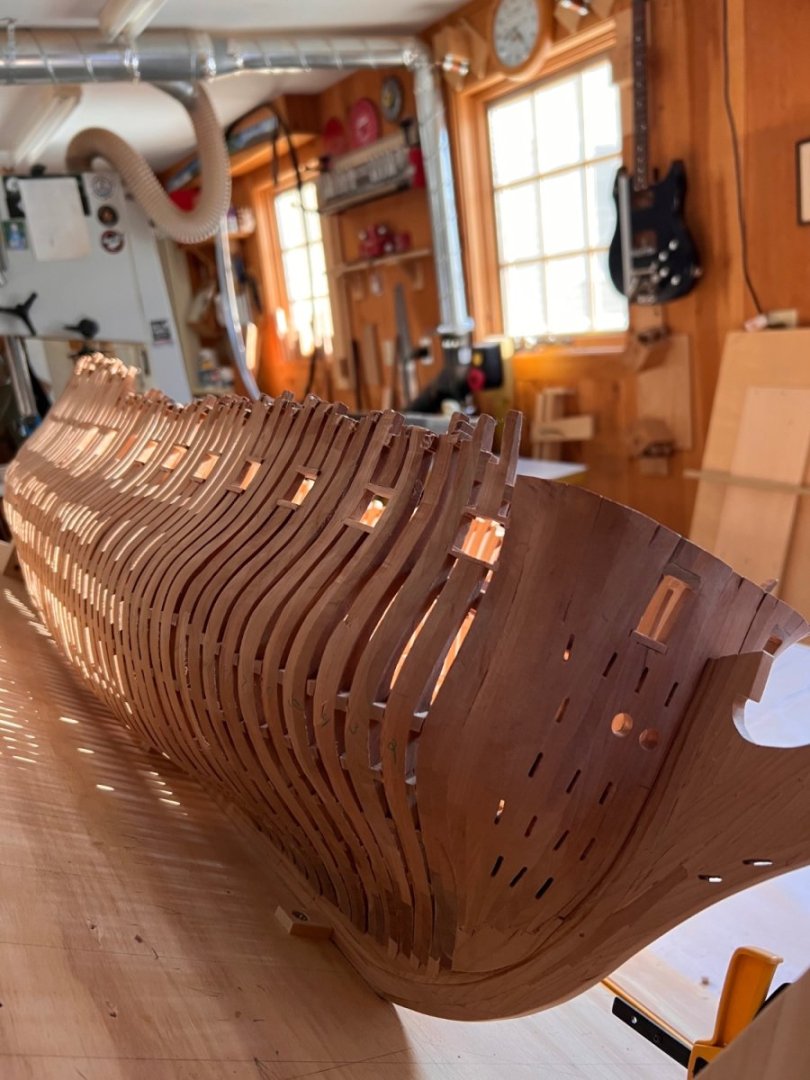
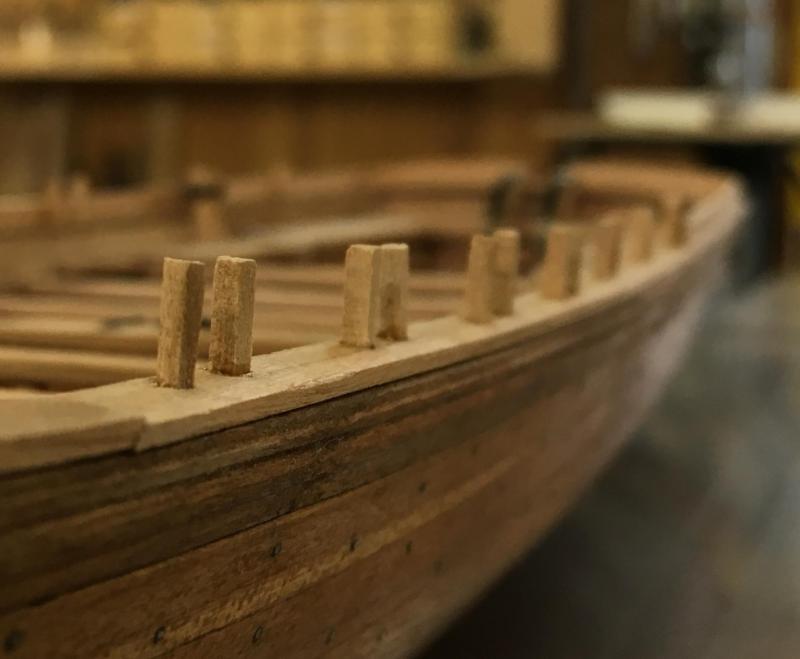
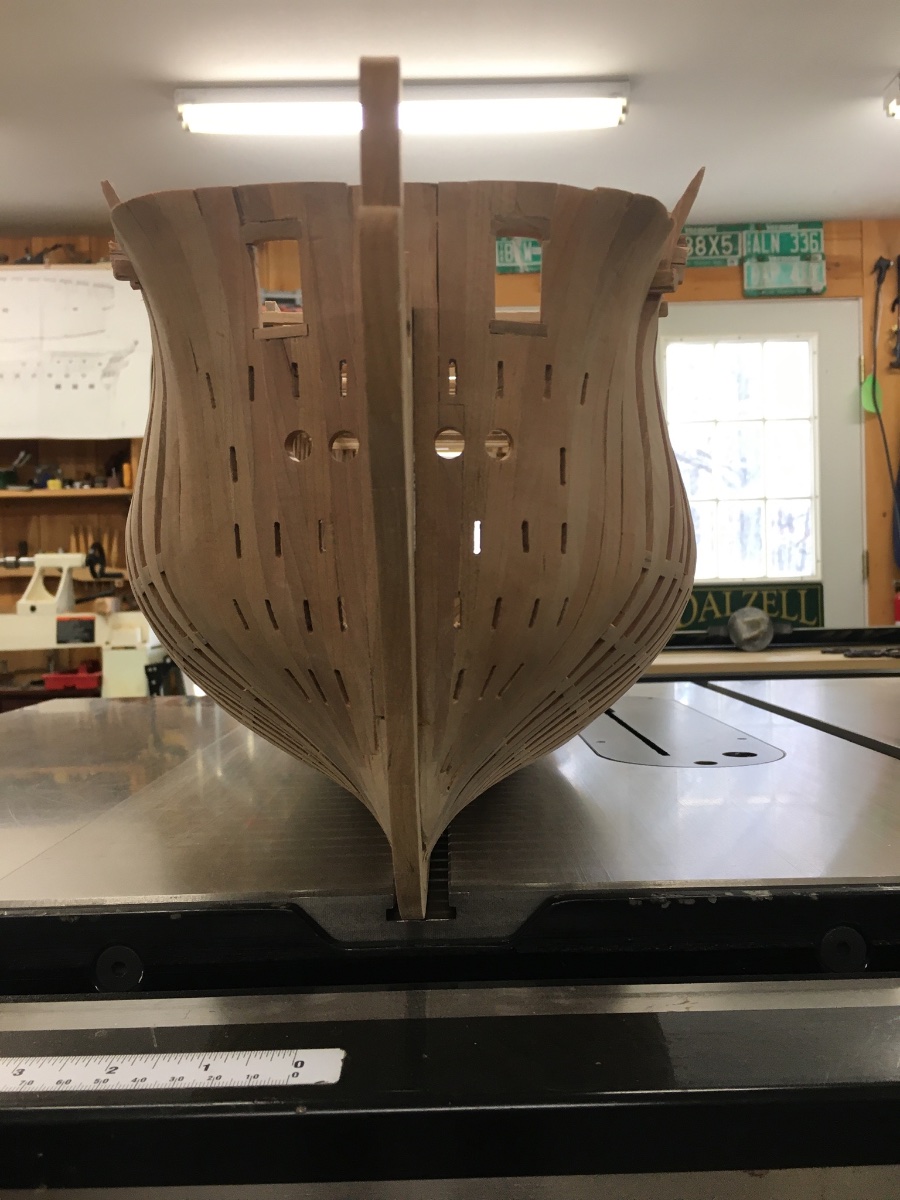
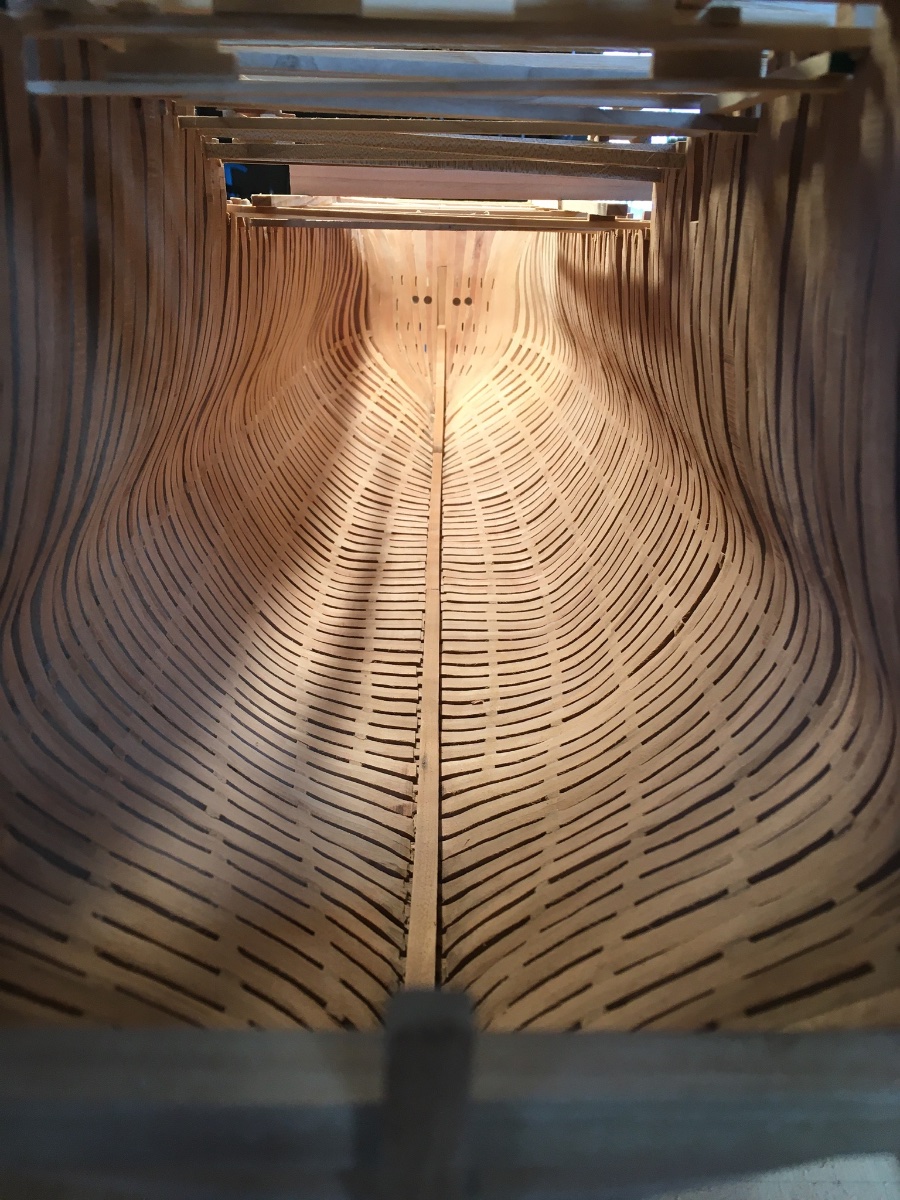
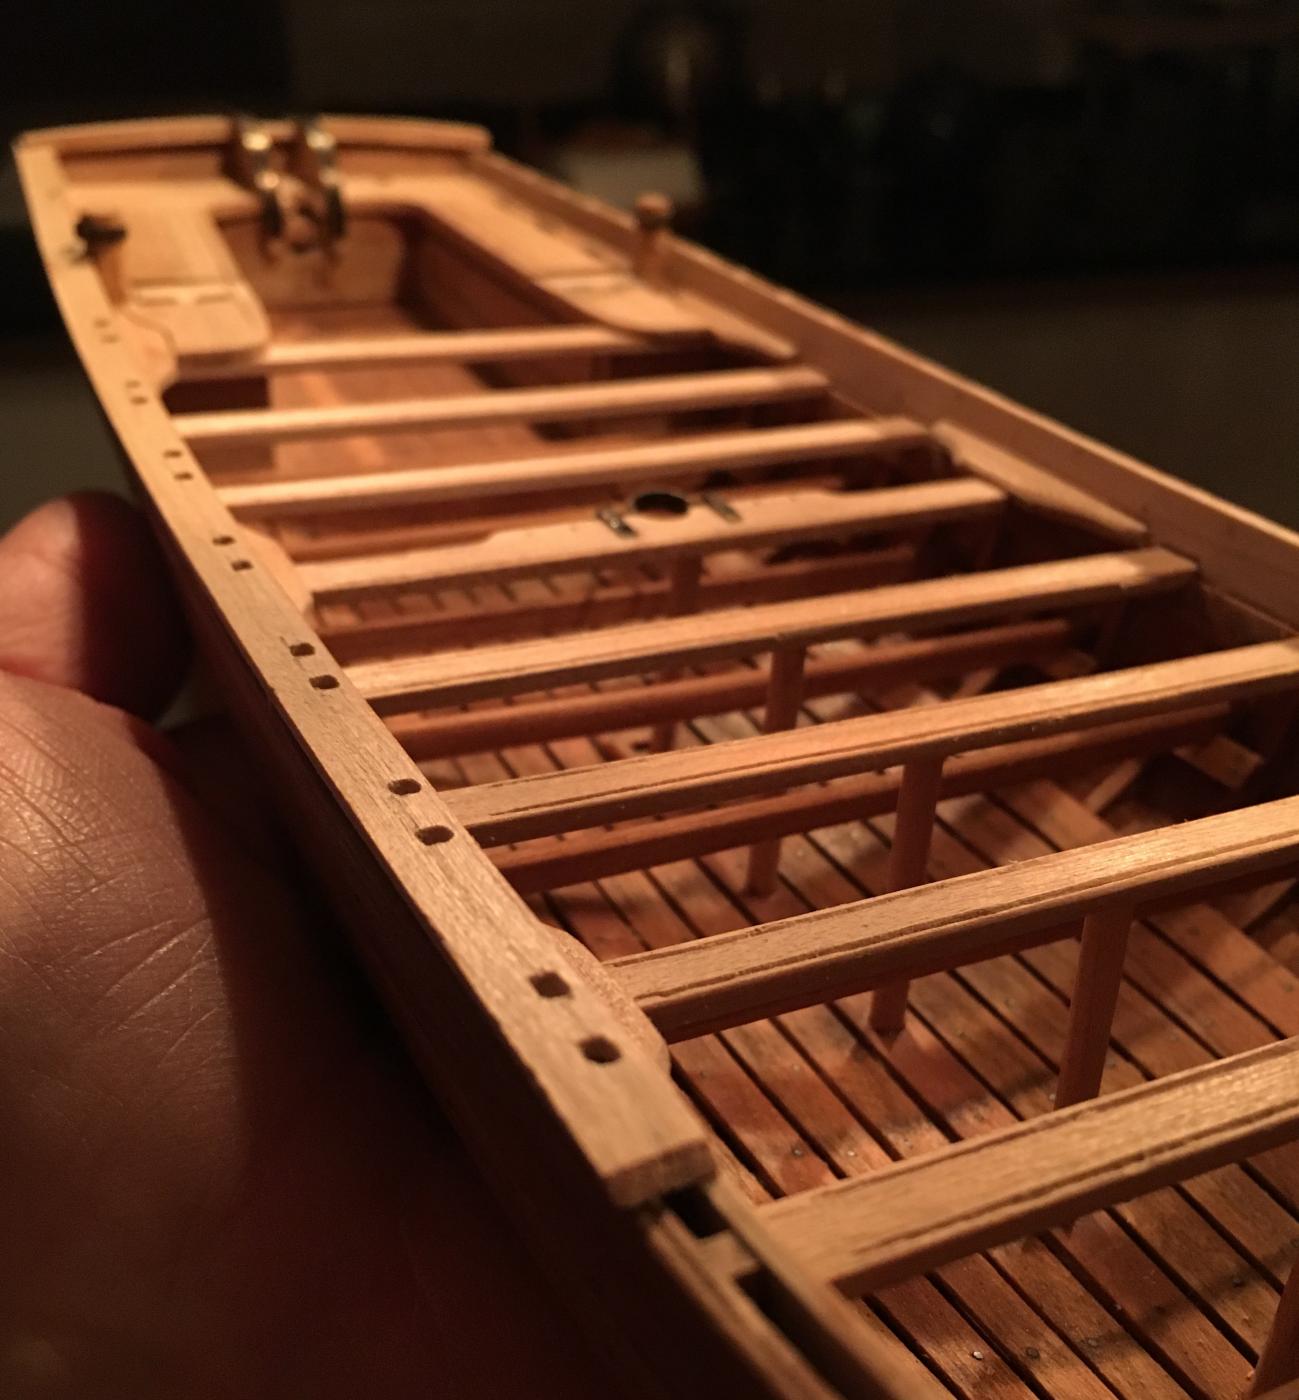
I started this built sometime ago. Given the scope and difficulty, I decided to focus on deciphering the plans and determining a comfortable plan of attack before starting a build log.
I’m presently building and installing frames. At first I didn’t trust the lines and found myself leaving things proud to give myself a little room to work with. A good idea initially, but means substantial amount of sanding later on. Patience......Some pictures to bring things up to date.
-
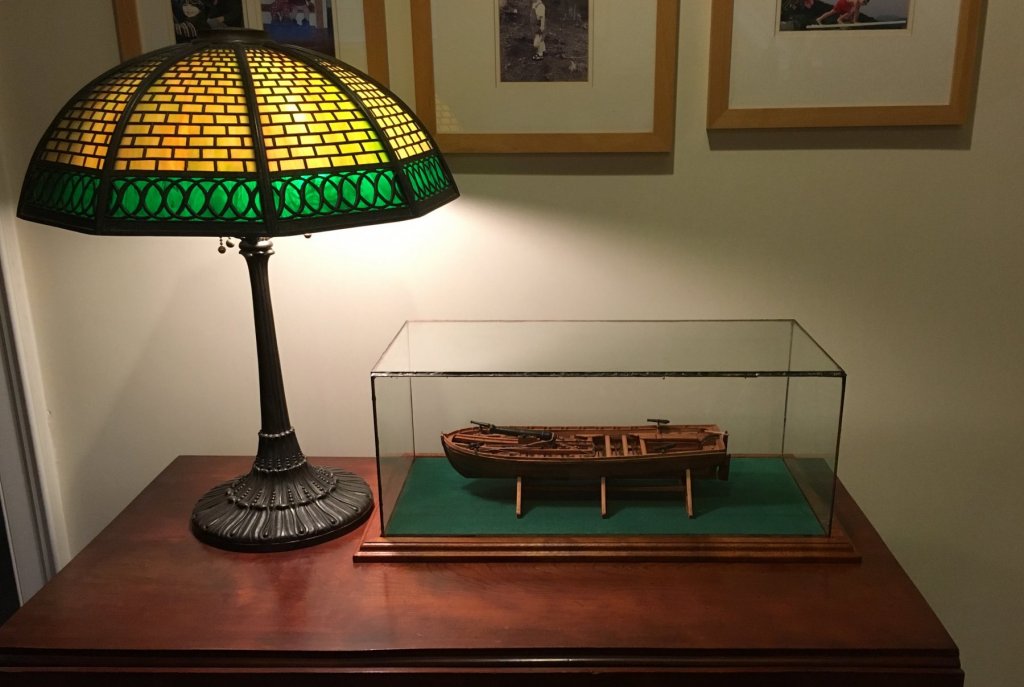
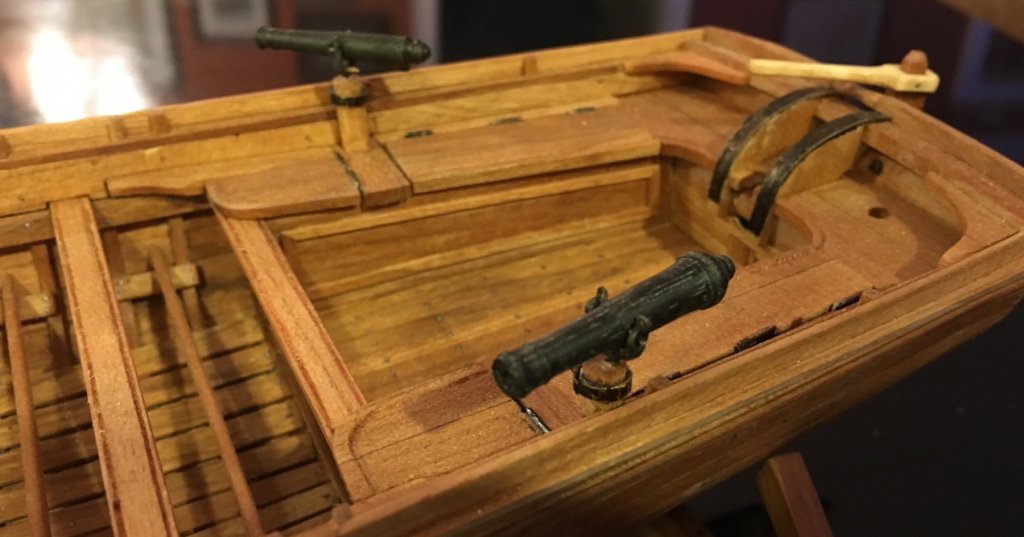
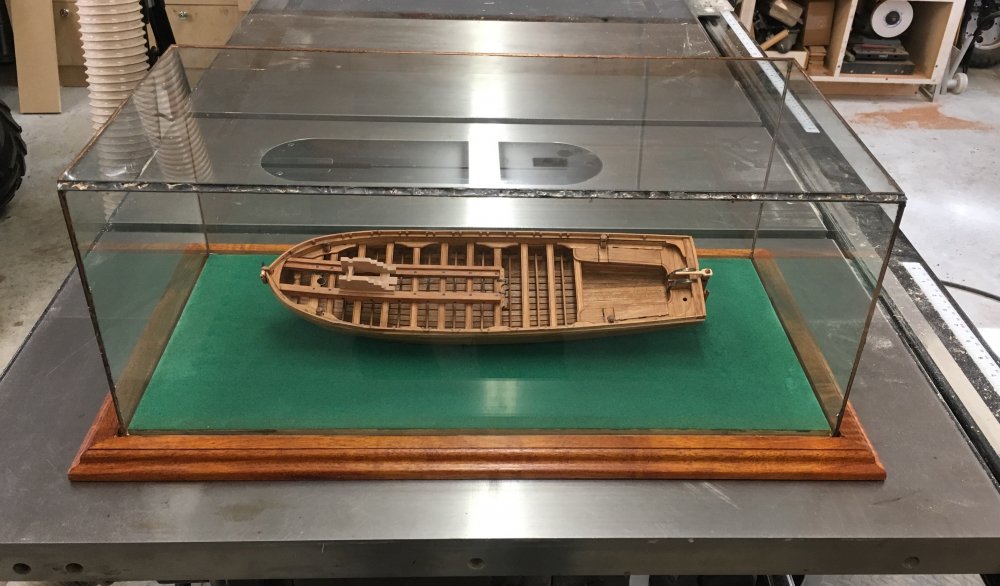
Wow, 2 months since my last post. My only excuse, is that the snow has melted and there is a lot of other things to do. With that said, I found myself finishing the small cannons, placing the boat in its case and that's where it has been ever since. Since placing it in the case, it hasn't called to me to make the oars or masts etc. So, that's it.
Finished.
Thanks for the support, all the great information and guidance.
- MEDDO, mtaylor, GrandpaPhil and 6 others
-
9
-
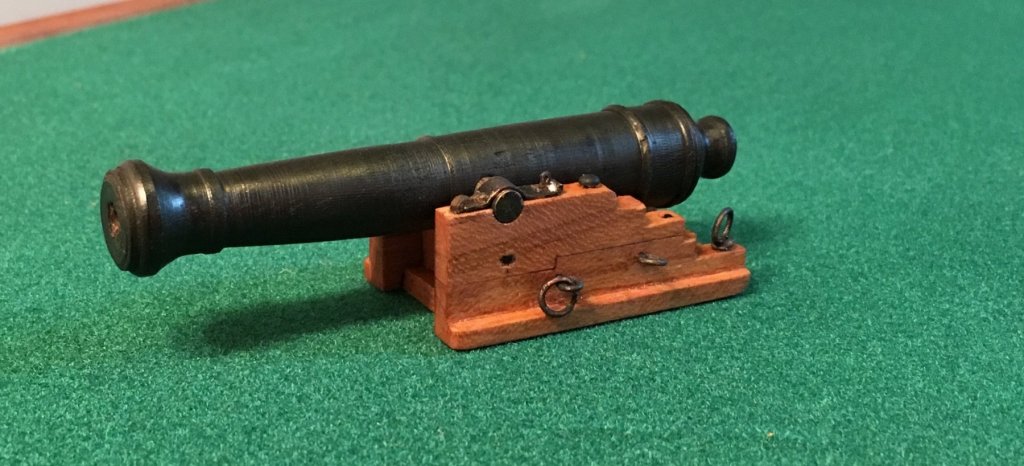
Thank you Carl,
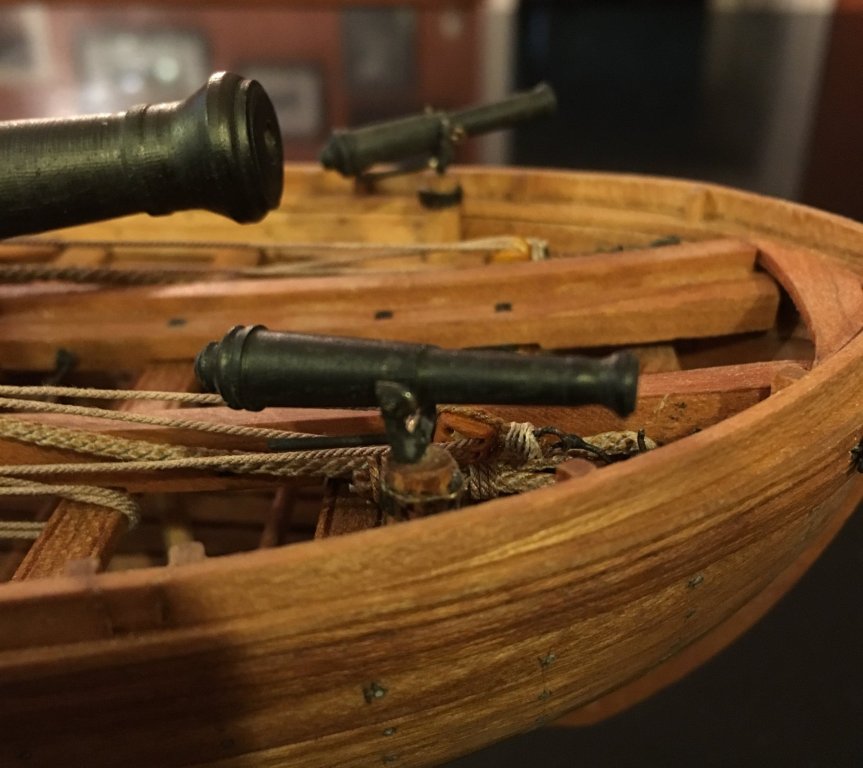
Still working on the small canons. I'm not 100% happy with how they compare to one another. I will probably end up making a few more. I'm planning on adding oars and a few canon accessories. I will say that the finishing touches are hard when your mind starts wandering towards the next build.
 Chris
Chris
-
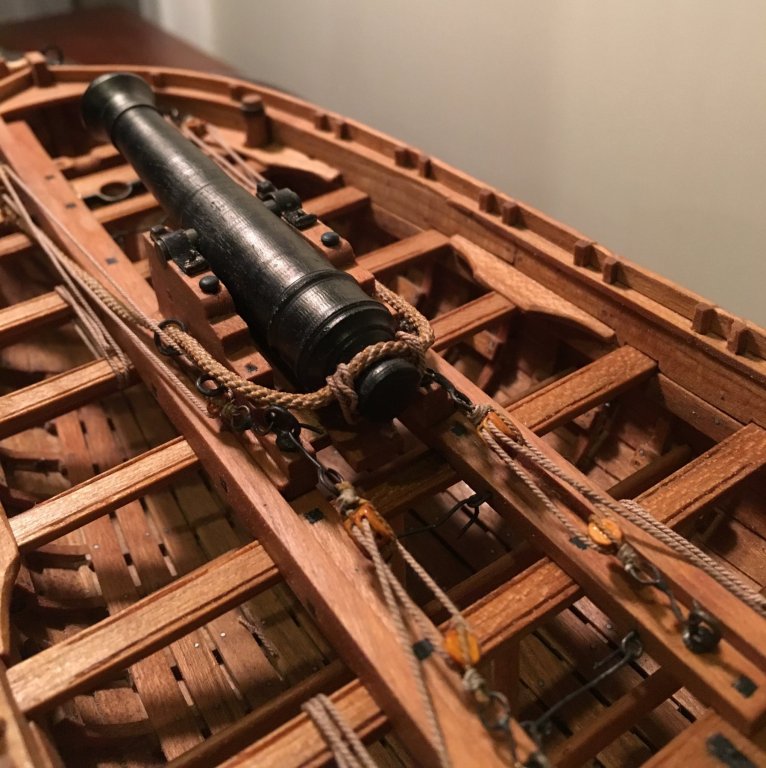
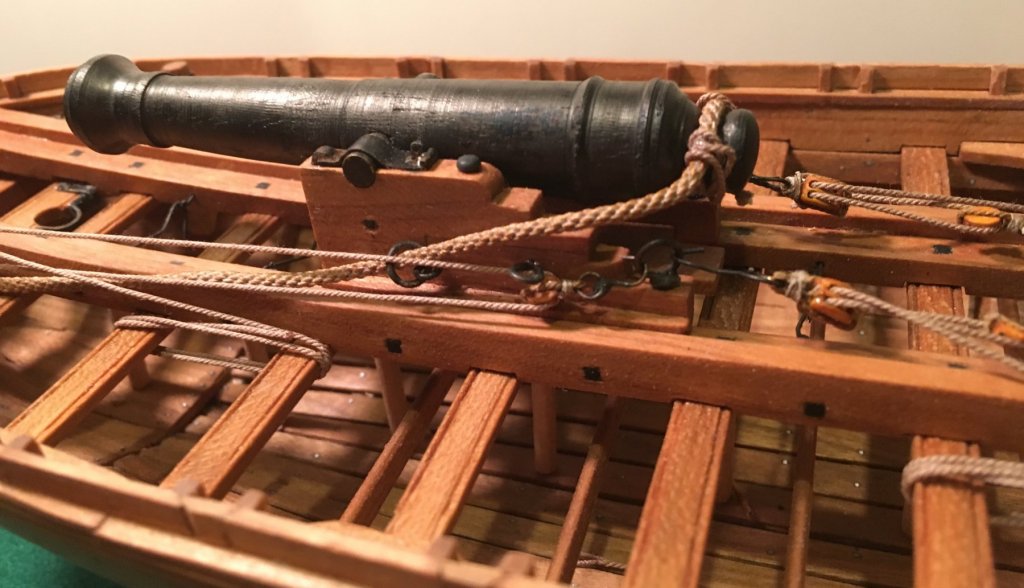
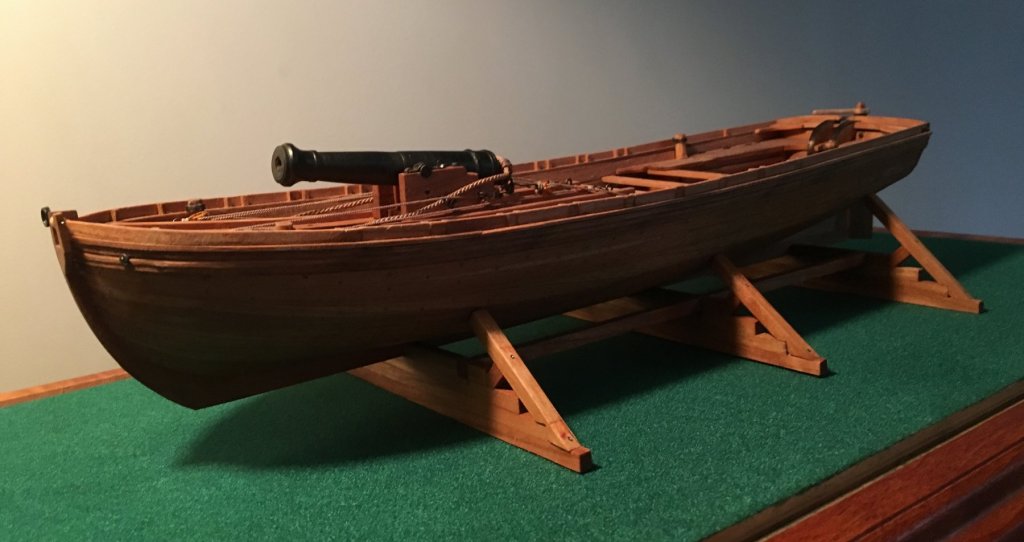
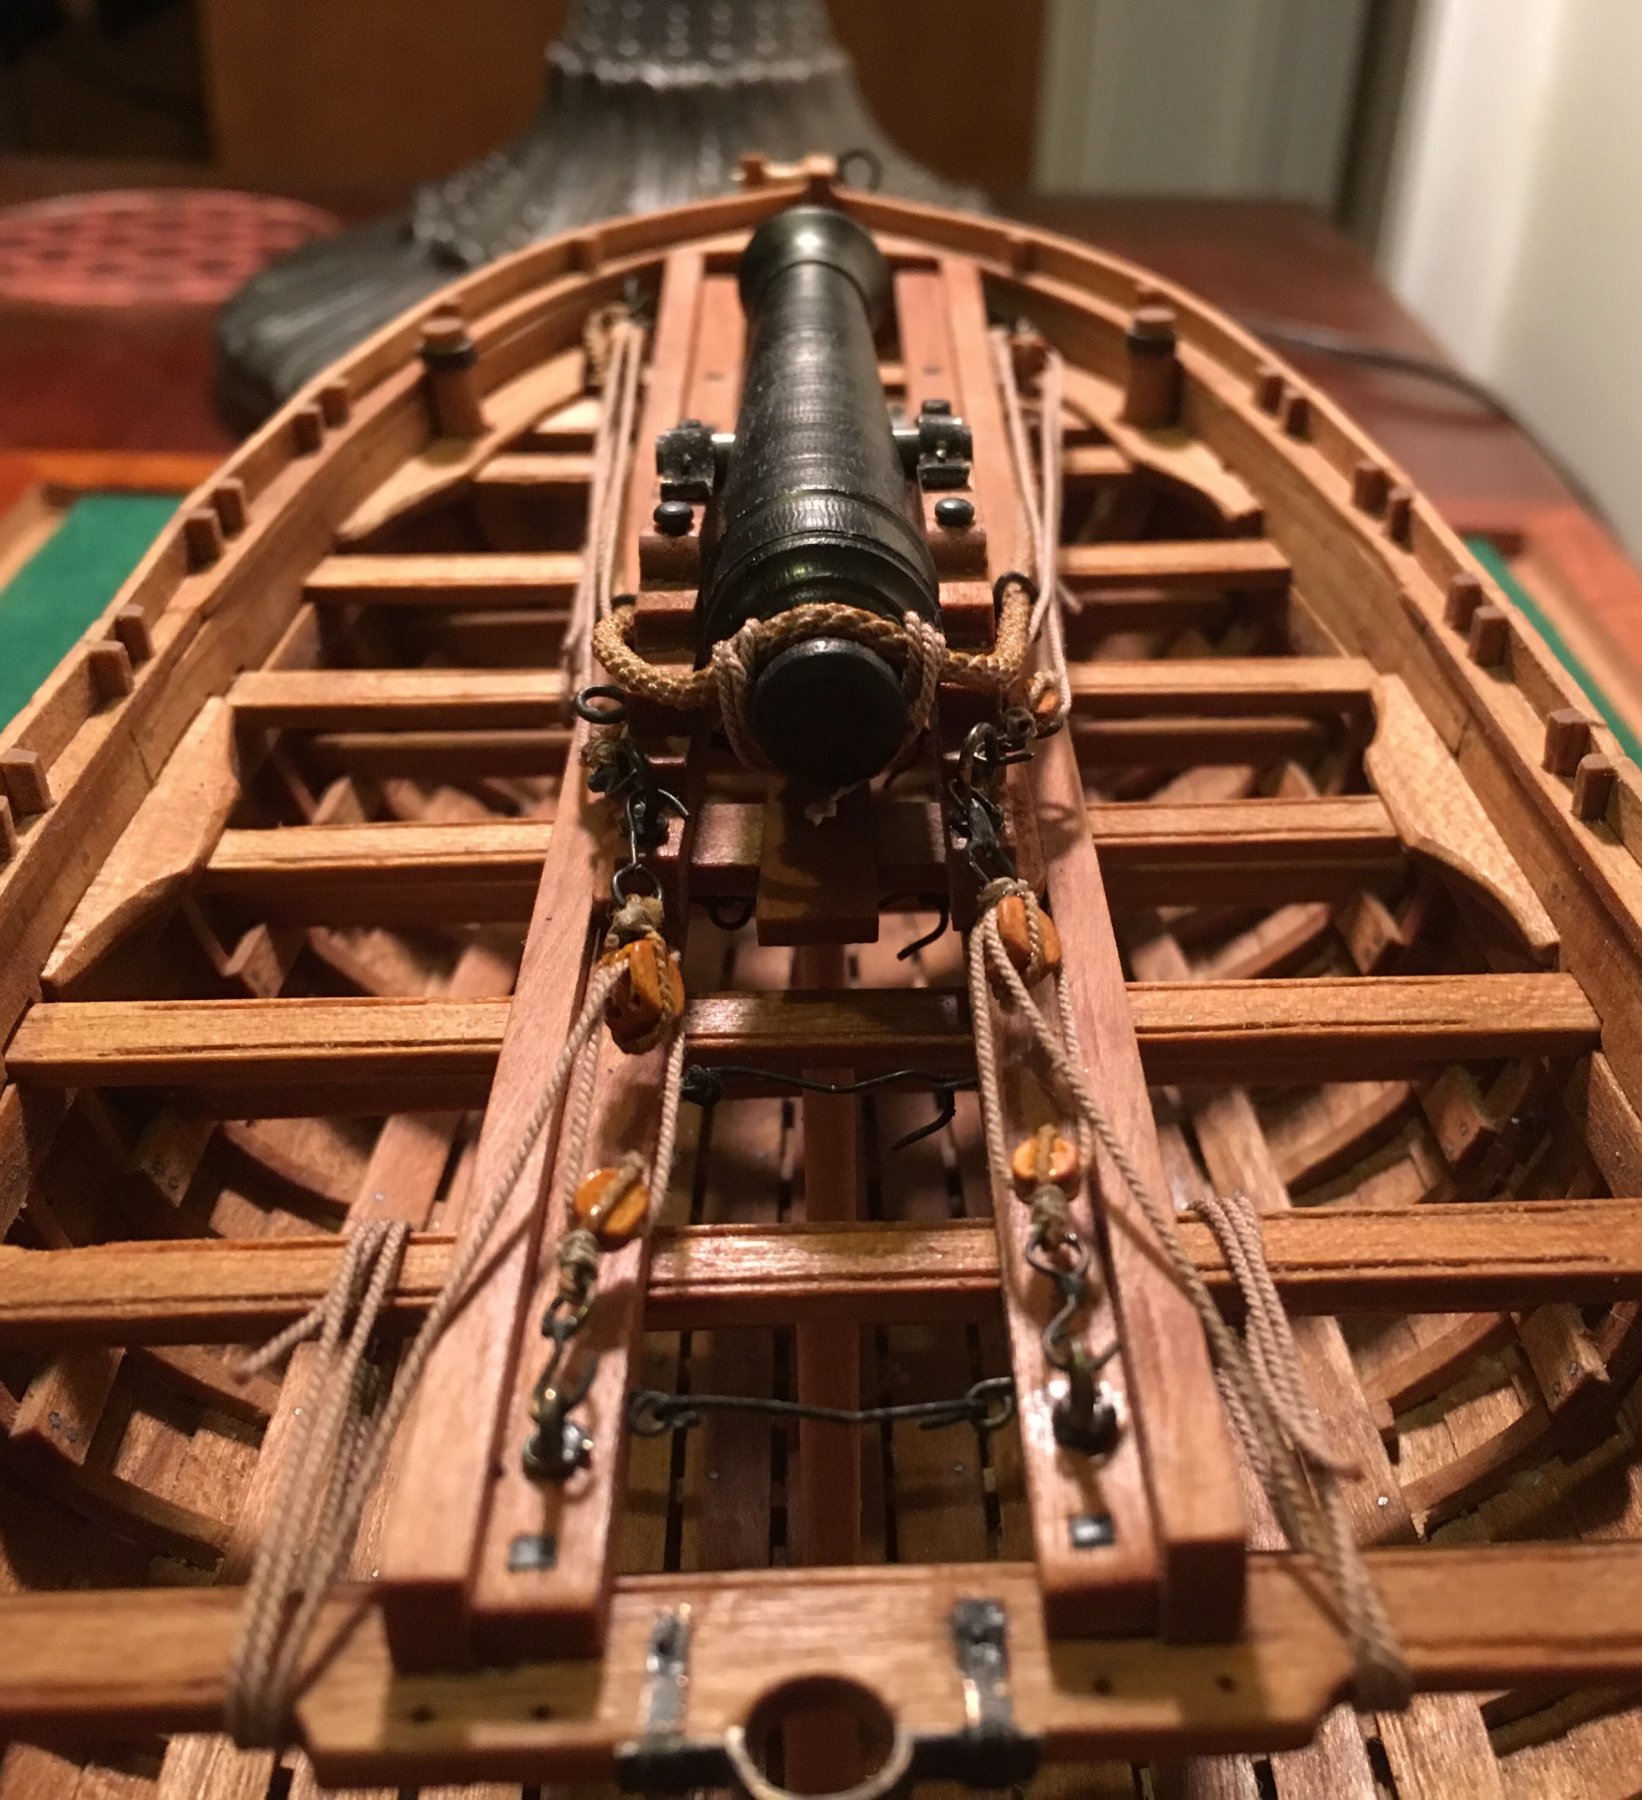
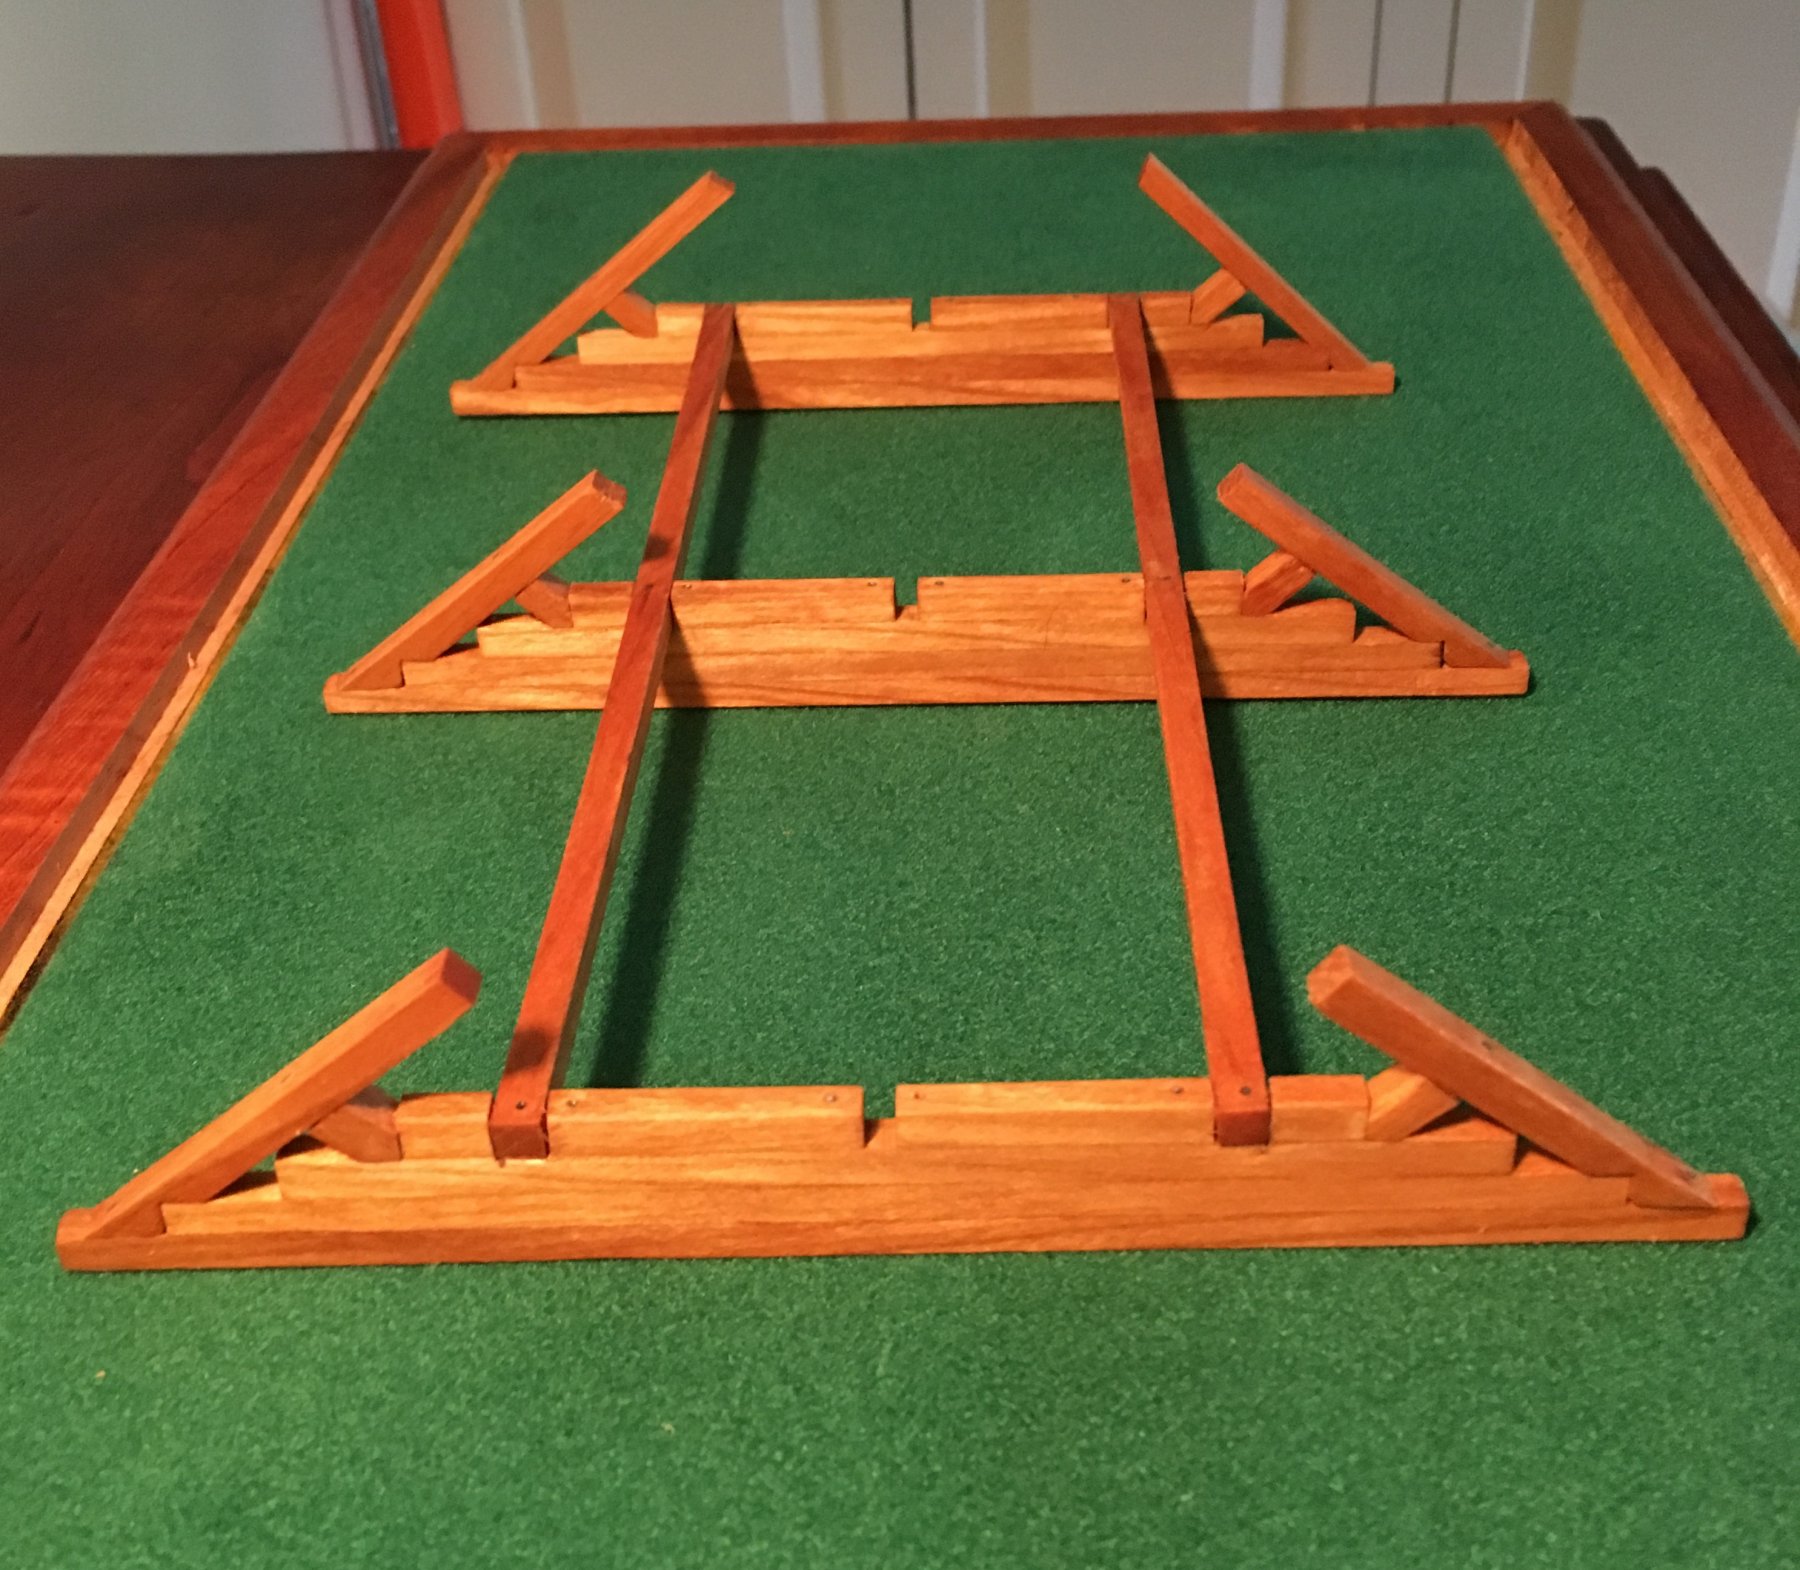
The main canon is in place and fully rigged. I also built the cradle that the boat will sit in. I initially did some reach to find an image of a period correct cradle, but in the end, I just designed my own.
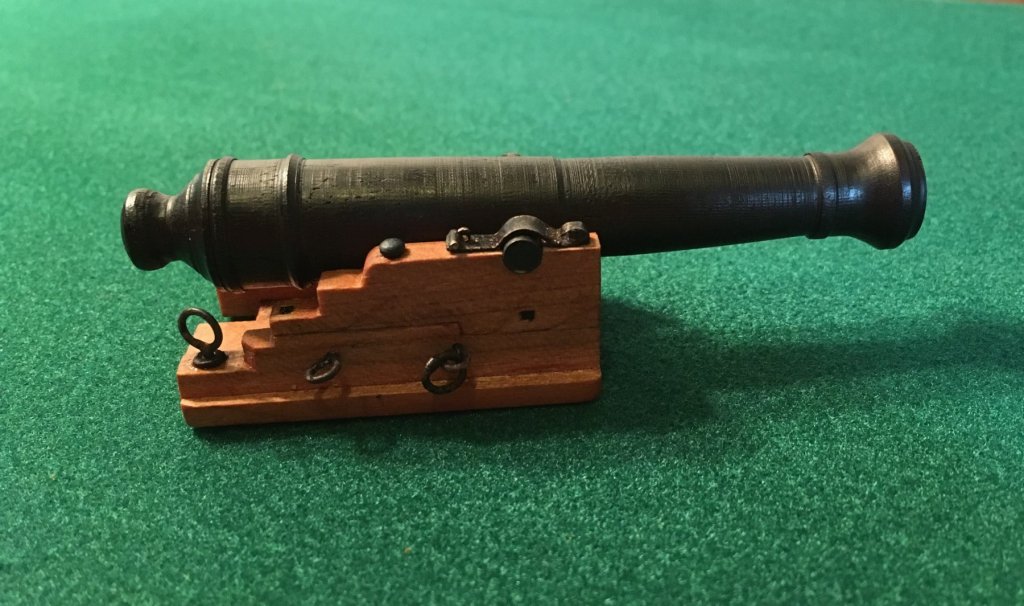
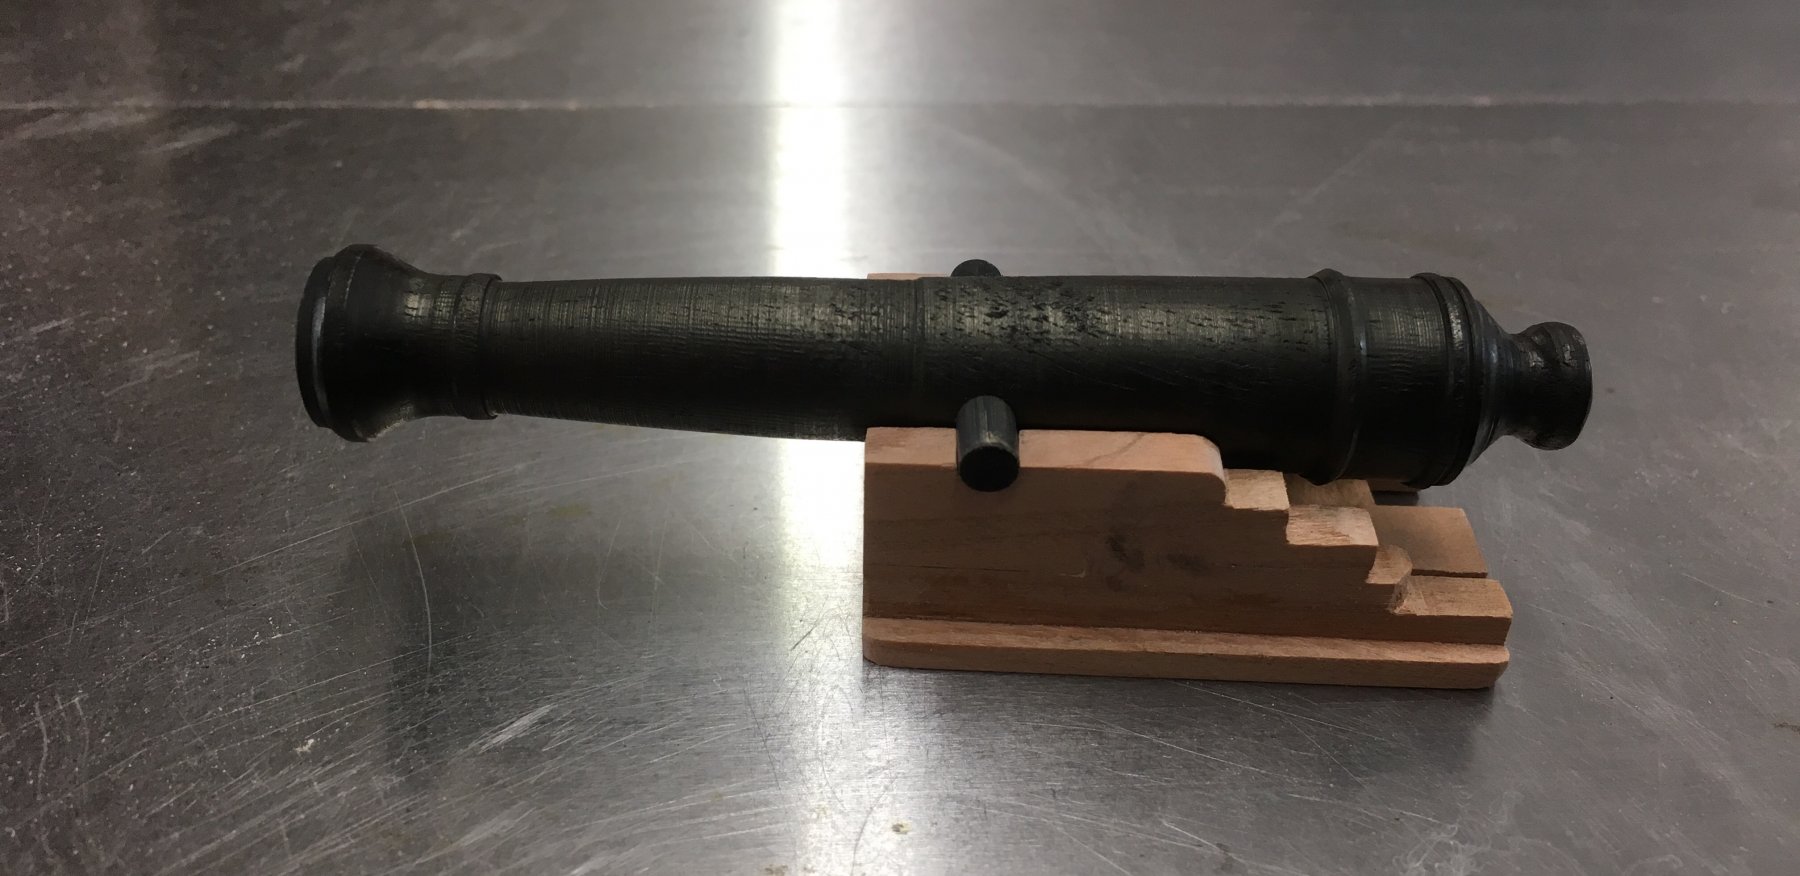
Yesterday, i turned the four small 1lb. canons. They came out ok. Turning pieces that small on a full size lathe and getting all the canons to look identical is a challenge.
Practice makes perfect.
Chris


-
-
I ended up turning the cannon from a piece of ebony and finished it with a coat of metallic dye (Transtint). I think it adds a nice depth of color and perhaps tricks the eye into thinking it's brass.

- Tigersteve, tkay11, G.L. and 10 others
-
13
-
Work continues, slowly. As the end of the build draws near I decided to get the case out of the way. I originally planned on making the case out of Plexy Glass but decided glass was a better fit. It took a fair amount of trial and error to get to a point where I was comfortable. The process of wrapping the glass with copper tape, burnishing and applying the solder was tedious. Im happy with the end result and feel it adds a more classical feel to the model.


- tkay11, CaptainSteve, Jack12477 and 9 others
-
12
-
-
Cog, Thank you very much.
Regarding a mast and the oars, the plans don't show them. In fact, I have researched this boat in other build logs and don't recall seeing a mast either. Archjofo built an absolutely beautiful rendition of this boat. I will scroll through his build log and see.
-
-
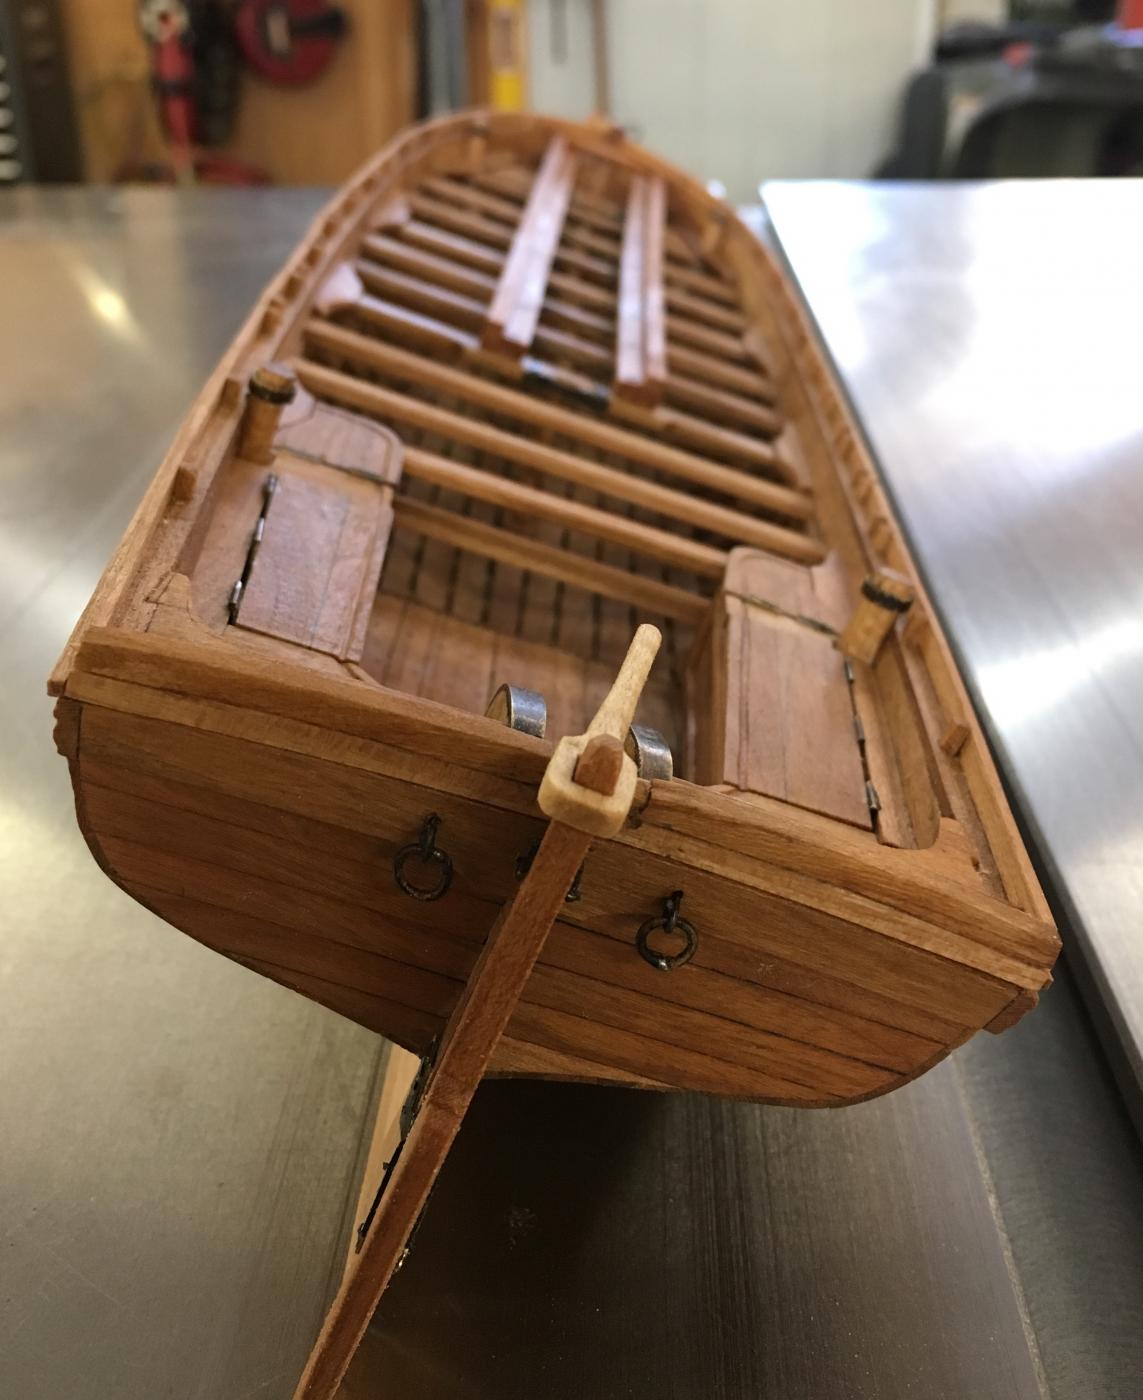
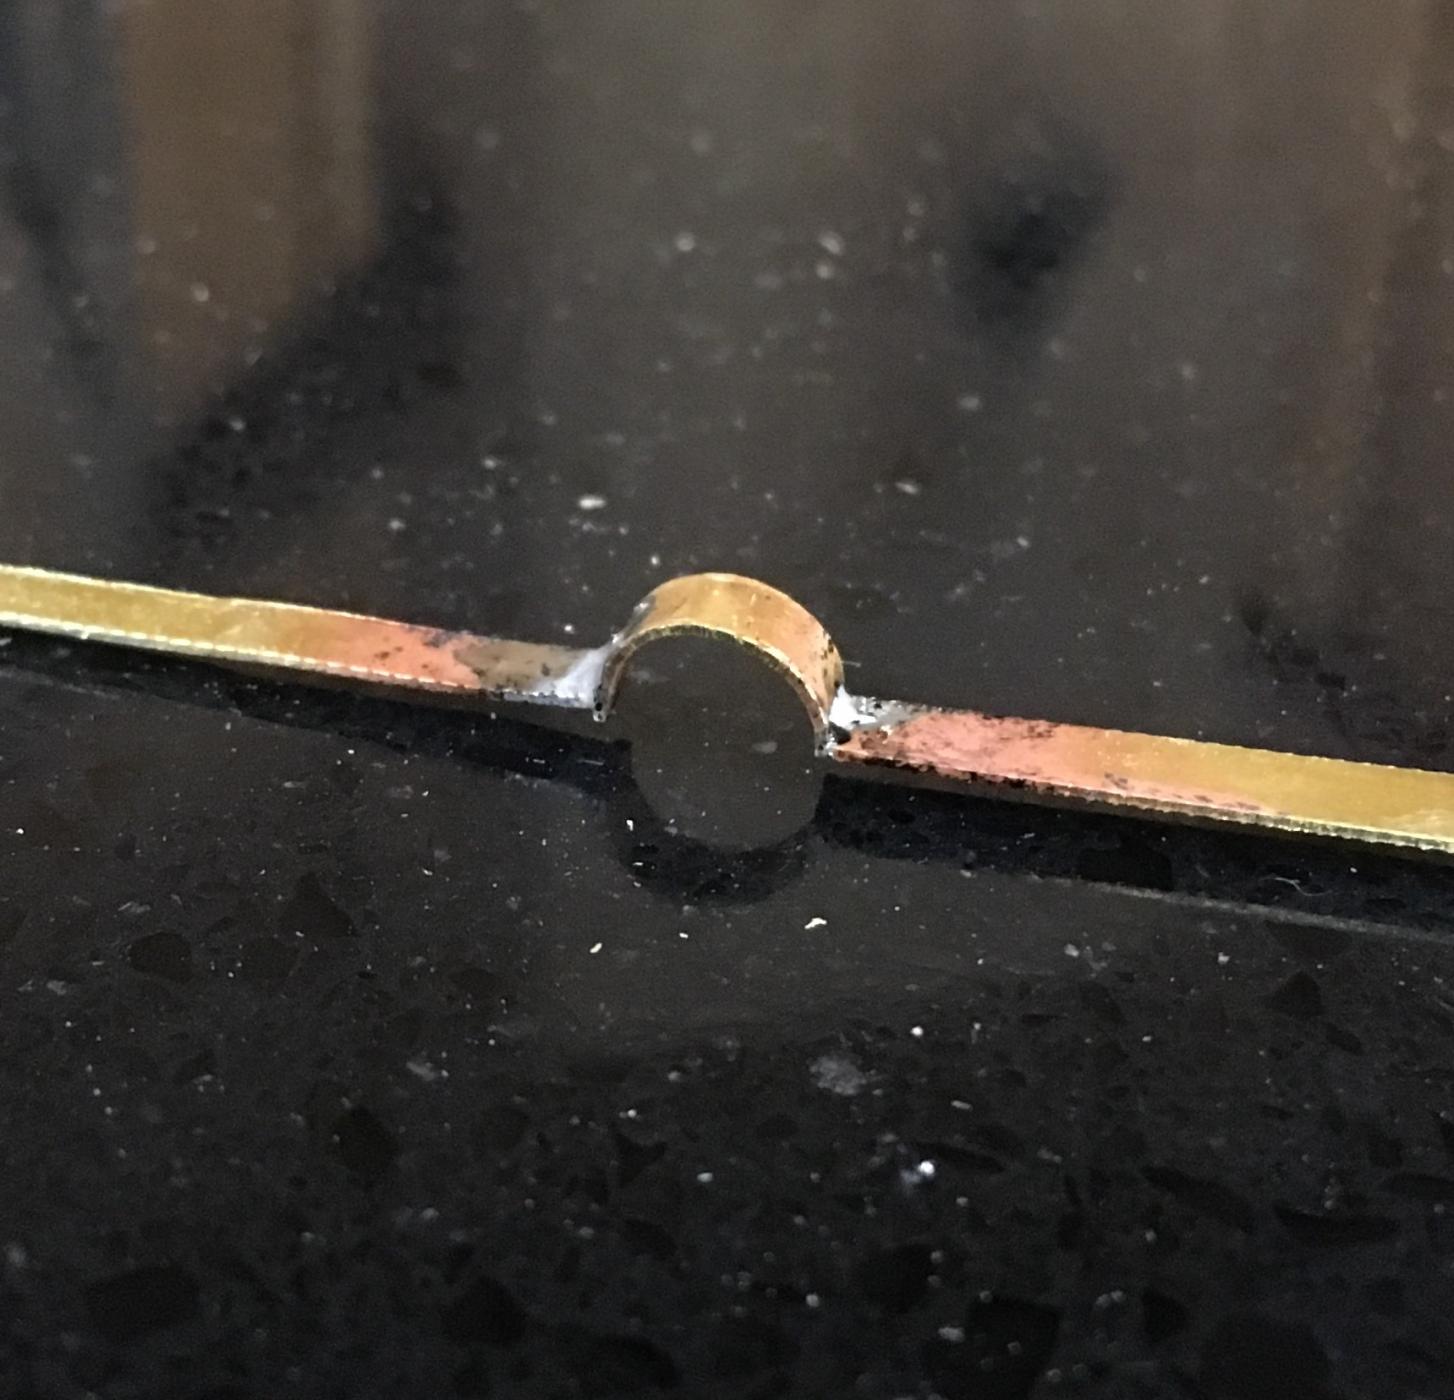
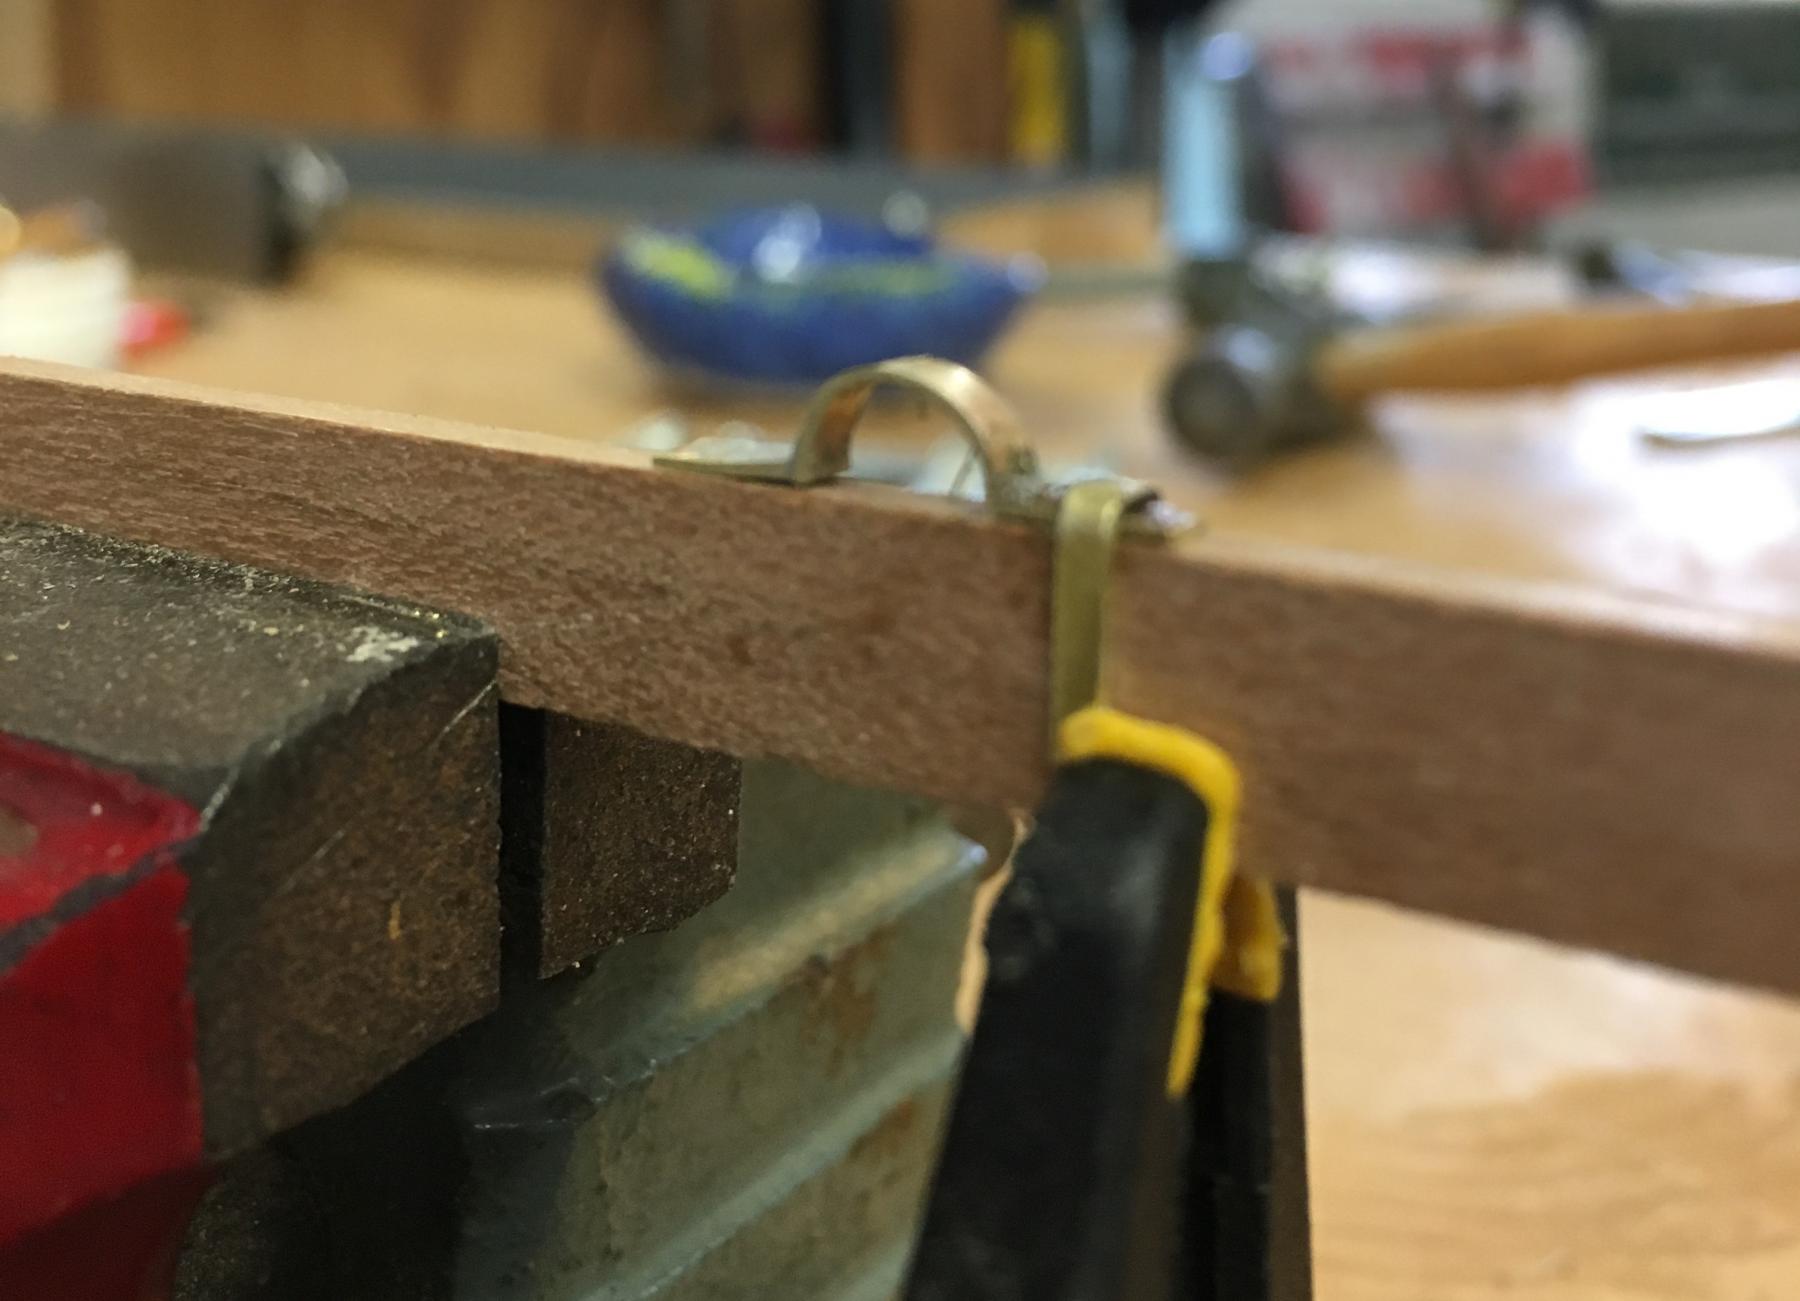
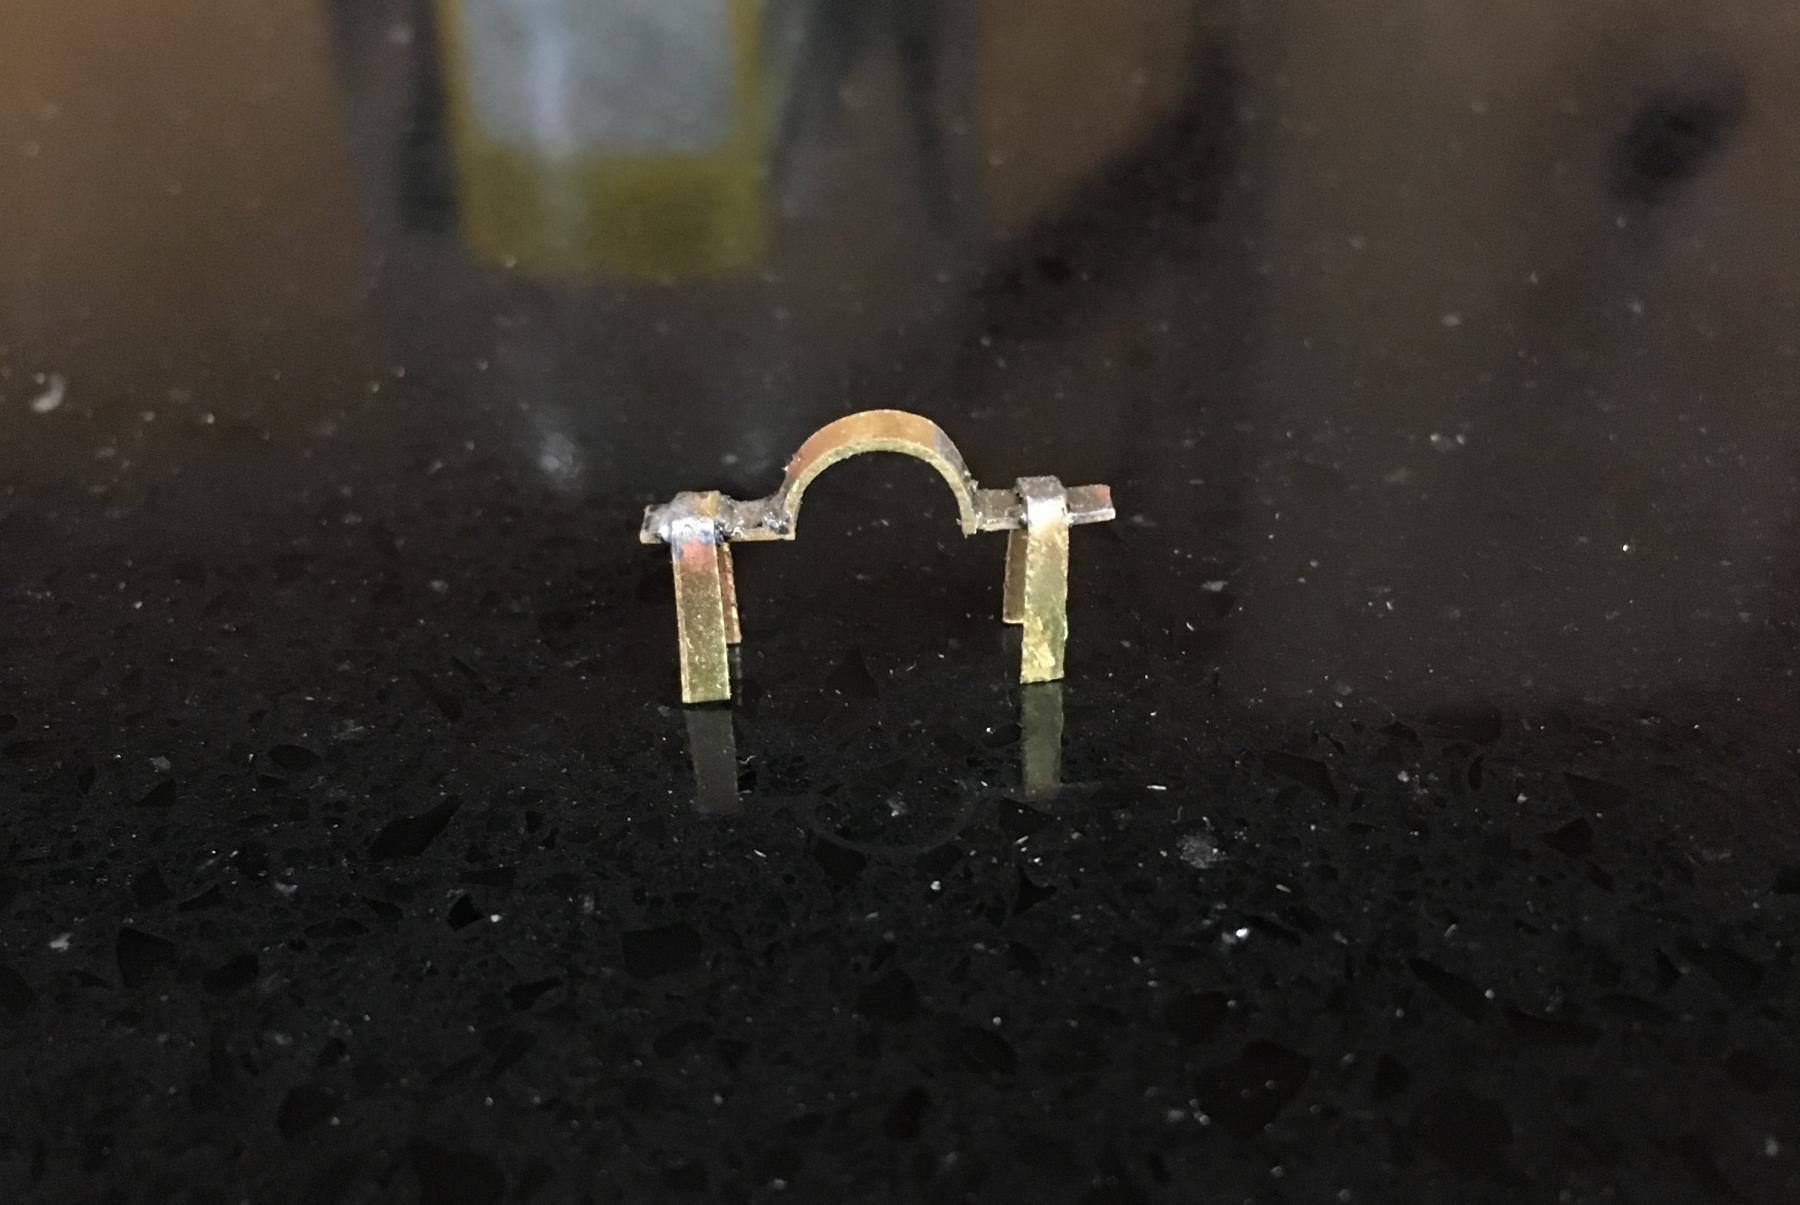
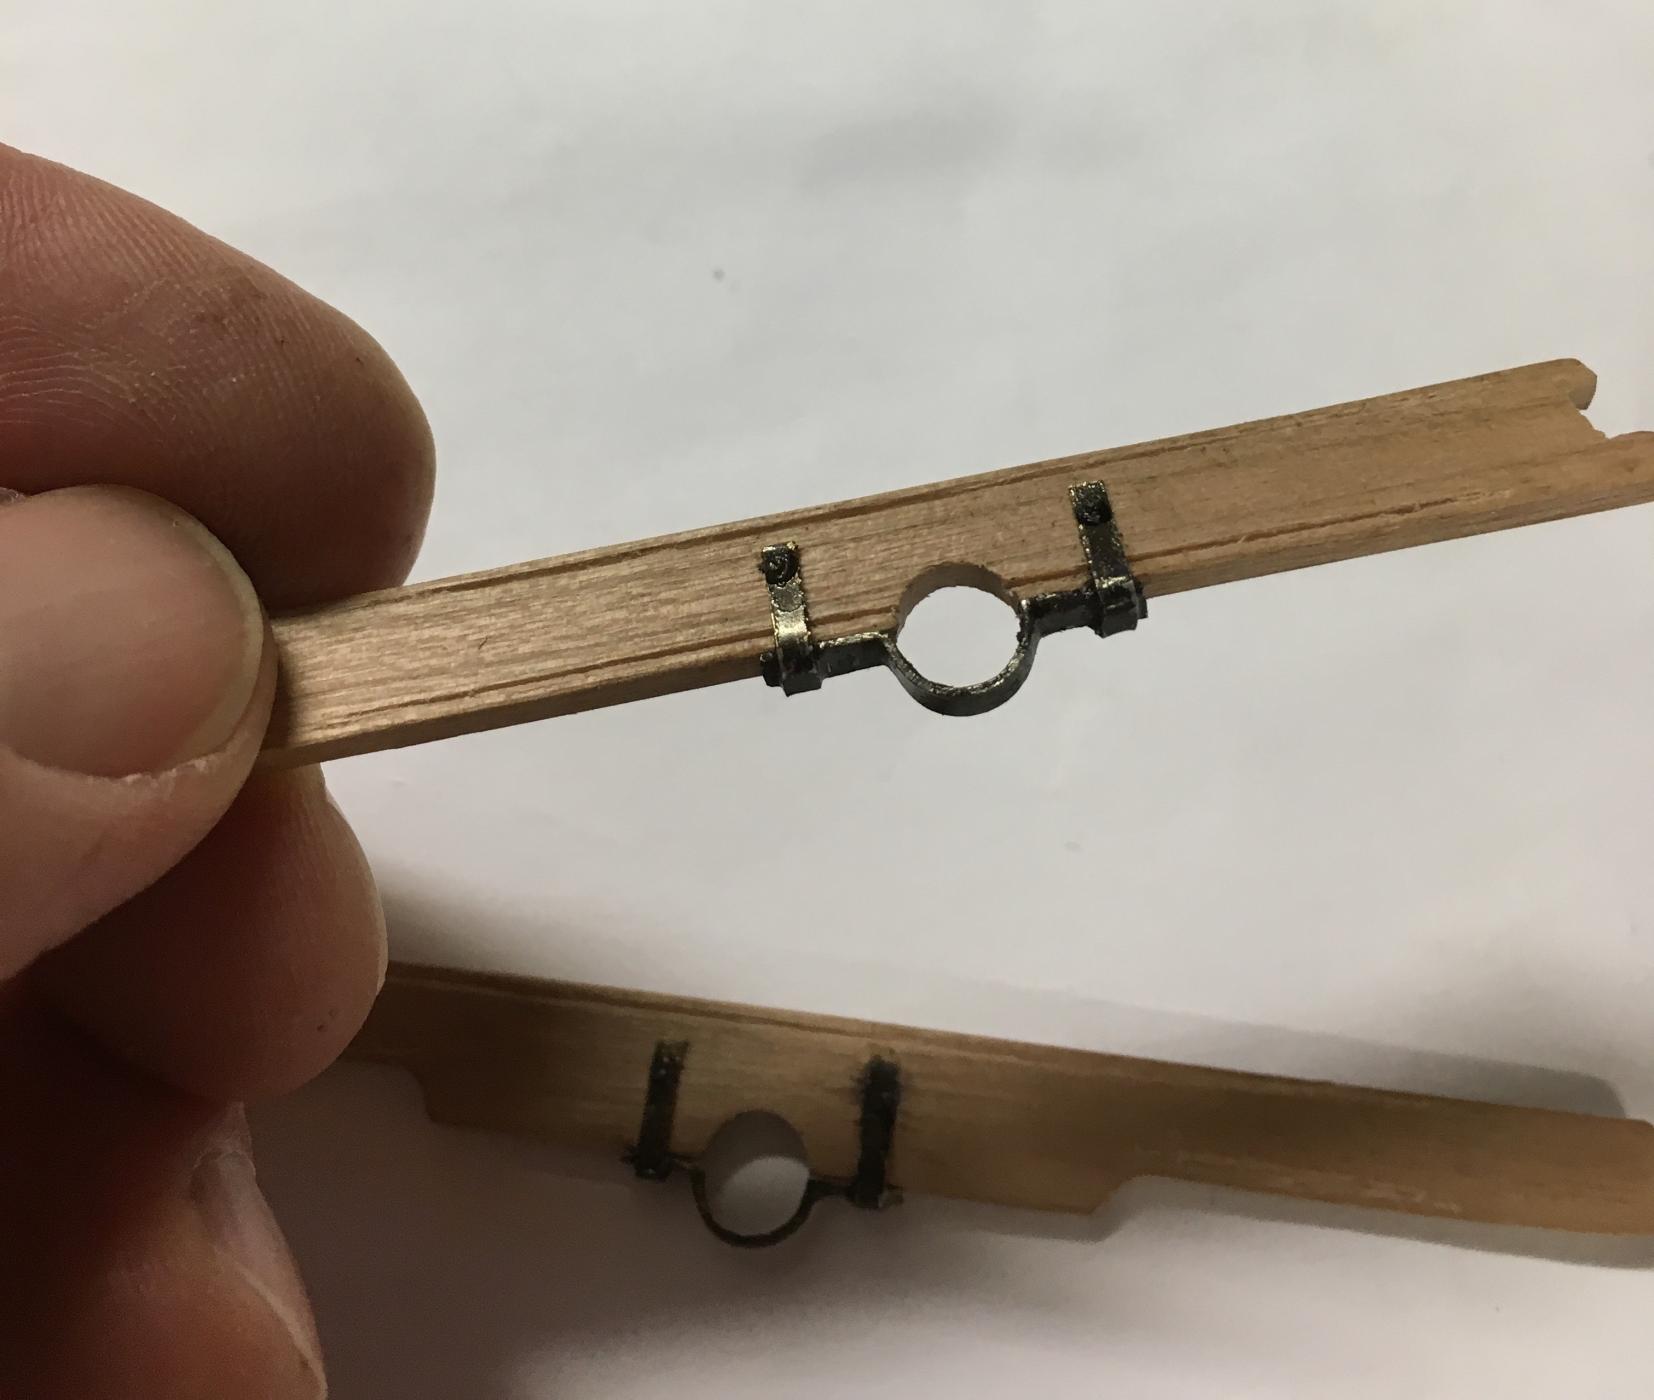
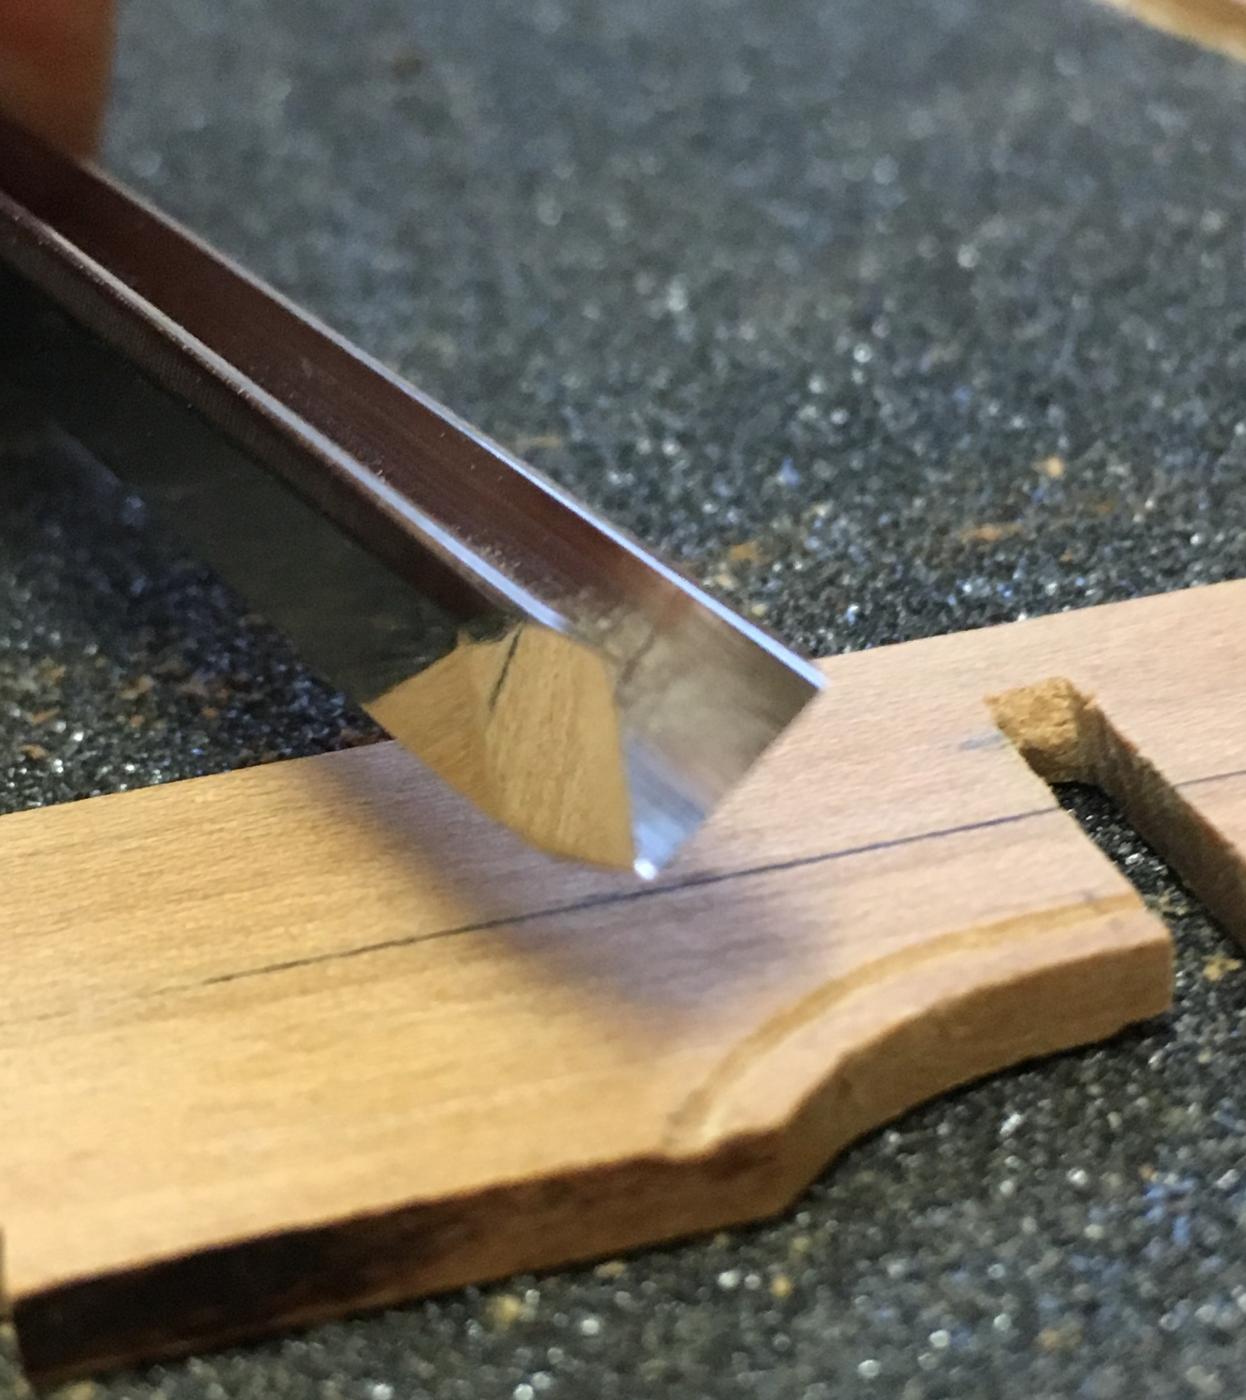
After some trial and error, the rudder is complete. Shaping and drilling little brass pieces on a large wood lathe is a little less then ideal but do able with some patients and extra material. I also purchased a few gadgets to help hold those small annoying little parts during soldering.


-
-
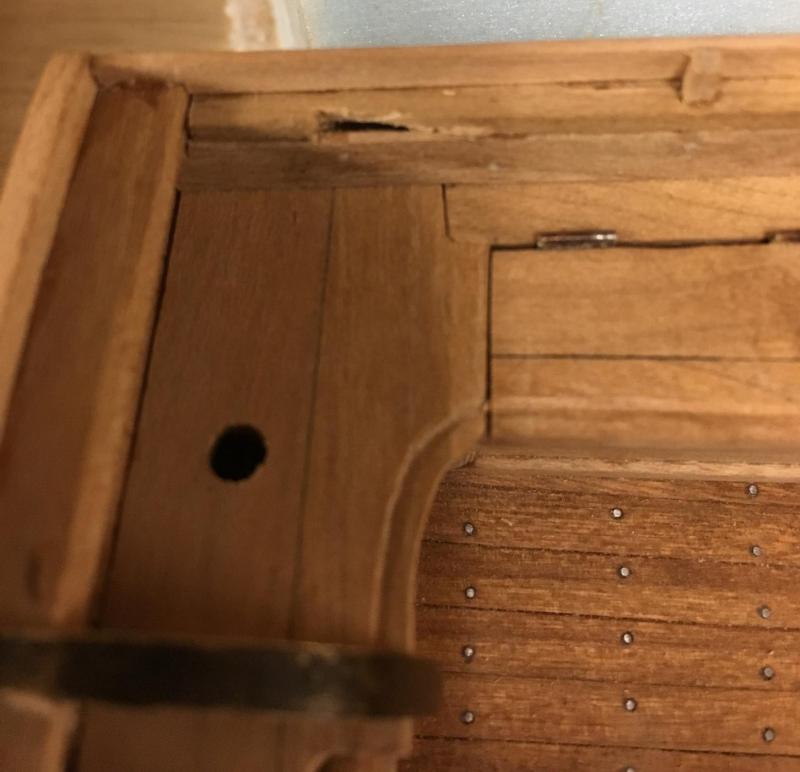
Finally finished the gunwales and wash-boards.

Once the gunwales and wash-boards were done, I relieved that I forgot all about the transom kness. Cutting them in - in place took a little patience and a slice of pizza.

- Mike Y, cog, captainbob and 12 others
-
15
-
-
-

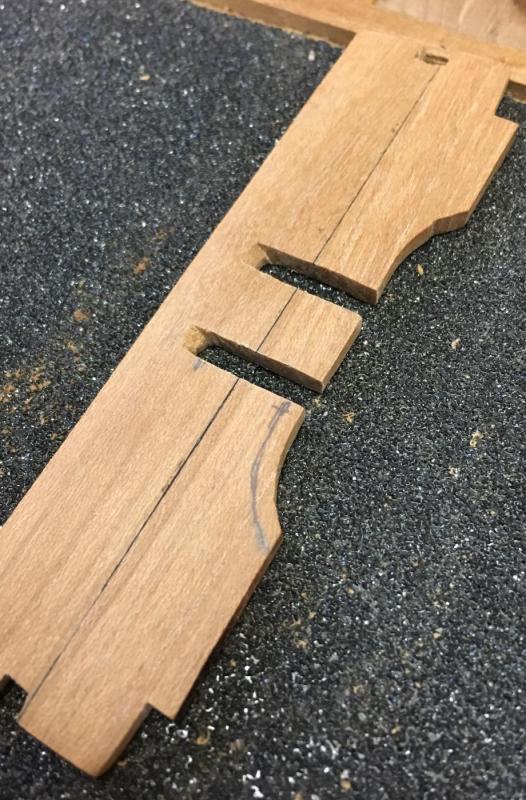
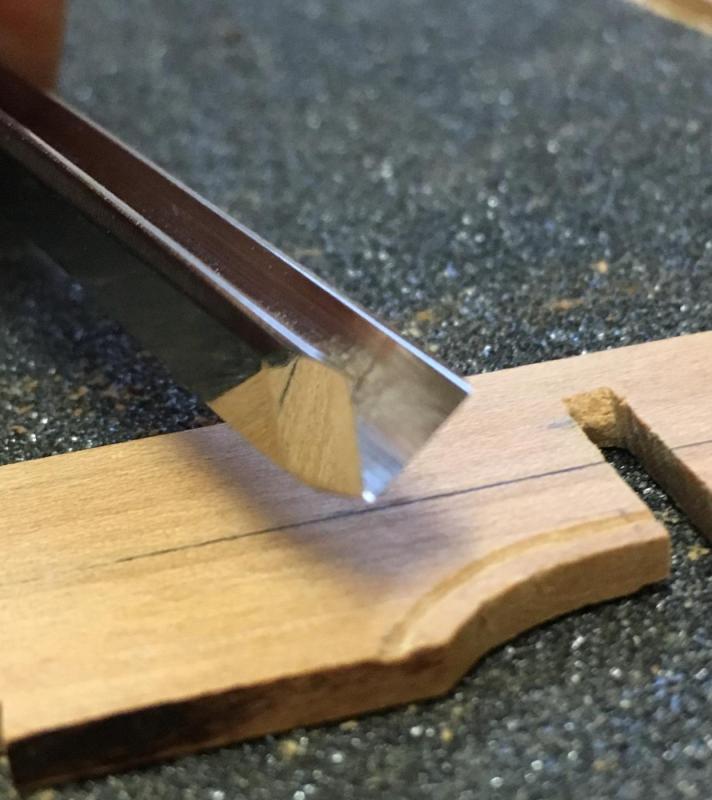

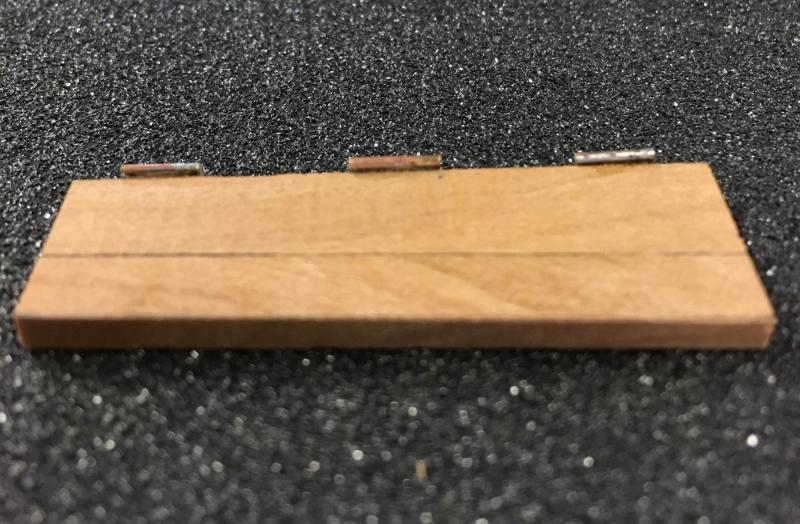
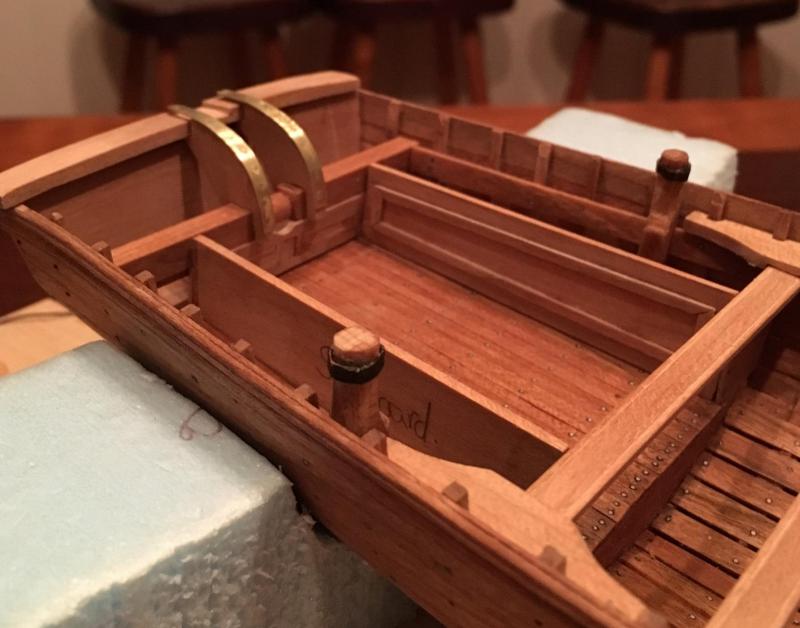
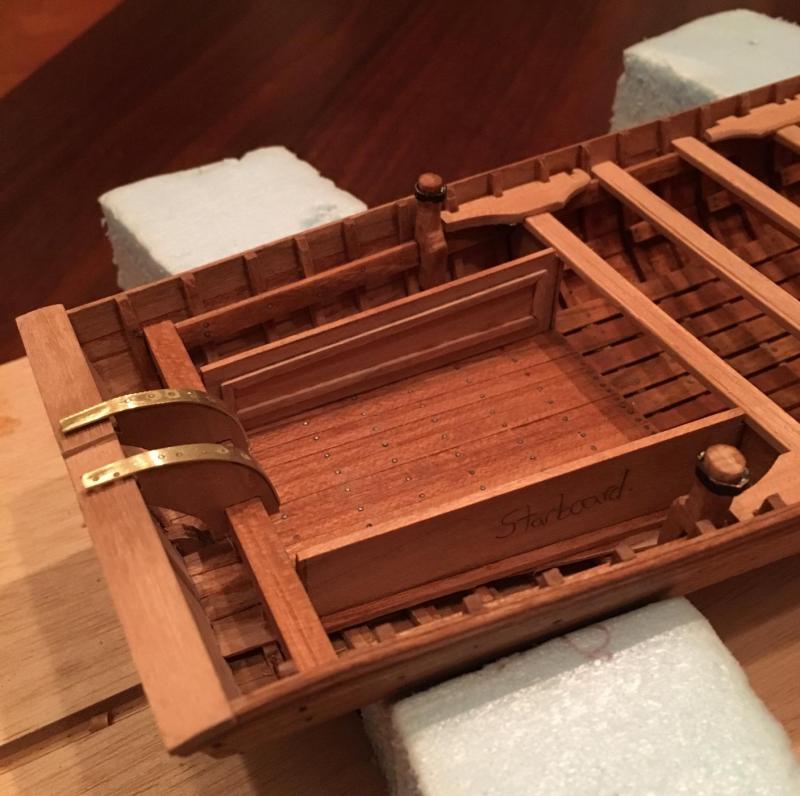
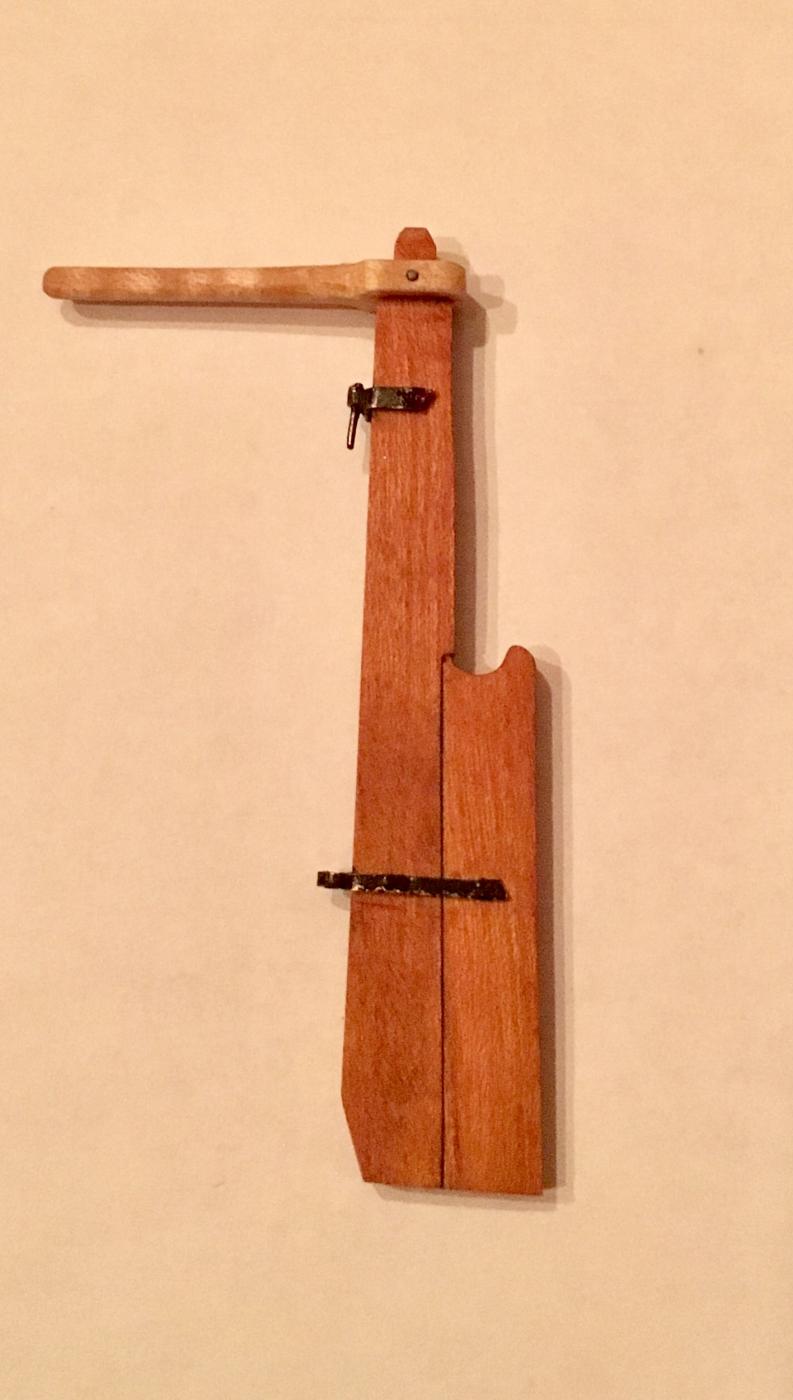
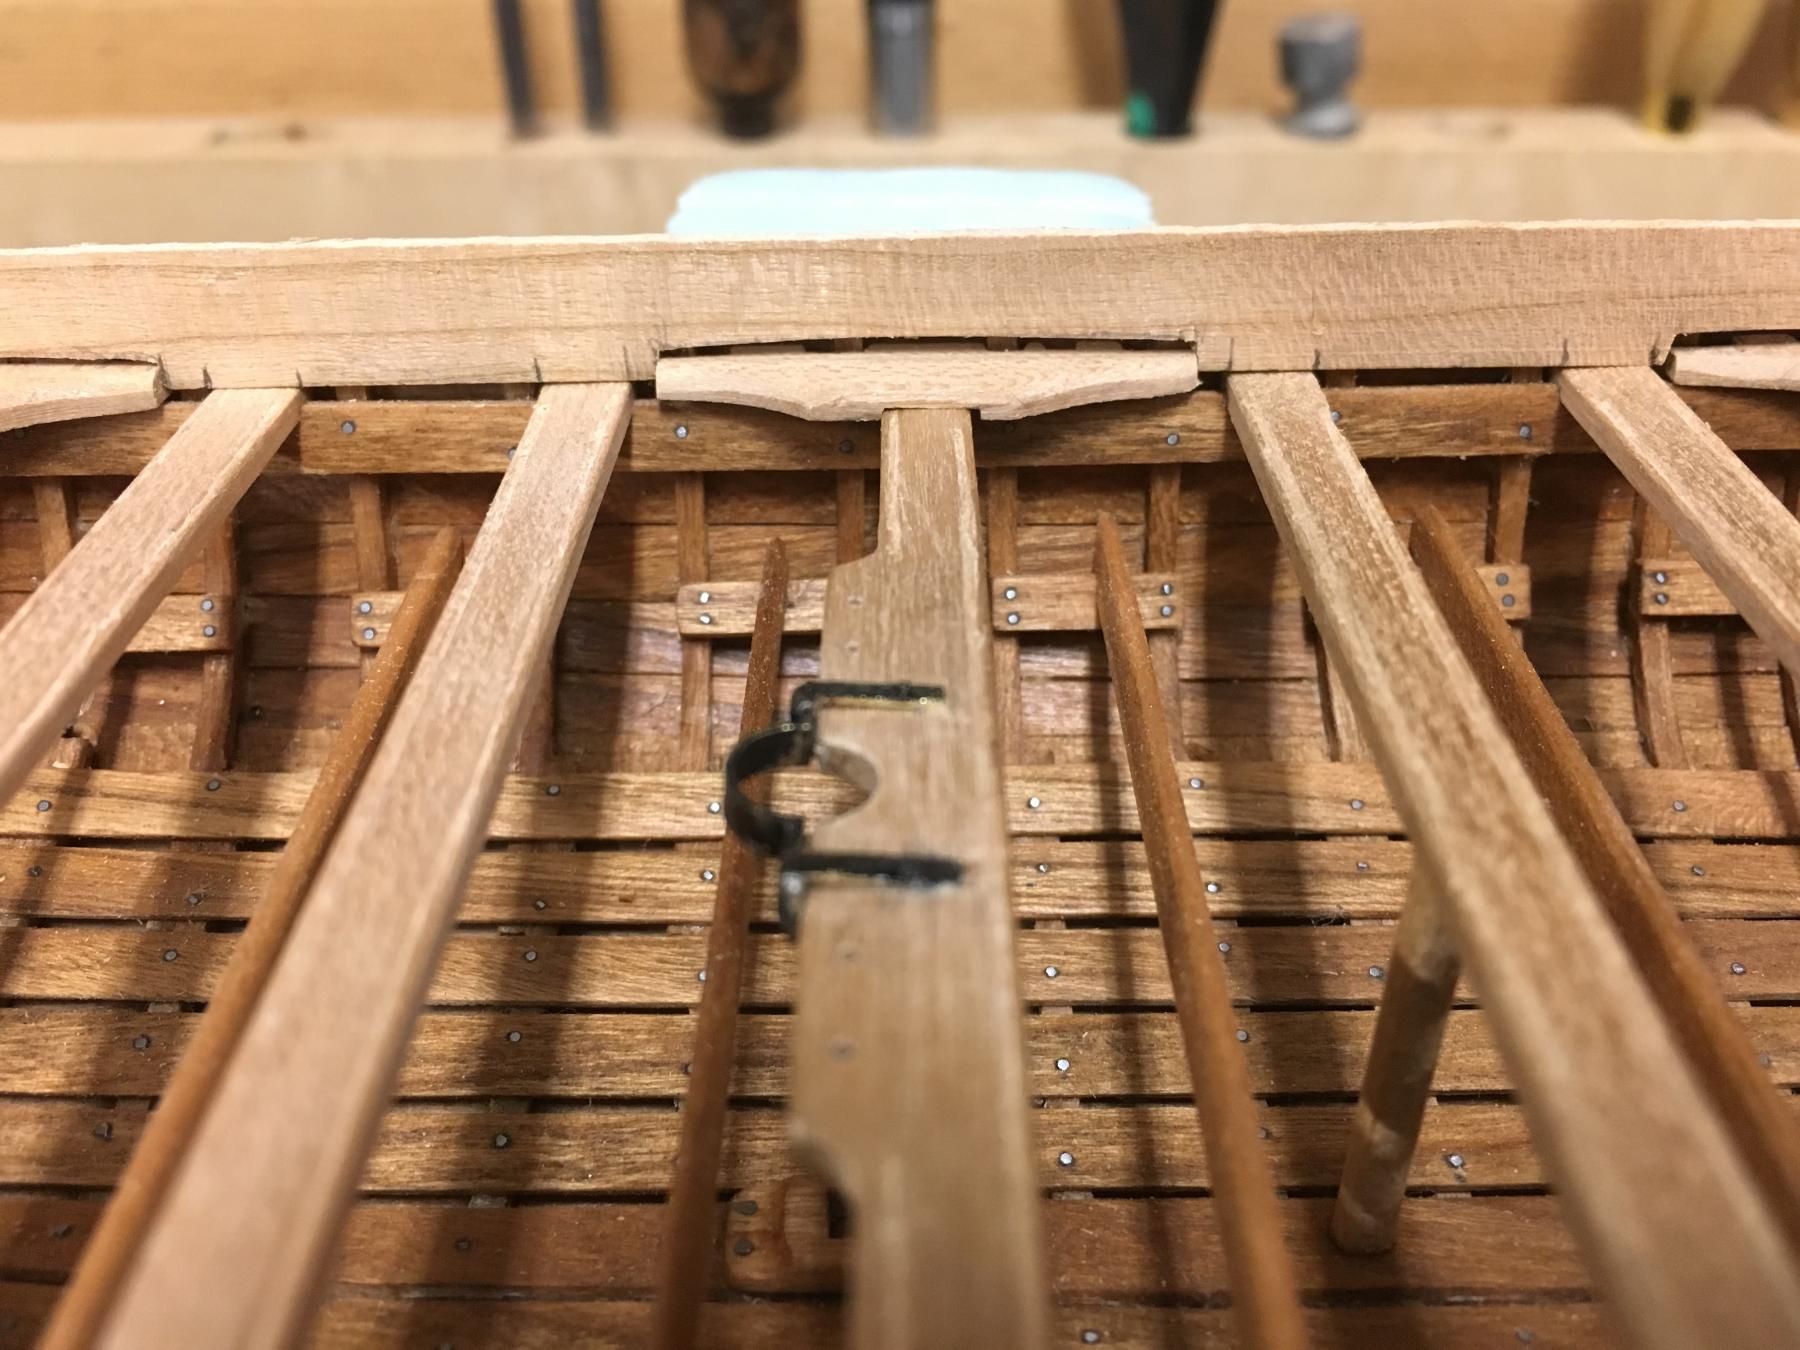
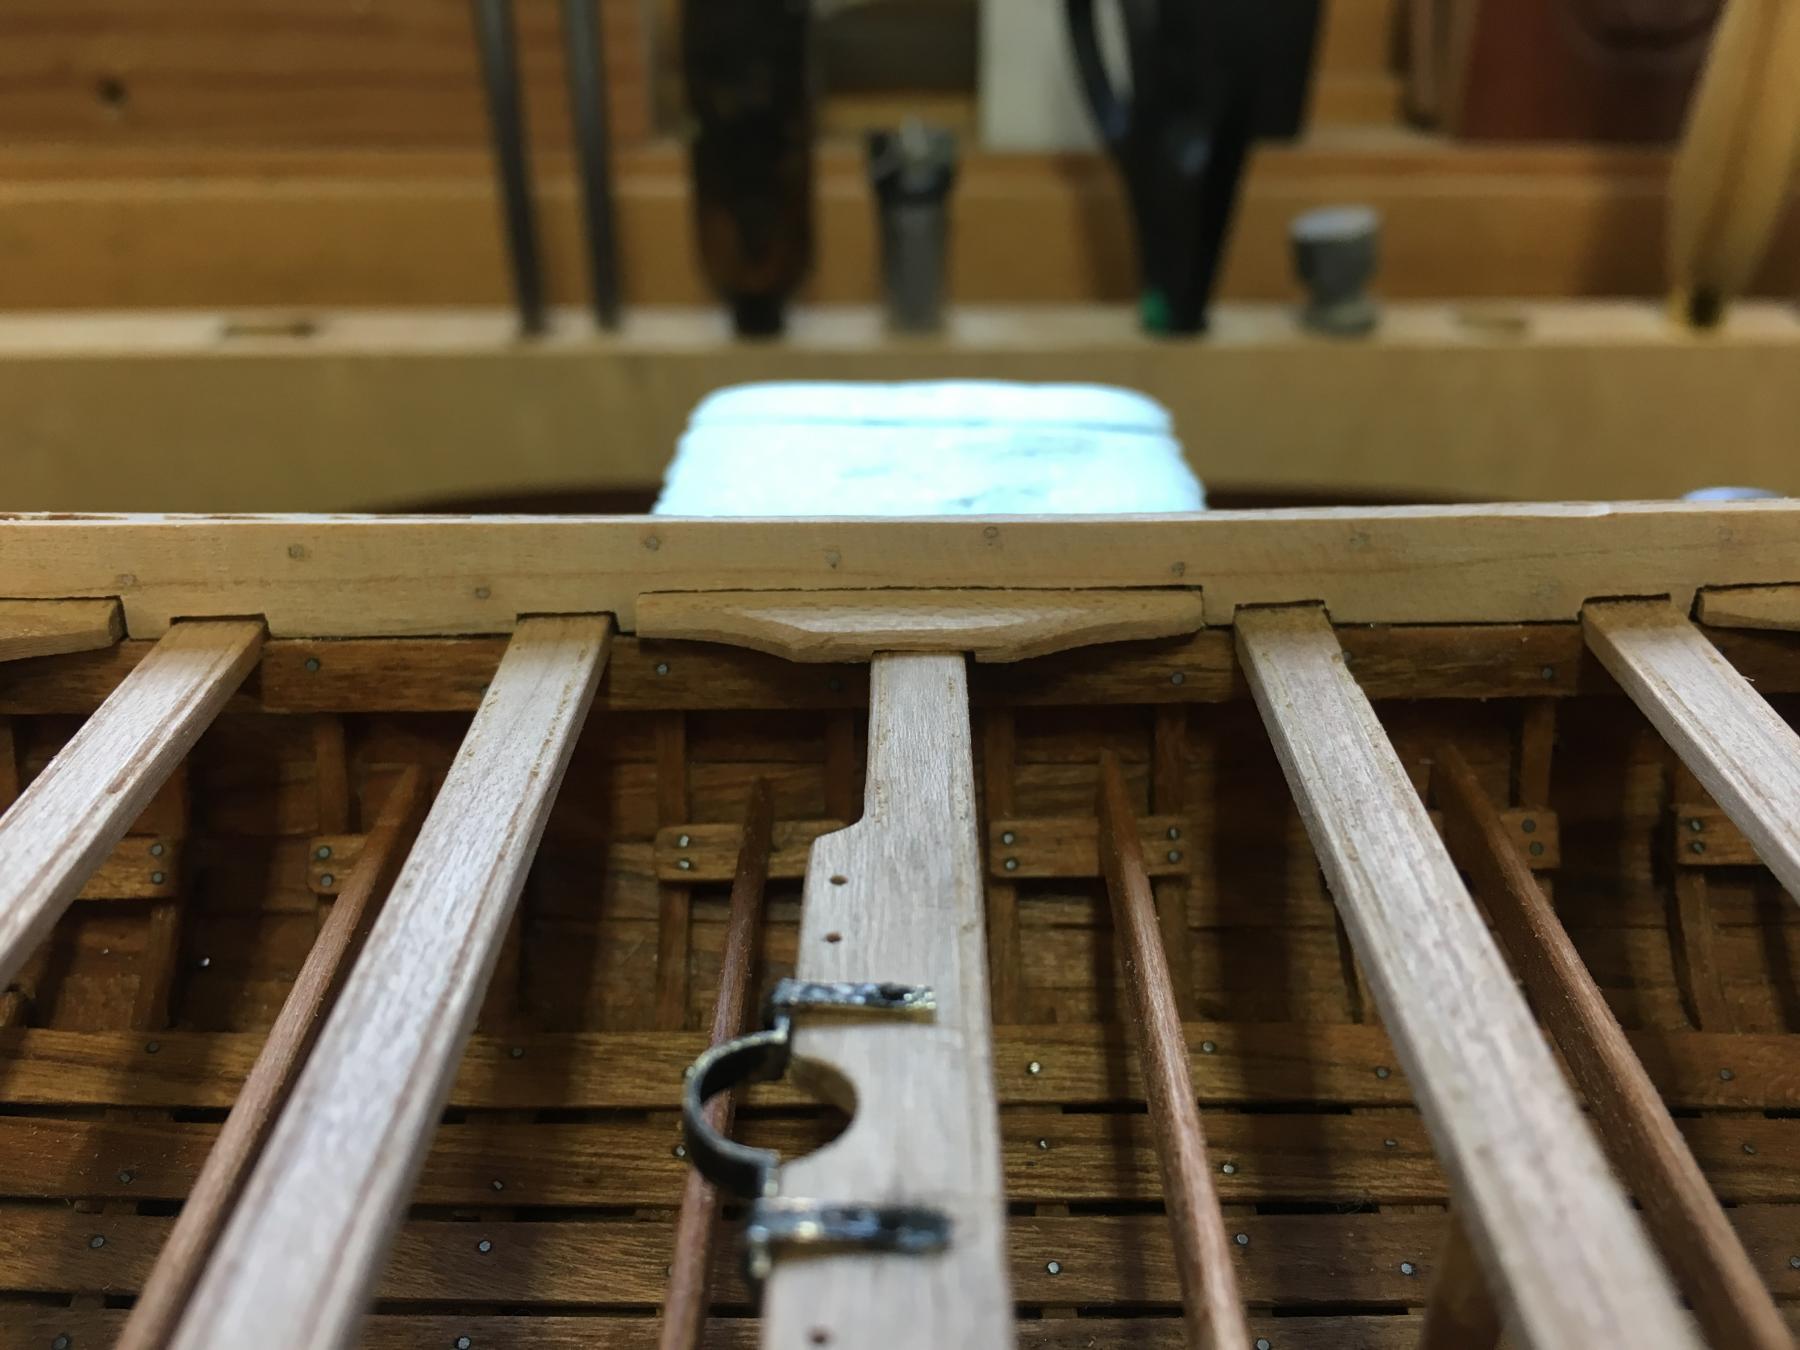
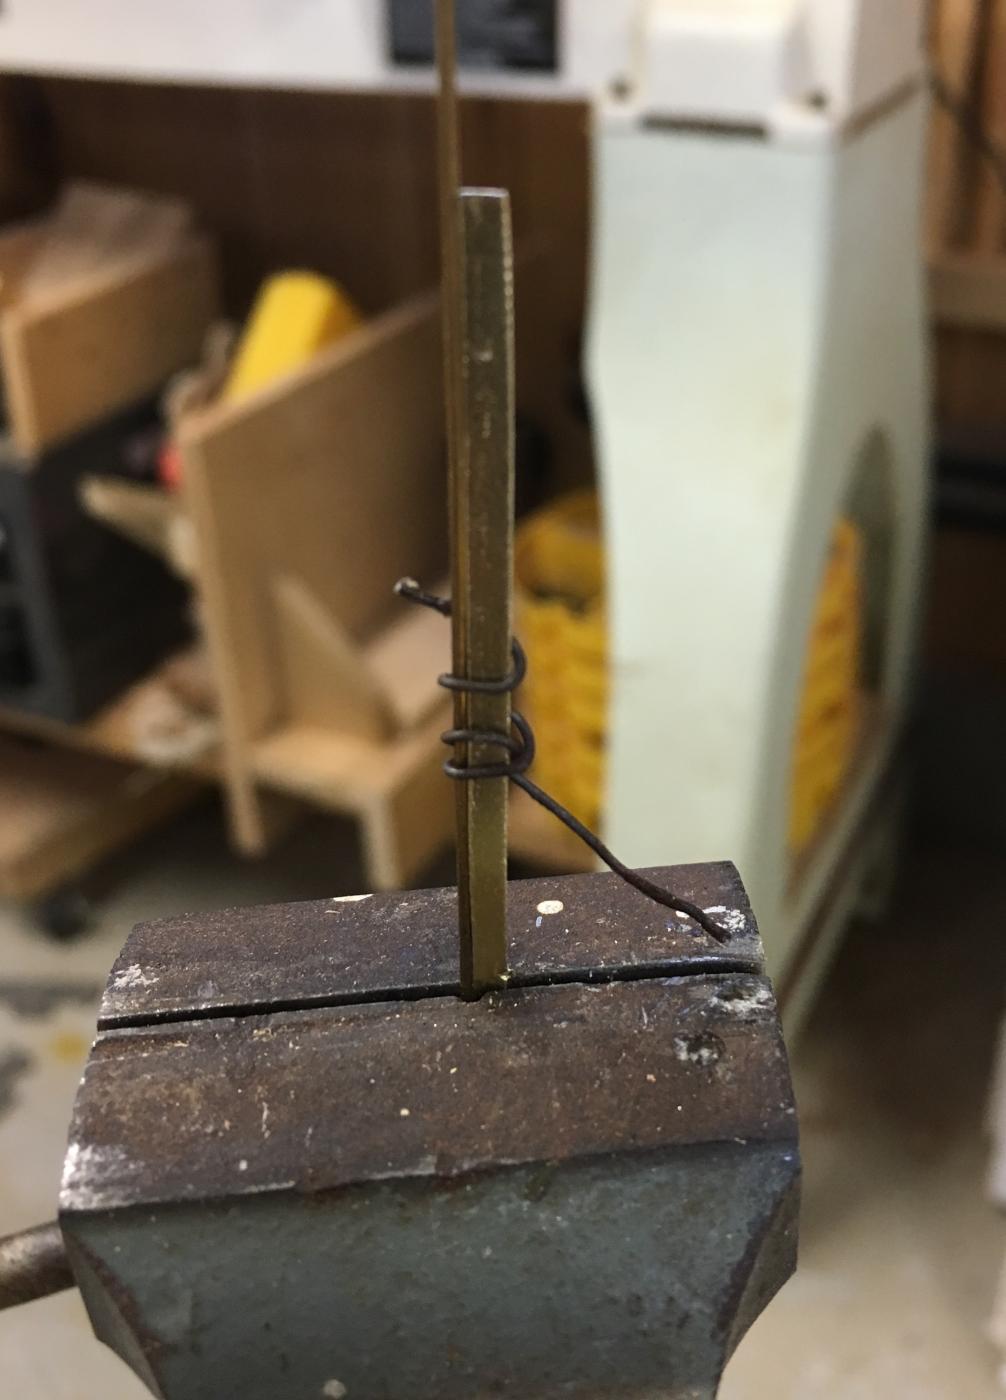
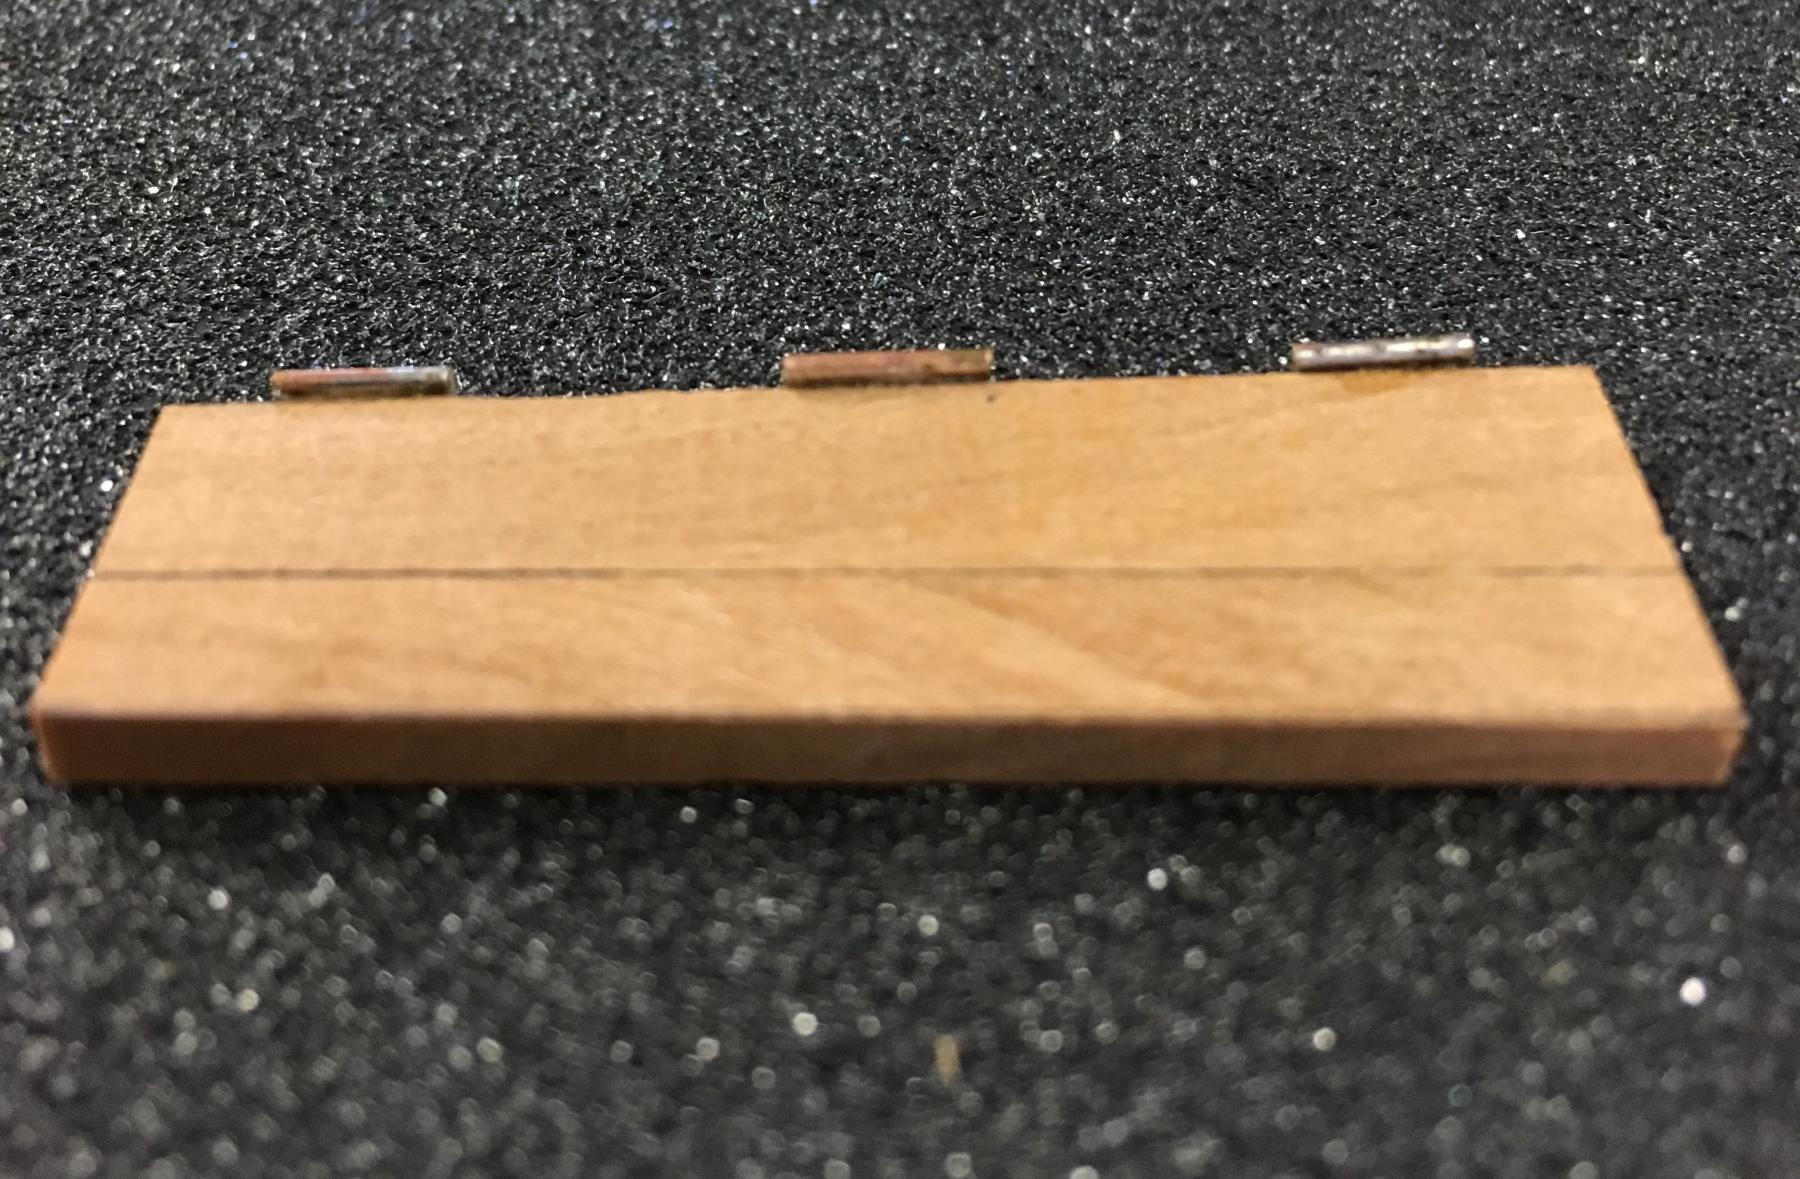
This isn't the best picture, but it shows two pieces of brass wired together to create the non-operational hinges.

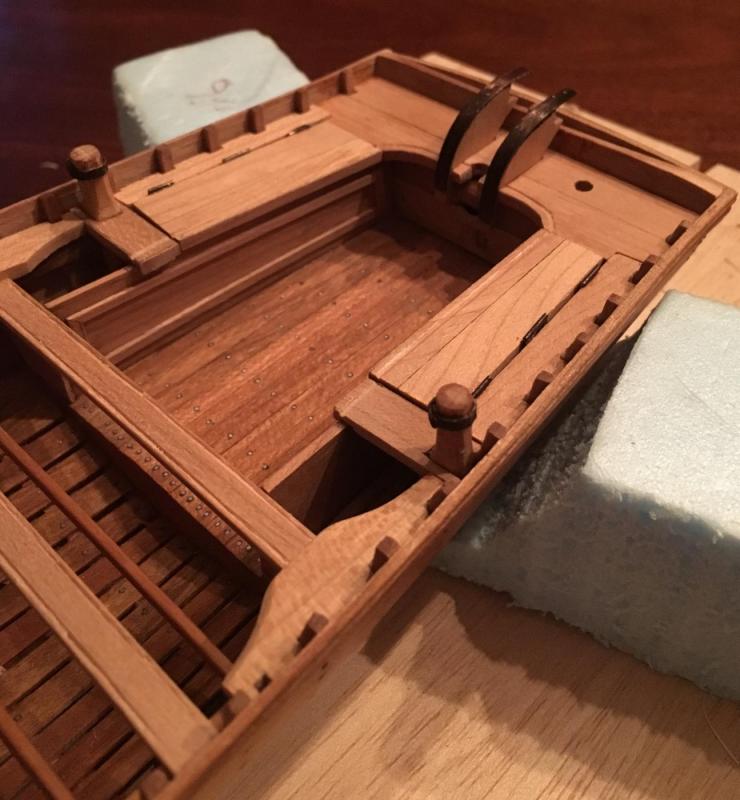

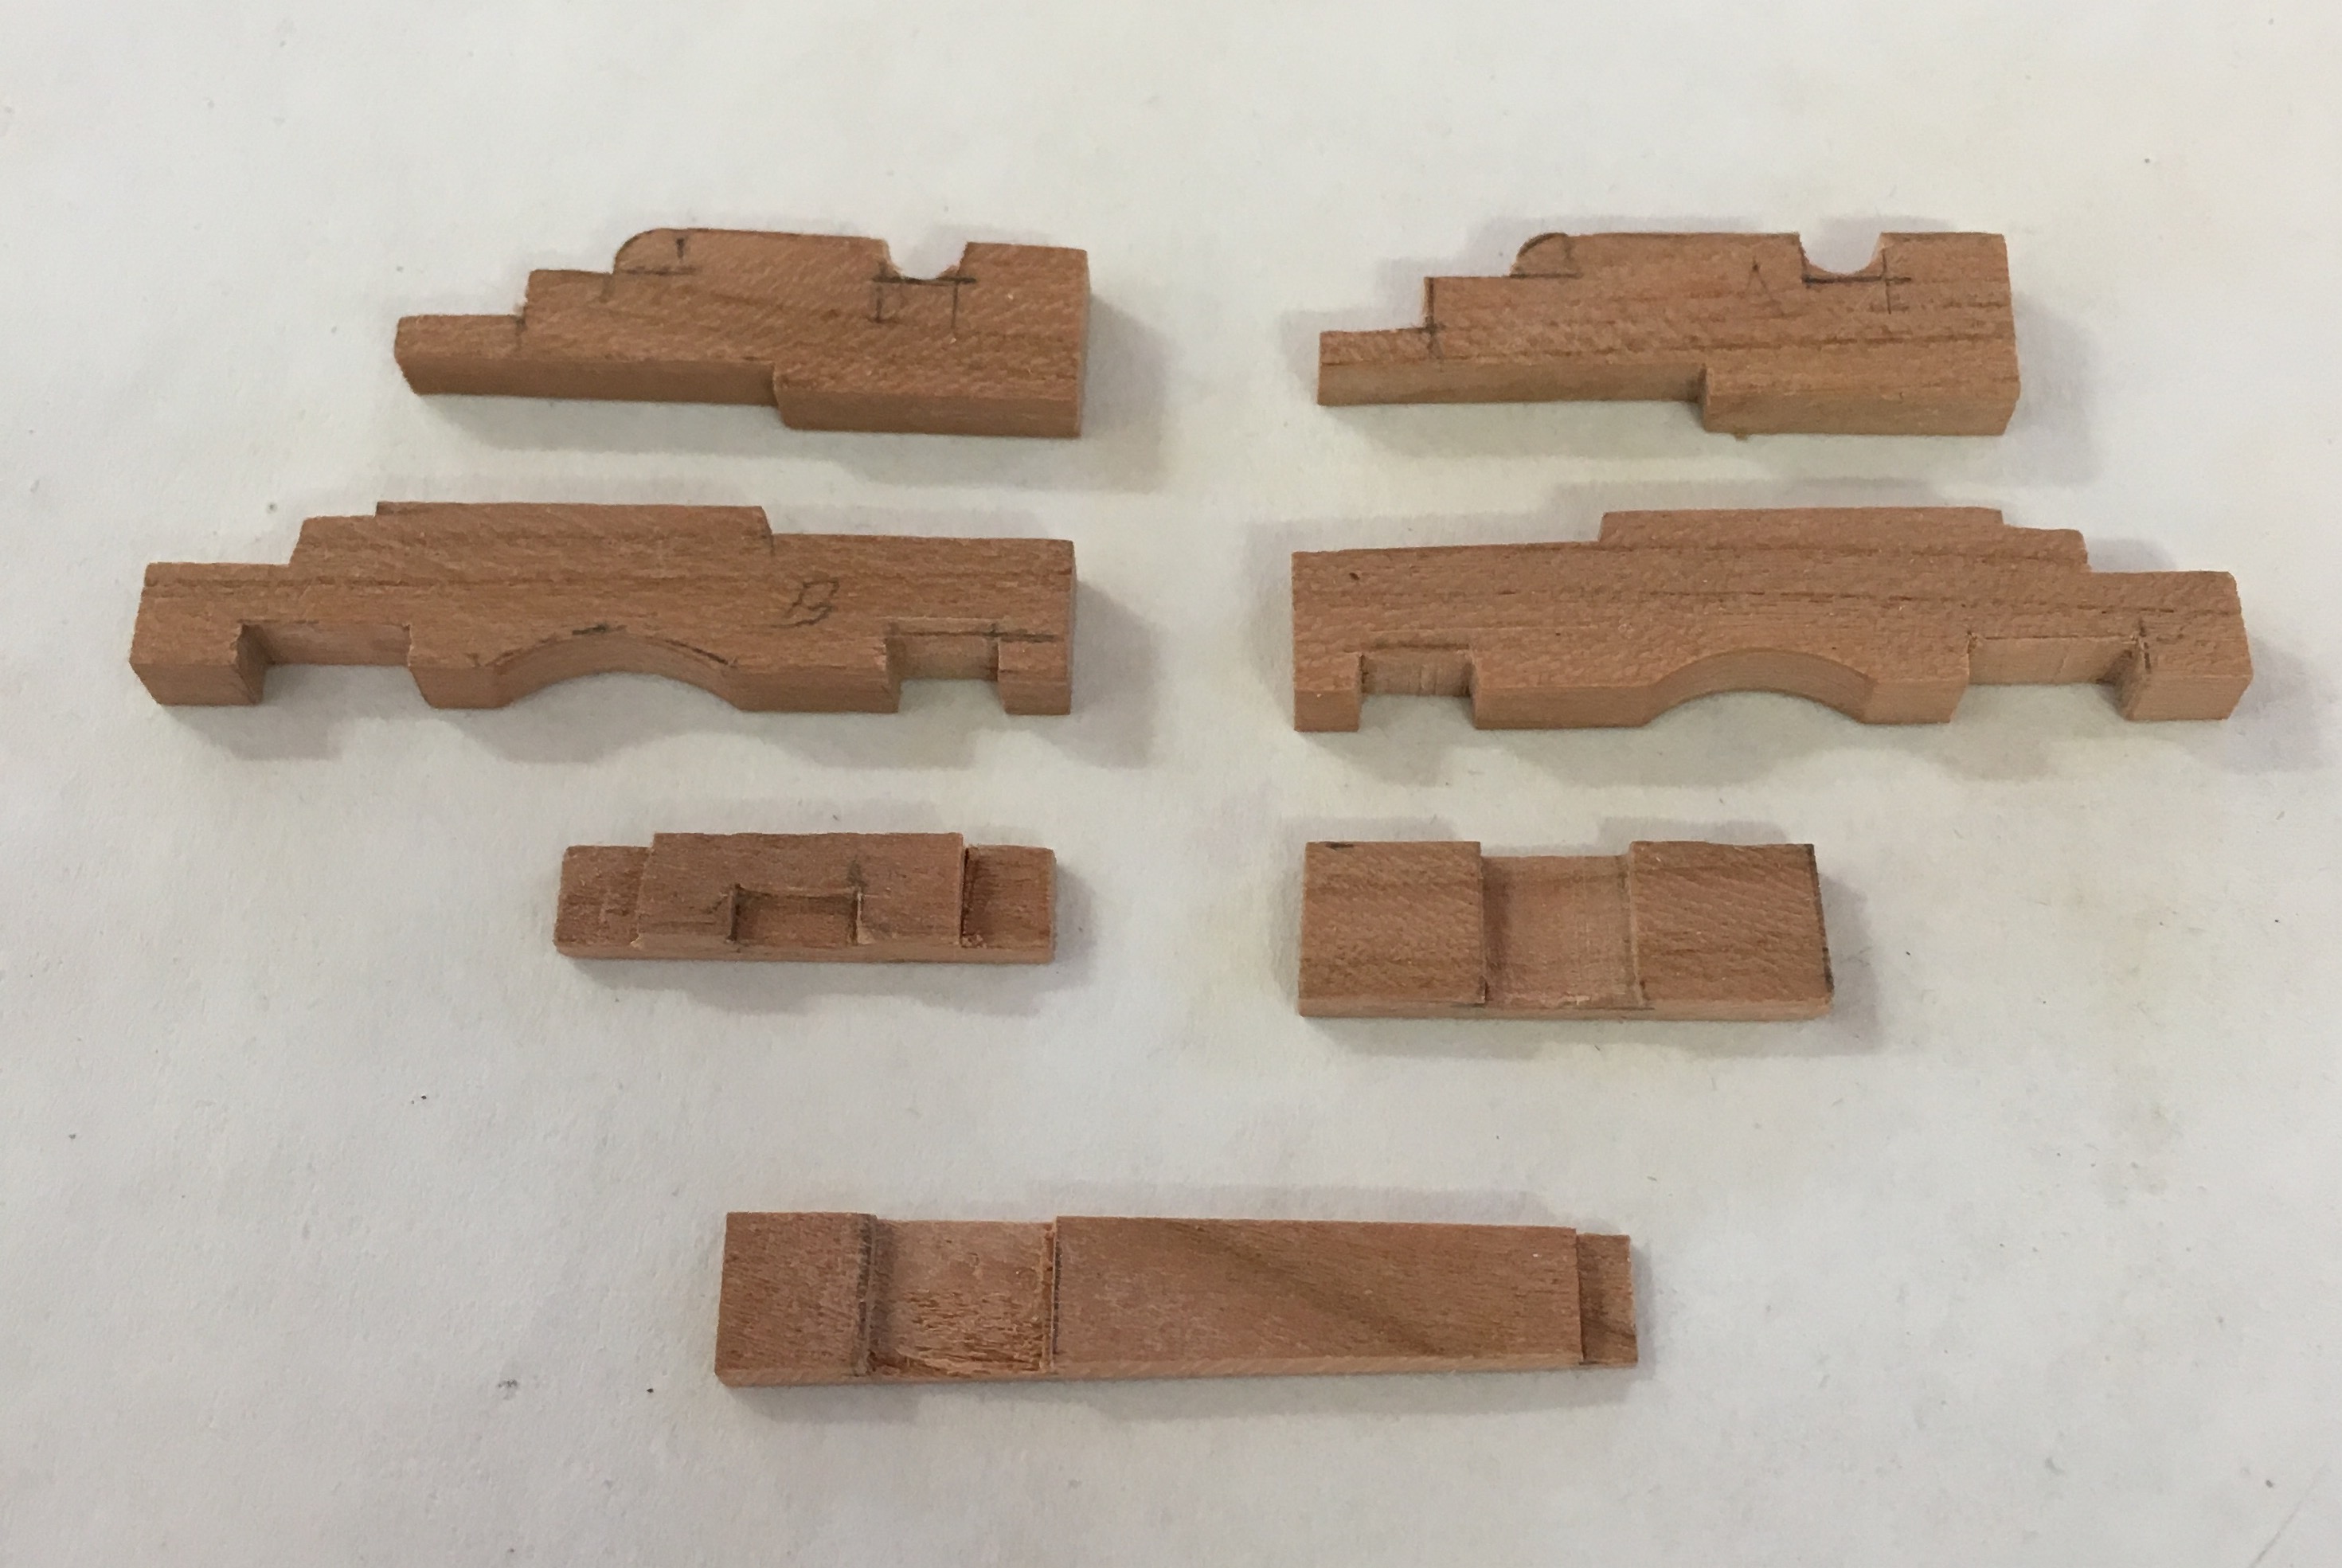
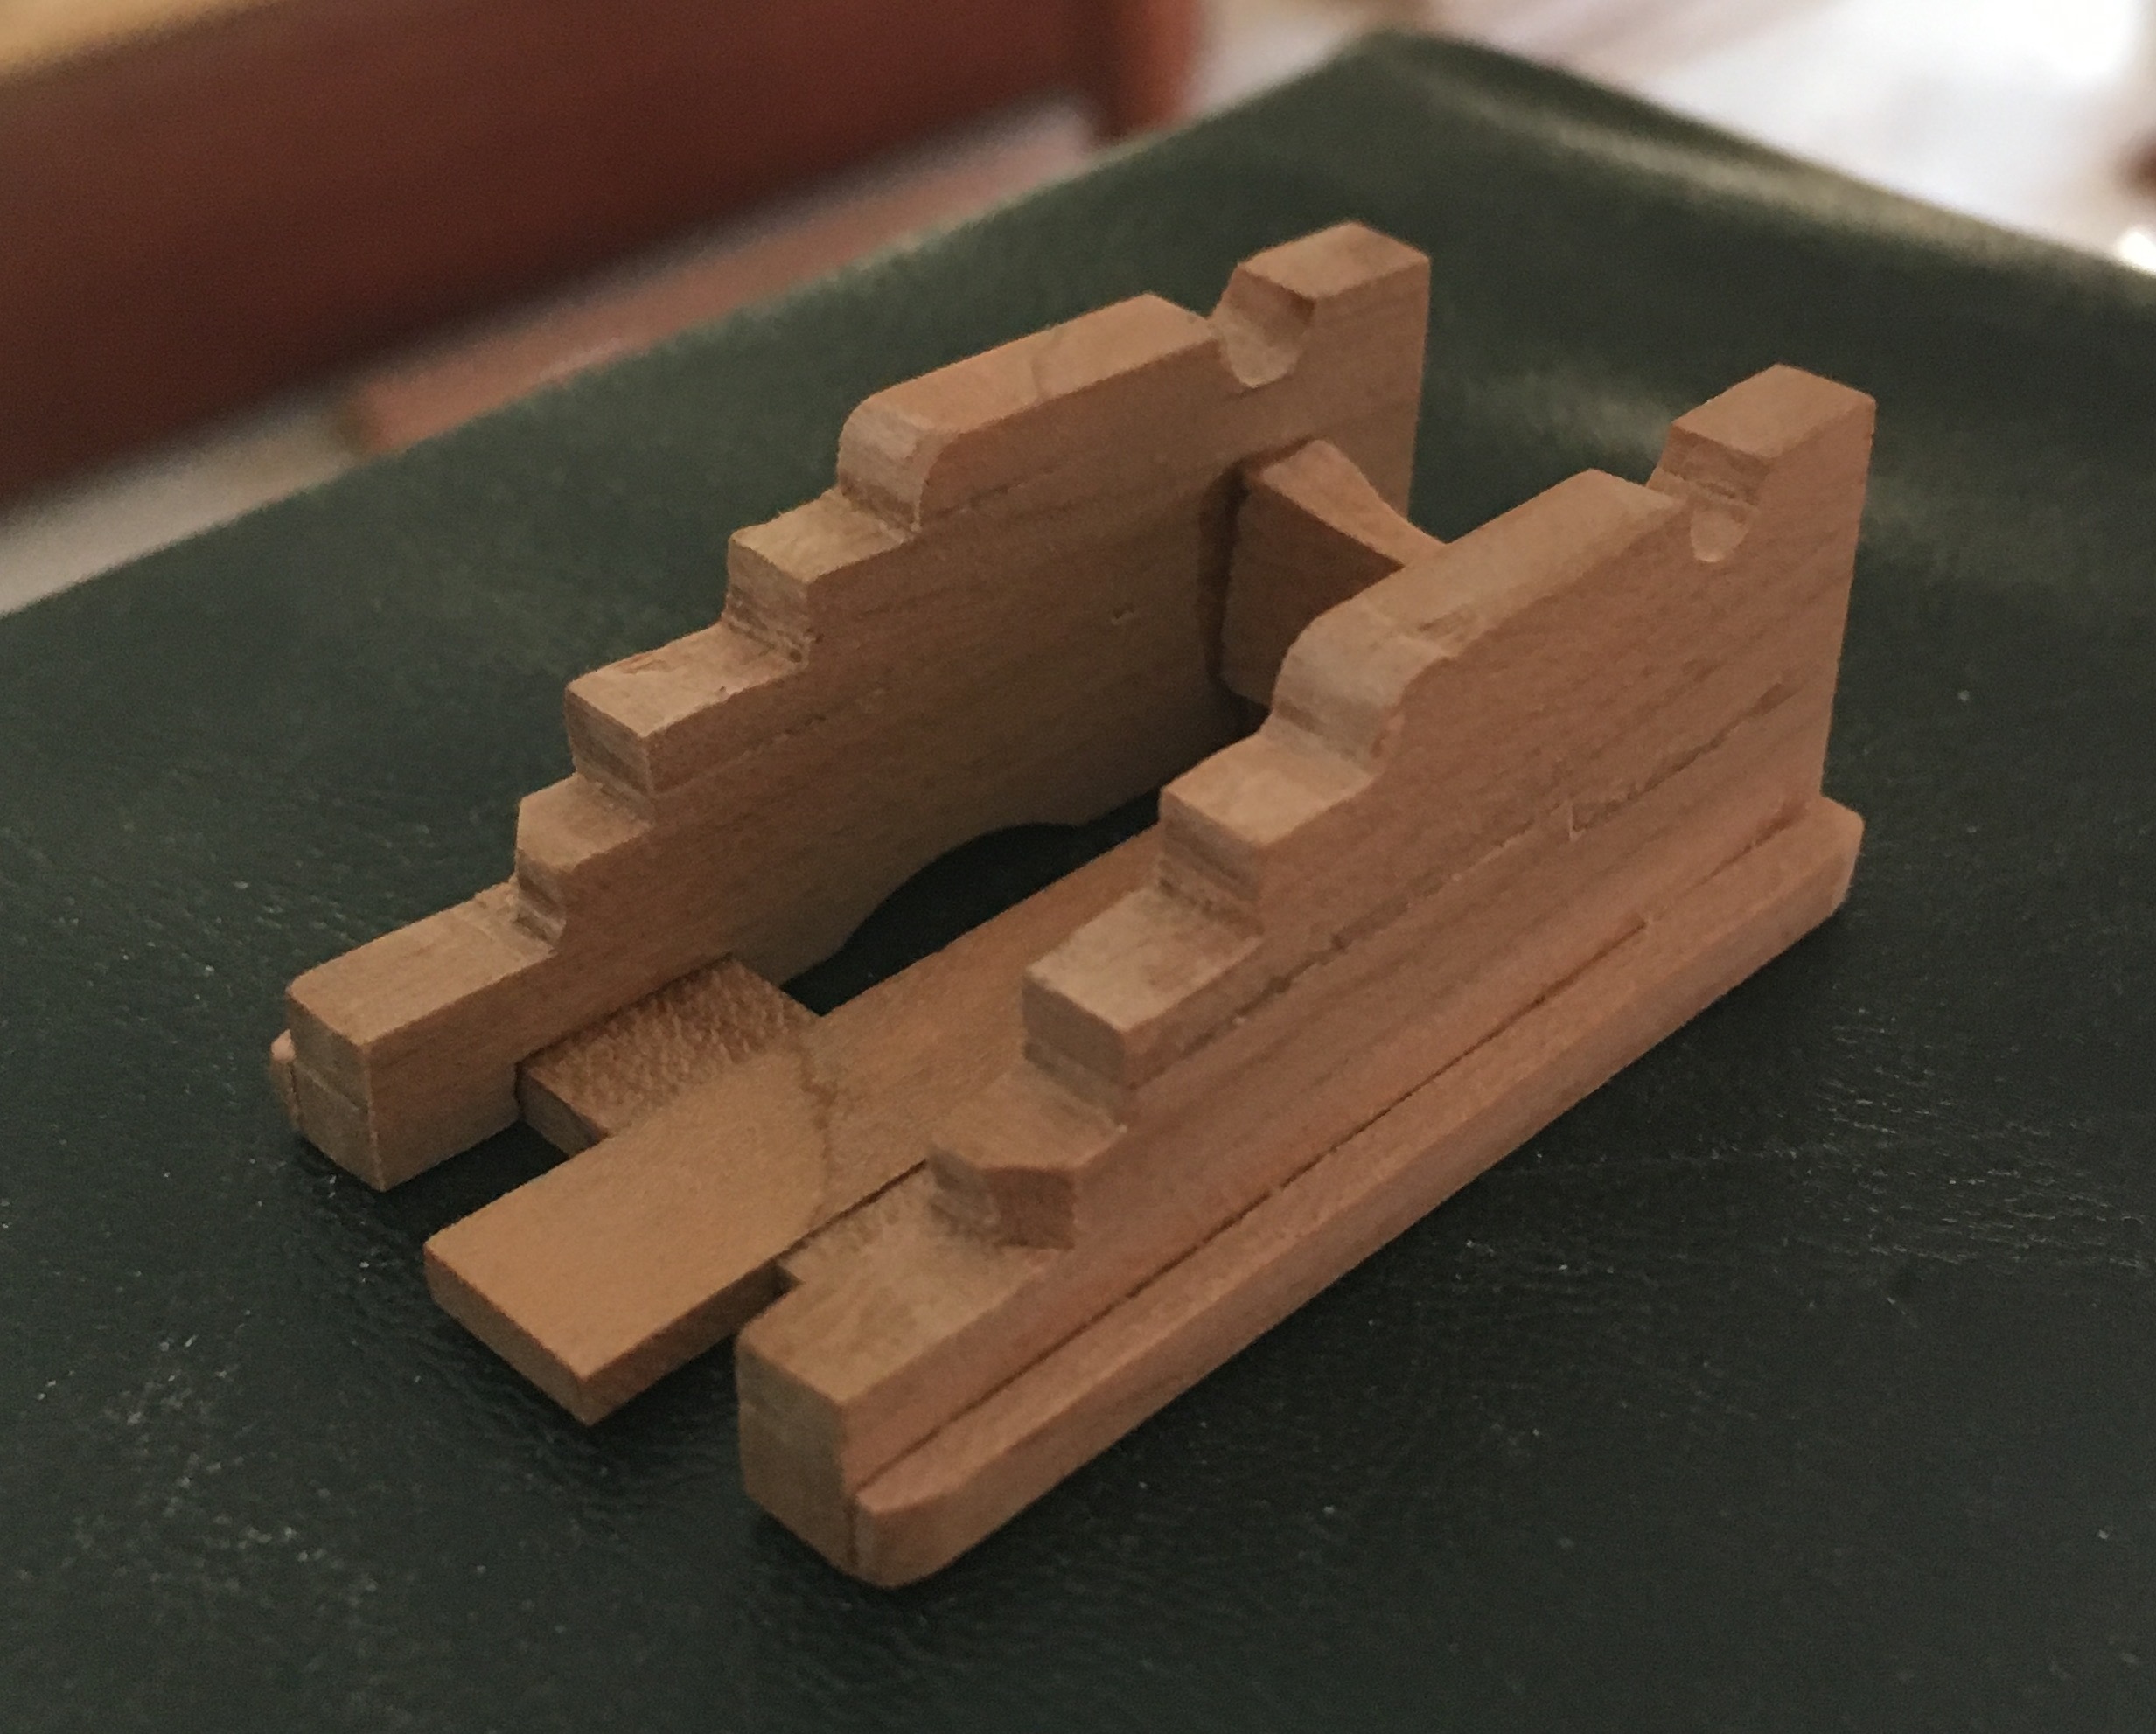
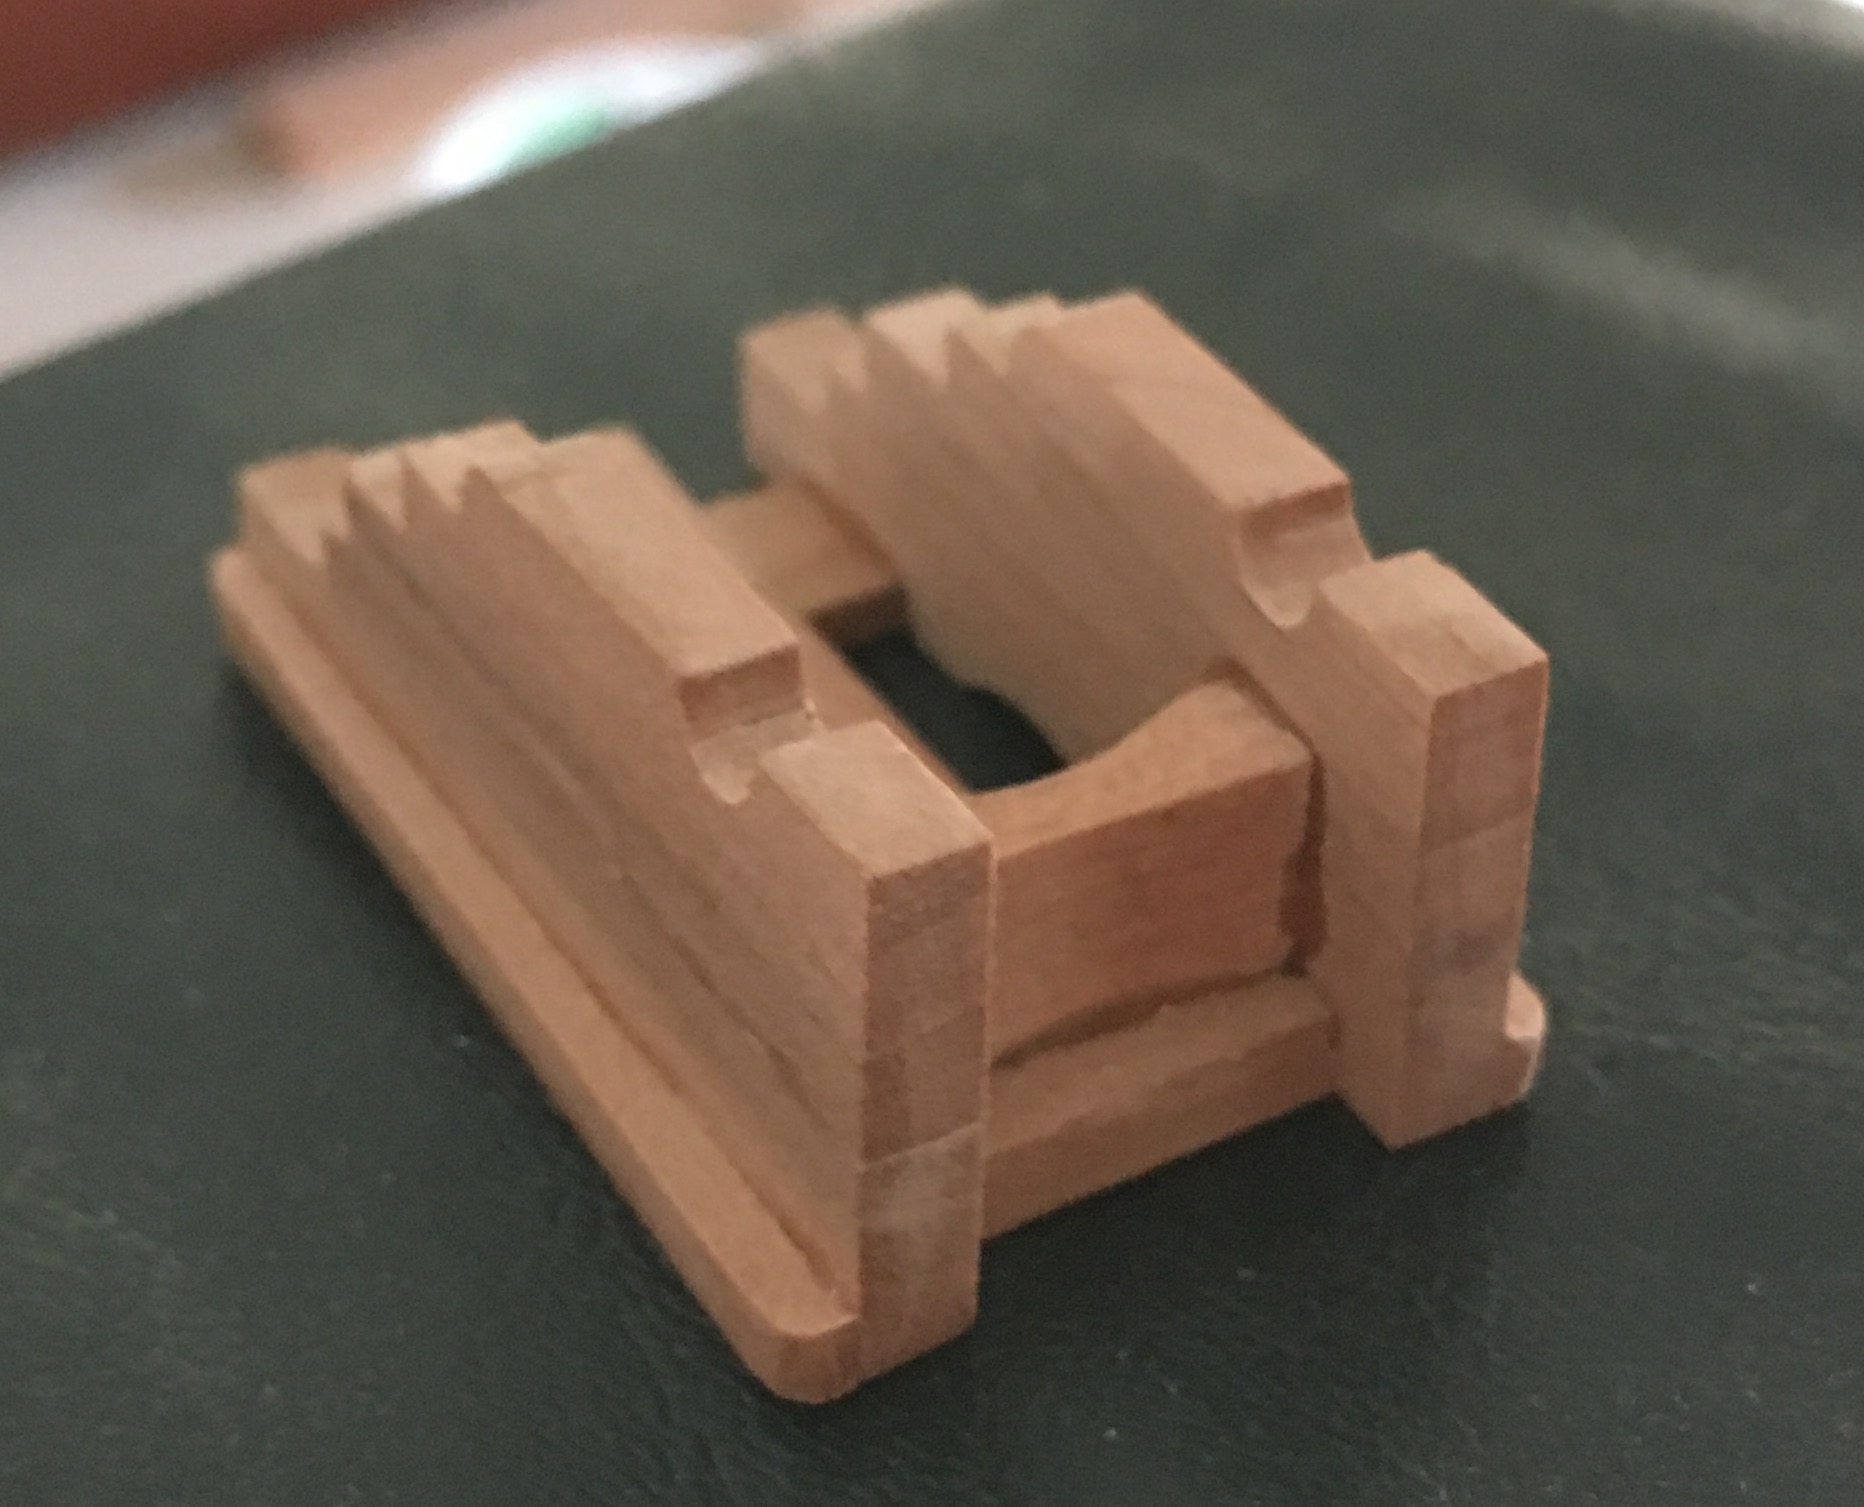
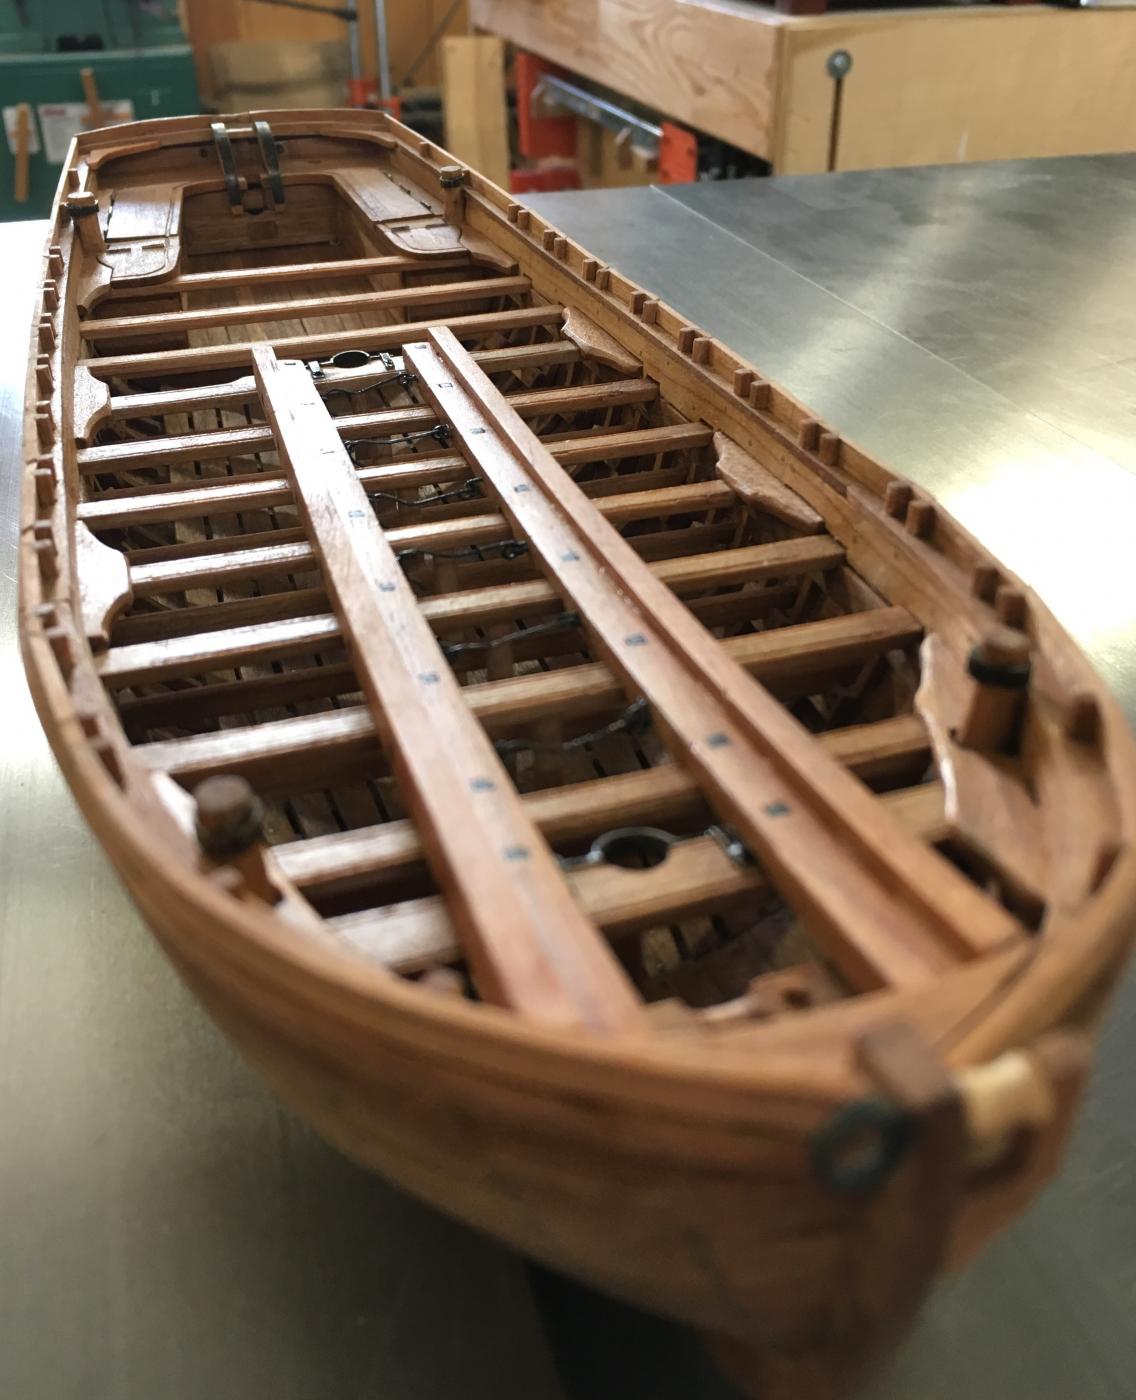
Making the supports that go under the Thwarts.
- CaptainSteve, druxey, Erik W and 12 others
-
15
-
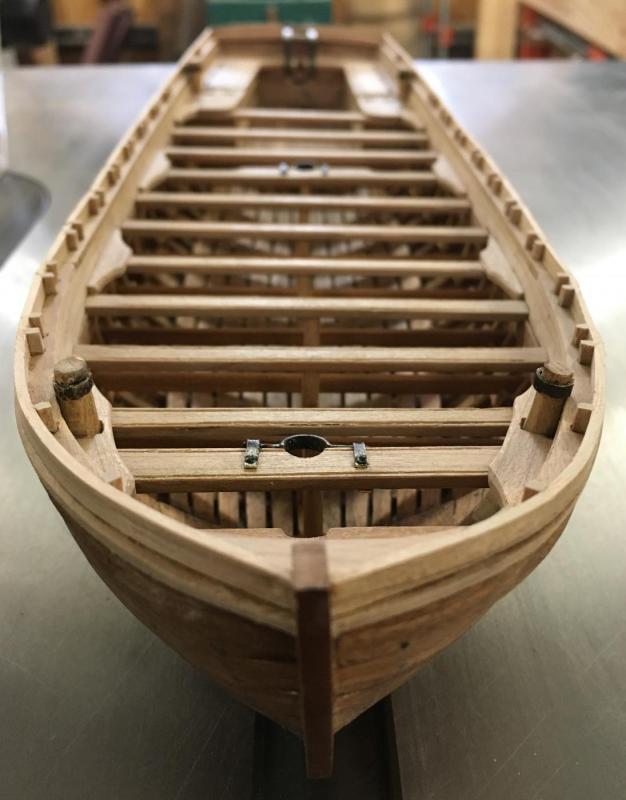
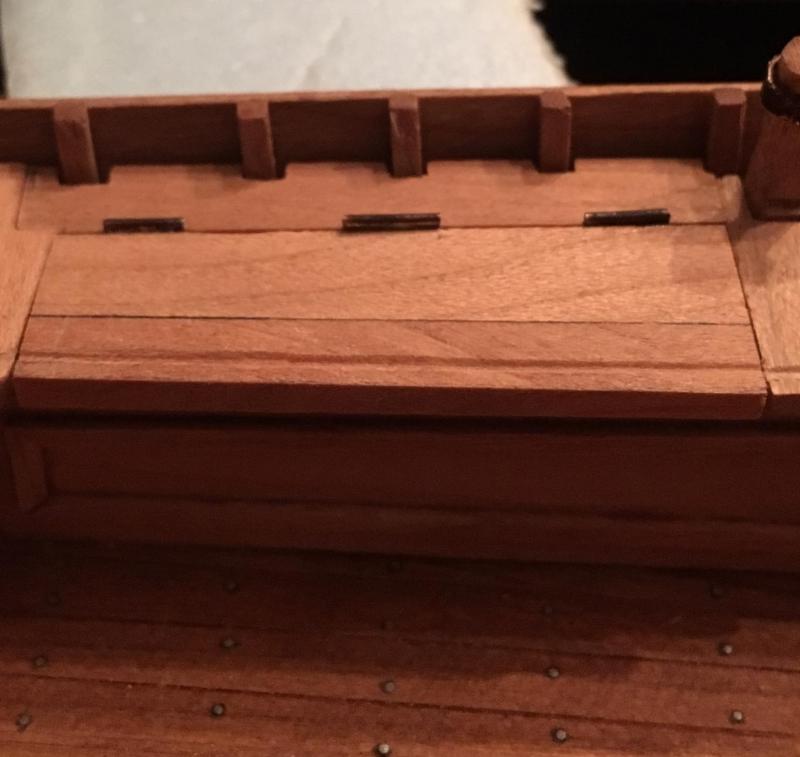
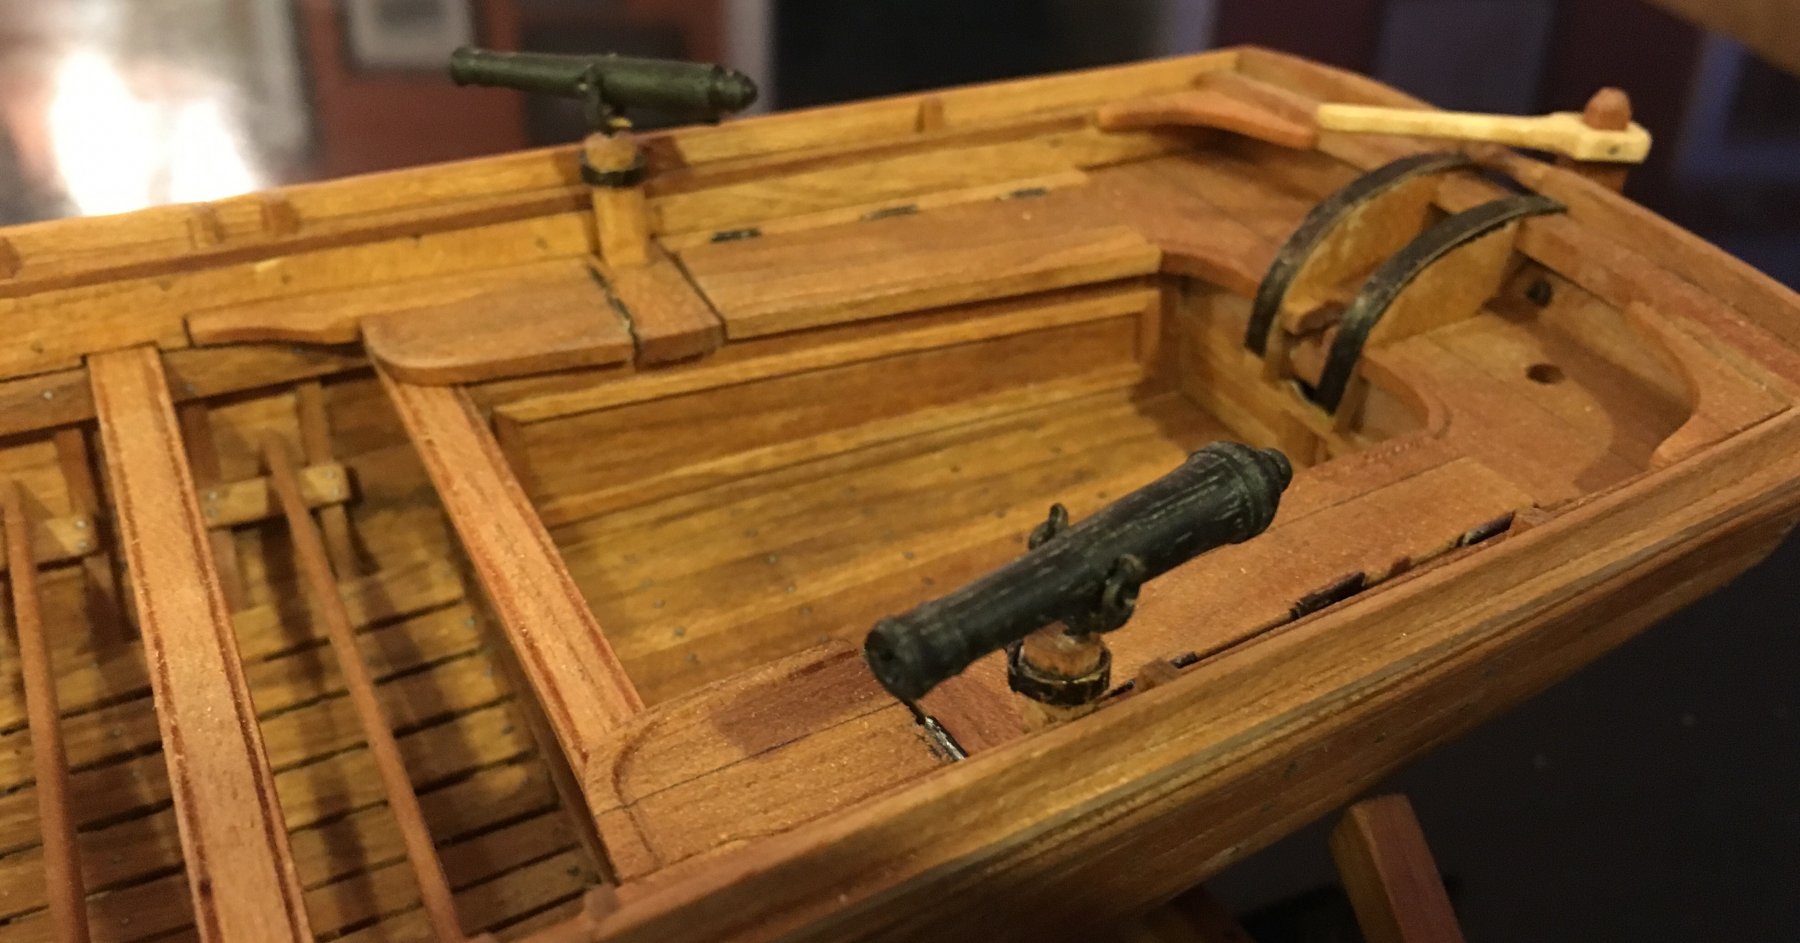
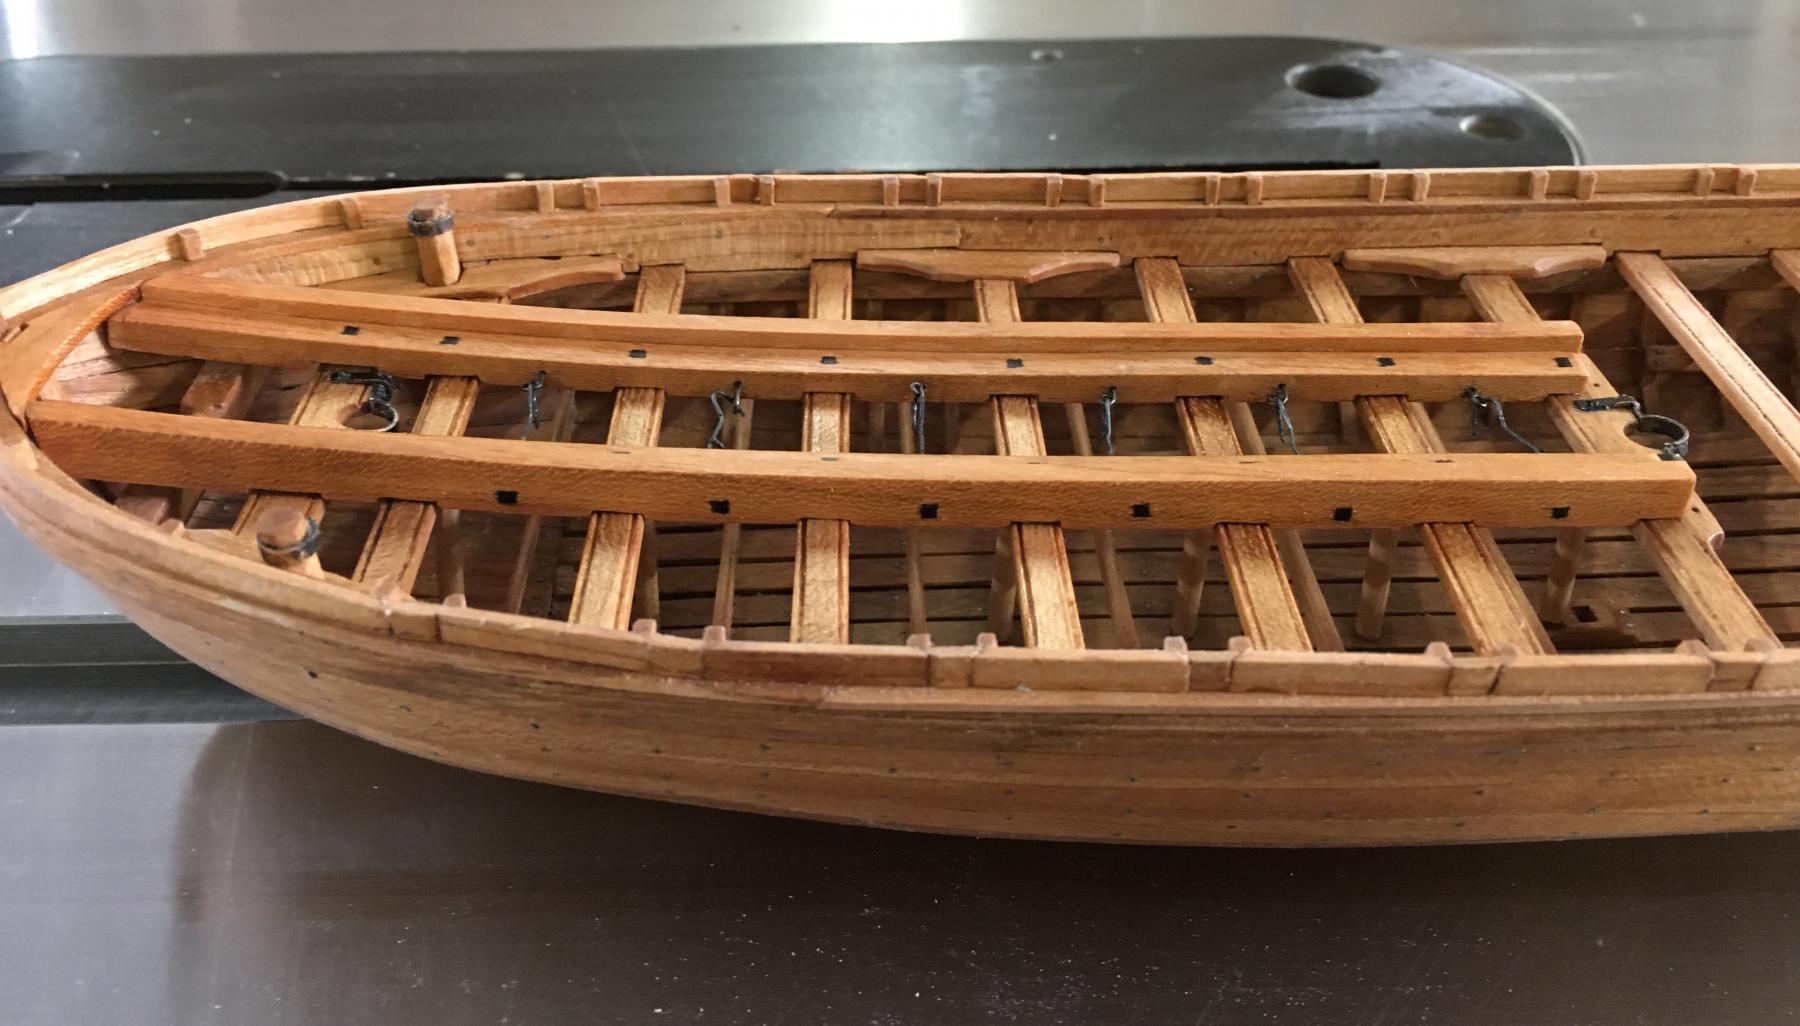
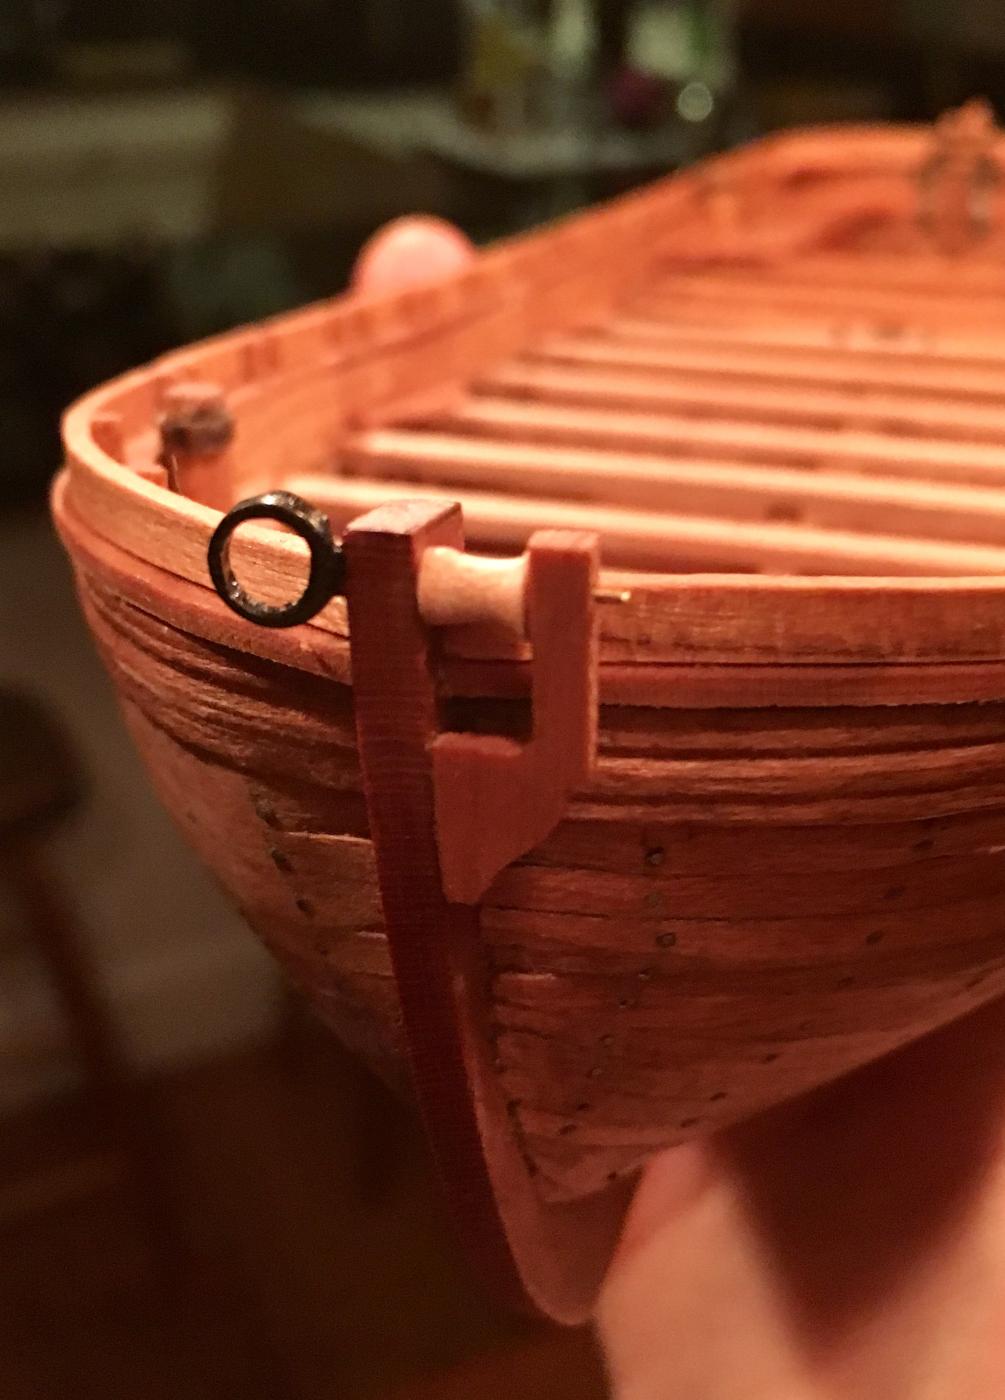
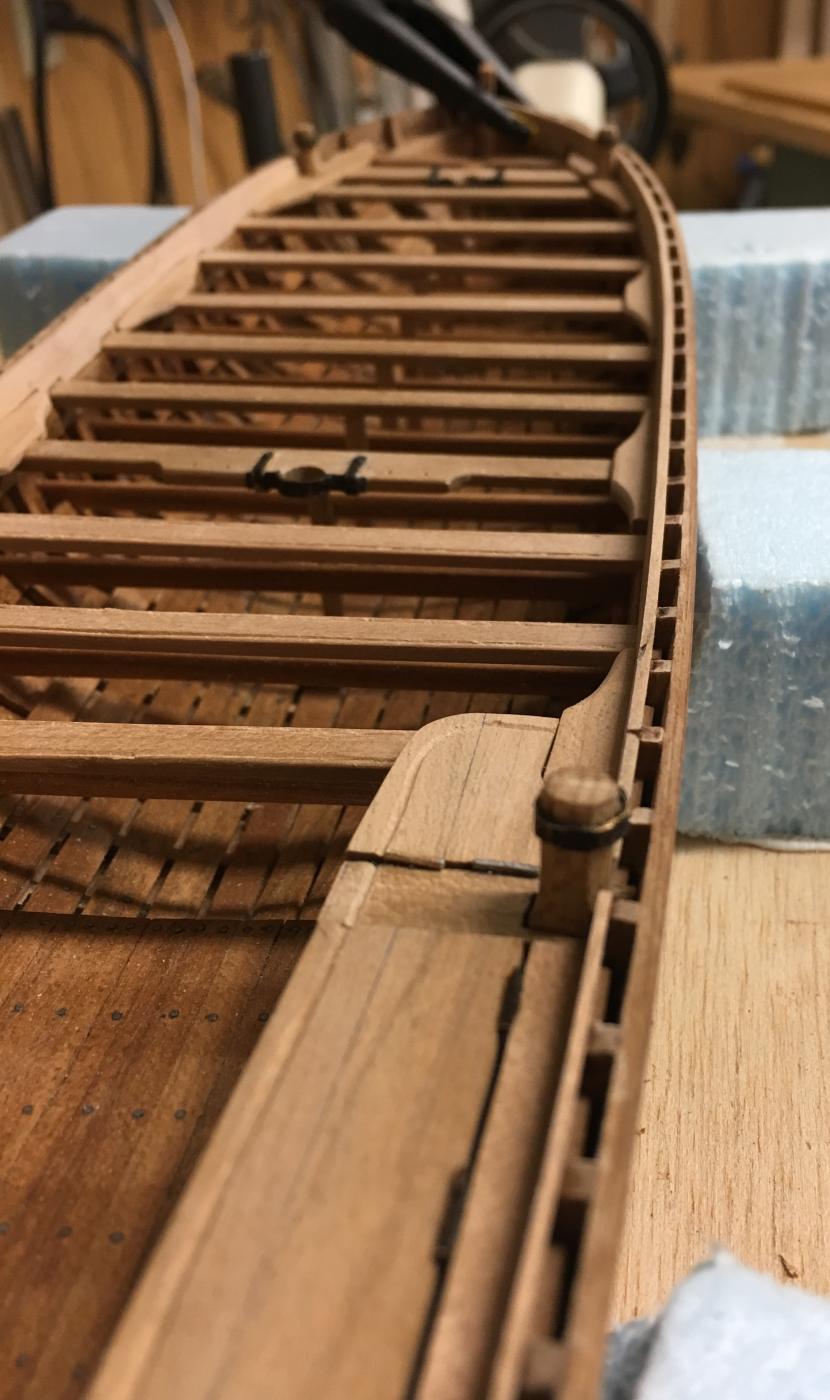
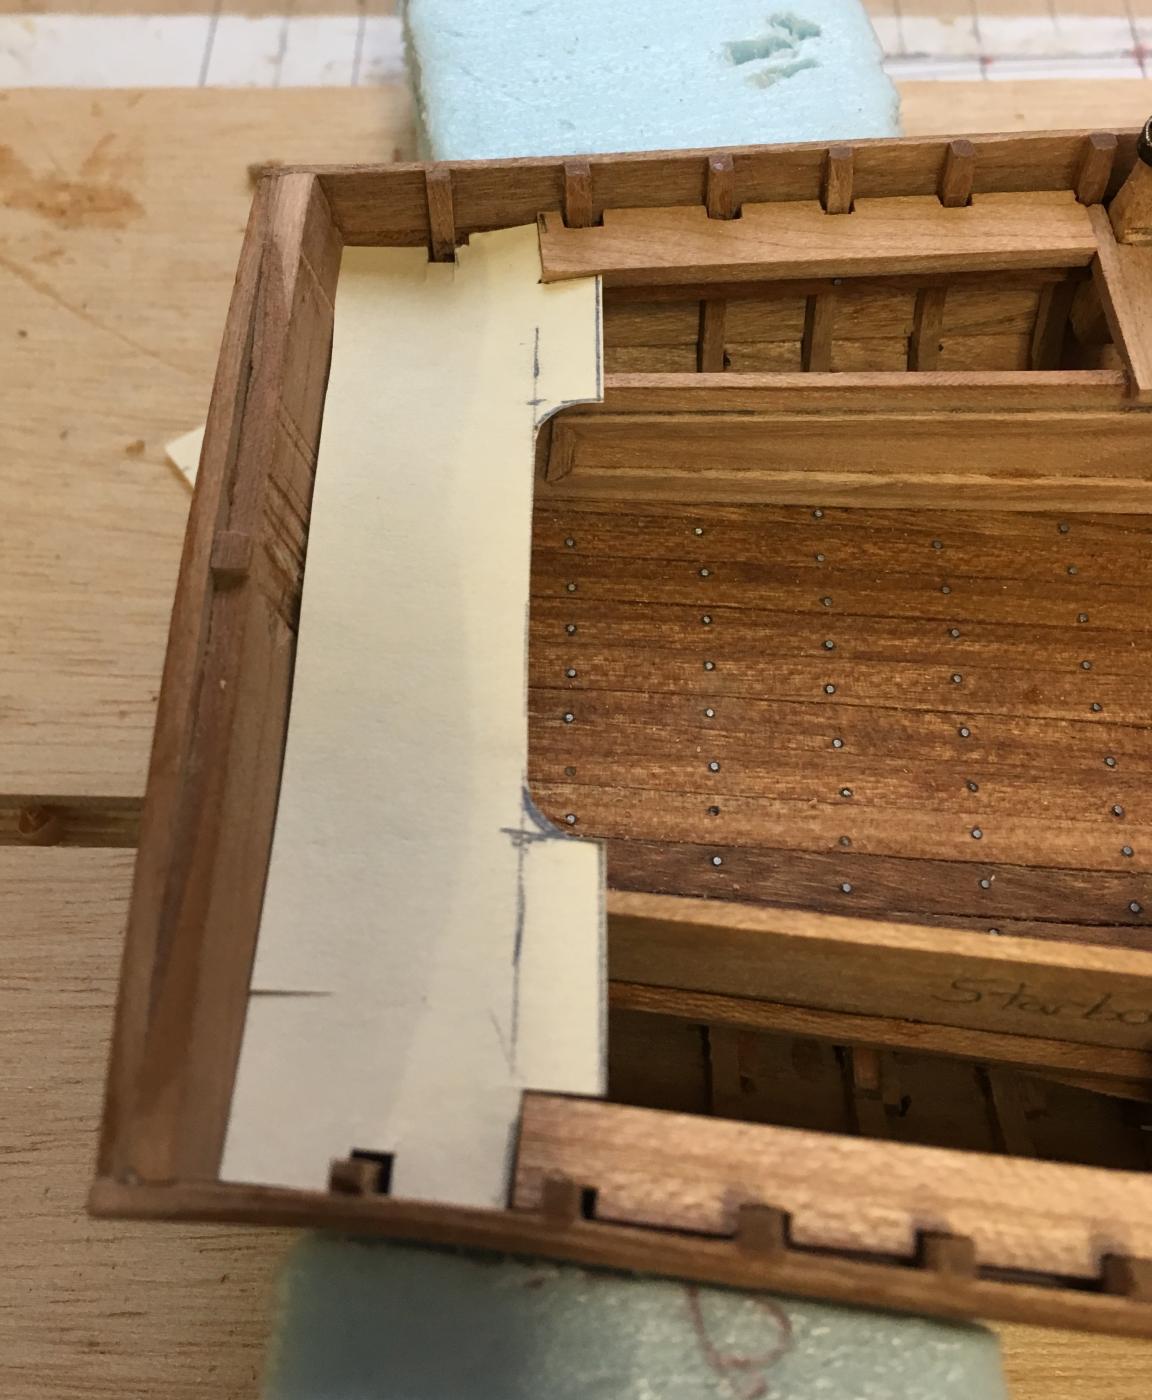
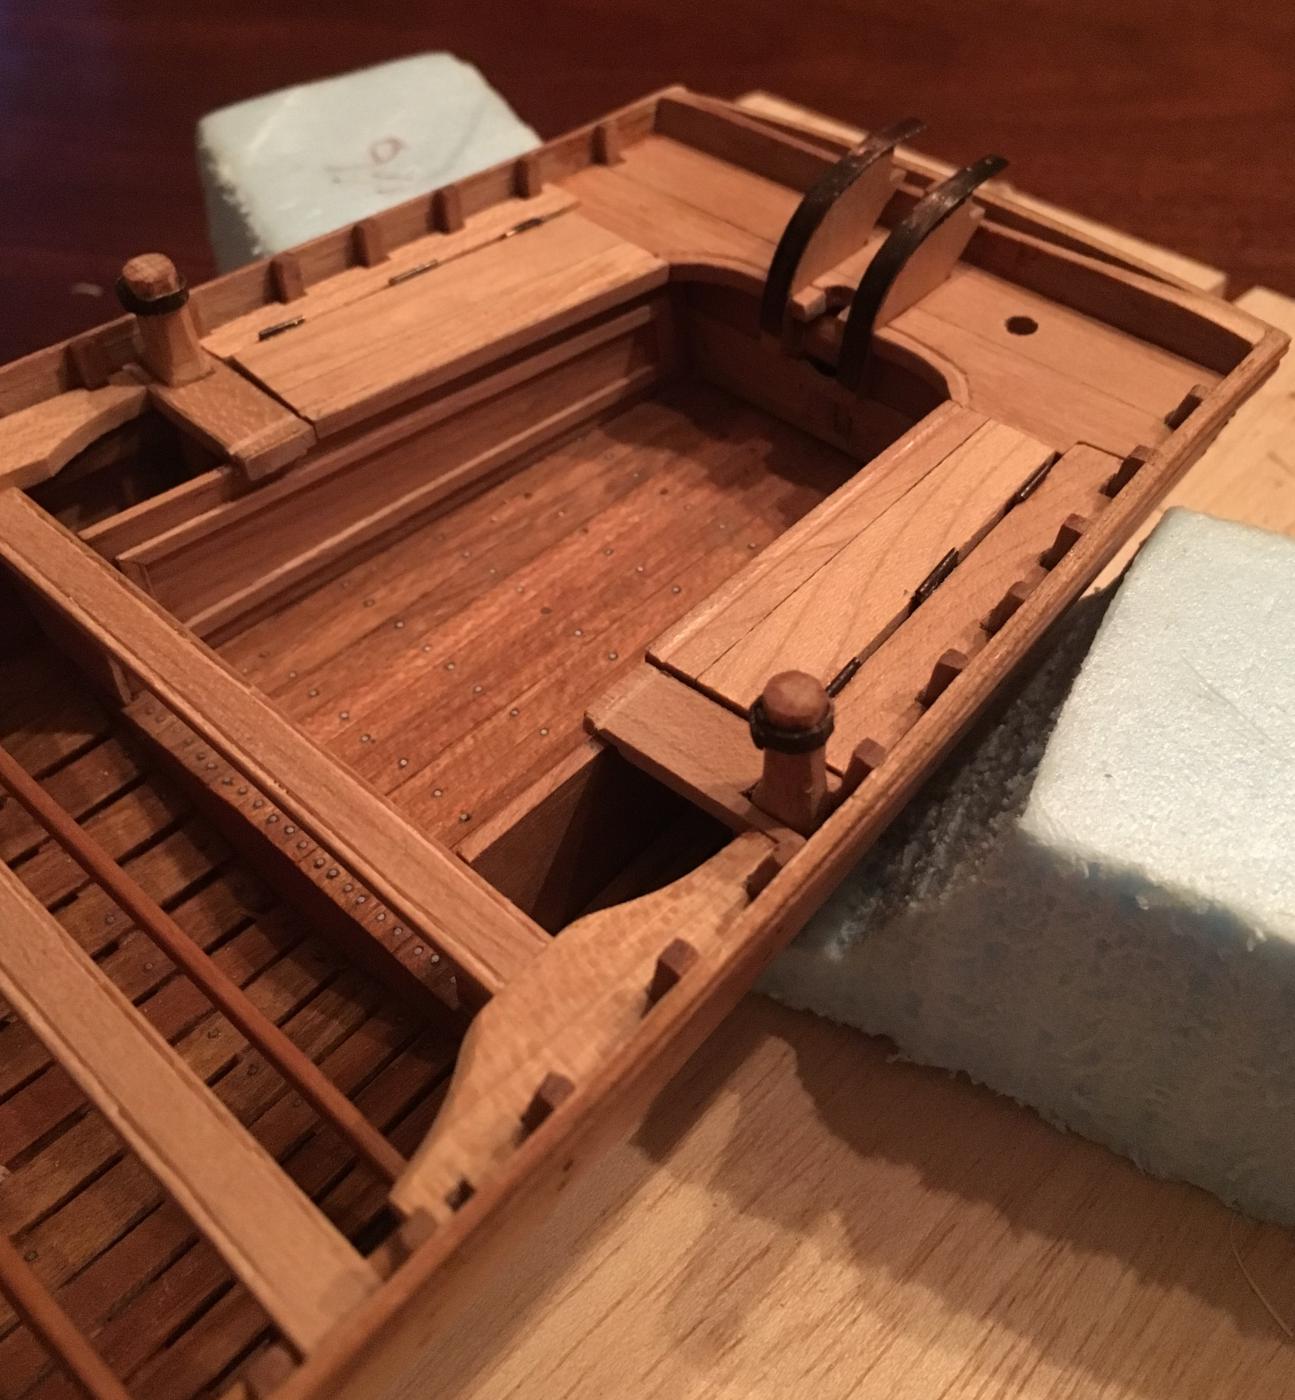
So, it's been awhile since I've posted. I have been busy making many parts, but have been hesitant to post pictures until they are fully installed. I've also been a little hesitant to glue pieces down for fear that I'm forgetting something. With that said, tonight i installed the two stern swivel stocks and some of the locker bulkheads.
-
You can't tell me this is your first wood build ... :im Not Worthy: <drool>
Merry Christmas to you and your family
Carl,
I'm a woodworker by trade, so technically, it's not my first "wood build" but, it is my first model ship build.
Thank you for the kind works, Merry Christmas,
Chris.


Bonhomme Richard by BlockPlane - Scale 1/48 - ANCRE
in - Build logs for subjects built 1751 - 1800
Posted
Chris, that’s good advice. I definitely need to trust the plans a little more.
Chris