


Keith Black
-
Posts
6,761 -
Joined
-
Last visited
Content Type
Profiles
Forums
Gallery
Events
Everything posted by Keith Black
-
 Each of you are very special to me, God bless you and keep you safe and warm during the Holidays and throughout the New Year. Merry Christmas and Happy New Year
-
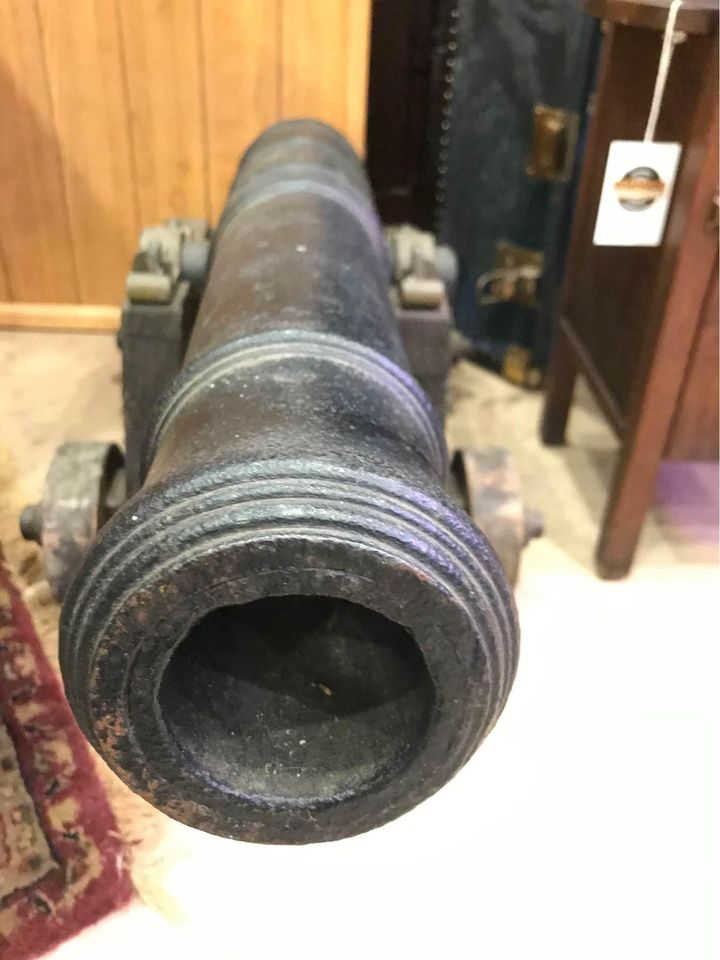
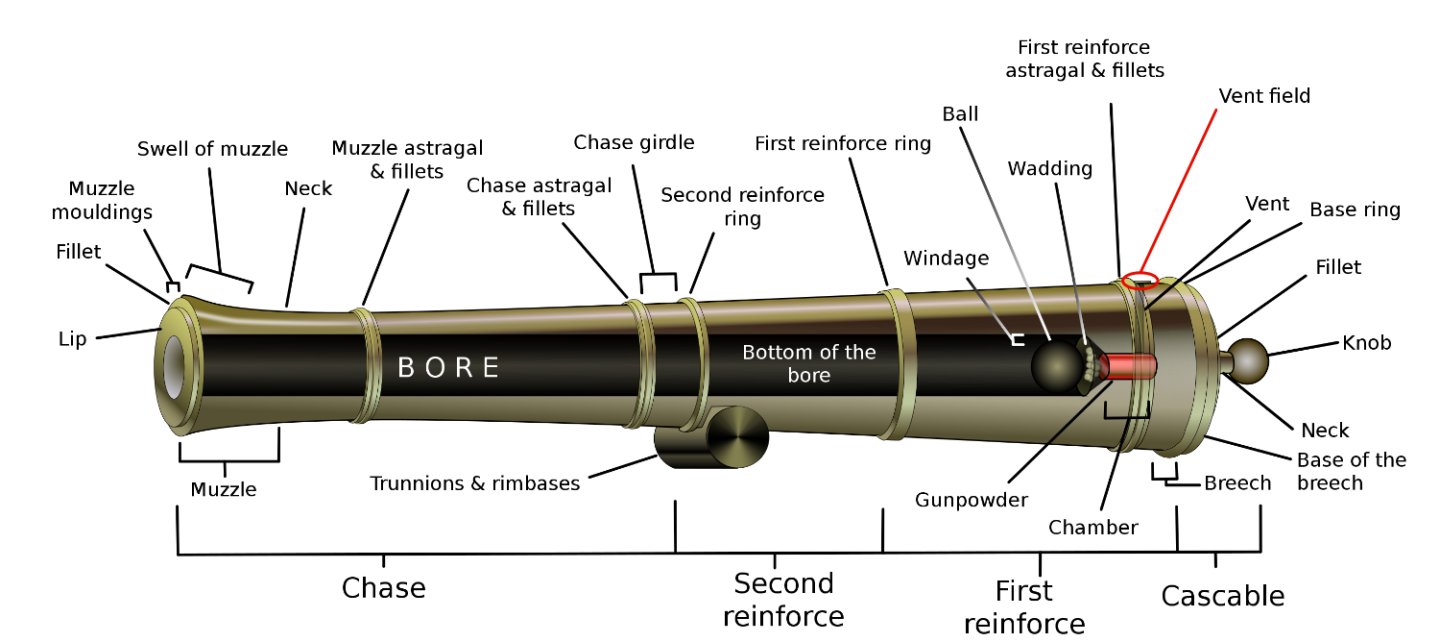
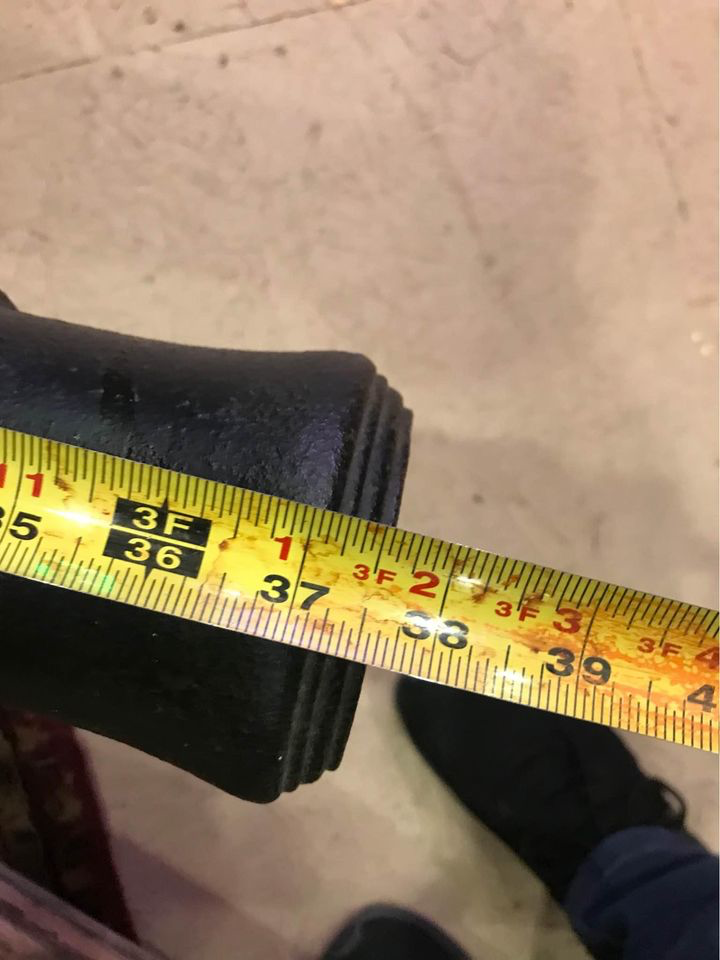
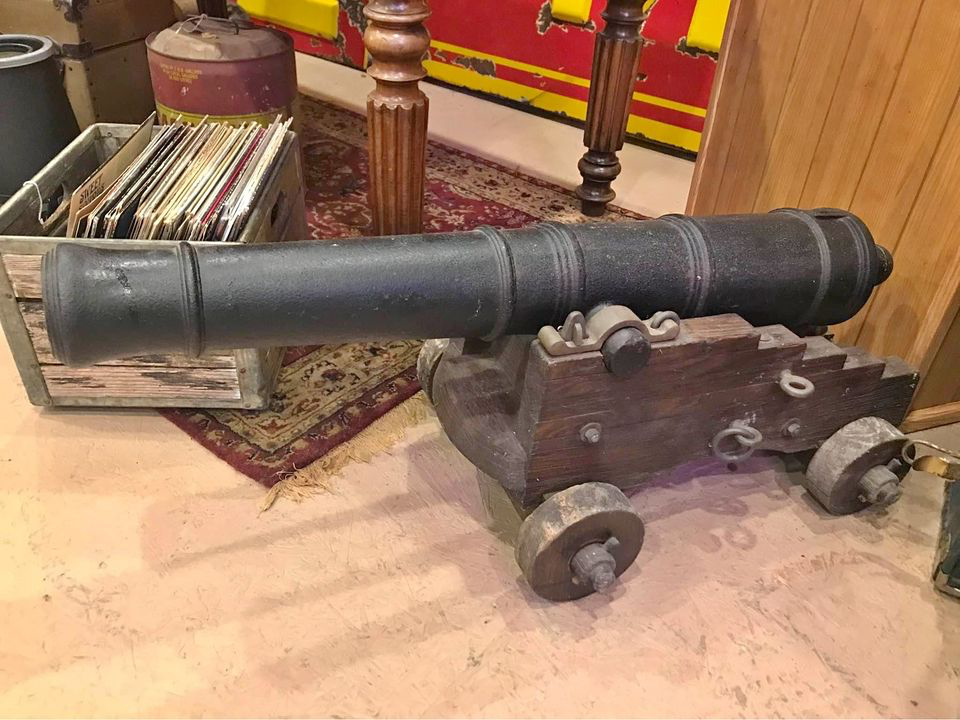
Allan, it could very well have been a swivel but while not necessary correct, being placed on a carriage makes it much easier to display. The cannon itself appears to be correct. Three foot cannons found on eBay are suspect in that they don't adhere to the way cannon were actually designed and cast.
-
Pianos are moved up and downstairs all the time. I dare say a piano's average weigh is close to 500 lbs. I don't know what the cannon barrel weighs but it would be a heck of a lot less awkward to move. Shipping cost, yeah that's gonna be a bugger.
-
Mark, I think this would be something for private display/showing. You'd probably be the only one on the block to have one but no sense in drawing unwanted attention. It would certainly be the center piece of a nautical collection.
-
I agree, Roger. I would think one would need to have a discussion with the seller to try and establish provenance and make sure no laws were/have been broken. I see field pieces come up for sale but this is the first "real" ships' cannon I've seen for sale. Who ever made the carriage did a nice job. In today's world that's got to be worth at least $500.00 to $750.00
-
British cannon supposedly recovered from a river on reproduction carriage for $2,500.00 located here in Michigan. https://www.roadsidemetamora.com/product-page/1780-s-british-insurance-cannon-w-vintage-handmade-carriage
-
Bail you out, in your dreams!
-
Lorraine, welcome to MSW. You did such a grand job on the Wasa hull it's a shame you couldn't finish her. Rob has been away awhile, hopefully he returns to once again work toward completing the model you started.
-
PS21, welcome to MSW. Love your vocation. Glad to have you aboard.
-
Painting a .008 rubbing strake freehand makes my eyes hurt. Considering the jolly boat's size, Eberhard, it looks absolutely amazing! Great job.
-
Guy, please do. I'm pleased that you would consider doing so.
-
Guy, unfortunately Paul (whom I considered a true friend) has been MIA for over two years. I diligently searched any and all connections in the UK to Paul that I could conceive of but to no avail. In my heart I feel Paul has passed on and as difficult as it is I've made peace with Paul being no longer with us.
-
Jim, welcome to MSW. is there a time period that you have a particular interest in? Glad to have you aboard.
-
Tim, the images are fine. Leave as is, the bigger the image the easier to see detail. I dislike small images taken with a phone, you can't make out detail for diddly.
-
VB, welcome to MSW. We lived in Egegik for nine years. Glad to have you aboard.
-
Valeriy, will the model be displayed open or in a case?
-
Fantastic work/presentation, Glen. I think this one is the pick of the litter.
- 134 replies
-
- 2
-

-
- Captain Kidd
- bottle
- (and 3 more)
-
Tim, welcome to MSW. Glad to have you aboard.
-
Introduction - André Dethioux
Keith Black replied to Wonko the Sane's topic in New member Introductions
Andre, welcome to MSW. Glad to have you aboard. -
Greetings from North Carolina
Keith Black replied to PostCaptainAubrey's topic in New member Introductions
Will, welcome to MSW. Glad to have you aboard. -
Eve turned out really really nice. I'm sure Captain Bean will have fond memories of her evermore.


