
Jim Rogers
-
Posts
1,381 -
Joined
-
Last visited
Content Type
Profiles
Forums
Gallery
Events
Everything posted by Jim Rogers
-
Why not just apply a thin wood veneer.
-
Help! Deadeyes and rings issue. Mamoli Constitution Kit
Jim Rogers replied to jfitzjr1's topic in Masting, rigging and sails
I feel your pain. I have sanded one side of the deadeye and then squeezed it into the stroup using needle nose pliers. PITA. So now I just use black wire and make my own. MUCH less frustrating. Good luck. -
I don’t believe using a number 2 pencil on your existing deck would give the results you want.
-
I would use it as a guide and apply thin planking over it. That way you could get a more realistic butt pattern and highlight the edges of the planks with a number 2 pencil to simulate caulking.
-
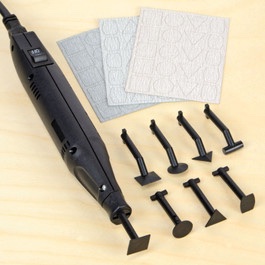
I use this from MicroMark. Great little sander, easier to control then Dremil, flat surface not round.
-
Try Chuck’s tissue in the printer method for your flag. Works well and looks great. This is one awesome piece of modeling prowess.
-
Boxwood plus Ebony Wood dye (black) will give desired results with less costs and headaches.
-
I have used them before, no issues.
-
Cutting and shaping masts: tips on how to do it.
Jim Rogers replied to Peterhudson's topic in Masting, rigging and sails
Milling Machine -
Ordered on Friday, received in WA on Monday. Shocked me it was so fast.
-
Bob CA Debond will work. Just let it soak take a sharp #11 blade and slowly ply it off. Start at the top slip blade in and drip in more Debond, let set,repeat.
-
Byrnes thickness sander vs Micro Mark's
Jim Rogers replied to twintrow's topic in Modeling tools and Workshop Equipment
I have a love/hate relationship with my Byrnes. Does a great job but on occasion when I get complacent it will send a board into the wall at Mach 3. -
I am on a iPad.
-
I have been checking Syren Ship Company three times a day. Now when I toggle it on sponsor row I get a box with “ Do you want to download syrenshipcompany.com. And a download button. This is a new issue what happened?
-
https://www.veneersupplies.com/categories/Veneering__Supplies/Tools__%26__Supplies/
-
https://ocoochhardwoods.com/
-
Chuck I was thinking what do you think about air brushing one side of a cedar billet black prior to milling that way your tar line is already done and uniform.
-
Pencil works just fine.
-
mast tapering fixture
Jim Rogers replied to Bob Blarney's topic in Modeling tools and Workshop Equipment
Is there a proper name for this device? -
Diorama Water
Jim Rogers replied to xodar461's topic in Painting, finishing and weathering products and techniques
The best water available for dioramas is available at woodlandscenics.com. They are a model railroad scenery business and they have everything you need plus instructional videos. Here is a couple of photo of one of my dioramas using their product. Most highly recommend.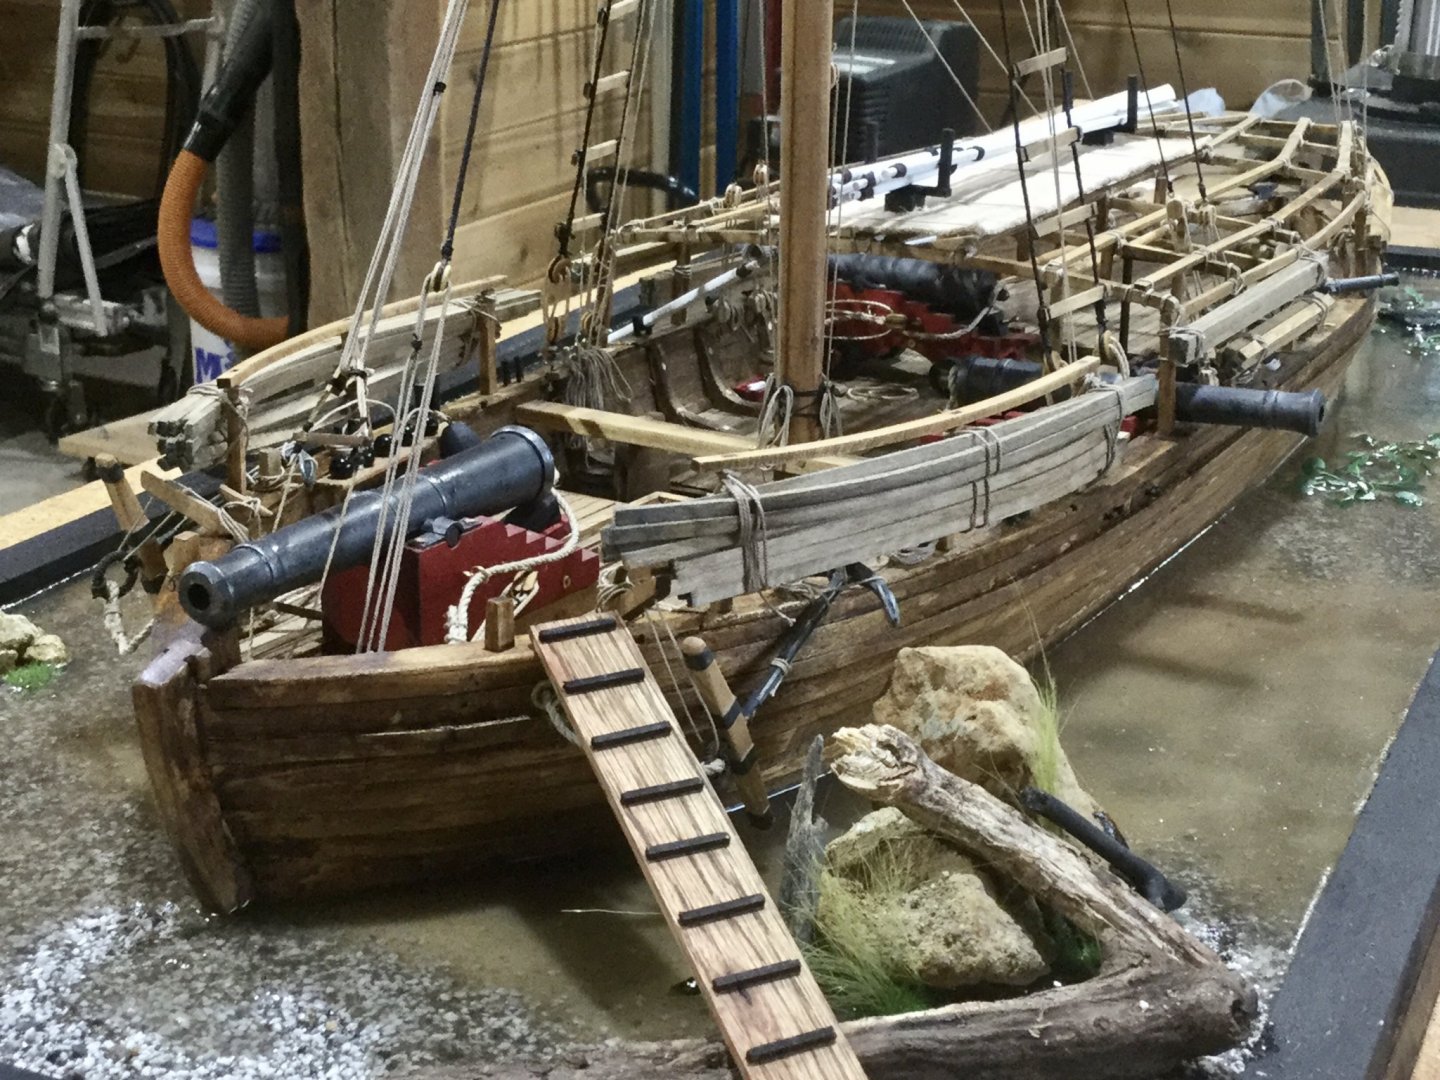

-
As far as I know Uboats did not have noise makers the size of refrigerators nor did they harass freighters over the radio.
-
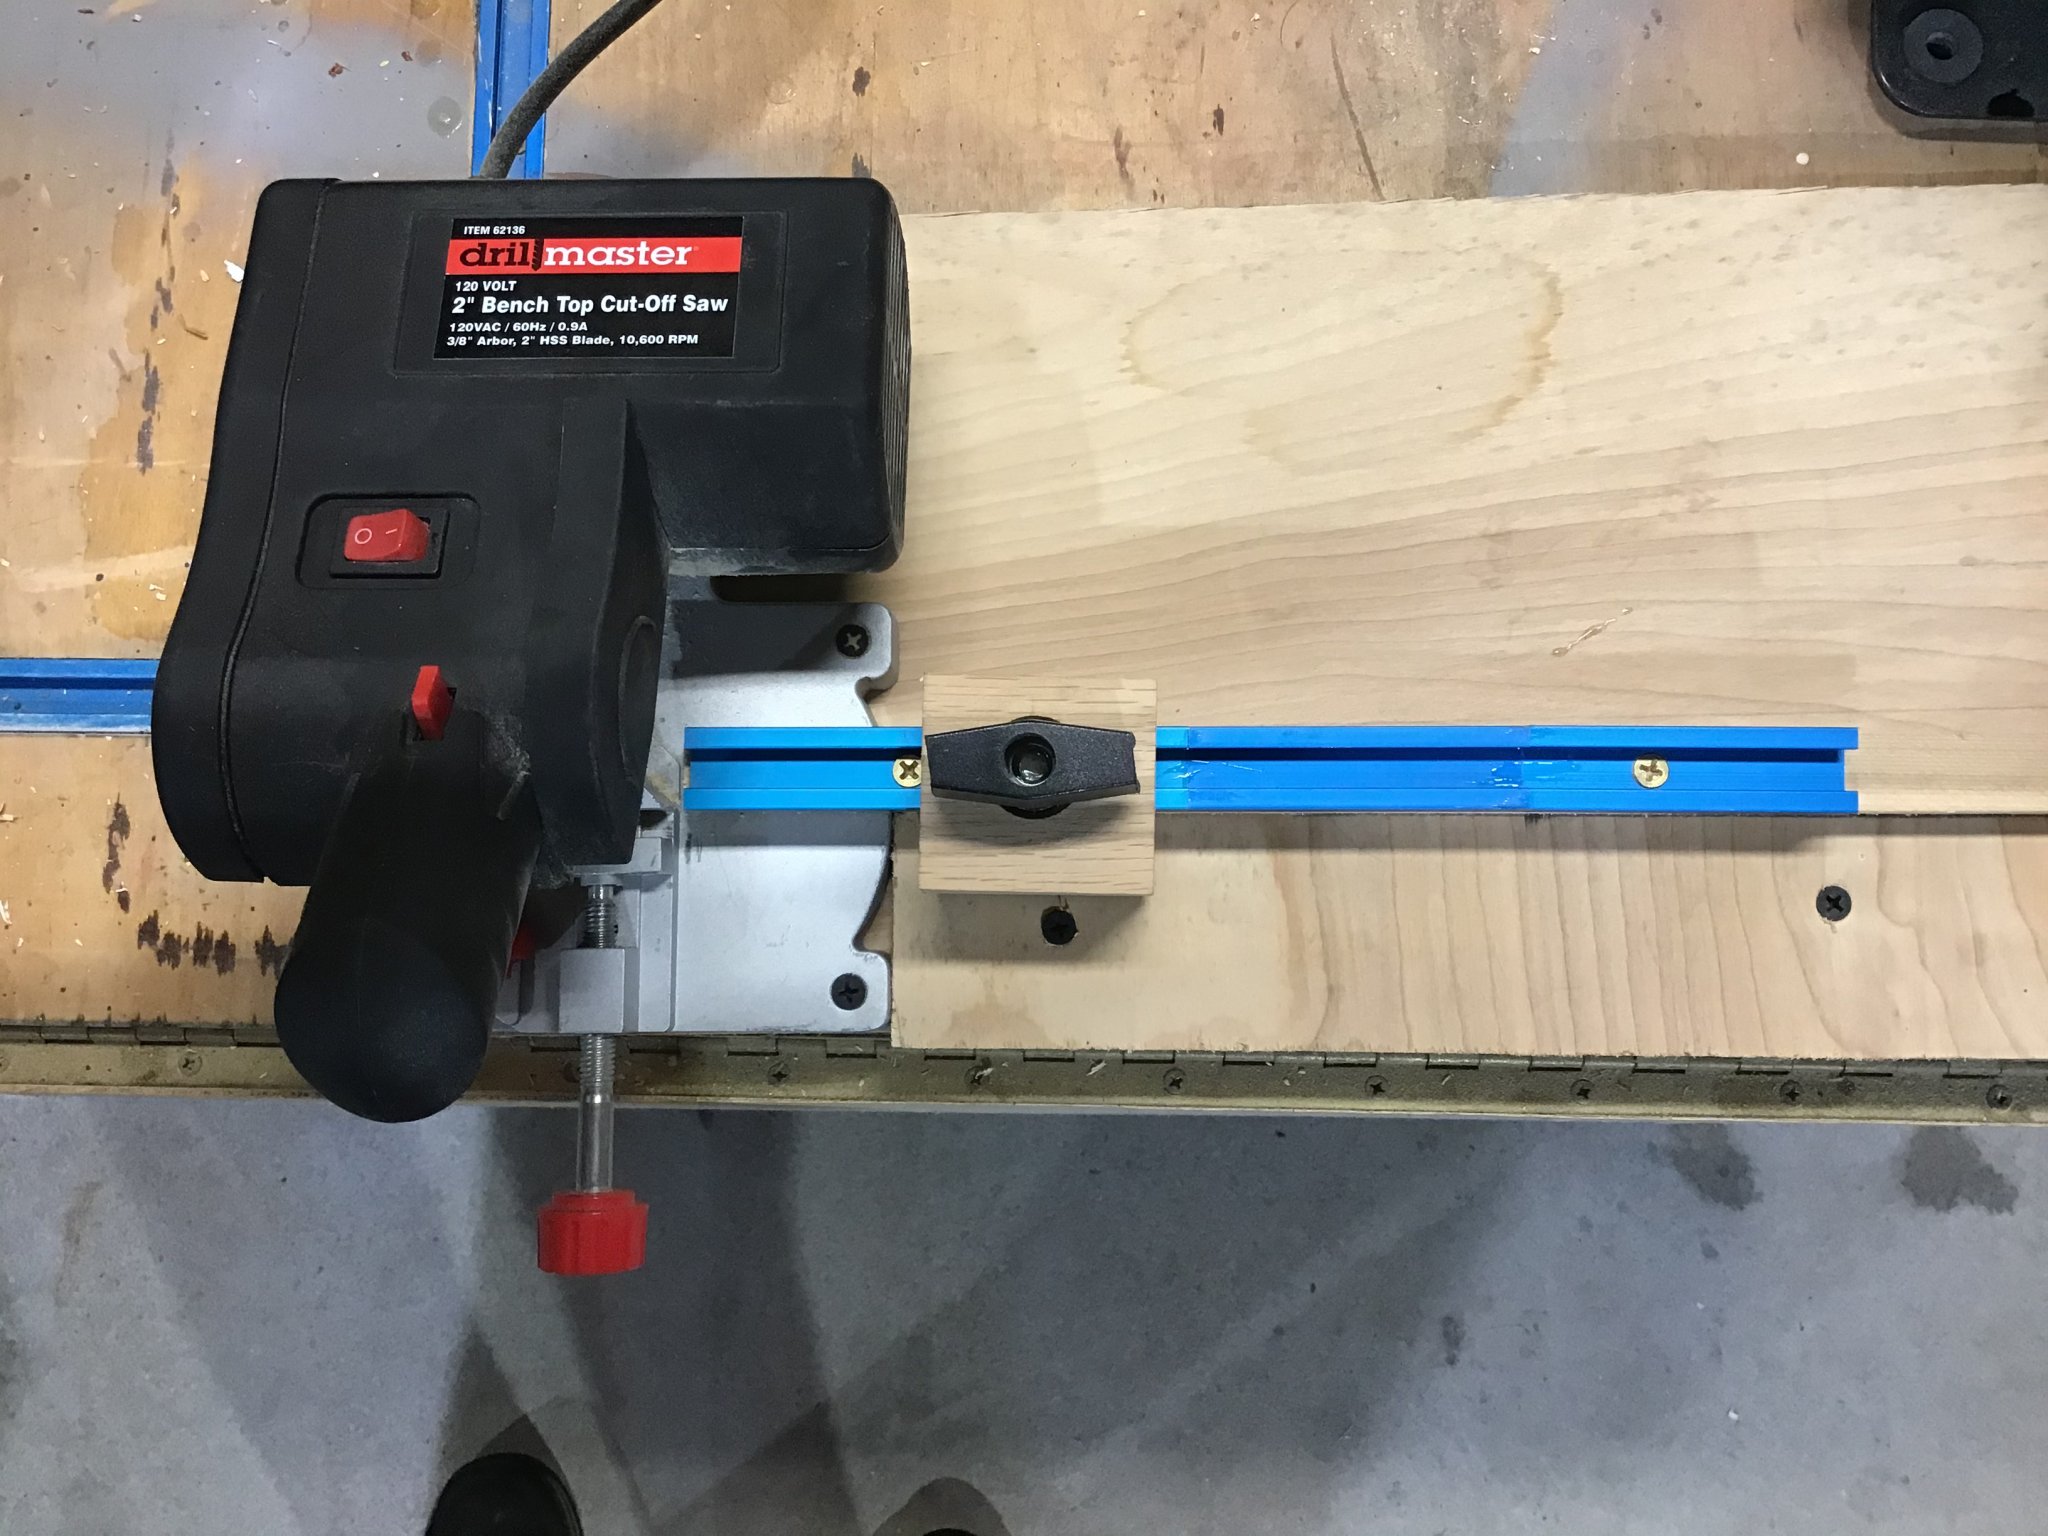
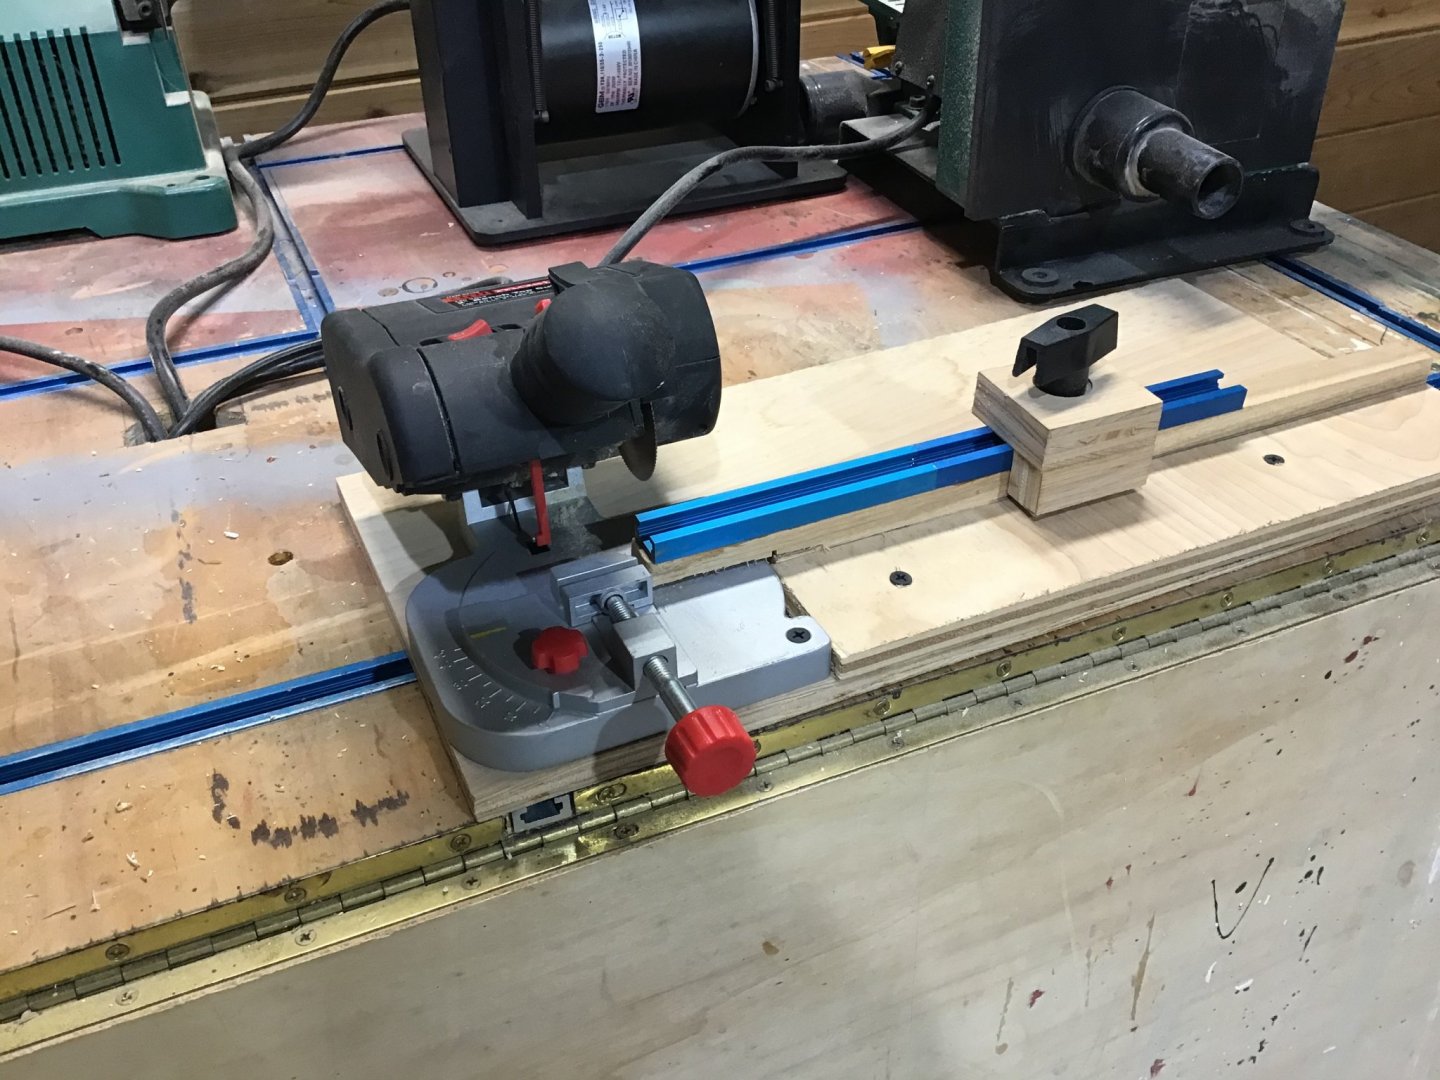
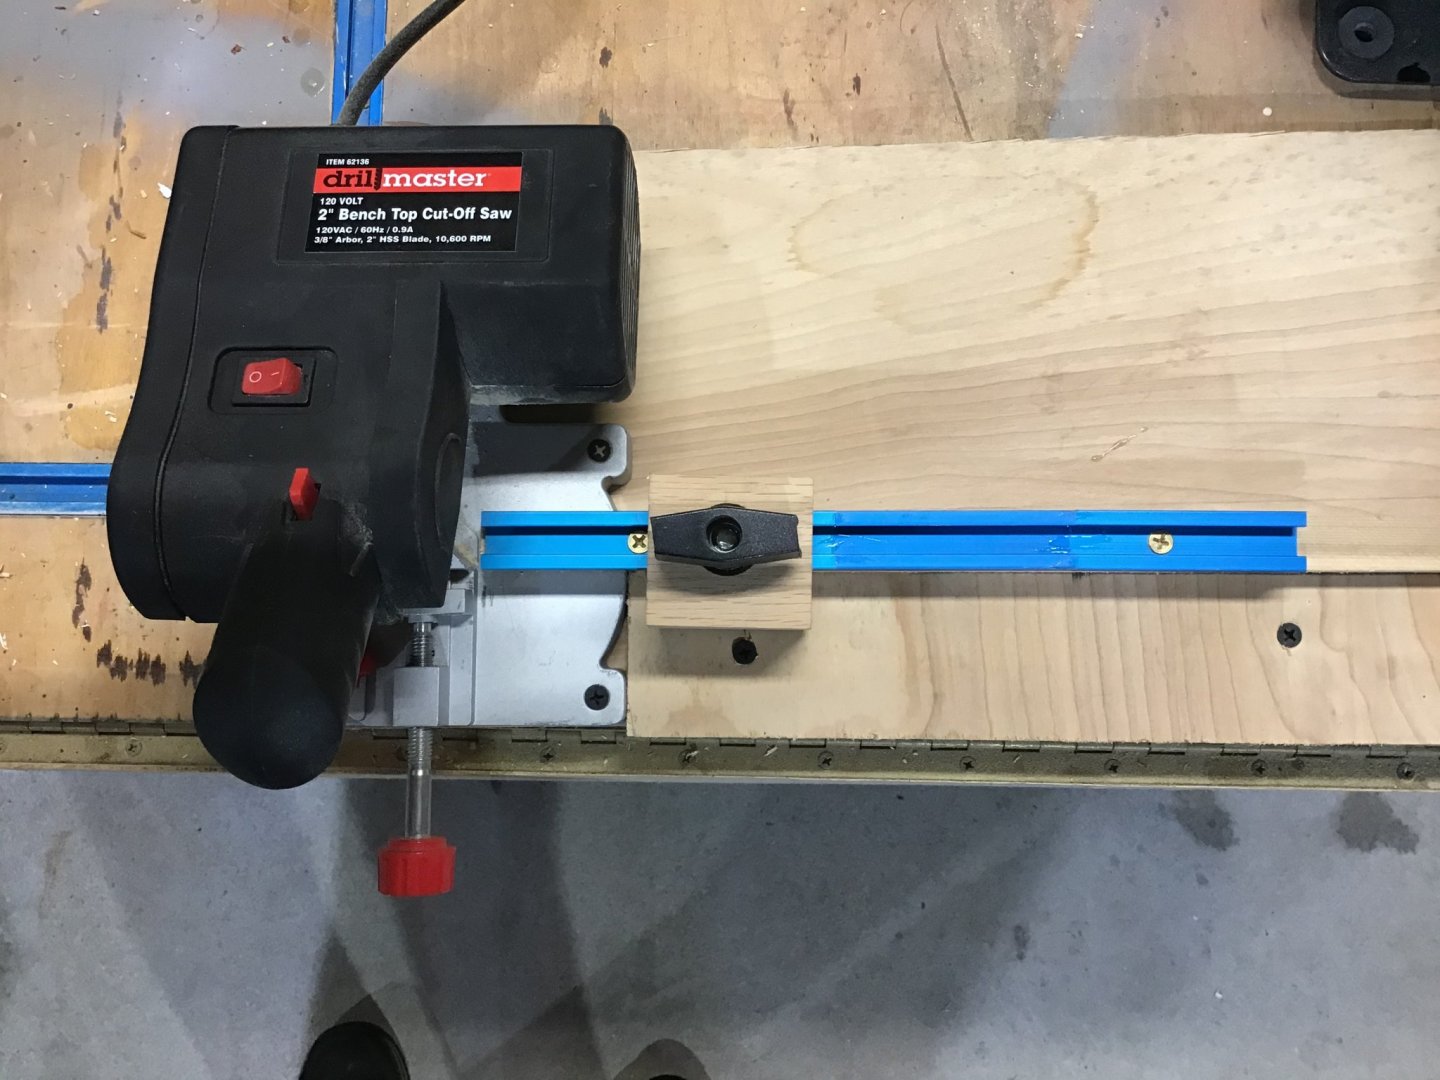
Micromark cutoff saw?
Jim Rogers replied to Brewerpaul's topic in Modeling tools and Workshop Equipment
Here ya go Richard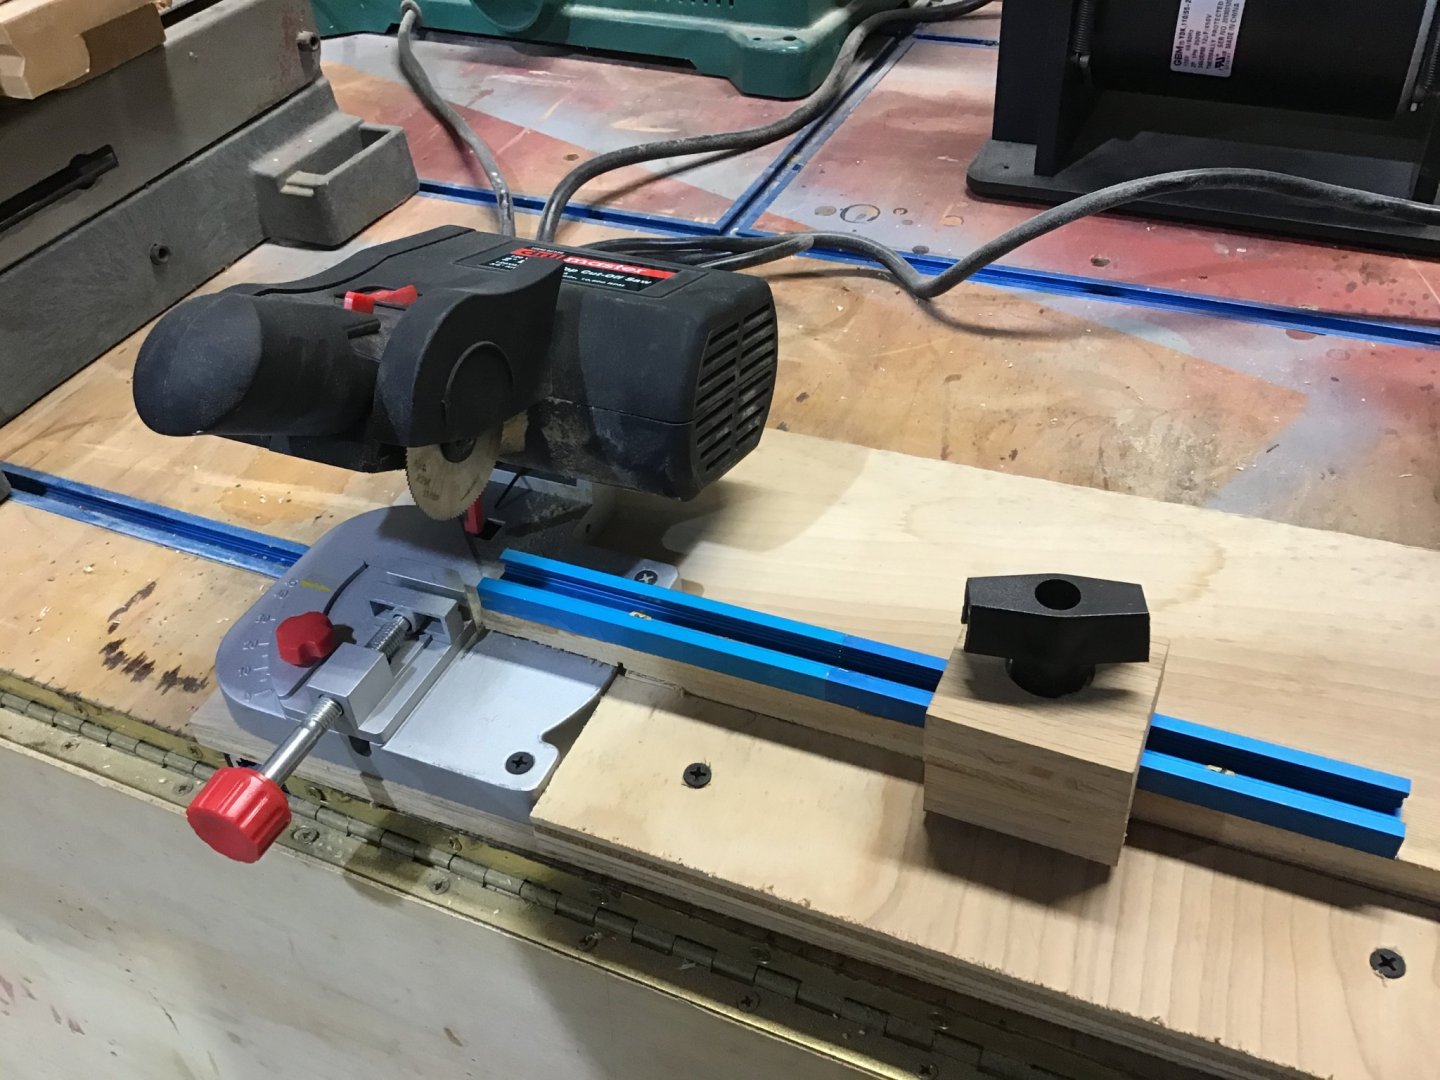
-
Micromark cutoff saw?
Jim Rogers replied to Brewerpaul's topic in Modeling tools and Workshop Equipment
I picked up almost the exact same saw at Harbor Freight for $25. I mounted it on a jig with a stop to make repetitive cuts faster and more accurate. -
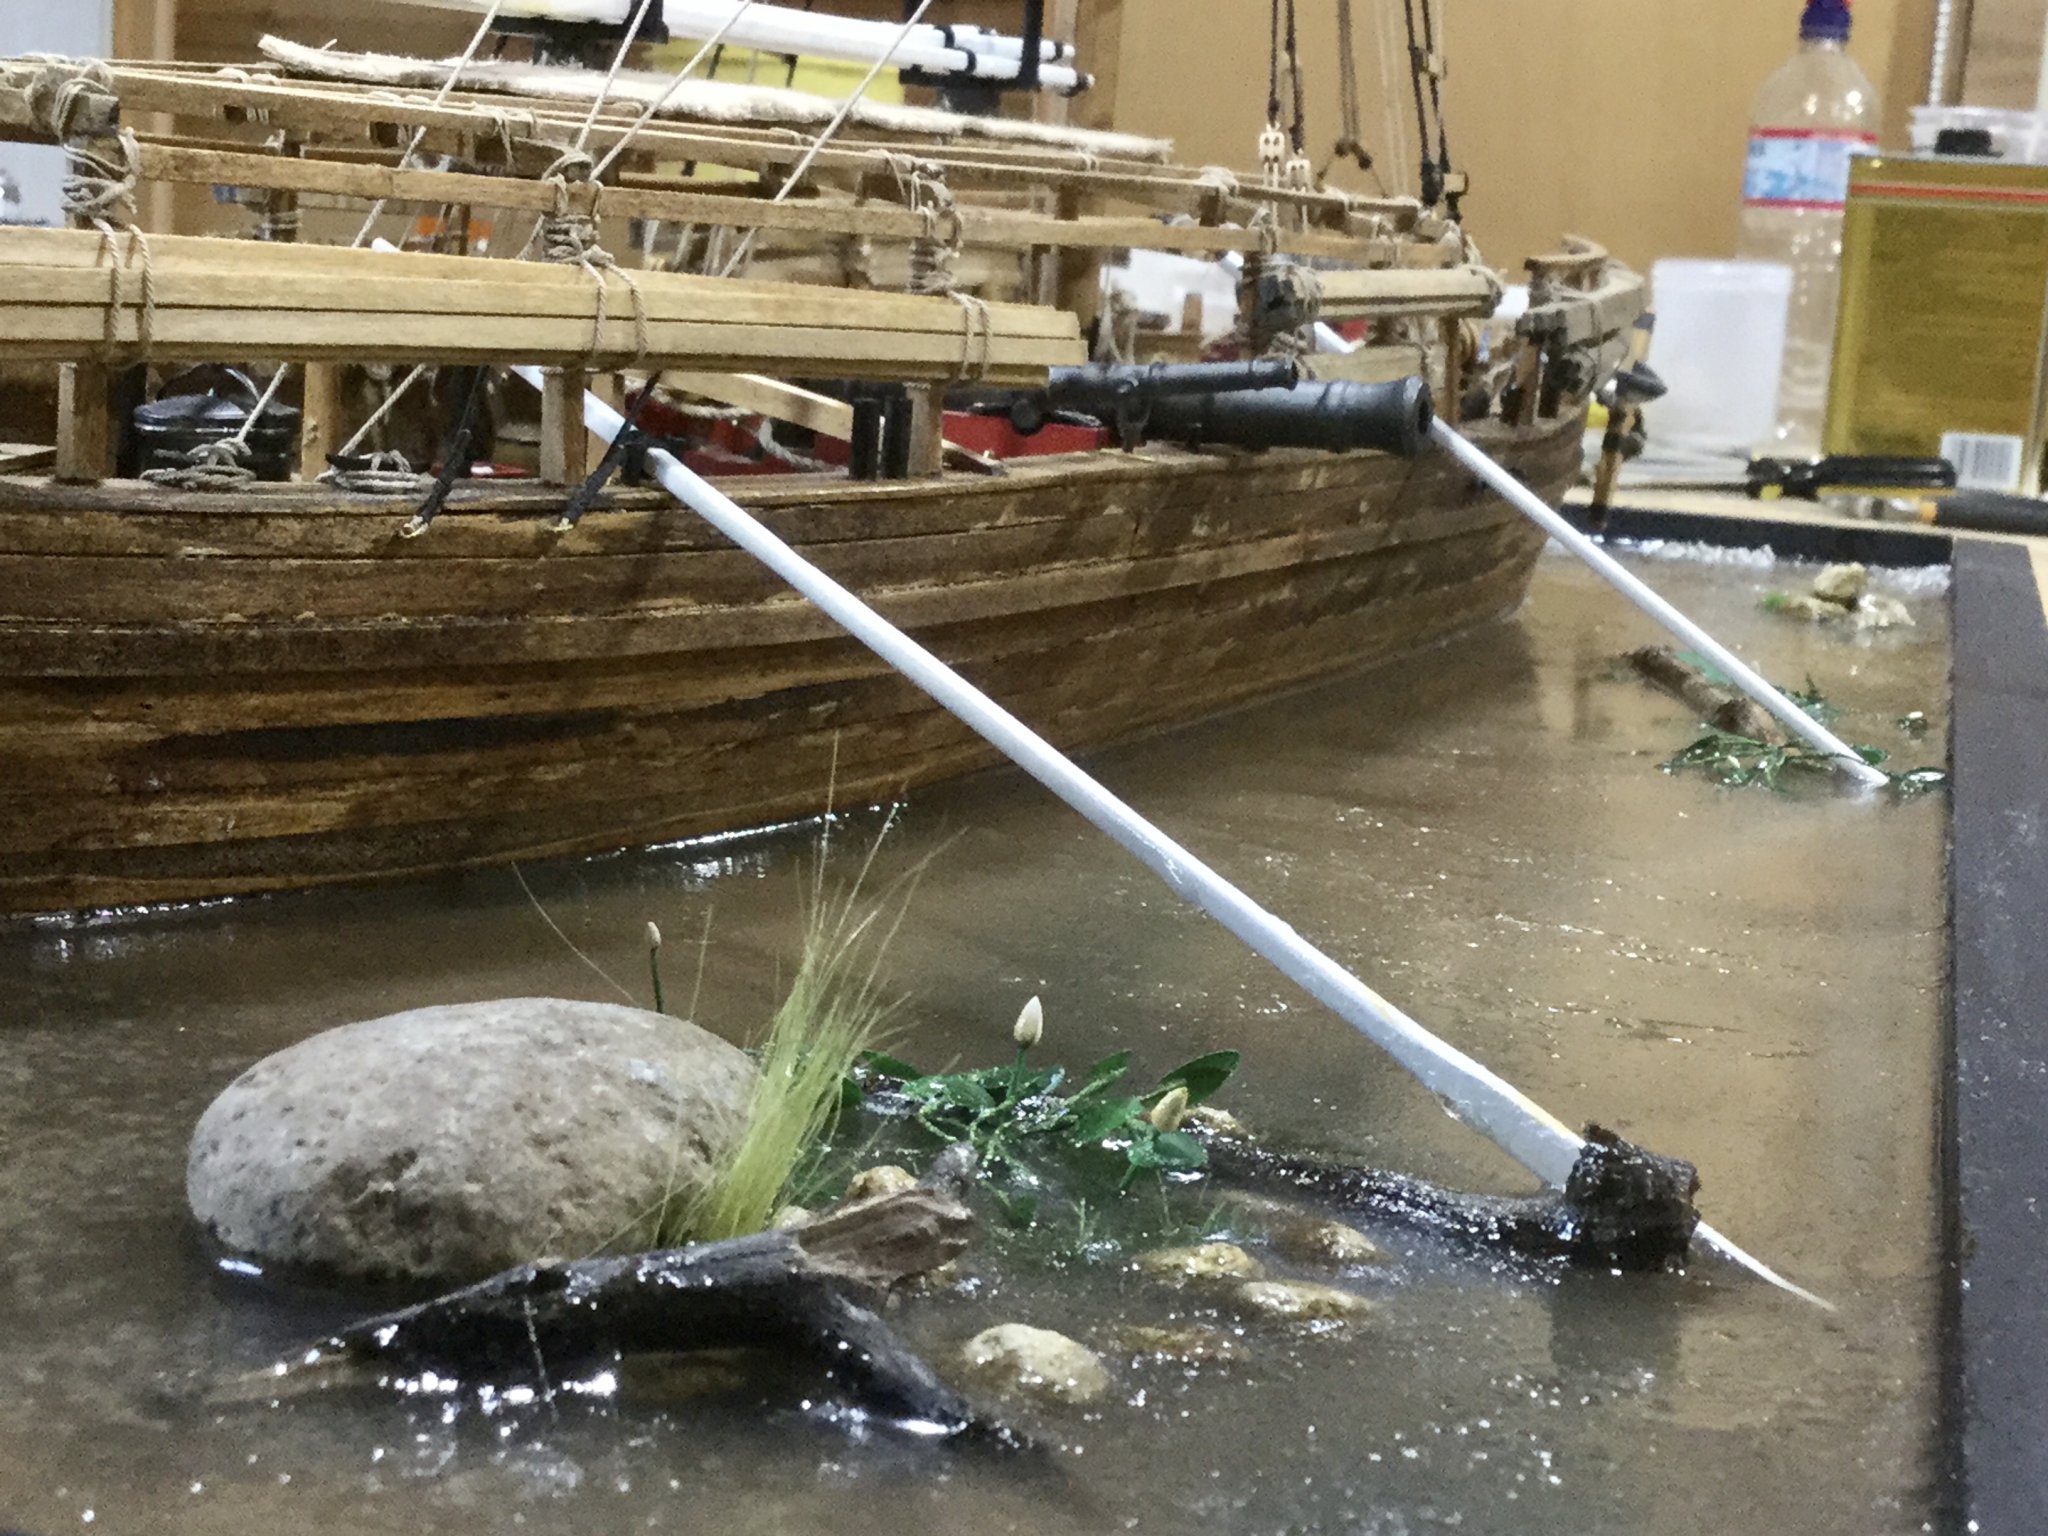
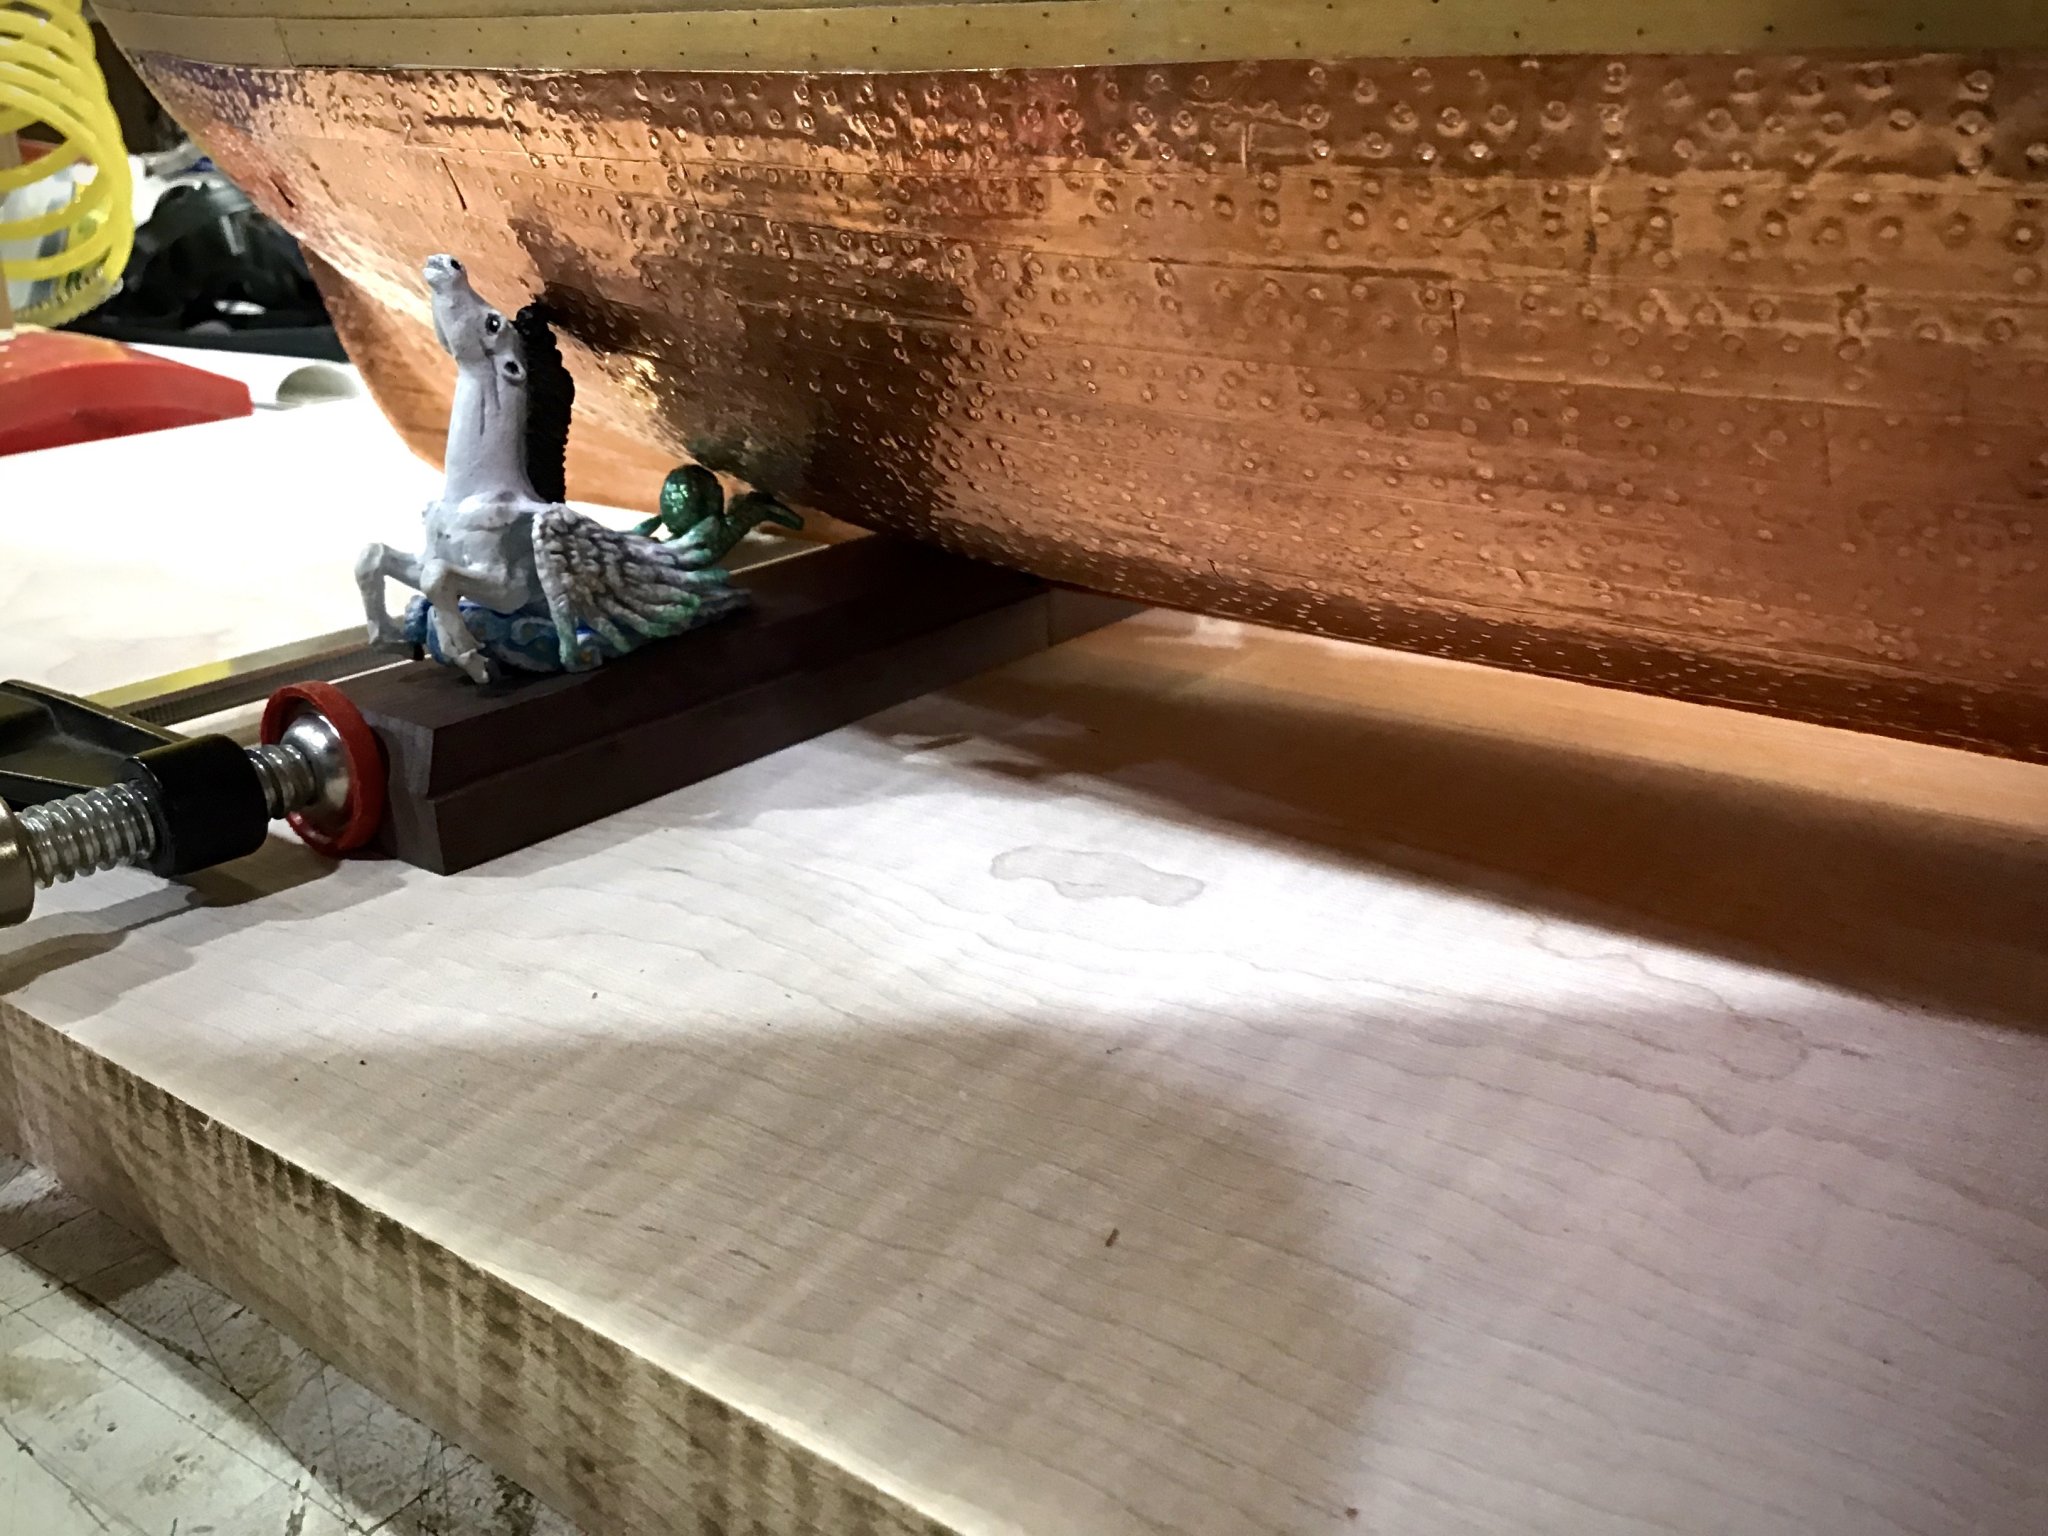
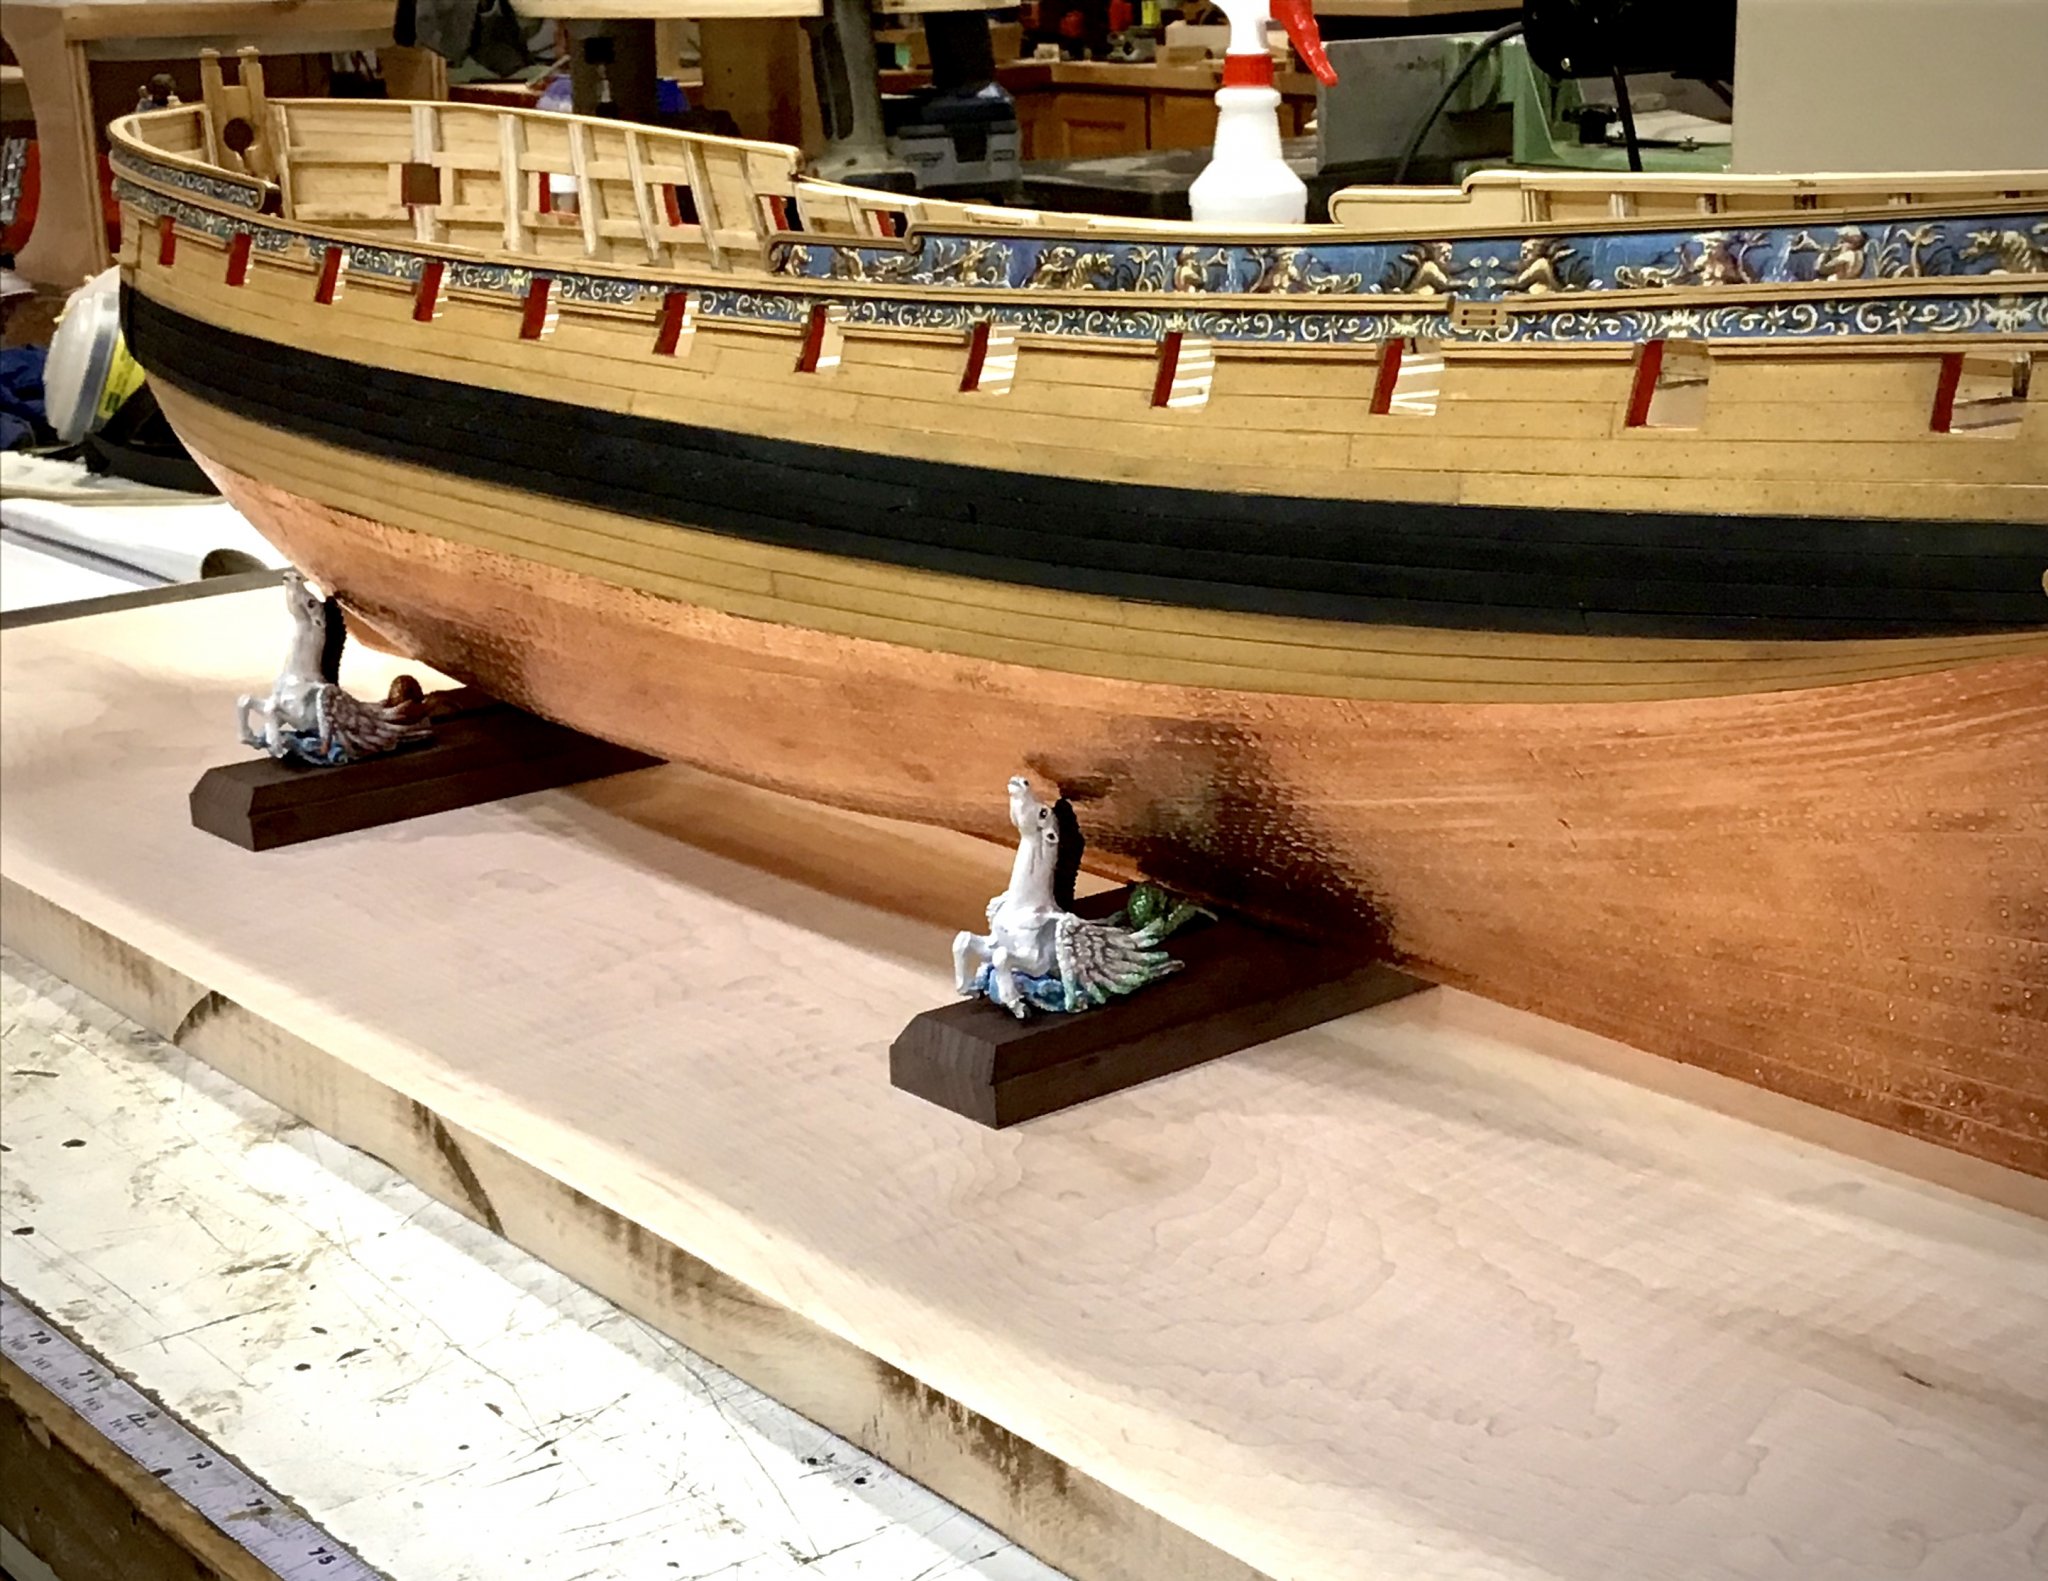
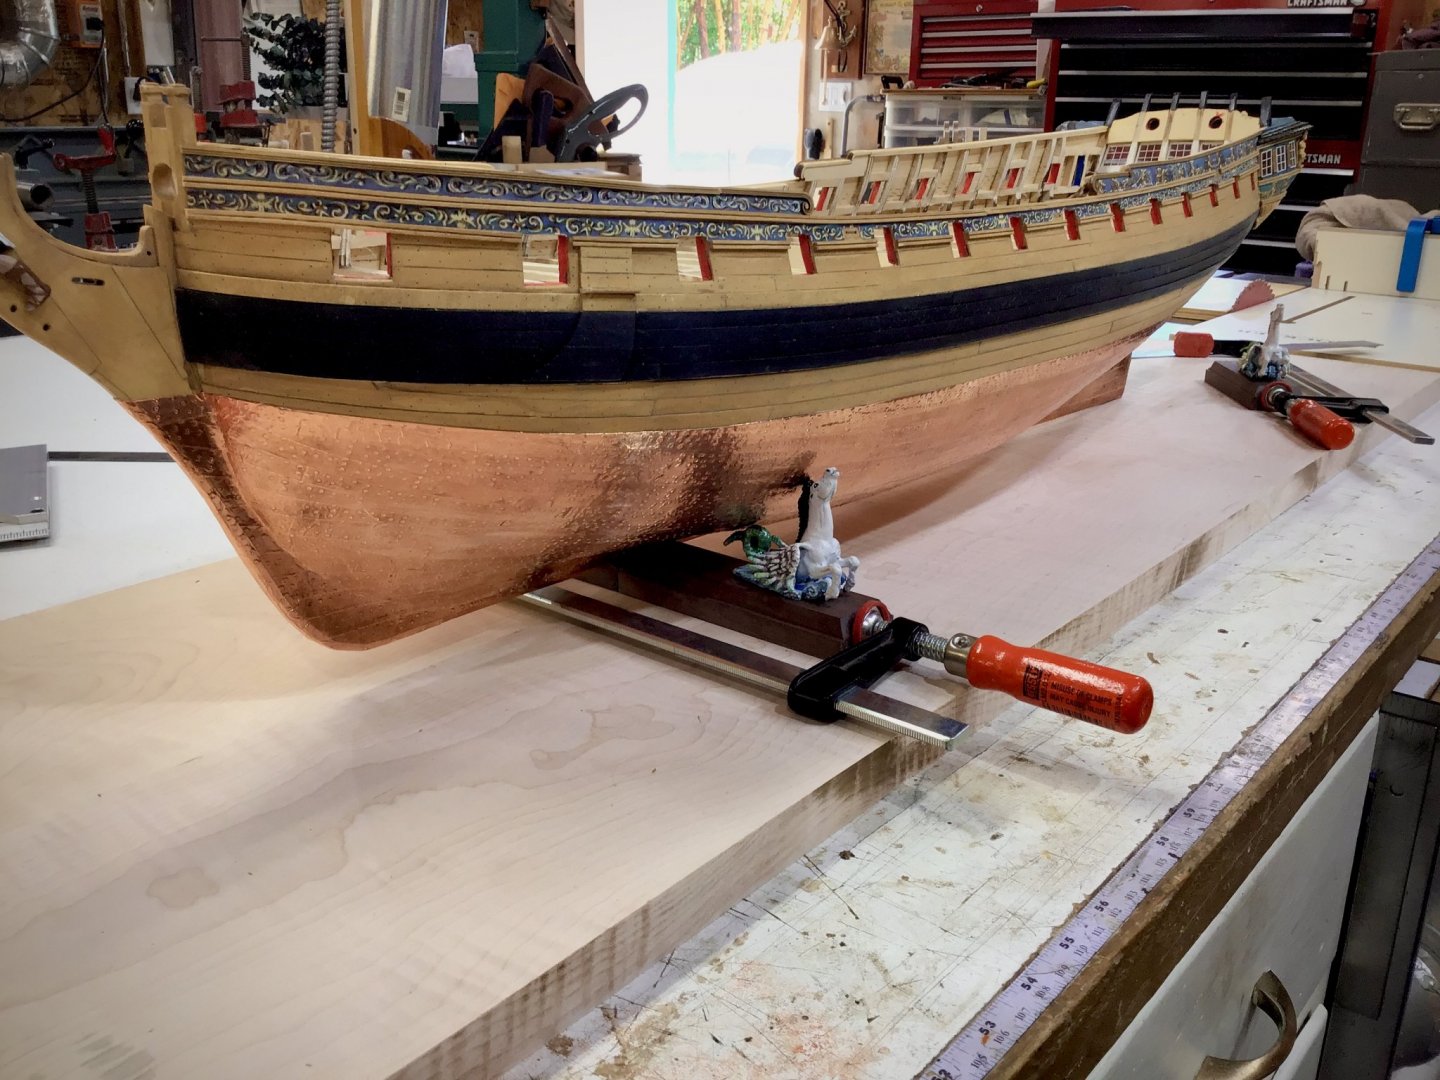
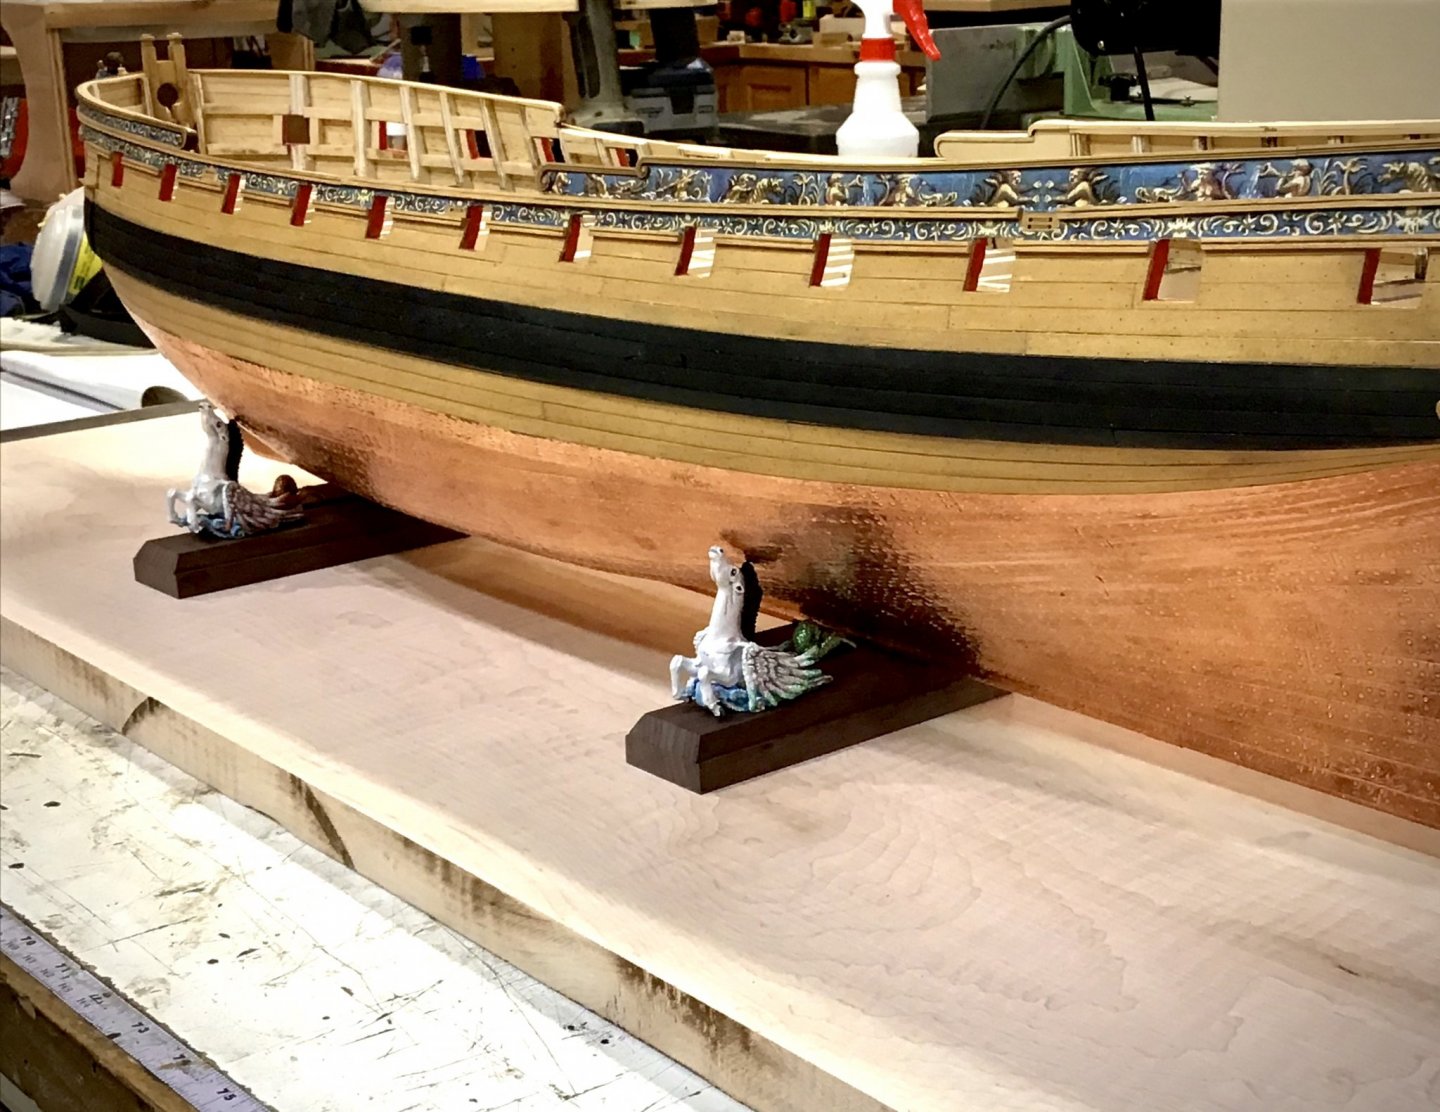
After figuring out how I wanted to mount the ship I got rid of the back braces that came with the mount and cut a rabbet in the base plate. The ship now sits snug in the mount with the hull against Pegasus head and the keel resting in the rabbet. Intentions are to use my Shaper Origin and set the mounts down 1/32 to lock in place. Planning on engraving sextants in the corners with name and date engraved in base.


- 105 replies
-
- 13
-

-
- winchelsea
- Syren Ship Model Company
- (and 1 more)
-
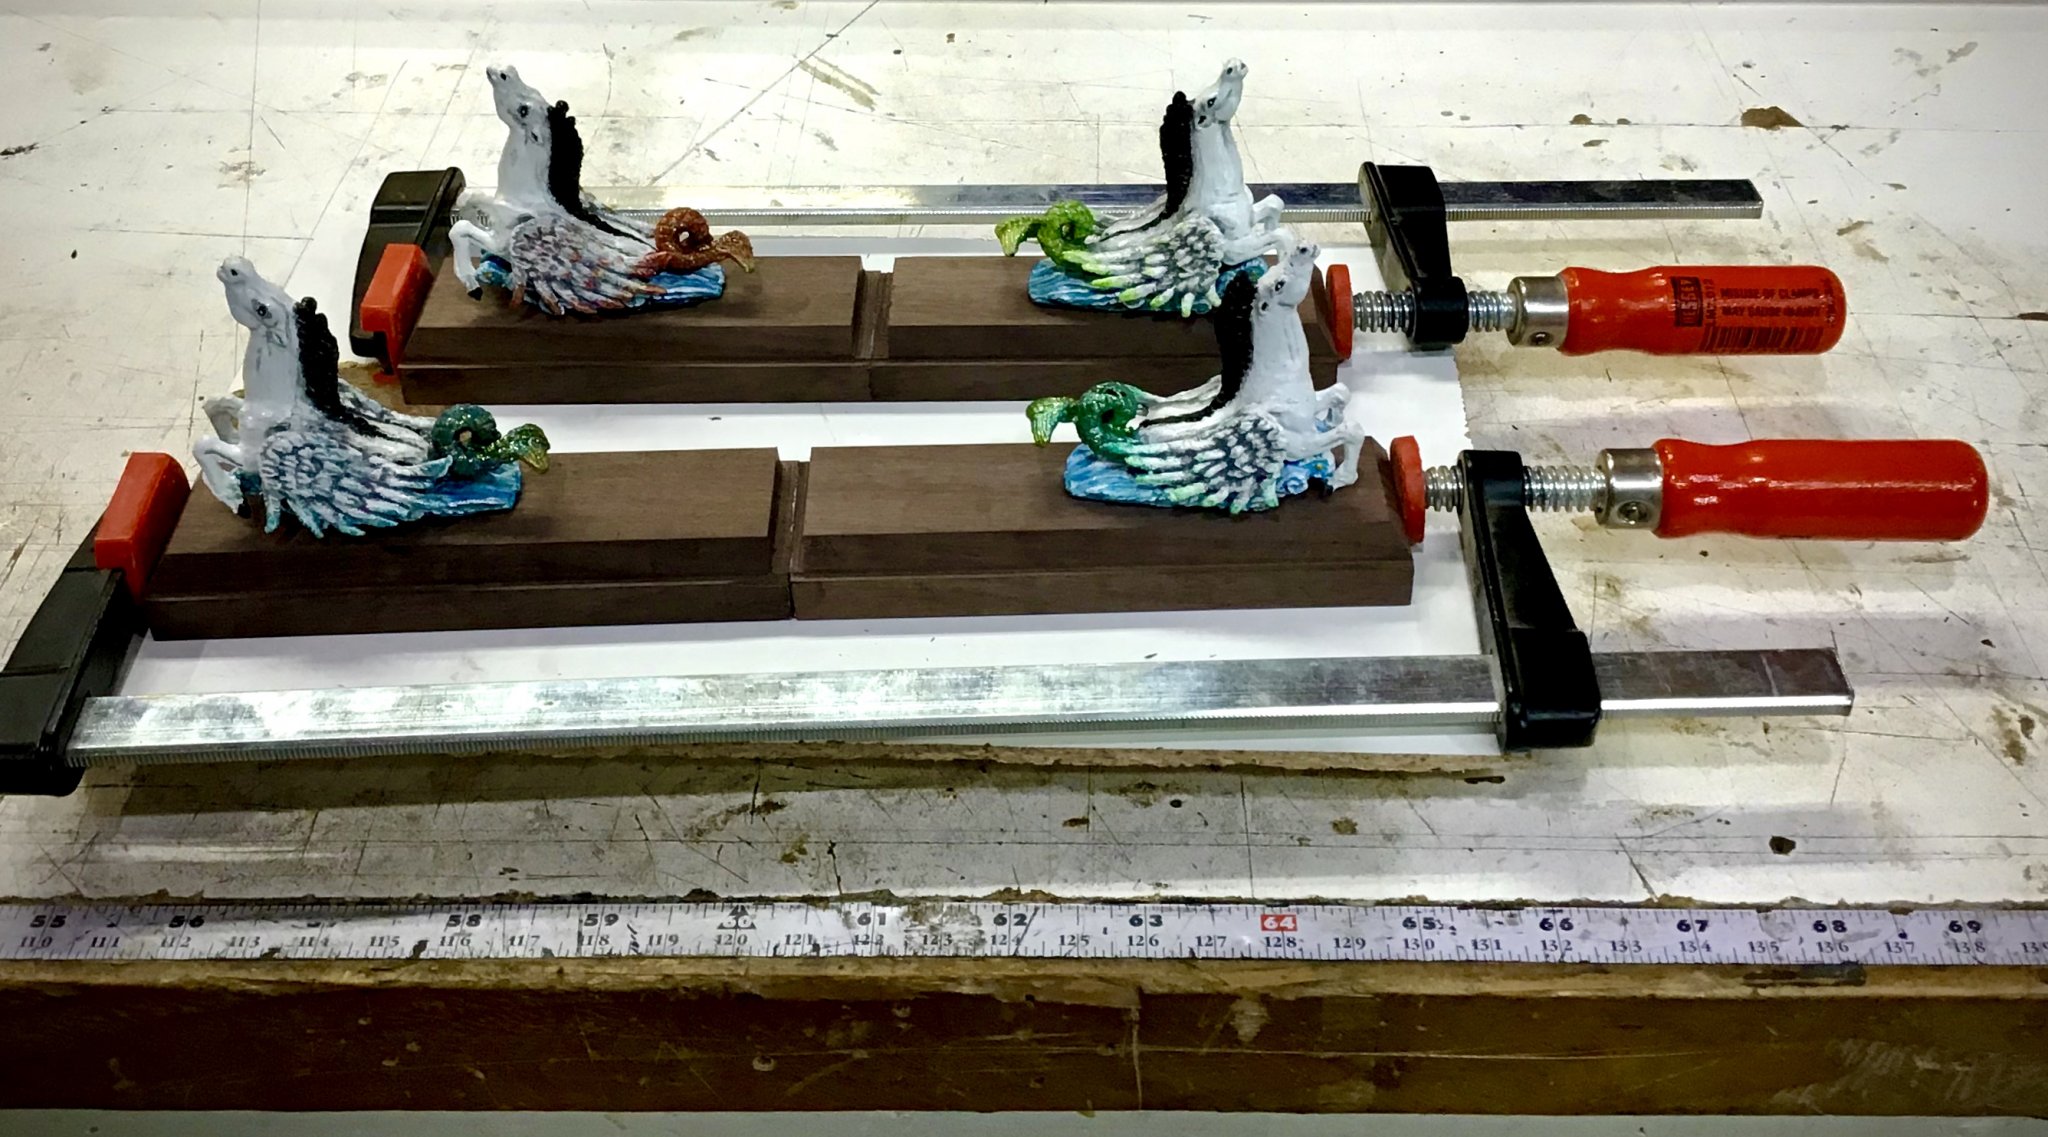
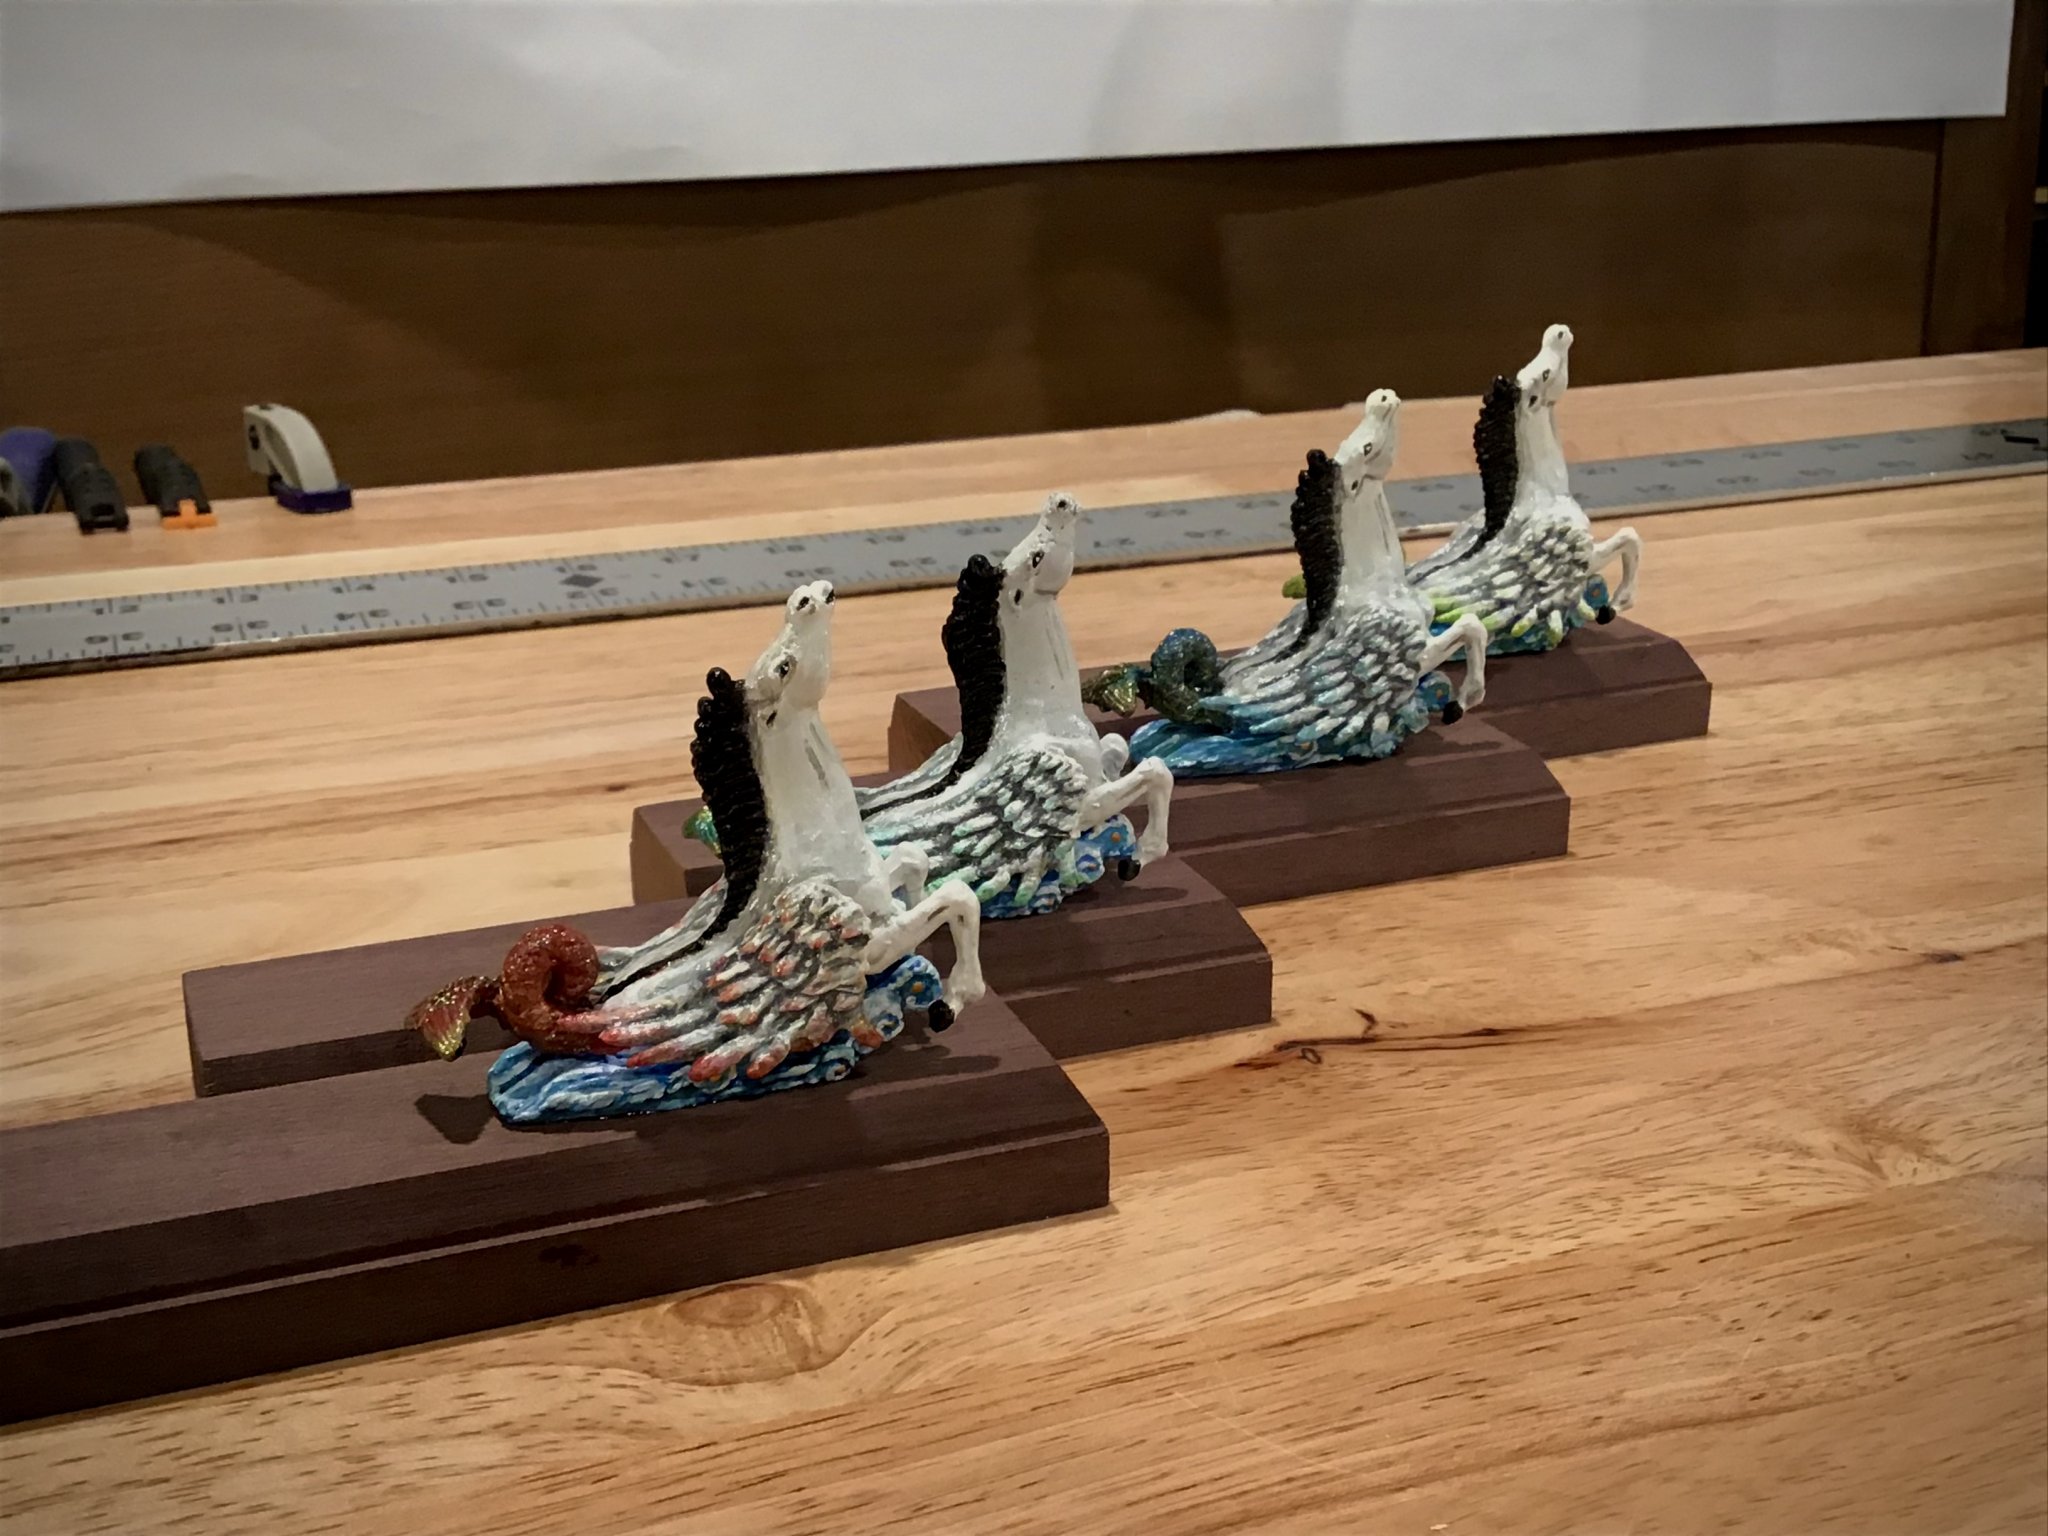
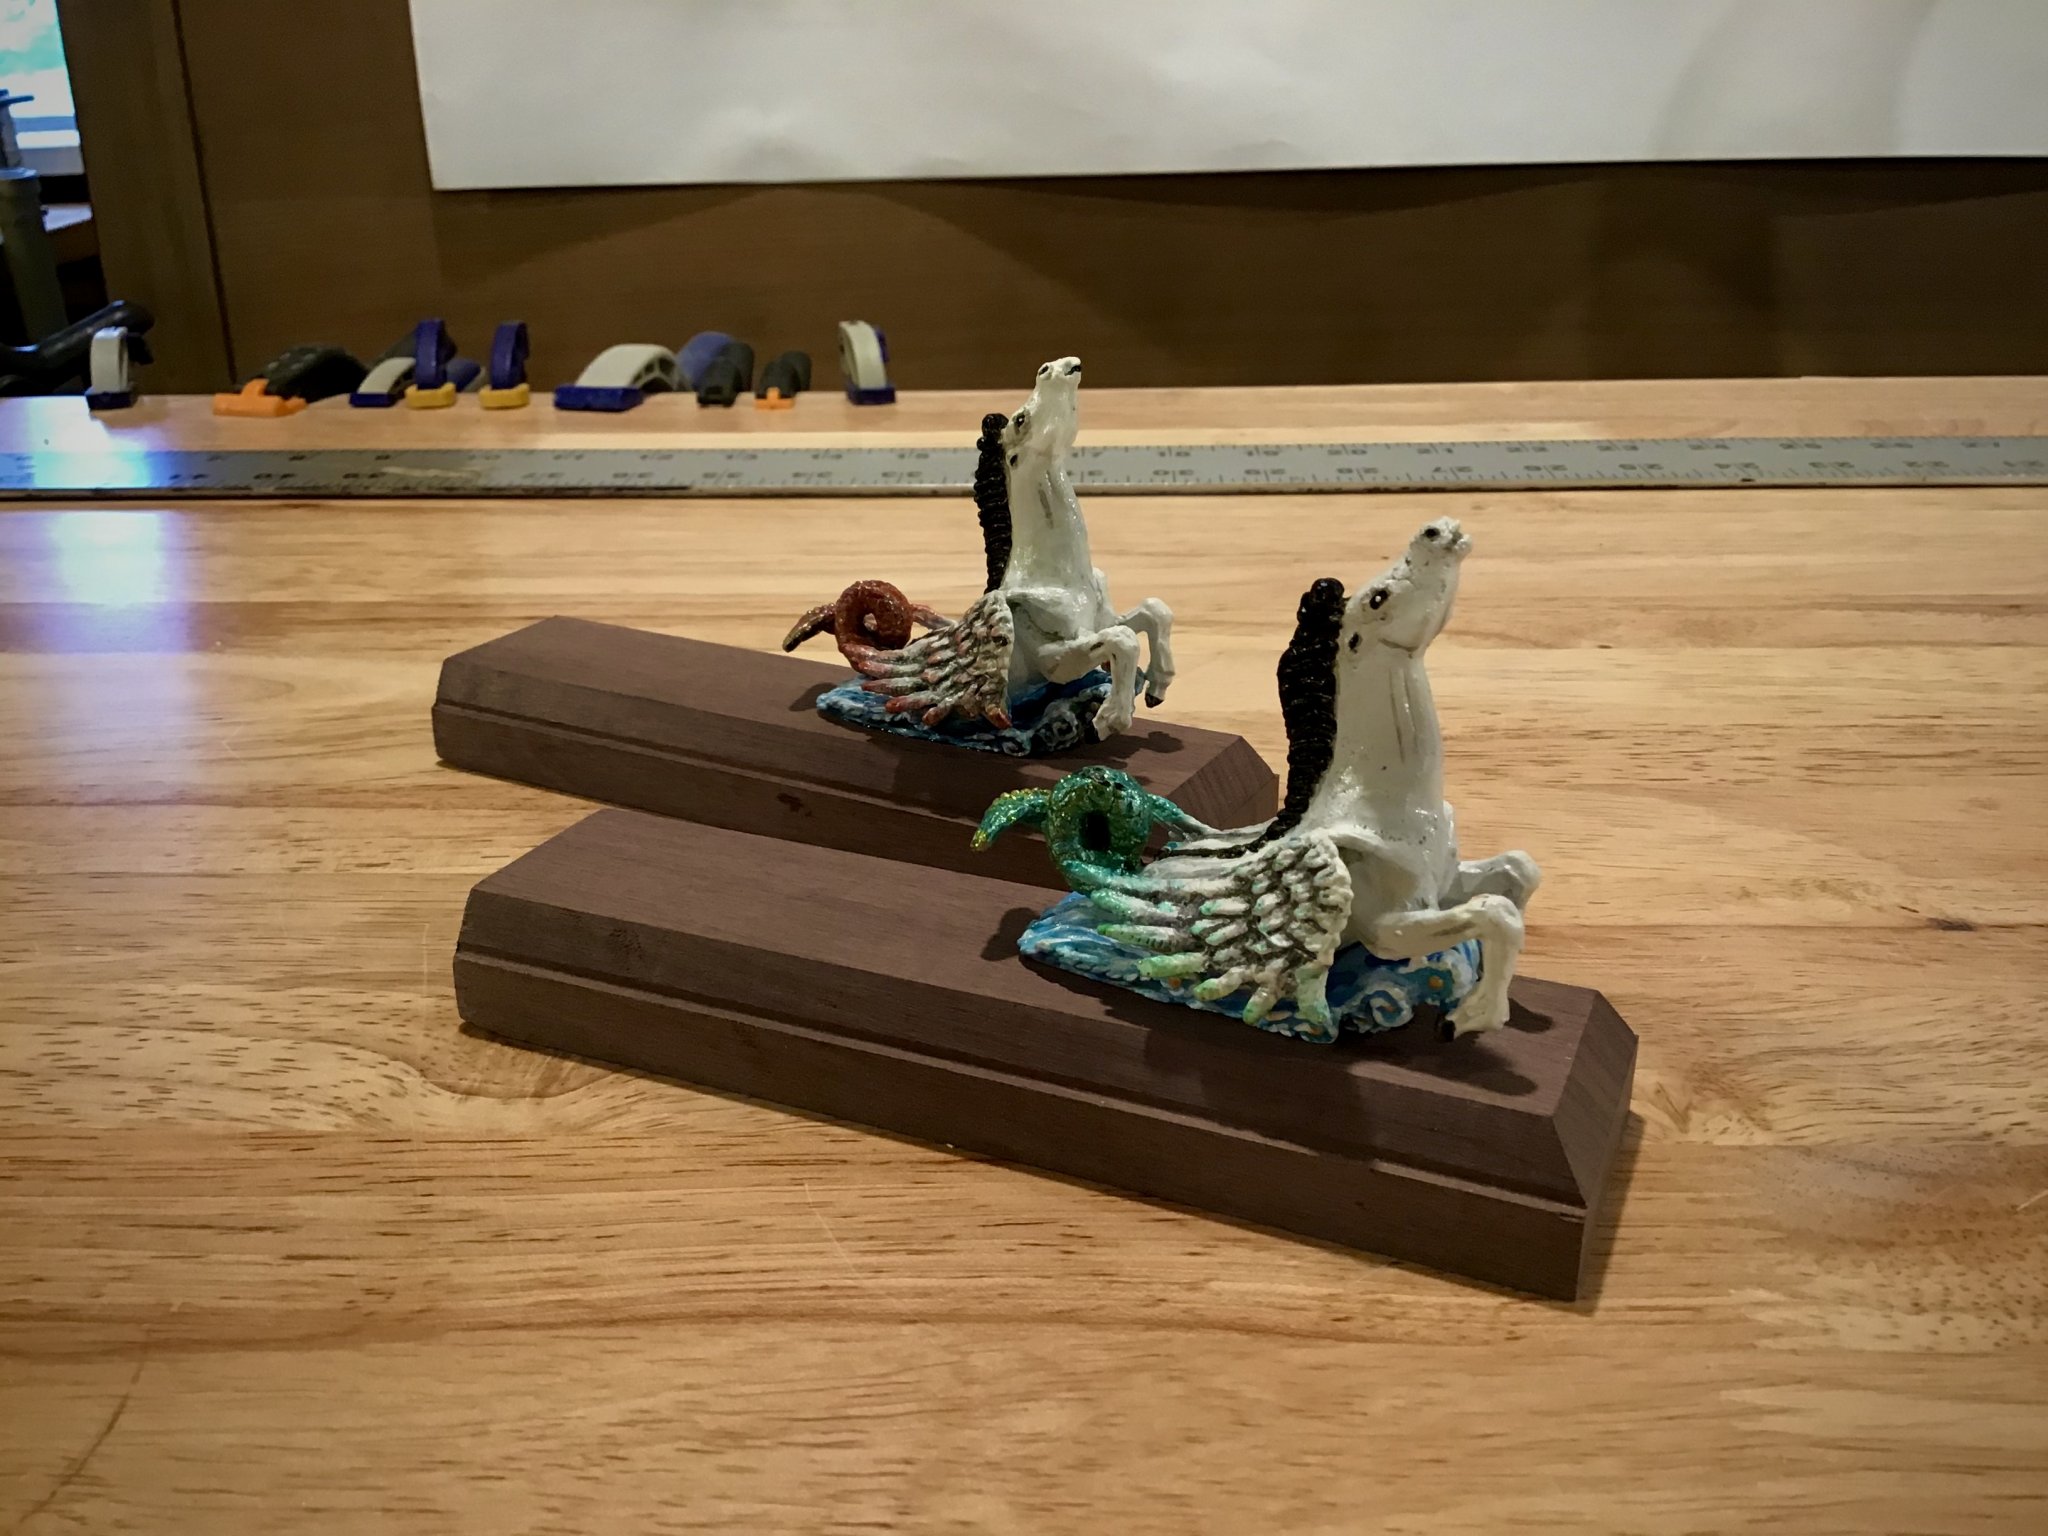
I decided to put my time to good use and start on my stand. I picked up some curly maple, joined it together for a base that is 14x47, ran it threw my drum sander. I purchased the Amanti Pegasus Mounts but really hated the color so I had them painted.


- 105 replies
-
- 3
-
-
- winchelsea
- Syren Ship Model Company
- (and 1 more)