
J11
-
Posts
510 -
Joined
-
Last visited
Content Type
Profiles
Forums
Gallery
Events
Everything posted by J11
-

Looking for plans or possible models of Magellan's ships.
J11 replied to J11's topic in Nautical/Naval History
Thanks guys for the new info. Went over many of the references and images last night along with some of Woodrat's build which is extremely helpful for construction purposes and ideas. I am amazed at how many representations of the Carracks there are along with the different sail interpretations. I'll try to find out who constructed the five ships at the archive along with what historical basis they had used. Hopefully I'll find out next week. It's interesting that the weapons are mentioned, as I was wondering just how many large and small type weapons of the era were on board the different types. Does seem that the artistic representations around that era do show weapons, that is a great find @Louie da fly. Read threw about half of his logs and will finish them today hopefully. It does seem that the early type carracks did have flat bottoms, but a few of the representations seems to show rounded bottom hulls also in that era. So I'll try to pick the brains at the archive for this information also. -
Looking for plans or possible models of Magellan's ships.
J11 replied to J11's topic in Nautical/Naval History
Well i got something for all the ships in model forms, I'll have to contact the archive and see if I can get better images: http://www.culturaydeporte.gob.es/cultura/areas/archivos/mc/archivos/agi/portada.html supposedly they are still on display there.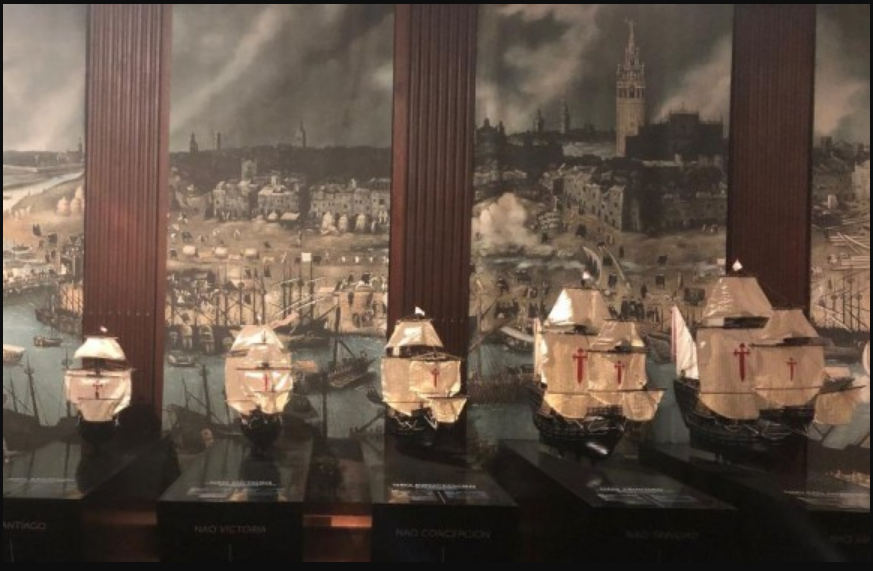
-
Looking for plans or possible models of Magellan's ships.
J11 replied to J11's topic in Nautical/Naval History
This is very rare and with heart felt thanks for all the data and information on these Magellan ships from the members here. It was brought to my attention that there was hardly any pertinent ship information on his ships along with possible models, well now thanks to you guys I have some excellent references and a model to work from. Louie da fly, that is a wealth of data to go threw and will be chewing it up like candy, thank you for the time and effort to give me such a complete starting point and report which would have taken me months to find and figure out. Got a couple more sails to work on tonight and will also be building the Magellan file from these references. Here's a pdf ESO site article which some of you might enjoy reading which pertains to Magellan and the stars they used to navigate by: https://www.eso.org/sci/publications/messenger/archive/no.181-sep20/messenger-no181-37-42.pdf Another to add to this type of research subject. I hope you enjoy it as I have. Those early ships were beauties, along with building them from scratch using rule of thumbs. From some of the earliest accounts of sea monsters seems to come from this era first, which is remained in the sailors minds even to this day. Very exciting and interesting topic with a great learning curve. One day I might just be able to come up with a scratch built model close to what was actually used. I will also put any other new information I find here in the blog along with some prototype drawings when I do get started on this long term project. Got a few ship kits to put together now but will be researching during "off the table" time to correlate the data and see what I can come up with. Maybe someone else also wants to give it a try as to produce this model along with his other ships, this would do model history a great service. -
Look forward to future posts, she's my next major build coming up. Looking good so far, like that vinegar oxide trick.
-
Does anyone know of any resources for plans or possible models of Magellan's ships that circumnavigated the globe on his historical voyages? Seems there isn't much available for ship plans on the net but basics, in hopes I can track down historically accurate plans or even someones model renditions. Quality image would be great also if historical detail is present. Thanks in advance for any help or suggestions!
-
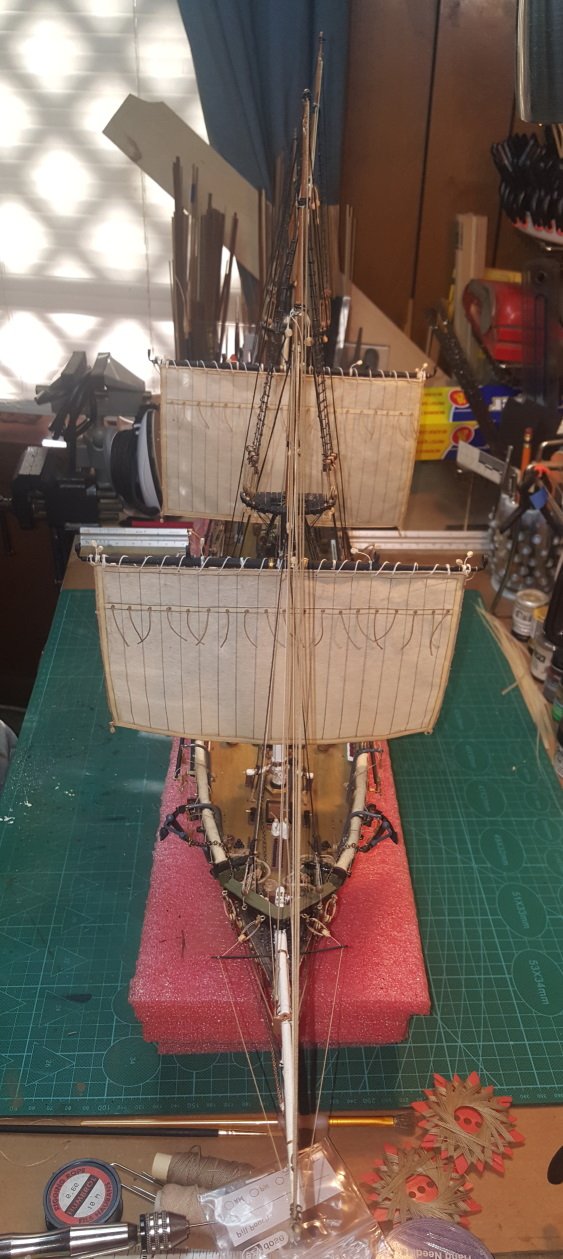
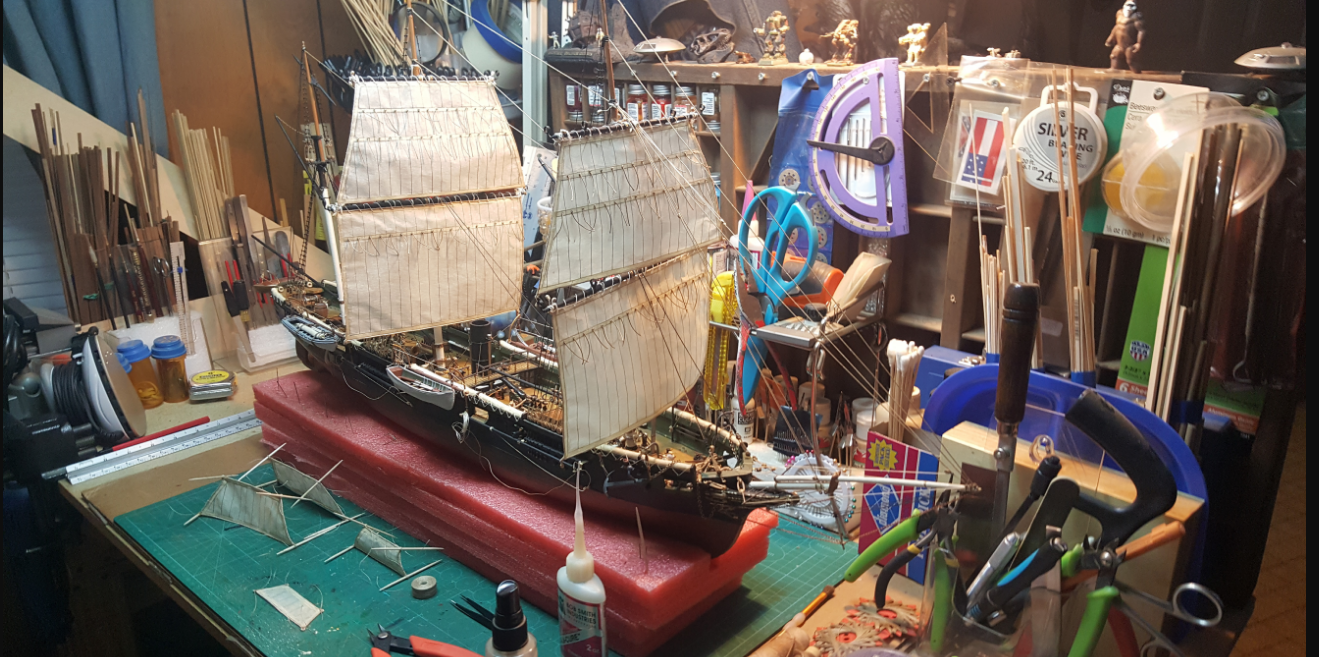
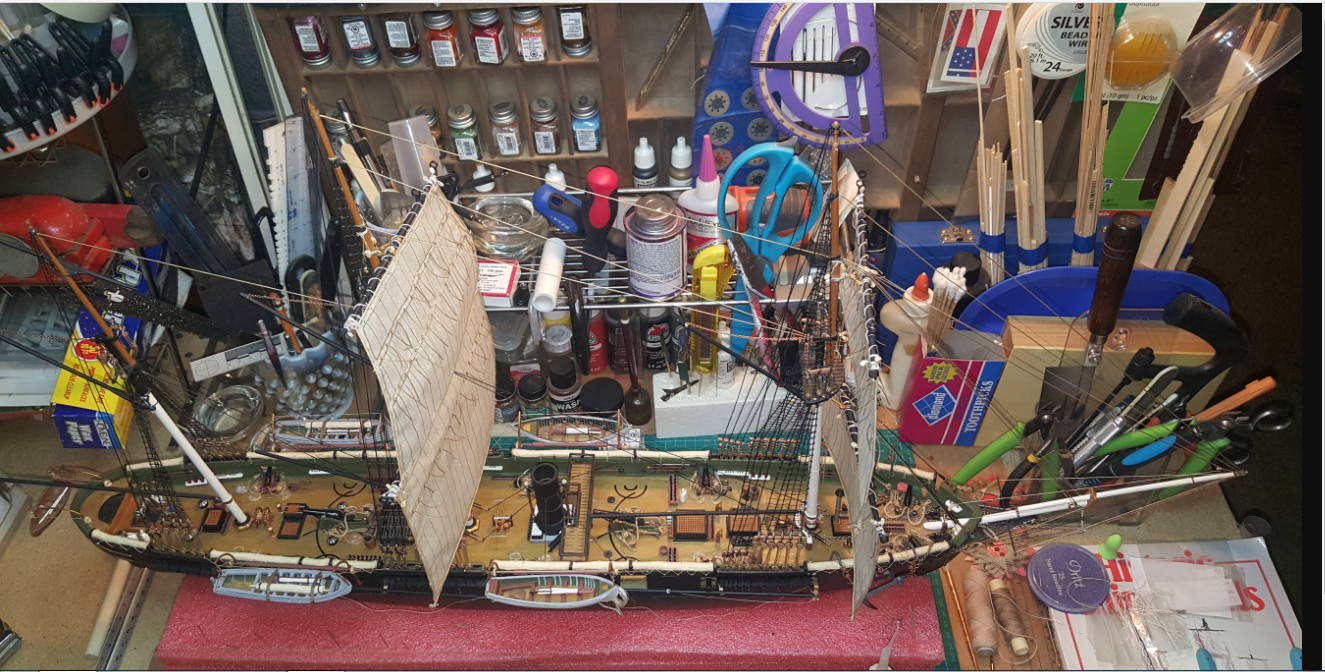
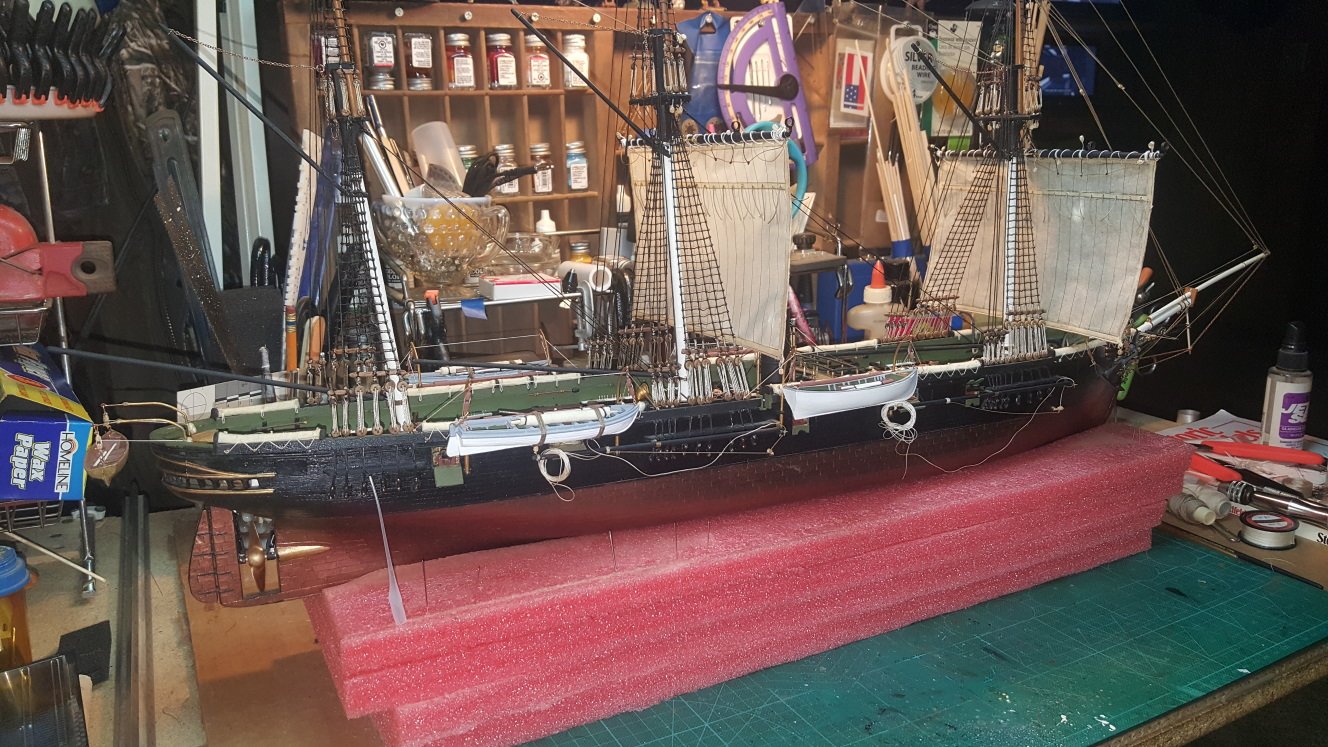
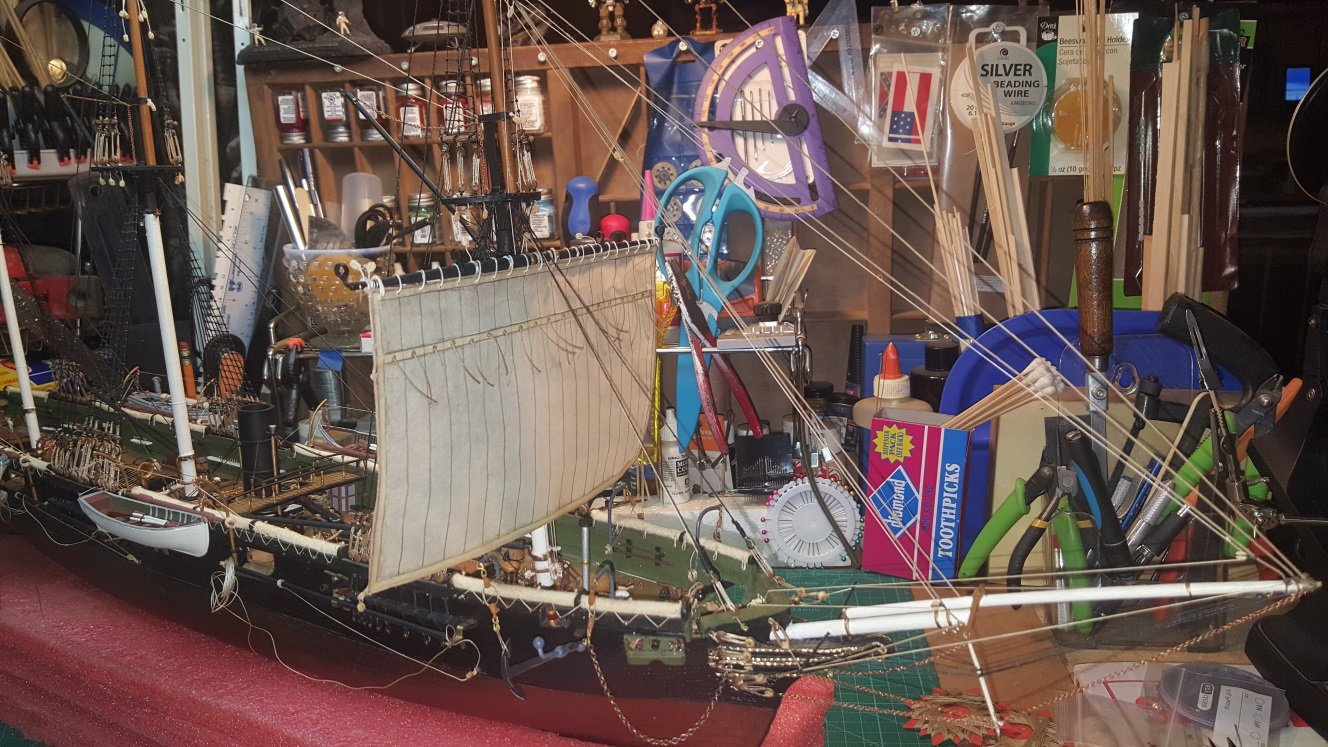
Been working away on her, here's a quick update. Sails are going on great and should have all the main masts finished by tonight and will post a couple images. Tooth pick trick, really helps in putting these together quickly, she's looking fairly good and will have to be extremely careful on rigging as my fore mast has already broken during install. Man these masts are fragile!
-
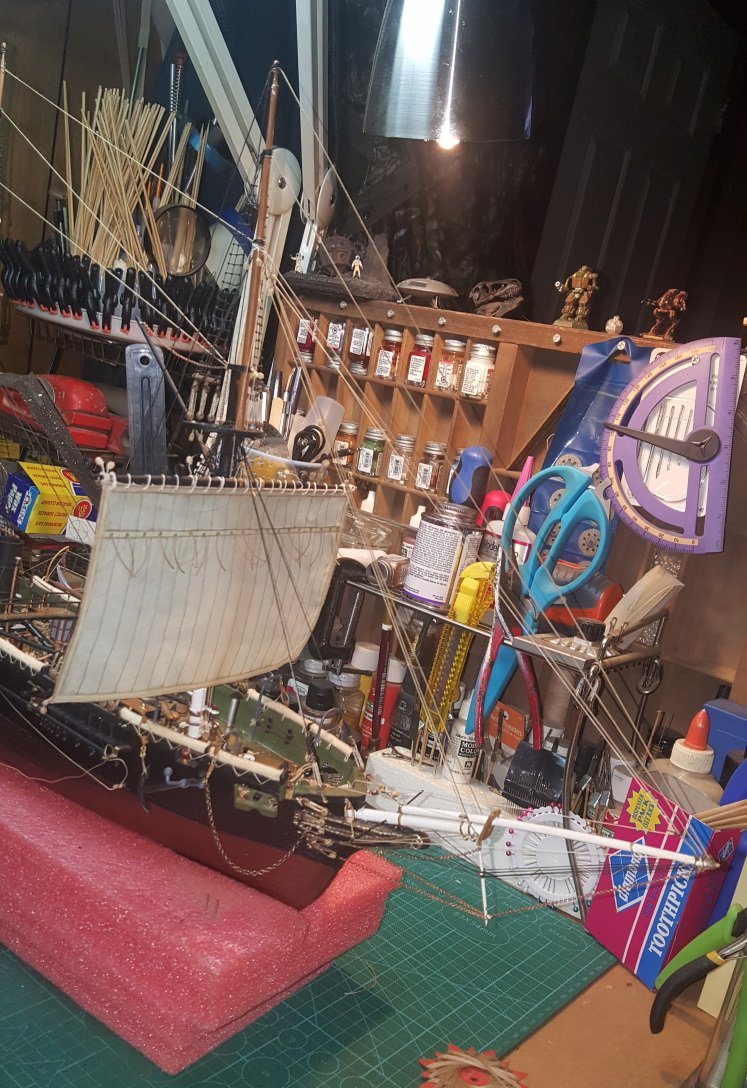
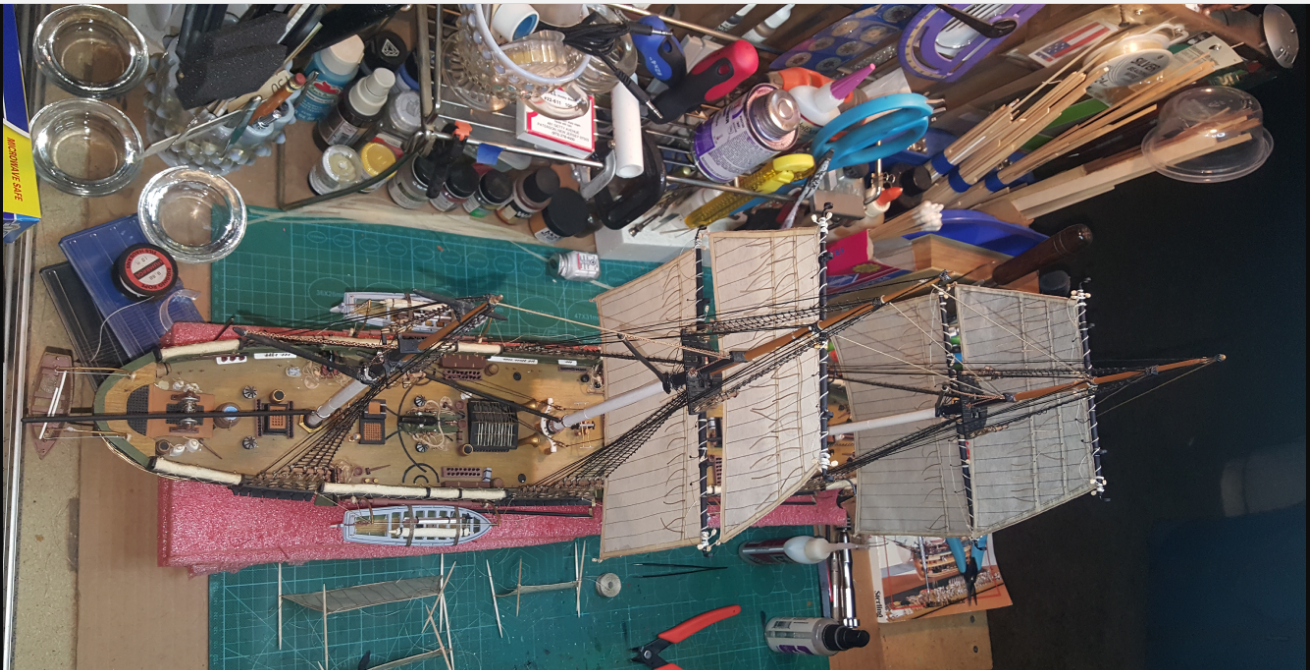
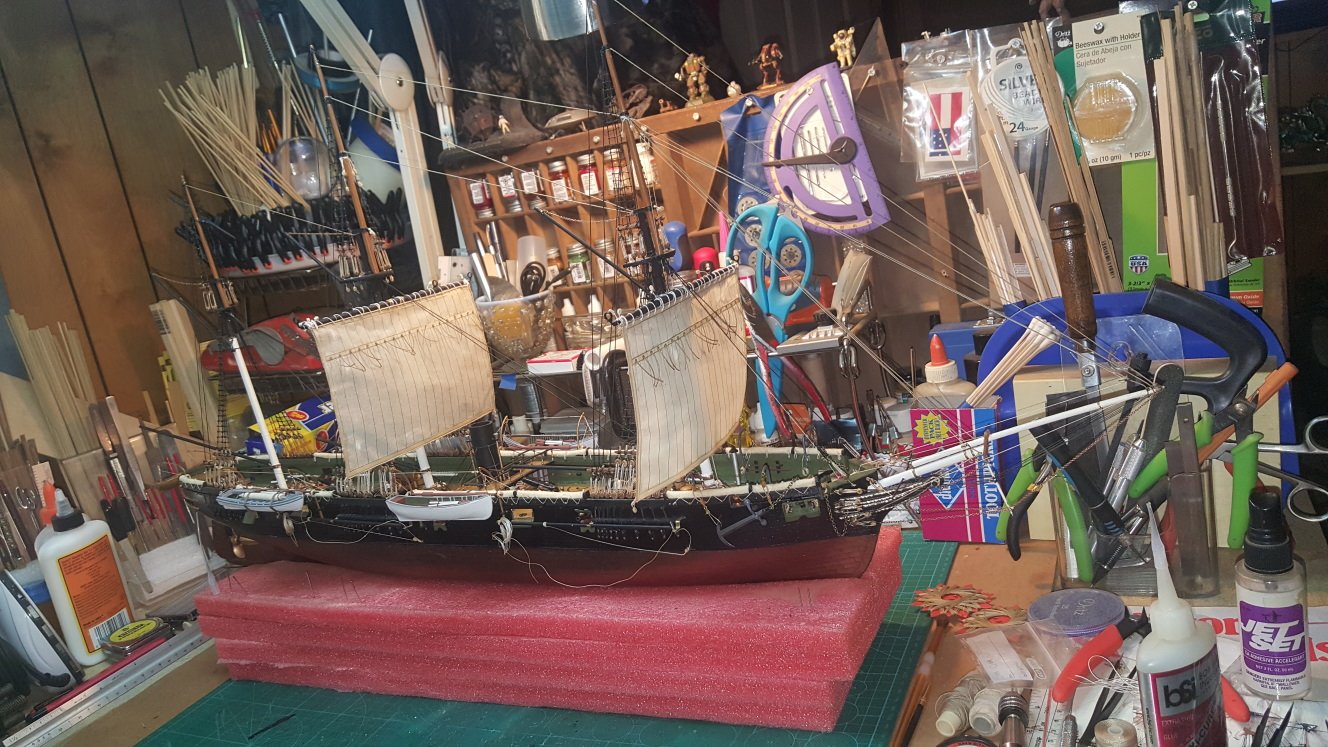
@EJ_L, the slow process is paying off. I'm going to have to reorganize my work table as the boom sails will take up almost the whole table for installation. Looks like fourteen inch's in width when the boom sails are installed. As long as I don't over rig these using bigger rigging rope; all the tie ins should be in scale. Might have to experiment a little to get them perfect along with color. For those whom might want to tackle this plastic kit in the future like I have: Using clothe sails would have weighted the booms down to much, with these paper sails being utilized there is hardly any weight. plus we get some really historical looking sails with color and size. I agree well worth the effort. Should have some more images tomorrow. Thanks for all the likes and visiting my progress.
-
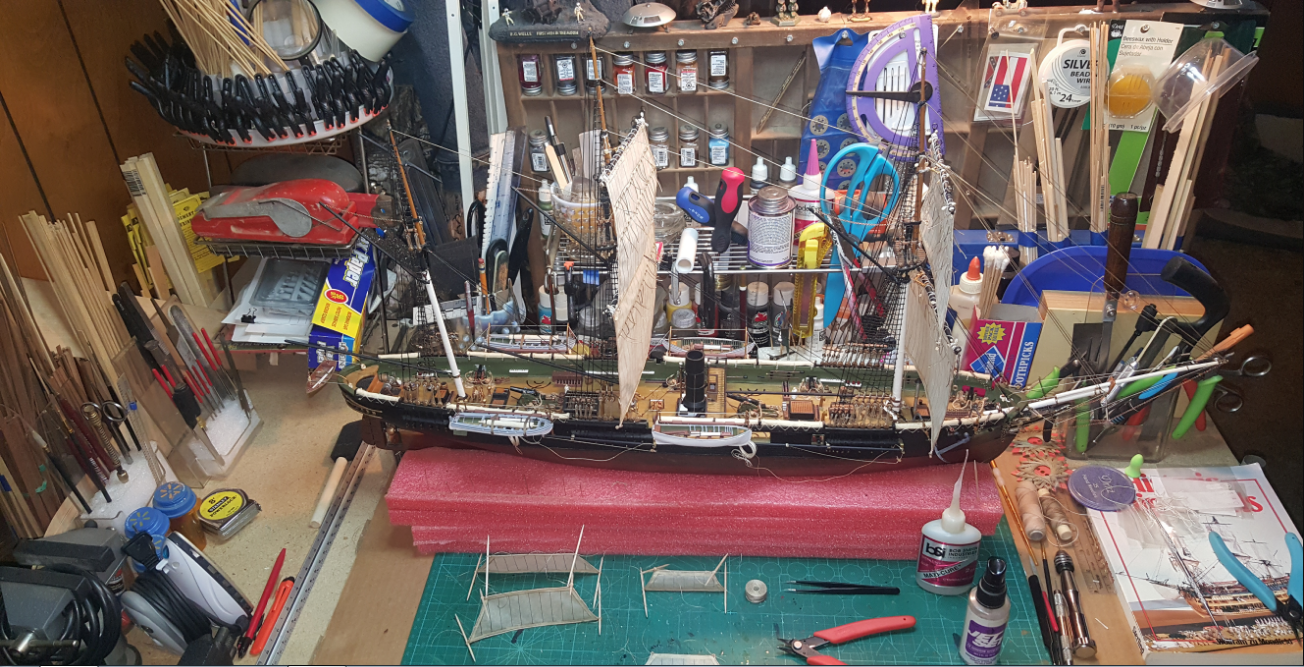
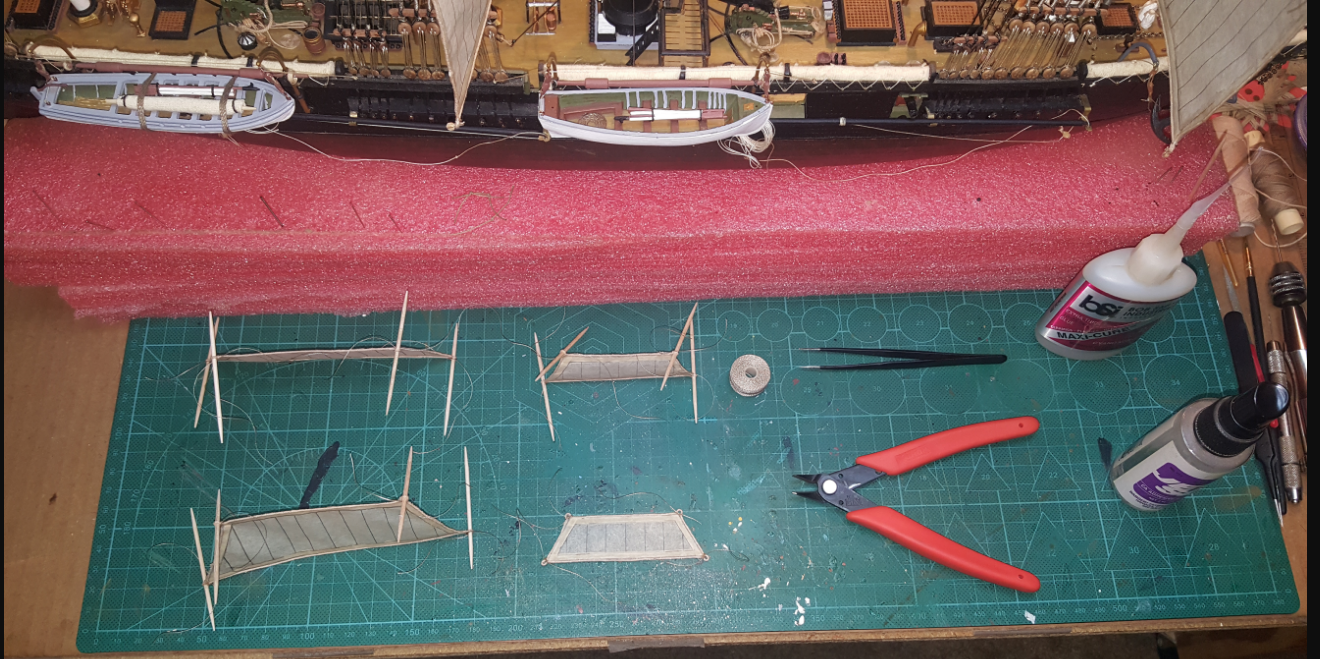
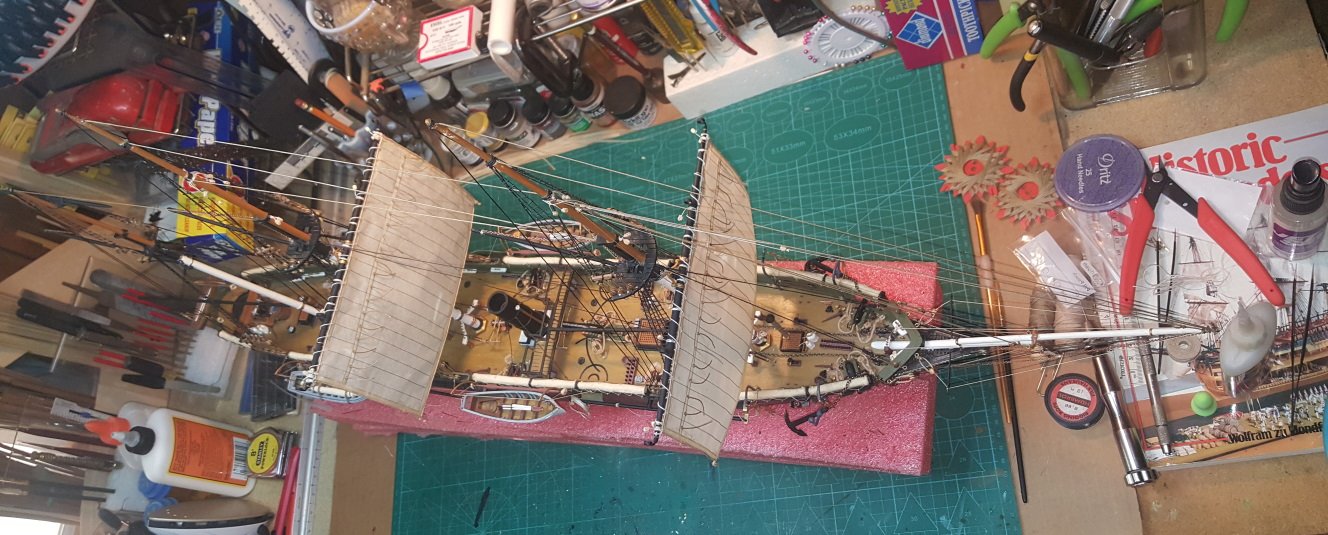
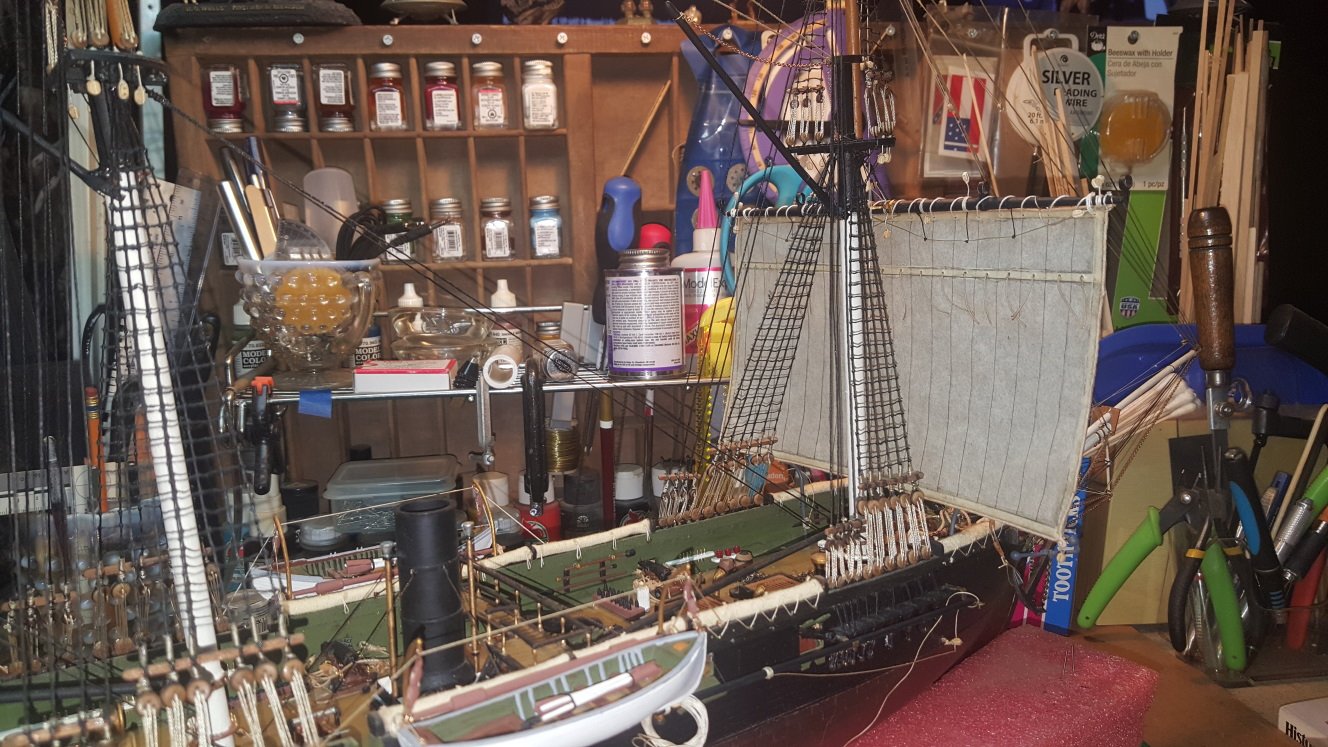
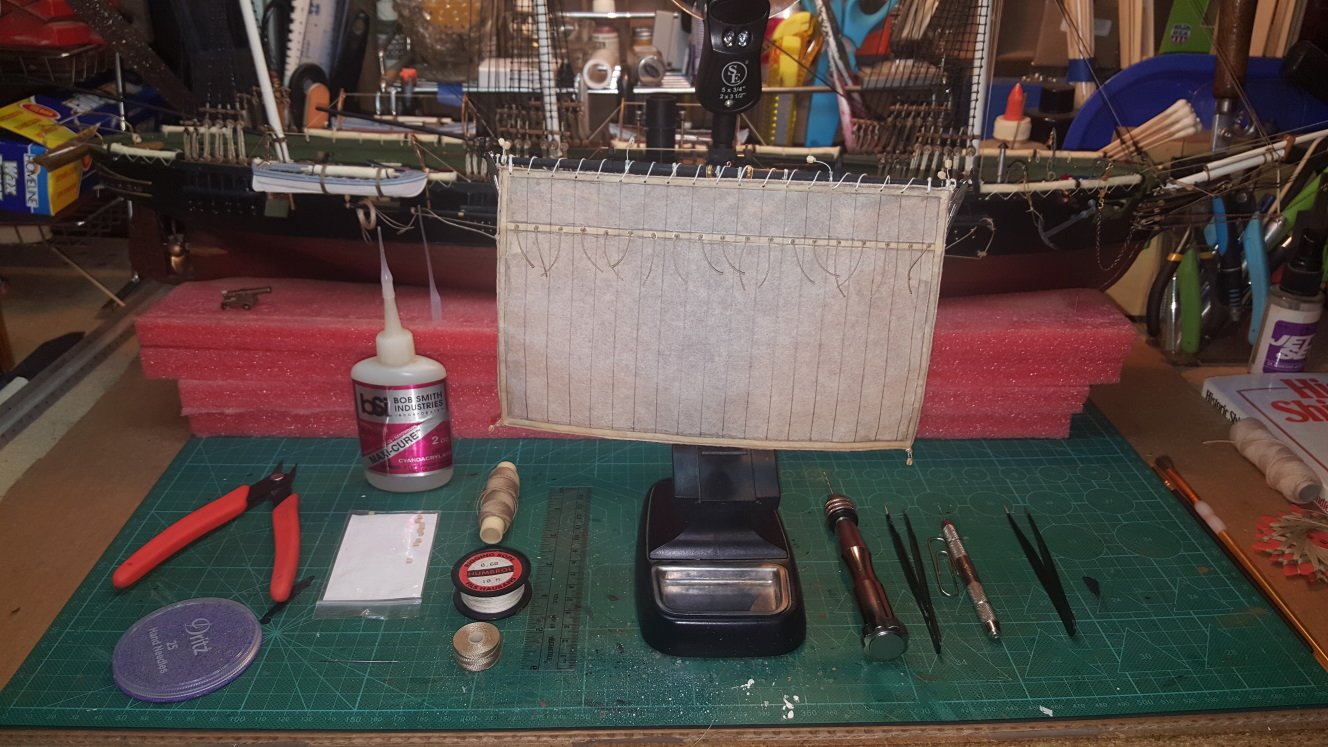
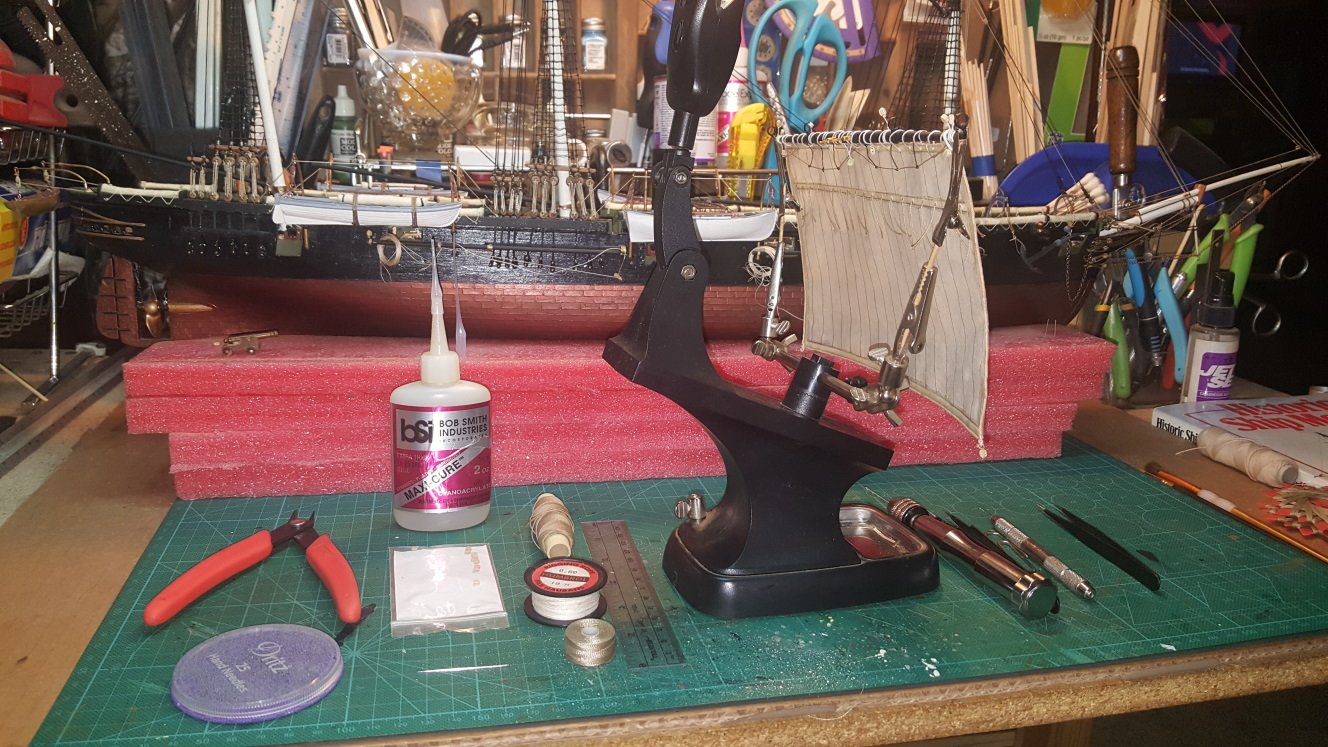
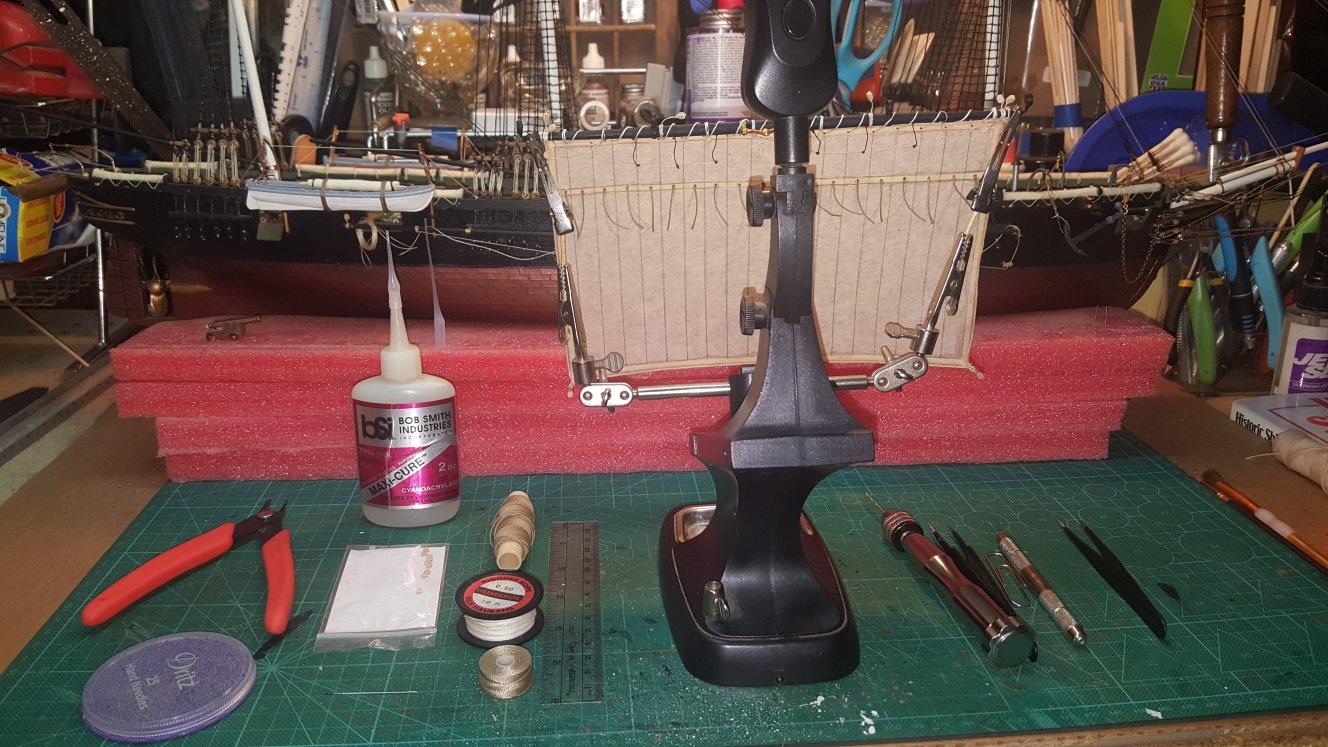
Here's a tooth pick trick in helping to tie those difficult corner loops, also these don't have drilled holes yet for reef points and boom mounting. As long as you slowly drill them it works great. I am also very pleased in the strength of the sails with just one paint coat, along with one light glue coat; over the whole sail during assembly. Was expecting them to tear and split during the added detail work, tough stuff. The second one is up and mounted, will have to do some touch up painting on the mounting hardware and will wait till I get all of them mounted for final touch's before I rig them. I'll post some more images when I have the other two sails I'm working on mounted. The sail construction is moving better as I have gotten procedures down pat for them. I will wait to rig all of them once I have all installed , plus have to order some more blocks. The two new sails will take sixty plus reef points (image one) so I'll be tying all morning and in hopes they will be mounted by tonight. More to come soon.
-
Loved the video! Where can I get one of those invisible robots??
-
I had forgotten to mention that I add a small amount of filtered water to the glue mixture also for ease in applying.
-
@mtaylor, glad you like them also. I have completed the second sail for the main mast and will have images of it tomorrow. Got her mounted and just waiting for it to dry before I work with the mounting hardware a little for fine tuning. My wife's doing fine and showing no symptoms nor I so I feel were clear, as I have said before it's a real pain. The county and state though have large increases which is troubling. Thanks for the well wishes, really appreciated. Thanks for all the input and likes everyone!
-
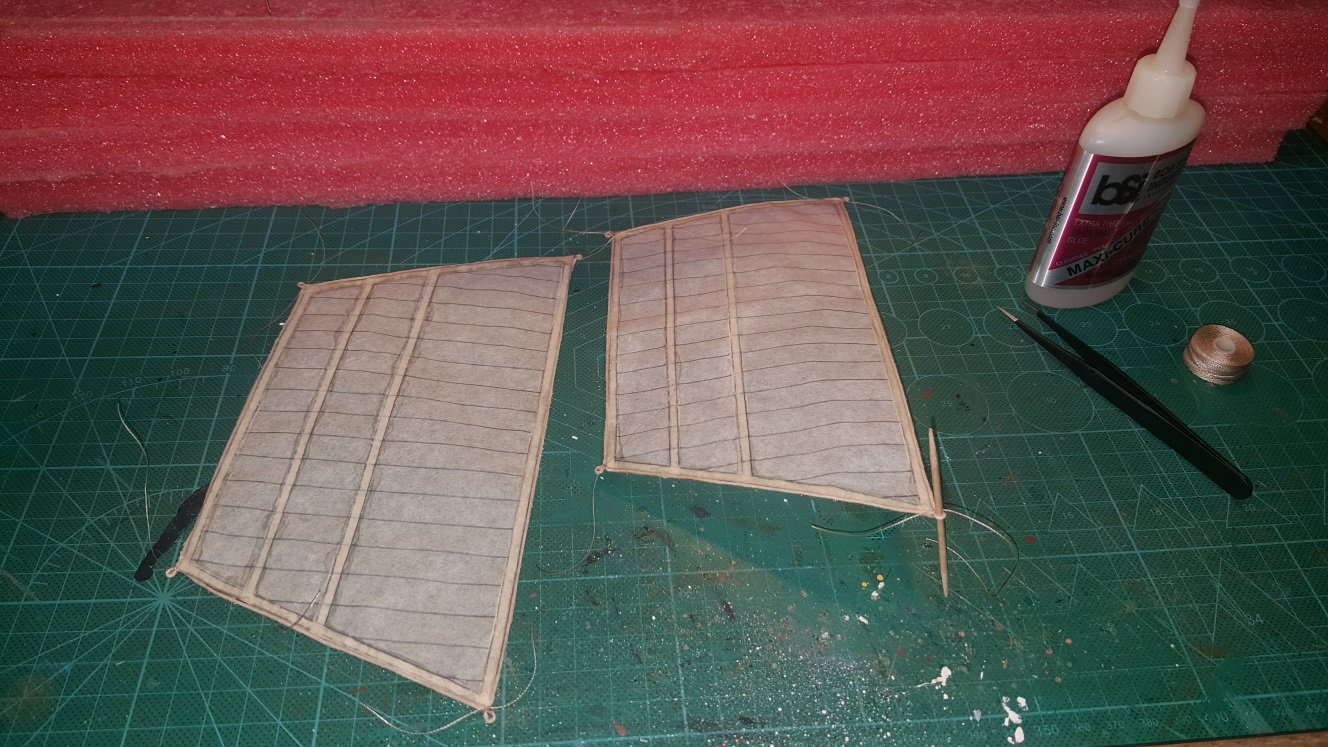
Sure, I have used a combination of Gorilla Household glue with a 1/4 mix of Elmers extra strong formula. Then around the corners when adding the blocks and tying them off for my loops I used just a small amount of Maxi cure BSI. With the BSI it was just a micro drop as not to use to much because it will discolor the sails, plus I need the flexibility on the corners. The drying time was six to twelve hours depending on how much was used as I wanted them tight and dry before starting the final touch's. @Hubac's Historian, works well and so far they are holding up just fine with no tearing.
-
Excellent work on her, extremely neat and clean installation. Look forward to your updates!
-
@Hubac's Historian I was worried at first that they would overwhelm the model and make her look junkie with all these sails. But as I was working on them along with checking my references those fears dissipated. Using the material, I do have to admit it's stronger than I figured, also and am impressed by the strength when adding the rigging and extra parts to the sails. Just takes the time to put together properly from the start and using the right glues for bonding too. Plus it just goes to show that listening to others suggestions really pays off. Who says you can't teach an old dog new tricks?
-
Ambitious for a first wooden build, MSW has many excellent blogs for reference from past members building her. Look forward to a future blog with your build also. Welcome on Board!
-
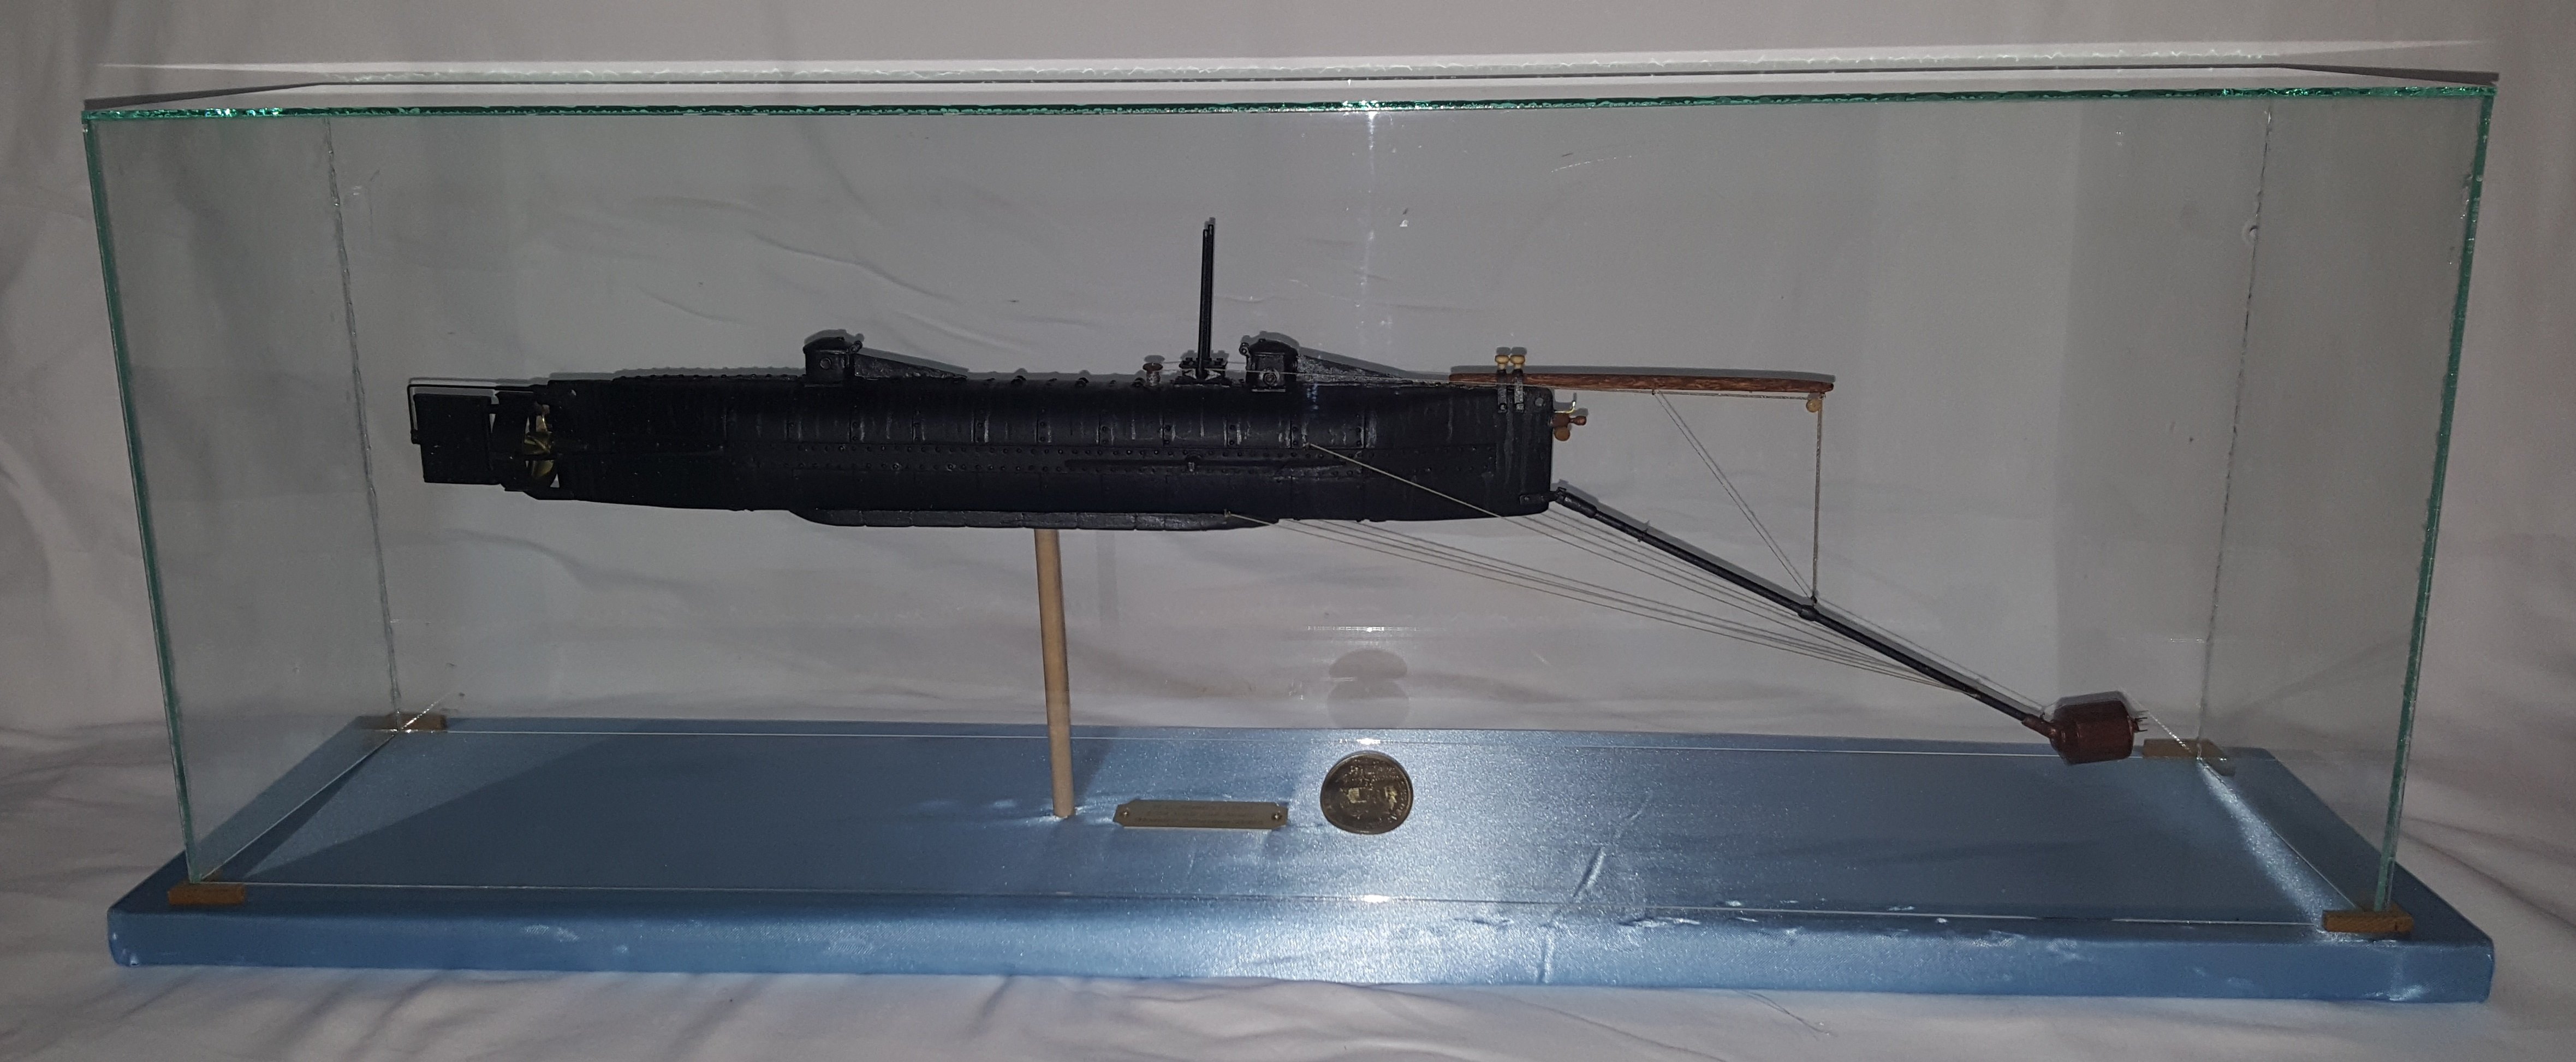
Museum quality model. The base you have chosen using the marble, adds to the actual historic time period is really a sharp idea. Love the color scheme also with all the individual men and shields blending in with the ship. Outstanding work, next years calendar show image for sure! Congratulations!
-
Amazing it's from a plastic kit, fine detailing with your craftsmanship is really bringing out a beauty of a ship. Catching up on some blogs and been missing a bunch.
- 2,437 replies
-
- 3
-

-
- heller
- soleil royal
- (and 9 more)
-
@Old Collingwood, much appreciation. Working on sail #2 tonight for awhile and hopefully can speed up the process.
-
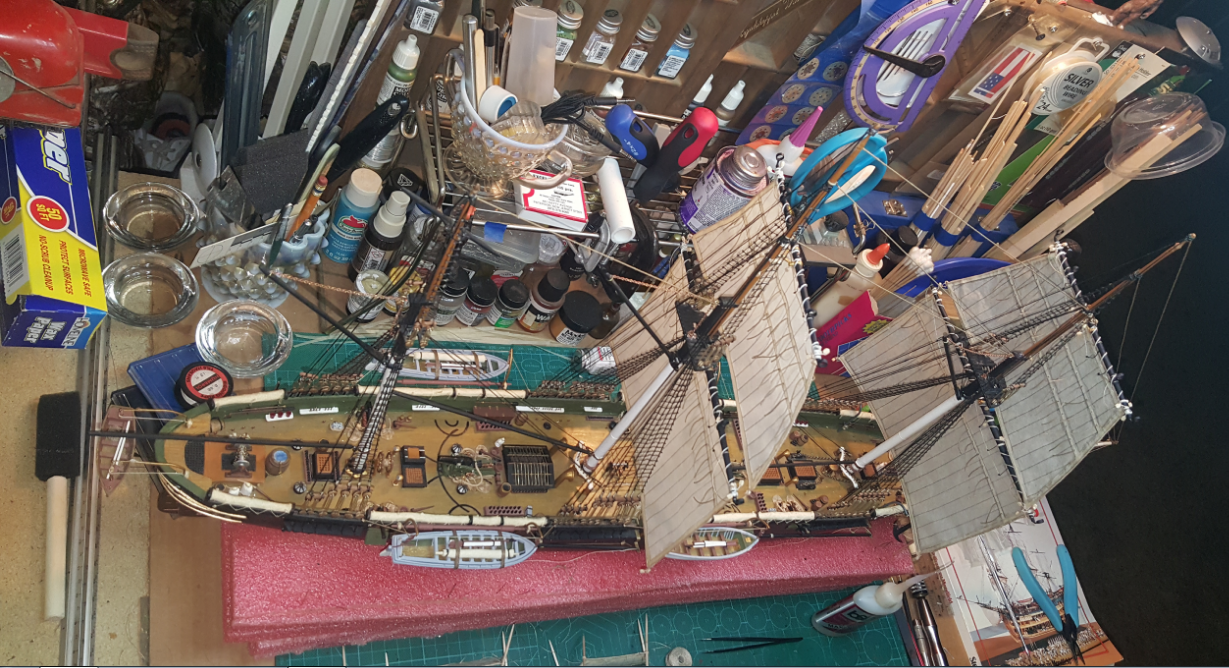
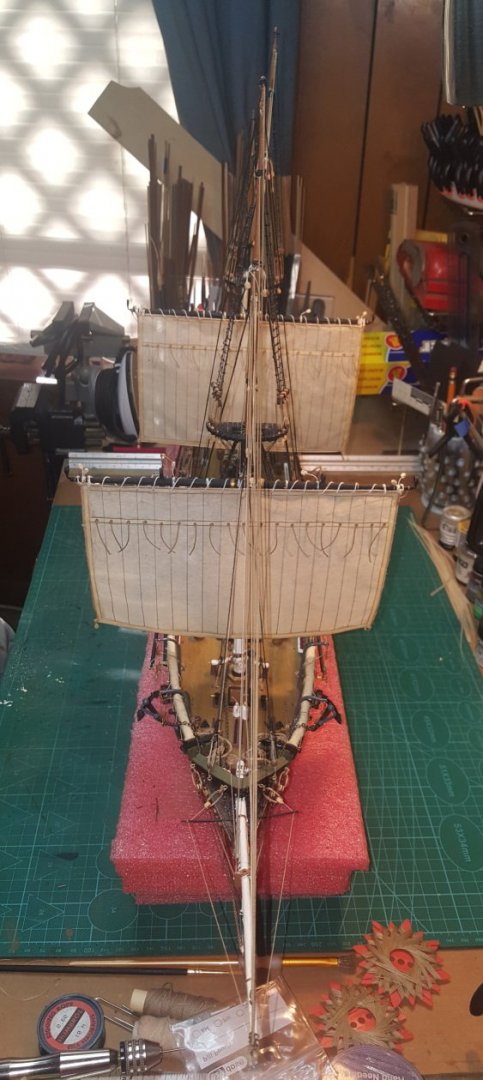
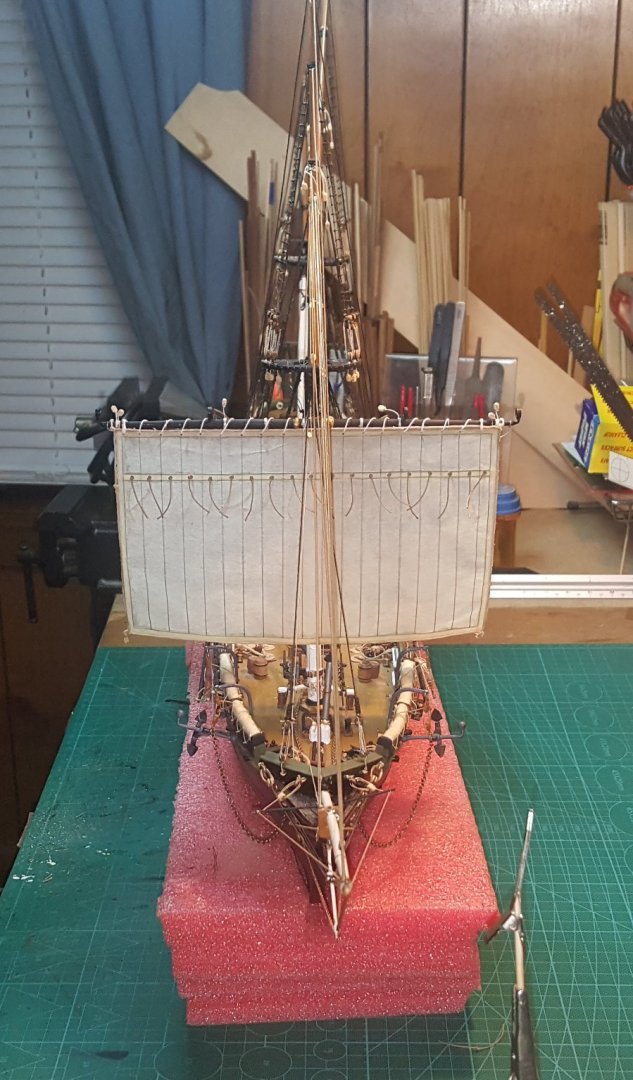
Hey @Keith Black, many thanks! Crazy stuff and I'm real tired of dealing with it but we all have to work threw it. Worked real gently and managed to mount the sail. Looks like I got the size on the money and will be working on the others tomorrow. Here's a few images to show the mount, thanks for the input on them gentlemen. Post some more images soon, thanks for the likes!

-
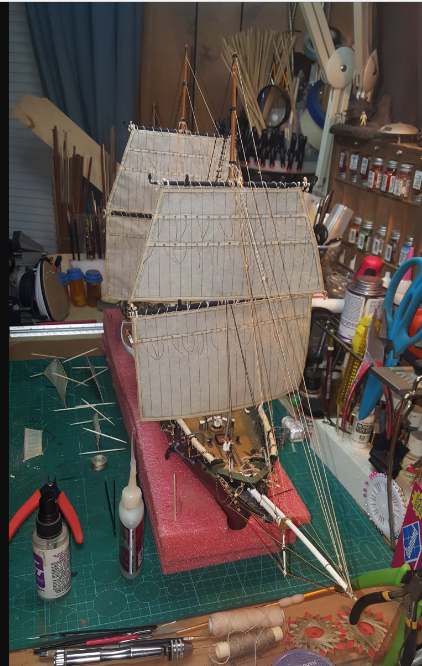
Thanks @Hubac's Historian, bunch of work for these and well worth the time for detailing her out. Excited to get this one done along with putting the boom sails on. Will be a couple more months probably but I'll see how they go. Also wishing all good health, wife is in quarantine for Covid-19, found out today when she went to the doc. So I'm stuck at home and have to work on my model.. shame. She'll be fine as I feel she doesn't have it but was exposed and they go nuts when this does happen. Plenty of model time now.
-
Well this is a learning process on these sails, building and then mounting does take a tremendous amount of time for the first few. Been about 3 days putting this one together along with mounting work. Not to bad, I'll work on mounting to the mast tonight and see if I can post some more images later. I did use four sizes of rigging to give more detailing on them, I'm pleased with how they are turning out. Shaping will work great when I put the other rigging lines on them for curvature as being wind blown. I'll work out the wind direction for them when I start mounting them to the masts. Then duplicate the angles for the others. Might just run these straight wind as the boom sails might look better that way when added. Decisions, decisions. One down and many more to go: Hopefully have the mounting images soon also. Well gentlemen; thoughts on how the first one looks?
- 374 replies
-
- 10
-
-
A method for making panelled sails using paper
J11 replied to Cathead's topic in Masting, rigging and sails
Great instructions on those reef points, will help a lot. Appreciate the time you took for this tutorial.- 49 replies
-
- 4
-
-
- sails
- sail panels
- (and 1 more)
-
Superb work on her, look forward to more updates!
-
She's looking ship shape, nice planking along with contrasting lines on the hull. Look forward to more updates.
- 135 replies
-
- 2
-
-
- billing boats
- half moon
- (and 1 more)