


niwotwill
-
Posts
586 -
Joined
-
Last visited
Content Type
Profiles
Forums
Gallery
Events
Posts posted by niwotwill
-
-
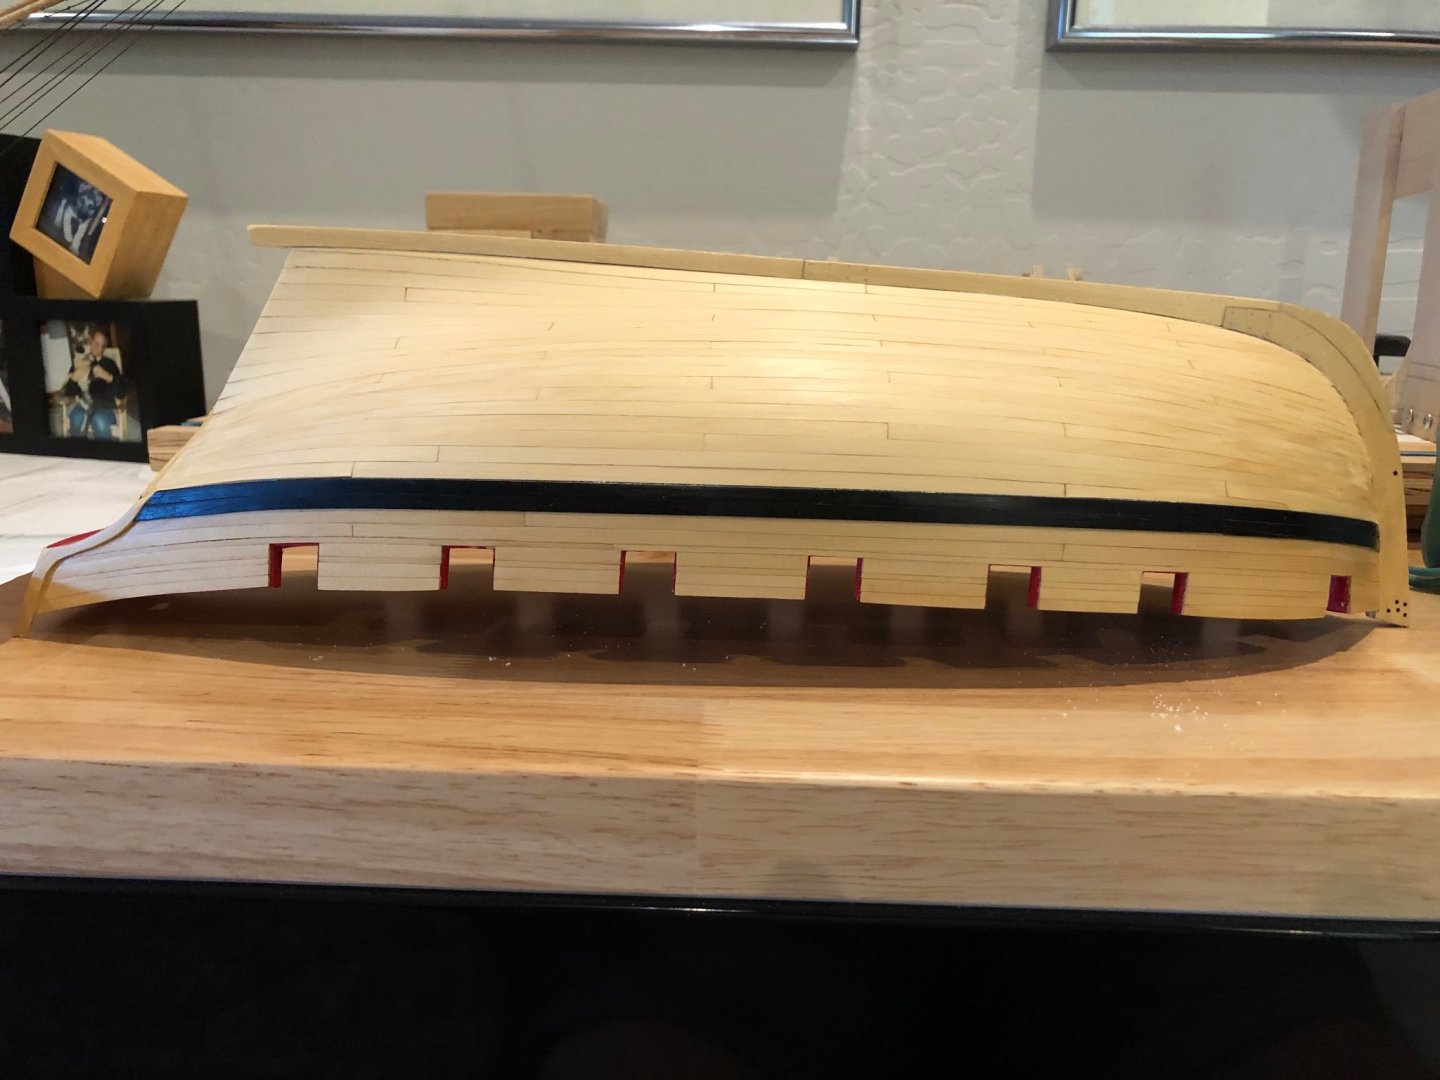
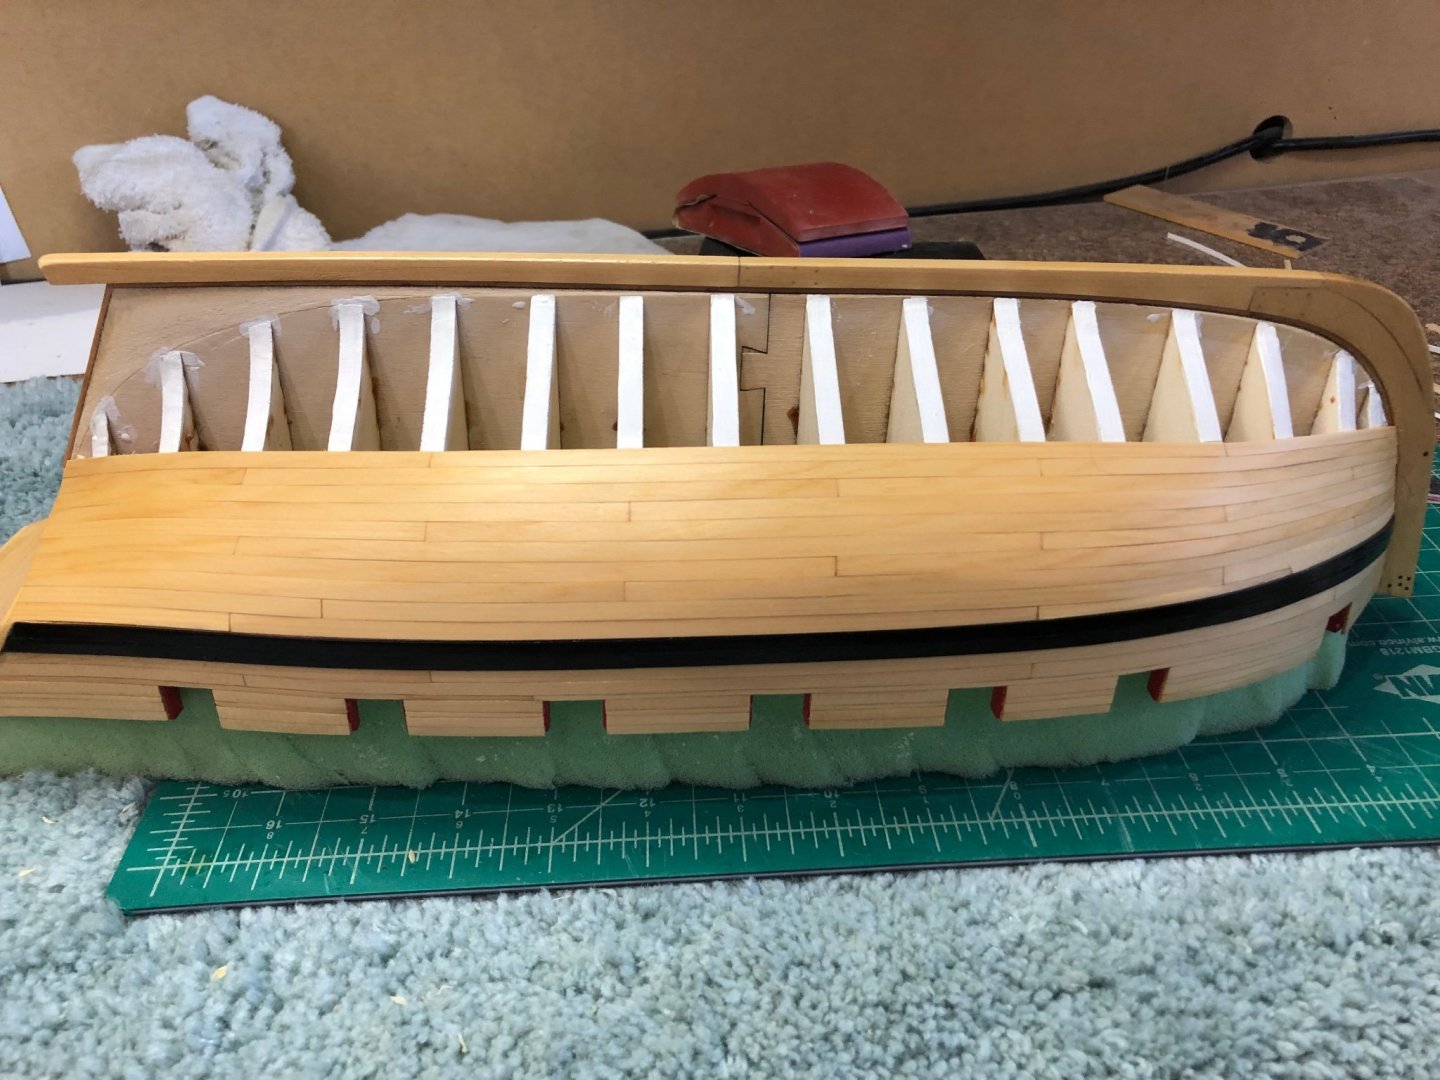
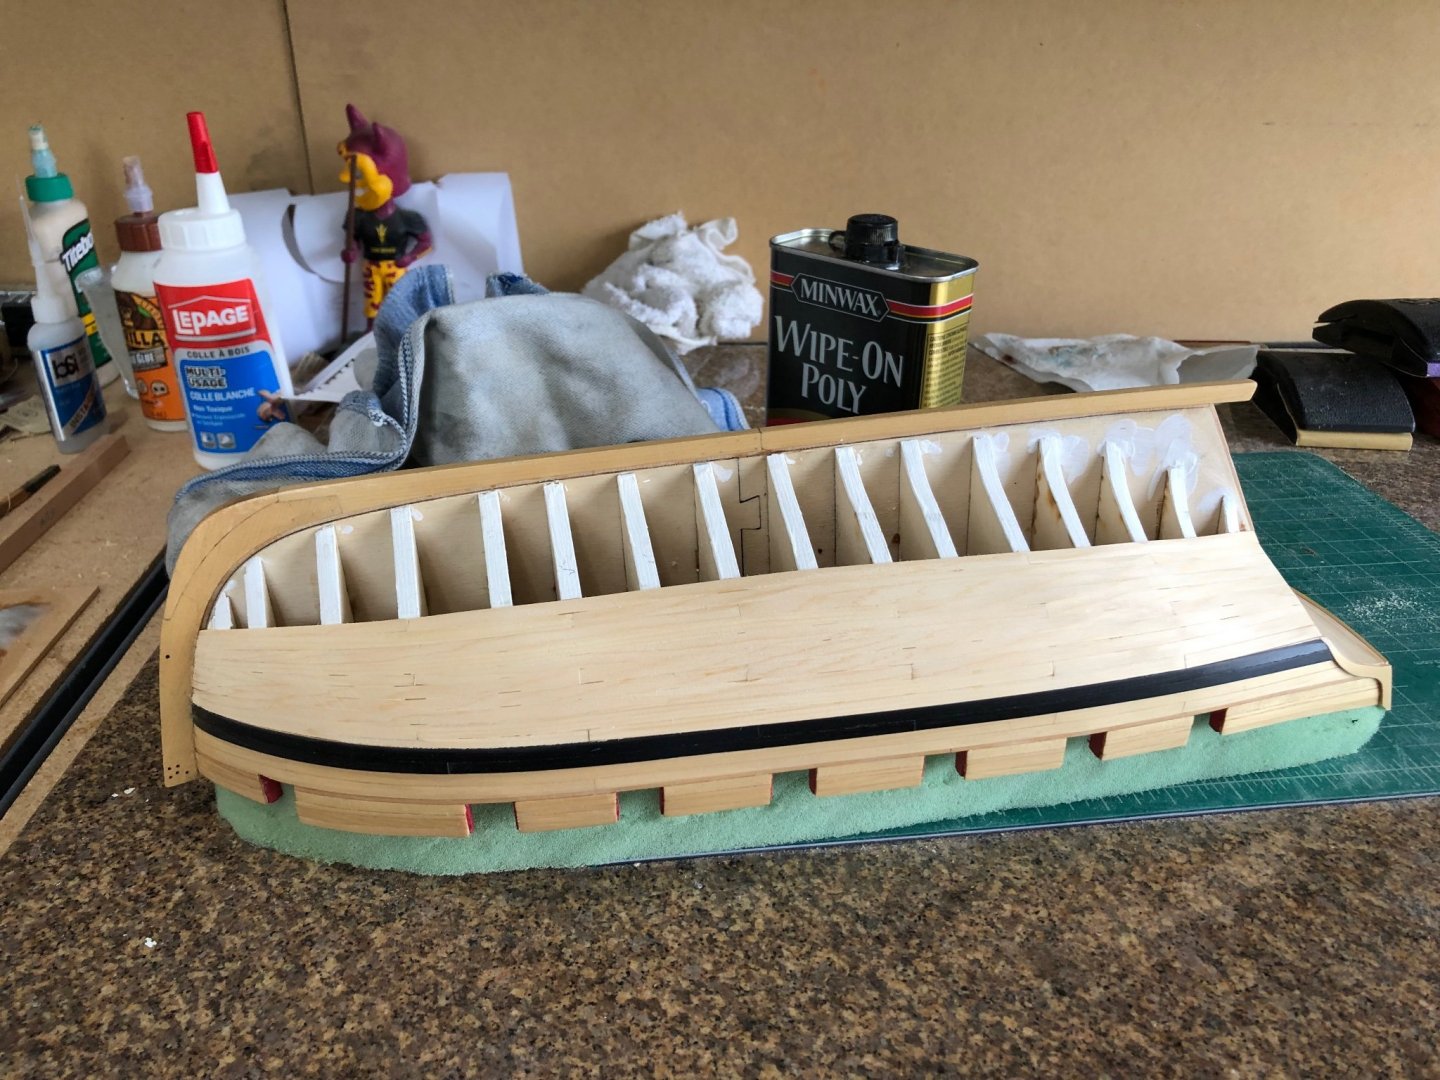
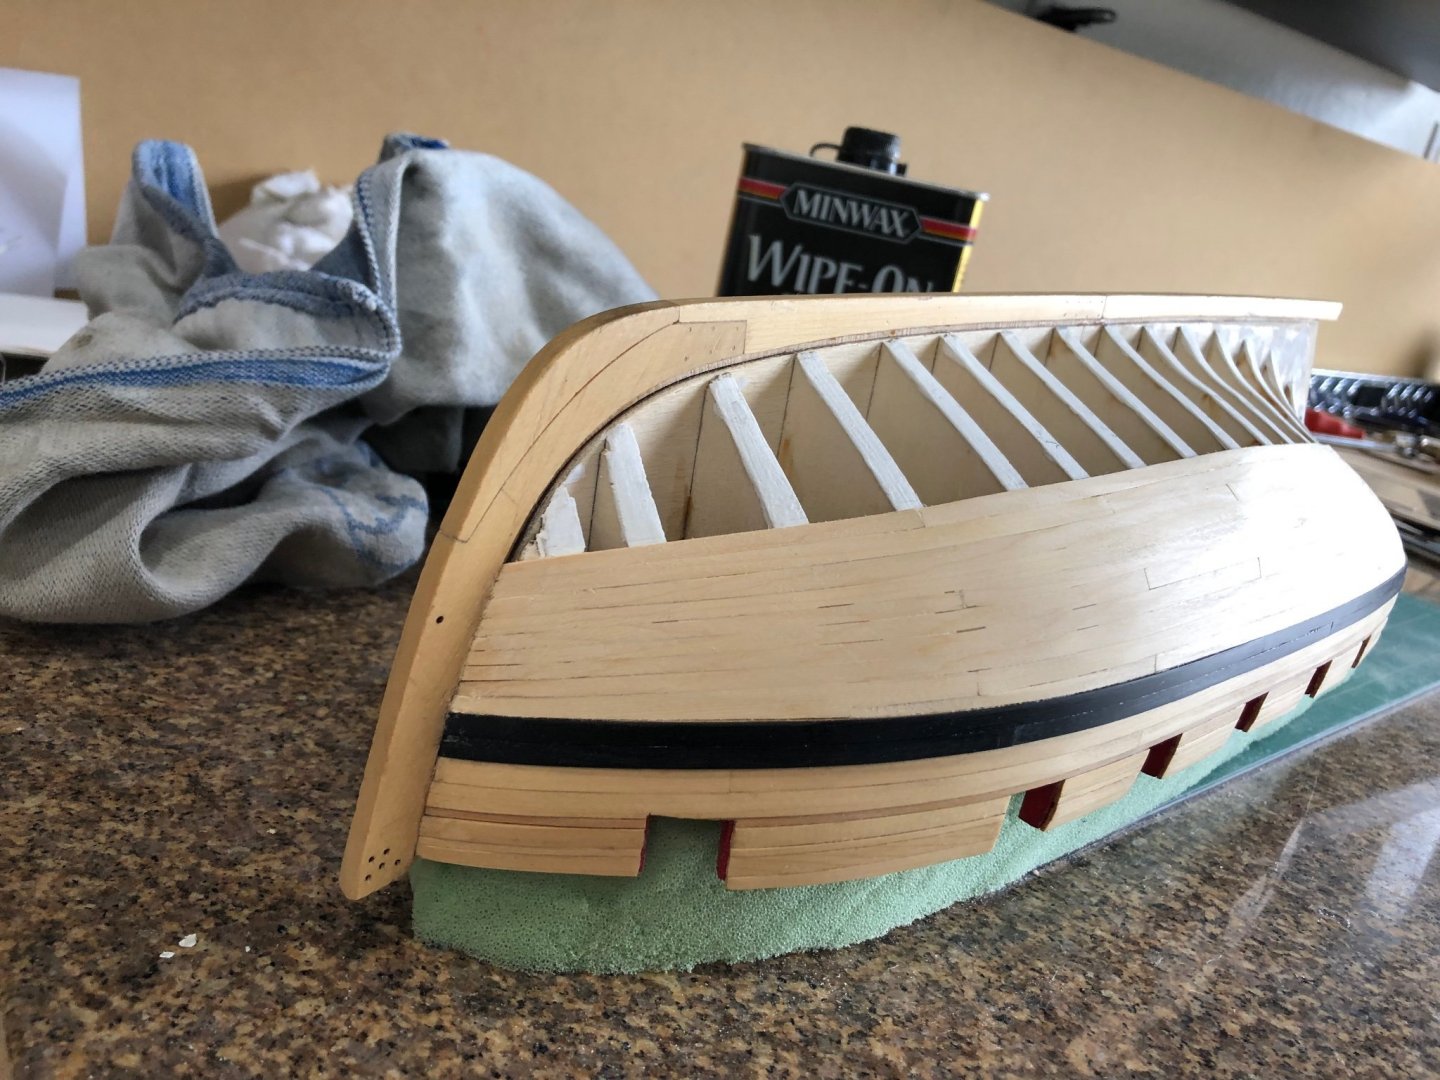
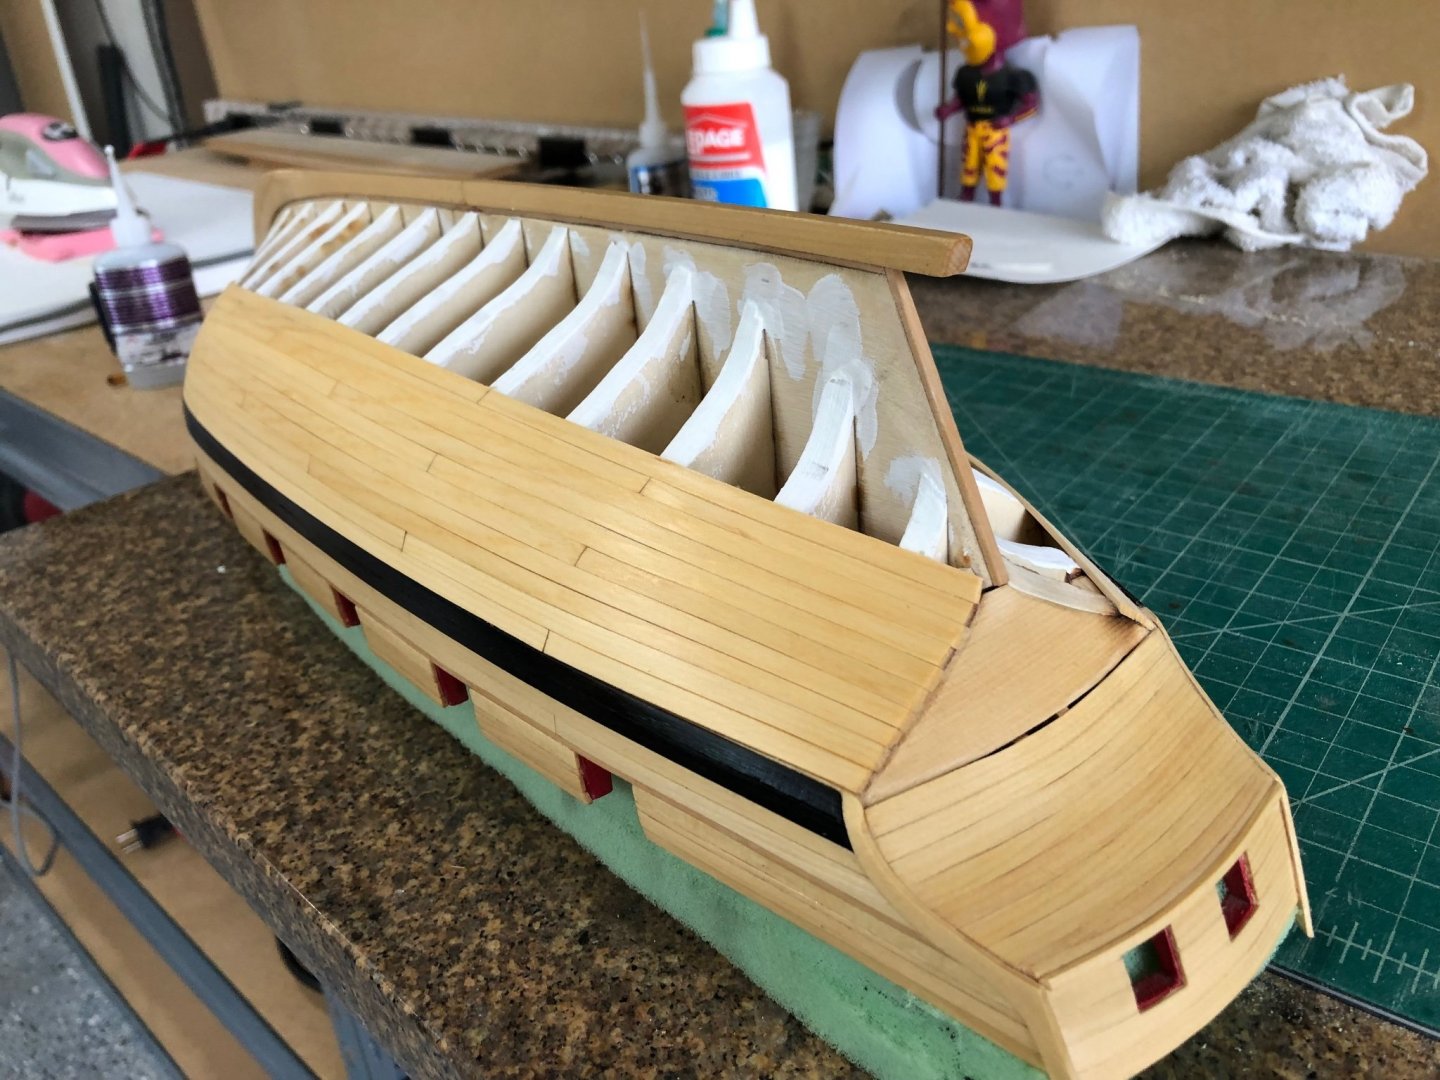
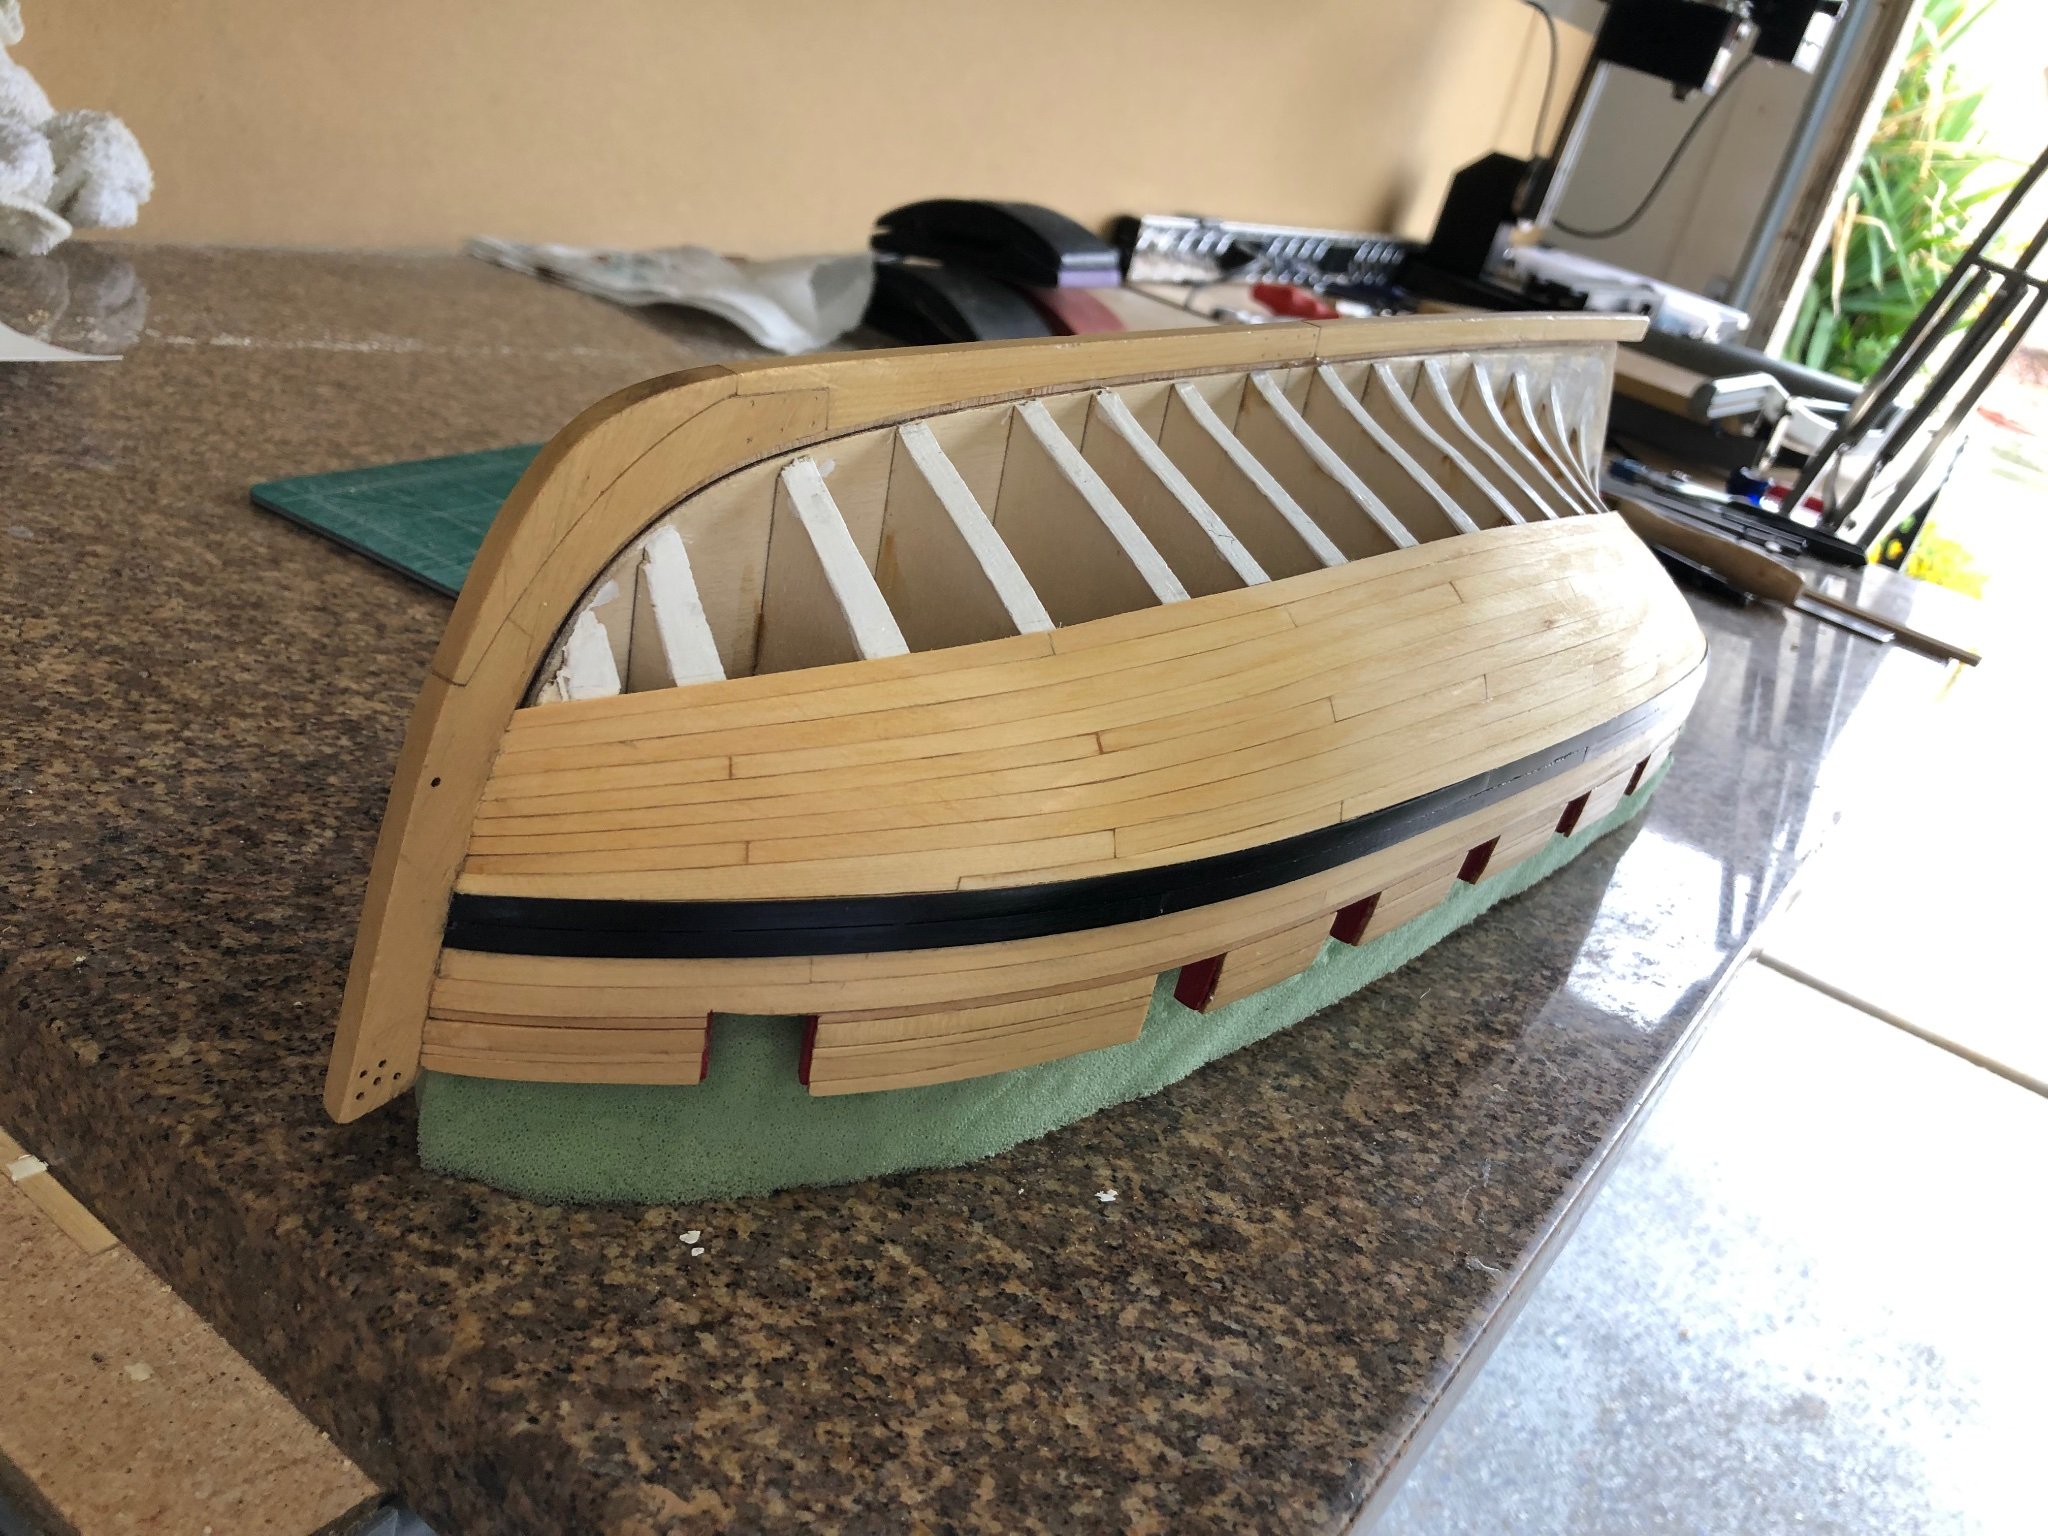
Planking completed and a light coat of WOP. Next is the stern post after the WOP dries. While waiting I'll get the fancy pieces ready to be put on after the stern post.
Port Side view
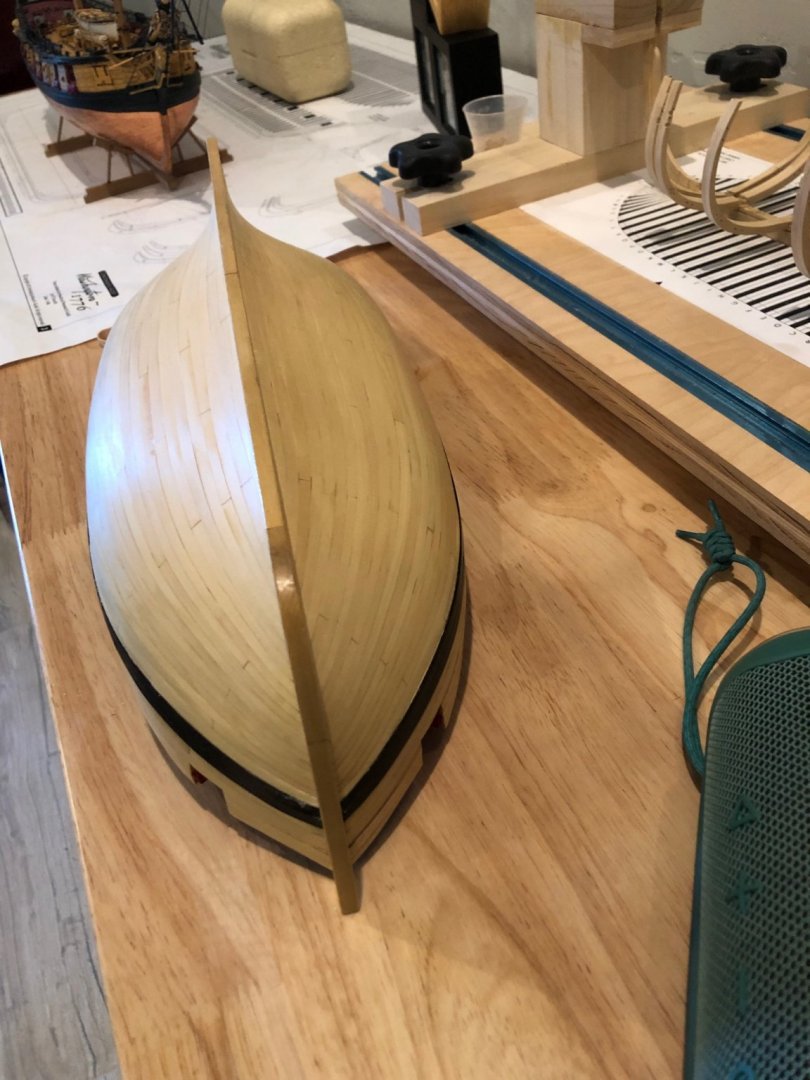
Starboard Side view

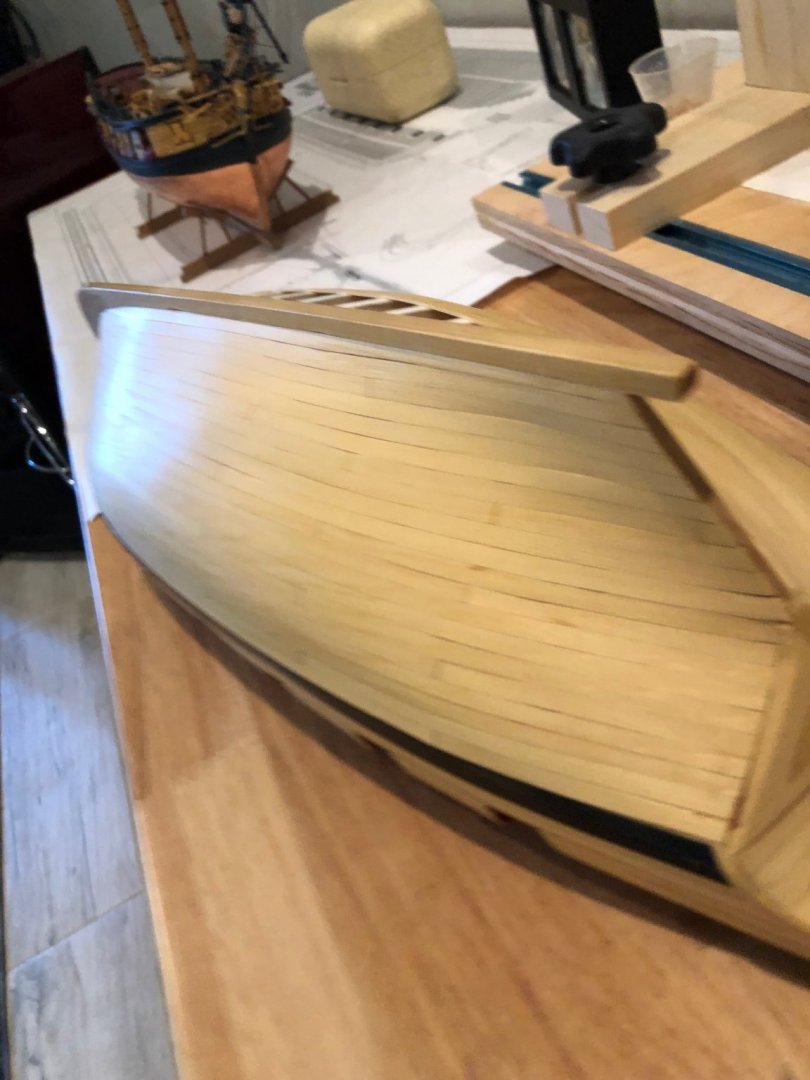
Bow view
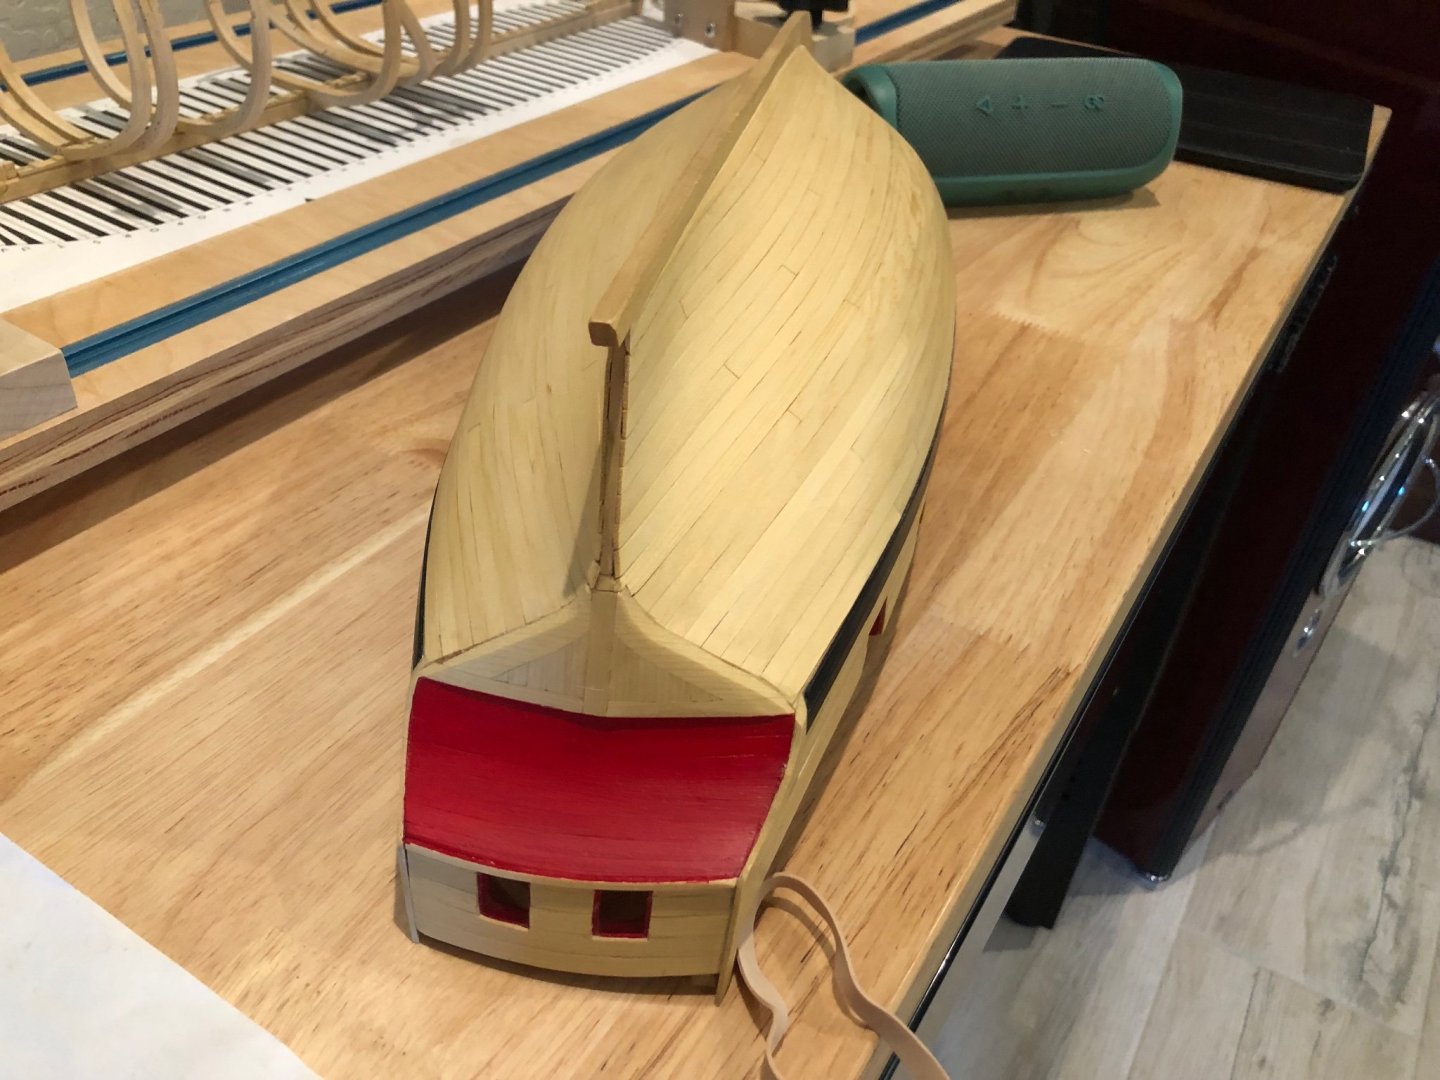
Stern view
Oh yeh! I painted the counter while working on the planking. Followed Chucks helpful hints and thinned the paint and added many thin coats to get the even coverage. Red is somewhat translucent and when you have thick areas it becomes a darker red and doesn't seem to matter how many coats of paint. So using a 1/2" natural hair water color brush with slow even light coats worked to get an even color.
Really glad the planing is finished and excited to get some details done and then on to the deck.
-
-
-
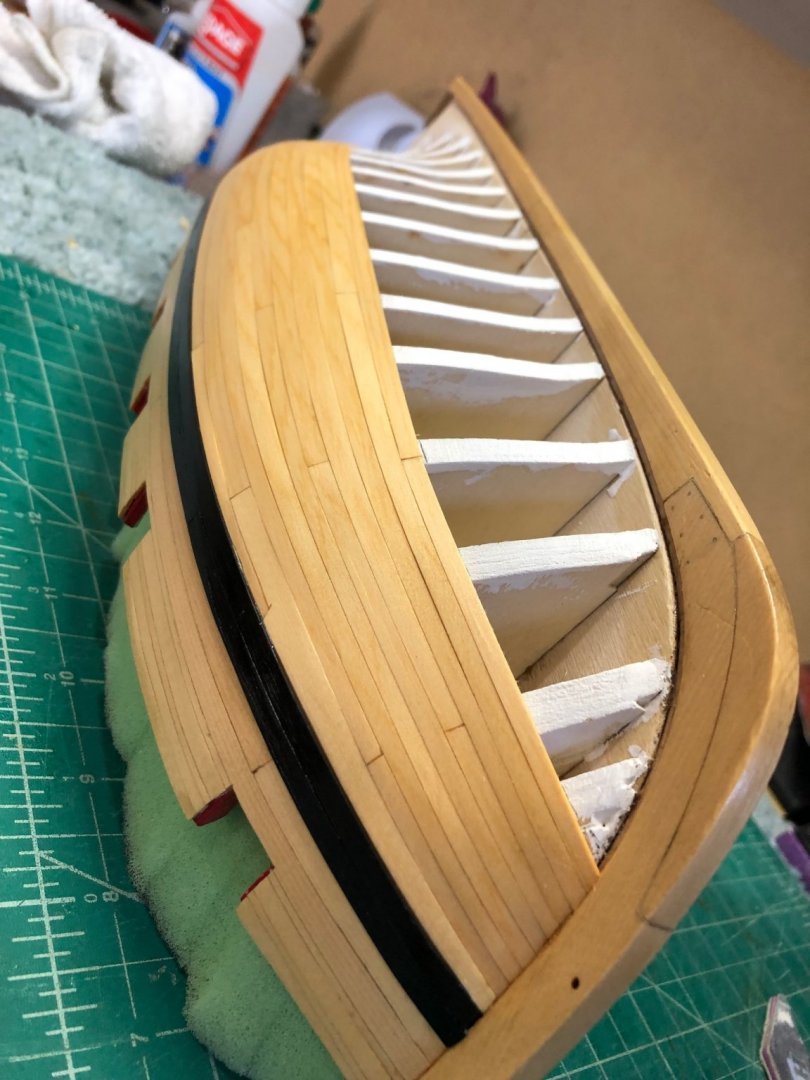
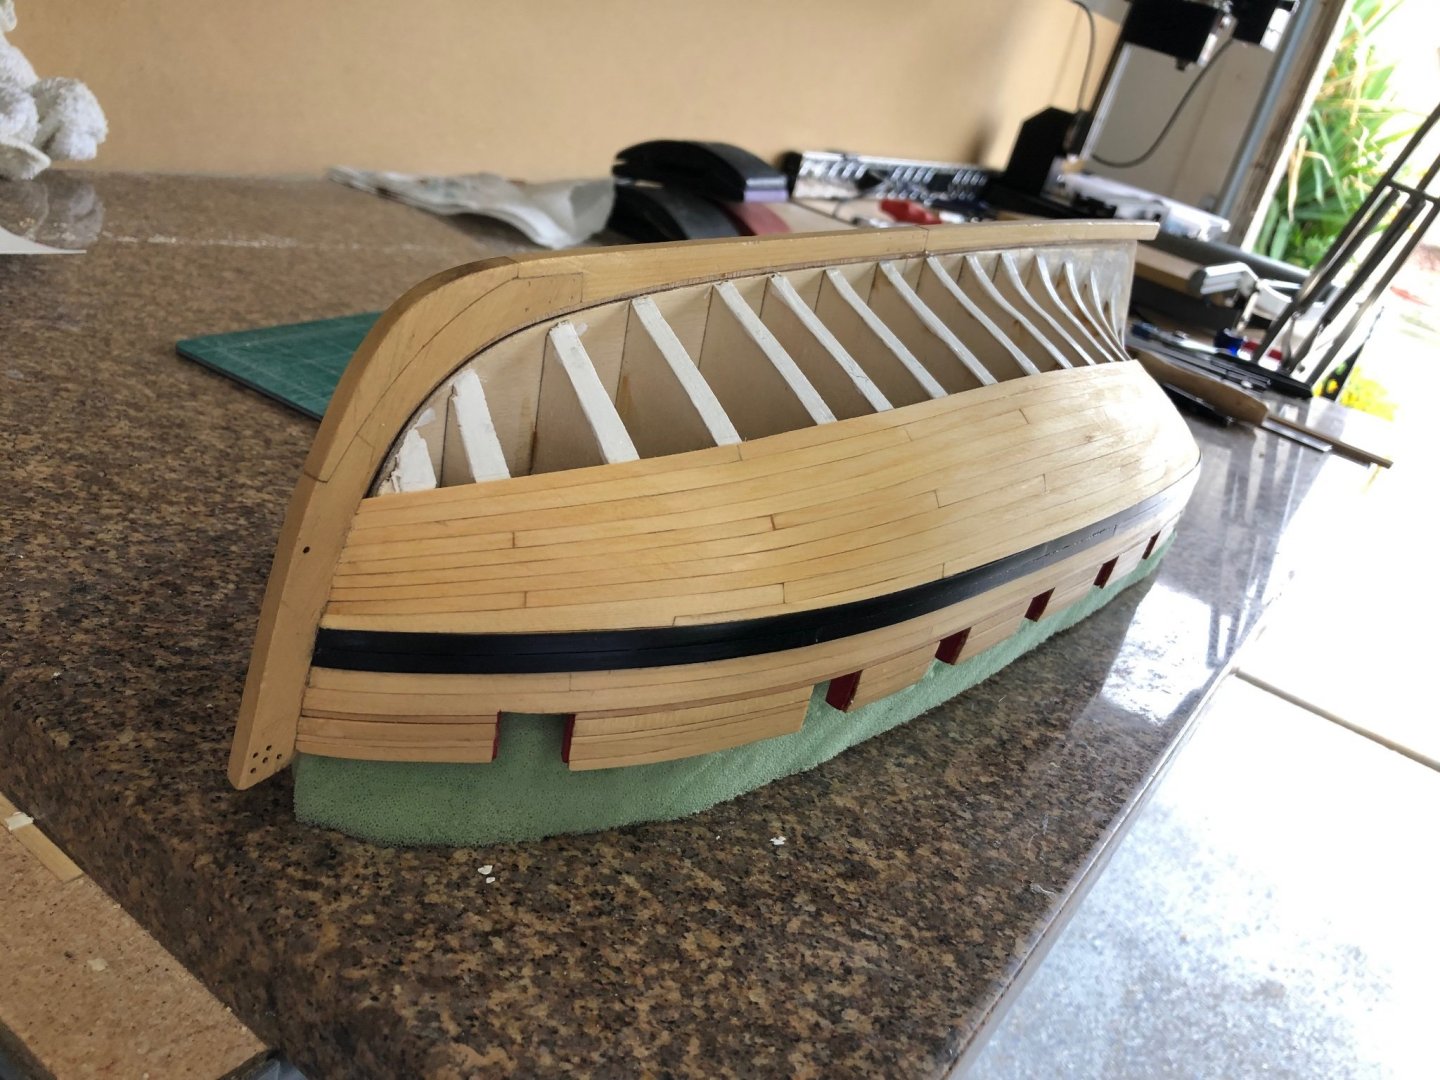
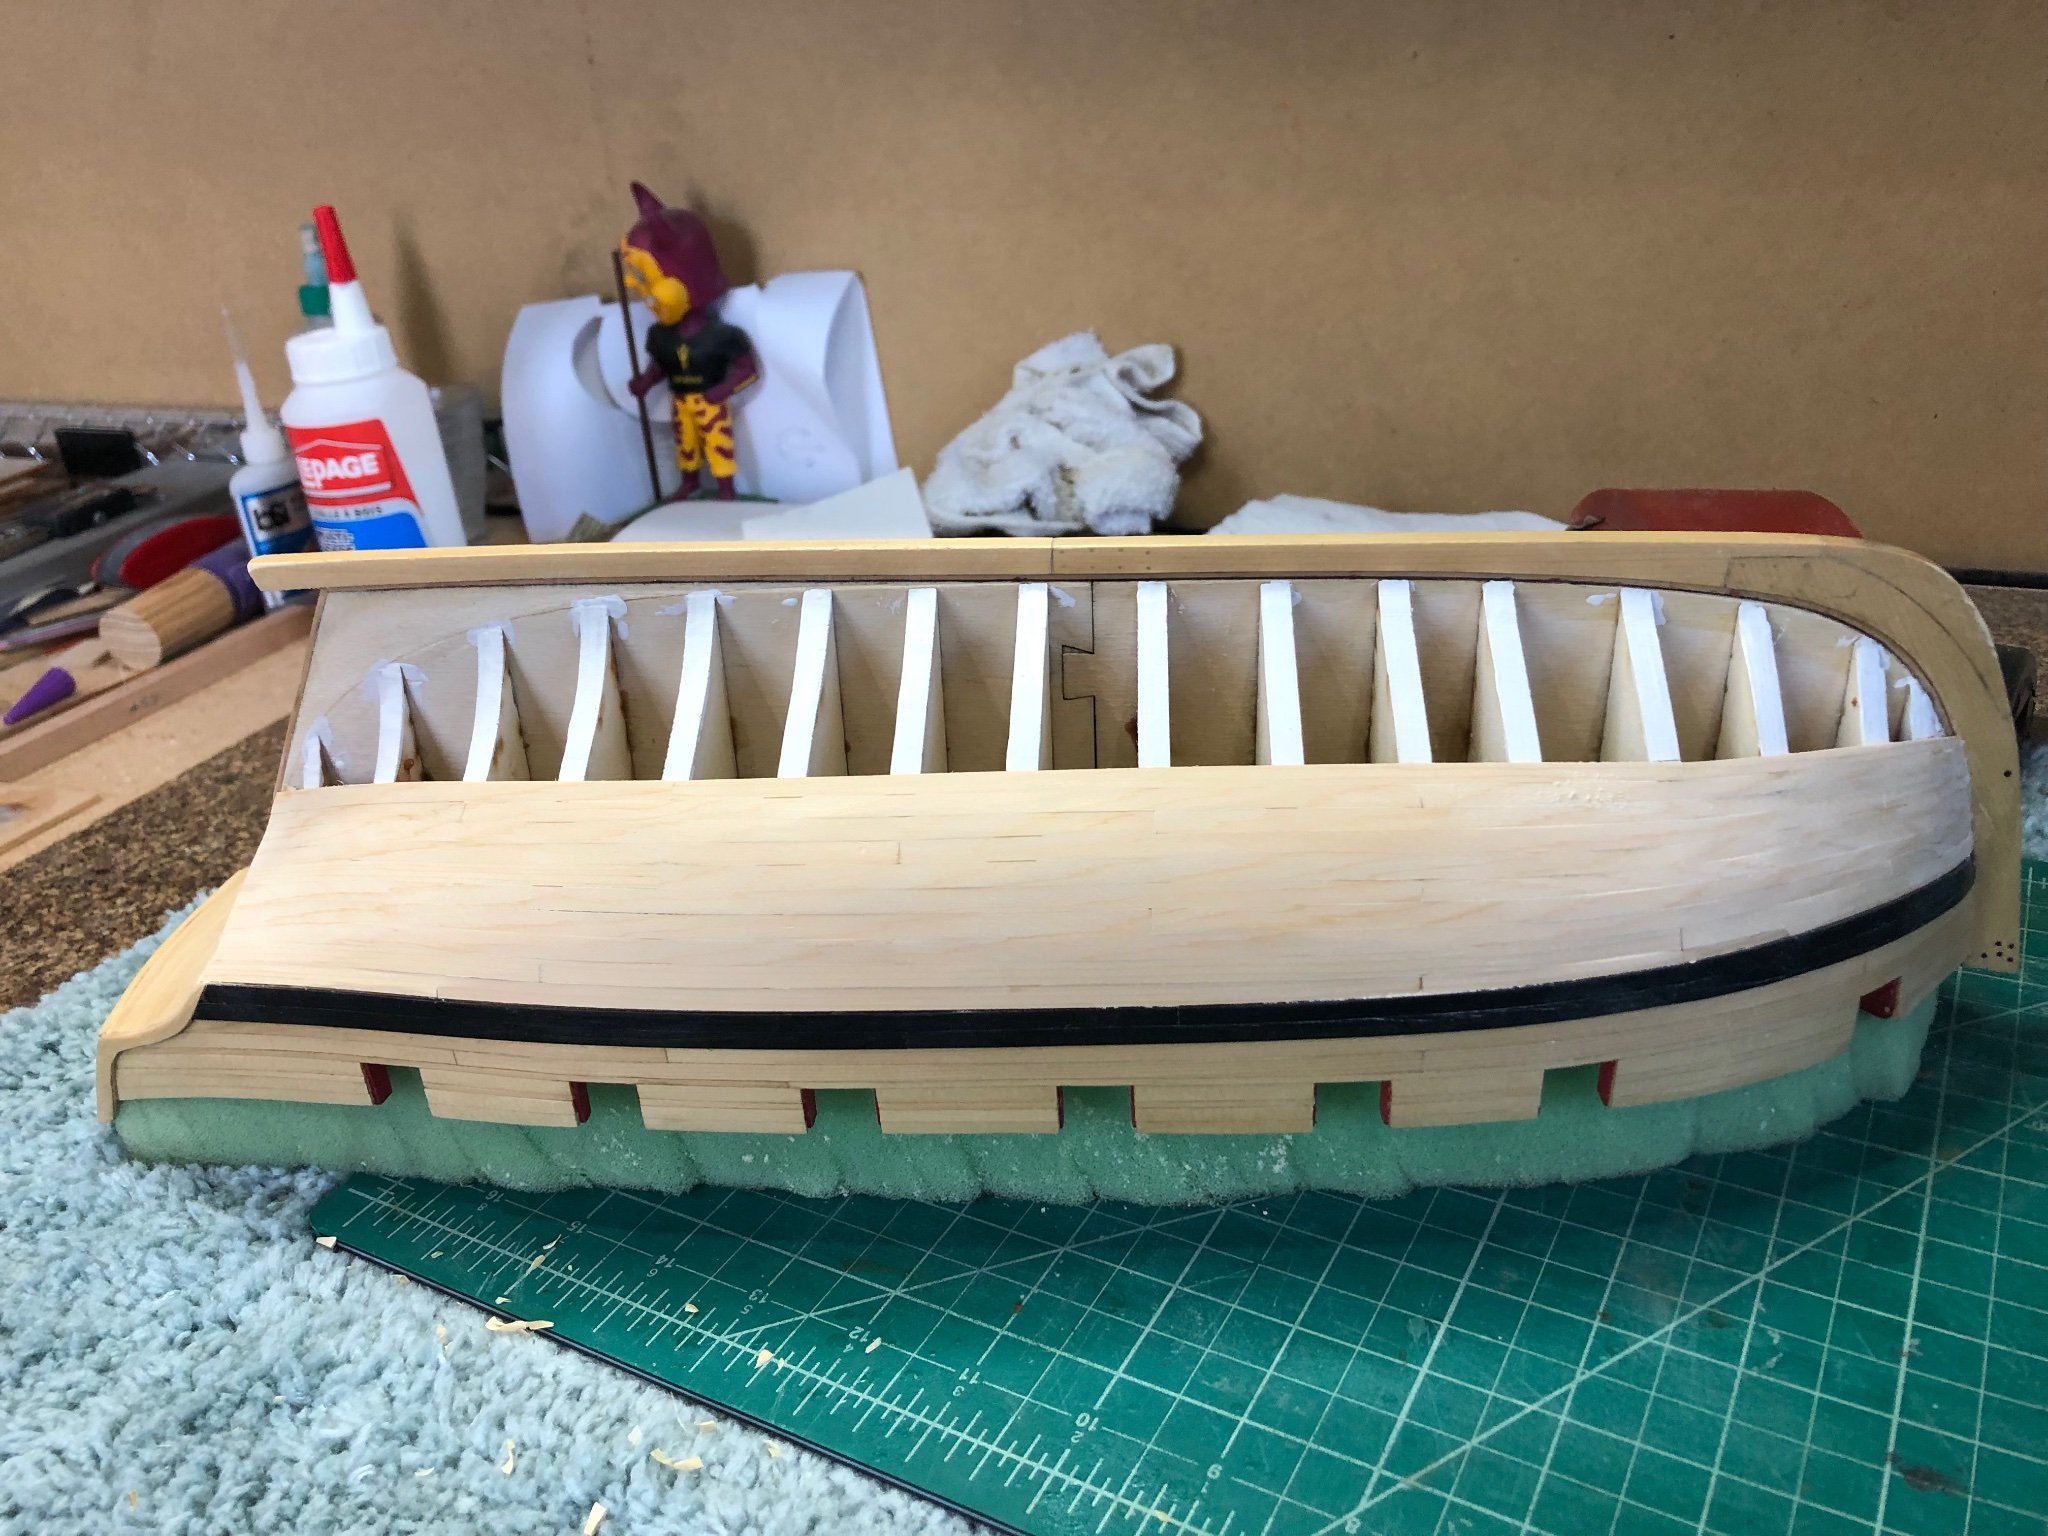
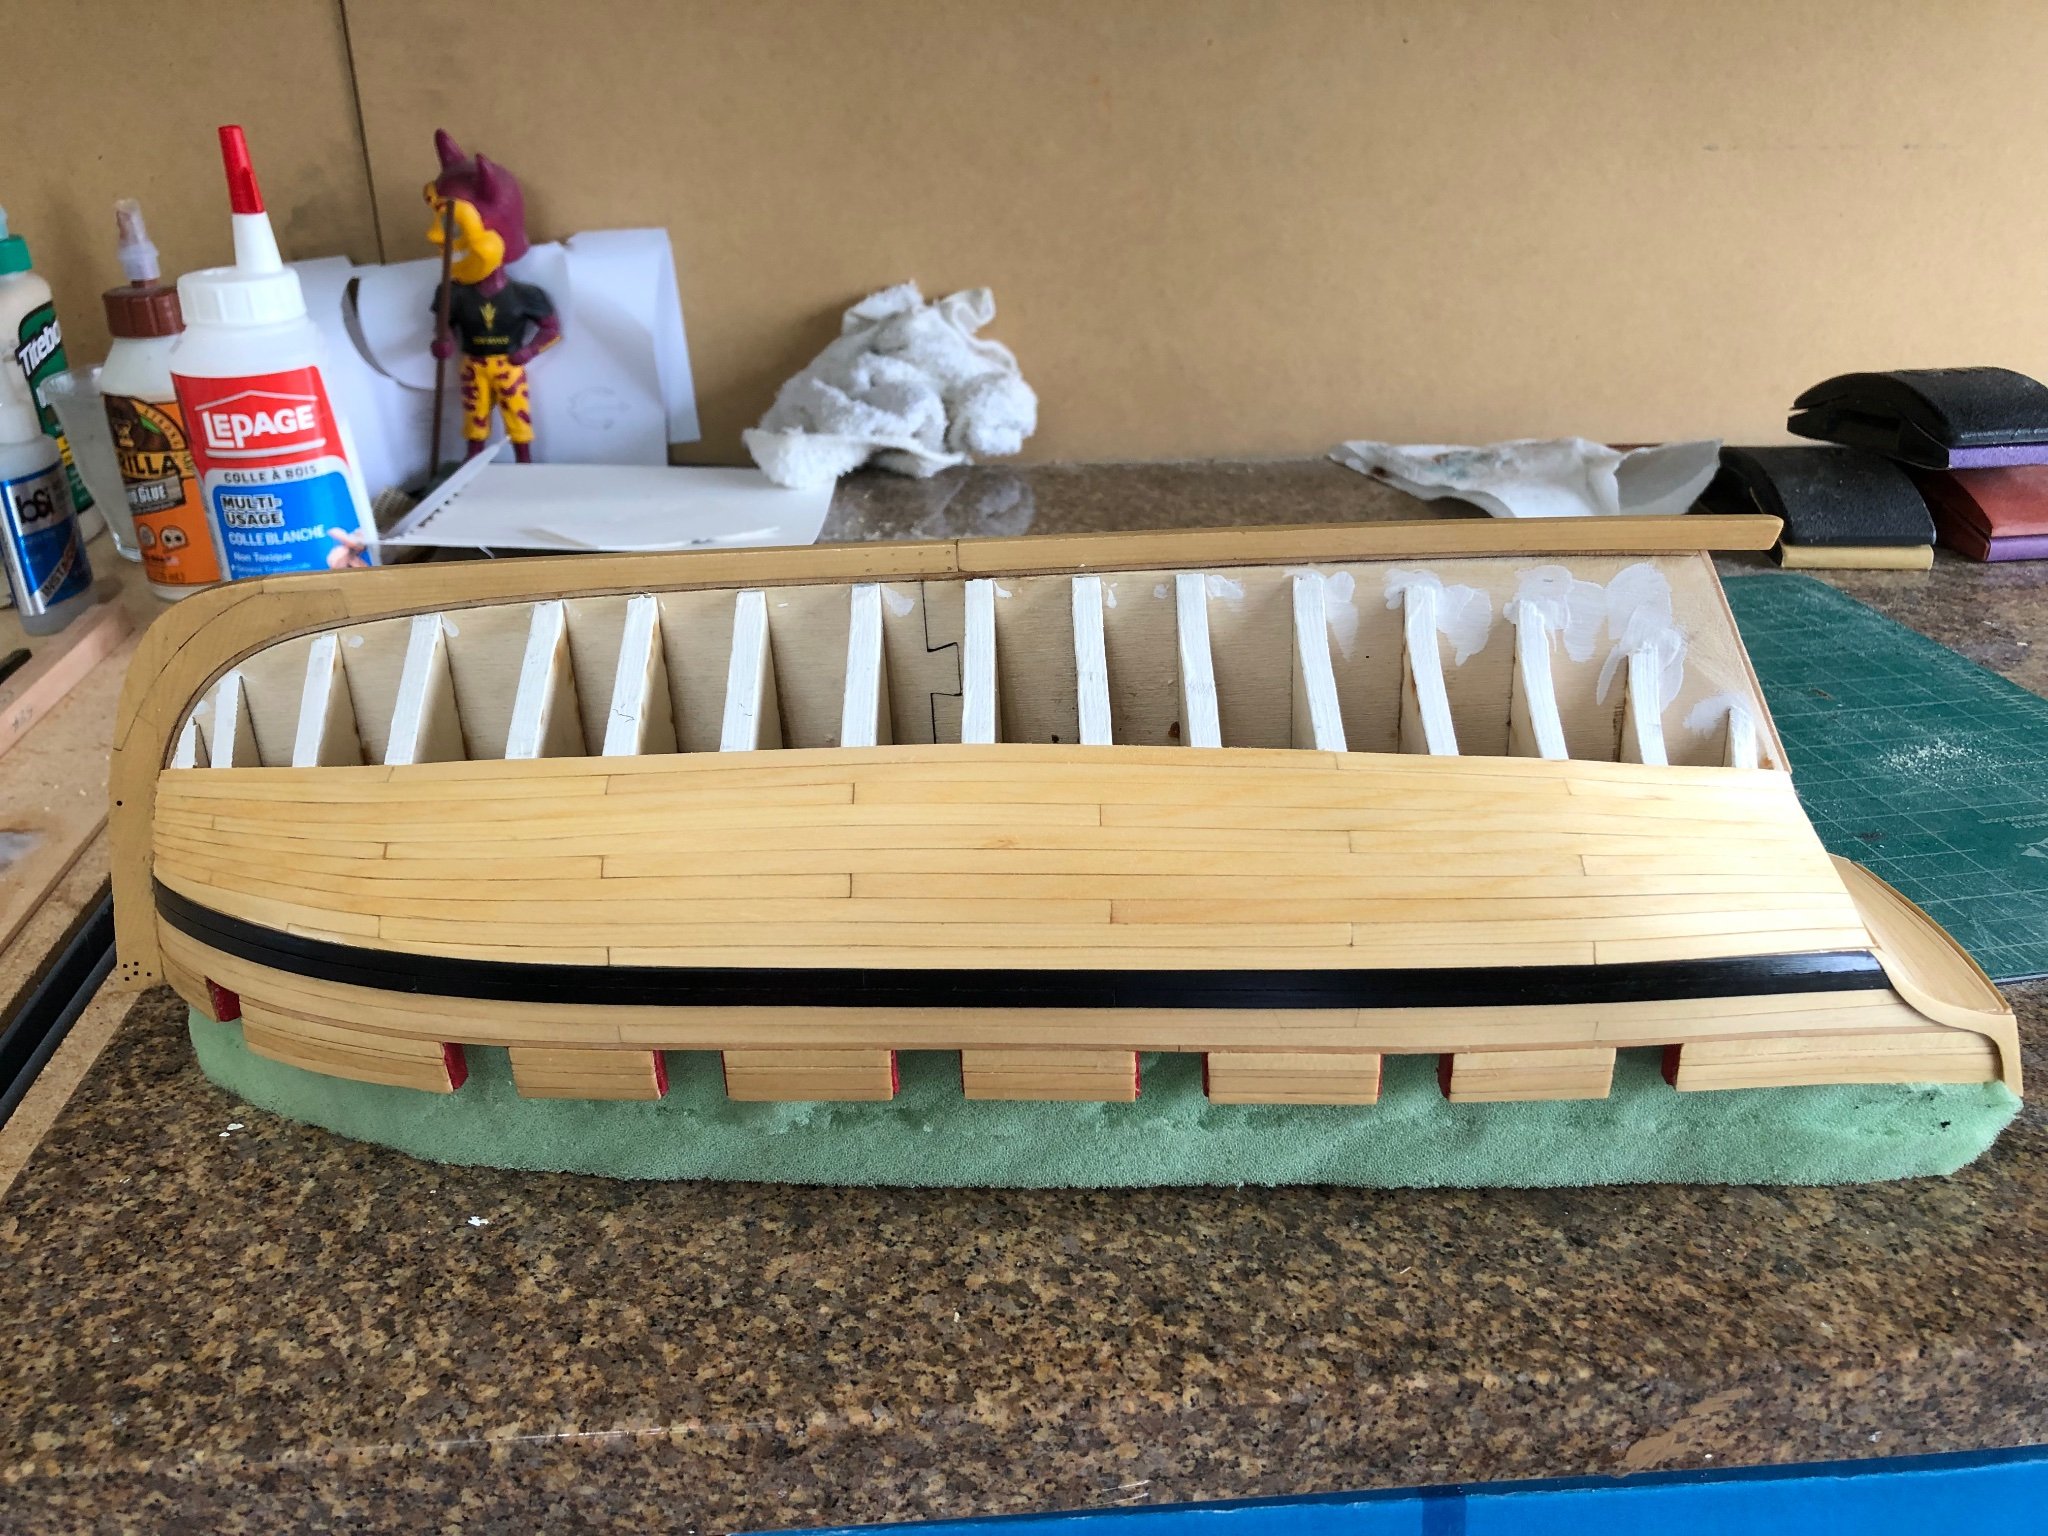
Finished the lower band of strakes. This has been the first time I carefully lined off the frames before planking and I can't believe how well it worked.
When I measured the "0" frame and divided the dimension by 10 the planks needed to be .2 instead of 3/16". On the advice of Chuck I ripped strips that were .2 wide. Interestingly enough at frame 16 the measurement was closer to 3/16". Instead of trimming each plank I left them at .2 and on the garboard strake the end was then a little larger that 1/8". It was easier for me to do it this way rather than fiddle around each plank to meet the lines which always have the line width to deal with.
Lightly sanded and one coat of WOP


On to the port side
-
Thanks Glenn and all the others likes and comments. As to the top even with the counter, it is almost even but a little more careful sanding is required. When I get it where I'd like I'll start painting the counter. I asked Chuck for suggestions of how to get even color with the semitransparent red paint and have tested his suggestion of many coats of thinned paint with light sanding between coats using 400 grit paper.
-
Very nice Andrew a job well thought out and executed. The results are amazing. A fellow modeler, I know, uses resistance soldering with outstanding results without burning the wood. Seeing his work I bought a system but am still learning how to use it on such small parts as I've only used silver soldering and the flame immediately burns the wood holding substrate. Your work is amazing.
-
Very nicely done it makes me even more anxious to start my ECB which is sitting on the shelf so I can look at the box everyday. Great Job. 👏
-
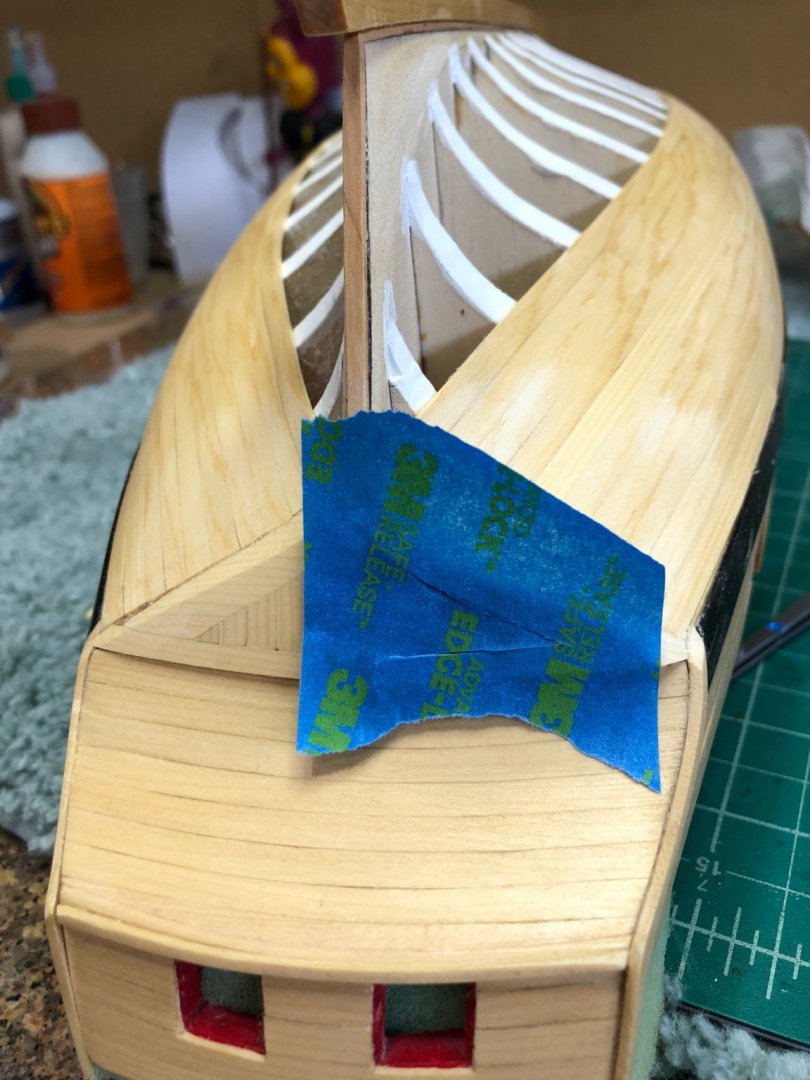
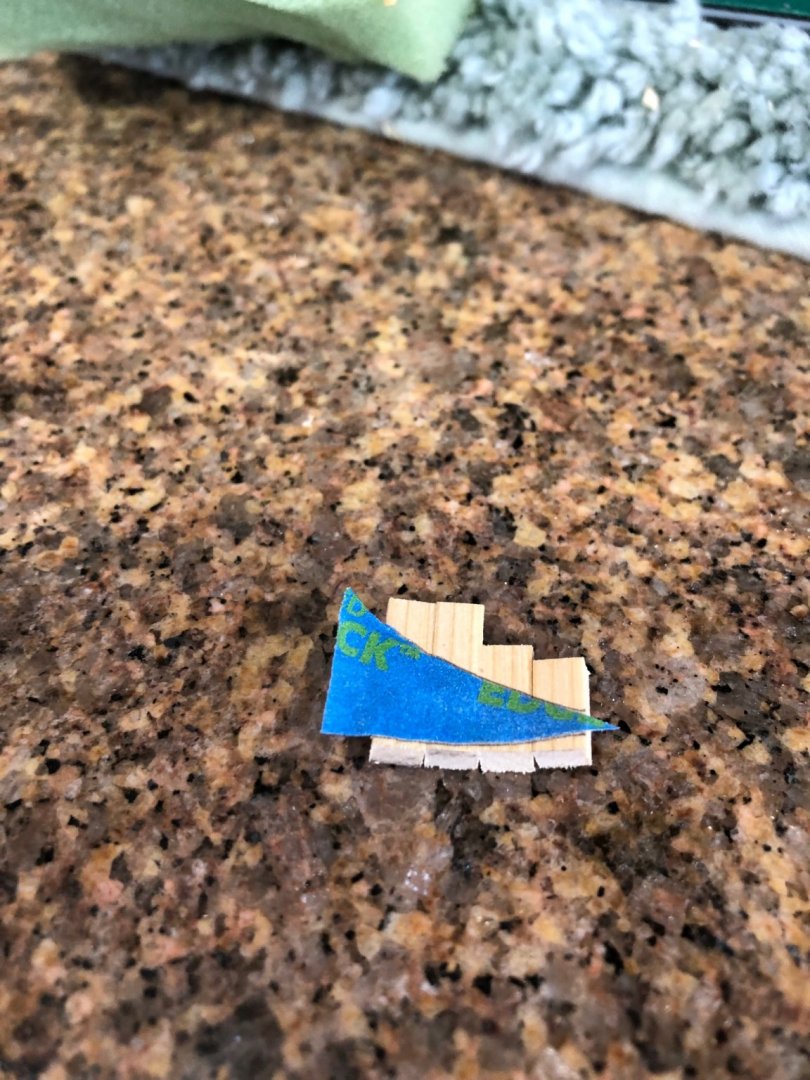
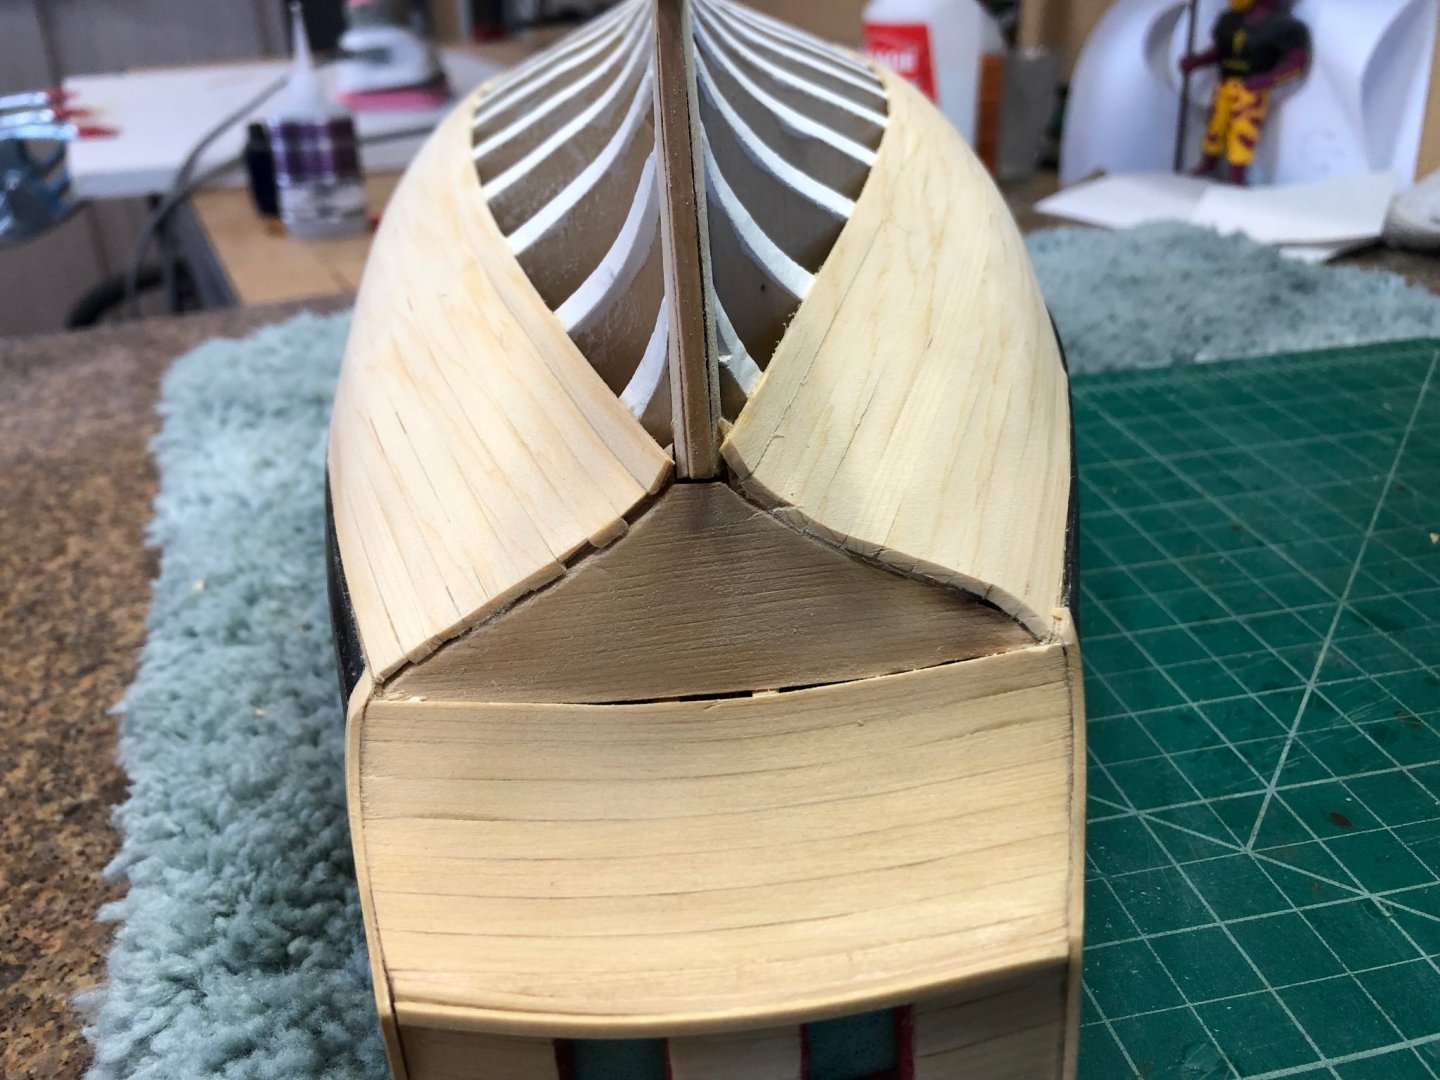
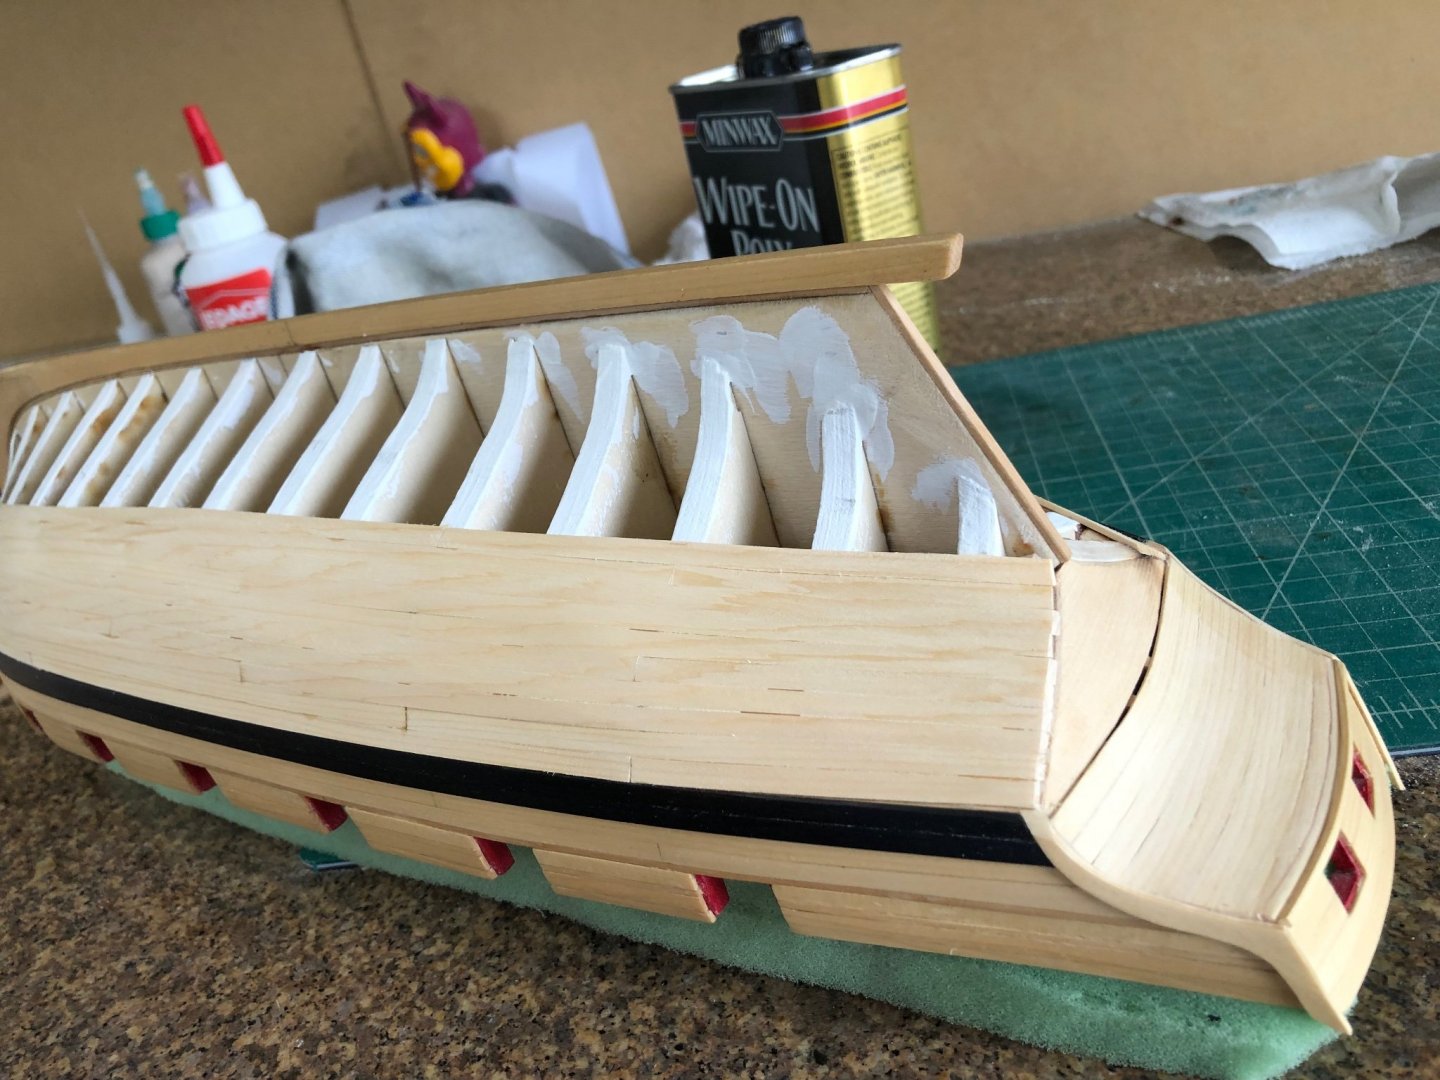
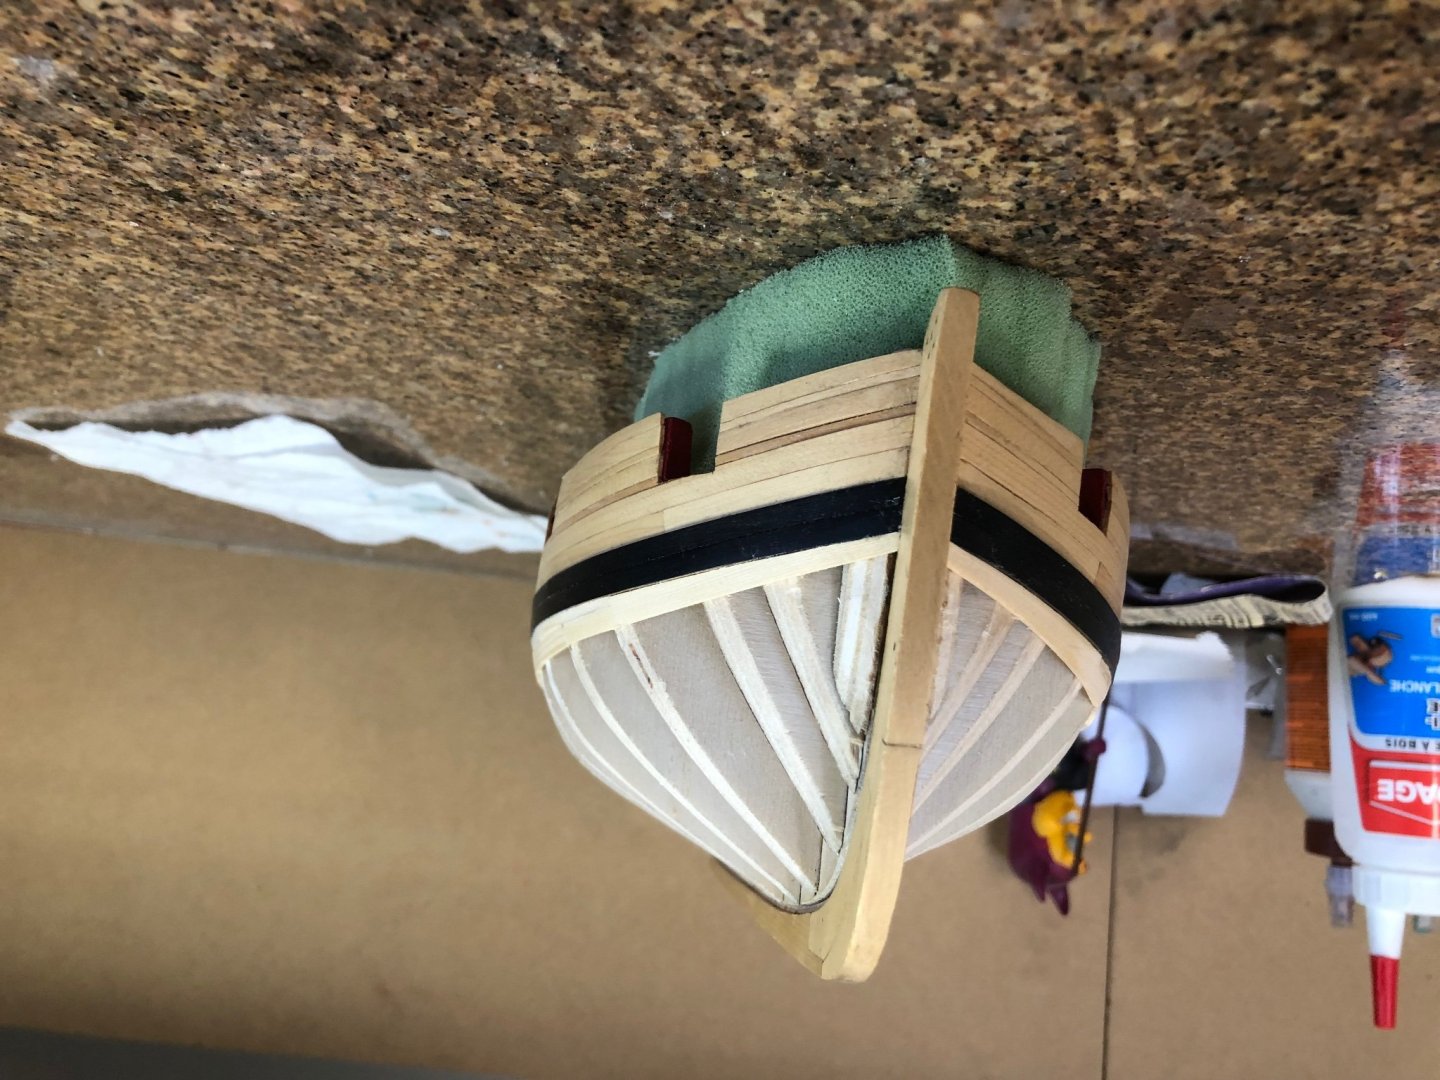
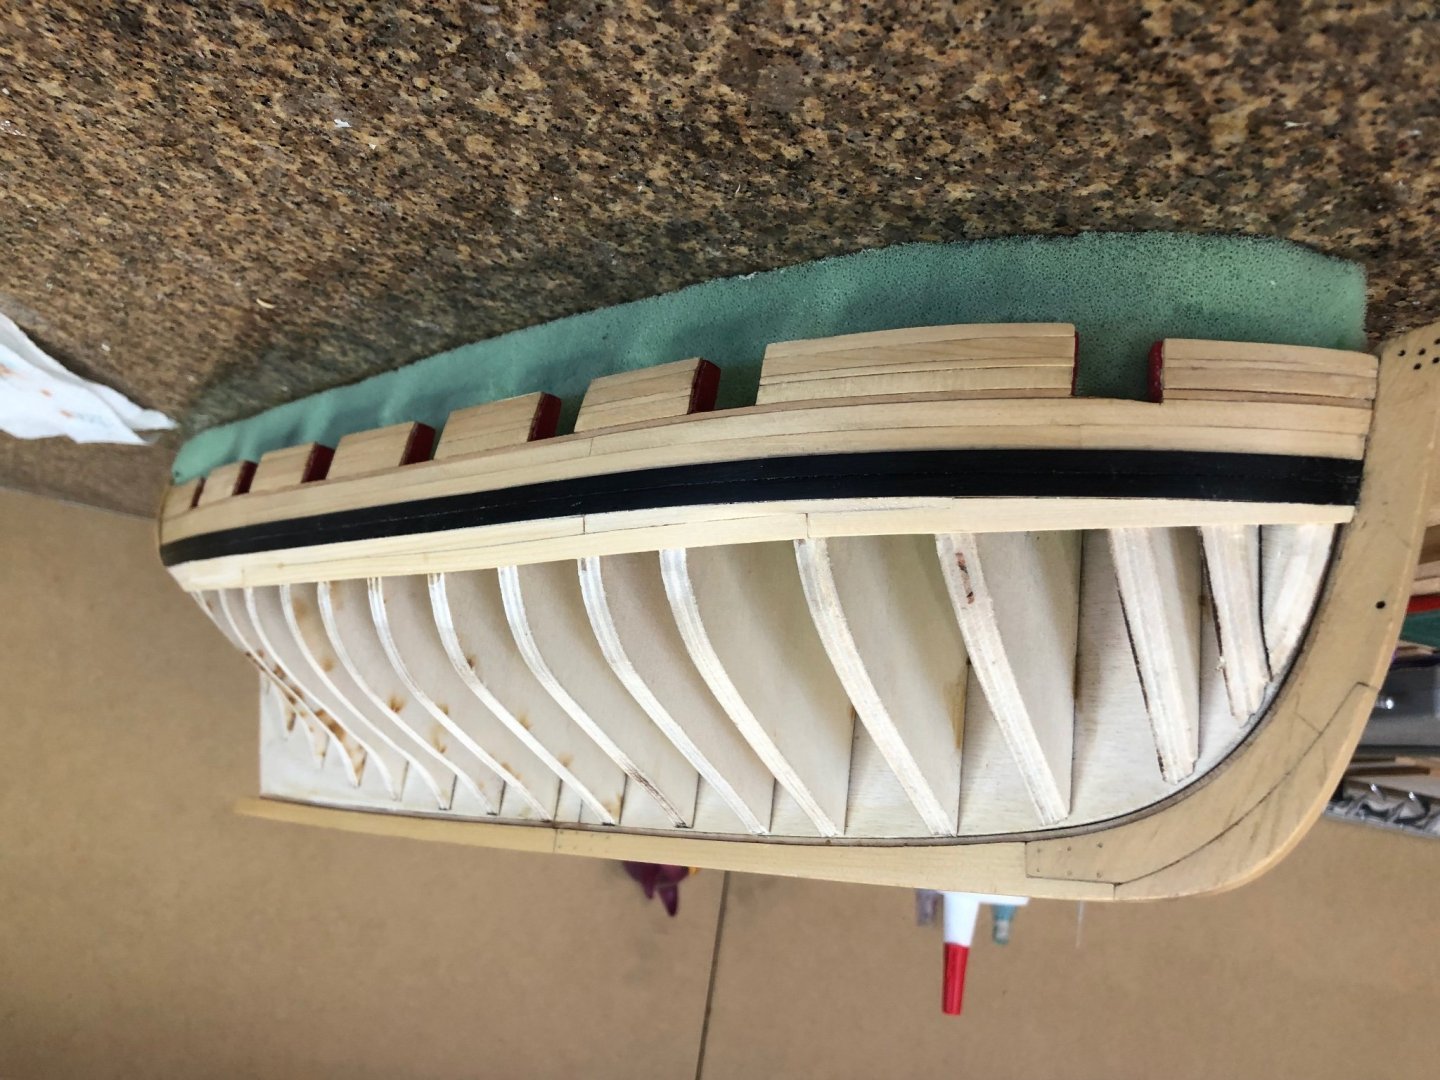
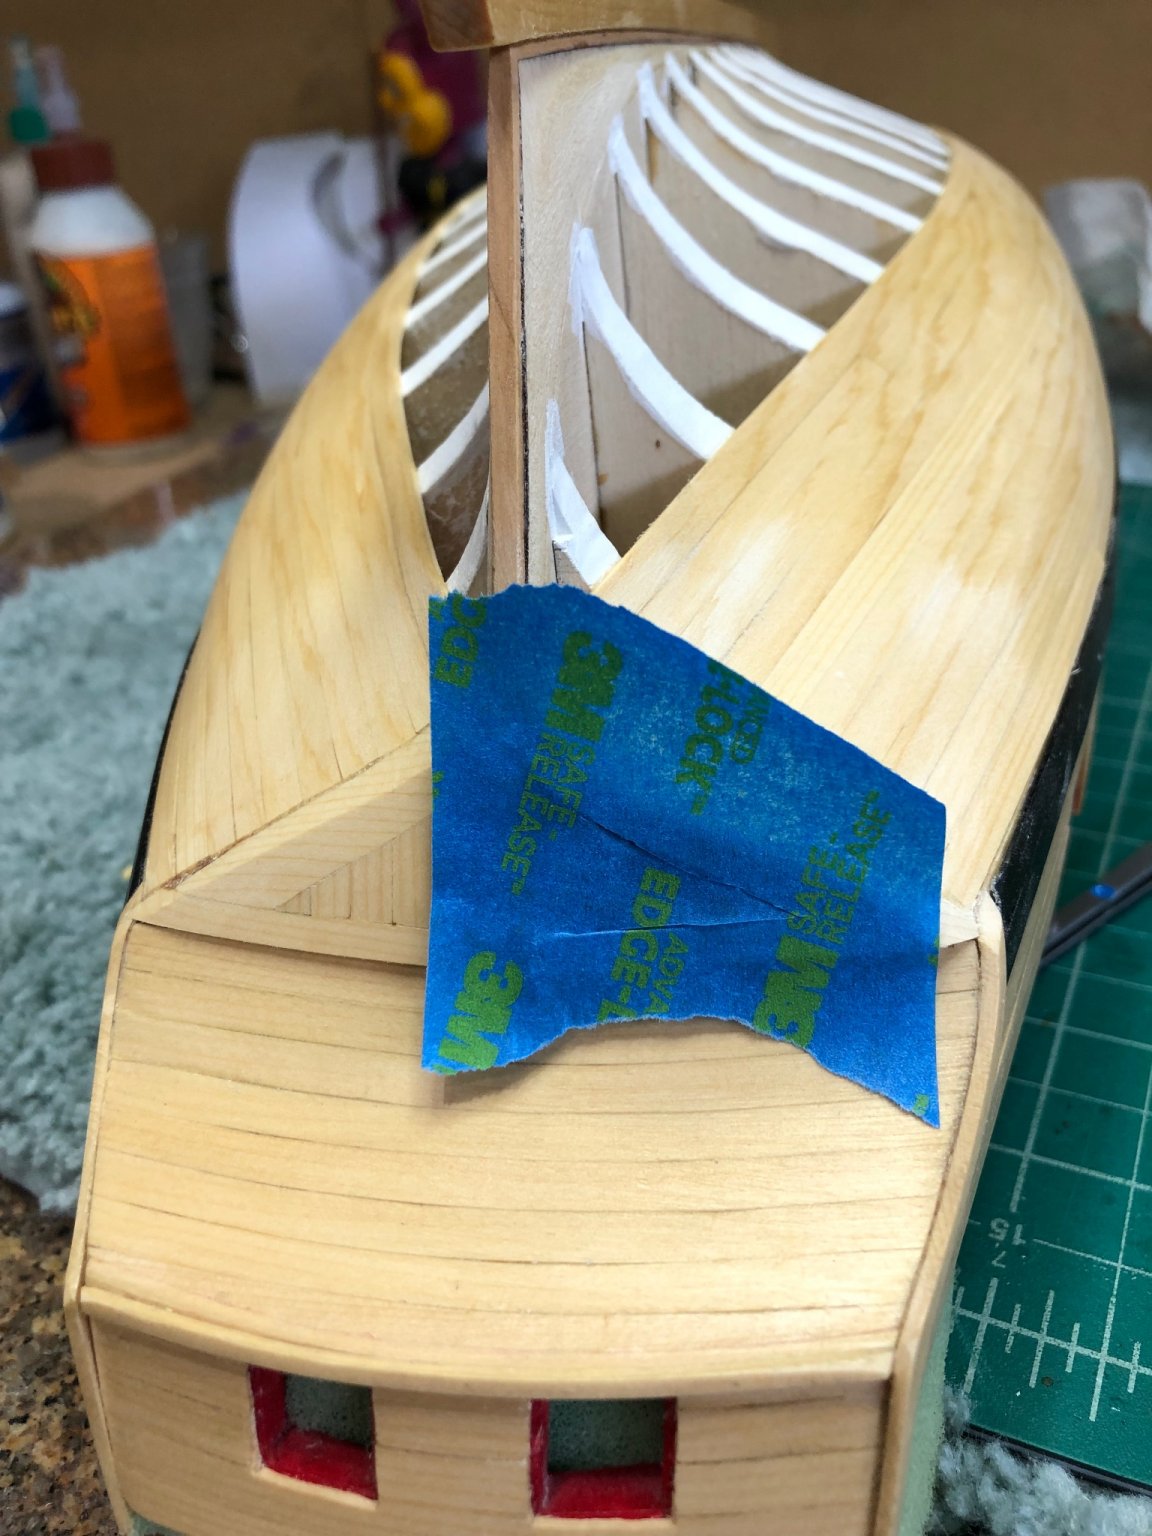
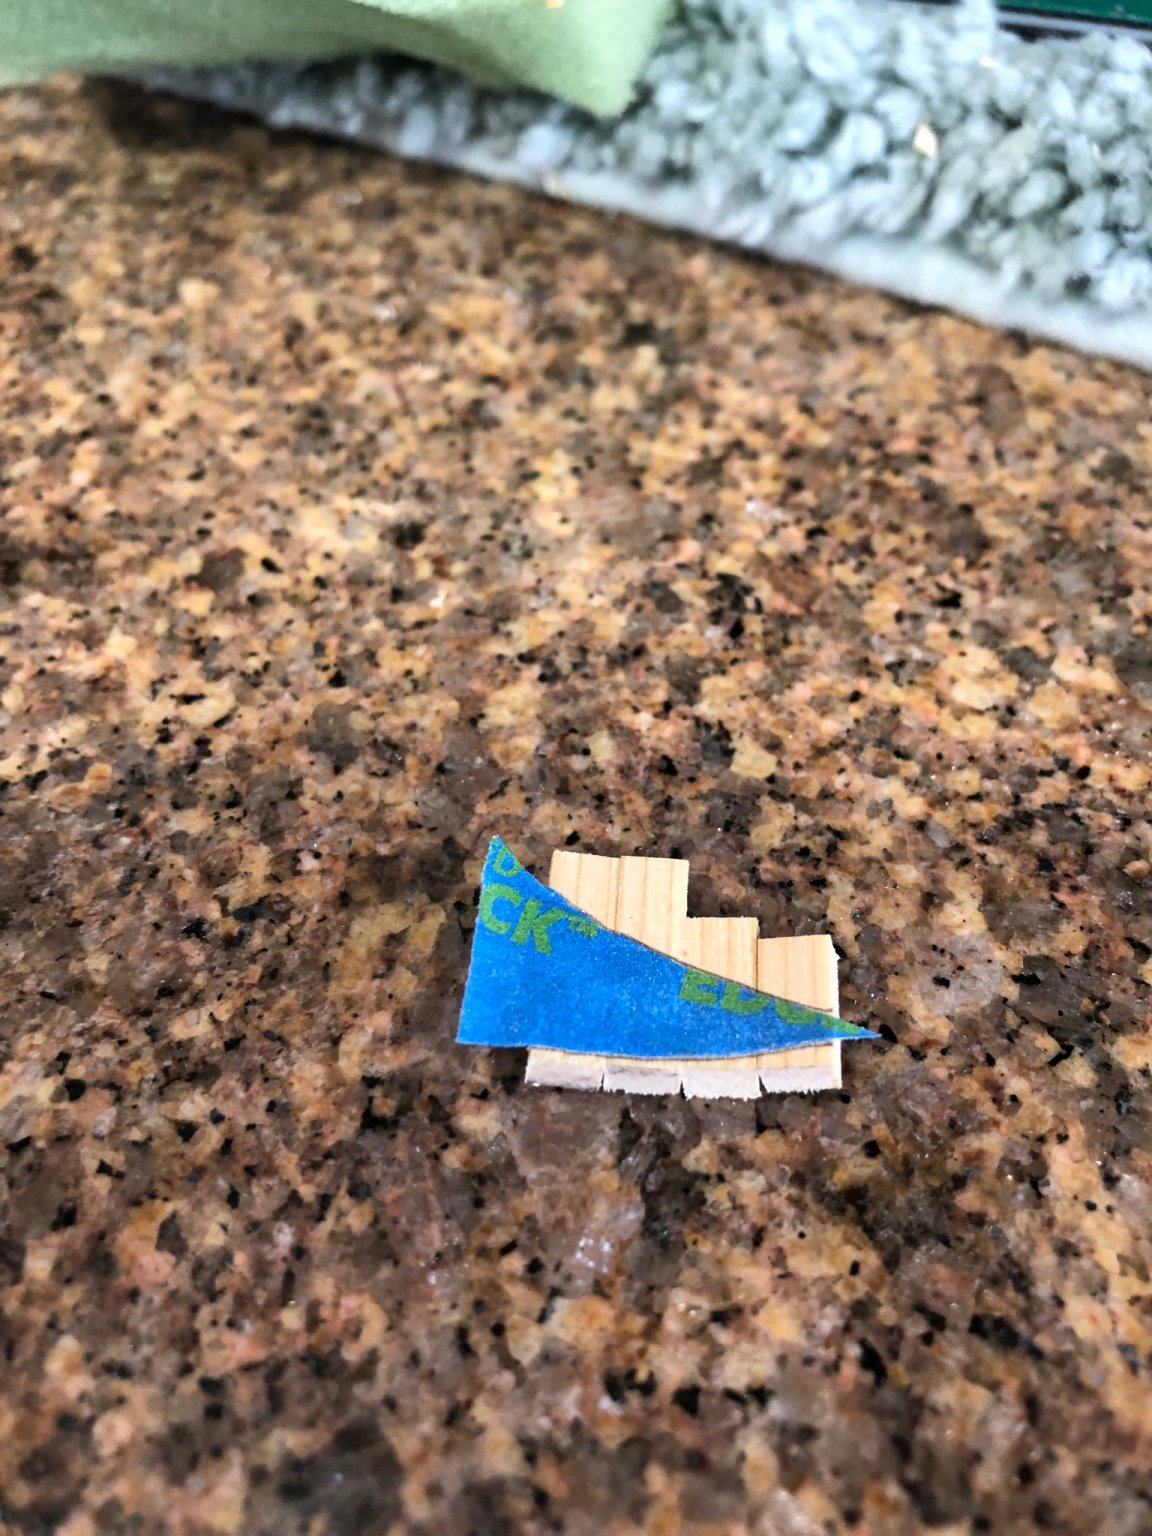
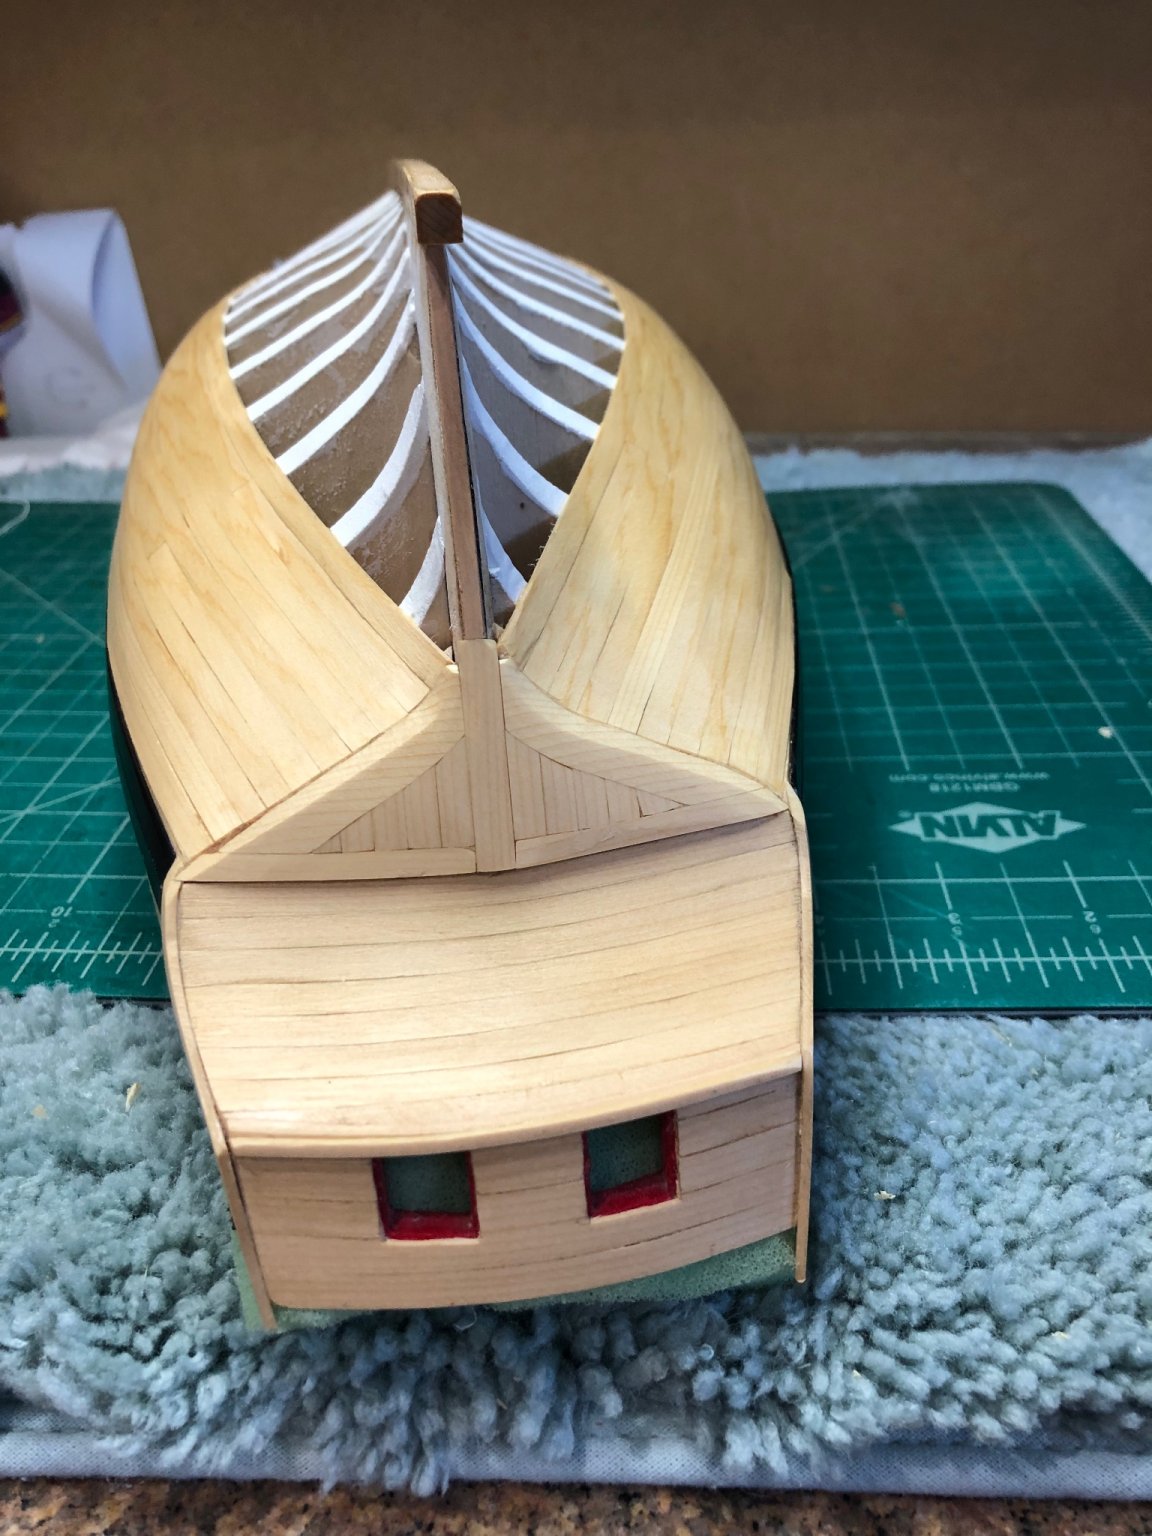
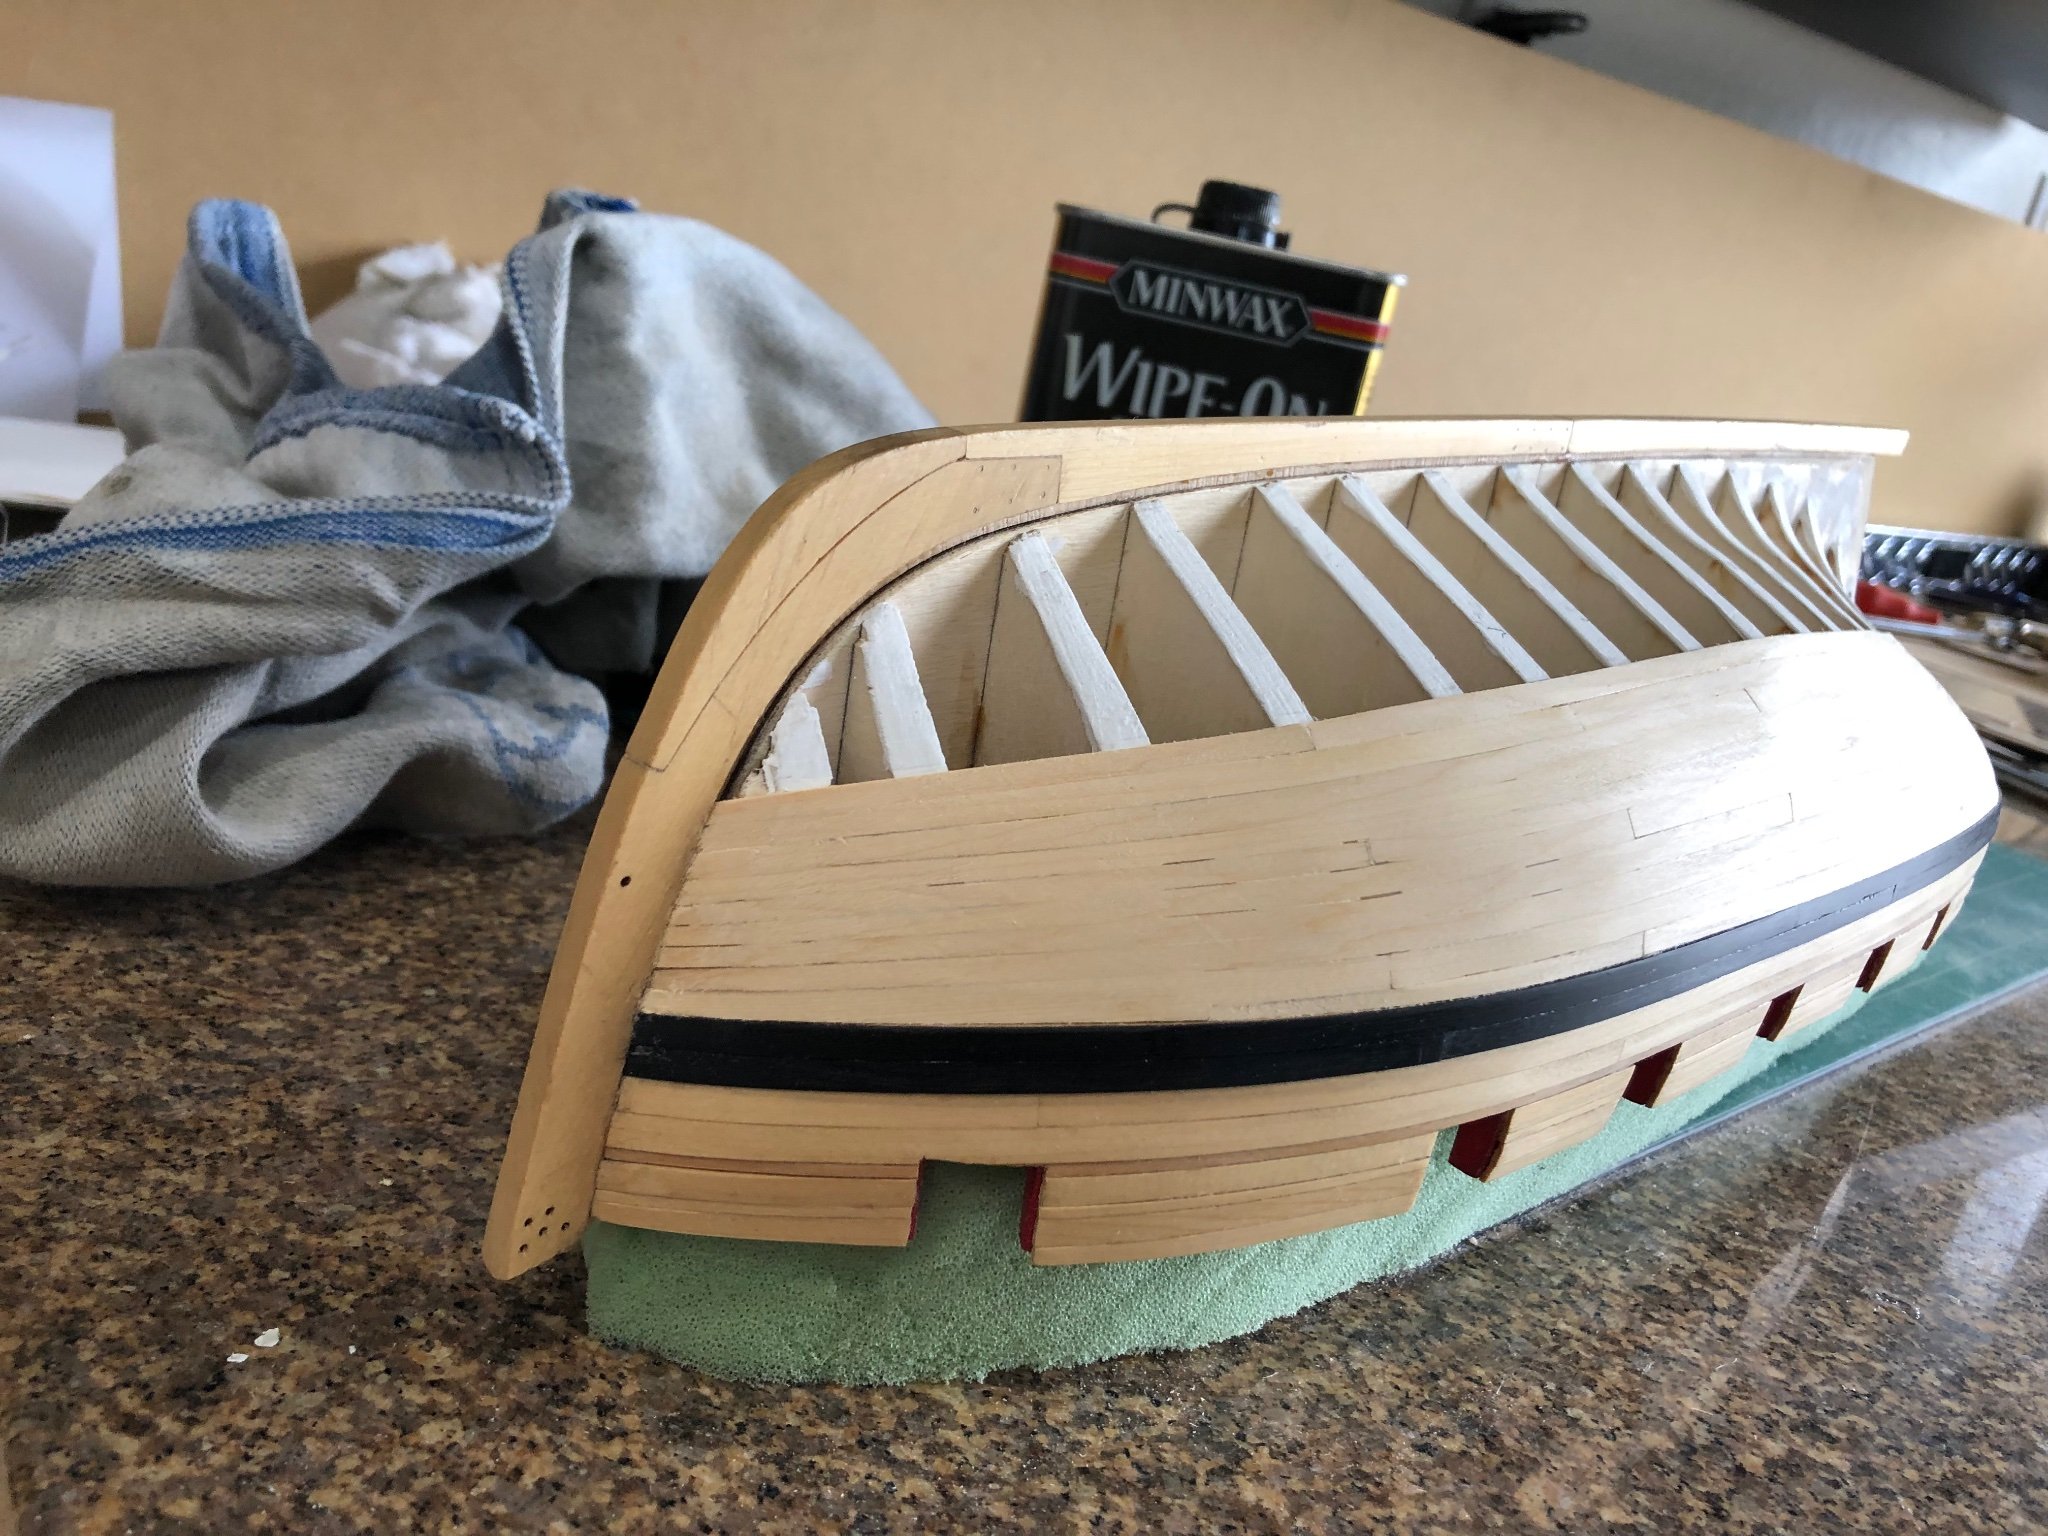
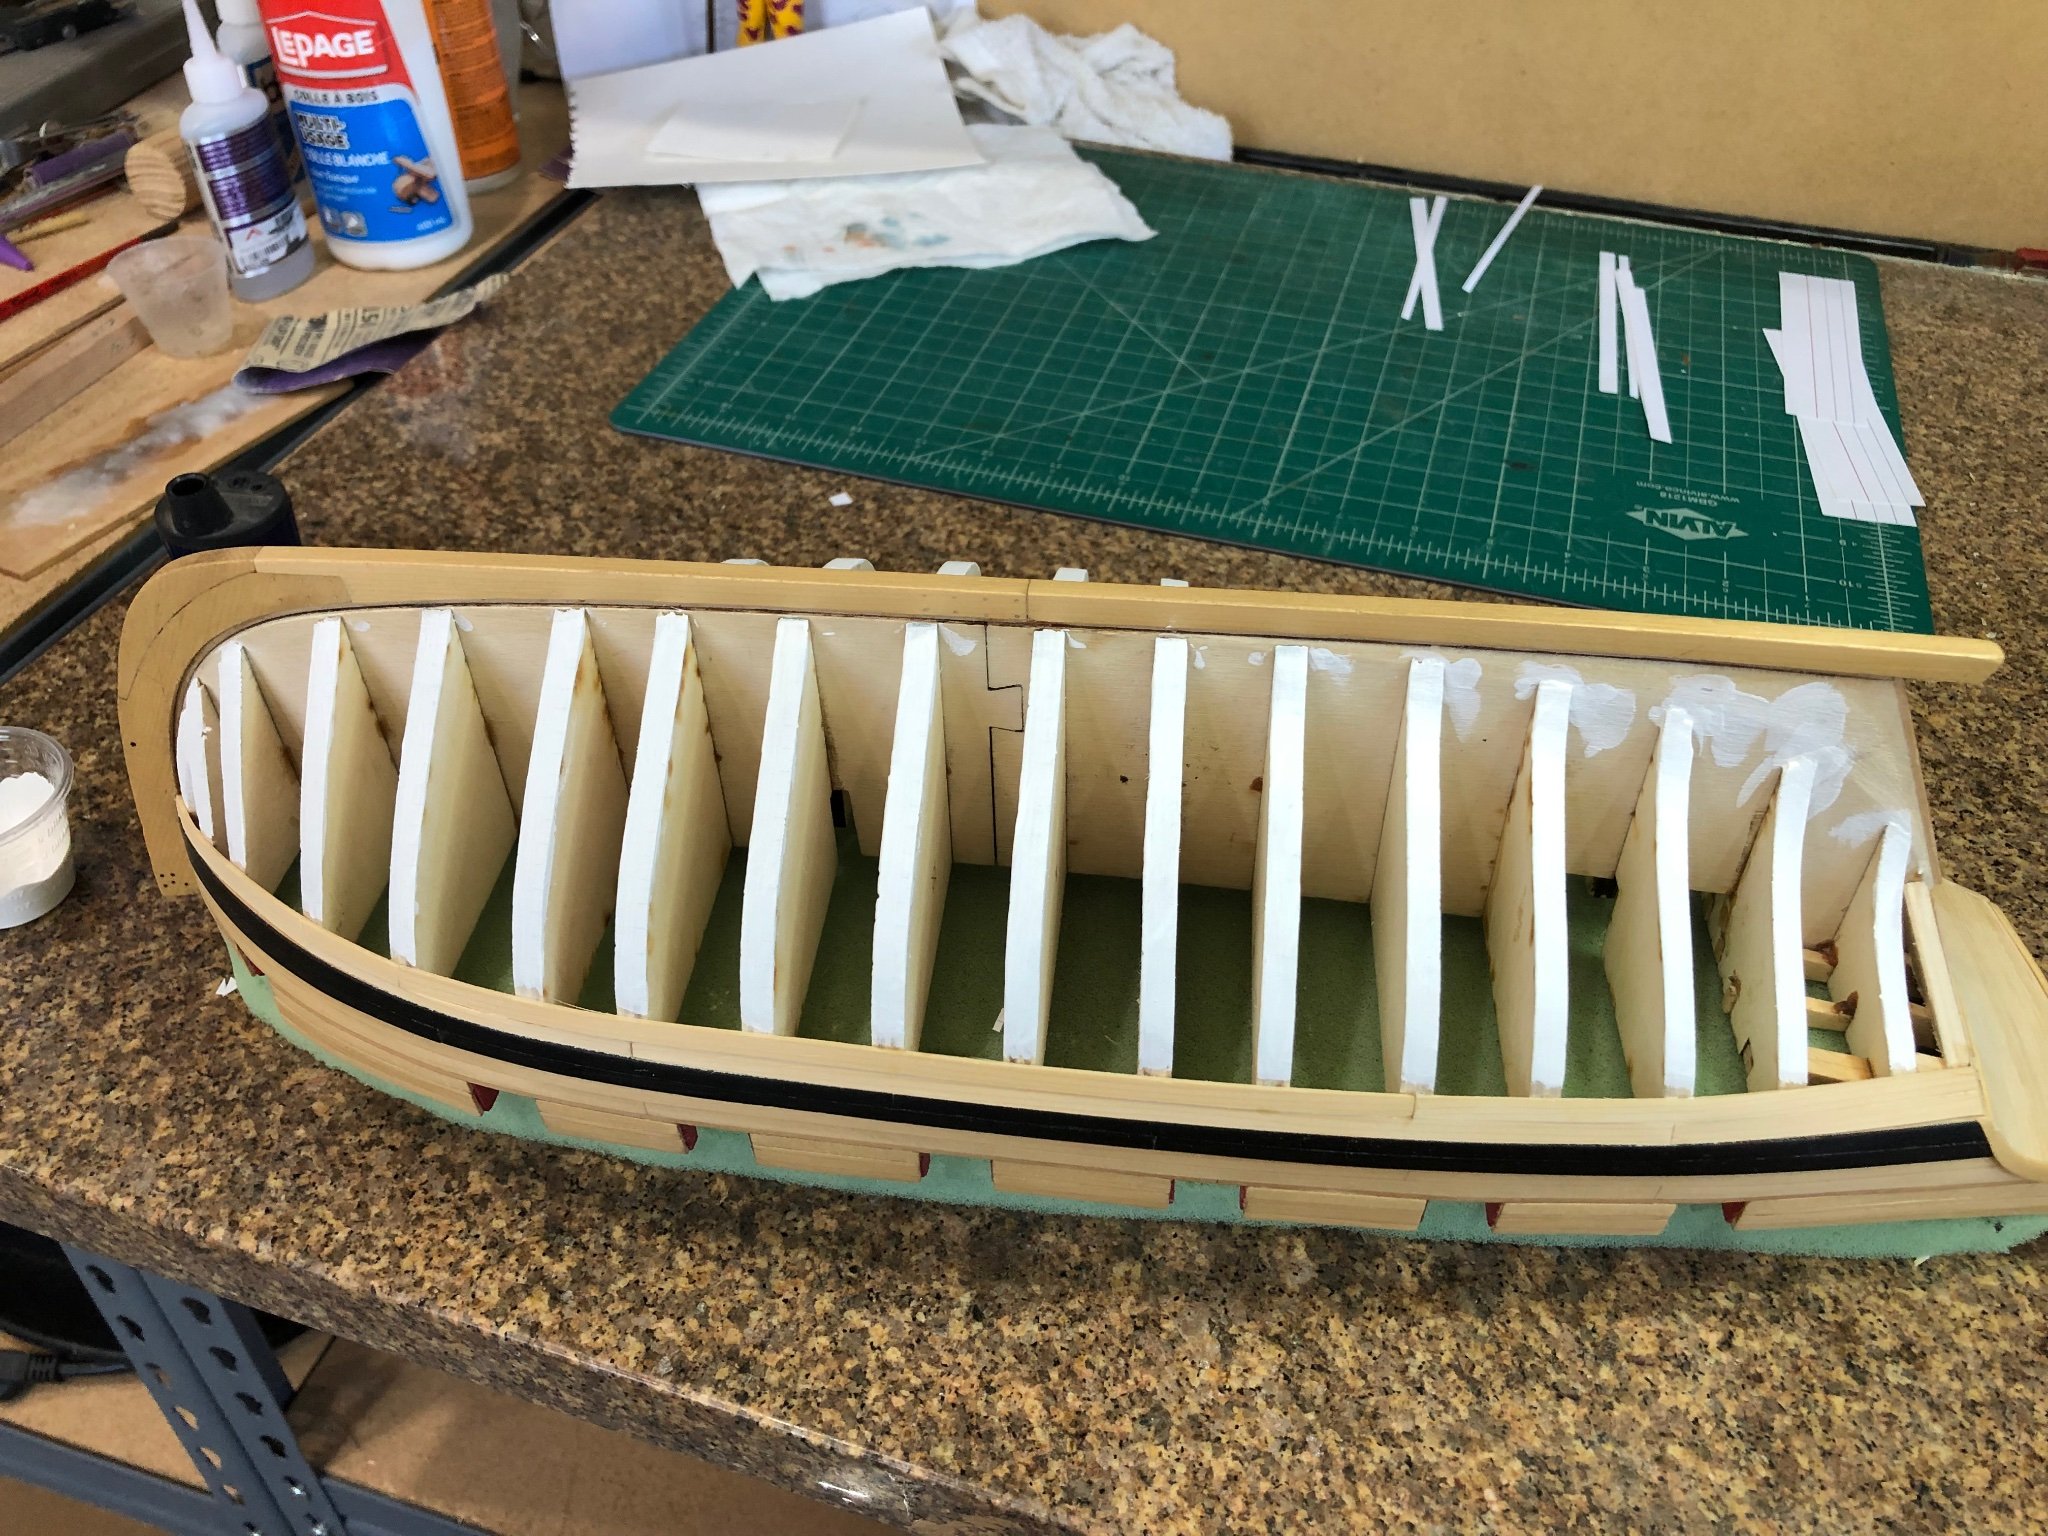
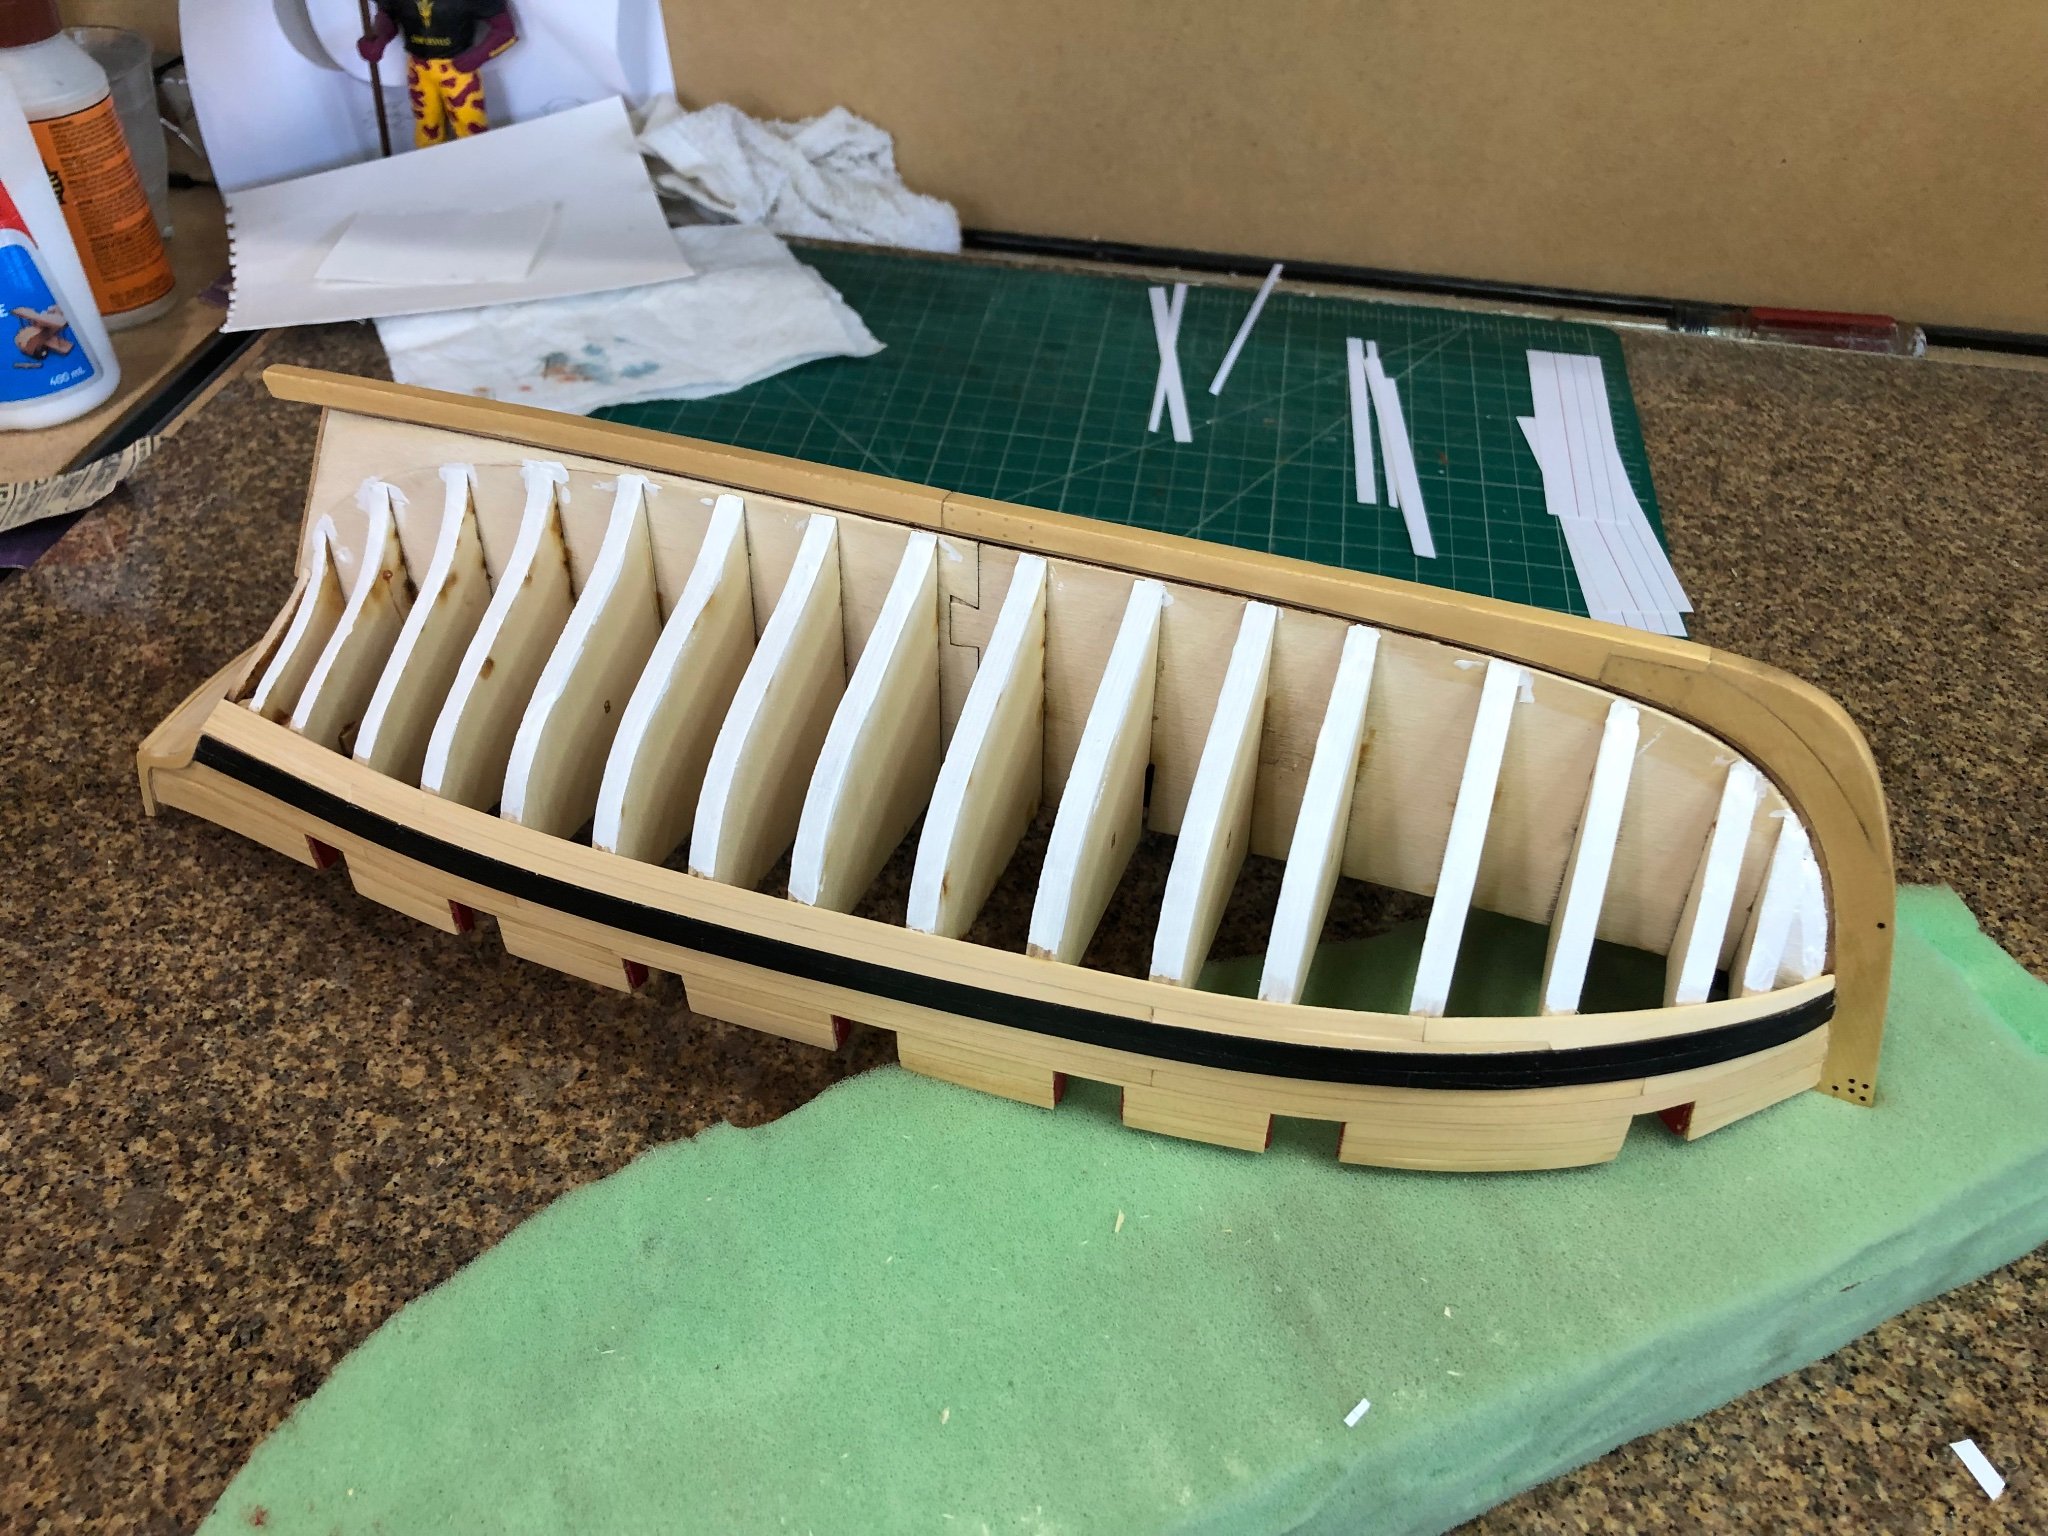
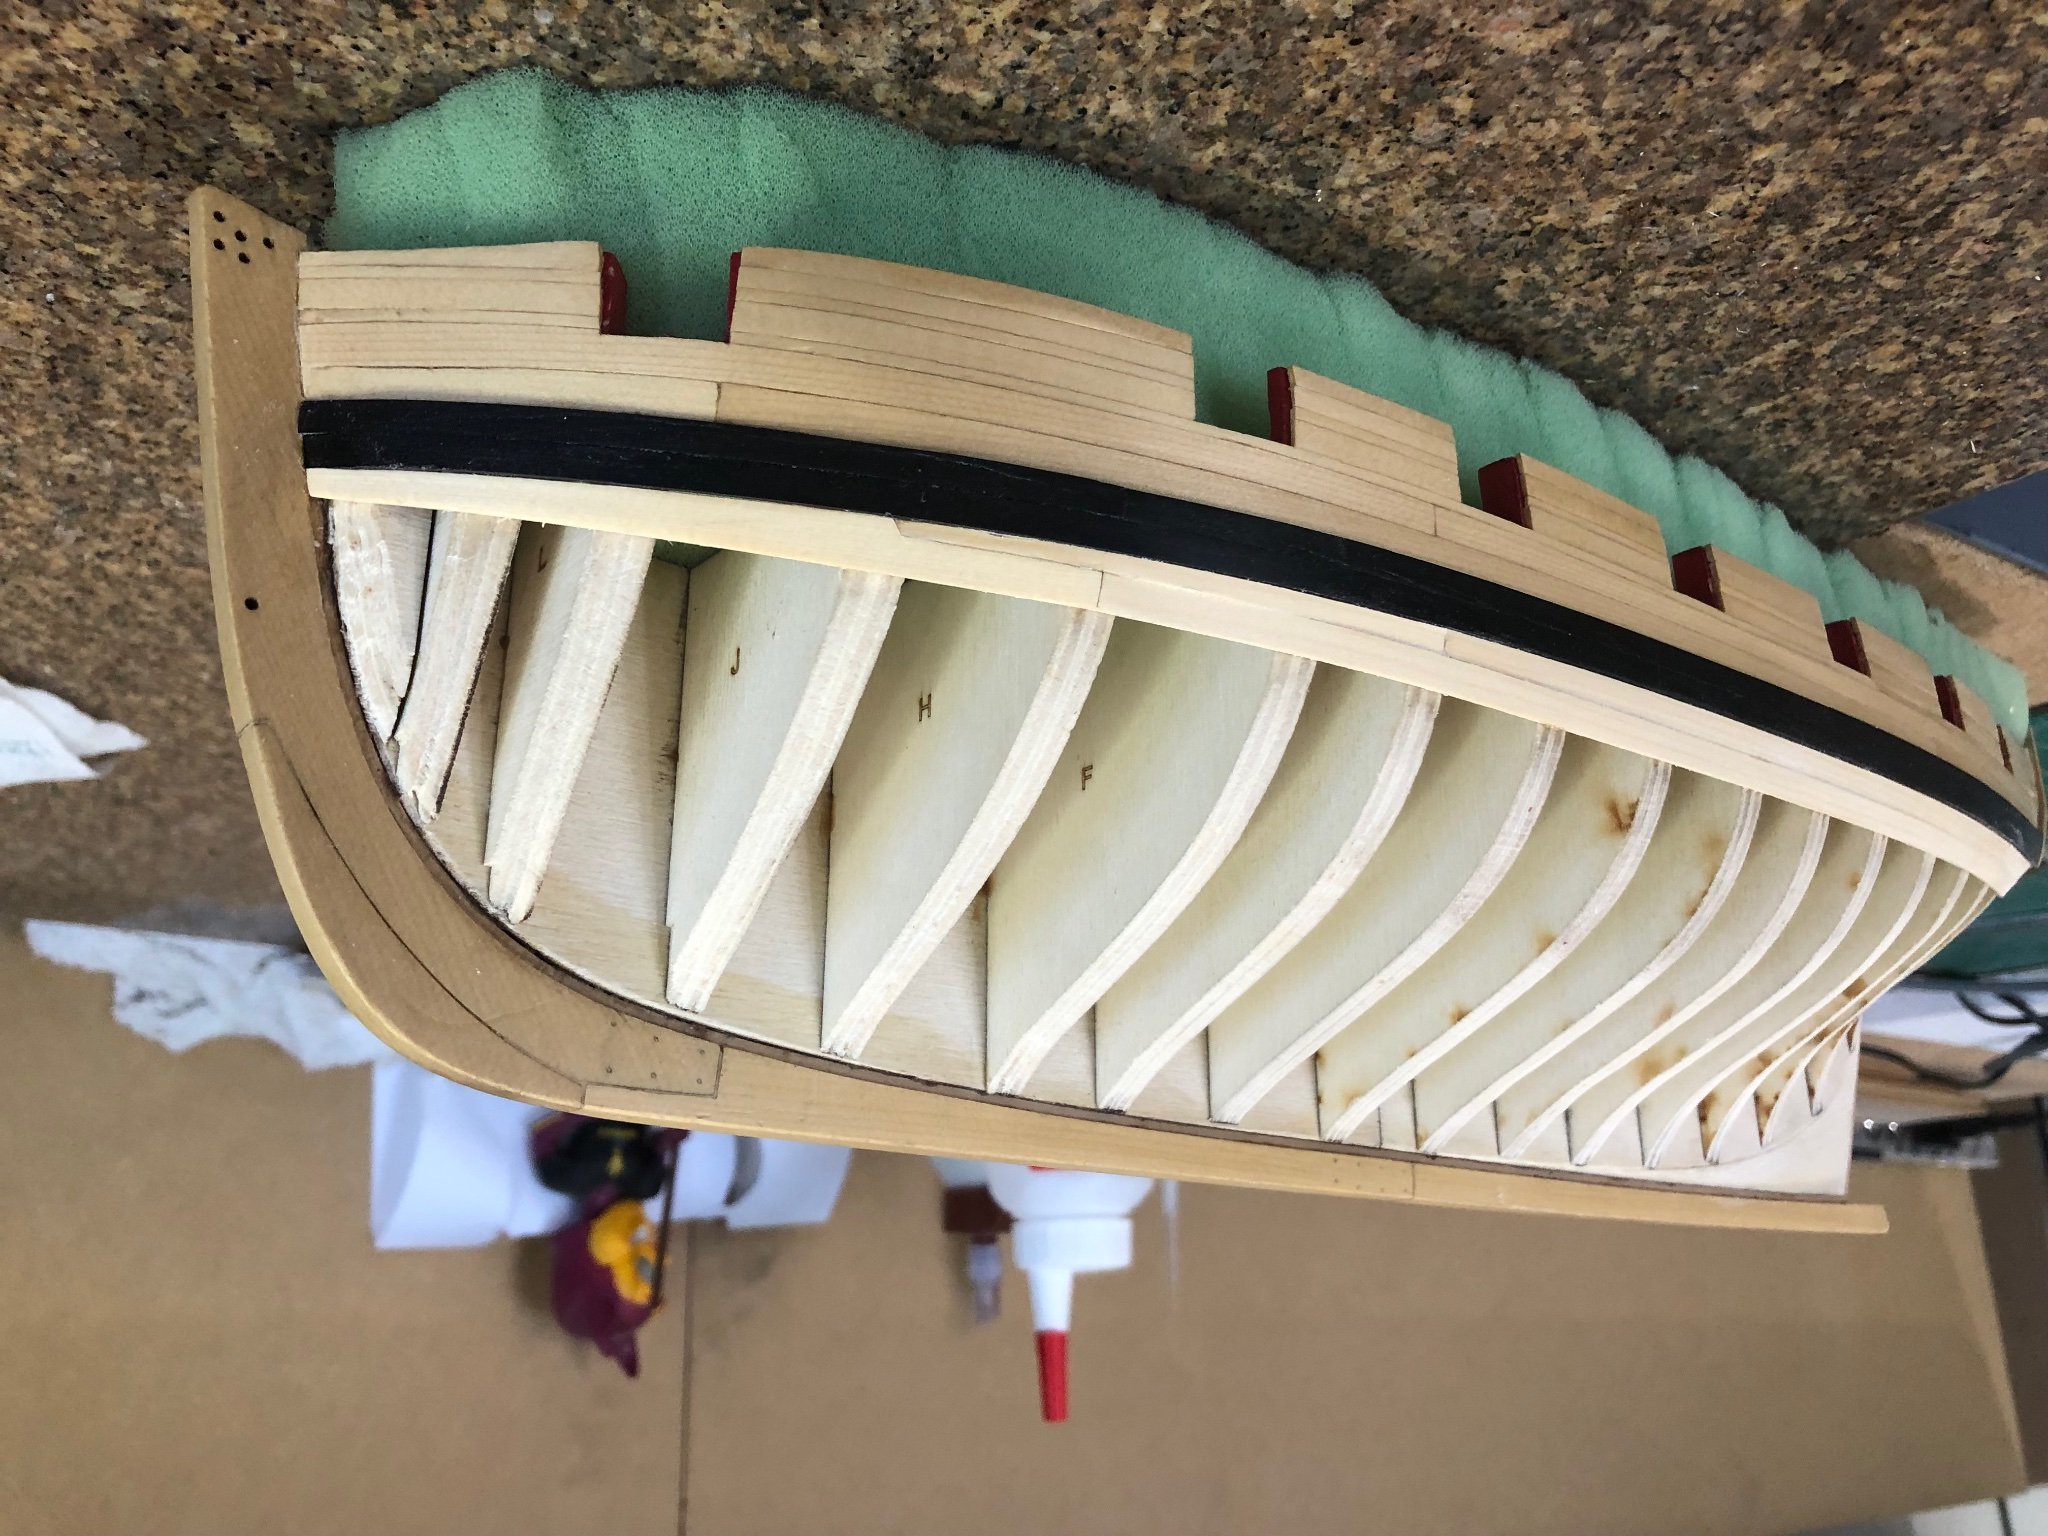
Square tuck completed and now ready to line off the lower 10 strakes. Building the frame for the square tuck was straight forward but the fiddlely little vertical pieces were another matter. First I tried to free form the curved end and when fit align the length to fit the opposite end. That piece has a slight curve and that was the issue. After many attempts there had to be another way. Being a straight line kind of thinker maybe a template would work, but how to make the template. To make a template I stretched a piece of painters tape across the port side tuck frames and using a new #11 blade cut the tape using the inside edge of the frame as a guide. Cut 5 pieces of wood and taped them together using the triangular shaped tape template. Tracing the outline left the pieces a little long for final shaping.

System worked and was able to finish the square tuck.
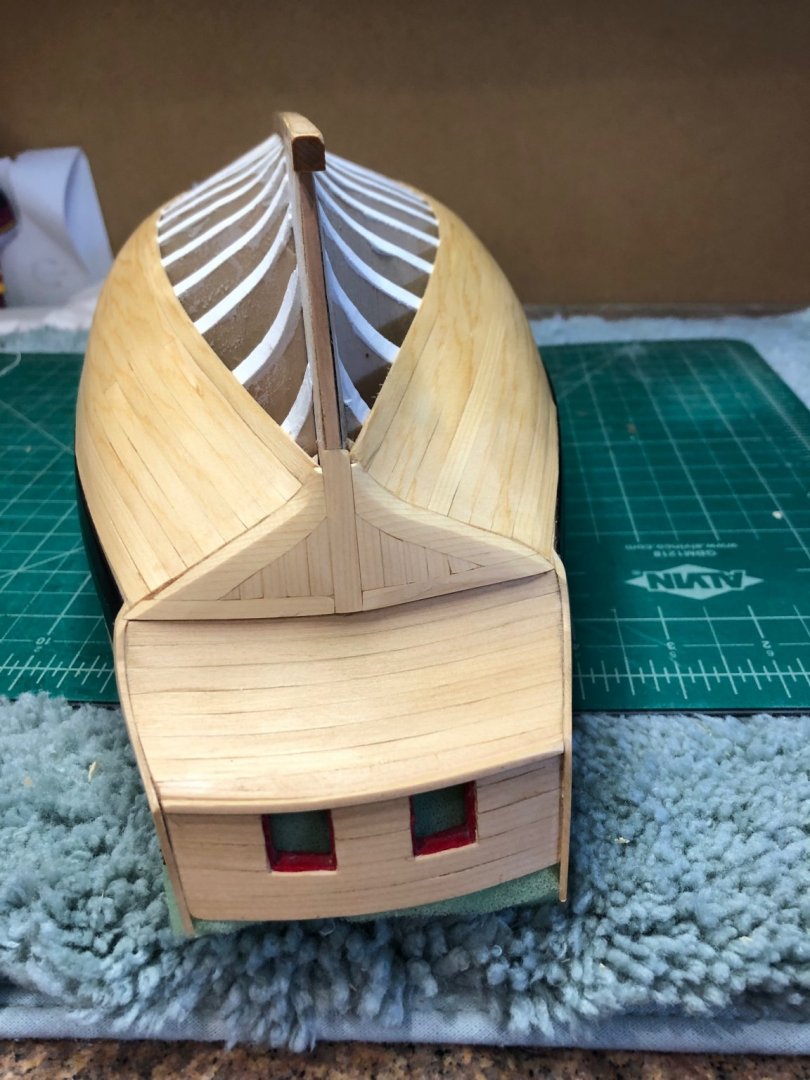
The coat of WOP made the joints more visible than I thought they would be but we'll see. I think I've become too critical of my planking lines and the transom and square tuck are about the same,
- JpR62, CiscoH, Ryland Craze and 4 others
-
 7
7
-
-
Many thanks to everyone with likes and especially thanks to PRS, Chuck and Glenn for the very nice complements.
Chapter 4 is finished
I realized that I hadn't described how I taper the planks and file the mating edges. Somewhere I saw a board with a slot cut to hold strips during shaping. I took a piece of boxwood and with the table saw cut a slice slightly wider than the plank strips.

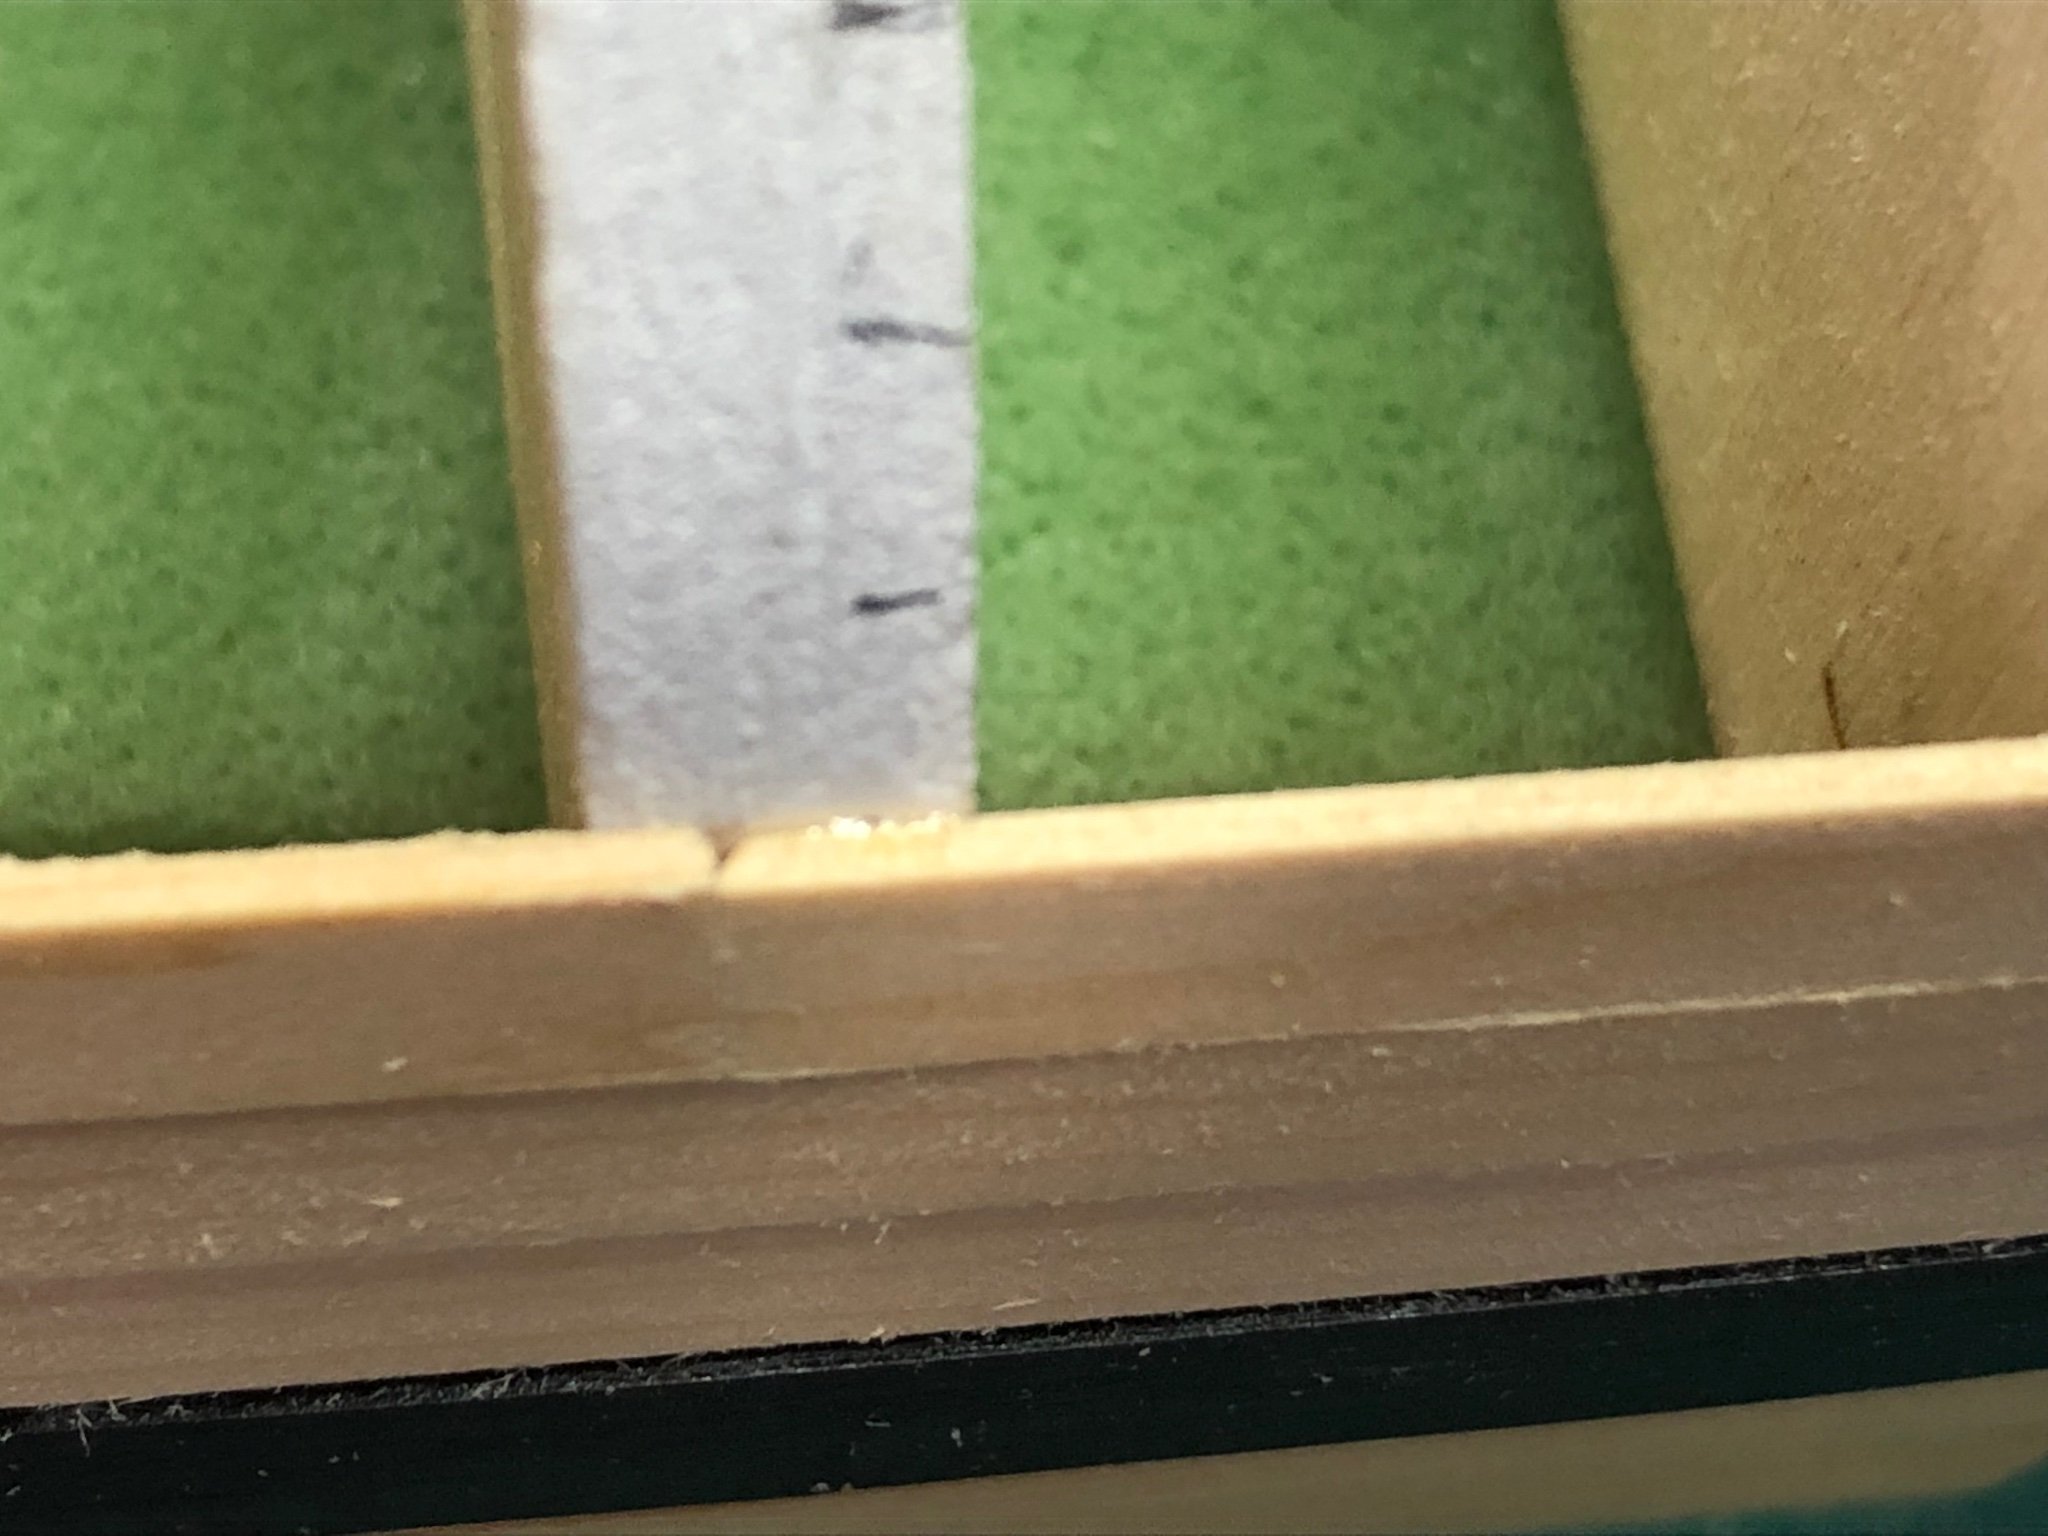
After measuring and marking the strip it is set in the slot and using a sanding block with 150grip paper sanded to shape

As you can see this plank is almost to the mark
Another tip I learned from gbarlow was to sand an angle on the adjoining ends of planks to make tight straight butt joints. Thanks Glenn

Starboard side completed with no sanding

Both side done and lightly sanded
Coat of WOP on both sides
My planking has gotten much better and as Glenn has said I wish the boat had three sides.
On to chapter 5 starting with the square tuck when the WOP dries.
-
We're here wishing you the best. Please don't go off the recovery program. That will set you back and maybe have to start over. I've never had shoulder surgery but my wife has had to have both sides repaired and recovery is a long process.
-
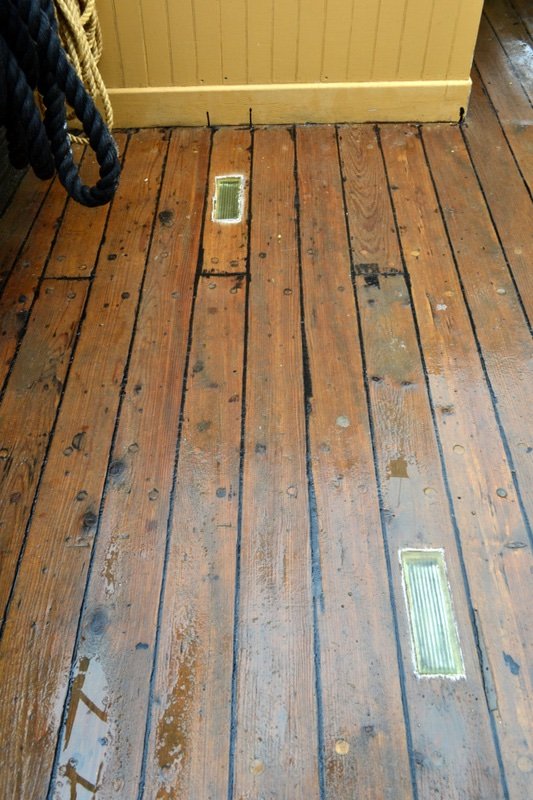
I like the work you're doing its coming along beautifully. I only wonder if the grey deck is not brown/grey enough. A couple photos of the Charles W. Morgan deck for reference.
Deck when dry
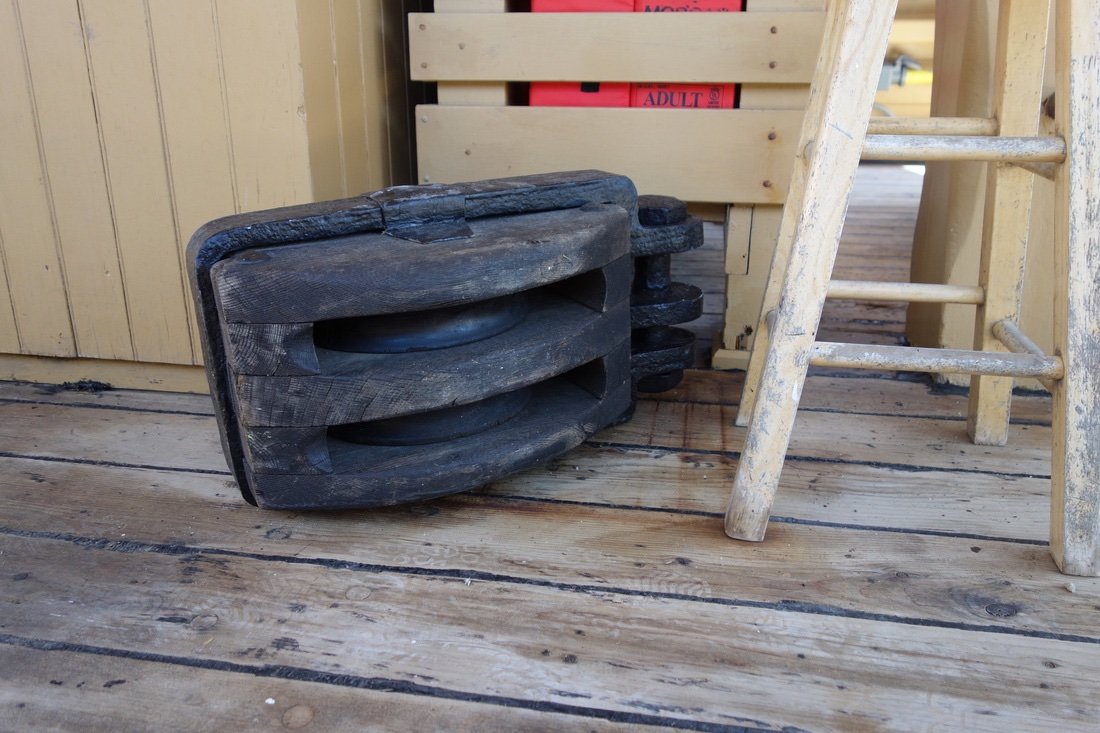
Deck wet from a rainy day
I hope I'm not being to critical.
- thibaultron, oneslim and mtaylor
-
3
-
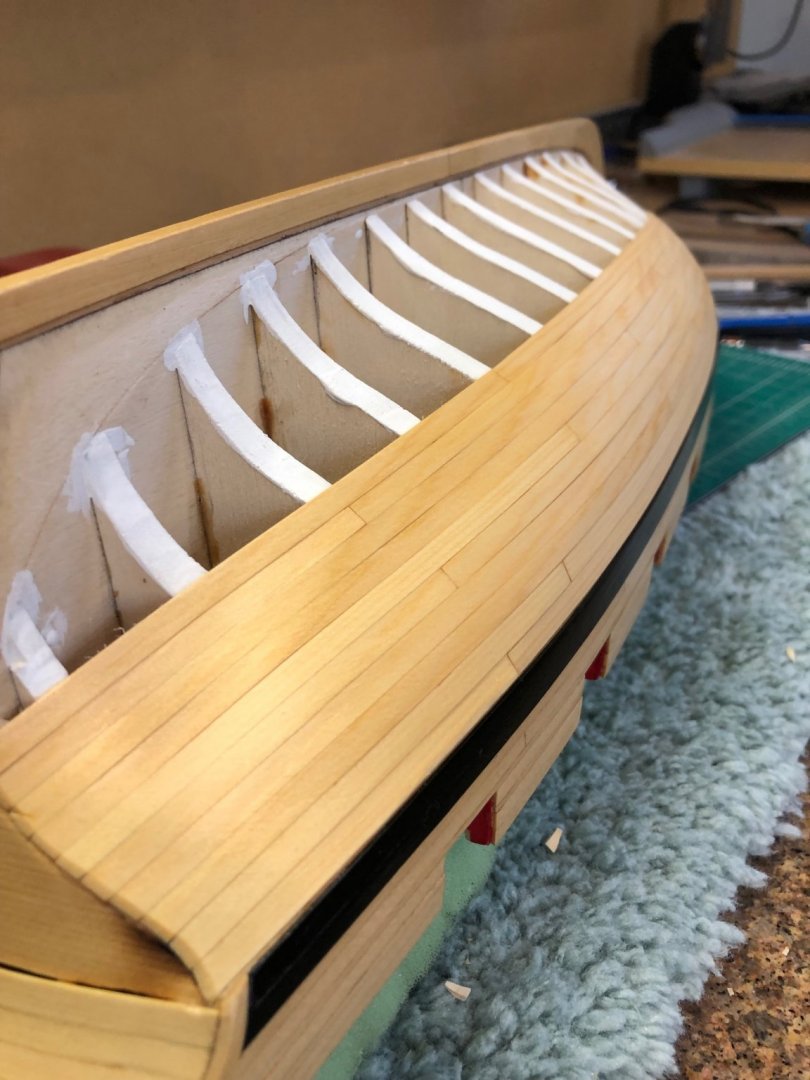
Little update on planking. Finished to first 8 strakes on the starboard side. The lining was very helpful as this is my first one layer planking. Each plank was lightly sanded and the mating edge beveled prior to carefully marking each plank using the tick strips and then shaped the plank before bending.
Taking the strip to the ship and finding the apex of where to max bend was located. The strip bending was done using Chucks method of a hot iron. The butt ends of each plank were finished using a razor saw and sanded with a bevel making tight fitting butt joints.
Planking after light sanding with fine paper.
After one light coat of WOP.

For my first planking I'm very proud of the result. After WOP dries the port side will be started. I also put WOP on the counter as it will be painted. Reading gbarlows comments regarding painting over WOP made sense so why not follow as his work is beautiful.
- GrandpaPhil, bruce d, CiscoH and 2 others
-
5
-
Andrew something to think about is scale verses actual. Meaning .016 band equates to a 1/2" thick steel band. So that being said I think .032 is way too thick. For the sake of accuracy its only a 2 hour drive to Mystic and ask maintenance crew on Emma. Just a thought. Its looking fantastic.
-
With Glenns question No I haven't done a test between gesso frame and plank. I've glued other things on top of the gesso with no issues, but I'd better test. Thanks Glenn for your input very appreciated.
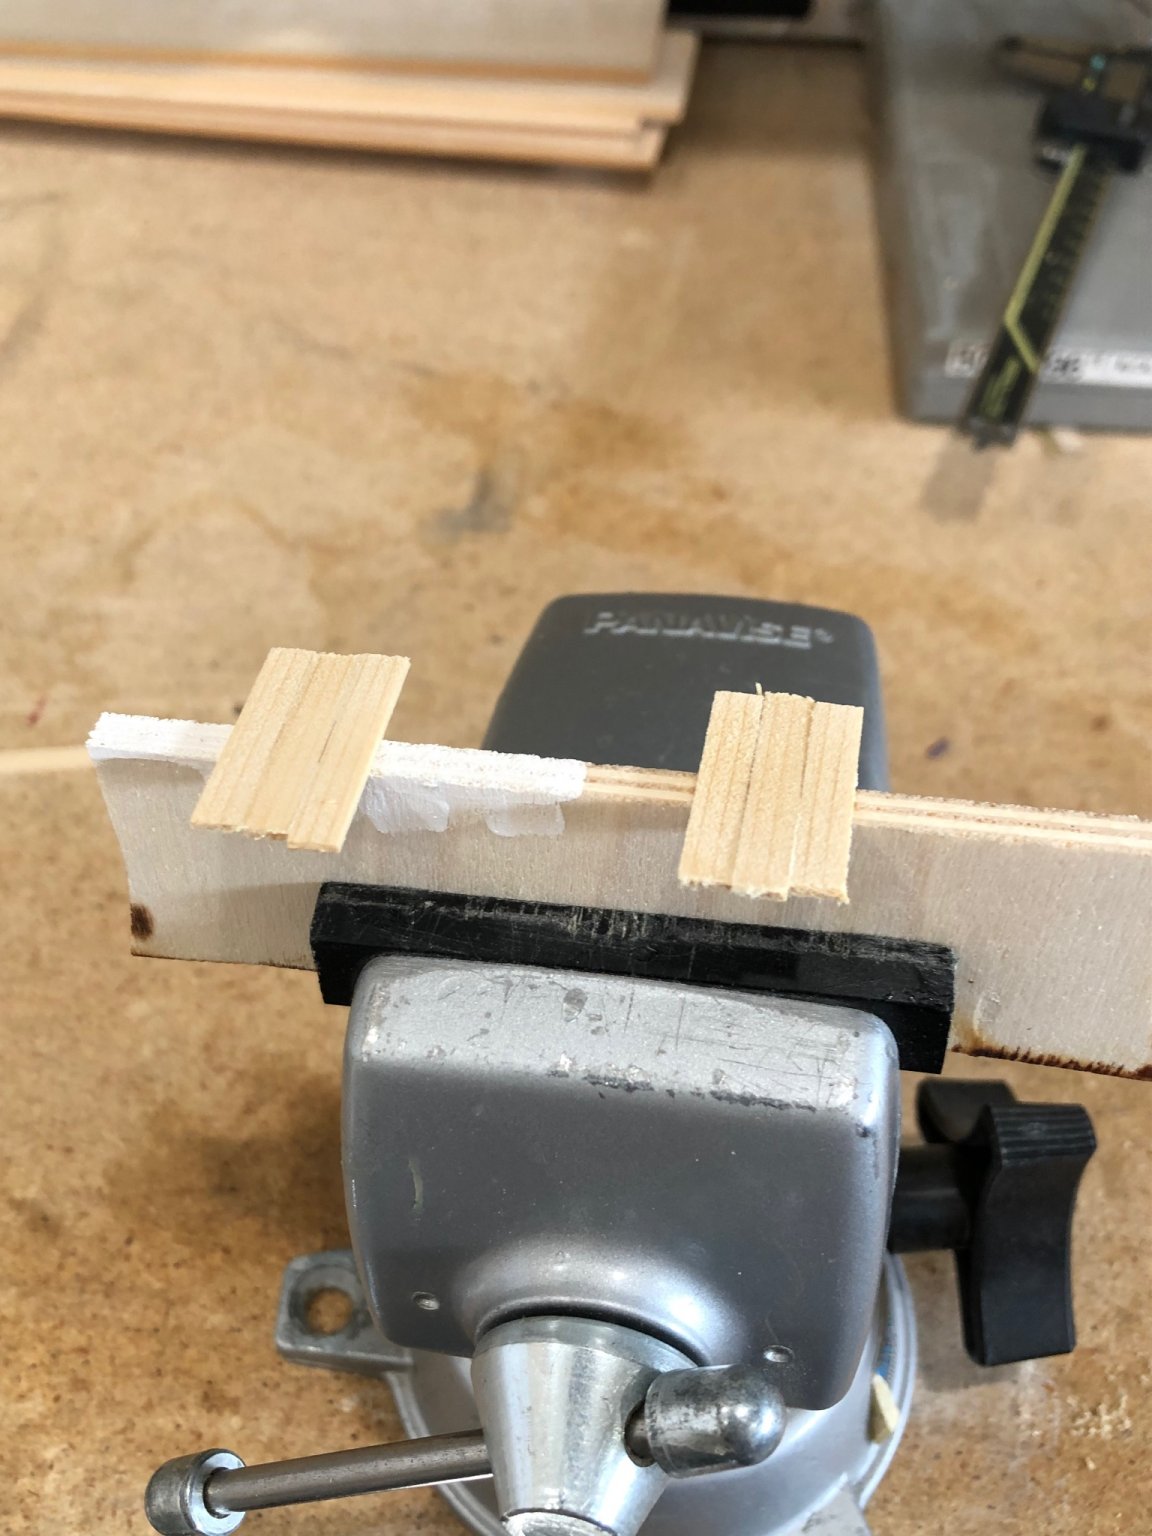
I made a quick jig using the plywood frame that held the bulkheads. Did some sanding to mimic the faired frames. Painted the gesso and let it dry.
Took a ALC 3/16" plank and cut 6 1" pieces and glued them to the test sample with medium CA glue the same as i use to plank
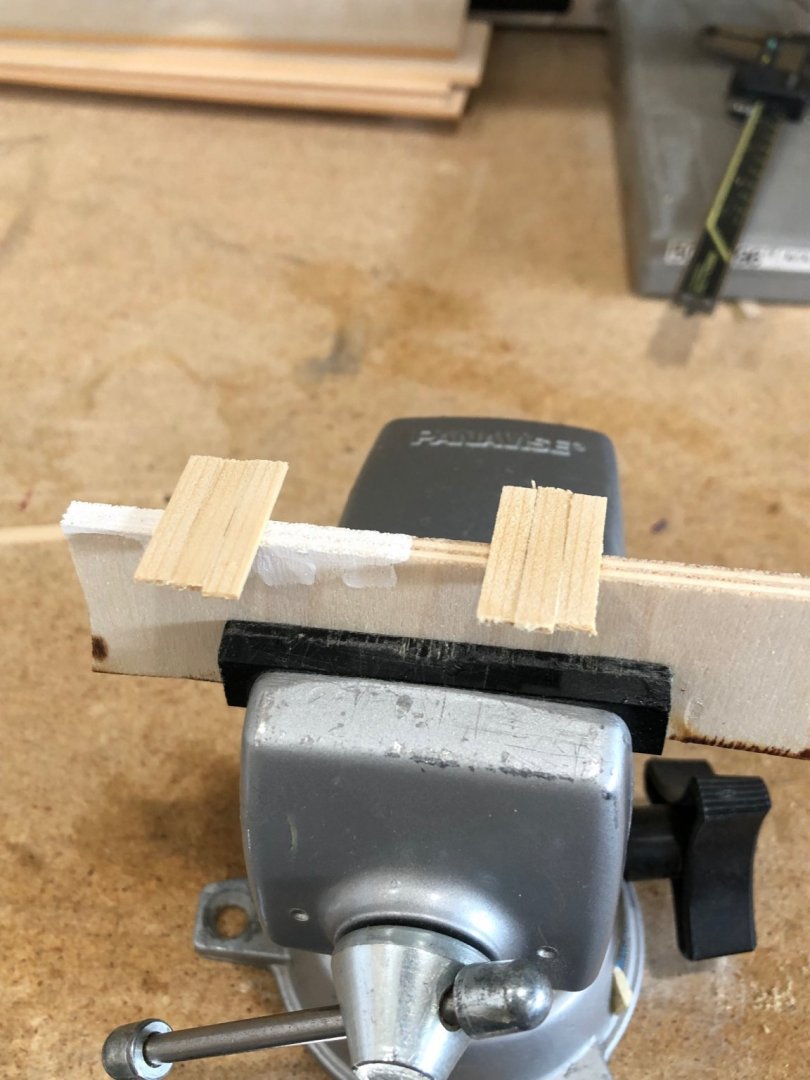
After glue set I pulled on the 1" strips. The gesso held and the wood to wood broke free with about the same effort as I've experienced removing planks.

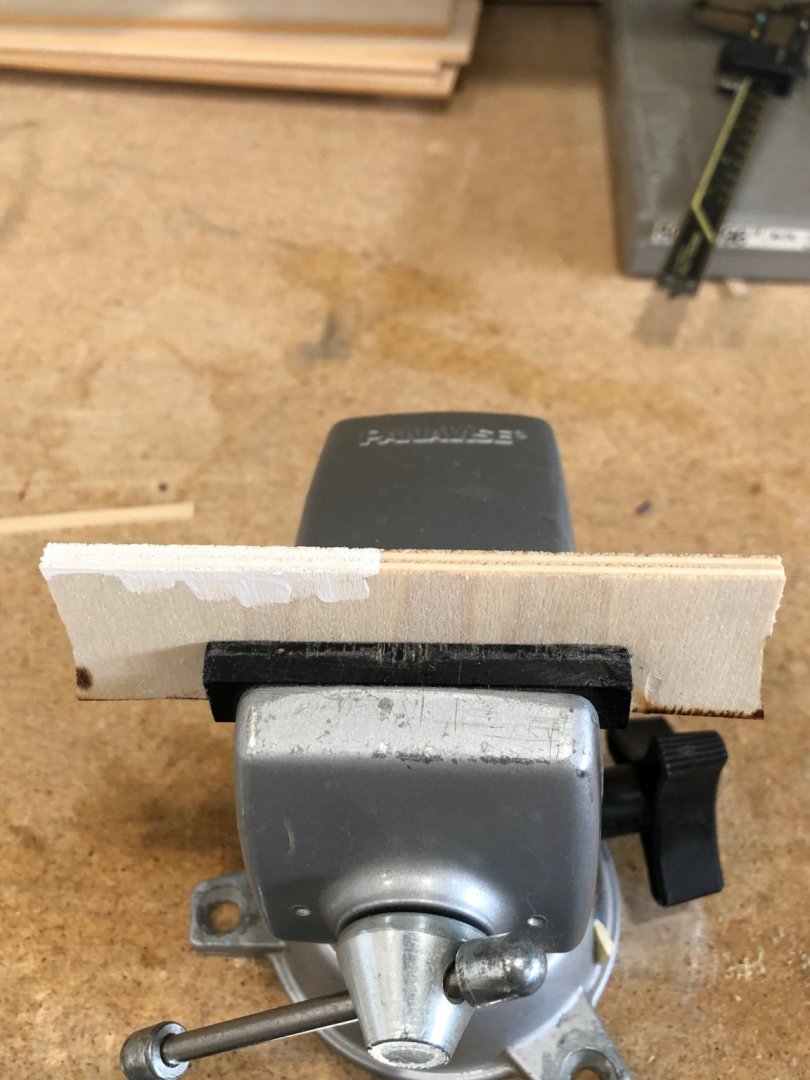
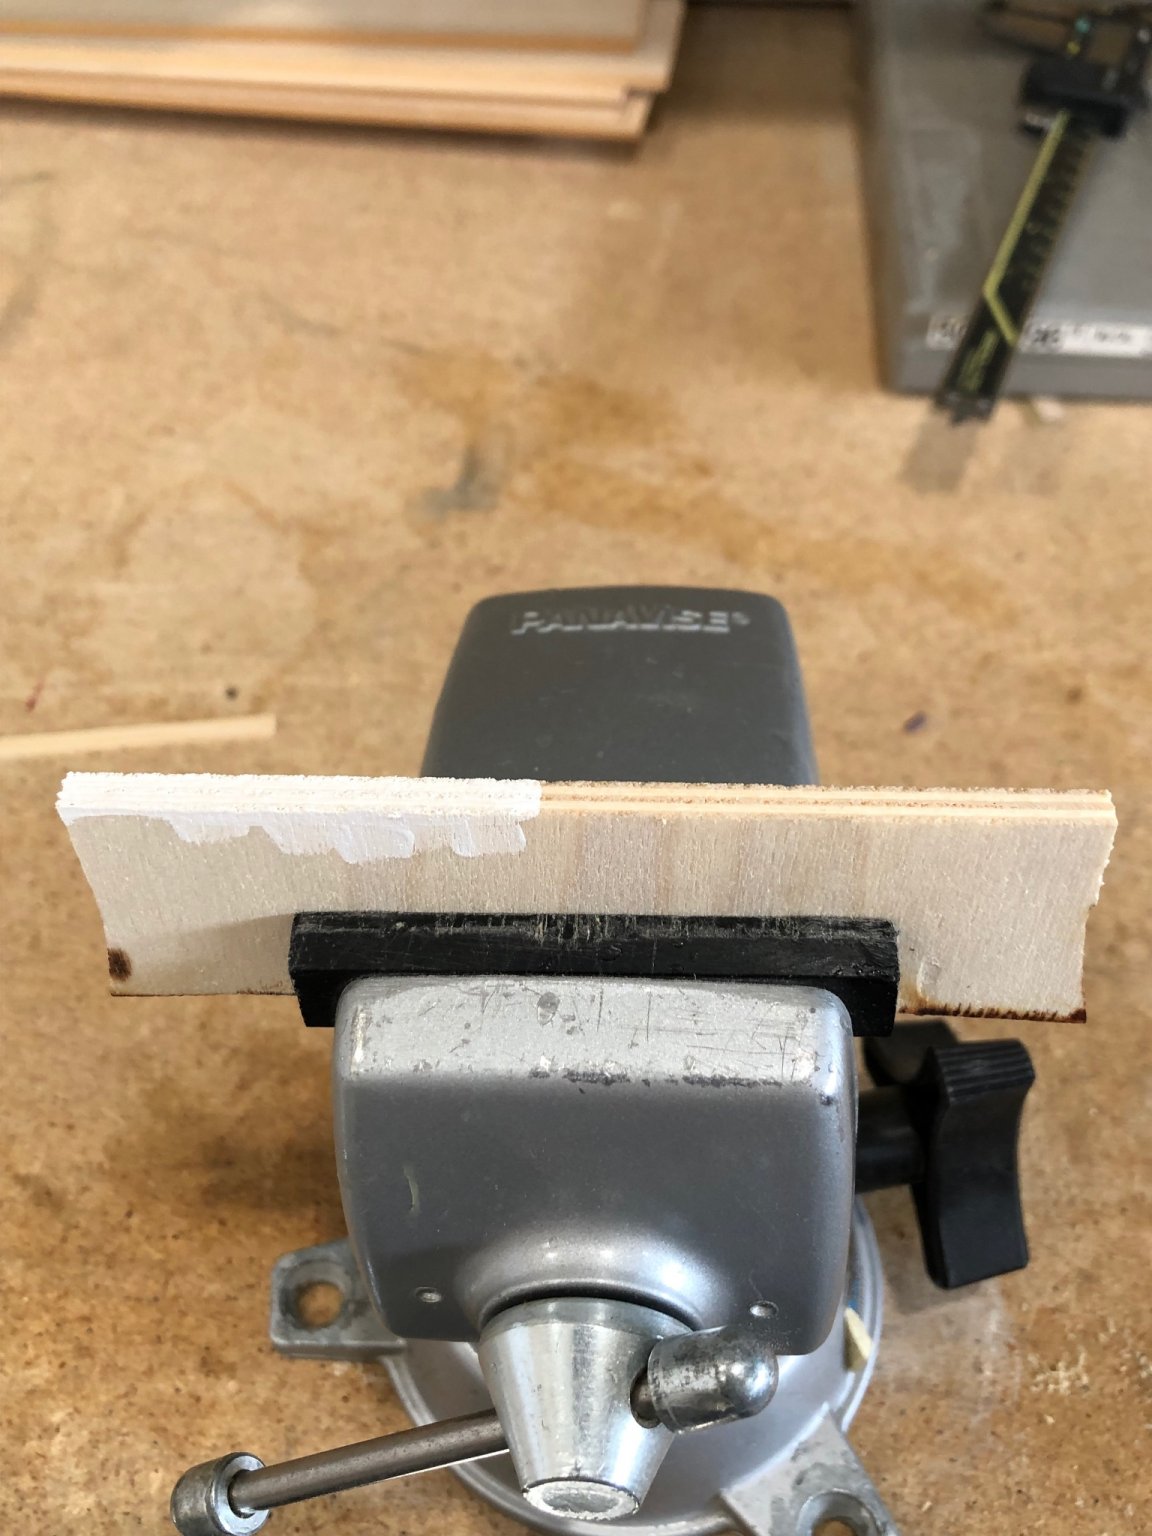
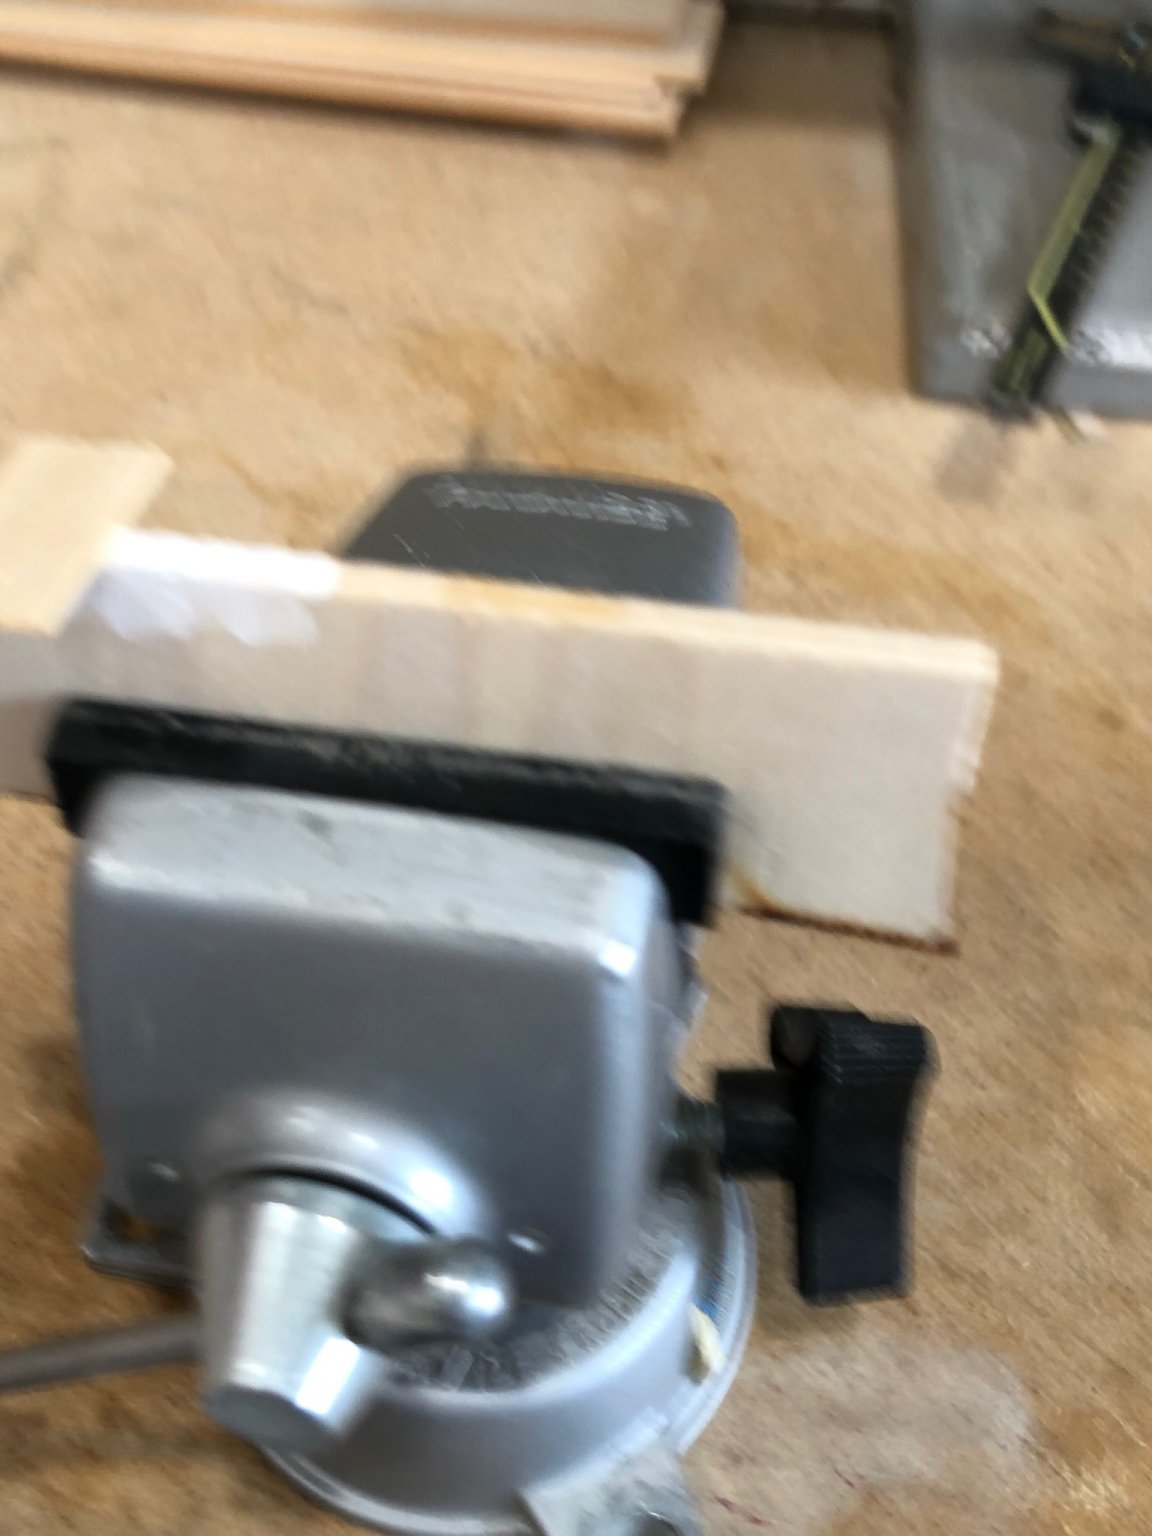
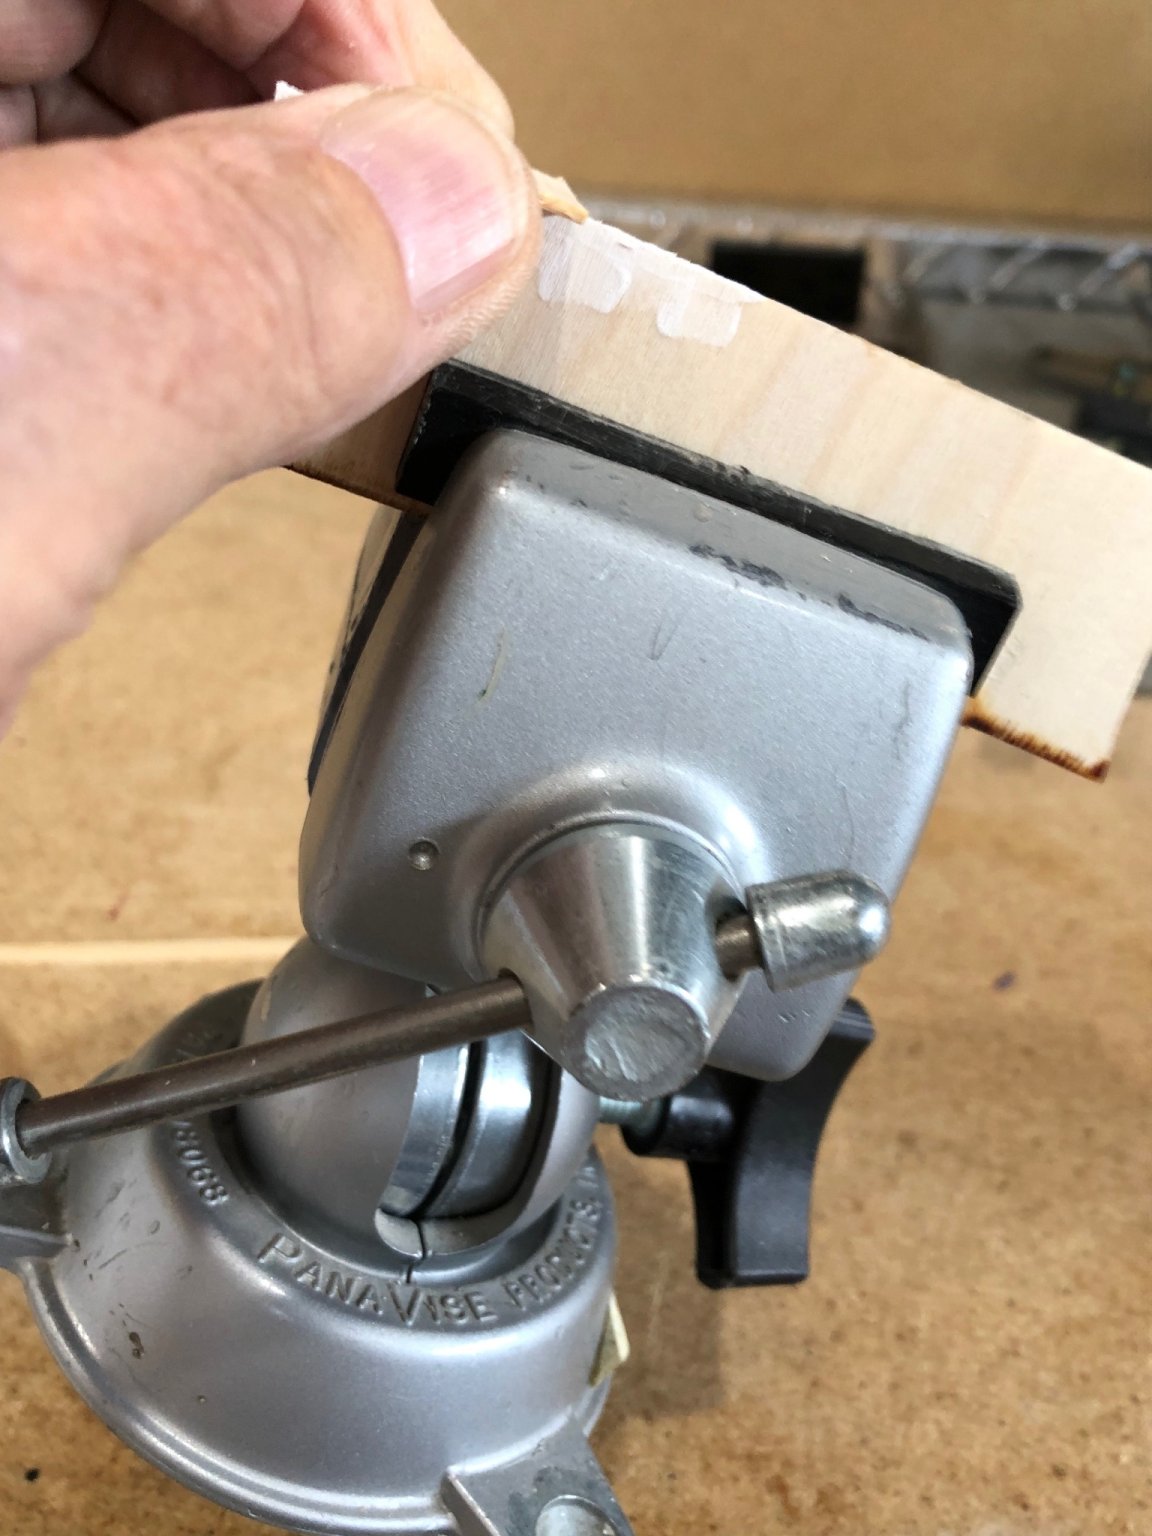
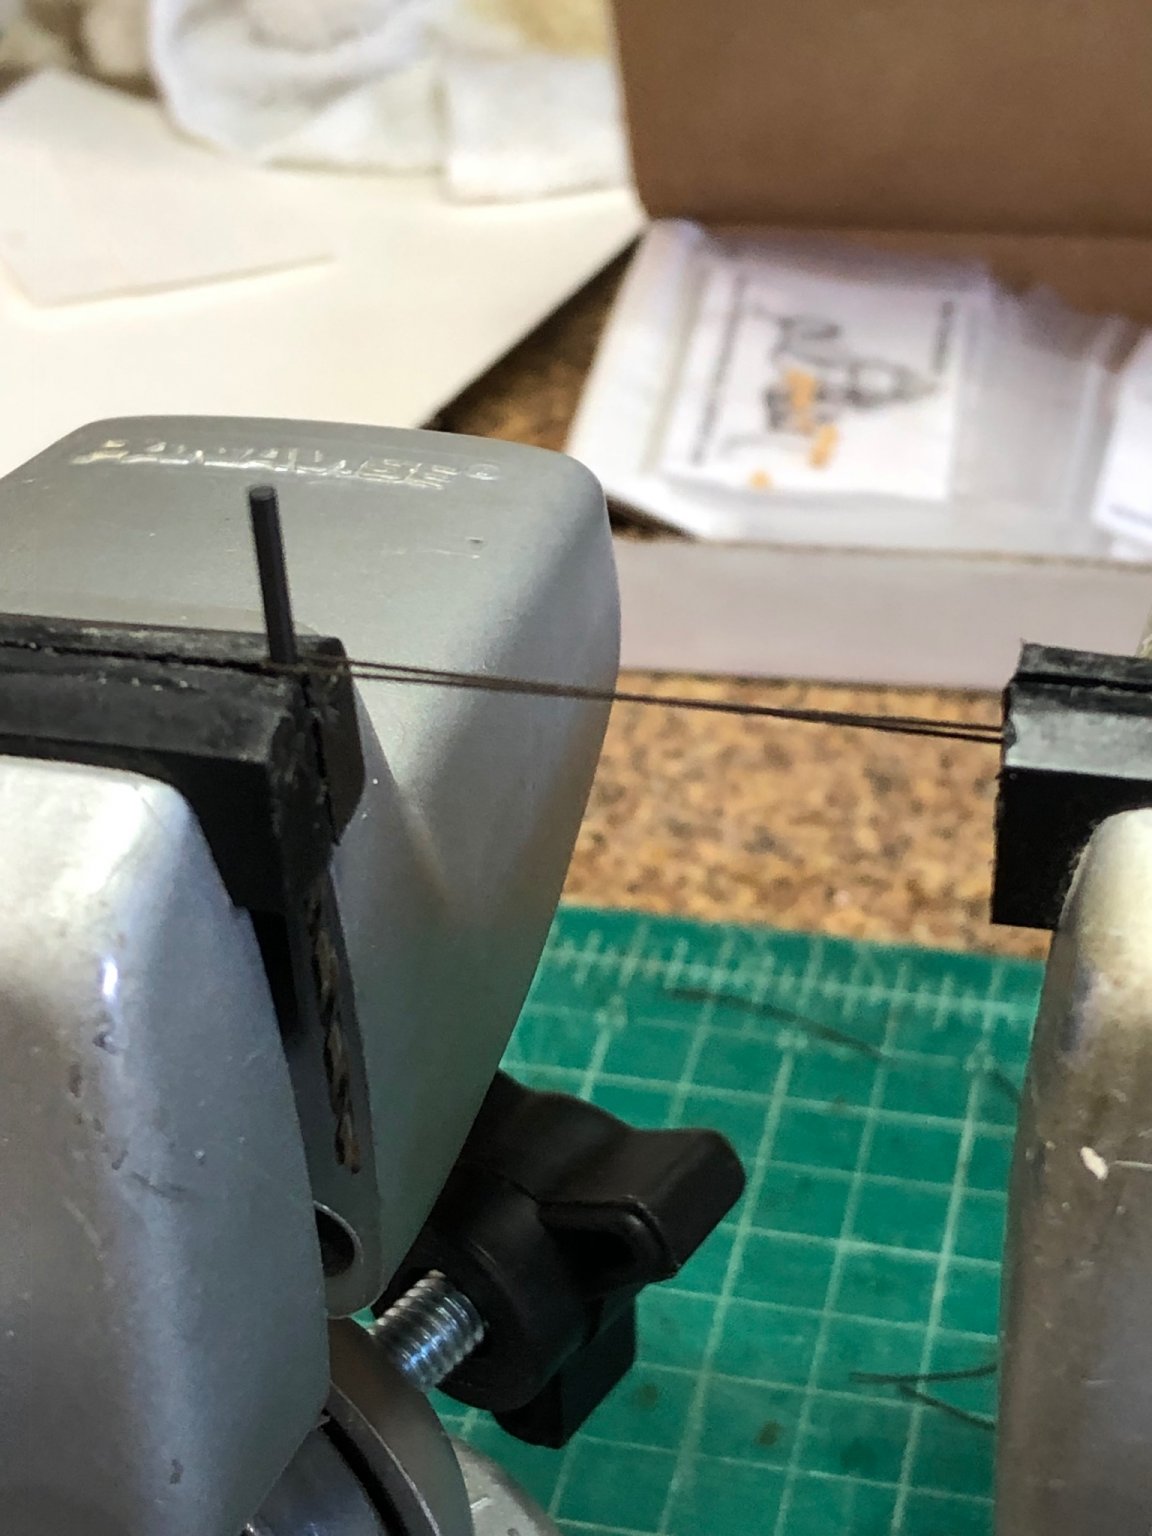
Then while pinching one plank I was able to lift the panvise. I realize this is a simple test and is purely subjective but enough to make me comfortable.

vise being lifted
Feeling better I ripped 60 3/16" x .046 planks Before ripping the wood was surfaced down to .185 uniformly across the surface using the byrnes thickness sander. Doing this ensures that all the planks are the same width.
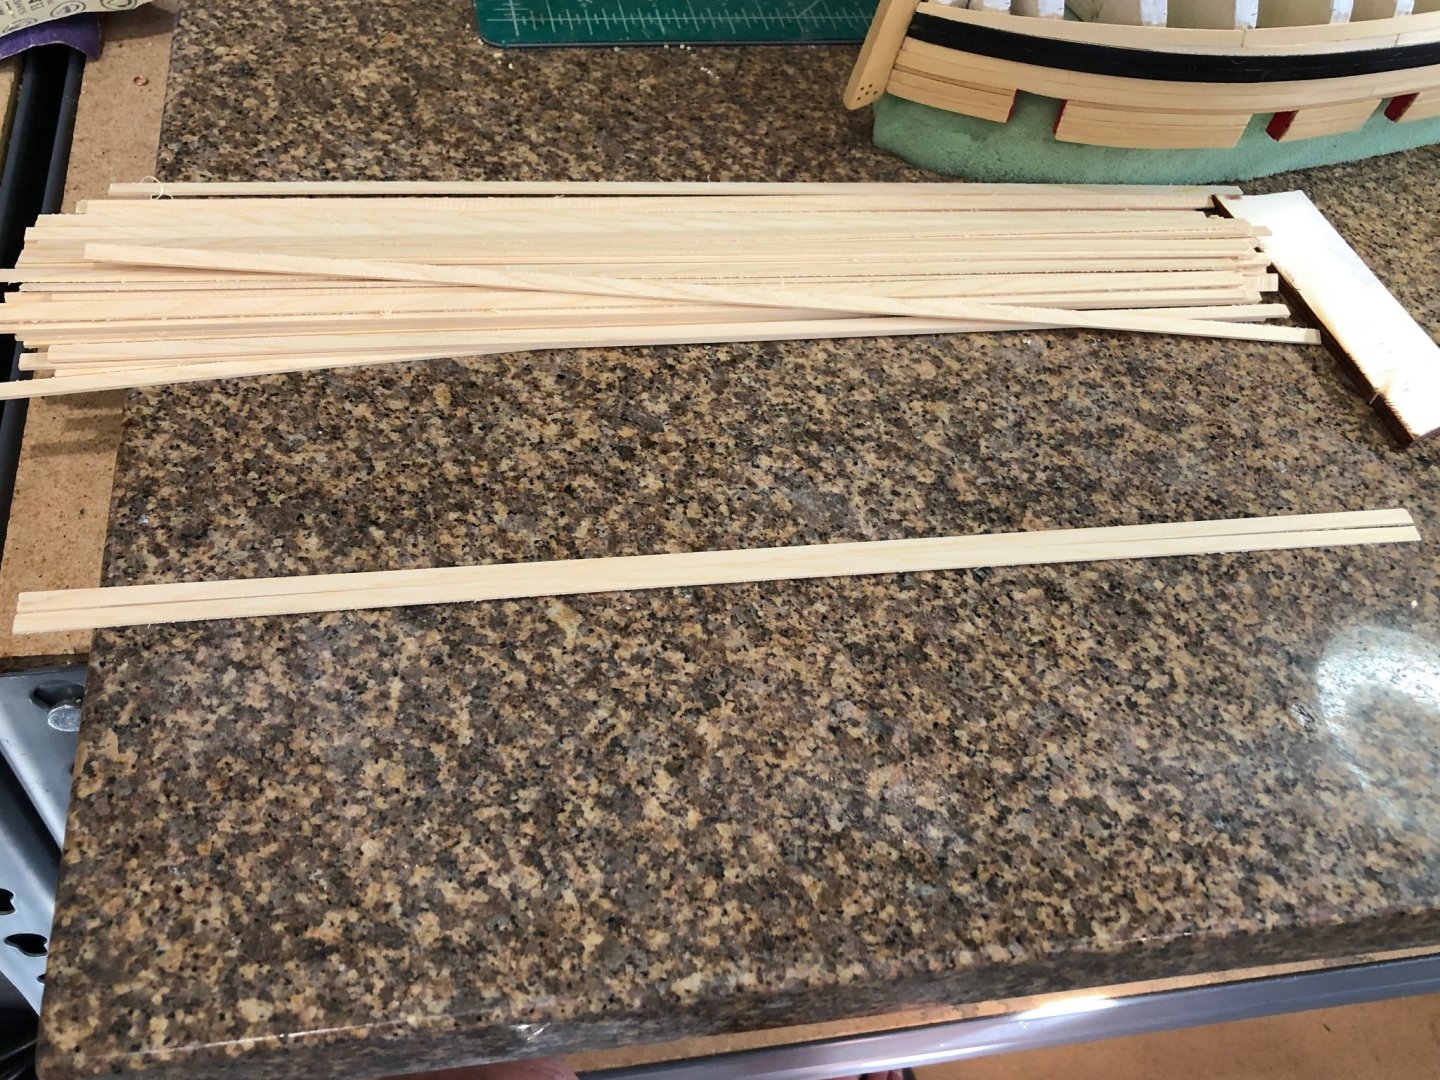
a closeup to look at the grain pattern and these are directly off the saw no sanding or finishing done.

I am very impressed with the wood purchase from Modelers Sawmill. Can't say enough about the quality of the wood, the price, and quick delivery from Canada to Arizona. I highly recommend them for you wood to rip.
- PRS, Boatsinc2000, GrandpaPhil and 1 other
-
4
-
After studying my lining marks and reviewing many logs I decided to start the lining using a sharp pencil. First I painted the frames with white gesso to smooth the surface and create better contrast. Where I had marked bled through the gesso so it took three coats before getting coverage. Now looking a the frame surfaces the gesso has made them smoother and should be easier to line off the frames.
Couple of photos with the gesso drying throughly before lining off. I plan on using a drafting lead holder with 2H lead and sharpening between frames.
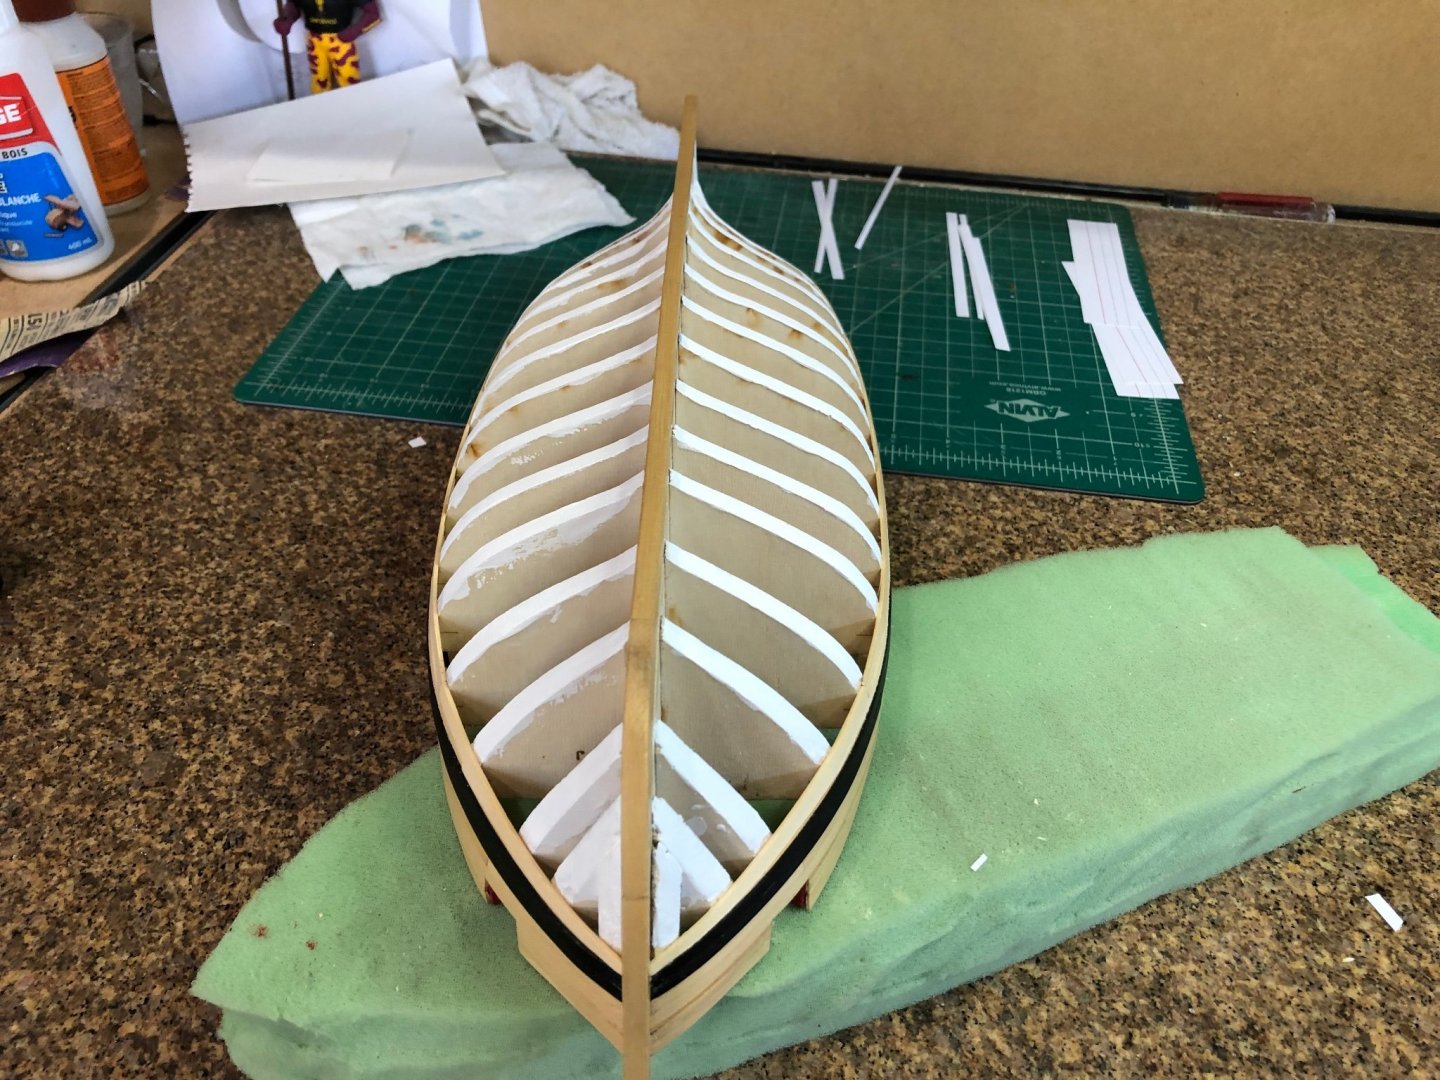


Start lining off tomorrow
- PRS, Sea Hoss and GrandpaPhil
-
3
-
Started to line off hull and got midships to stern completed on port side. This is a lot of work especially when I first was using the fan printed on my printer was not to scale. Had to mark a new 3'16" and use this as the reference point. Taking my time so didn't get as much done as I'd hoped.
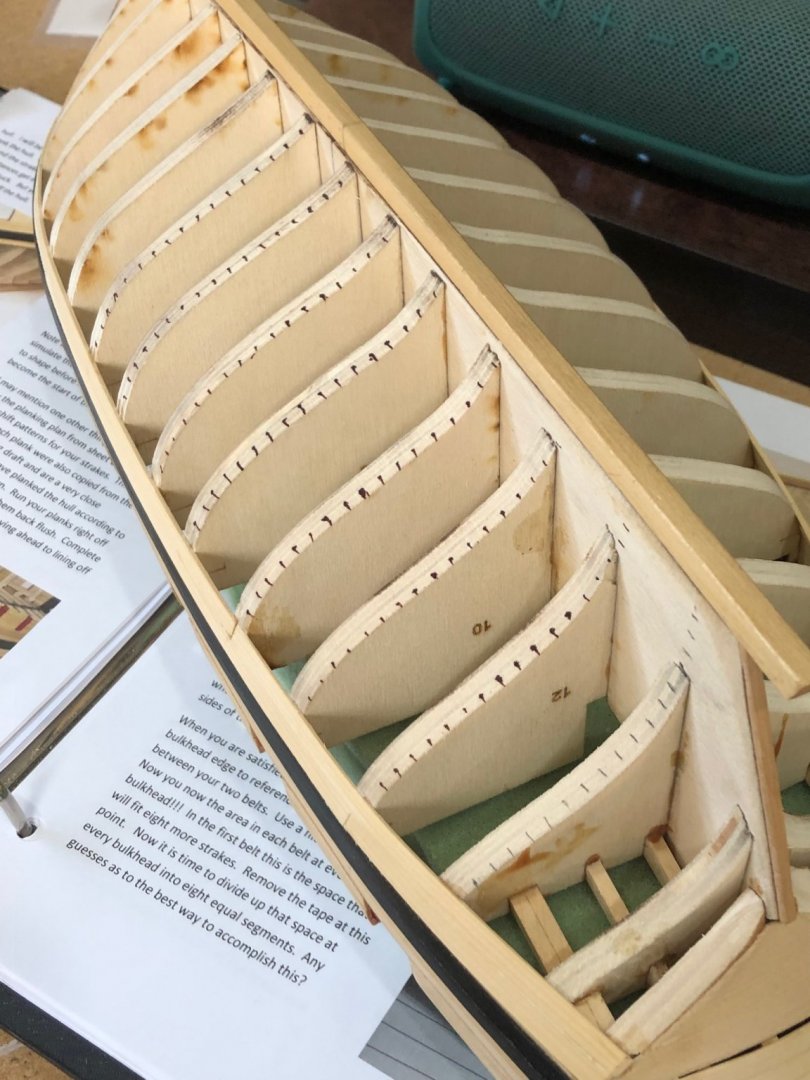
Where the marks were too thick I think I'll paint white gesso on the bulkhead and redo them.
- glbarlow, GrandpaPhil, Boatsinc2000 and 3 others
-
6
-
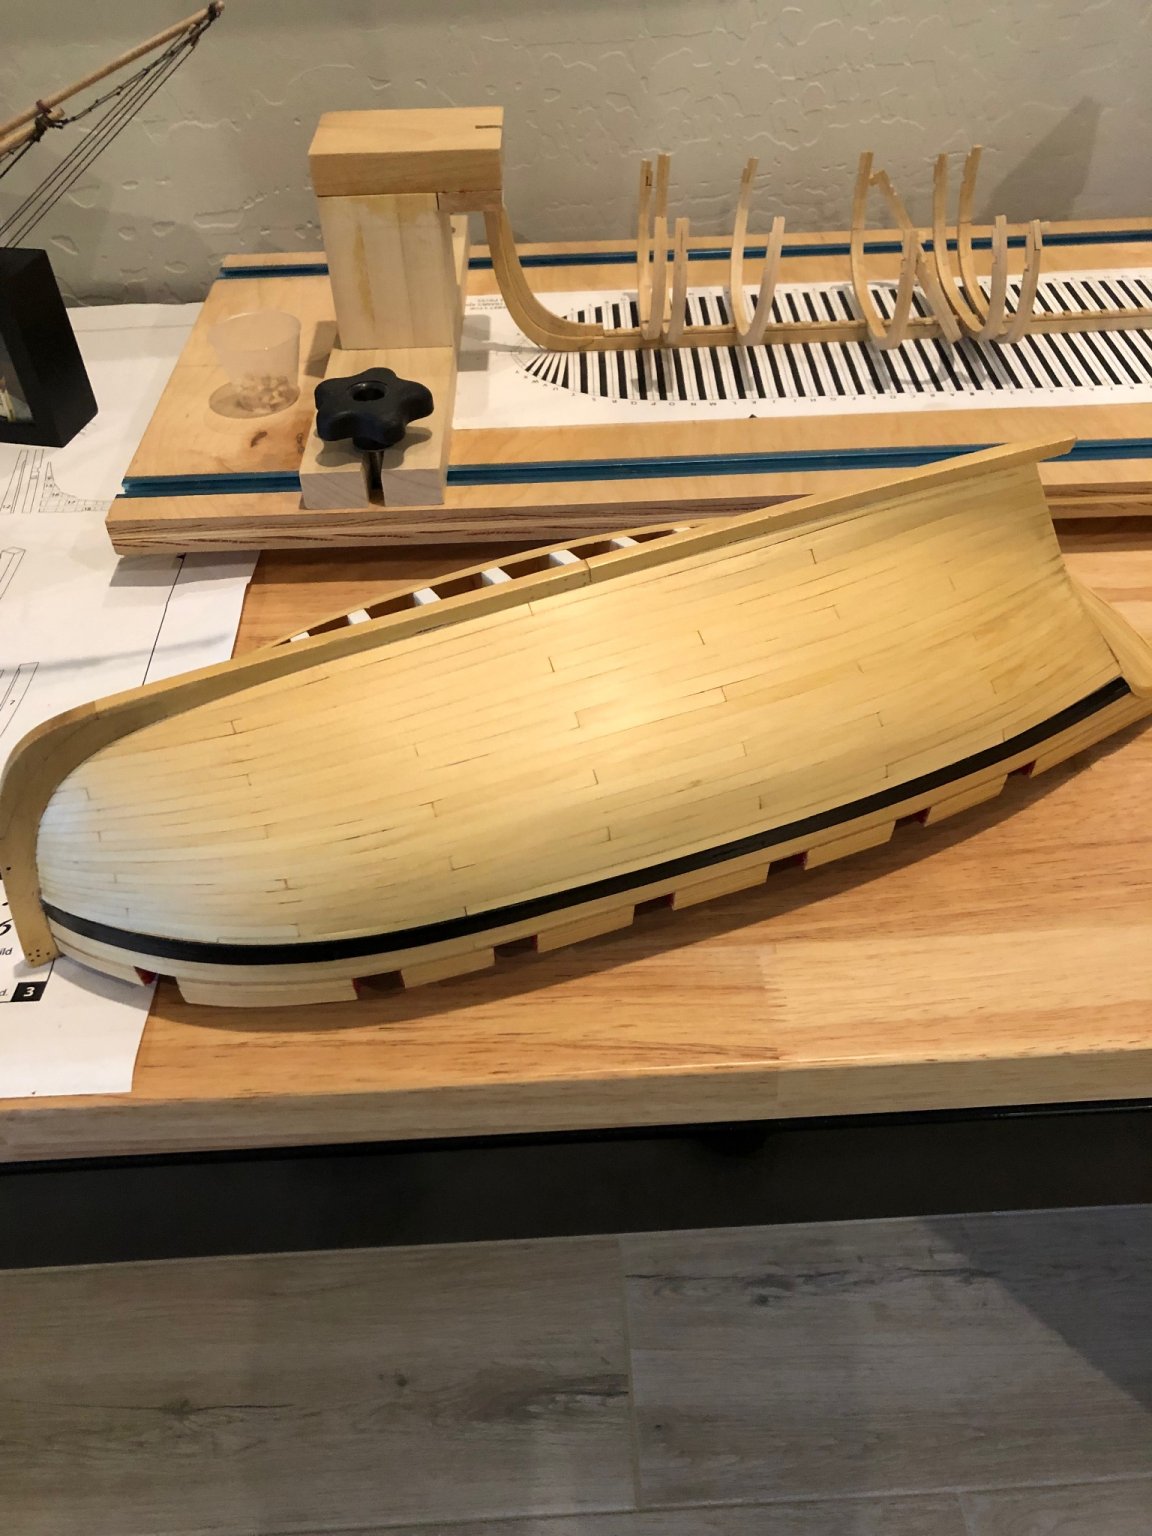
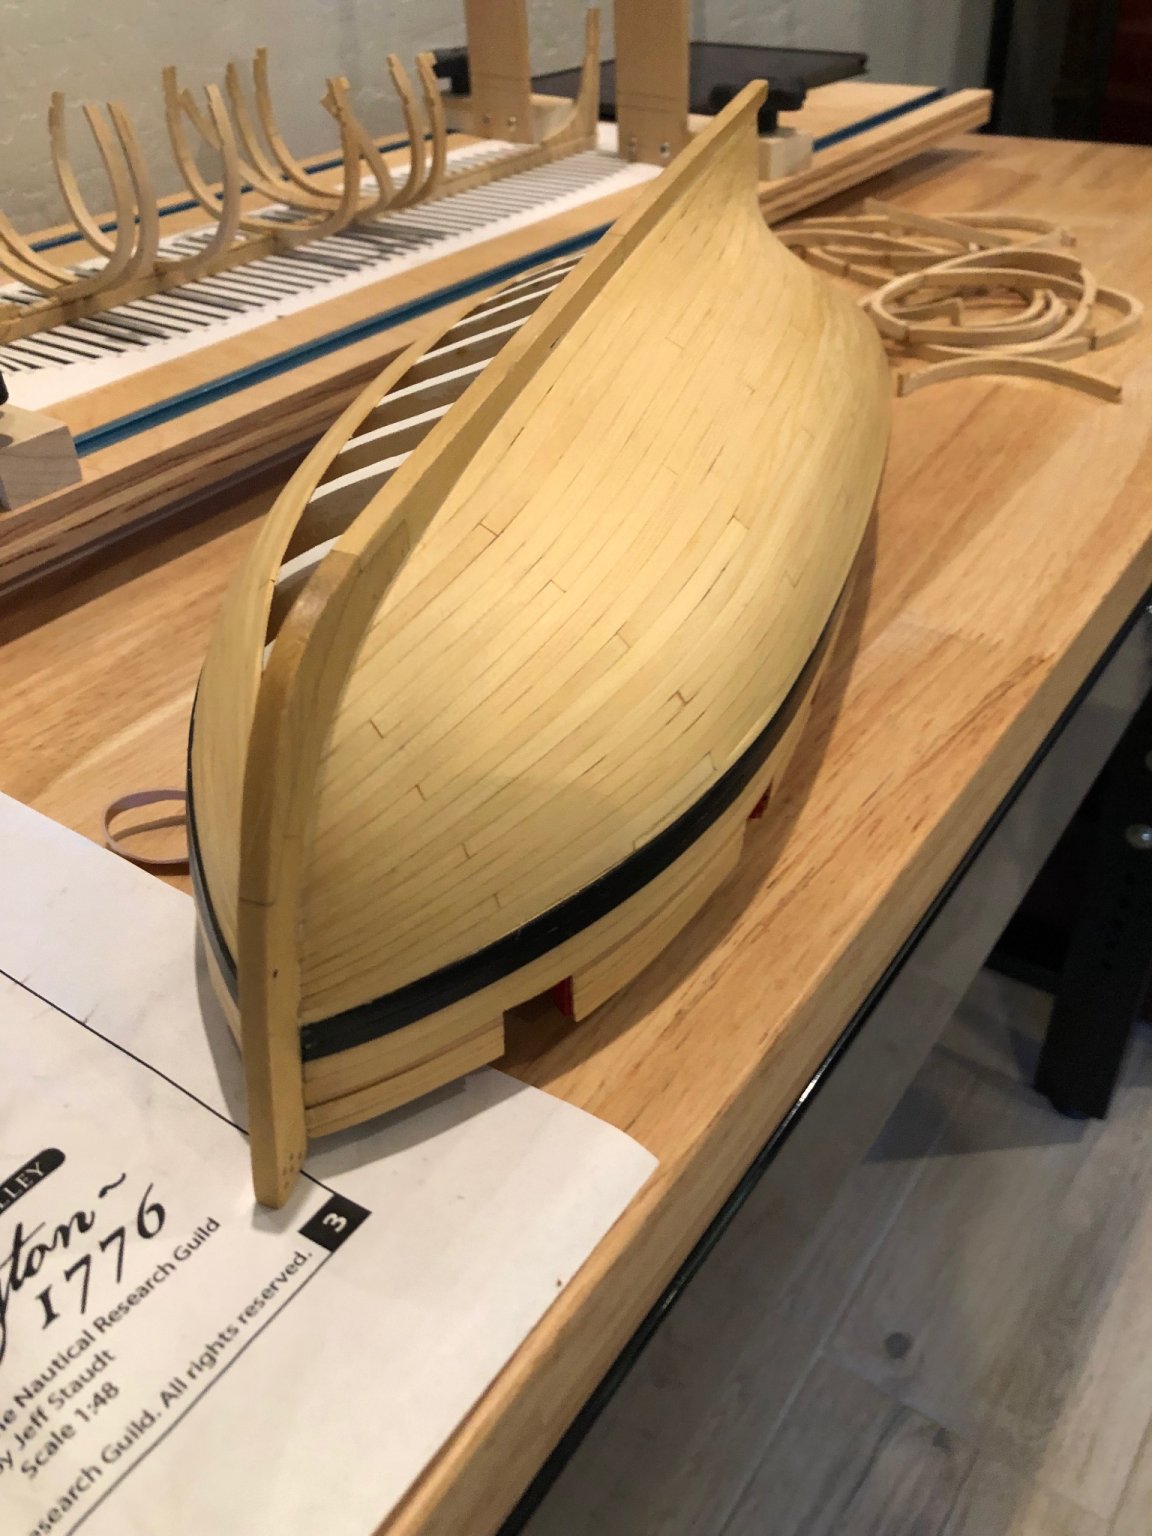
Switched gears and started working on Cheerful Sunday. Today I finished the first two strakes including the drop plank. I took a 3/16" plank and using the bulkheads as reference marked the 5/64" end and where the taper starts. Placed the plank in a jig I'd made and tapered to my mark. Using a long plank allowed me to cut at appropriate lengths making a nice butt joint. Started making a pattern when I realized that it would be best to have the second strake in place to determine the end of the drop plank. After many patterns one was glued to the 3/64" thick wood. After the glue had cured it made it easy to use a new #ll and follow the pattern. Minor sanding was required to fit into the opening. Starboard done now on the port side where I used the same process for the pattern and drop plank. The process was fun and turned out nice.

I haven't done any sanding yet I think I'll wait until I get the next 8 strakes in place before sanding. Now on to lining of the hull. I've never lined off a planking and for the matter this is the first single planking I've done. Reading the monograph, Chucks Winchelsea, and many logs I am ready to start. First I made a tick strip for the bulkhead 0 and out of curiosity I divided it by 18 and OMG. The tick strip was 3.375" and when divided by 18 the result you guessed it .1875 (3/16") No way I could be that good but both sides are the same. I feel better to start lining off the bulkheads.
- JpR62, Chuck, Boatsinc2000 and 1 other
-
4
-
Paul what weight cotton thread do you use for serving?
-
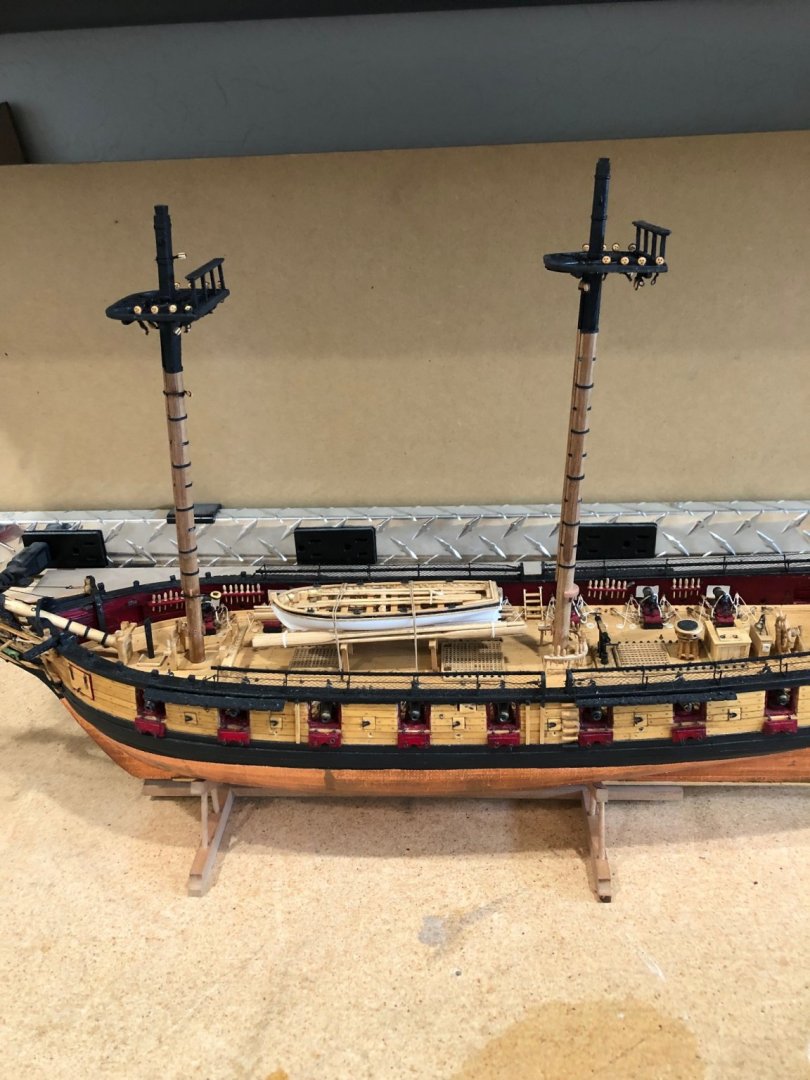
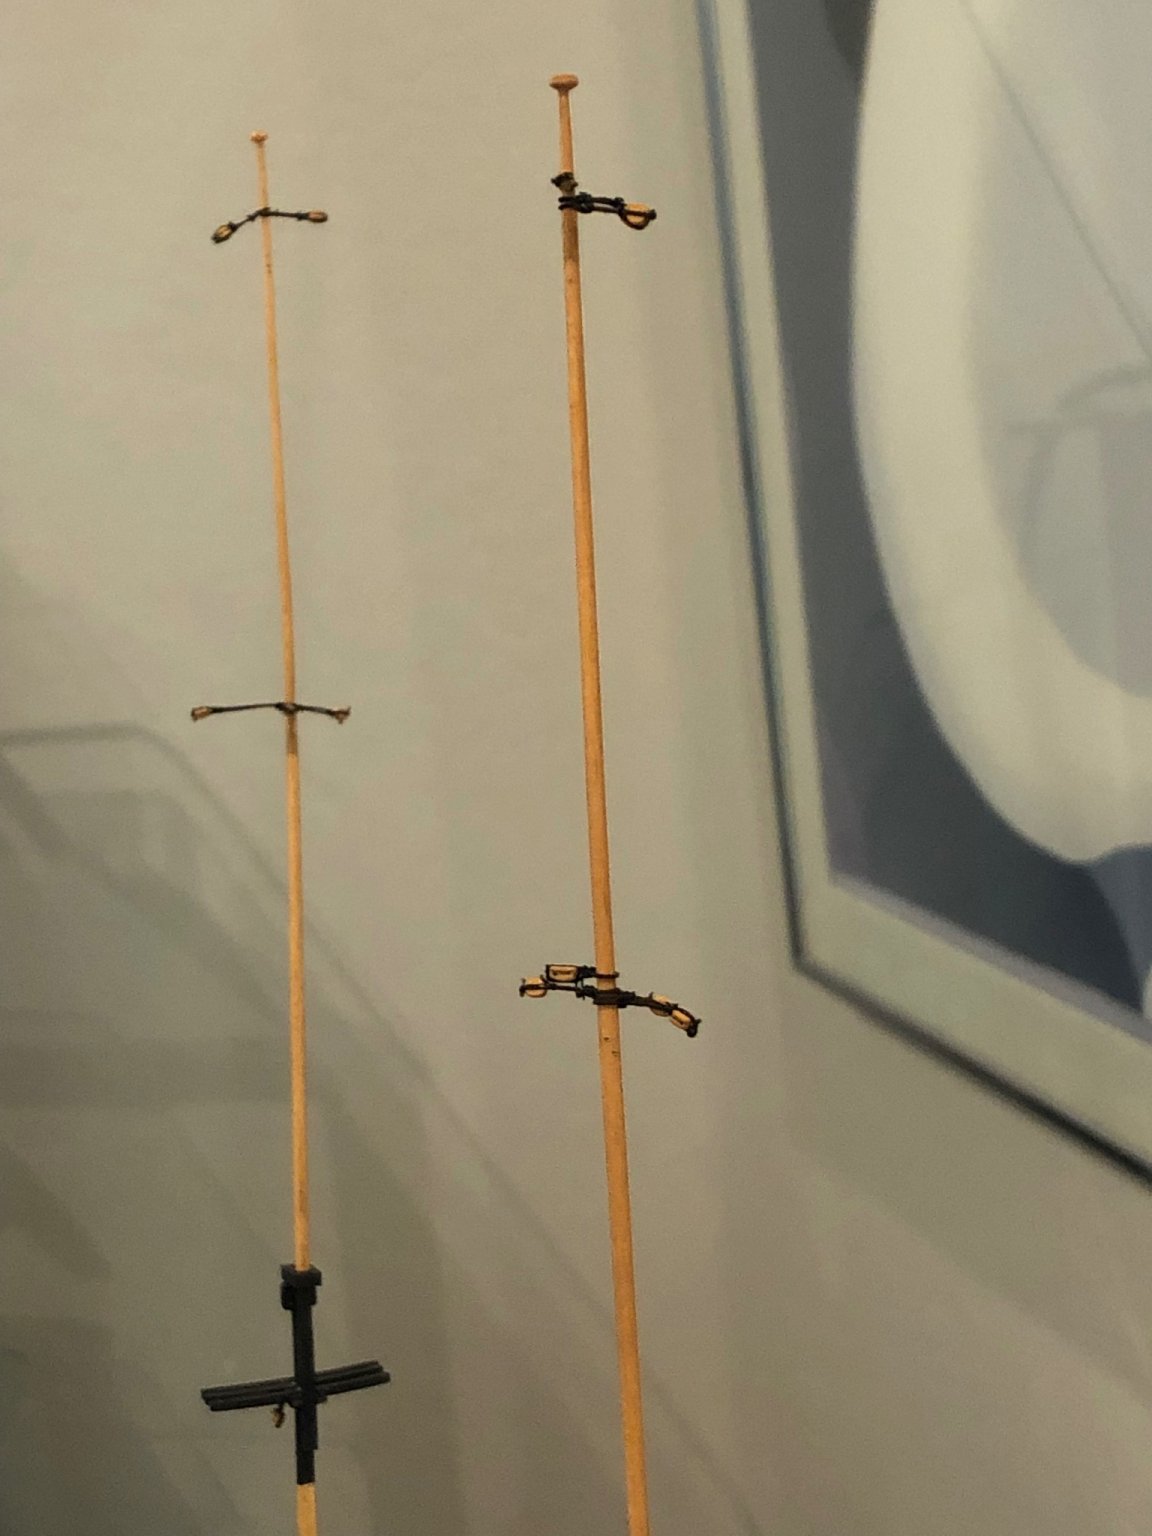
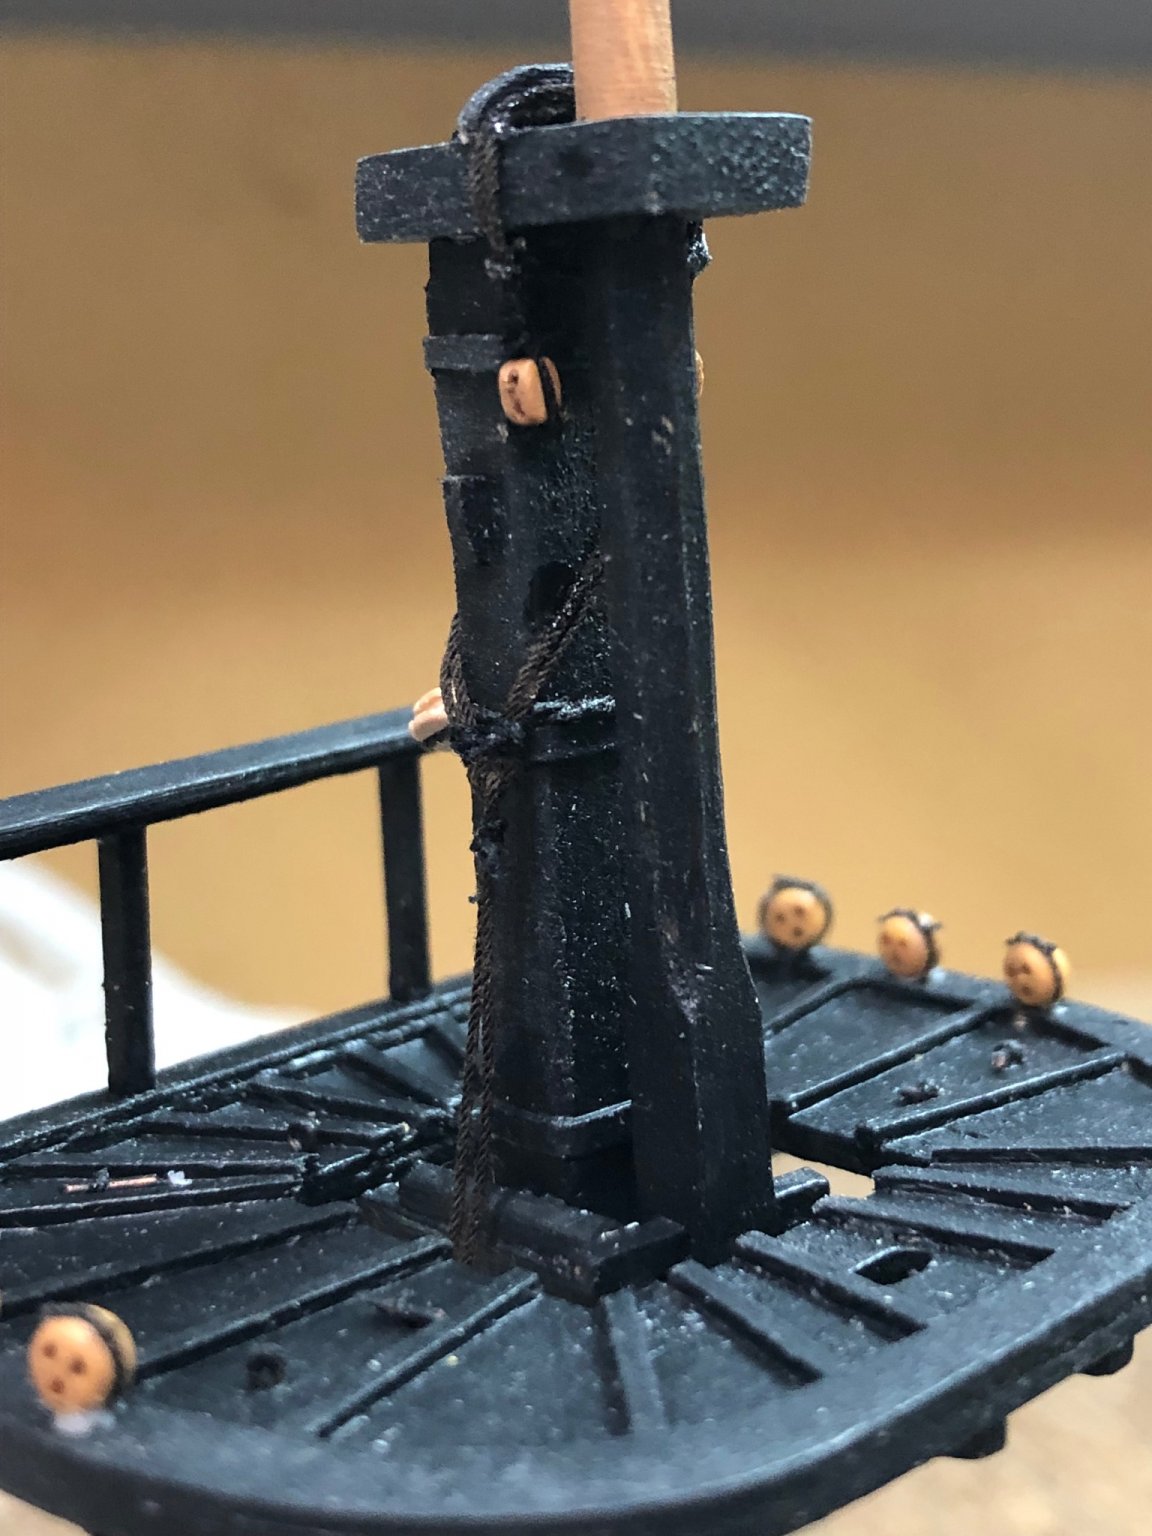
Chapter 17 is DONE. Making the masts and poles was a challenge to say the least. I made 5 fore top gallant poles before getting one that looked correct and didn't break. The masts are in place but not glued due to the holes make them very secure and stable. Early on I put blocks between the bulkheads along the frame for strength and giving planking something to grip. Since I had no way to accurately drill 5/16" holes a friend, a retired tool maker, had a large mill and volunteered to drill the for me. Using the plans he made a jig to hole the skeleton and drill the holes at the correct angle on the centerline. Now I place the masts 1" deep into these holes getting the required stability. Everything else was a matter of being very careful not to break something using judicial clamping during the tying of blocks.
Top mast lift blocks
Top mast jeer blocks, and sling

Lift and stay blocks on top poles
Completed ready for standing rigging
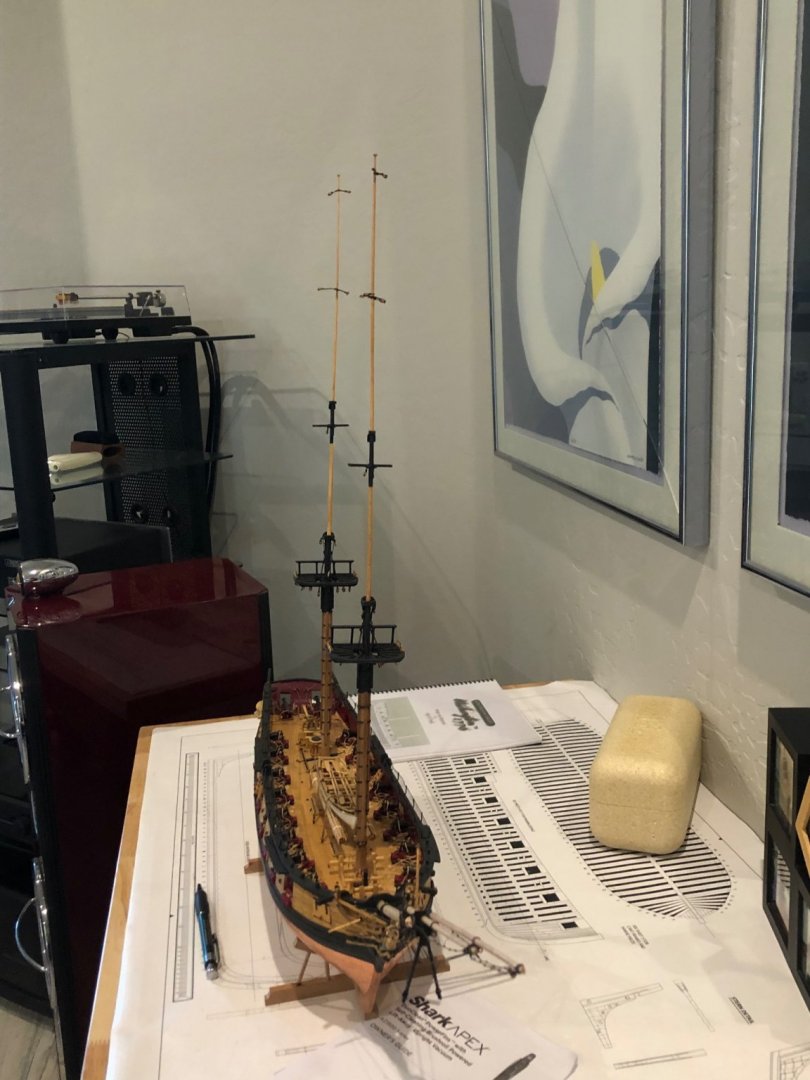
I've enjoyed this step especially using James Lees book about the rigging. I'll continue to use the monograph, Lees, and the TFFM vol 4 to get the rigging accurate as possible given my experience.
Thanks for all the likes


-
-
Lotta practice cutting. I'm not sure that the stand visually takes away from the great job you've done on Cheerful.
-
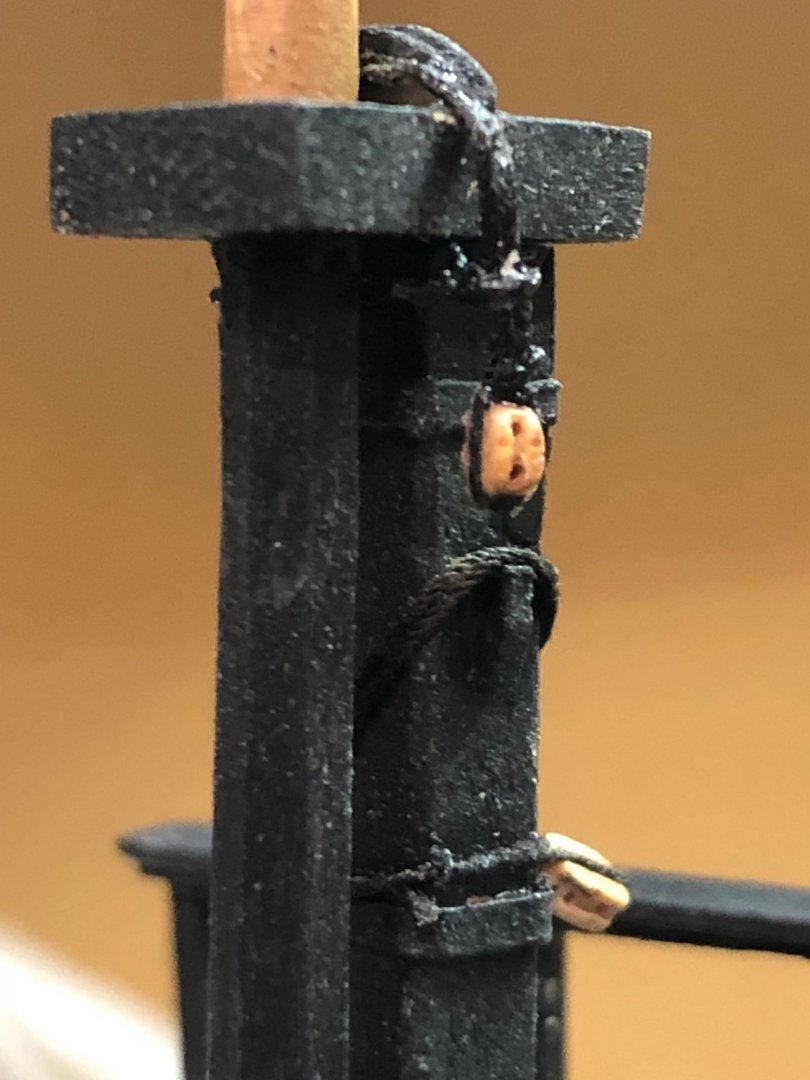
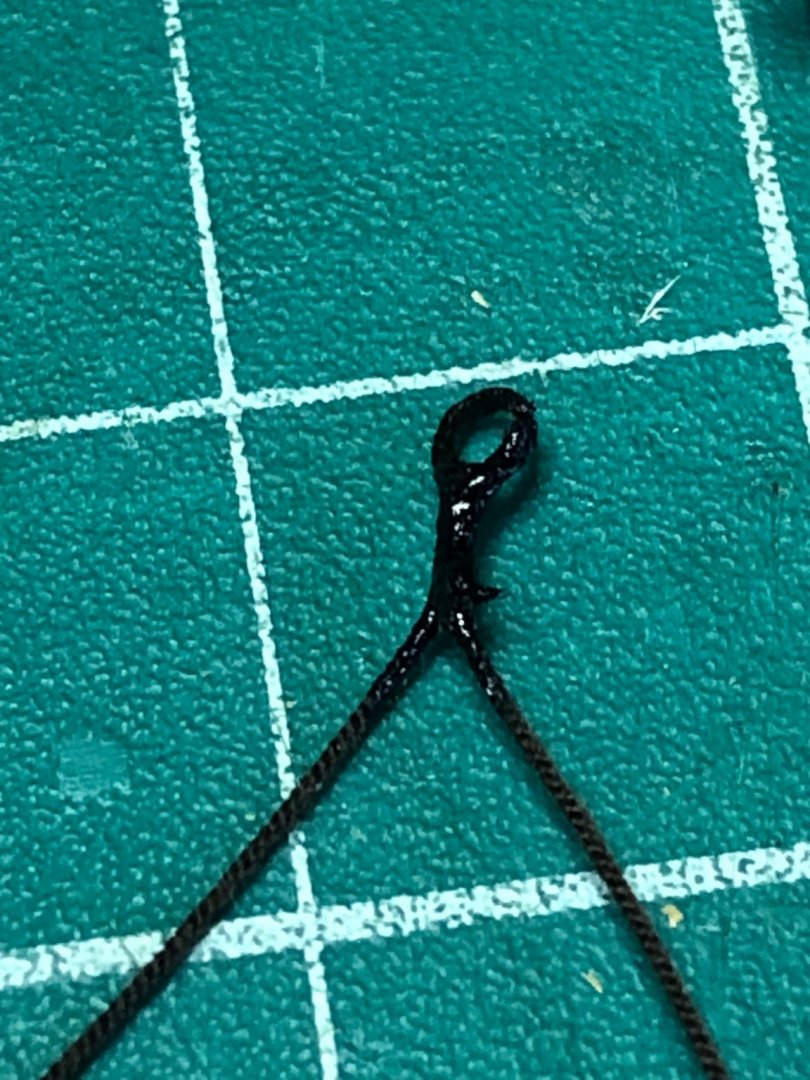
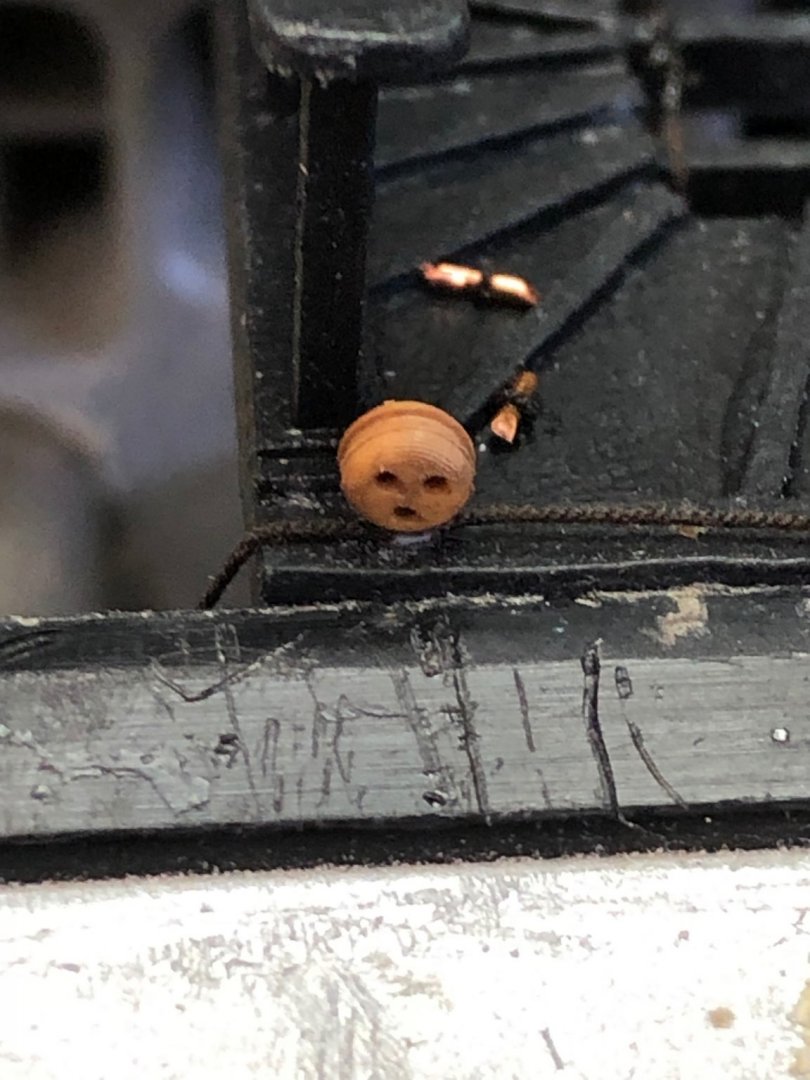
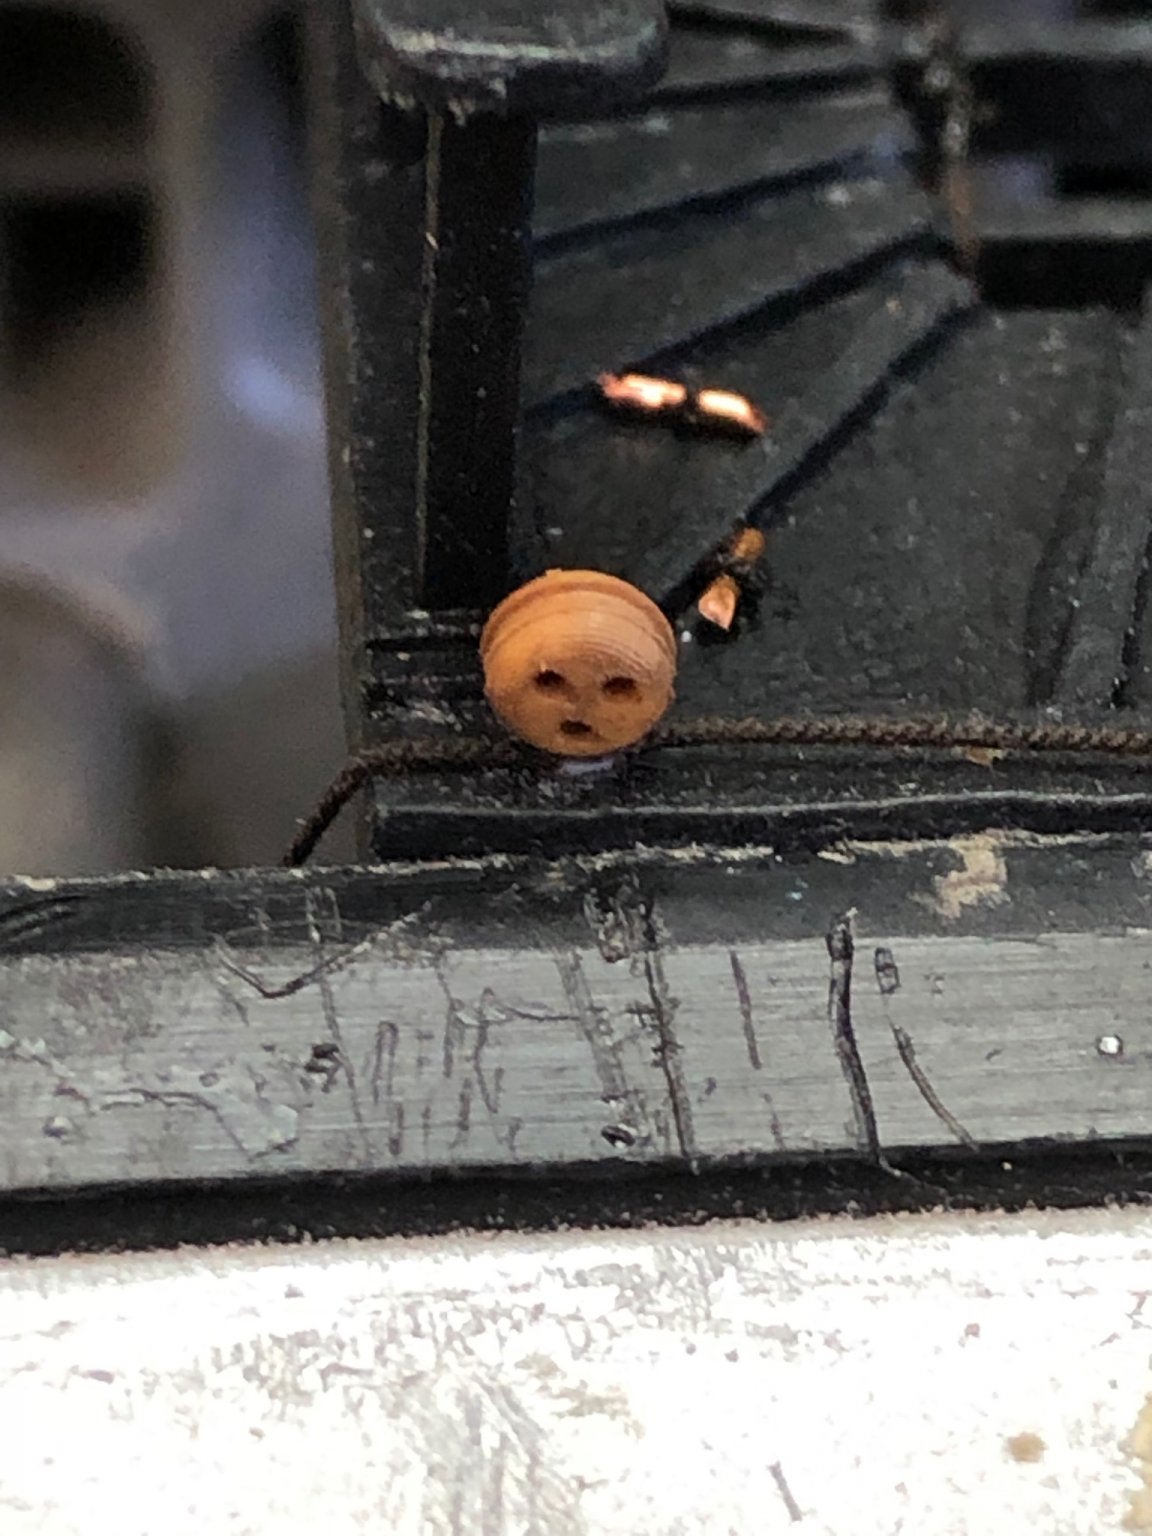
In my last post I forgot to detail how the deadeyes were mounted on the topmasts. First I cut a 5" length of line doubling it to form a loop around a #57 drill bit. Lashed the end close to the loop and added a drop of CA. When hardened removed the loop, now a deadeye plate, from the bit and added another drop of CA.
ready for lashing

Finished deadeye plate
You can paint it black as the practicum recommends or spray with flat clear Krylon. Next feed the open ends through the hole from the bottom and after splitting the leads add a drop of glue. I use LePage white glue which dries a translucent white color.
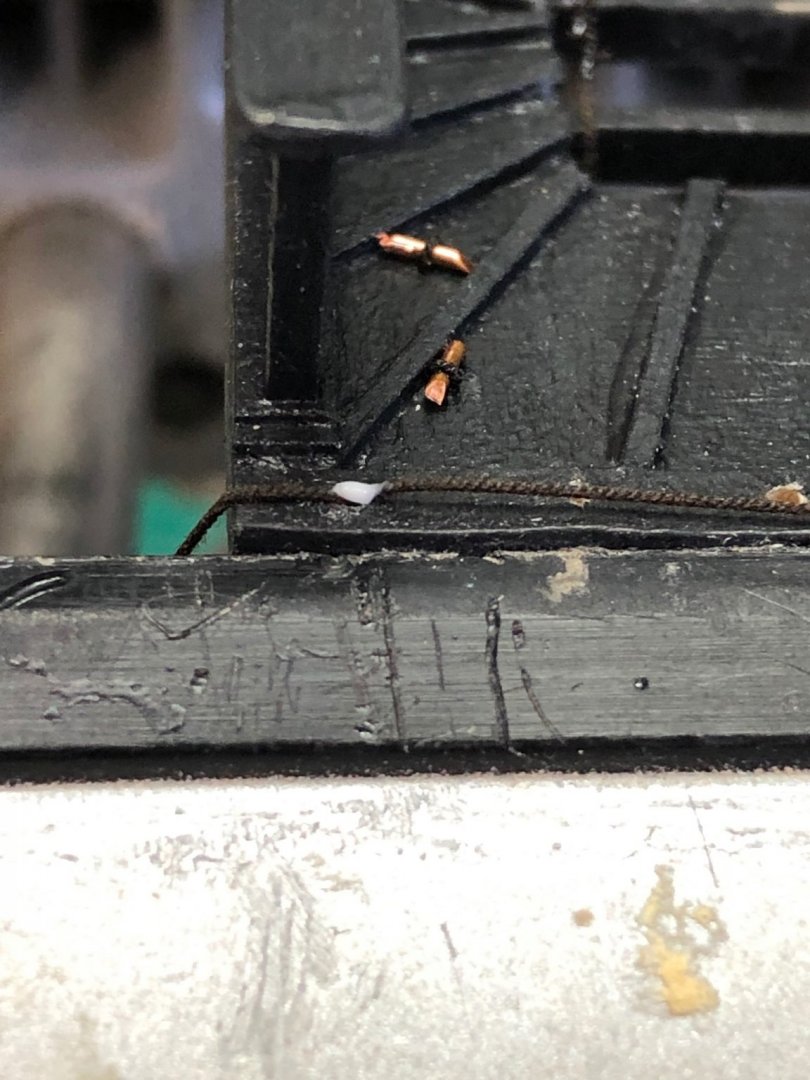
Then place the deadeye letting it set before tying.
When set simply tie a half-hitch around the deadeye and add a drop of CA. Use the thin CA so it soaks into the line and around the deadeye.
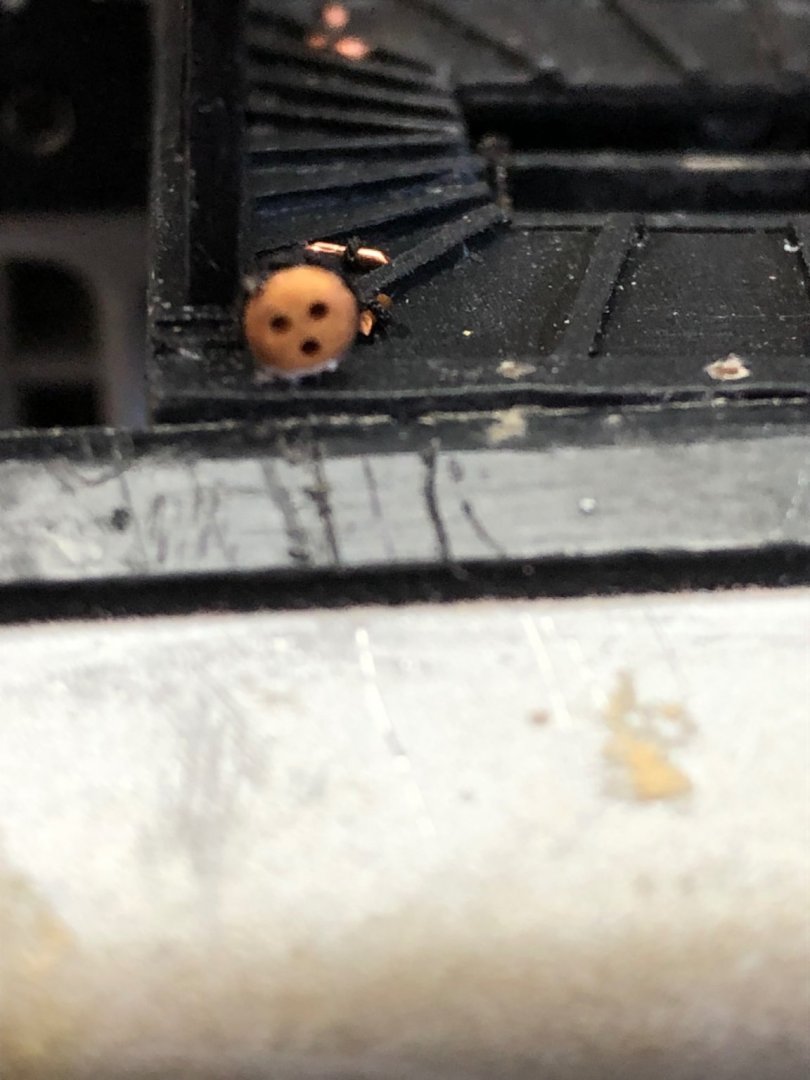
When complete just snip of the loose ends and wait for the glue to dry clear.
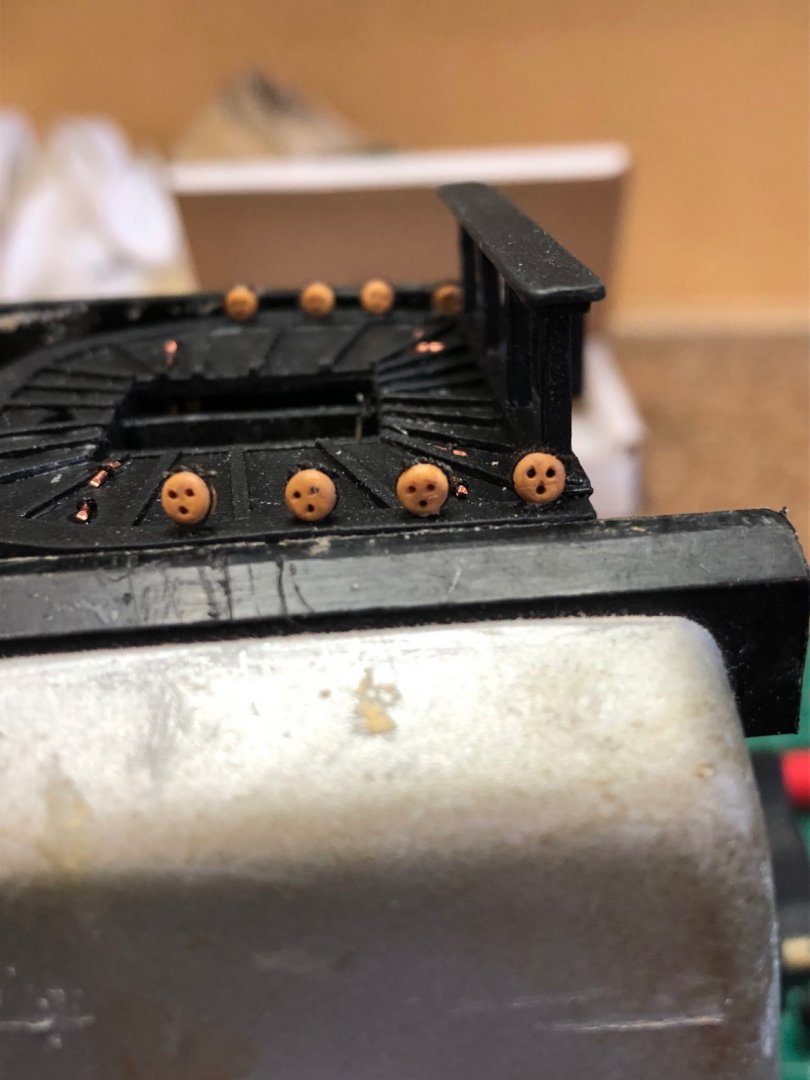
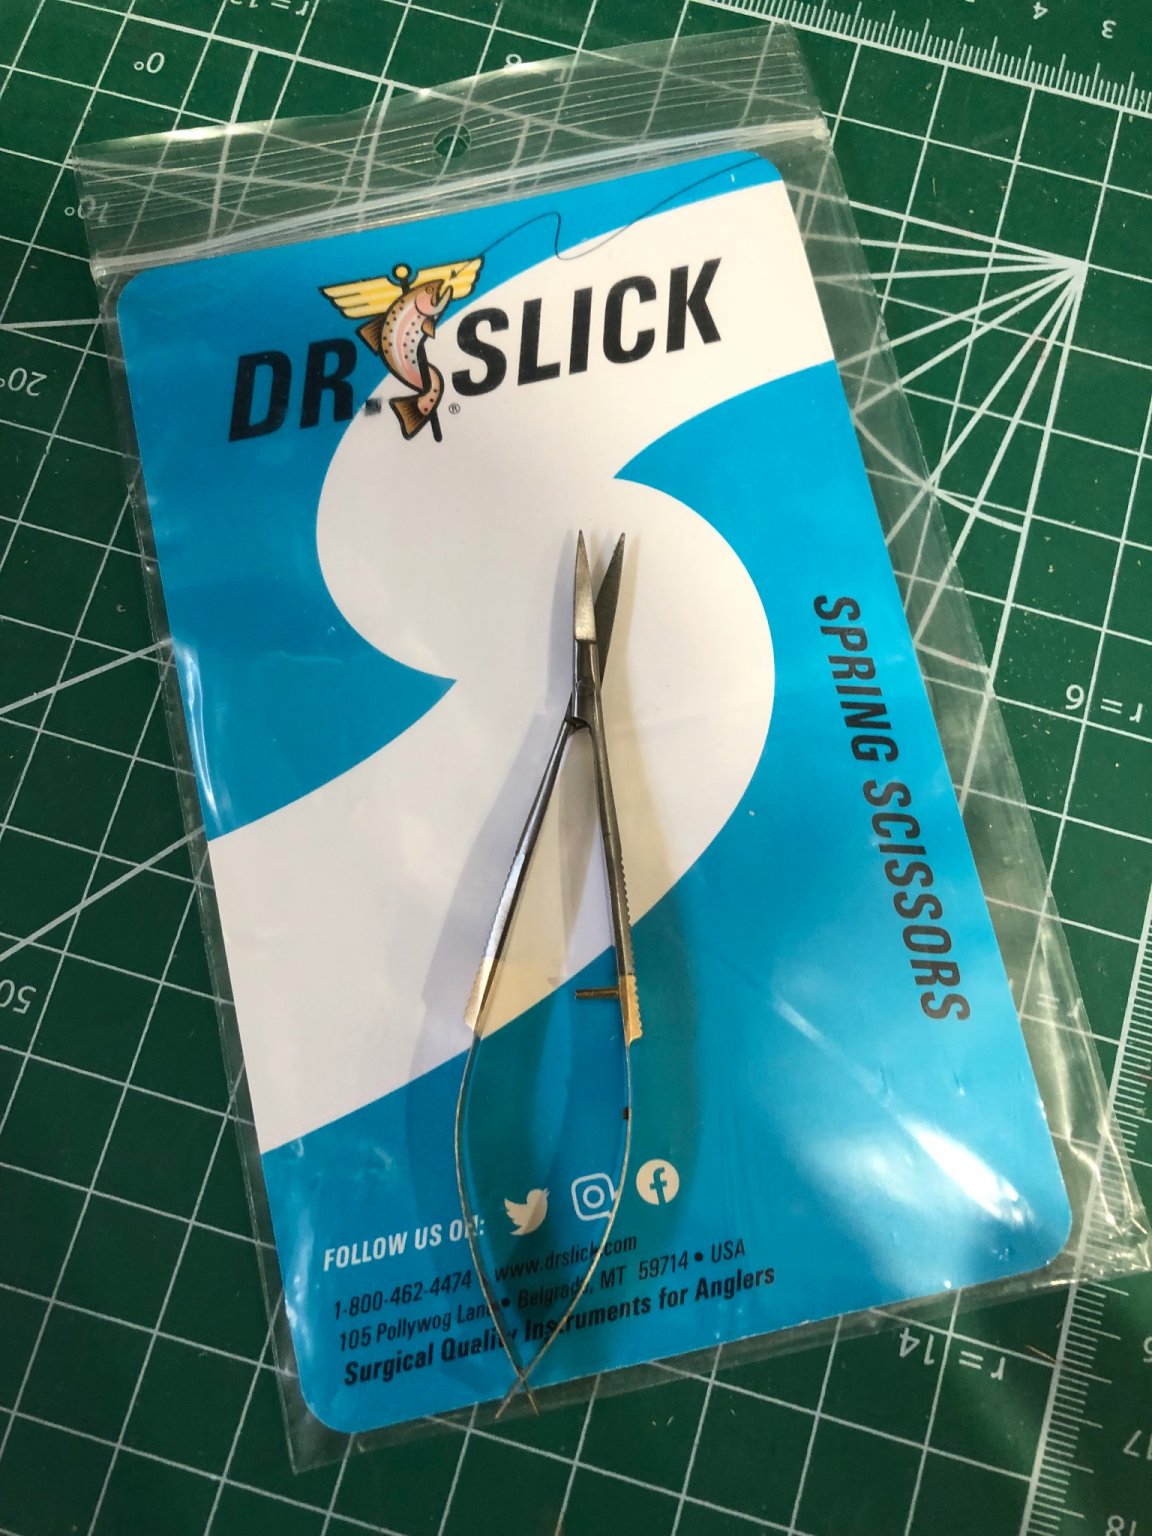
You can see the glue dried nearly invisible. On another post, I forget which, the user recommended these spring scissors which I now use and love. These are used by the fly tying hobbyists. They come in straight or curved tips.

- JpR62, Edwardkenway, abelson and 3 others
-
6
-
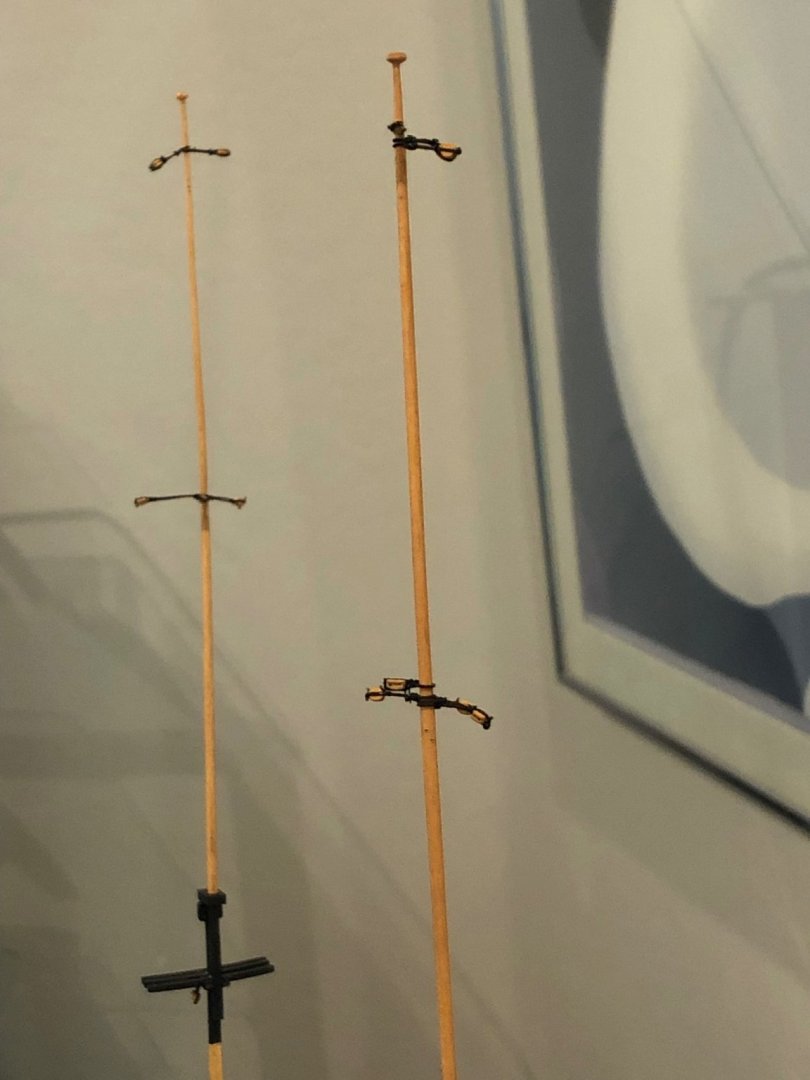
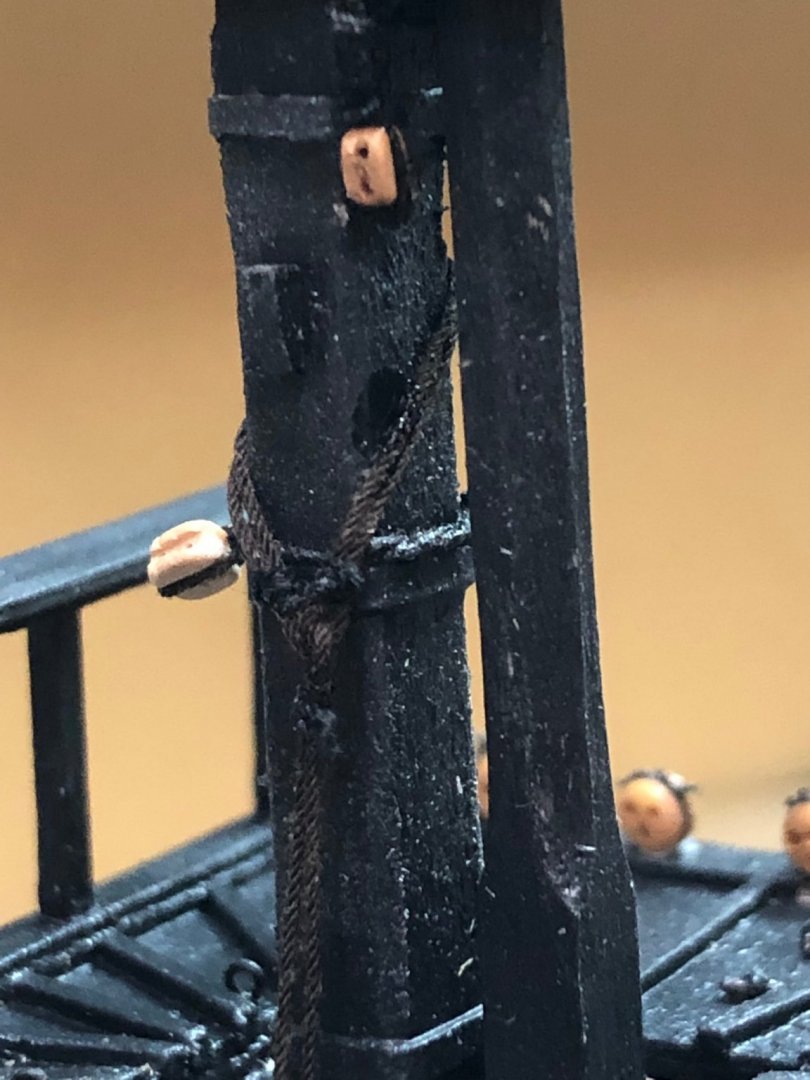
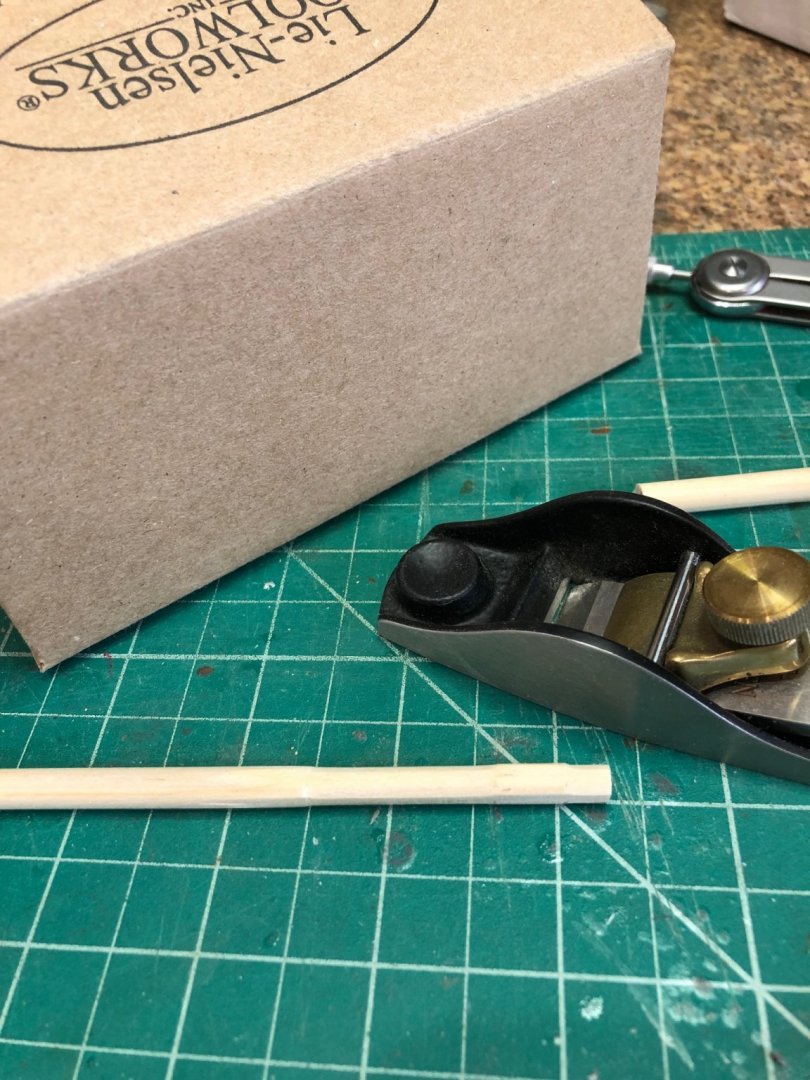
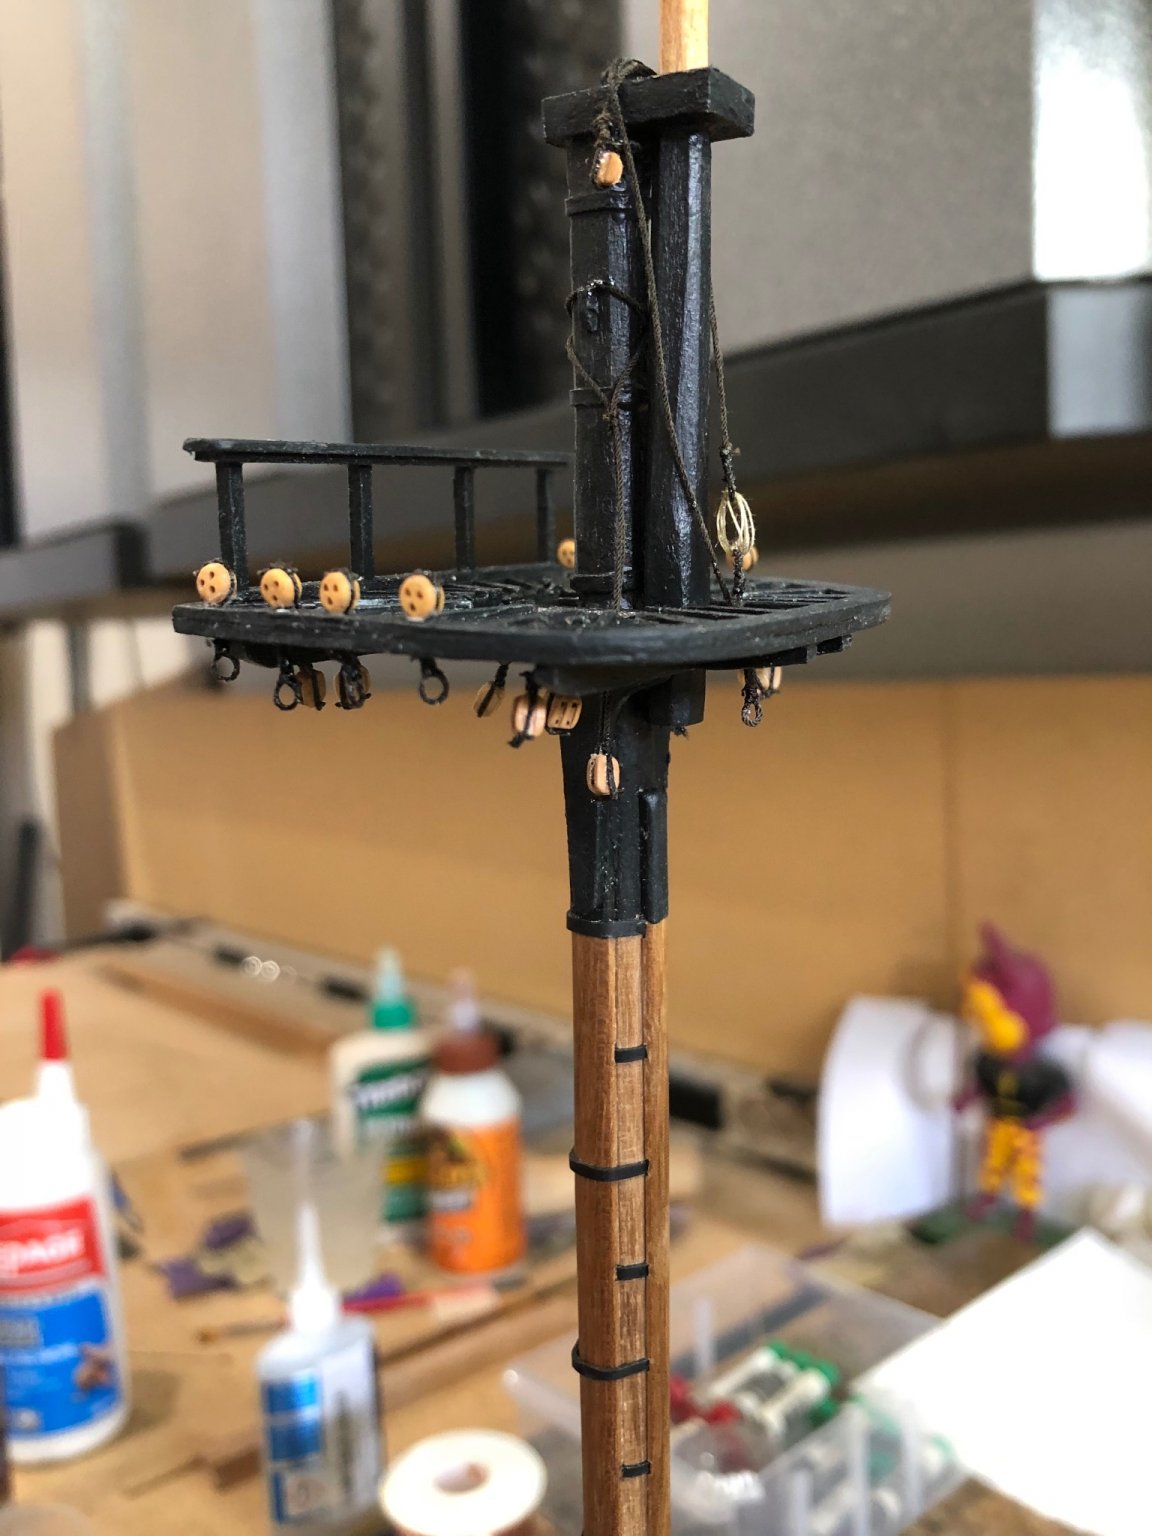
Completed the main and fore lower masts with all the rigging. After finishing the mast tops I rigged the main preventer collar using a open heart from Syrenmodelship. To rig the collar I first used .015 rope doubled and realized the rope amount was too much for the open heart. Doing it again with .012 rope made all the difference in proportional looks. Glued everything together so the lower masts are ready for stepping. With all that done started the fore upper mast. The practicum says to use 3/16" and make square at the base to shave into an octagon. The drawing scales with a 3/16" square to start with before make the octagonal sections but how do you make a 3/16" square out of a 3/16" dowel? The kit was missing a 3/16" dowel but did have a 1/4" so that is what I used. Used the 7/10 scale to mark off the octagonal and square sections. Planned off the 3/16" square and then the 7/10 to shave off the edges for the octagonal sections. I finish up the first mast tomorrow.
Mast after first cuts ready to finish
Masts ready to be stepped
Fore lower mast with collar

I didn't like the pictures of the collar in the practicum so I checked Lee's and decided to use a similar method where I lashed the the ends around the mast and lashed between the mast and close to the heart. That give it more security for rigging.
- GrandpaPhil, abelson, Edwardkenway and 2 others
-
5


HM Cutter Cheerful 1806 by niwotwill - Syren Ship Model Company - scale 1:48
in - Build logs for subjects built 1801 - 1850
Posted
Well folks chapter 6 is officially done. Adding the fancy moulding added a lot to the visual of Cheerful. Its amazing how much a little finish will add to the overall image.
Not much to explain just followed others logs and the monograph. The one thing that was problematic was scratching the fancy moulding out of AYC. Being soft wood my tool kept leaving fuzzy surfaces. I decided to you Boxwood as I have had excellent results with other fancy moulding. I had a sheet of 1/16" and ripped off 1/16" strips. Using the brass scraper to form the detail. When done with detail I applied a coat of WOP and when dry the Byrnes thickness sander was used to reduce the thickness to .025. I found it much easier to work with the thicker strip and thin it to the desired thickness.
On to chapter 7