GrandpaPhil
-
Posts
6,166 -
Joined
-
Last visited
Content Type
Profiles
Forums
Gallery
Events
Everything posted by GrandpaPhil
-
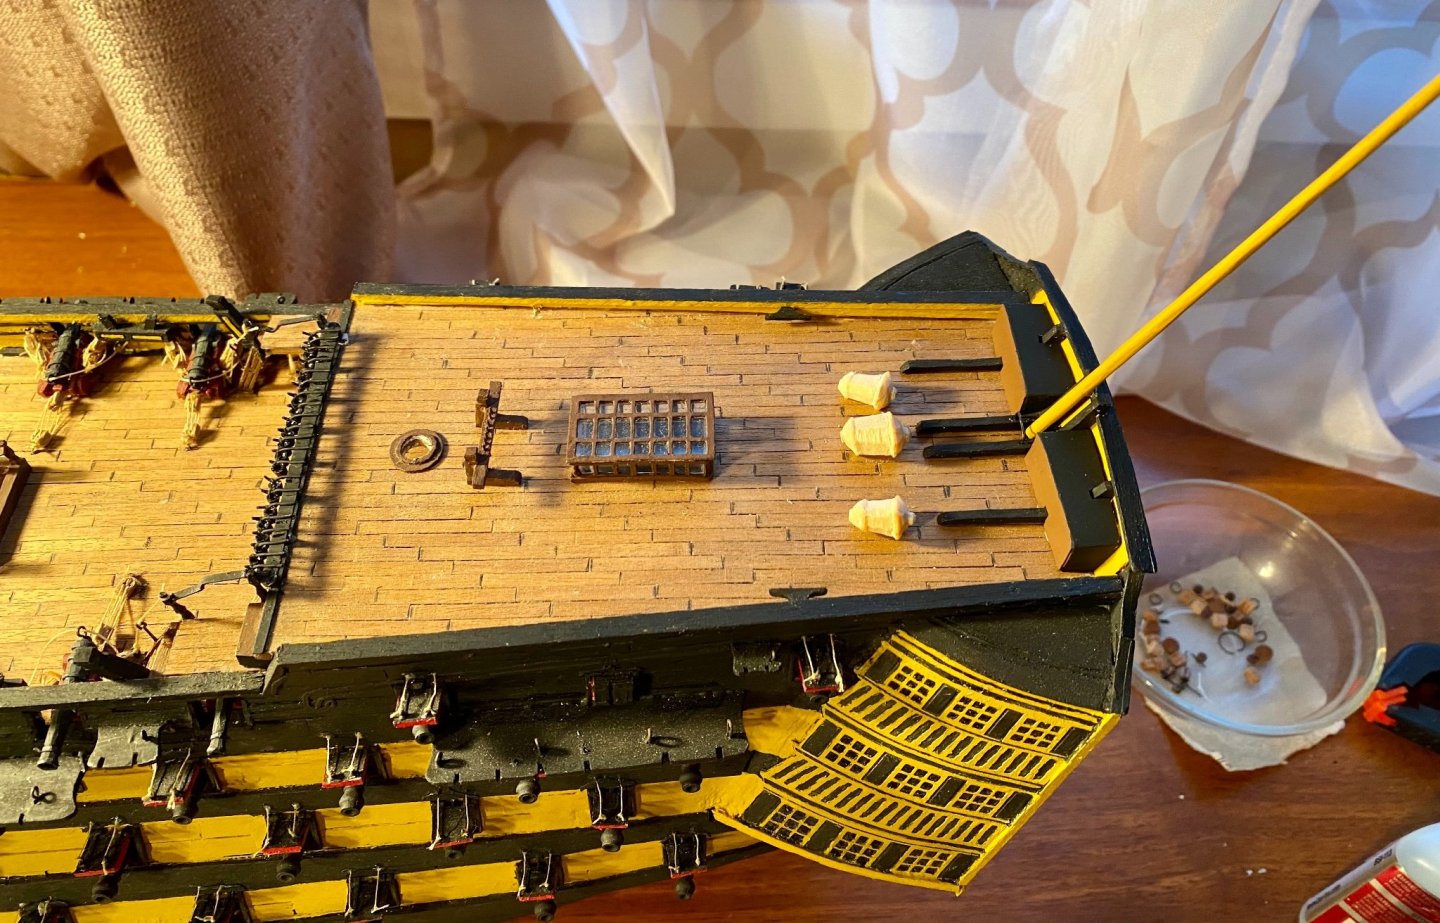
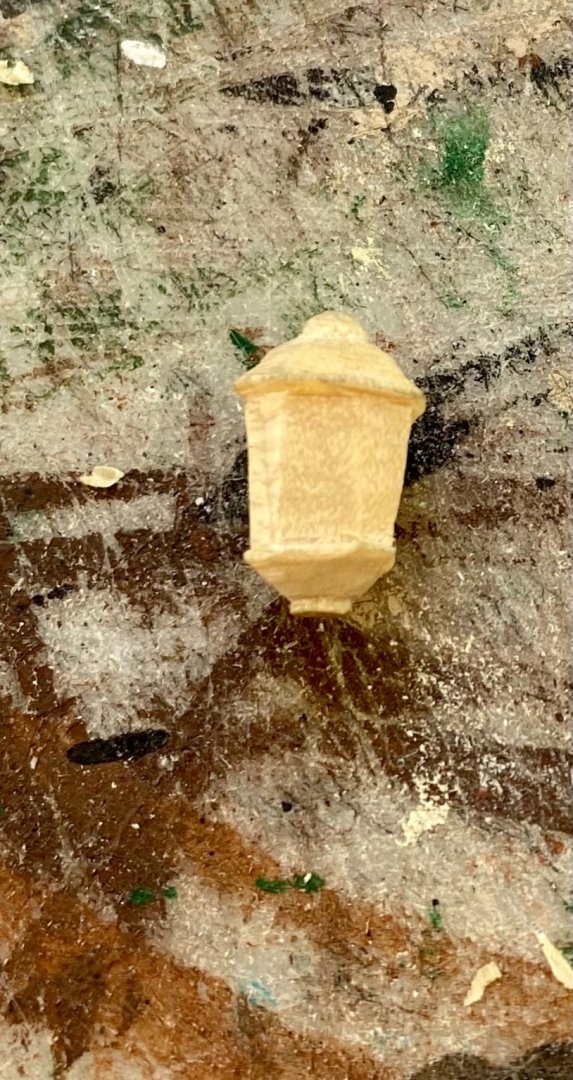
All 3 lanterns are carved: Making progress: Next up: painting the lanterns!


-
Congratulations! Well done!
-
Lancia Assunta by maurino
GrandpaPhil replied to maurino's topic in - Build logs for subjects built 1901 - Present Day
Congratulations! Very well done! -
Papegojan 1627 by mati - FINISHED - 1/48
GrandpaPhil replied to mati's topic in - Build logs for subjects built 1501 - 1750
Nicely done! -
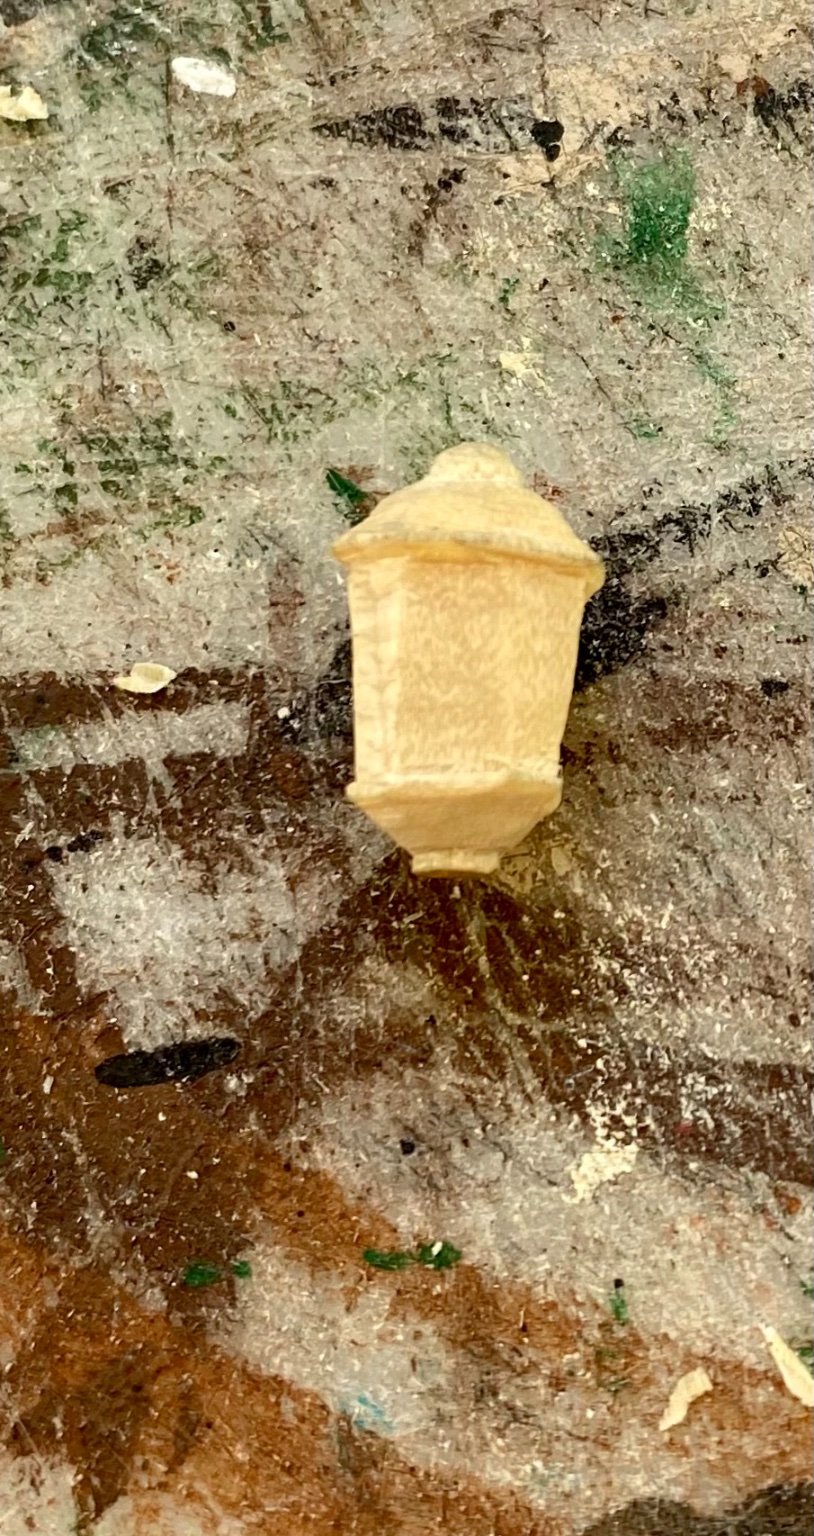
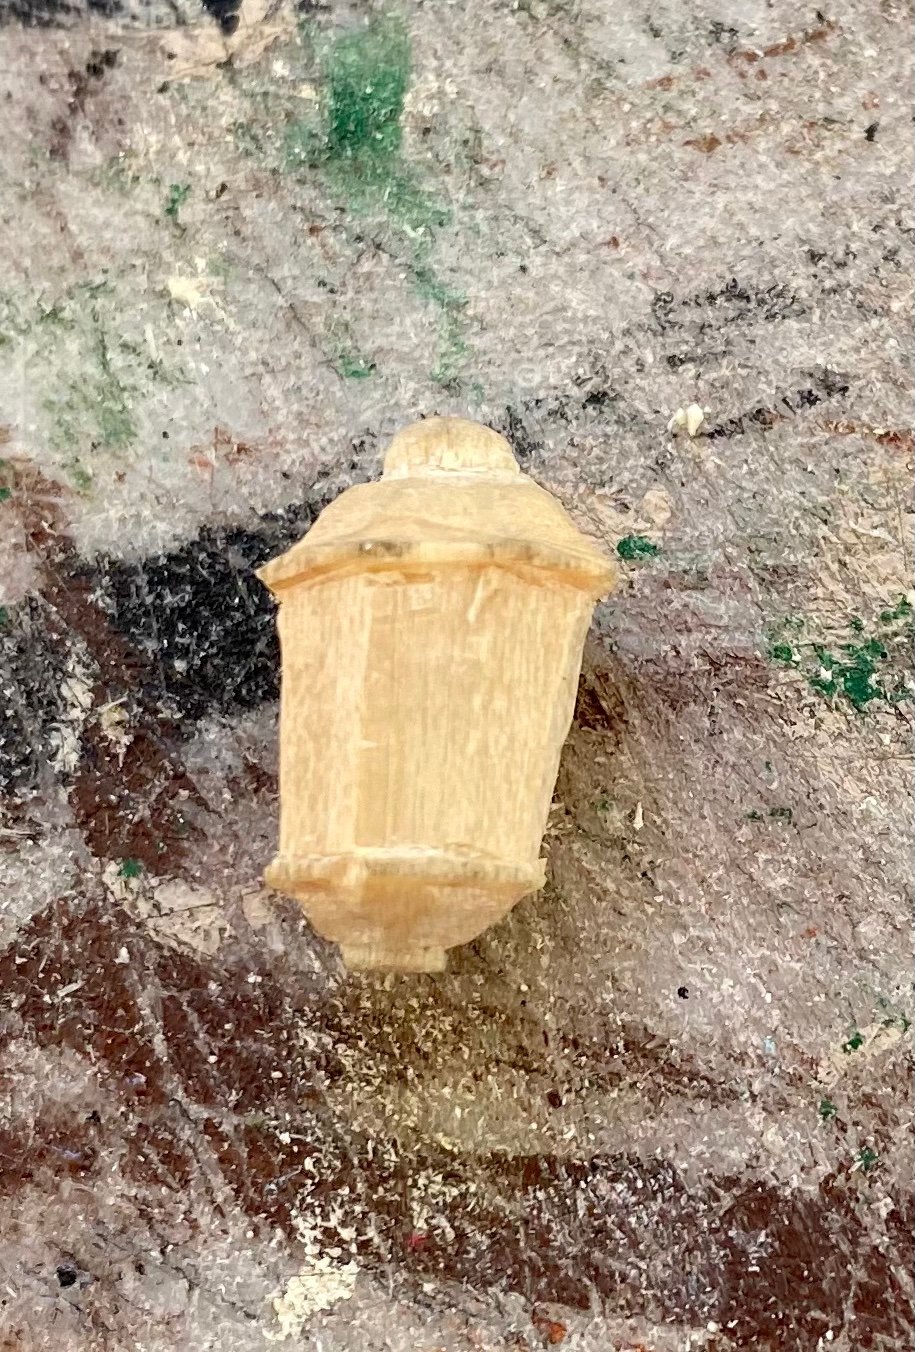
The larger one is about 5/8 in or 16mm for the metric types. The third and final lantern for the stern is roughed out and just needs finished. Then I’ll paint all 3 and figure out how to mount them.
-
I use the thread needle method (CA on the end) and then cut it at an angle. It works well for me for all rigging fittings. Plus, if you have a difficult to thread area, you can also mold a curve into the thread needle to be able to grab it with tweezers on the other side of whatever you are feeding it through.
-
It’s steel. I usually just paint them. I’ve never had a problem with corrosion. Although, I tend to clear coat everything, too.
-
I like to use annealed steel wire from the hardware store. It bends easy, but holds its shape. Plus, it’s already blackened.
-
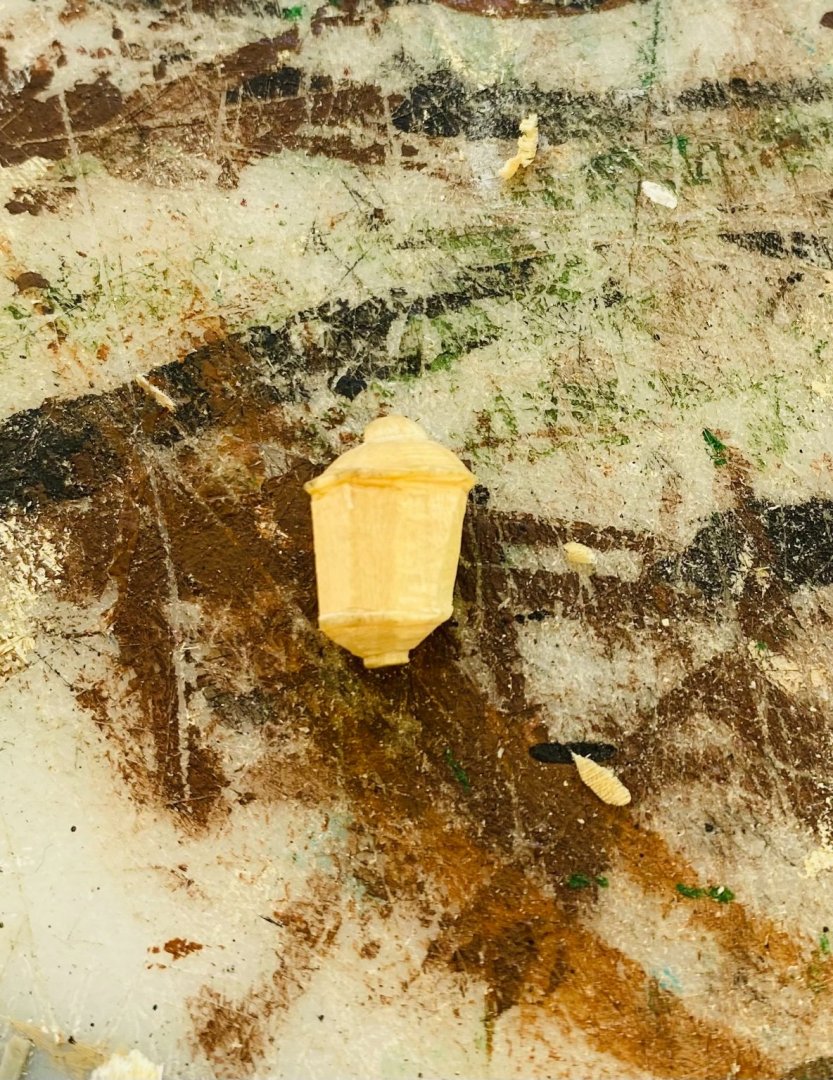
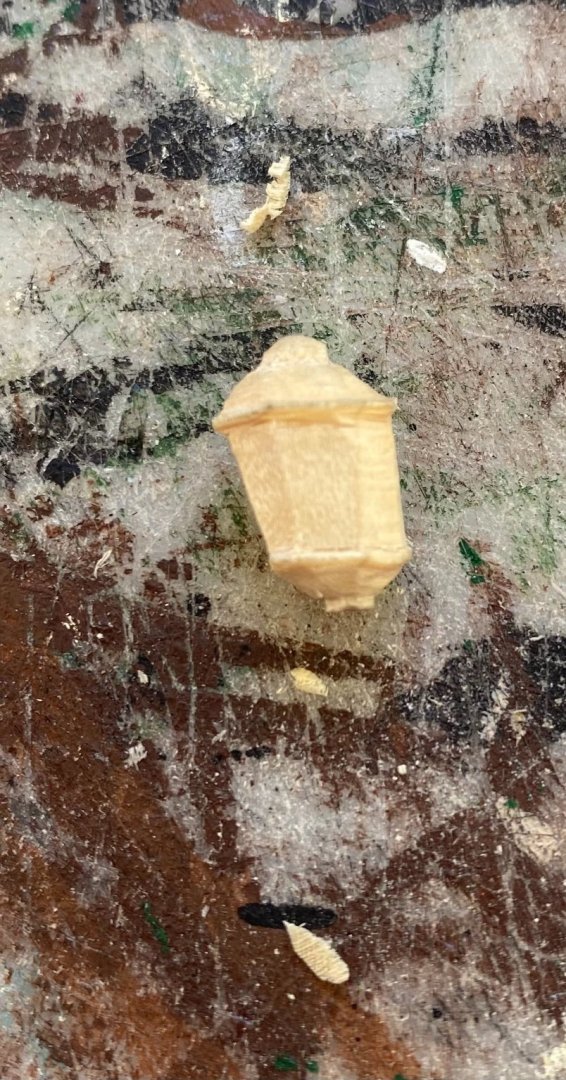
Thank you very much for the likes and just for stopping by! I set up on the back porch today, to carve outside. I could not pass up the weather. The main lantern is carved: It’s made out random square hardwood stock, that I had, that was the right size. This is the second attempt, the first one failed catastrophically. I’m not the greatest at three dimensional carving, but I’m getting better!


-
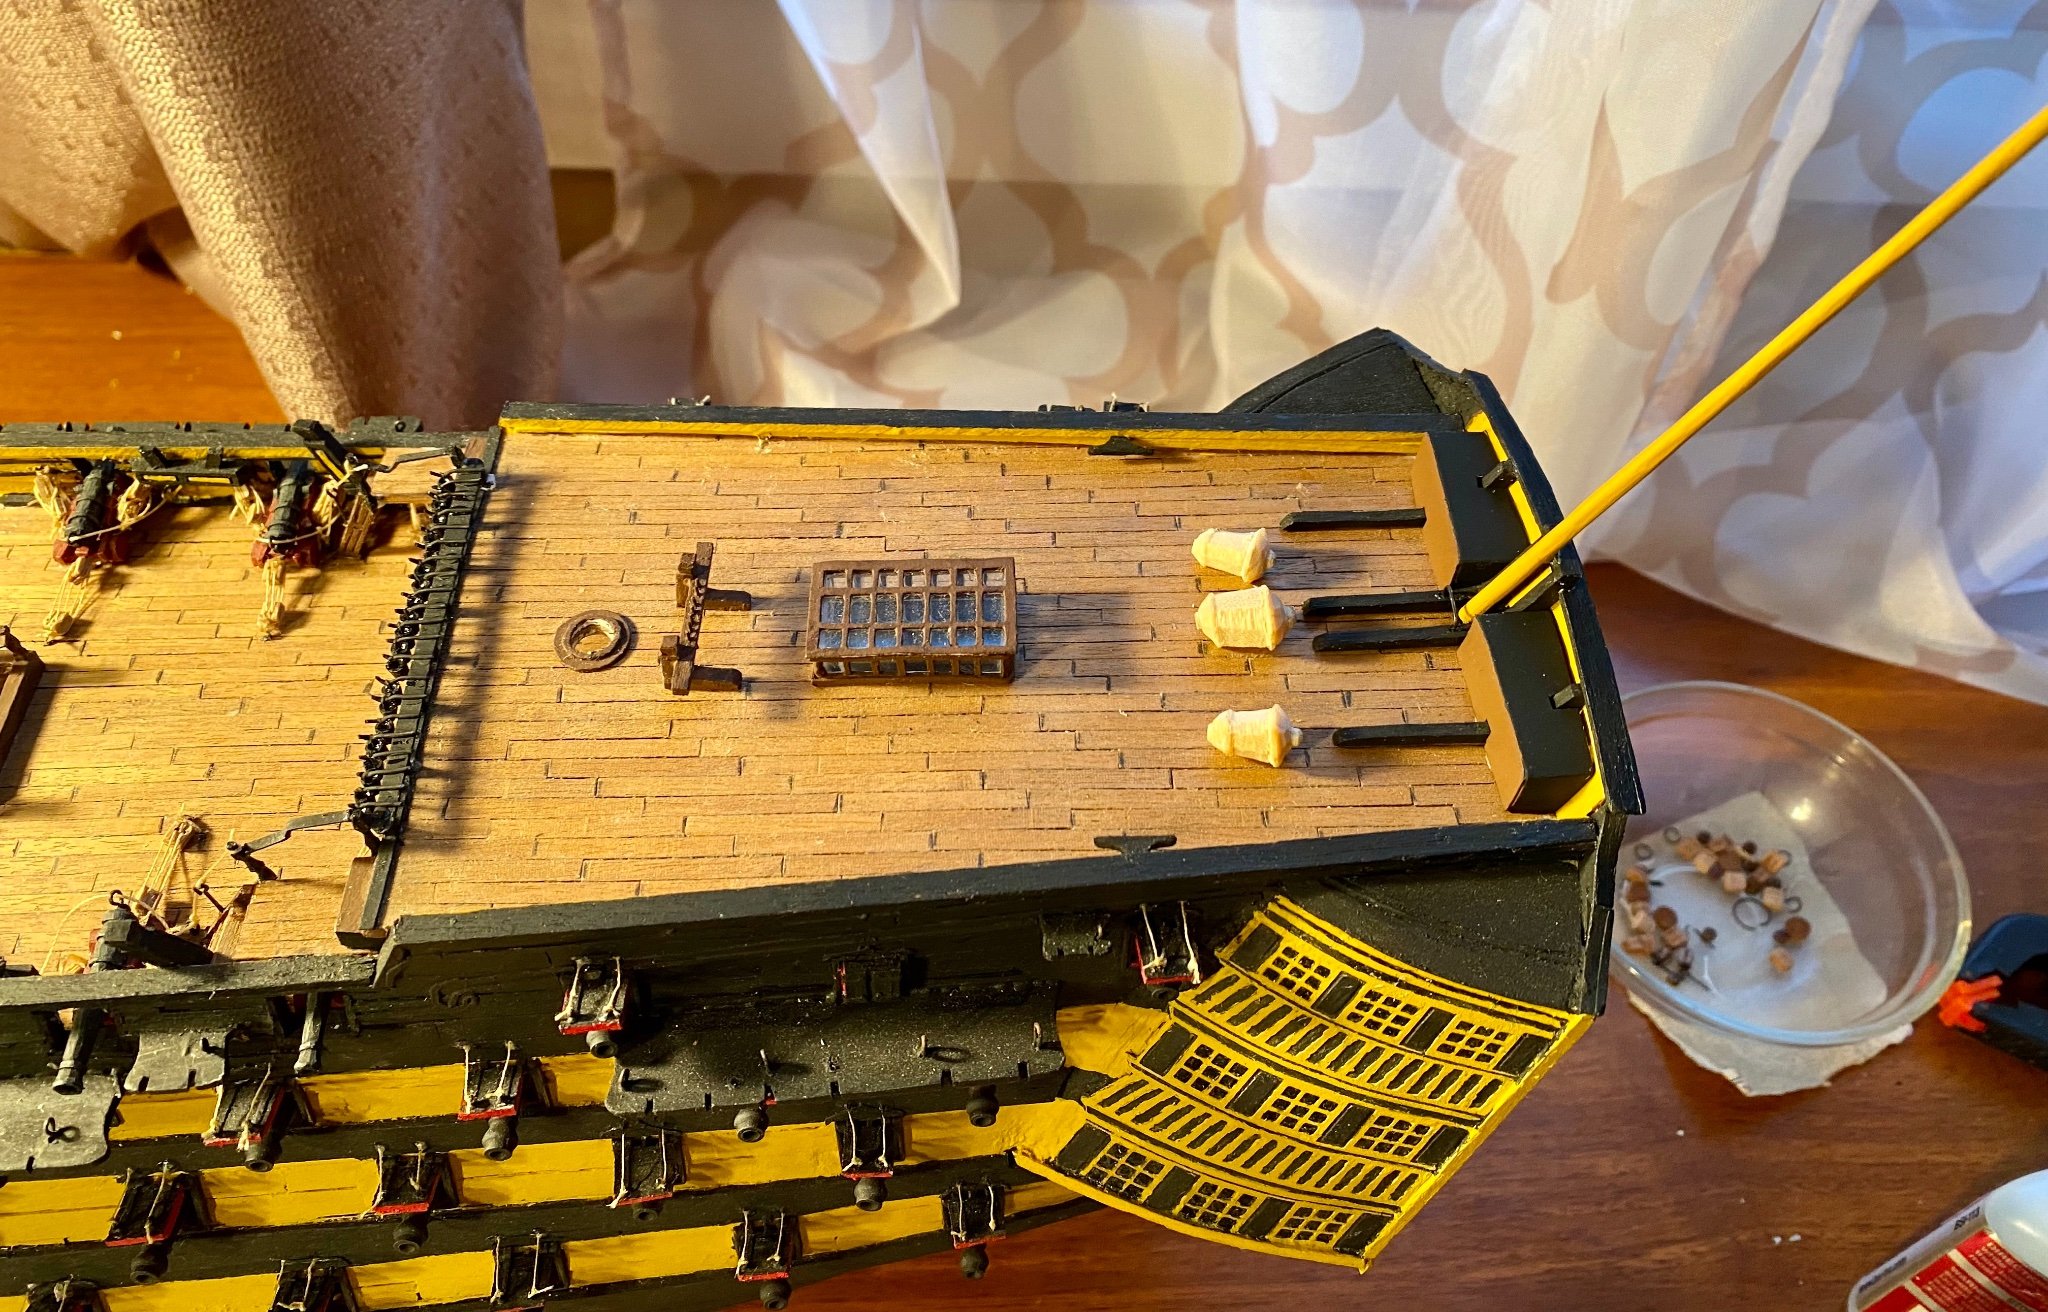
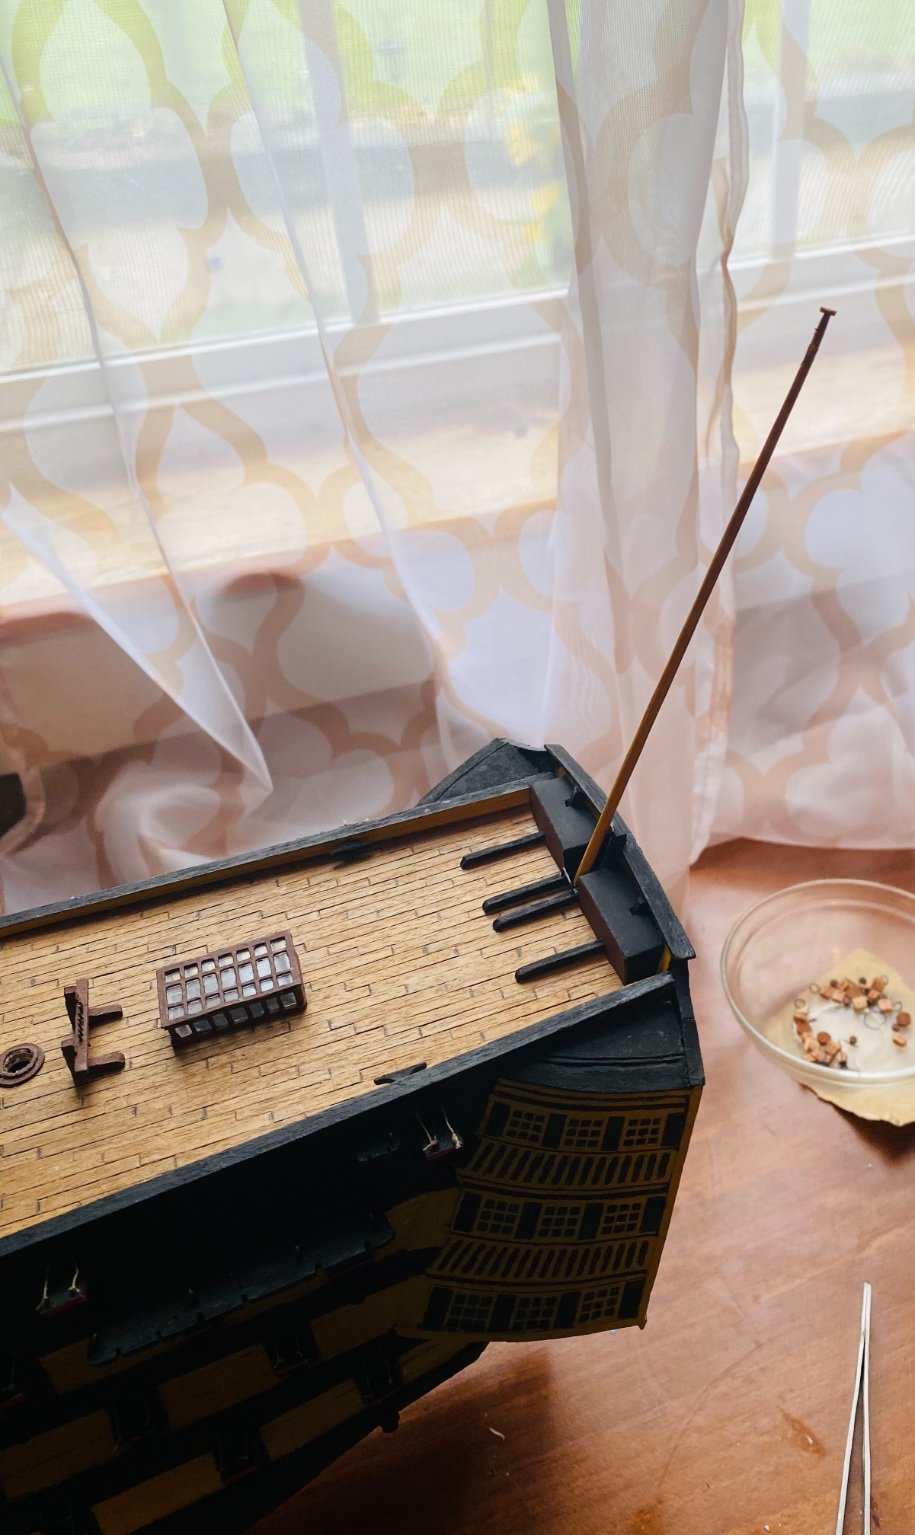
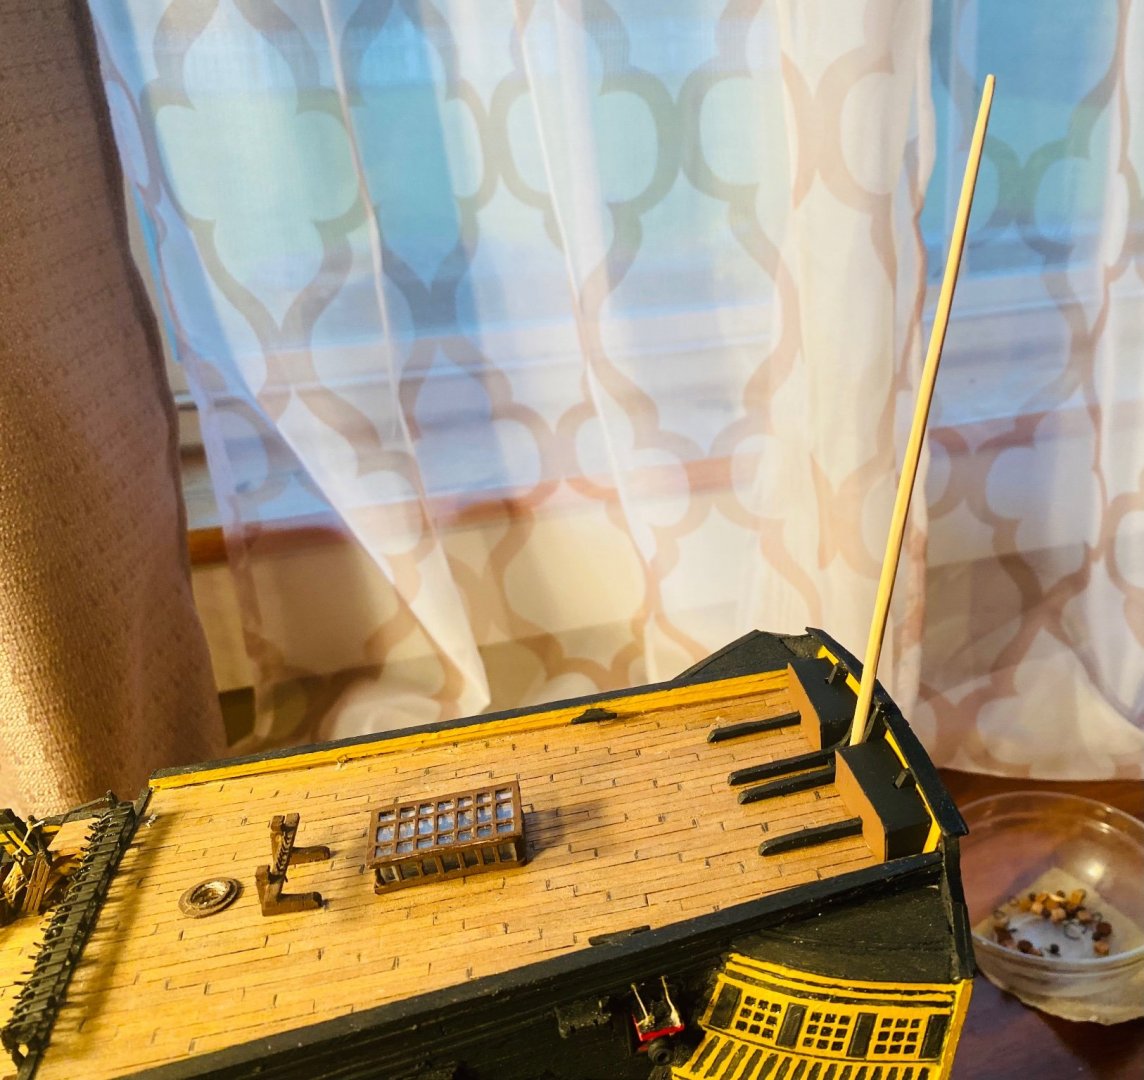
The Ensign Staff is made and glued down now. I figured out how I will make the lanterns. The lanterns are too small to make it worthwhile to make the sides from clear plastic (10/32” tall). The framework would have to made from thin thread or equivalent to be in scale. Also, any adhesive that I know of, that would actually bond with any strength would make a mess of the lantern. Therefore, I am going to carve them and use war gaming painting techniques to make them look internally lit.

-
Yes, it is. That’s what I’ve been using for my Victory. It’s an excellent reference.
-
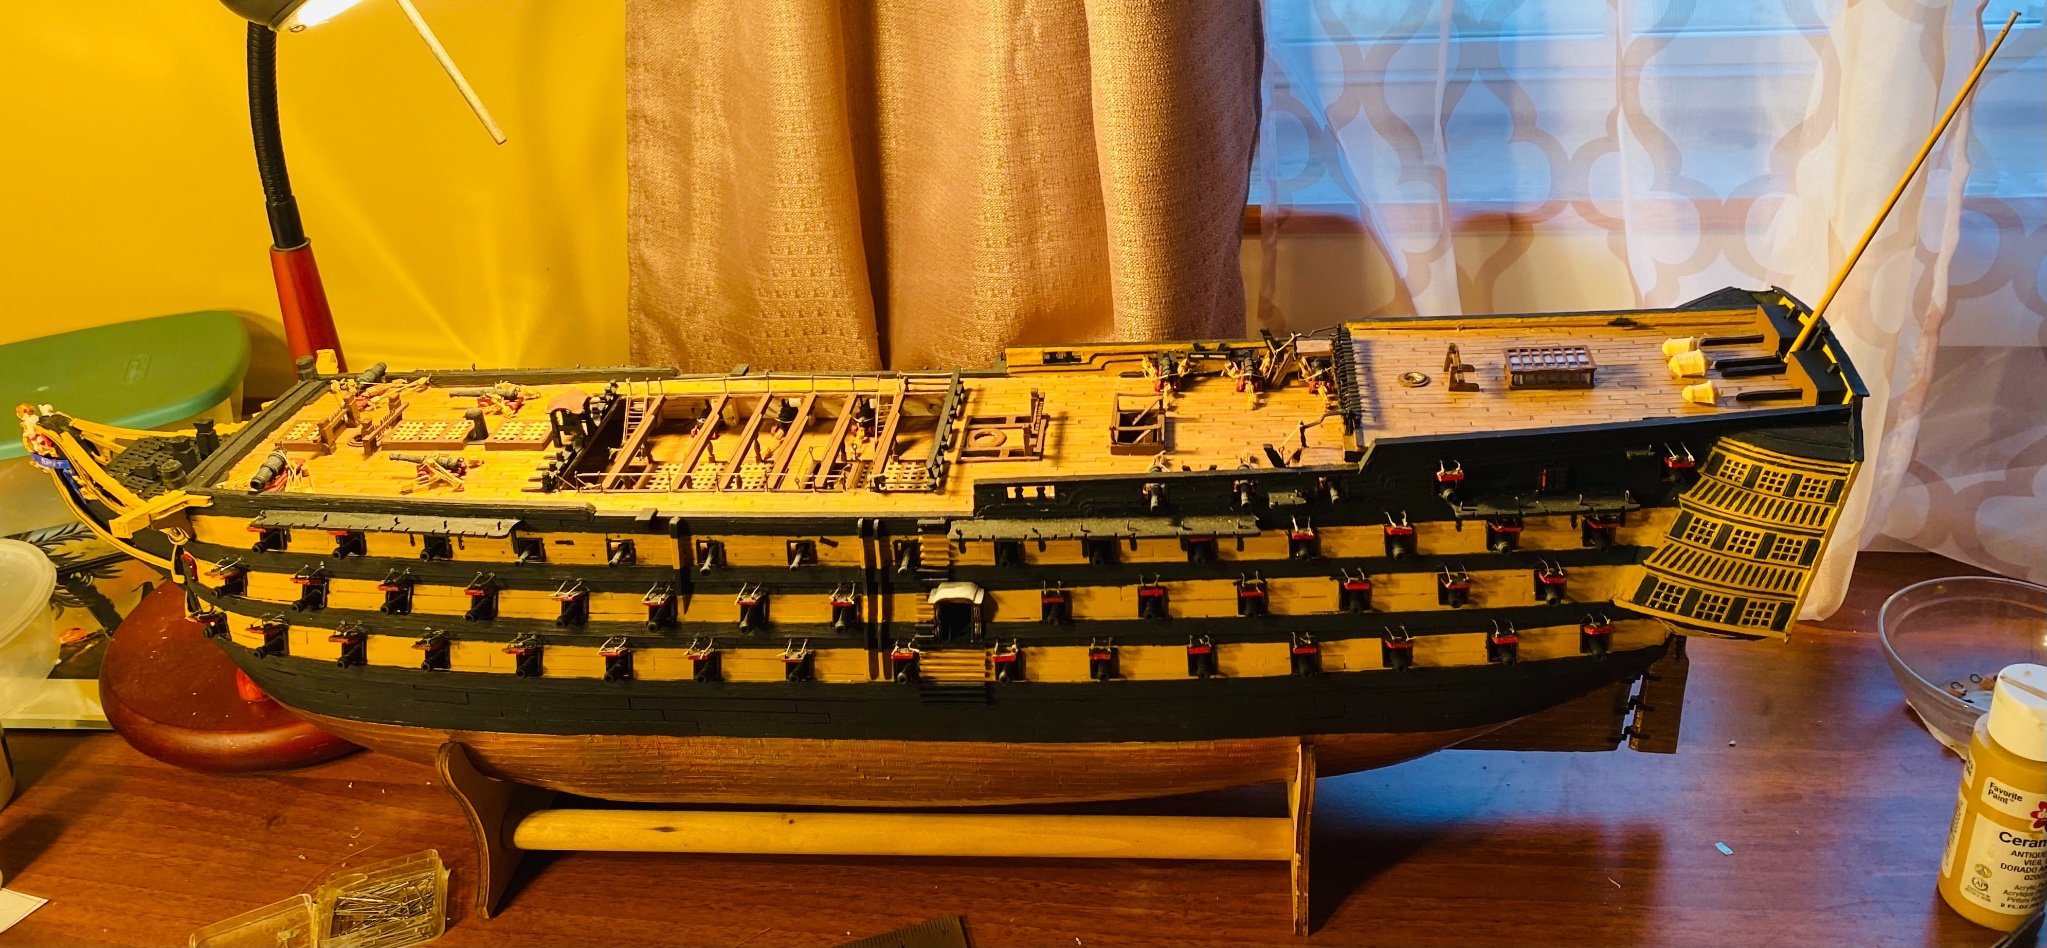
The 100 Gun Ship Victory (Anatomy Of The Ship) by John McKay has very good rigging plans. Those are what I am using for my Victory. The sail plan is not the greatest, but there is a side-on view of the Victory in Brian Lavery’s “The Ship” that I am going to use to make the sails.
-
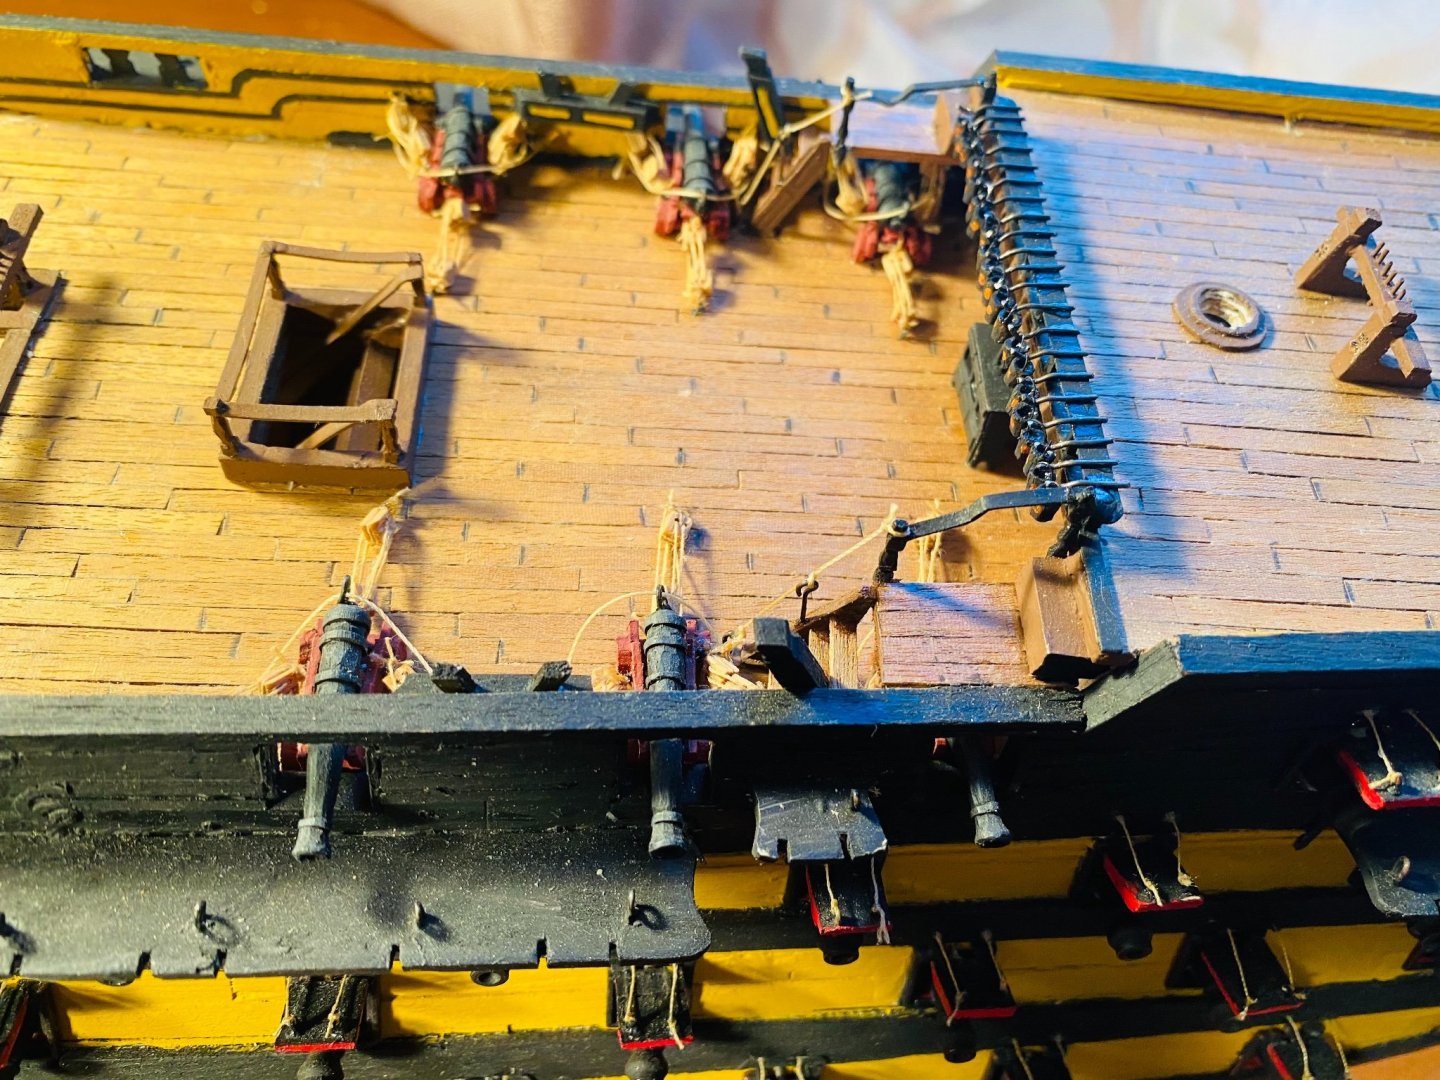
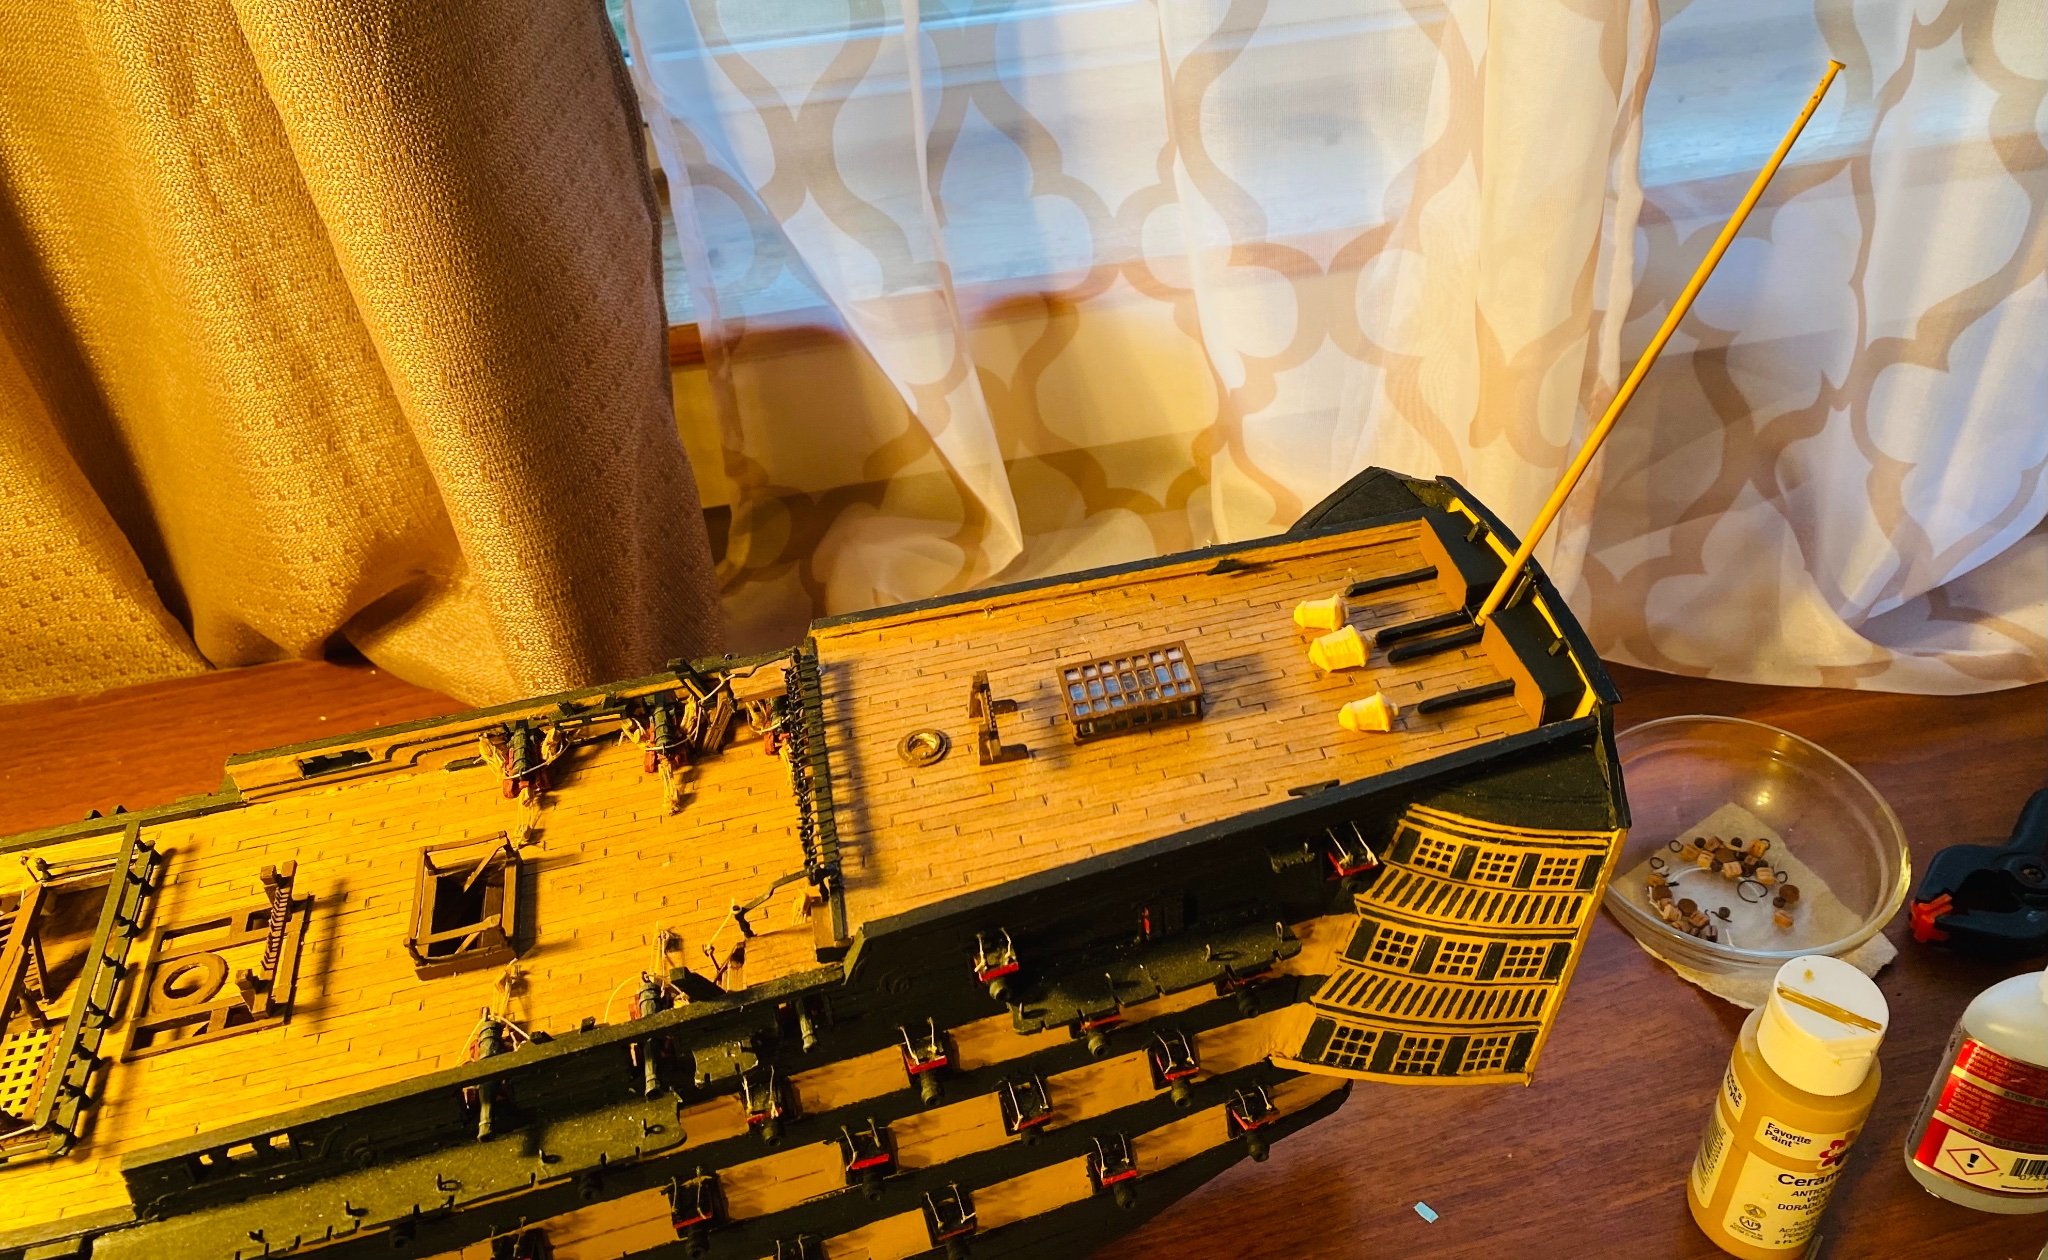
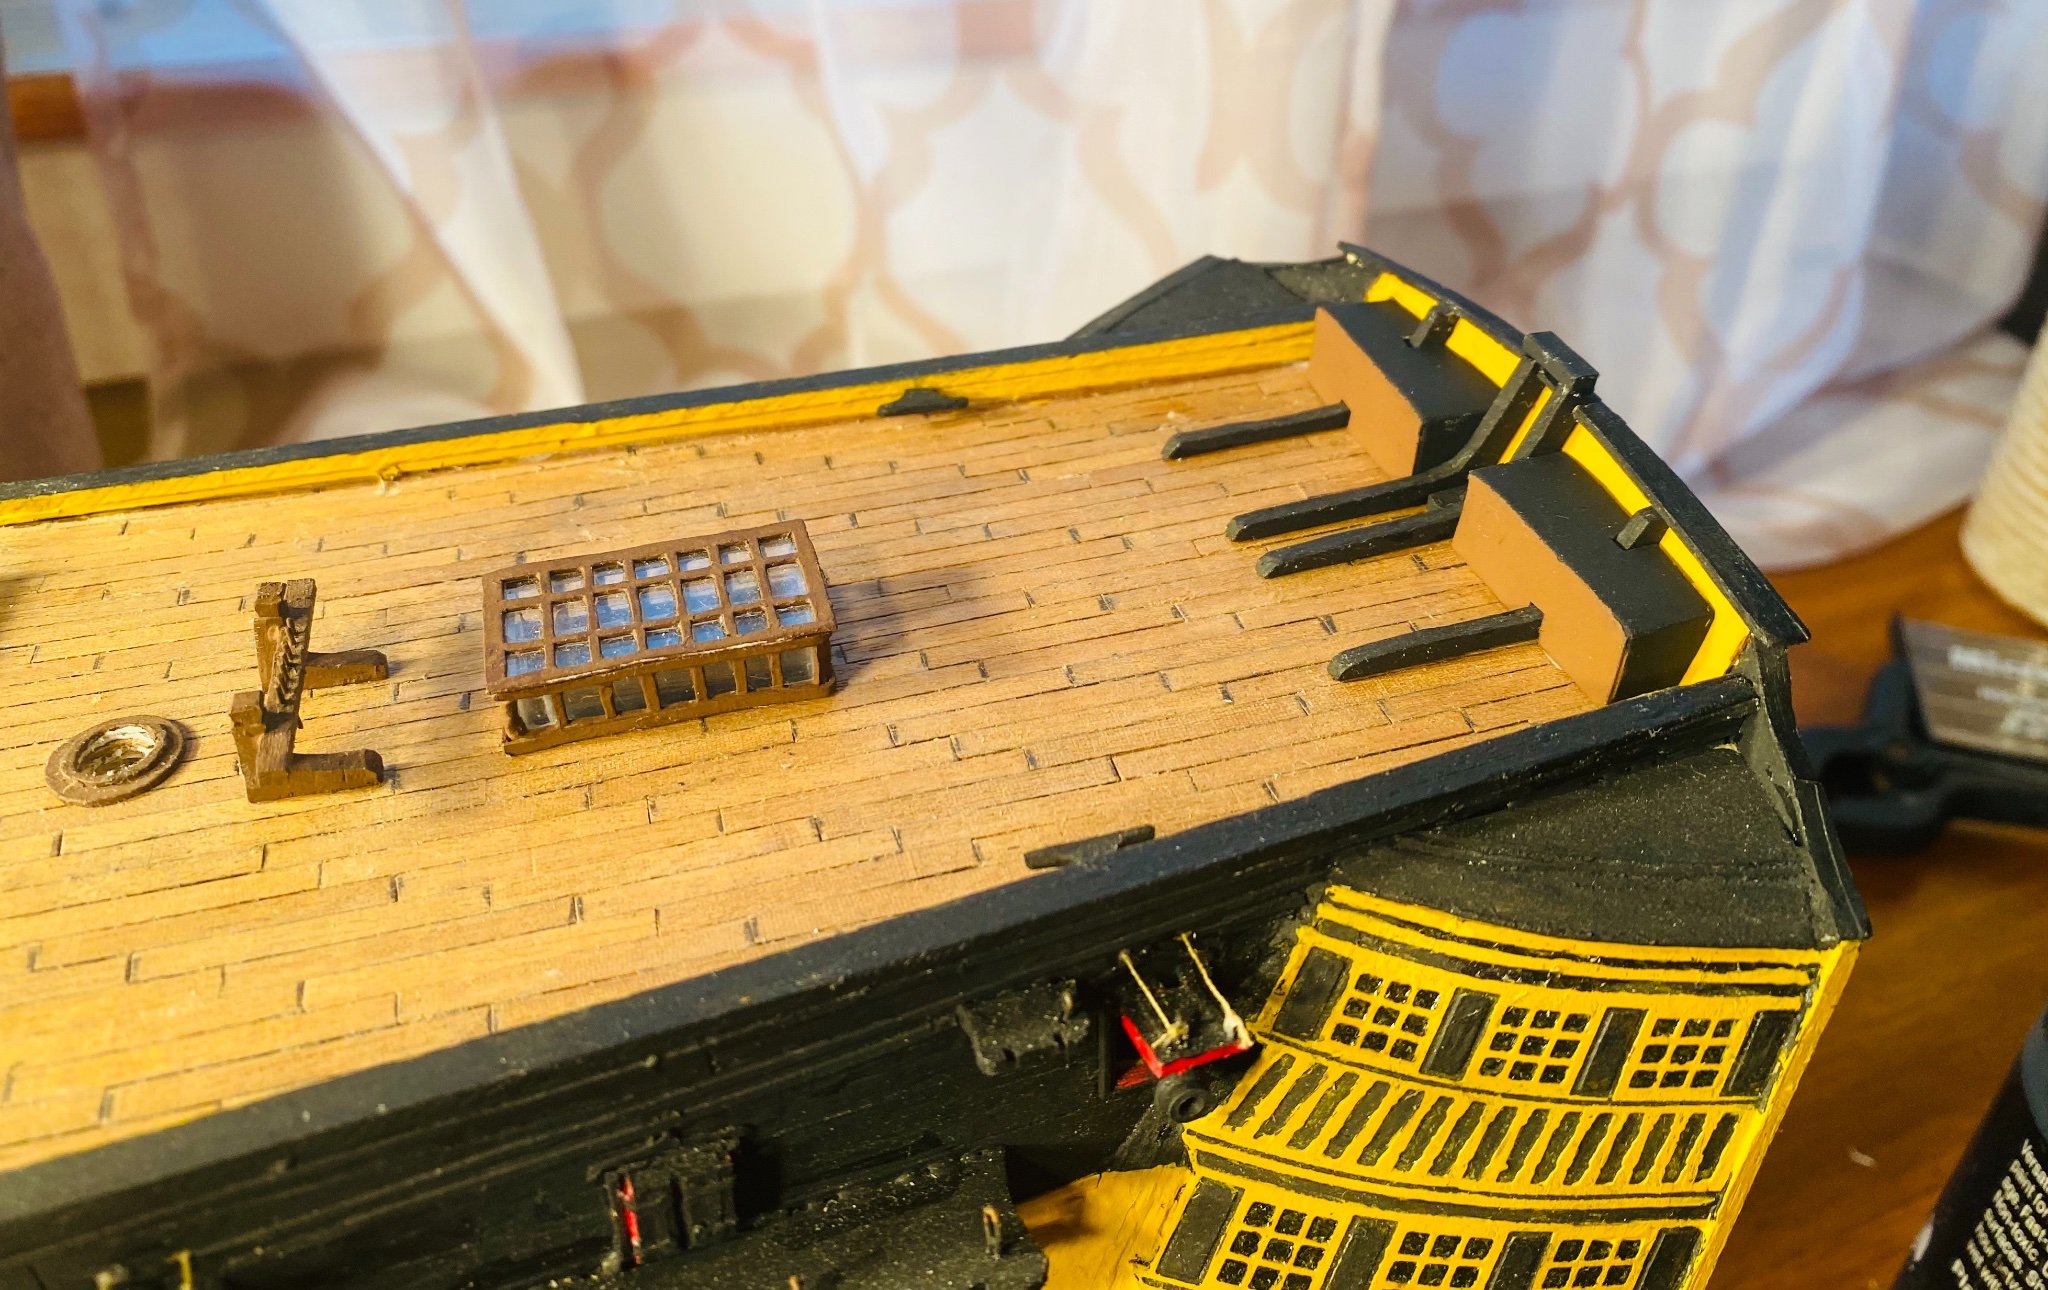
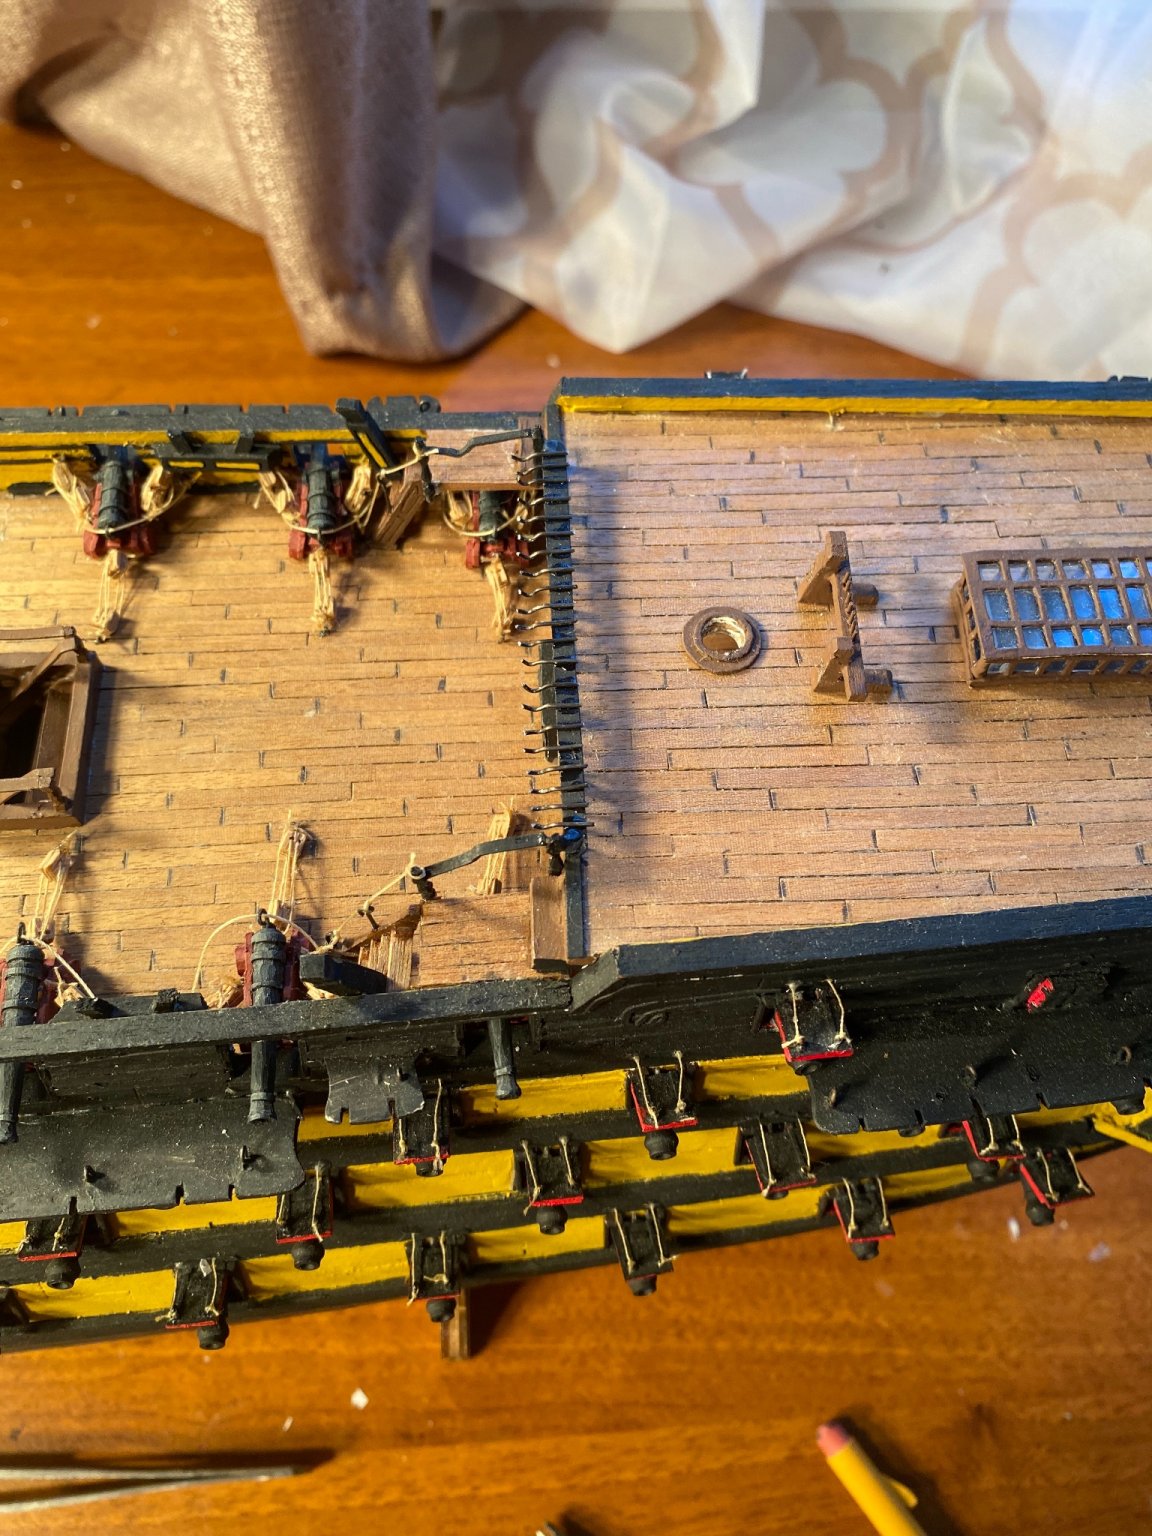
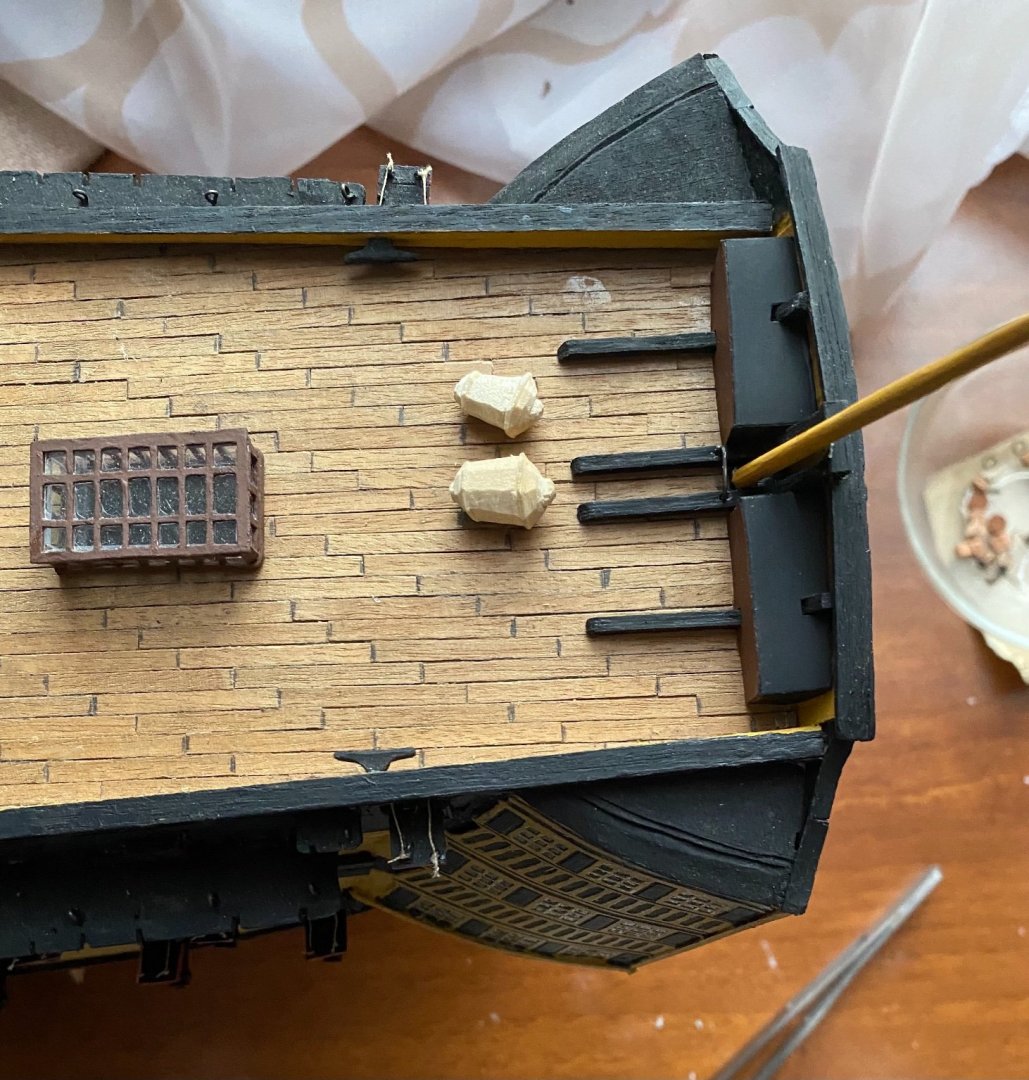
The flag lockers are done and a few minor detail pieces have been added. I rough made the Ensign Staff. It started out life as a bamboo kitchen skewer. It still needs the cap piece, to be painted and three sheaves added. I am done with most of the deck furniture now. I am going to start at the stern and work my way forward, finishing all the rigging fittings, boat davits, remaining hull fittings, hammock cranes, etc. To that end, I’m going to start with the lanterns and a couple of fittings on the poop deck.

-
Thank you very much, OC!
-
Very nicely done!
-
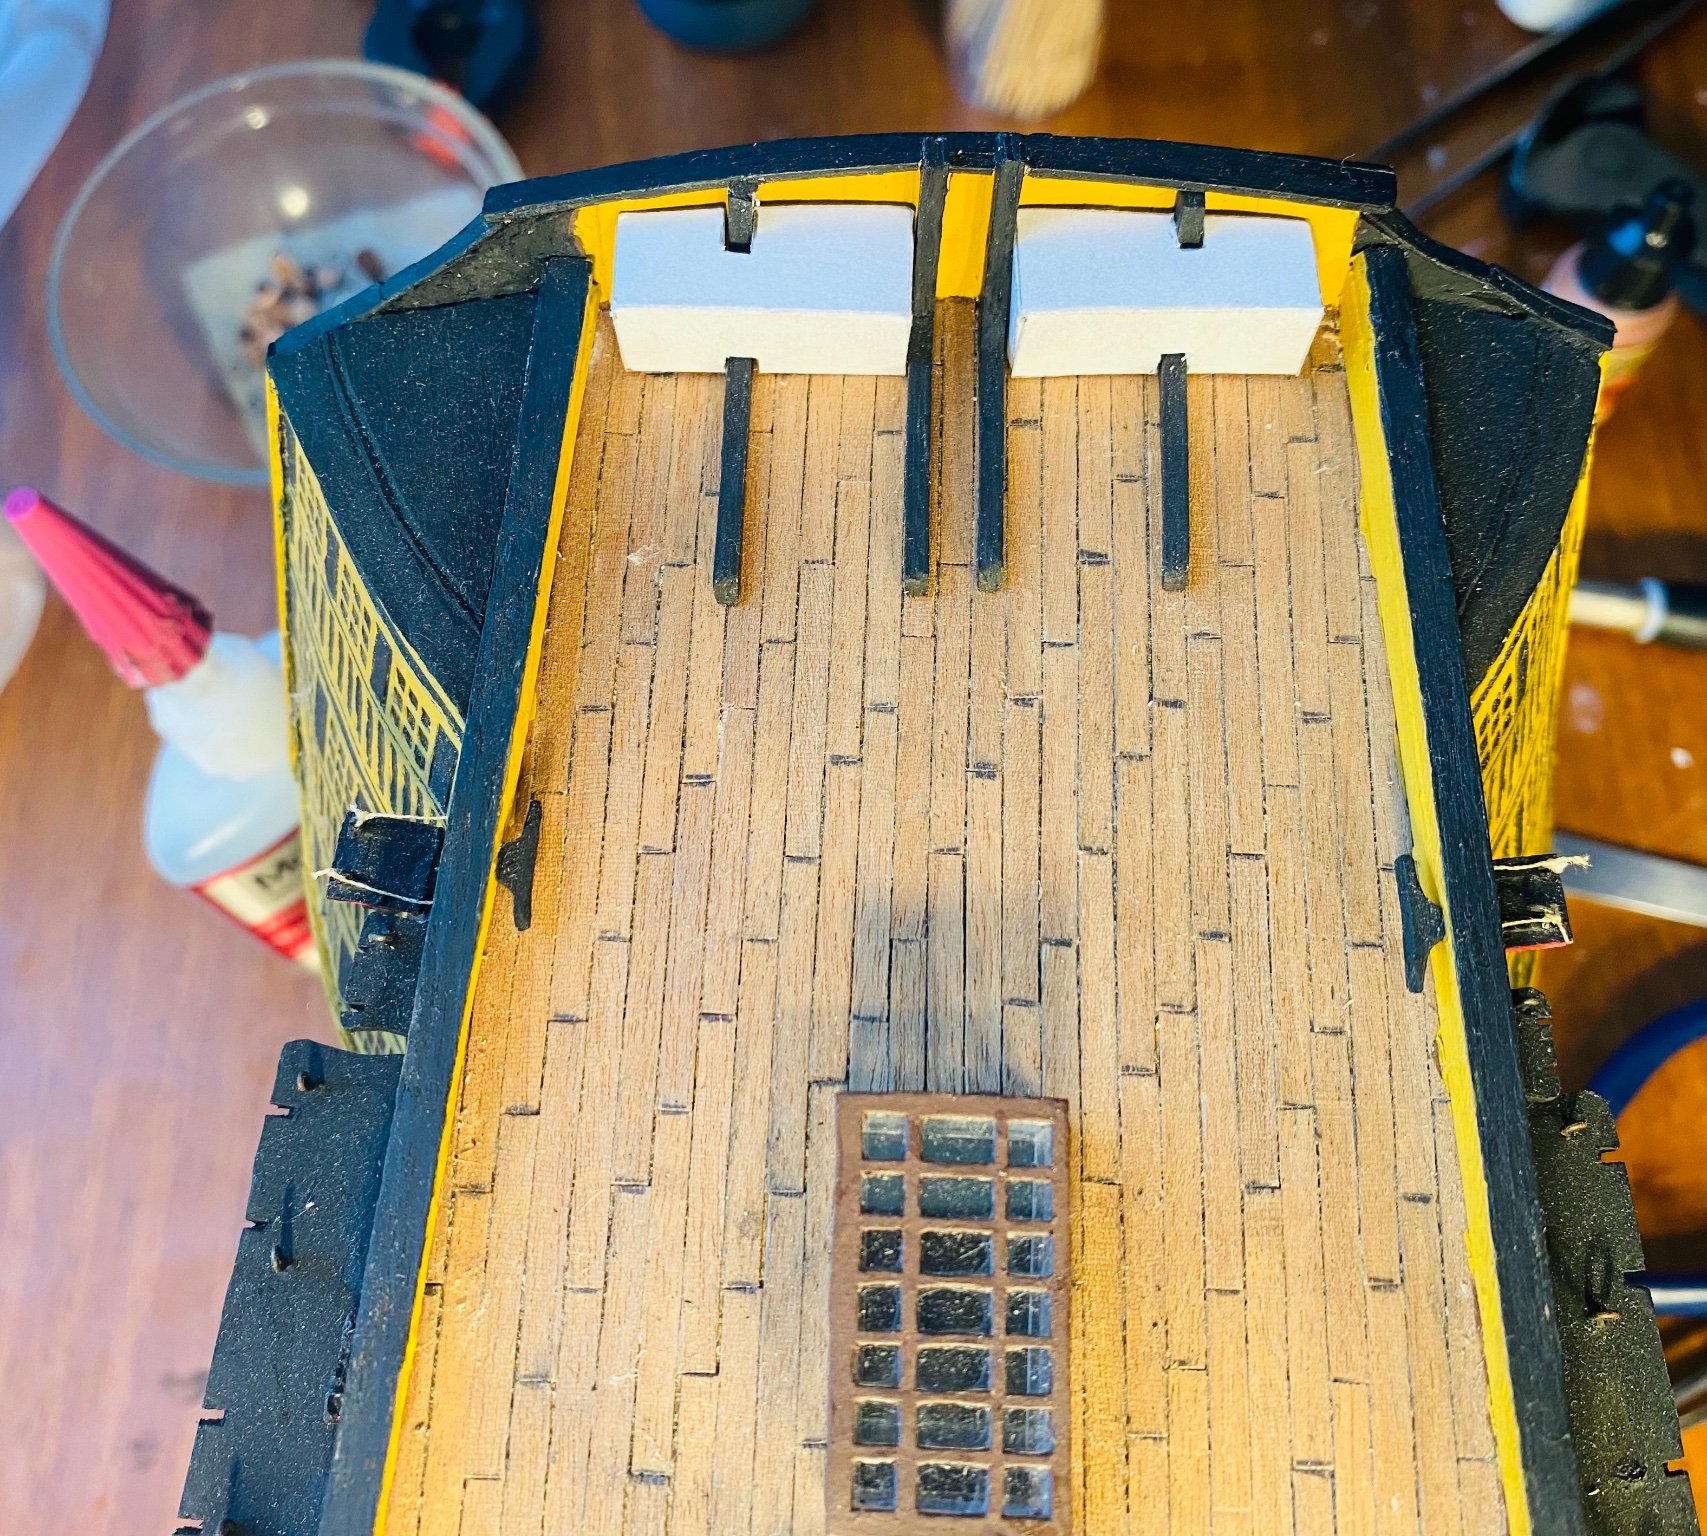
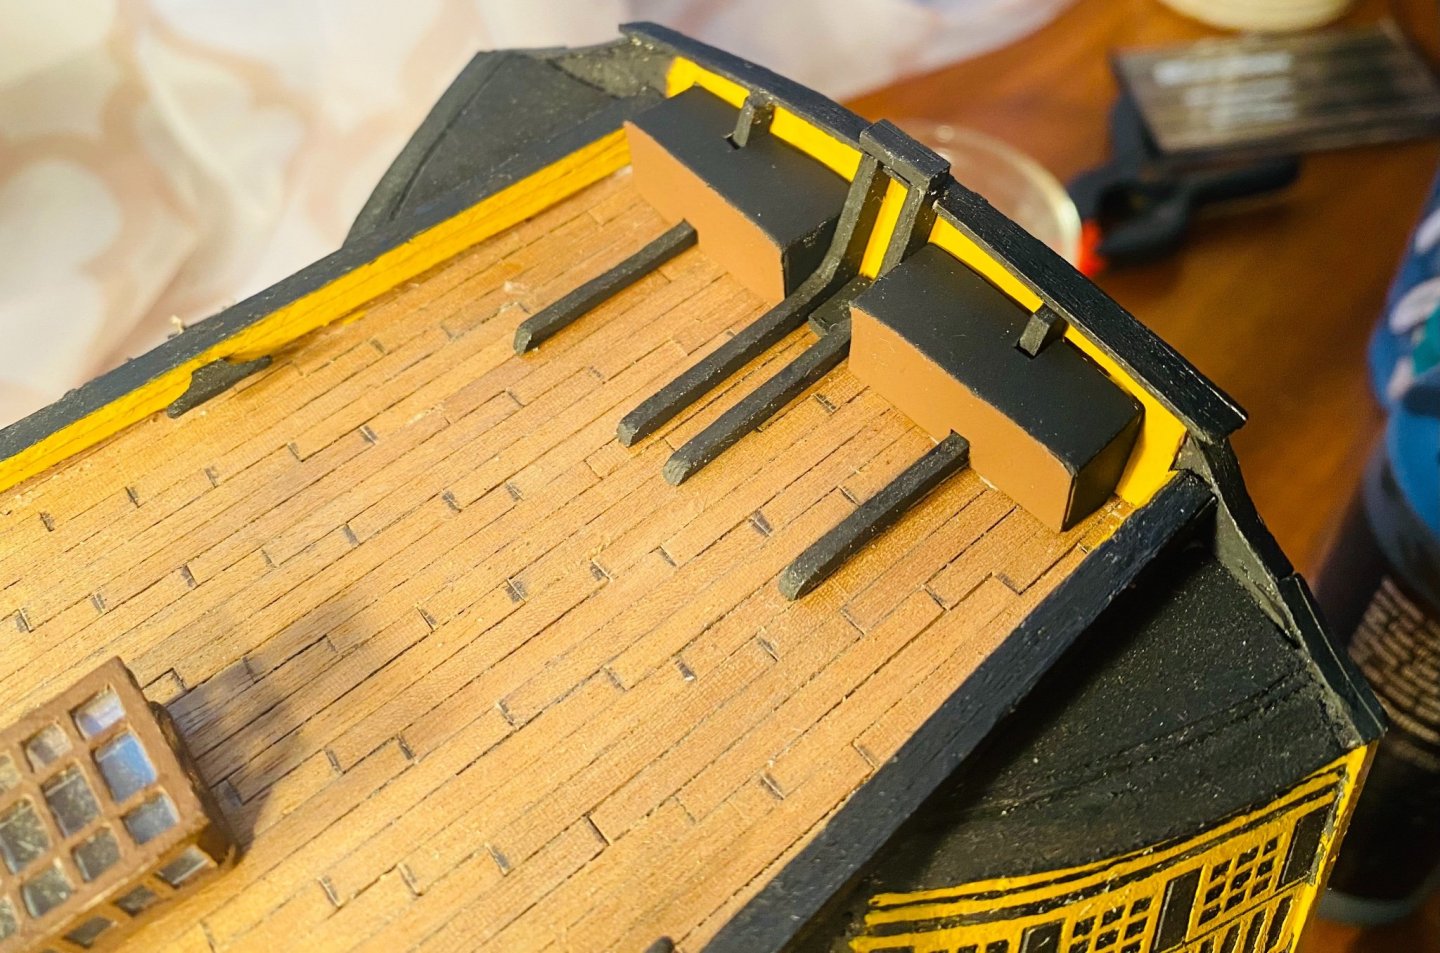
Speaking of the flag lockers: Once they dry, I’ll paint them.


-
Thank you very much @Morgan for the information! These are flag lockers and they would have had a canvas cover on them. I will portray them with a solid front then.
-
Thank you both very much! This is very much a learning process for me! I greatly appreciate the assistance!
-
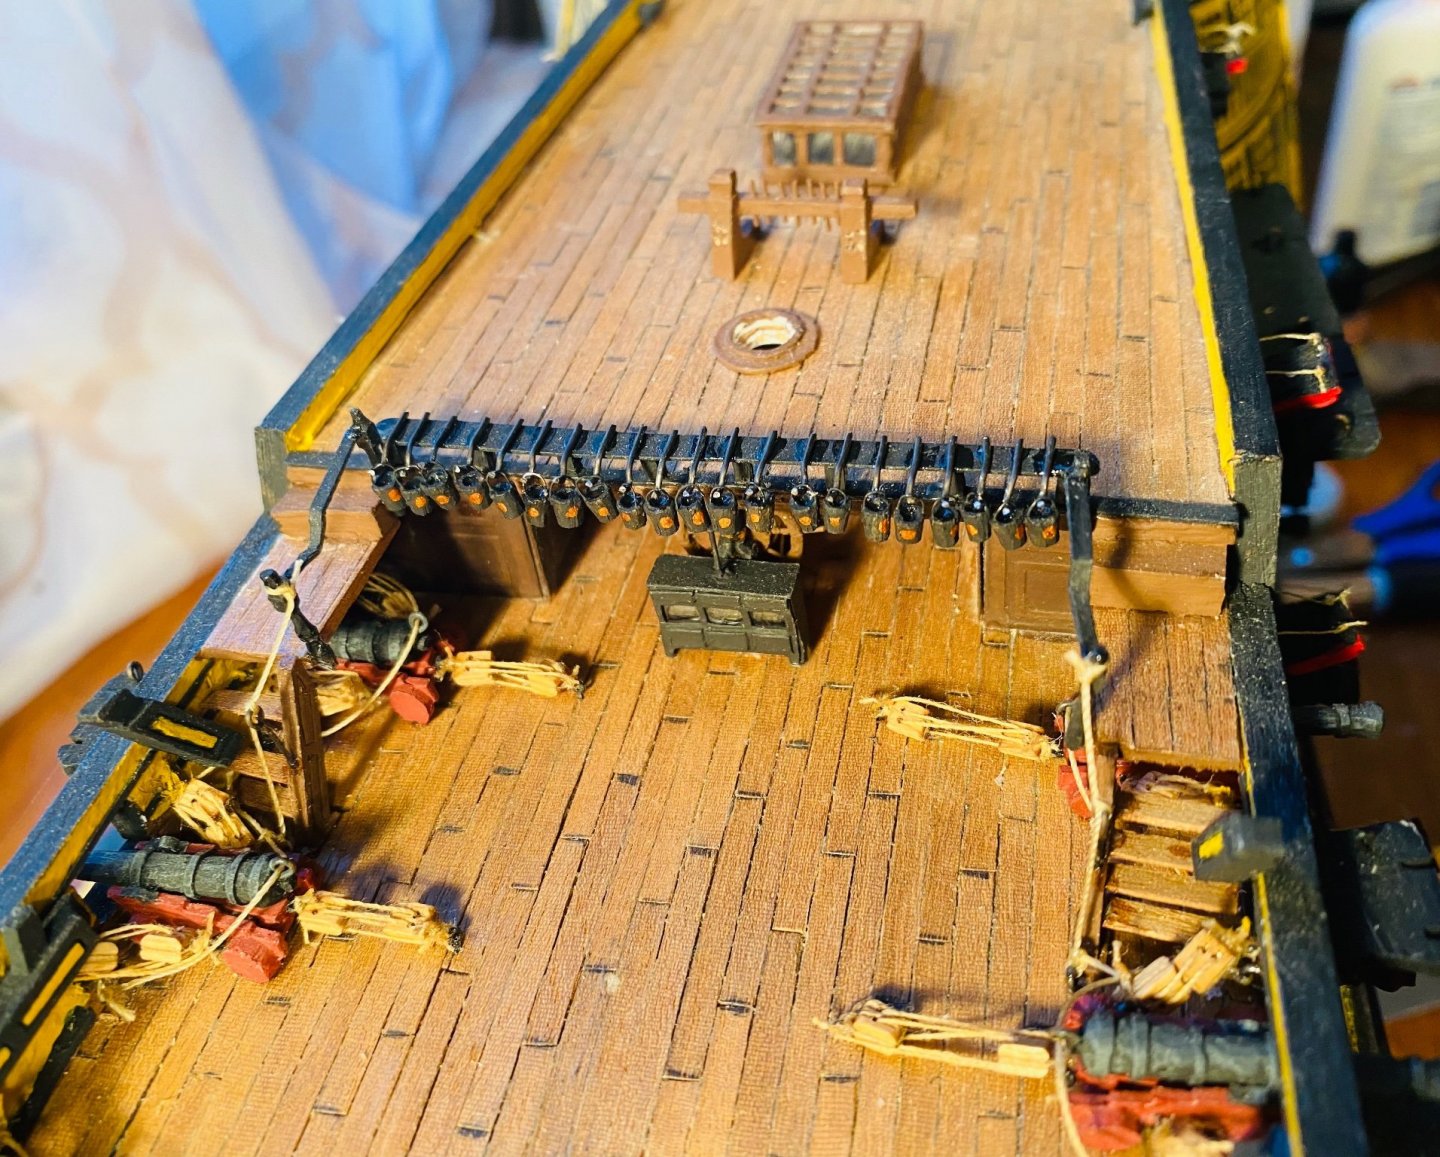
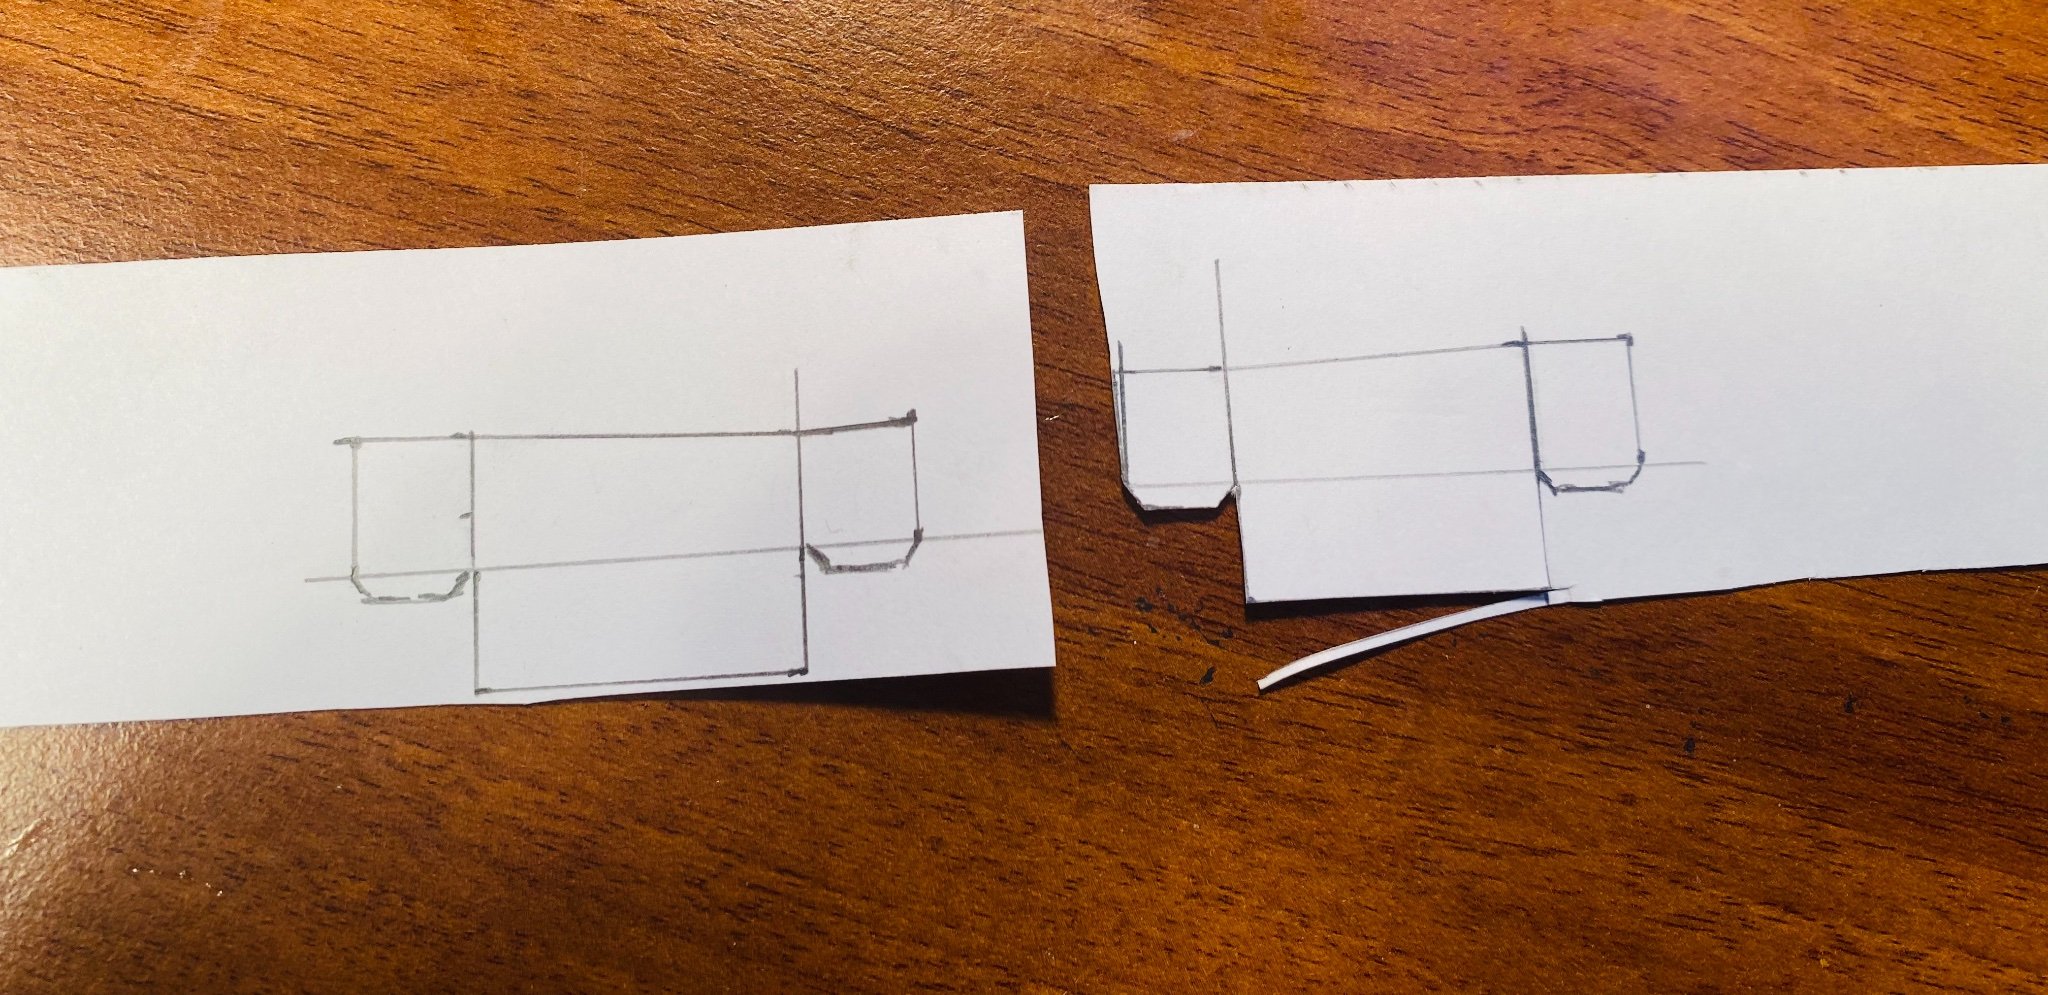
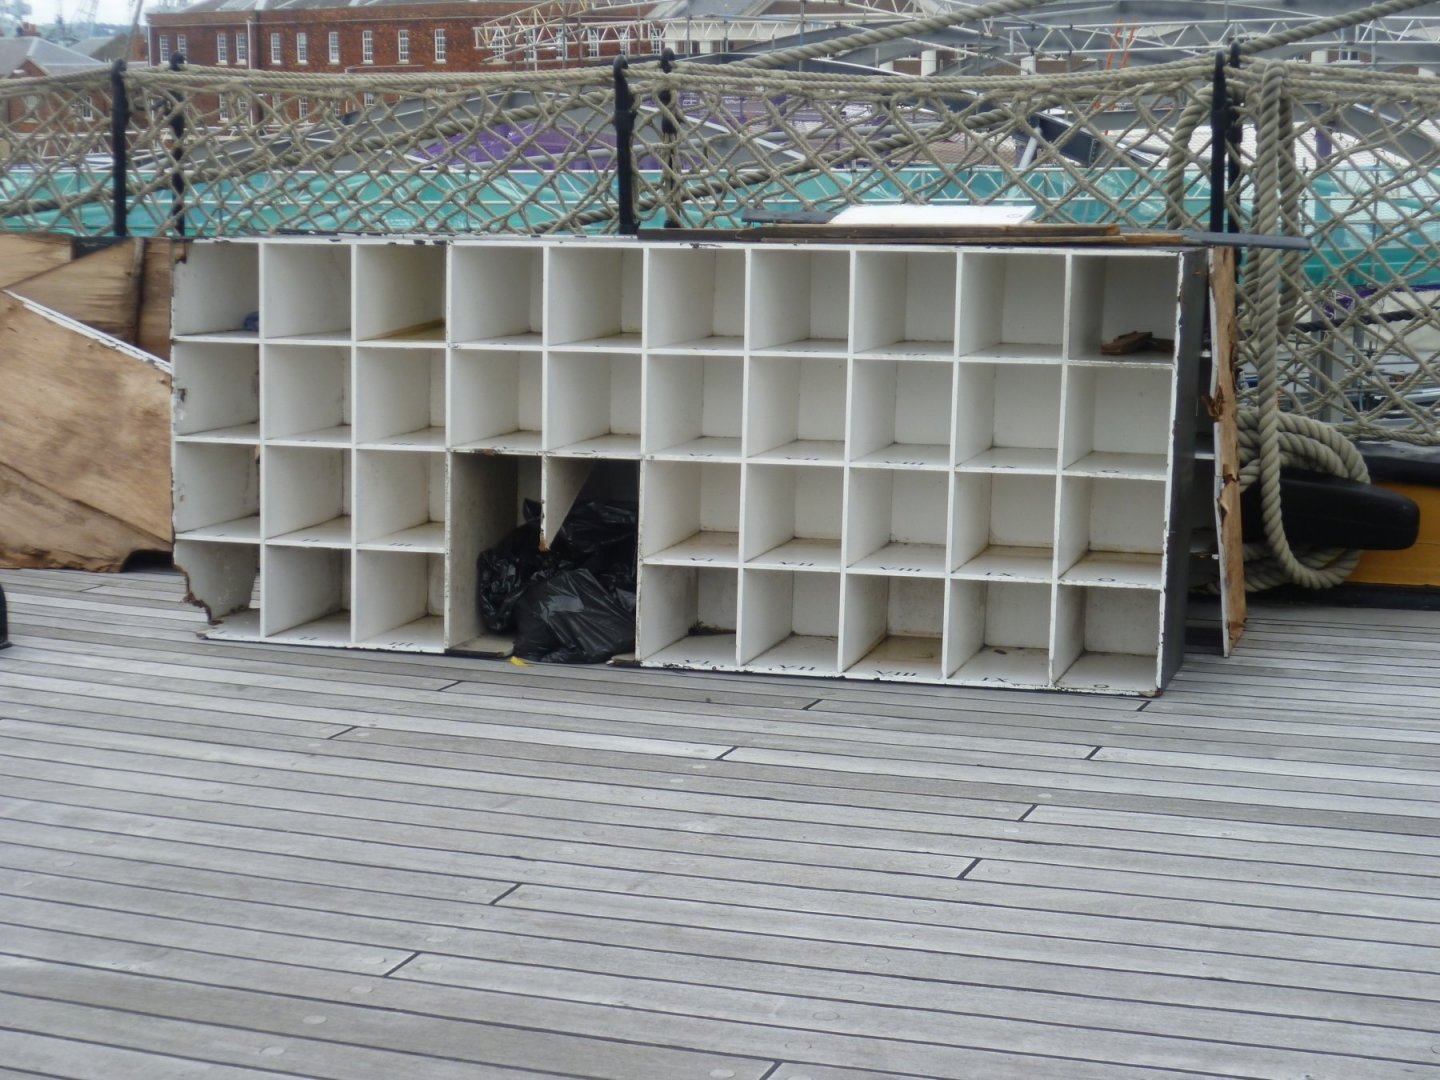
On the stern part of the quarterdeck on Victory sat two chart cabinets. They look like sets of cubbies for the navigational charts to sit in. I’m getting ready to make them for my Victory. Ordinarily they sit against the transom. These pictures are how I learned that they are not part of the ship’s structure, although they are shown in my AOTS. Would the cubbies have been covered while under way? I would think so, because weather would not be good for the charts.

-
Thank you both very much! Thank you to everyone for all the likes and just for stopping by! The brackets are trimmed and installed! The buckets have been hung and glued! Once they are dry, I will use add some touch up paint. Quick note: this model is 1:98 scale, which is pretty close to the 15mm war gaming scale. I am used to painting and modeling in 28-32mm scale which is approximately 1/56 and 1/48 scale, respectively. This difference in scale has made a lot of difference for me for this model. Next up, I need to build the chart cabinet. That will be made out of card. Quick question, would the front of that cabinet have been covered at sea, or would the front of that have been left open?