GrandpaPhil
-
Posts
6,157 -
Joined
-
Last visited
Content Type
Profiles
Forums
Gallery
Events
Everything posted by GrandpaPhil
-
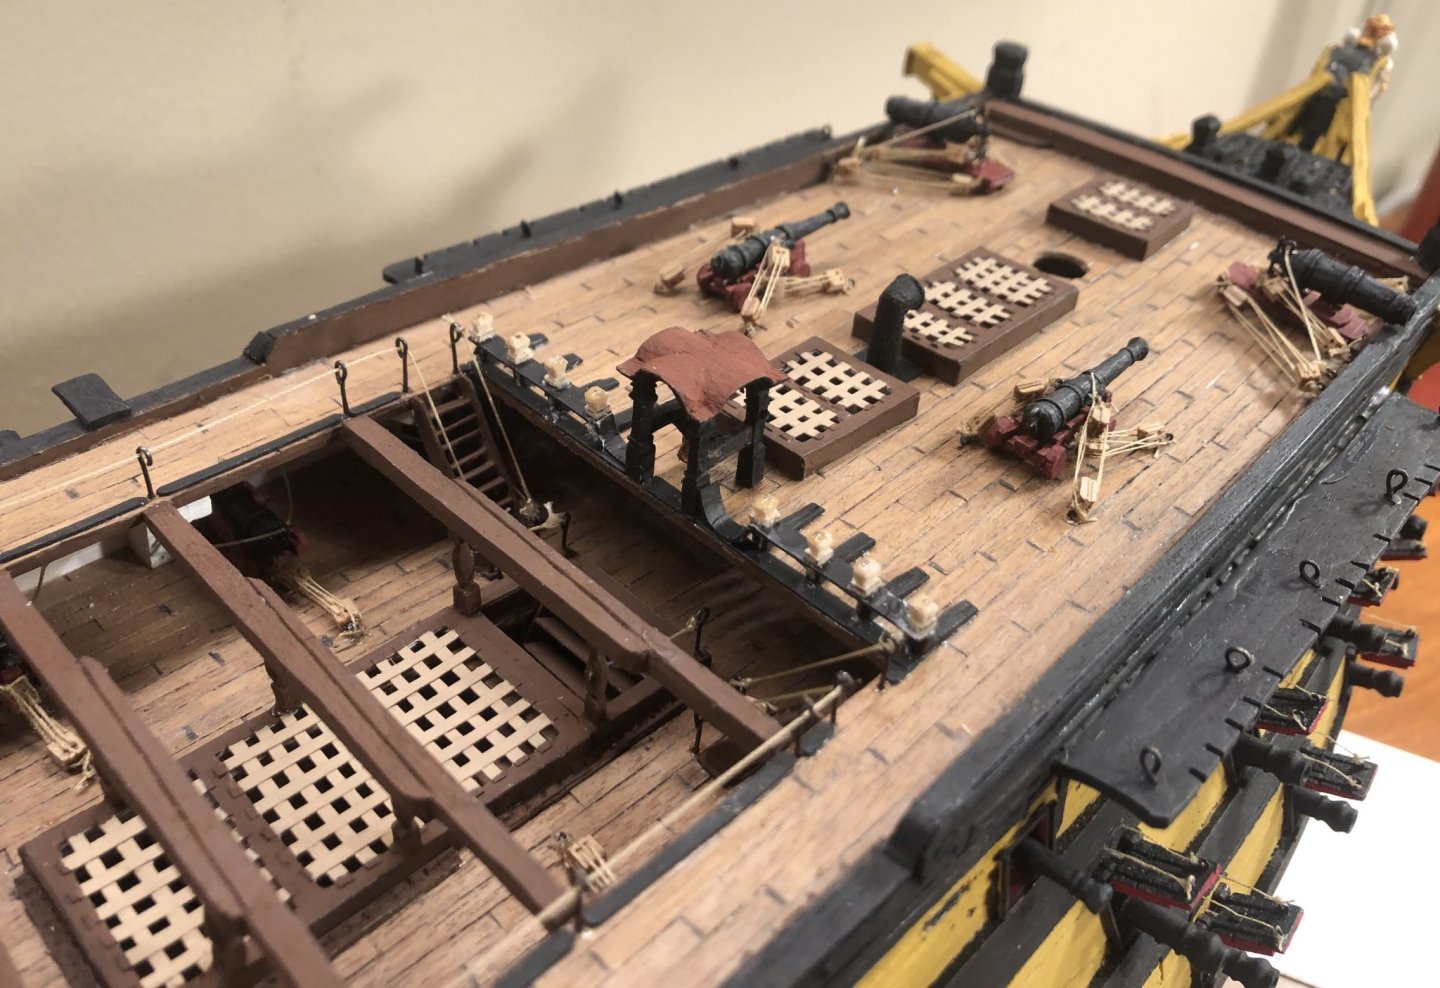
Bitts with a fife rail:

-
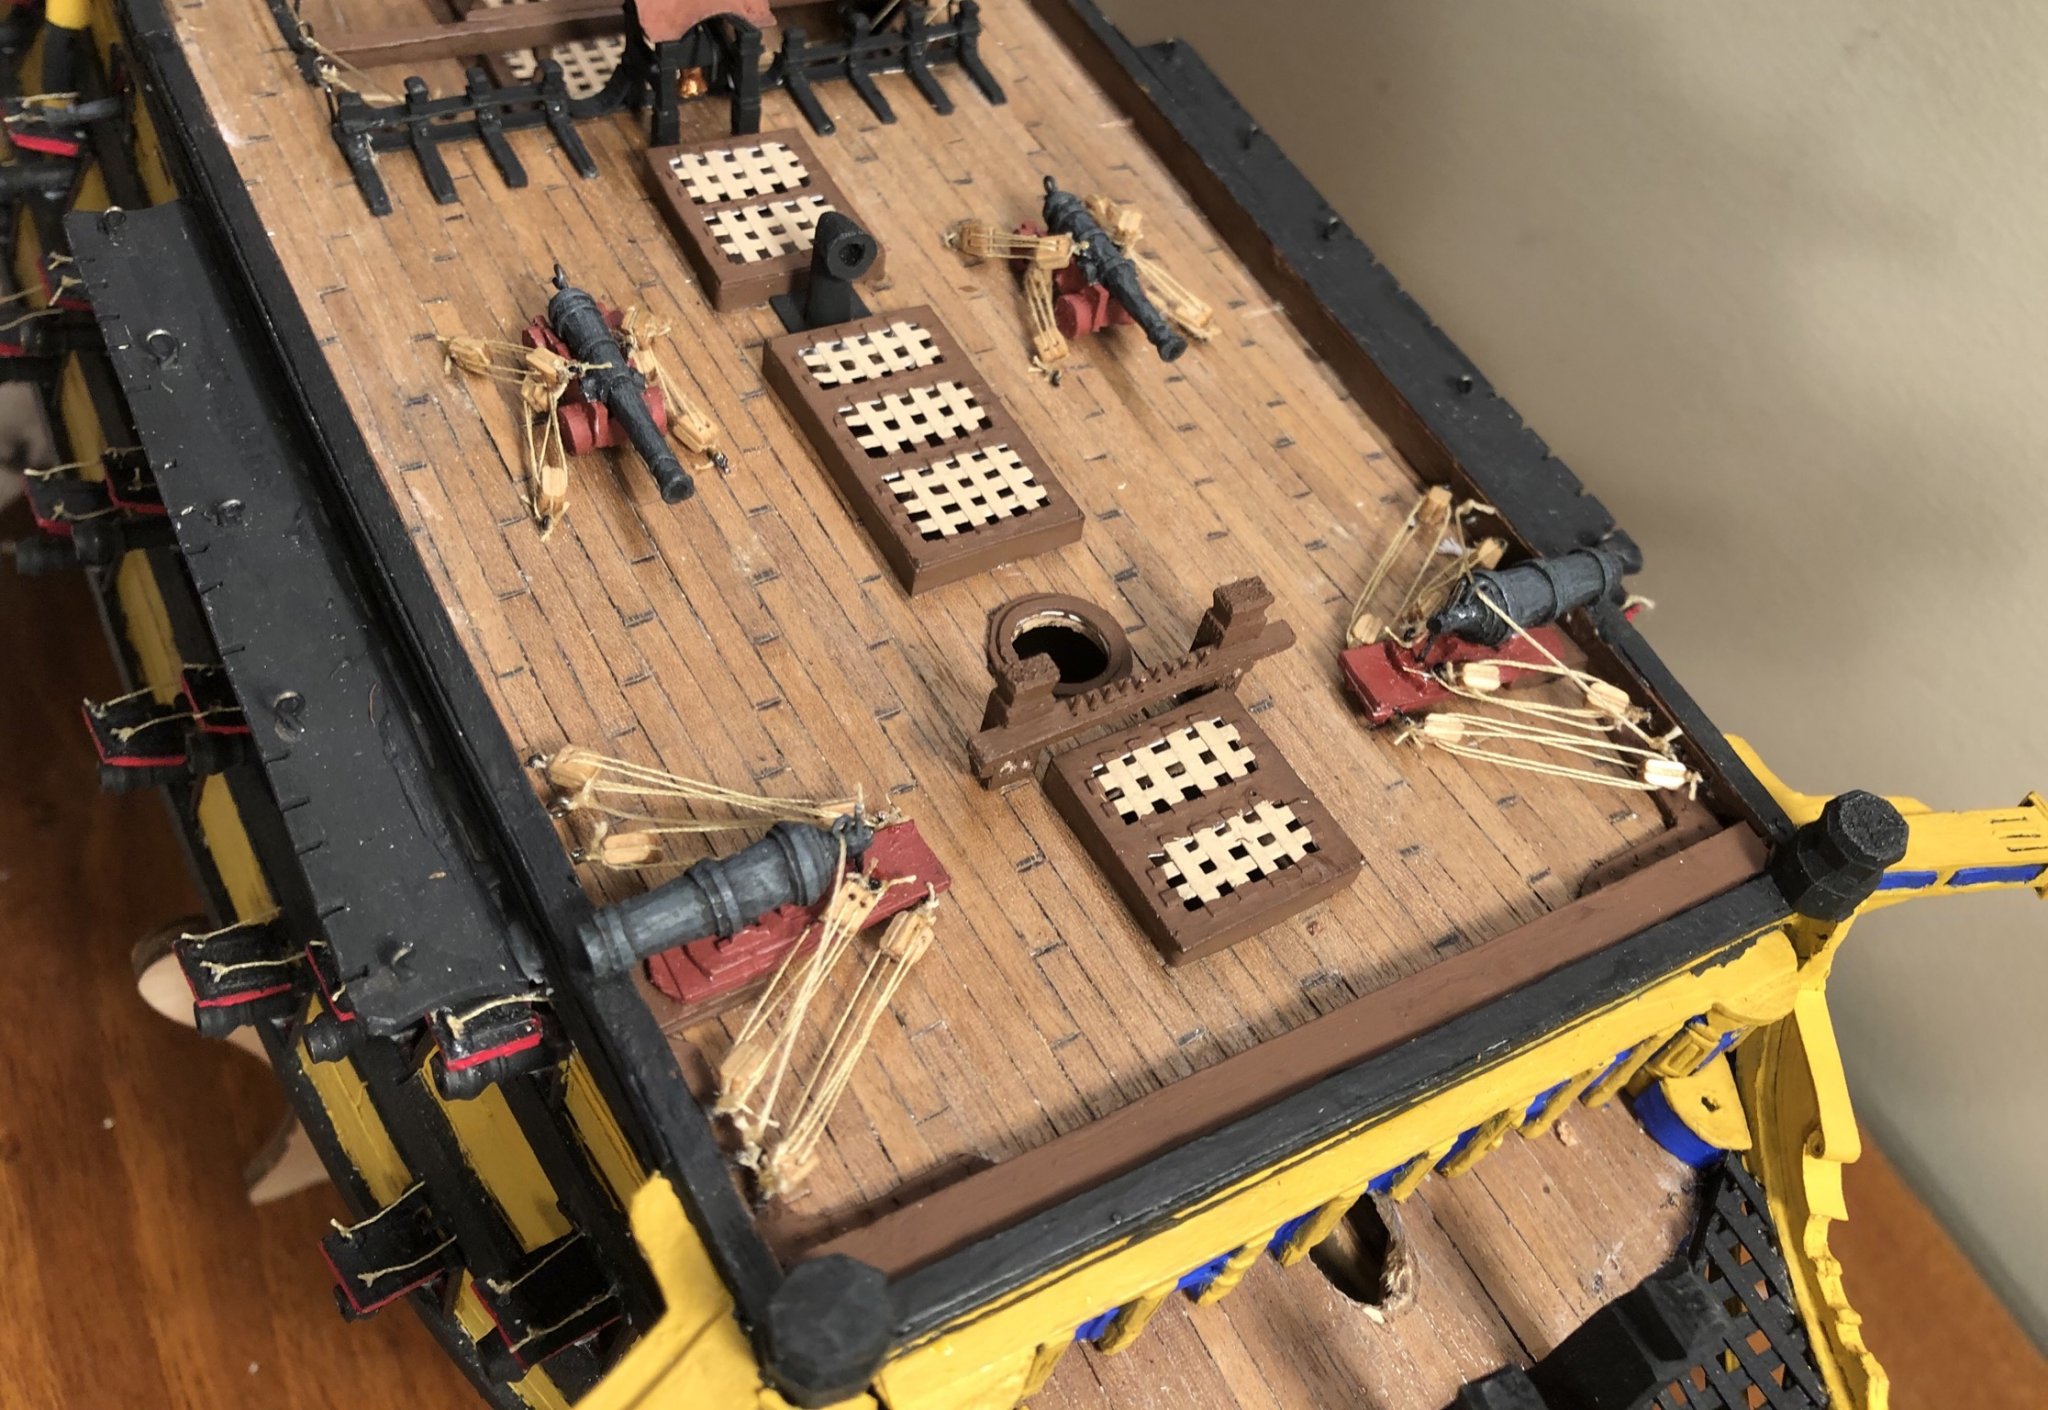
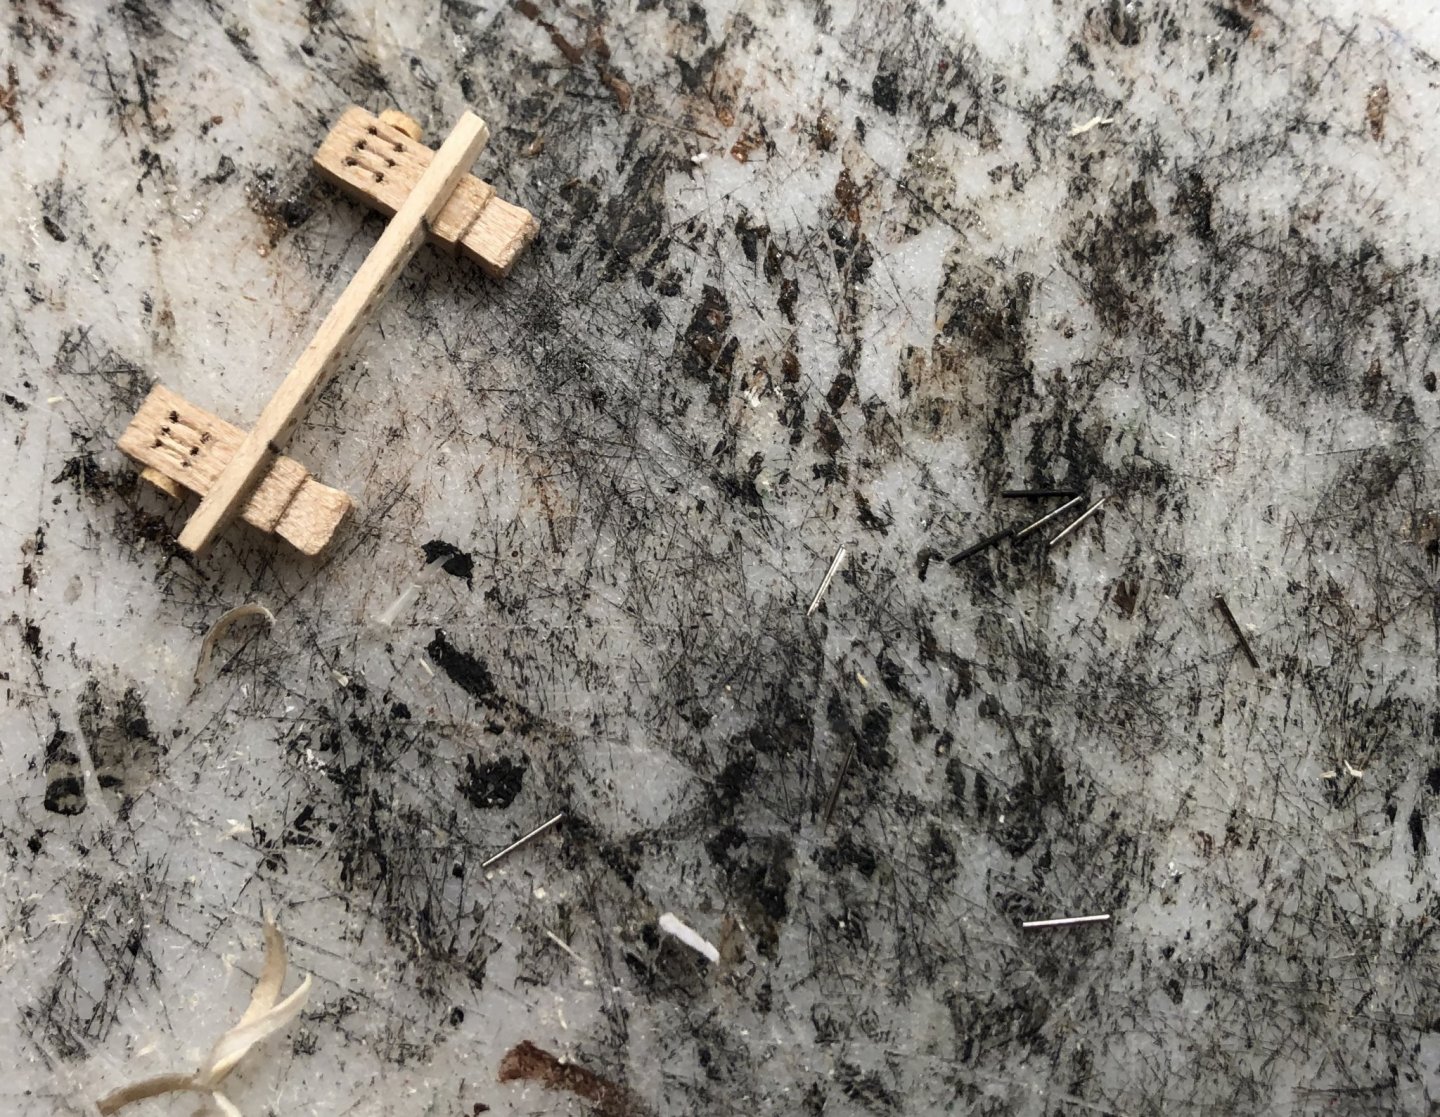
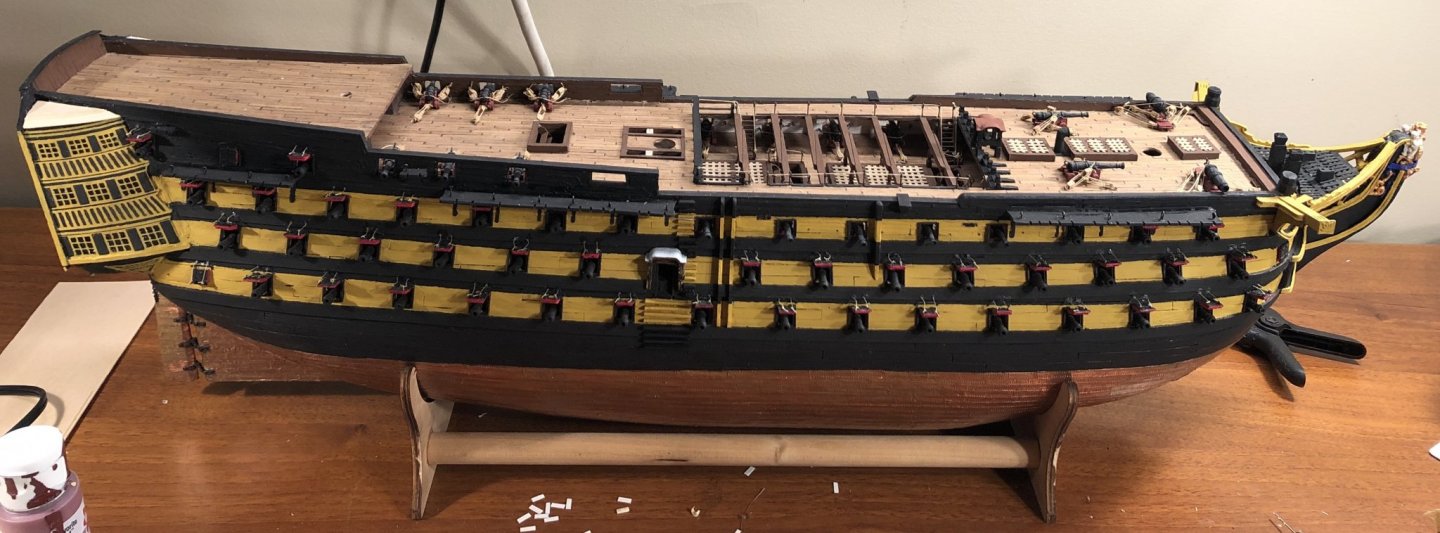
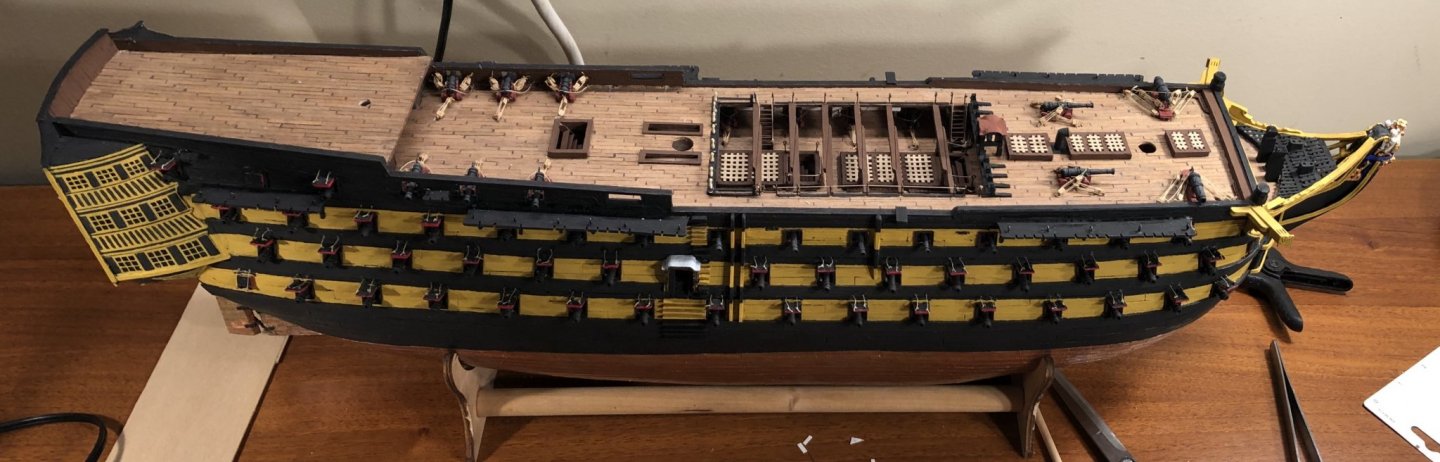
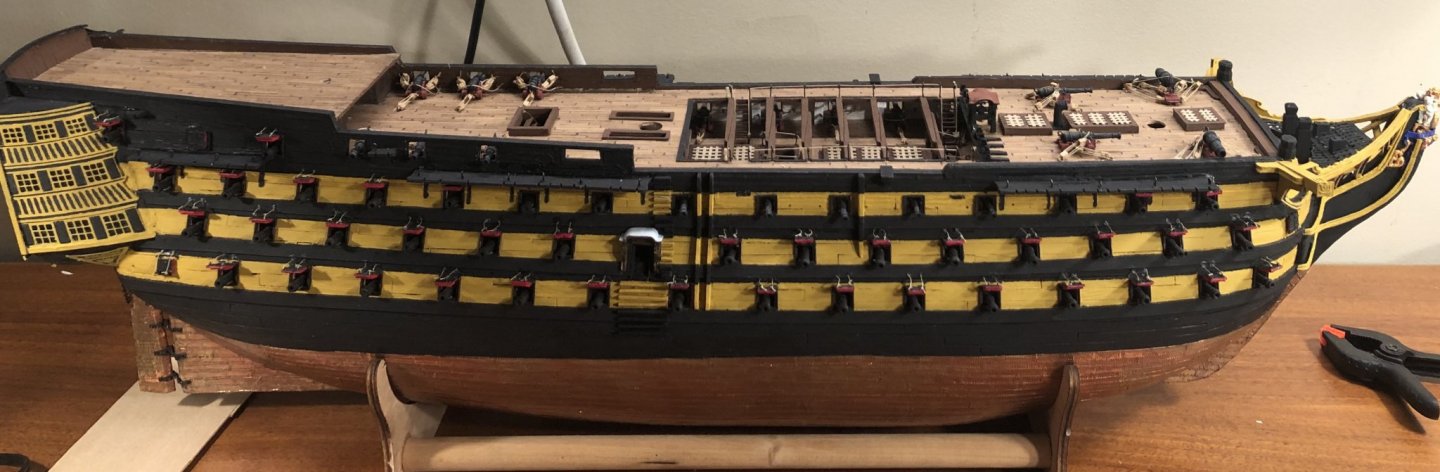
Thank you very much! Thank you all for all the likes! Everything made last night is now painted: The mast coats for the fore and main mast are made, painted and installed: The stern bitts are made and installed, but not yet painted: The forward foremast bitts and fife rail is made. The pieces of sewing pins are my belaying pins. Even at 1/72 scale, they are close enough to being in scale that they look like belaying pins. At 1/98 scale, they look perfect (to me at least).


-
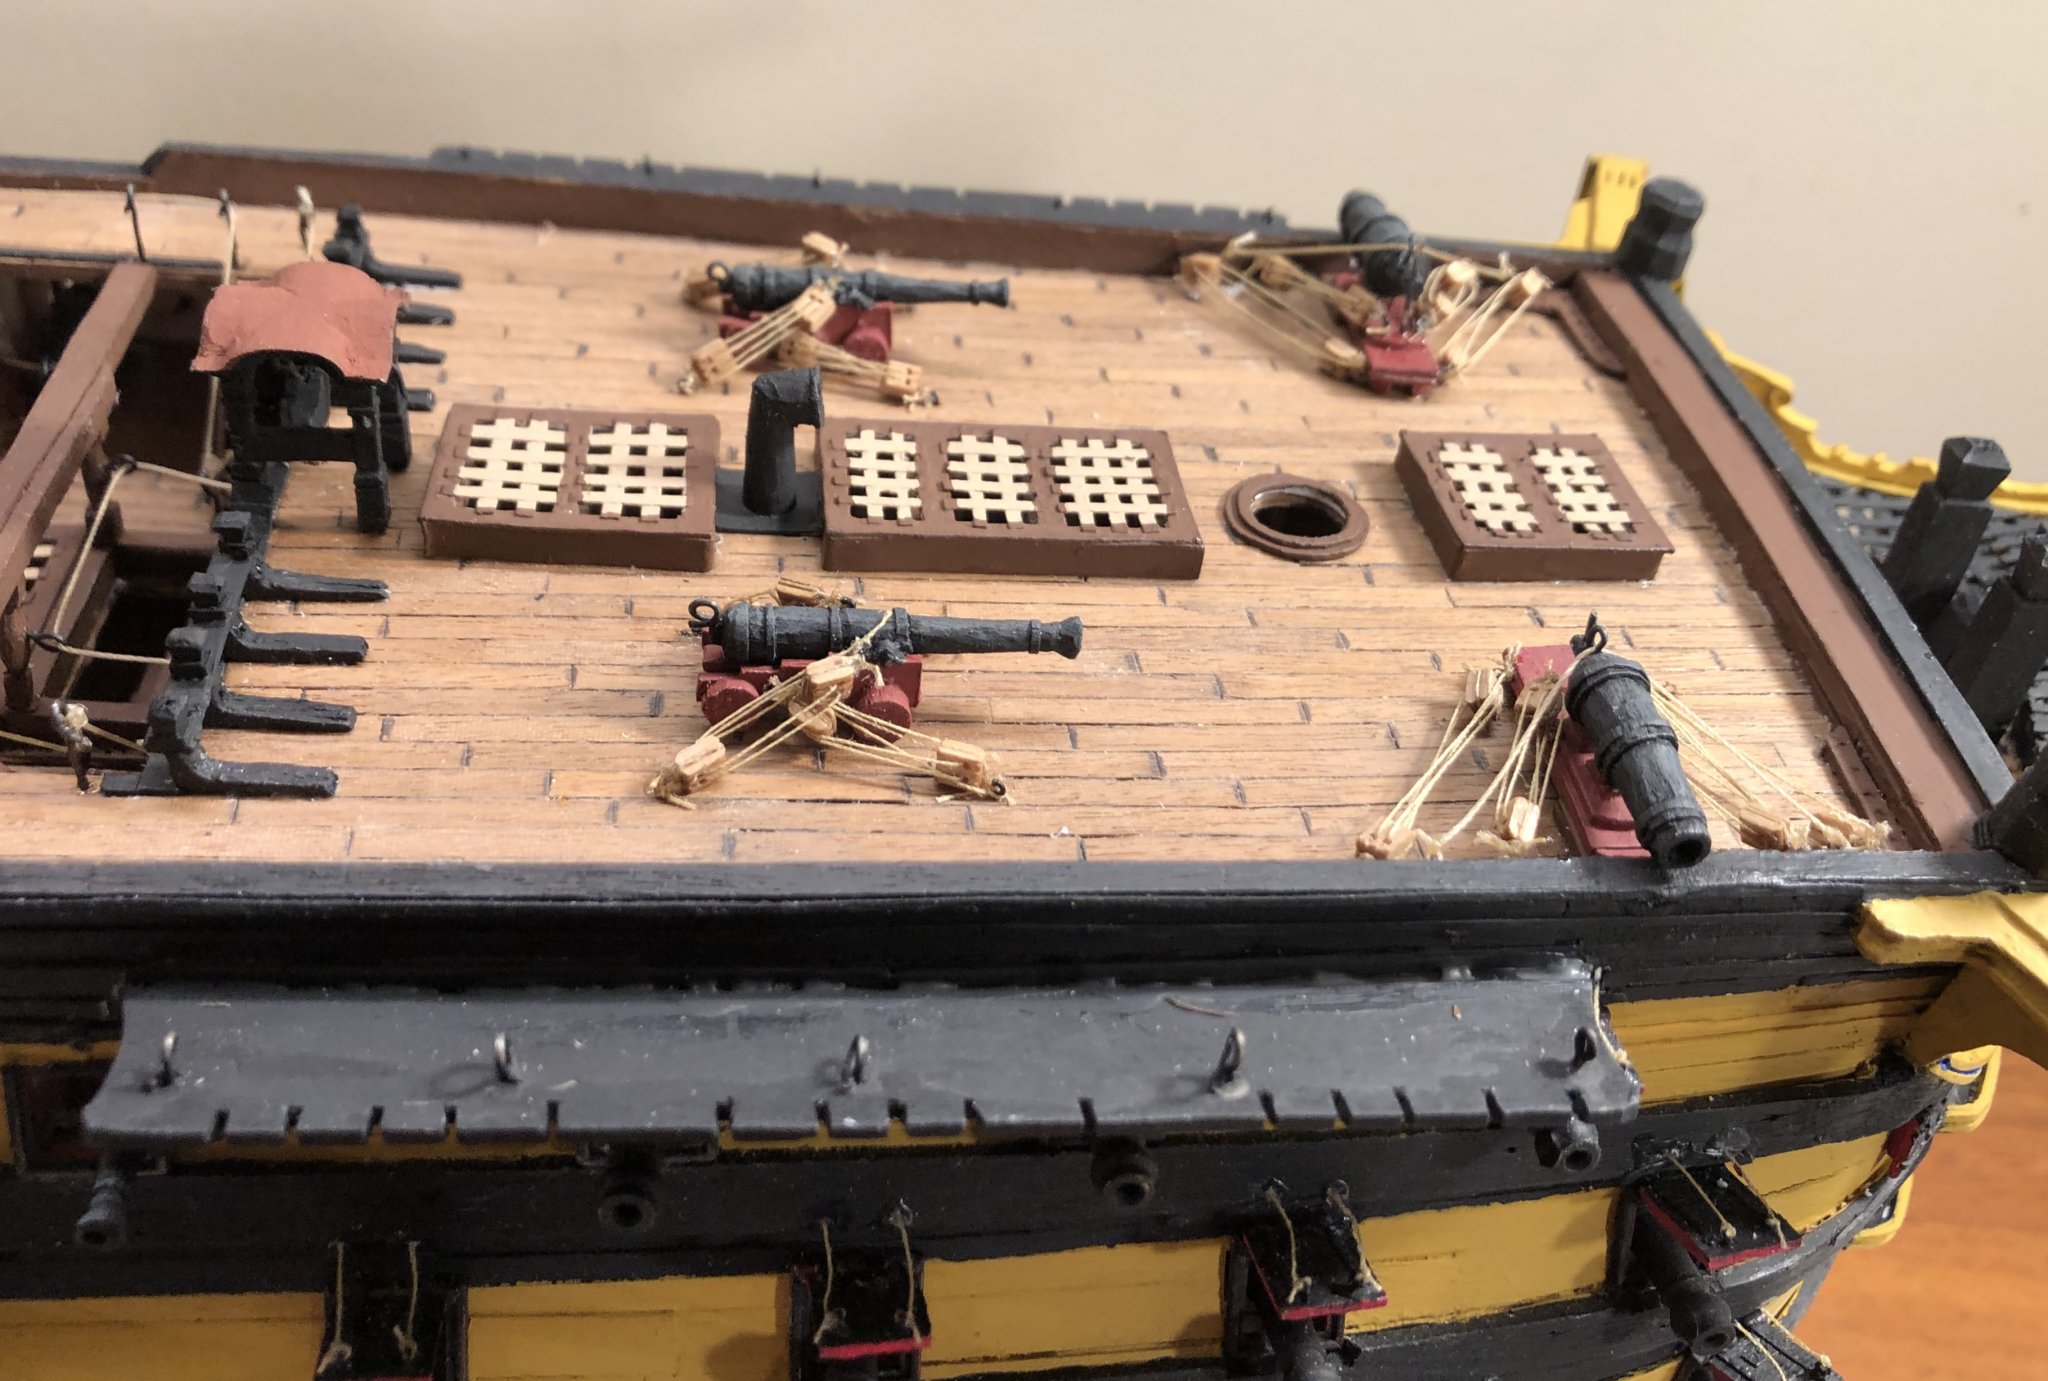
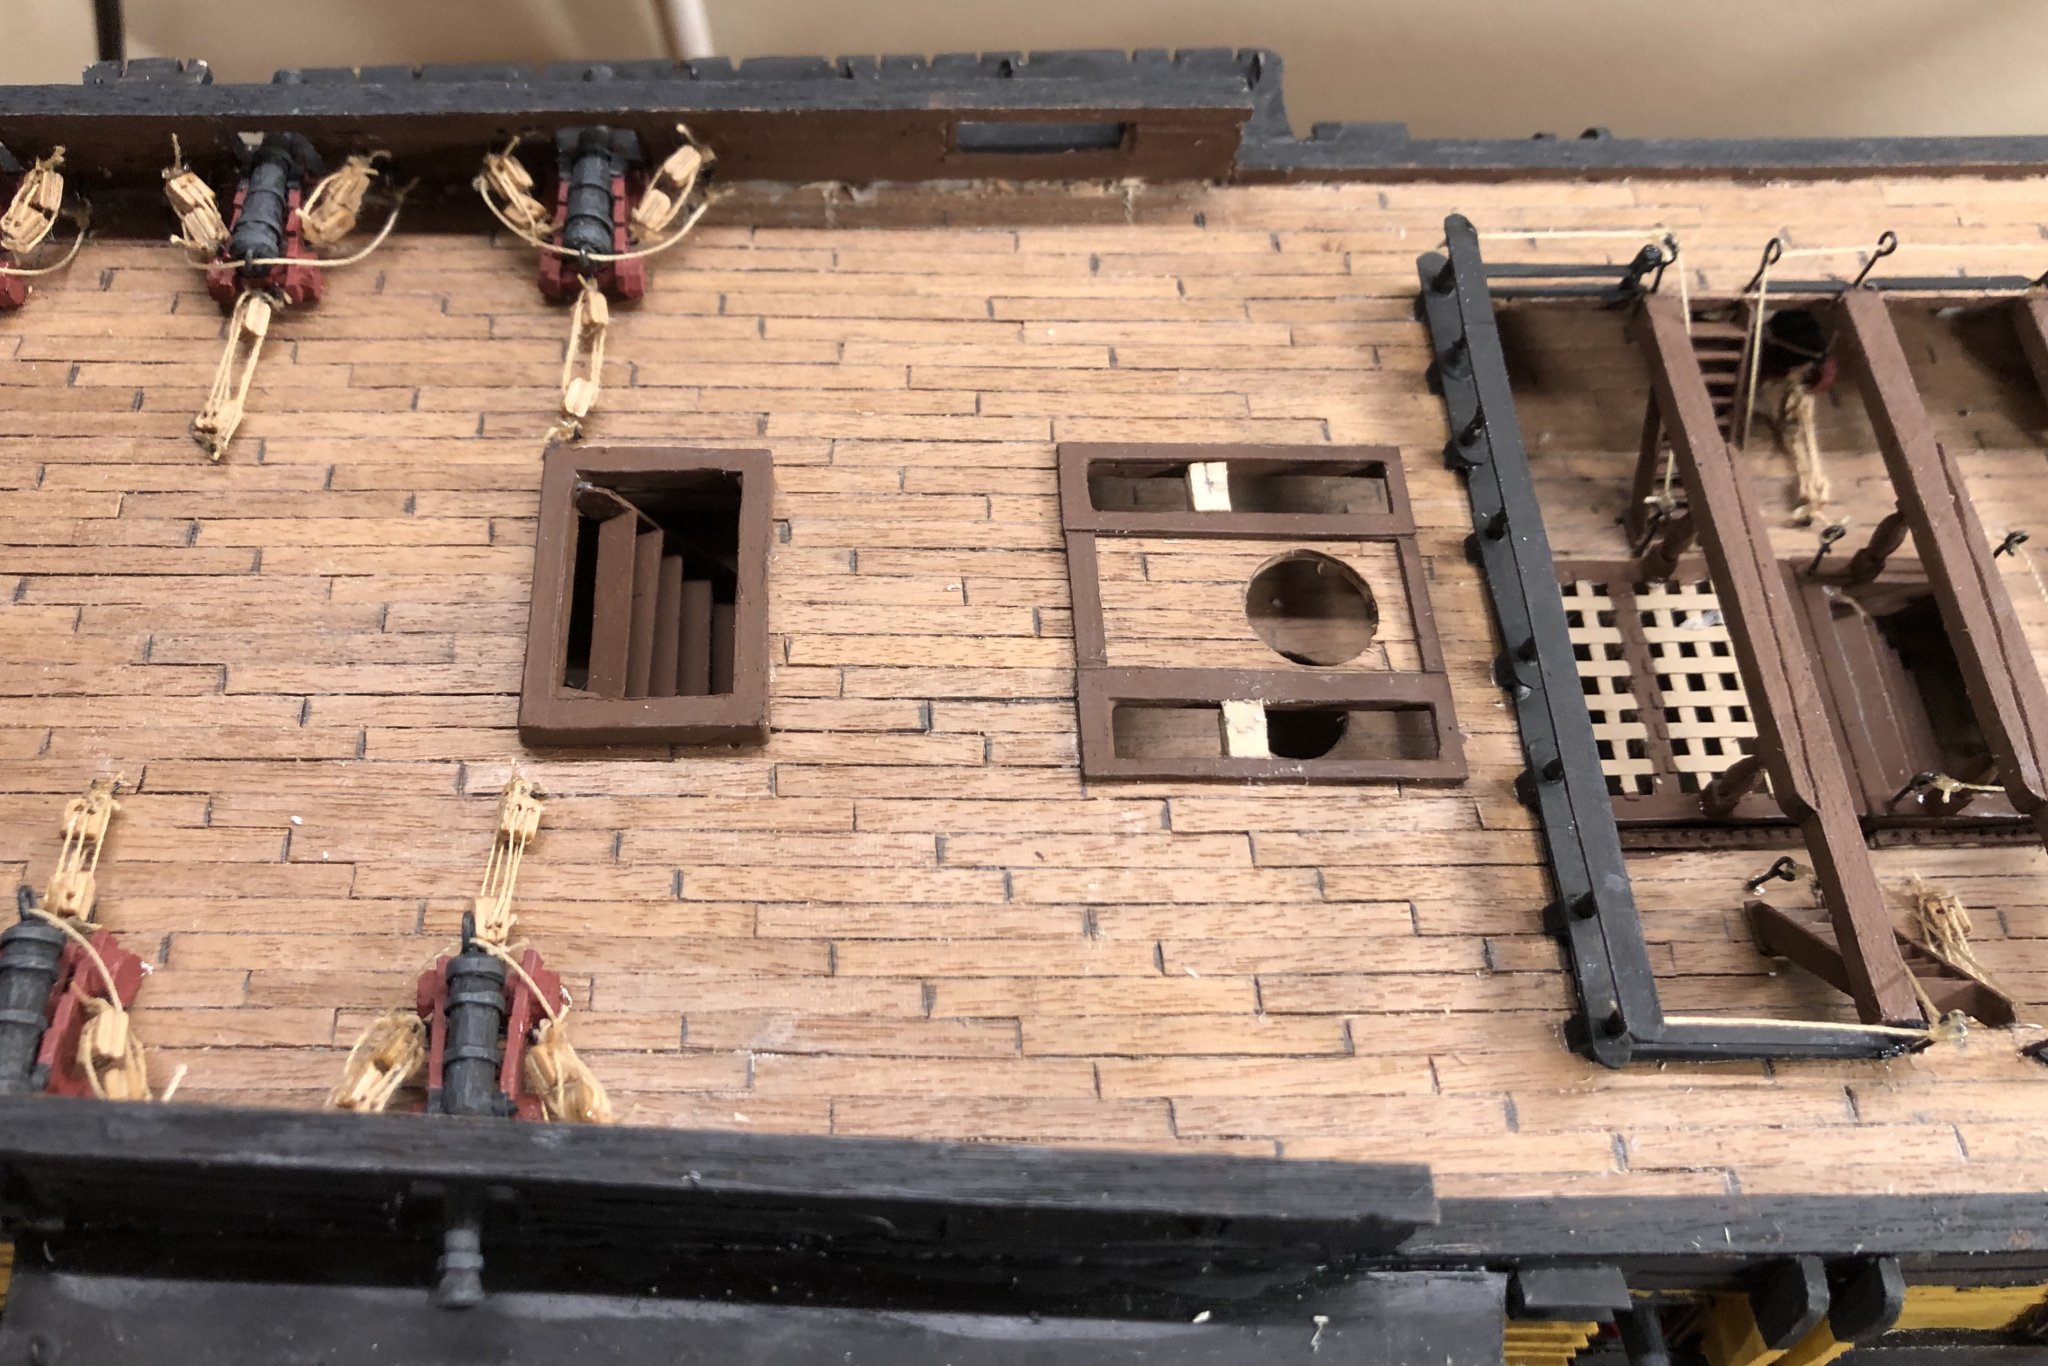
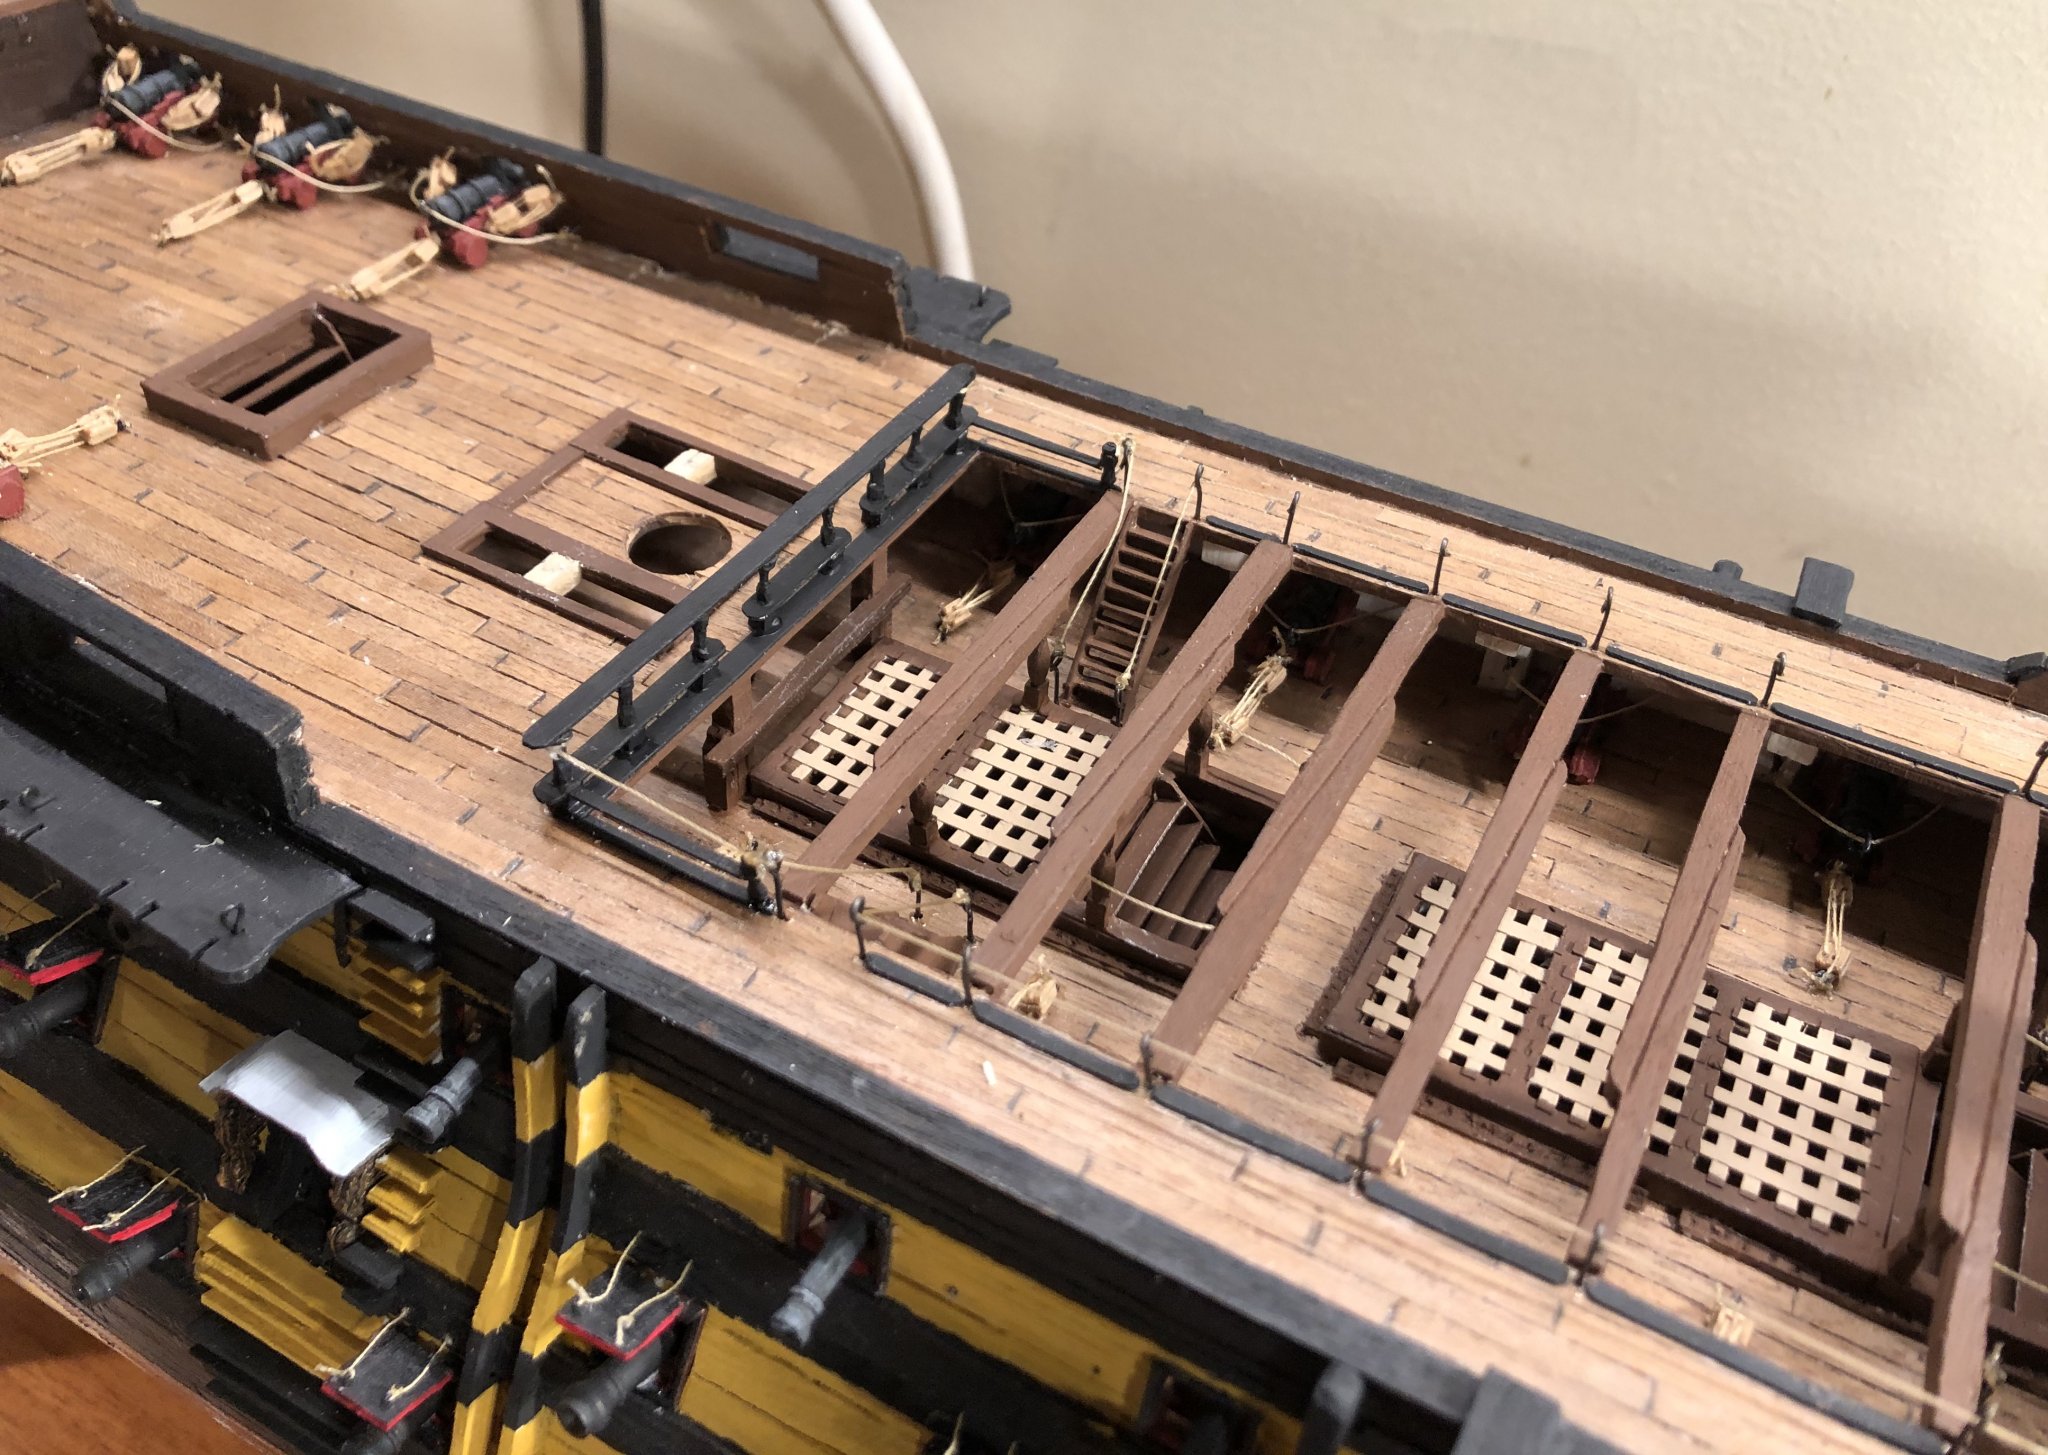
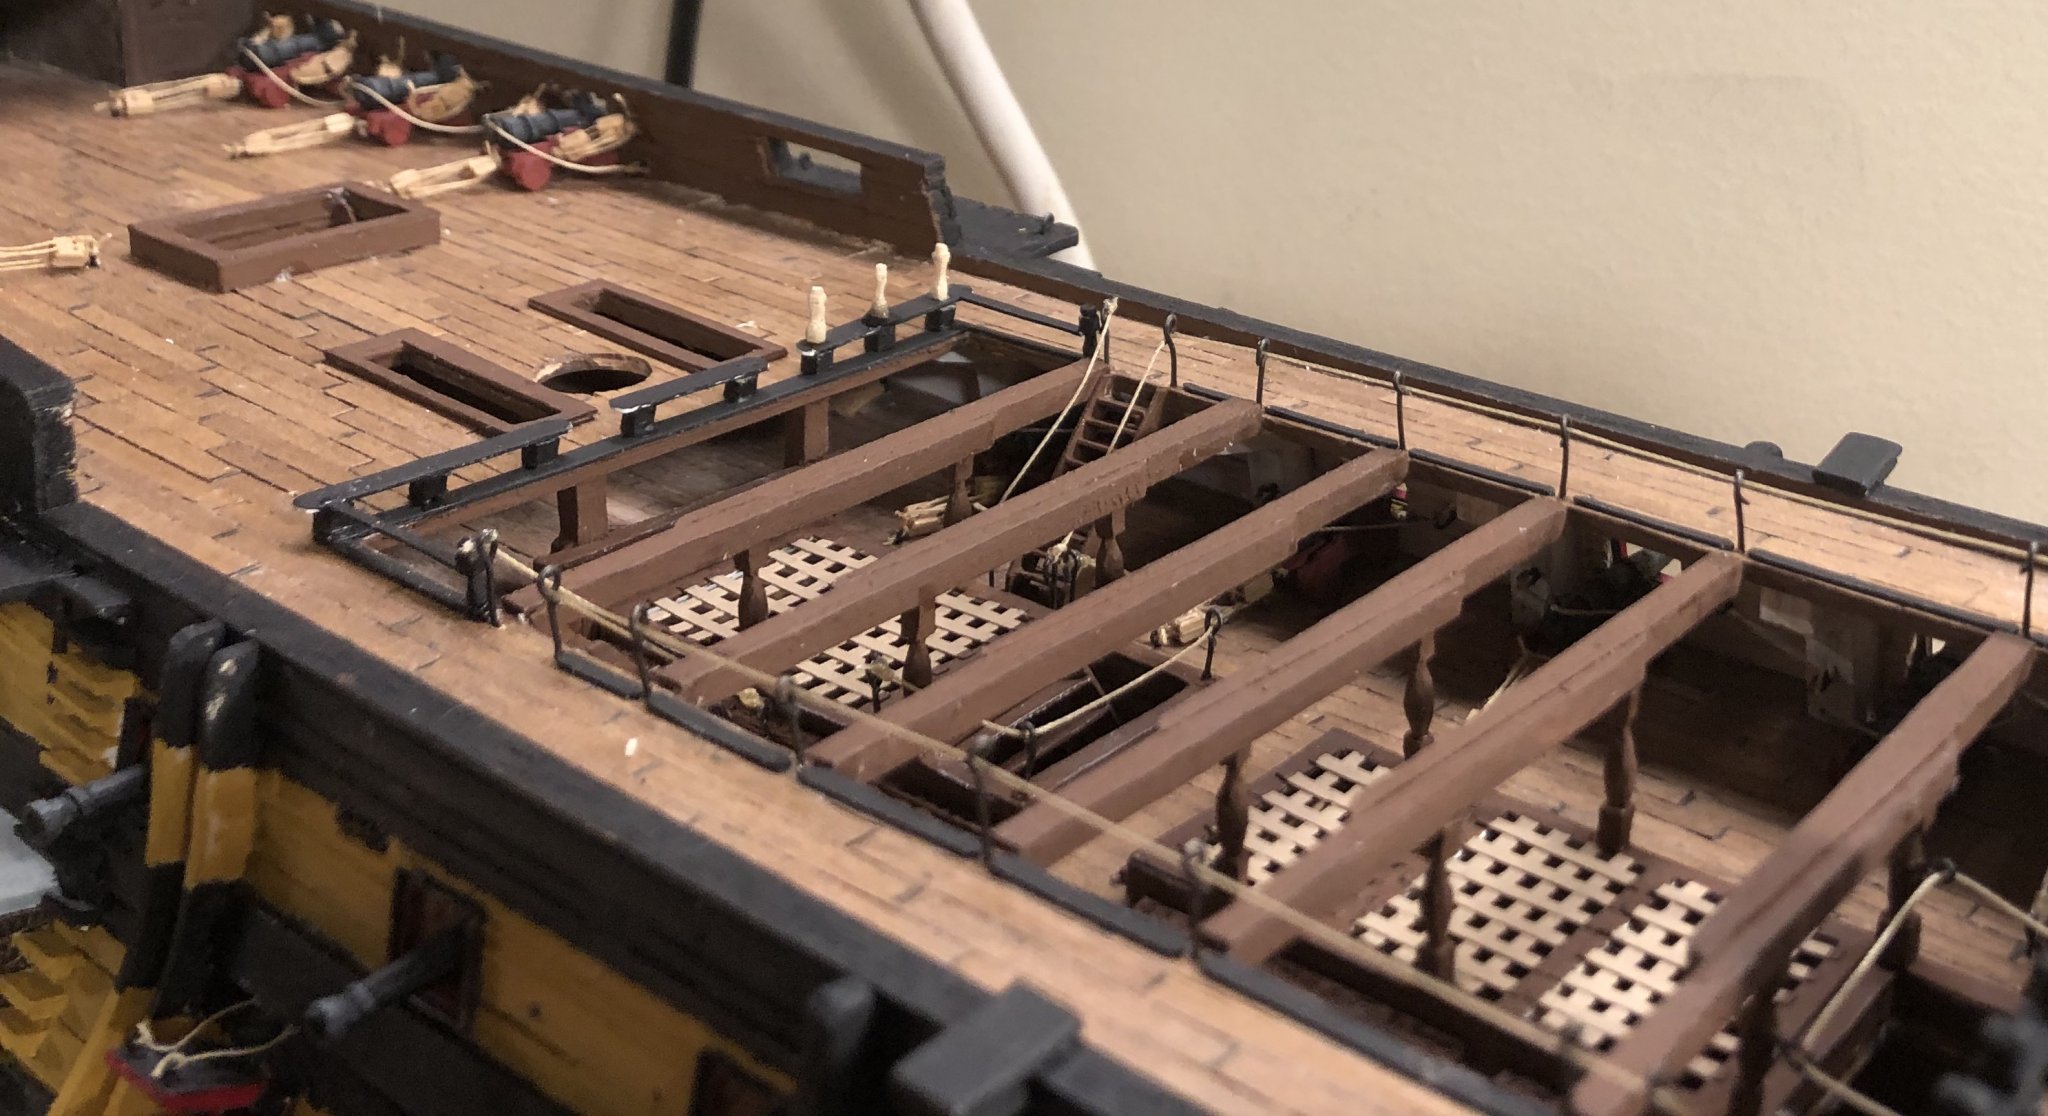
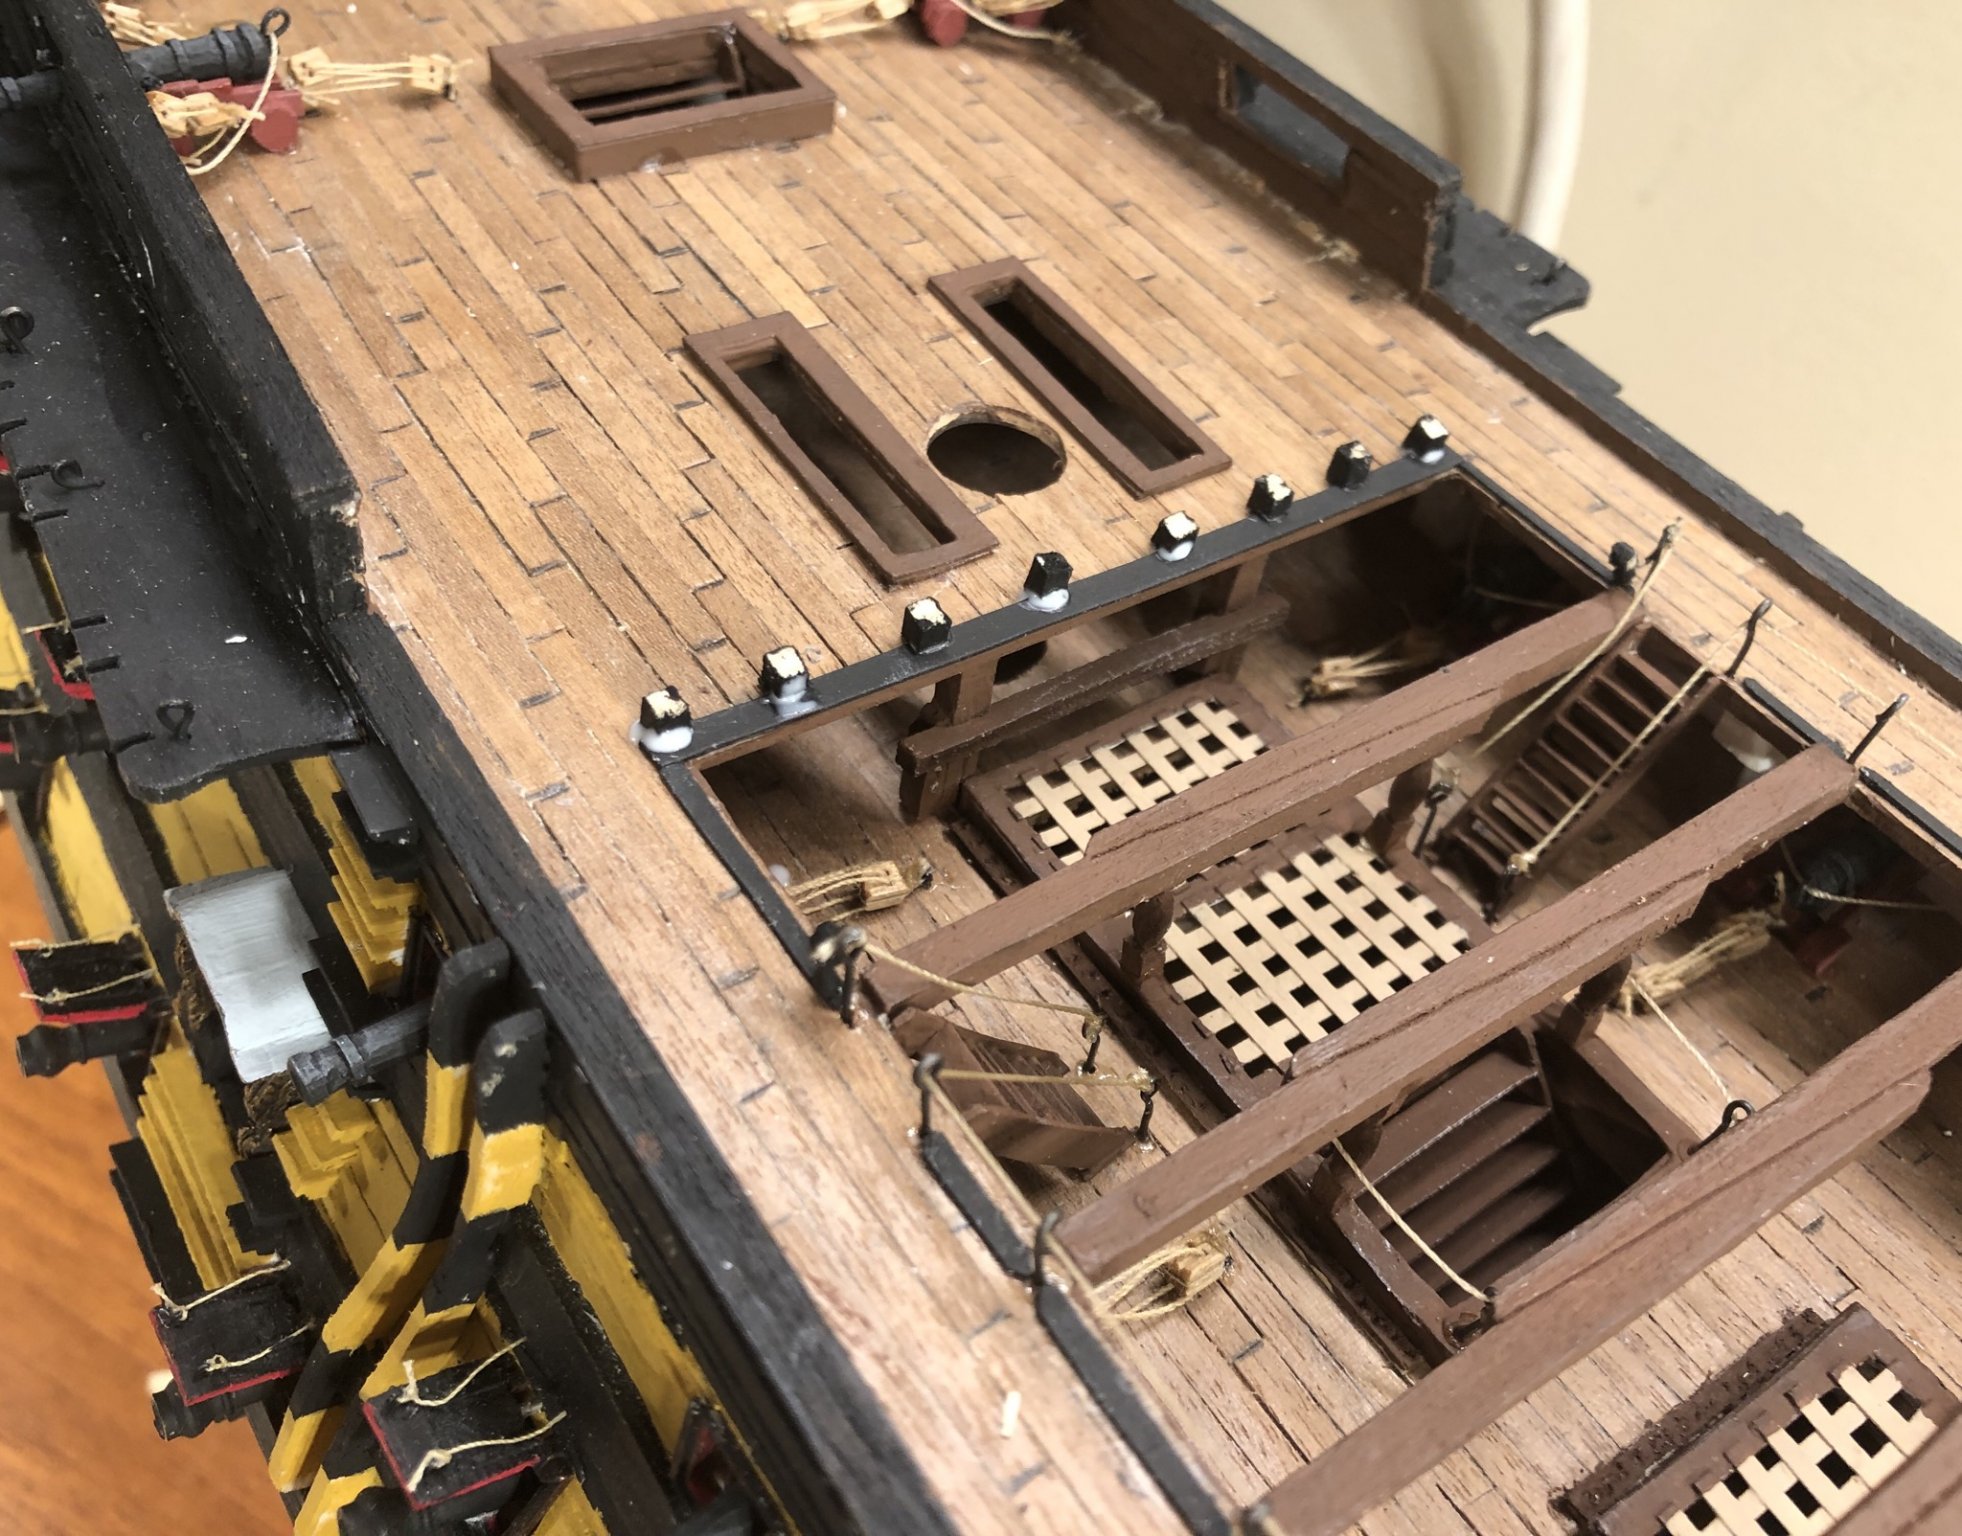
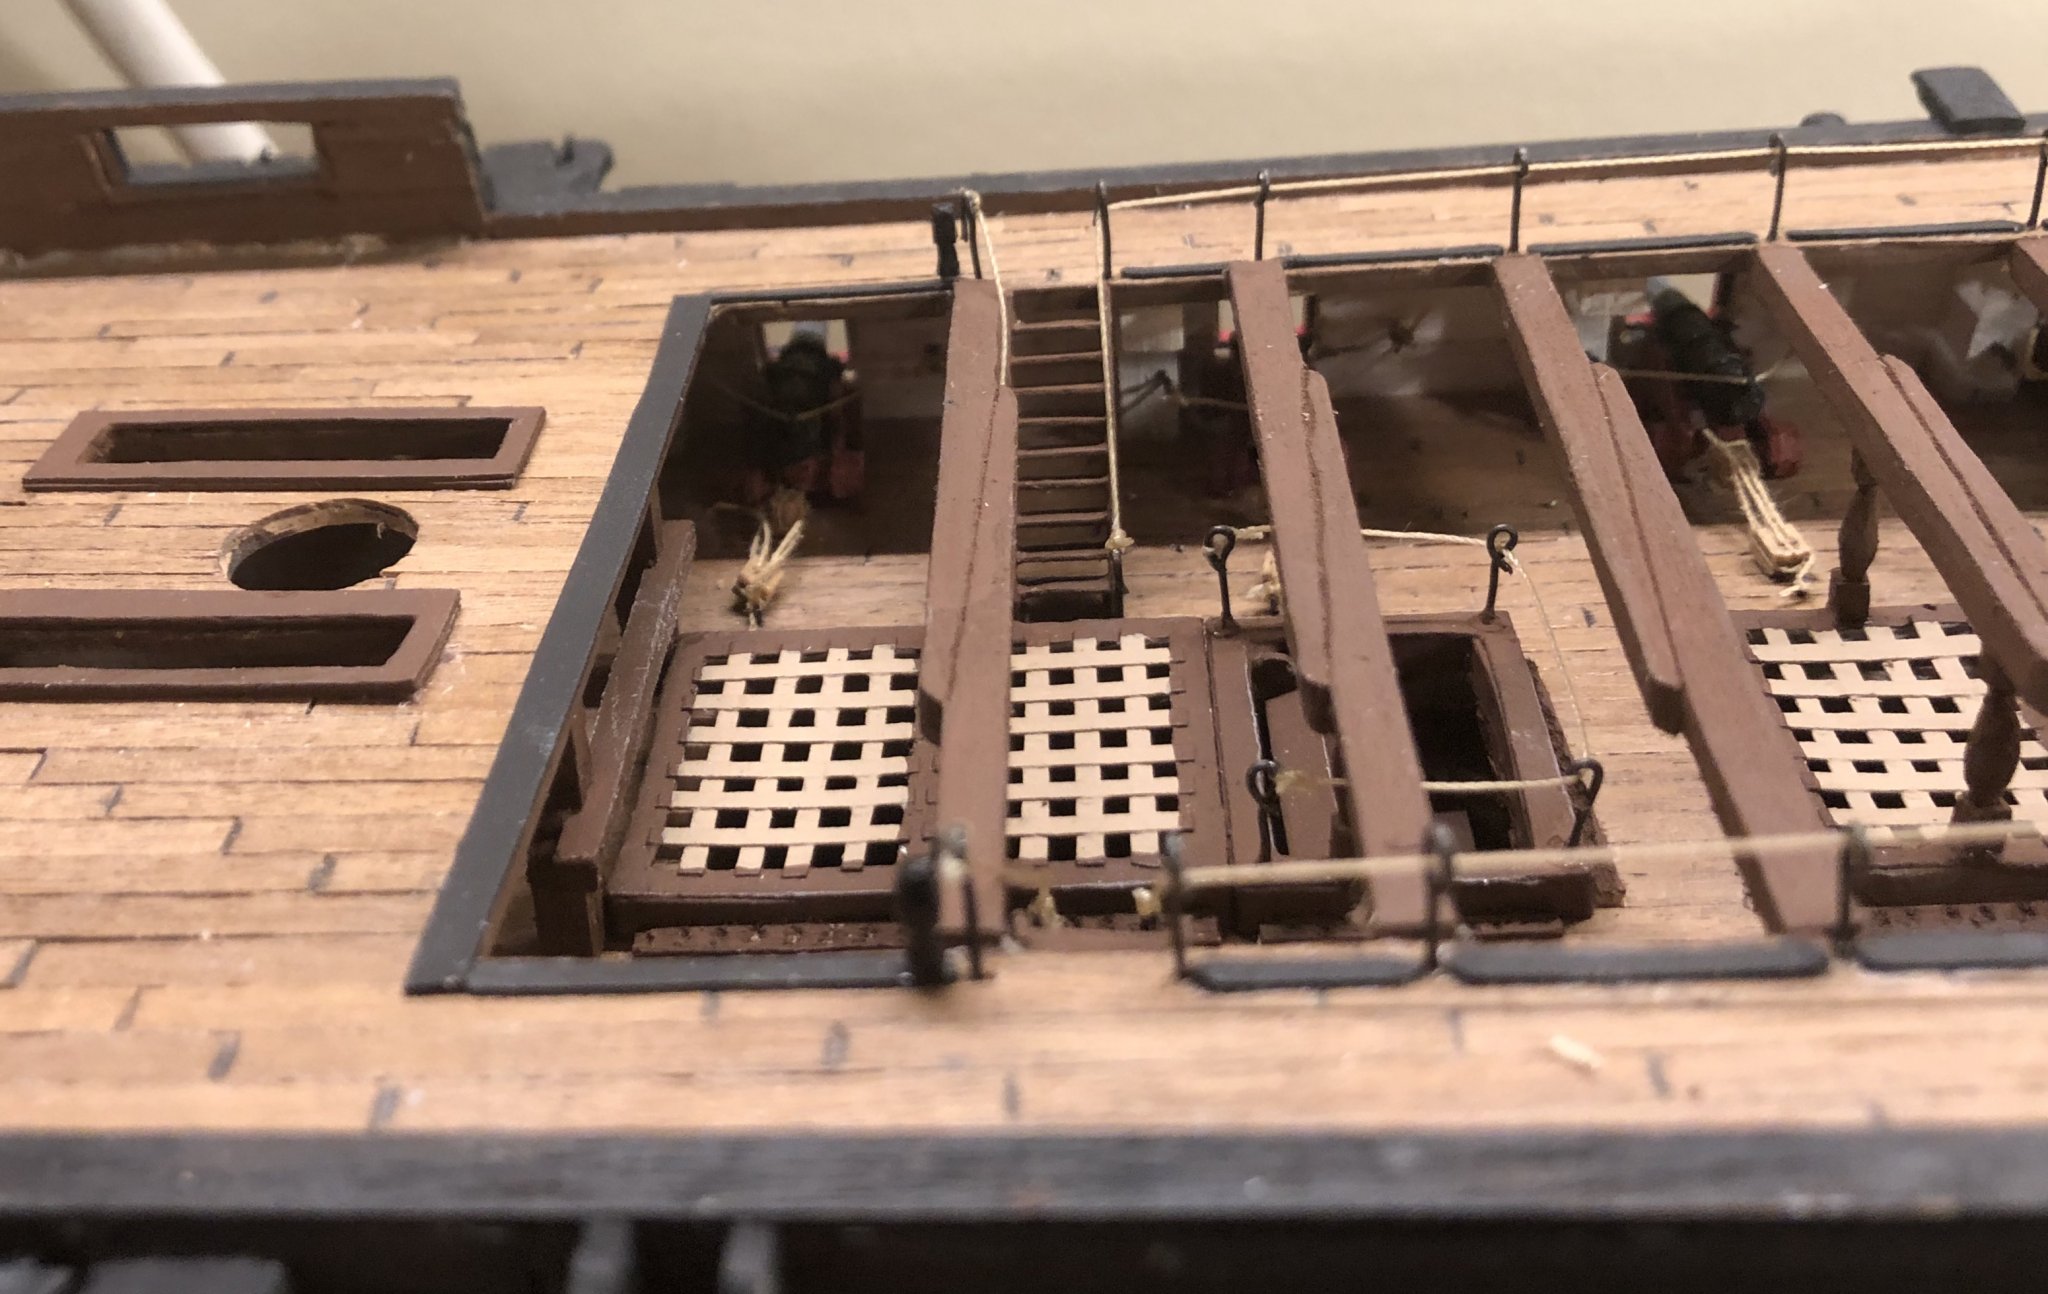
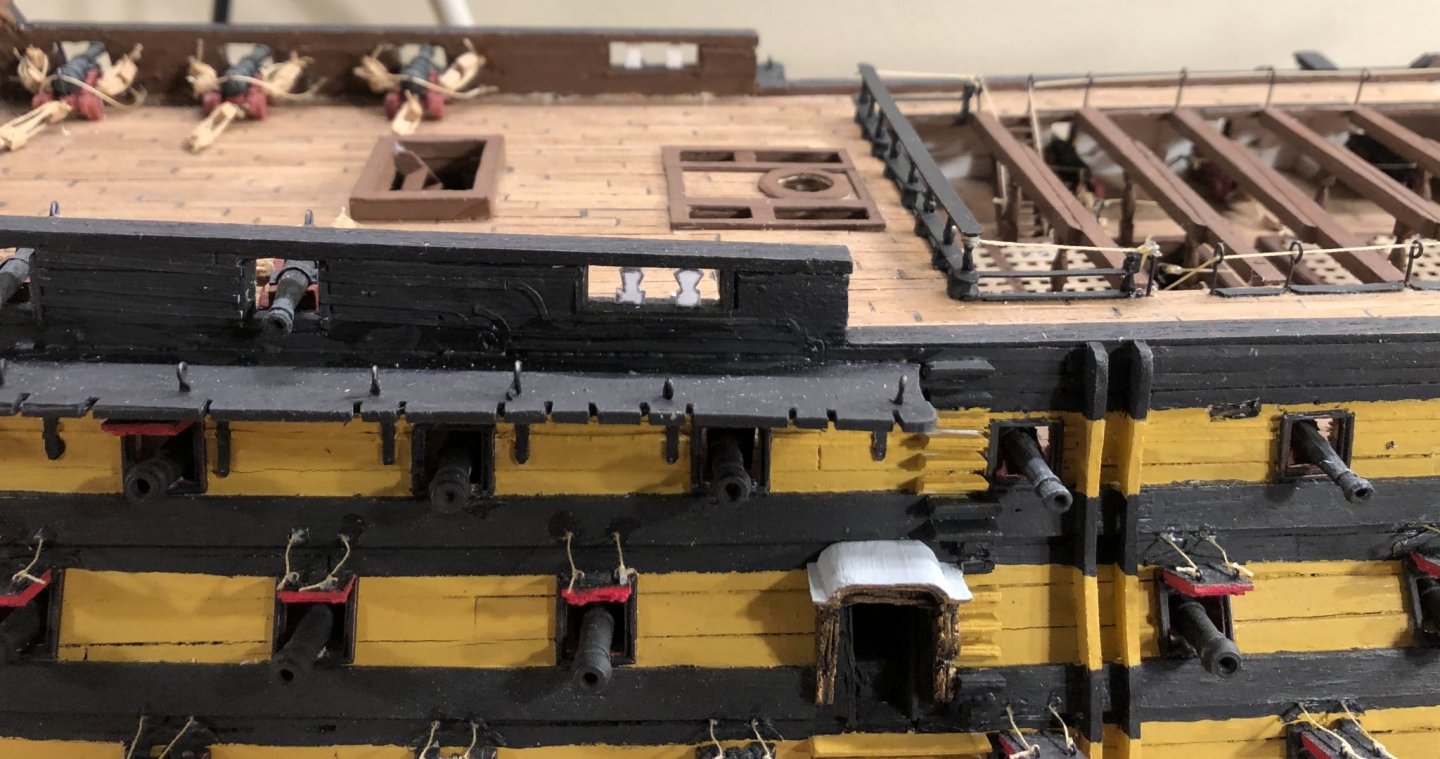
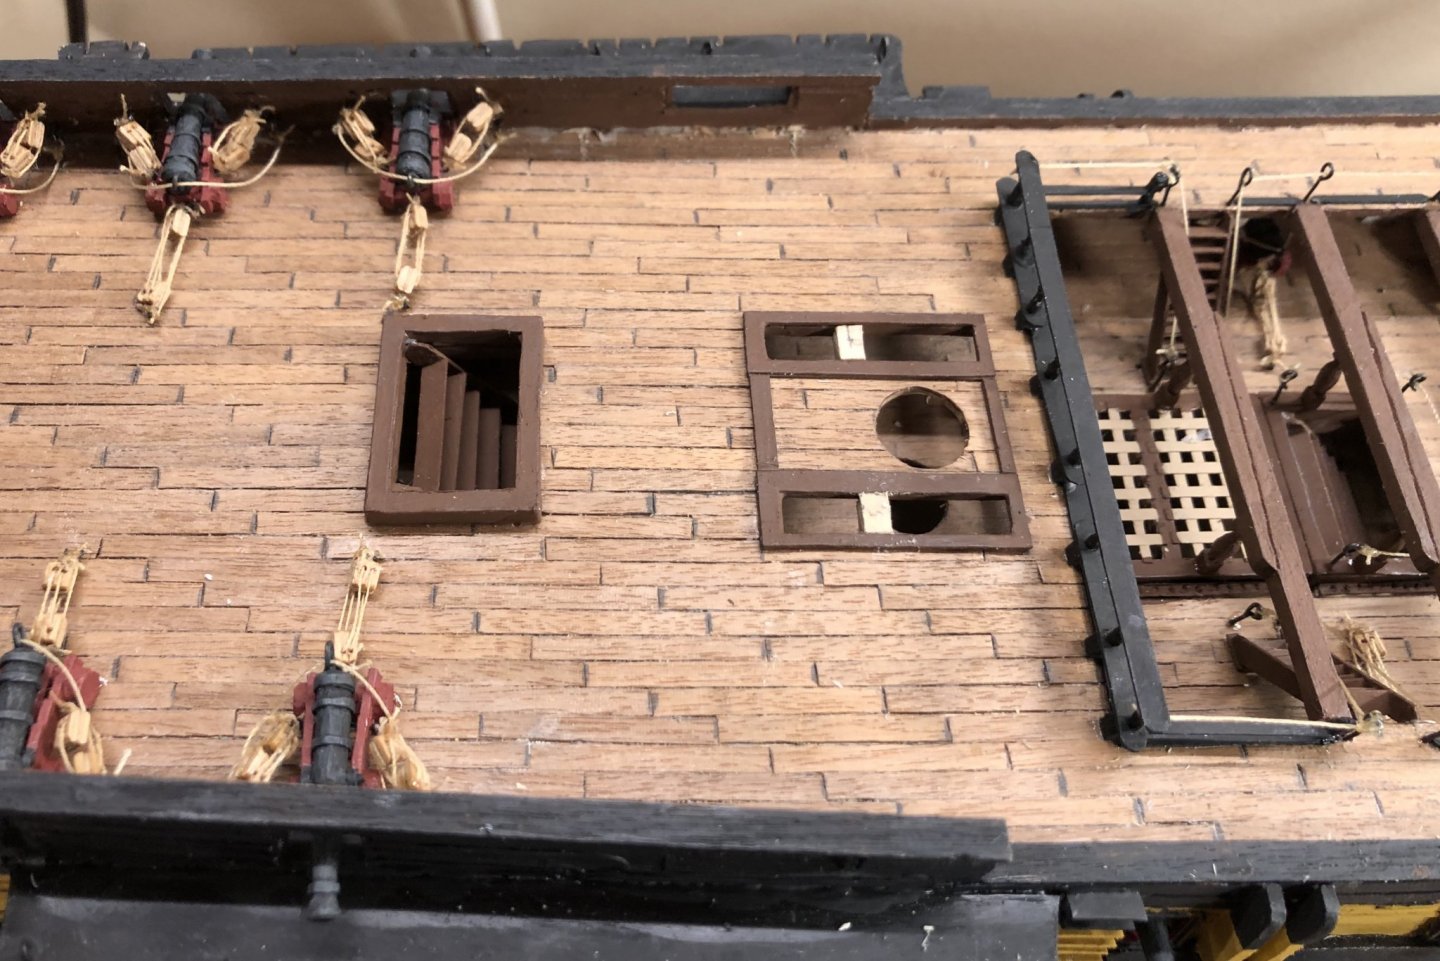
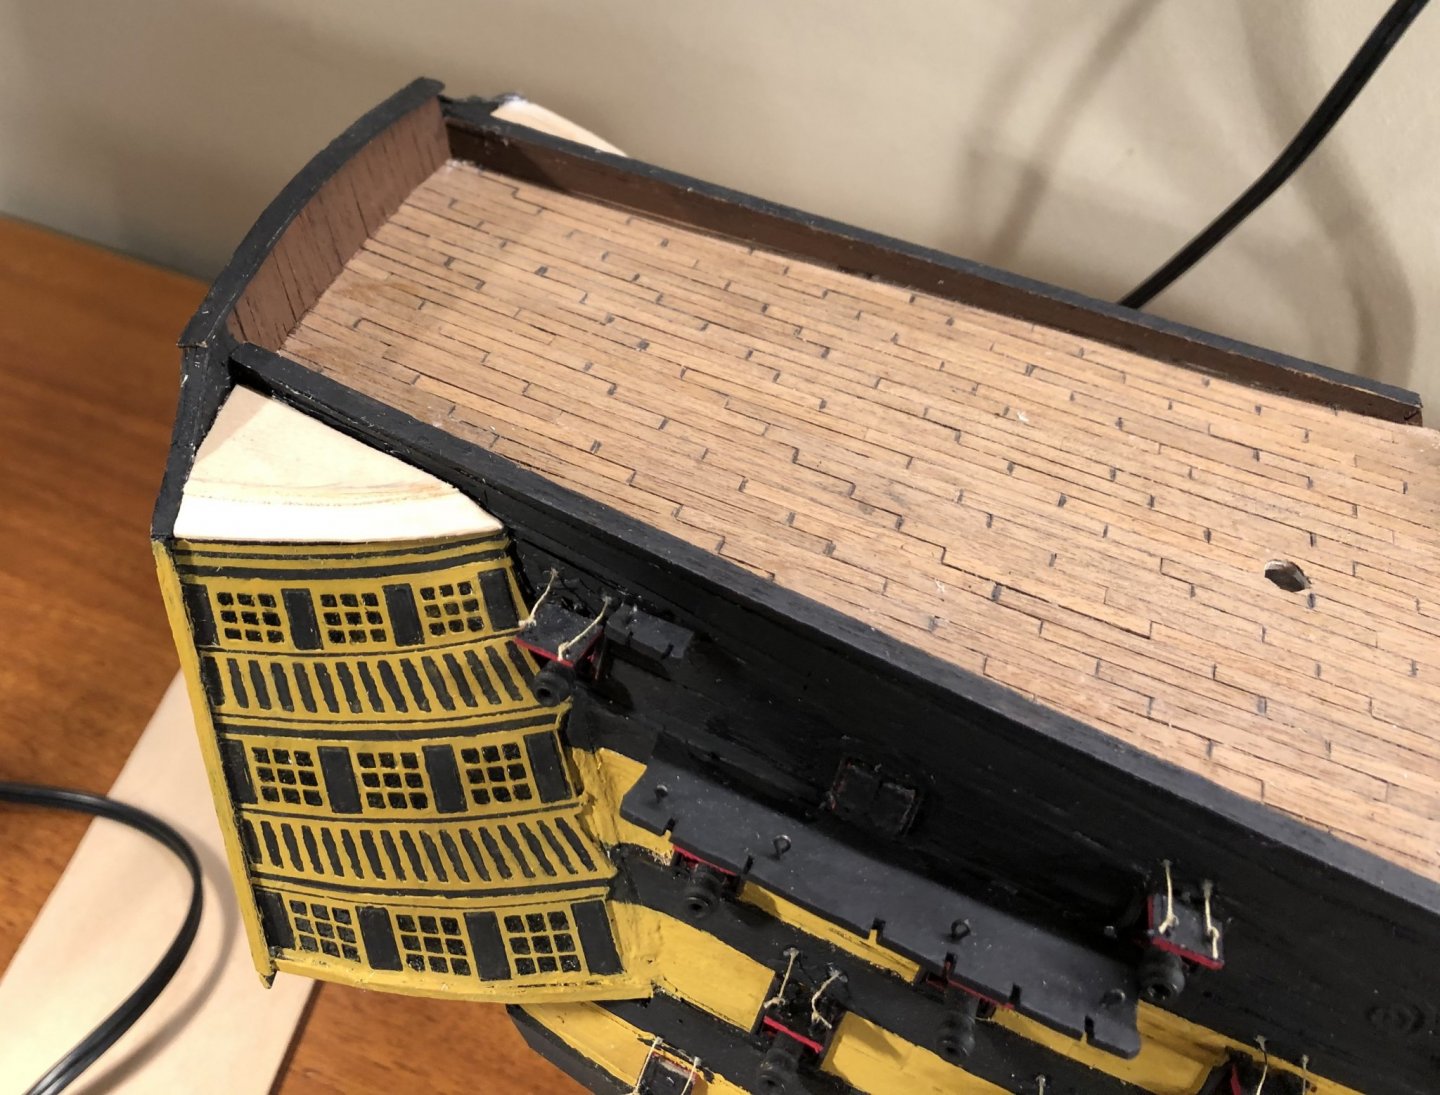
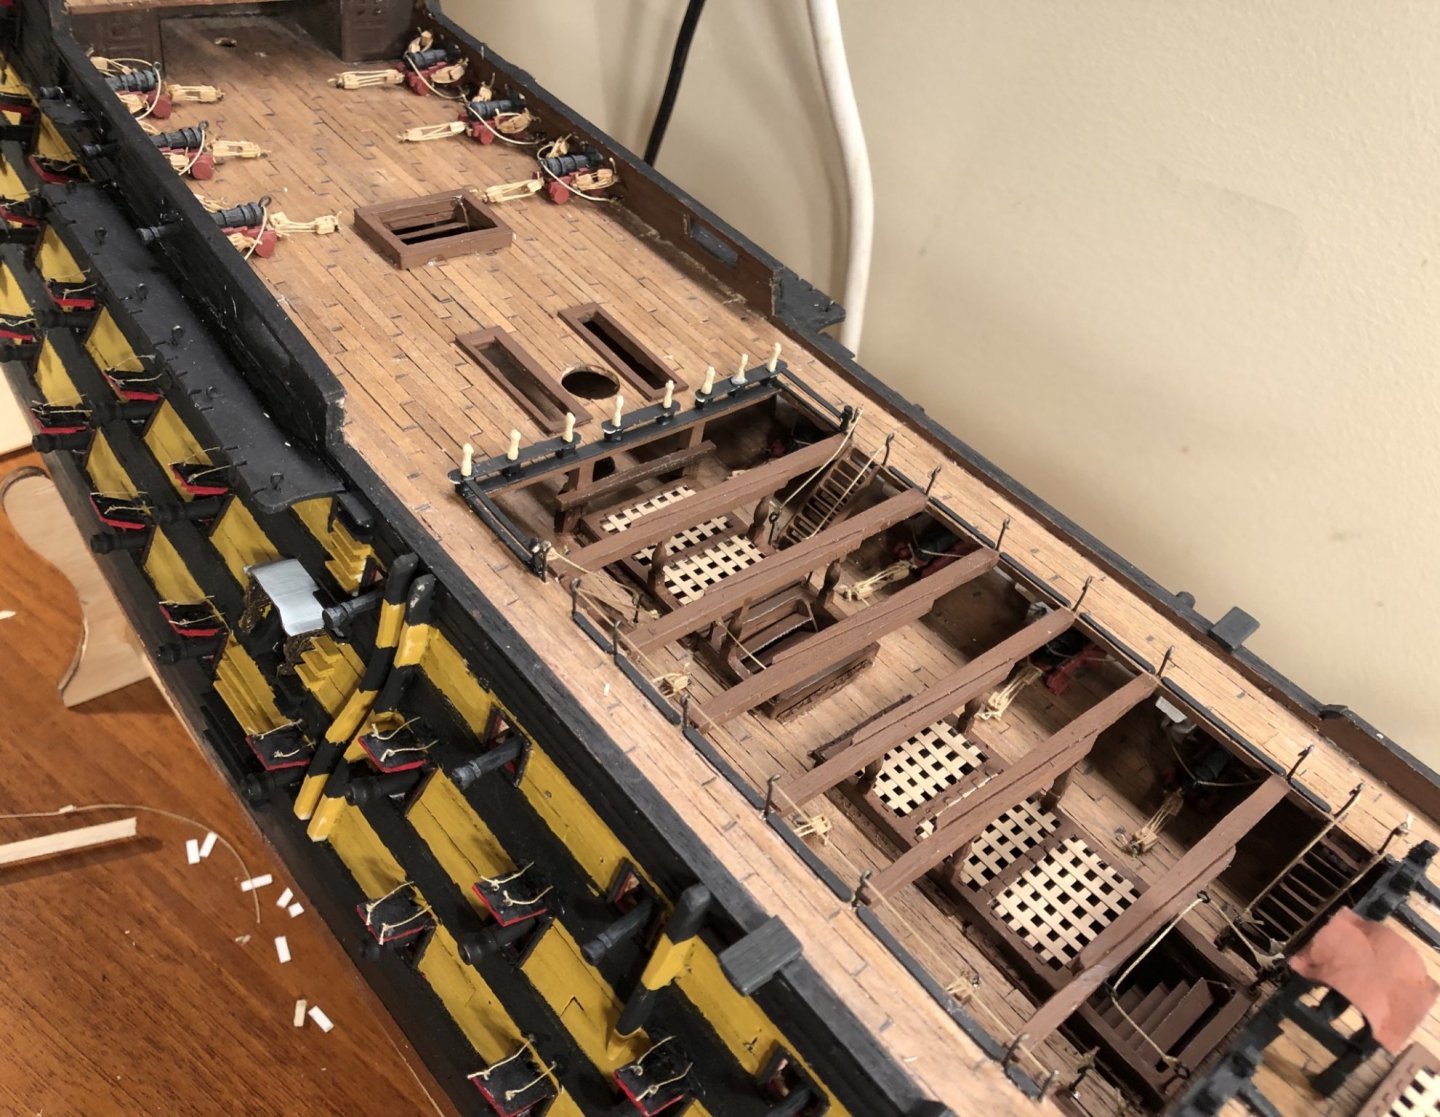
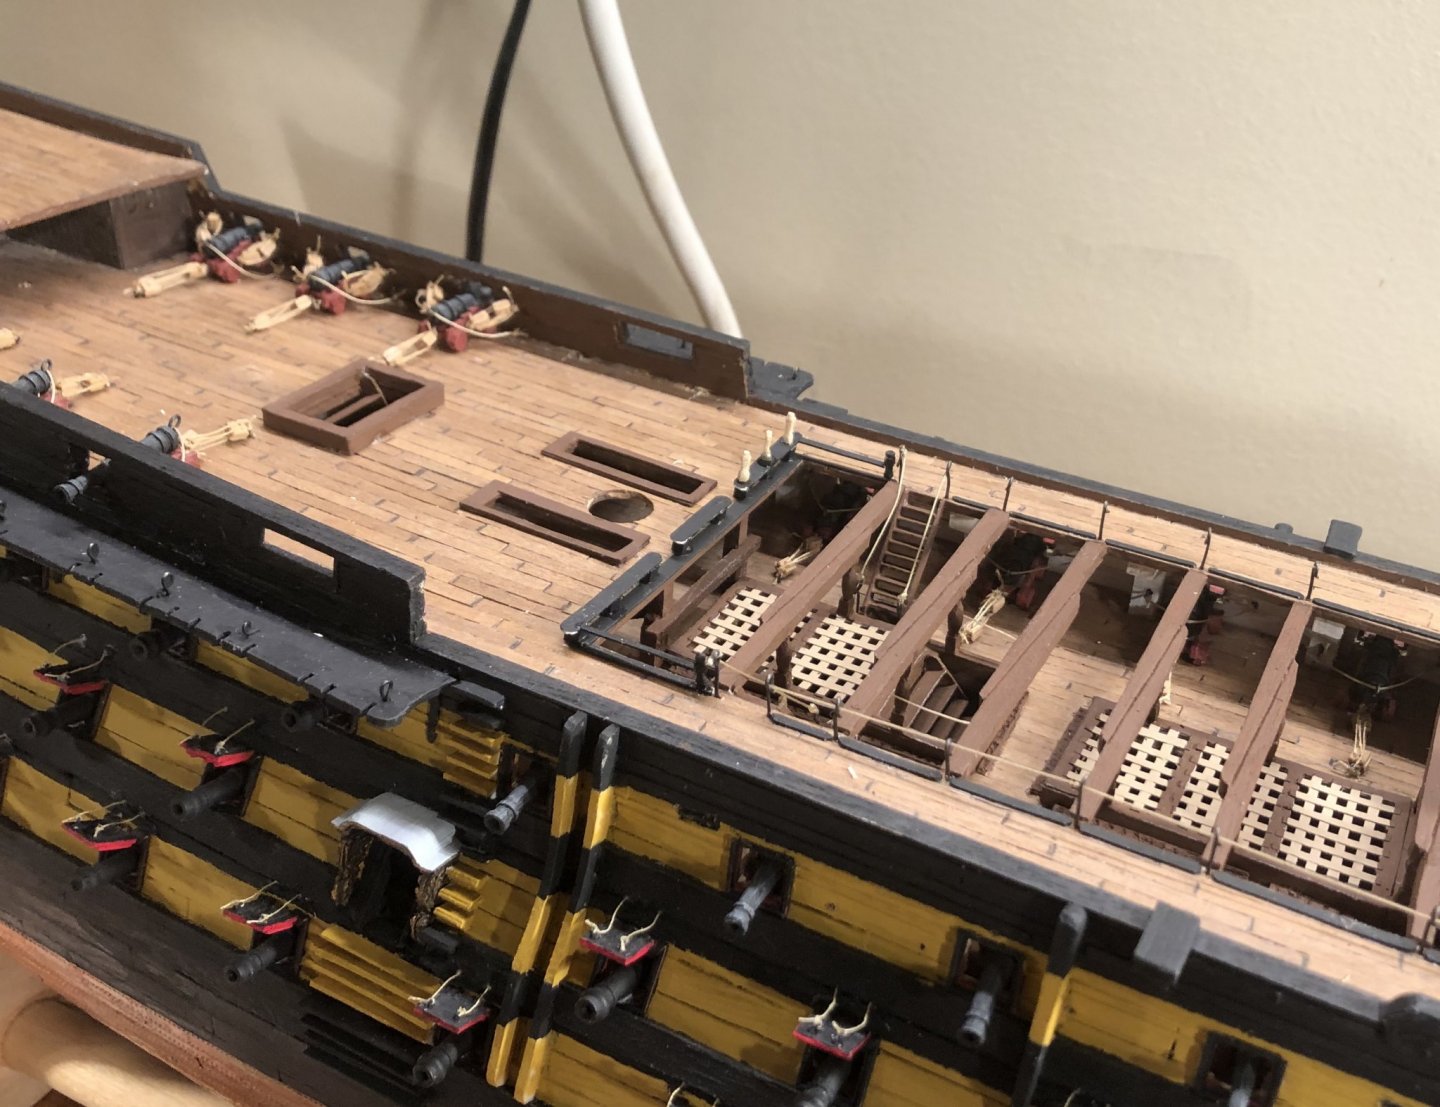
Thank you all! I’ve been having a lot of fun with this build. It has definitely been a good challenge. I made some more progress last night. I finished the rail, except for the hammock cranes. The hammock cranes and netting will be one of the last deck fittings that I make. I fixed a minor issue with the hatch going to the upper gun deck by the main mast. I did not like the tops of the quarter galleries, so I made filler pieces that I did like.


-
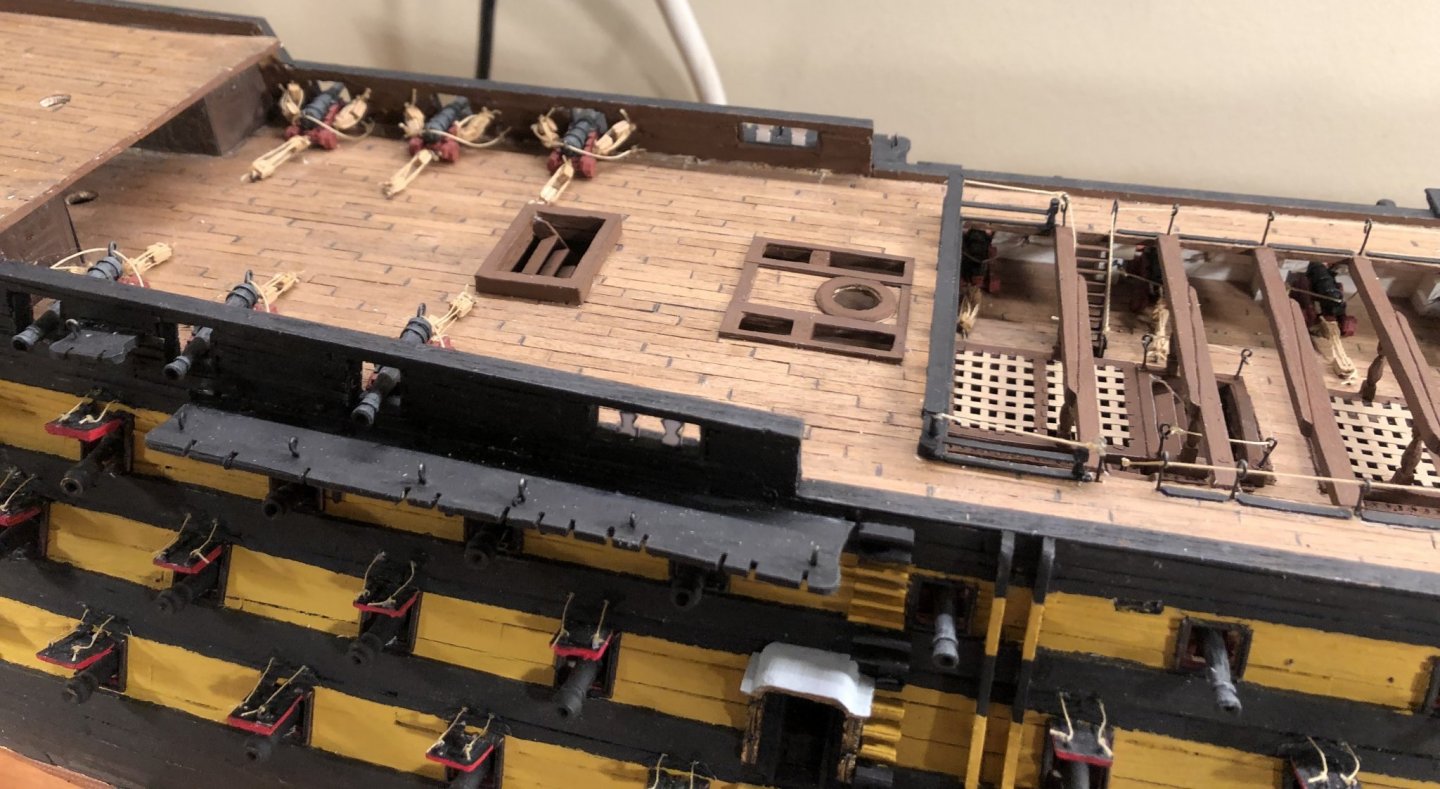
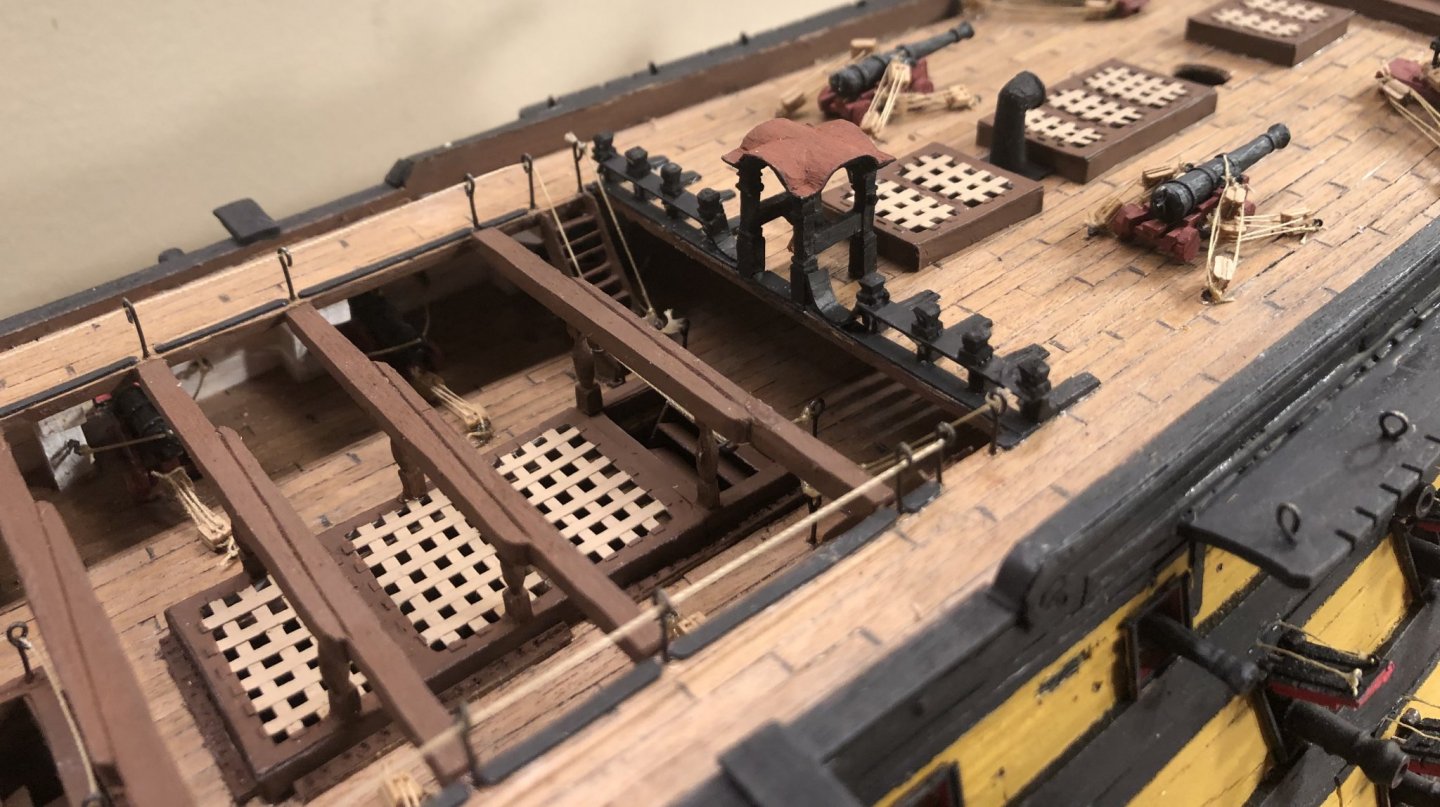
All eight of the upper stanchions are made and installed: The upper rail is made and ready to install: It will be installed after the stanchions are painted and touch ups to the lower rail are done (probably tomorrow).
-
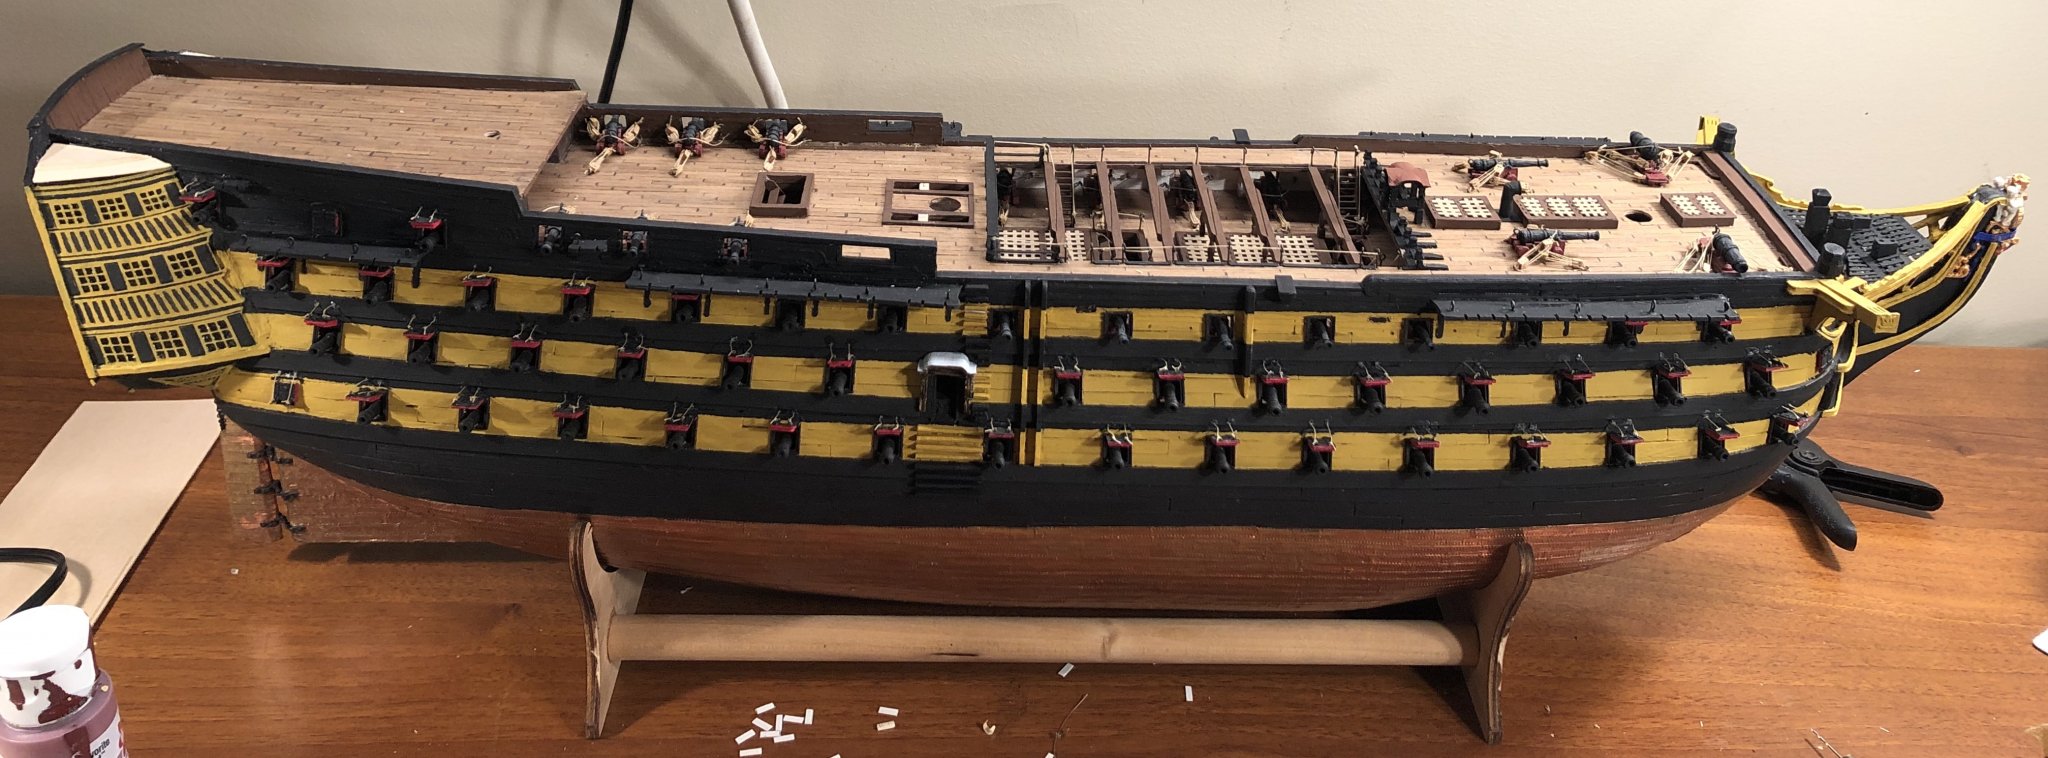
Using copper tape is a really easy way to copper a hull and it looks fantastic.
-
Thank you both very much! Thank you to all who have hit the “Like” button! The silver lining of the current situation is that it has greatly freed up my schedule. Bearing in mind that I am the one who has previously taken vacation days from work to work on my model. I am still working on the upper stanchions. They are right on the borderline of what I am currently able to carve, due to their small size (which is why all subsequent builds will most likely be at 1/72 scale).
-
Part two (the lower rails) of the aft railing is done and part three (the upper stanchions) is under way:

-
Part one of the aft rail is done:

-
The forward rail is done and the aft rail is started:

-
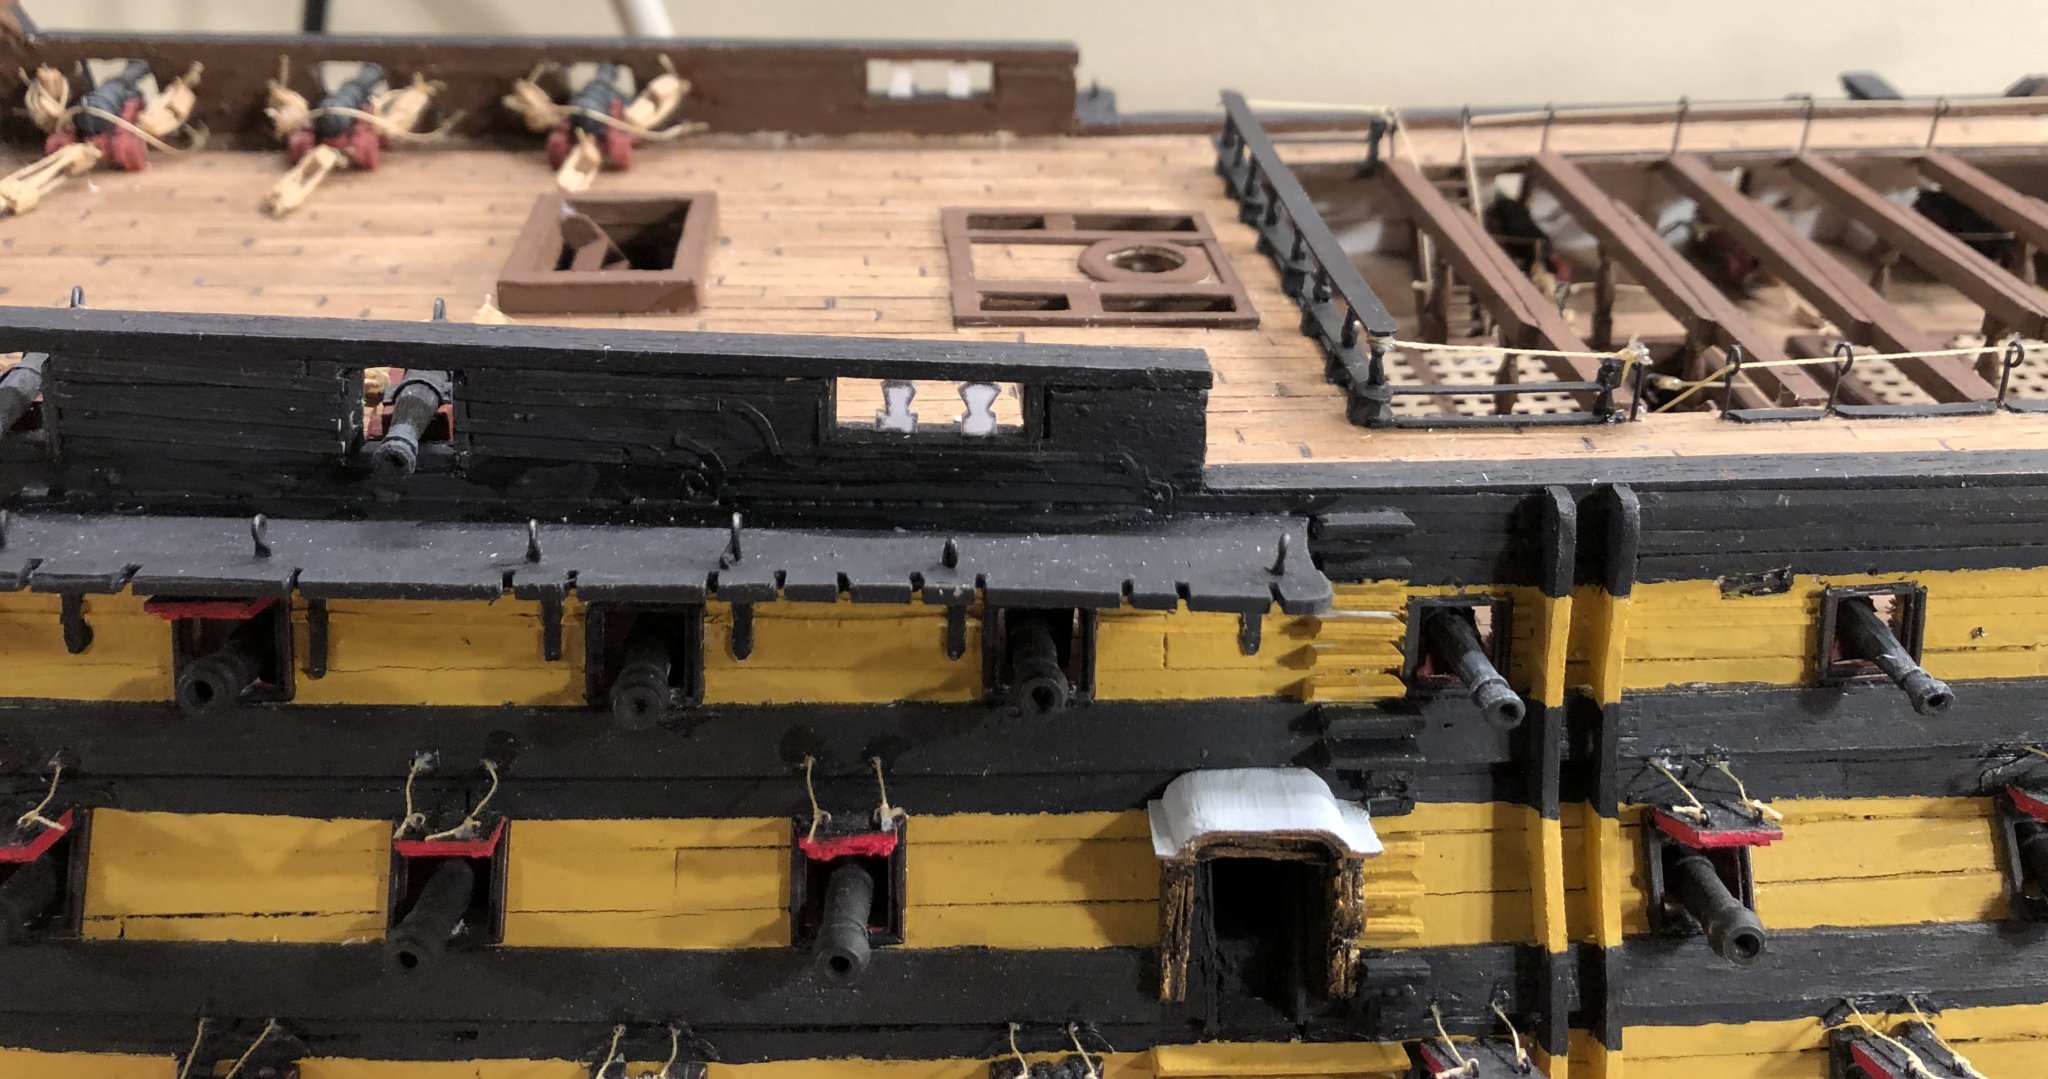
That comes with experience. I am still learning, too. One example of a valuable learning experience is that I drilled most of the holes for the eyebolts, for the cannon rigging (on the bulwark side), from the outside of the hull because I failed to plan for them during construction. That would also work for you in your current situation. Just put a little filler in the holes from the outside and paint over them. Your build is coming along beautifully. Well done.
-
I would use the PVA for glueing wood to wood.
-
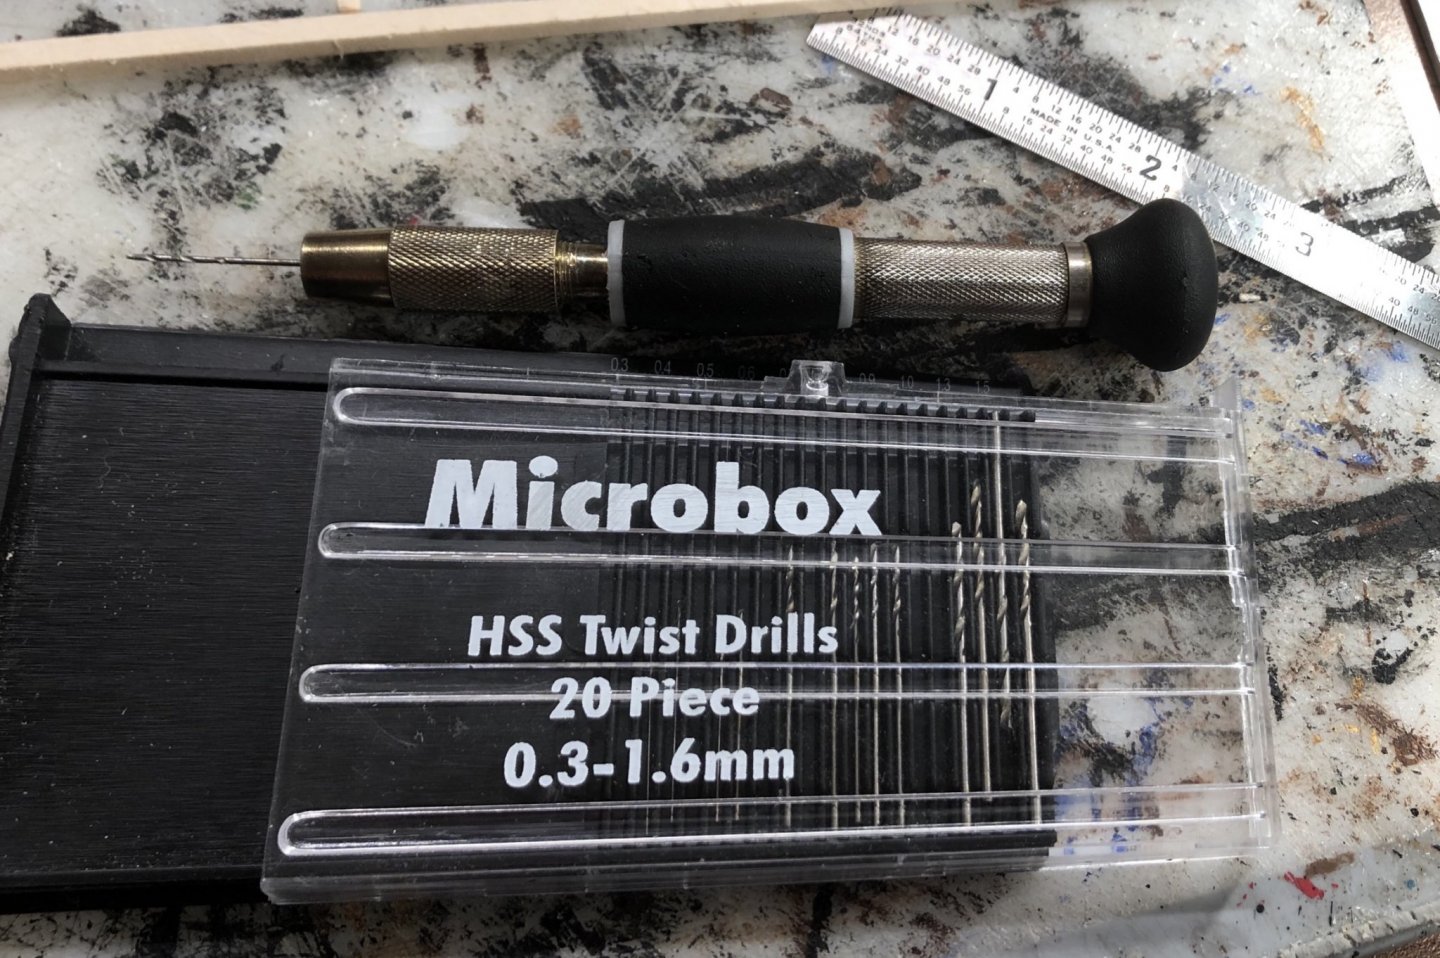
I try to predrill small parts. Here is my pinvise and drill bit set: The trick is not put any pressure on the bit. As you can see from the gaps in my bit set, I have also lost many drill bits.
-
Congratulations! Well done!
-
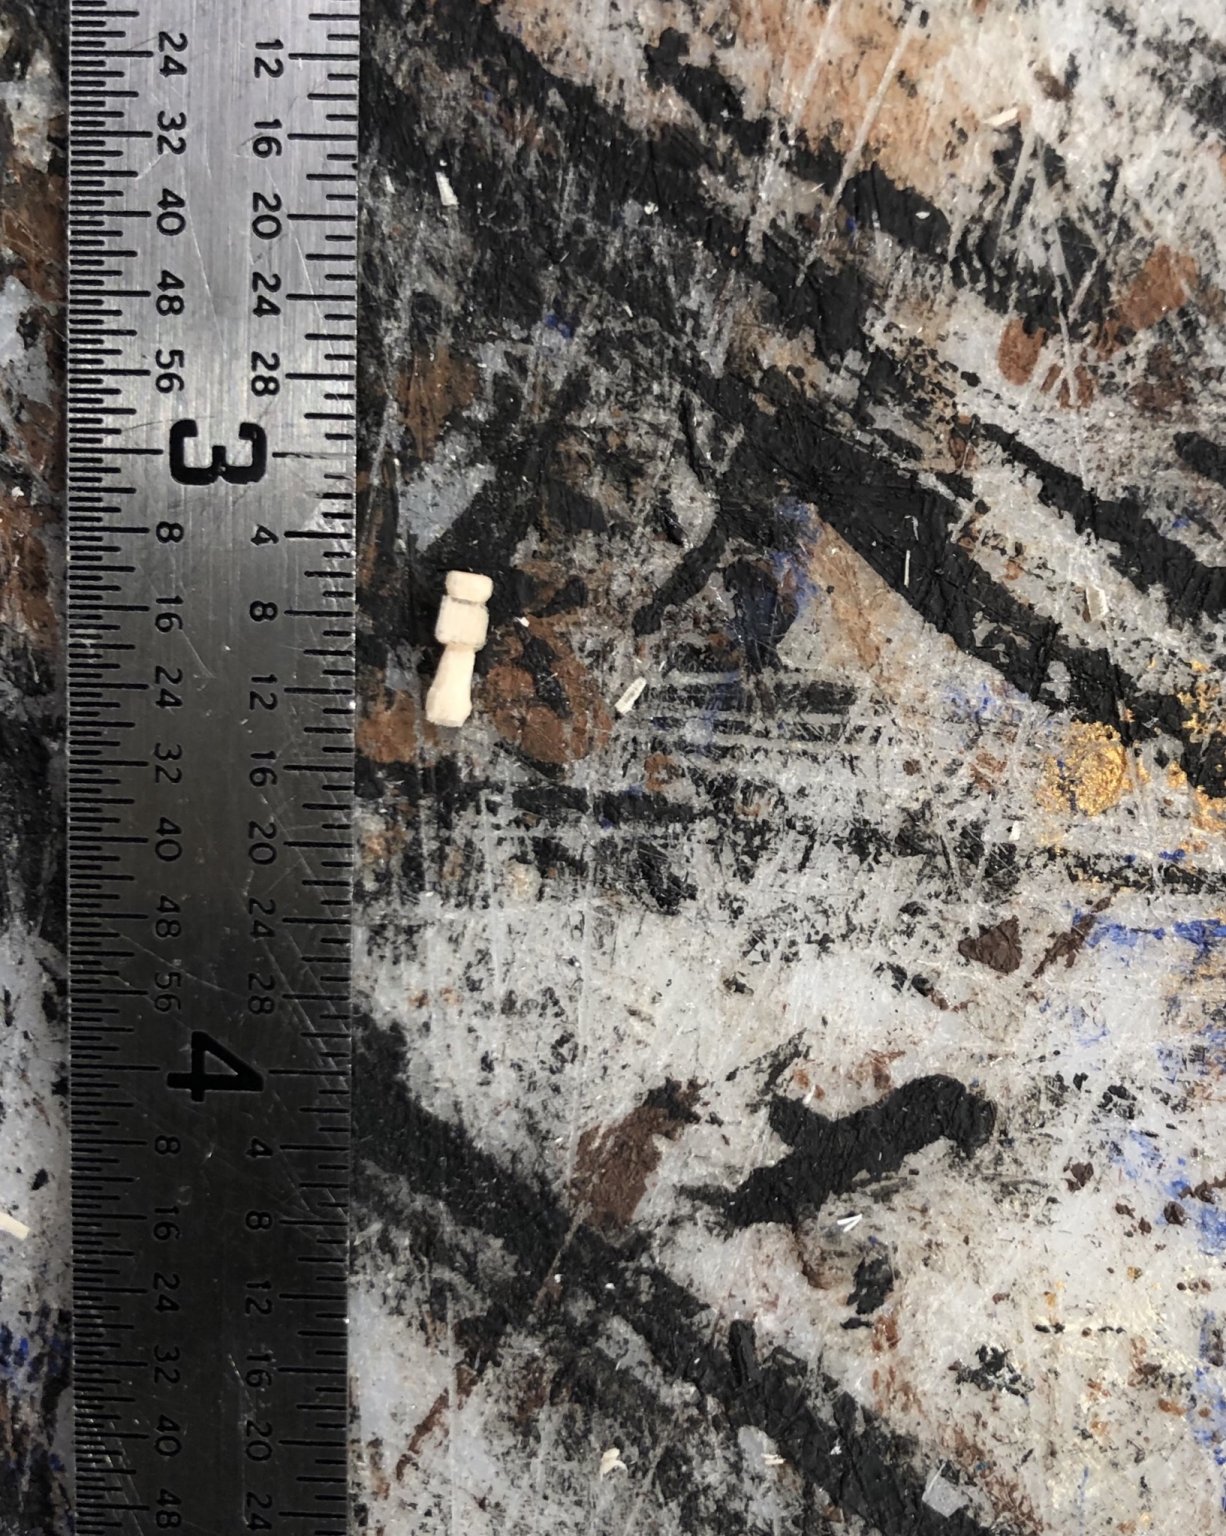
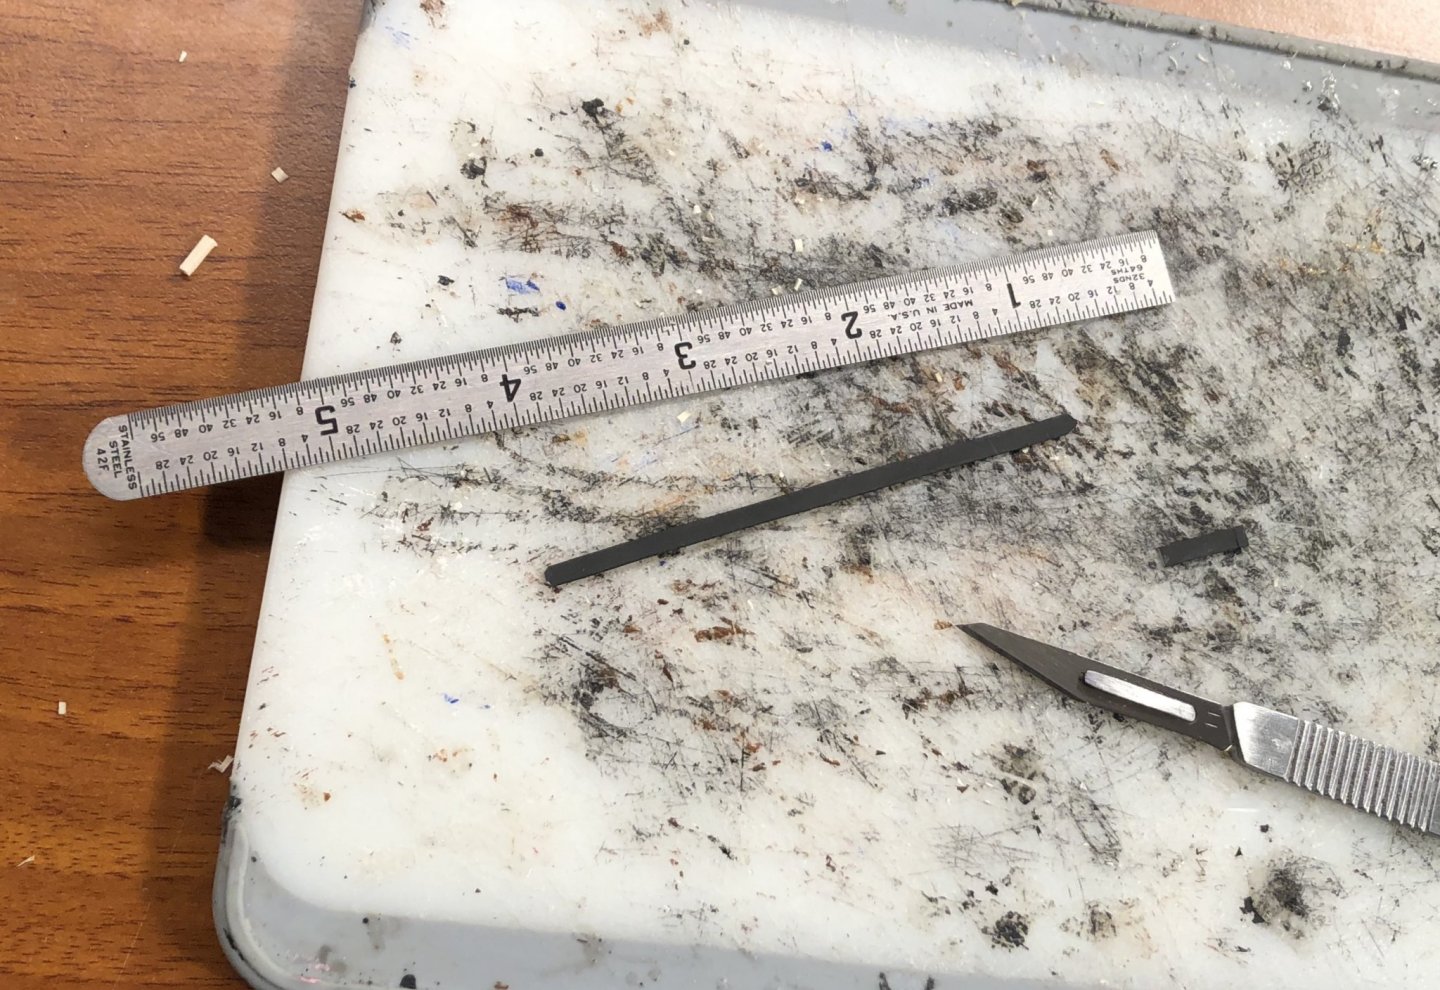
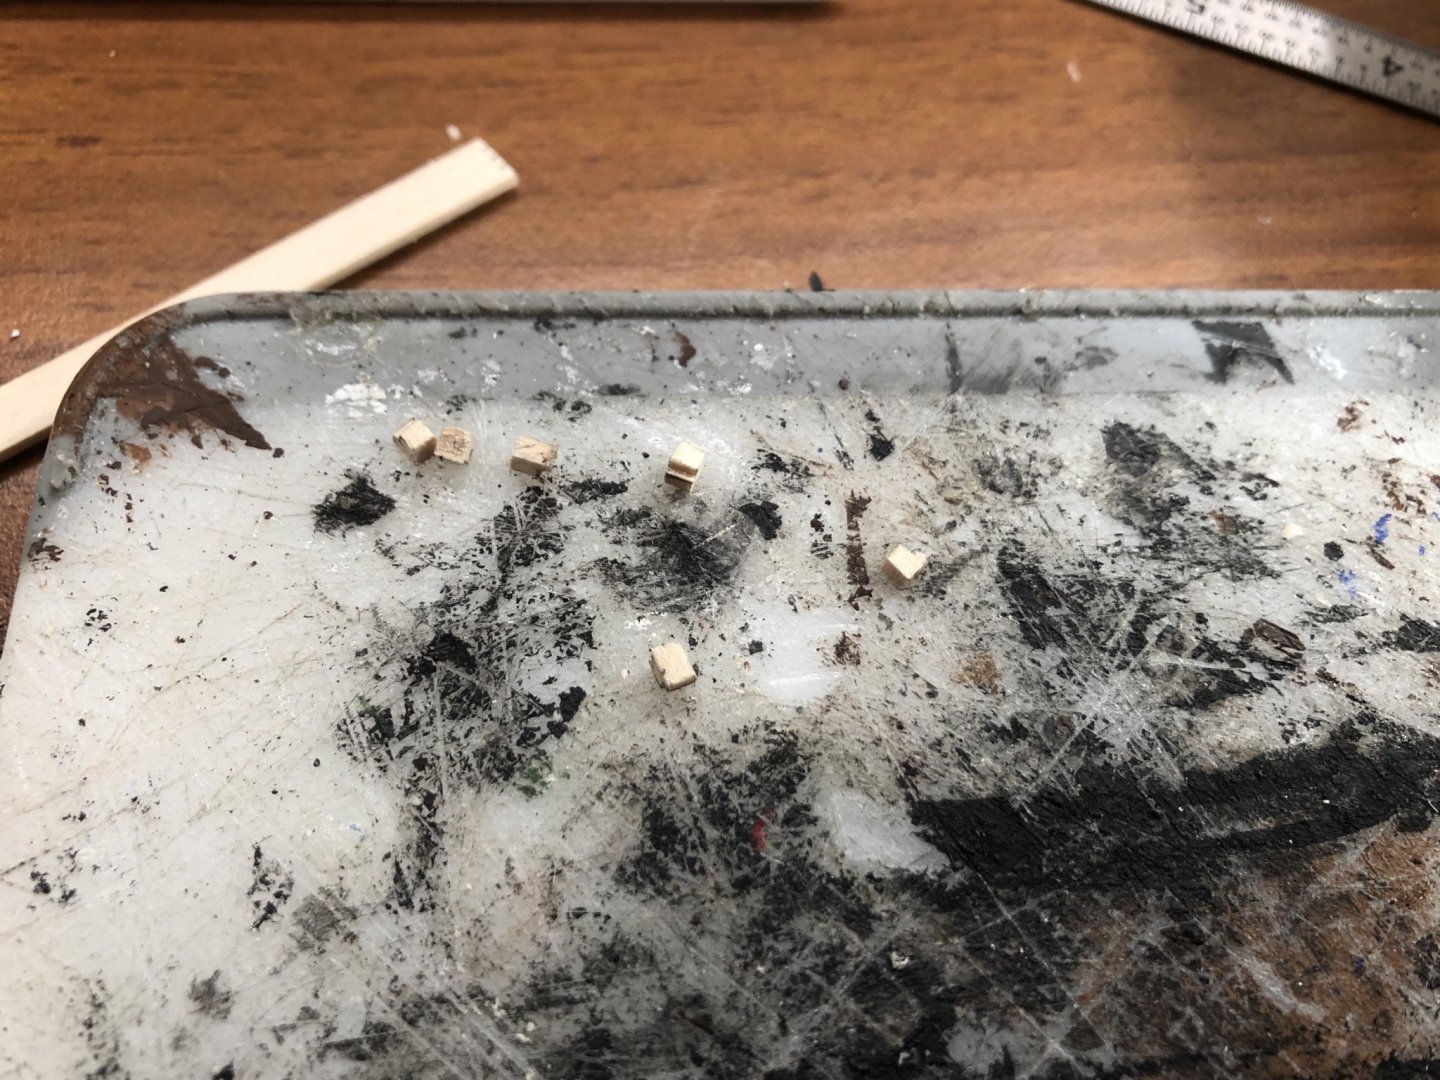
One tiny stanchion:

-
Thank you very much OC, Richard, Rob and Keith! Thank you very much everyone for stopping by and all the likes! The stanchions for the forward rail are finished: Following Keith’s recommendation, the tops of them are pinned into the lower parts of the stanchions (which I should have done anyways because the railings are poster board, which has a nasty habit of delaminating).
-
I used a piece of steel wire for my last build and it worked beautifully.
-
Welcome!
-
Welcome!
-
I have the 1:98 Mantua Victory, you are better off making your own gunport lids. The metal ones are awful. I made mine following the diagrams in Zu Monfeld’s Historic Ship Models.
-
Welcome!