GrandpaPhil
-
Posts
6,150 -
Joined
-
Last visited
Content Type
Profiles
Forums
Gallery
Events
Everything posted by GrandpaPhil
-
@catopower kindly told me about them (thank you very much, by the way!). I usually scratch build all that stuff anyway. I learned how while building my Prince de Neufchatel and found out that I really enjoy it. I’m almost to the fitting phase now. I’ll be making all of the eyebolts and double blocks for the guns soon. I’ll carve the guns from dowel rods like the ones for my last three ships. I’ll play the rest of the fittings by ear when I get to them.
-
For anyone interested in building the Shipyard 1/96 HMS Mercury, there is a very nice lasercut detail set available directly from Shipyard models: https://shop.model-vessel.com/index.php?id_product=323&controller=product&id_lang=2 It looks like it runs about $17.
-
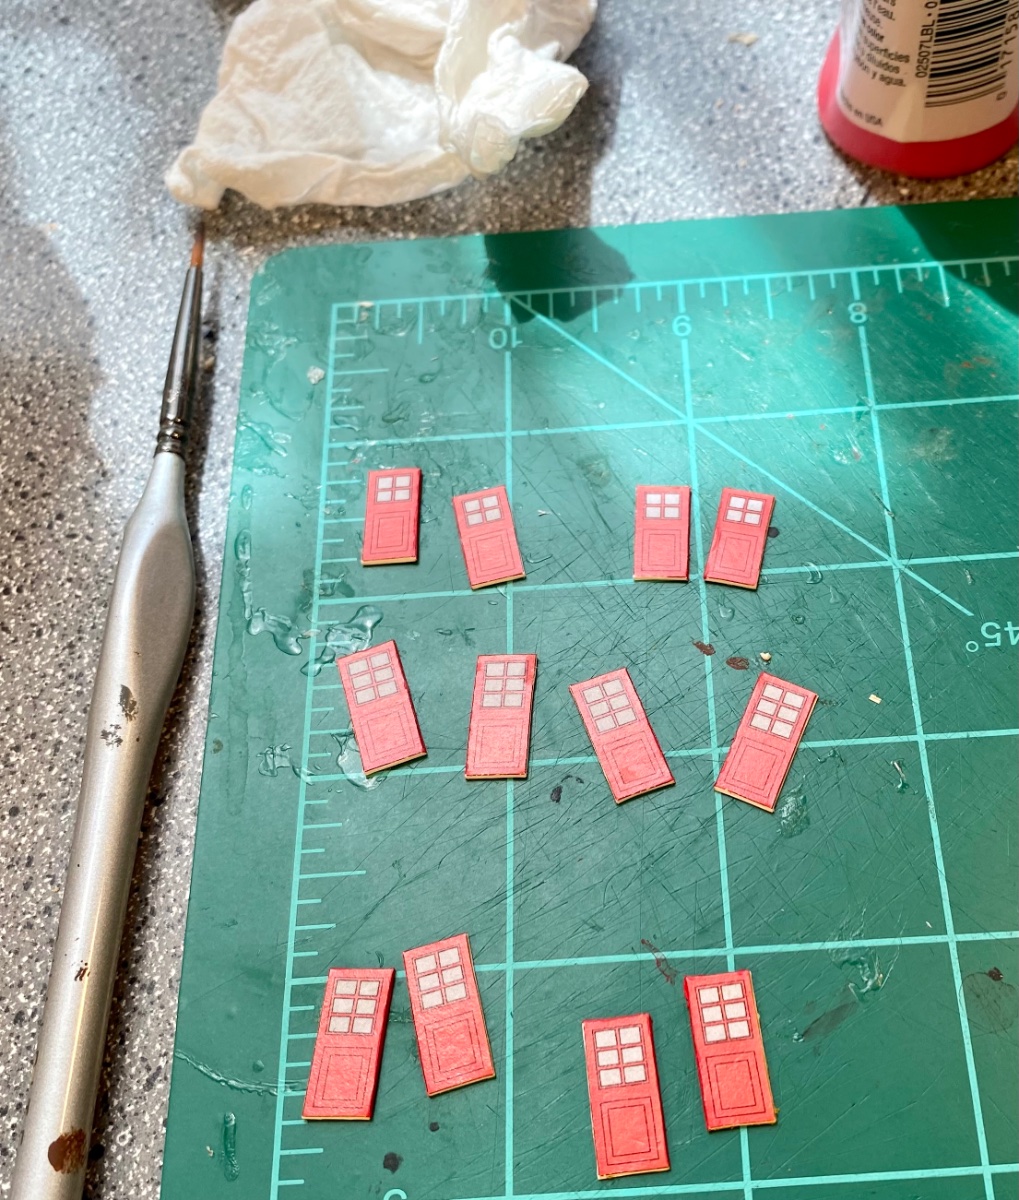
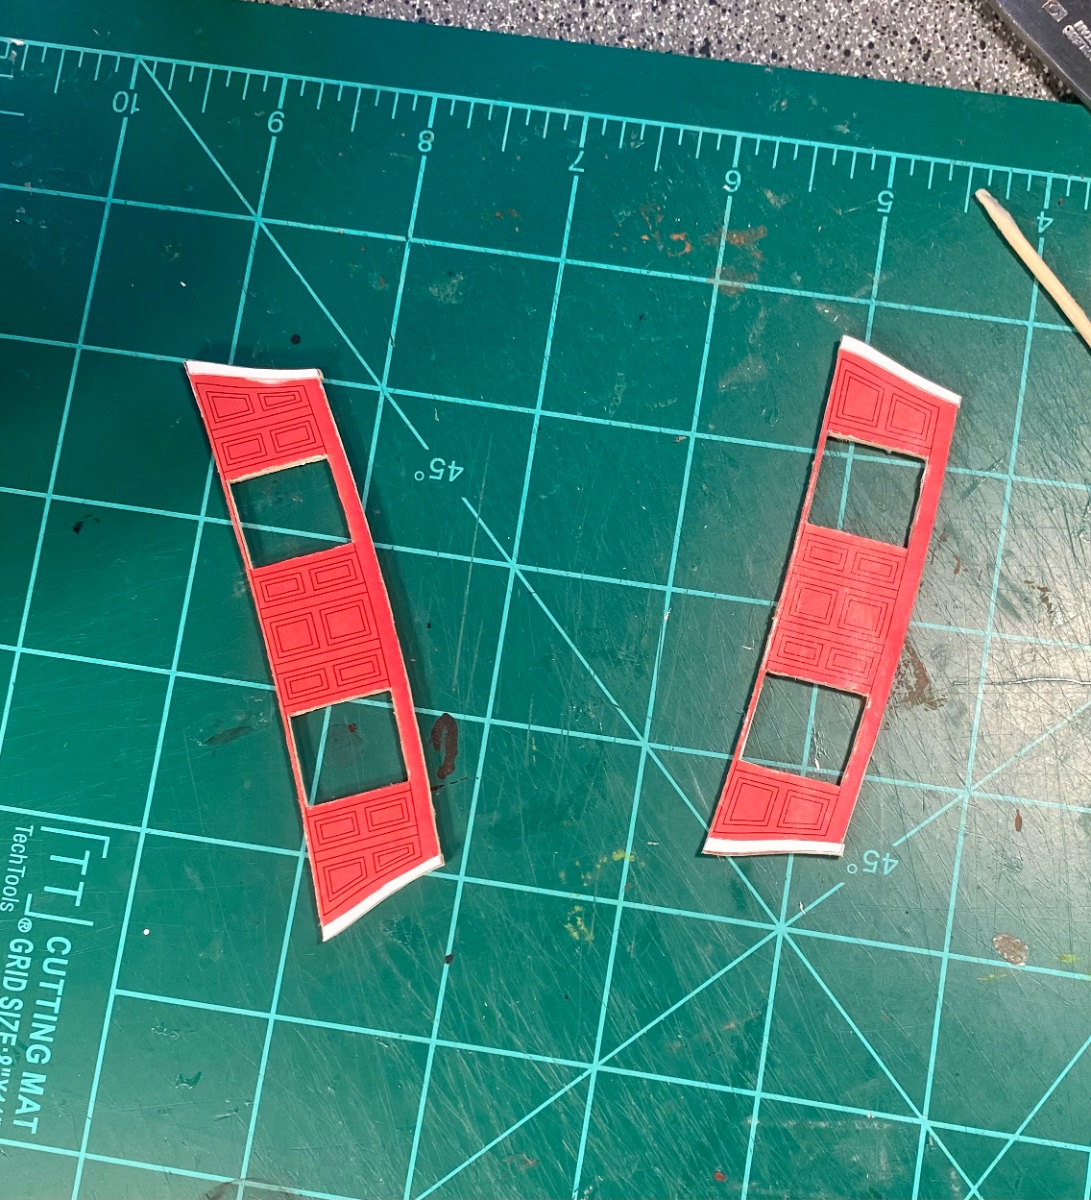
The interior bulkheads are on: The doors: The stern covering: The Mercury is farther along than what I have pictures of. The interior doors are finished and installed. The bow hull is covered. I’m currently working on cutting out the main deck bulwarks, which includes the gunports.

- 54 replies
-
- 18
-

-
Nicely done!
-
The detail of the plans are amazing! I like going from the original plans. It is a lot of fun for me. I’m paying very close attention to the construction of my Mercury kit on how I’m going to design the actual building of Magenta. The outer skin may be very thin with thicker frames/bulkheads. I may end up covering the hull in a very similar fashion to the Mercury. The lower hull covering only goes to the main deck. I may do likewise and then make the gun deck covering in one sheet to make it easier to align gunports (also like the Mercury). Chris Watton did that with the Revenge kit he designed for Victory Models, too.

- 104 replies
-
- 11
-
-
Chris, Very nicely done!
-
Looking good!
-
You’re welcome! Working on getting the interior bulkheads ready and installed: Work is going a little slower than it would because I am laminating the structural card pieces on basswood. I am having a lot of fun with this model!

- 54 replies
-
- 16
-
-
Just remember, fewer masts are easier than many masts. And fore and aft rigs are easier than square rigs. Incidentally, the MS Sultana was my first real ship model. I really enjoyed it. I learned a lot!
-
Scratch Builders Reply
GrandpaPhil replied to Dave_E's topic in Modeling tools and Workshop Equipment
I primarily use a micro drill, a scalpel (#10 and #11 blades), a coping saw and a razor saw. I have a good scroll saw (a Delta), but it’s never been out of its box. The only power tool I really use is an electric drill. I will say that a good machinist’s scale and a good set of straight edges are invaluable. -
This is the very bare bones version of the kit. https://www.agesofsail.com/ecommerce/mk006-shipyard-hms-mercury.html It came with 2 others in the Northern European Ships Collection, Part 2: https://www.agesofsail.com/ecommerce/30-anniversary-collection--north-europe-part-2--shipyard-mkj003--paper-model.html The set ran me $85 after shipping. This one just came with the model printed on paper, thin card, the laser-cut frames, the flags, and the plans. You are meant to layer the card up from your own card (cereal boxes and poster board work great). Shipyard makes add-ons, like blocks, masts and sails for this kit. They also sell a 1/72 version of the kit that looks amazing, with everything in it. https://www.agesofsail.com/ecommerce/hms-mercury-1779-1-72-shipyard-zl006-laser-cardboard-kit.html The 1/96 kit (that I’m building here) is a kitbasher’s dream. The plans are amazing. Since it’s card, you have to provide your own decorations, sail cloth, masting, cannons and rigging supplies. But, I typically scratch build my own cannon, decorations and rigging supplies anyway. It’s one of the better kits I’ve bought.
-
This is the 1:96 scale kit. It’s part of the Northern European Sailing Ships Part 2 collection.
-
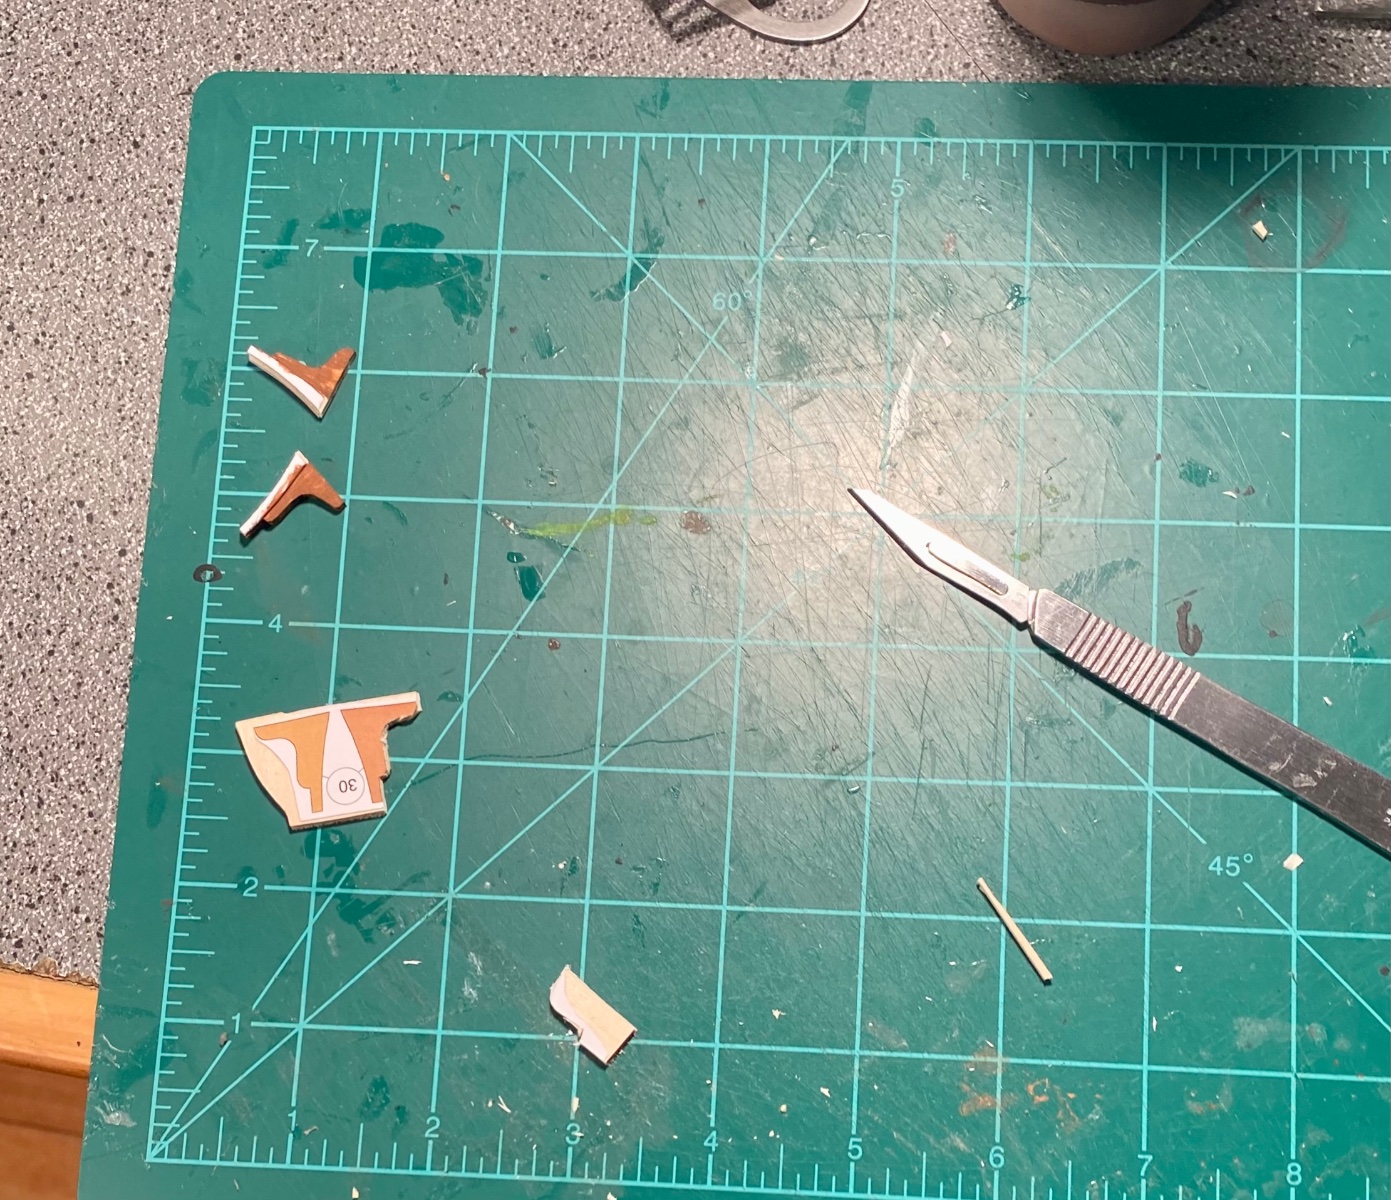
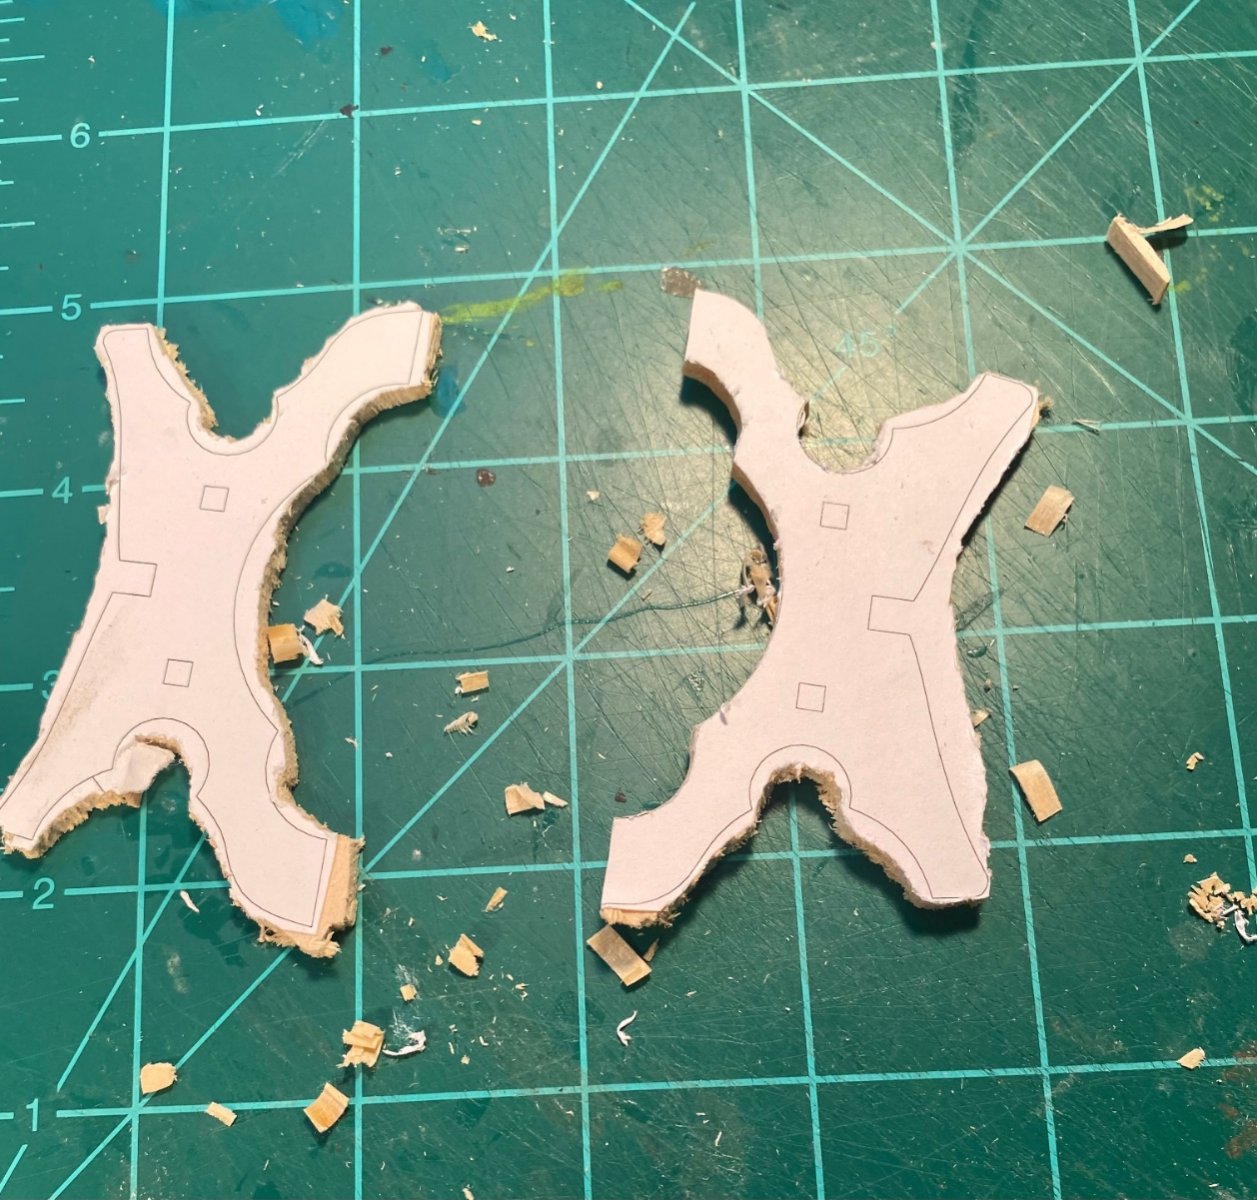
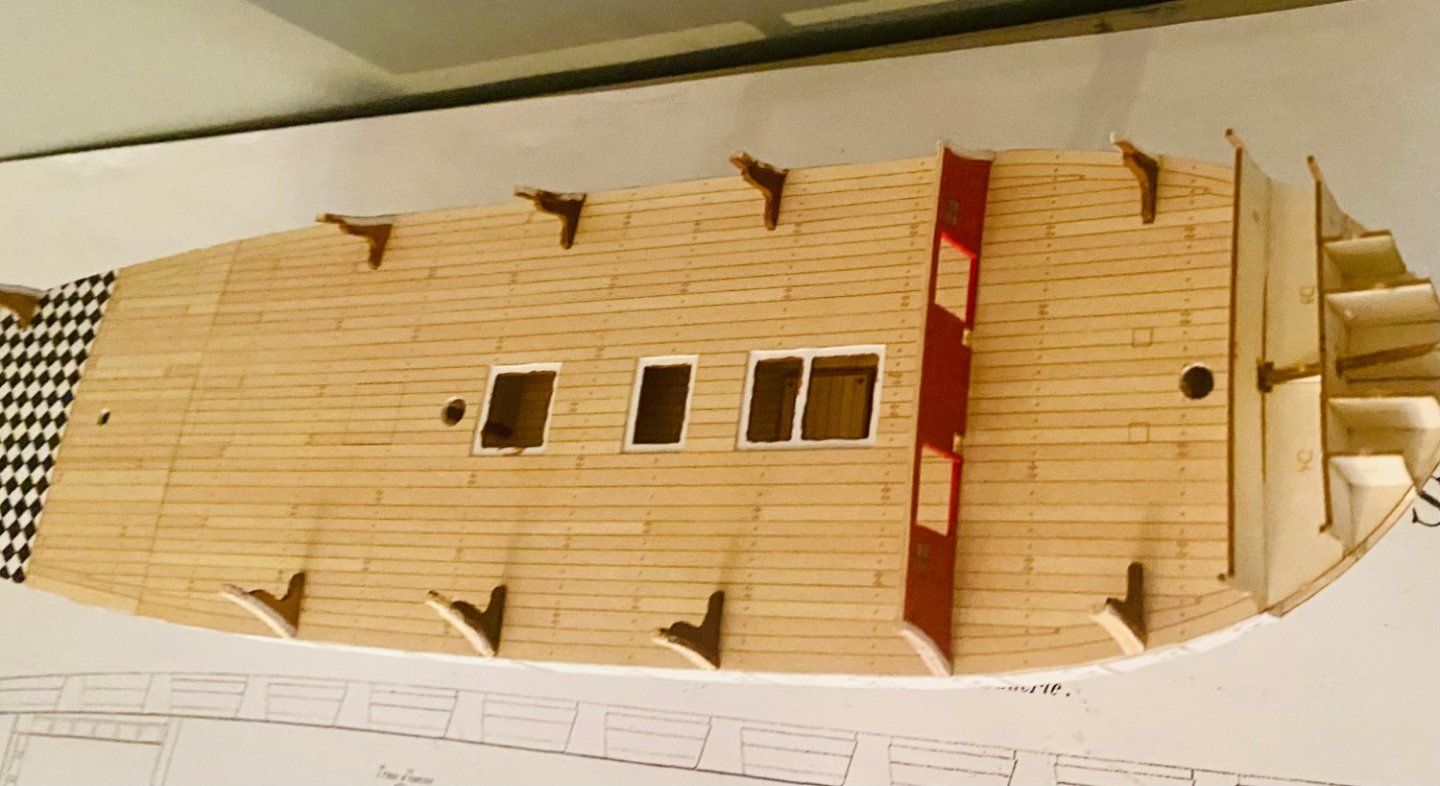
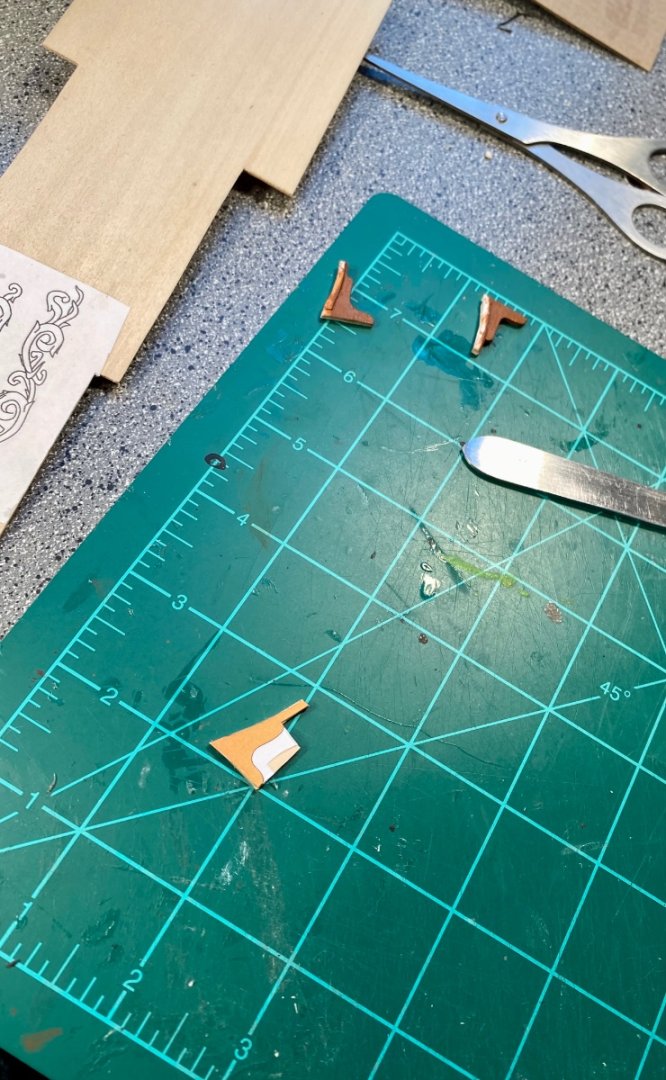
Working on the knees: I’m making them of 1/16” basswood. Which has led to a quick reminder on how not to split it out, lol. Quick note: the two sides don’t line up right so I’m just painting the sides and the edges.


- 54 replies
-
- 13
-
-

-
Good morning from the banks of the Ohio River
GrandpaPhil replied to Mike James's topic in New member Introductions
Welcome! -
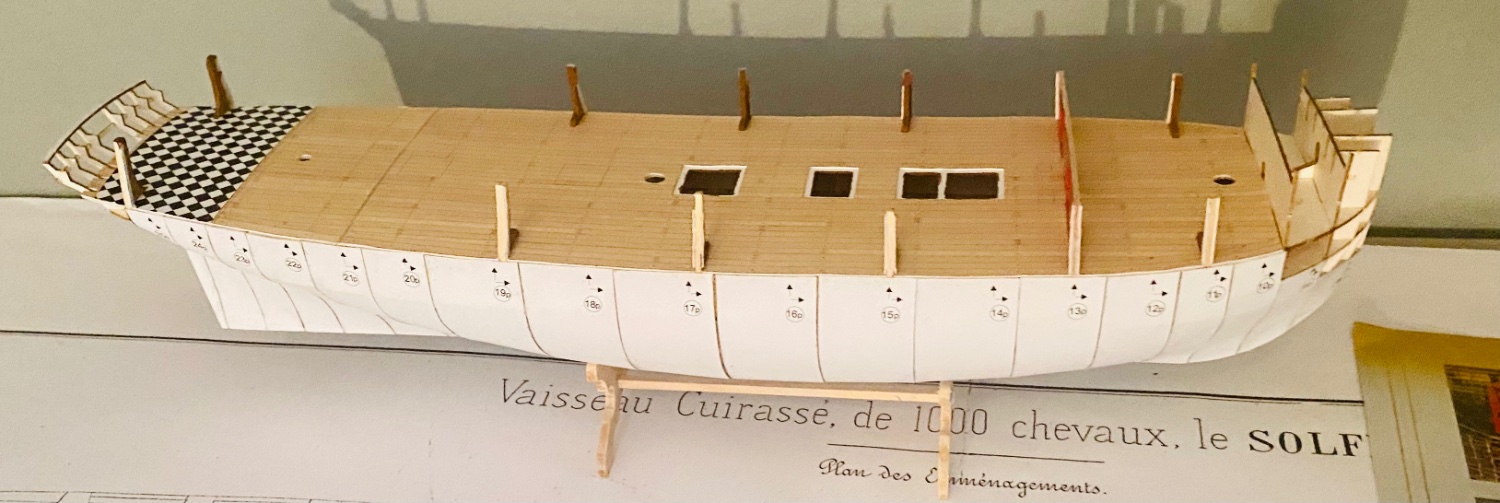
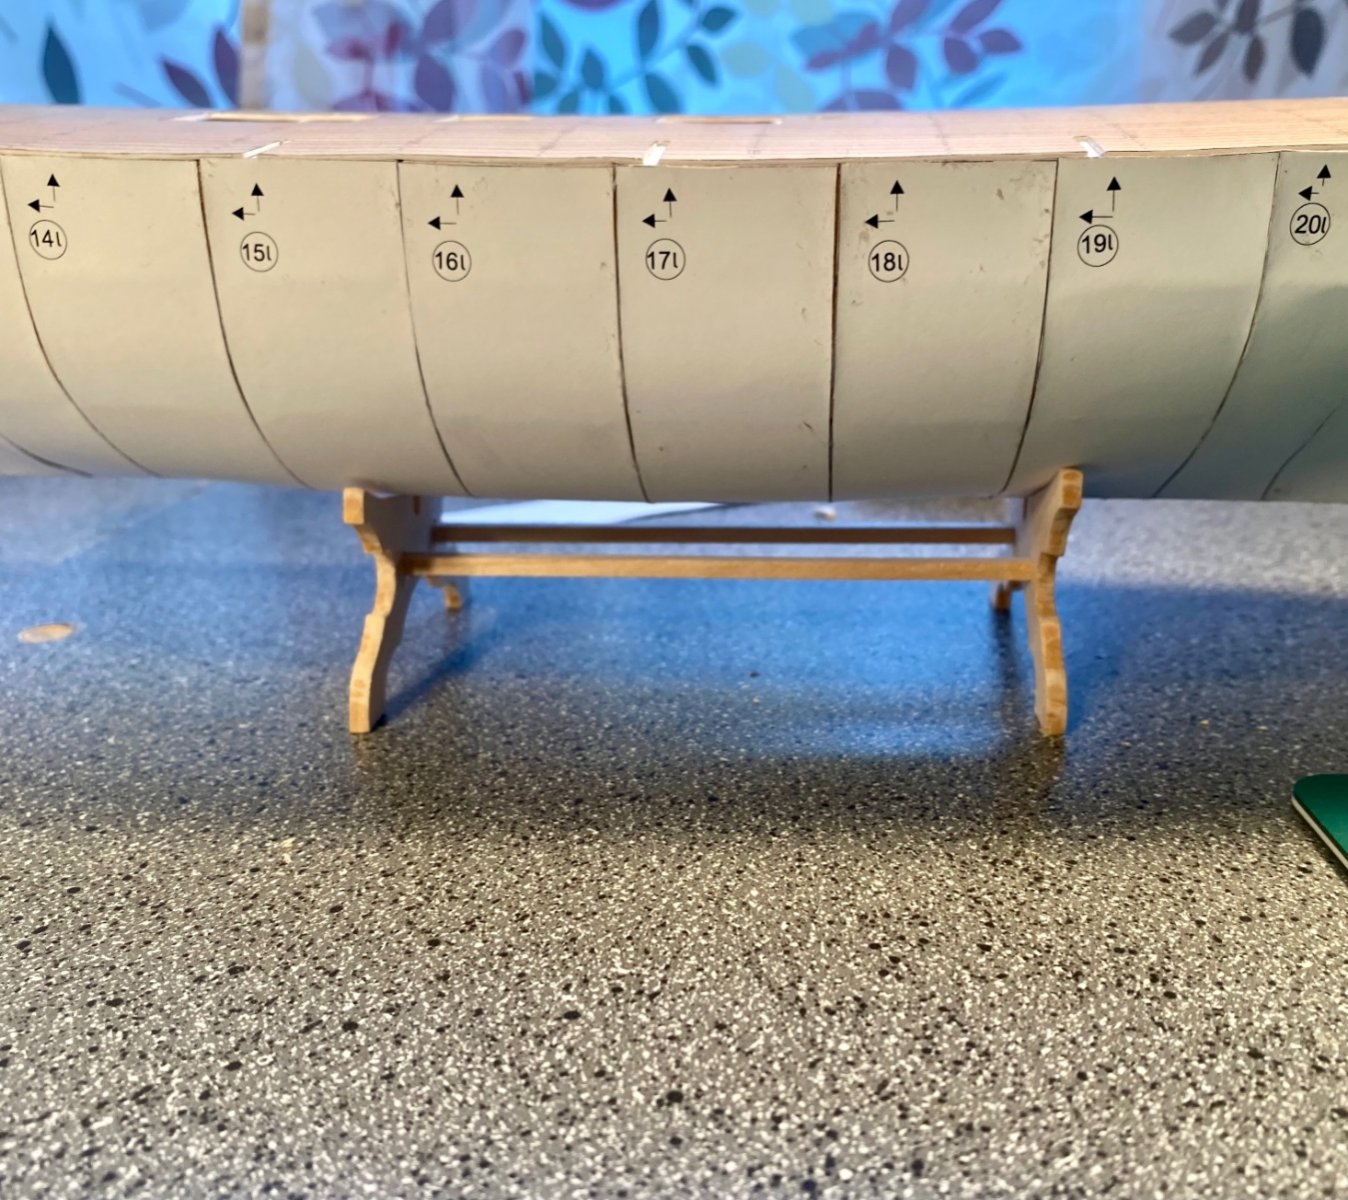
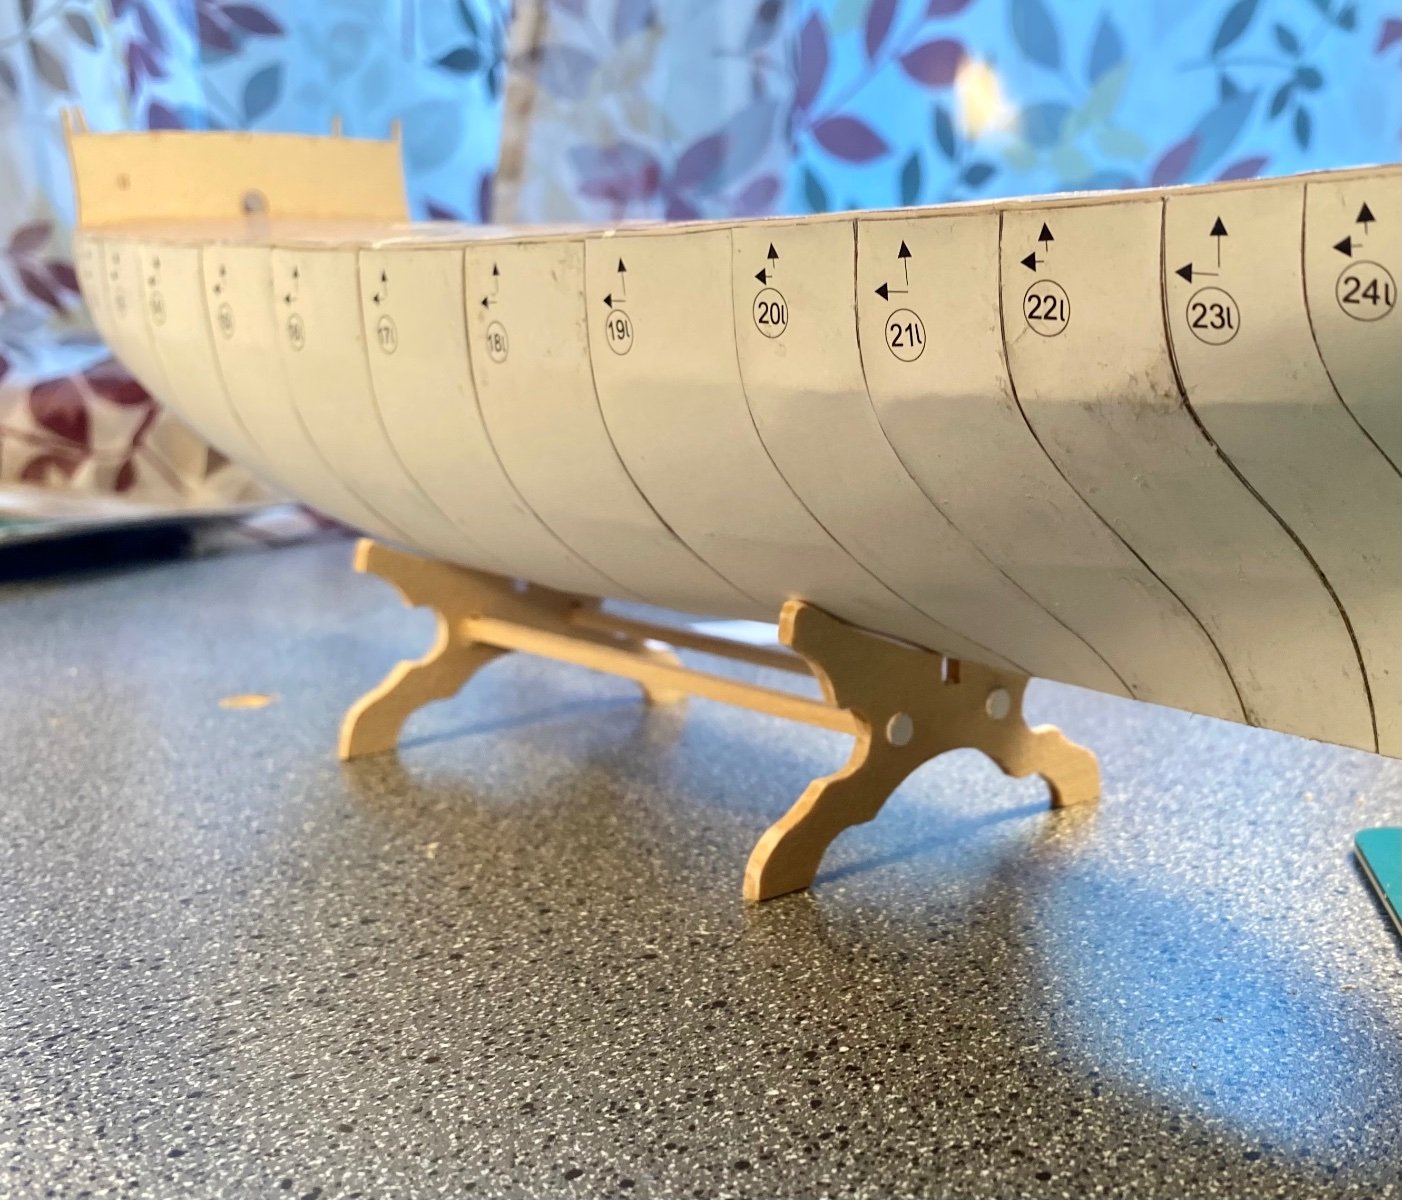
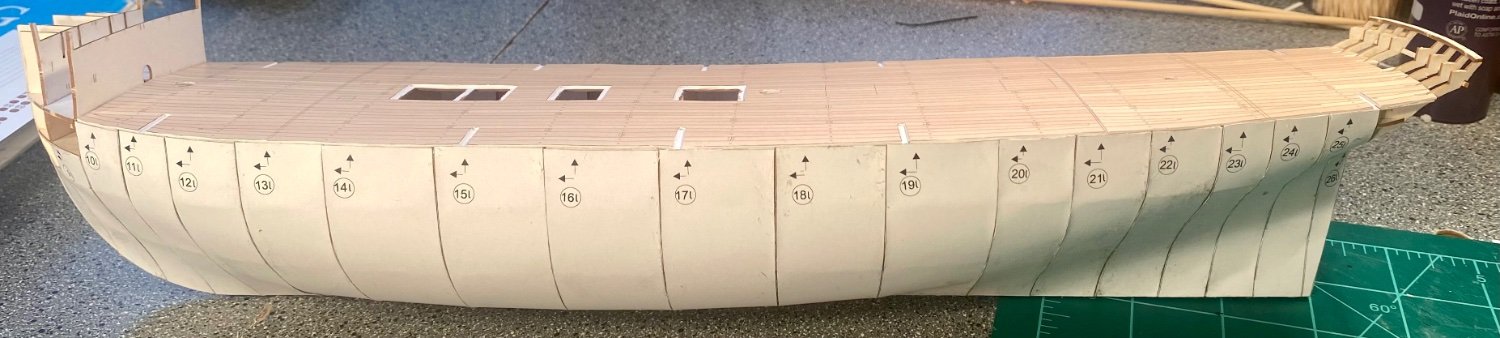
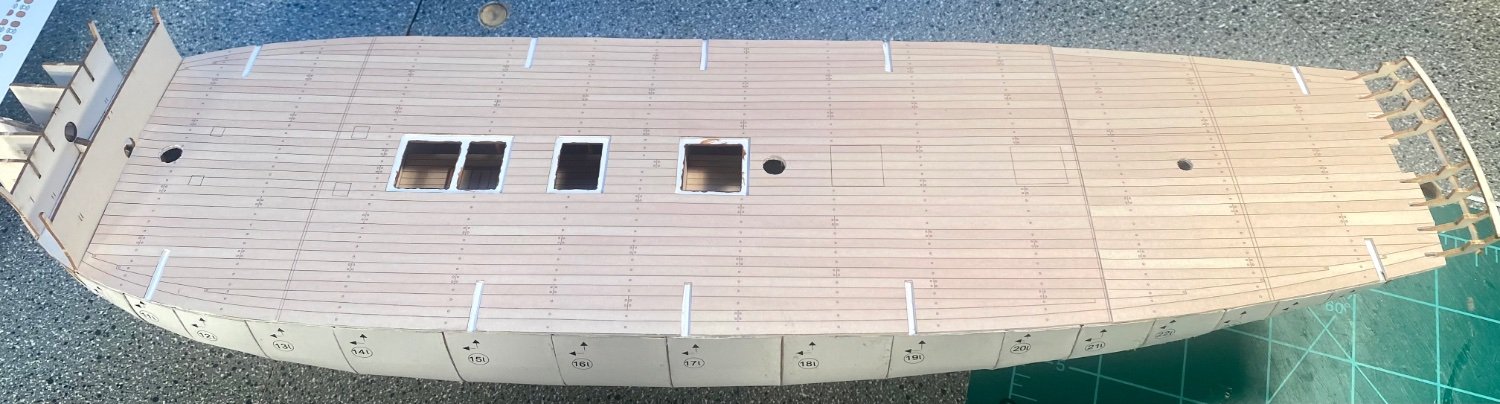
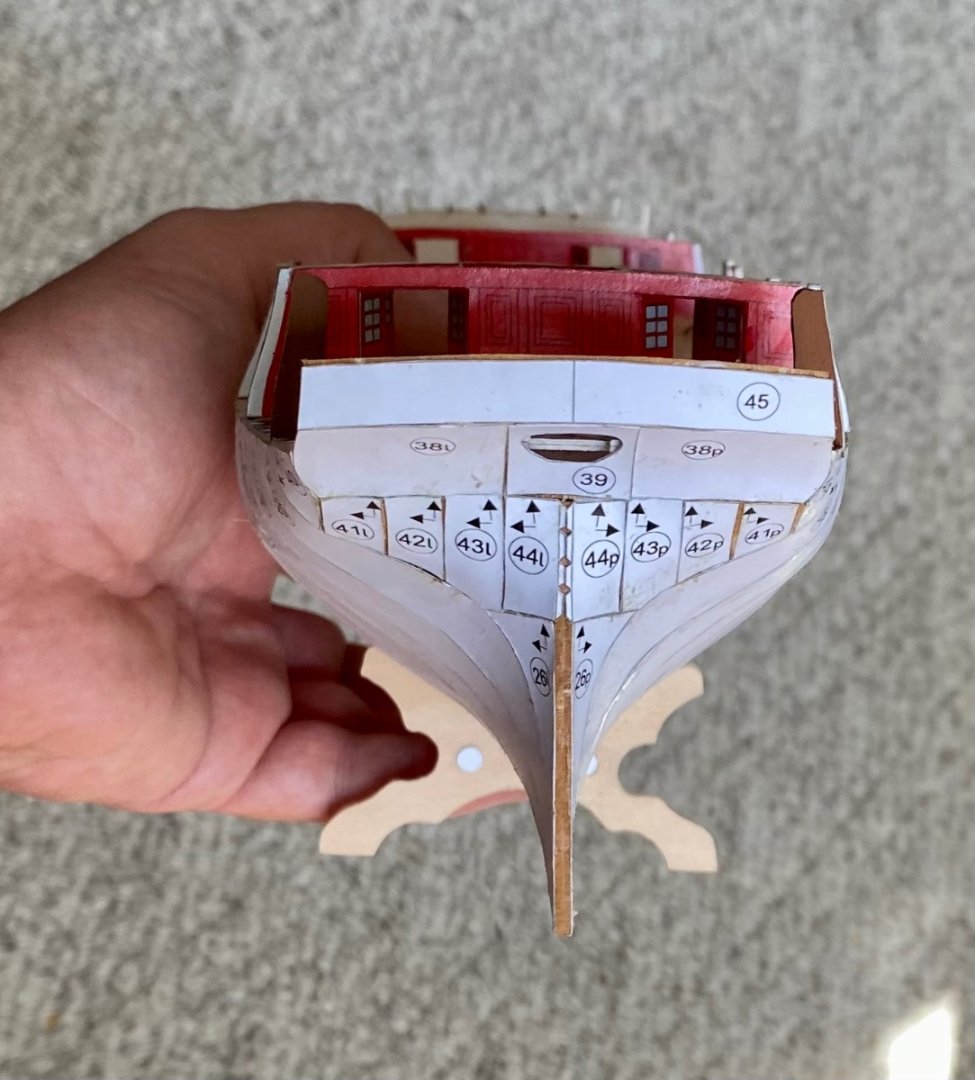
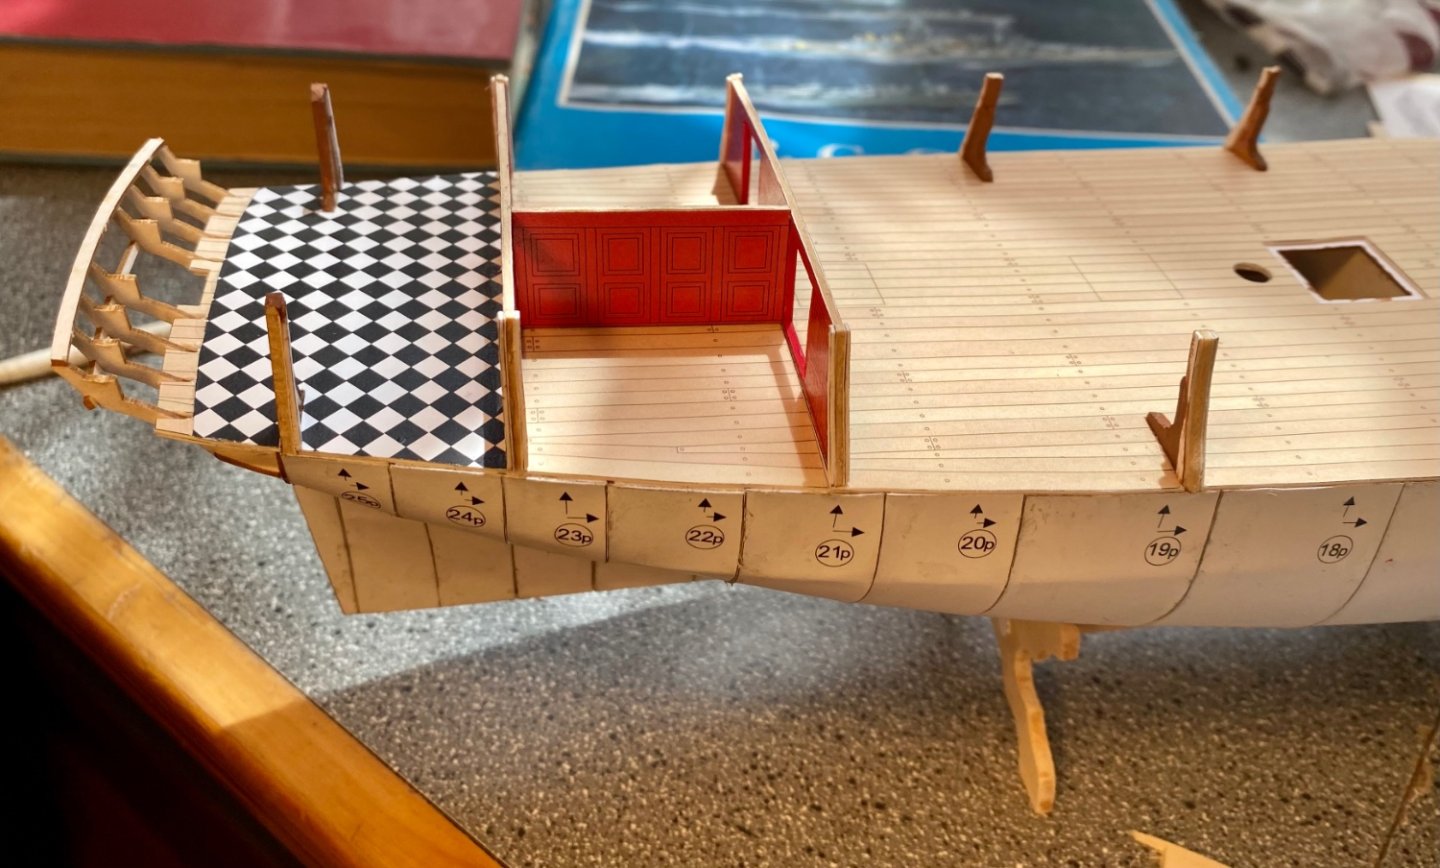
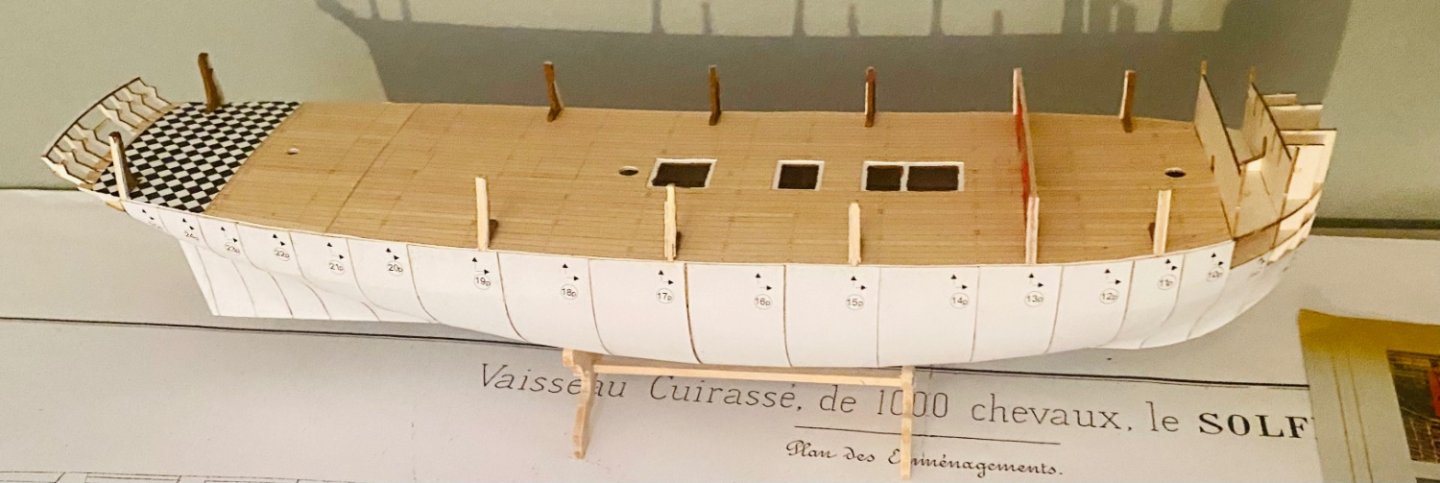
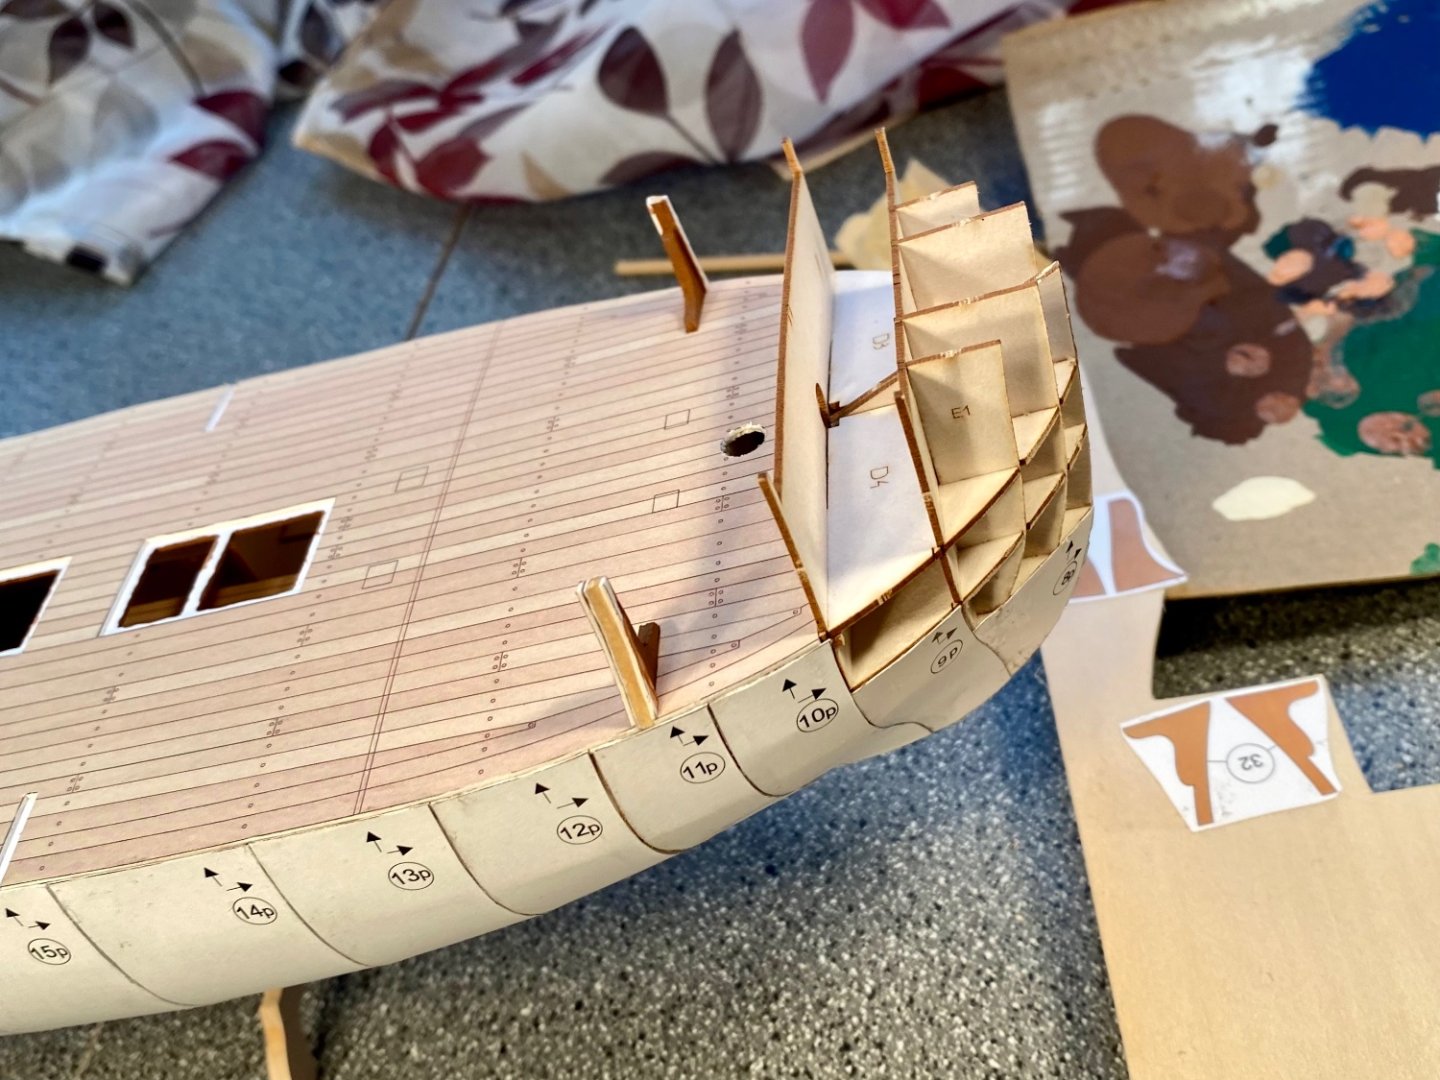
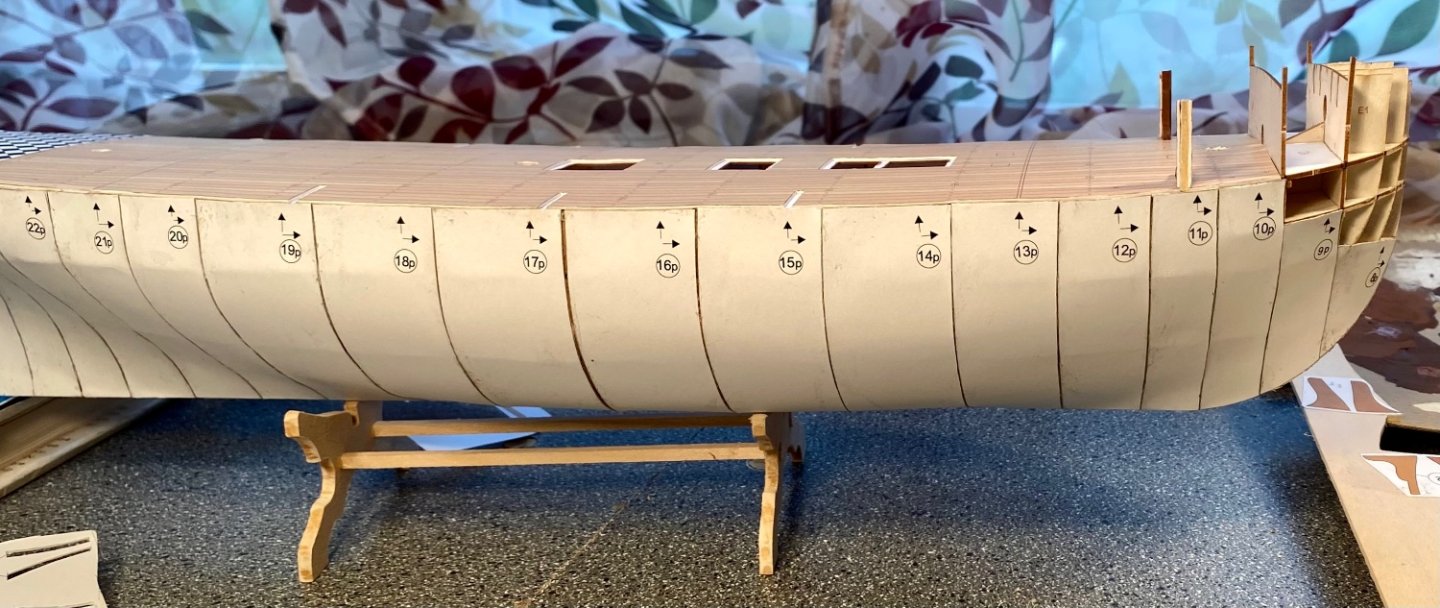
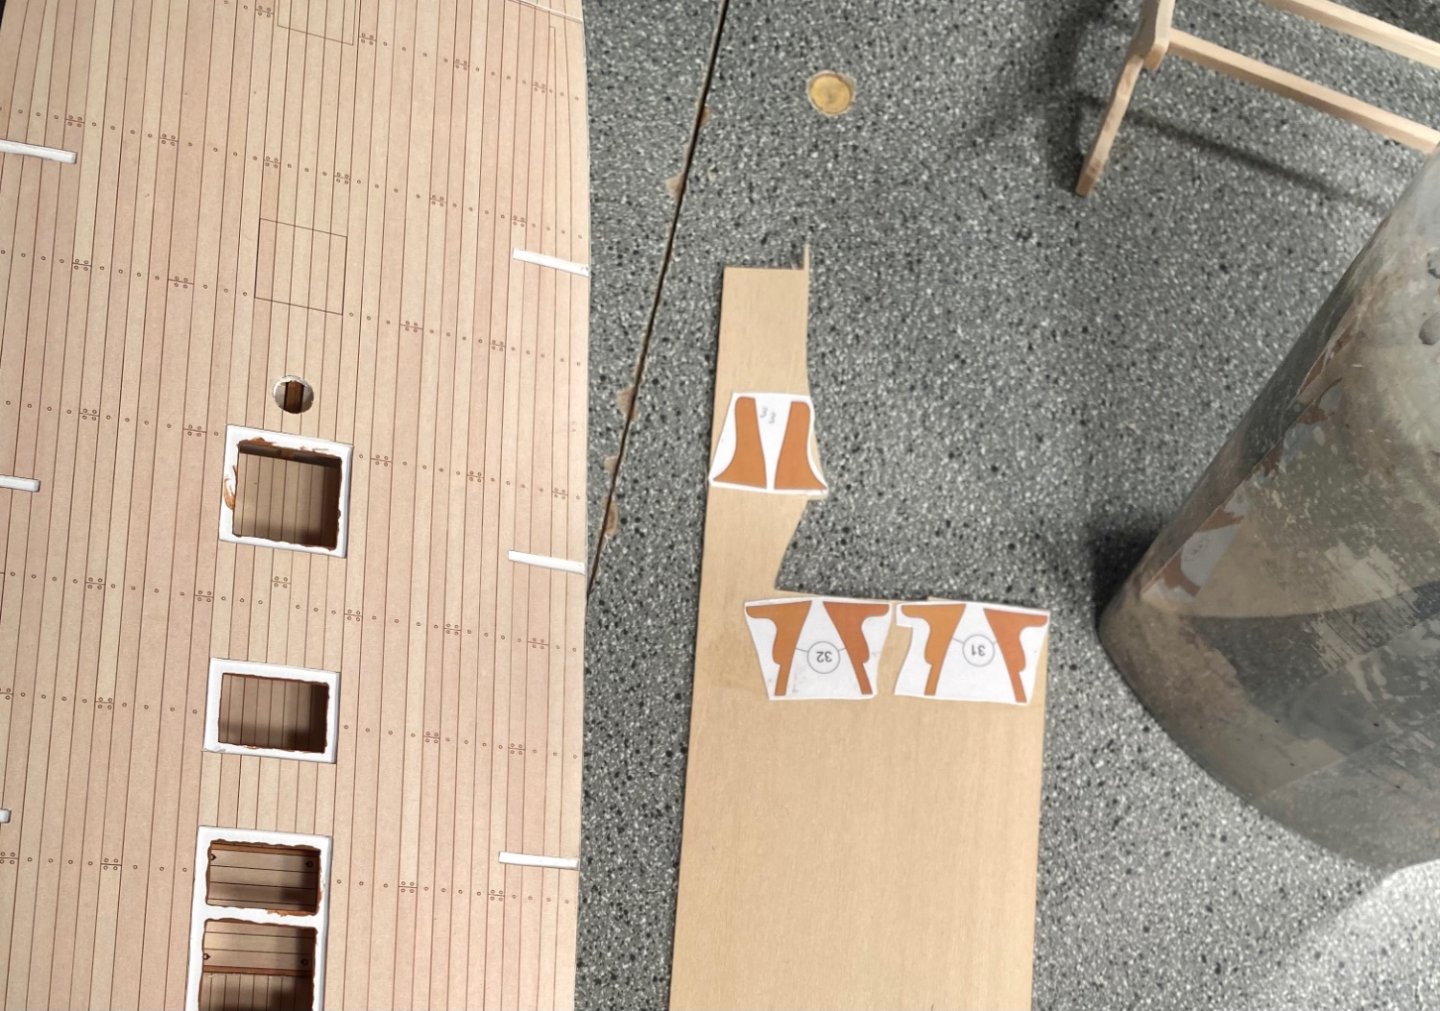
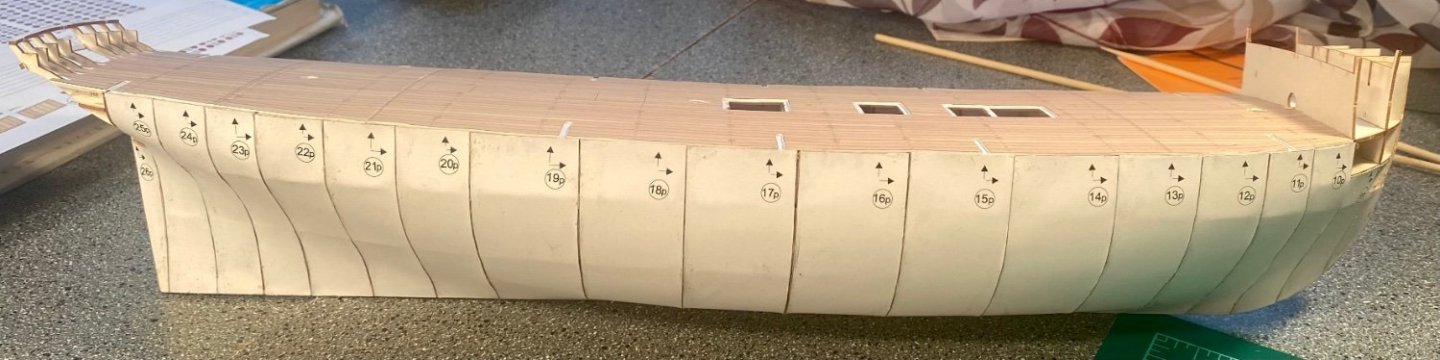
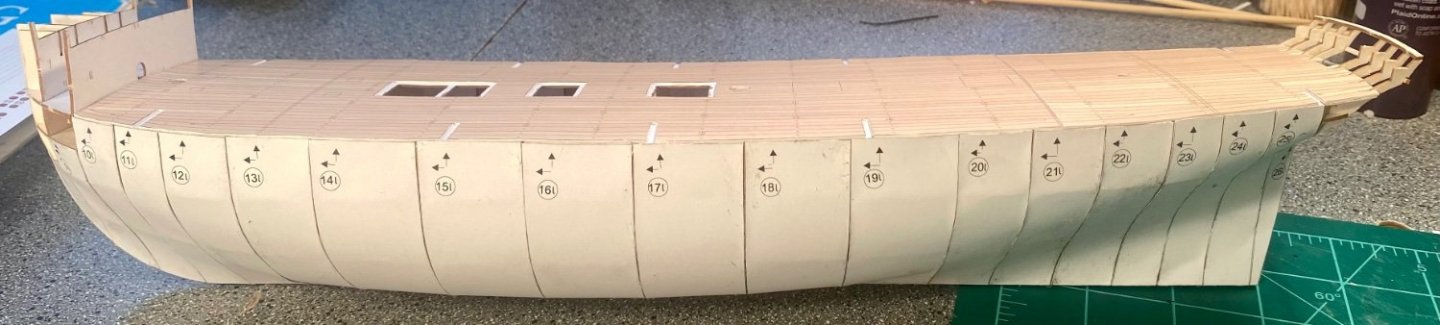
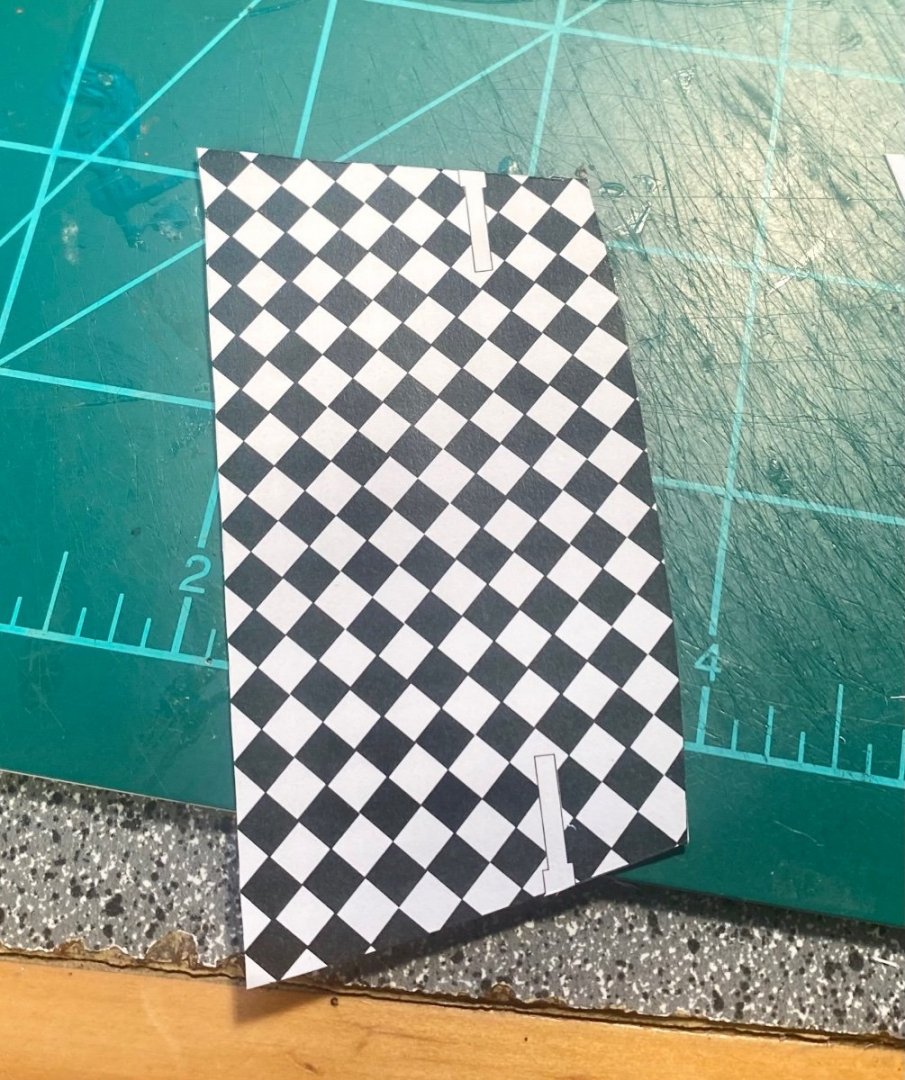
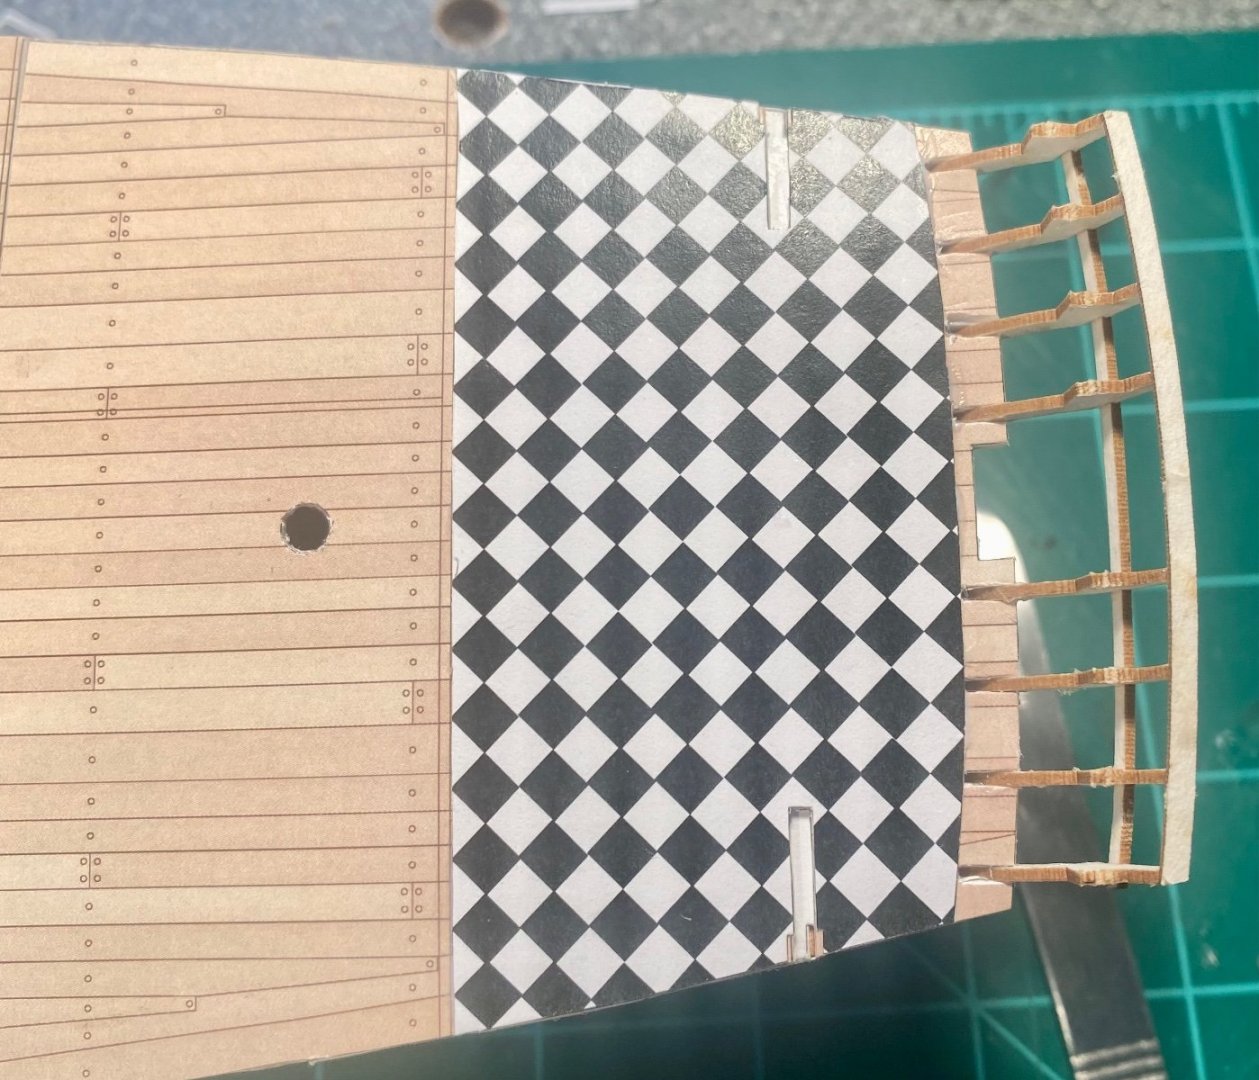
Good Morning Everyone! Thanks for all the comments and the likes! The Mercury’s lower hull is covered with the first layer. The ridges and the gaps will be filled and sanded before the outer layer goes on (after the upper hull is installed for strength reasons). The main deck is on. It is layered on poster board. The officer’s wardroom tile floor is cut: Now installed: Getting ready for the knees. They will be layered on 1/16 inch basswood for extra strength and the convenience of being at thickness already. You can cut up to 1/16 inch basswood with a scalpel, just like you would heavy card. Going to layer the cradle pieces on 1/8 inch basswood and mount it on the base that I bought for the Triton. I’ll use a coping saw to cut it out. I really like this kit so far. It seems very straightforward. It doesn’t skimp on detail. The plans are absolutely excellent. And because the plans are so good, it is very easy to adapt the kit and modify/bash it at will. I had a lot less to go on for my Prince de Neufchatel and Hannah models. Plus the masting, rigging and sail plans are going to be re-adapted to at least one, maybe two more British Frigates.

- 54 replies
-
- 16
-
-
USF Essex by mtbediz - FINISHED - 1:50
GrandpaPhil replied to mtbediz's topic in - Build logs for subjects built 1801 - 1850
Incredible work! Very nicely done! -
Welcome!