Check out our new MSW Sponsor Innocraftsman
×

.jpg.01e54eff8de6be562e7bc1146f40d40a.jpg)
Matt D
-
Posts
629 -
Joined
-
Last visited
Content Type
Profiles
Forums
Gallery
Events
Everything posted by Matt D
-
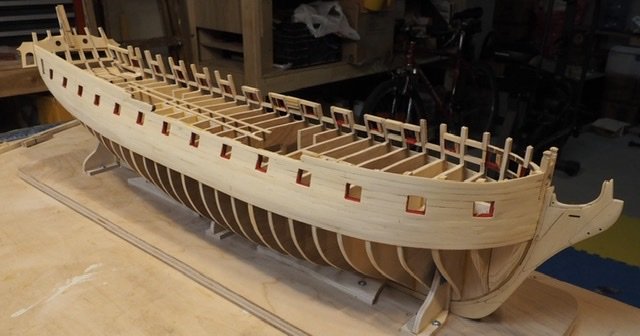
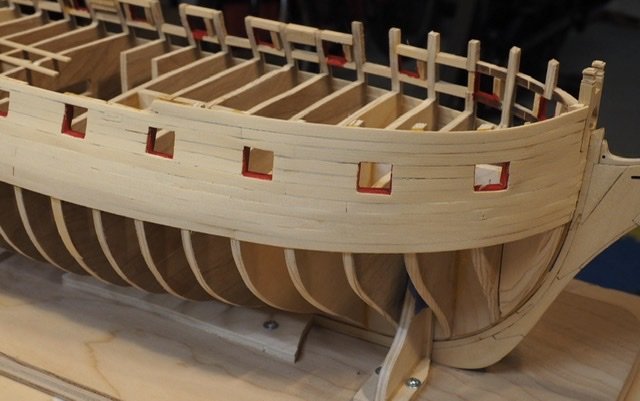
.thumb.jpg.6d6ee4bdbfaac2c58ecc77e7b80ae374.jpg) I’ve been working on the upper planking on the starboard side. I’ve had to back up and fix this a couple of times. It’s not perfect by any means, but I think it will look fine with the frieze over it. I just discovered that I did not fair the stern quite enough. I’ve tried just sanding it down, but I’m not sure it’s enough. Luckily, I haven’t gotten up that high on the port side, so I still have time to fair it more before planking. If I understand the rest of the construction, the difference will be completely hidden.
I’ve been working on the upper planking on the starboard side. I’ve had to back up and fix this a couple of times. It’s not perfect by any means, but I think it will look fine with the frieze over it. I just discovered that I did not fair the stern quite enough. I’ve tried just sanding it down, but I’m not sure it’s enough. Luckily, I haven’t gotten up that high on the port side, so I still have time to fair it more before planking. If I understand the rest of the construction, the difference will be completely hidden.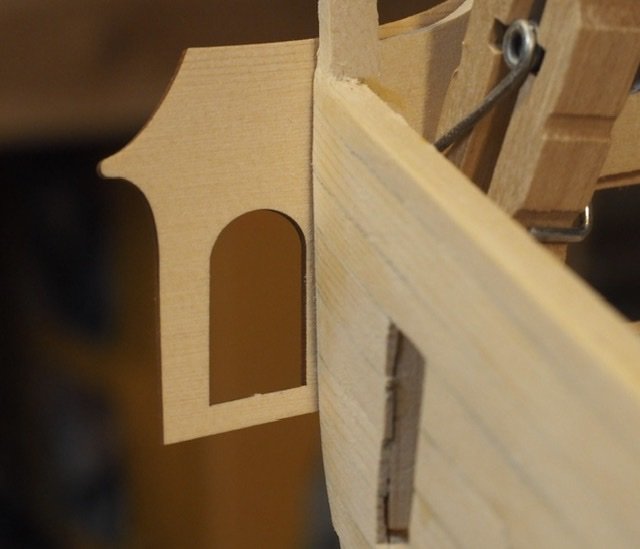
-
From my perspective, you’re doing a phenomenal job on Winnie. I just finished creating the exact problem you’ve just solved. Thank you for showing me how to fix it!
-
This is going to look amazing, Ben! Chuck, I’m really looking forward to the cross section project!
- 399 replies
-
- 1
-

-
- winchelsea
- Syren Ship Model Company
- (and 1 more)
-
The high level of detail you’re creating is incredible. She’s a beaut!
-
It’s looking excellent! This looks like a really nice kit.
-
Chuck, I just stumbled across this today. Is this still a project in the pipeline? Will this someday be available in your store? I’m asking because I’d really like to do a nice quality cross section some day and a Syren semi-kit would definitely be my first choice.
-
That looks great, Peter. With your deck weathered to match the real thing, I had to look twice to tell which pic was the model and which was the 1:1 ship!
-
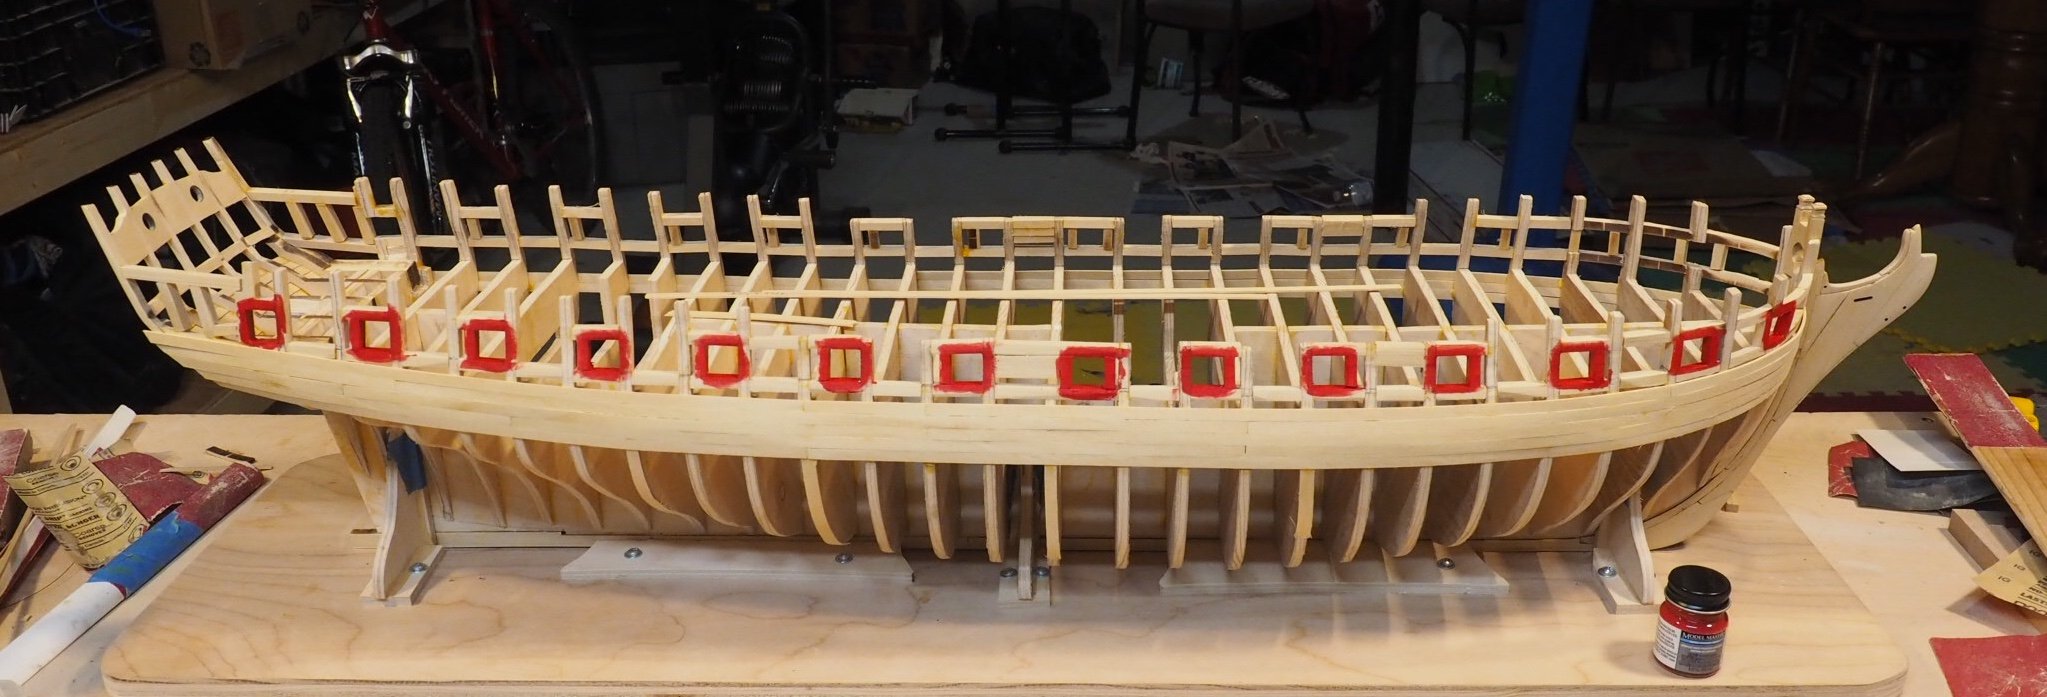
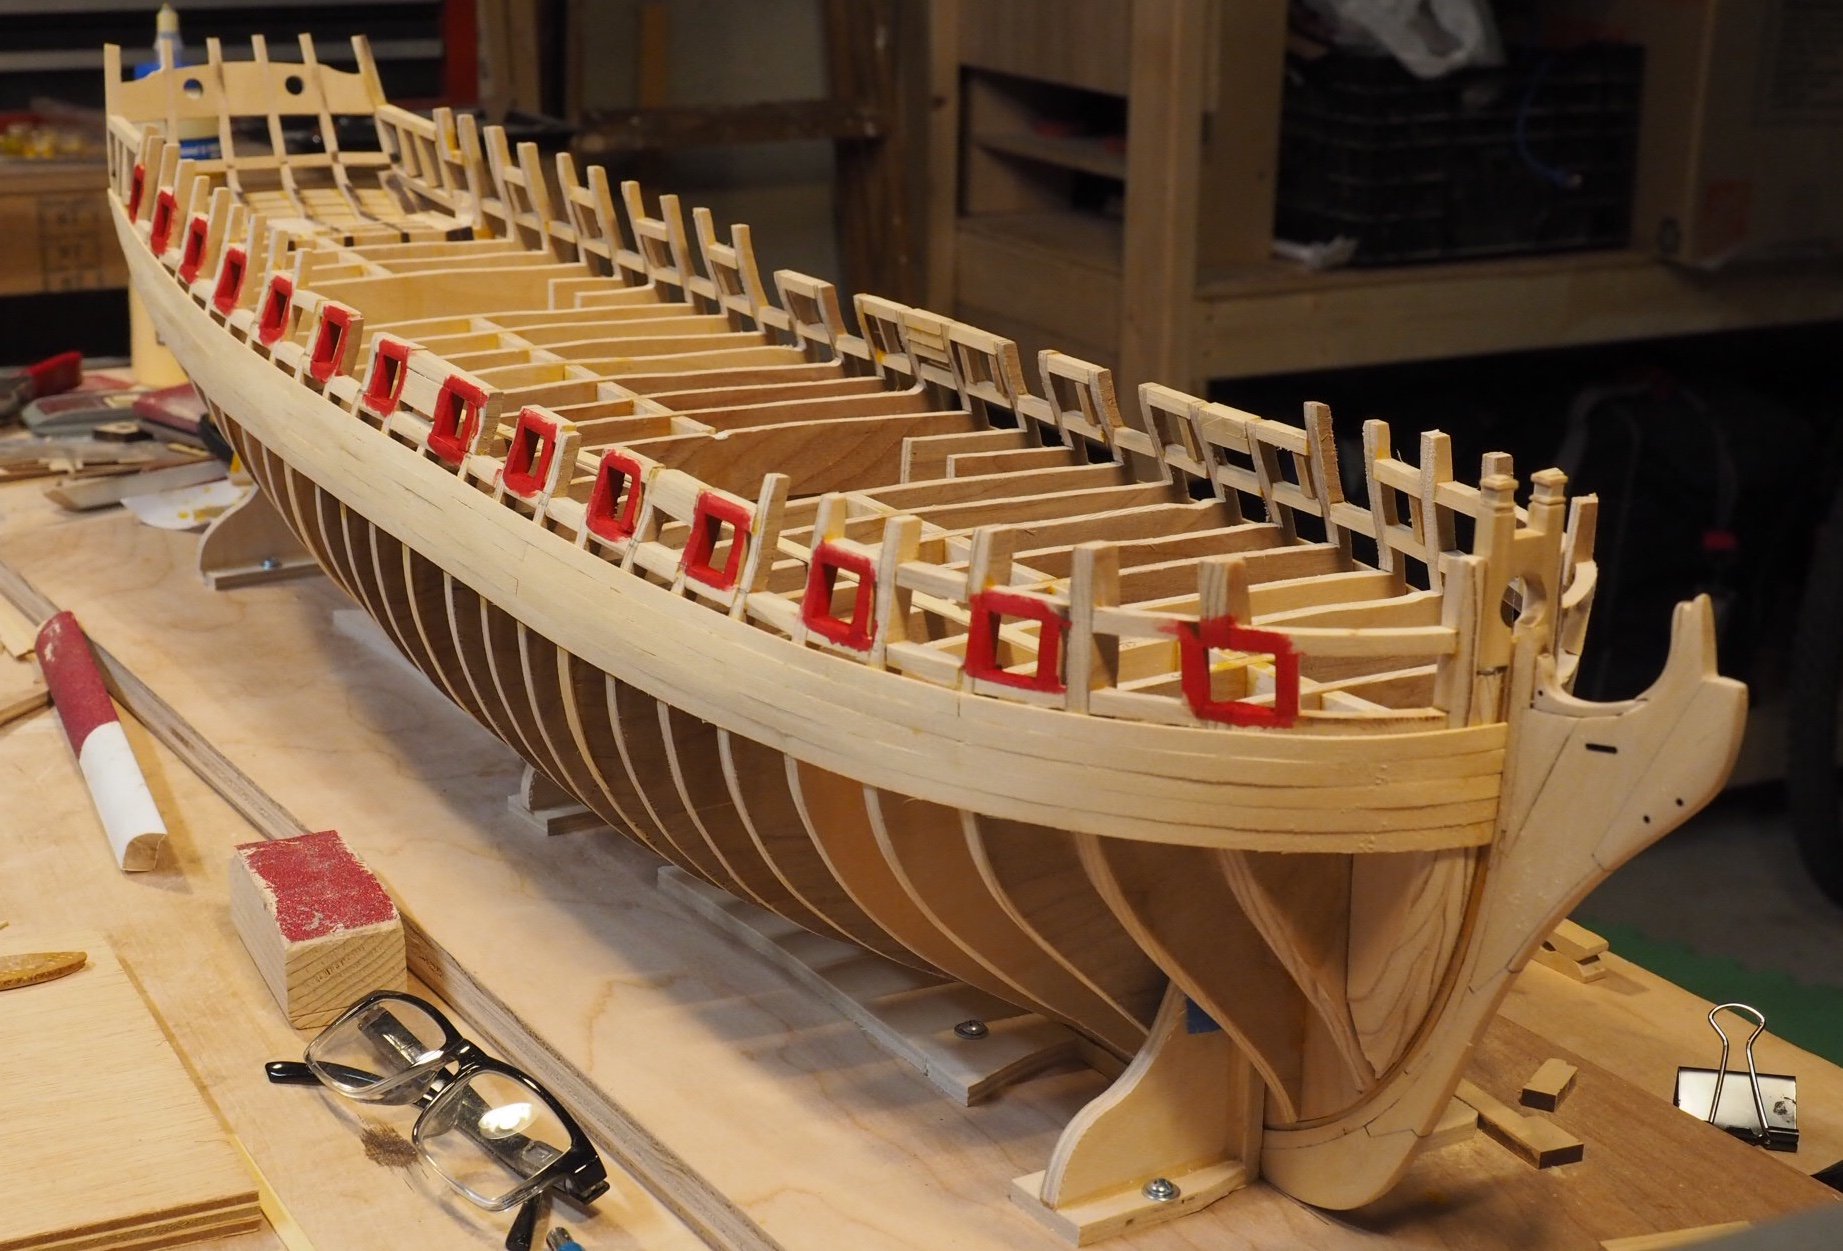
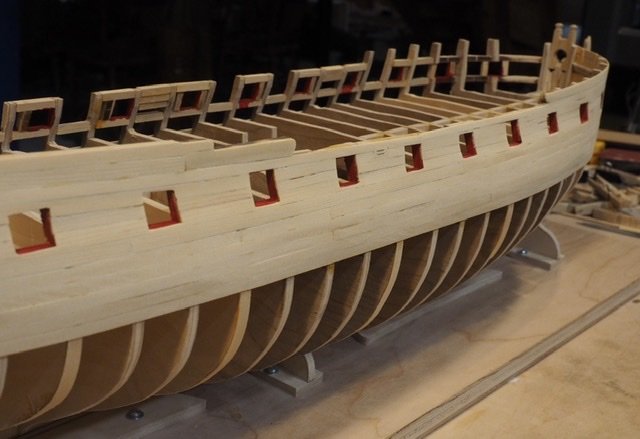
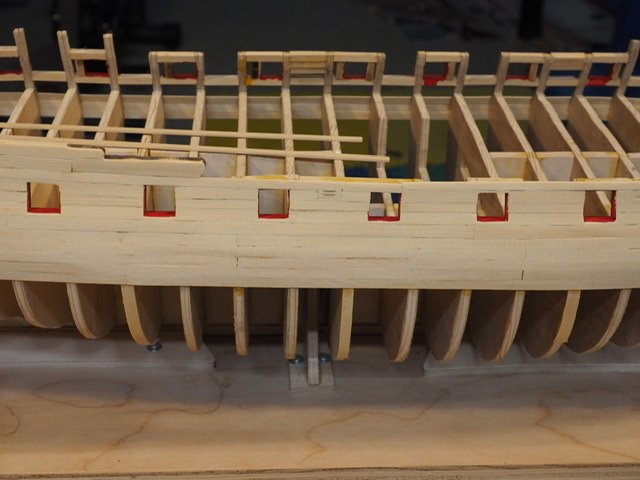
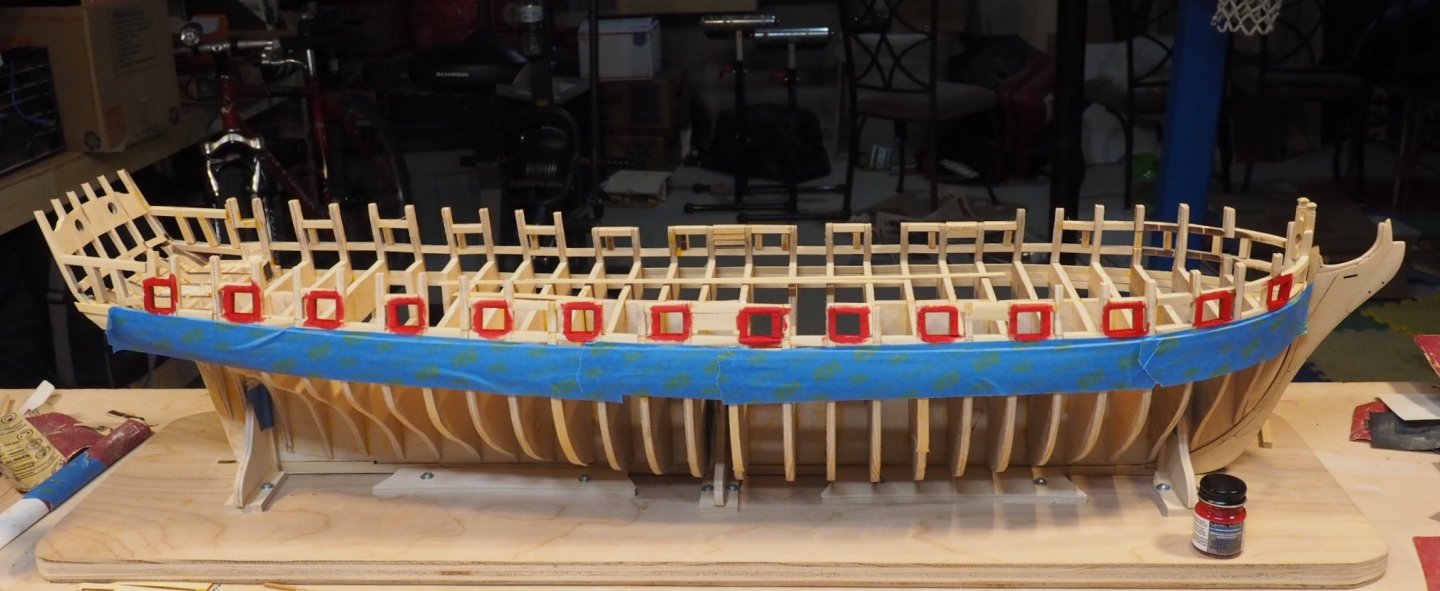
I’ve made some progress on the wales and painted the gun ports on the starboard side. I used masking tape because I’ve never been sorry for doing so and can’t say the same for the converse. I used Testors acrylic Caboose Red paint and did it with a brush.


-
It looks great, Bob. I really like how your caulk lines came out.
-
Thank you for the extra details, Rusty.
- 642 replies
-
- 1
-
-
- winchelsea
- Syren Ship Model Company
- (and 1 more)
-
Is that a Saturn V rocket in the corner of your first photo? I built the 1:100 Estes kit last summer.
-
Rusty, thank you very much for showing how you fixed this. I imagine others will run into the same problem. Could you please edit your photo with a circle or arrow highlighting your fix to help the remedial students such as myself? I can see the effect of your fix, but I can’t see where you put it. Thanks. It looks great!
- 642 replies
-
- 2
-
-
- winchelsea
- Syren Ship Model Company
- (and 1 more)
-
Neat model, Wayne. You’ve got some great pictures in your log. Nice work on both the model and the photos.
-
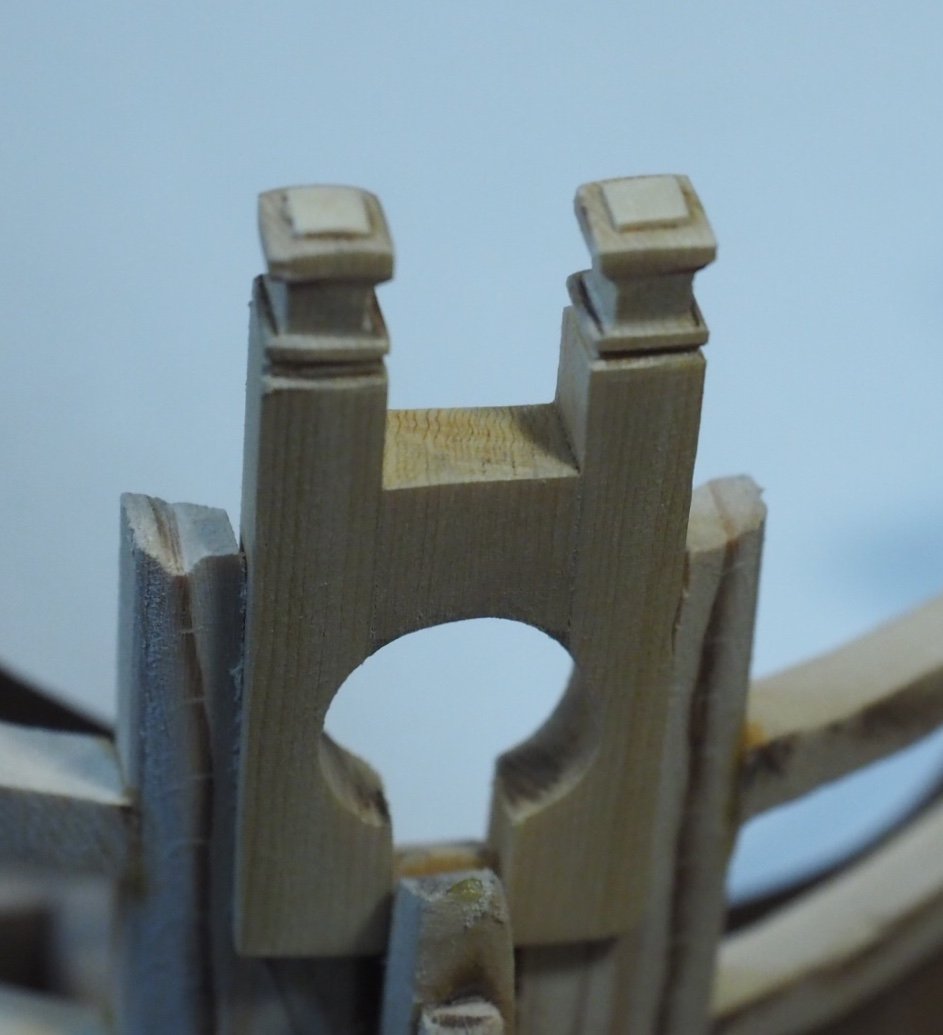
Bollards: Chuck, thank you for including extras of the bollard blanks - I used all of them to come up with a passable pair. I wasted the first three by trying to use sandpaper over a rounded edge to carve out the larger grooves. Then I figured out that I should try to make them more squared using jeweler’s files. That worked much better. I like Rusty’s idea of not gluing them onto the model until I have to. I’d hate to break them after all the work it took to make them. edit: I noticed after posting my pictures that the bollards were sitting high compared to Chuck’s. So I took some measurements and lowered them to the right location.

-
I wonder where I can find some sneezewood for my next project!
-
Thank you, Chuck and Mike. That helps a lot.
-
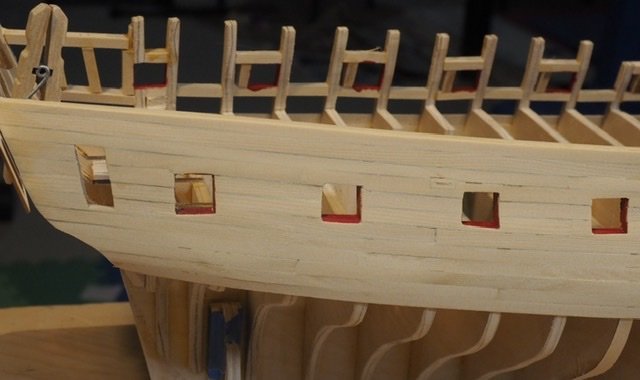
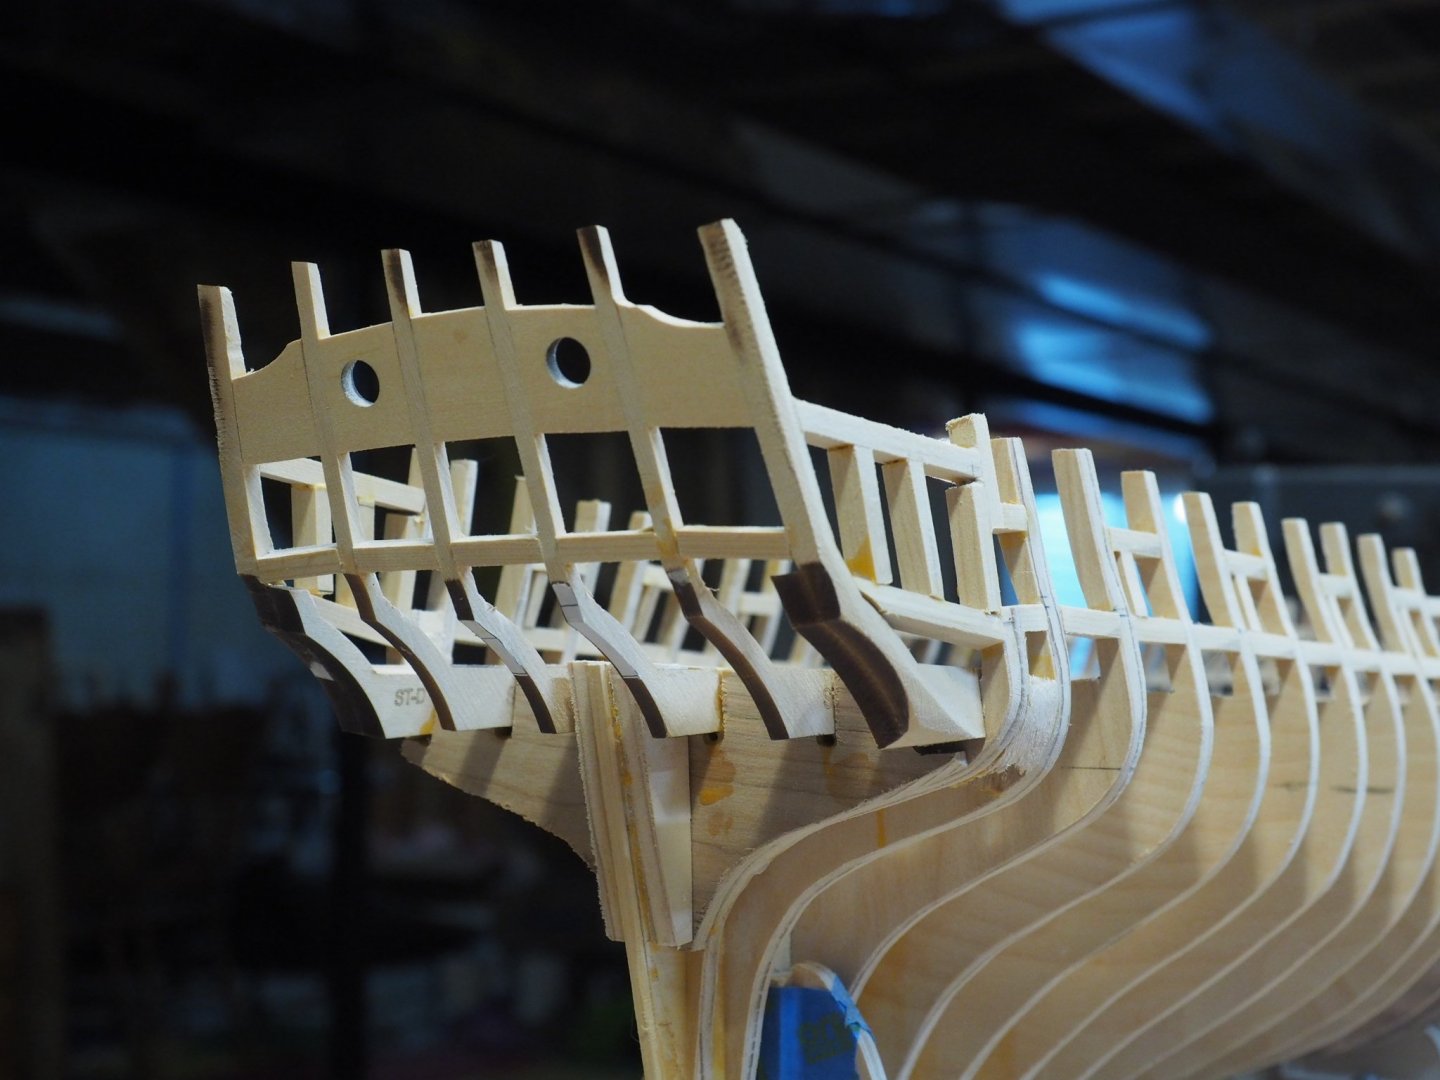
I’ve made some progress on the stern. I’m not quite sure how to use the other two stern filler pieces. It looks like they should go on the bottom of the stern frames horizontally. But I haven’t quite figured out how they fit. Do they need to be sanded a lot? I was thinking about using the stern planks to guide me a bit. In case you noticed, I changed the white balance on my camera from “auto” to “incandescent”. My shop lighting is mostly soft white LED fixtures. This still isn’t quite right, so I’m going to try using the custom white balance setting. But I need to read up on it a bit first.
-
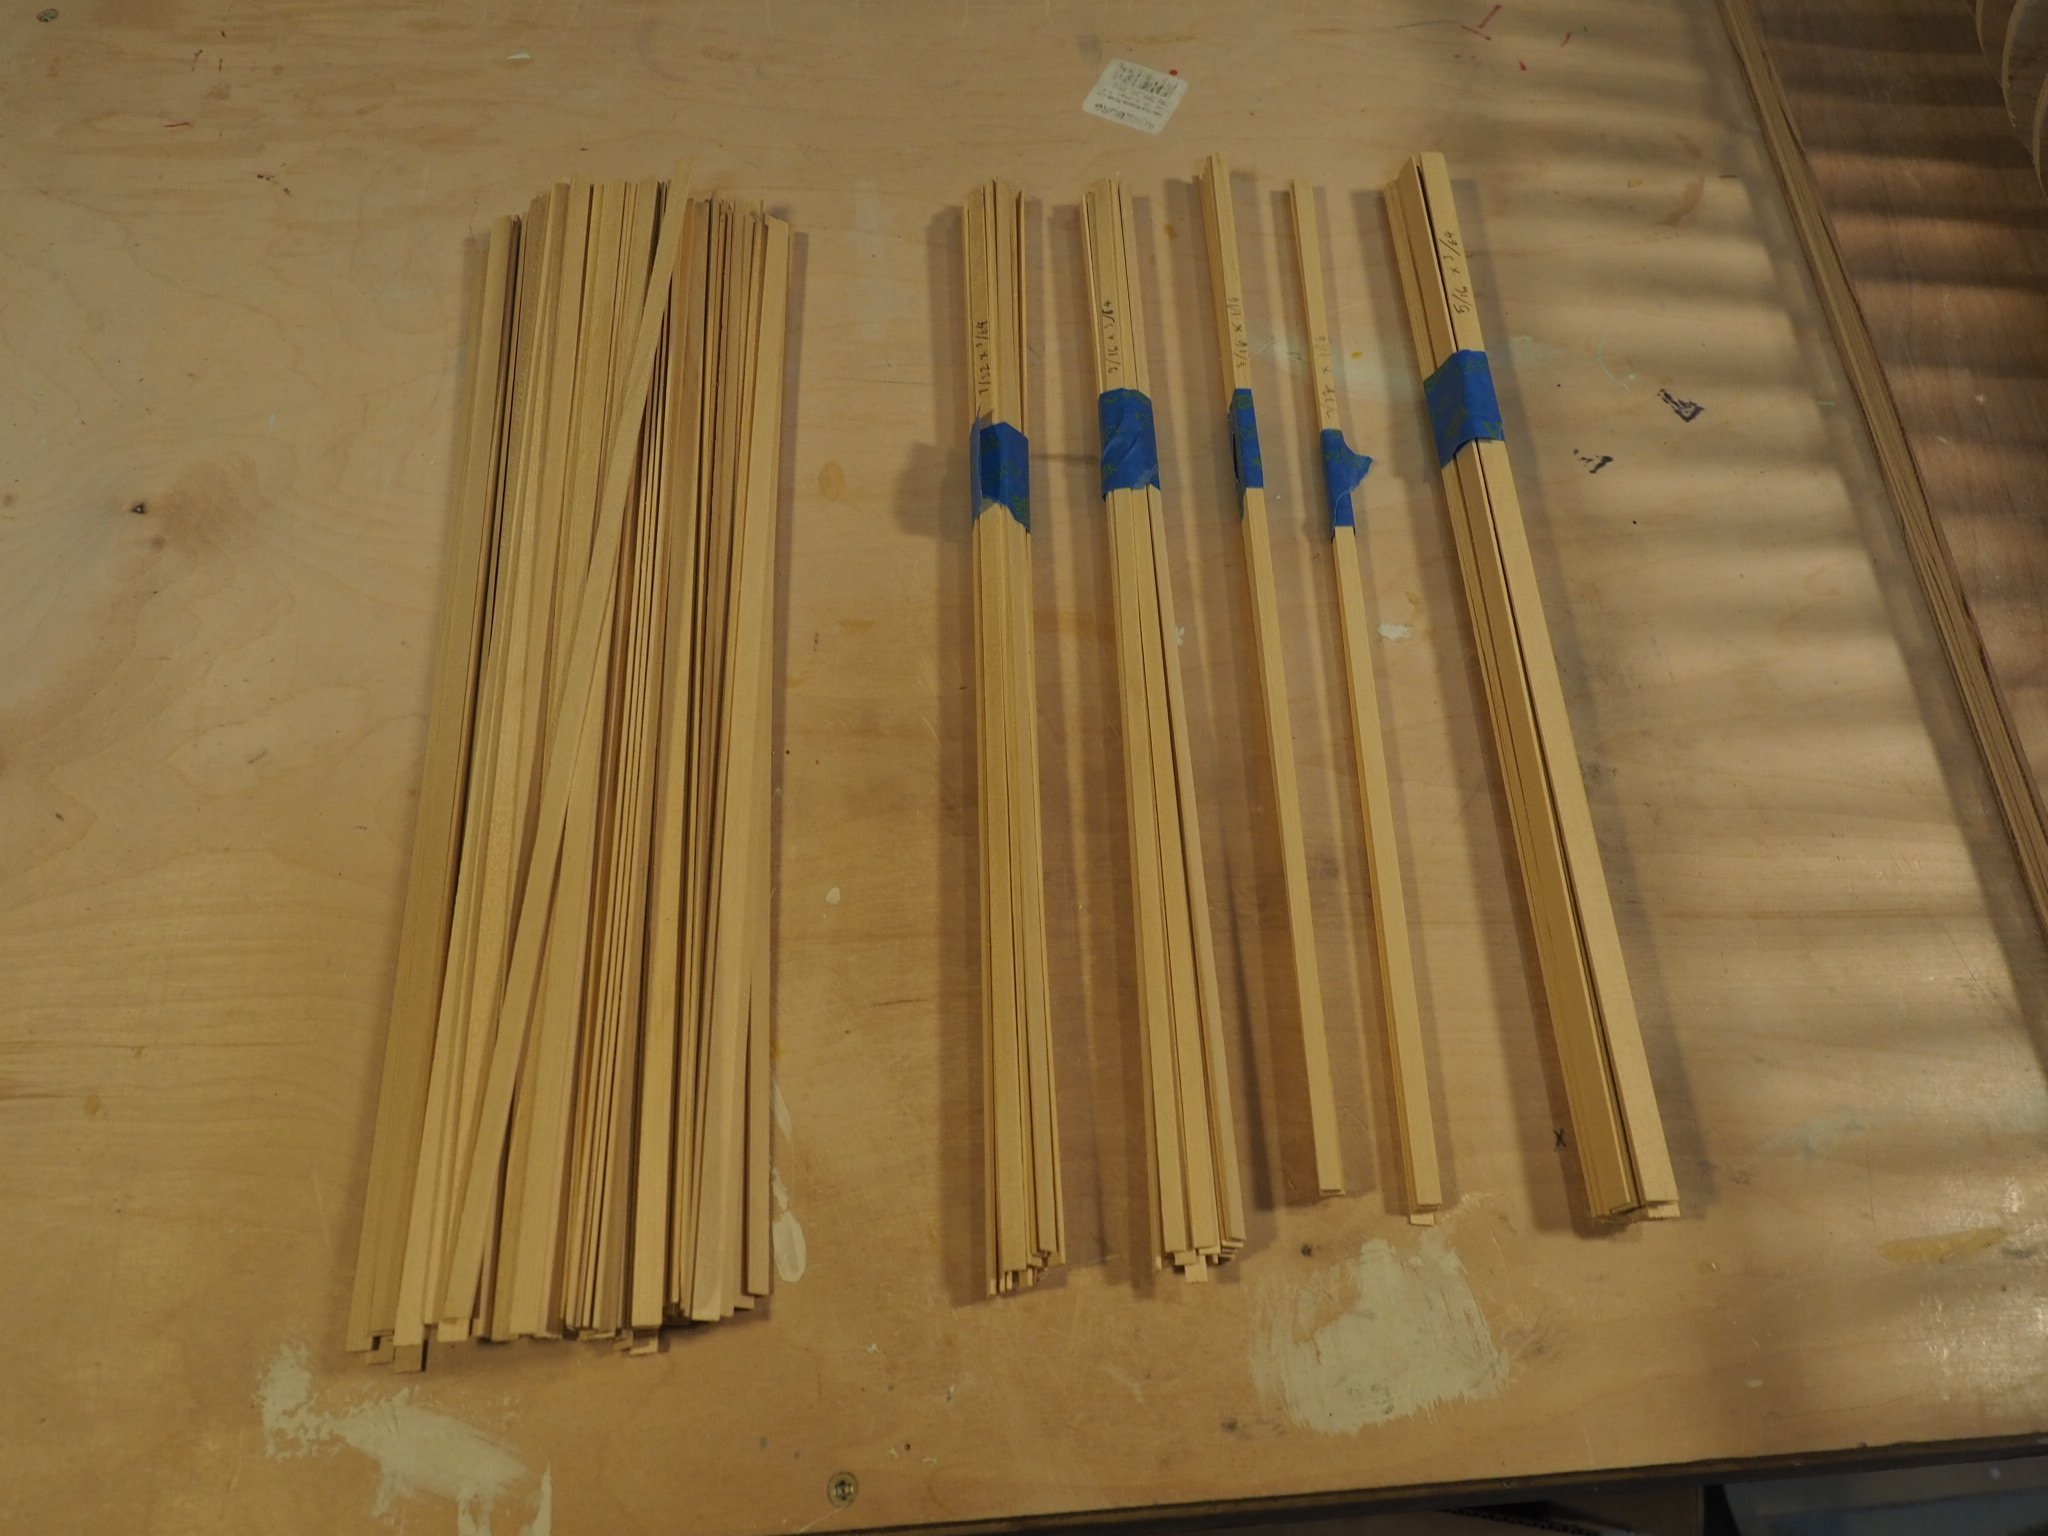
It was a beautiful day here in southeast Michigan today: 50 degrees and sunny with just a little more breeze than I would have liked. So I pulled my table saw out of the garage and milled my chapter 2 lumber. My saw is a Jet 10” contractor grade saw with a pretty good blade, but a crappy fence. So I used a piece of 3/4” birch plywood to make a false deck that I clamped on top of it and screwed a 1/4” thick piece of basswood onto that to use as a fence. That gave me good results. Unfortunately, my blade kerf is thicker than a band saw blade. Thirteen 1/4” billets yielded about 150 planks. So I’m sure I’ll be short. I’ll wait to order more until I get an idea of how short I’ll be. I’m very happy with my results. I made a ton of pieces today and kept all of my blood inside me. Table saws are very unforgiving, so I took my time and did it very carefully.

-
Honestly, Derek, there have been many times I wished I had just bought the laser cut bulkhead set. Especially while I was cutting it out for the second time!
-
It looks like you're off to a great start! That Santa is a great guy, bringing you an airbrush! I'm sure you can find good help on using it in this site. You'll probably get some good replies, but you might dig up more with the search tool.
-
Chuck, thank you for putting in the effort to show this several ways. My favorite is the natural wood shingles withe the top painted to match the frieze.
- 1,784 replies
-
- 1
-
-
- winchelsea
- Syren Ship Model Company
- (and 1 more)
-
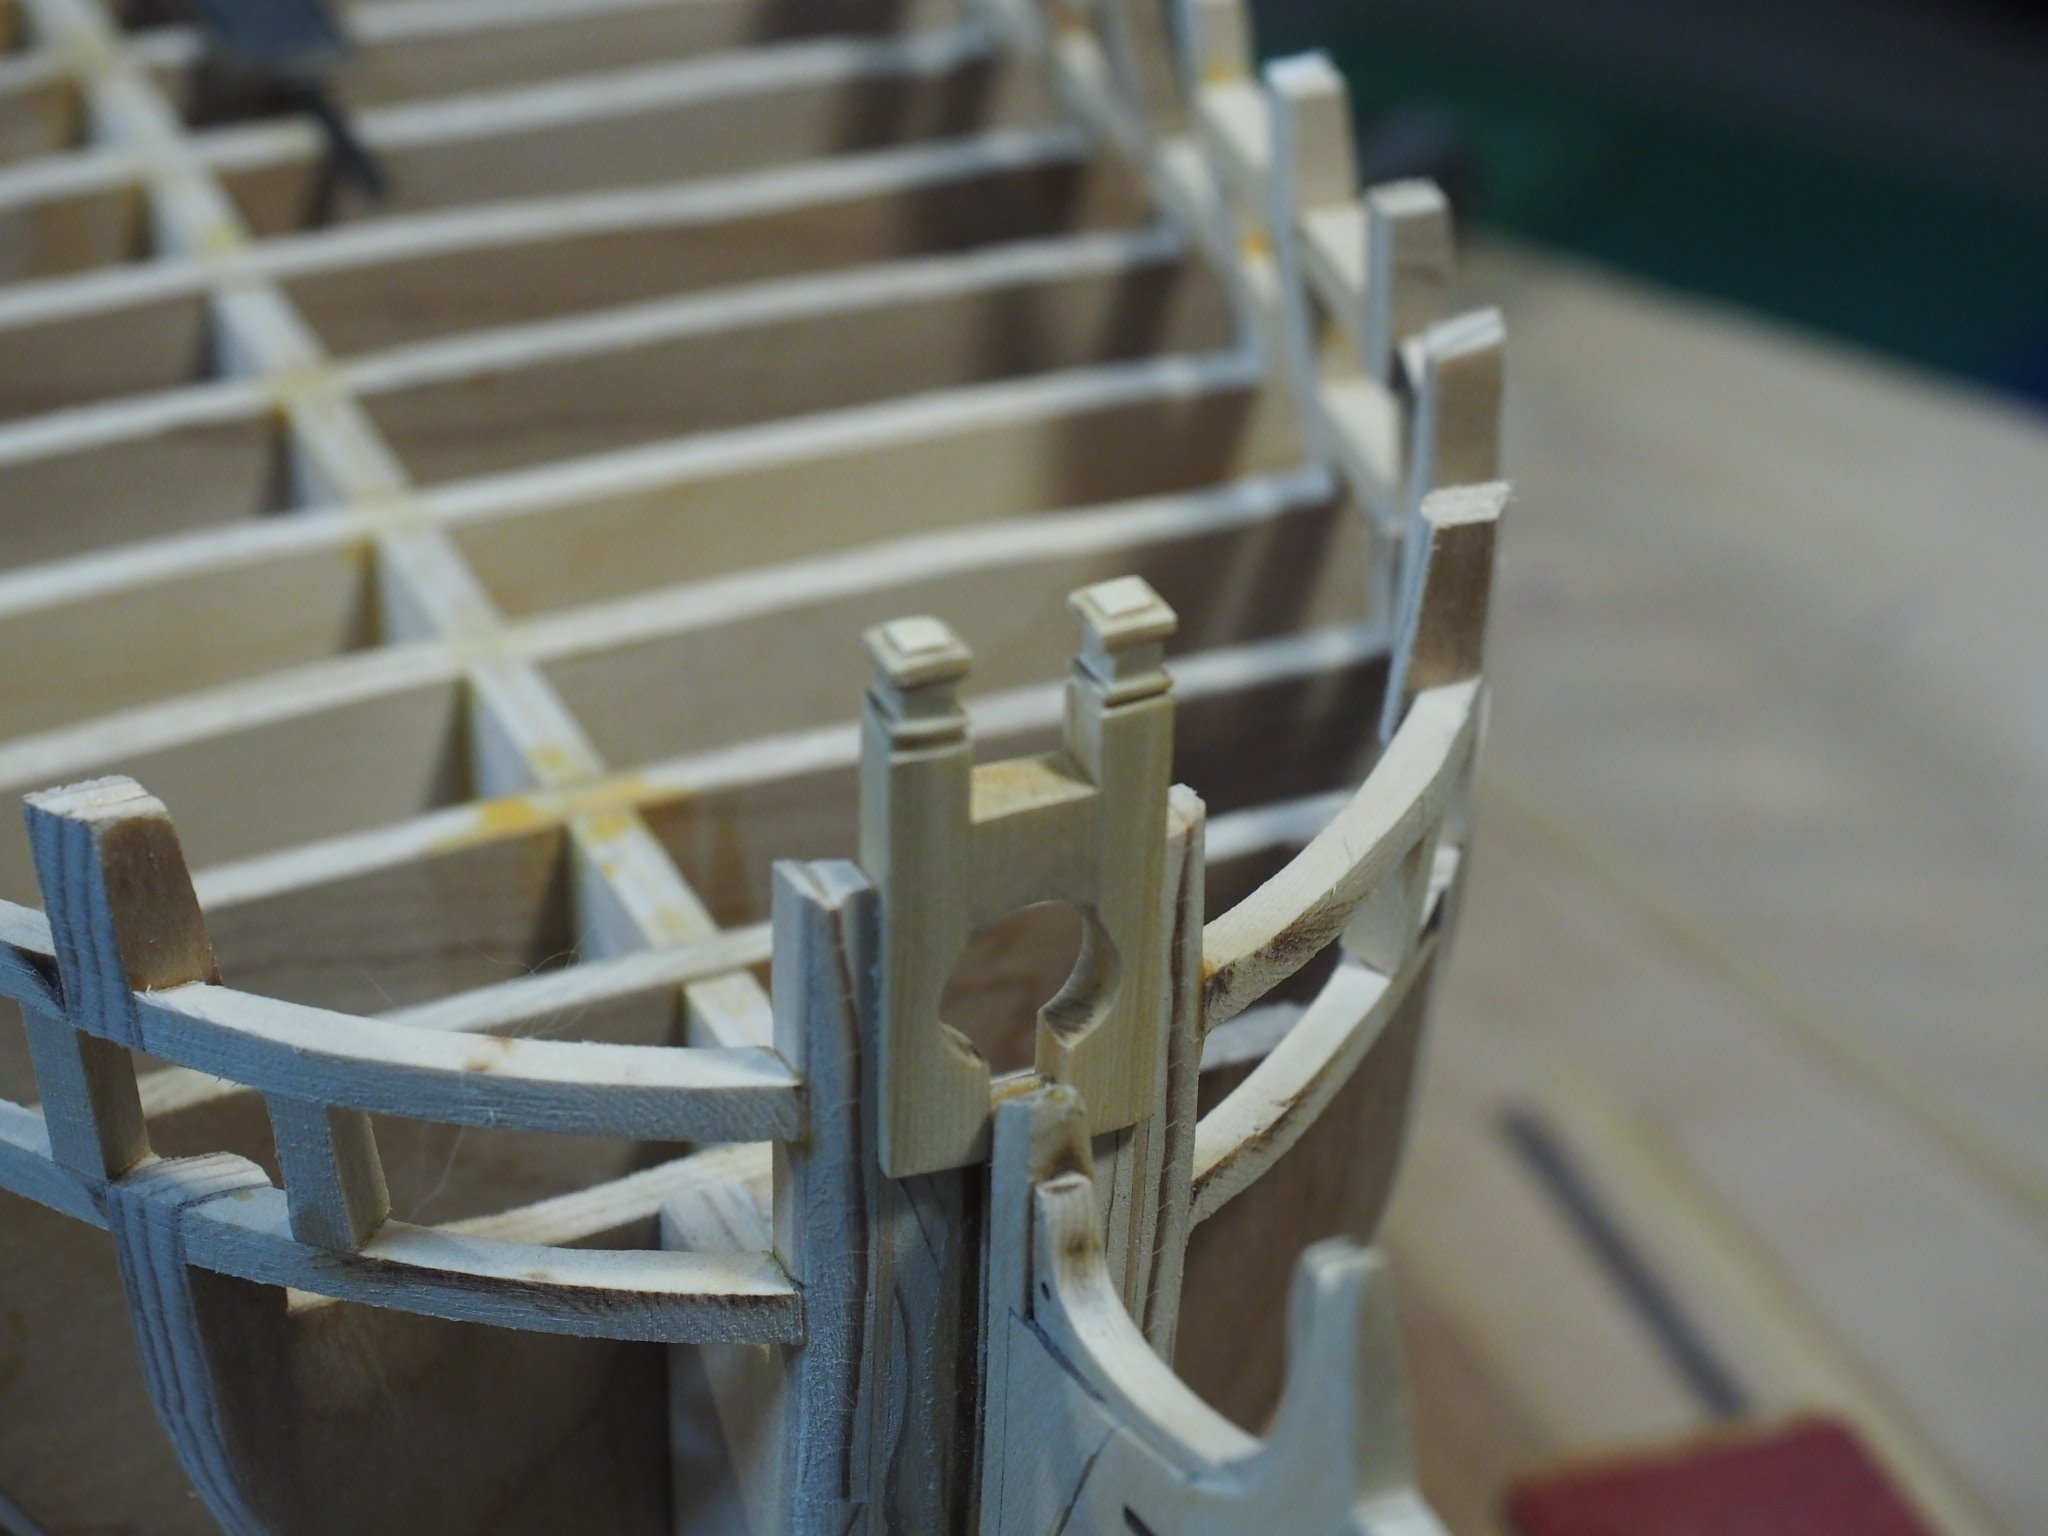
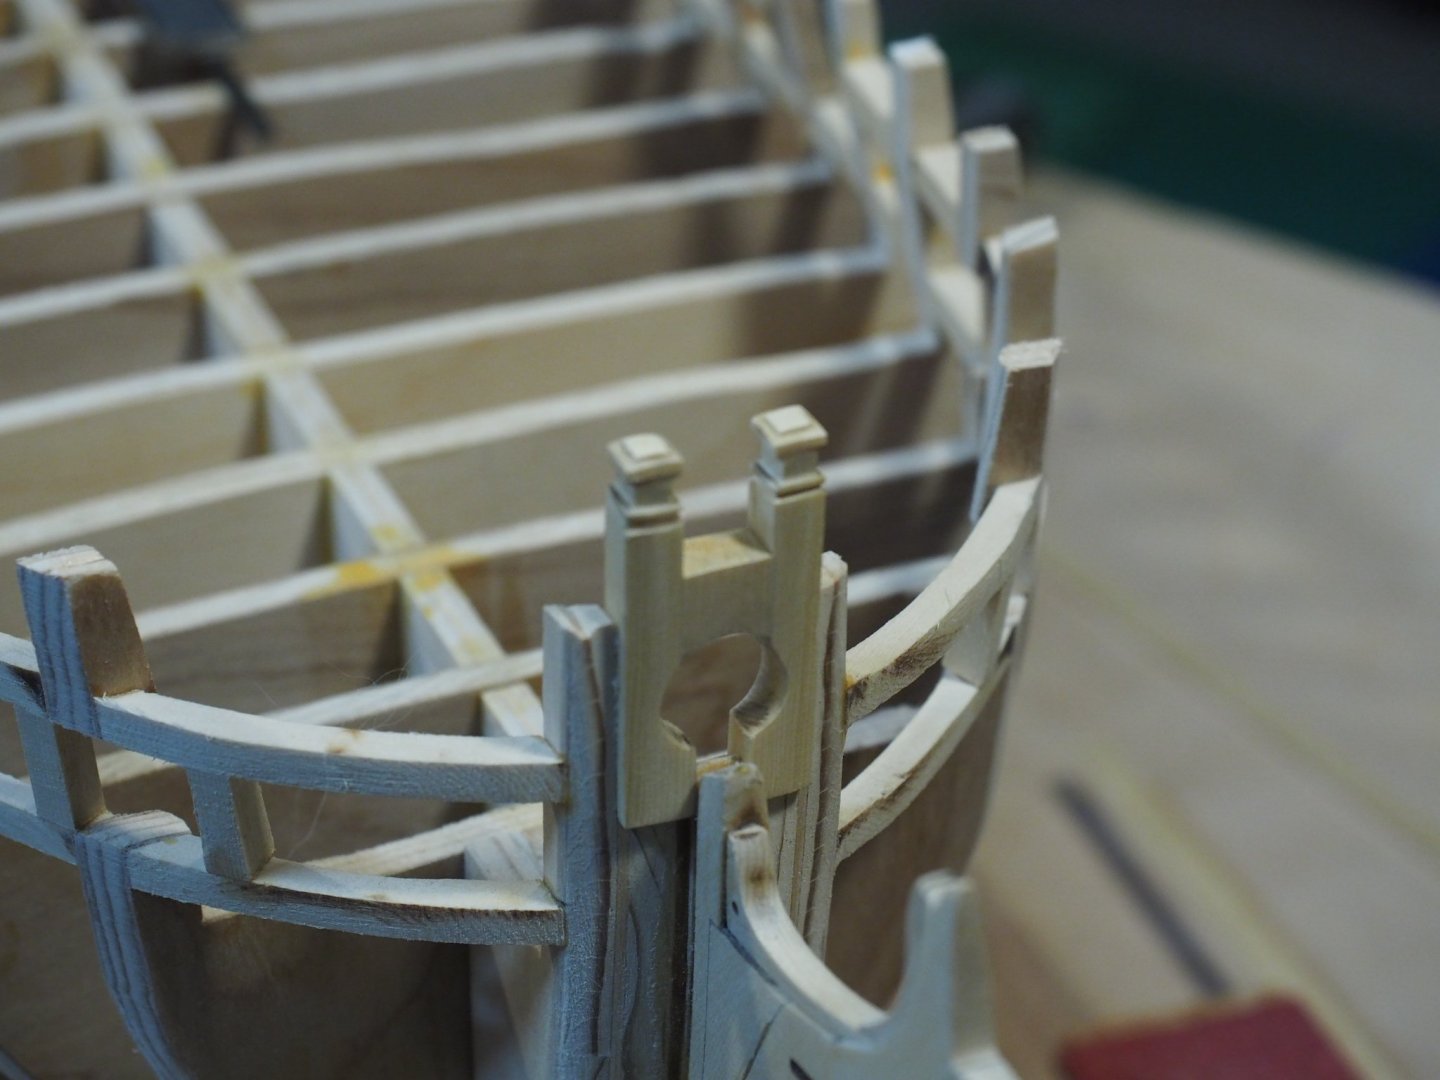
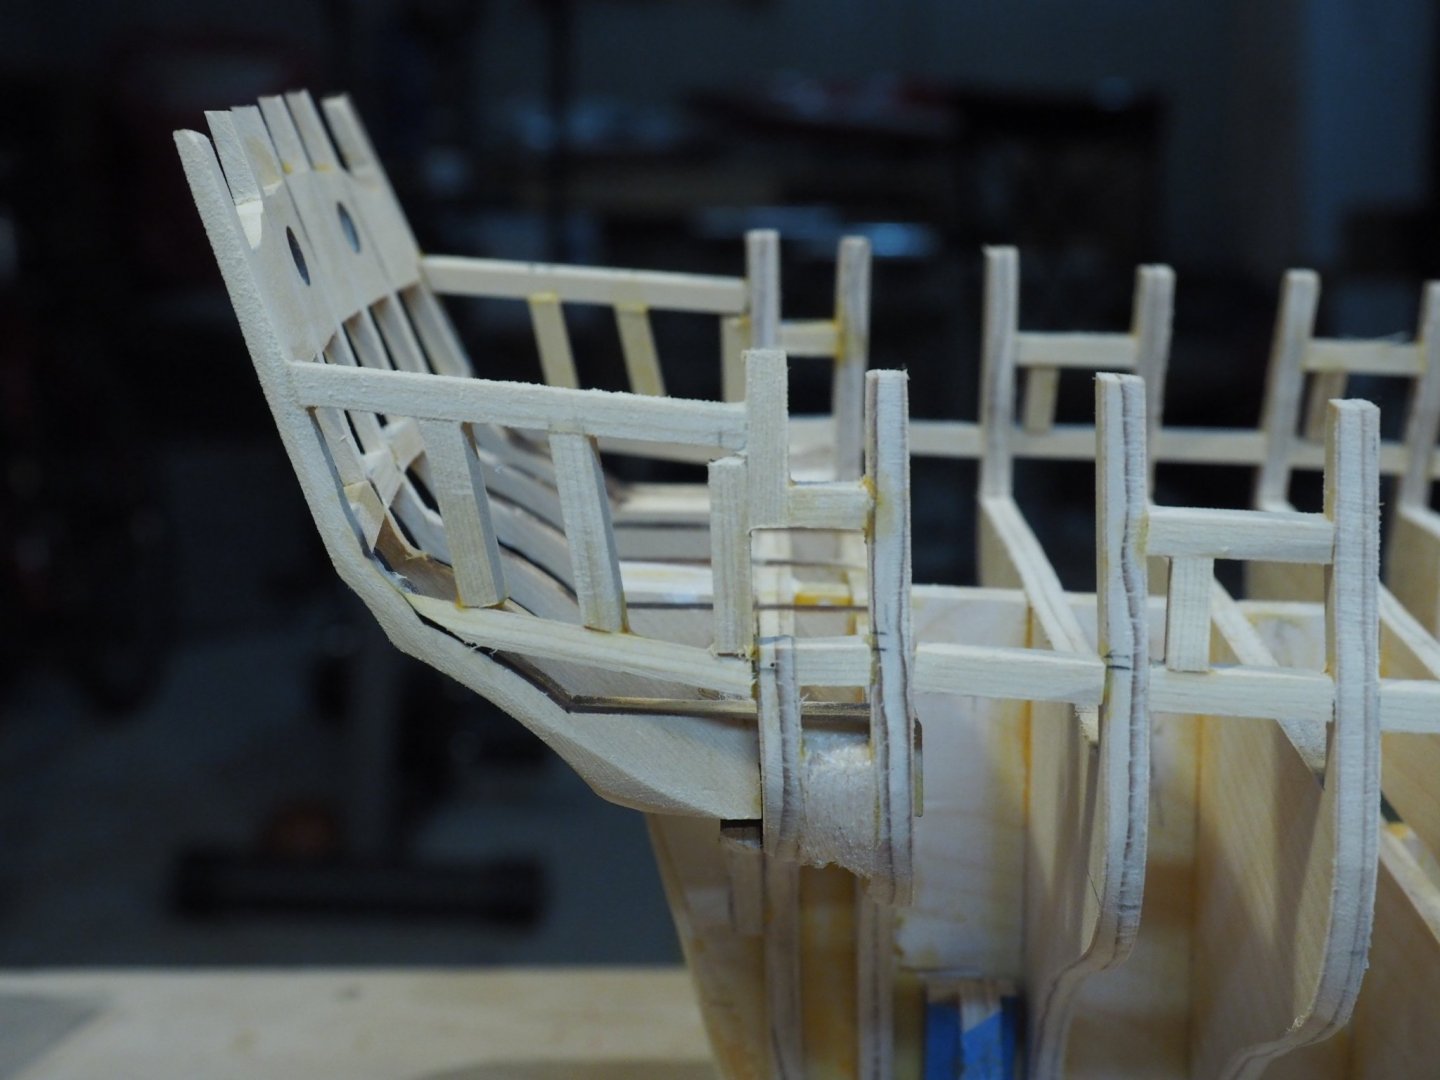
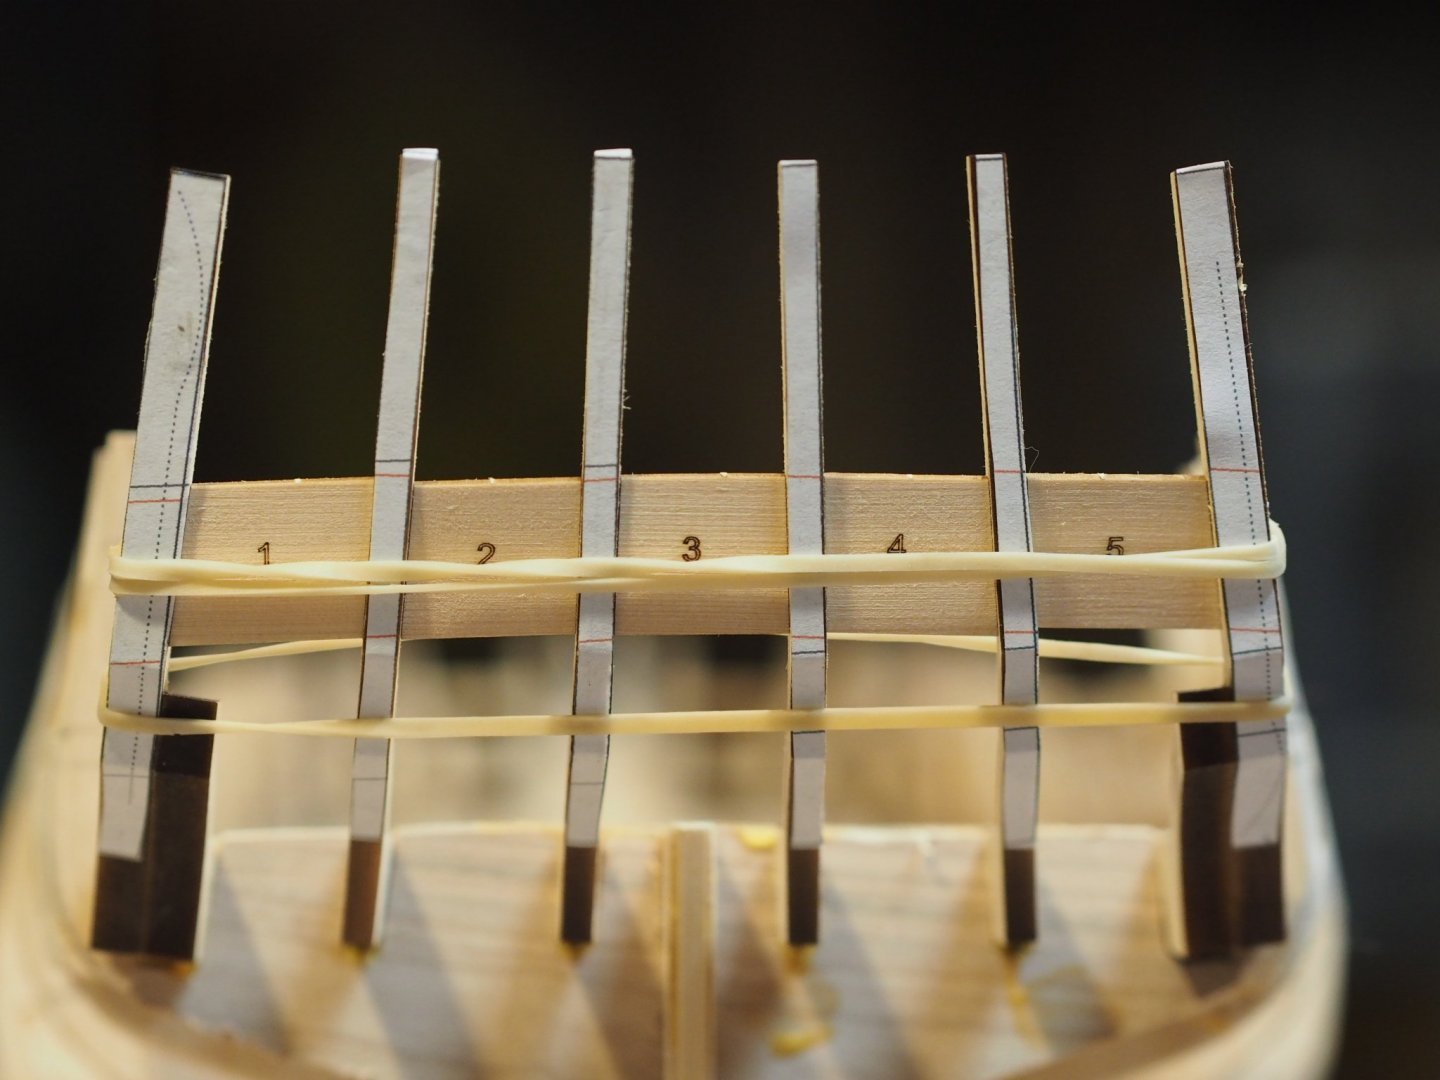
Tonight’s work was to set the stern frames, glue the tick strips, and fit the window guides into place. Next time I get to the shipyard, I’ll work on the sills and lintels.
-
That looks great, Doug. Does that mean the deadeyes will snap into the eyebolts?
- 79 replies
-
- 1
-
-
- marisstella
- barque
- (and 1 more)