


mikegr
-
Posts
587 -
Joined
-
Last visited
Content Type
Profiles
Forums
Gallery
Events
Posts posted by mikegr
-
-
On 9/2/2021 at 10:00 AM, RGL said:

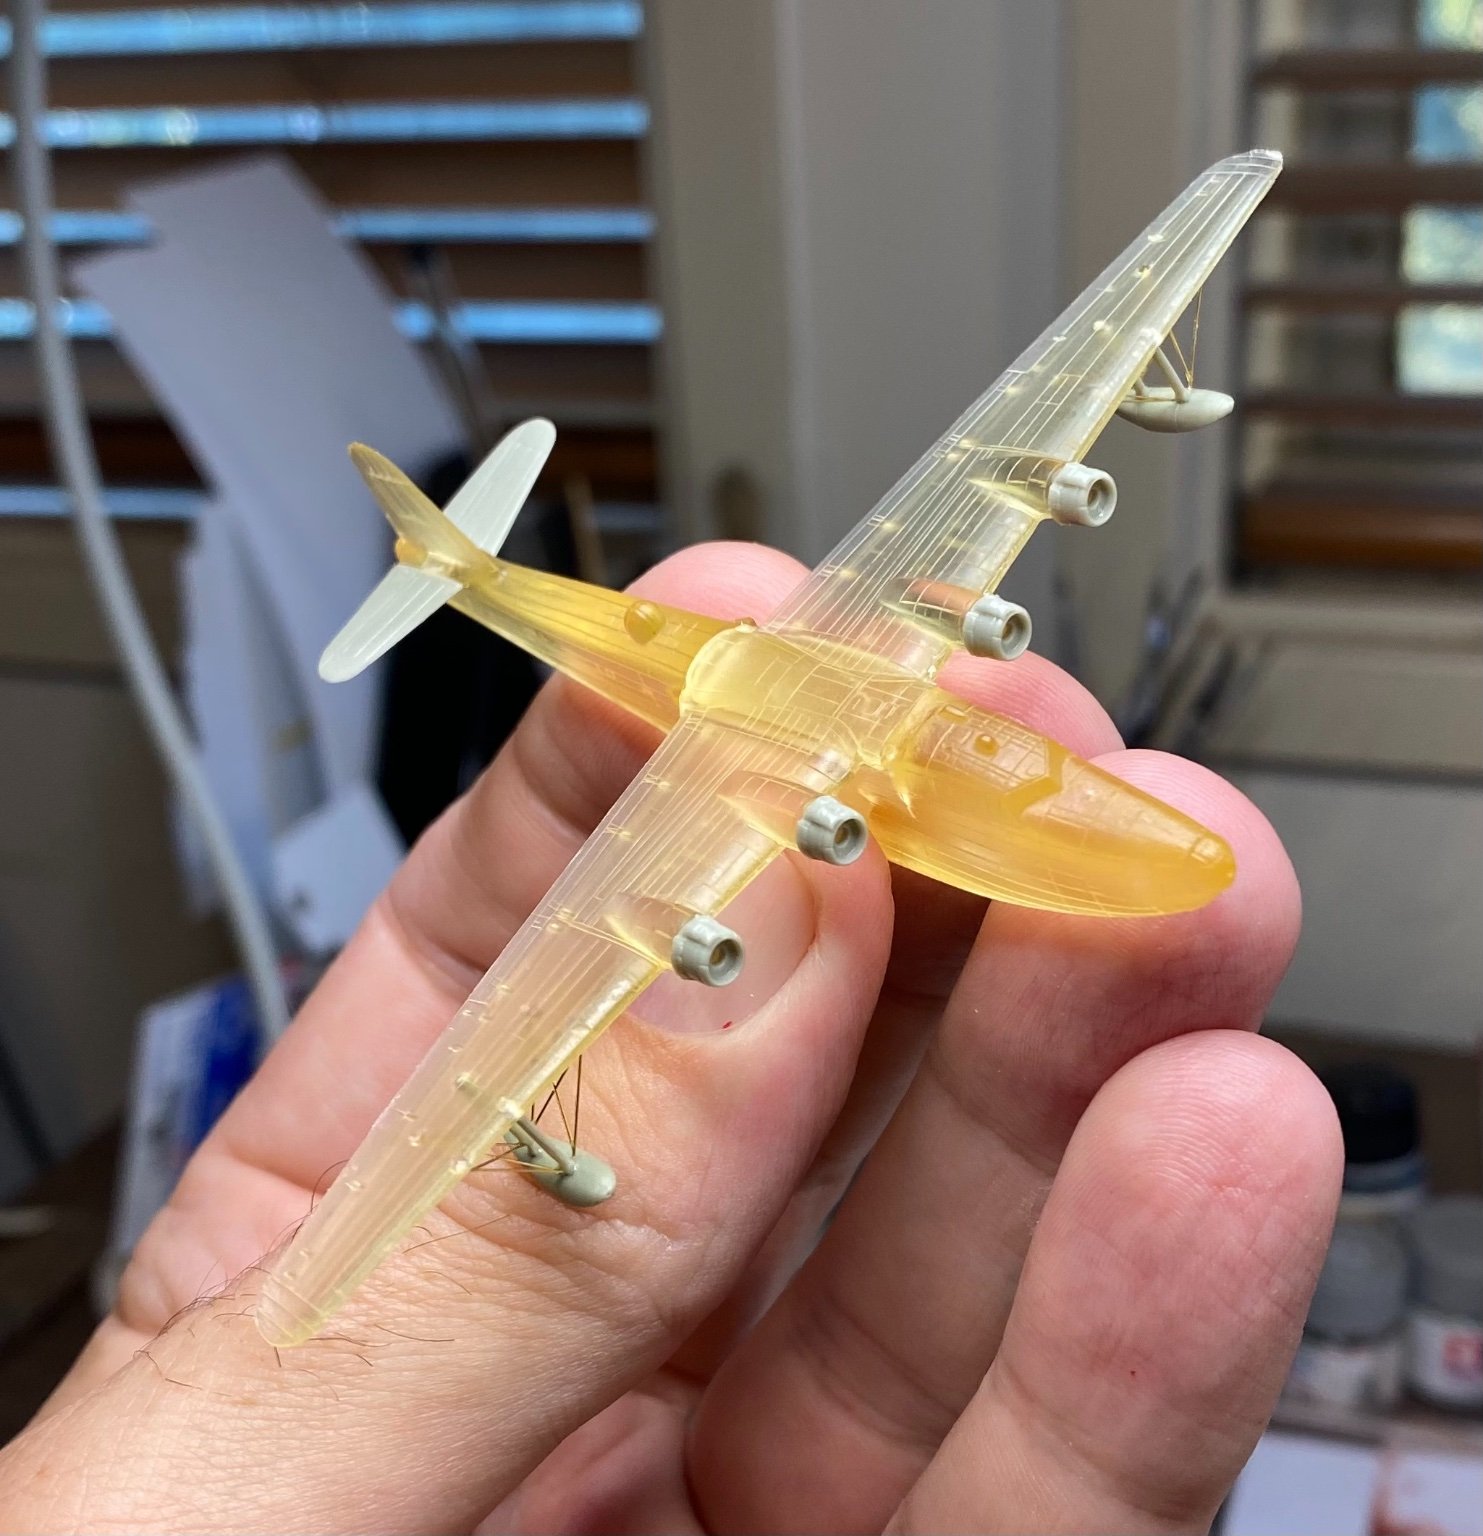
Turbojet?😄
- thibaultron, mtaylor, Beef Wellington and 5 others
-
 4
4
-
 4
4
-
4 hours ago, CDW said:
That's a fleet of built models! Do you have any plan on how much time you will spend doing restoration on each model? You could potentially sink a lot of time into restoration but it should be rewarding and fun. Looking forward to seeing your progress.
Time...
Obviously depends in what are you want to achieve. Here's is an answer from a time expert along with his work
"Painting is essential for the 3D look. I highlight and shade them like I would with any figure at any scale, according to the light coming from above. This emphasises the 3D-look very much, and makes the figures appear more detailed and refined.
Only drawback to these techniques: it is time-consuming. When working in series, I spend 1,5 to 2 minutes on the tickening of each figure, while painting takes about 5 minutes per figure. Together with preparation and installing, this makes about 10 minutes per figure. Not too bad, but it adds up quickly. Morris has 59 on her now, and I estimate the diorama will take about 1000 more...
But hey, good results do take some effort, don't they?"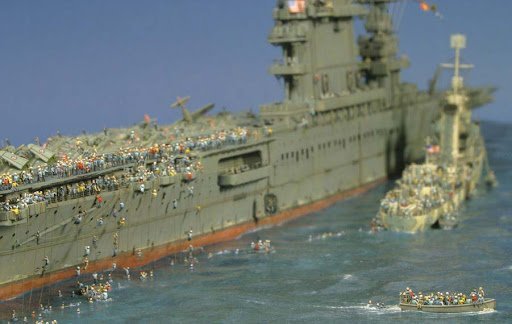
- GrandpaPhil, Landlubber Mike, lmagna and 10 others
-
8
-
 5
5
-
Before presenting my future project i will make a short review of some completed last year
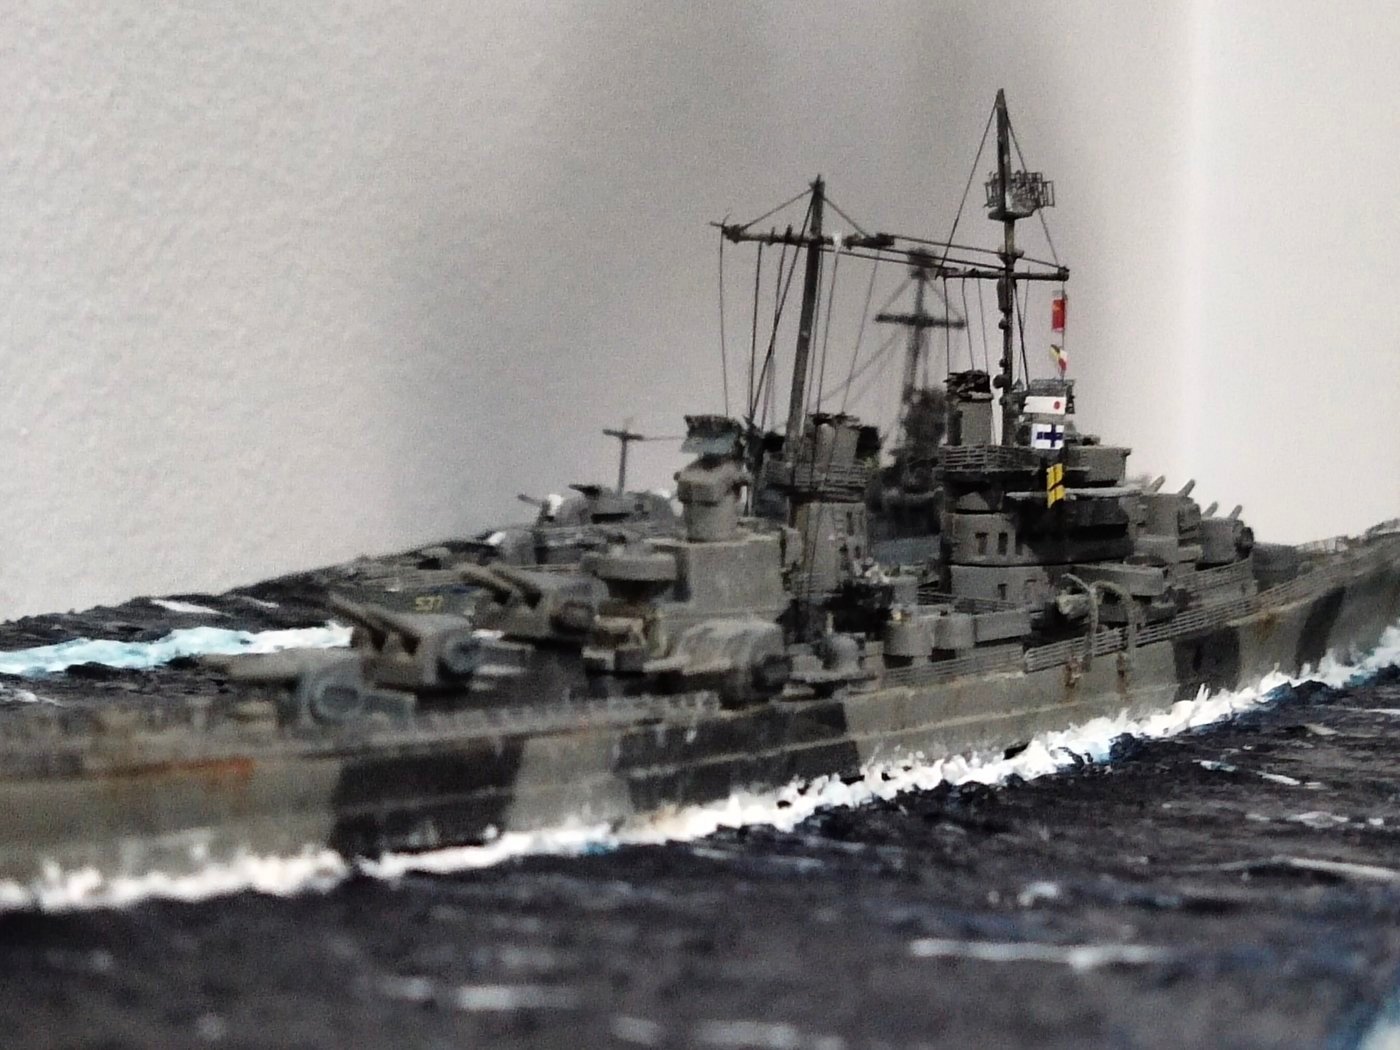
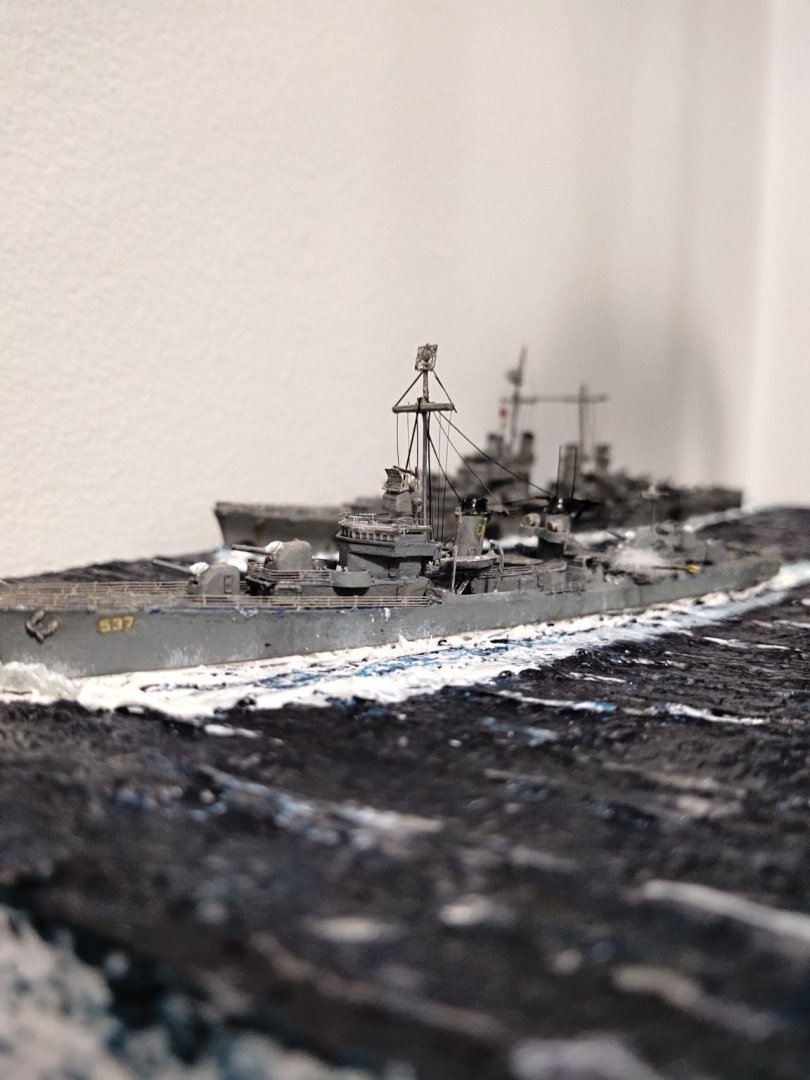
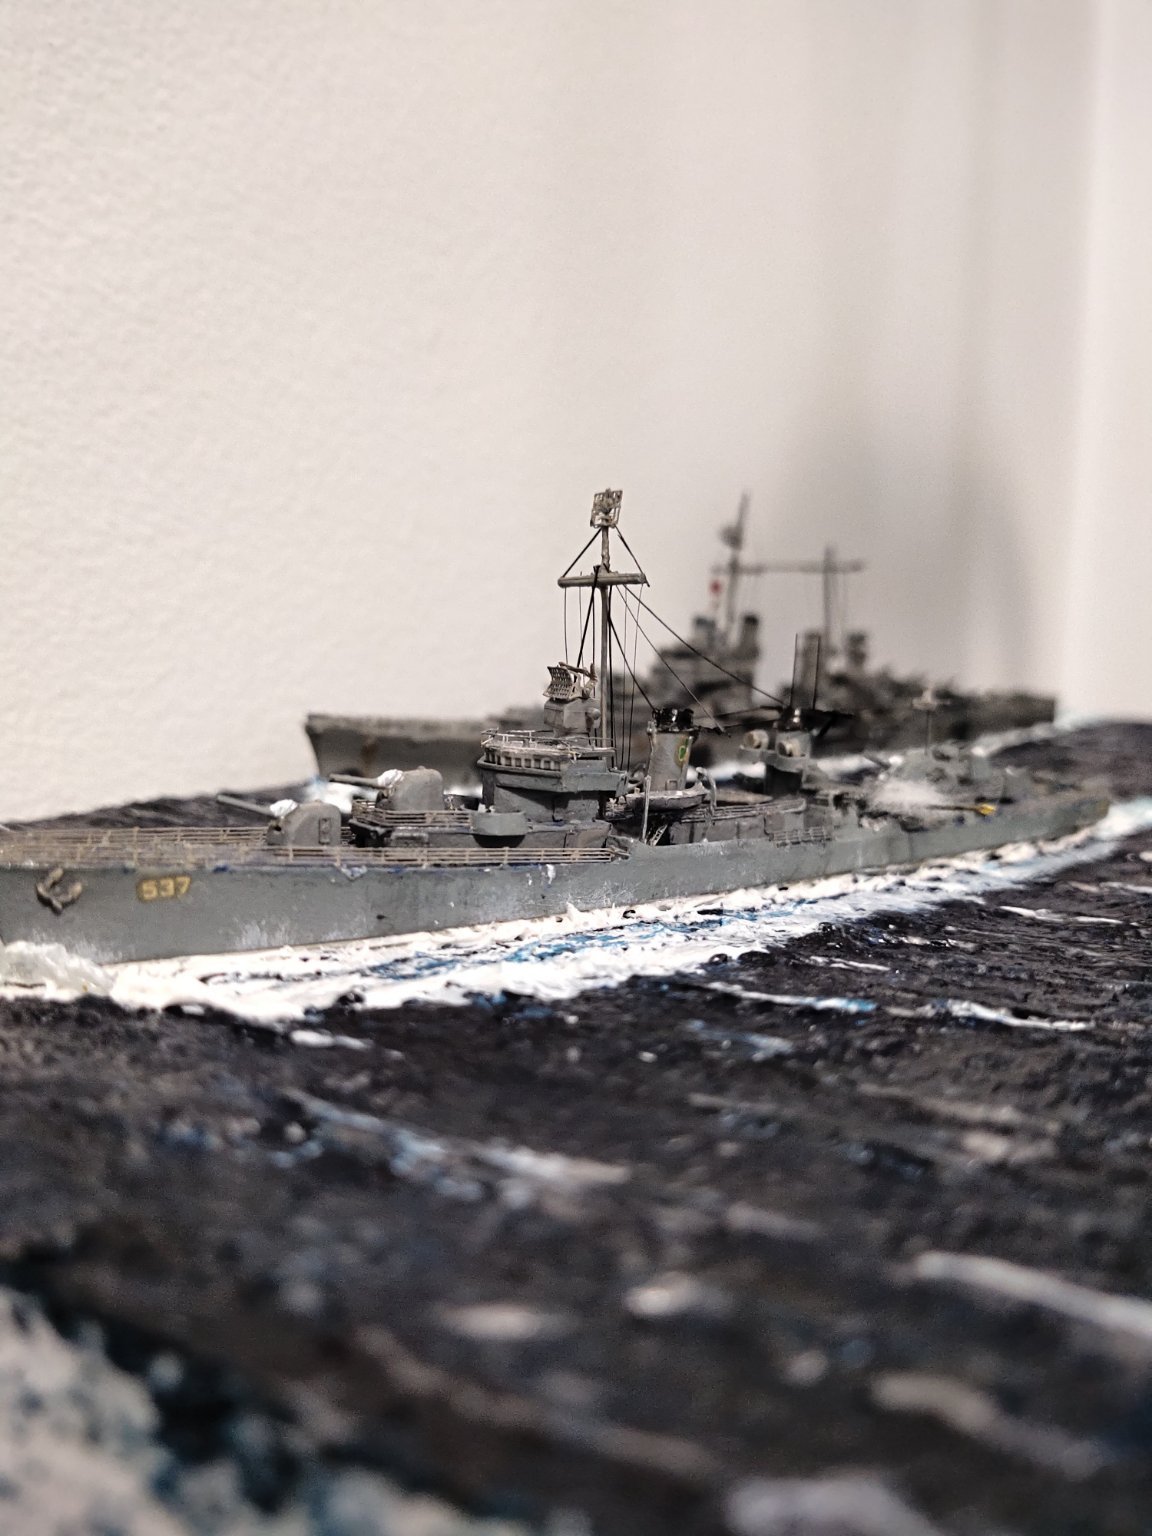
USS San Diego by Matchbox. Rebuilt with some PE parts (AA guns ,rails and sme radar). Actually the whole model except hull sides need PE replacements but anyway
Alongside is DD 537 USS The Sullivans, named by the 5 brothers killed when their ship, USS Juneau, was sunk by a Japanese submarine
- thibaultron, yvesvidal, lmagna and 9 others
-
12
-
18 hours ago, Landlubber Mike said:
Wow, good luck! Did you build those?
yes i built these at the age of 15-25.
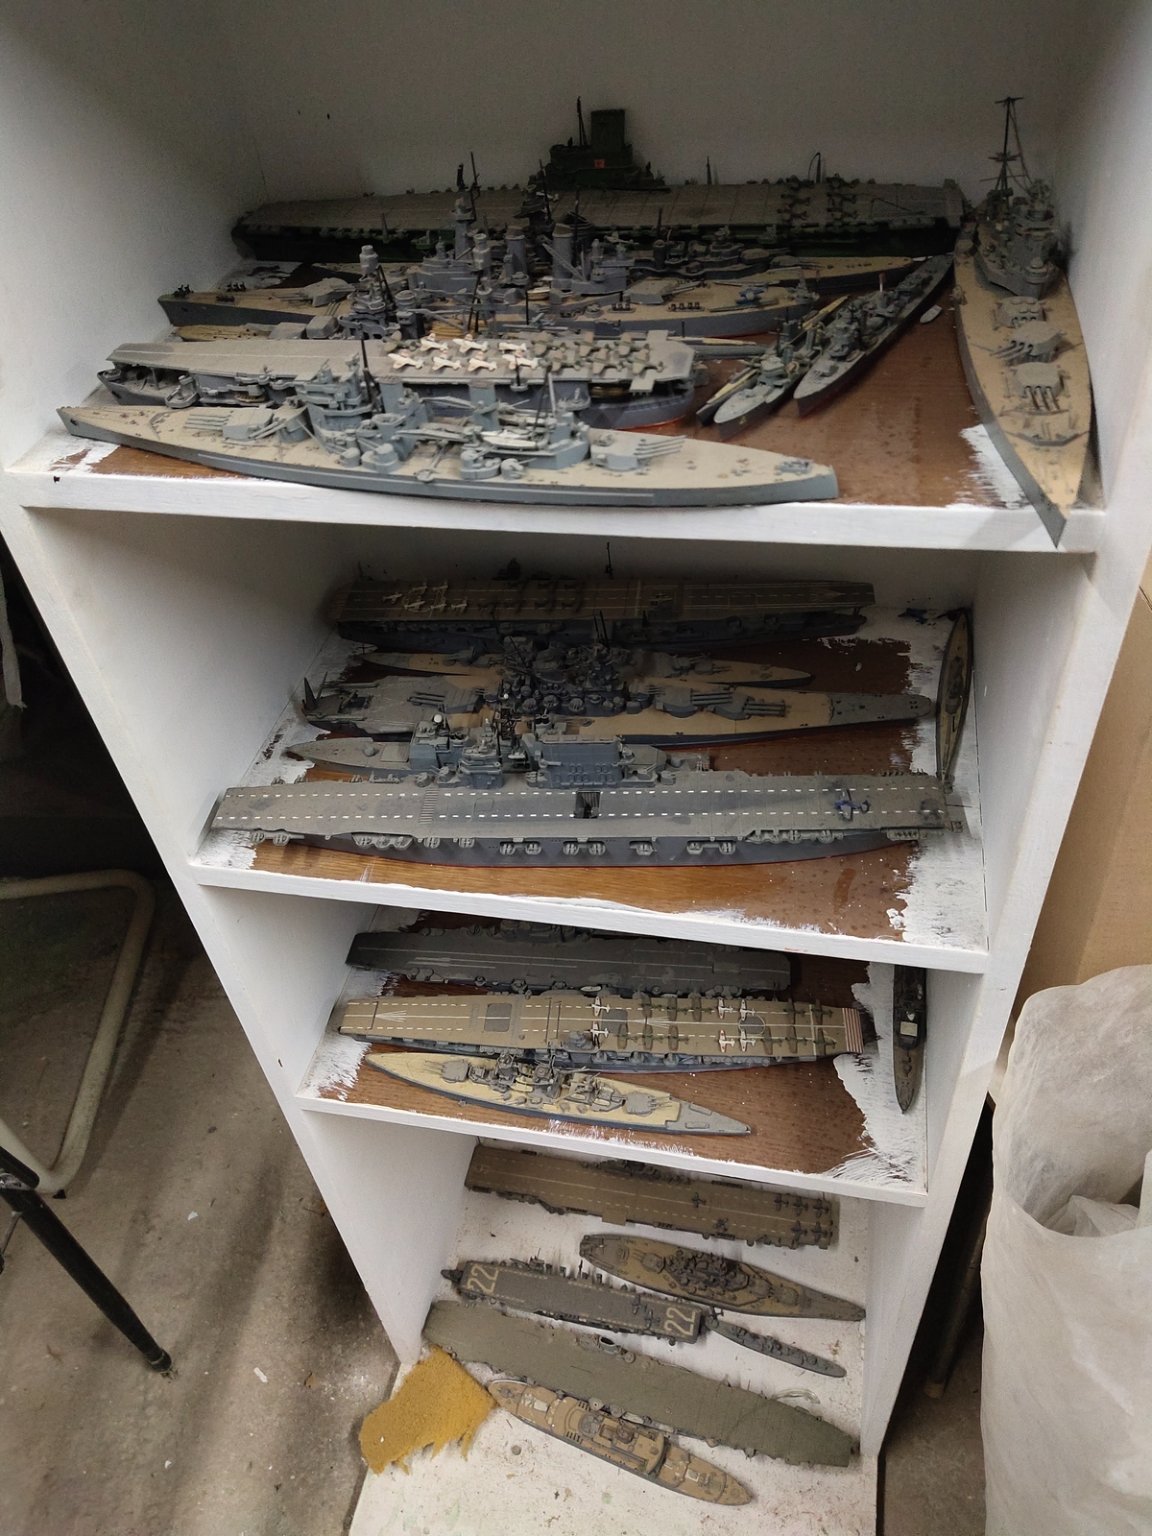
A couple of years ago i was browsing on ebay then bought a couple of kits. Now i have more than 100. But before start making these i decided to rebuild the old ones so i can practice with new materials and techniques (PE parts, rigging etc). I also doing scratchbuilt project which enchanced my skills a bit further.
-
I am in the middle of process restoring about 30 pieces of 1/700 items built 25-30 years ago with brush and enamel paints. I decided to concentrate all logs on a single thread as some may not need heavy restoration and to save forum from opening too many threads, of mods agree.

-
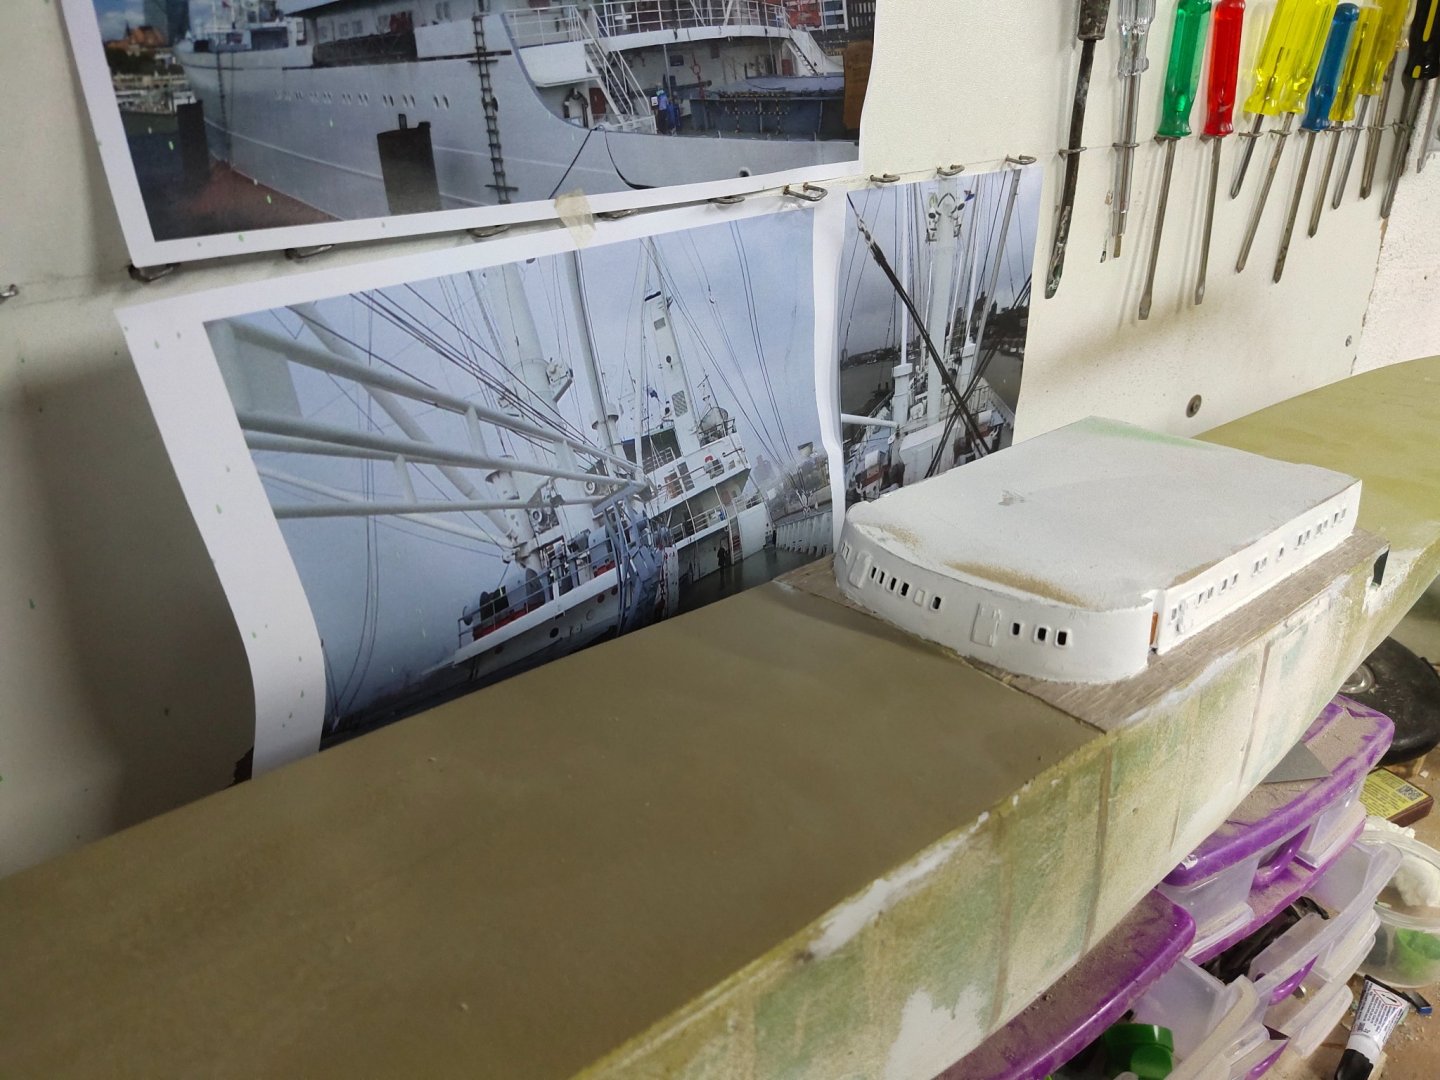
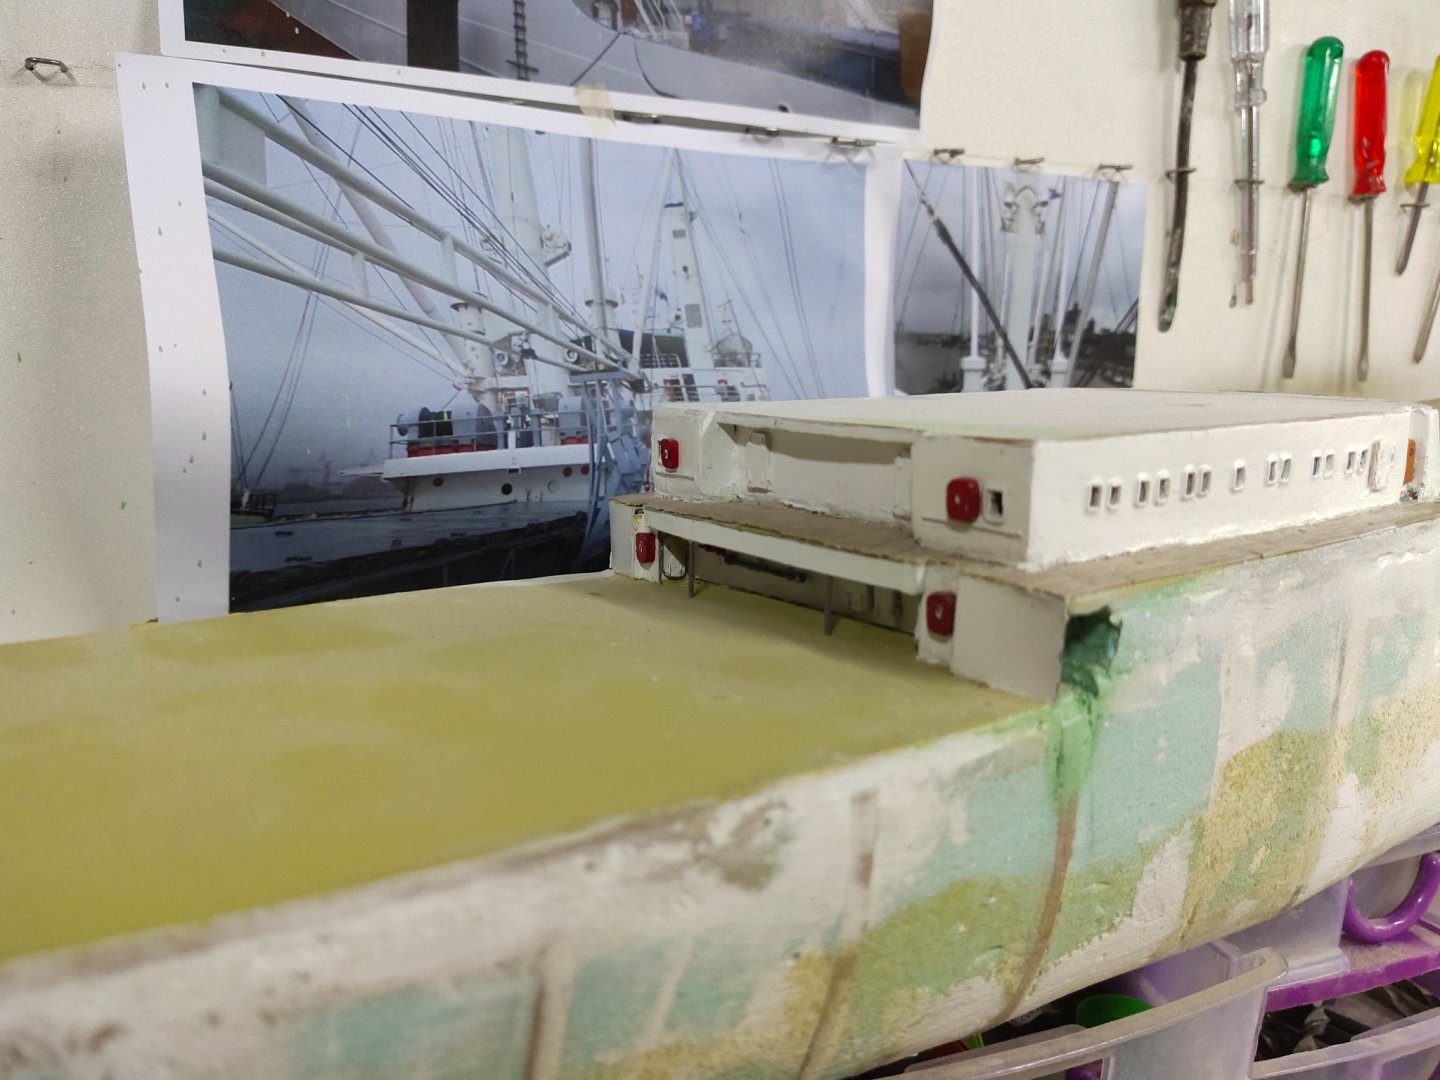
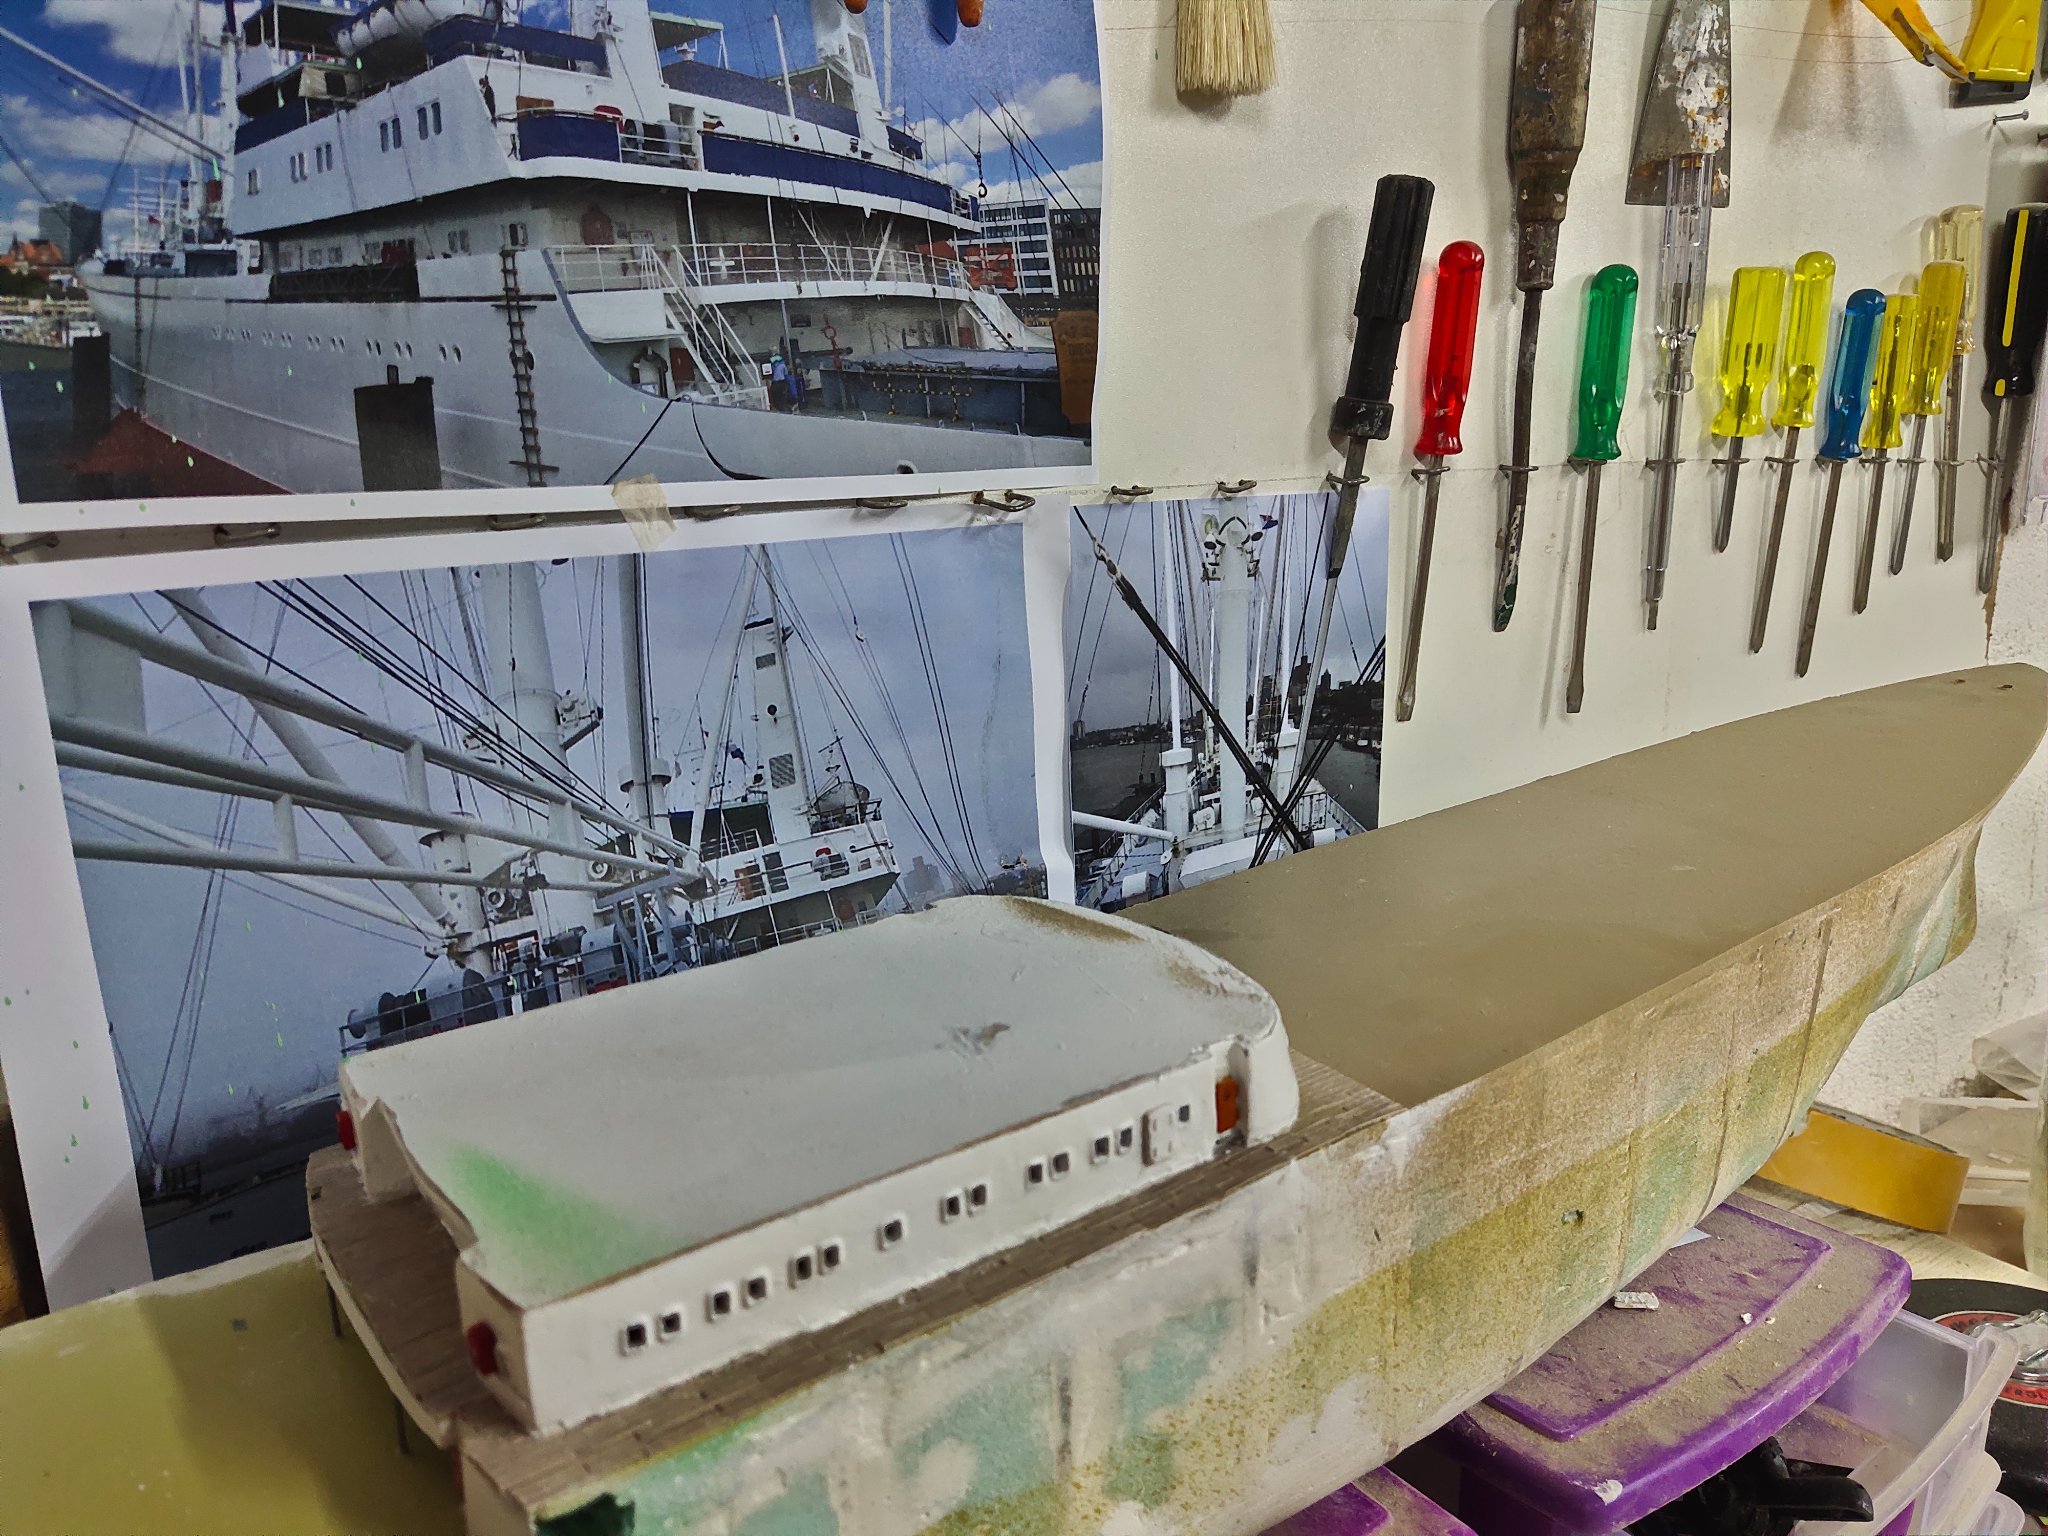
I have almost finished the first Deck minus some details. I made the wooden deck by veneer. I cut It in planks 2cm x 1-1.2 mm wide by hand. Some were not cut accurately so had to be removed and replaced.

- yvesvidal, mtaylor and GrandpaPhil
-
3
-
5 hours ago, RogerF said:
Thanks for the tips Mike, much appreciated. Fortunately I have some spare PE I can practice on to develop technique. I use good quality surgical scalpel blades from both Swan Morton and a German medical supplies company but I tended to rock the blade over the cut-line to separate the part from the sheet. I've tried the 10 blade (curved) and the 10A blade which is straight but I have broken both types, I suspect because surgical scalpels are never intended to be used in the way I use them or to cut metal rather than soft human tissue! I never thought of trying a back and forth movement as you describe, sort of like sawing?! But I will try that tomorrow. I always cut parts with the sheet laid flat on either a hard, acrylic tile from "The Small Shop" 'Etch Part Cut-Out Kit' or a glass plate for the bigger PE sheets. In both cases I also use their clear pressing tool to hold the part to be cut along the line of cut. I think the super thin brass sheet used for the Flyhawk up-grades is just close to the limit of what even an experienced builder can reasonably be expected to work without unwanted bending or damage. Or then again I might just be ham-fisted!
Thanks again for the comments and tips chaps, so a good night's sleep and let's see what the morrow brings. 🙂
I have never used surgical blades although I have some in storage. I switched from ordinary to those sold at model stores and was quite happy with the result.
I have worked with several chinese PE parts, all high in detail but also very soft.
Those hasegawa and fujimi I used recently were bit thick and crispy. Very easy to cut, I could even hear the sound while breaking. Very easy to work with.
-
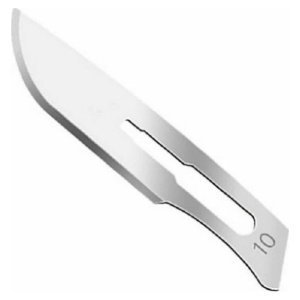
The reason PE parts bents during cutting is because the surface underneath is soft. These tiny parts should be put over a hard bottom. I use an old CD. The blades for this purpose should be of high quality. An extra budget for quality blades should be considered. Their shape should be like this in the picture and the cutting movement should be back and forth with constant pressure
-
-
i agree too, however if someone was lived in Japan may have different opinion as there are brands for the domestic market and never exported.
- thibaultron, mtaylor and Canute
-
3
-
On 6/23/2021 at 9:47 PM, boris279 said:
Thanks to all who watched and responded.
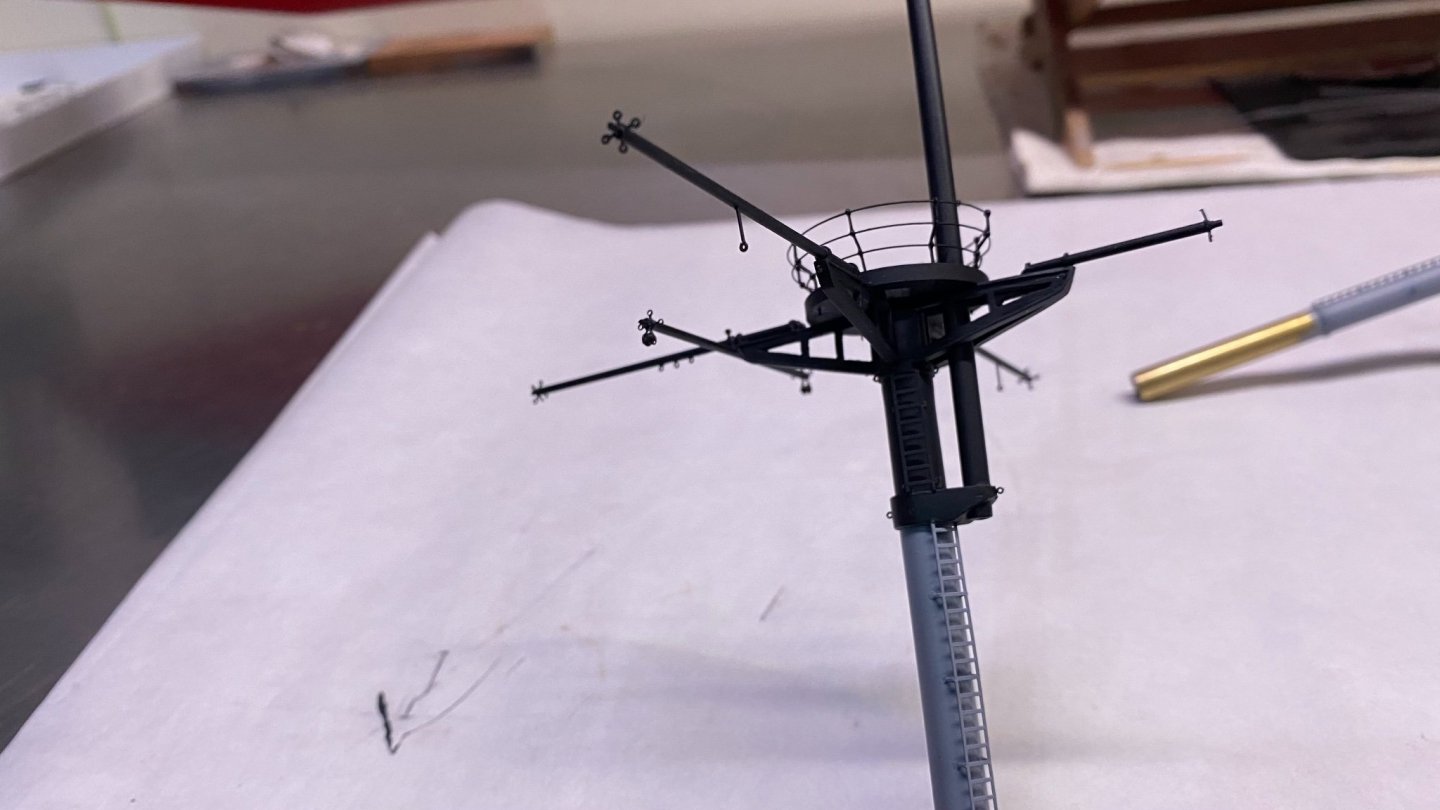
Final stage of the masts.
The masts are more or less finished, except for a few small details, than I can start with the rigging.
Below some pictures
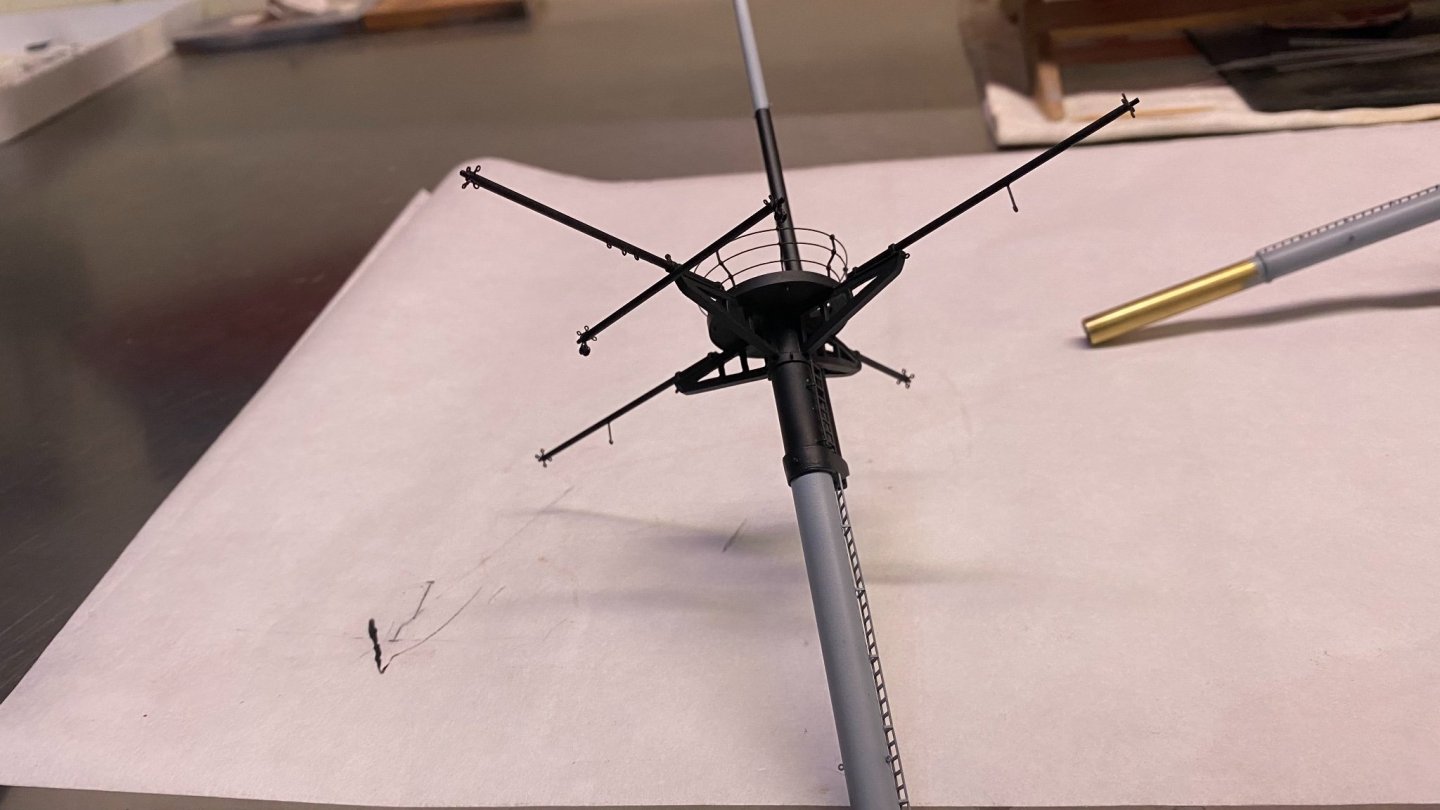


this is insanely neat job.
Any info of how you made the mast ladder ?
-
On 8/3/2021 at 11:28 AM, henrythestaffy said:
I have found that the positioning of the model and supports makes all the difference to the outcome. I used to try and hollow out my models but now i only make solid ones. All things that you learn from experience and can hopefully help new users with.
Do you know anything about this Wash & Cure option? It has a considerable price as an extra and I wonder if it worth the extra $.
- mtaylor, Egilman, thibaultron and 1 other
-
4
-
-
1 hour ago, baskerbosse said:
The Warspite is not really a reconstruction since only the hull was assembled.
I have some reconstructions under way though. A couple of ship models got crushed during my move to Australia.
Here's a really old Victory..
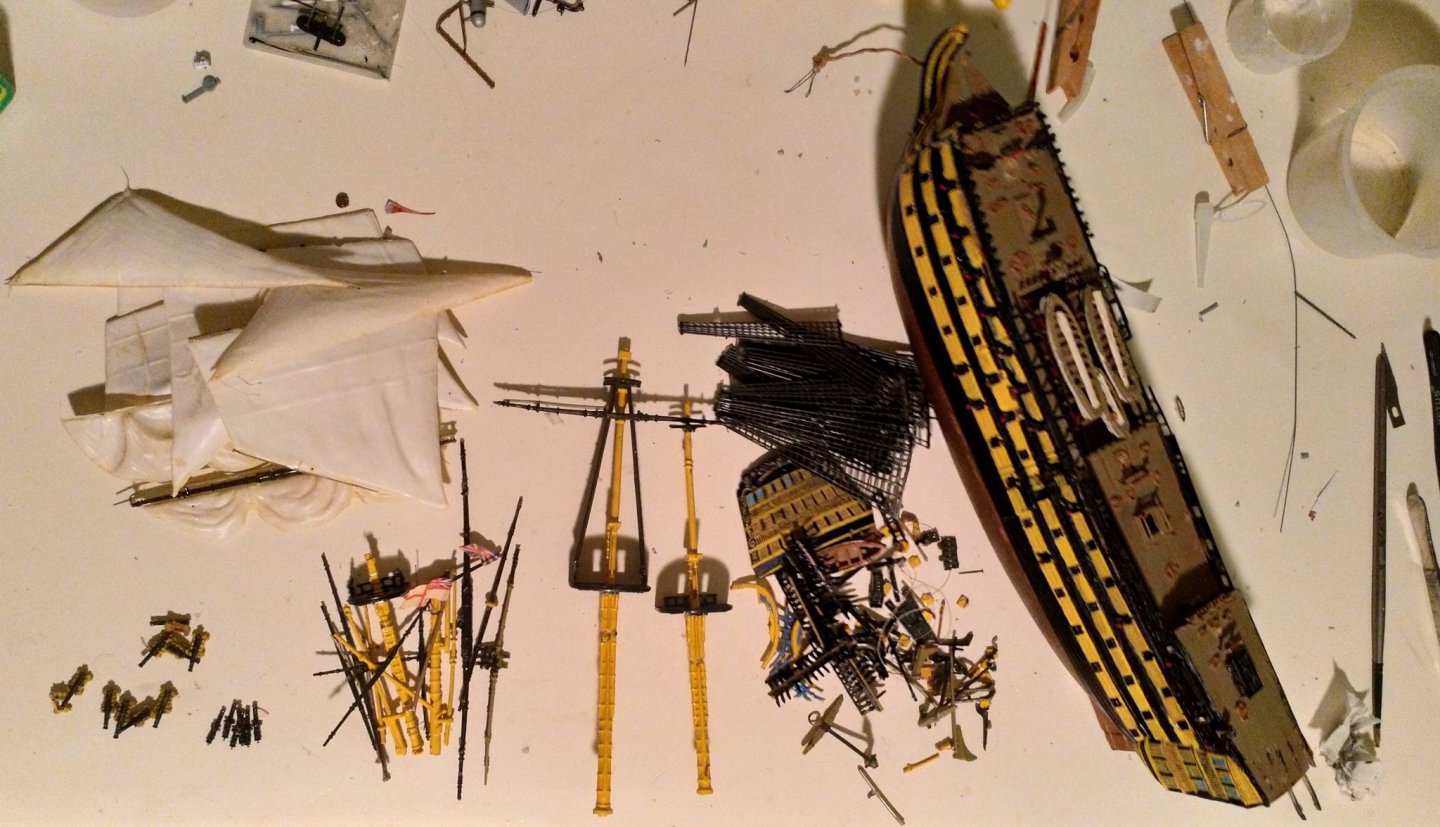
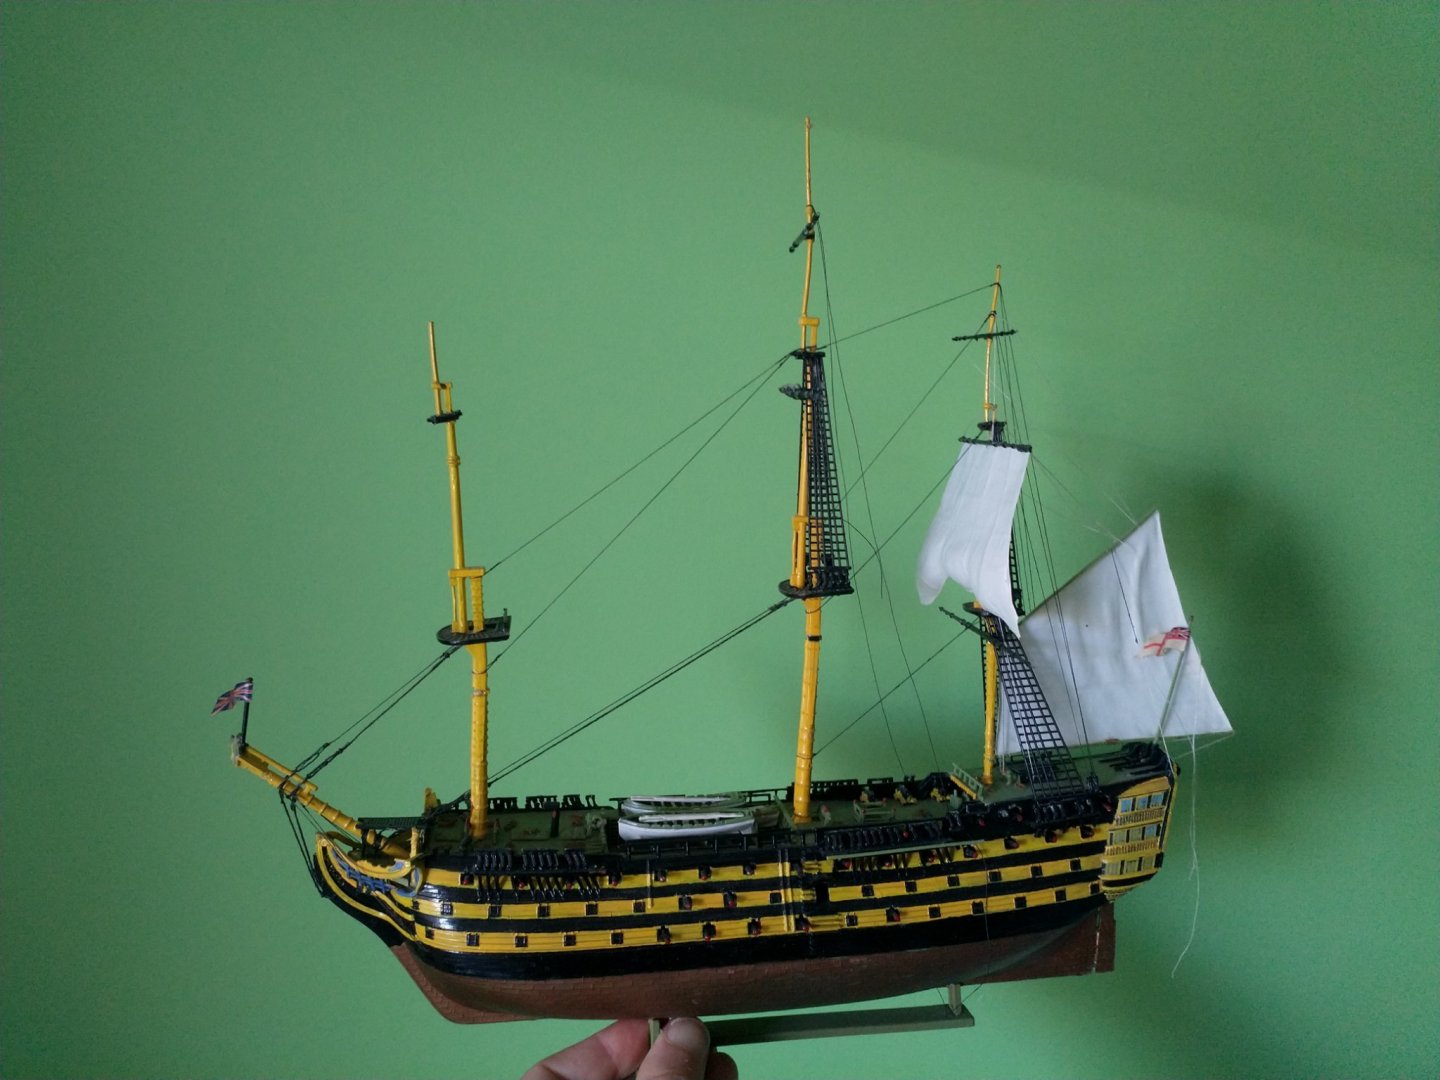
I had the Heller 1/180 one. It included the tool for making rope ladders. My mother dropped it accidentally. I only partially restored it.
- Old Collingwood, mtaylor and Canute
-
2
-
 1
1
-
by the way here is what Flyhawk offer:
A full PE kit but no wooden deck.
The details in plastic though have gone to another level
https://www.britmodeller.com/forums/index.php?/topic/235097428-flyhawk-1700-hms-hood/
- Old Collingwood, lmagna, Canute and 3 others
-
6
-
53 minutes ago, lmagna said:
I think almost all of us are guilty of that!
Your built ones are impressive both in numbers and from what I can see in quality as well. You should pull them out and do a photo montage so we can admire them better.
sorry for not finding time of painting my basement walls. As "the master of wood said" : Life is too short and models to many to make.
And sorry to thread starter for the off topic
-
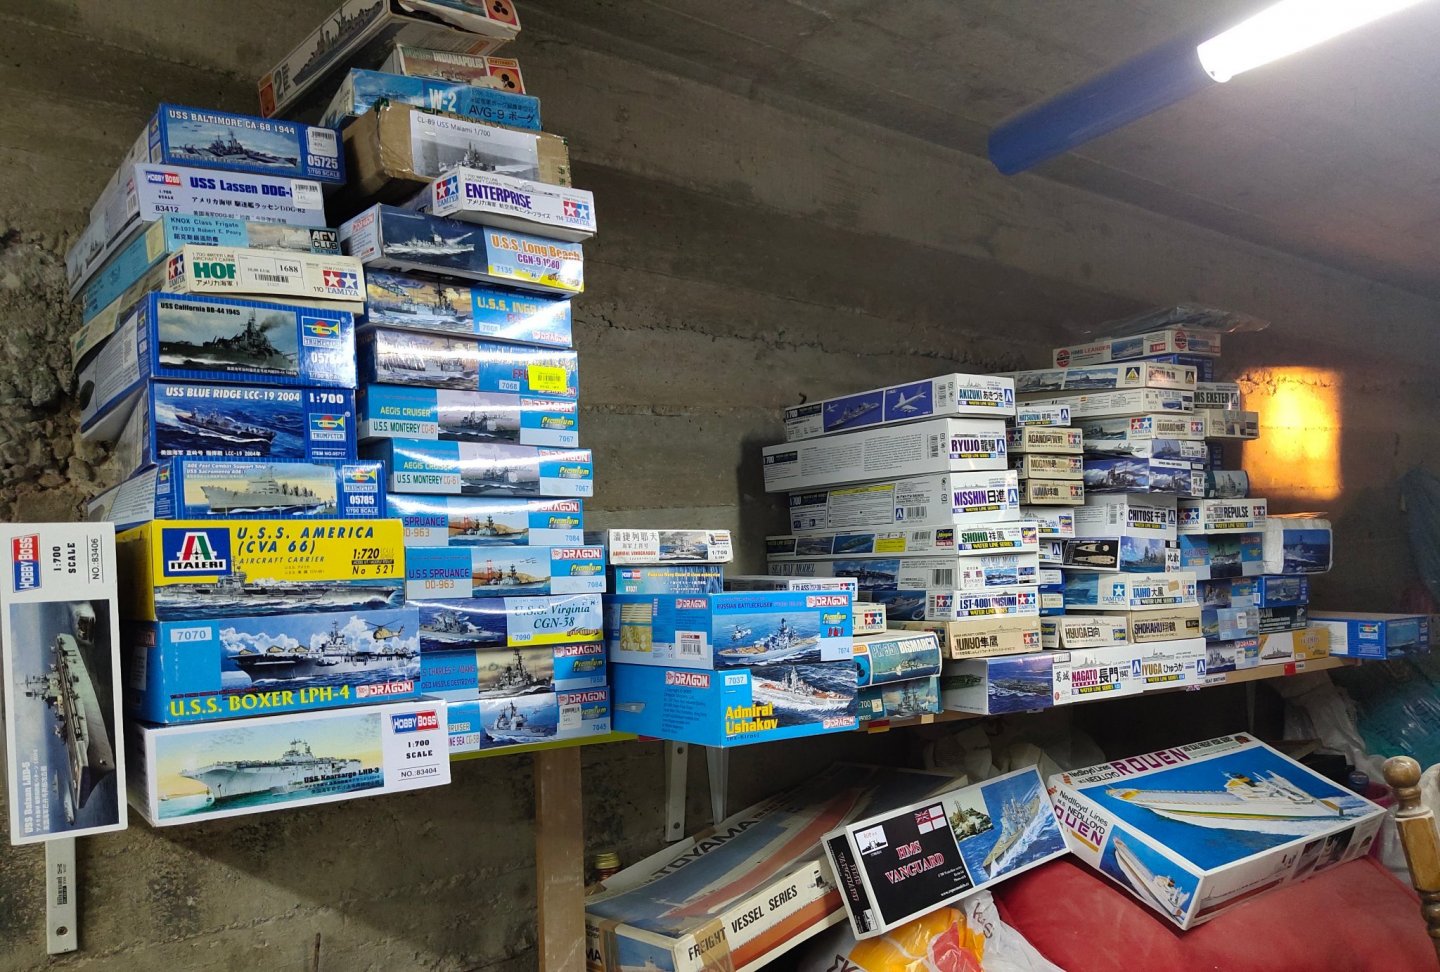
6 hours ago, yvesvidal said:
What a collection. Impressive.
Yves
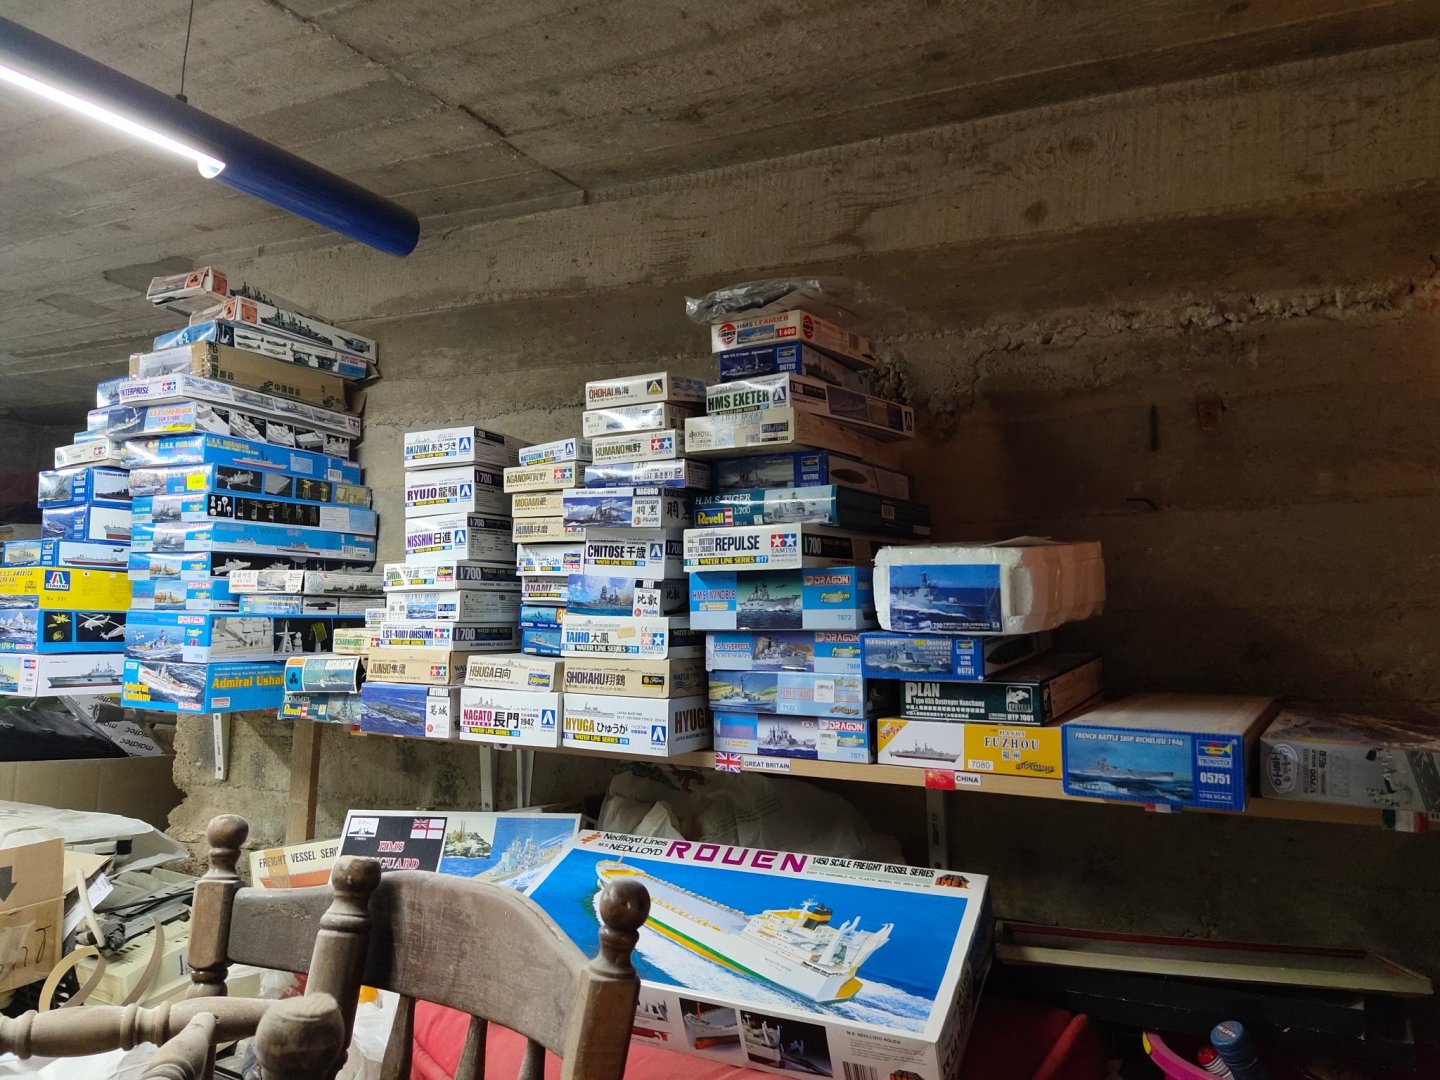
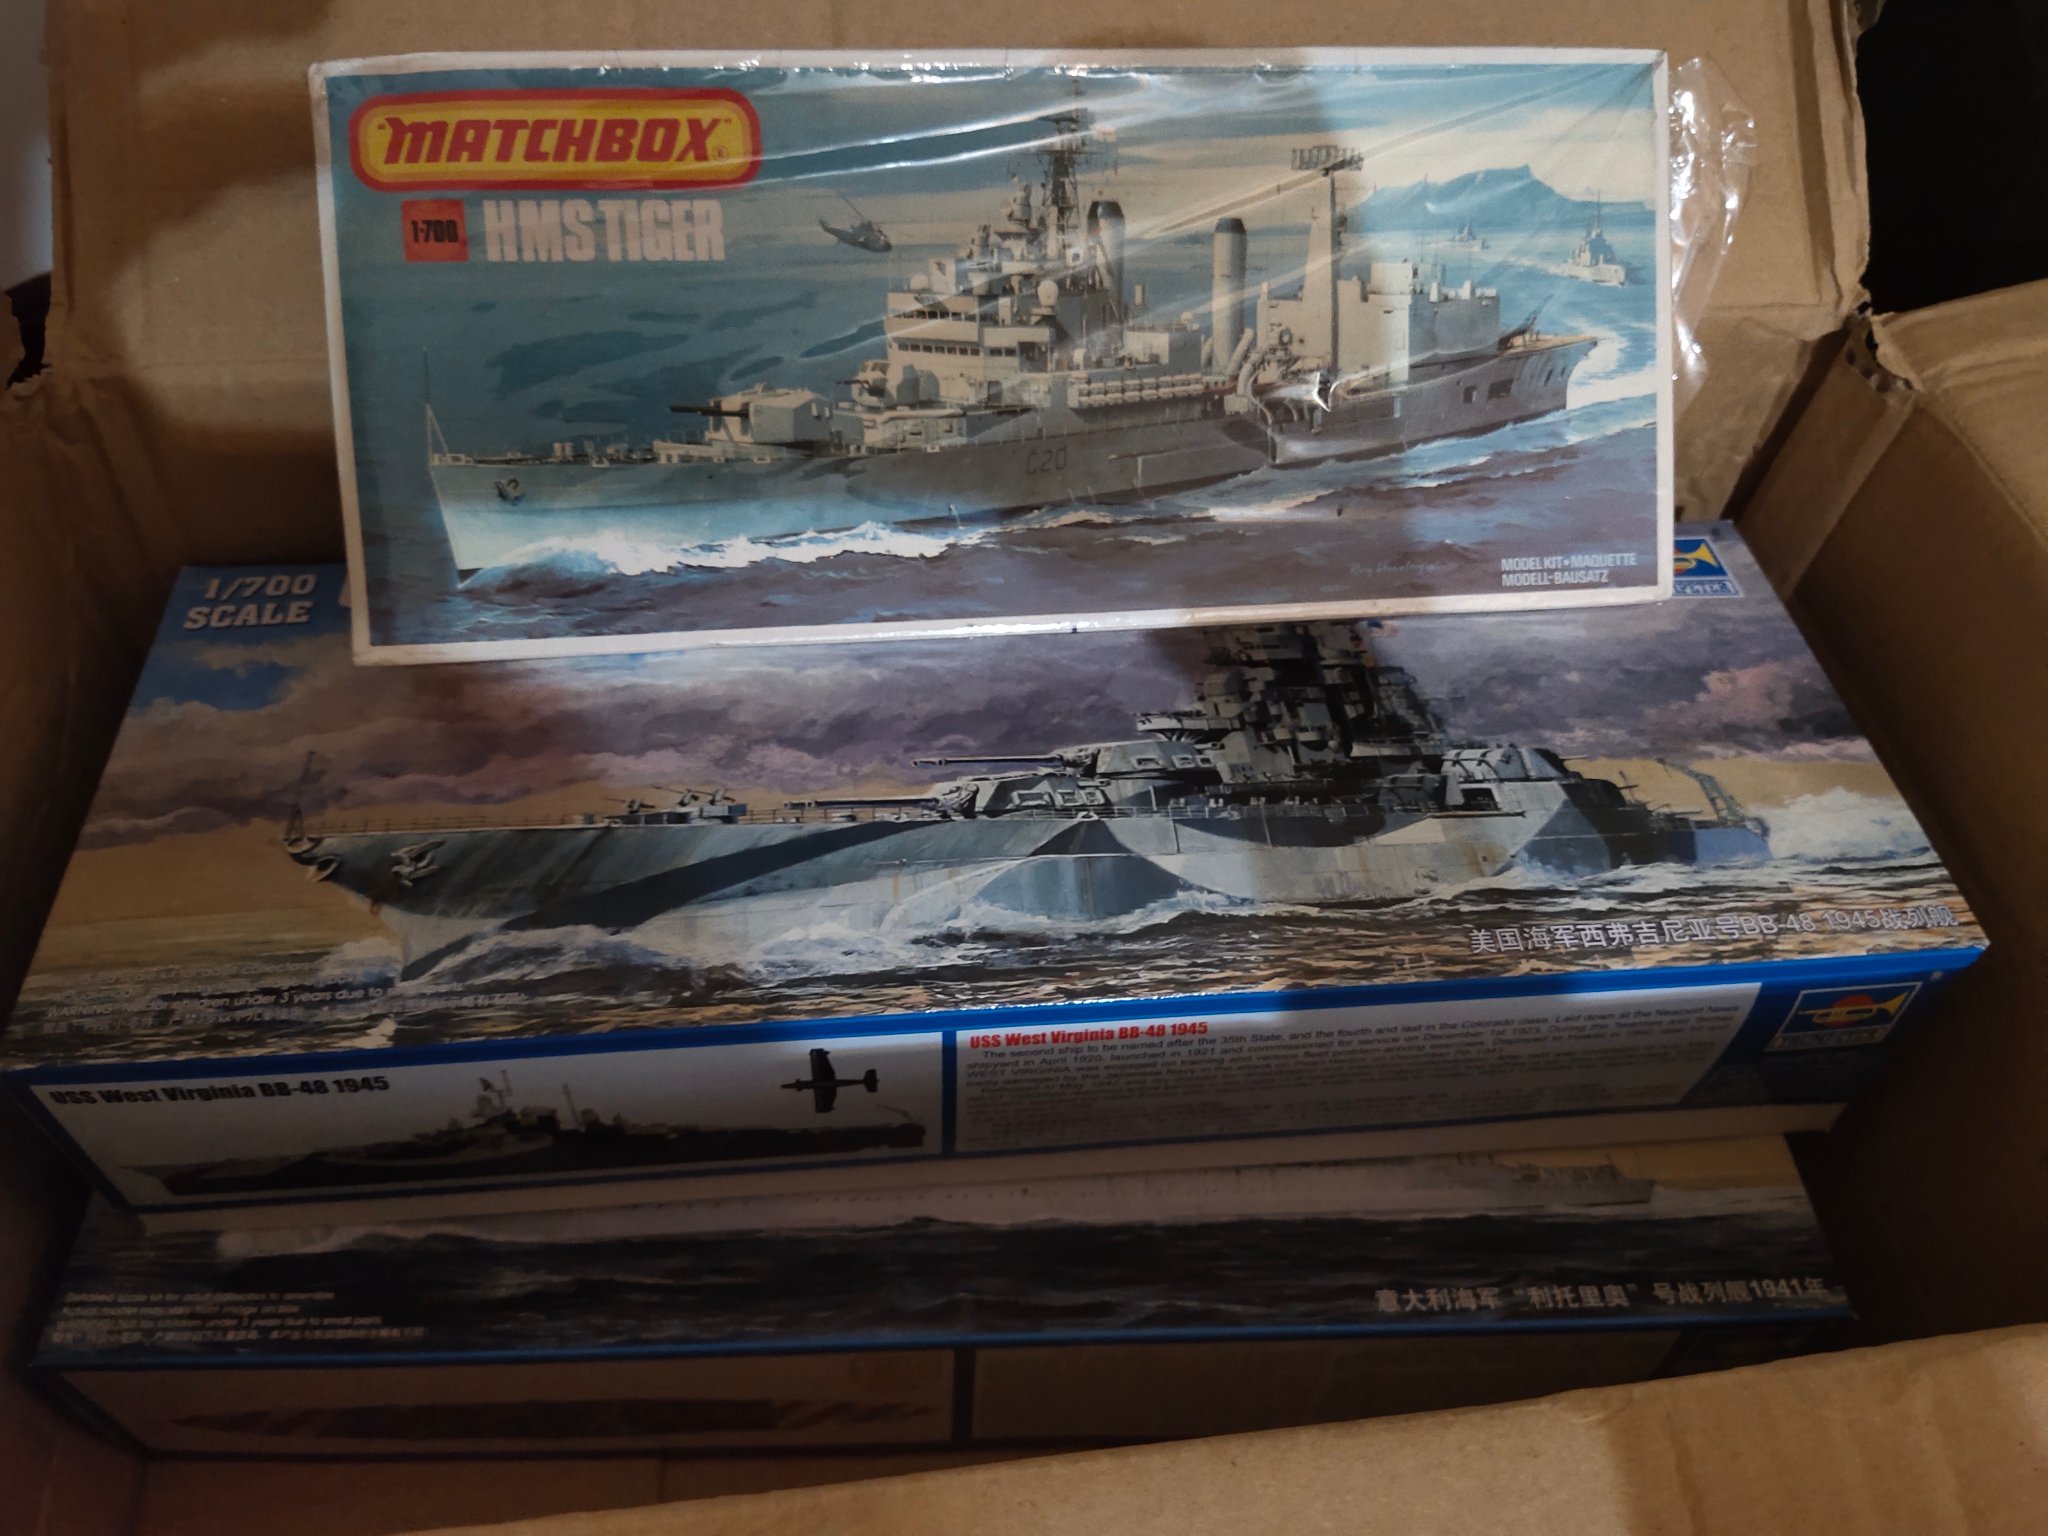
You should see the unbuilt ones at my bunker...
- Old Collingwood, lmagna, Bill Morrison and 3 others
-
3
-
3
-
-
On 6/6/2021 at 8:02 PM, wefalck said:
BTW, from a Japanese manufacturer you can get very small studded chain, that is printed in 3D ...
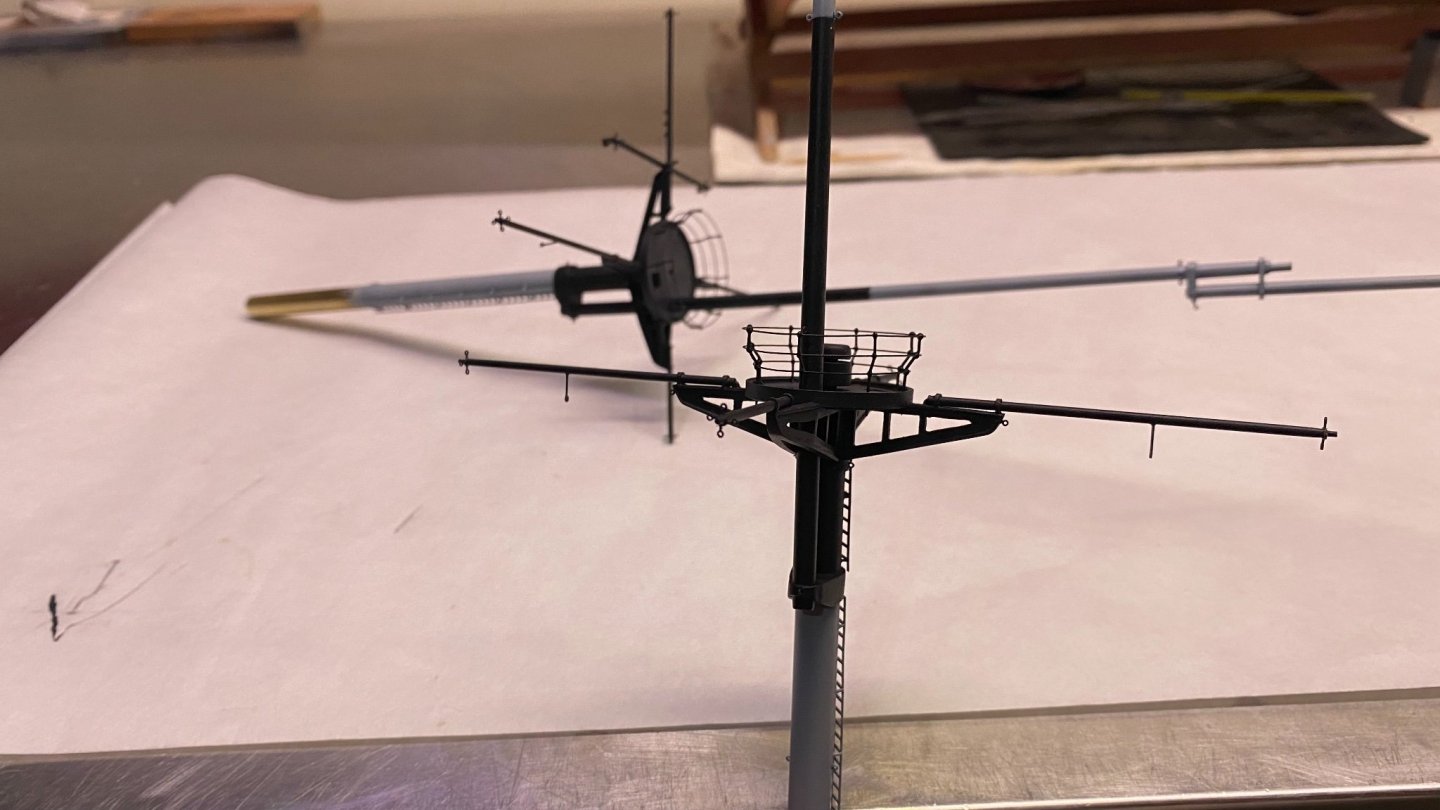
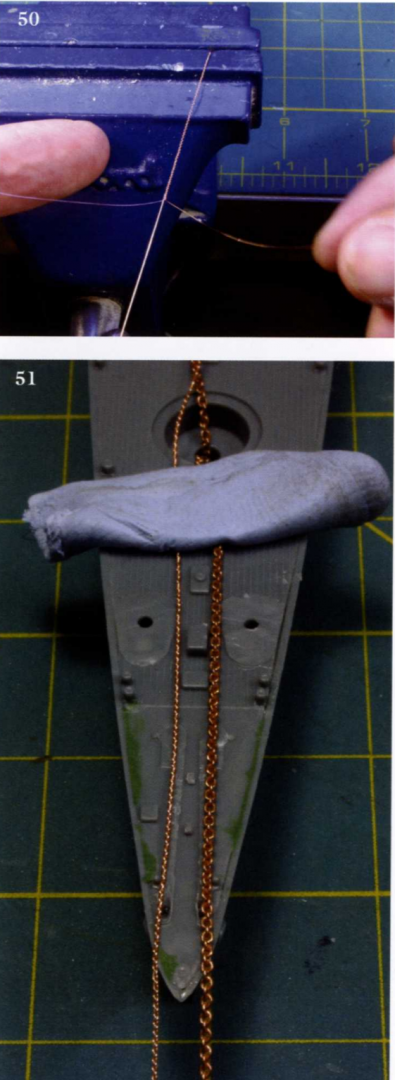
While finding real thin 1/700 chain is a challenge there is a way to make a decent one relatively easy.
Just unstrip a cable and remove 3 pieces of the extra thin copper wire.
Then knot them together as shown on pic, like making a girl's pigtail.
The difference with a commercial chain is noticeable
-
How you managed to twist the stairs of the PE ladders?
- mtaylor, Old Collingwood, CDW and 4 others
-
7
-
20 minutes ago, CDW said:
The very best spray cans I ever used were of DuPont automotive lacquer paints, but I have not seen those cans available in many years. An adjustable flow nozzle sounds very unique. I am not familiar with any spray paint cans that have this feature, but I am going to have a look to see.
In EU this is a typical wide available product.
https://www.nonpaints.com/en/colormatic-1k-epoxy-primer-in-aerosol
In US you may need an alternative.
- Canute, Old Collingwood, lmagna and 3 others
-
6
-
1 hour ago, CDW said:
That's good to know. Any particular brand?
Not sure about availability in your area. Car painting products are all high quality. Also i use one ingredient car filler, P1000 Liquid. Superfine, great apply and easy to sand.
- lmagna, popeye the sailor, Canute and 3 others
-
6
-
9 hours ago, CDW said:
Oh, by the way, I tried out Mig Ammo One Shot primer for the first time on the photo etch ammo lockers seen in the previous photos. The primer is (gray or black) acrylic, and it seems to cover photo etch very well with no tendency to peel or flake off.
I use epoxy car primer.
It comes in spray cans with adjustable flow. It covers all shinny metal surfaces and dries in 15-20 minutes.
-


Rebuilding the fleet by mikegr - 1/700 - restoring old plastic models
in - Kit build logs for subjects built from 1901 - Present Day
Posted · Edited by mikegr
Next project was USS Independence CVL by Revell. The flyhawk kit of its time. Althouth there were some fitting issues, especially at the front, the overall details were exeptional plus it had several sprues of spare parts which i still use today sometimes.