


mikegr
-
Posts
589 -
Joined
-
Last visited
Content Type
Profiles
Forums
Gallery
Events
Posts posted by mikegr
-
-
14 hours ago, Baker said:
Instead of usually clicking on the like button.
This rebuild of your models is very interesting to follow, and you are doing a great job.thanks, i return the favor with my comment
- Canute, thibaultron, Baker and 3 others
-
 6
6
-
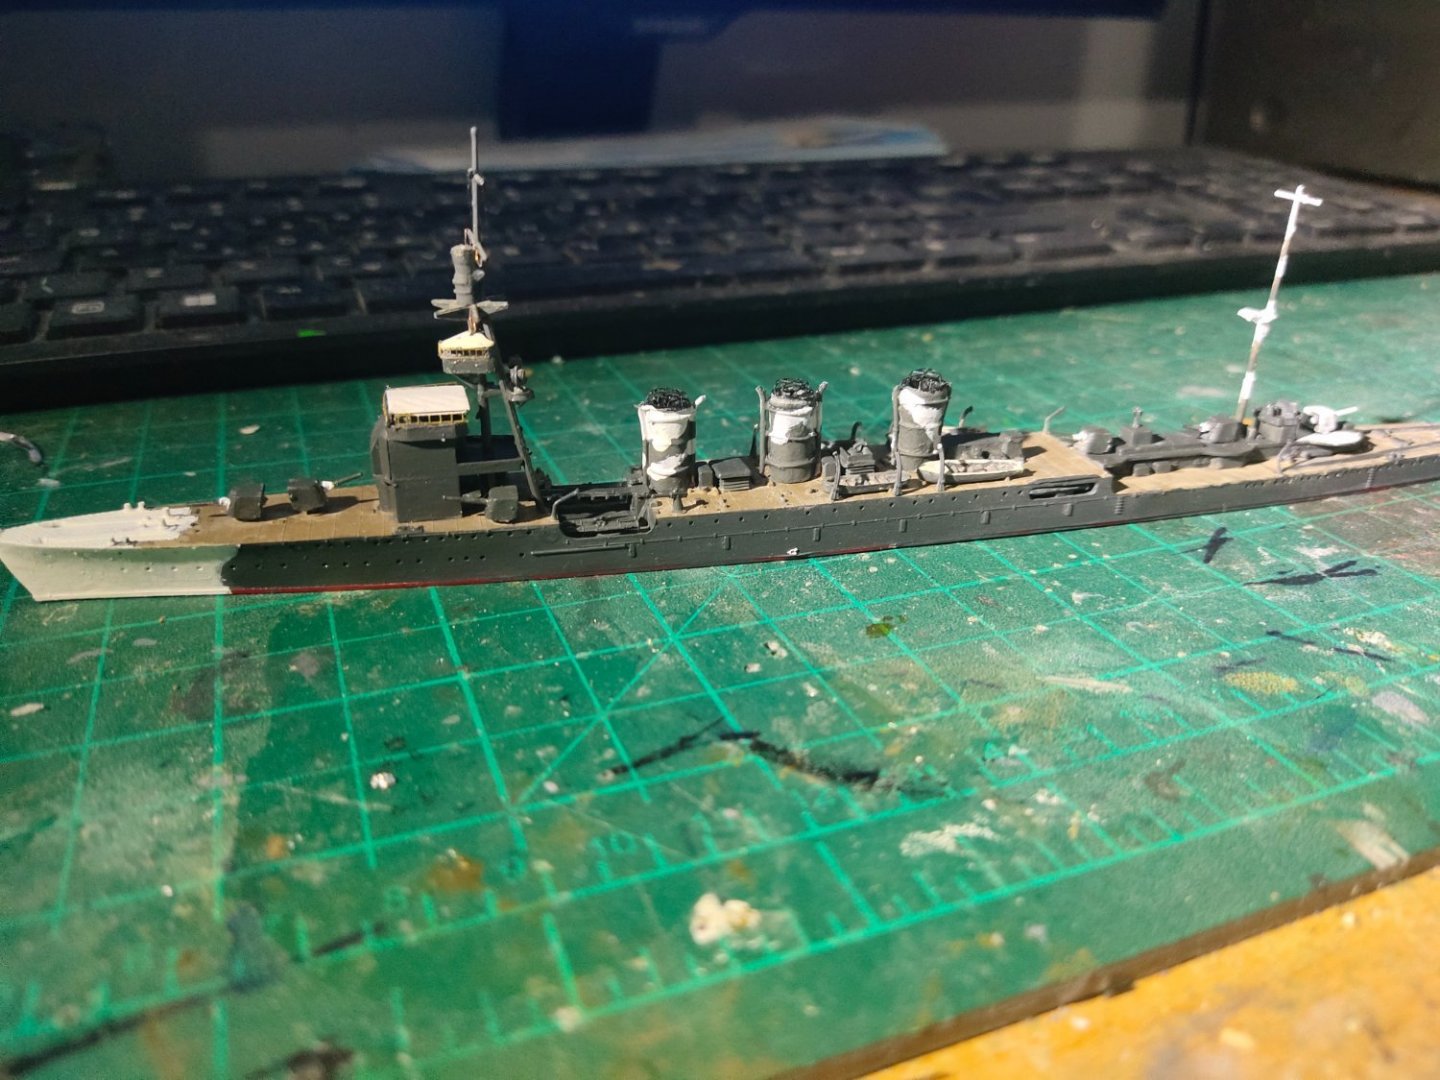
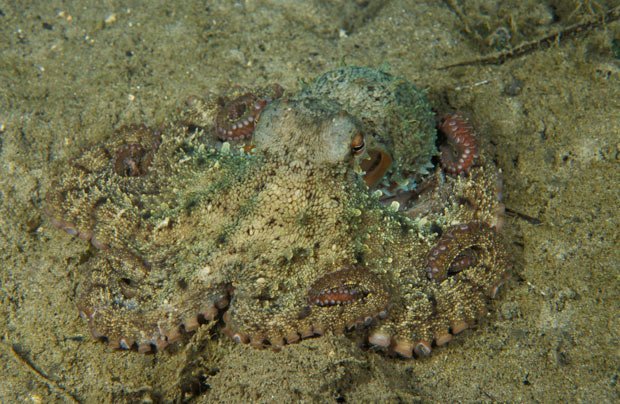
Just a small update. I installed the funnels, did some mast work while experimenting with snow camouflage. It certainly worked to a point while passed almost unnoticed in the freezer until an octopus next to it revealed the presence of Kiso. We can't compare to nature at this point I guess
-
6 hours ago, king derelict said:
Slow progress waiting for glue to dry.
I added a layer of diluted white glue and also some toilet paper where I need to form bow waves and wake.
.jpg.1e444ce1648ceeb8c933d866819288c1.jpg)
I think I'll give it a coat of gesso to see what it looks like before painting it.
Thanks for looking in
Alan
would suggest several layers of gesso.
- Old Collingwood, Canute, mtaylor and 1 other
-
4
-
-
On 3/14/2022 at 5:56 PM, thibaultron said:
Got my AnyCubic 4K Mono two days ago, and bought some Elegoo resin. Have to build an enclosure for it before I can do anything with it though. My shop is not well ventilated.
from what i researched this model in order to save cost it not only comes with full of plastic but laos hasn't any fans so good ventilation would be required
On 3/14/2022 at 7:39 PM, Kevin-the-lubber said:Neither is mine but, to be honest, it was only the smell that bothered me. One day I might build a large, heated and ventilated enclosure for the whole lot but it's a low priority. But then again, mine is in a garage so the smell doesn't bother anyone else. Different if it's indoors.
It is generally proffered to use manufacture's resin although its not a rule.
Watched a long anycubic review on you tube, a guy had several print results by just changing lubricant on the axle
- mtaylor and thibaultron
-
2
-
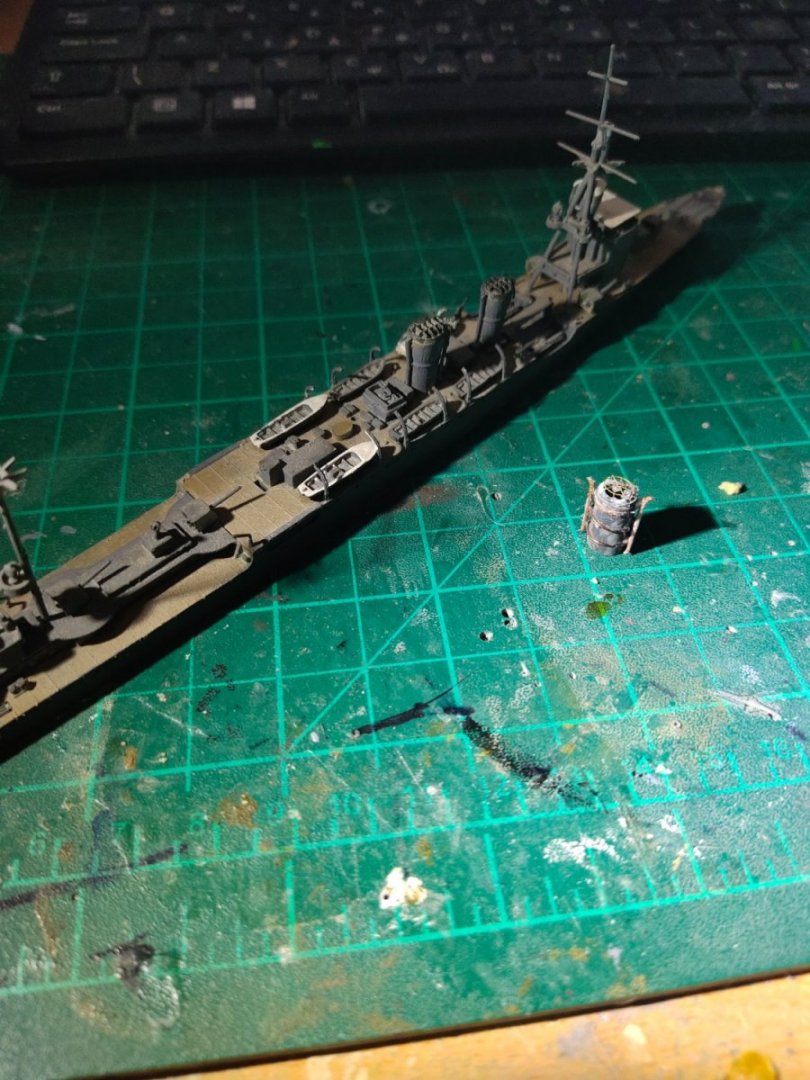
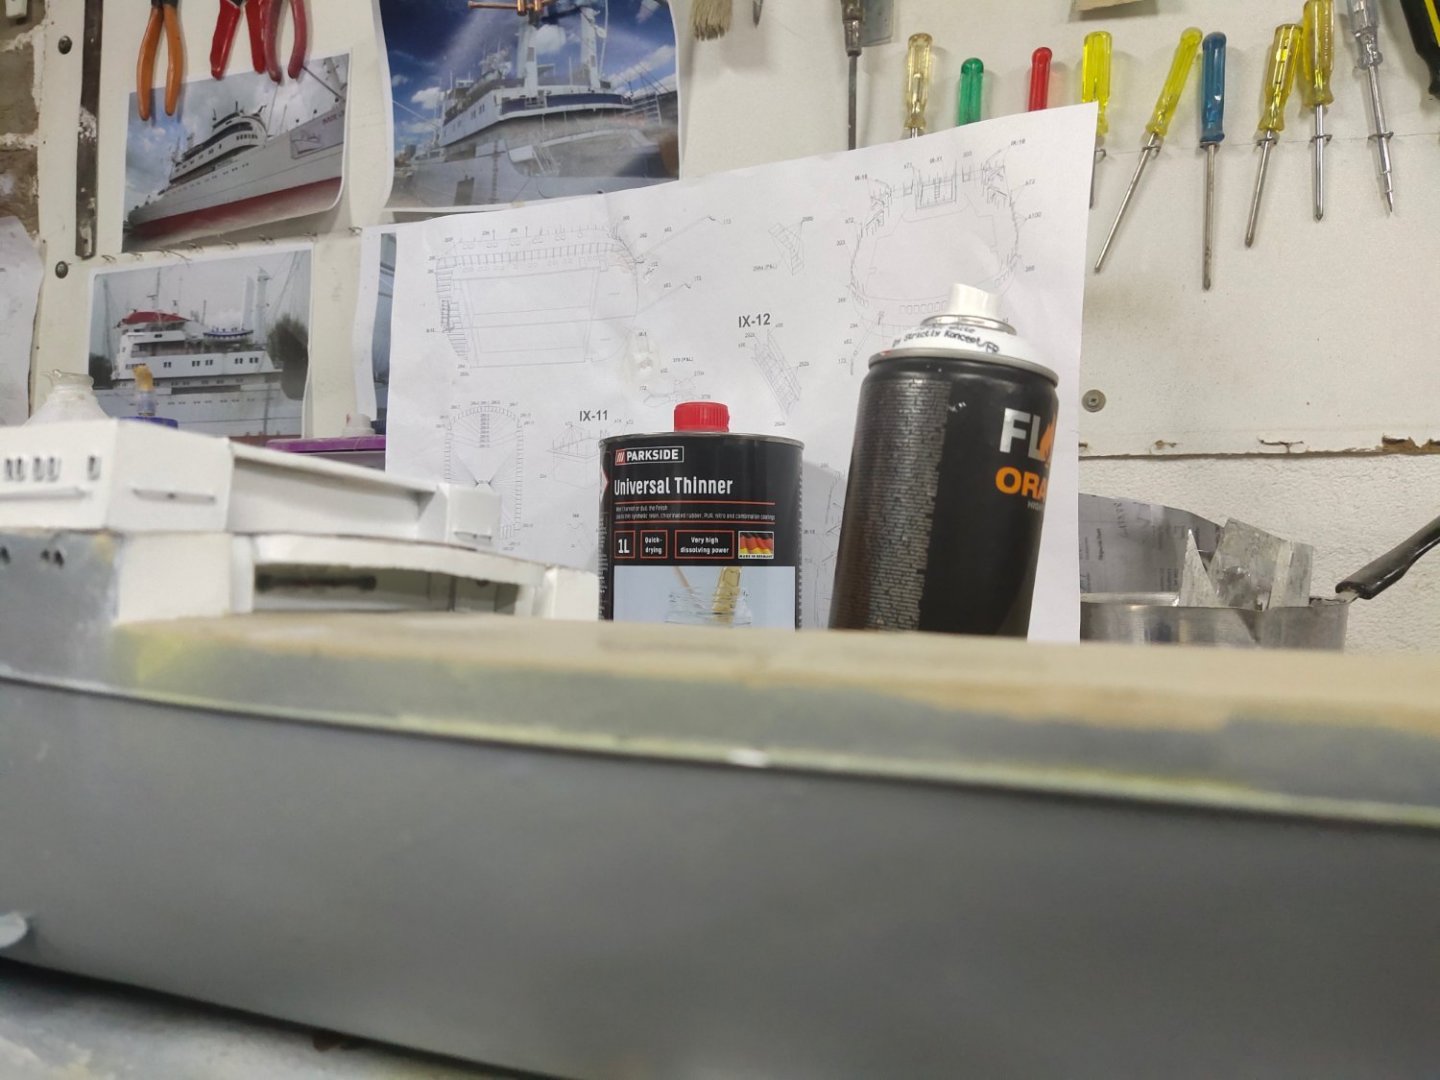
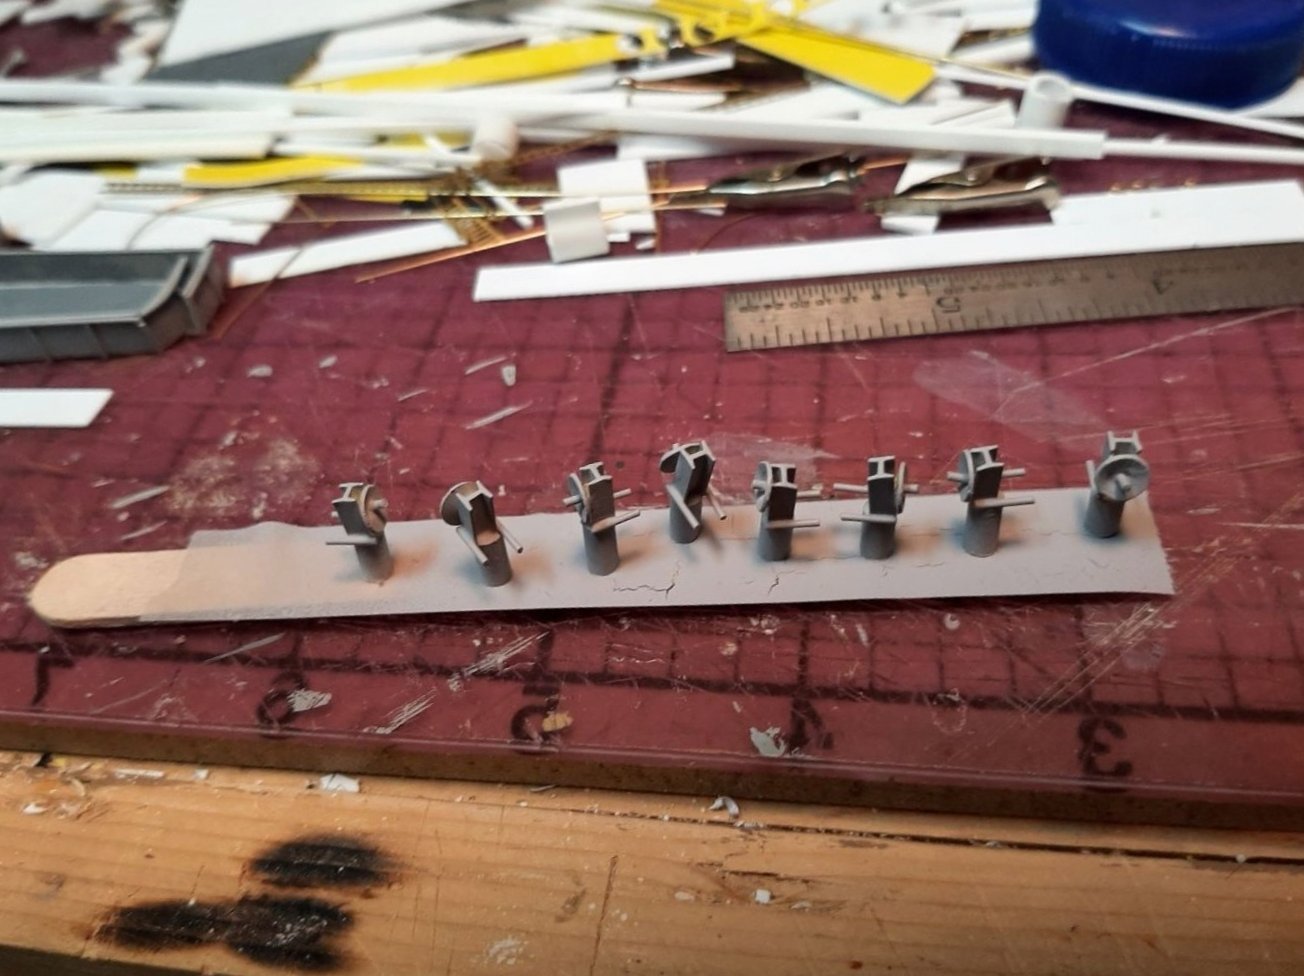
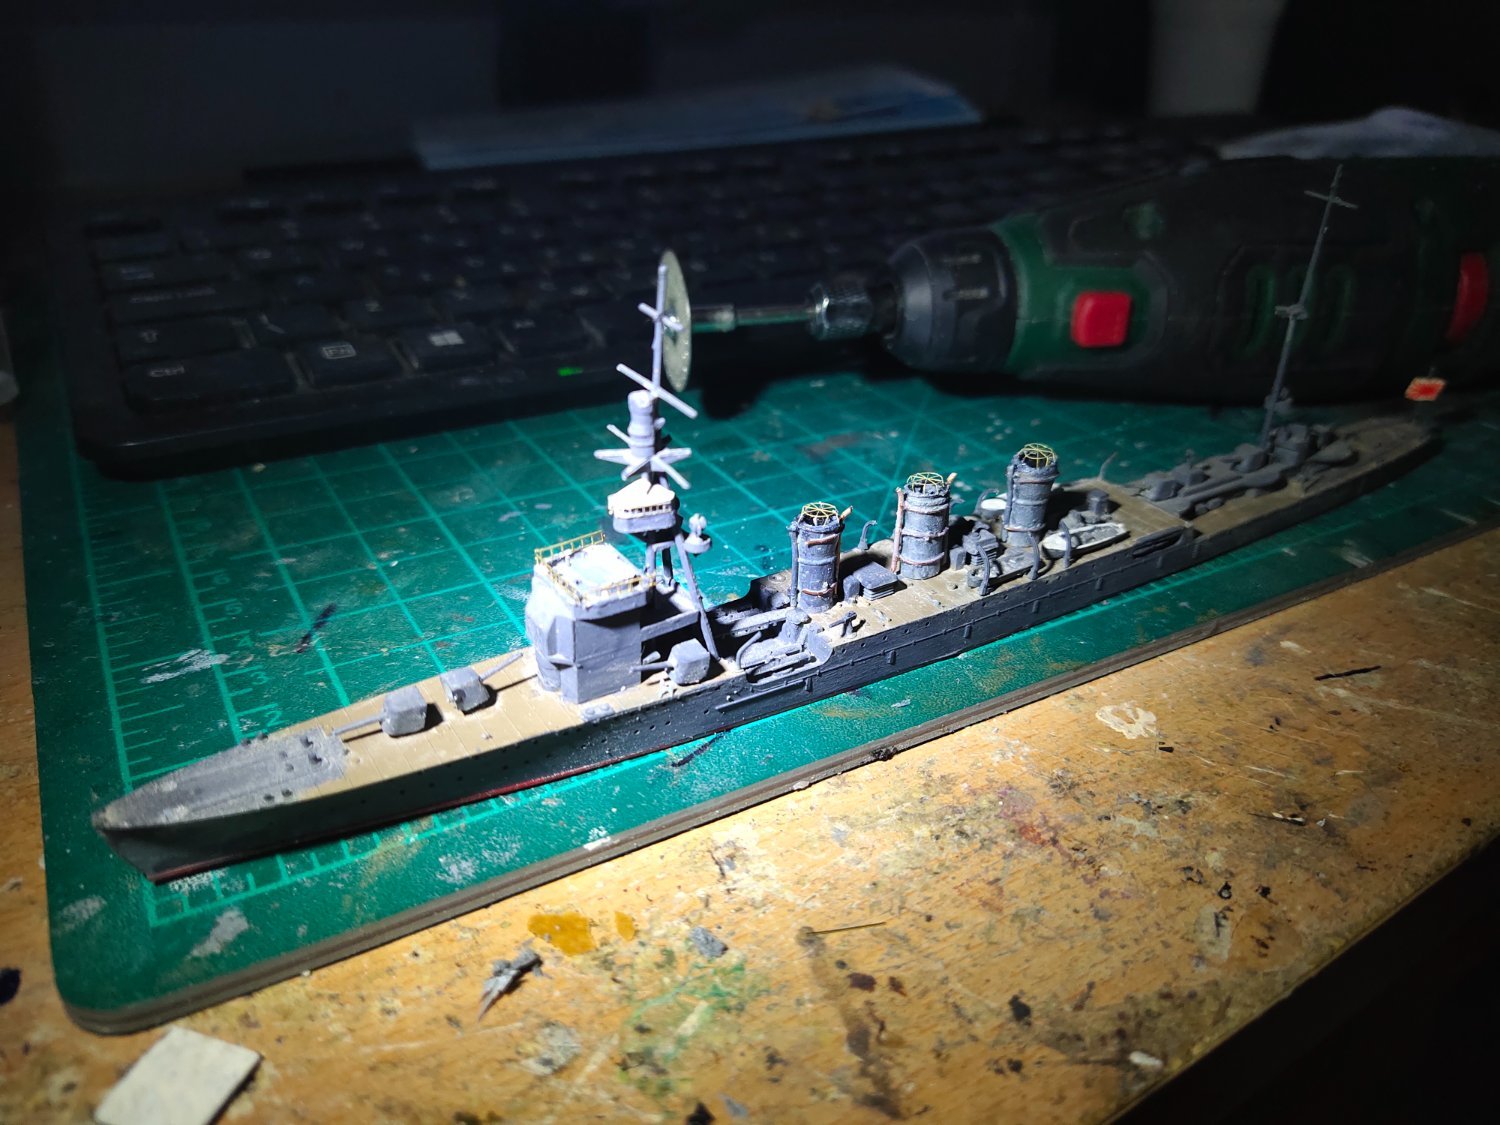
A small update. I glued the funnels and coat them with metal/plastic primer.
This is a solid built model wish I knew the glue I used lol. I had to use dremel tool to remove some parts while others were too fragile to be removed by force

-
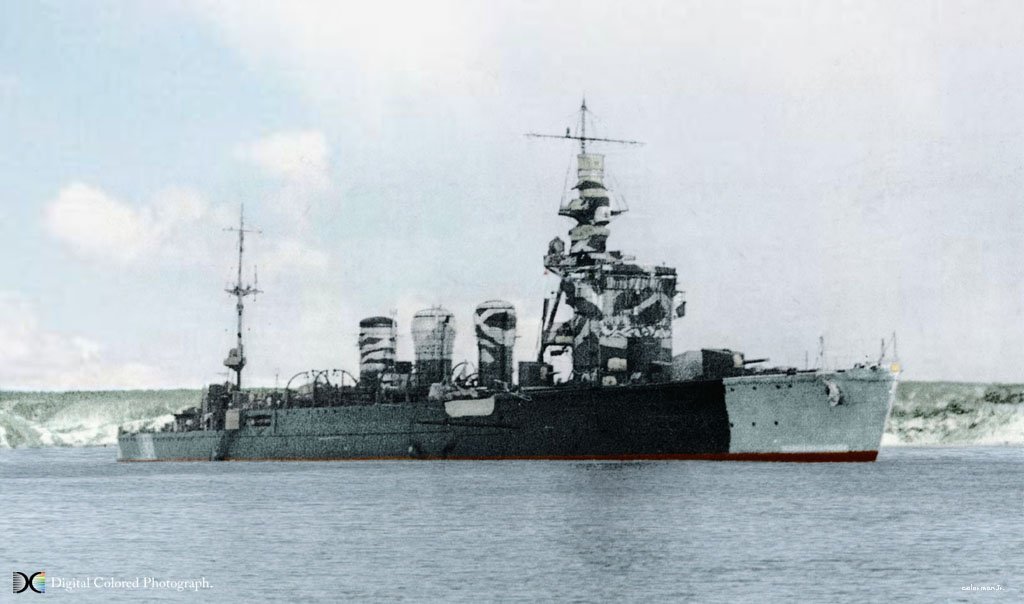
I don't have specific PE parts for this but only general PE for IJN ships. I will present camouflage scheme, as it appeared during Aleutians invasion. The ship participated in this non famous mission. Finally it was sunk in Philippine Sea after she was attacked by 350 aircrafts
- Old Collingwood, mtaylor, ccoyle and 4 others
-
7
-
I received my 4K Anycubic Mono today with water washable resin. I will be able to use it on May and write my first impressions.
- thibaultron, mtaylor, AON and 1 other
-
4
-
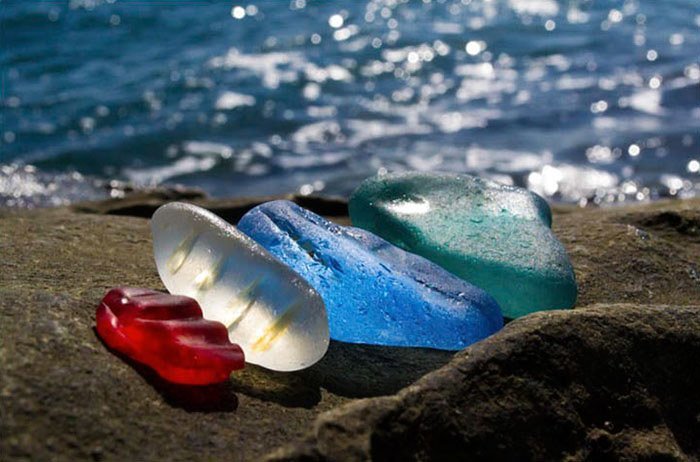
On 4/2/2022 at 10:04 AM, Valeriy V said:
I carved the glass for the spotlight on a lathe from ordinary transparent plexiglass. To get a transparent end, I sanded it with fine sandpaper and polishing paste

it reminds me of some stones i used to collect in beaches years ago.
- yvesvidal, FriedClams, Keith Black and 5 others
-
6
-
 2
2
-
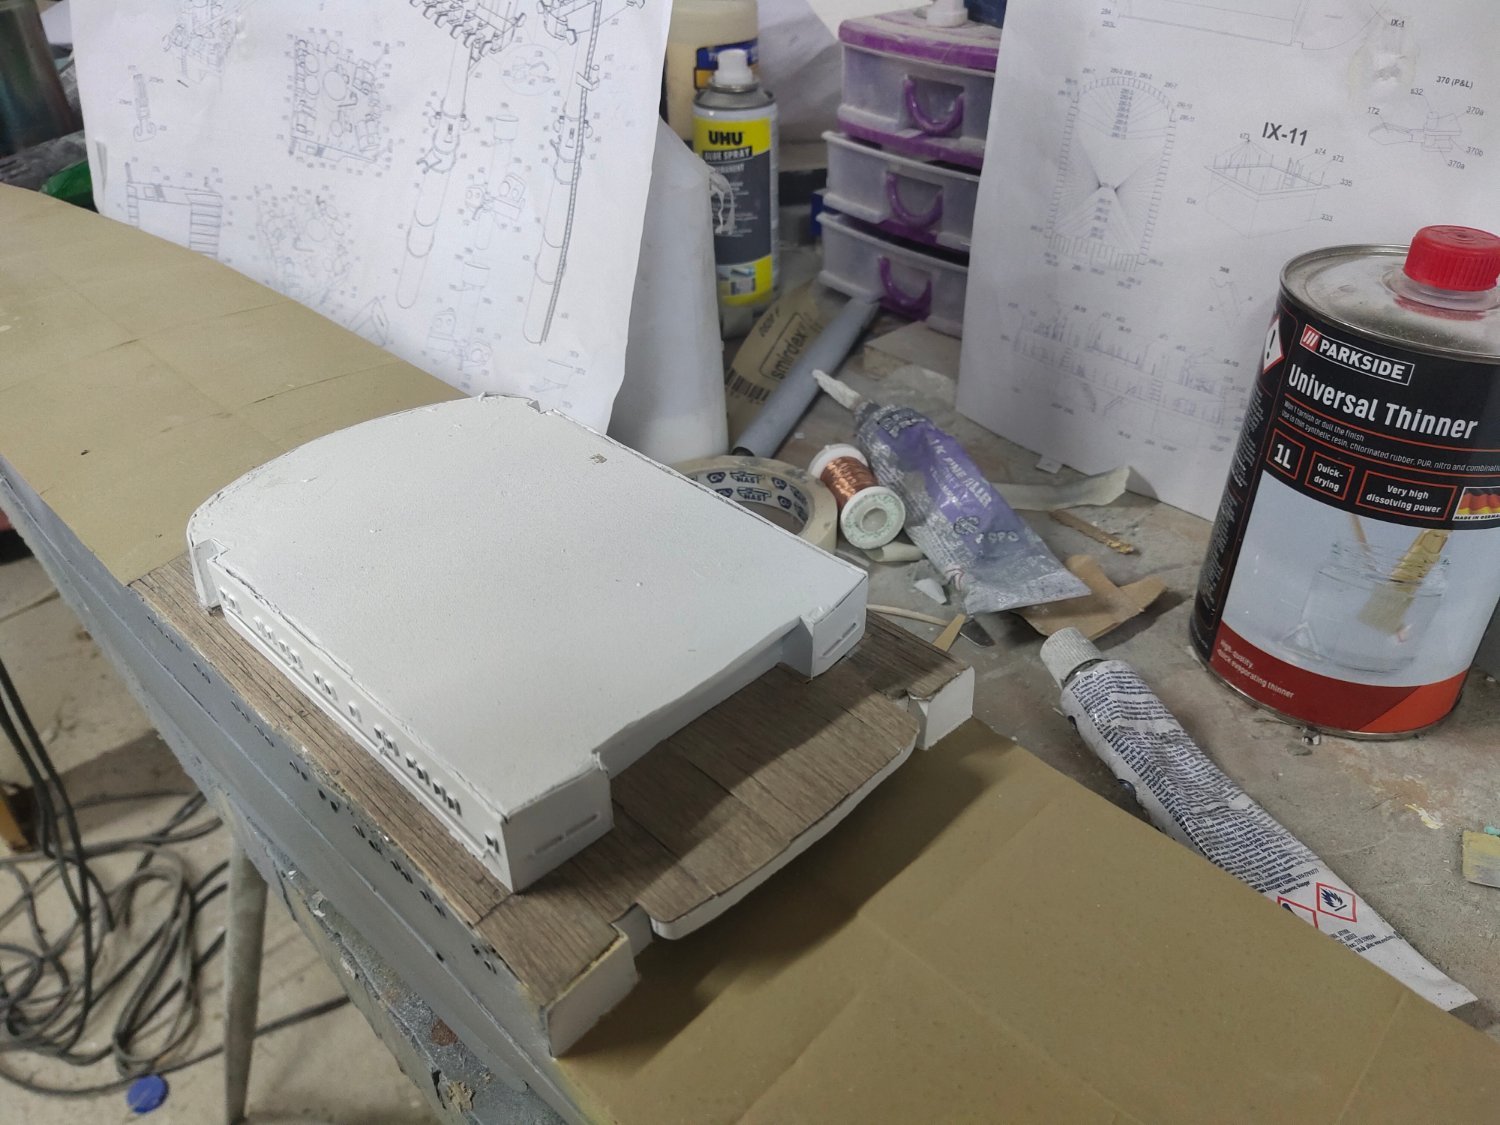
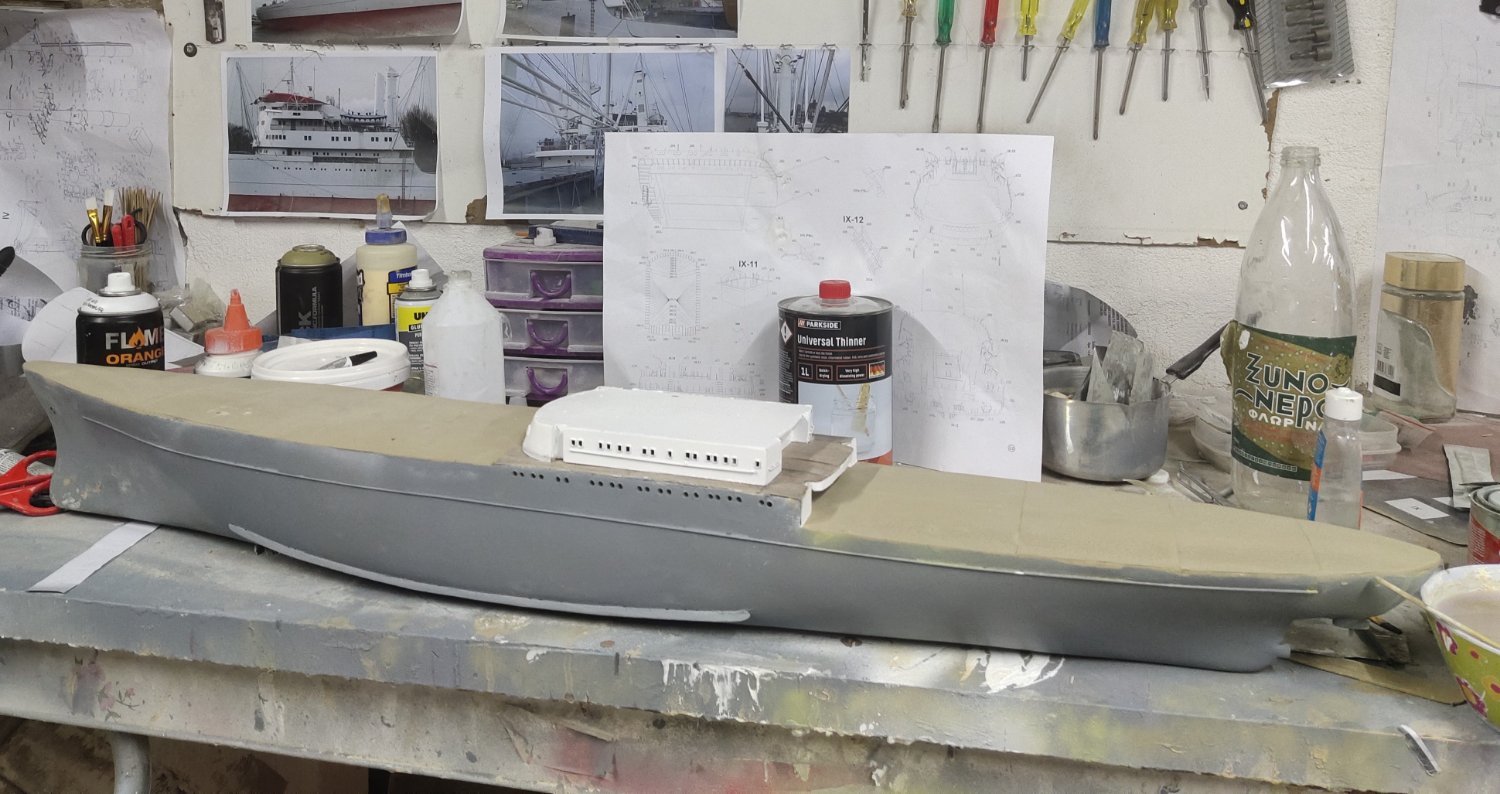
i have finished planking the main deck. Then i added the lower accomodation. I added some details like handrails but not doors and firestations, i will do this prior to completion.
I also scratchbuilt and installed rear main deck extensions with supports, roof pipping, doors and other details. Took a close pic but not much detail is visible. I also gave a first coat of color to main deck. Working on perfecting the hull is still going on

- GrandpaPhil, mtaylor, yvesvidal and 1 other
-
4
-
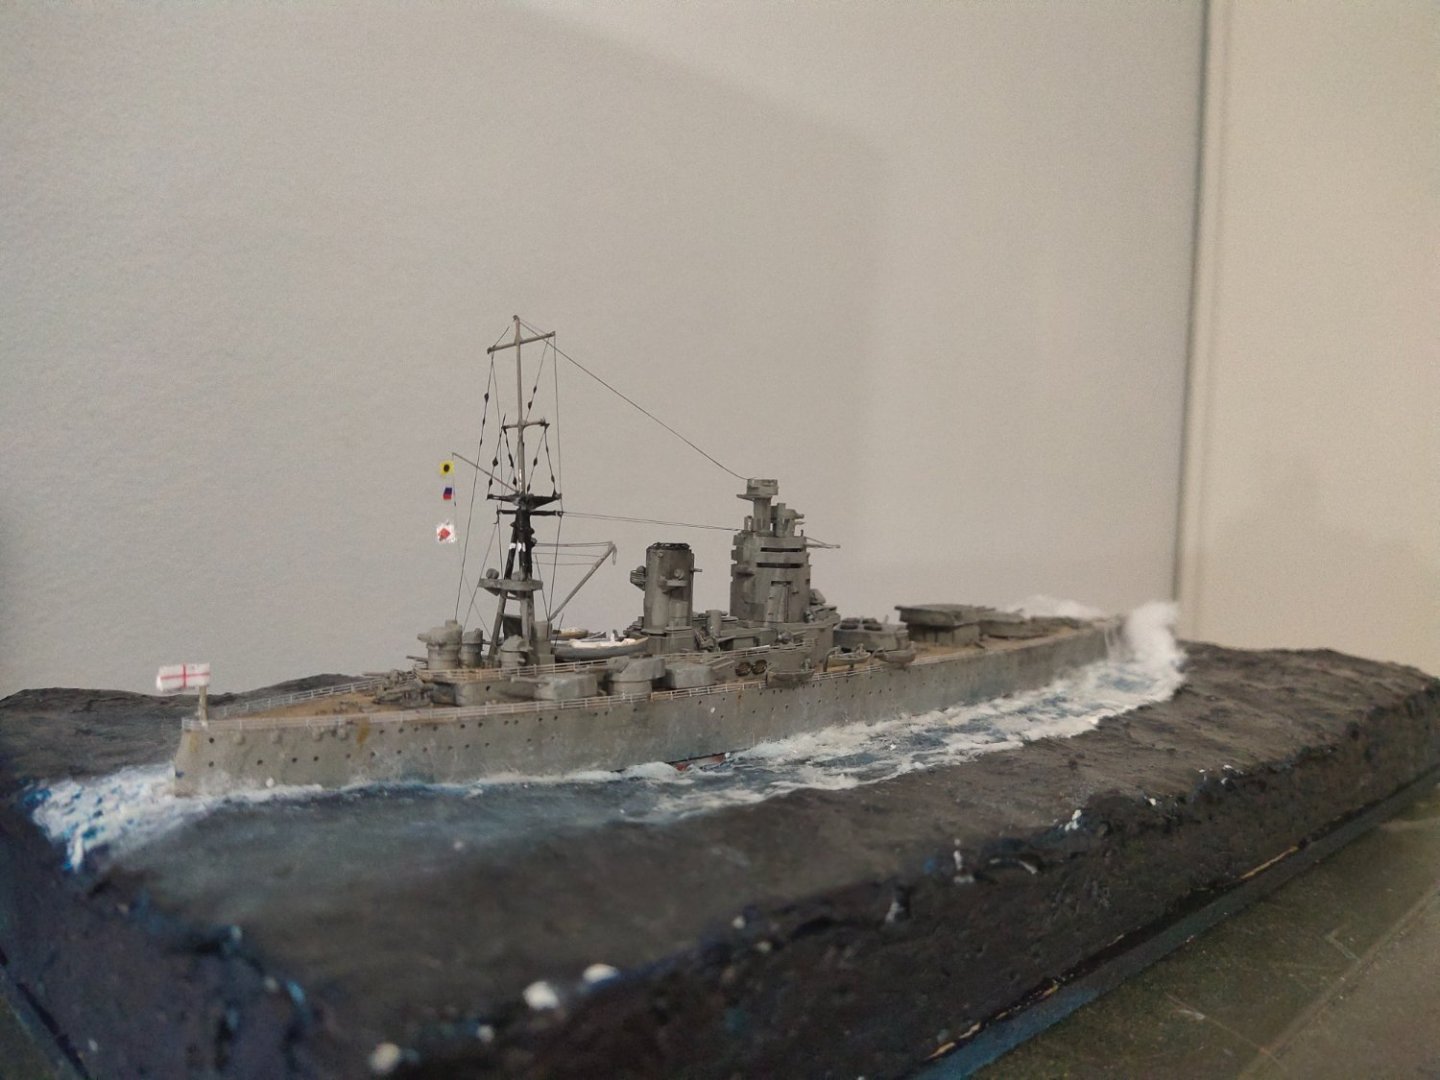
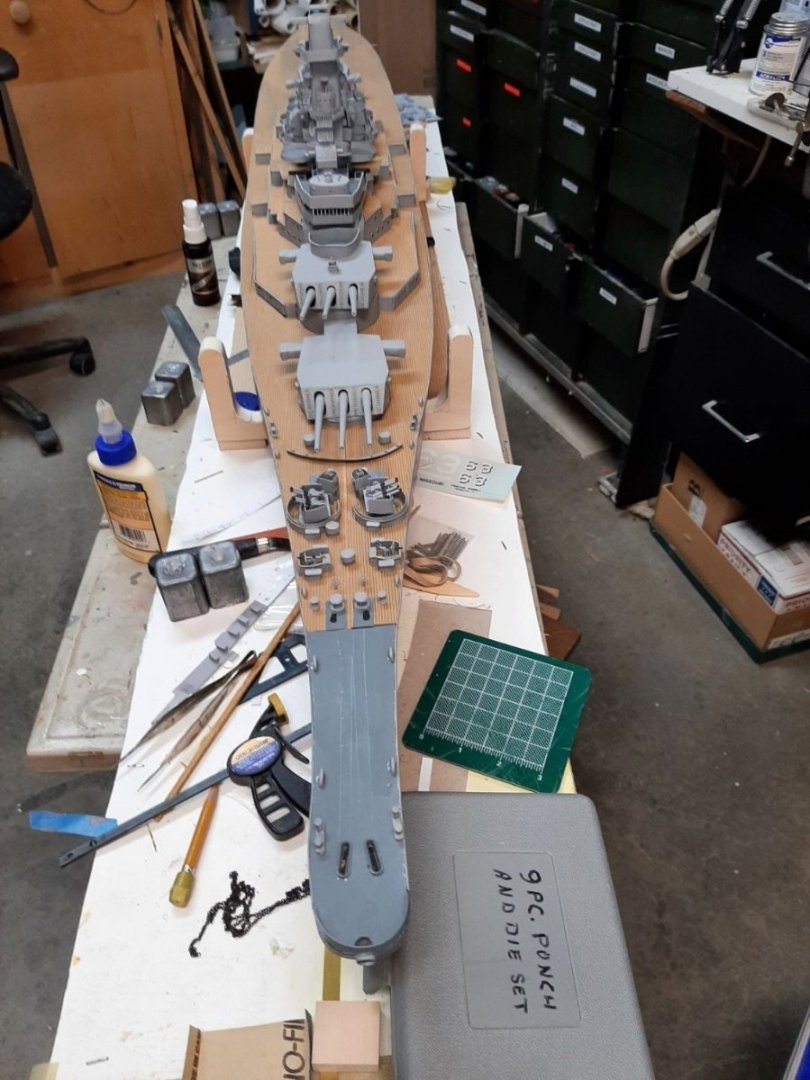
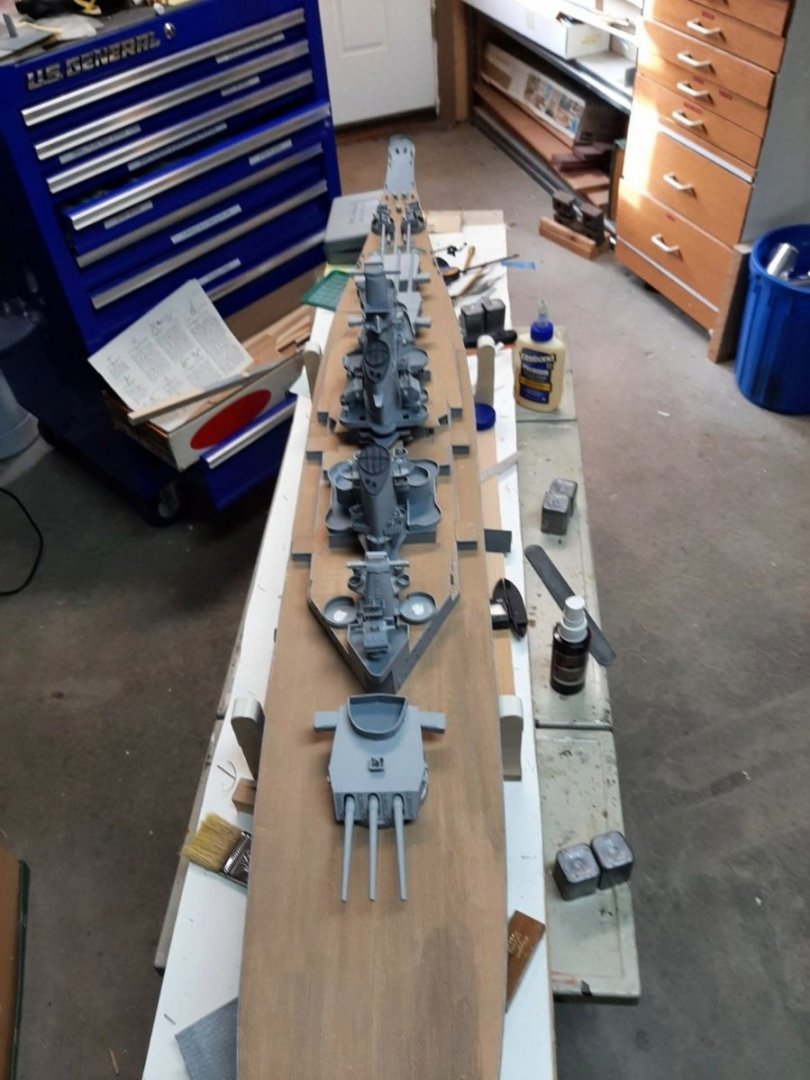
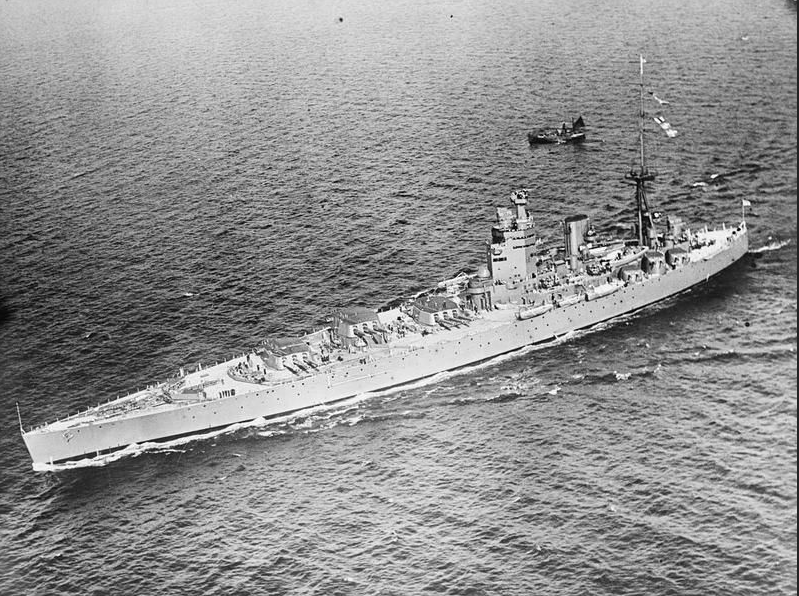
Rodney had main mast replaced by a soldered one and new rigging. It set sail to Atlantic
Next project
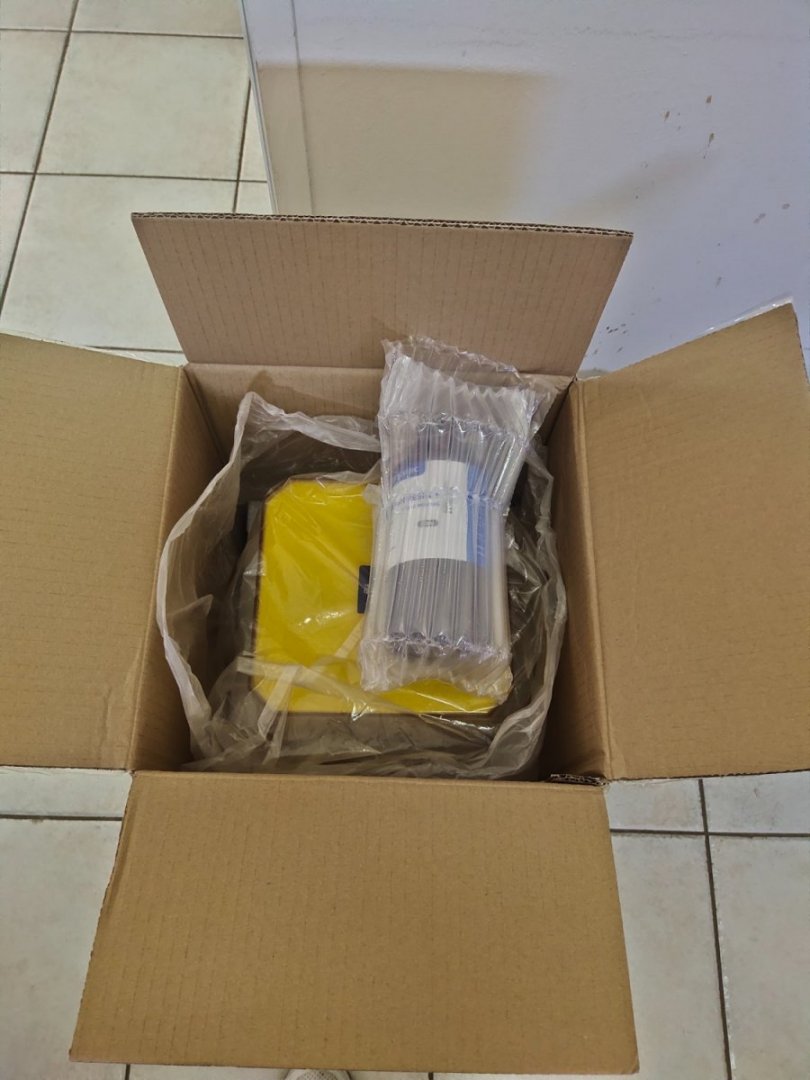
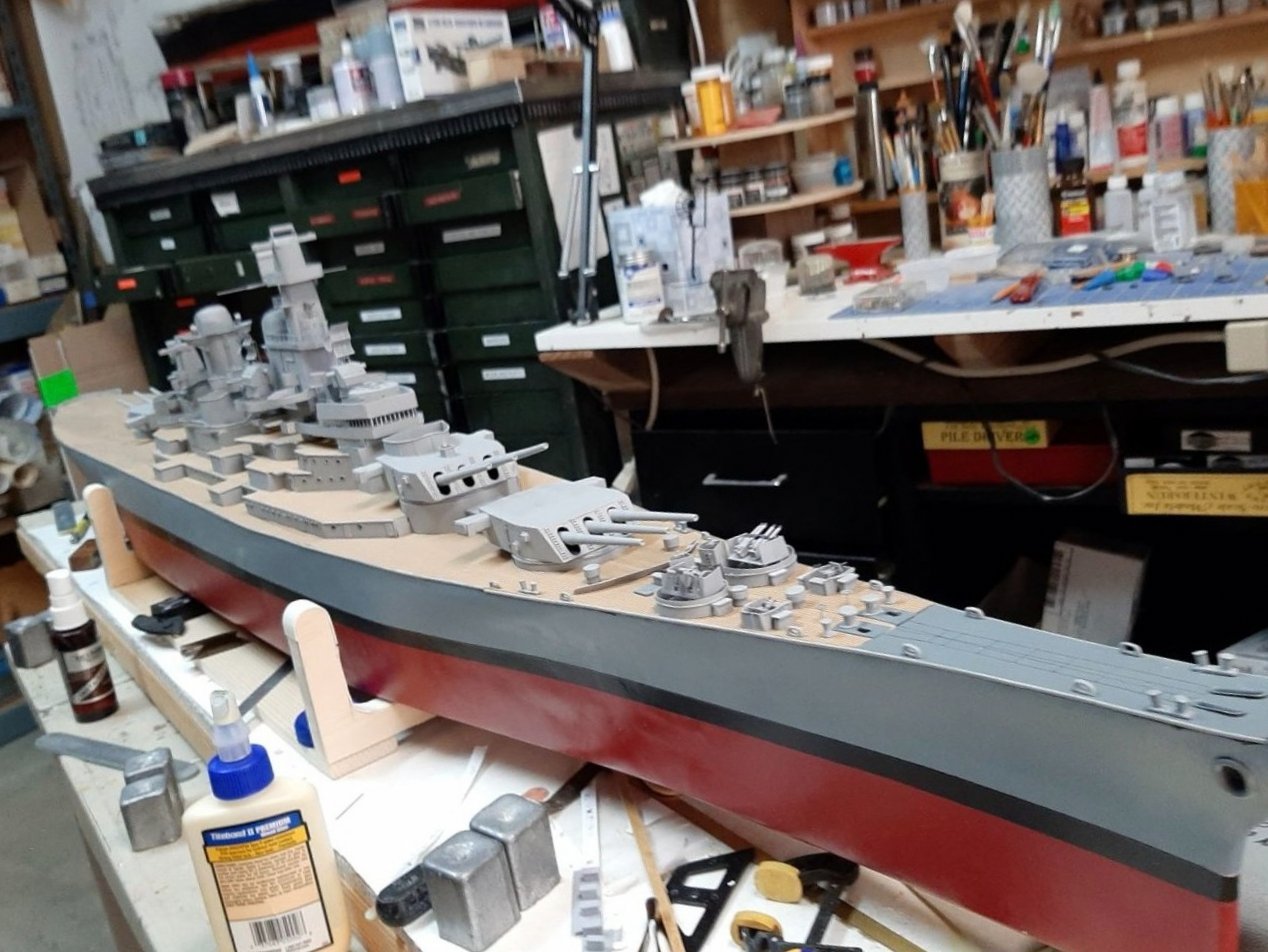
IJN Kiso by Tamiya
- thibaultron, Canute, king derelict and 5 others
-
8
-
-
this kit comes to fill in a gap after Academy's Reuben James kit discontinued
- RGL, Jack12477, popeye the sailor and 4 others
-
7
-
Hope u don't mind I re uploaded them
- lmagna, Old Collingwood, mtaylor and 4 others
-
7
-
1 hour ago, Bob Fraser said:
Hi Mike.
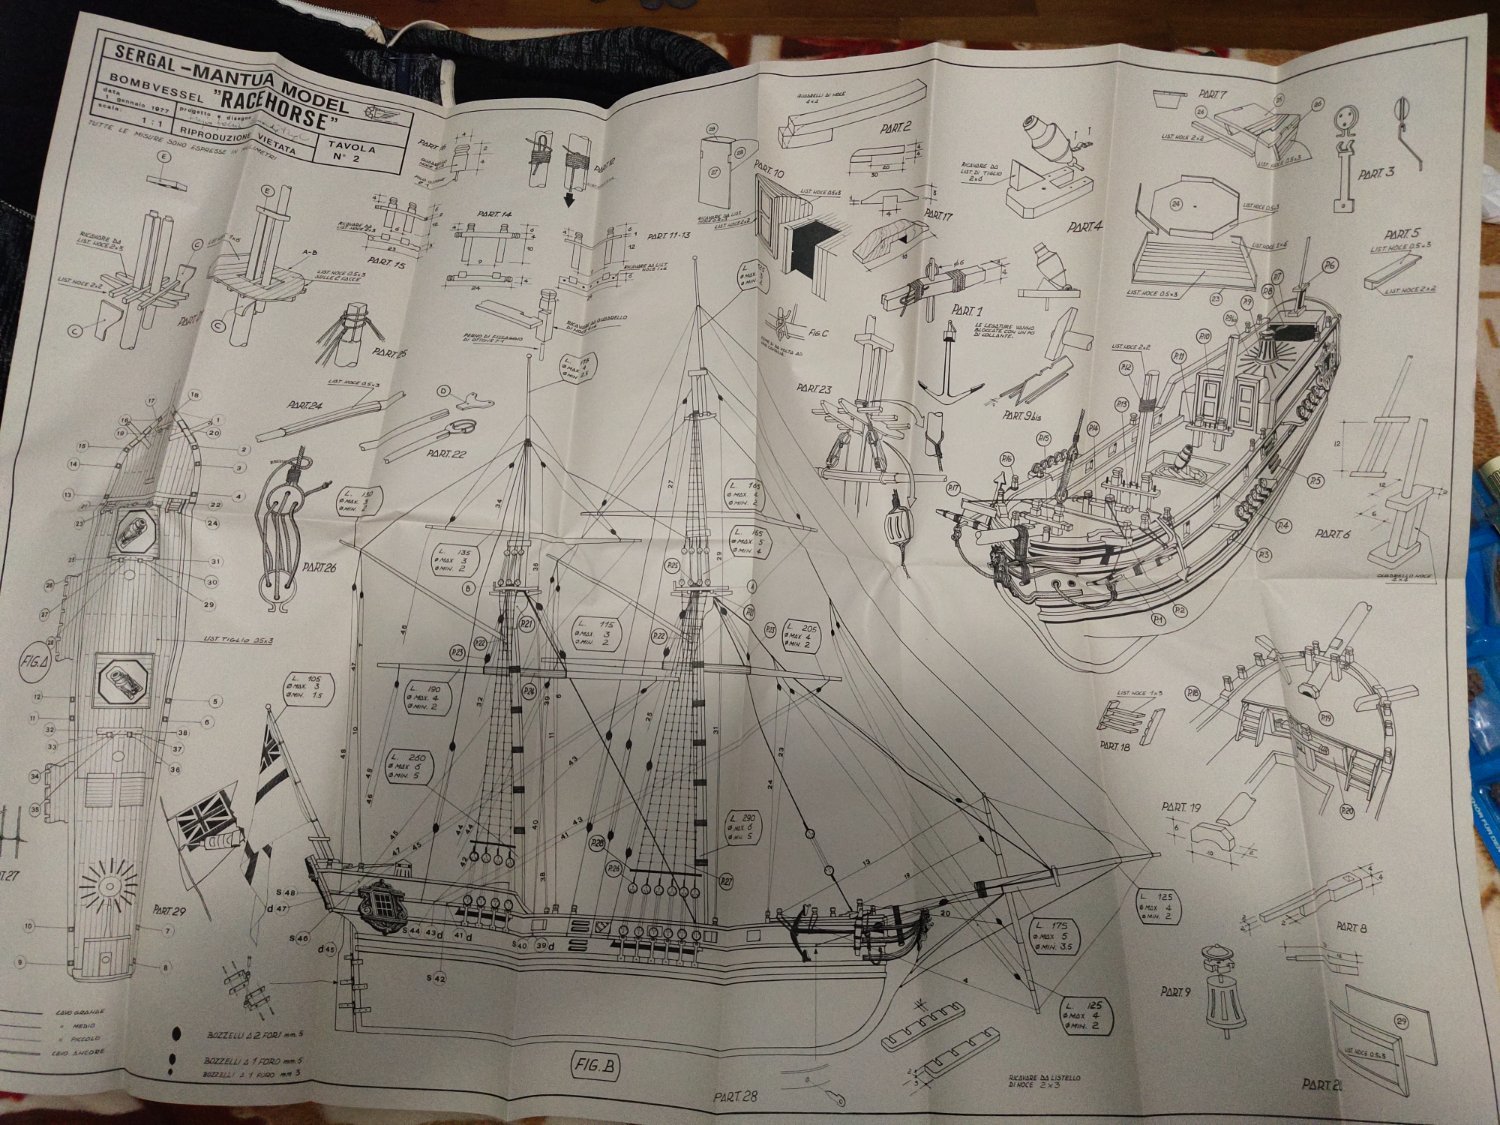
These Sergal kits do have pretty limited instructions ( I have the President on hold), and they seem to have a penchant for misnaming / representing some models as real ships rather than a type.
If you do a search above for "racehorse" in the titles only you'll find some completed models, and the Articles database here has good planking tutorials.
This link shows plan details of the Racehorse 1757 and this the Granado 1742 that the model appears to be loosly based on.
Whatever you do, have fun with the build and enjoy it.
Cheers,
Bob
Thanks these plans may help enhancing the model with further detail
meantime i found this building log quite useful from a guy saying that this was his first built i think. Pretty encouraging!
- bruce d, Canute, Bill Morrison and 2 others
-
5
-
3 hours ago, Bill Morrison said:
My father got this kit for me back in the 1990s. It's a fun kit to build but there is one glaring error to me. It has no cannons. It is only an impression to me, but I believe that this type of ship did have some defensive armament.
Bill
That was a small disappointment to me also, I was tricked by the gunholes later noticed that they empty. Gotta still learn a a lot.
- Canute, Bill Morrison, mtaylor and 1 other
-
4
-
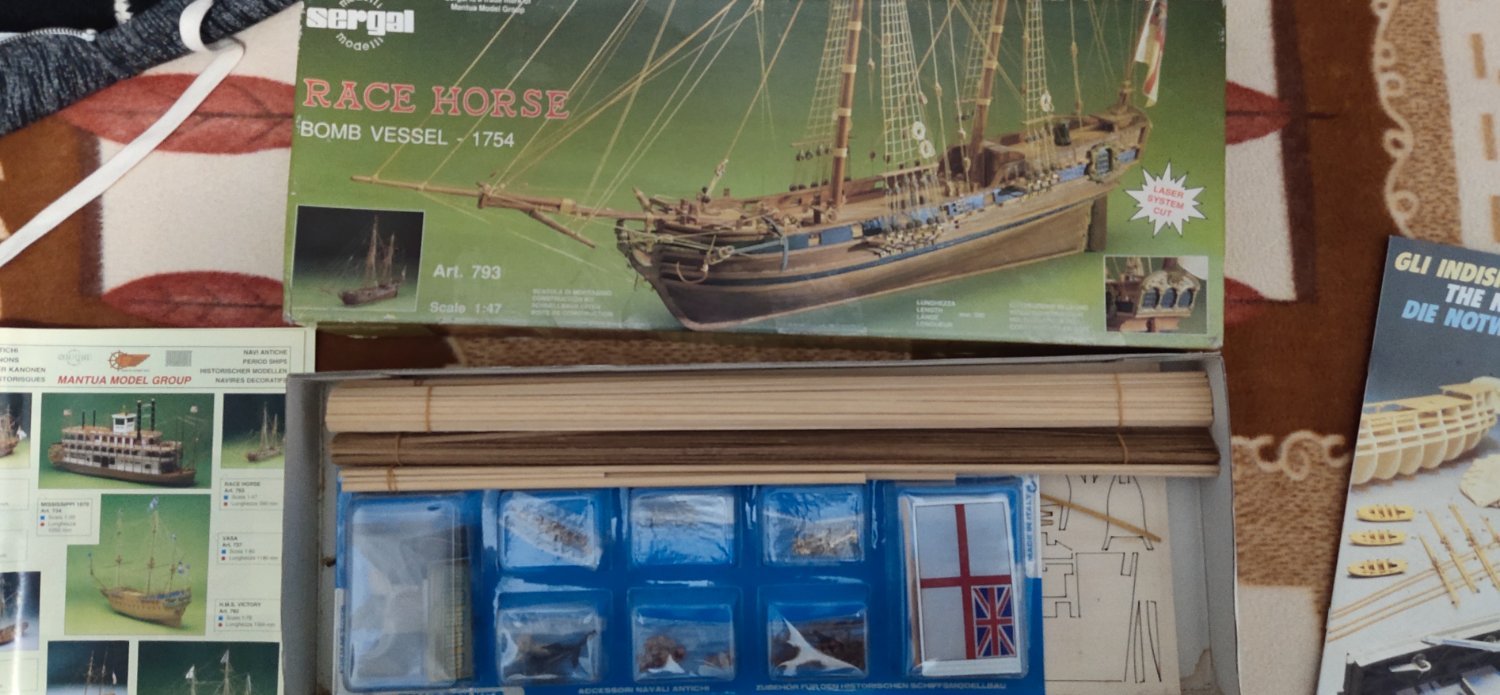
This is my first wooden kit. I haven't built any. However I found it on a Facebook sale for half or less of the original price and decided to give it a chance. The absense of a 3rd mast calls for a significant less rigging job. This along with the interesring silhouette of the ship drew my attention immediately. The 1/47 Scale also sounded pretty satisfactory.
HMS Racehorse was an 18-gun ship-rigged (i.e. three-masted) sloop of the Royal Navy. Originally the French ship Marquis de Vaudreuil, she was captured by the Royal Navy in 1757 and refitted as a survey vessel for the 1773 Phipps expedition towards the North Pole. Renamed HMS Thunder in 1775, she was captured back by the French in 1778
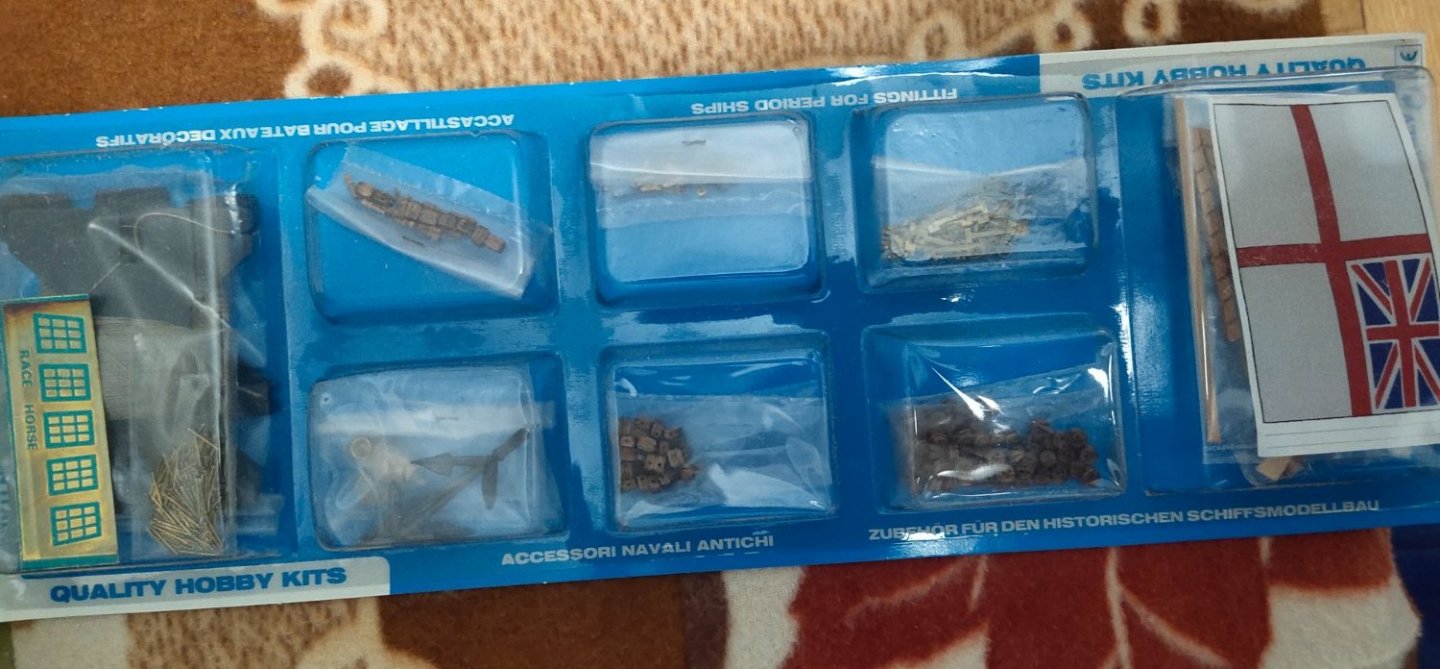
Now the kit.

I don't know much about the quality of the woods but considering the price that seems like a basic kit.
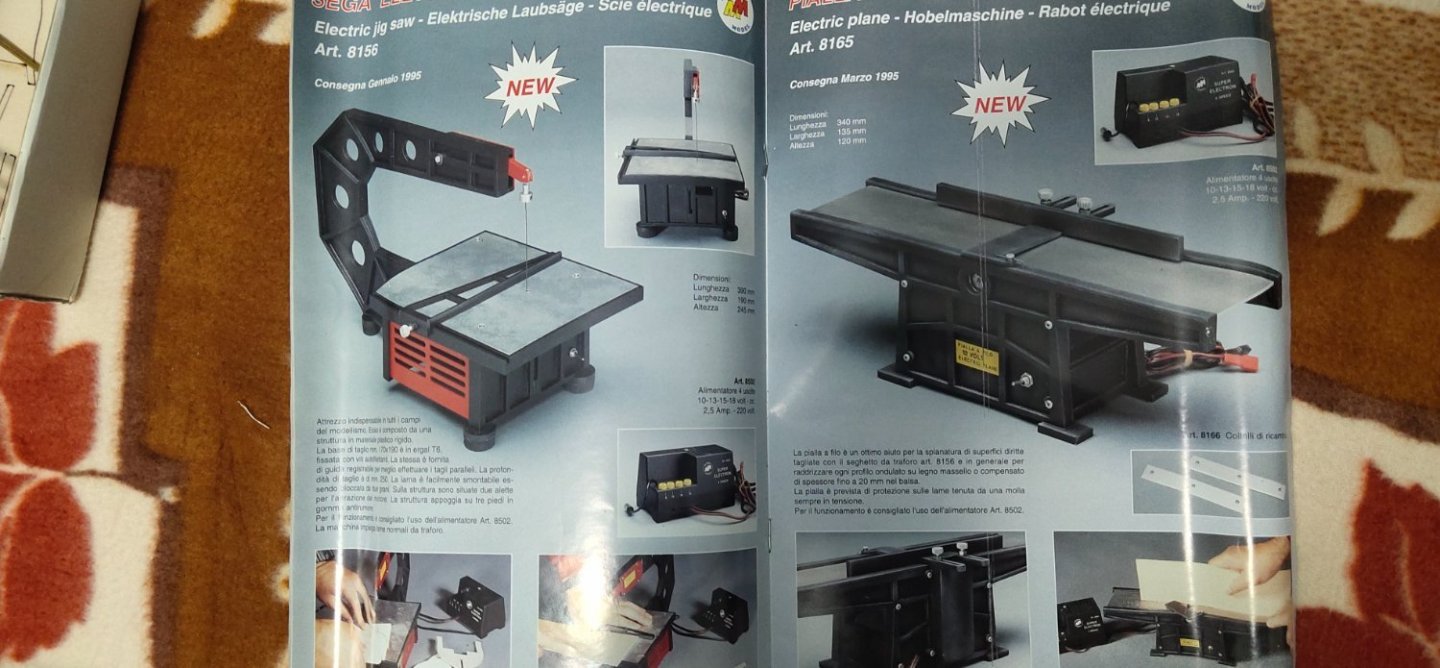
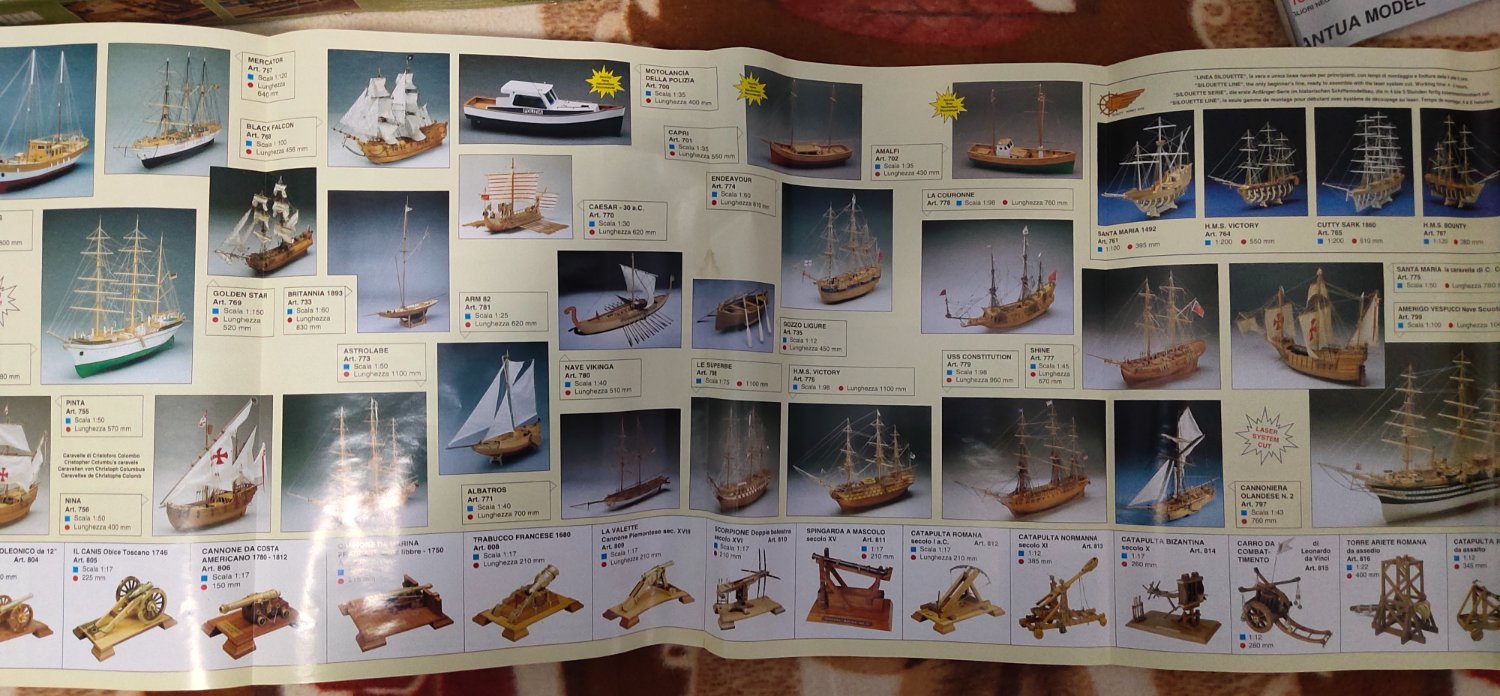
There are two illustrated booklets one presenting other models of the firm and the other some useful electric tools to work with wood.
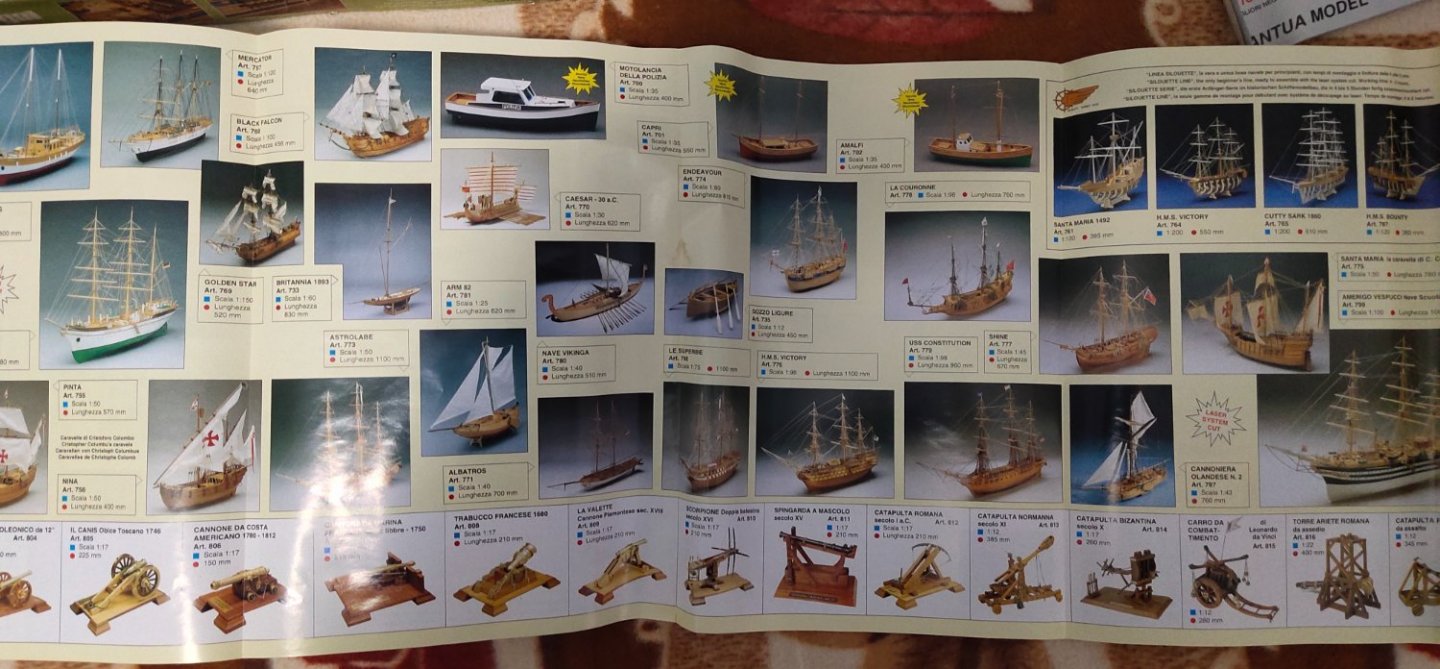
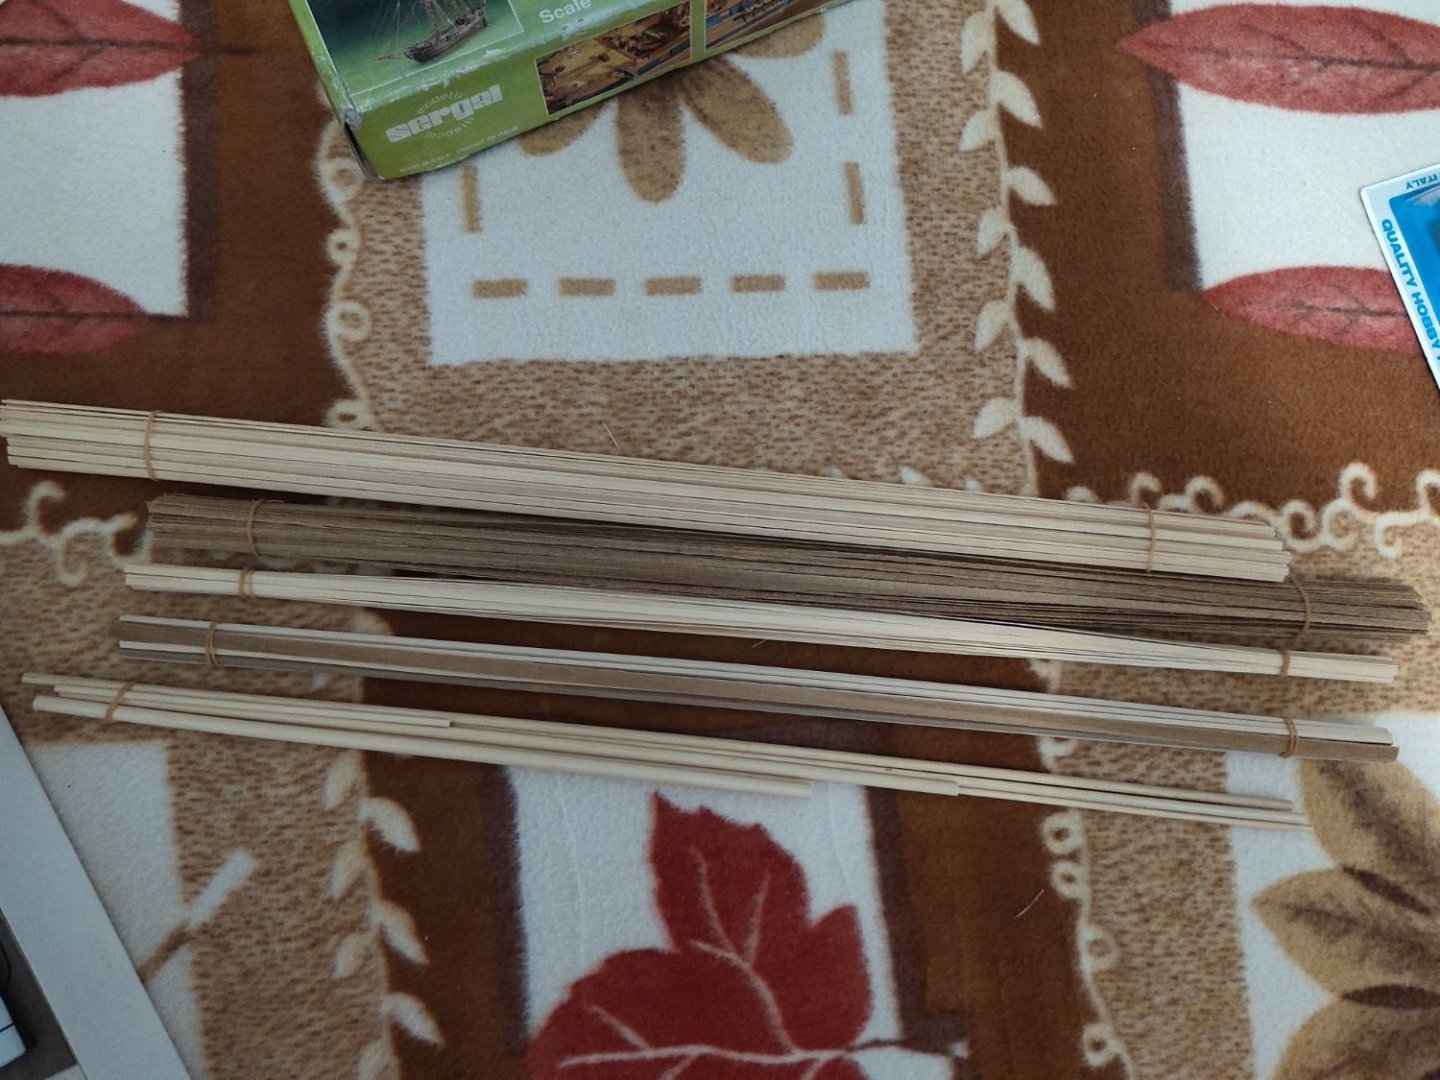
There are four bunches of wood stripes. One for initial planking, one for final planking, one mixed.one (spare?) and a final one I suppose for the deck.
Next are the detailing parts like pulleys, anchors as well as nails and a British flag so big that I could stick it on my jacket(I mostly built 1/700 scale lol). Underneath this some more brass parts. No PE included. From a first point of view there is some space for improvement like adding some extra detail perhaps some barrels, a brass bell and more
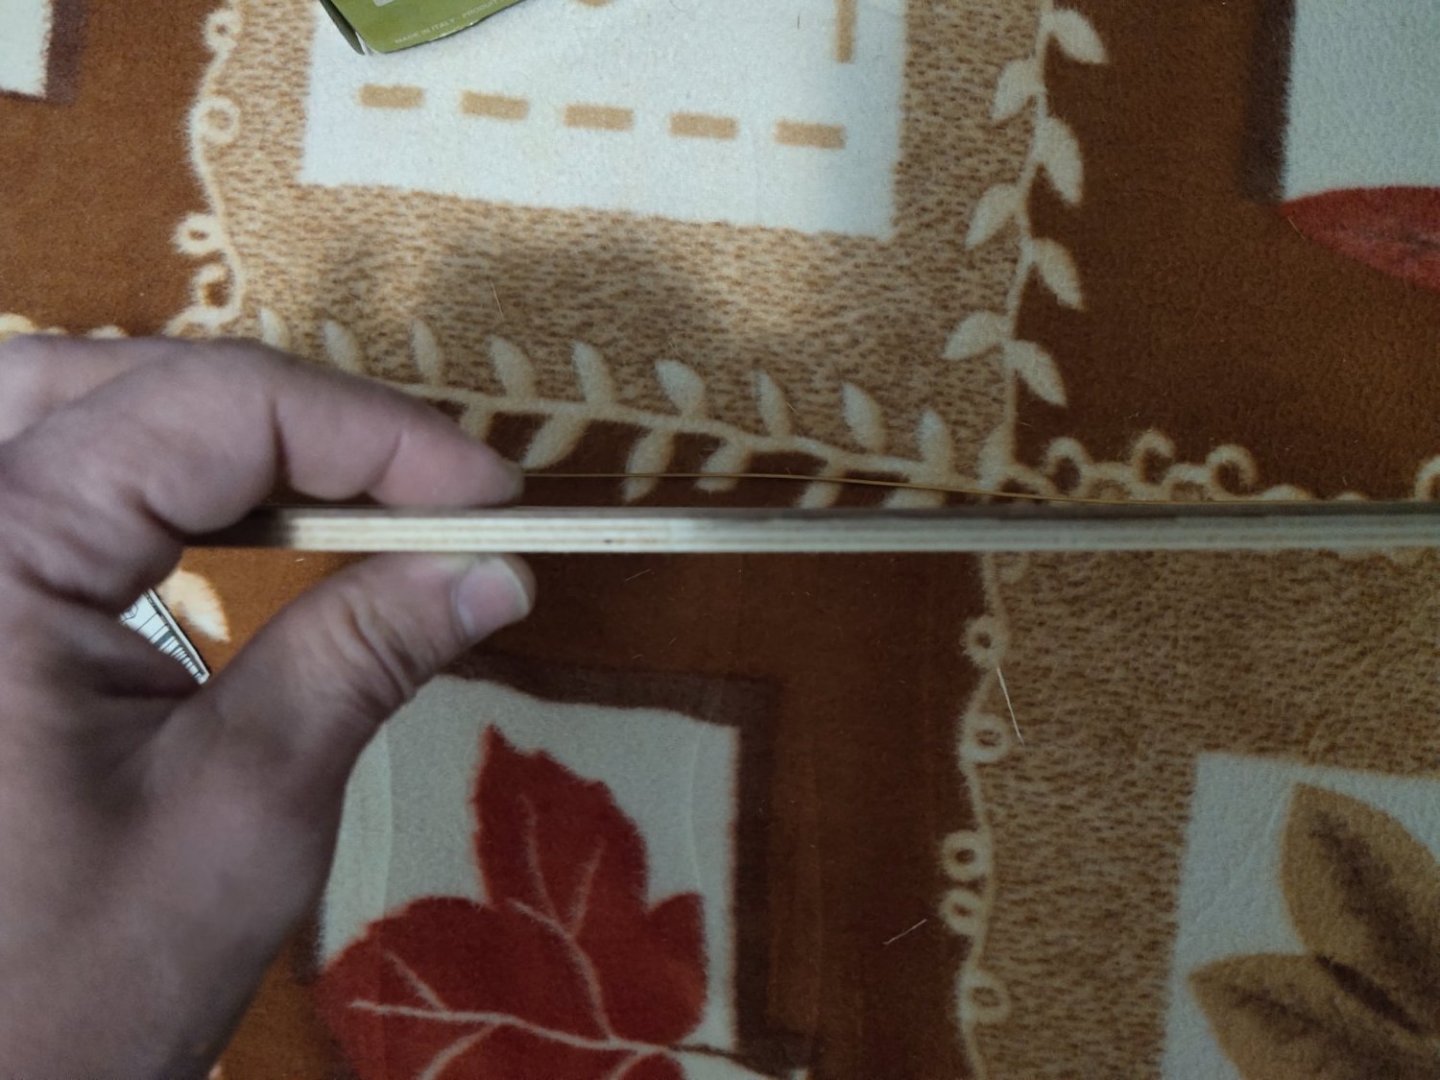
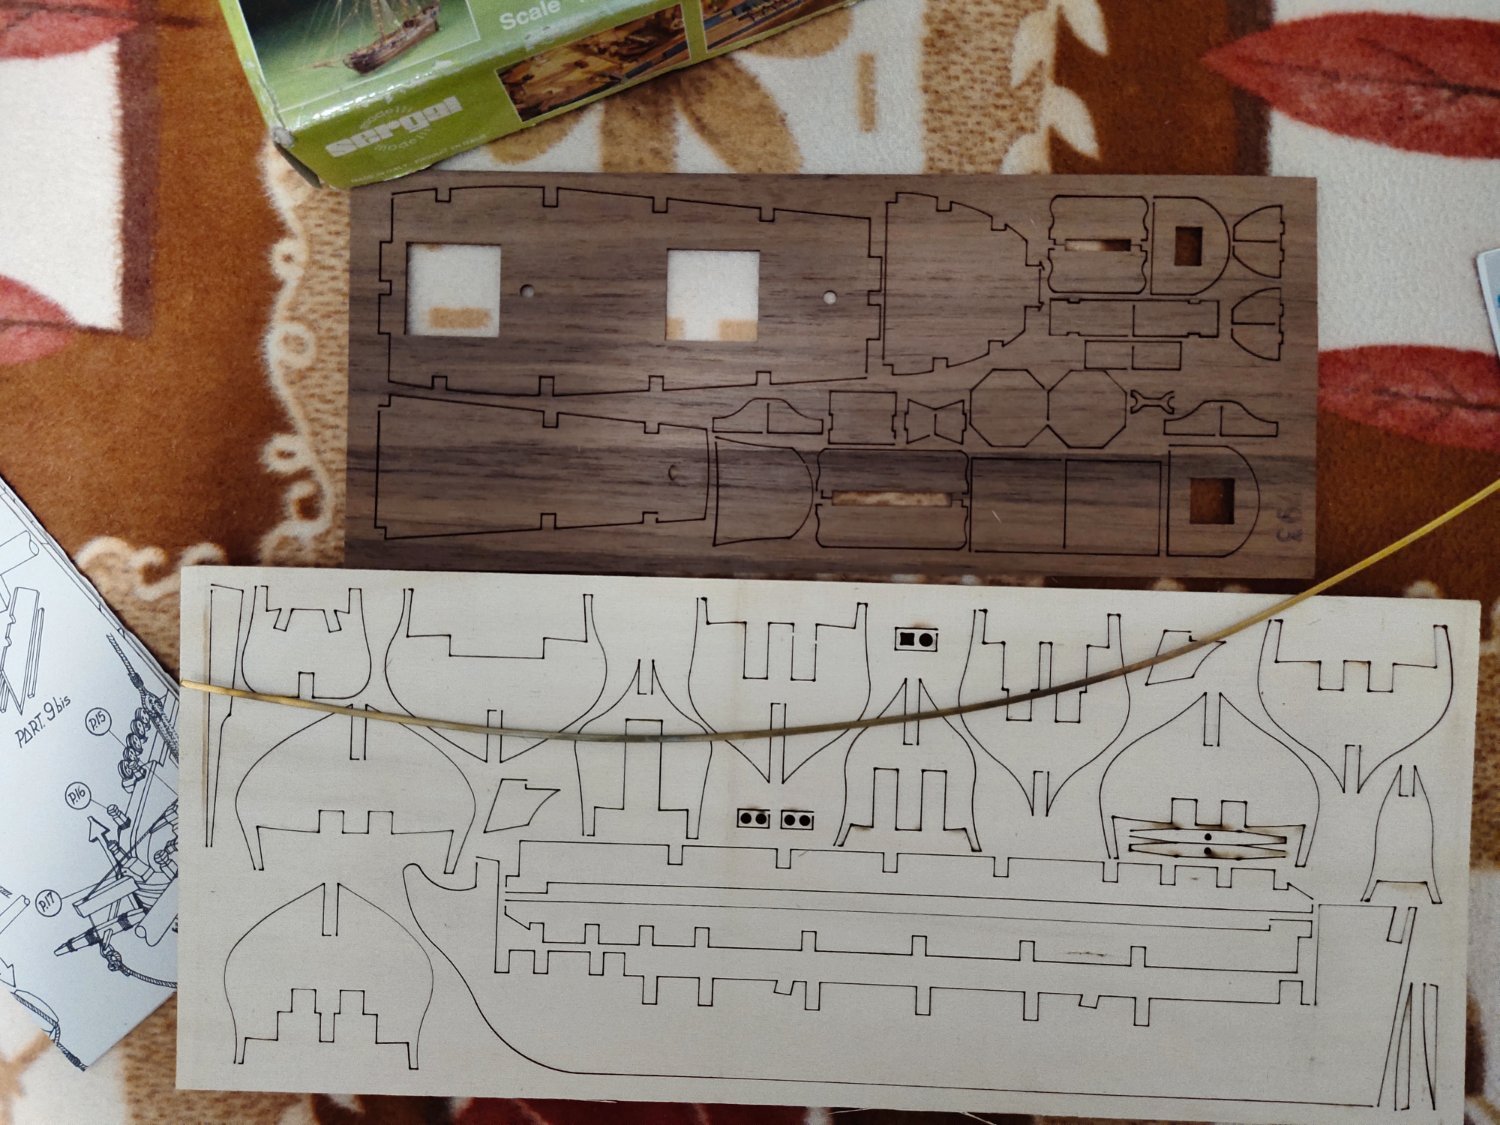
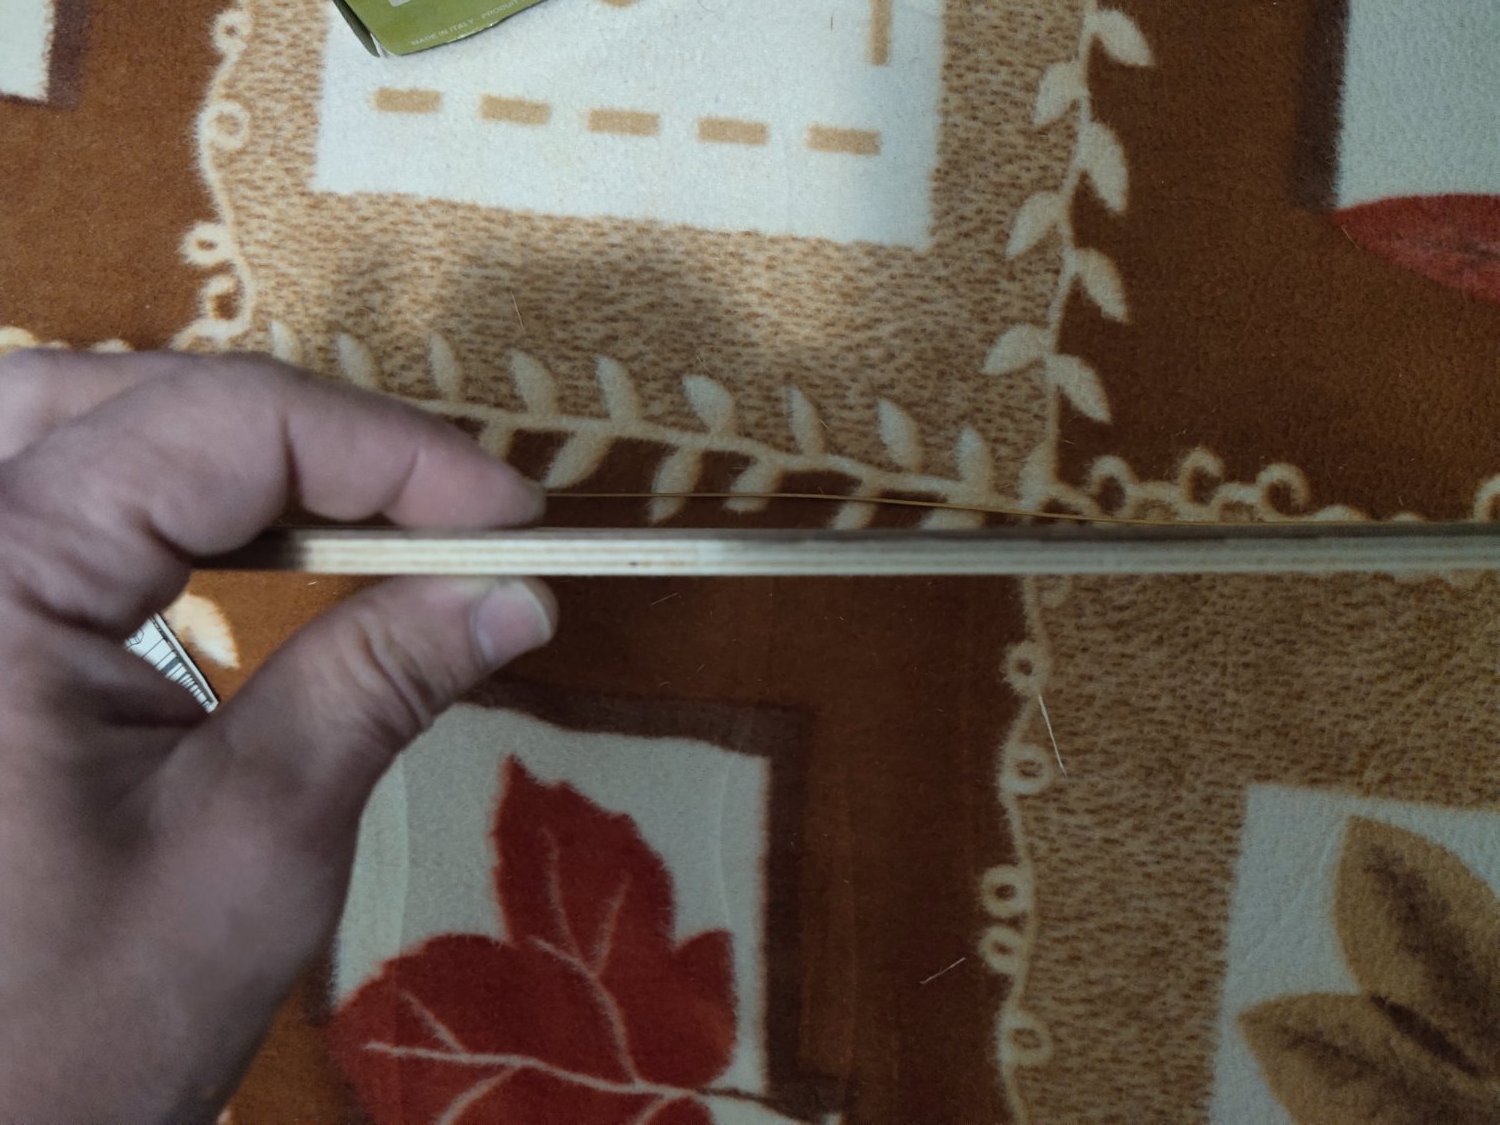
Next are the parts for the hull, deck, frames, etc. These come in 2 laser cut sets, one plywood, I guess about 4mm thick and another one quite thinner from a wood unknown to me. Looks like same with the one used for final planking. Finally there is a curved brass strip which I don't know what's for, yet.

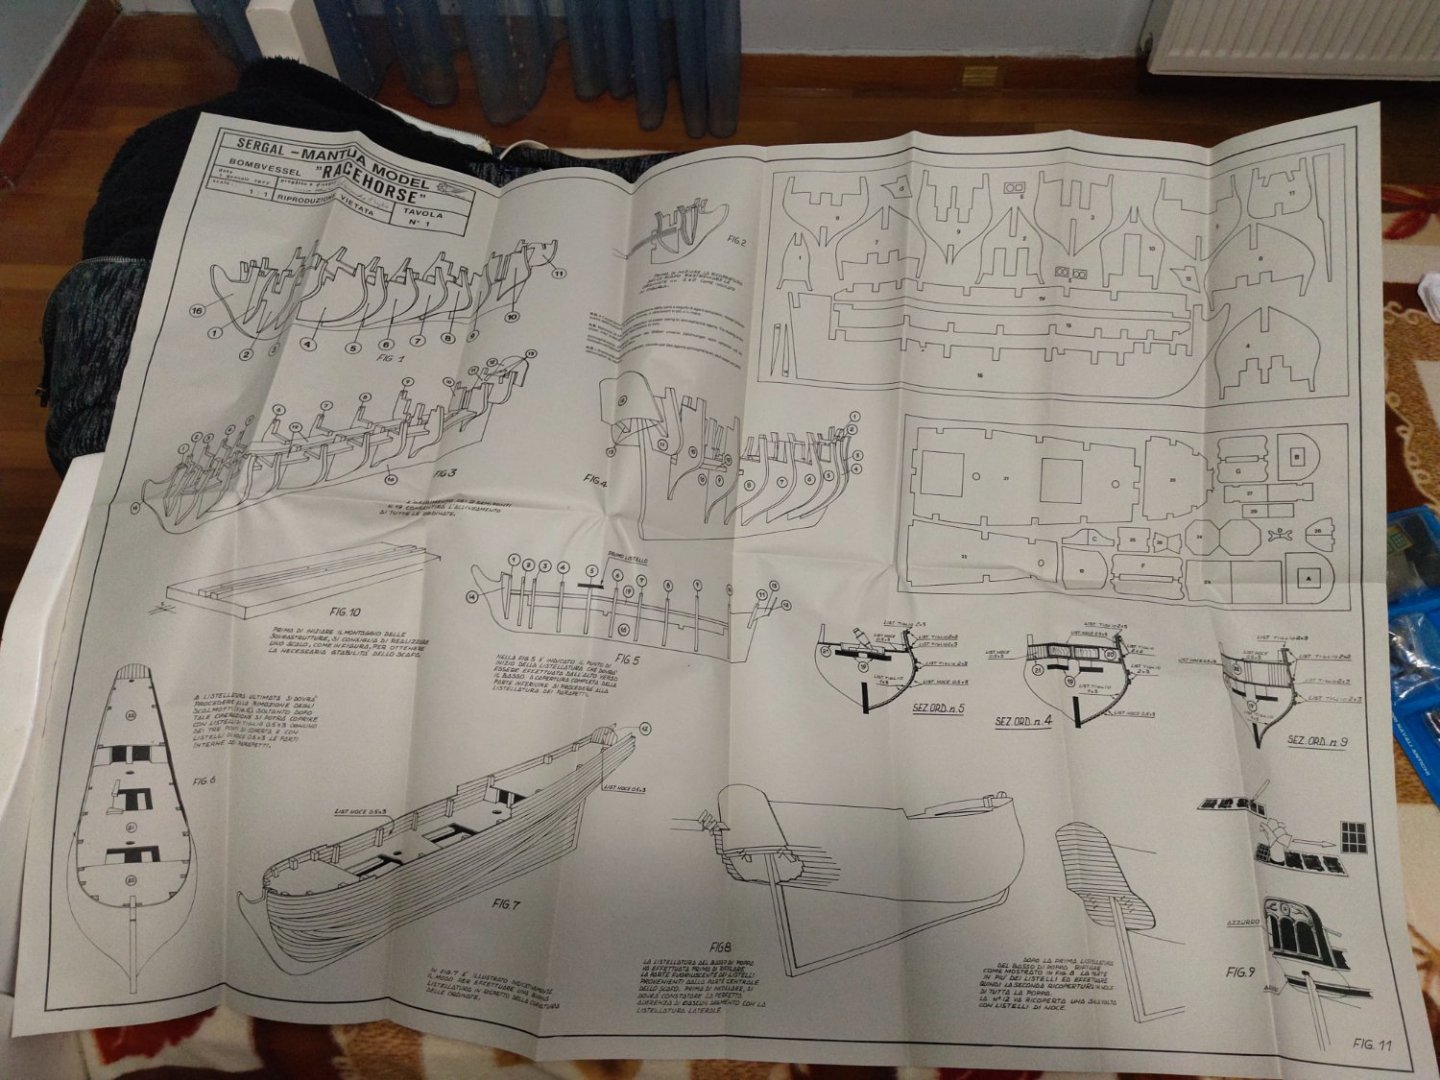
Finally there is a 2 sided sheet for instructions. It occupies half of the bed I guess model is displayed in real scale 1/47 but more experts modelers will know better. It seems pretty basic I think and without planking instructions. Fortunately there is so much info online that actually I am confused of which way I should follow if ever decide to start it

- ccoyle, mtaylor, Bill Morrison and 5 others
-
8
-
-
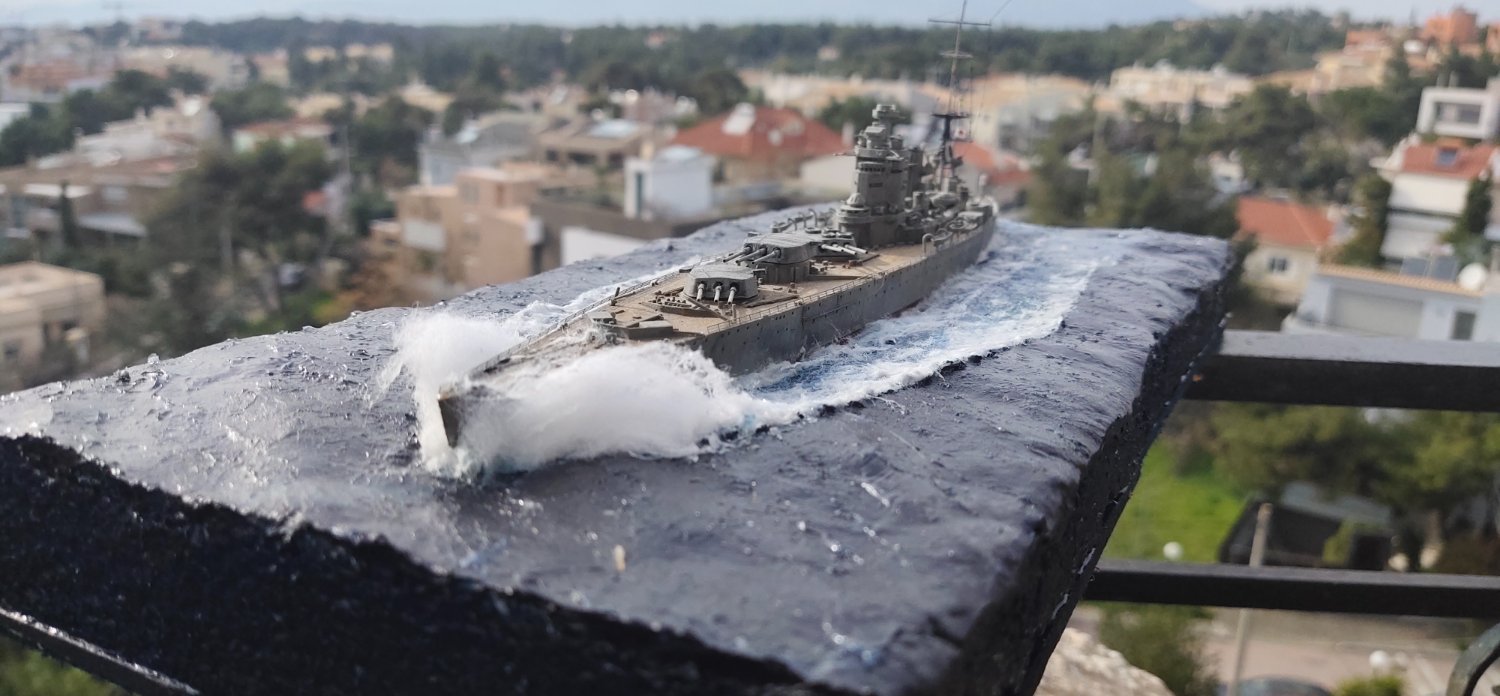
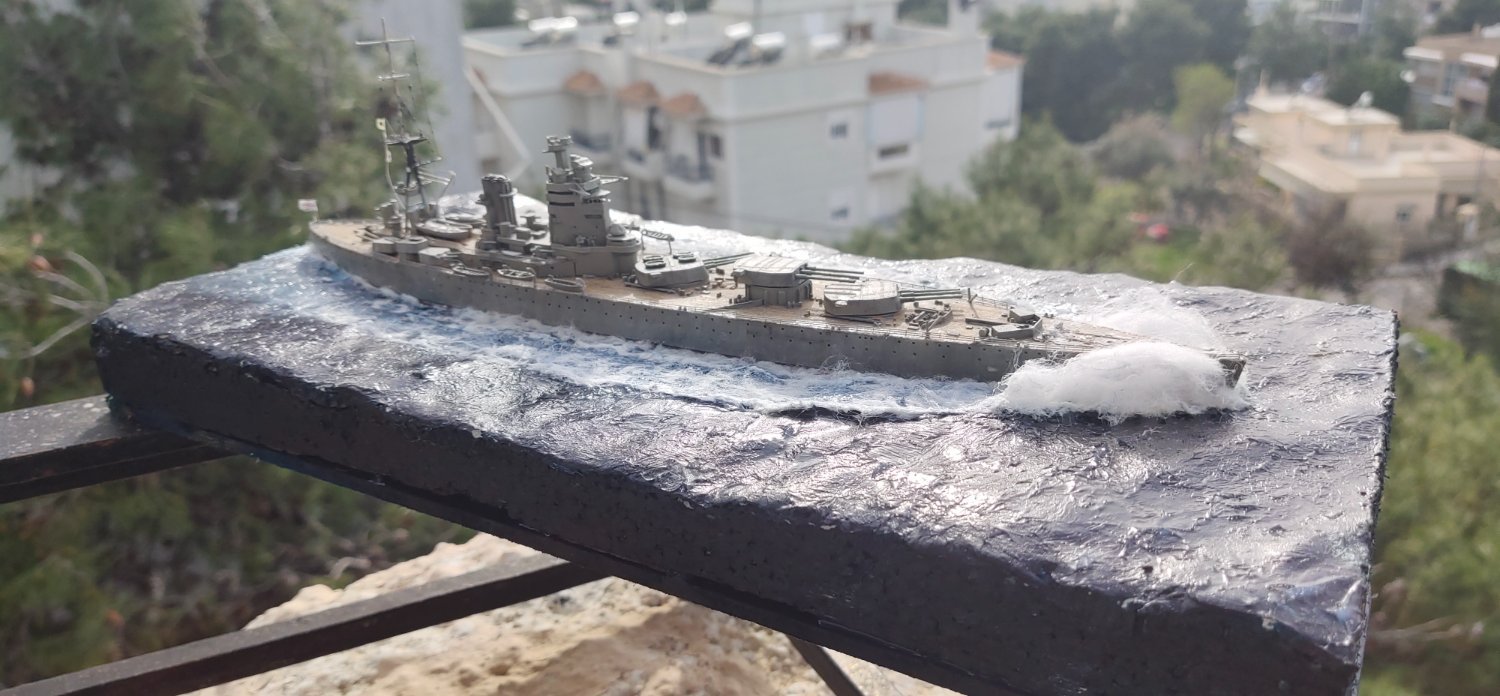
I have finished the gel apply. When dry I will form some bow wave and varnish. The airbrush blown some fragile rigging so I have to re work it after completion. Or find a lazy title for my model like "HMS Rodney after typhoon hit" lol.

- king derelict, thibaultron, Baker and 3 others
-
6
-
Some SD 14 built fr Greek owners in Suderland or Skaramangas, Greece
https://greekshippingmiracle.org/en/highlights/ships-built-for-greeks/general-cargo-ships-1960-69/
- thibaultron, Canute, Kevin and 1 other
-
4
-
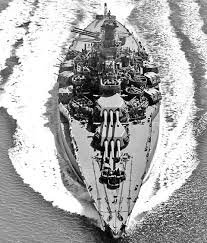
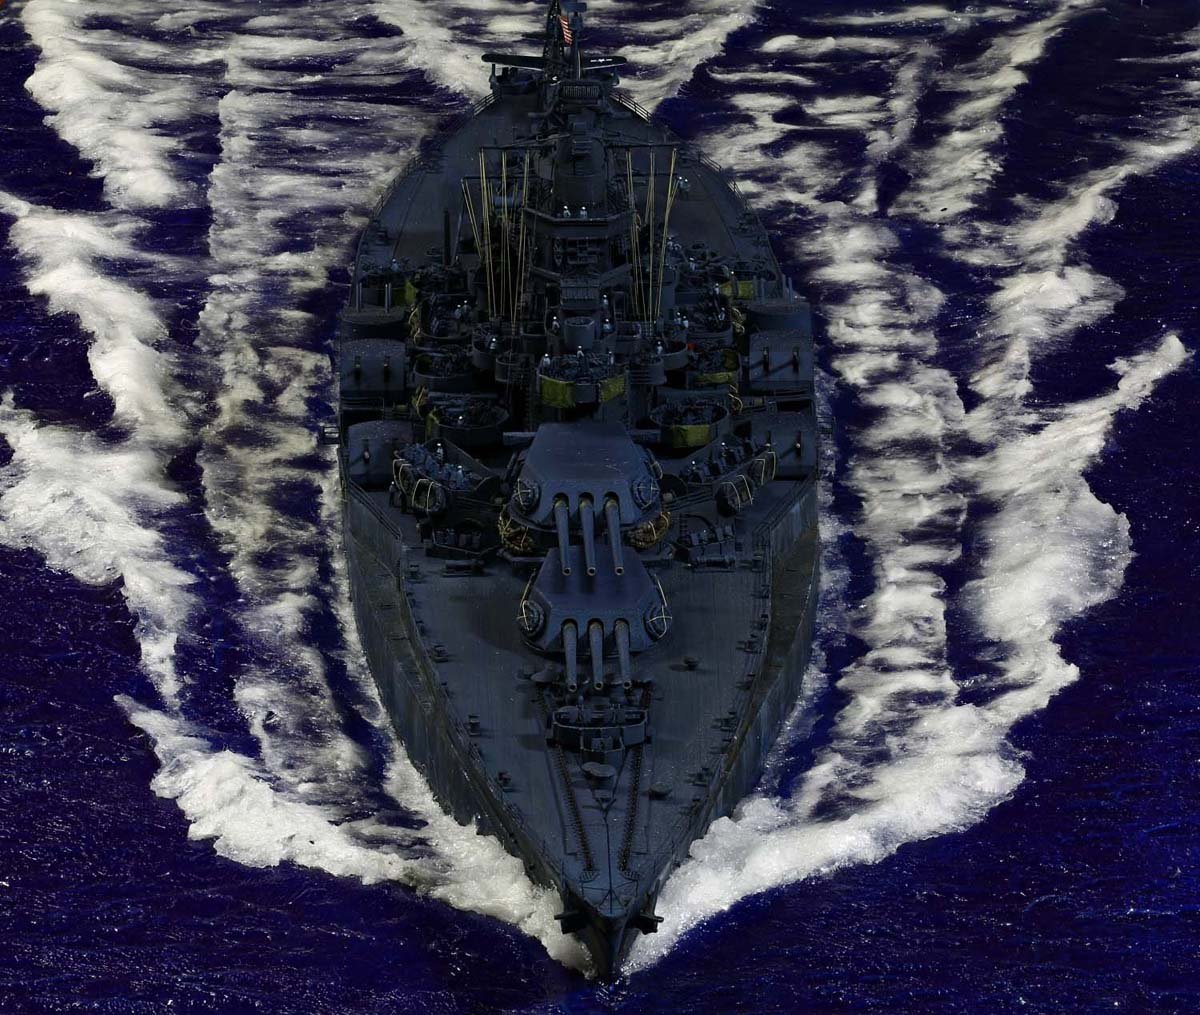
On 3/24/2022 at 11:39 AM, Veszett Roka said:
Hi Mike,
please be aware, the wavefronts must be straight even on light sea:
Thanks for the comment . I am trying to built a base similar to this but with a bit rougher sea
- Old Collingwood, Canute, mtaylor and 6 others
-
9
-
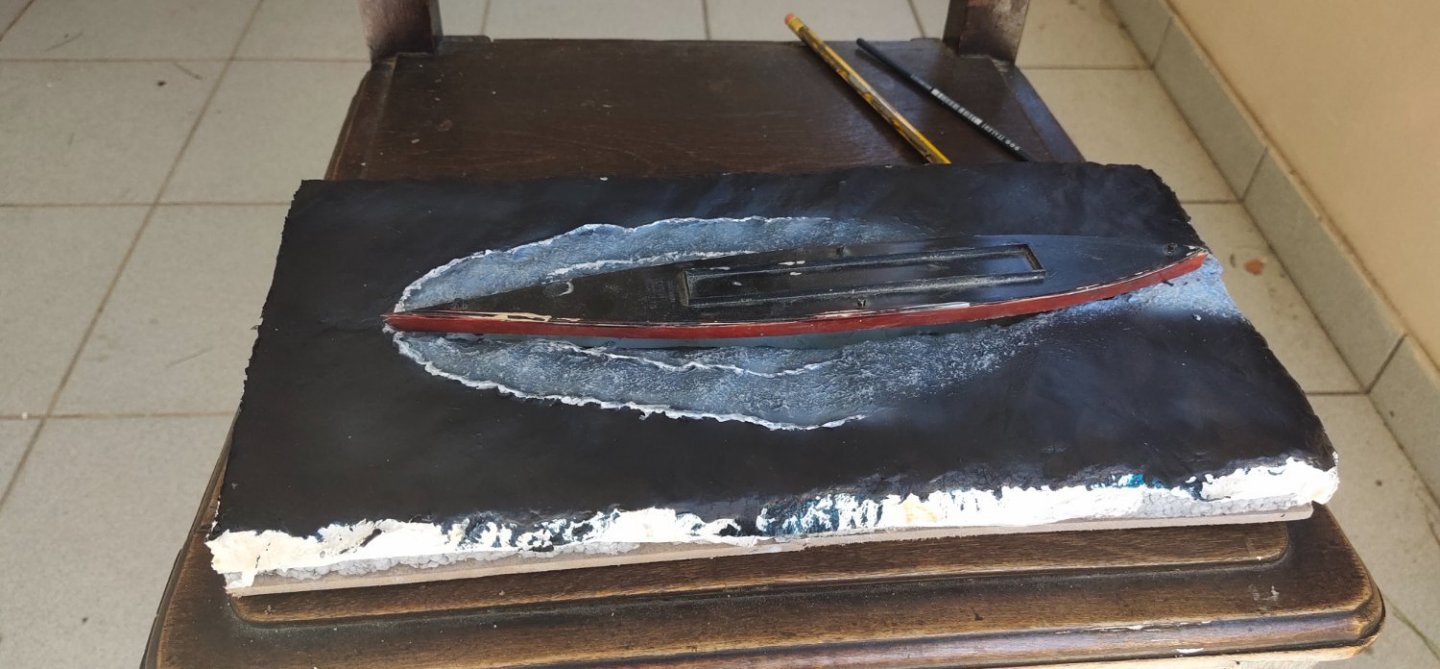
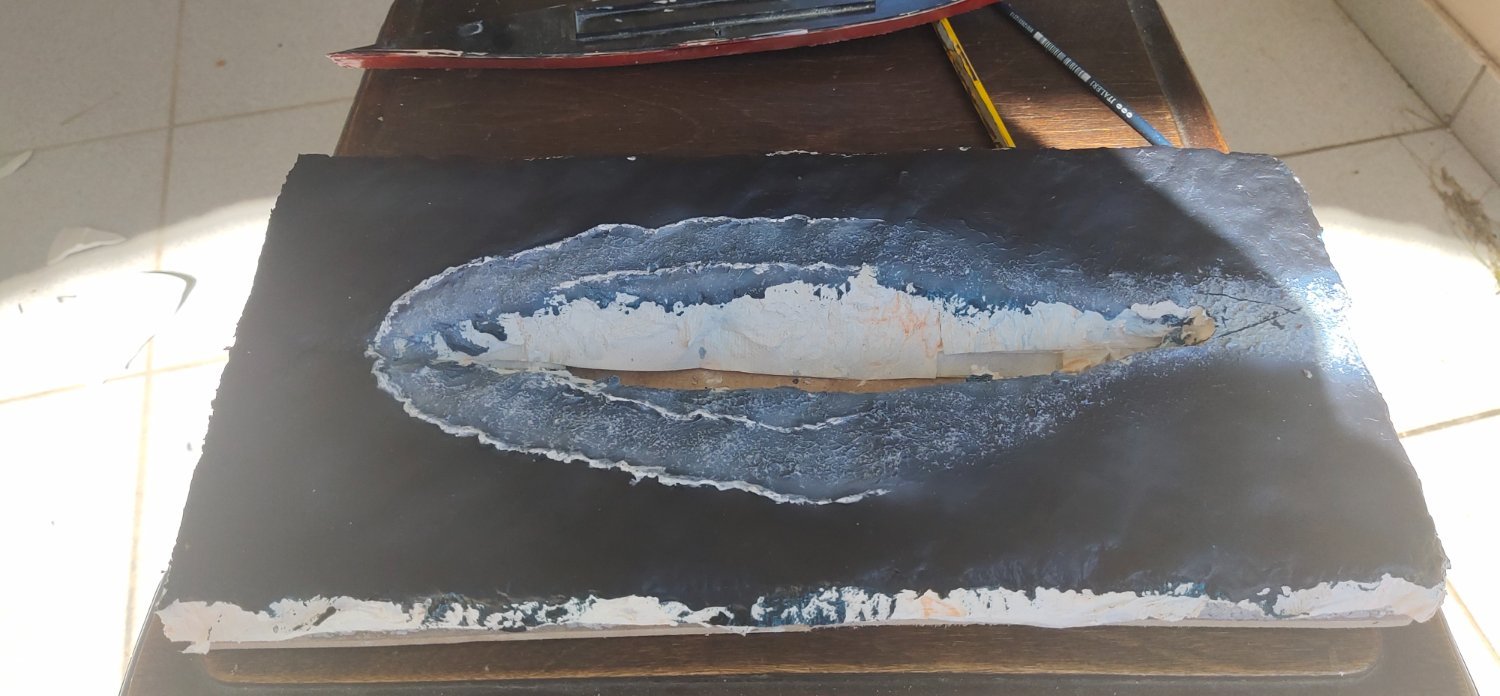
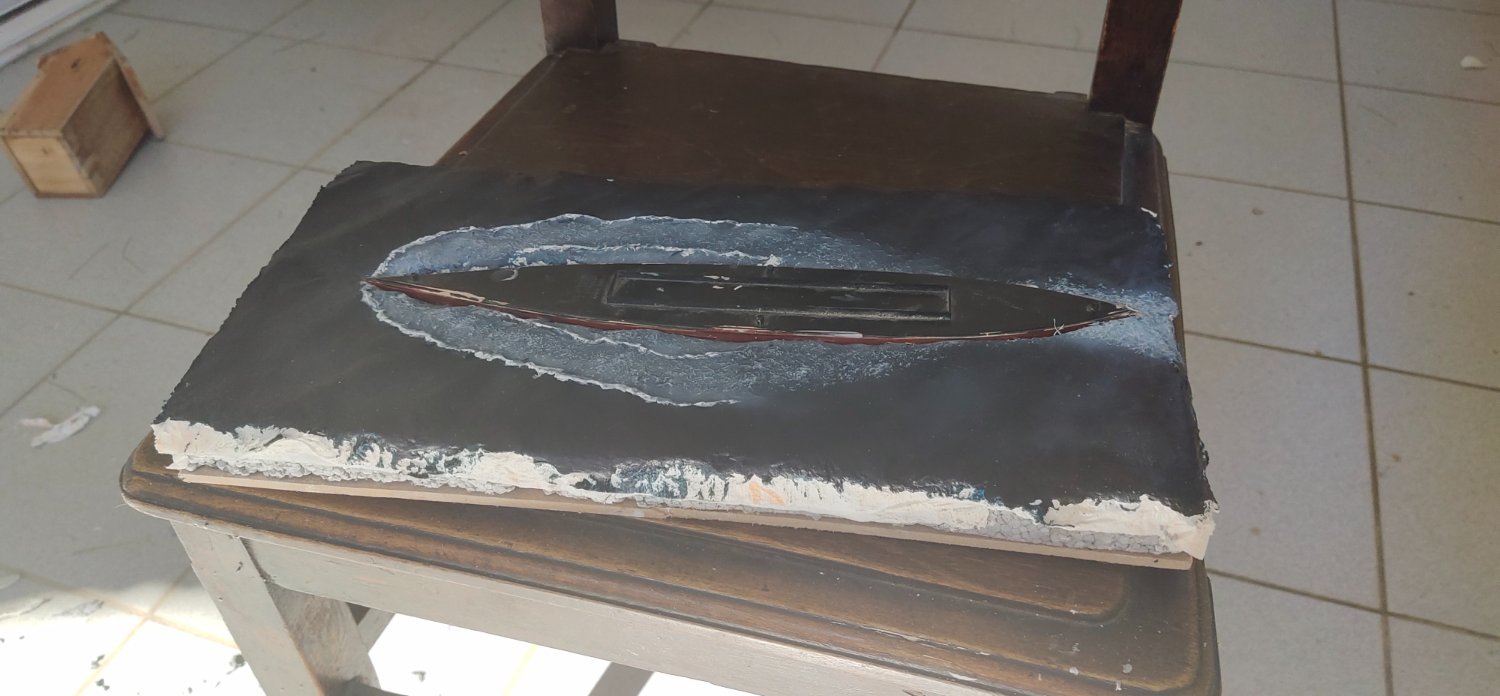
So I gave it a color of dark ocean blue, then air sprayed with white. I use thick acrylic for painting so I need to expertise a lot about how to thinner it and enable for a regular paint flow. Then I used sponge shocked in white to paint the "nerves" between the two waves
Then disaster strikes. Obviously paper layers and glue have covered the area cutted, which resulted in hull misfitting. So I need to cut further aft. Fortunately I had some free space but it just that stern moved too much behind at the end of the base. I could dig in a bit forward but then waves should be reformed to align with the bow so I rejected this option.
Next steps:
Fitting hull and closing the gap with material.
Apply cotton to form water foam
Applylight coat of medium gel to give a rougher texture
Minor painting jobs
Apply body car varnish for a super glossy effect.


-
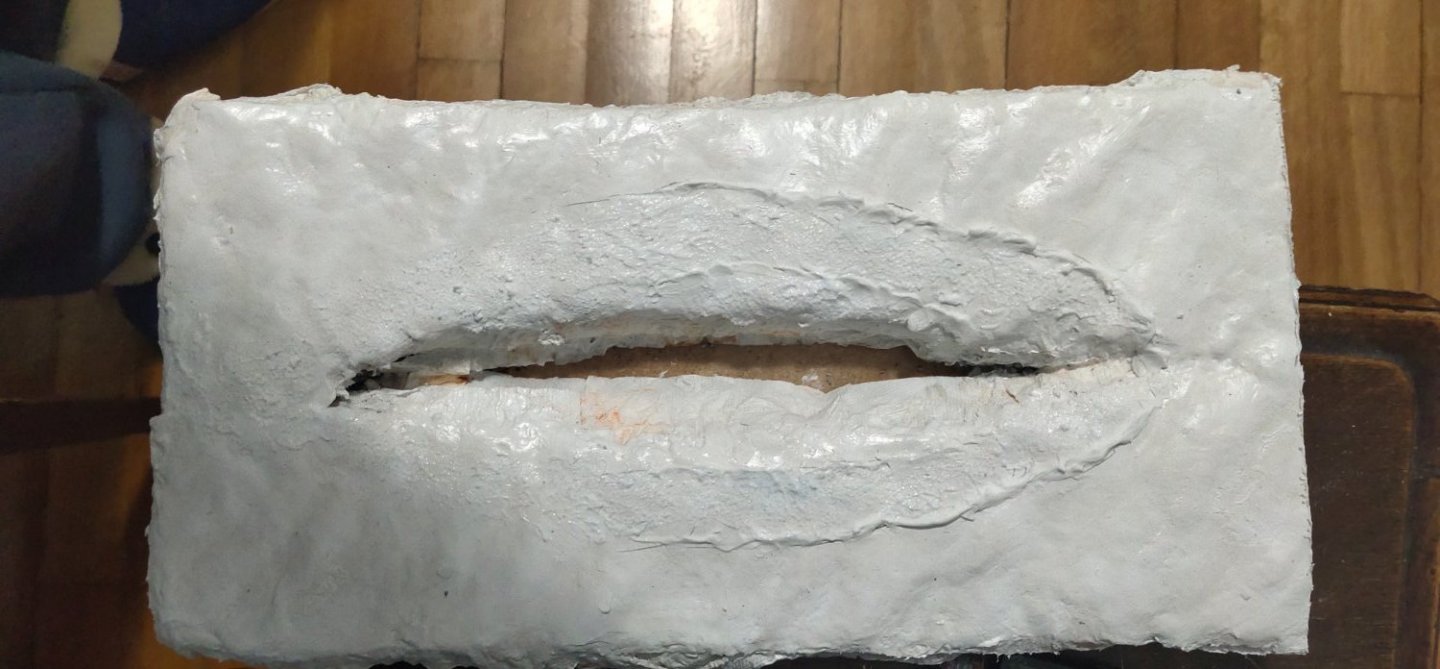
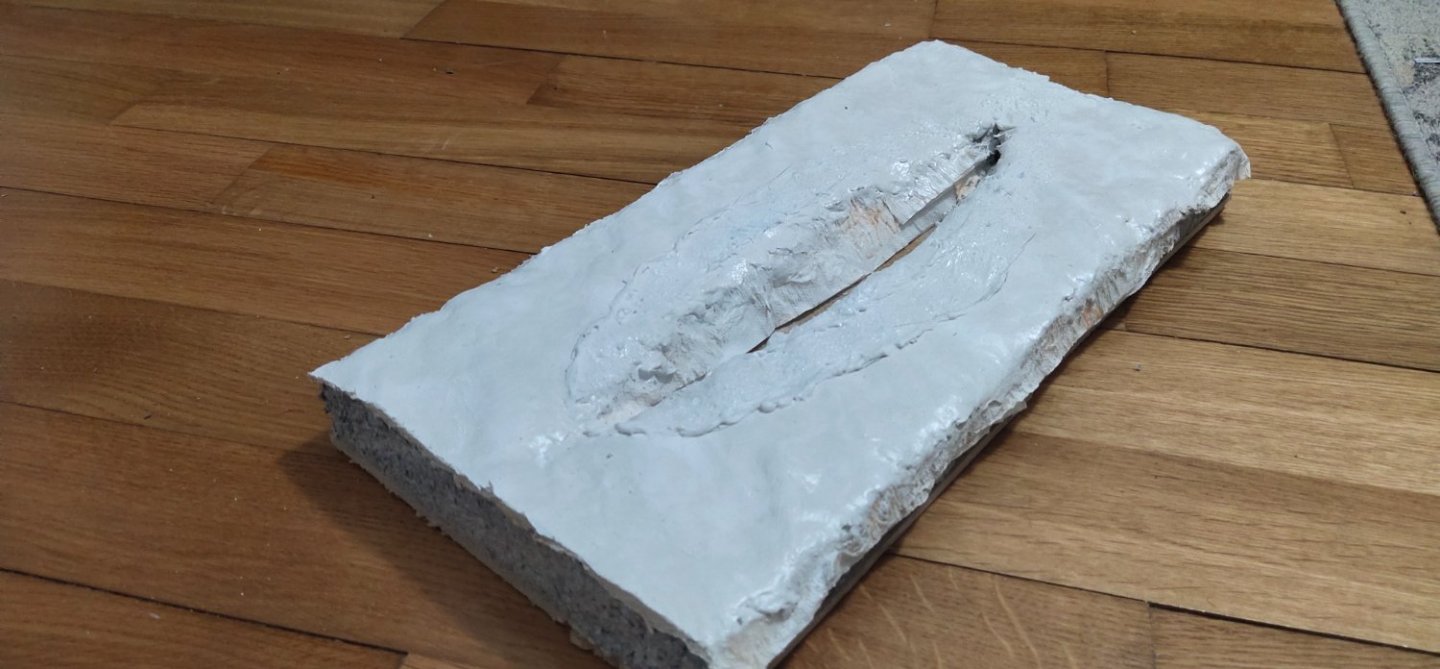
I built the base. Styrofoam glued on MDF to eliminate warp. I cut waves then added few layers of toilet paper and diluted PVA glue. Then I decided to use plaster to smooth the surface. First attempt this way. I formed the wakes with acrylic putty applied with gun. Then filled the space between wakes and hull with gel to give a rougher surface.
Tomorrow I try airbrush paint and apply medium gel before going for final details
- mtaylor, thibaultron, lmagna and 4 others
-
7
-
On 8/10/2018 at 3:38 AM, Jim Lad said:
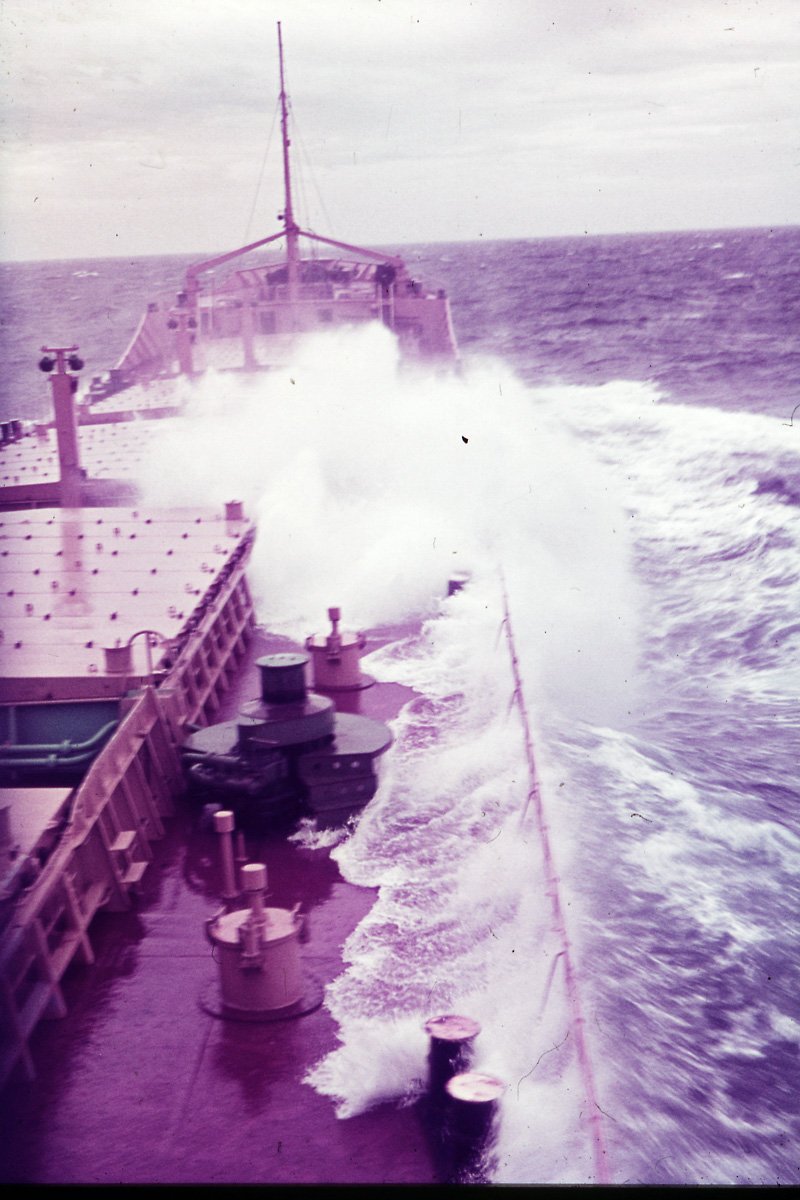
I'm pretty sure the SD14's has MacGregor hatch covers - steel sections joined by short lengths of chain and running on rollers along the hatch. They were pulled either forward or aft into the space at the end of the hatch and folded up on their ends as they reached the storage bay.
The (very old) photos below are of one of the shipped I was on as a cadet - MV 'Wollongong'. In the one of her at sea you can see the hatch covers secured over the hatch and, as you say, virtually becoming a part of the structure. In the second photo she's loading iron ore and you can see the sections of hatch cover tilted up and stowed at the end of the hatch.
John


you mean like this

- Canute, thibaultron, Old Collingwood and 1 other
-
4


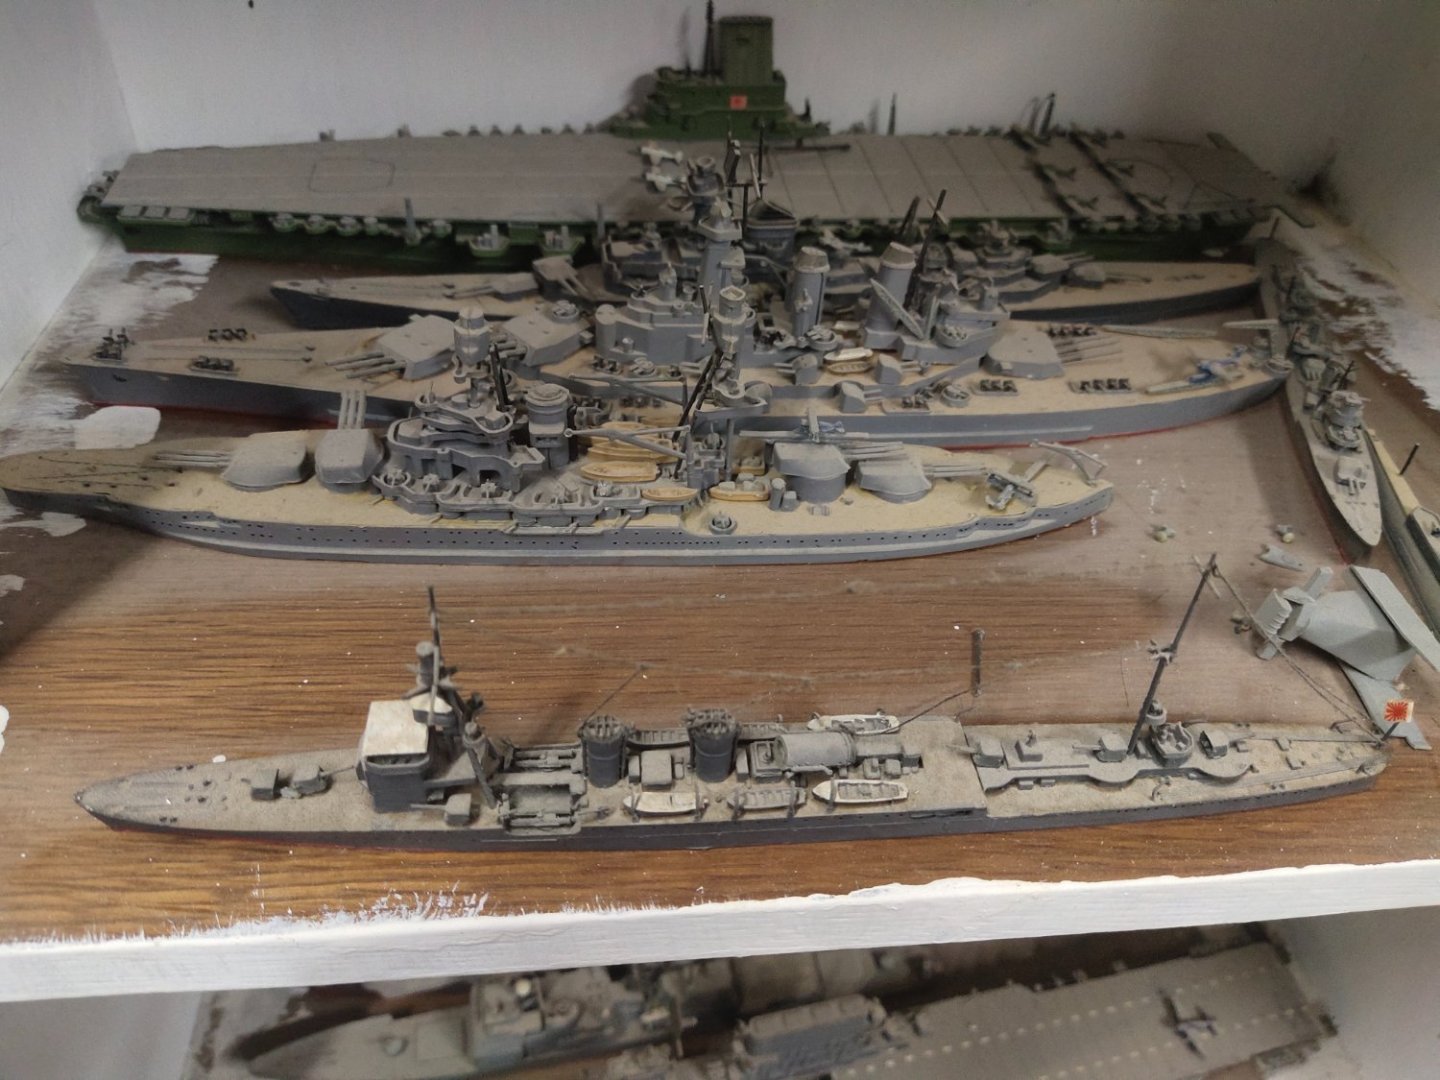
Rebuilding the fleet by mikegr - 1/700 - restoring old plastic models
in - Kit build logs for subjects built from 1901 - Present Day
Posted
Camouflage extended.
Boat work and ropes added.
Metal anchor added