


Mirabell61
-
Posts
7,407 -
Joined
-
Last visited
Content Type
Profiles
Forums
Gallery
Events
Posts posted by Mirabell61
-
-
Ver nice basic work with the gig Eberhard,
it looks great, and that in a so small scale !!
Nils
- Keith Black, bruce d, mtaylor and 1 other
-
 4
4
-
12 hours ago, wefalck said:
Do you really want to spoil your model with sewn sails ? I would think twice about this, because they never look right. I would rather go for something like silk-span (Japanseide), glue and paint. There are various examples for such sails her on the forum. They look much more to scale.
Eberhard,
I`ll try with one sewn sail first and see what it looks like....
Nils
-
-
Update
progress with the rigging, beams and gaffs, nav. lights...
Nils
nav. light brackets made from 0,8mm ply
fastening rails for clipping to the shrouds
rigging will go on when the sails are made


- GrandpaPhil, cotrecerf, Prowler901 and 6 others
-
9
-
-
Update
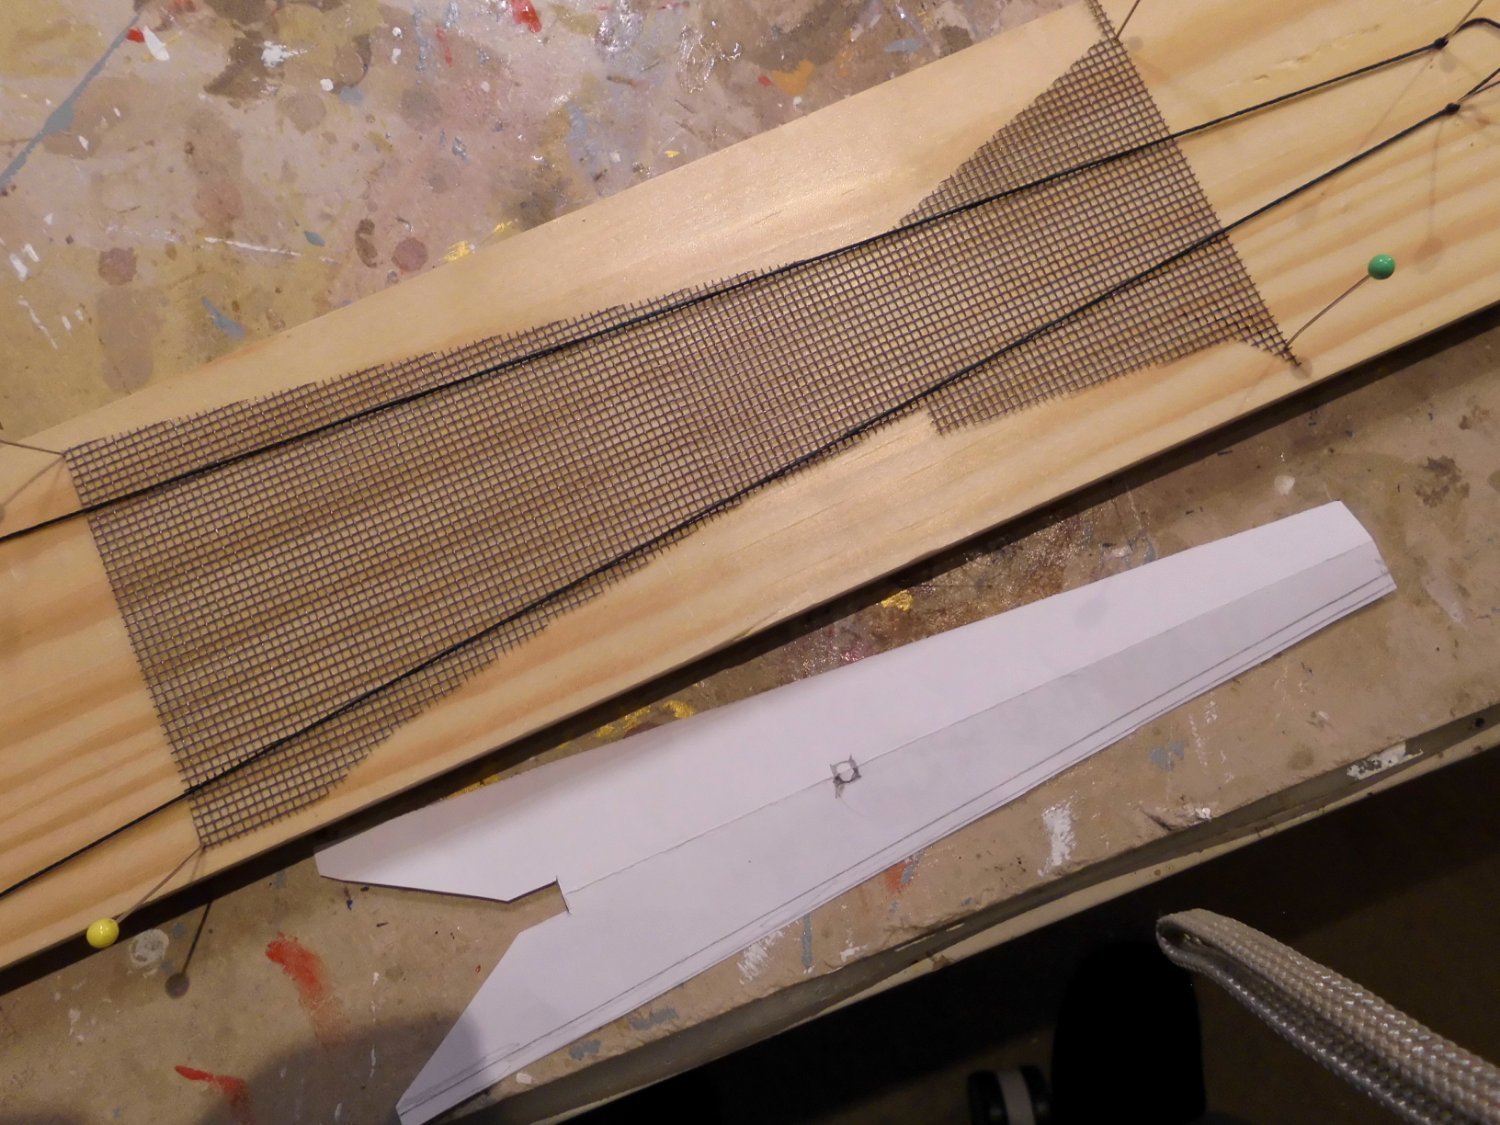
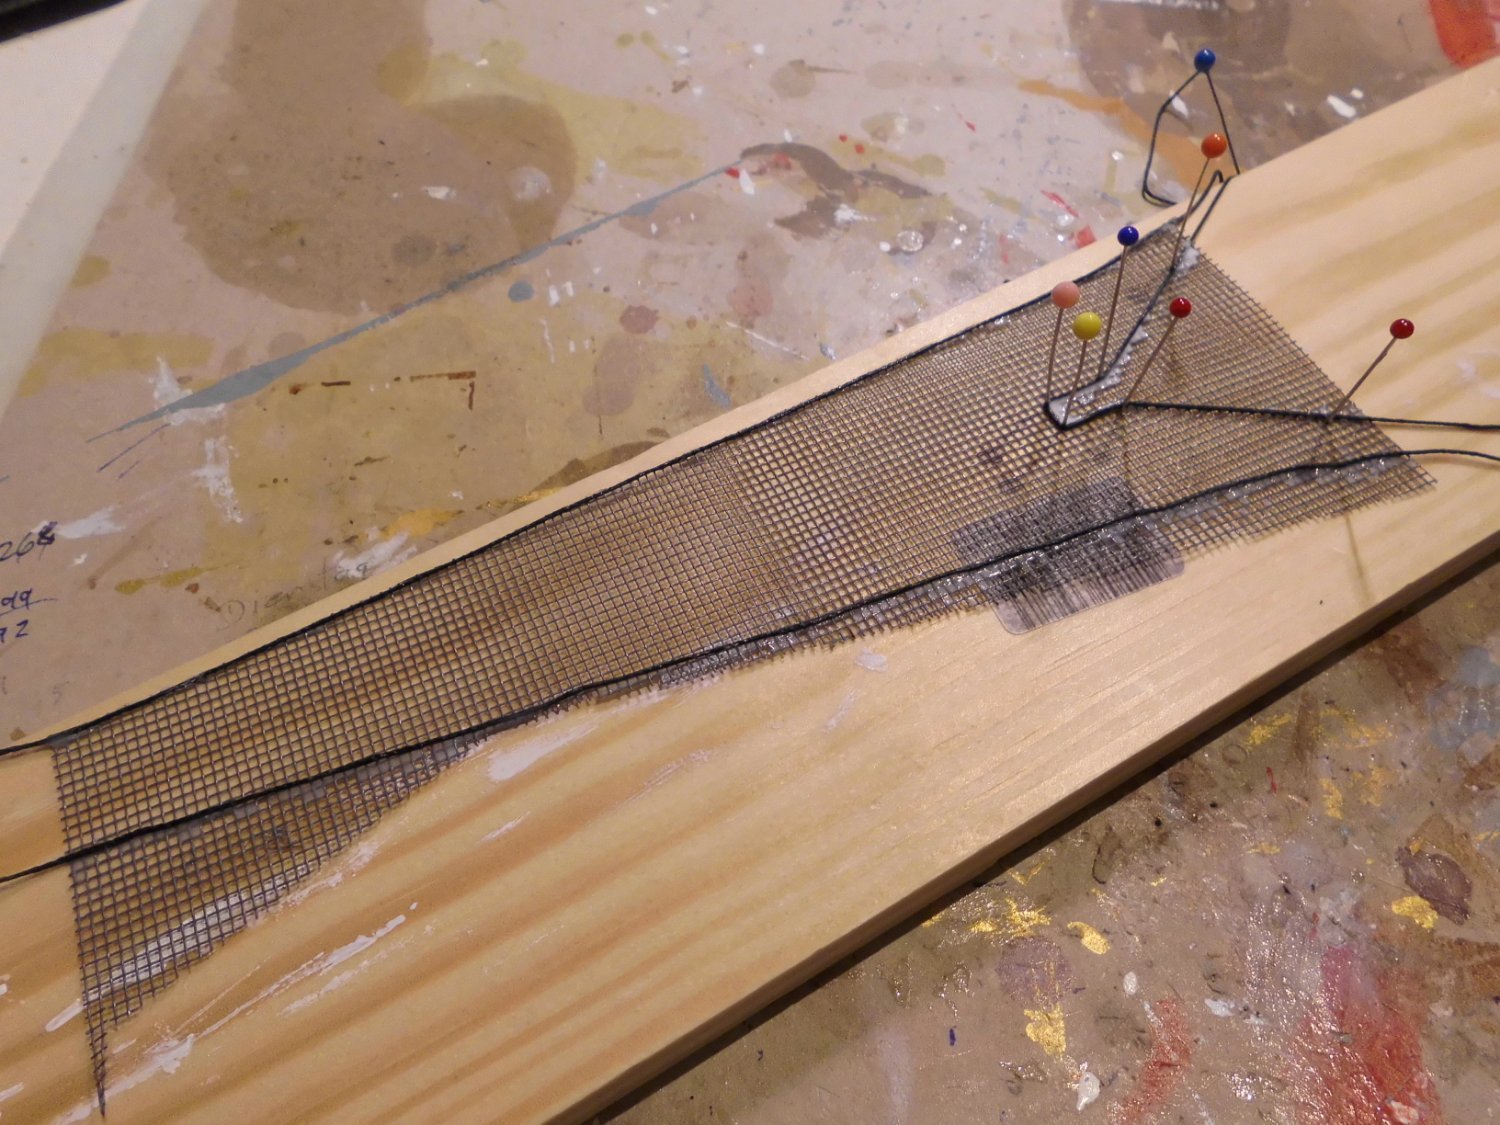
made the sprit spar netting and the belaying rail for the 3 for-/spritsail downhaulers....
I ran out of rigging rope in the moment and expect the delivery for this week. It looks like all my leftover blocks were just in the required quantity to suit the needs
Nils
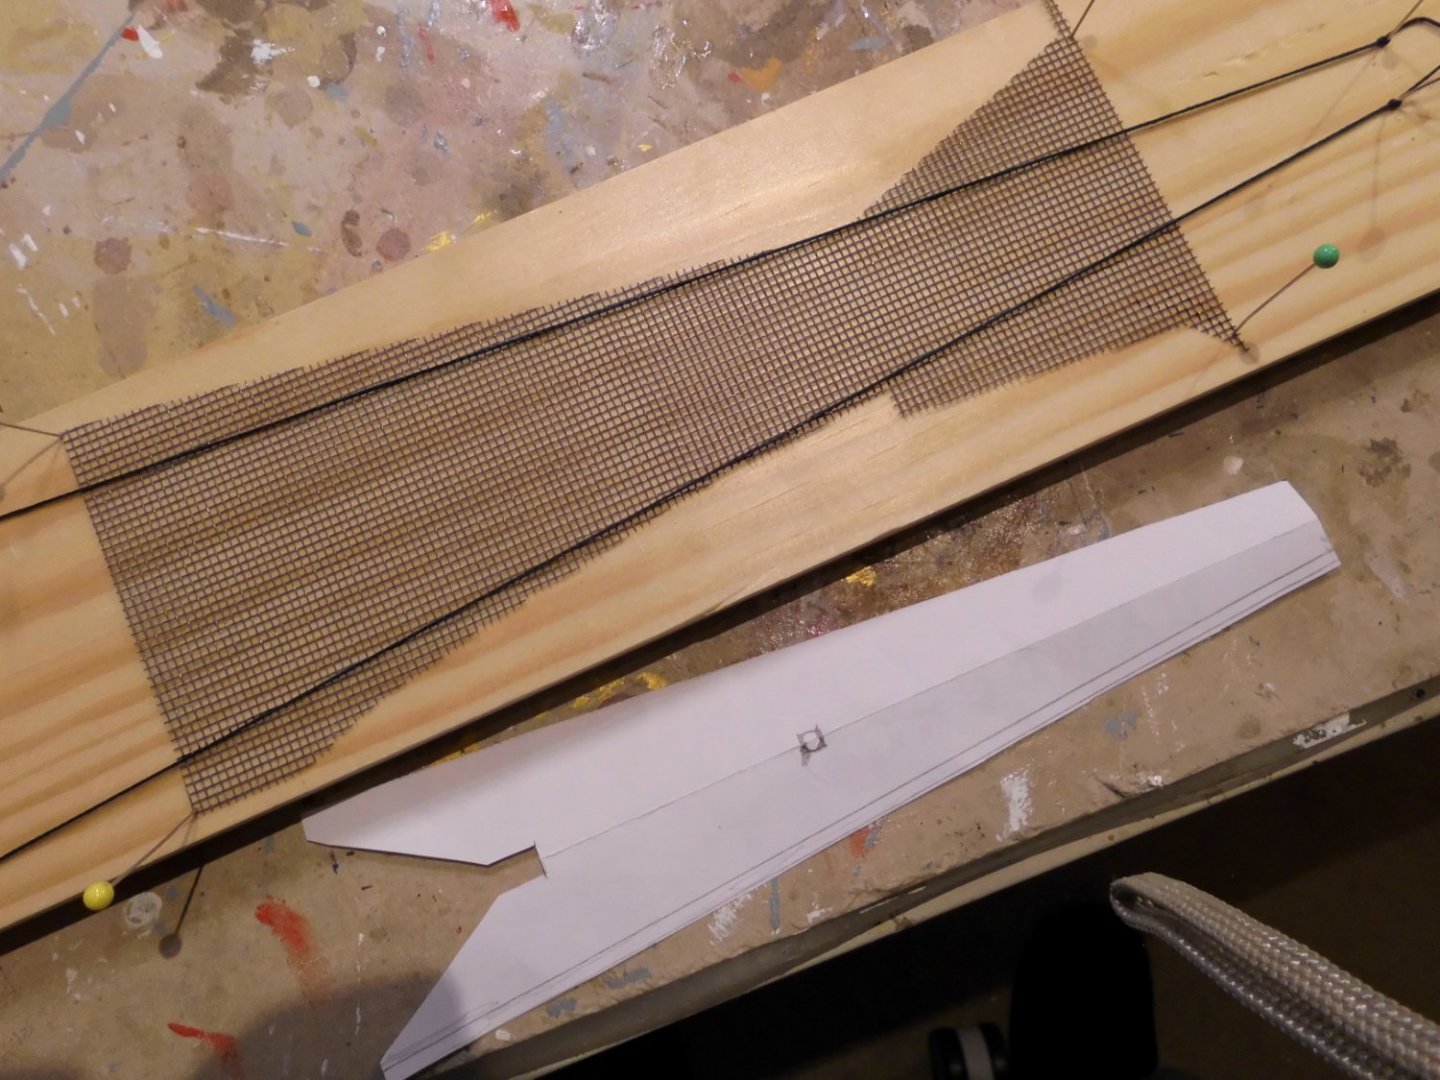
a piece of leftover mesh from my Pamir netting
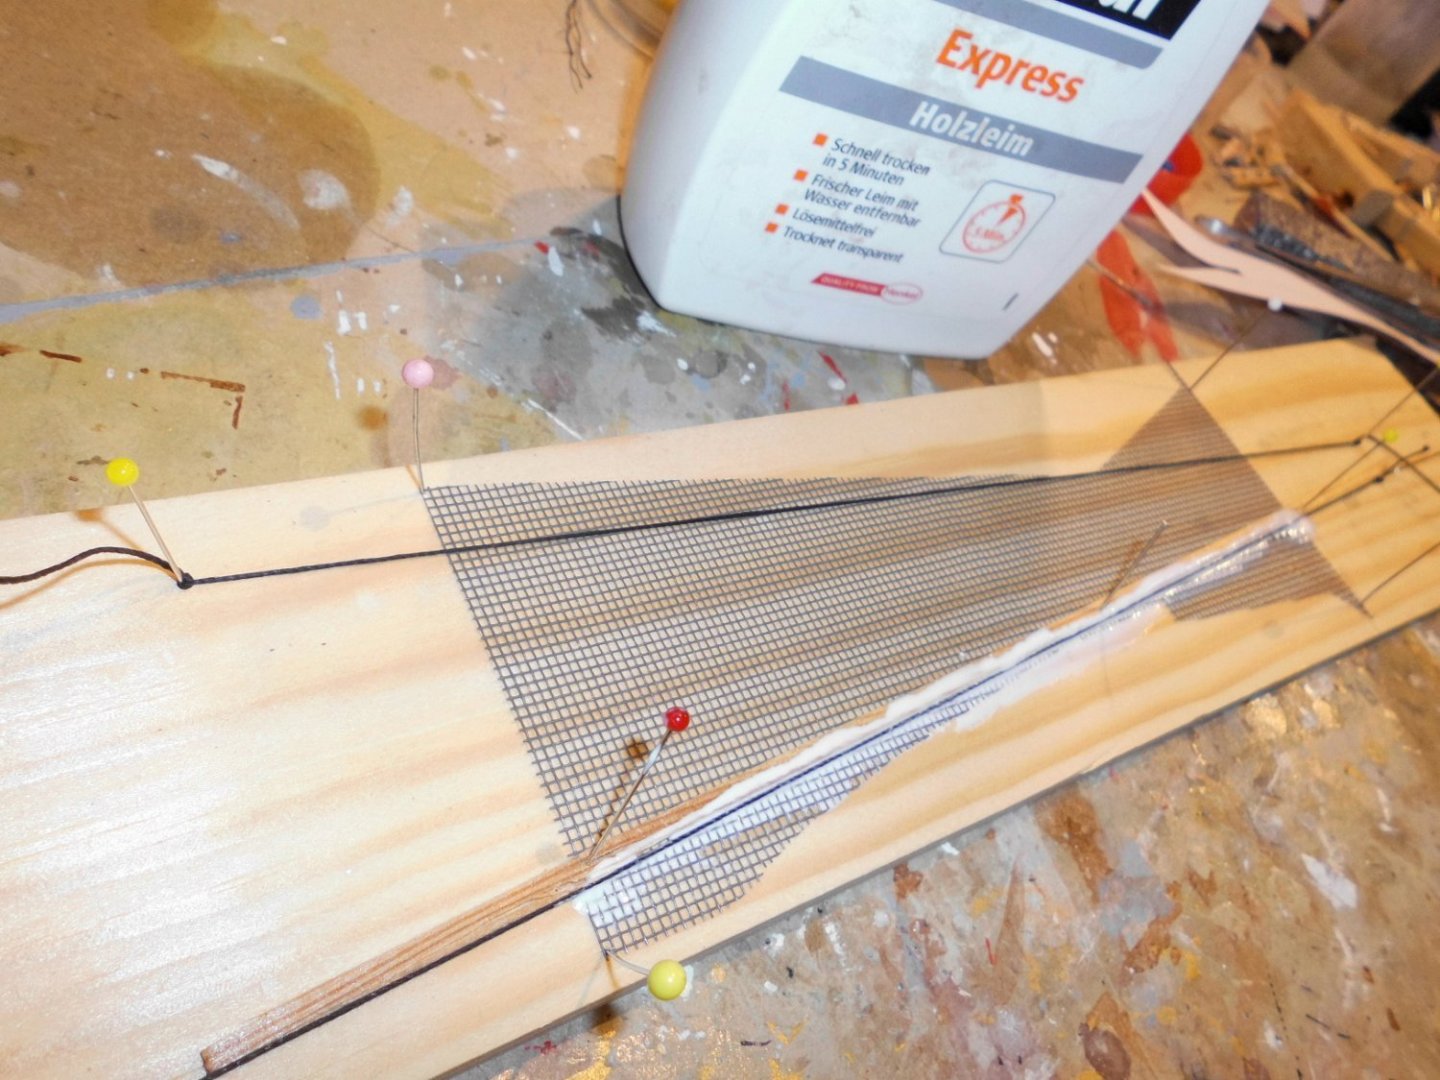
the wooden strip is to prevent too much glue on the netting inside. The outer will be cut off after curing

belaying rack for the sprit sail setting lines
- Keith Black, GrandpaPhil, bruce d and 5 others
-
8
-
-
-
B.E.
these pumps look great, I like them very much...
Nils
- Blue Ensign, mtaylor and Dave_E
-
3
-
Hi Jon
Hi John
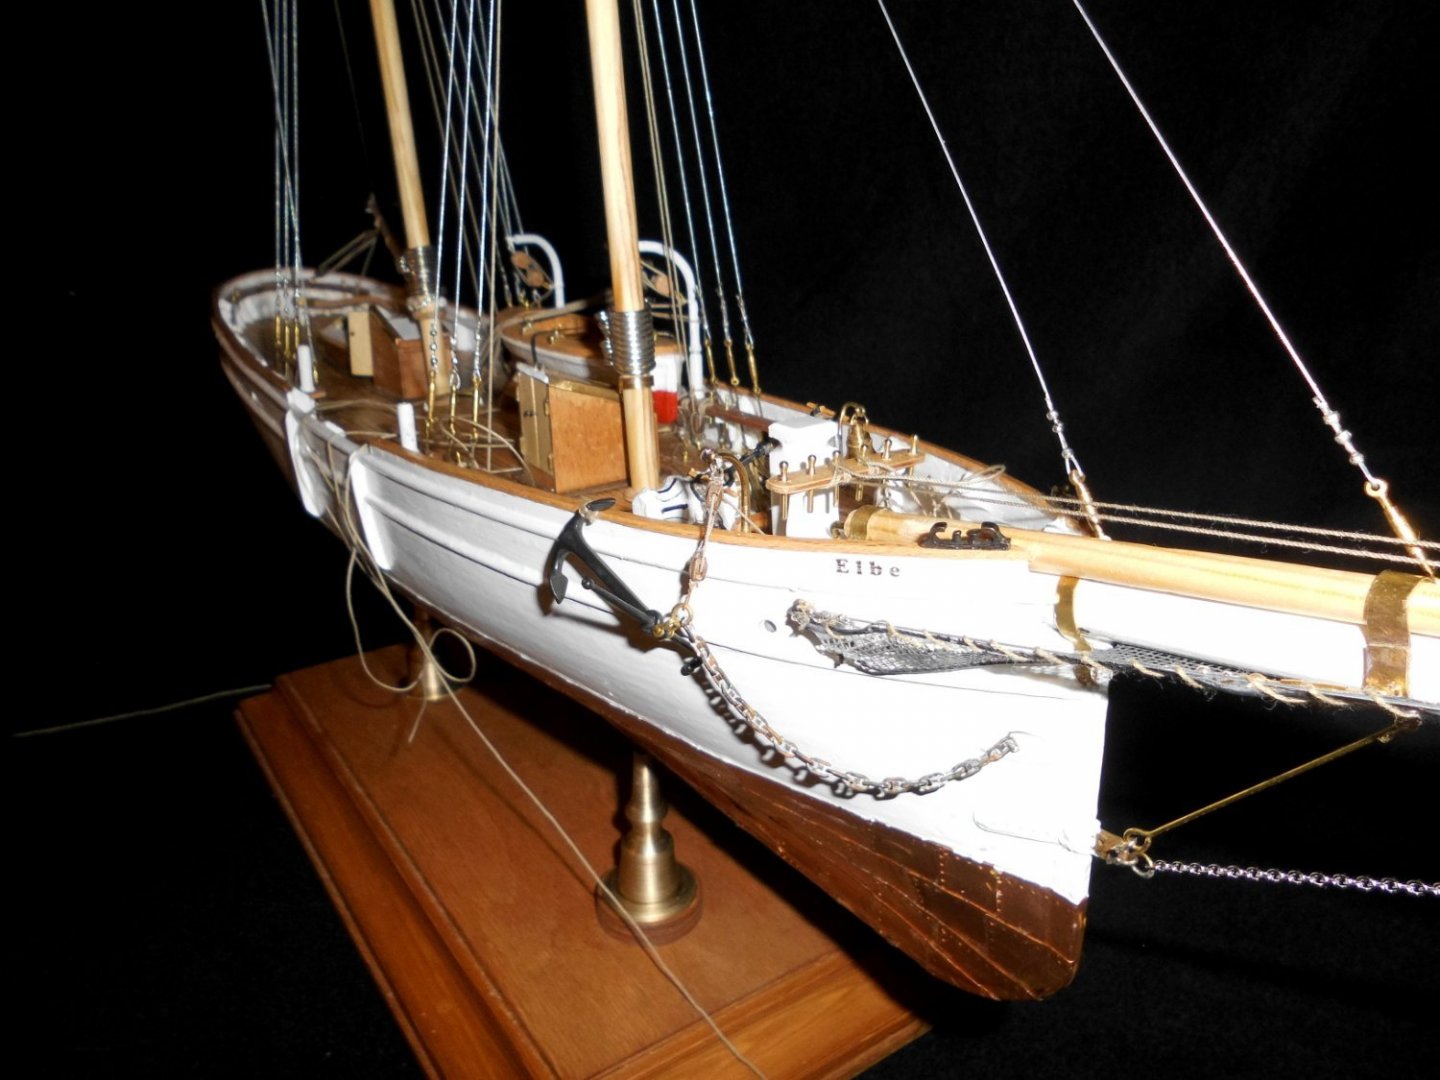
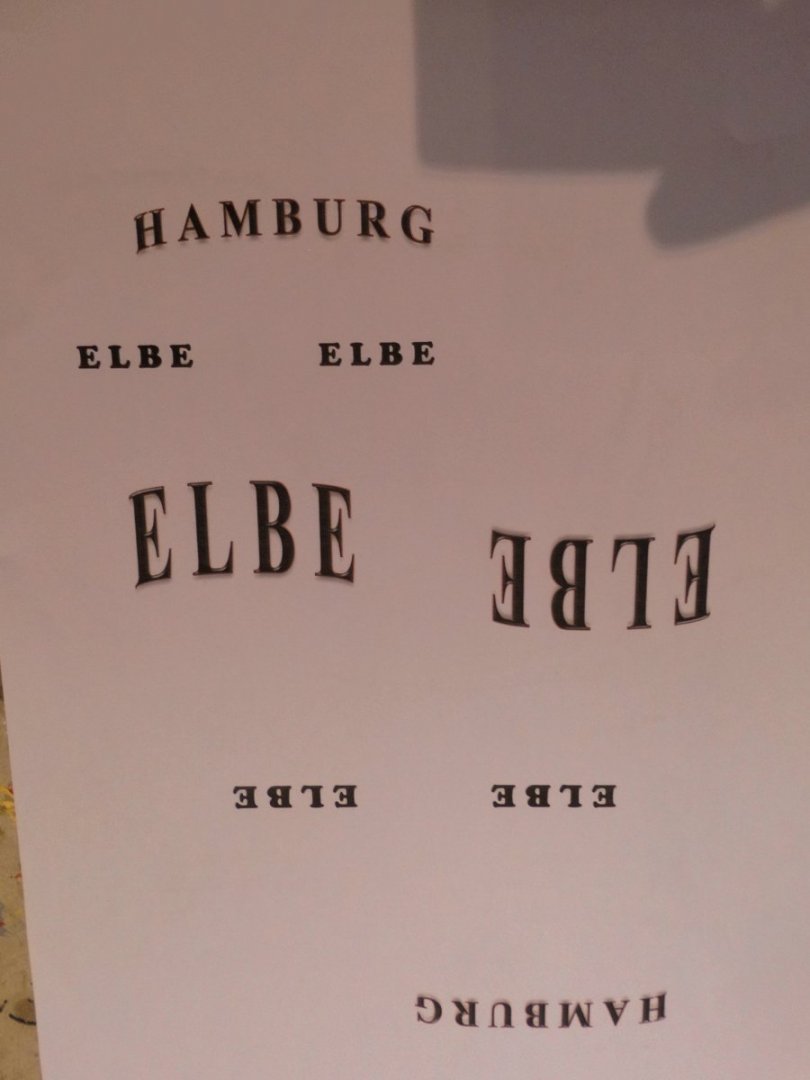
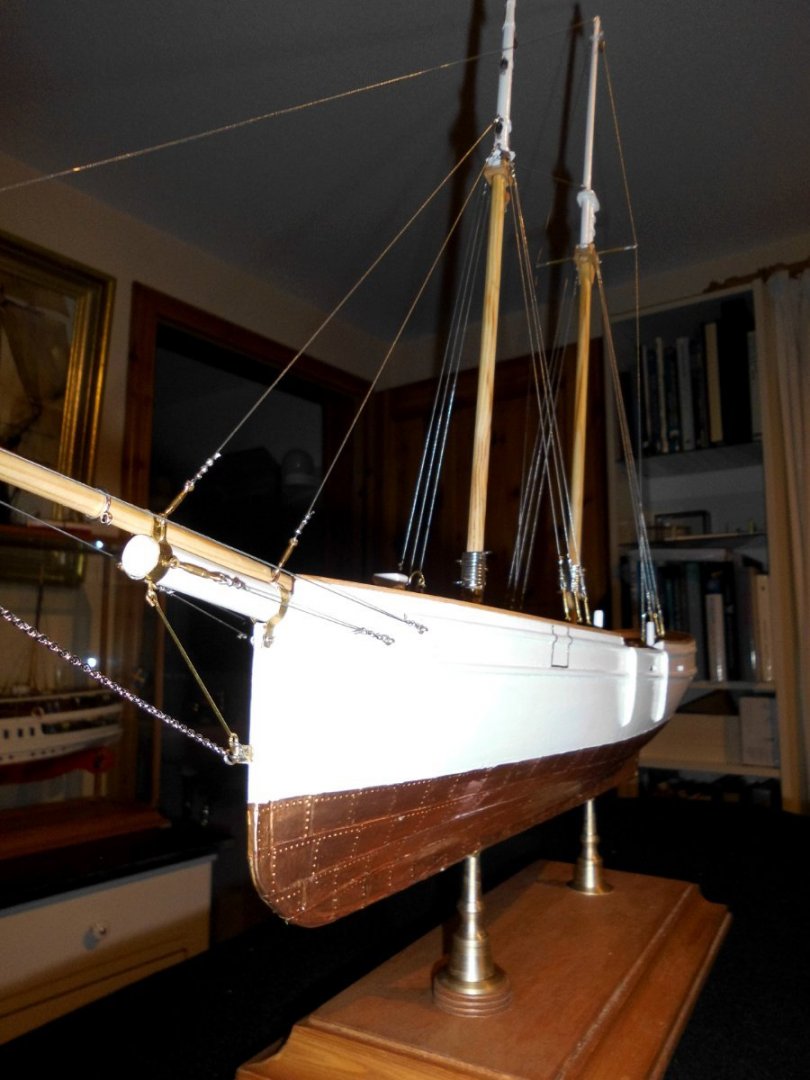
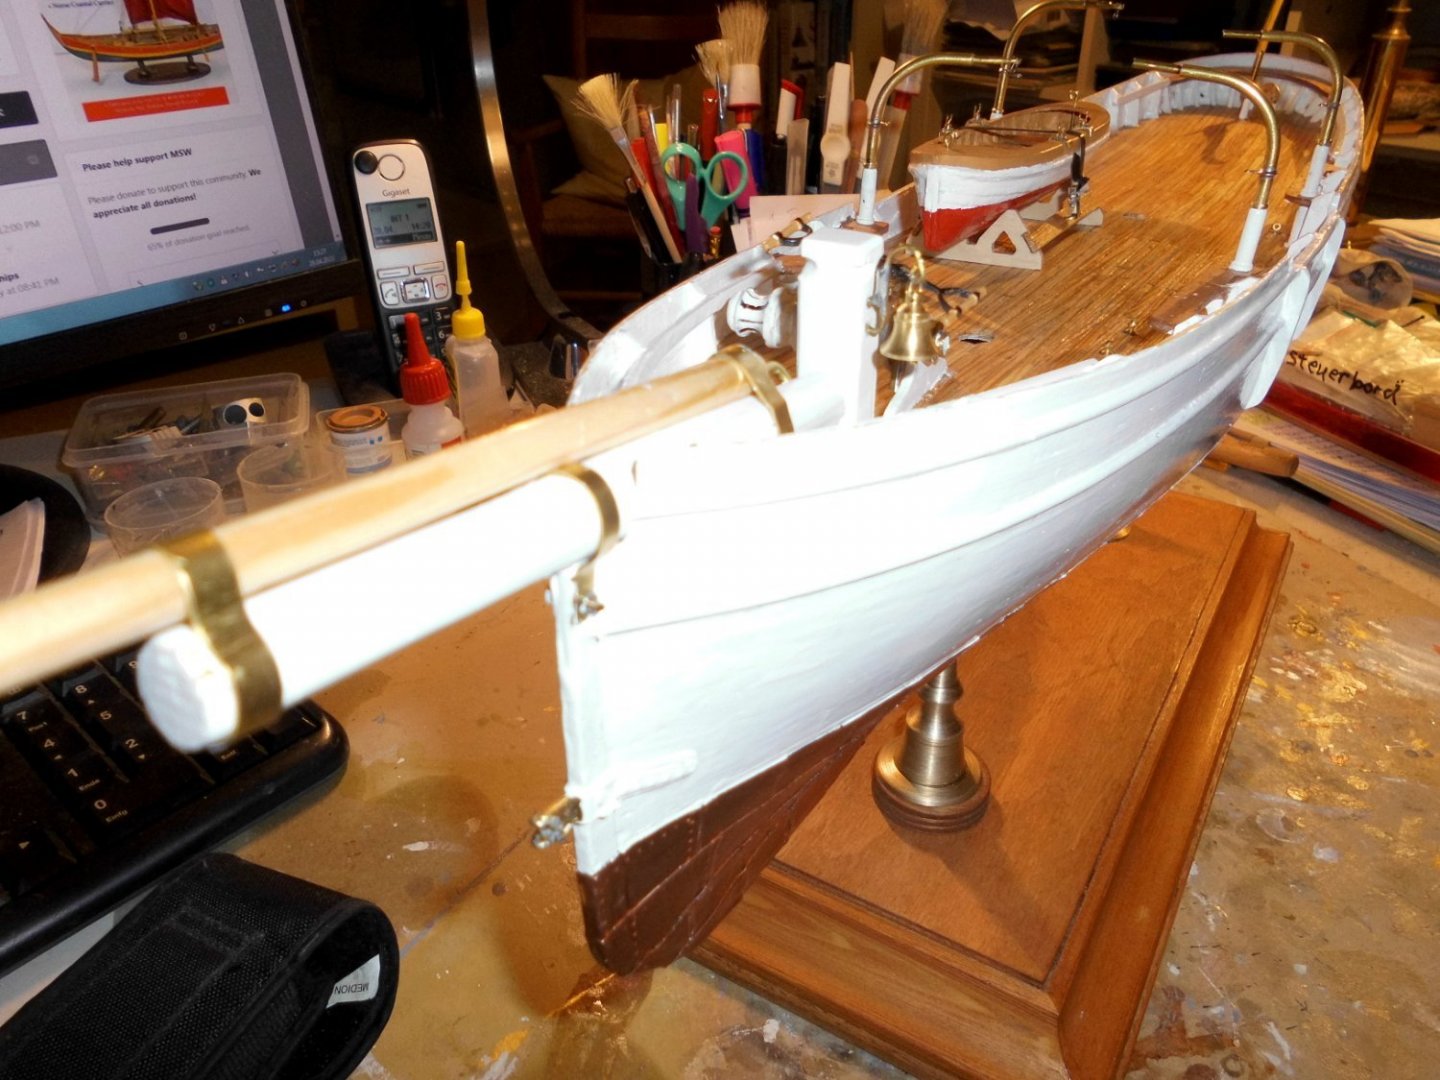
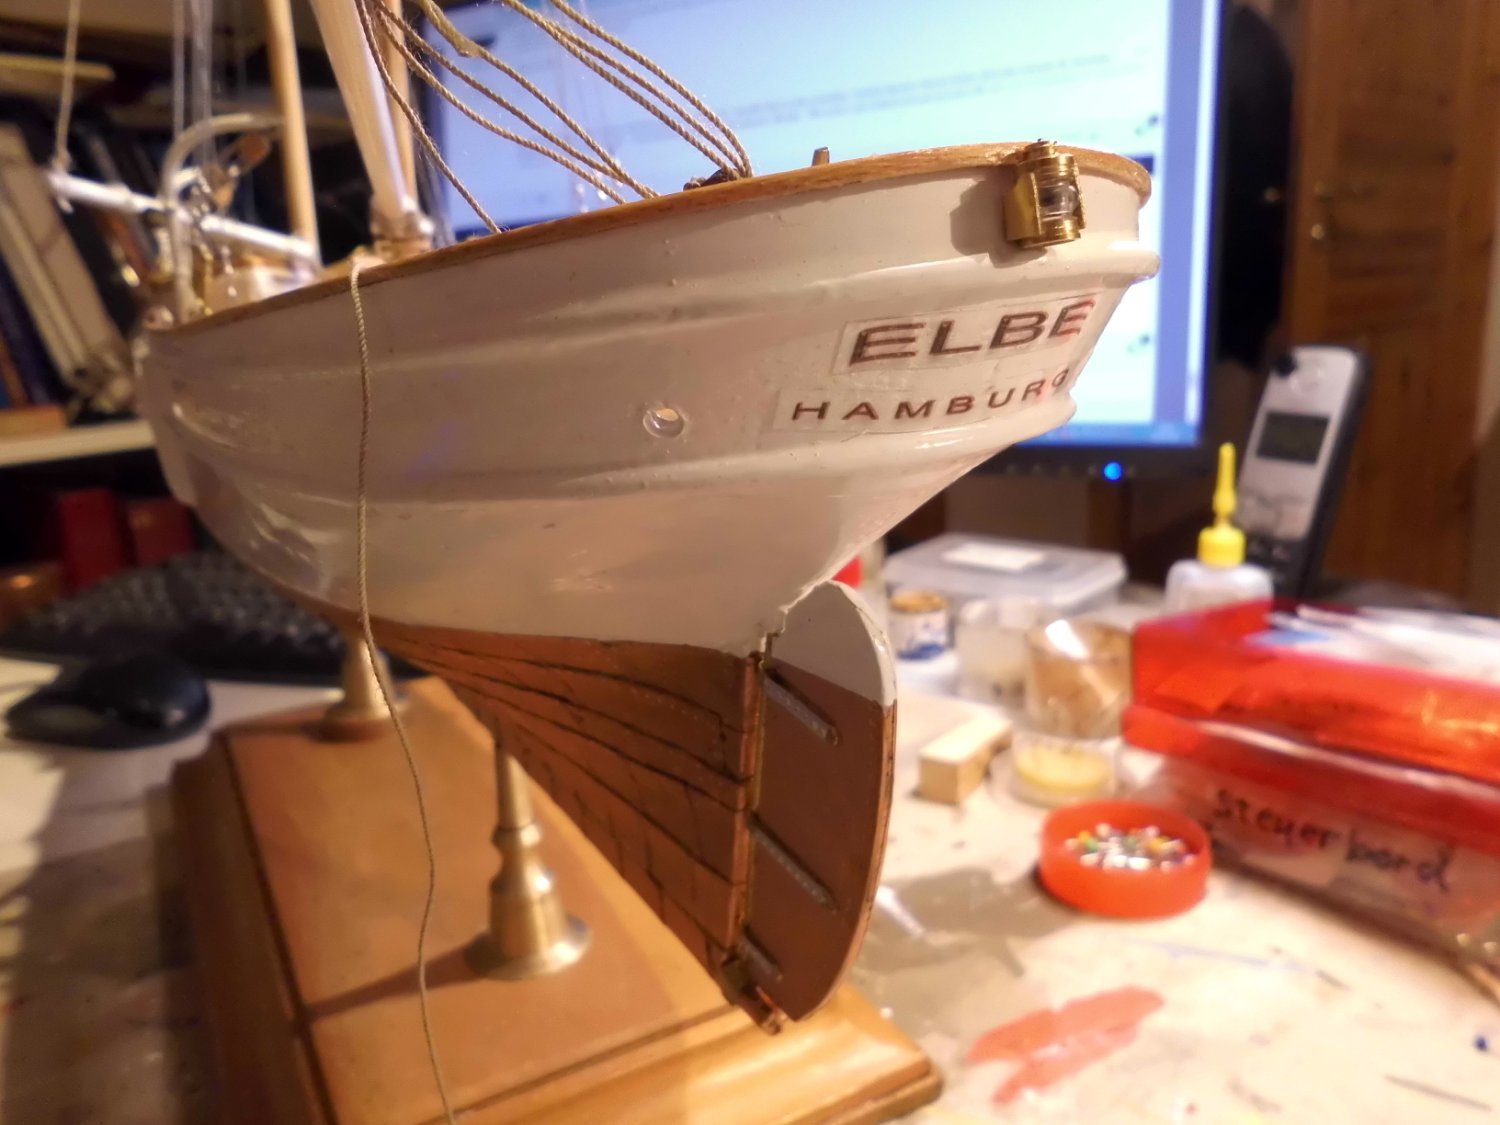
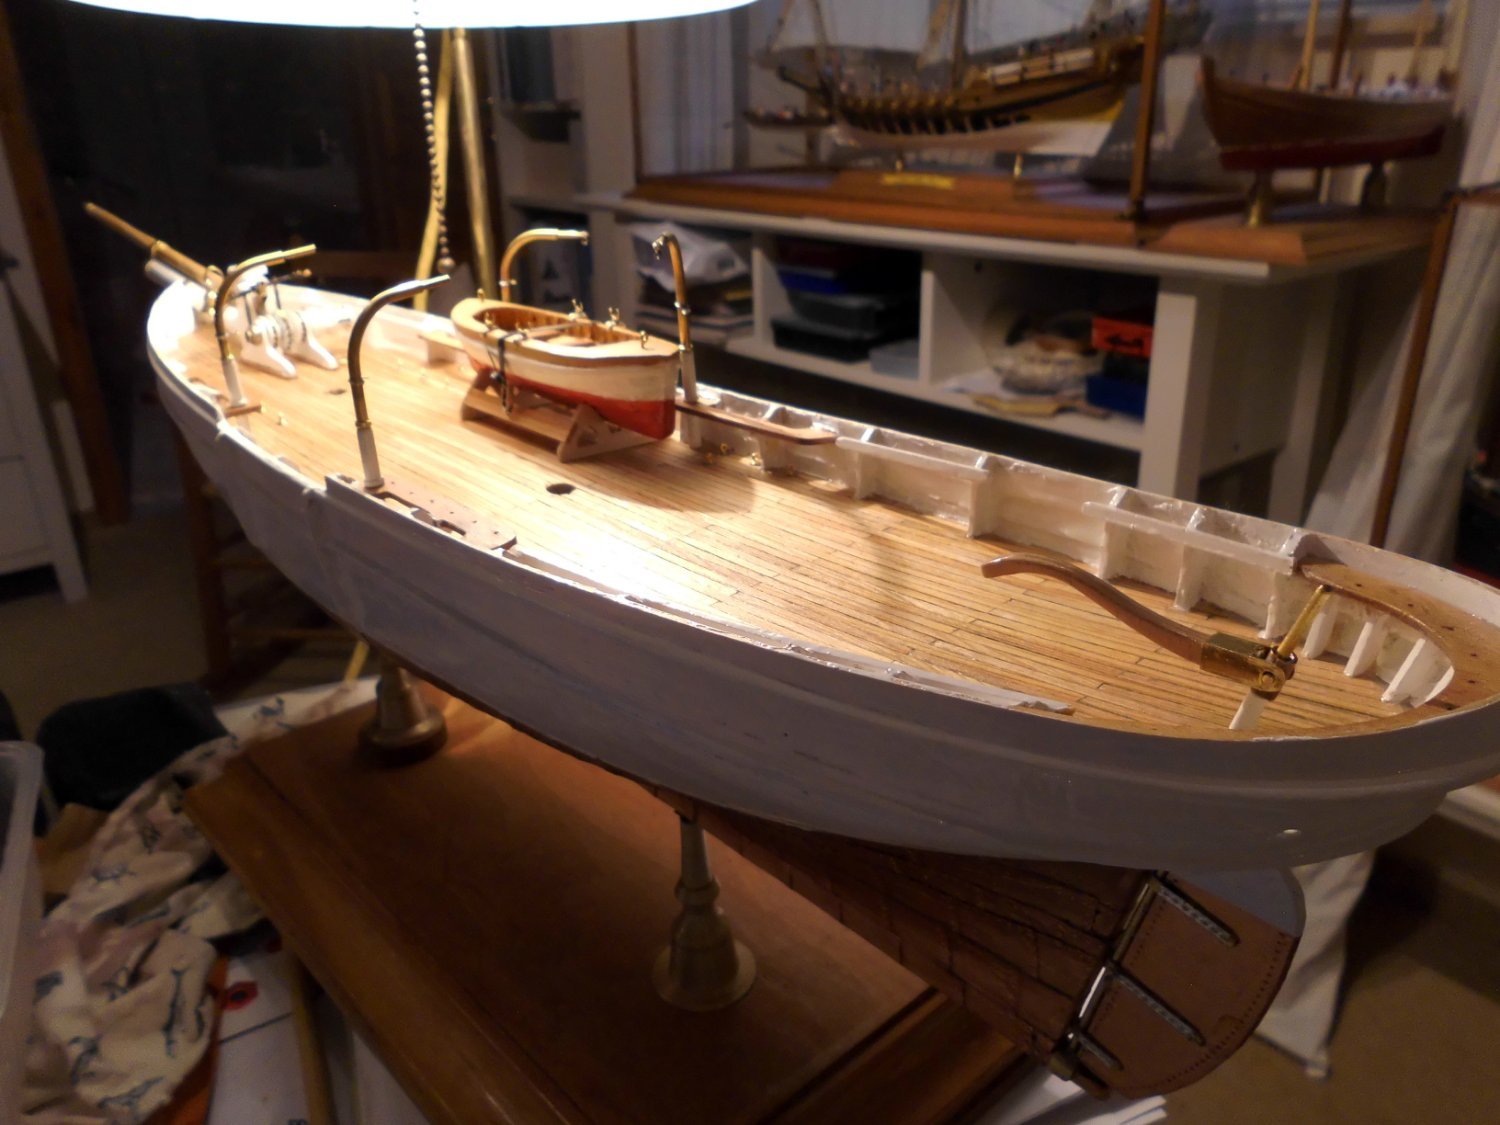
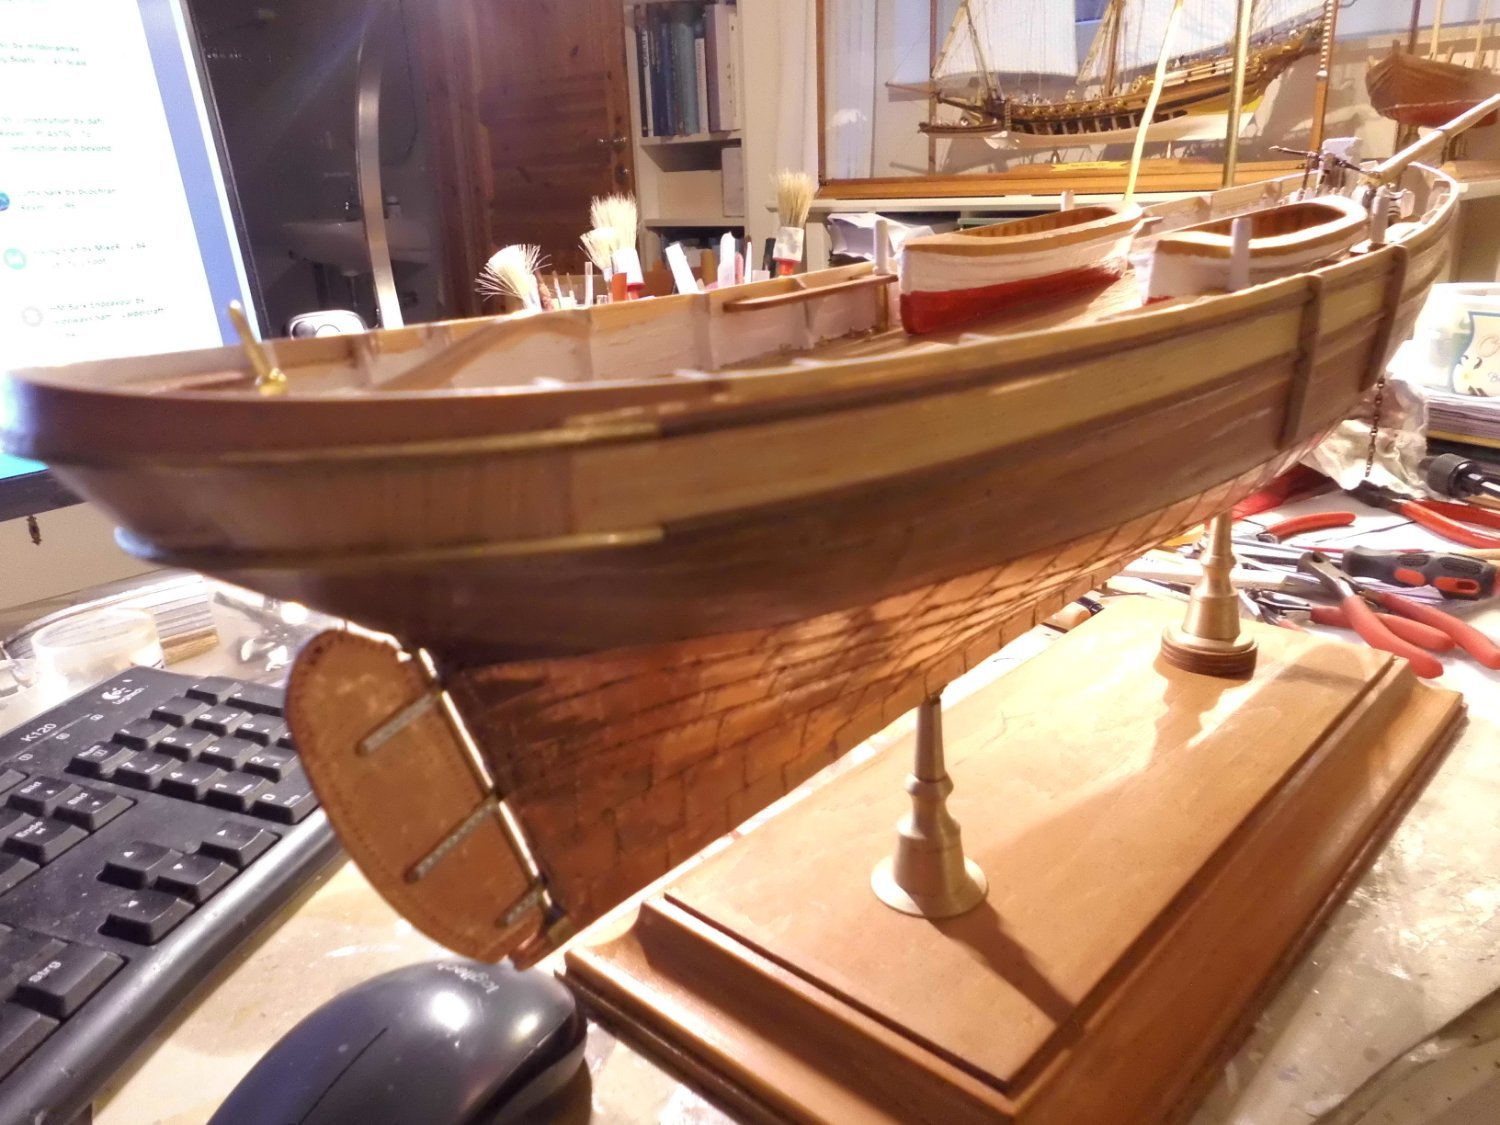
I thank you both for your kind comments. I`m at the time of installing some details, before I start making the six sails. Finaly I`ve found a way to decline the lettering for the tail name and home port.
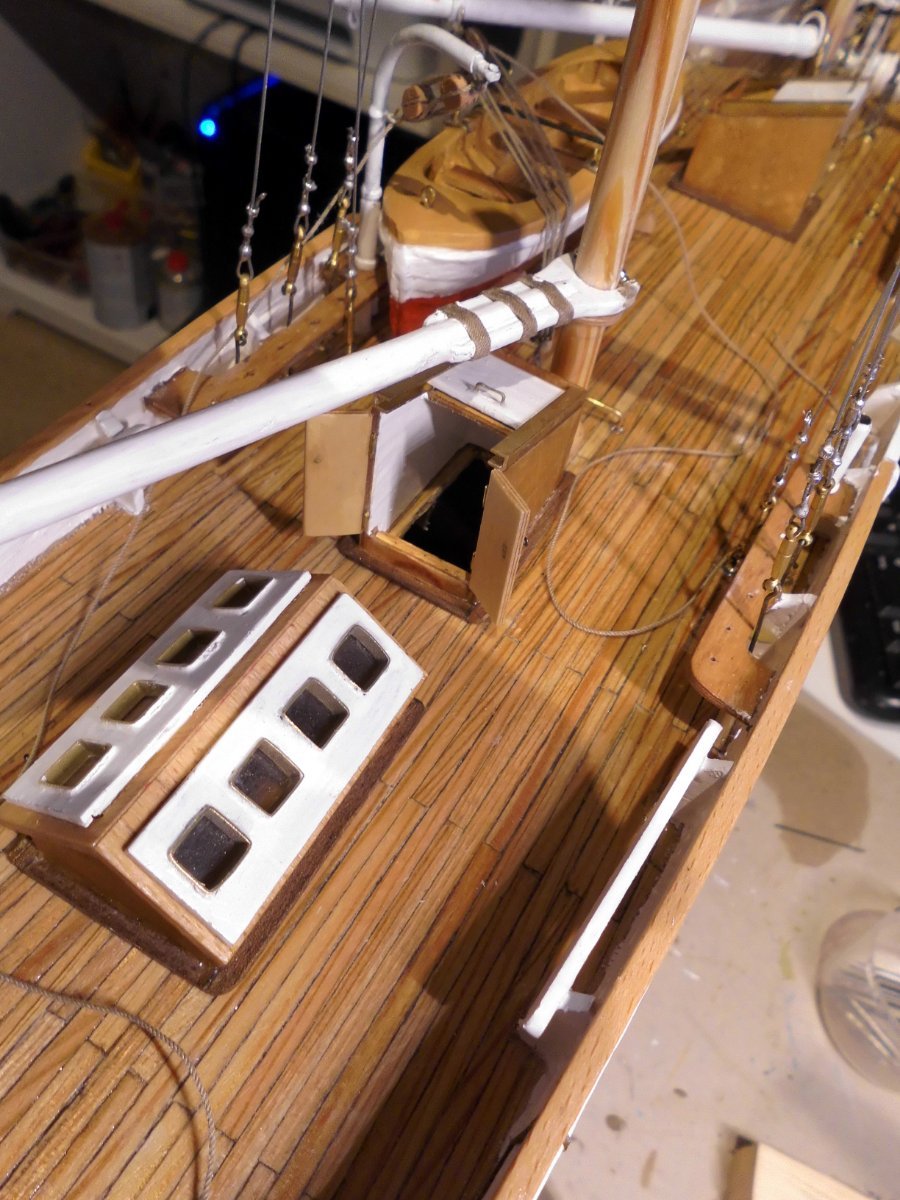
For the companion ways I decided to show one (open hatches) and the other one (closed hatches). The two gaff spars and their rigging will be next in the pipe.
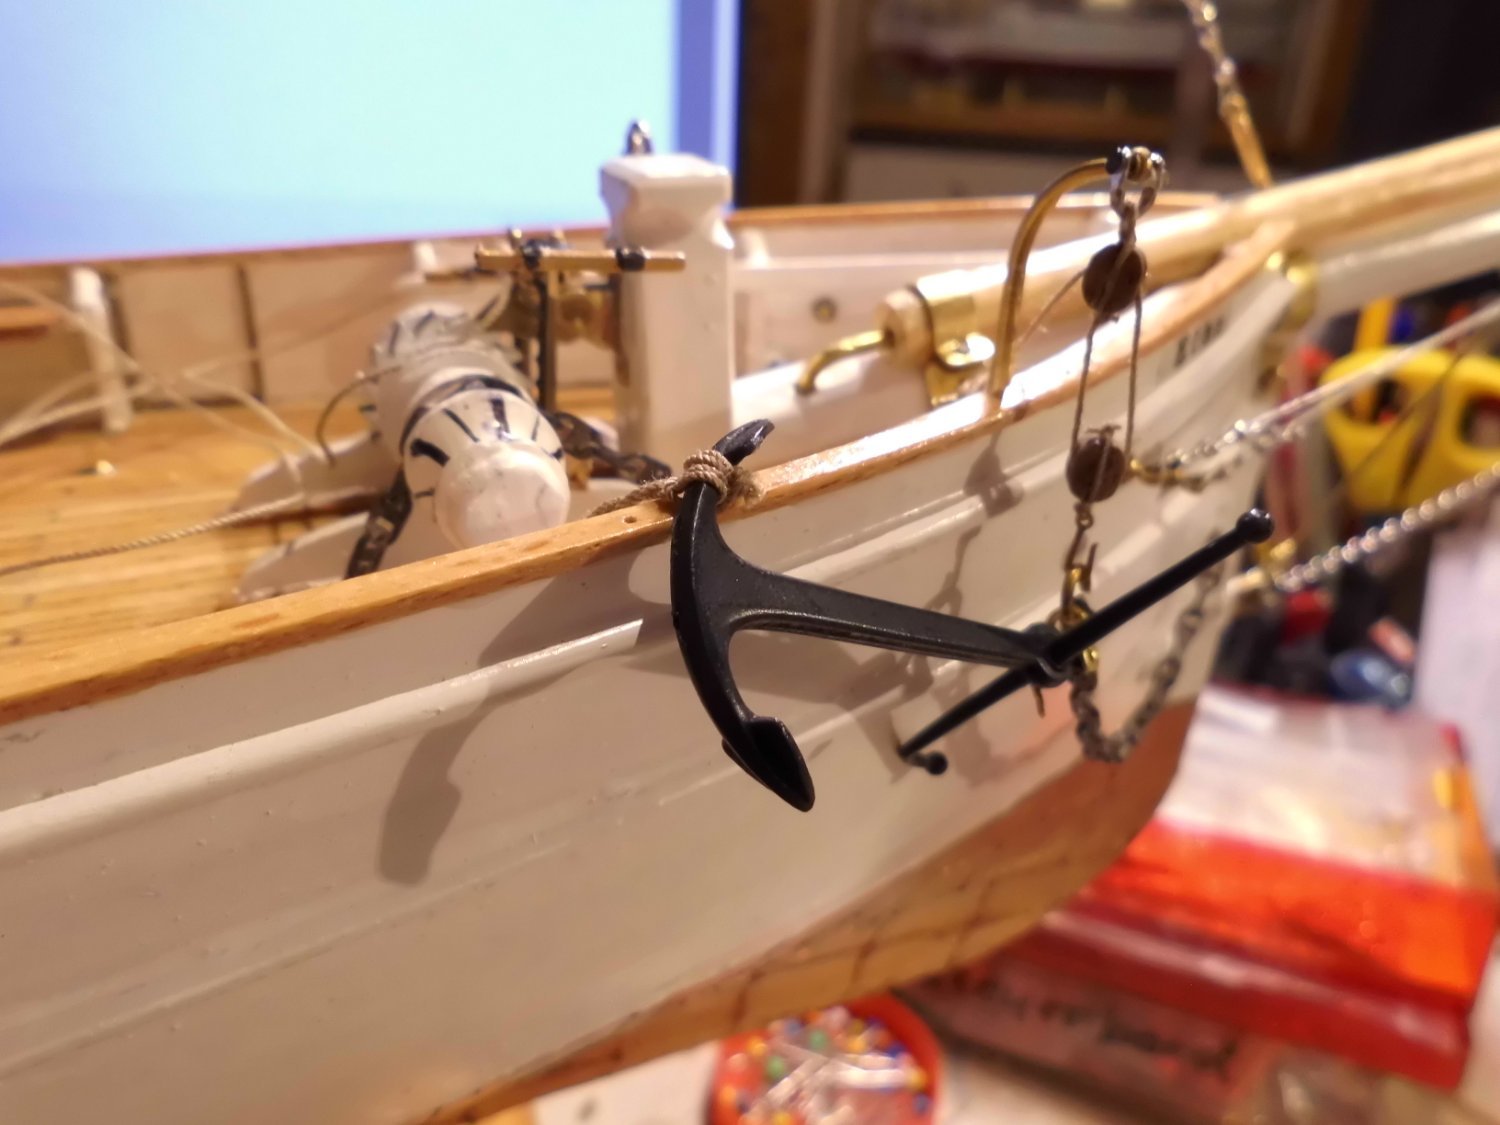
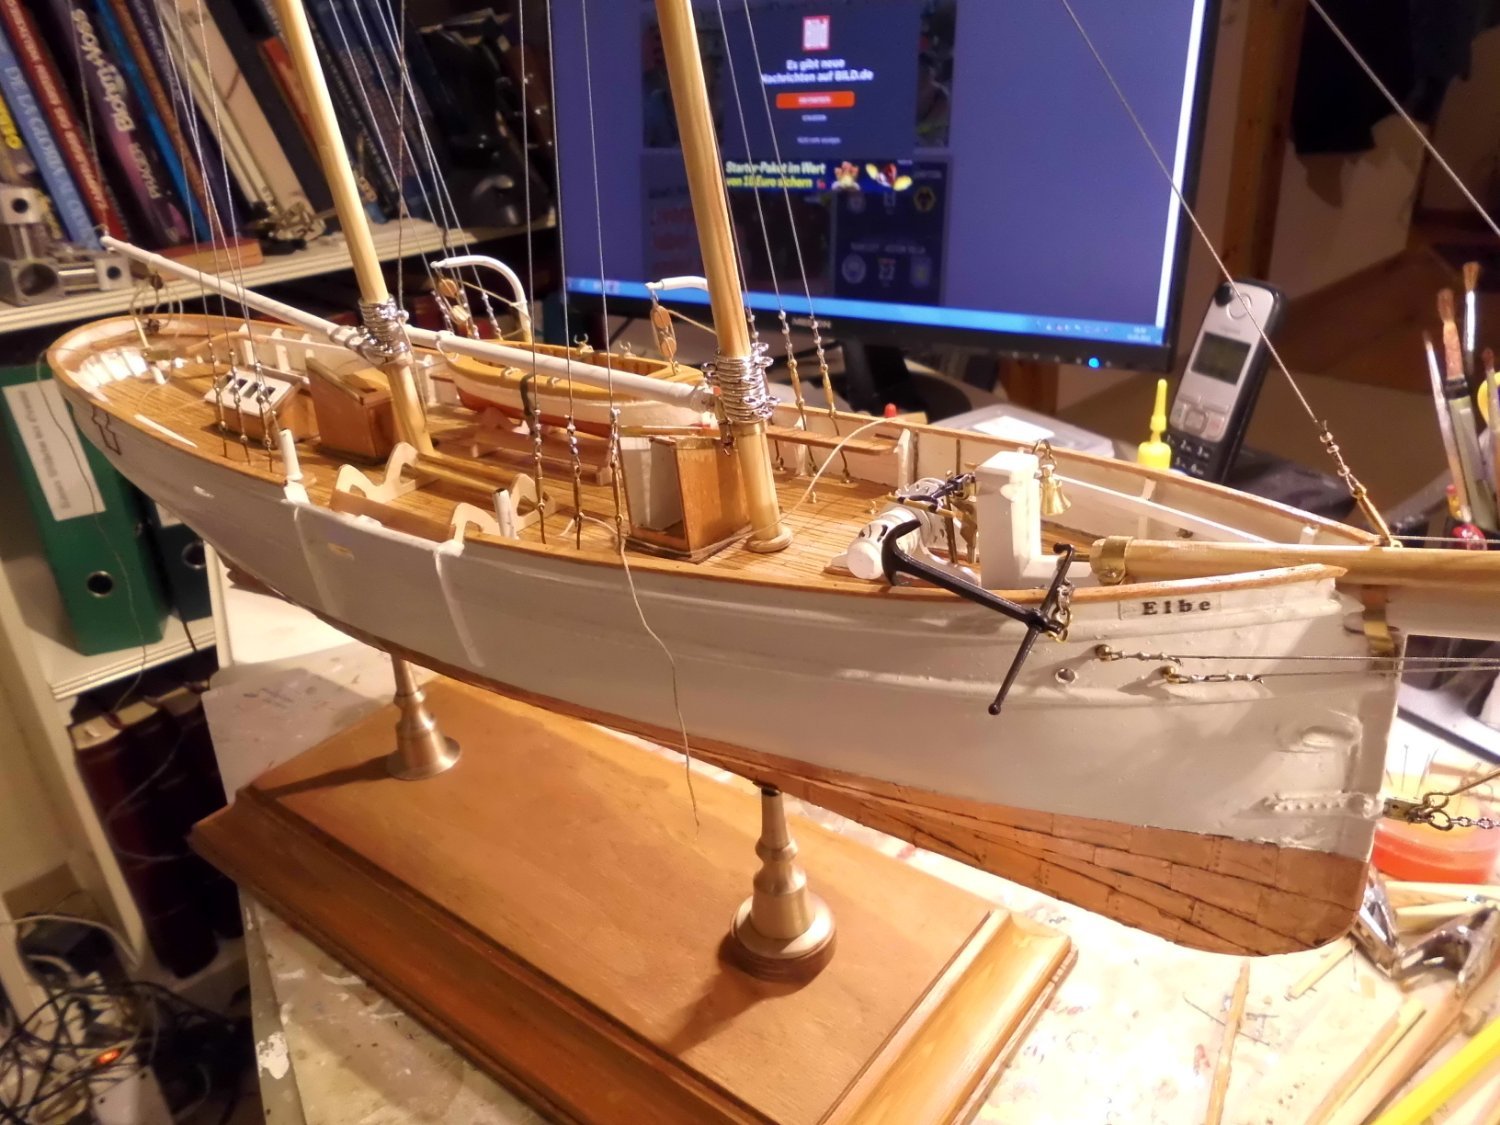
The anchor attachment is also done as well as the two main sheets with tripple sheet blocks, so all is coming on quite well....
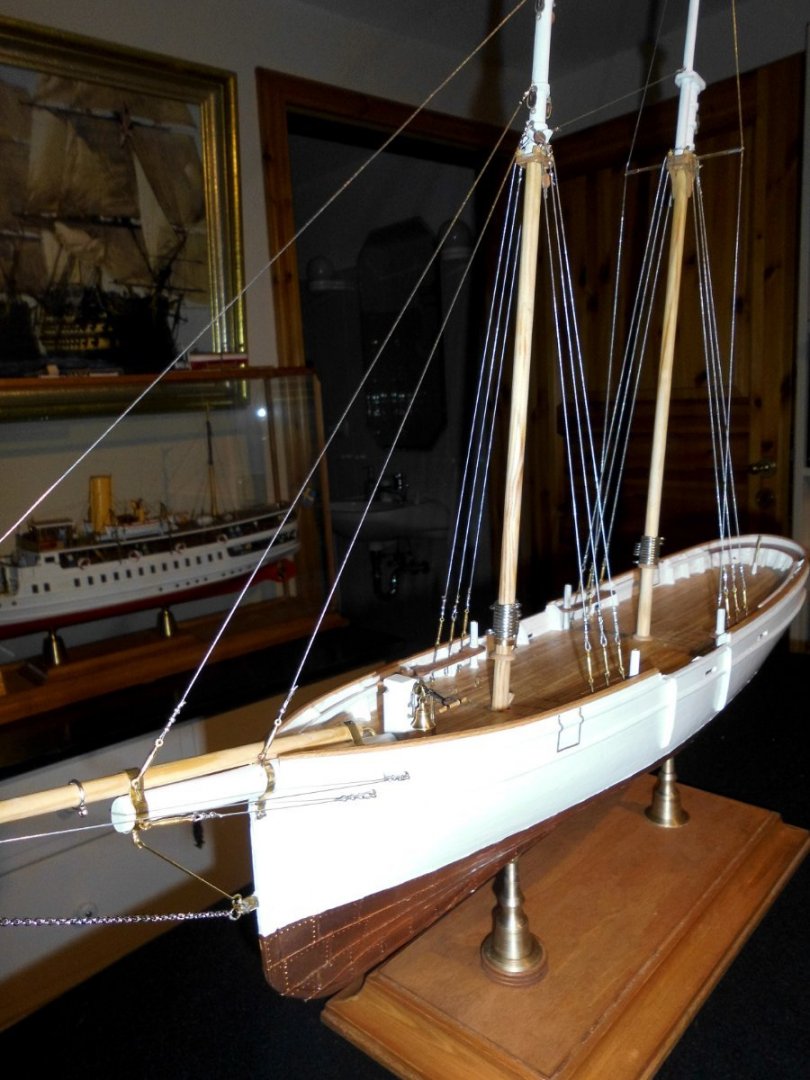
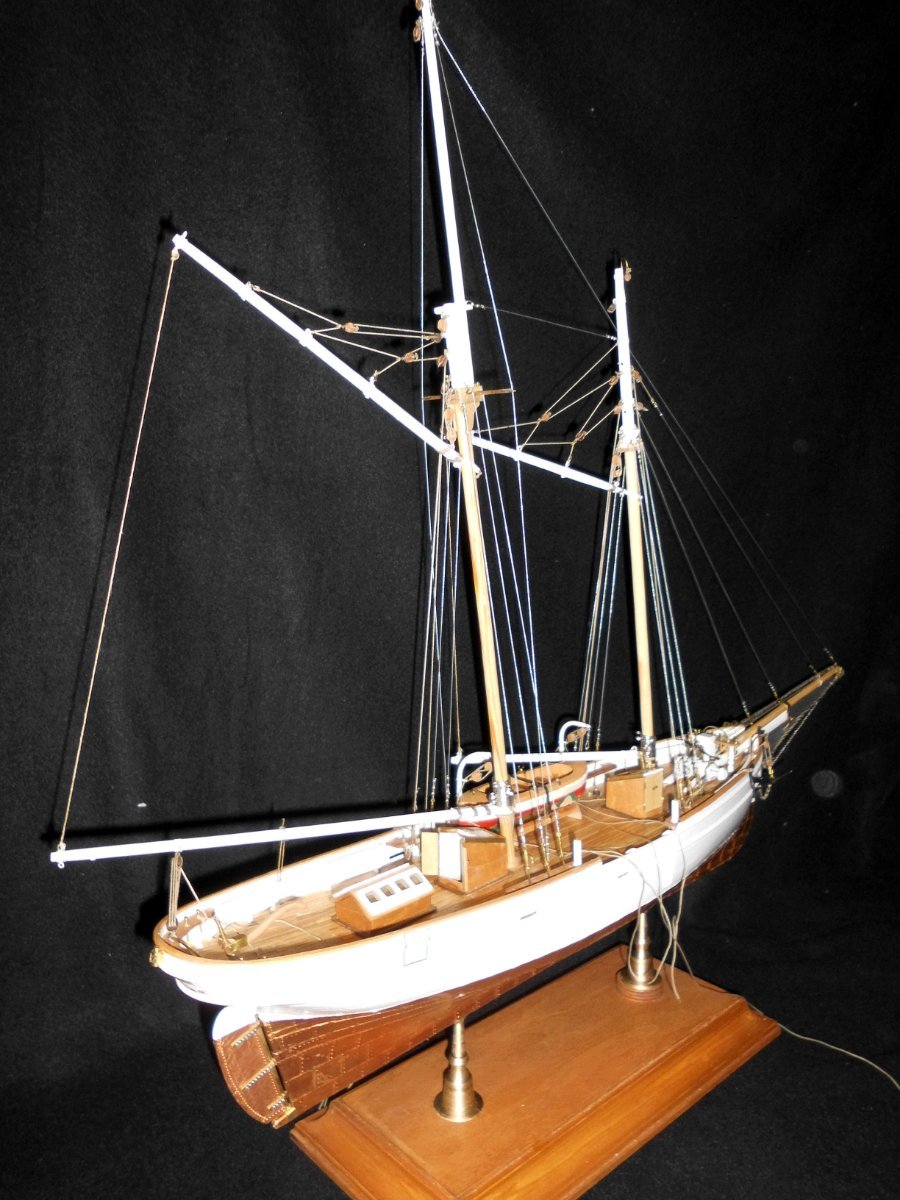
There was the question in the beginning, why the odd scale 1:51, but now the model turns out 740 mm length over all, which turns out to 37000 mm for the actual ship, who`s rating is 37 meters and therefore the scale is now corrected to 1:50
Nils
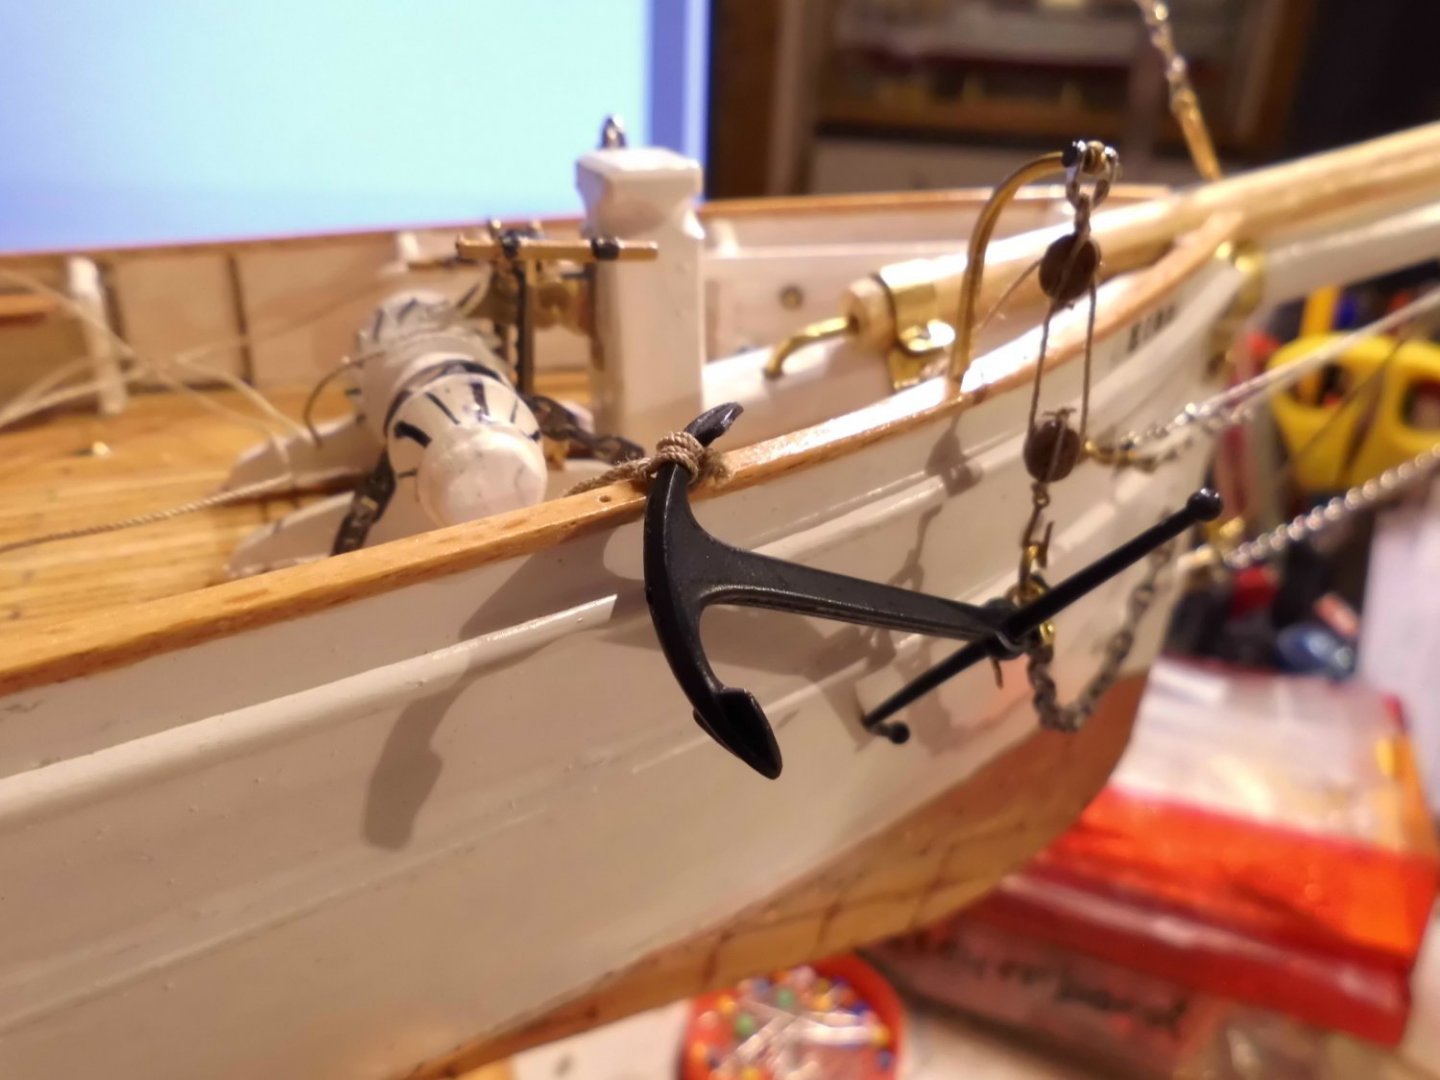
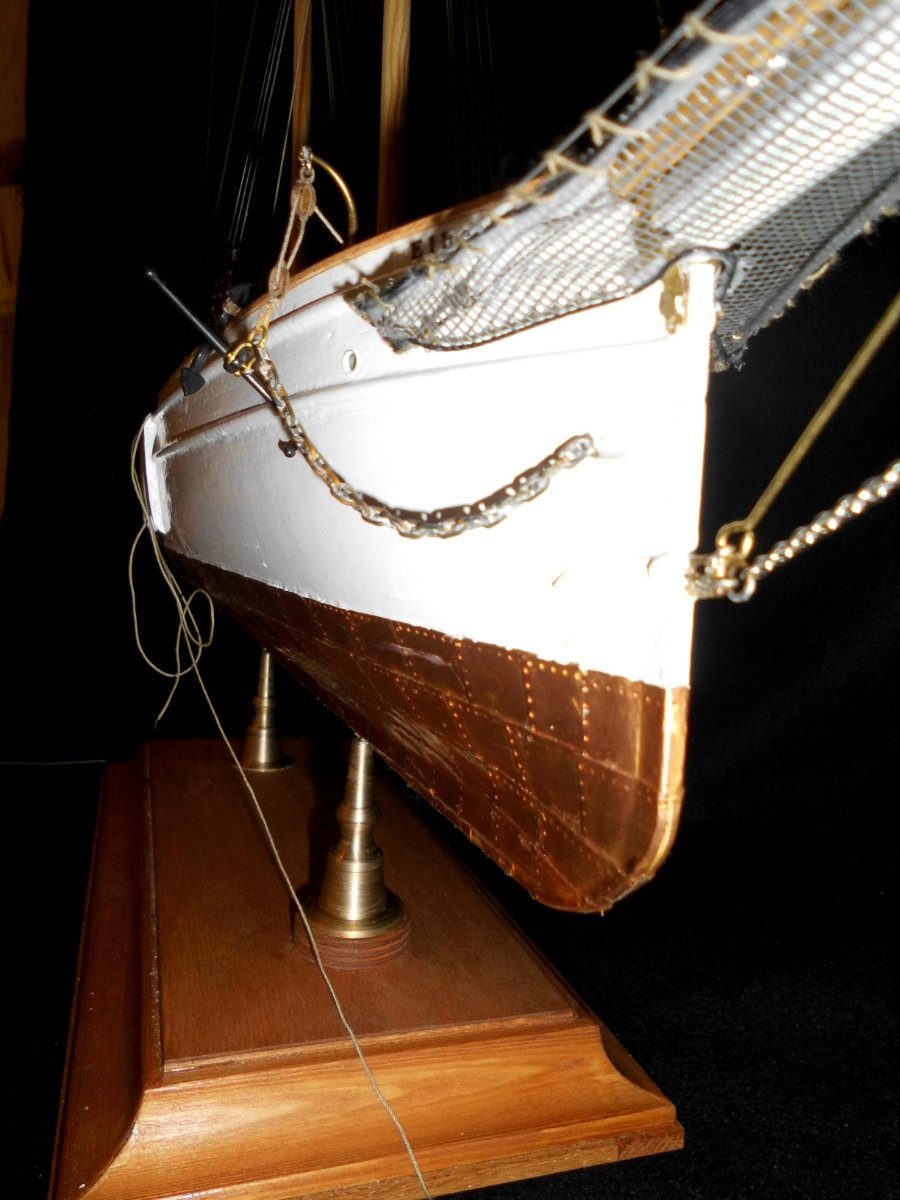
I onls put one admirals typ anchor with rigging at the stb side. A smaller one (emergency) will be placed at the inboard front bulwark later on
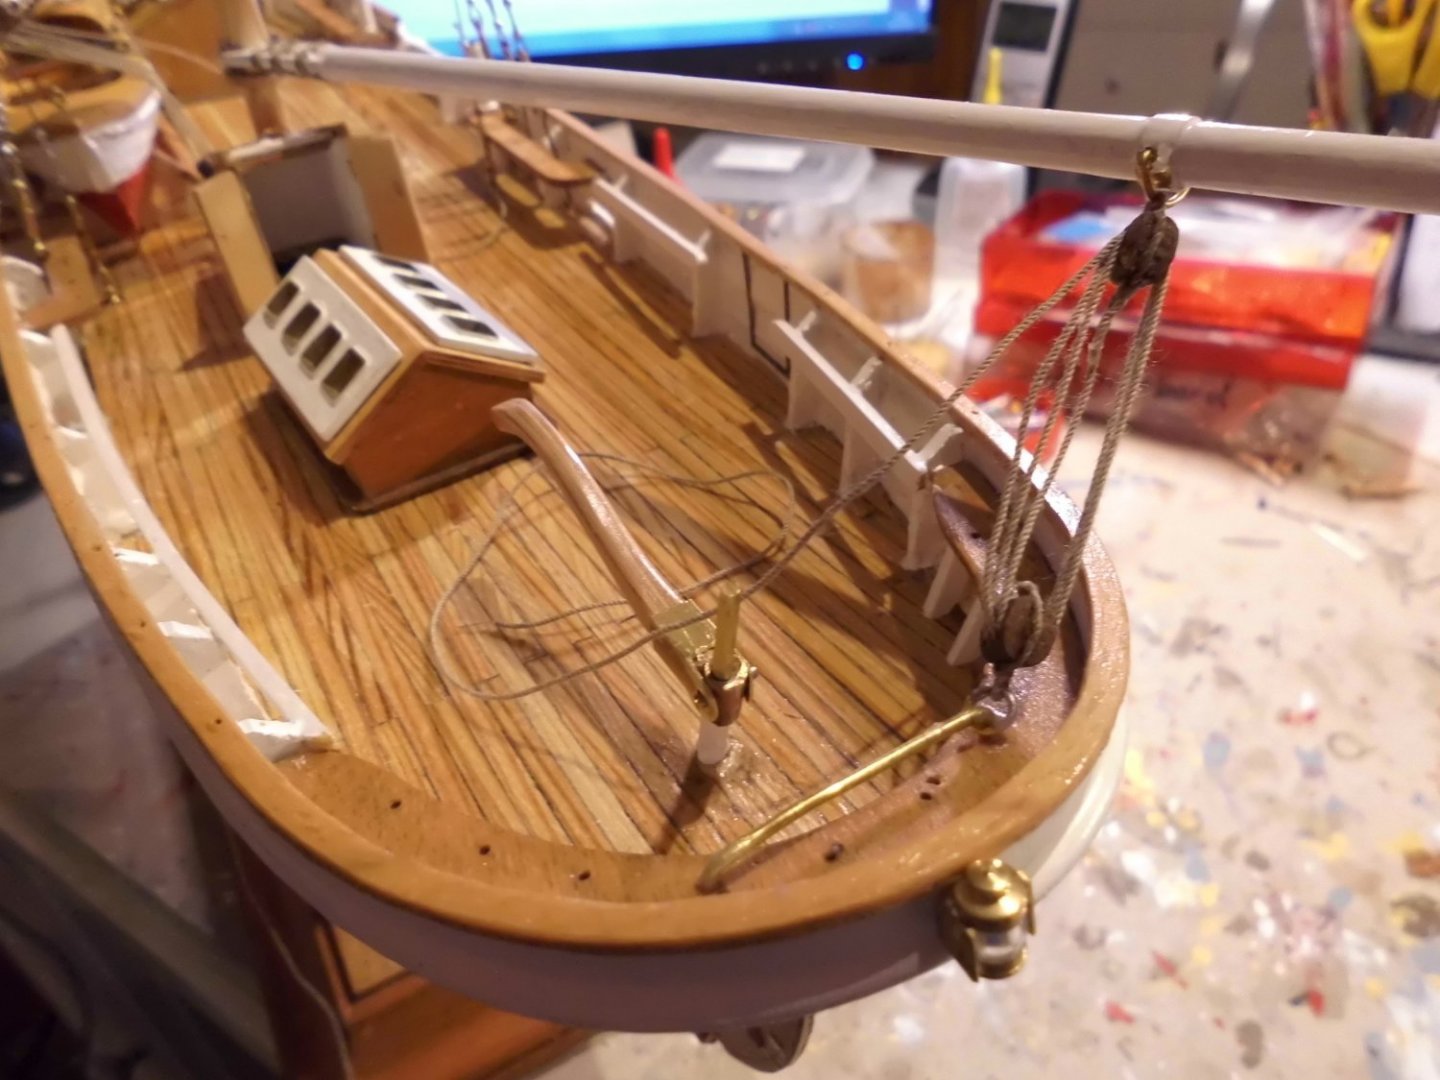
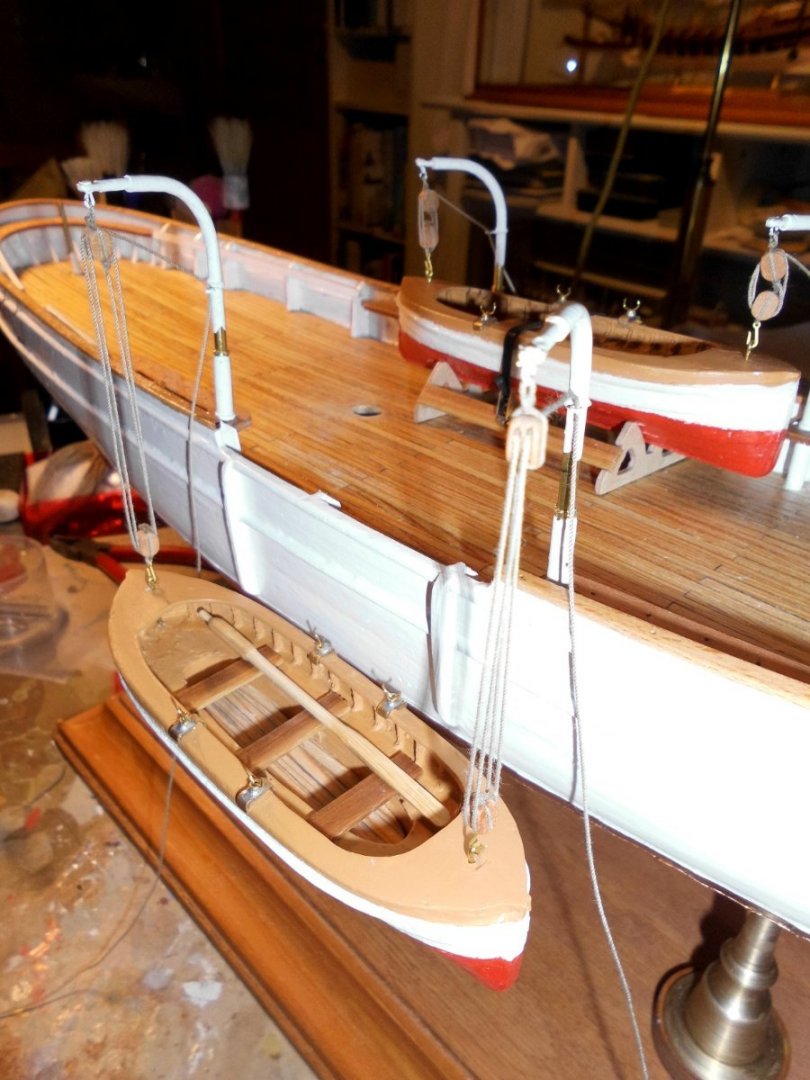
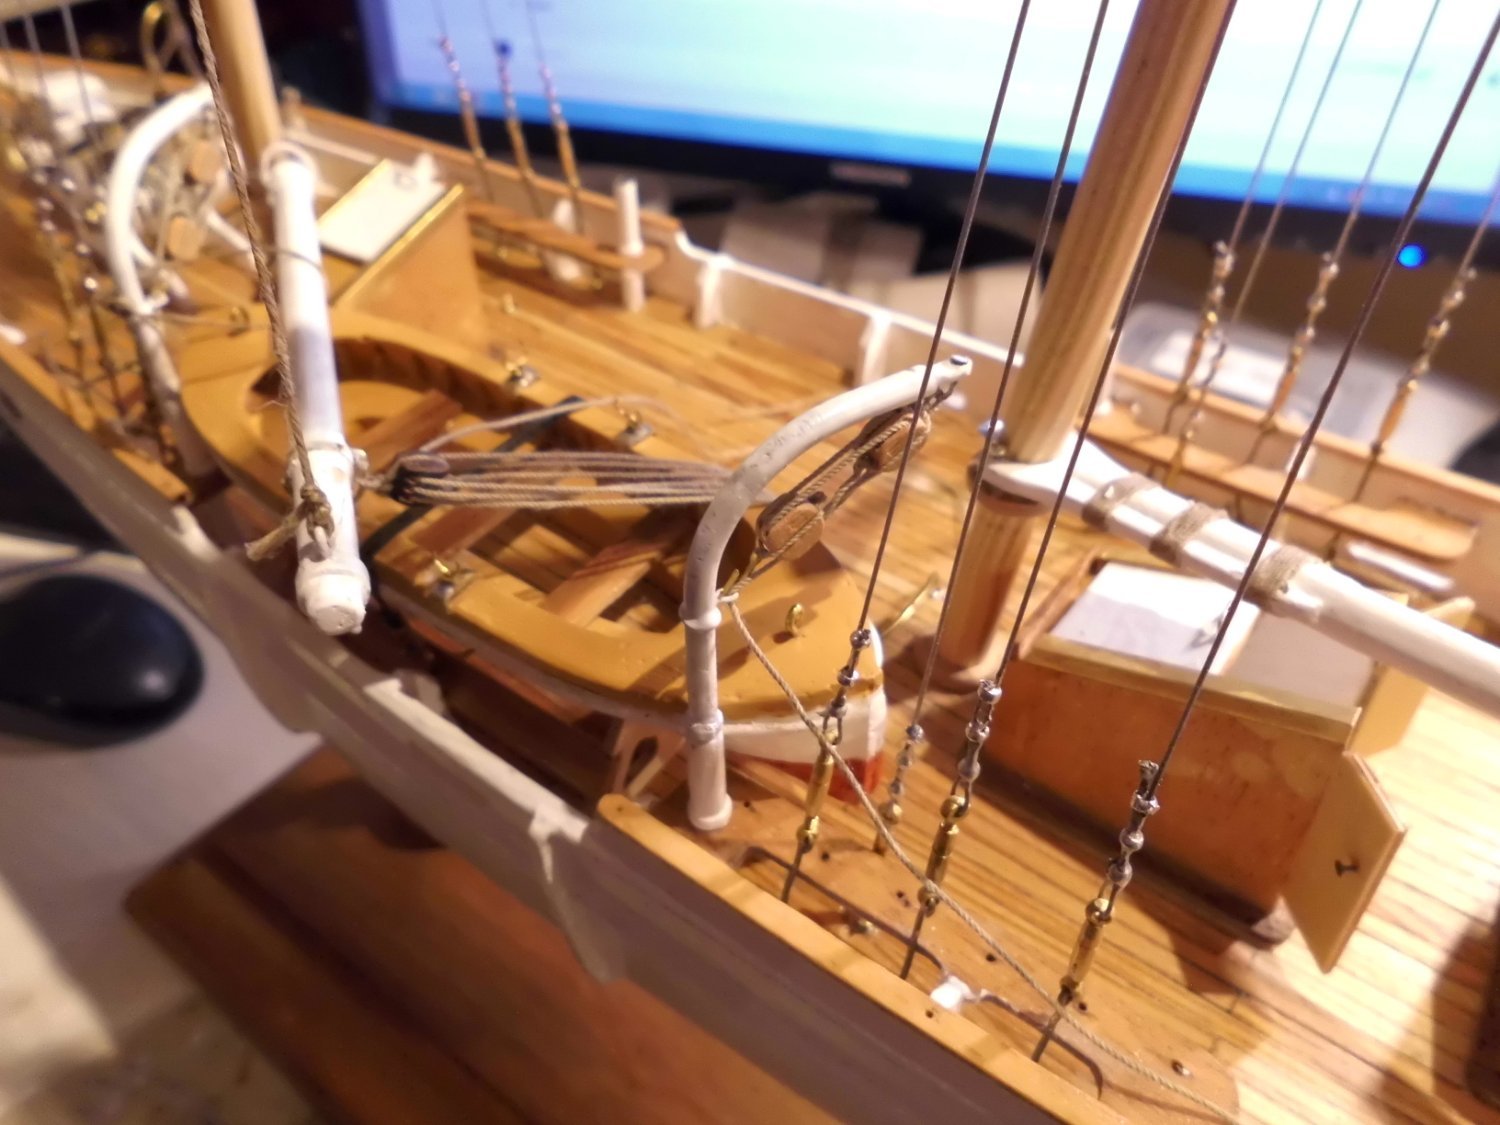
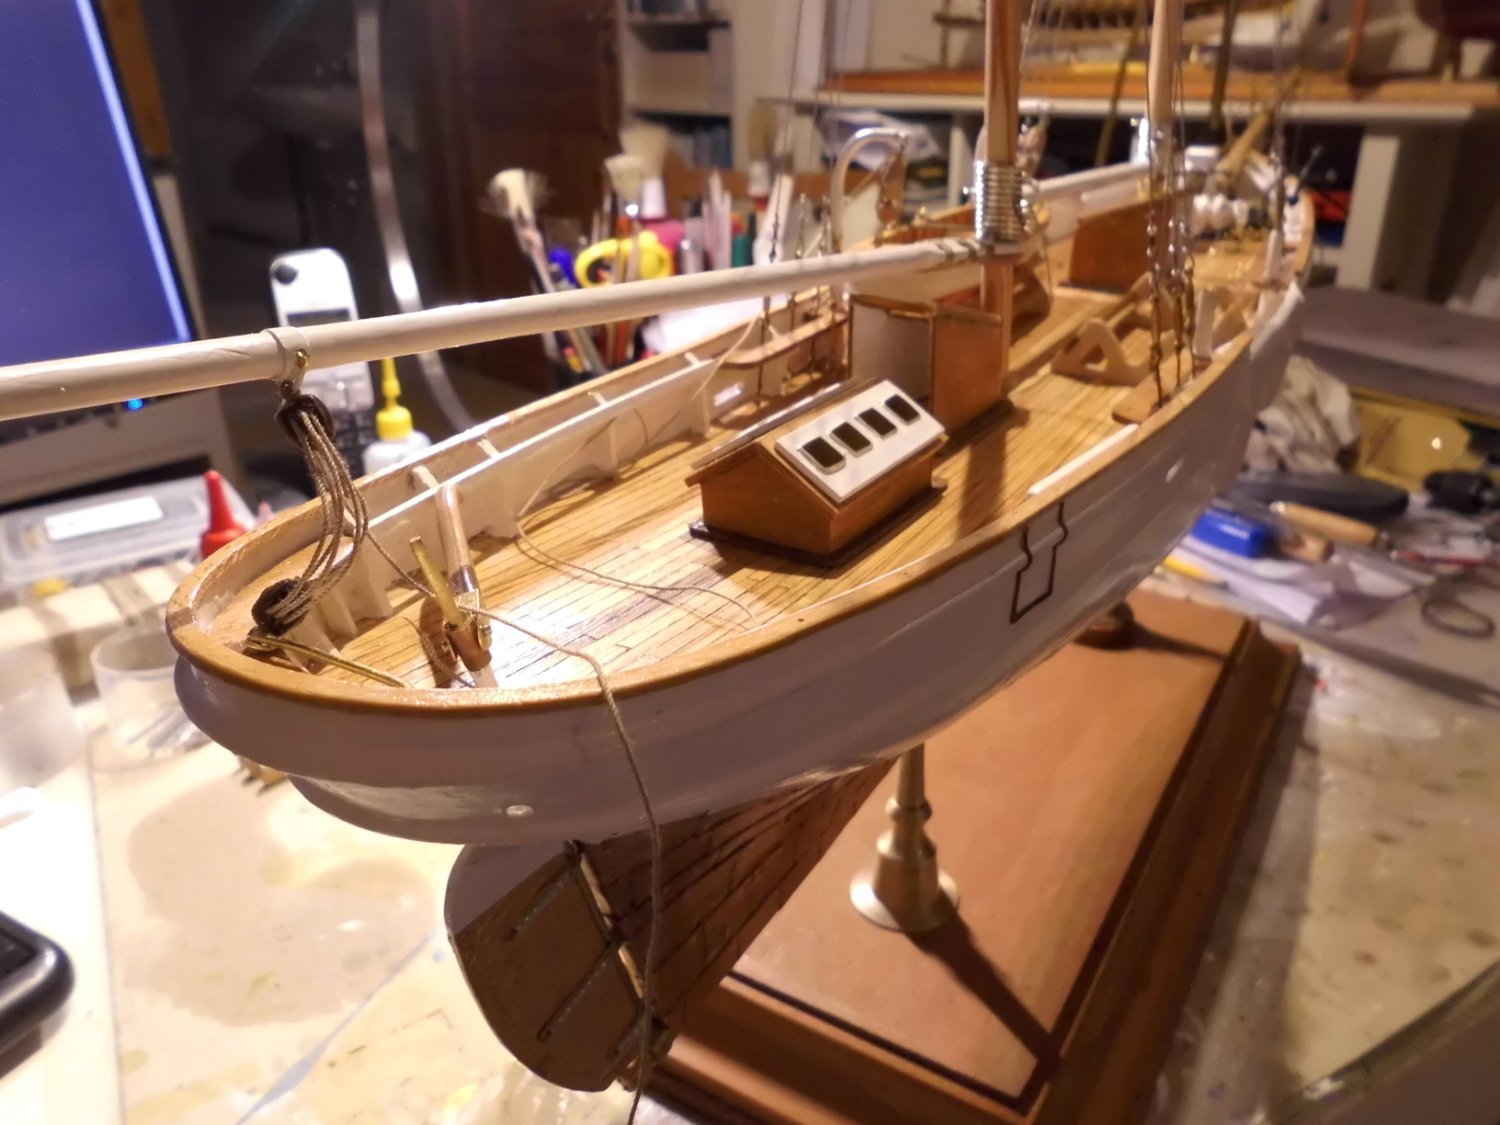
the forward placed companion way with closed hatches and doors. The formast boomtackle differs to the mainmast boom tackle, probably to hook it out more easily when opperating the boats

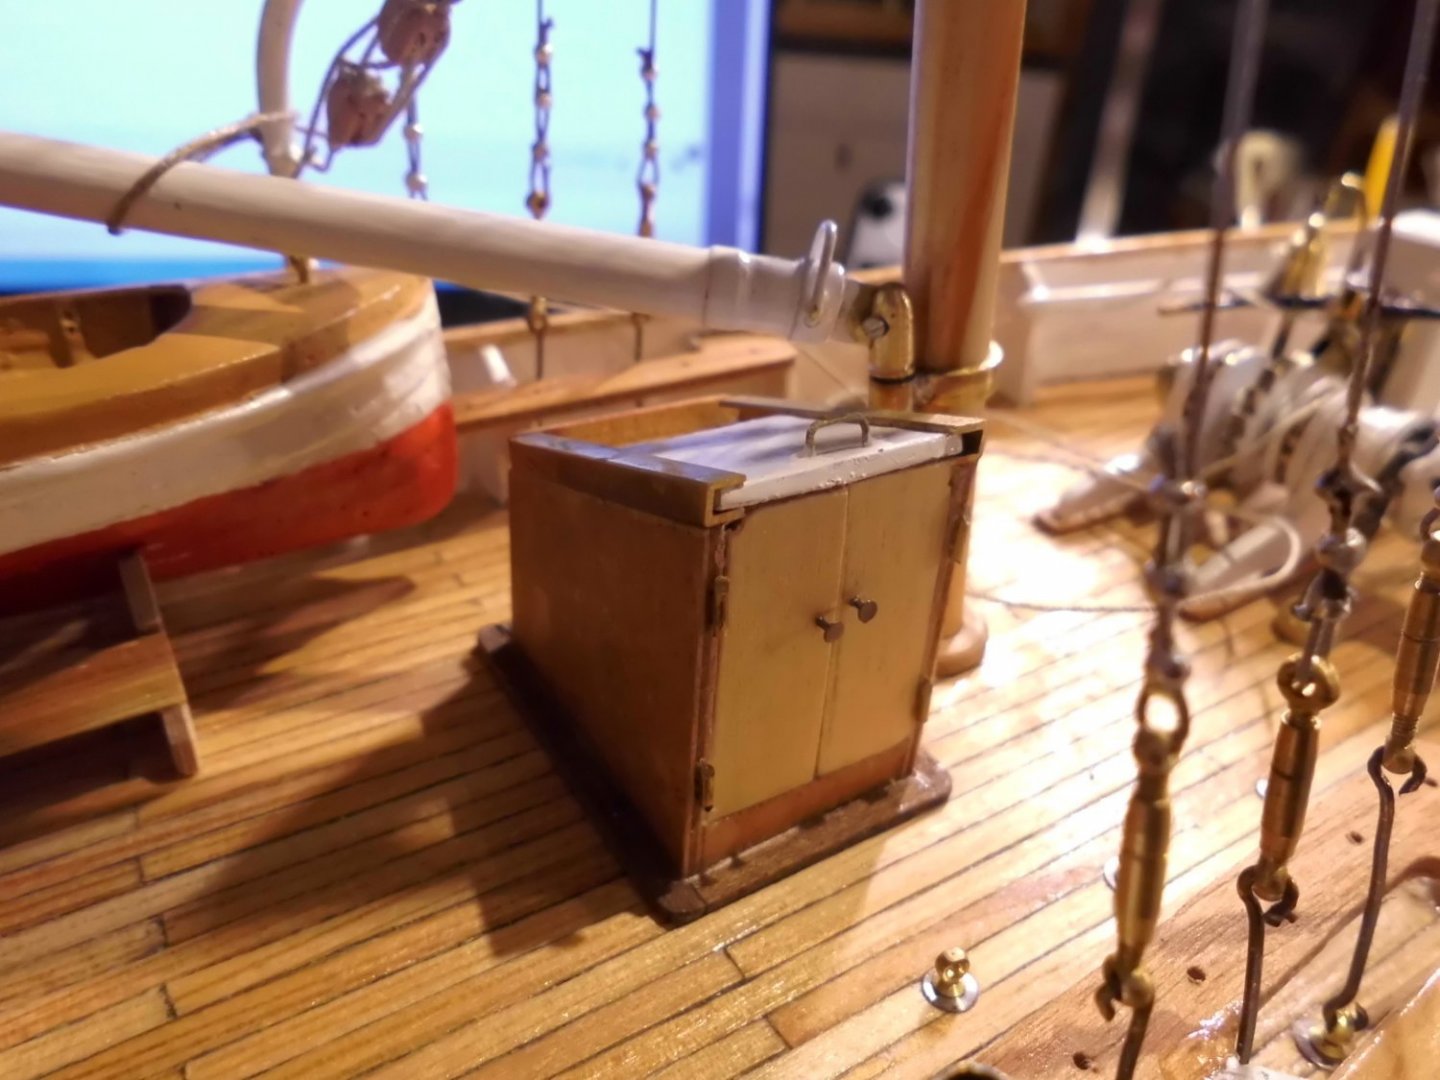
aft companionway and skylight. I chose an 8-window typ in order to allow more light down into the ship

there is a slight problem with the forward sail sheet when the boats are in place on deck. I trust this must have been the same situation as with the actual boat. The boat tackles rest (hooked in) at the davits when not in use
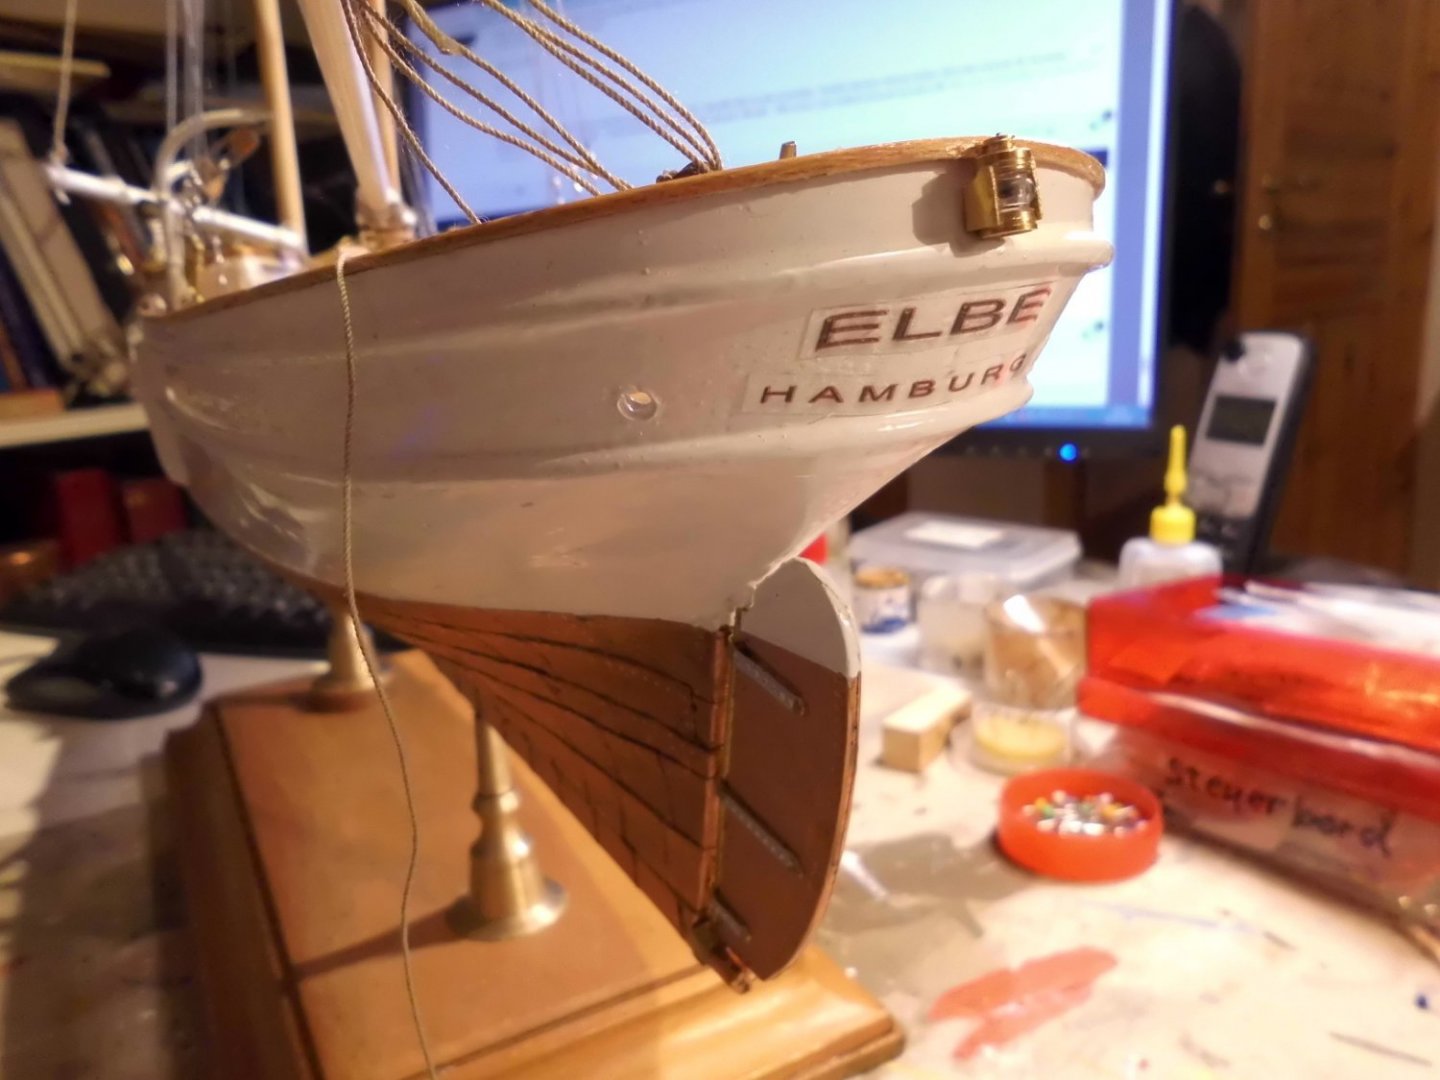
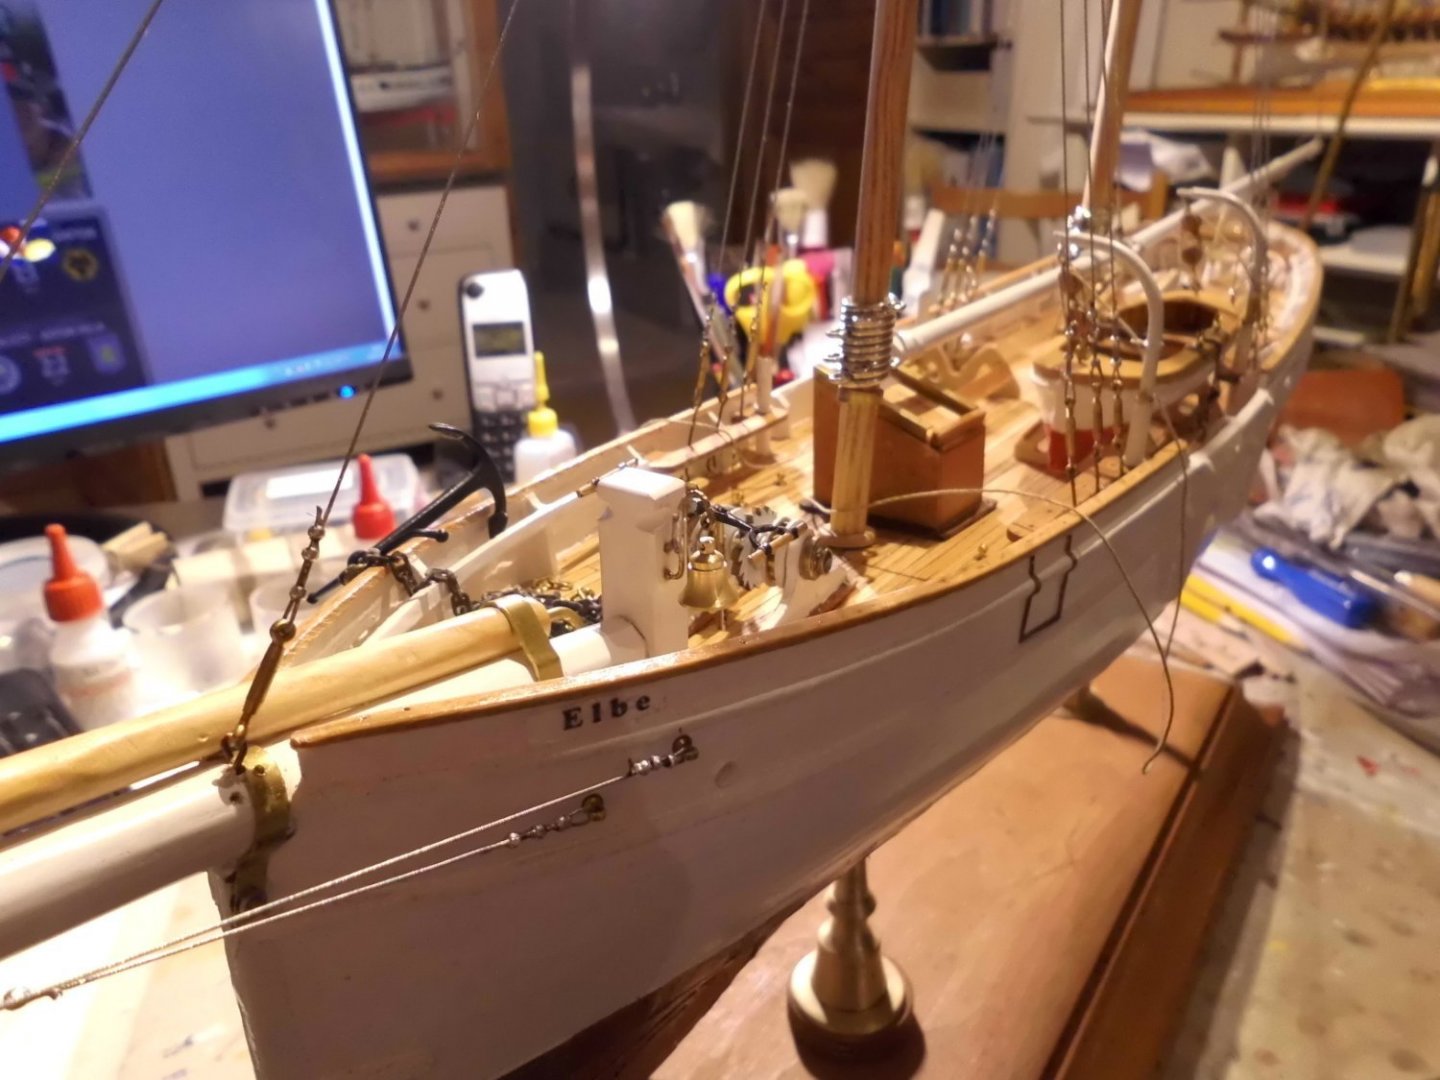
tail lettering and attached tail light
the upper rudder shaft will be shortend later on
-
Update
fitted the skylight, the mainsail sheet and the two uncompleted companionway hatches....
I`m trying to get the aft name sign and the port name reduced to the right size. The windows / excel tool allows to get the display in a rounded, bent shape, but only in a too large size. This is to compensate the tapered aft-section. I intend to print them on transparent self-adhesive foil and cut out the text for bringing it on to the hull surface. It looks like my printer has no built in decline function
Nils


-
thank you Igor,
your fleet of mini scale- and bottle ships is amazing and very nice to see. At least you should not have problems with the places for display. When I was young I also built a few bottle ships for the family members as a christmas present as I had limited financial playground at that time....
Nils
-
Thank you John,
yes those are working bottlescrews (M1,4 )
Nils
-
Update
Standing rigging and shroud wires now done with tin galvanized flexible steel wire (19 x 0,1mm thick )
Nils


-
-
-
Update
Am starting with the masting and the rigging. The tackles for the boats was the first to start up with
Nils
-
Yes Eberhard,
I bought those beech strips some time ago already for one of my other models. Now they come handy and find their destination. Are they only available in Germany, I trust they certainly will be of international use for modelers.
Nils
-
Update
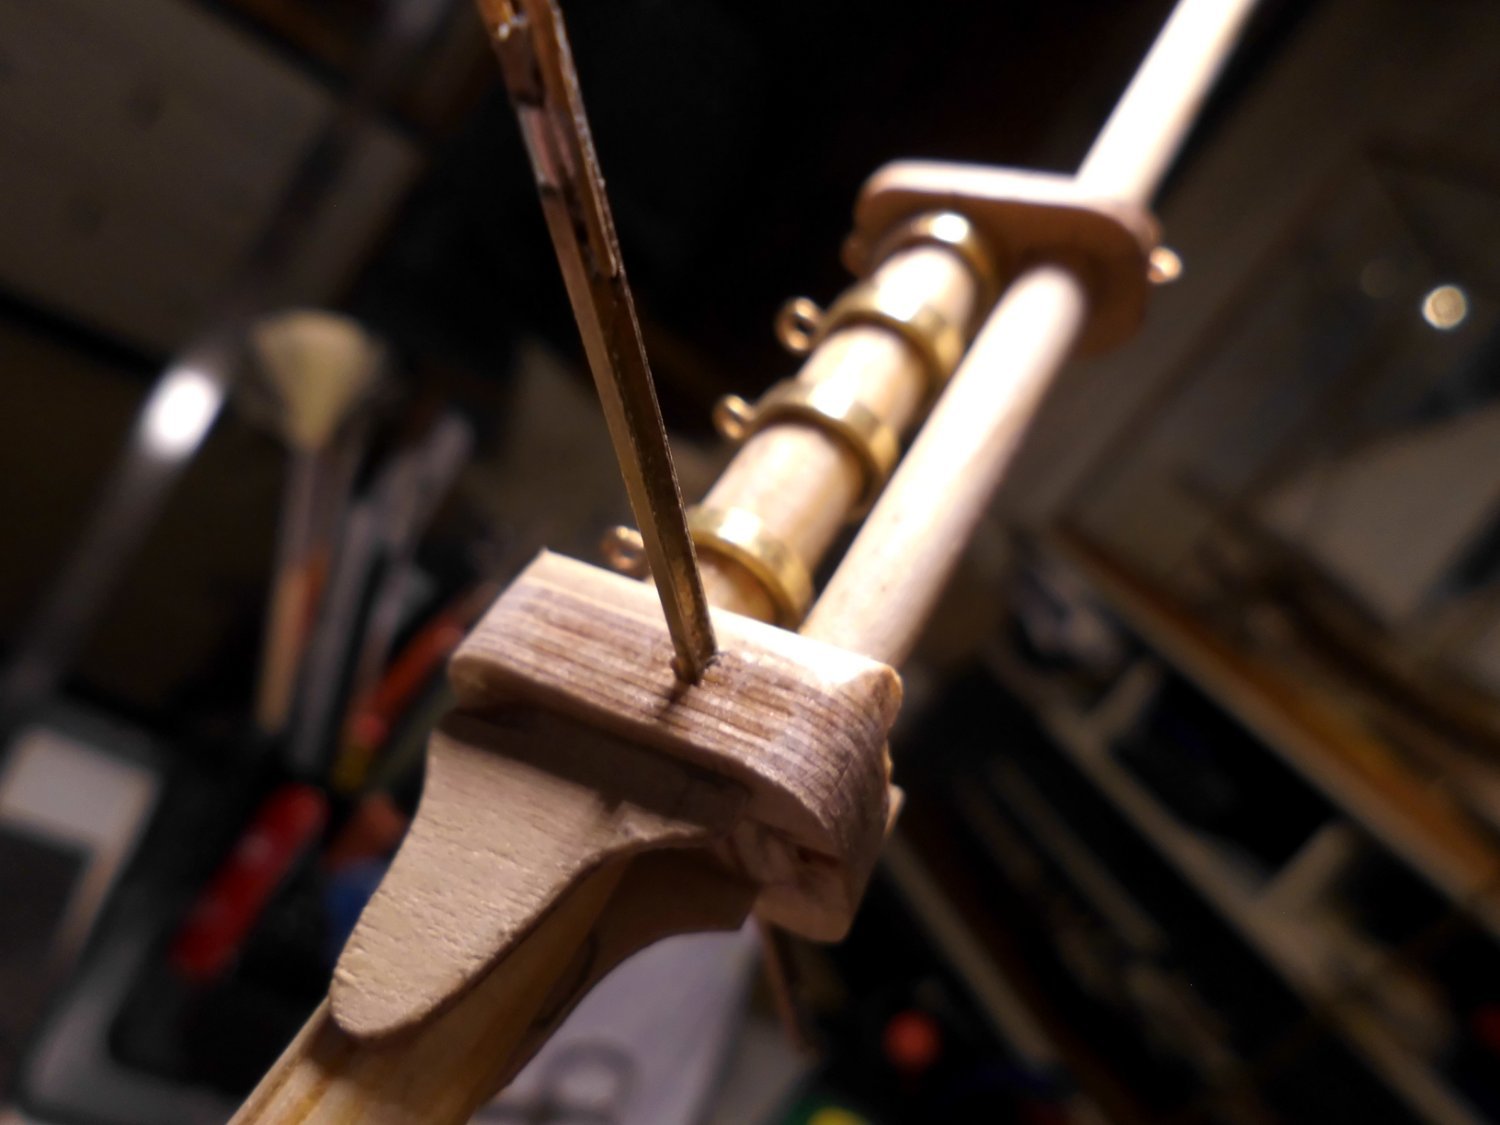
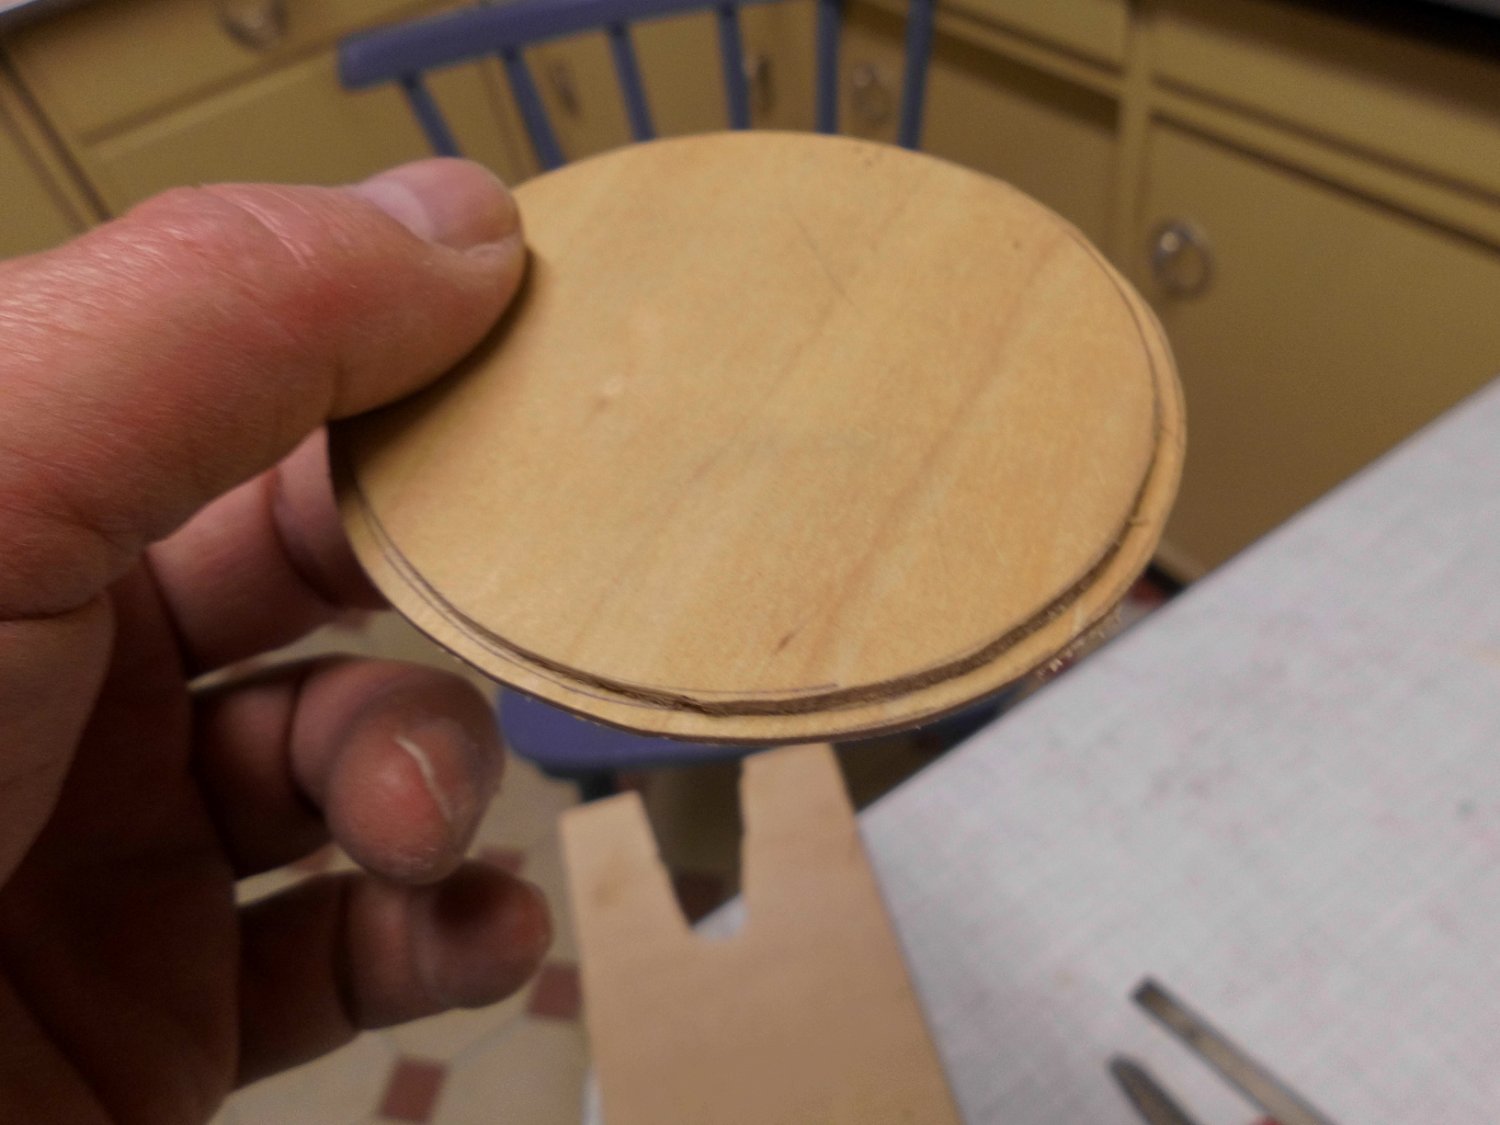
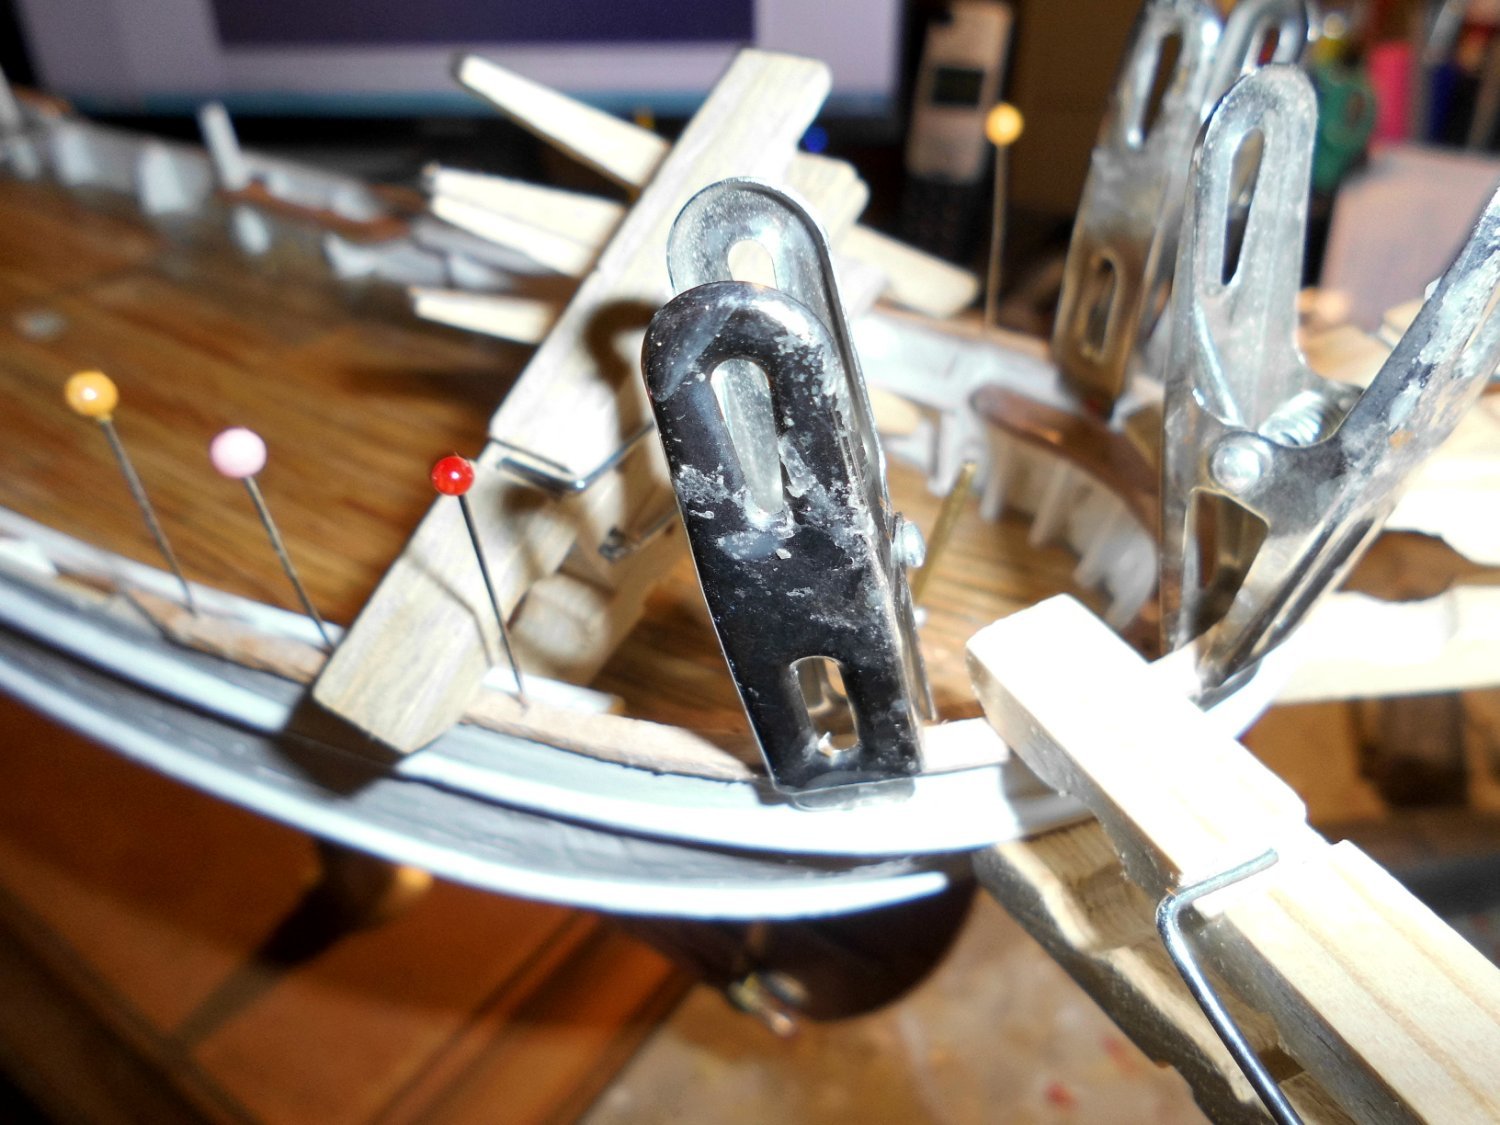
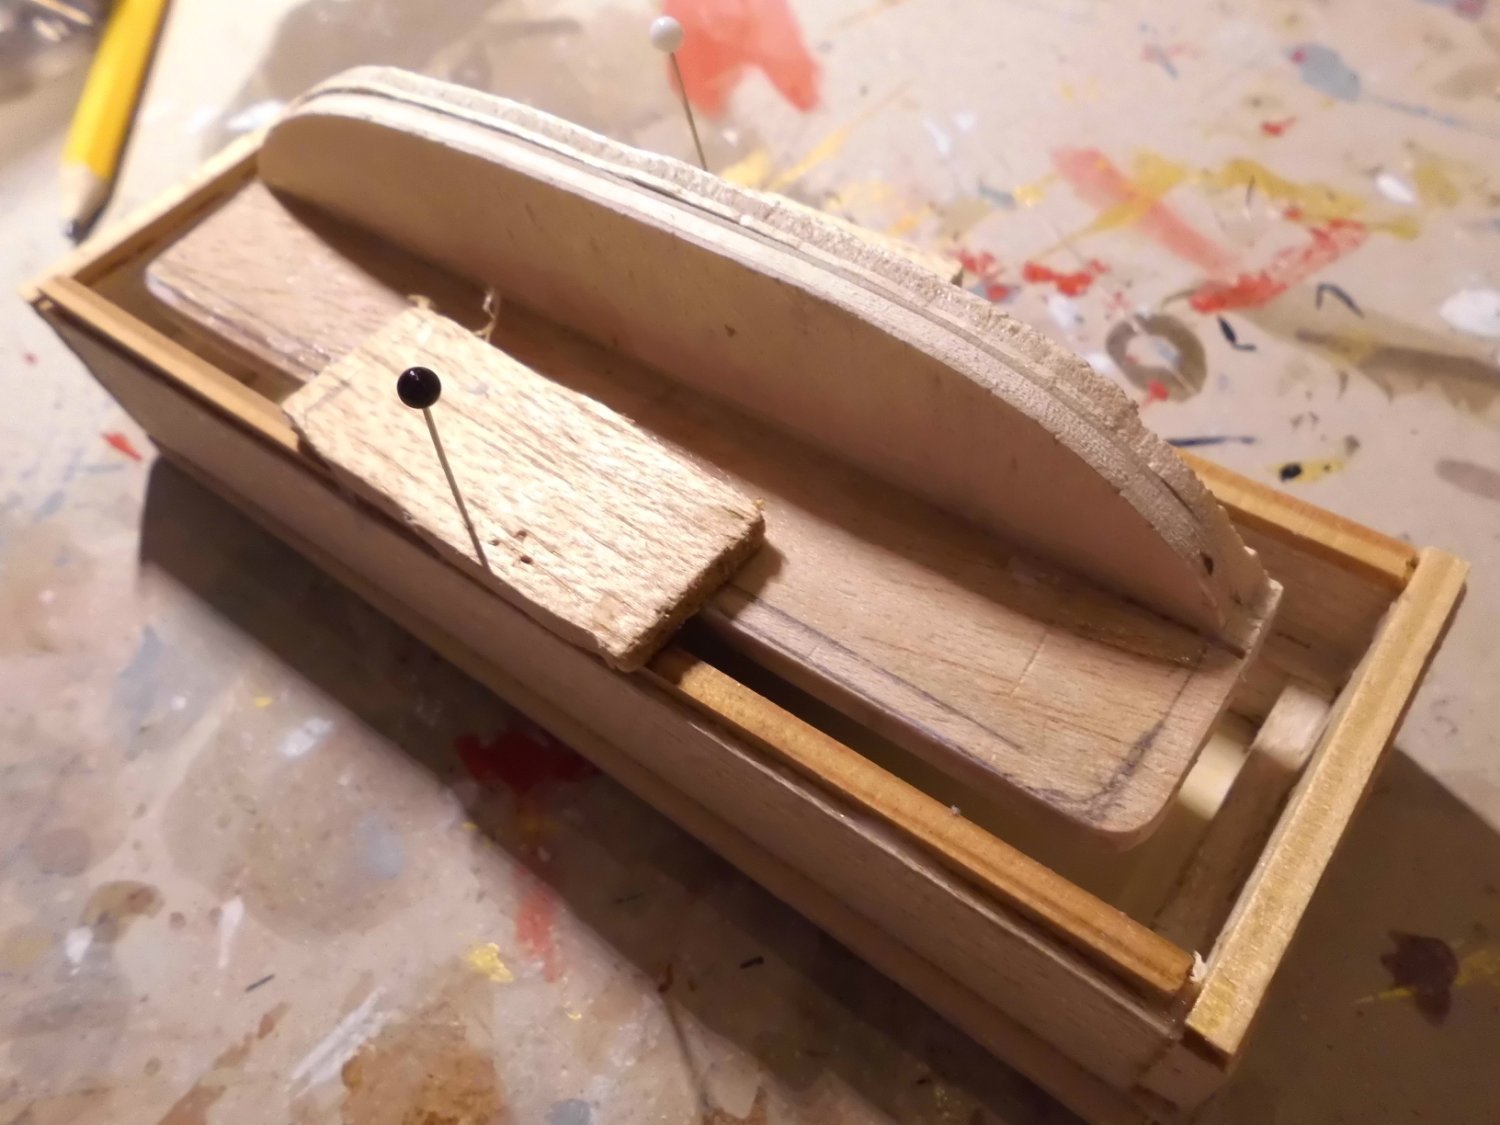
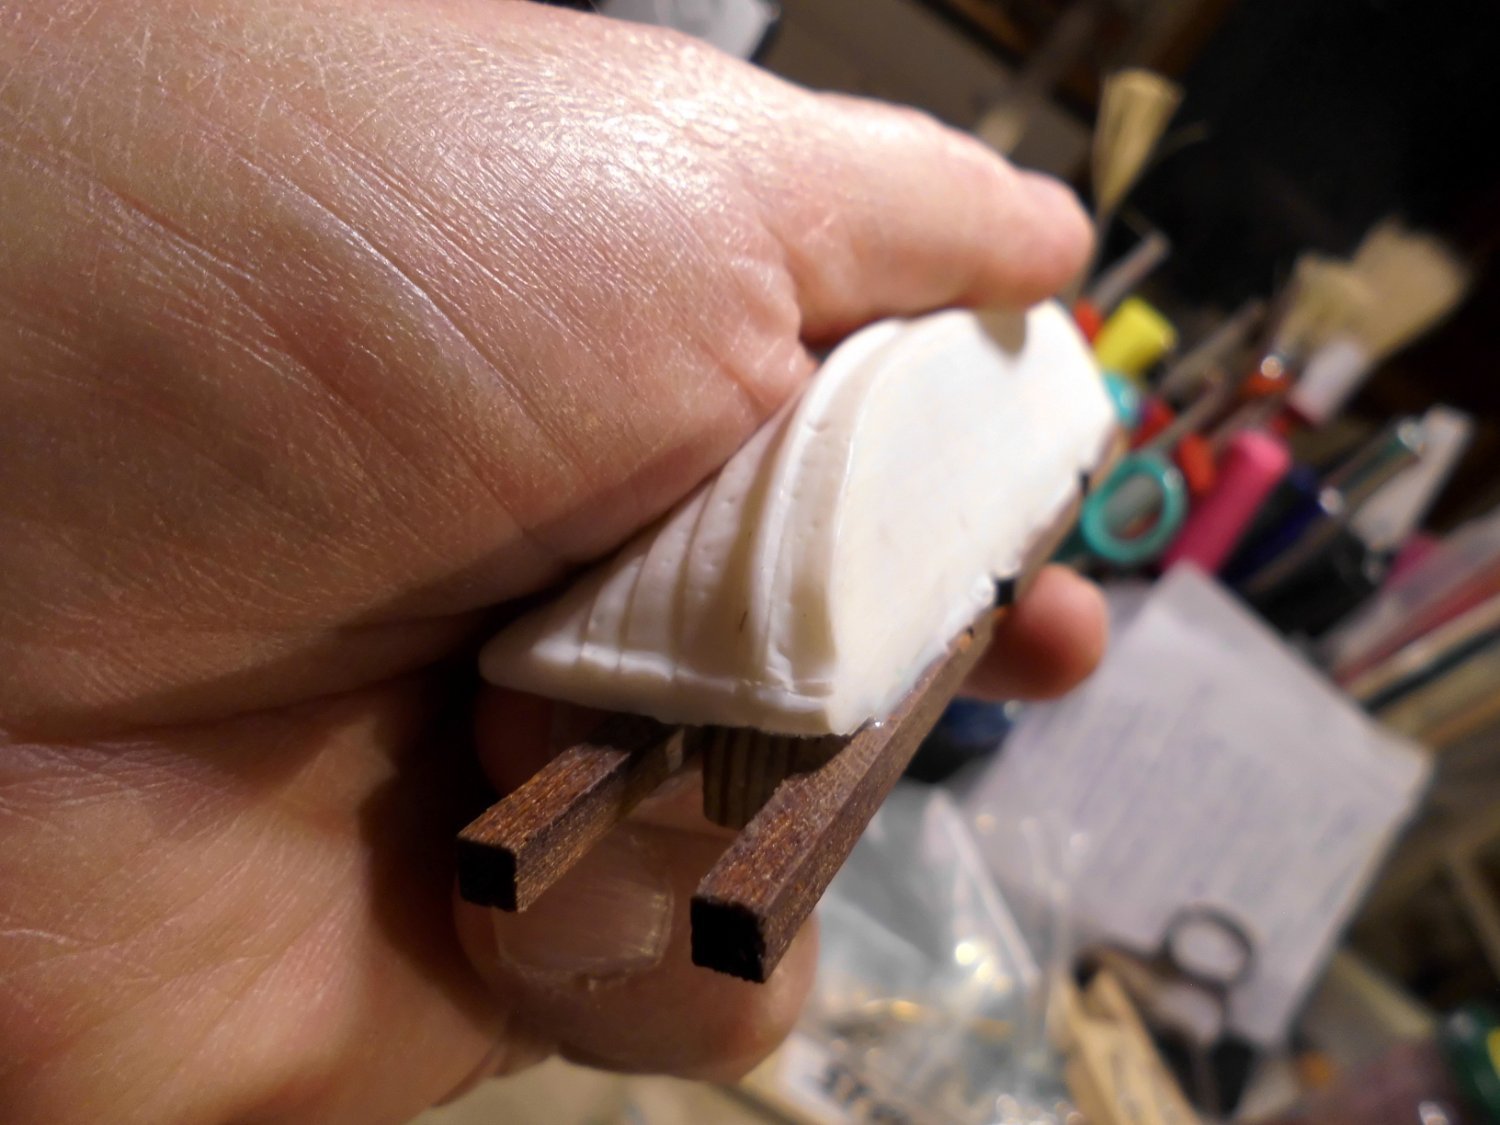
today I`m doing the bulwarks handrail from bendable beech stripe 1,5 x 3,5 mm flat. The aft rounding is done with a bending gig in order to bend the strip over the flat side and a pot of boiling water.....
Nils

the front and mid sections are easy because of the slight bend only....

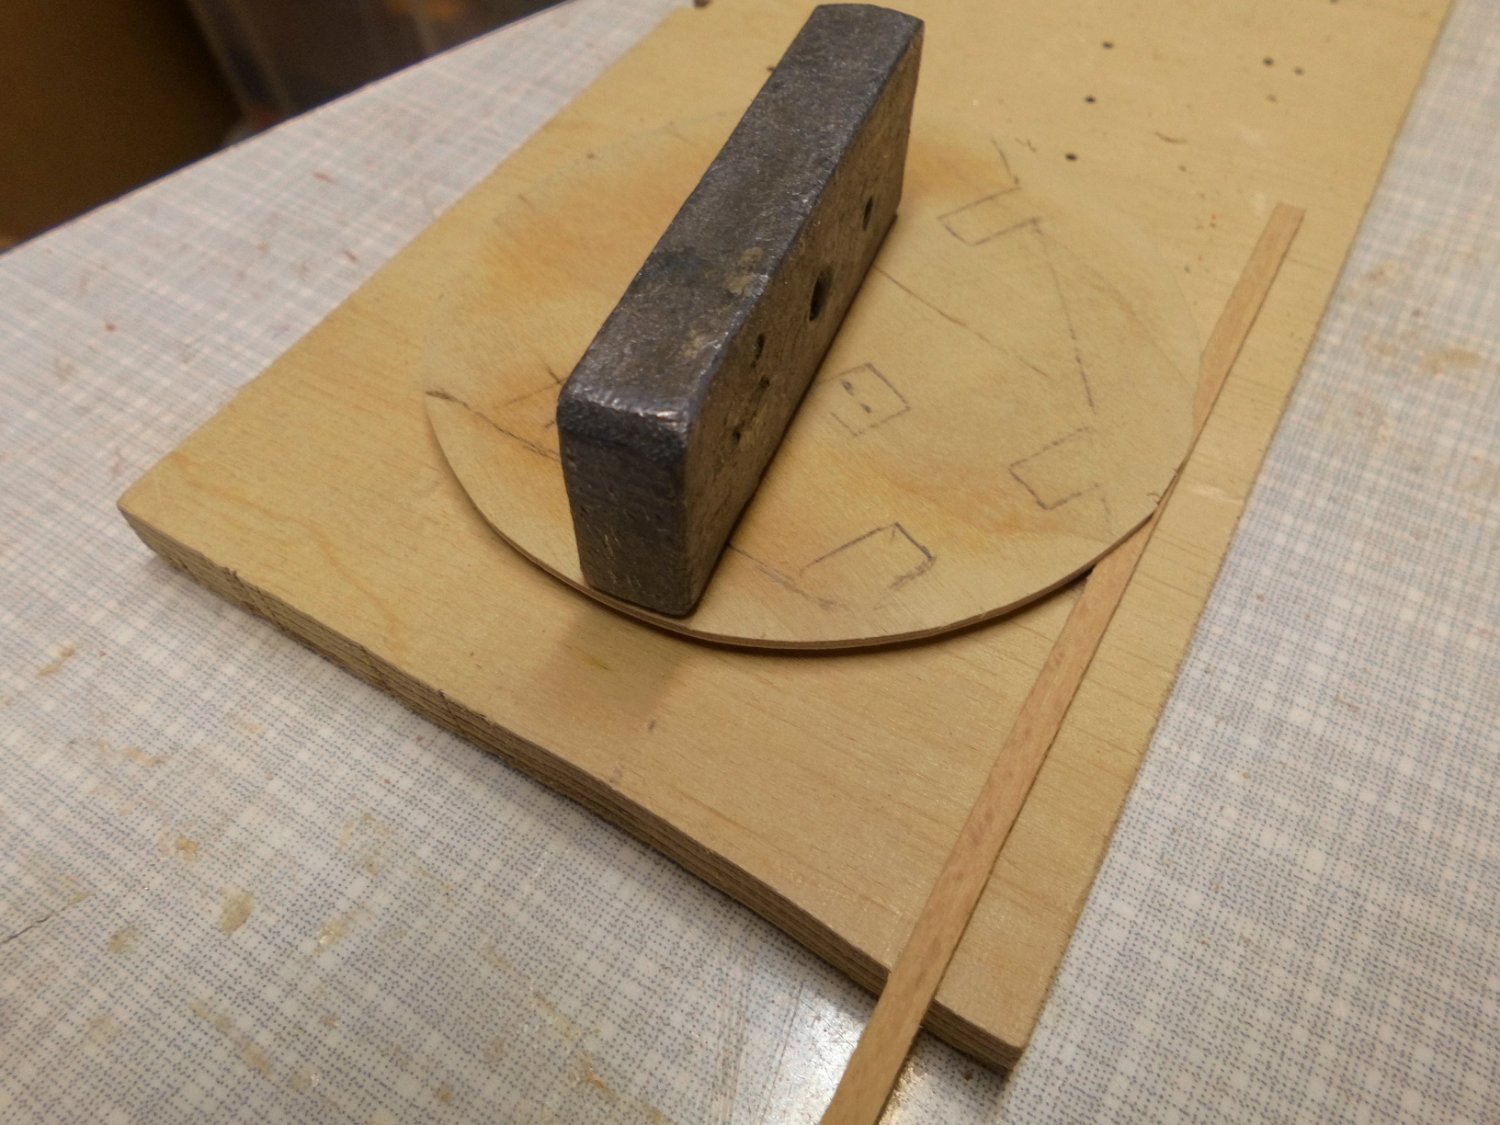
this gig keeps the strip down flat during bending the curve... for the aft rounding

here the strip is inserted into the gig

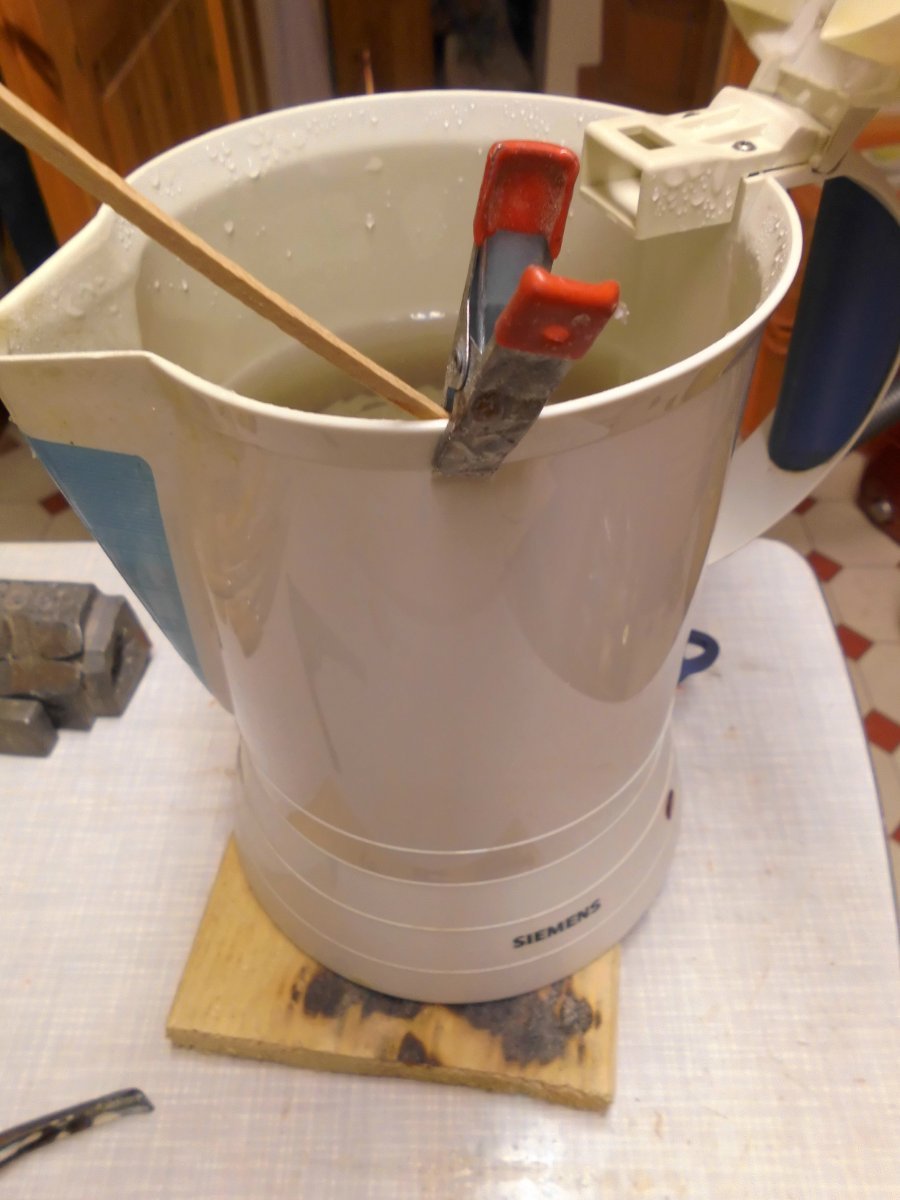
for smooth bending the strip was put into hot water for a few minutes
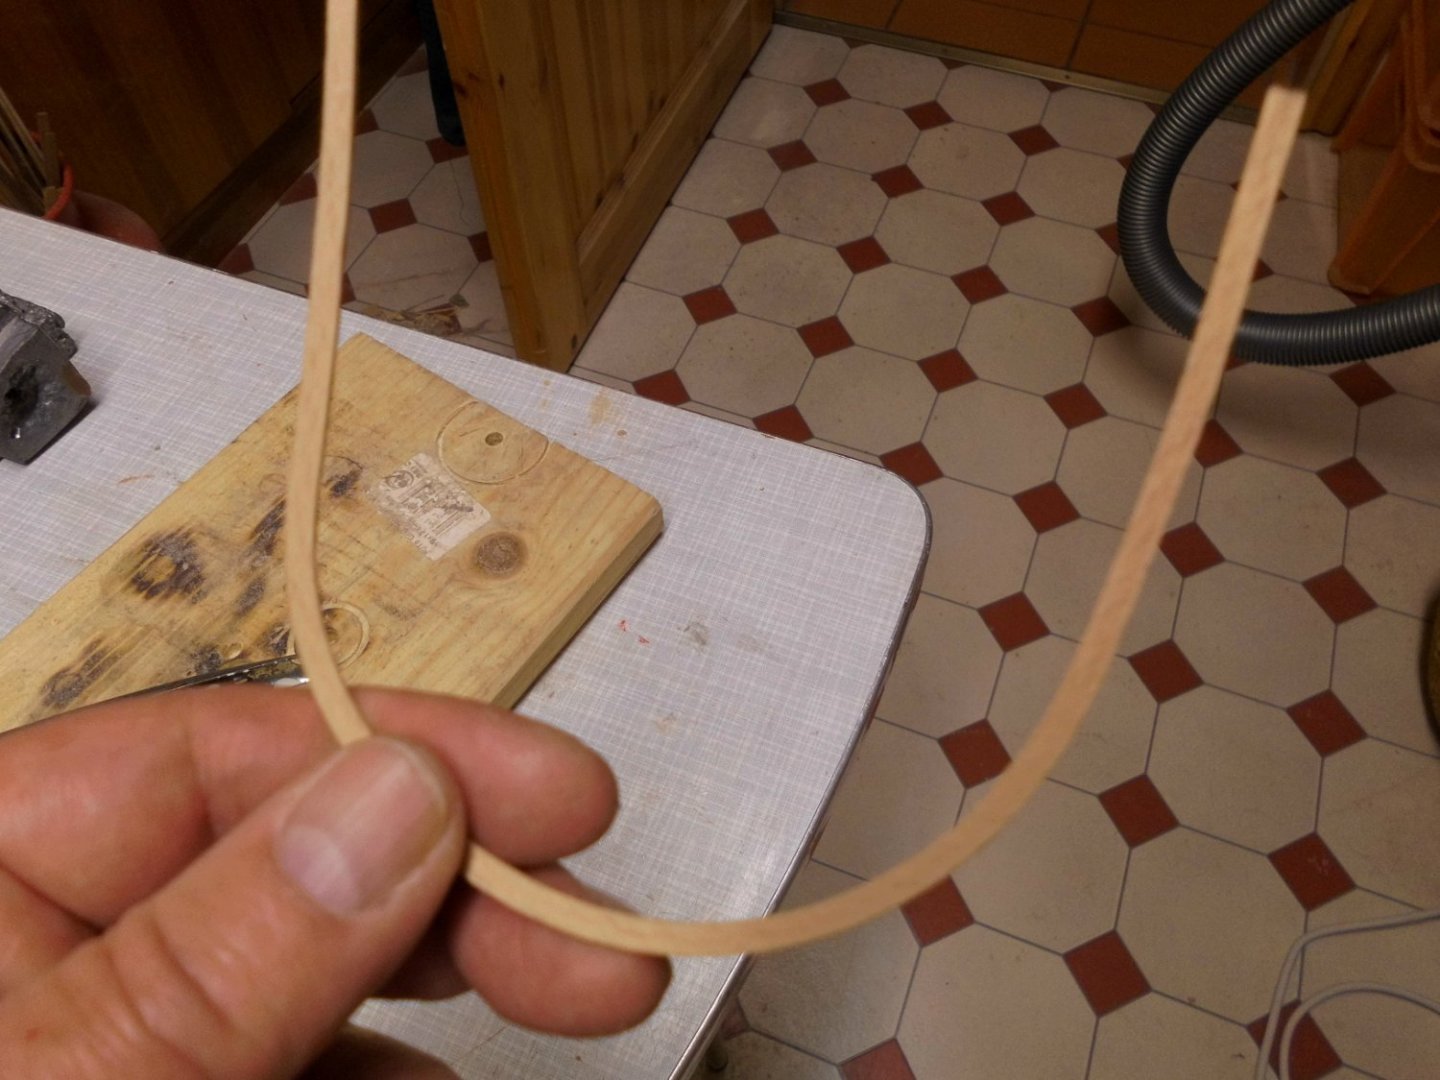
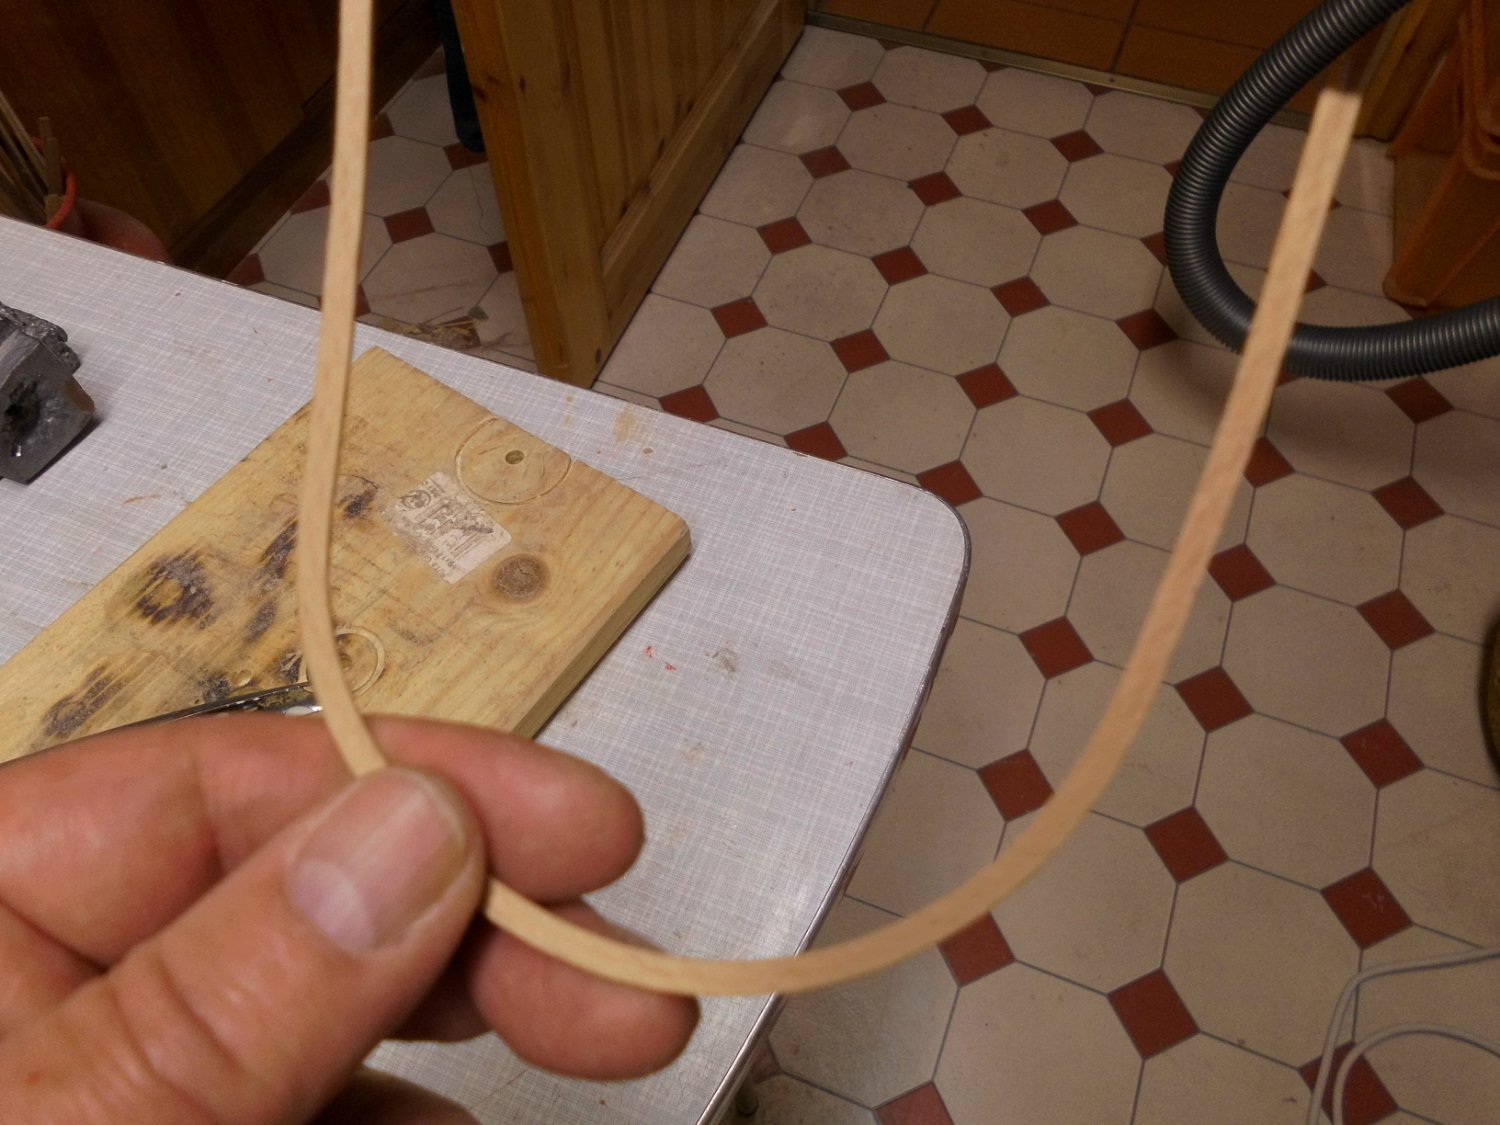
out comes a smooth rounding over the flat side of the strip. I`m very pleased with the result

fixing the rounding rail to the aft bulwark. It will be shafted to the mid section bulwarks
-
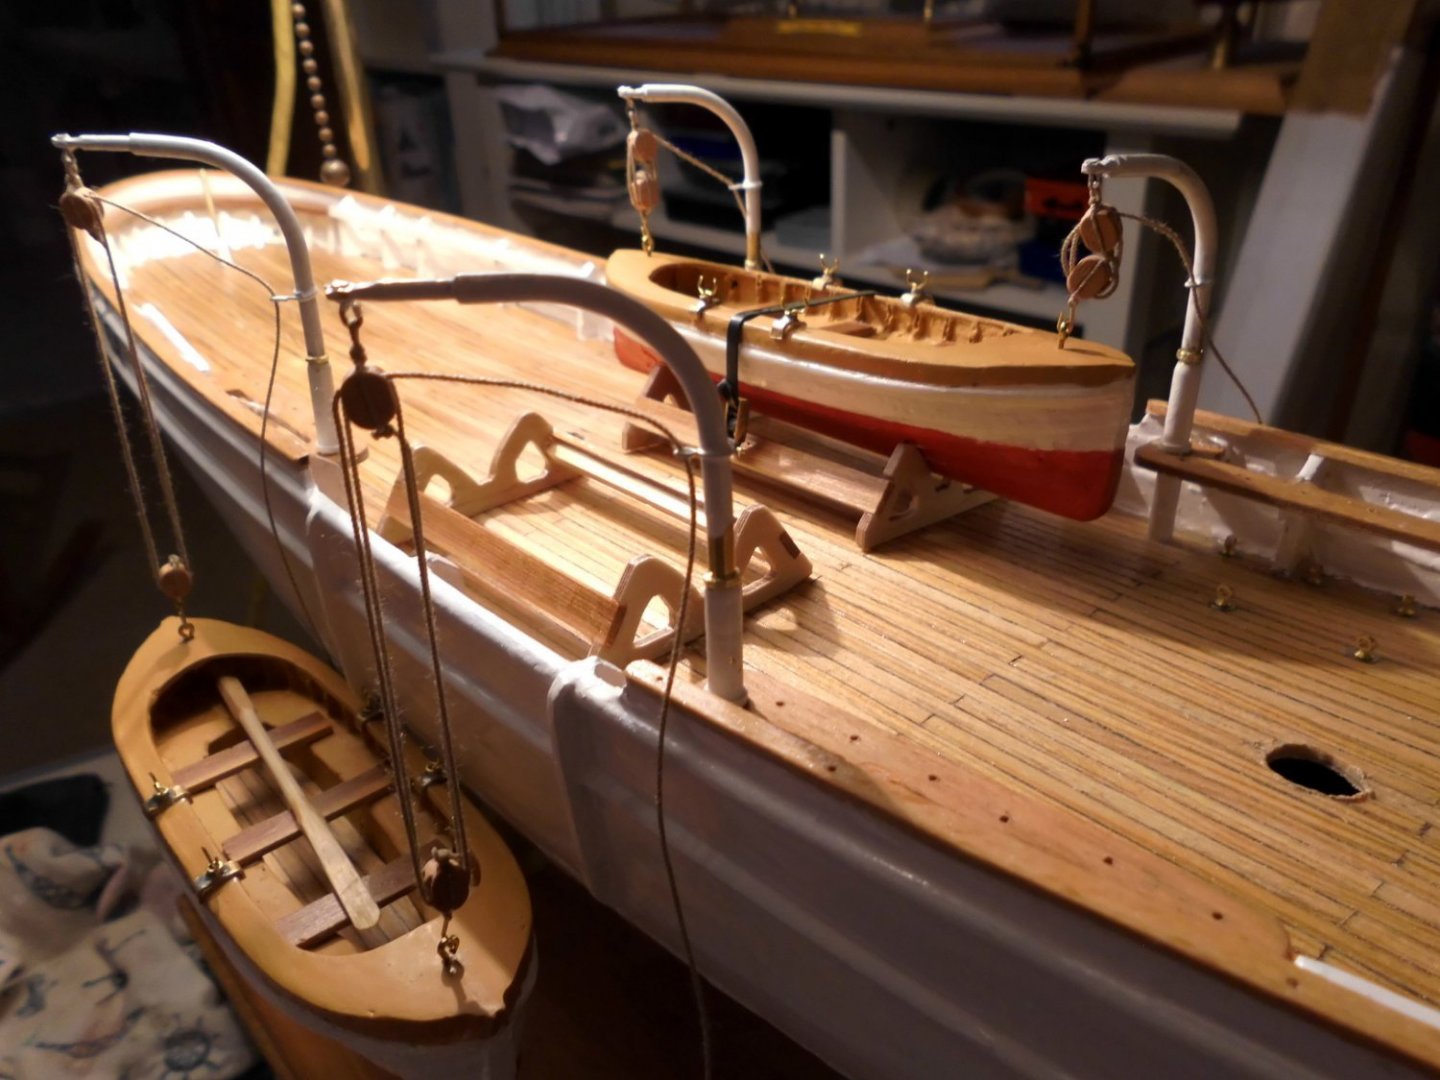
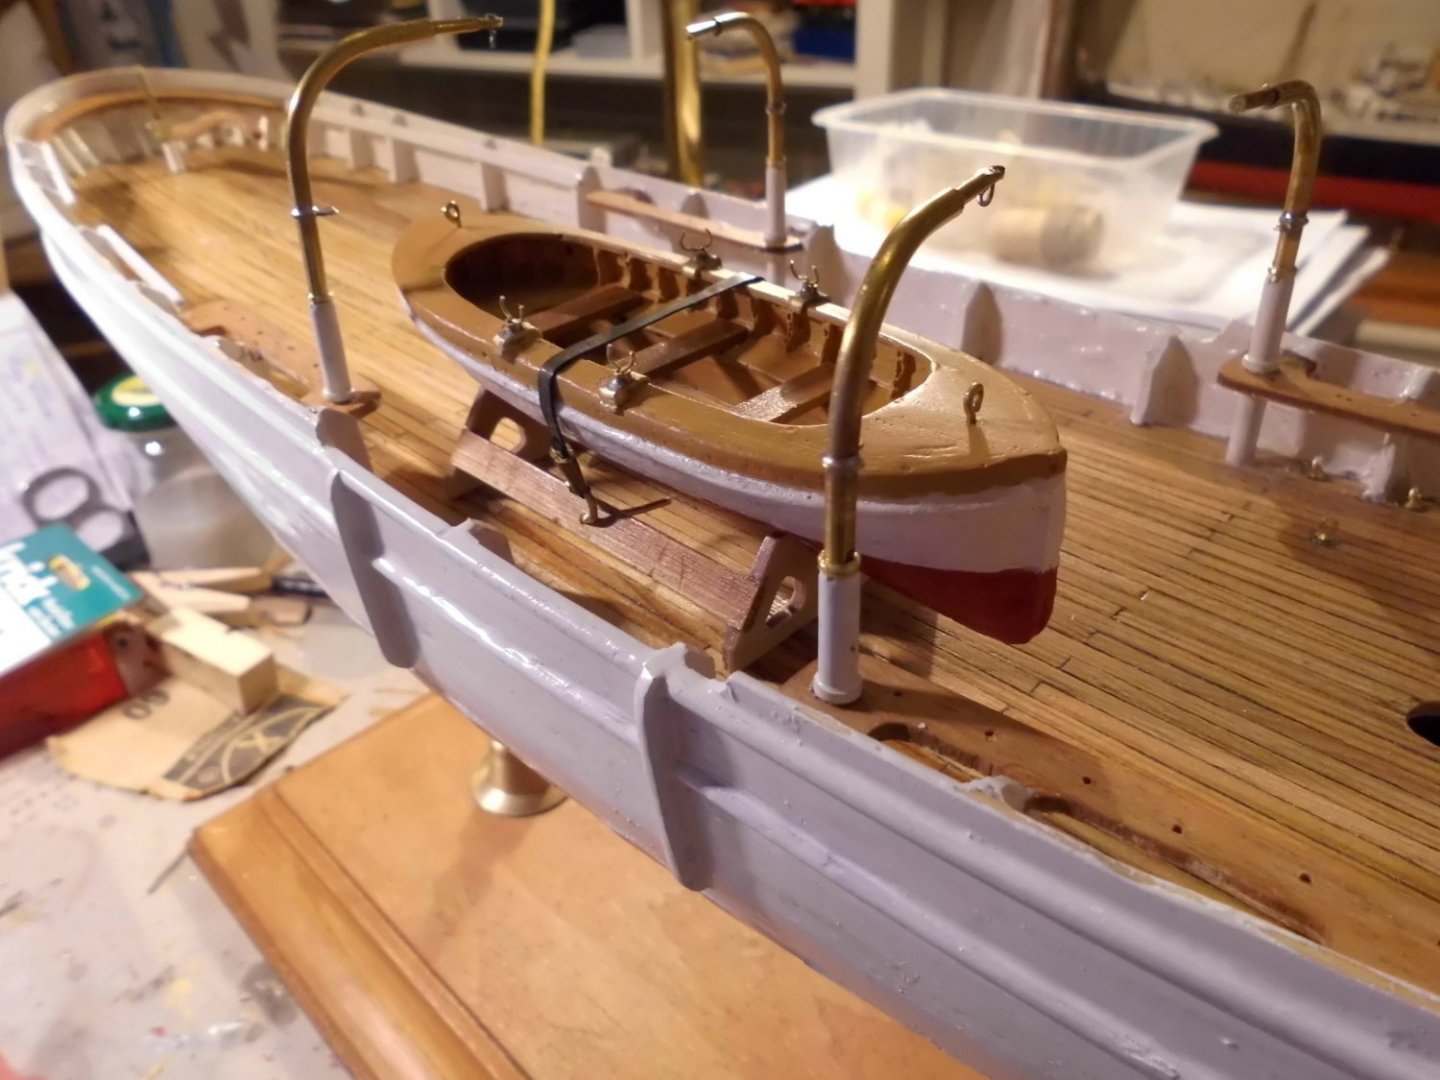
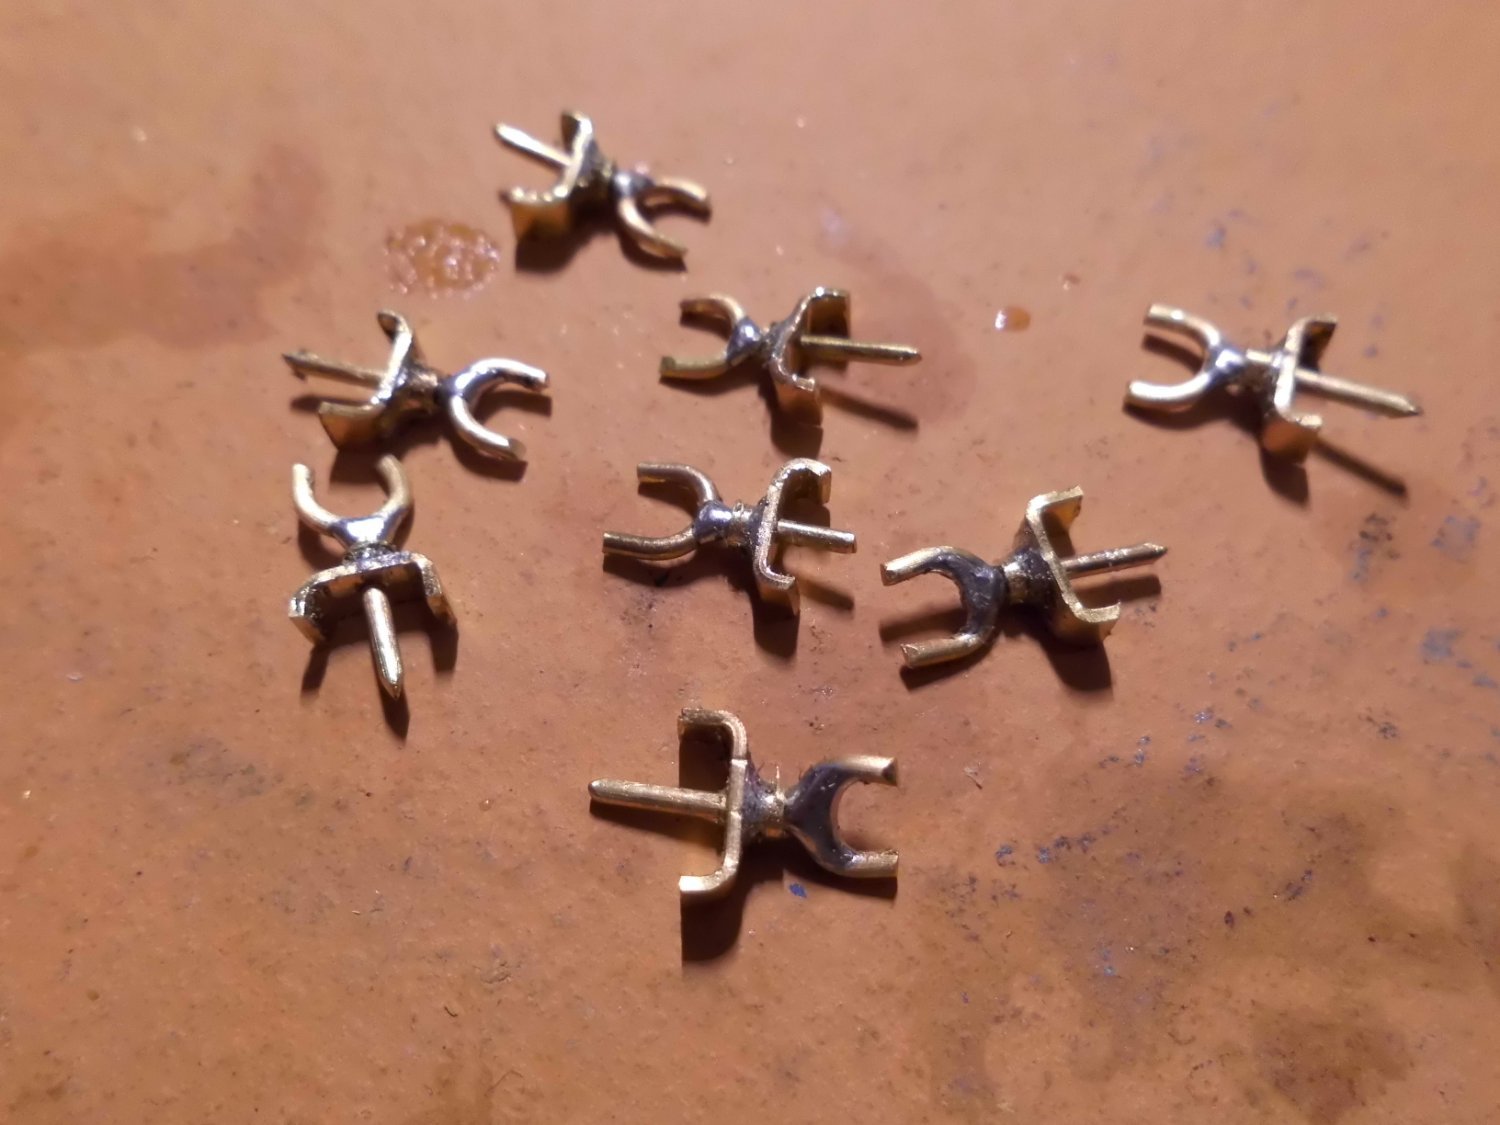
Update
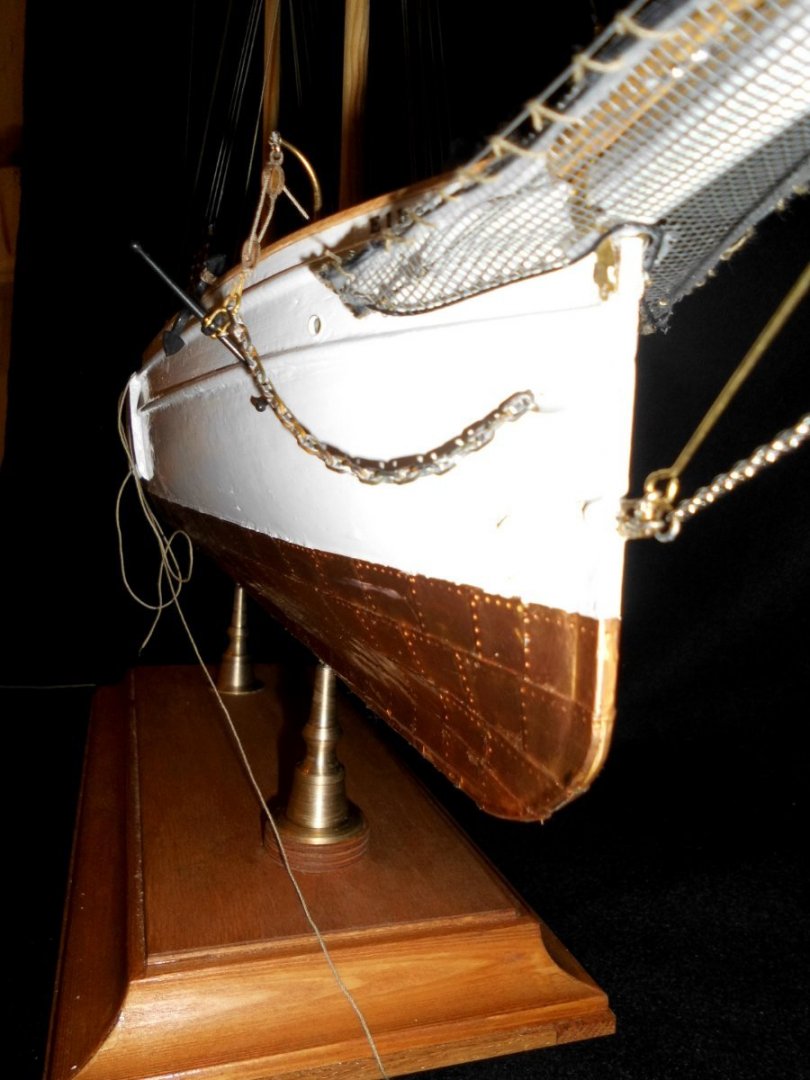
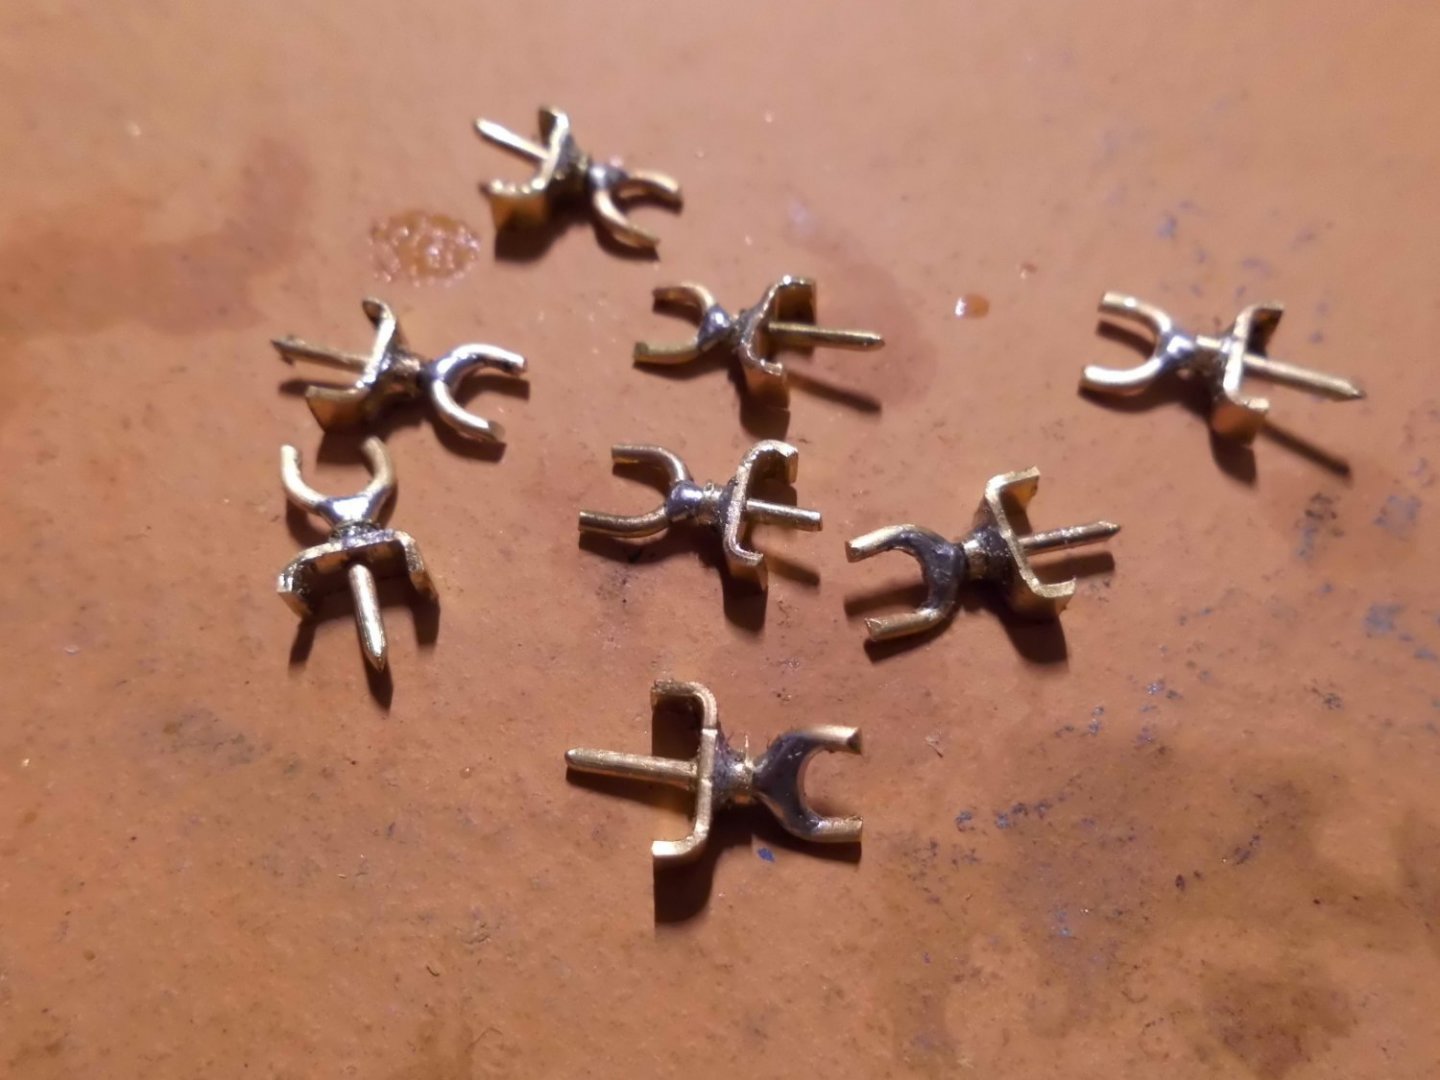
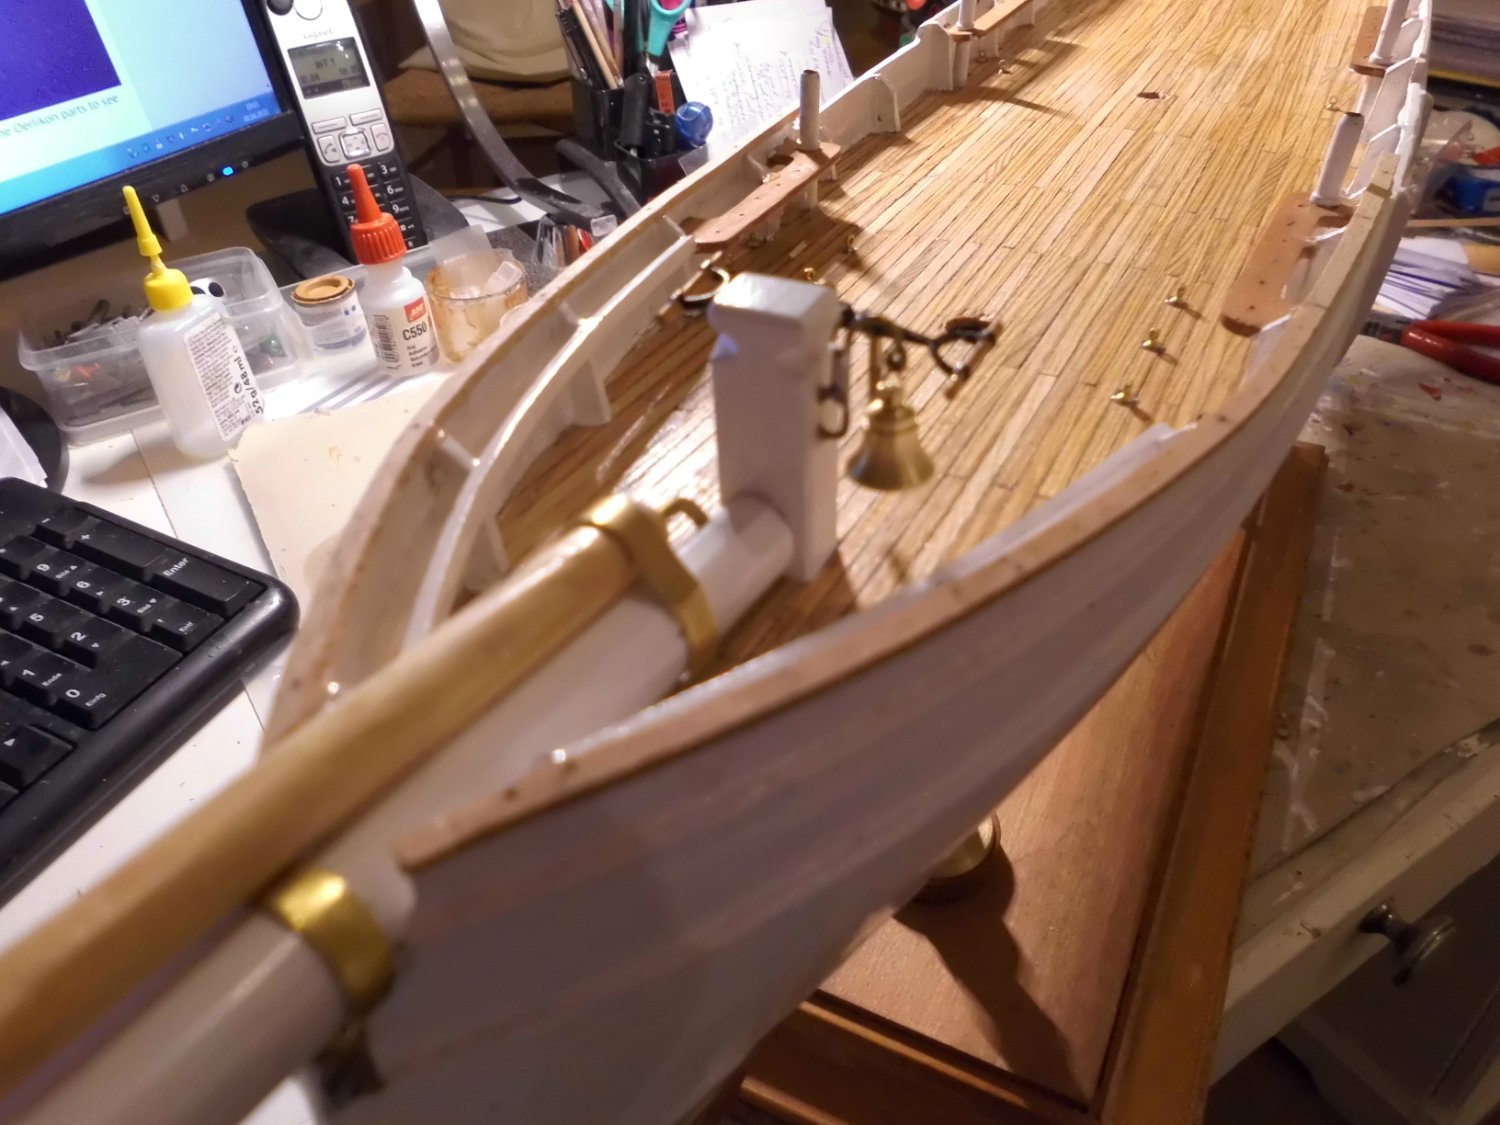
fitted a set of overworked oarlocks (thinner wire), also boat cradles, bell, and the first coat of white paint above the waterline. The bulwarks (in boat swing out area) are cut back a bit just like the real vessel. The upper handrails are still missing as well as the deck`s super structure like companionways, hatches, skylights, etc
Nils
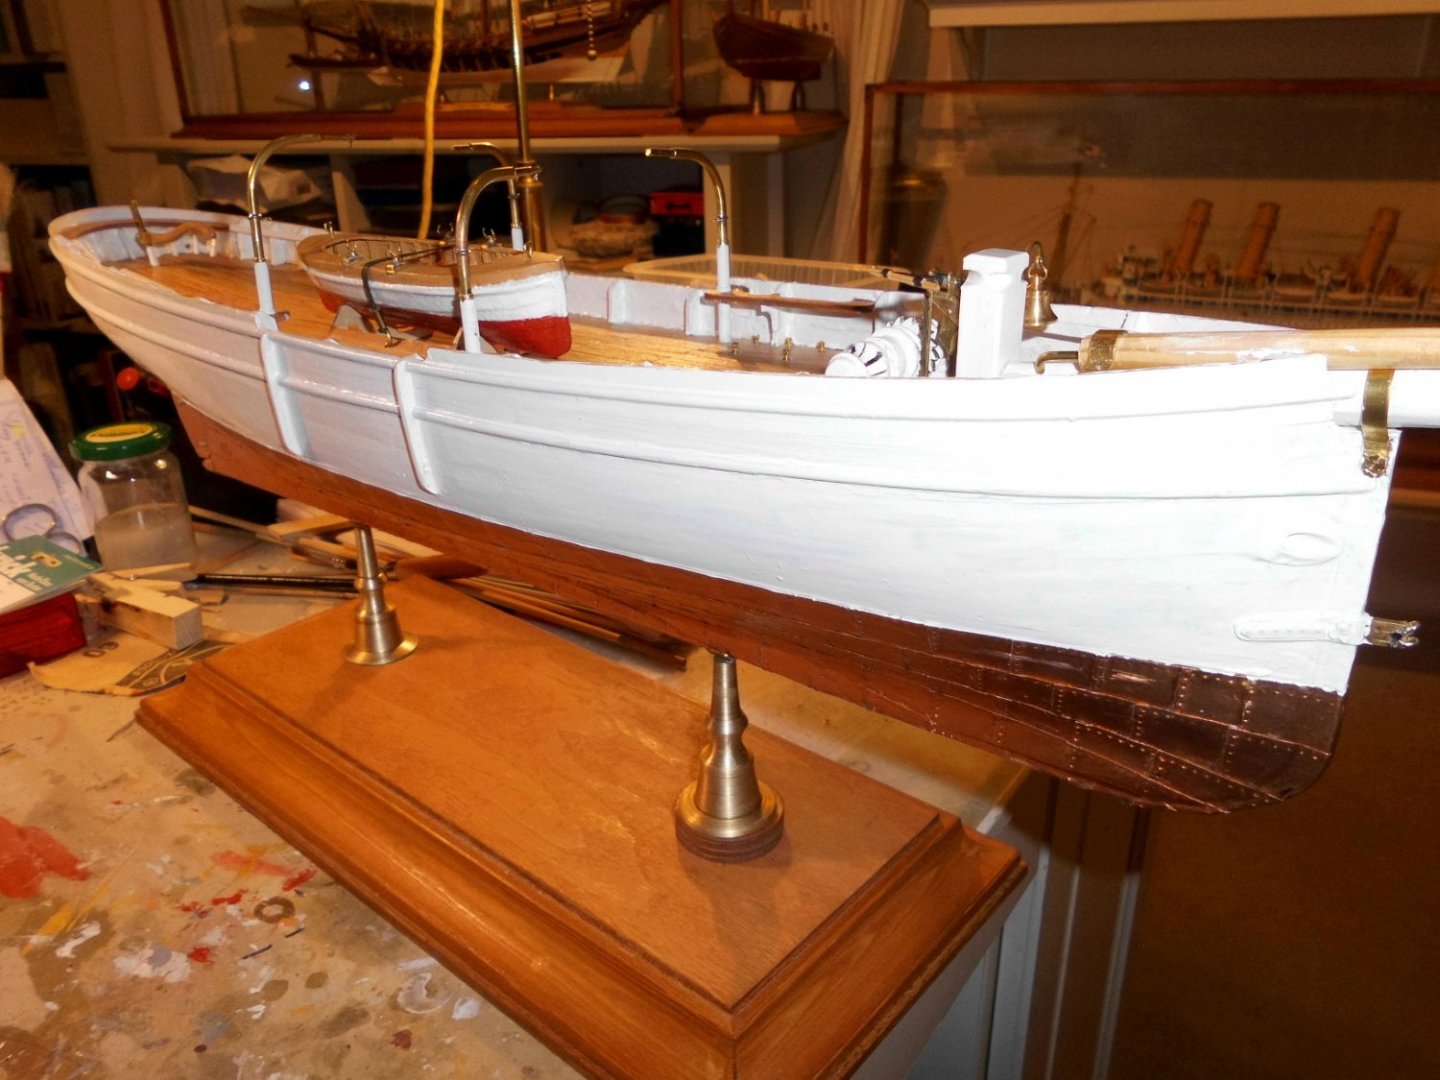
the upper hull has a white-silk finish

-
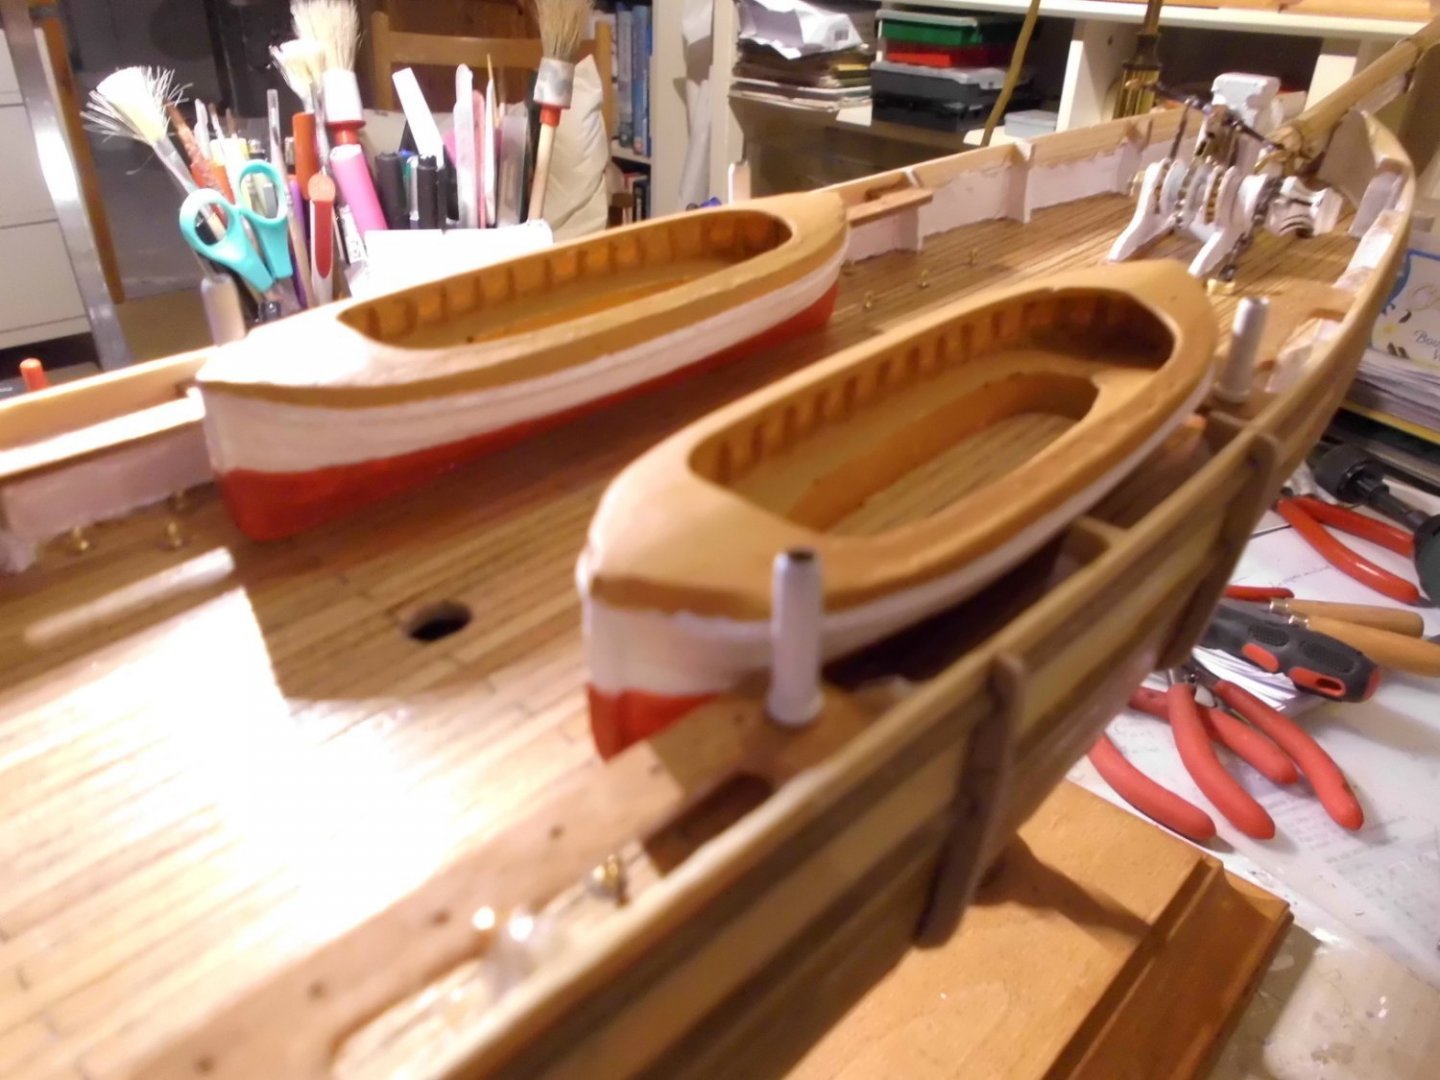
Update
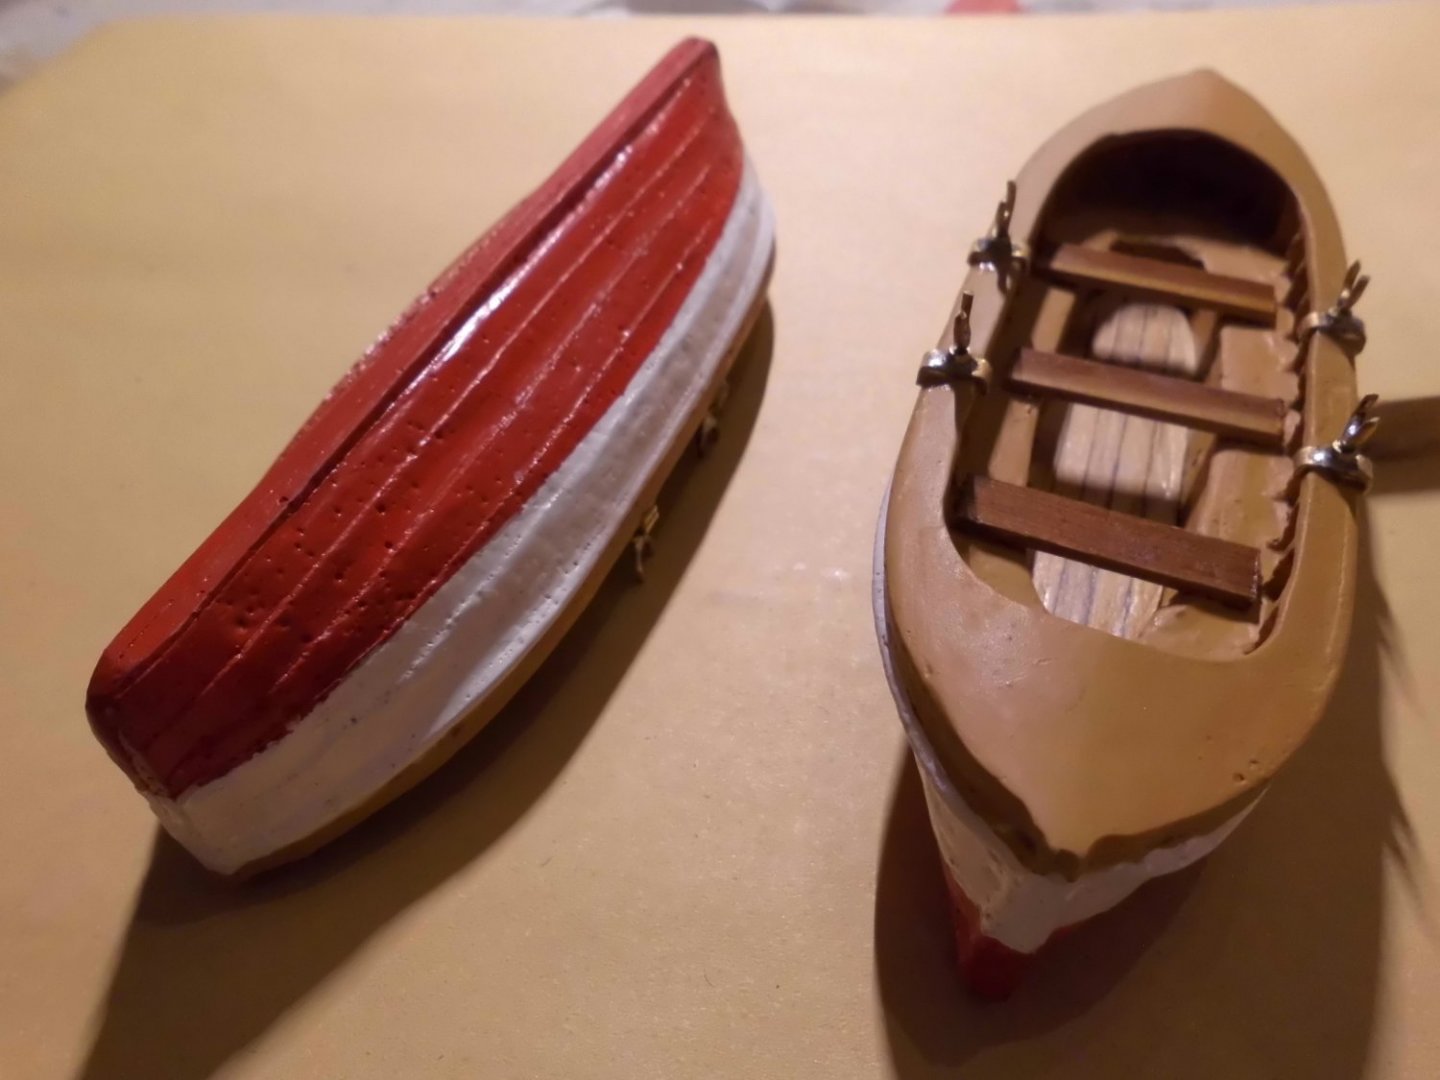
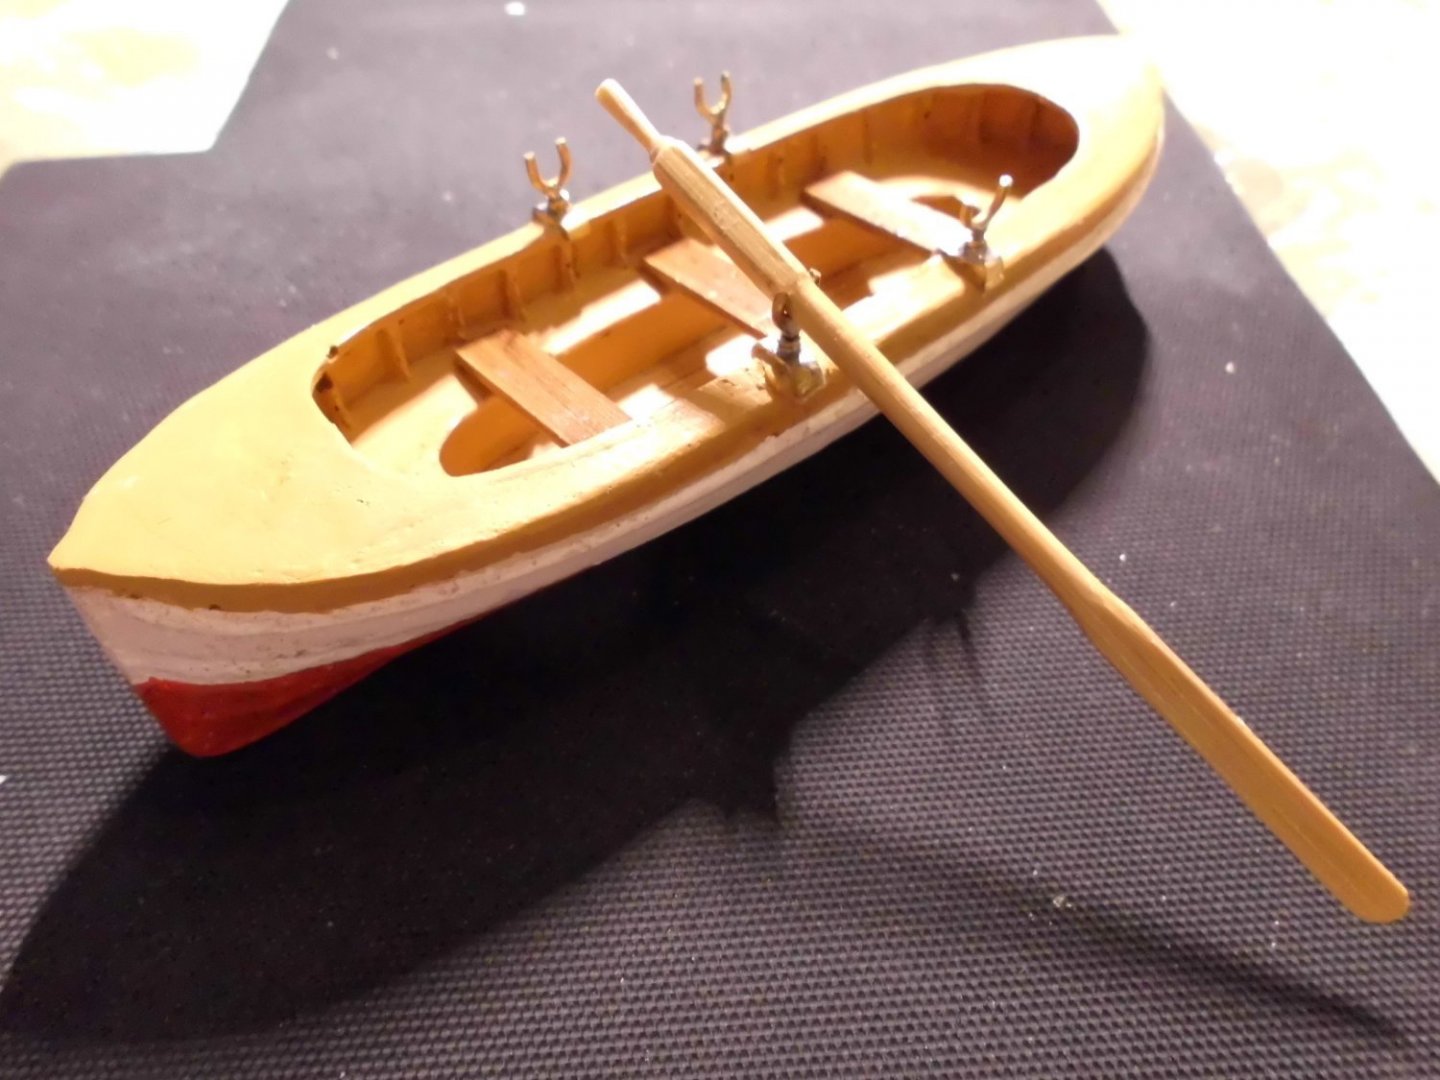
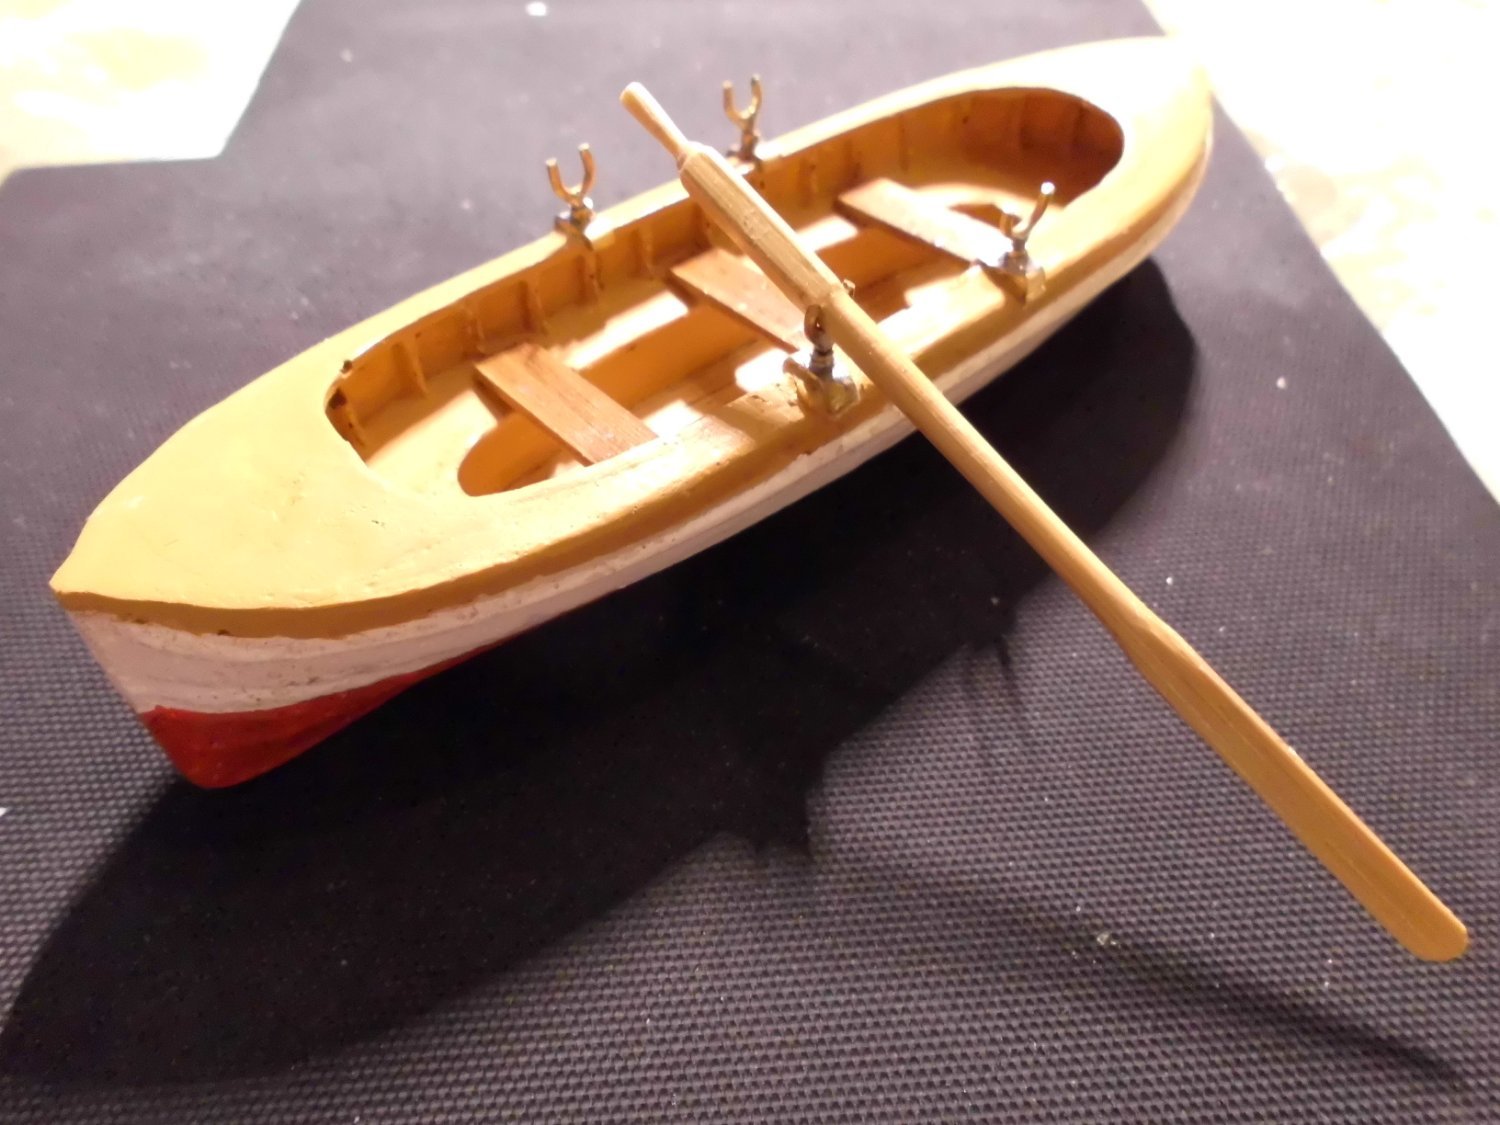
the boats are now complete, allthough the oarlocks and a sample oar look a bit oversized
Nils

-
Update
Making the oarlocks and painting the boats
Nils

the painting requores some touch-up
- GrandpaPhil, ct mike, mtaylor and 2 others
-
5
-
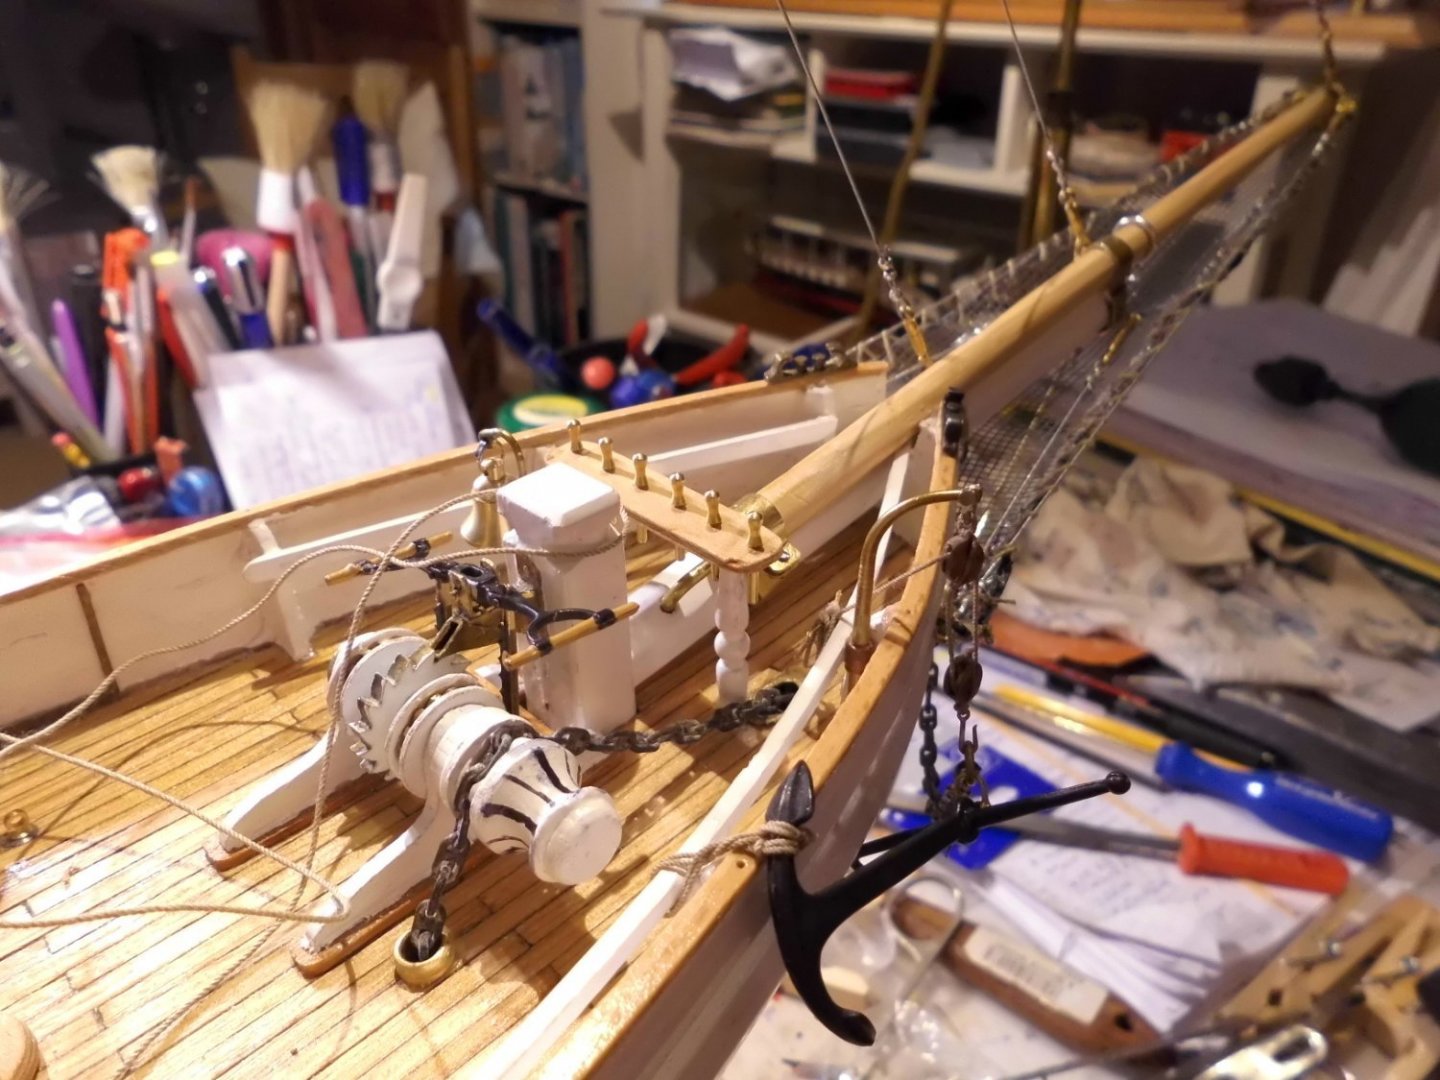
2 hours ago, wefalck said:
Looking at the anchor pump-spill above, the levers appear to be rather short - the men would need to lean over the spill and would not have a lot of fulcrum. I think the handles should be outside of the spill-heads so that the men can stand clear of them - or do you have images that show the handles to be so short?
Right Eberhard,
the reason is that I just did`nt want to make the lever beam my self. The one I`m using ist normaly forseen for a double bilge pump and also the largest I could find. So the crew members would have to arrange with the given circumstances like always in life...
Nils
-
Update
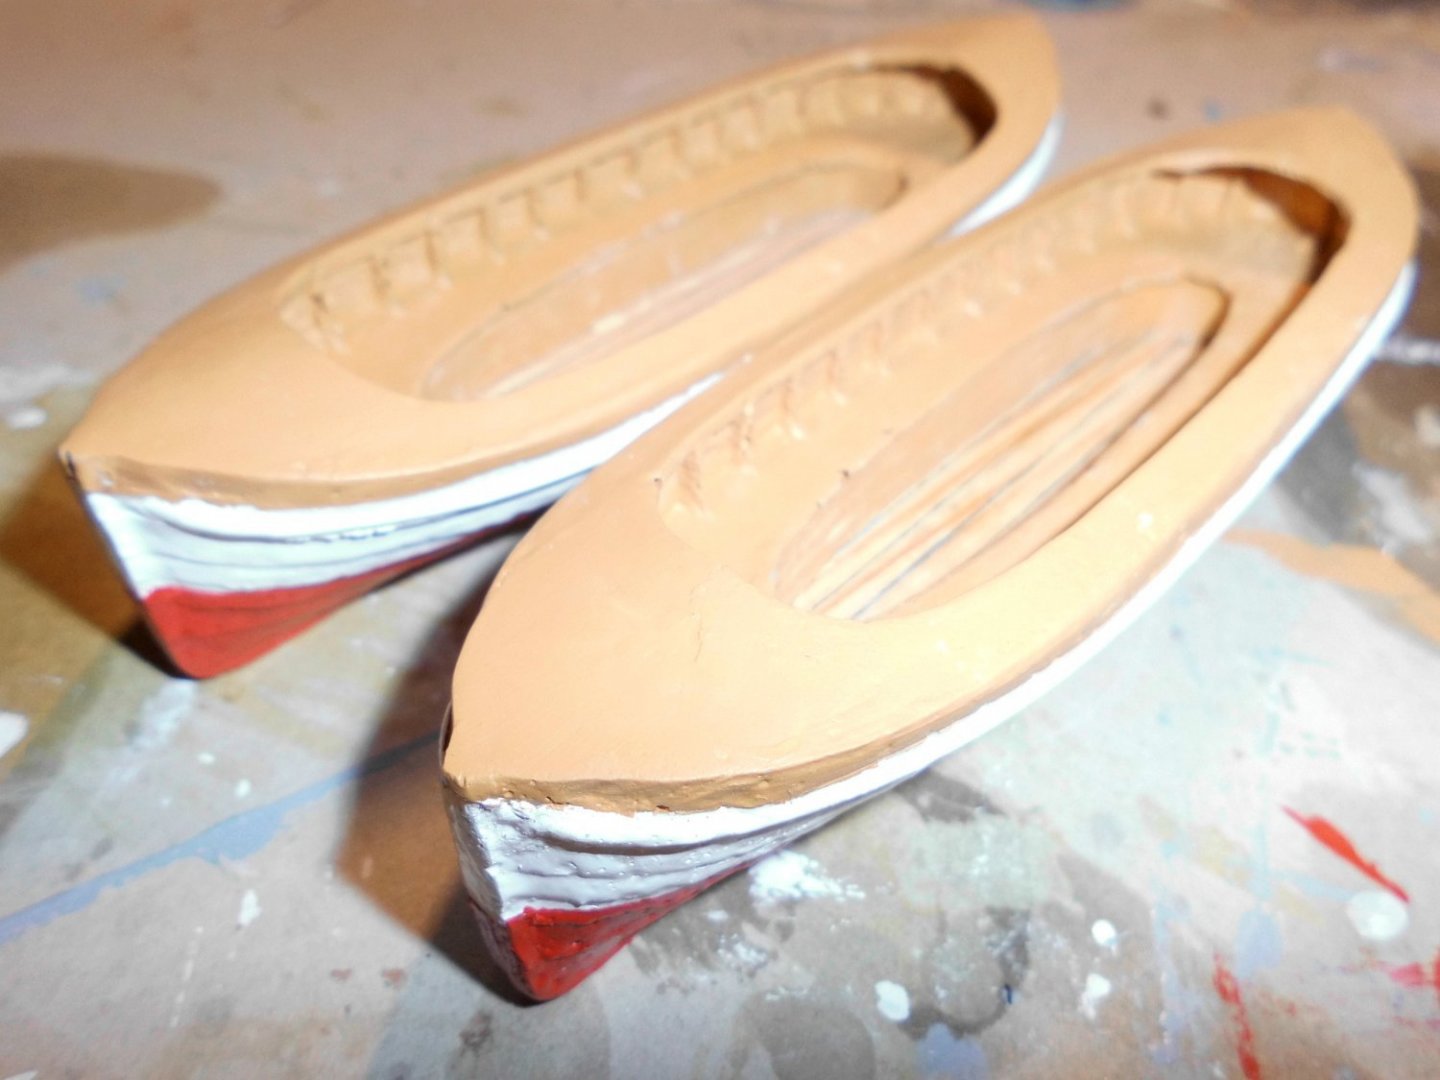
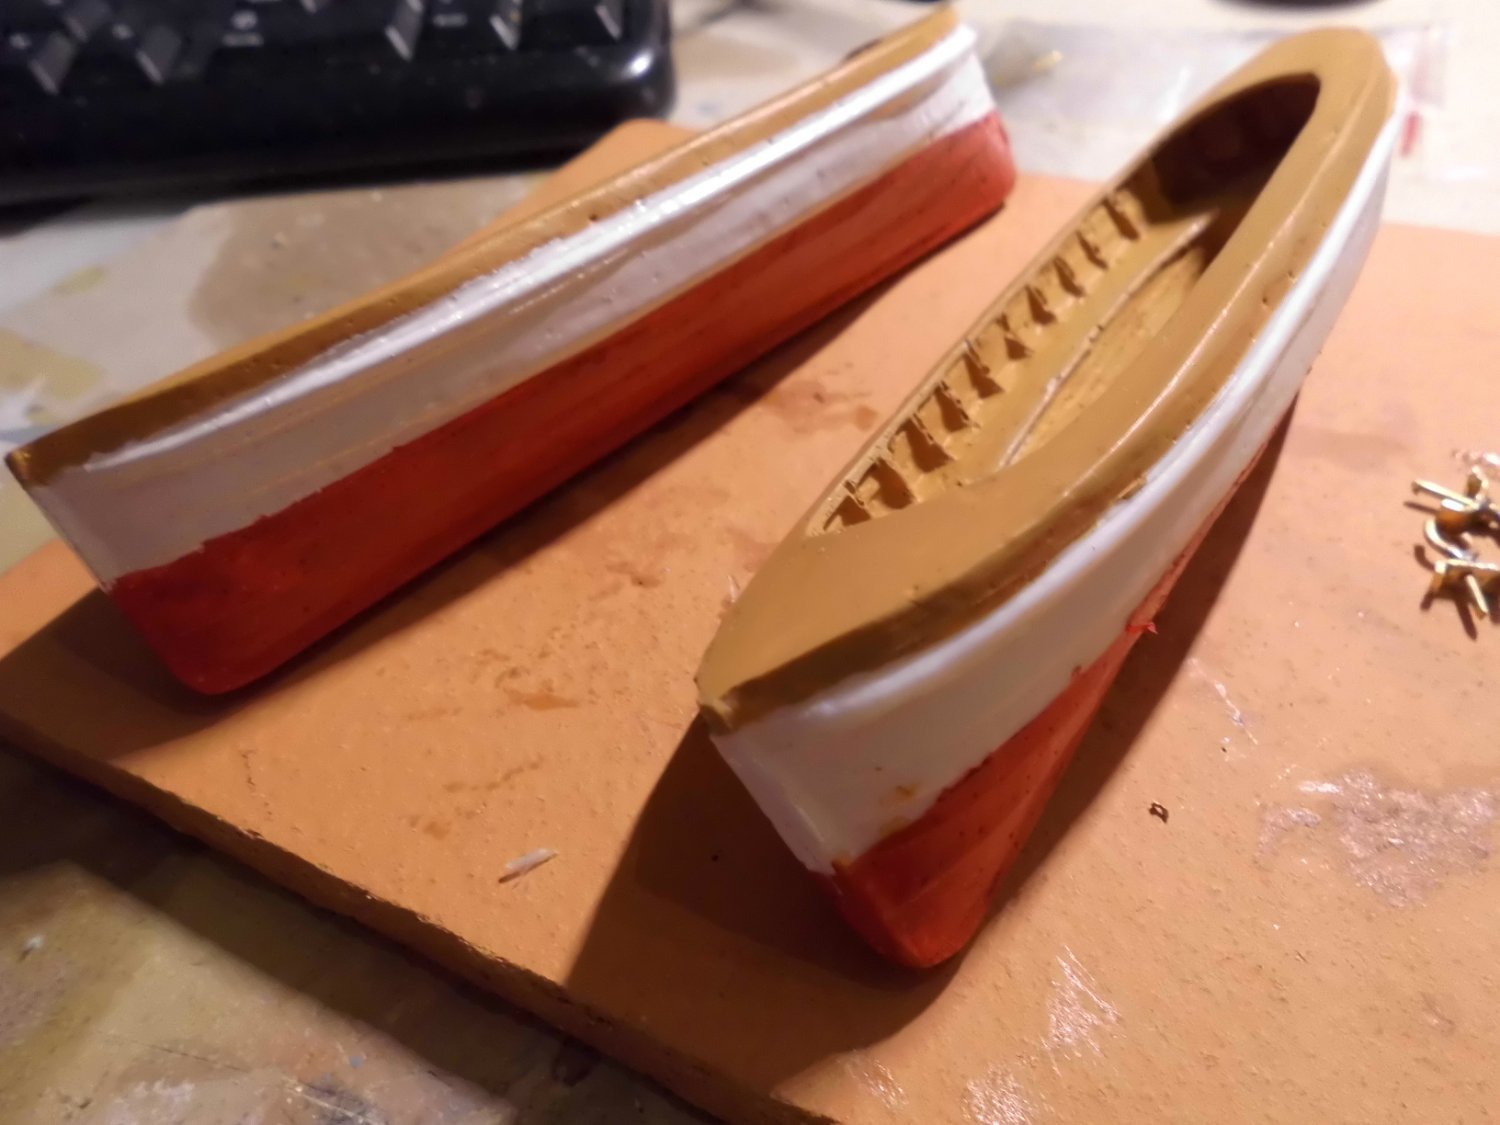
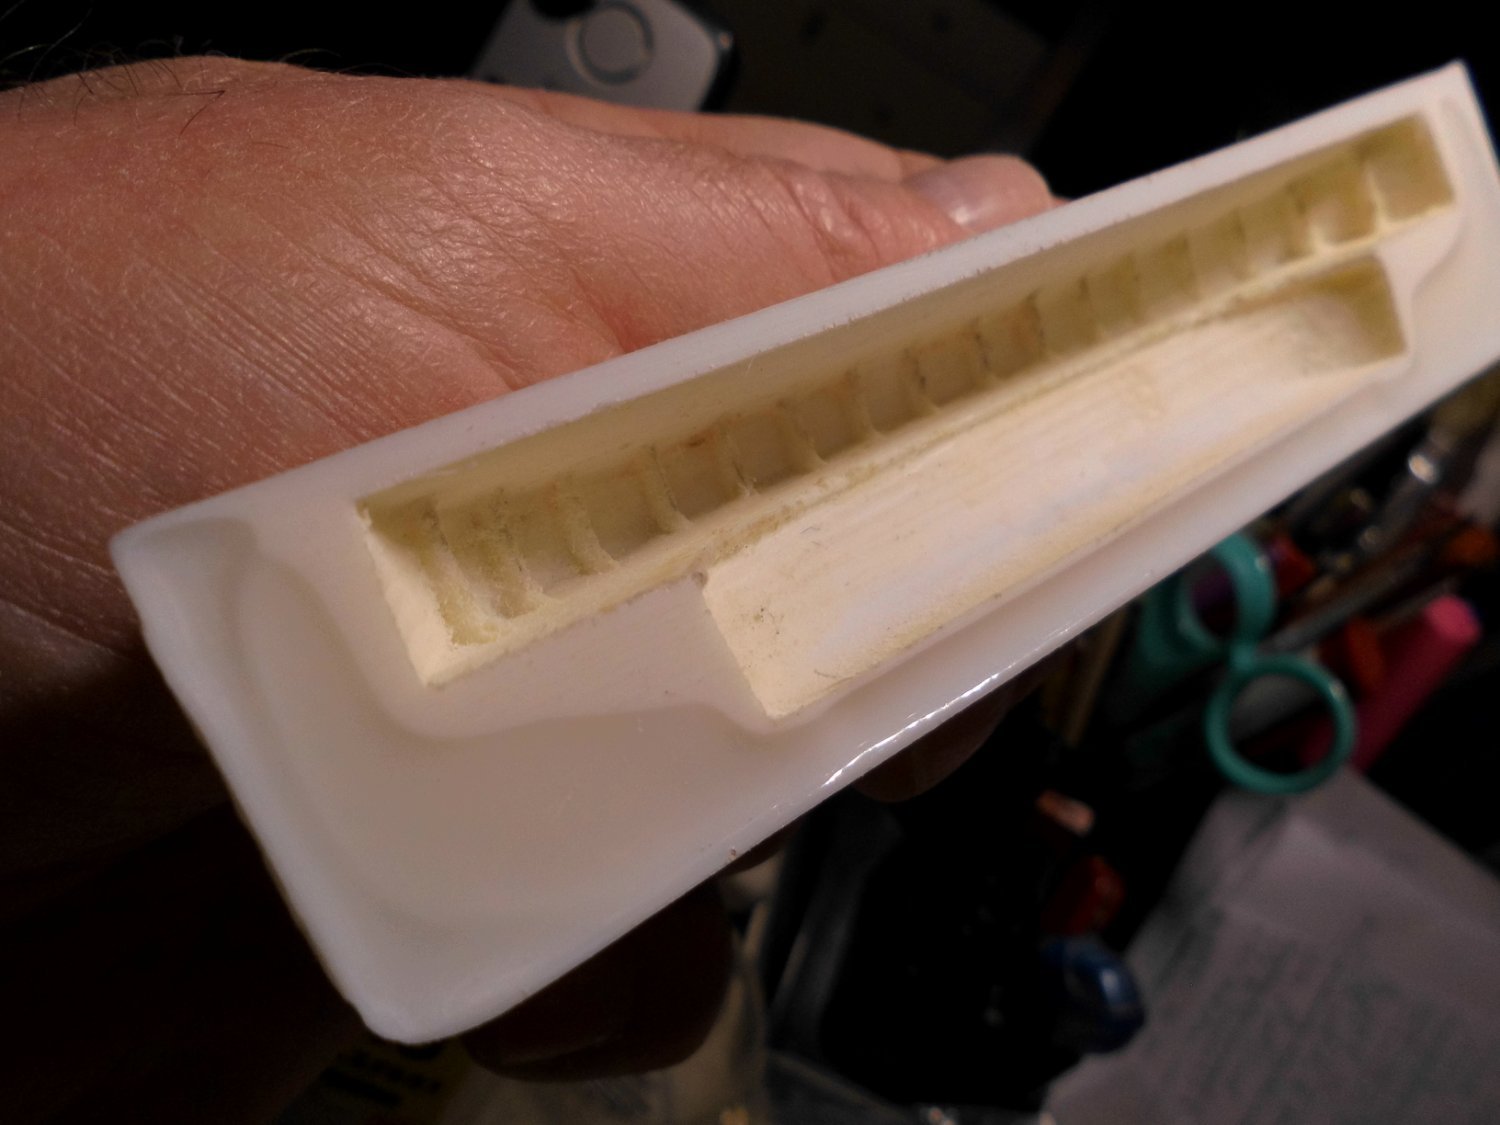
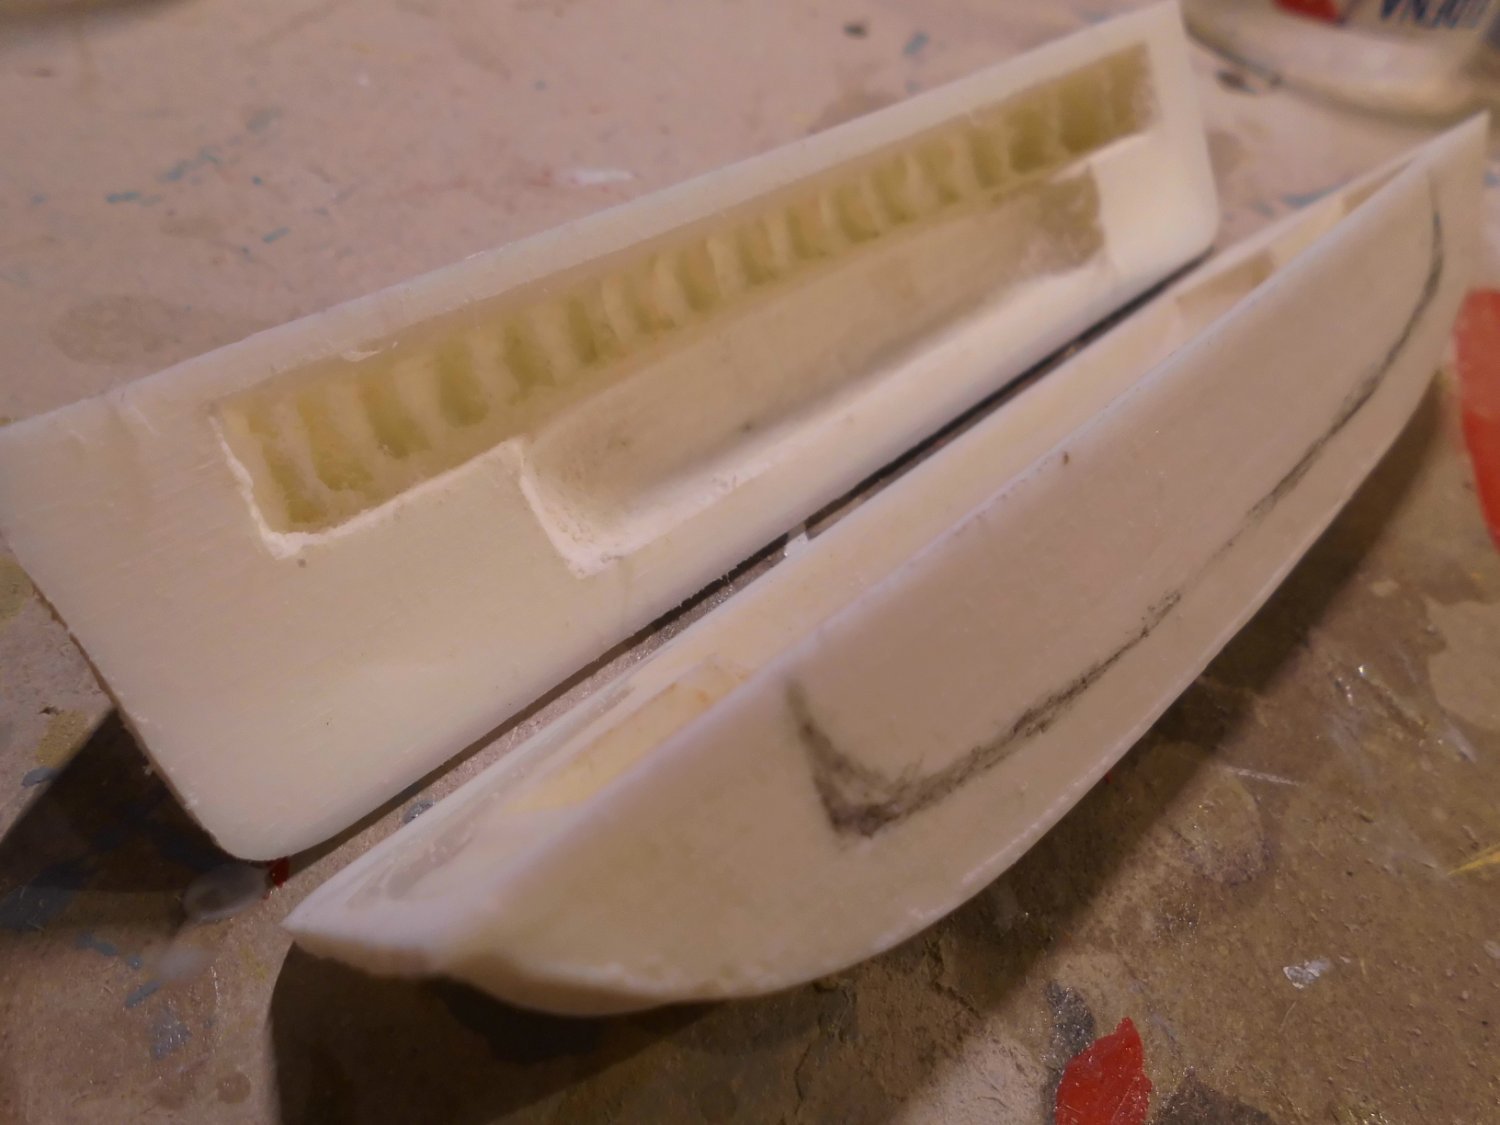
making the tubes for the anchor chain, chemical blackening of the brass anchor chain, casting the boat halves, two halves of the boat checking out the fit, and ready for glueing together, the cockpit - cover still needs to be cut out
Nils
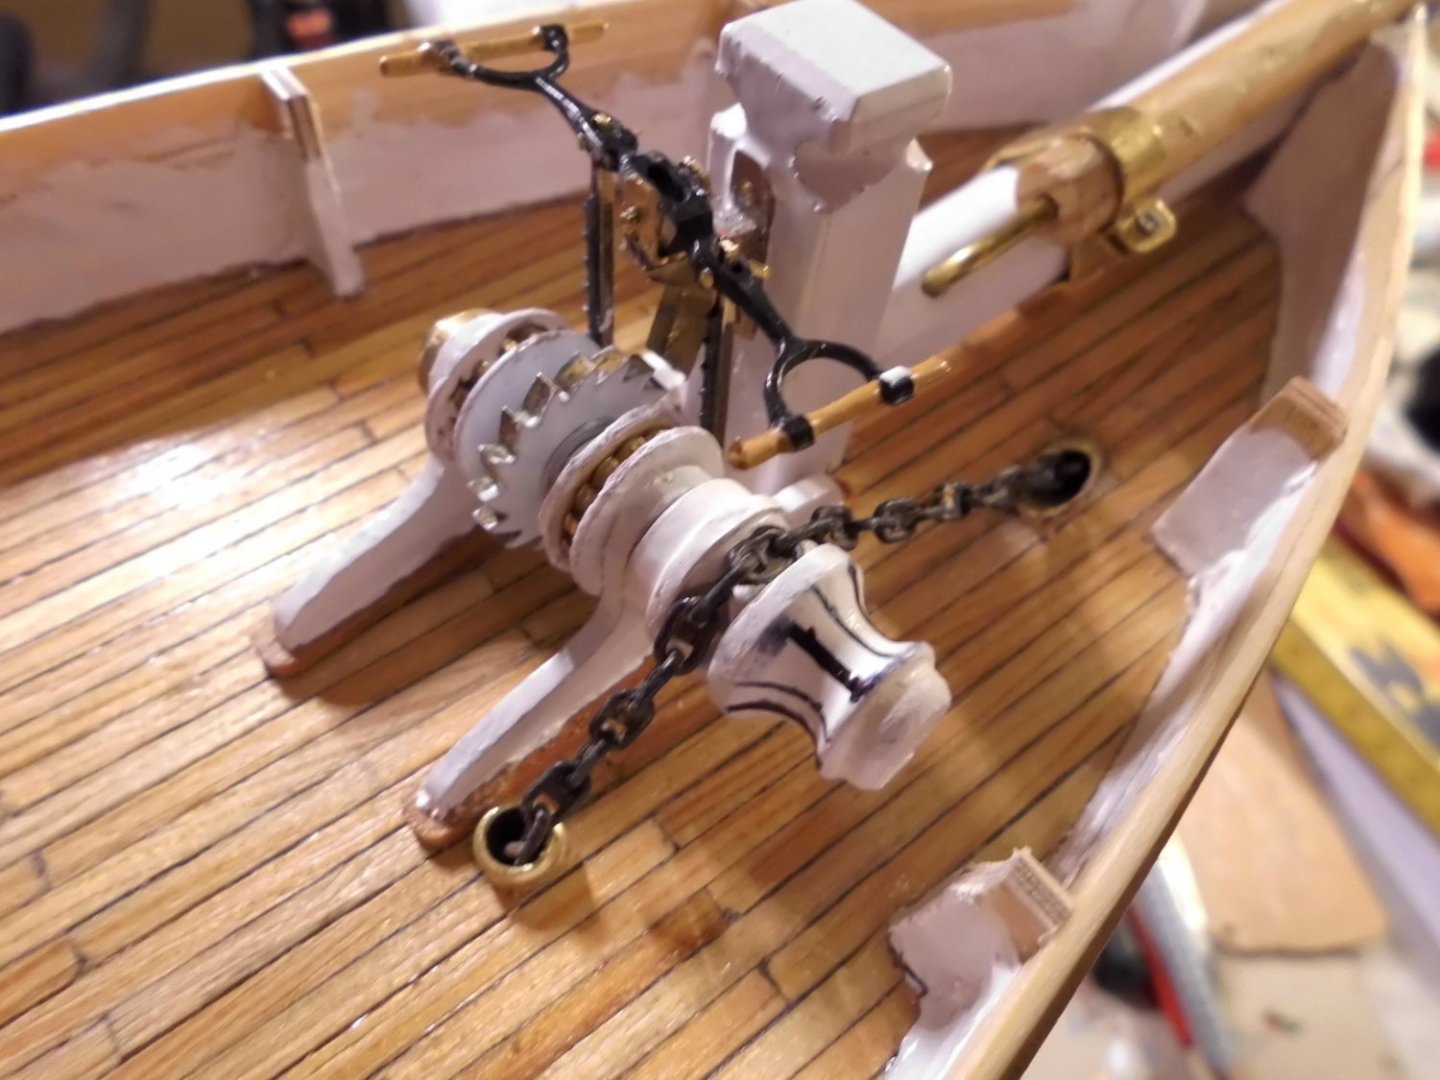
the chain is transported over the appr. shaped chainwheel
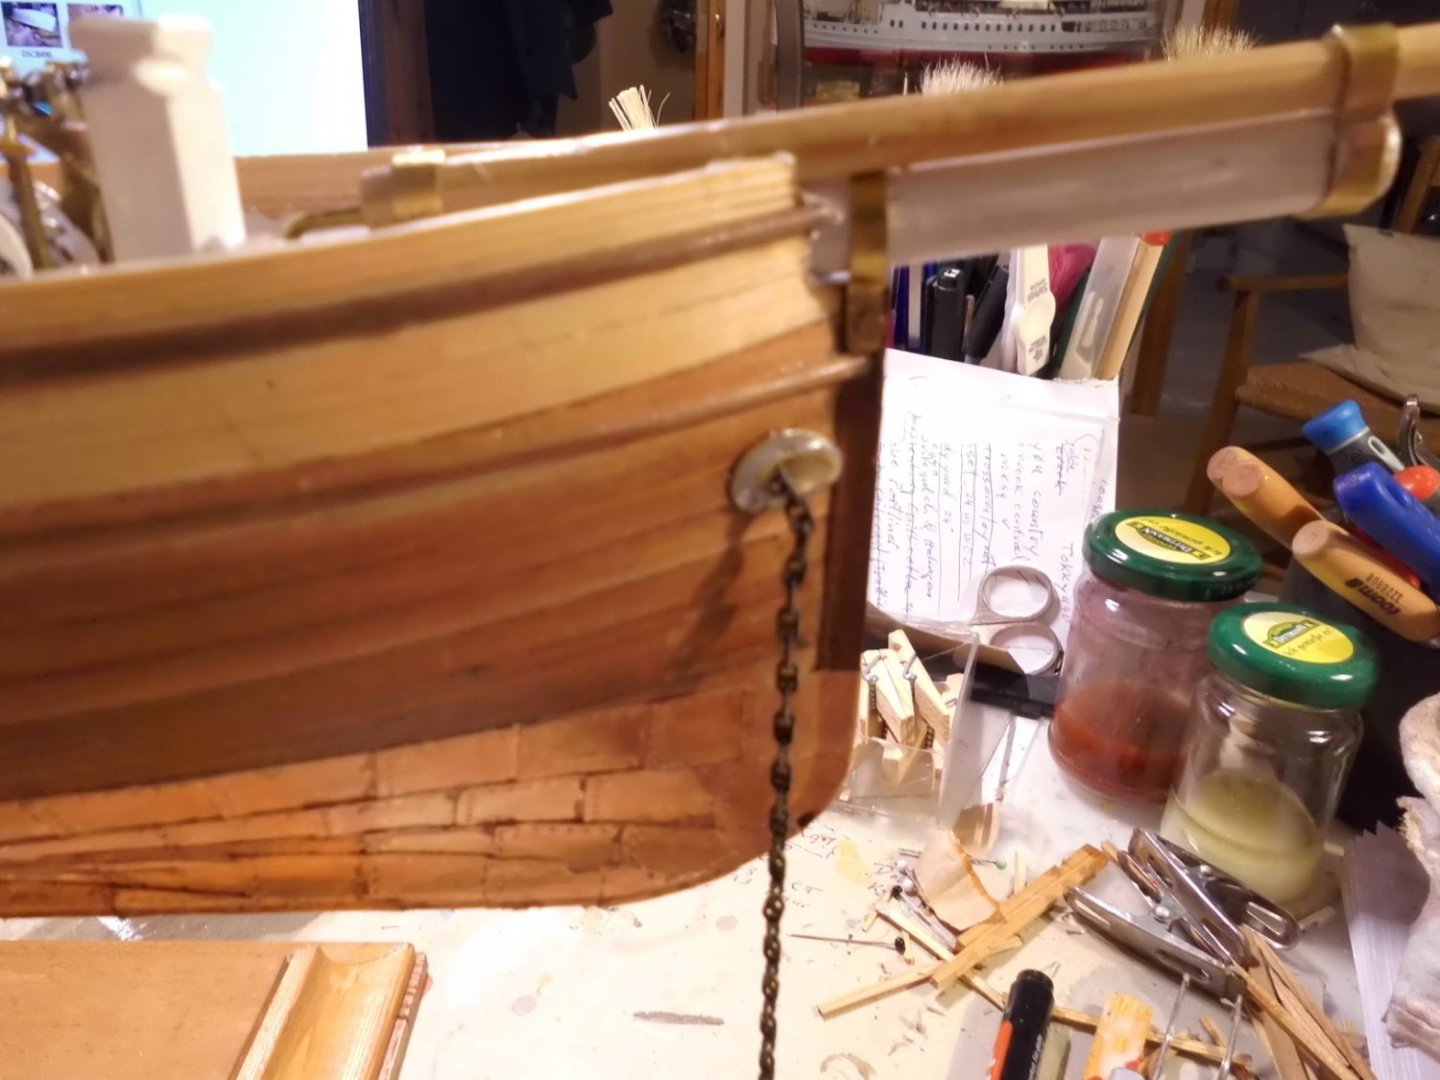
port for the chain

this is the cast box for the silicone mold
this is the removeable heart for the boats inner shaping. The little distance chucks are only preliminary attached in order to determine the boats wallthickness
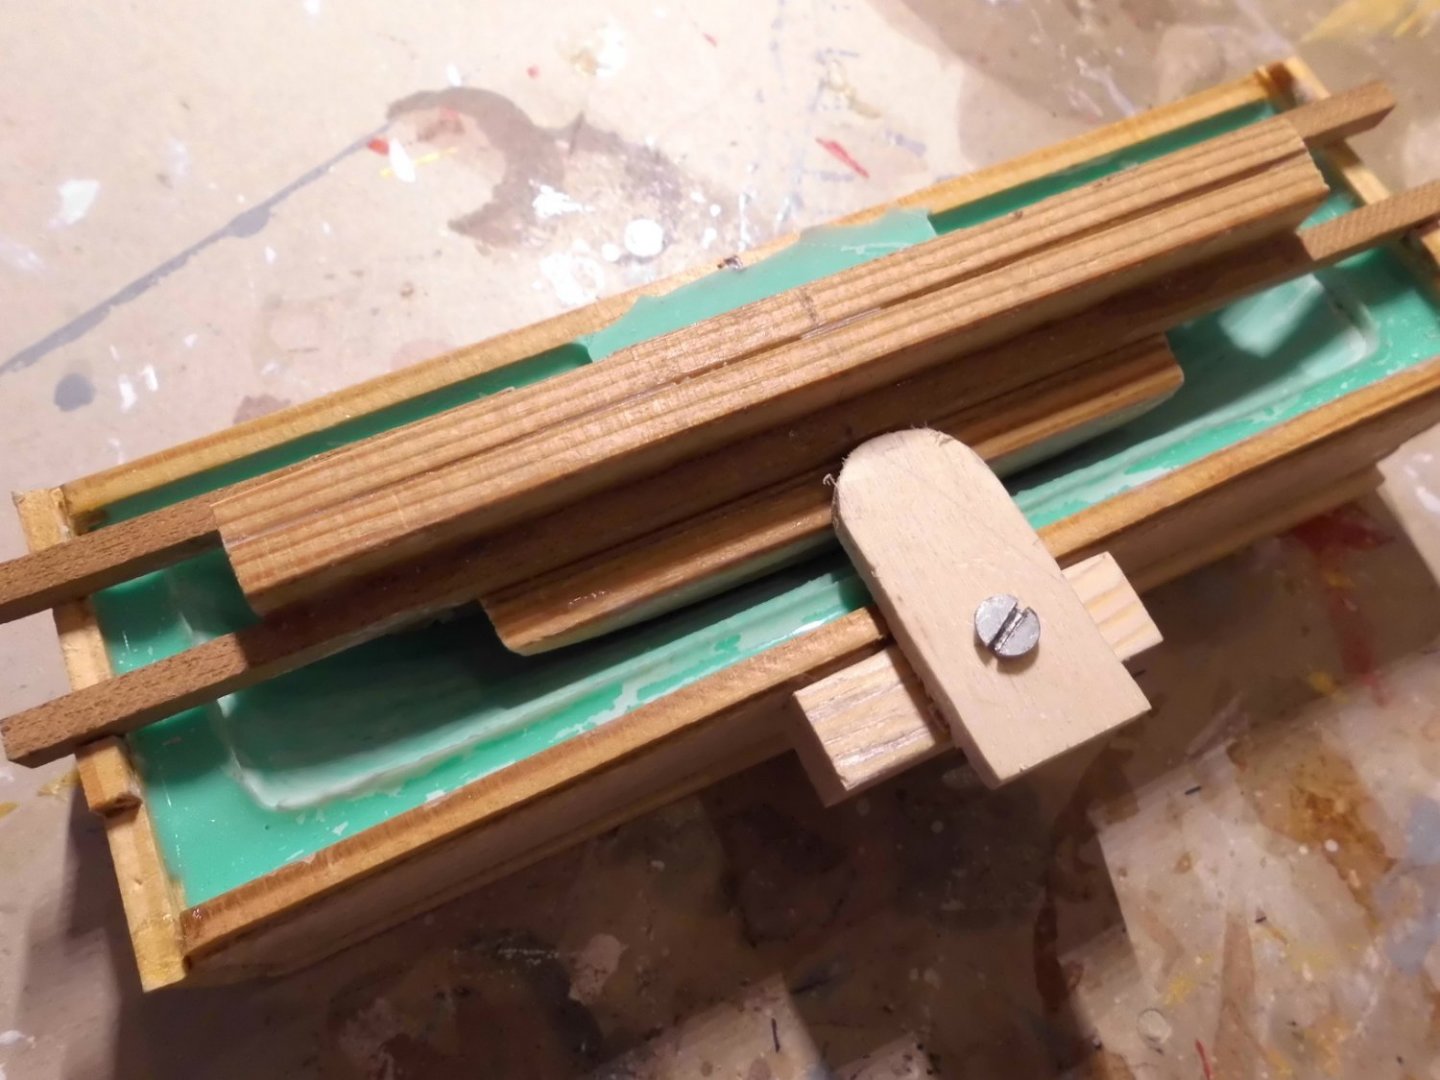
here everthing is ready for casting the two-component raisin into the waxed parts

this is the very first cast boathalf

the fake frame-ends (at inner bulwarks) are included within the casting


dryfit of two boathalves


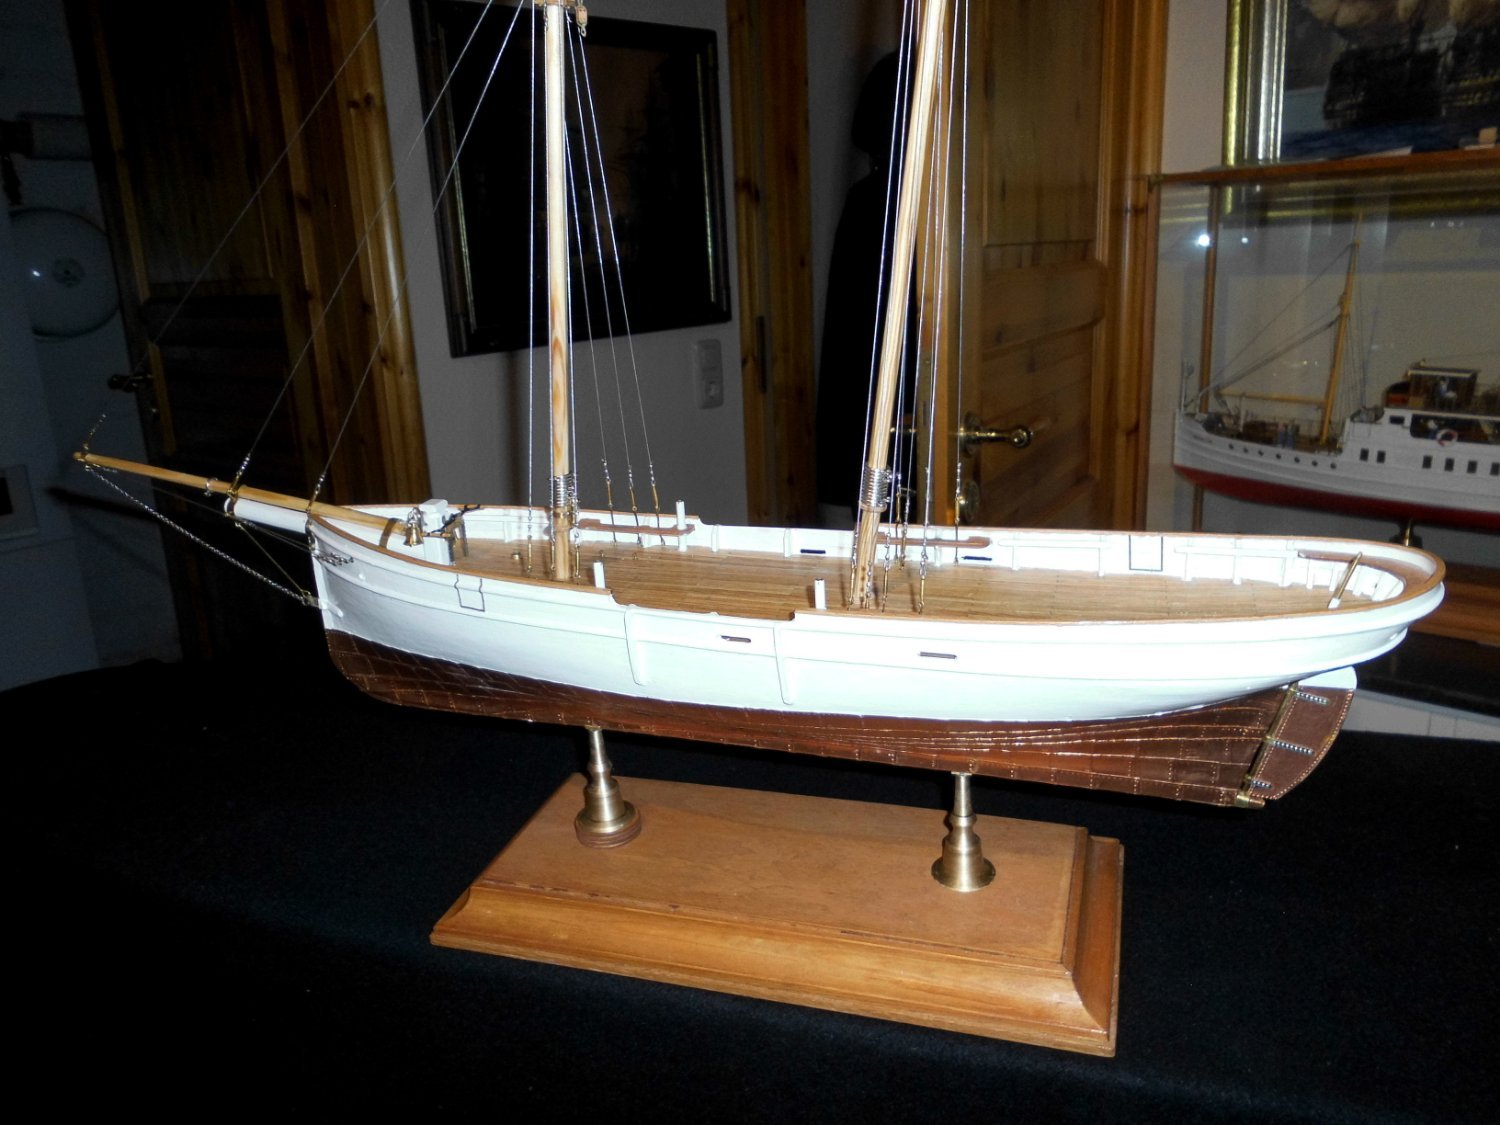
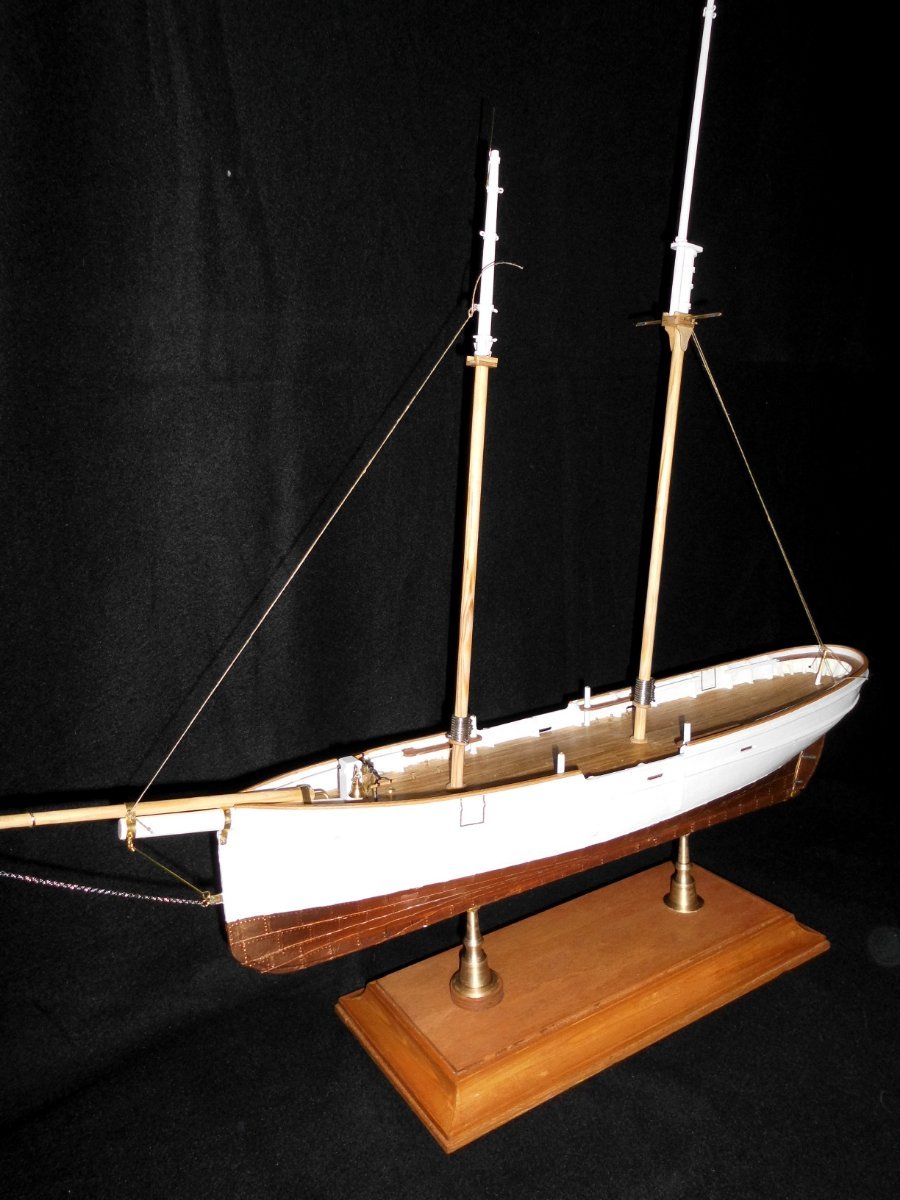
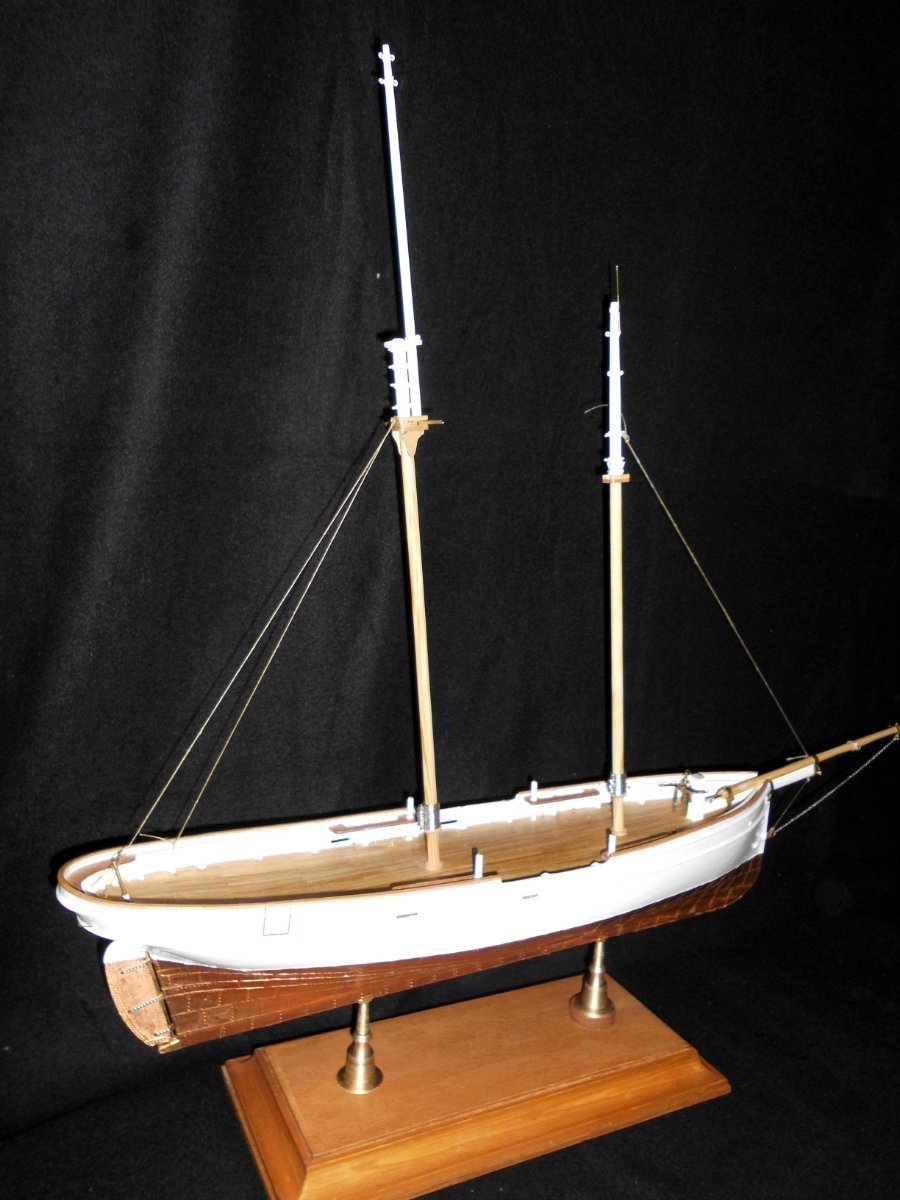


Elbe 5 1883 by Mirabell61 - FINISHED - scale 1:50 - pilot schooner as she appeared c. 1890
in - Build logs for subjects built 1851 - 1900
Posted
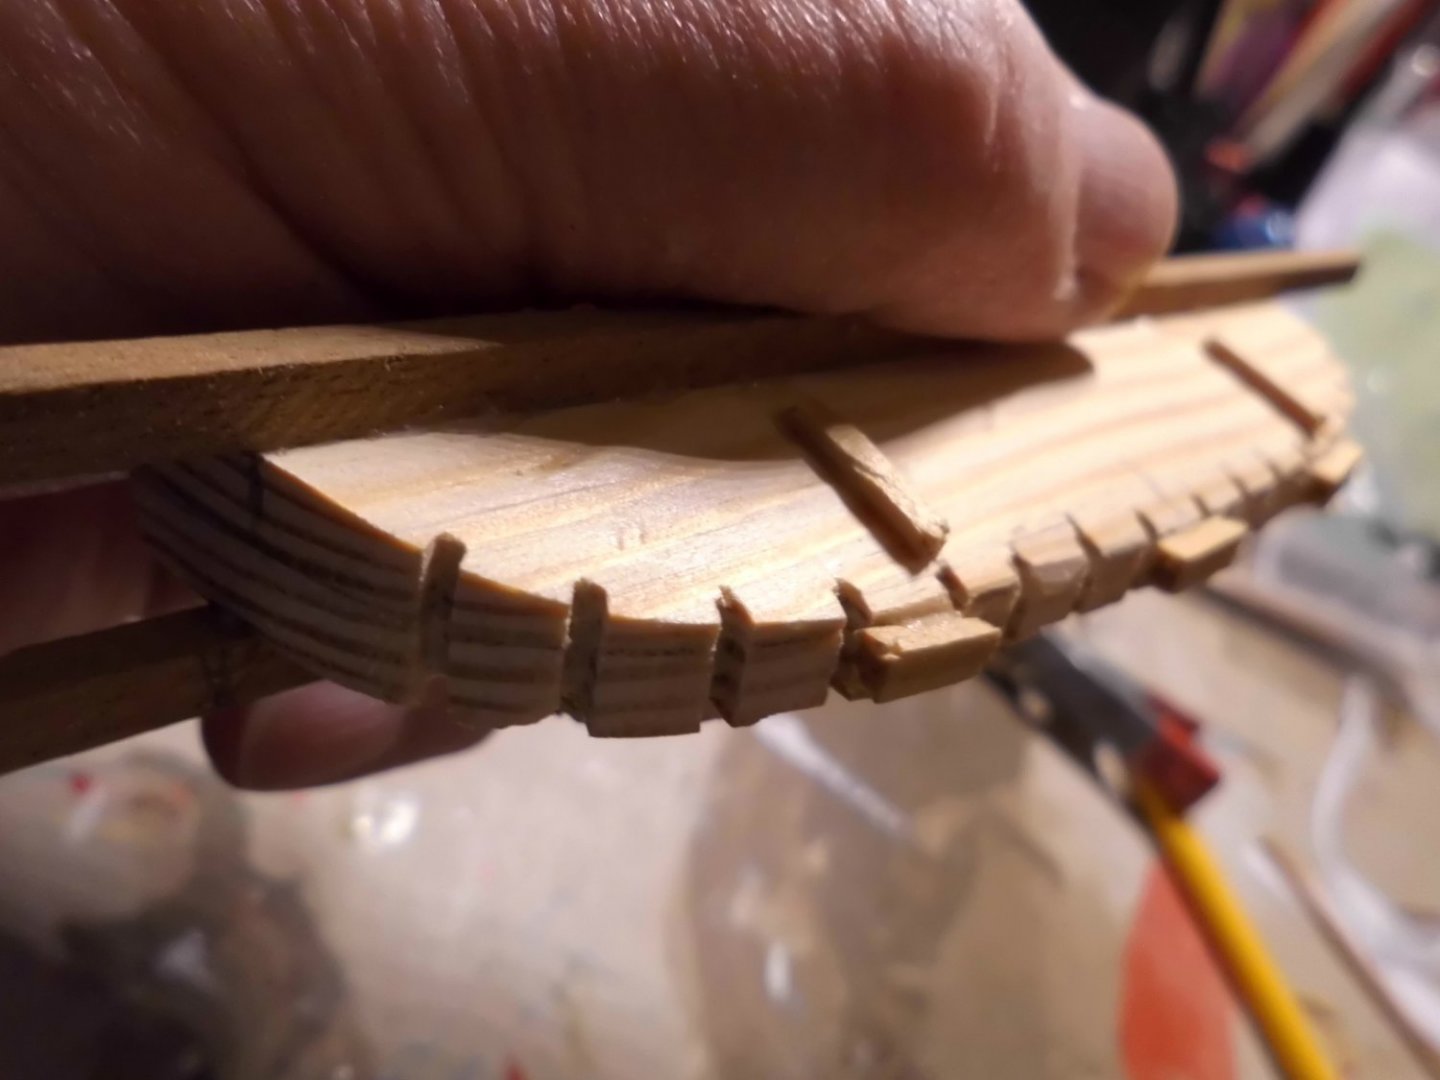
Update
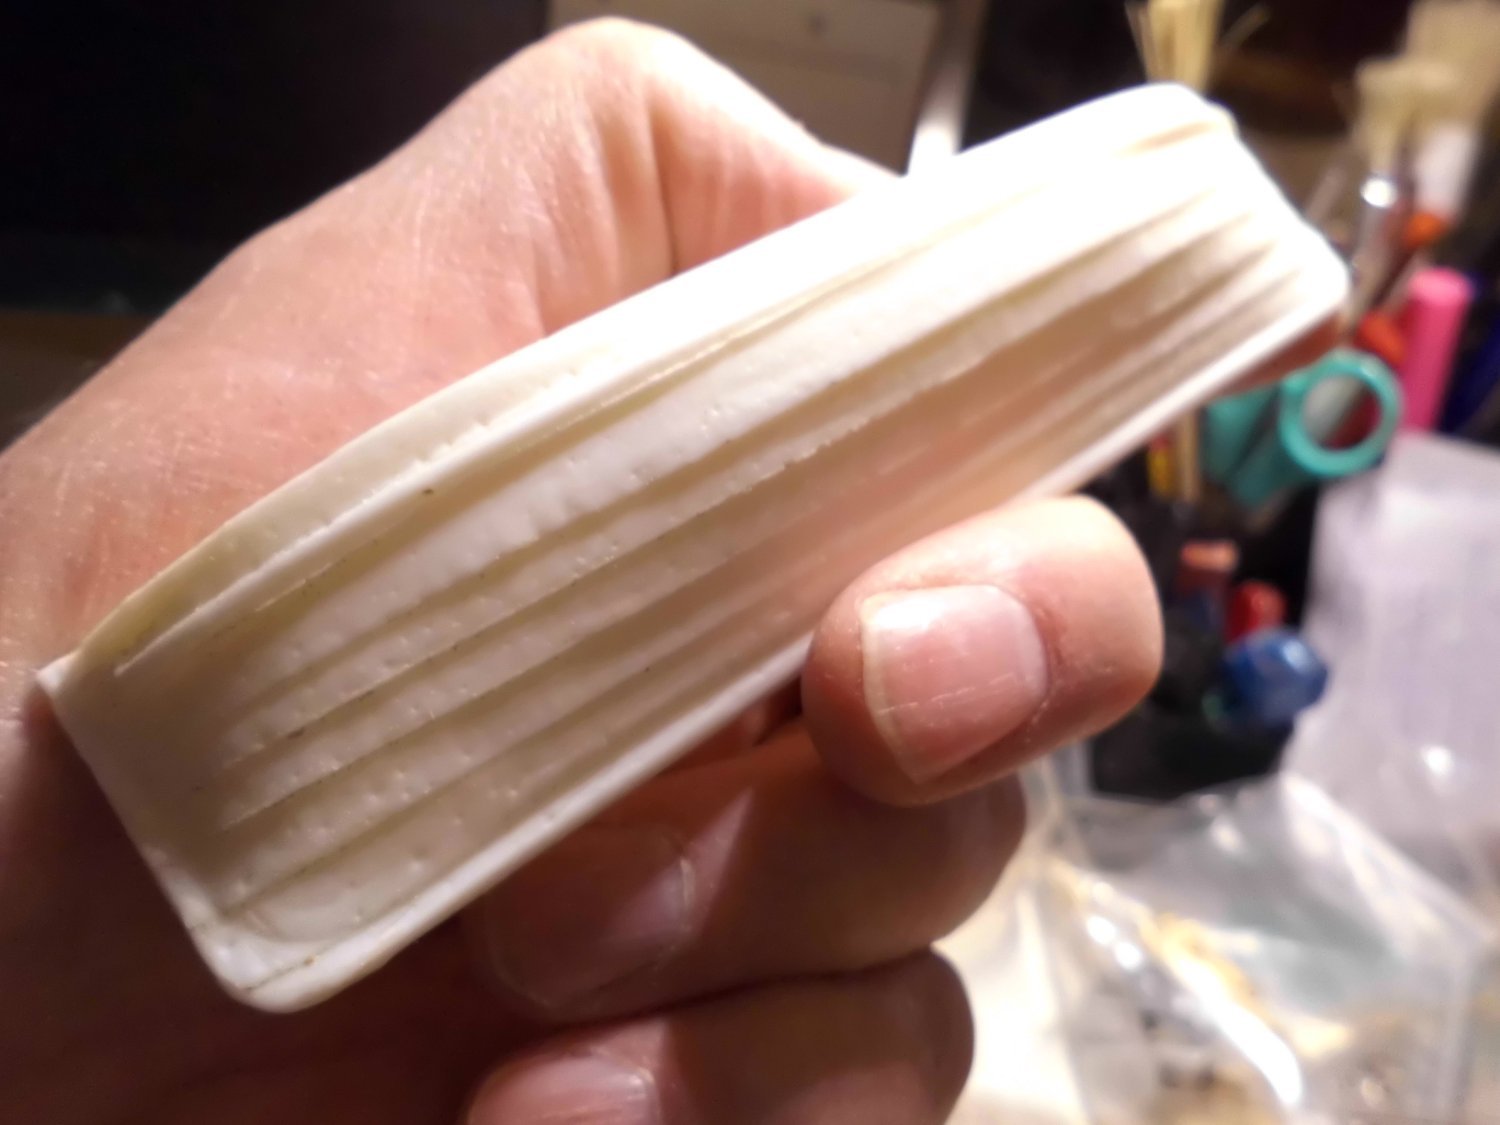
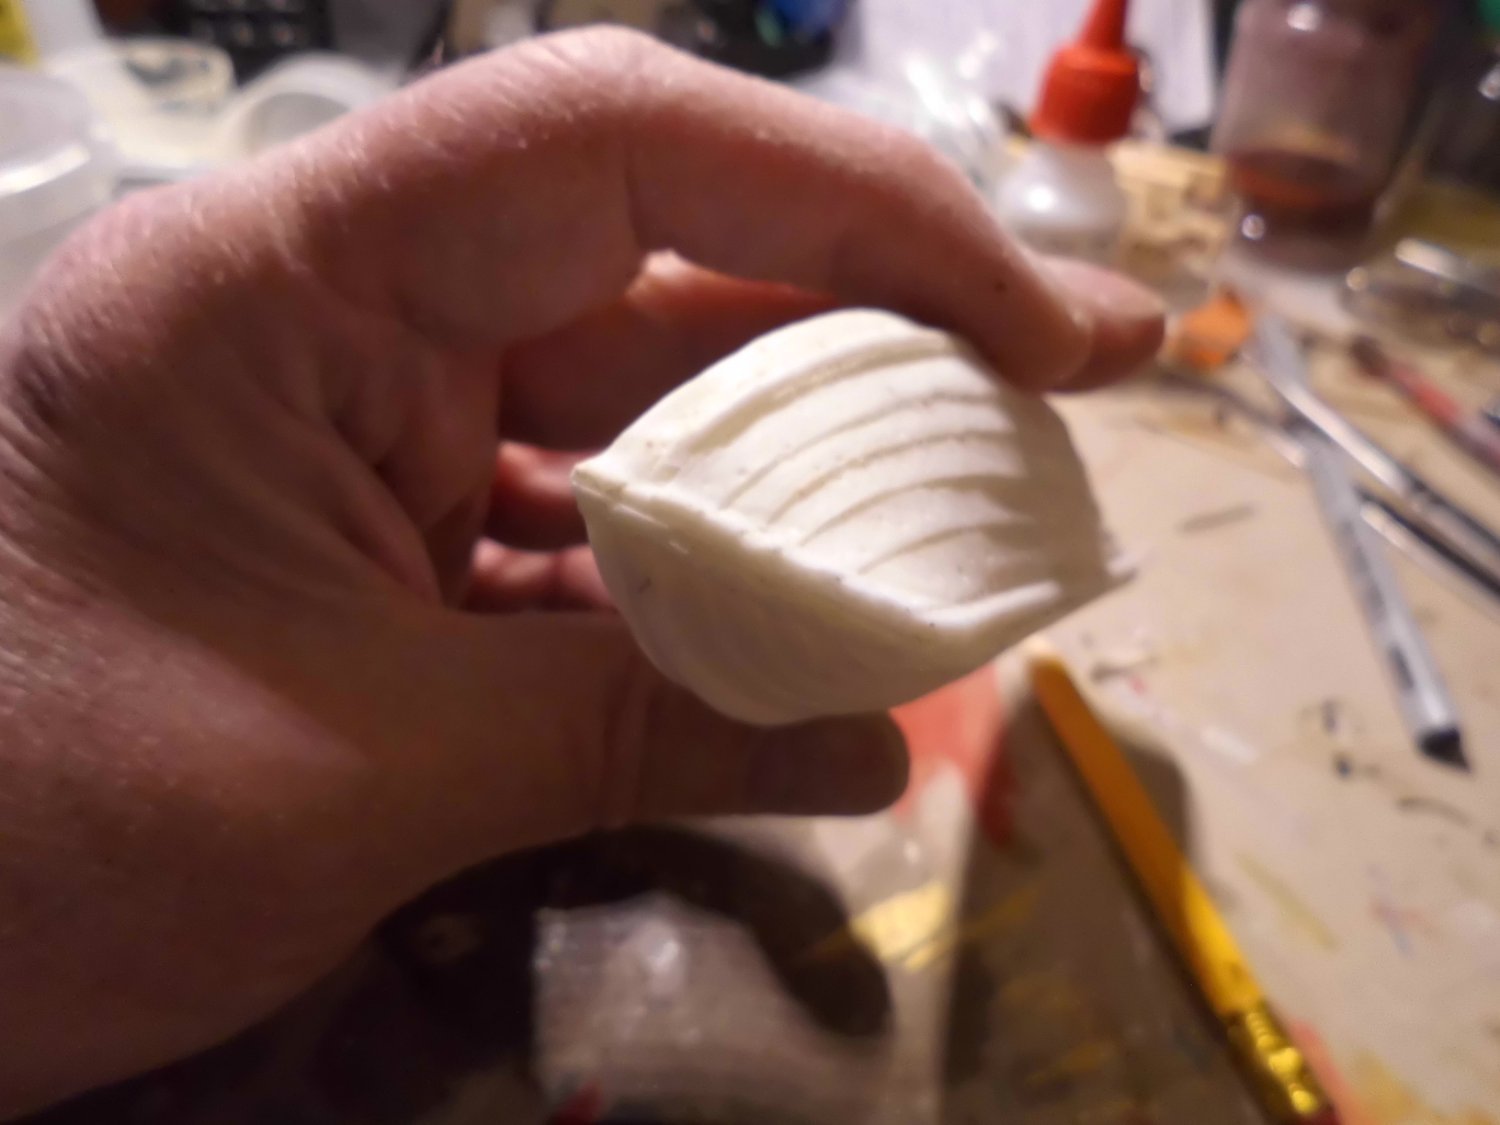
when looking at the boats bow-and sternposts I always had the relating coment, some mails ago, by Wefalck nagging at my mind. So I decided to overwork the boats model for casting accordingly. Now the "clinker planking" ties up with the rear side of the thinned out posts, I provided a cast rope-fender (tawling ?) all around, and reinforced the visable frame ends inside the bulwarks. My casting tool was adjusted and a new silicone mold was made....The first results are pleasing for myself
Nils
the overworked model
fender rope attached
first cast results