


Mirabell61
-
Posts
7,335 -
Joined
-
Last visited
Content Type
Profiles
Forums
Gallery
Events
Posts posted by Mirabell61
-
-
Update:
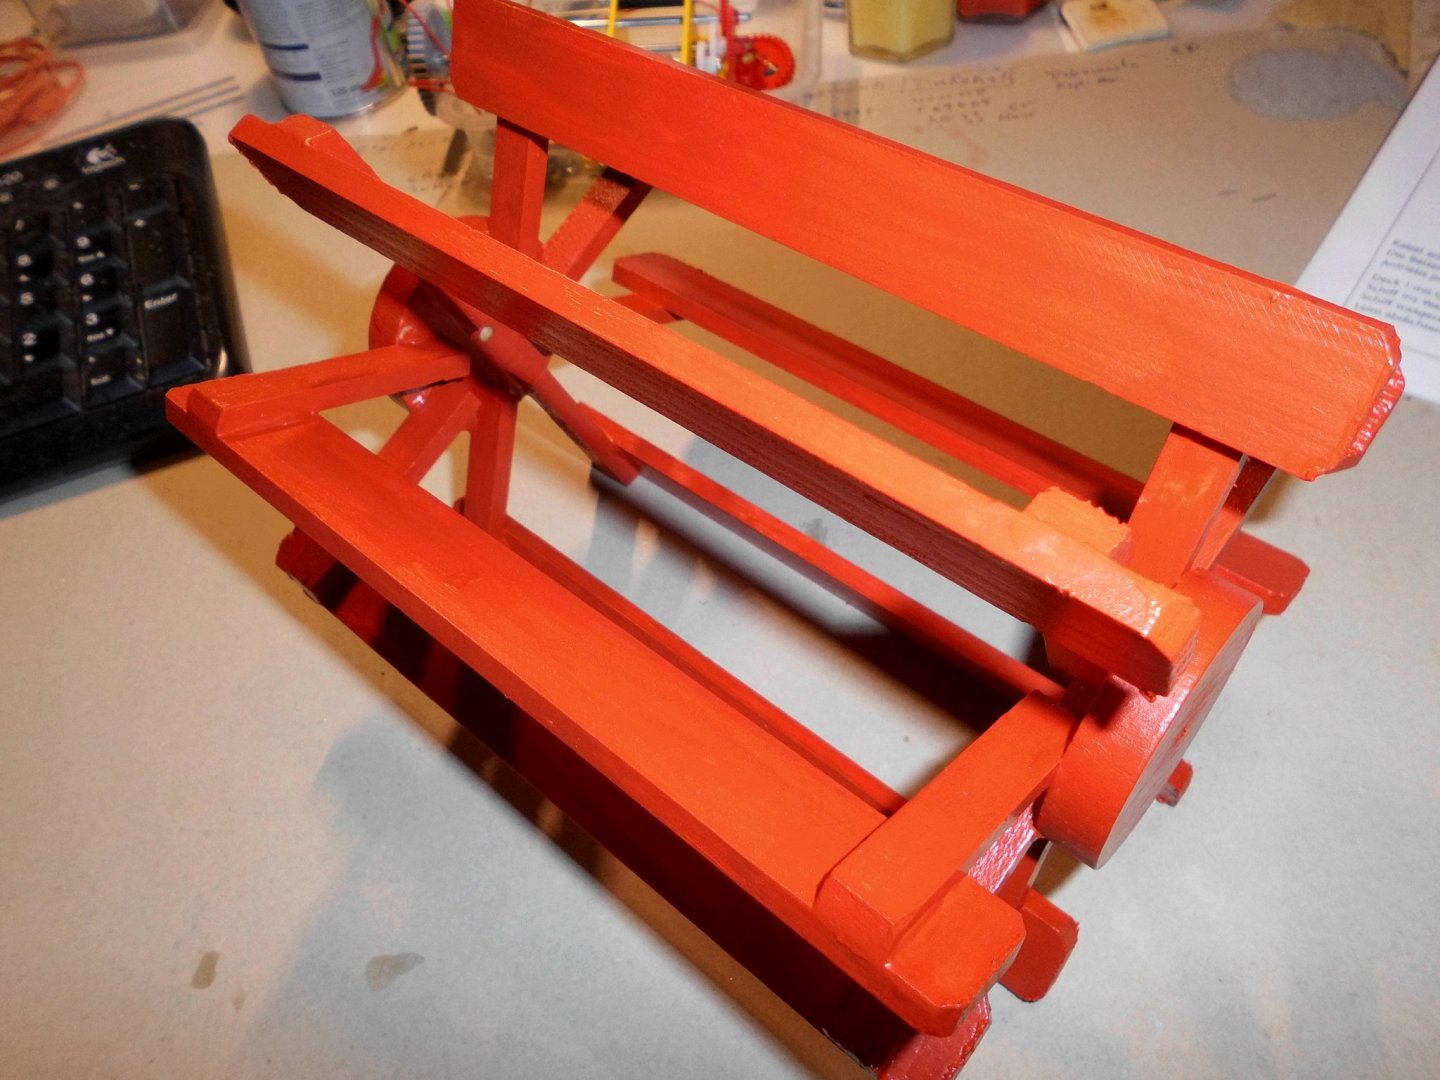
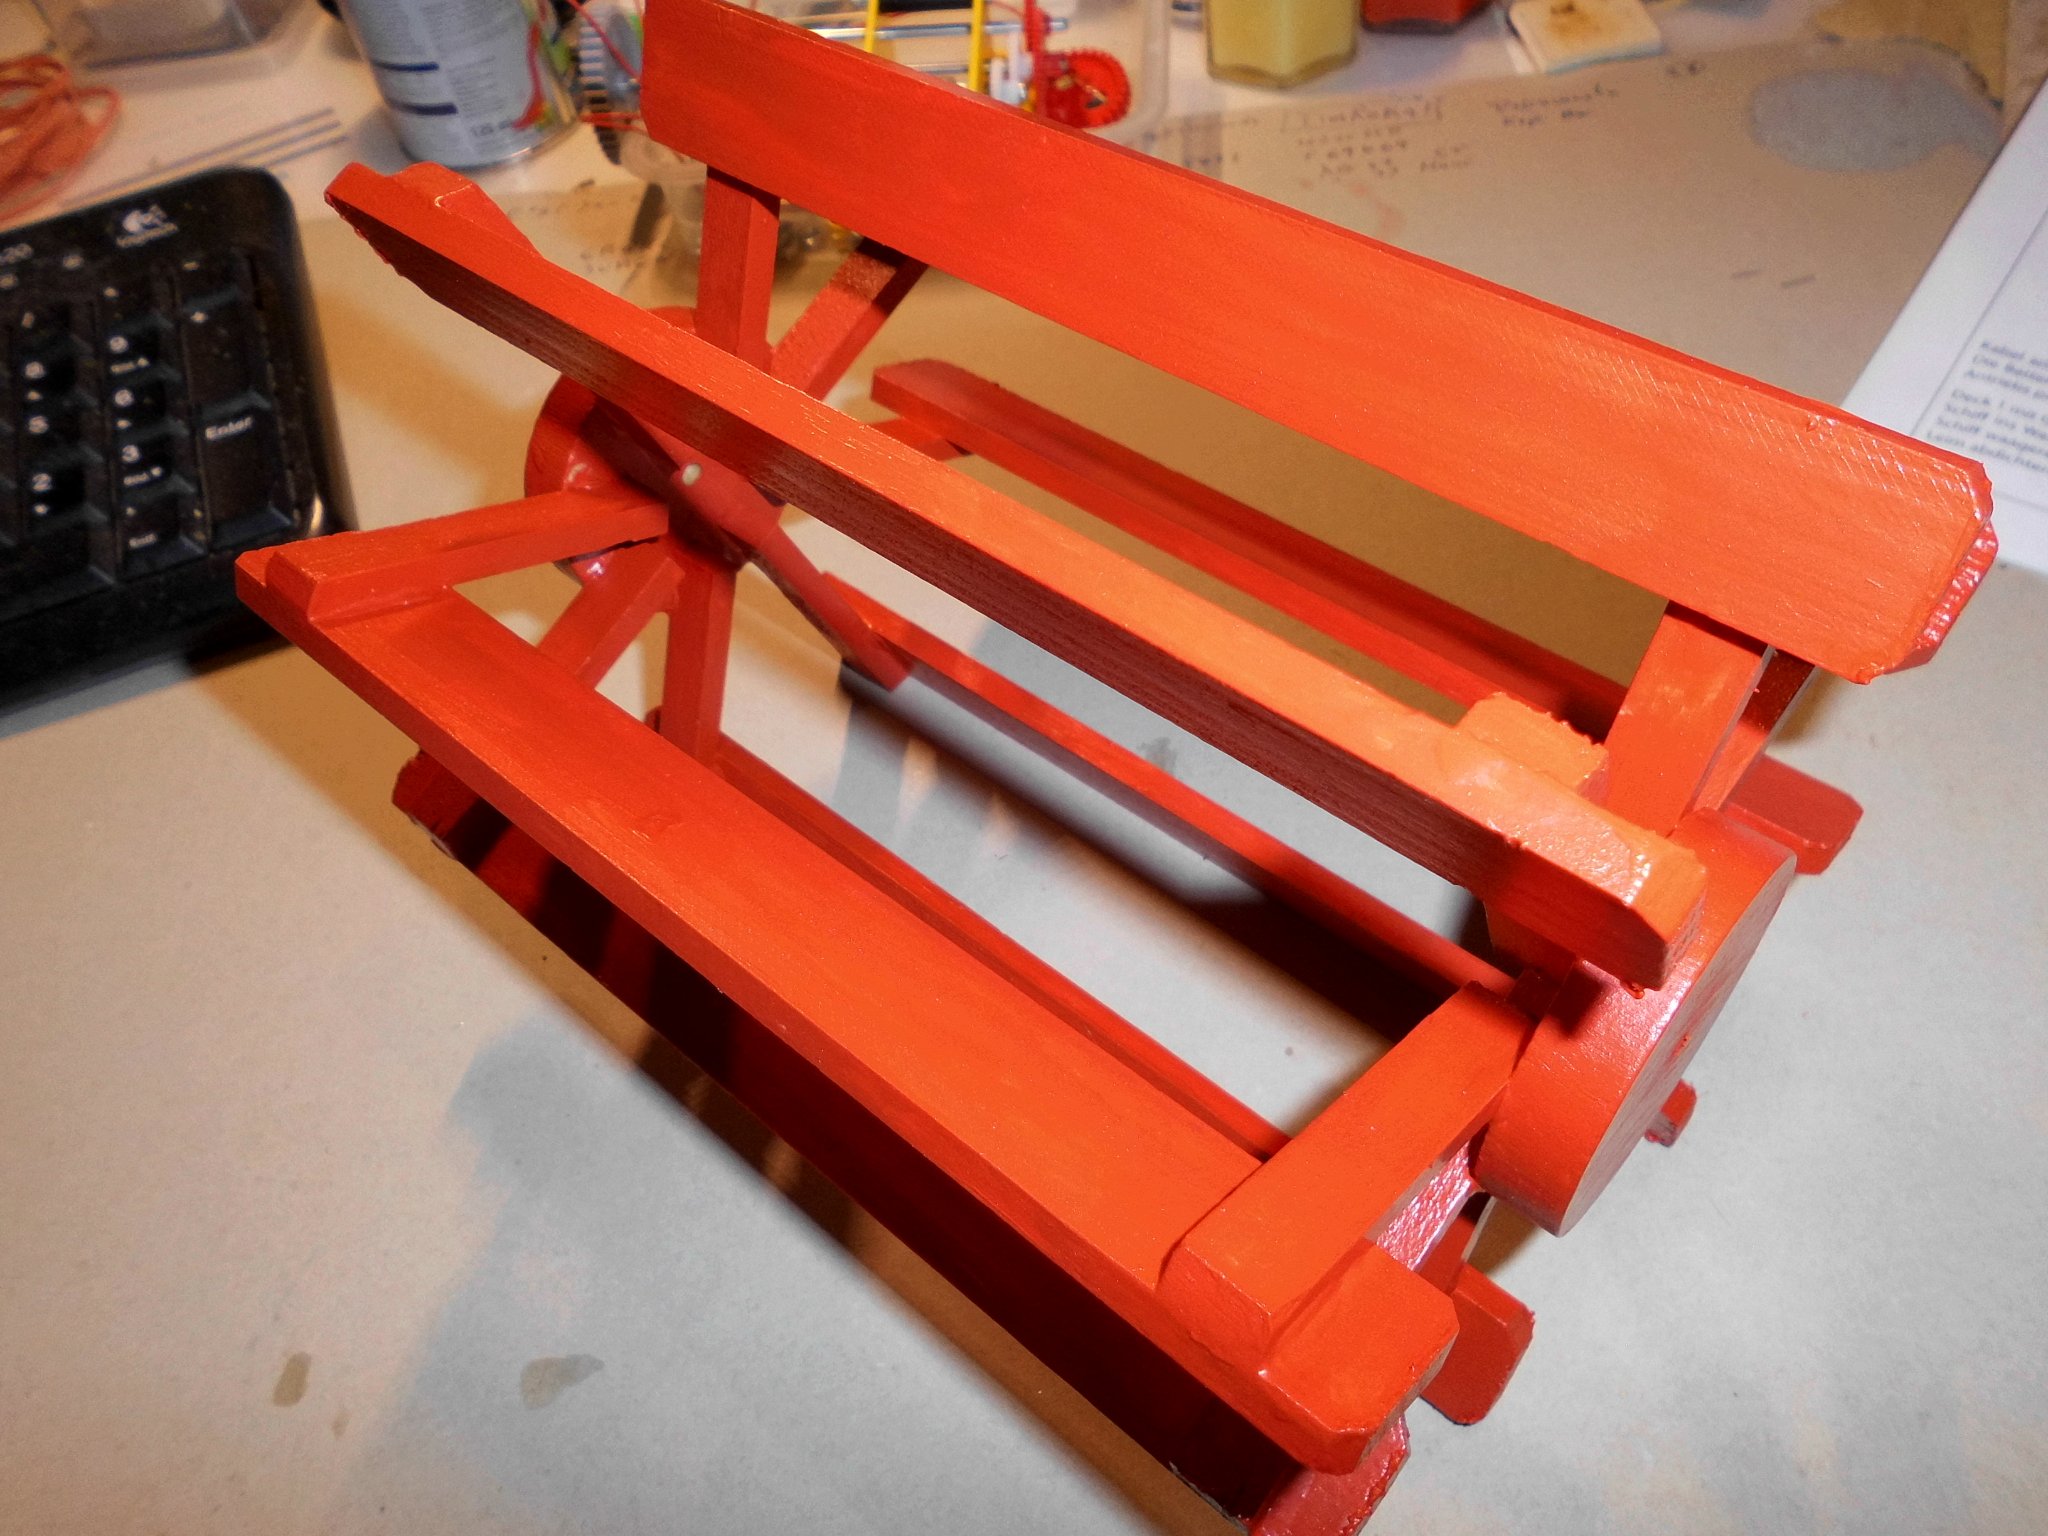
Starting with deck housing and two decore stripes for the upper sides
Nils
raw main ship body
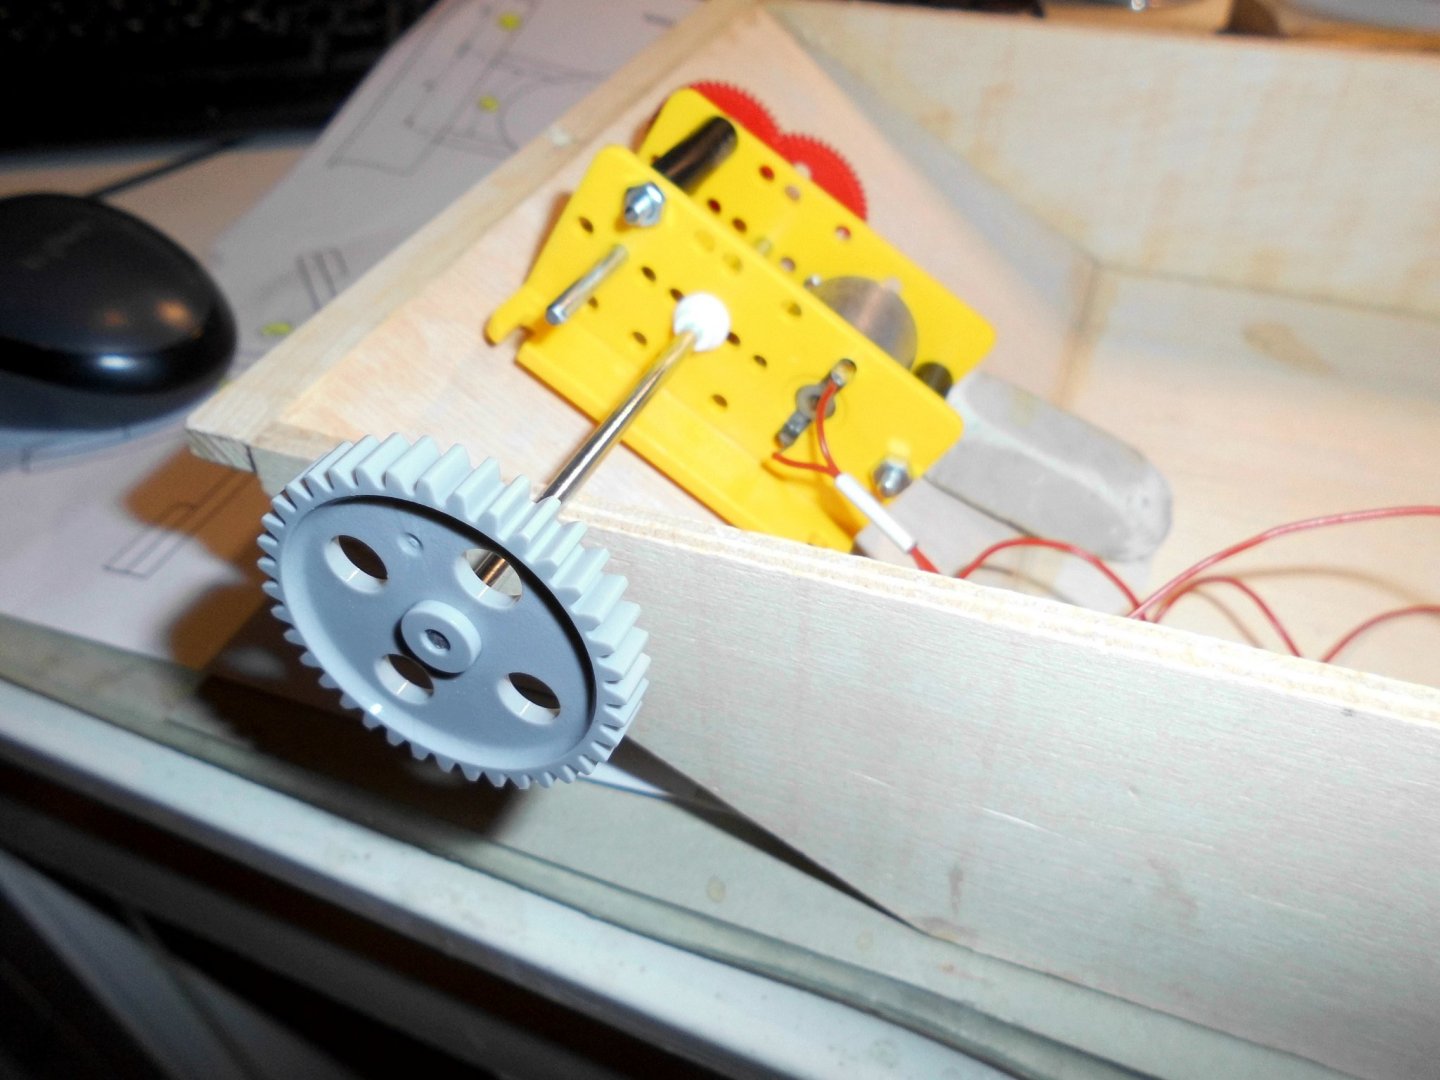
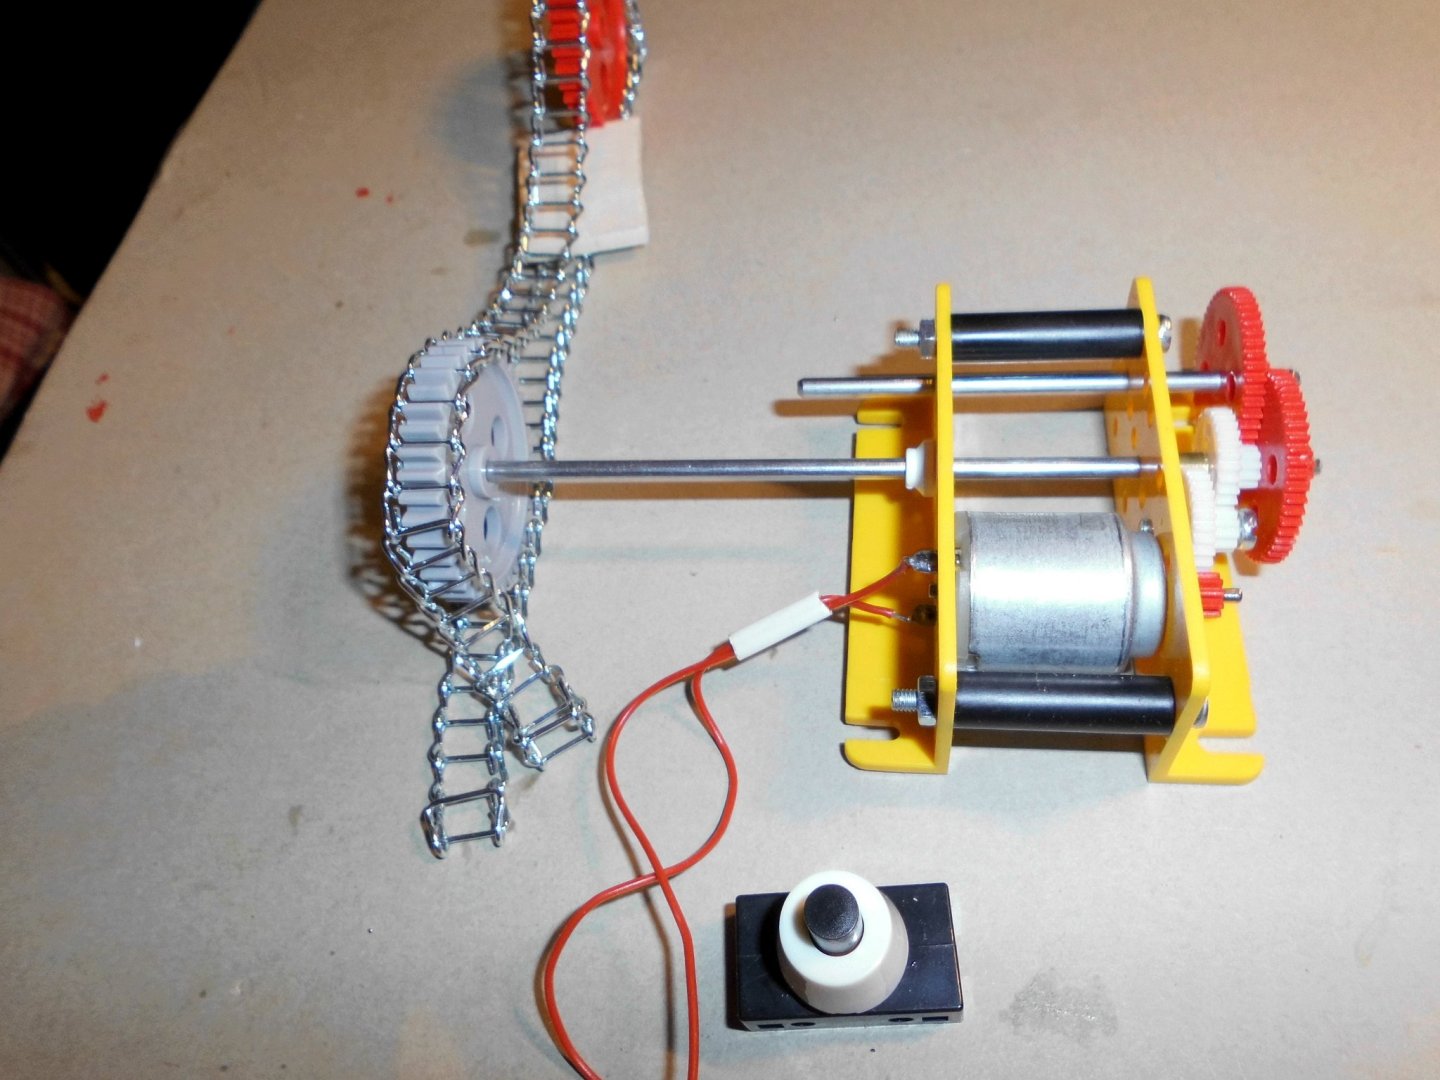
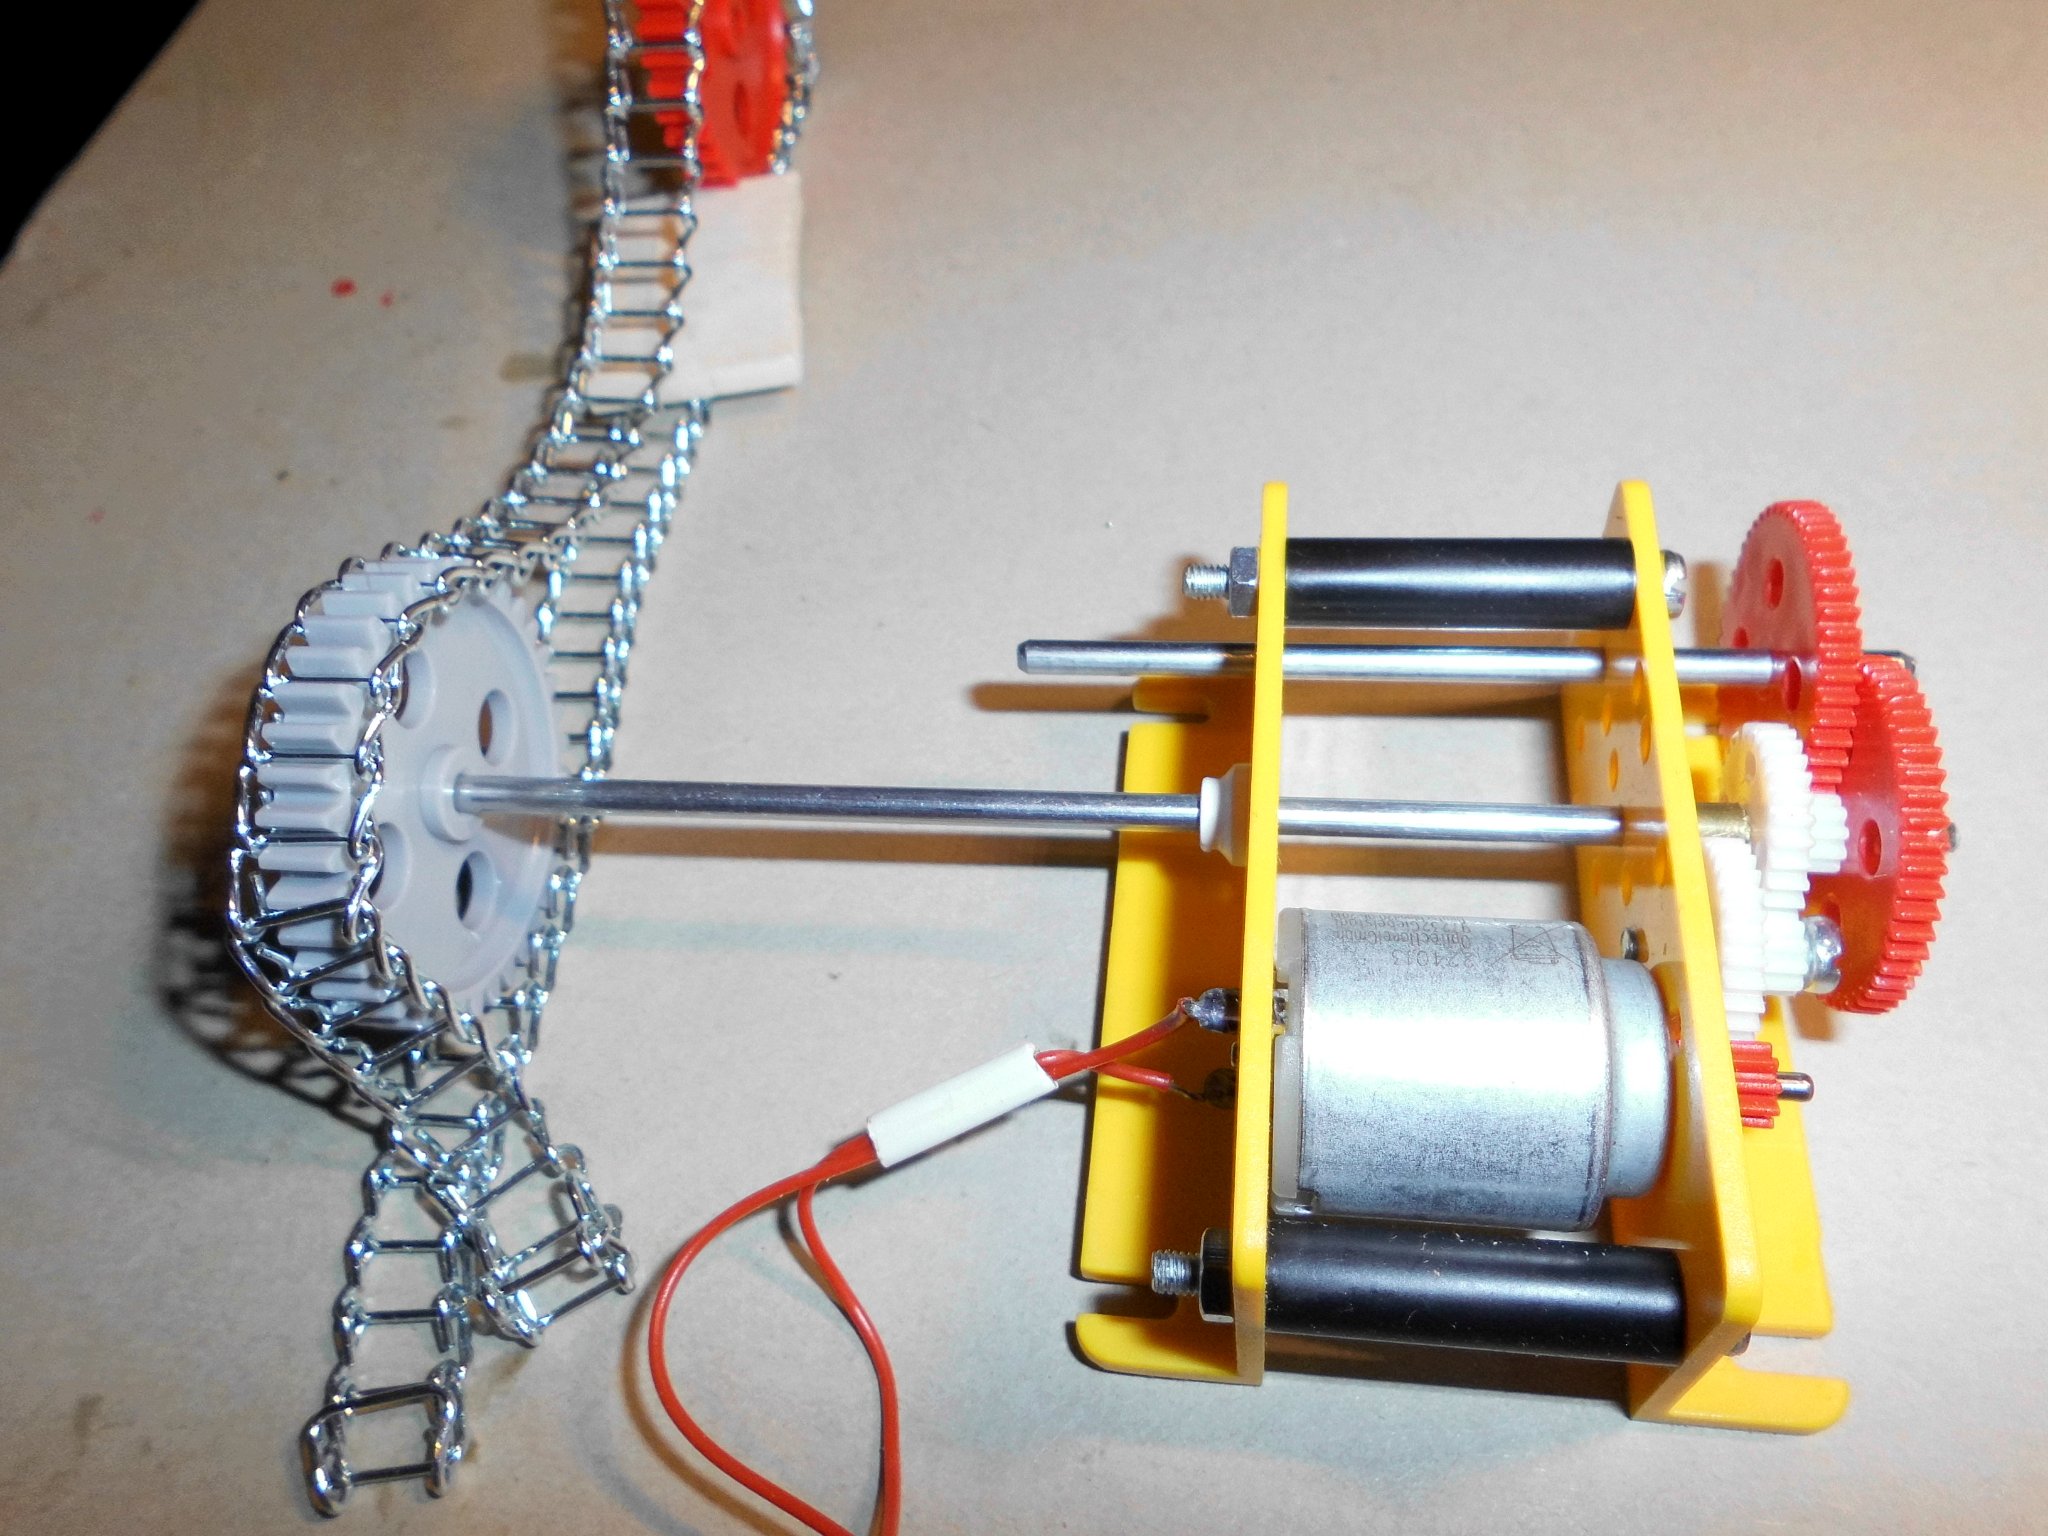
appr. position of gearmotor

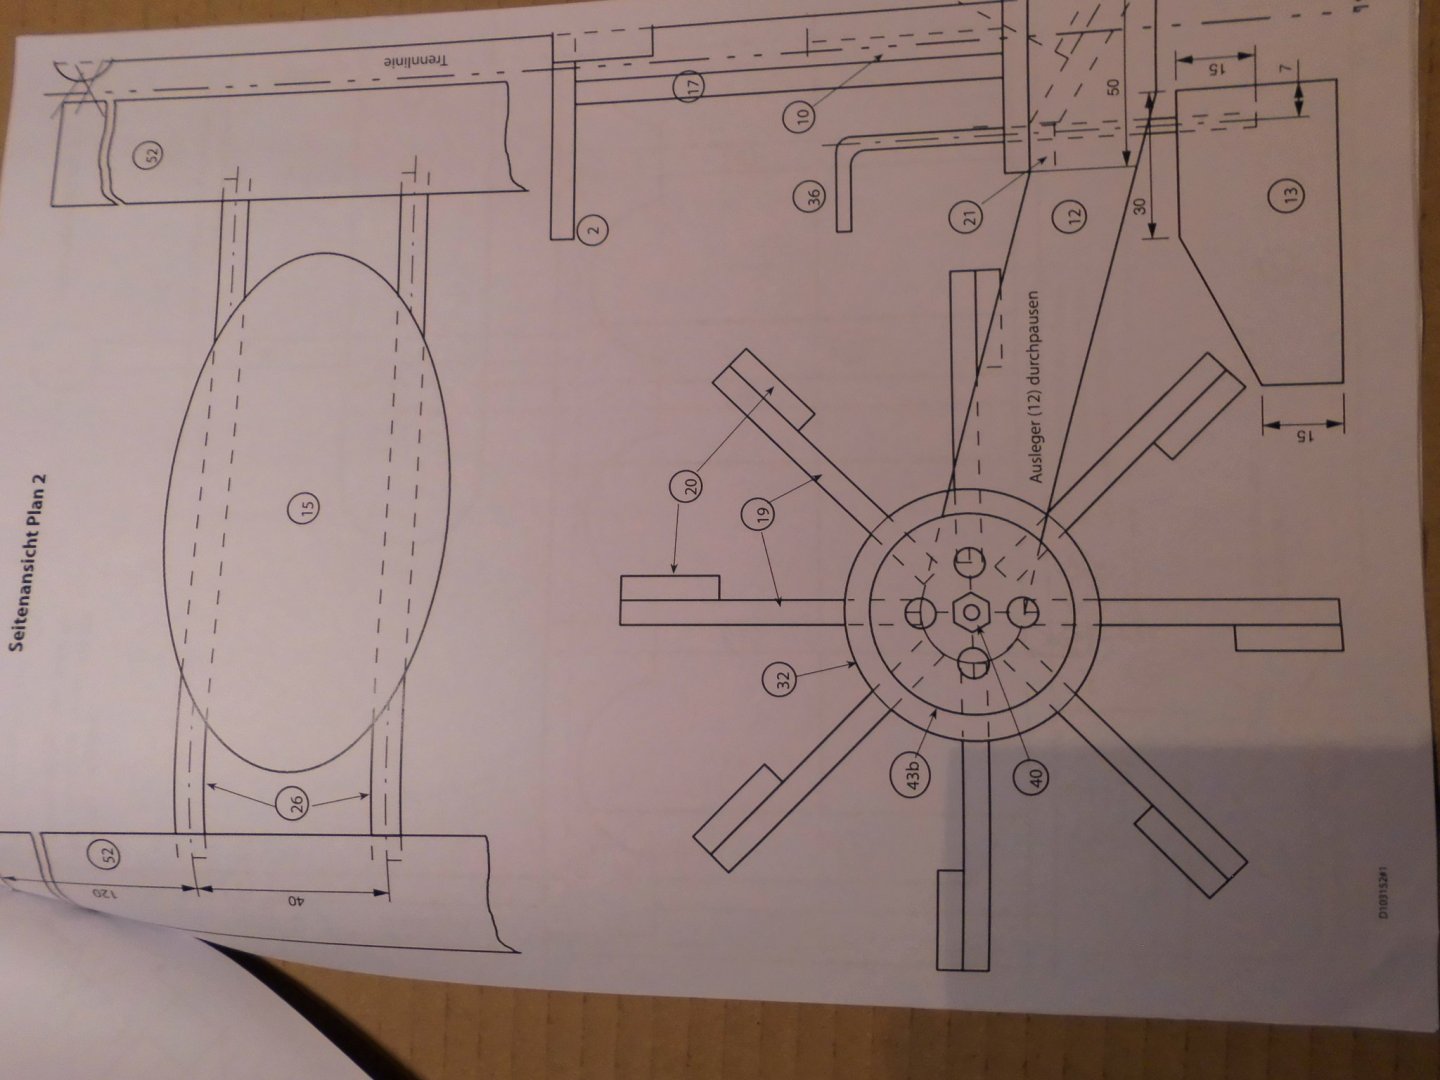
dry fit ofstern-wheel between outriggers
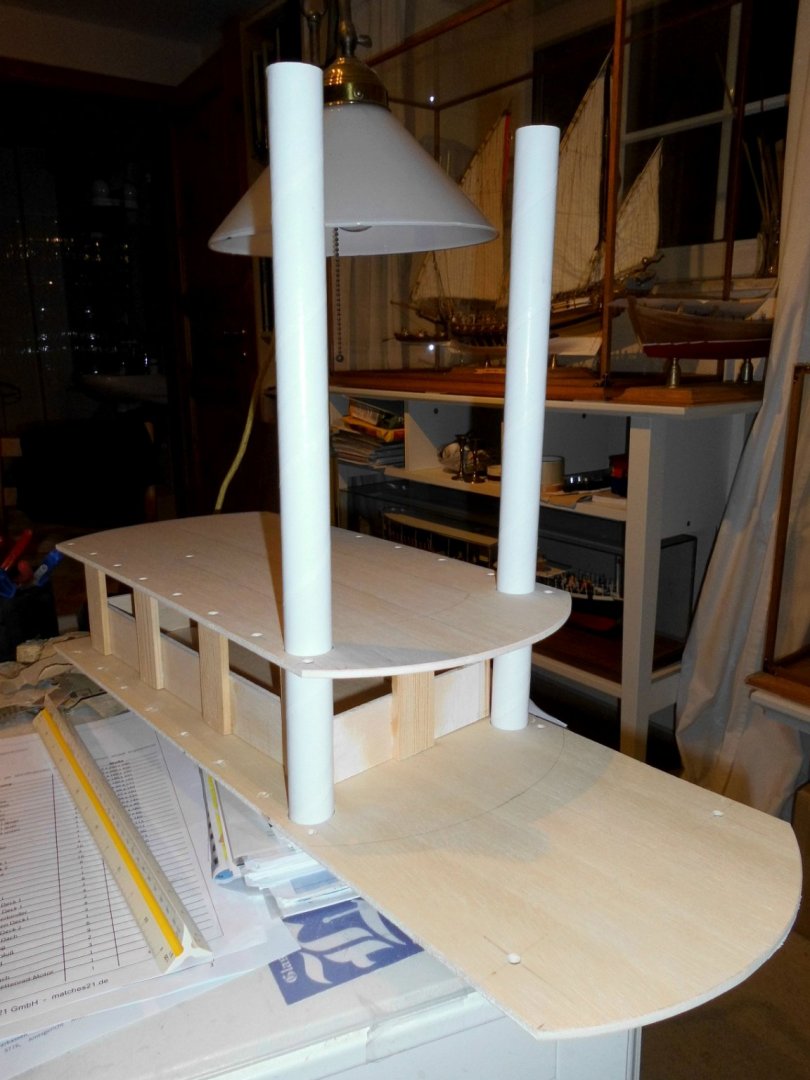
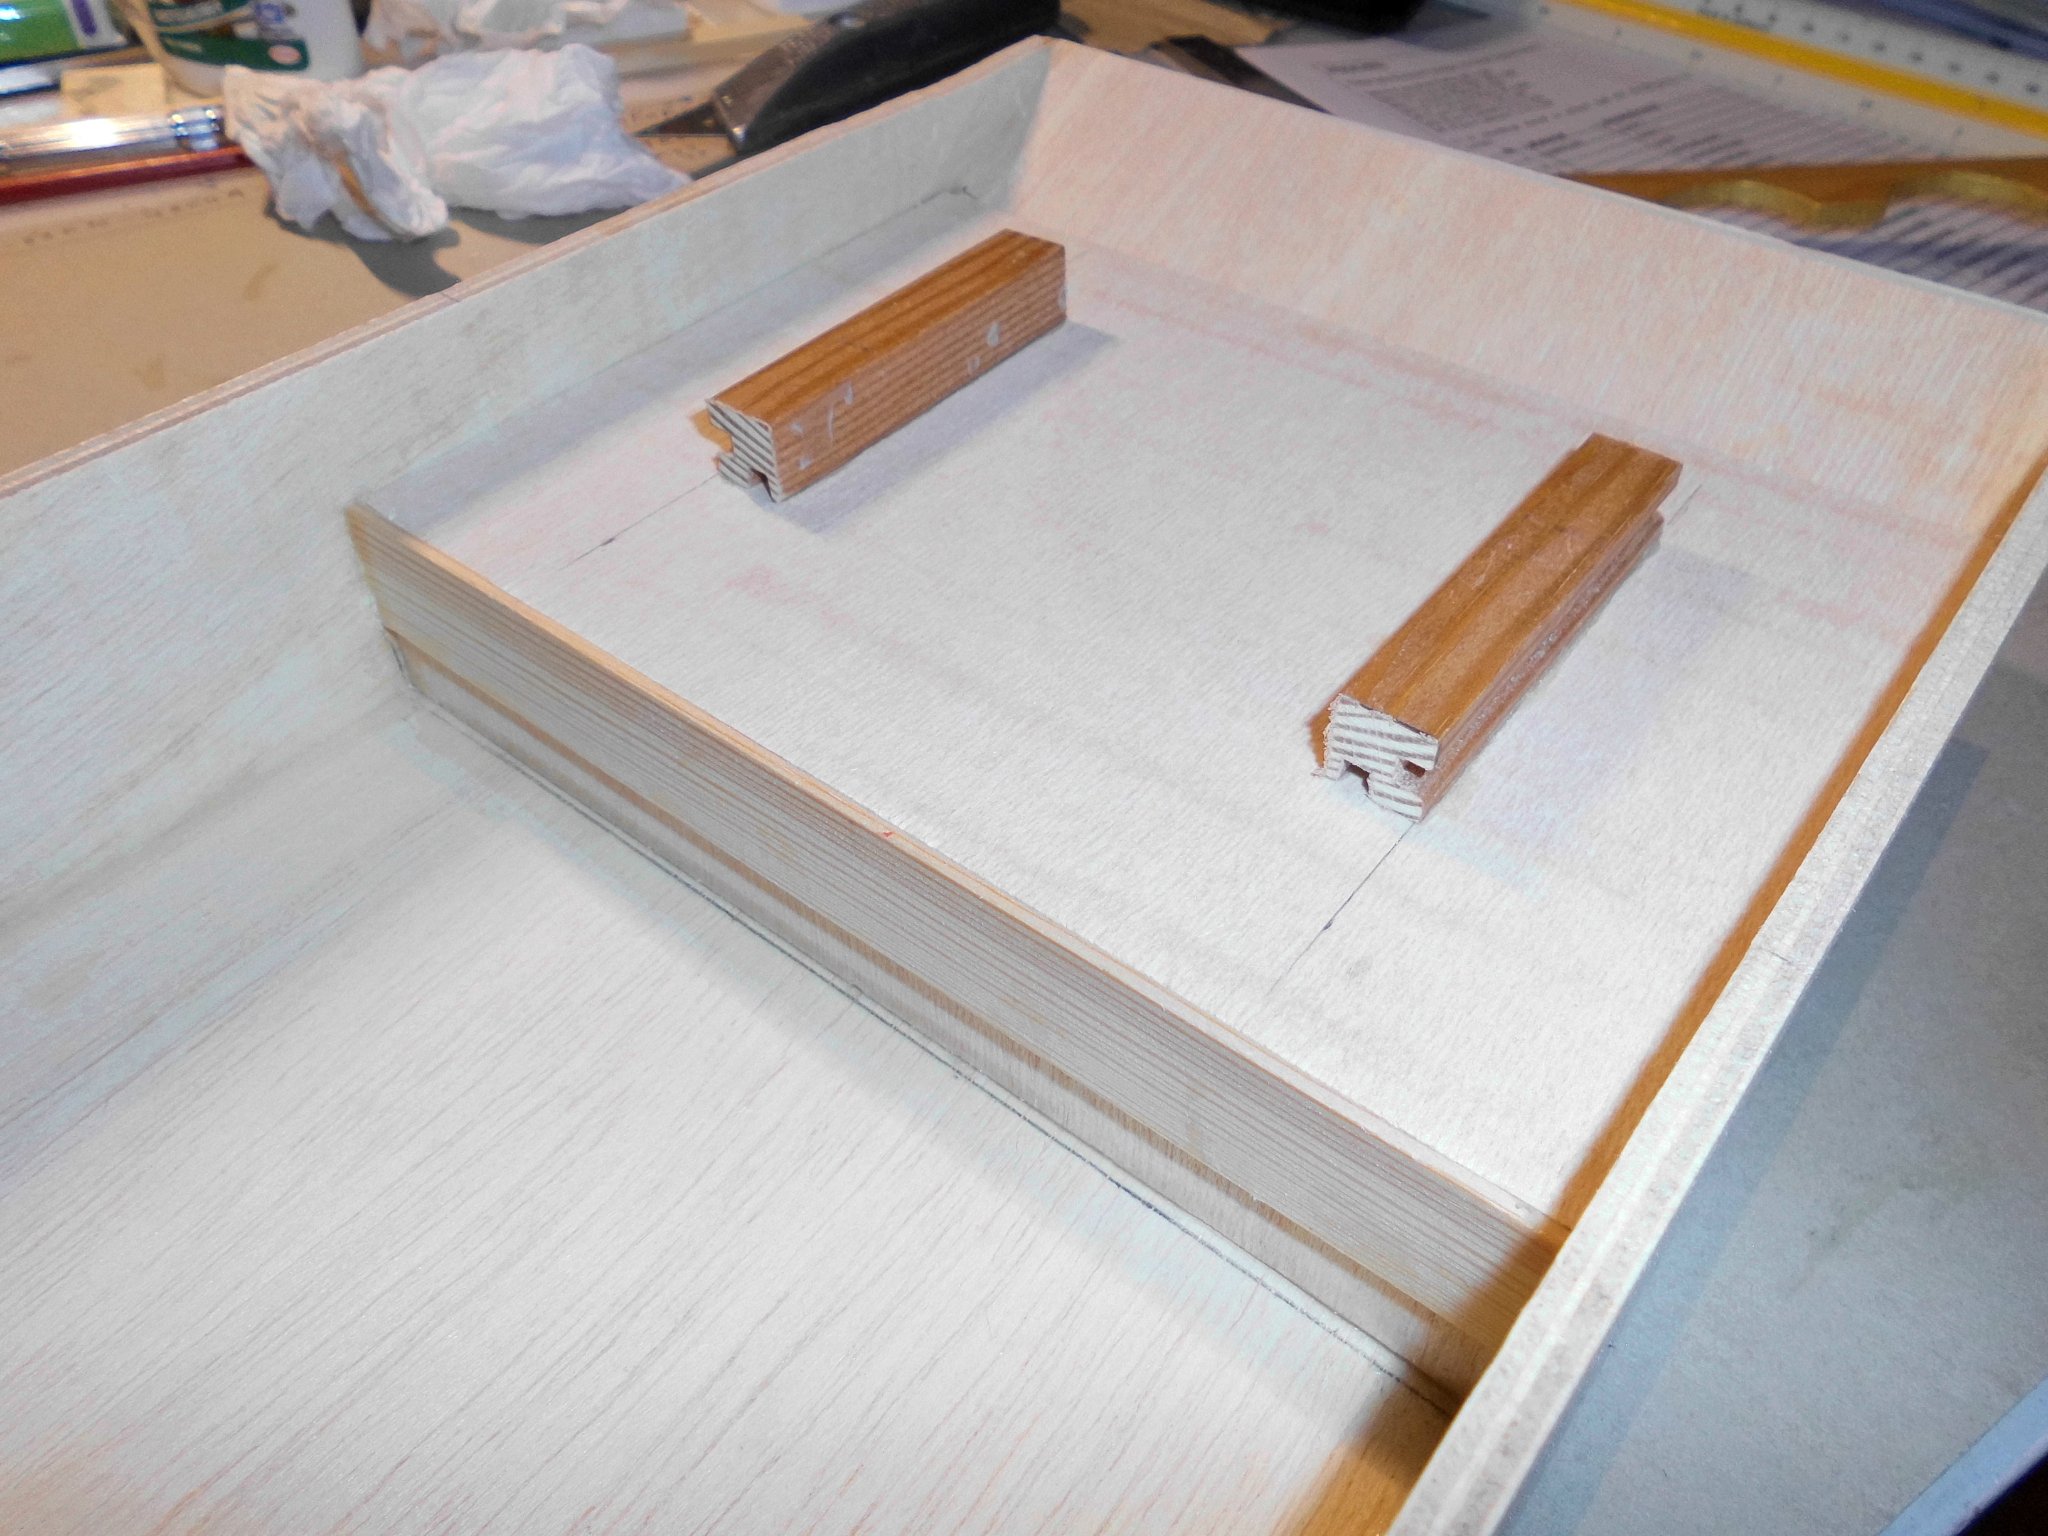
raw lower deck house and position of stacks
decore stripes for outer upper deck
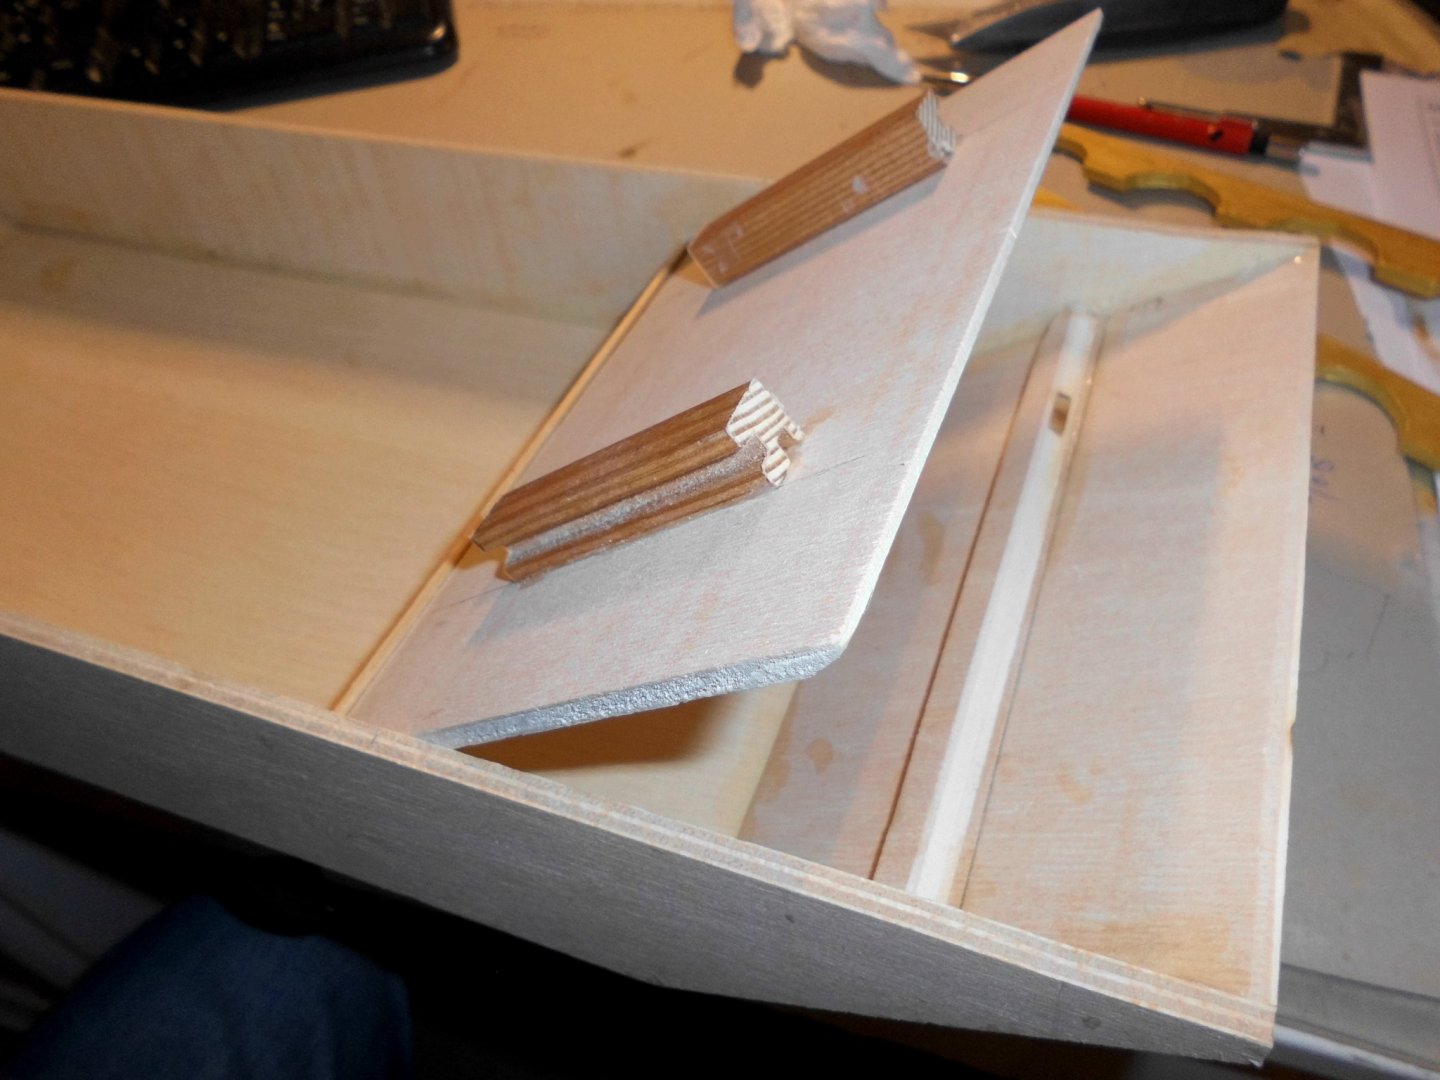
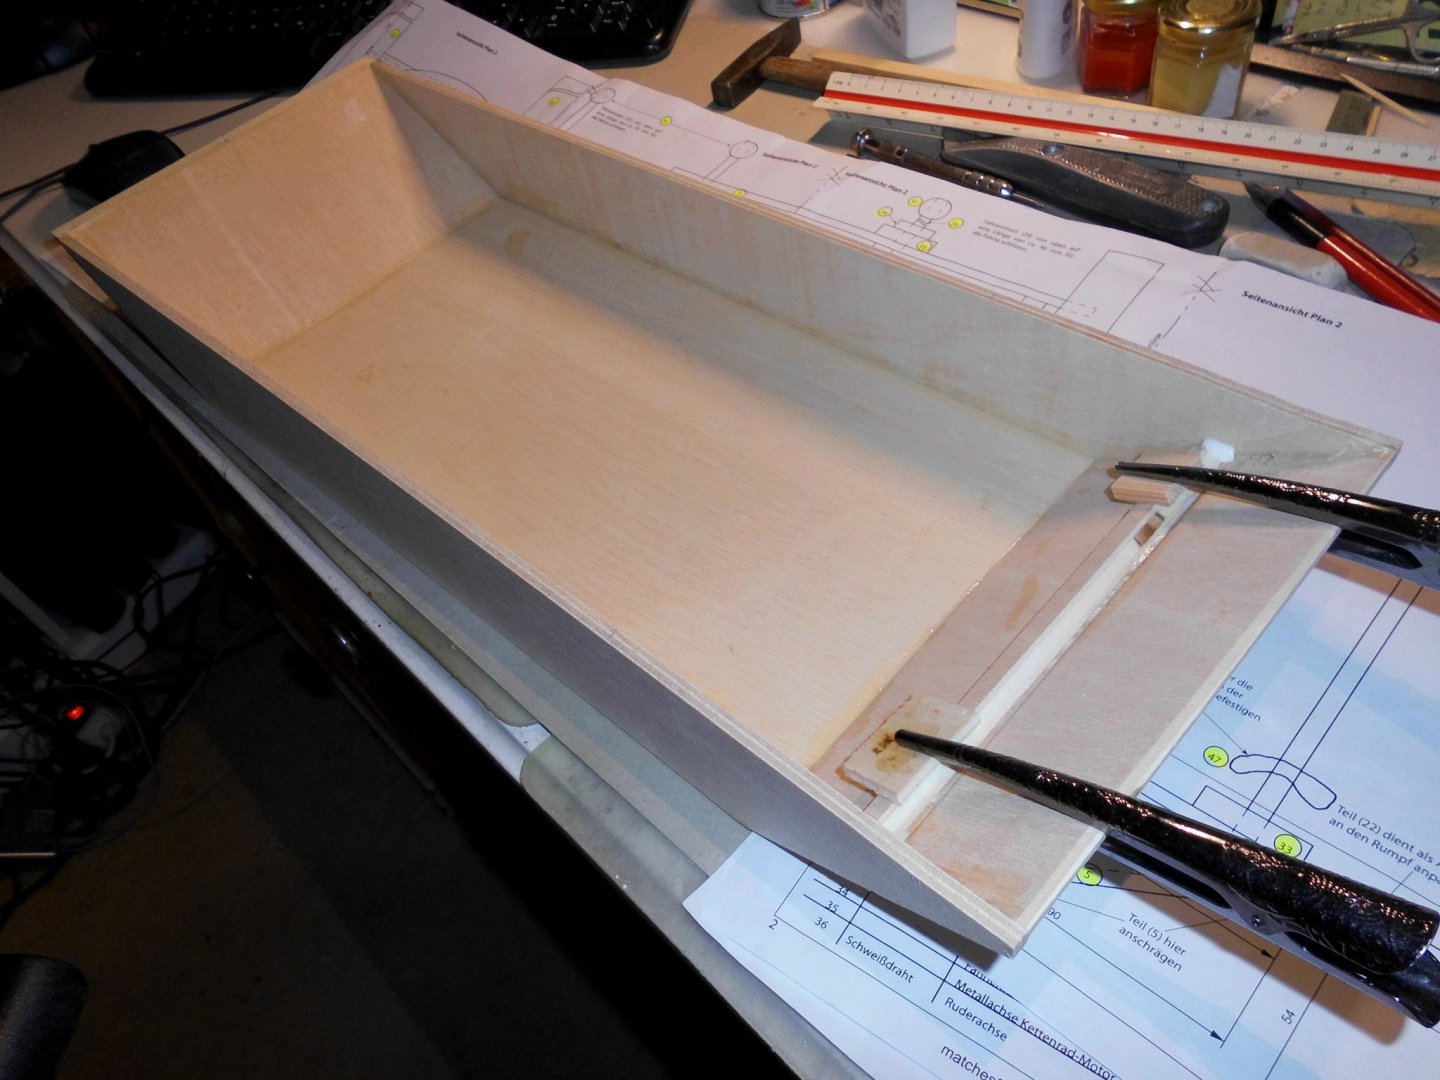
front compartment for ballast measures with open lid. This compartment will take up sand or small pebbles for trimming the waterline

front ballast compartment closed with removable lid
-
excellent work Siggi,
Nils
- FriedClams, Keith Black, Siggi52 and 1 other
-
 4
4
-
-
Update:
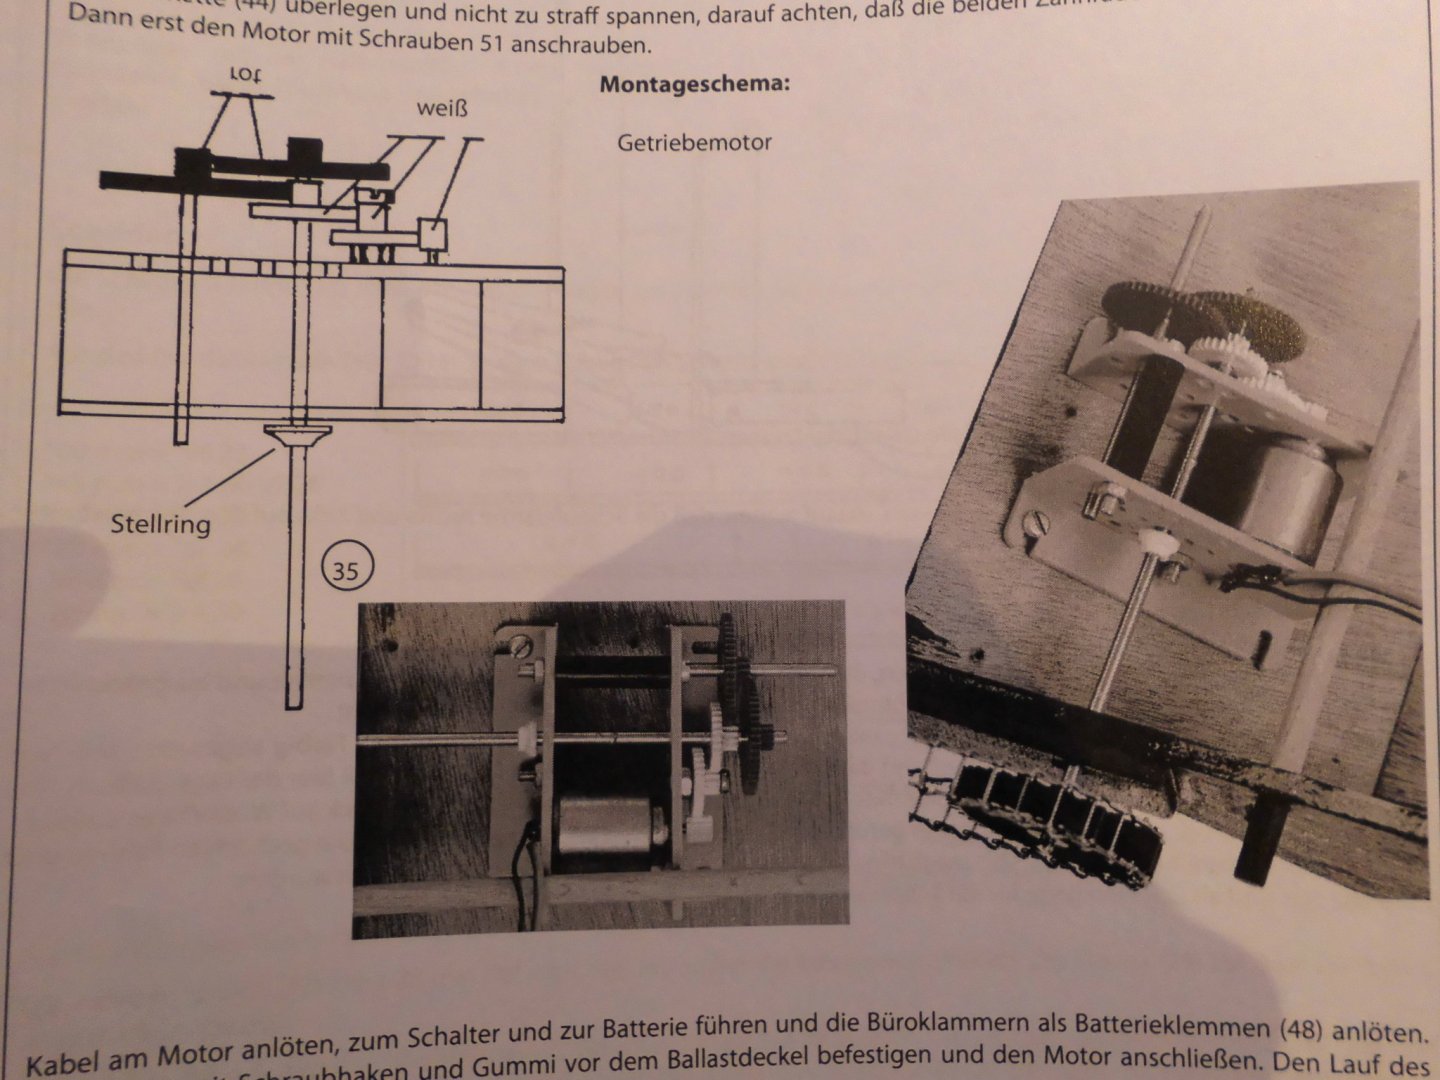
finished stern paddle-wheel, gearmotor and connector switch
Nils

- Captain Poison, mtaylor and ccoyle
-
3
-
-
Update:
Christmas is coming closer at quite a pace...., hope I`ll do it in time
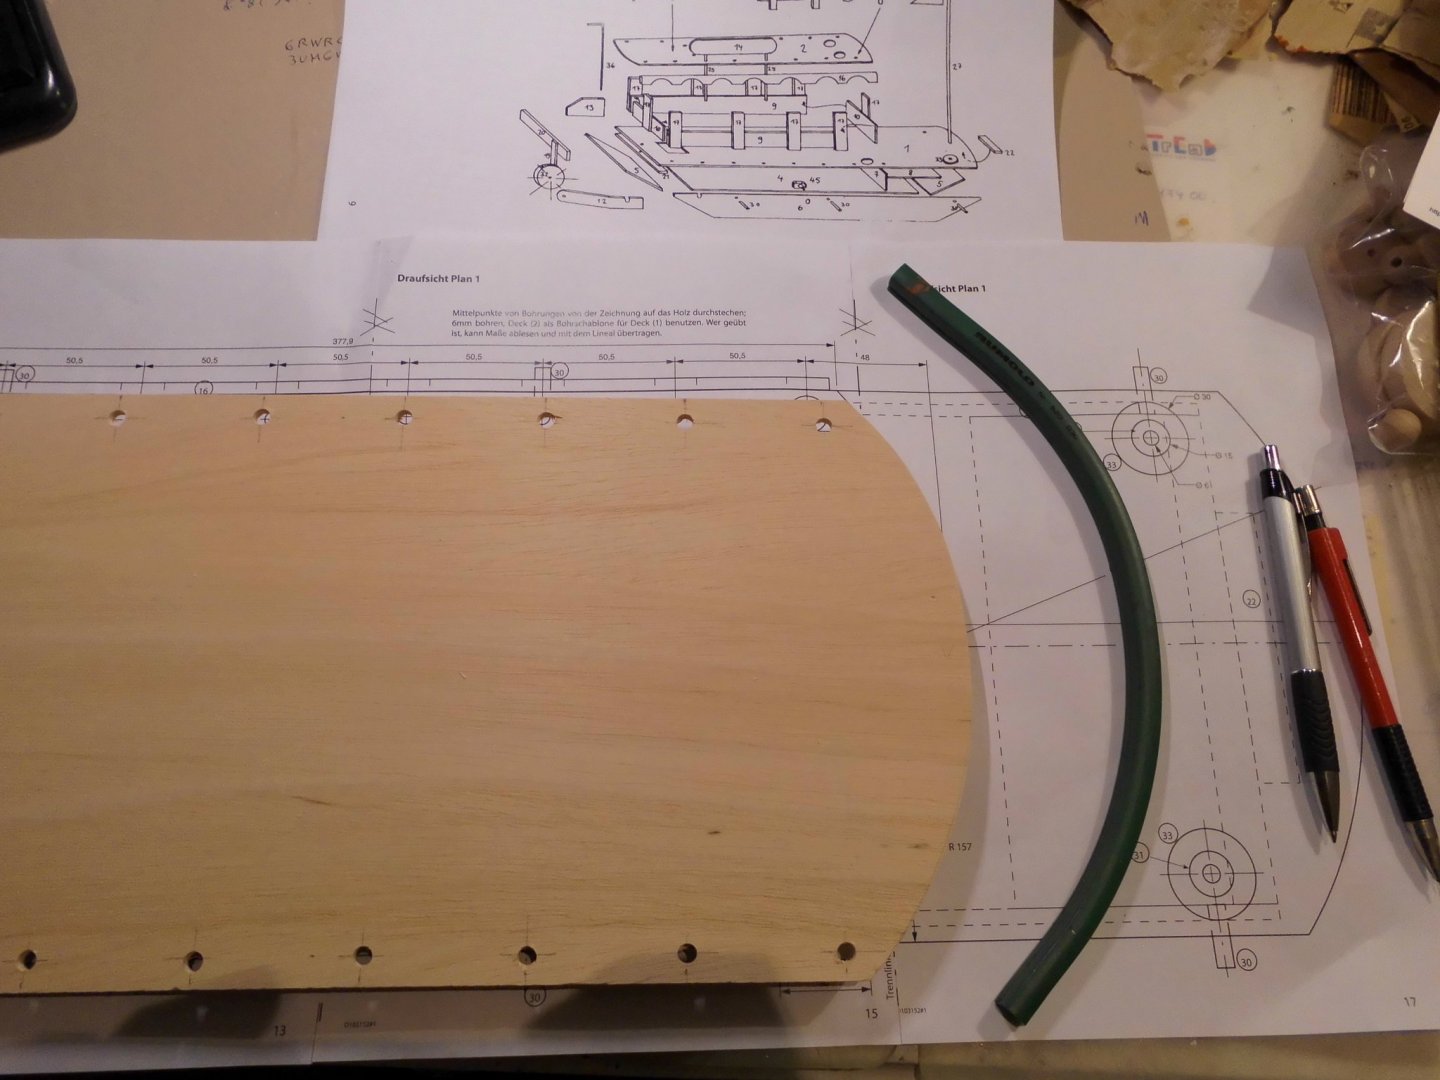
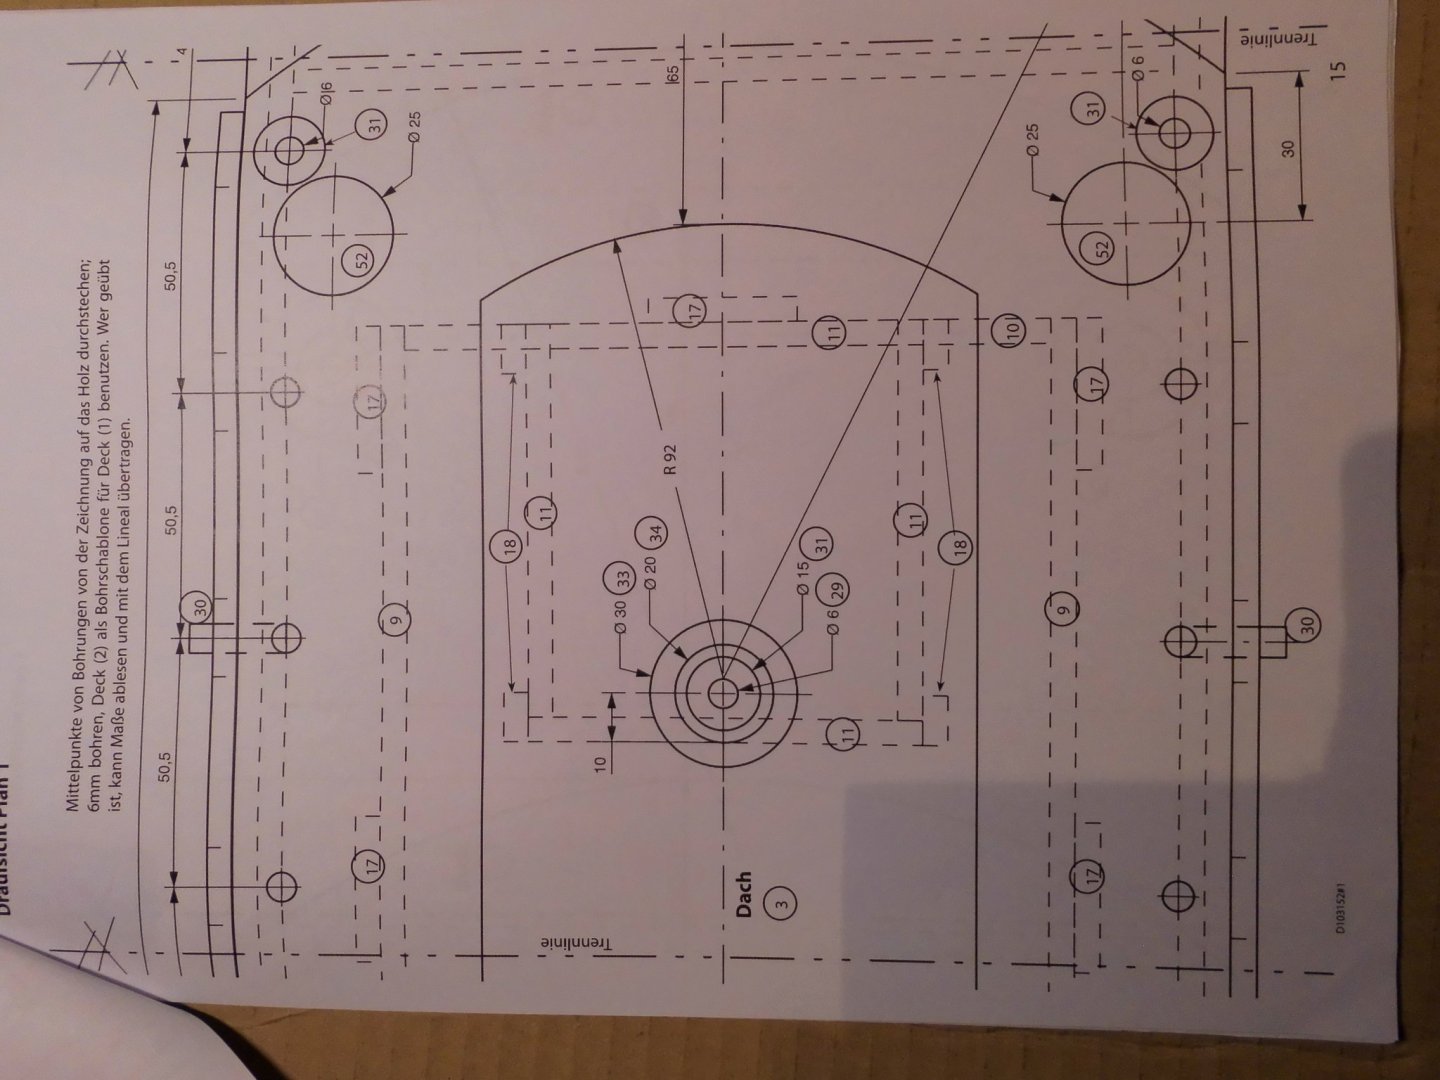
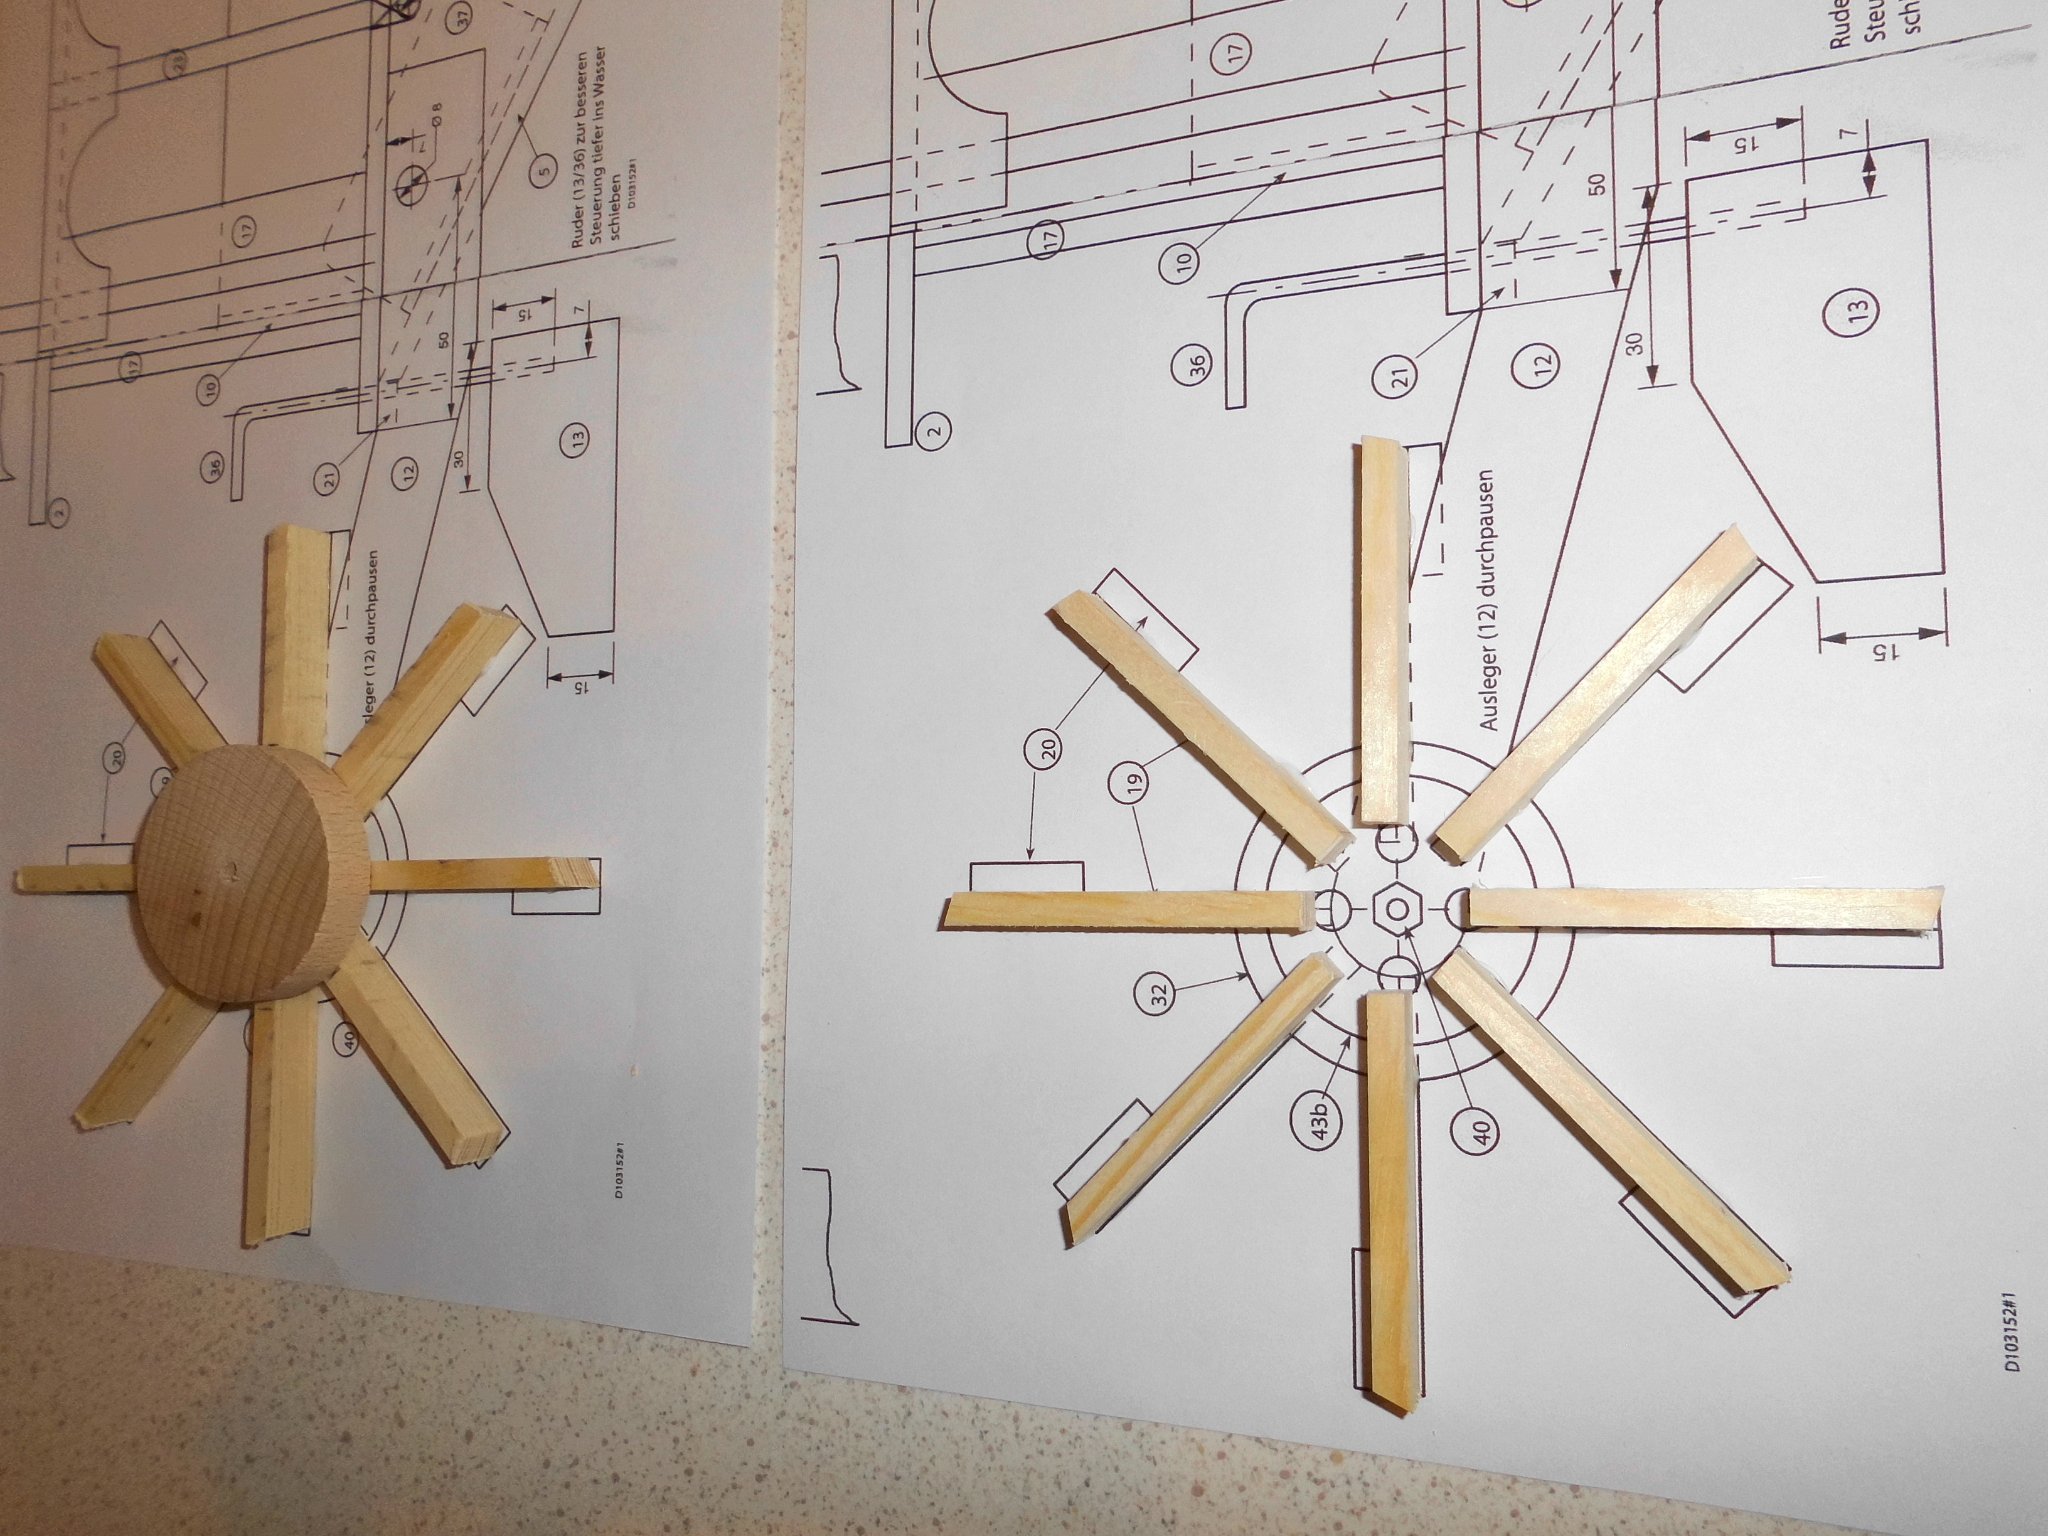
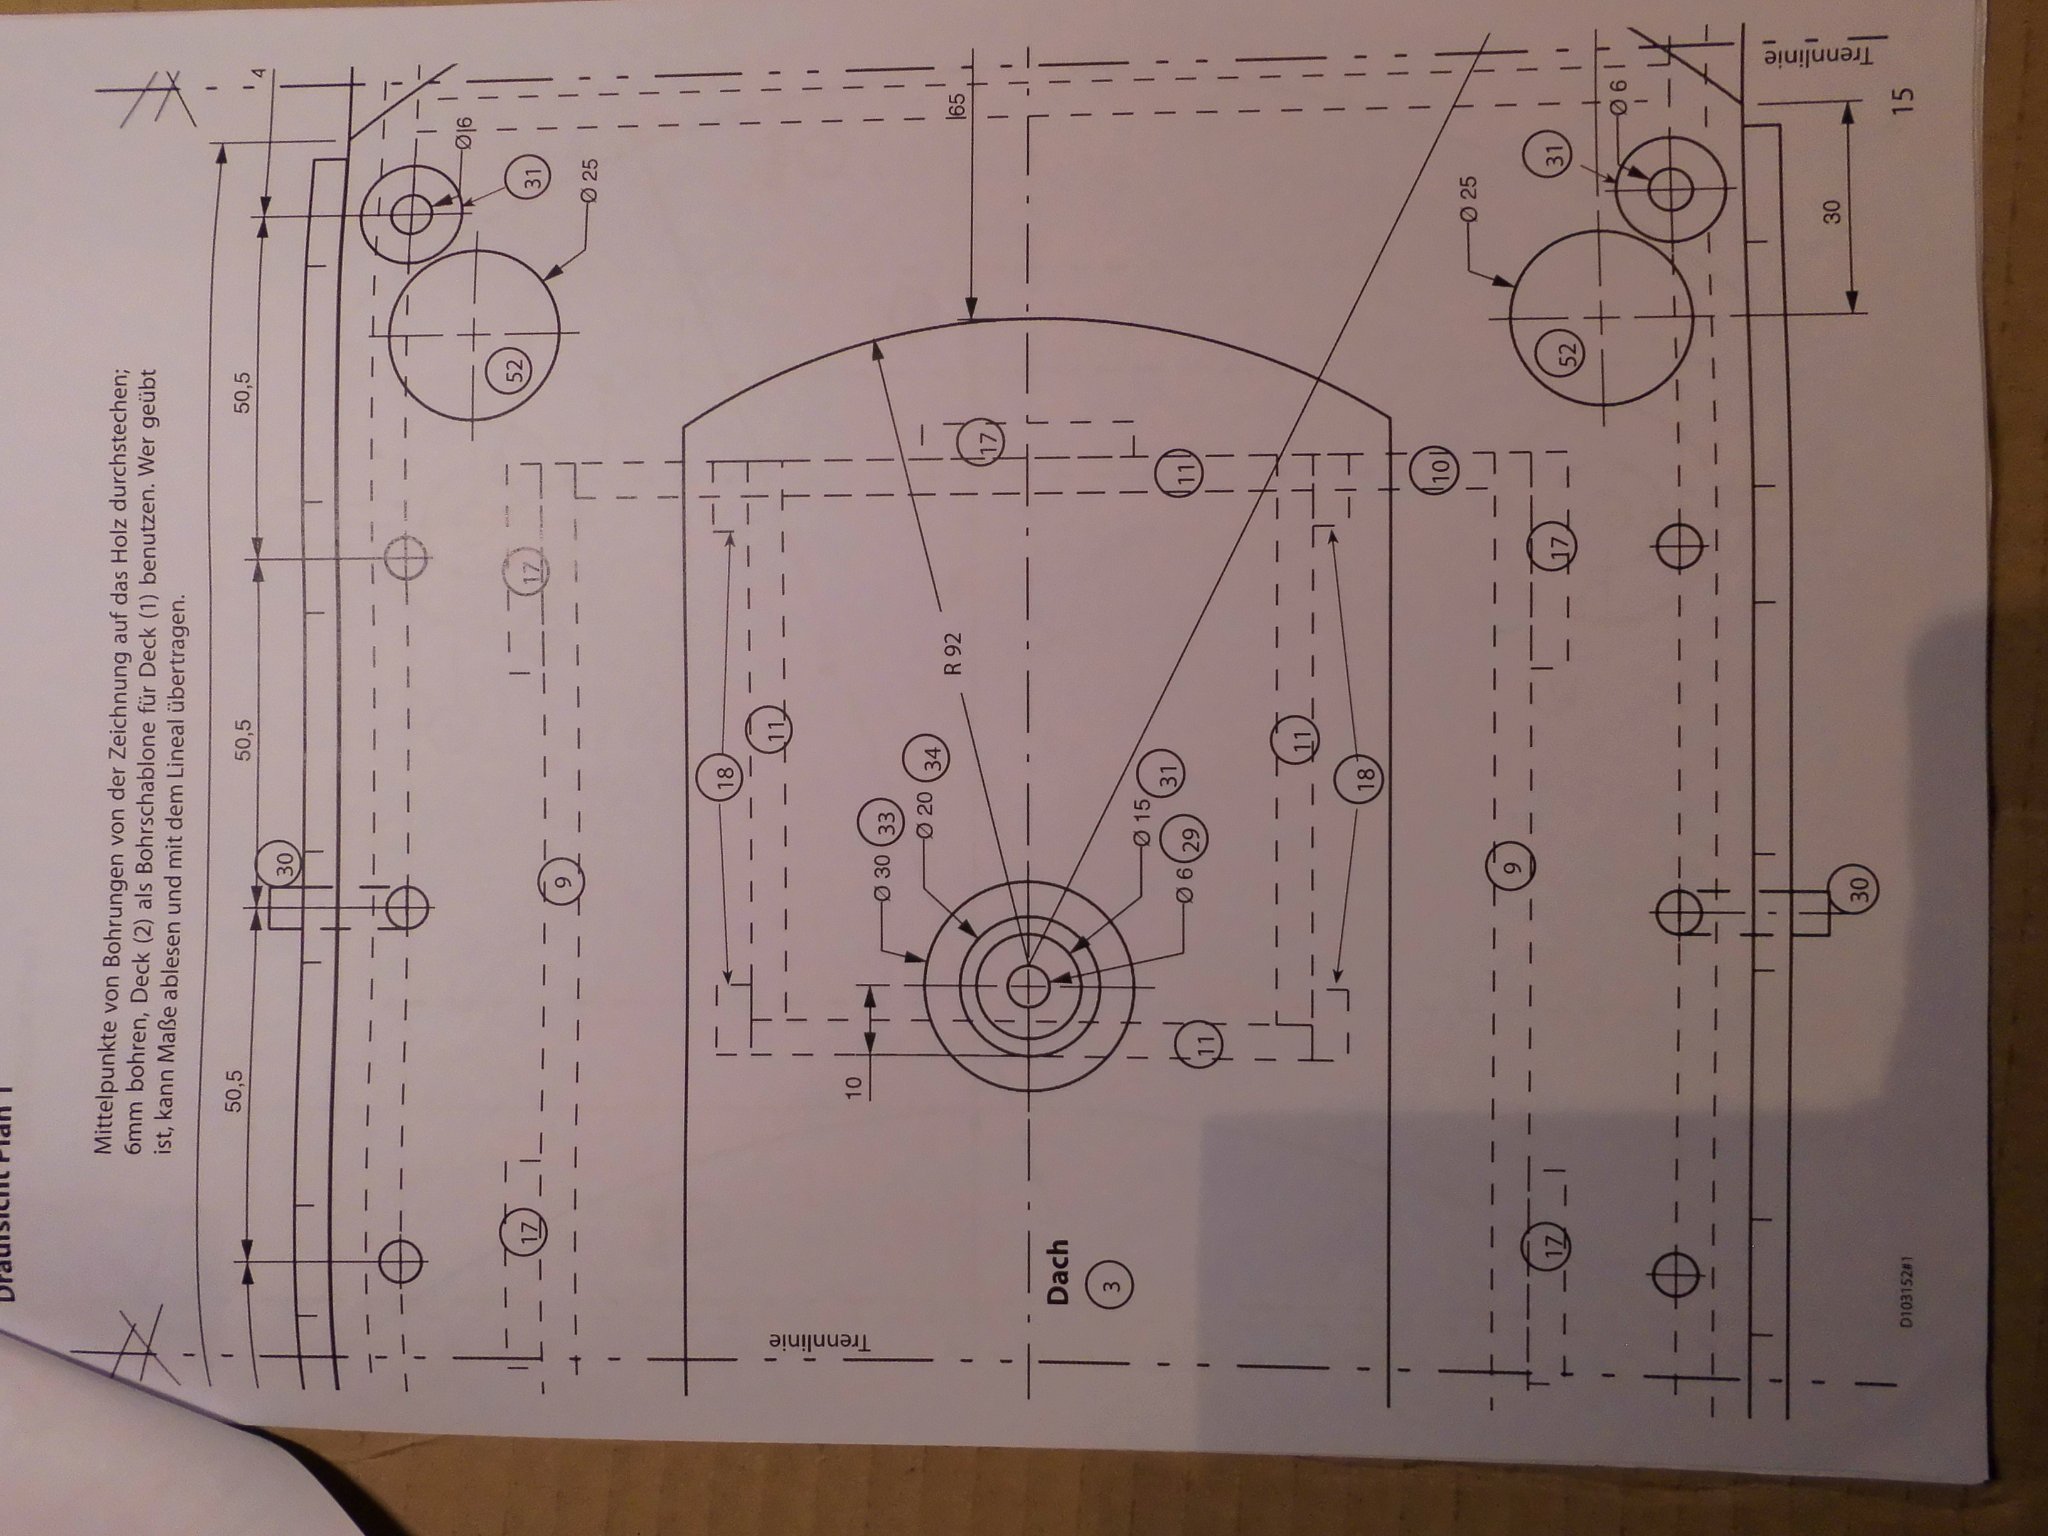
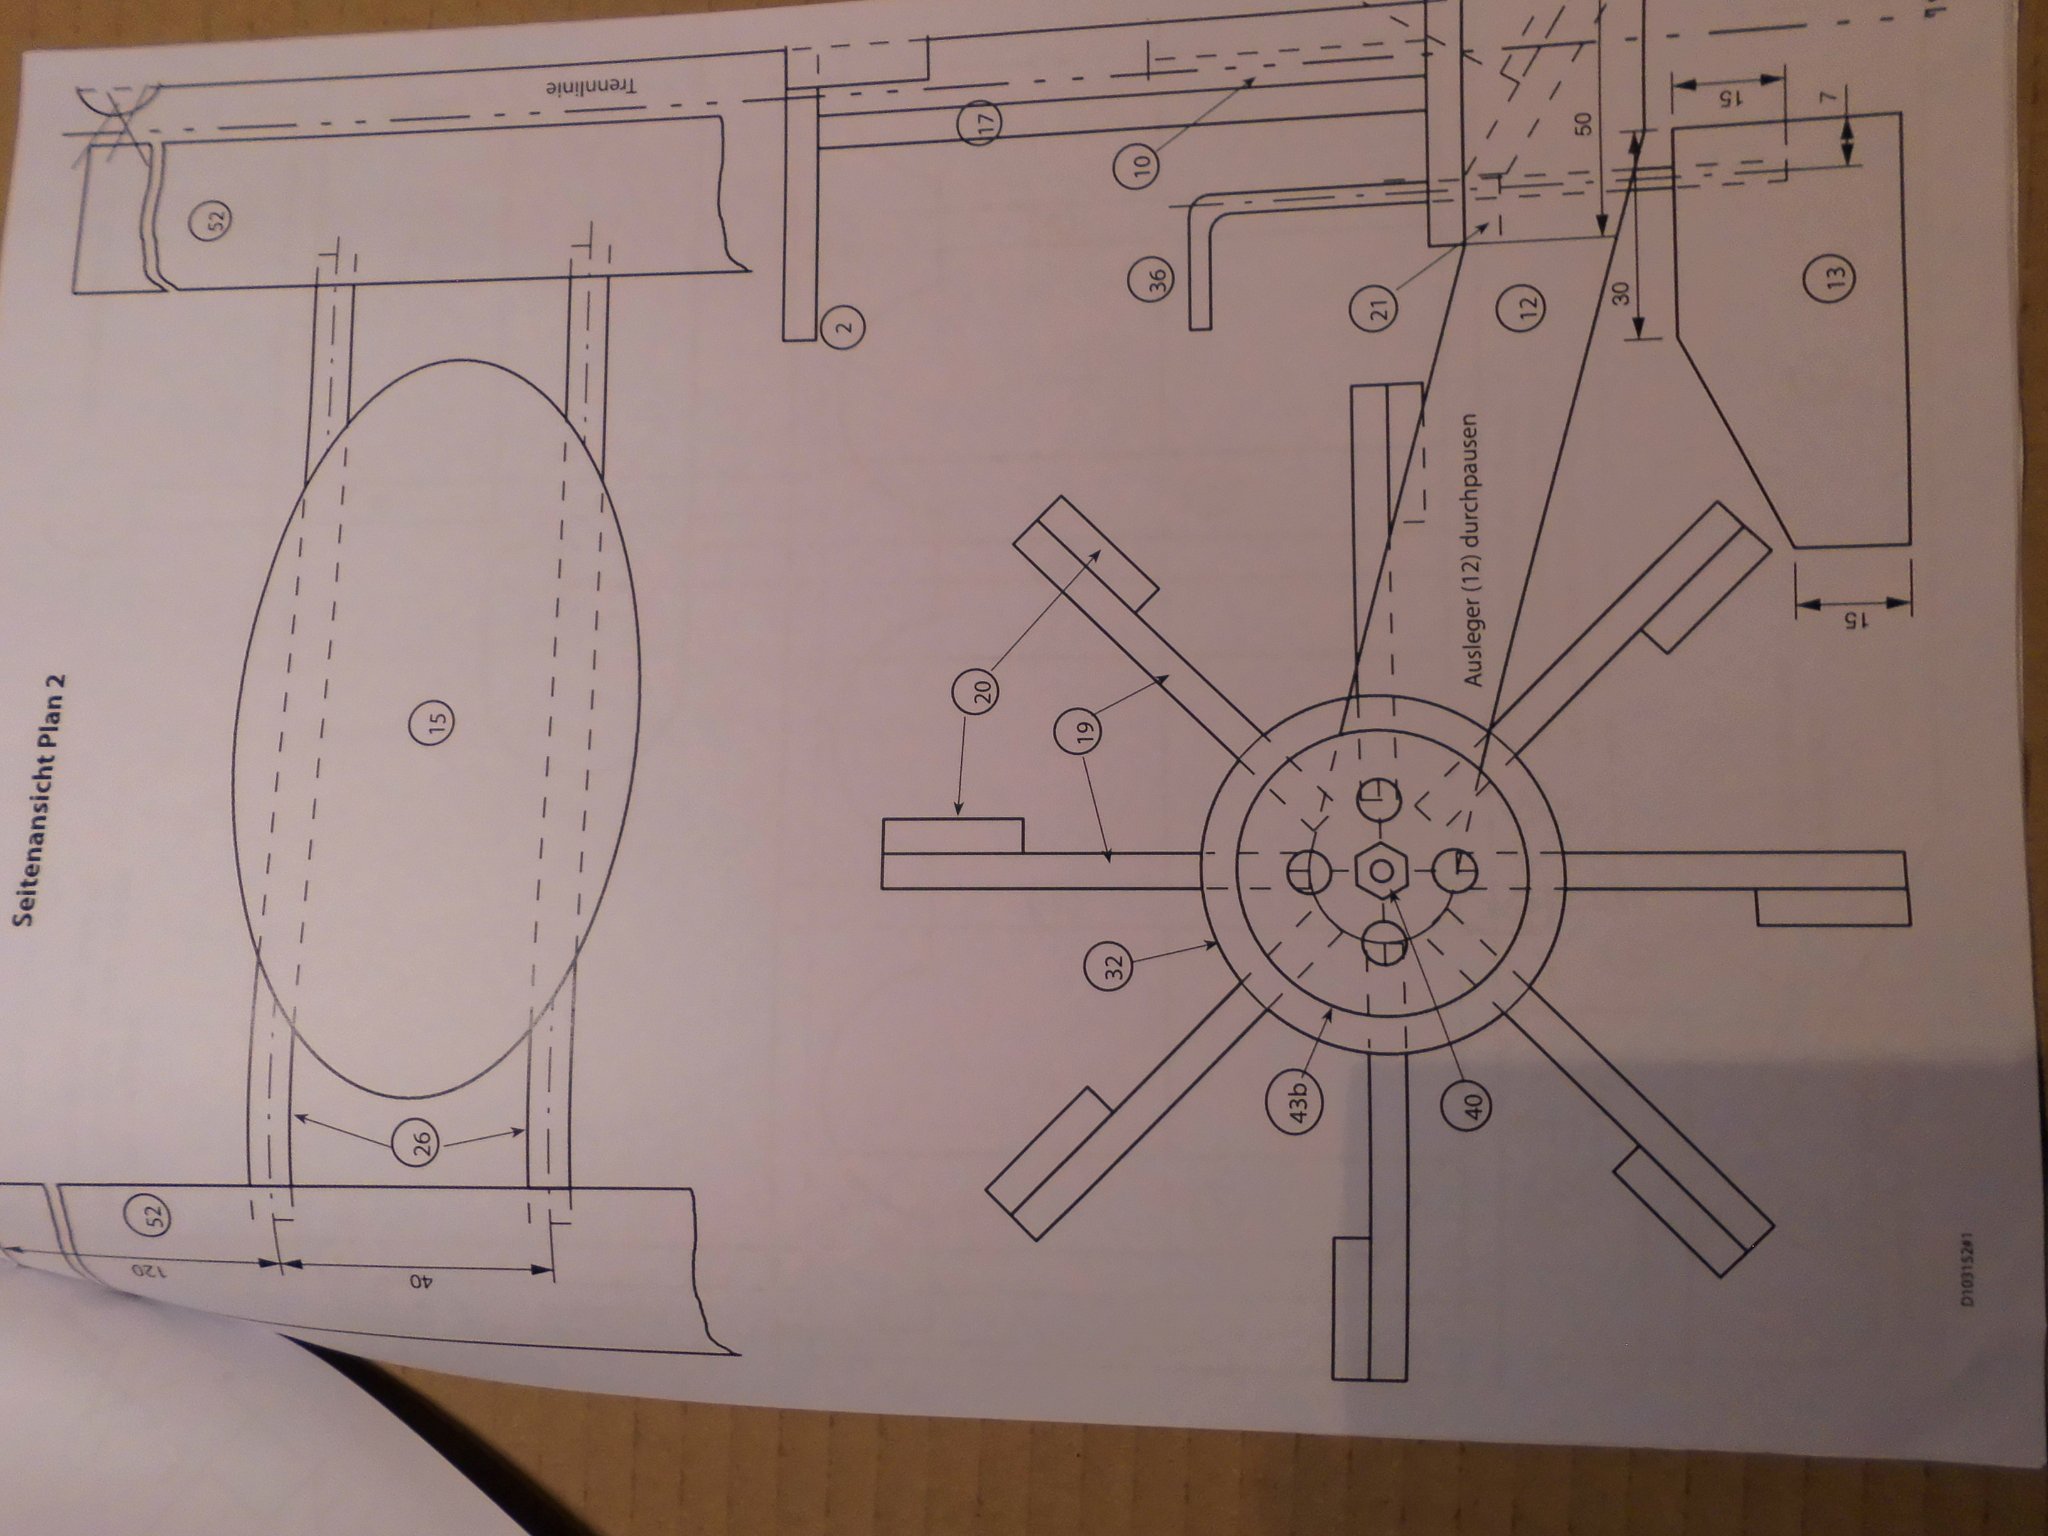
Started with the raw stern-wheel, the decks and the wheelhouse roof
Nils
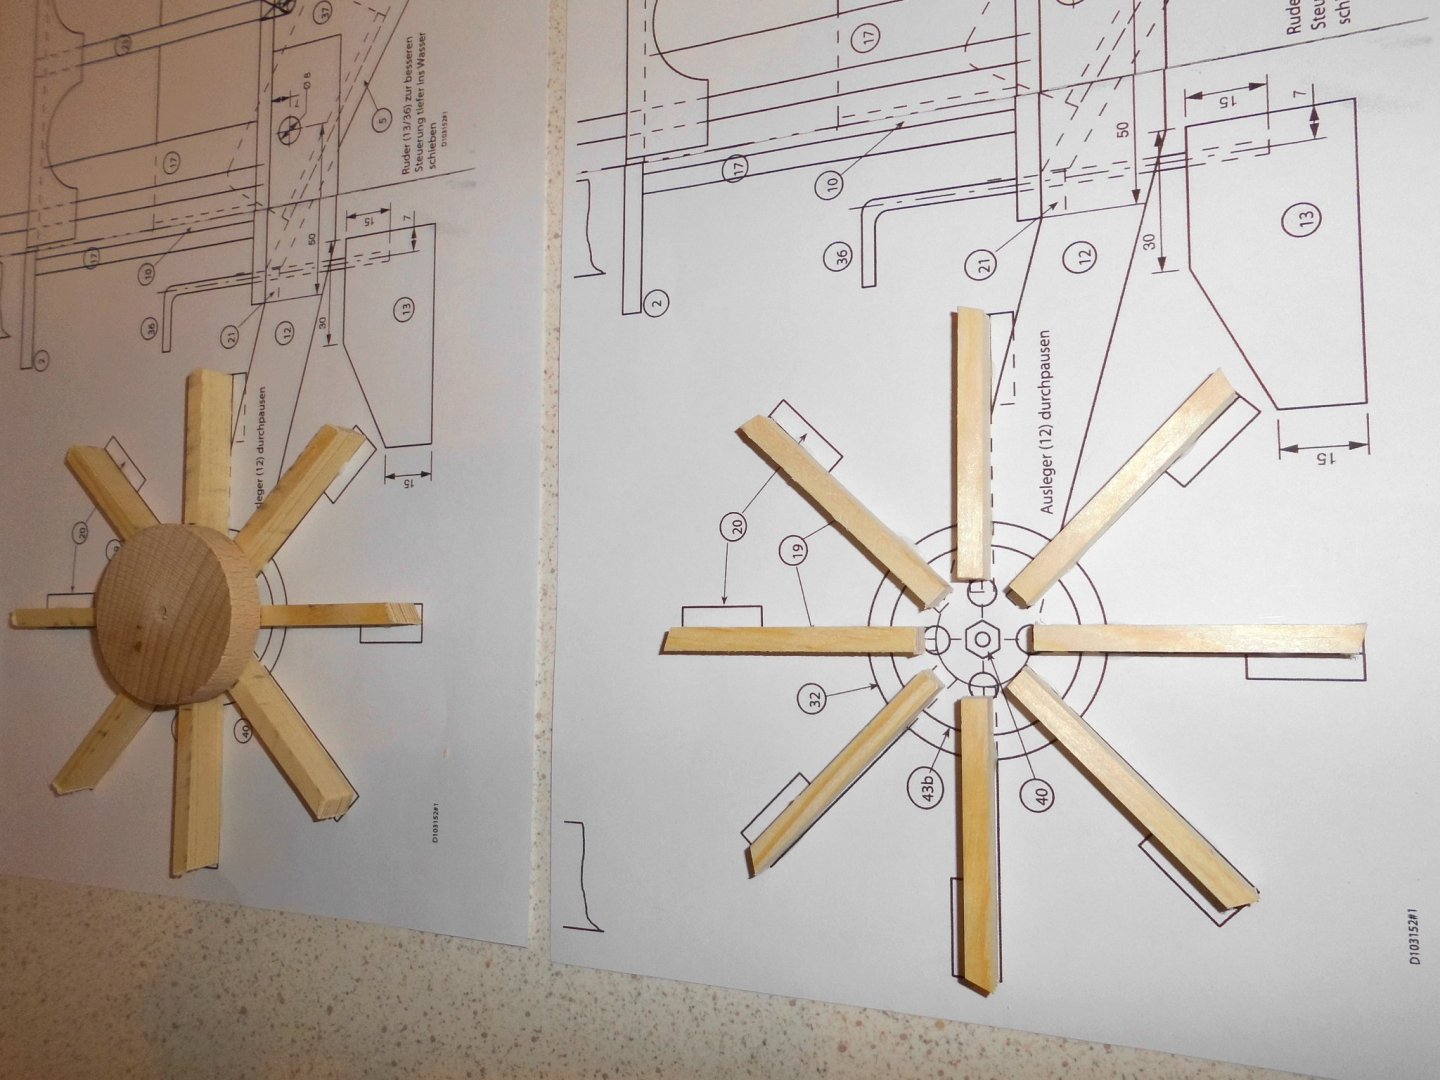
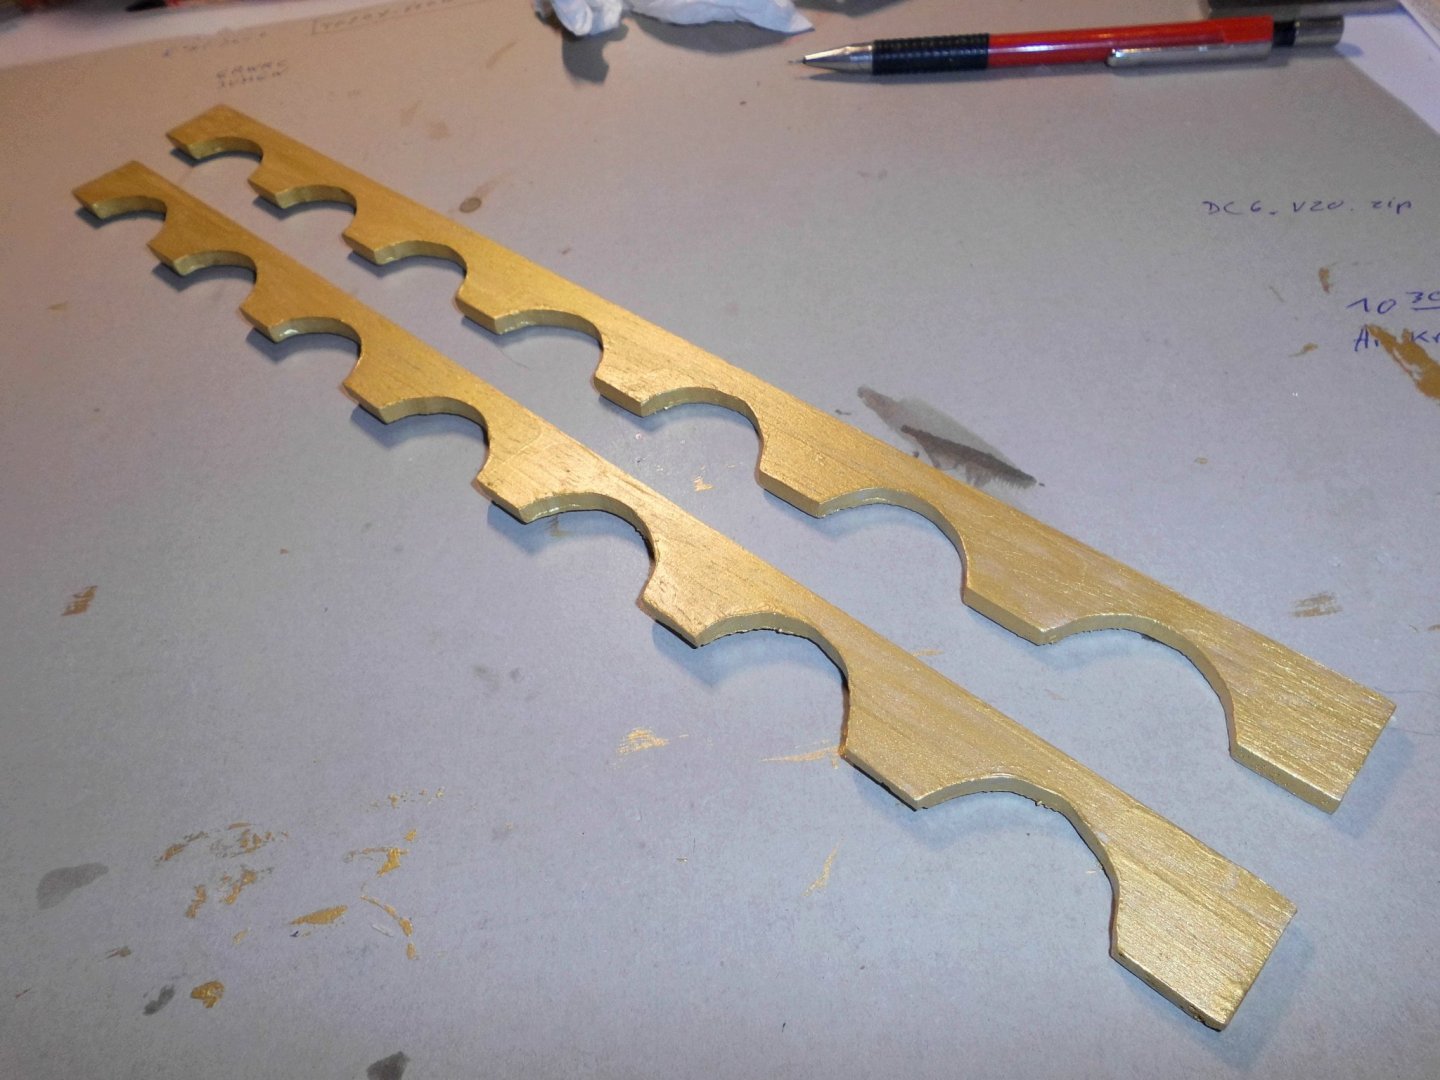
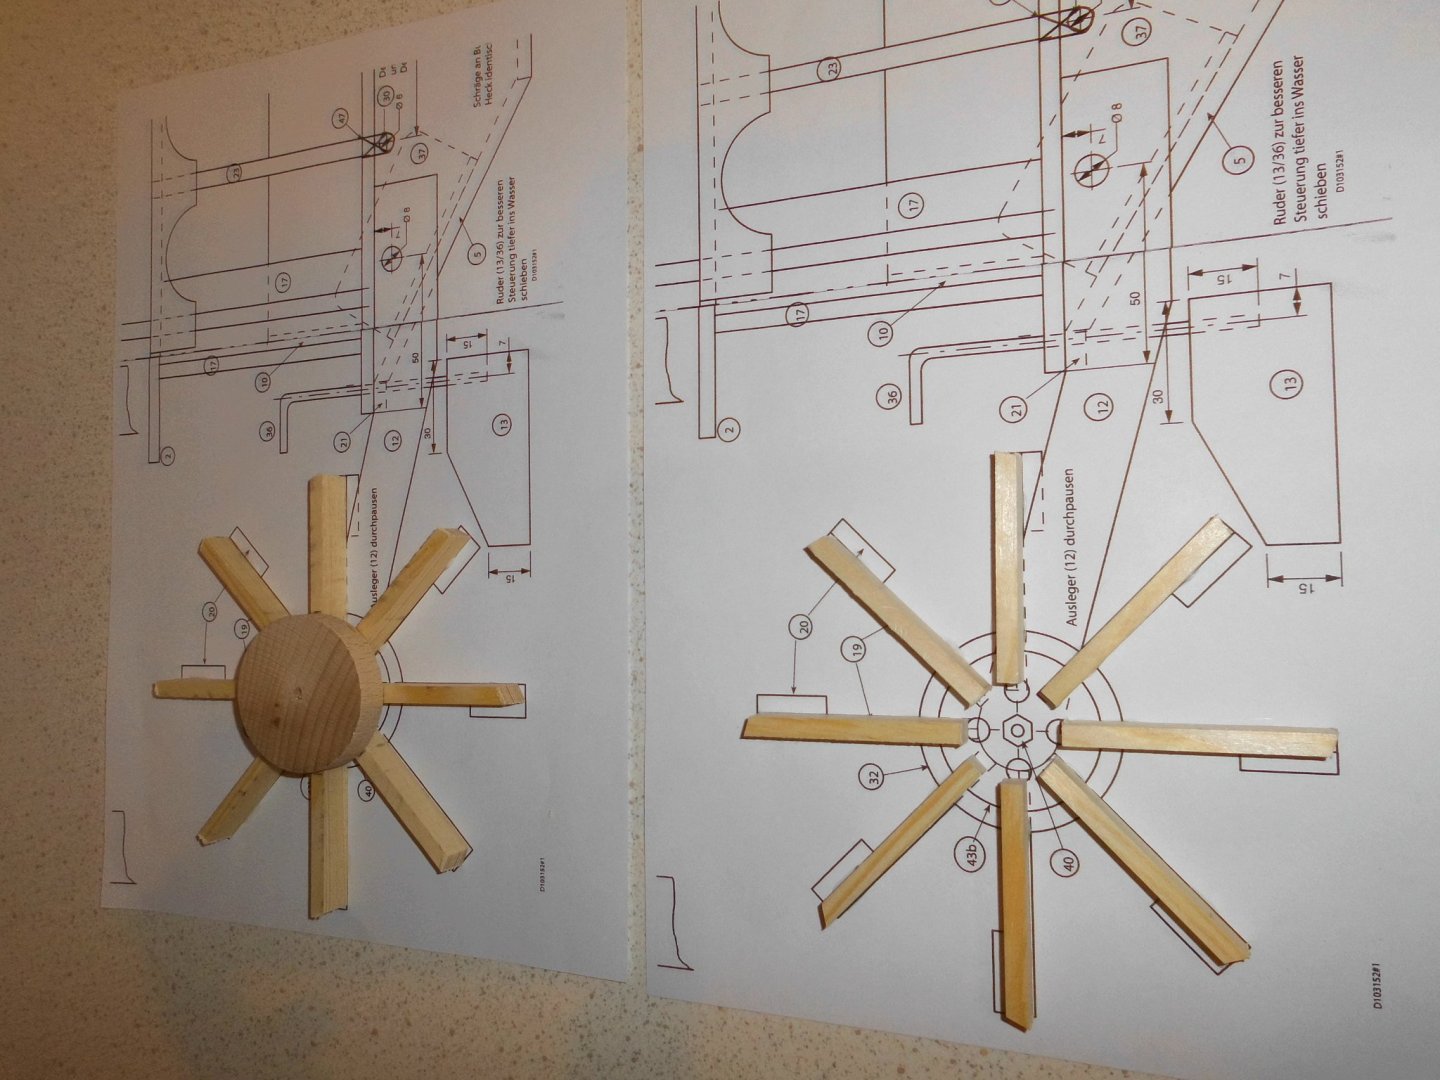
made copies of the wheel spokes and placed them directly on to the copies
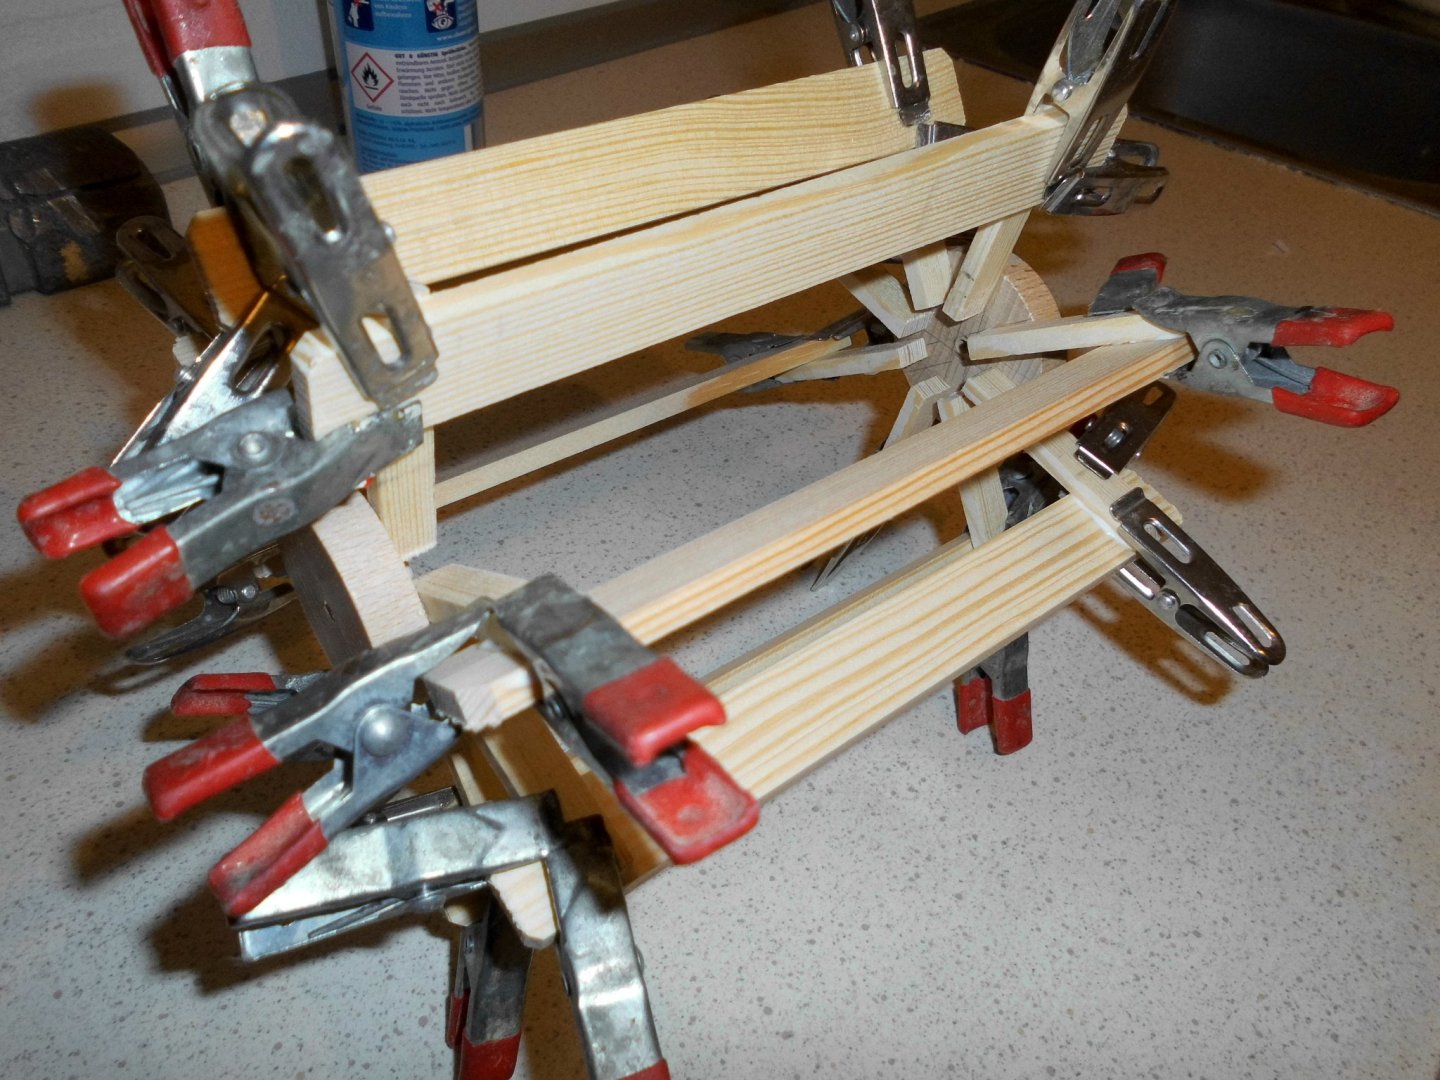
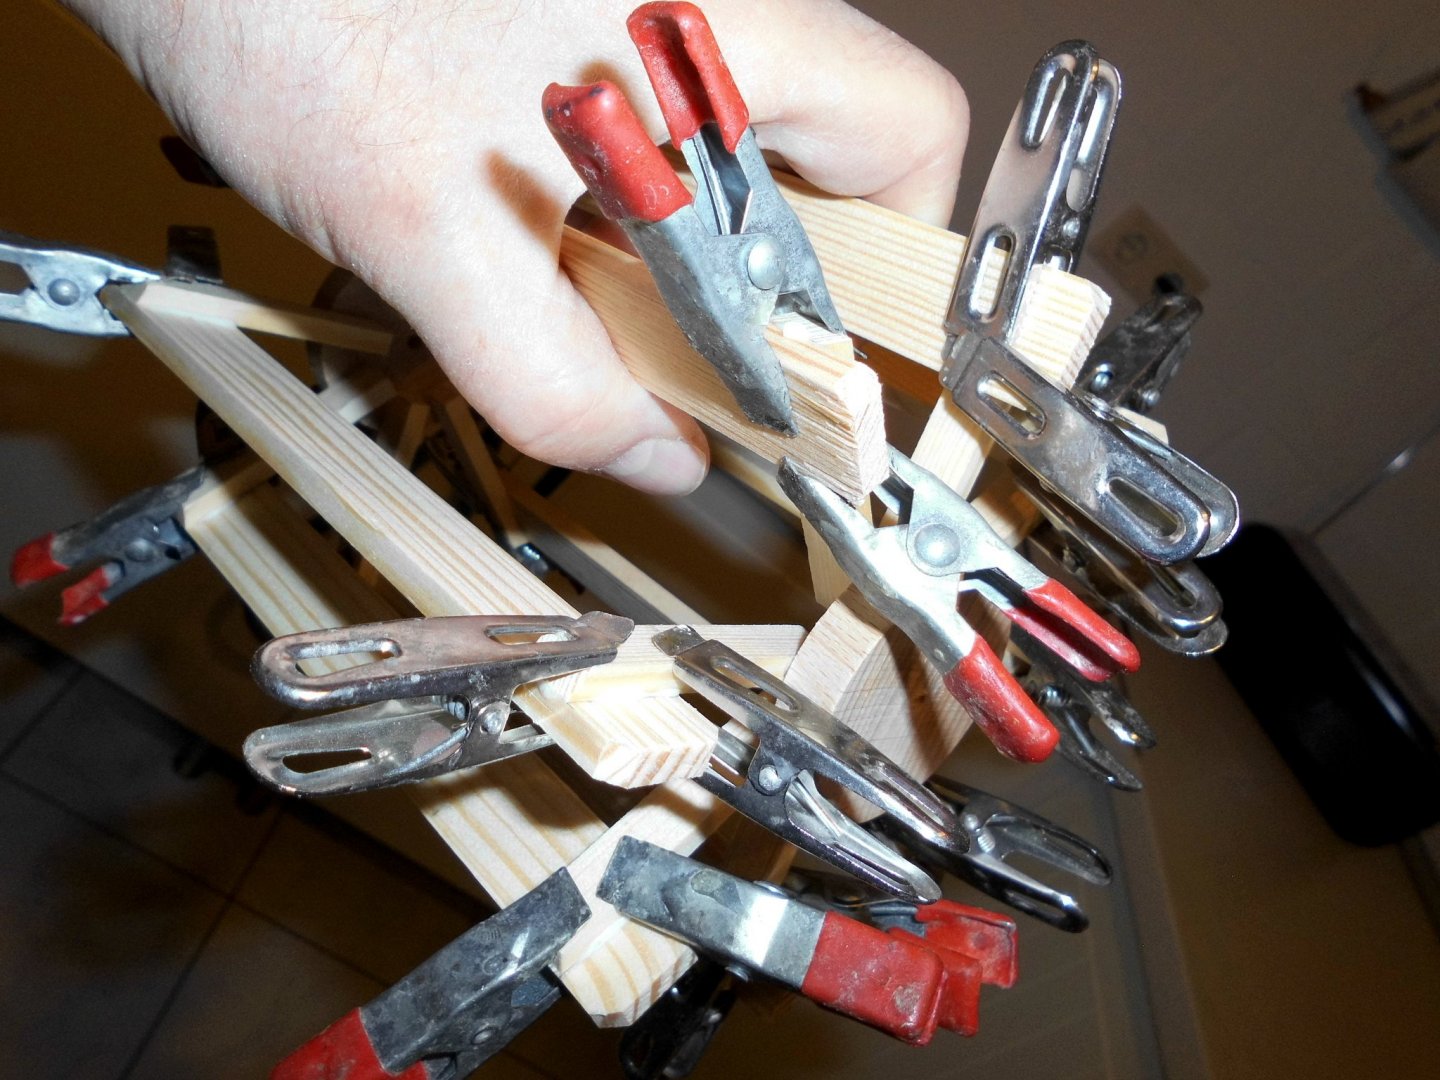
raw assembly with watertight glue
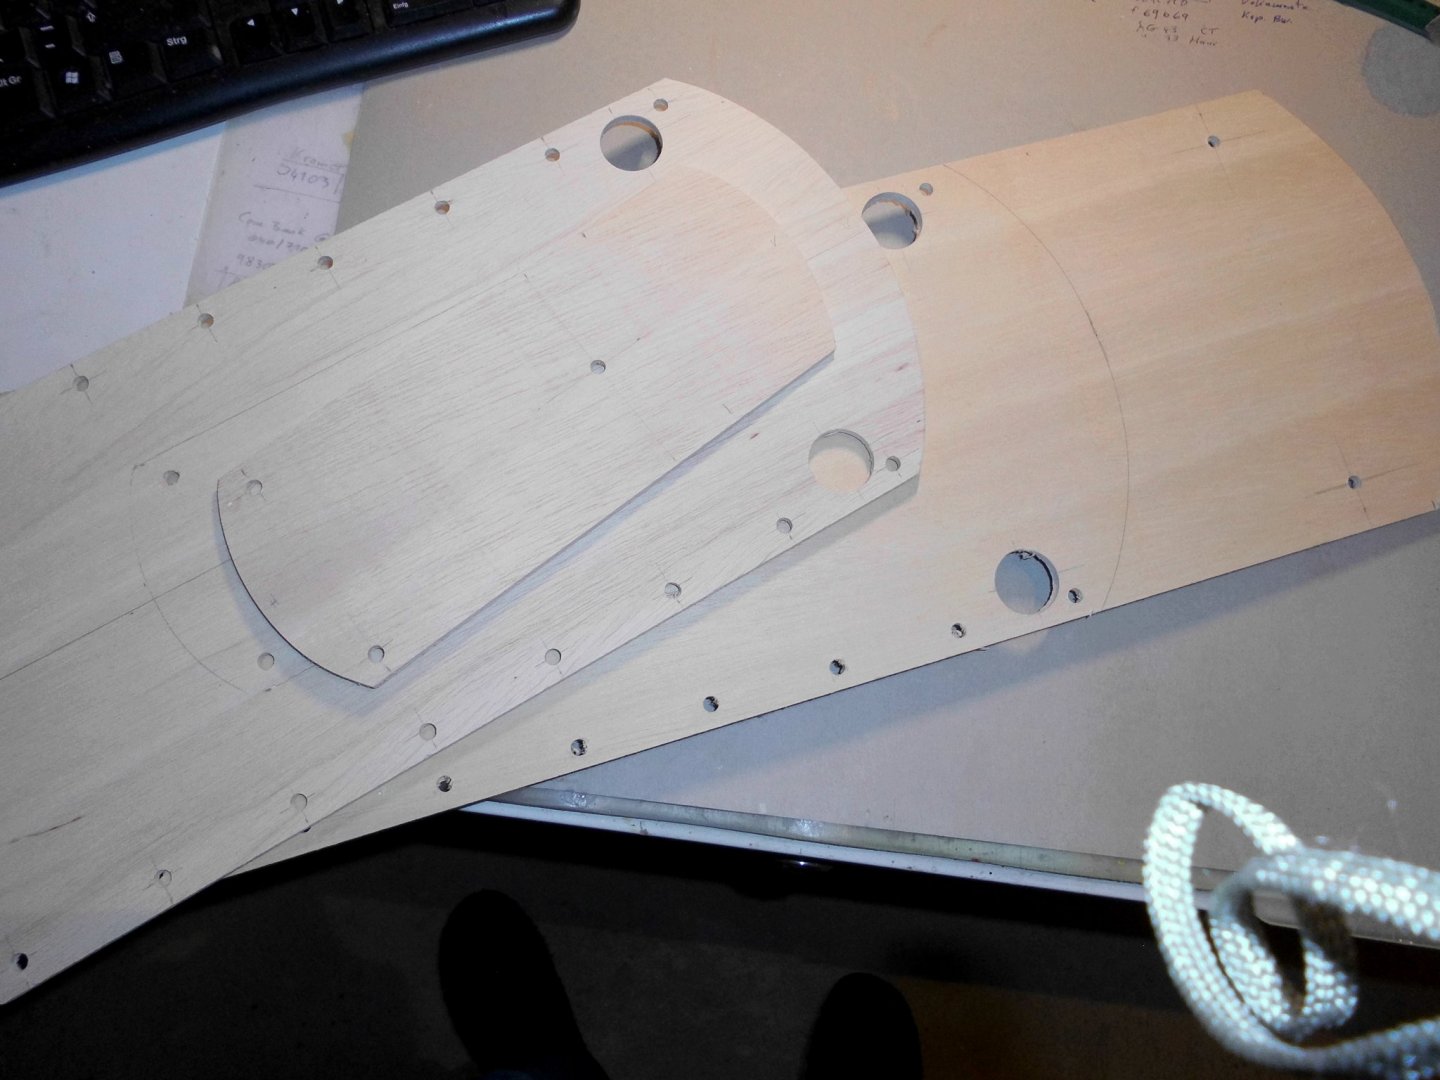
decks with holes for stacks and pillars
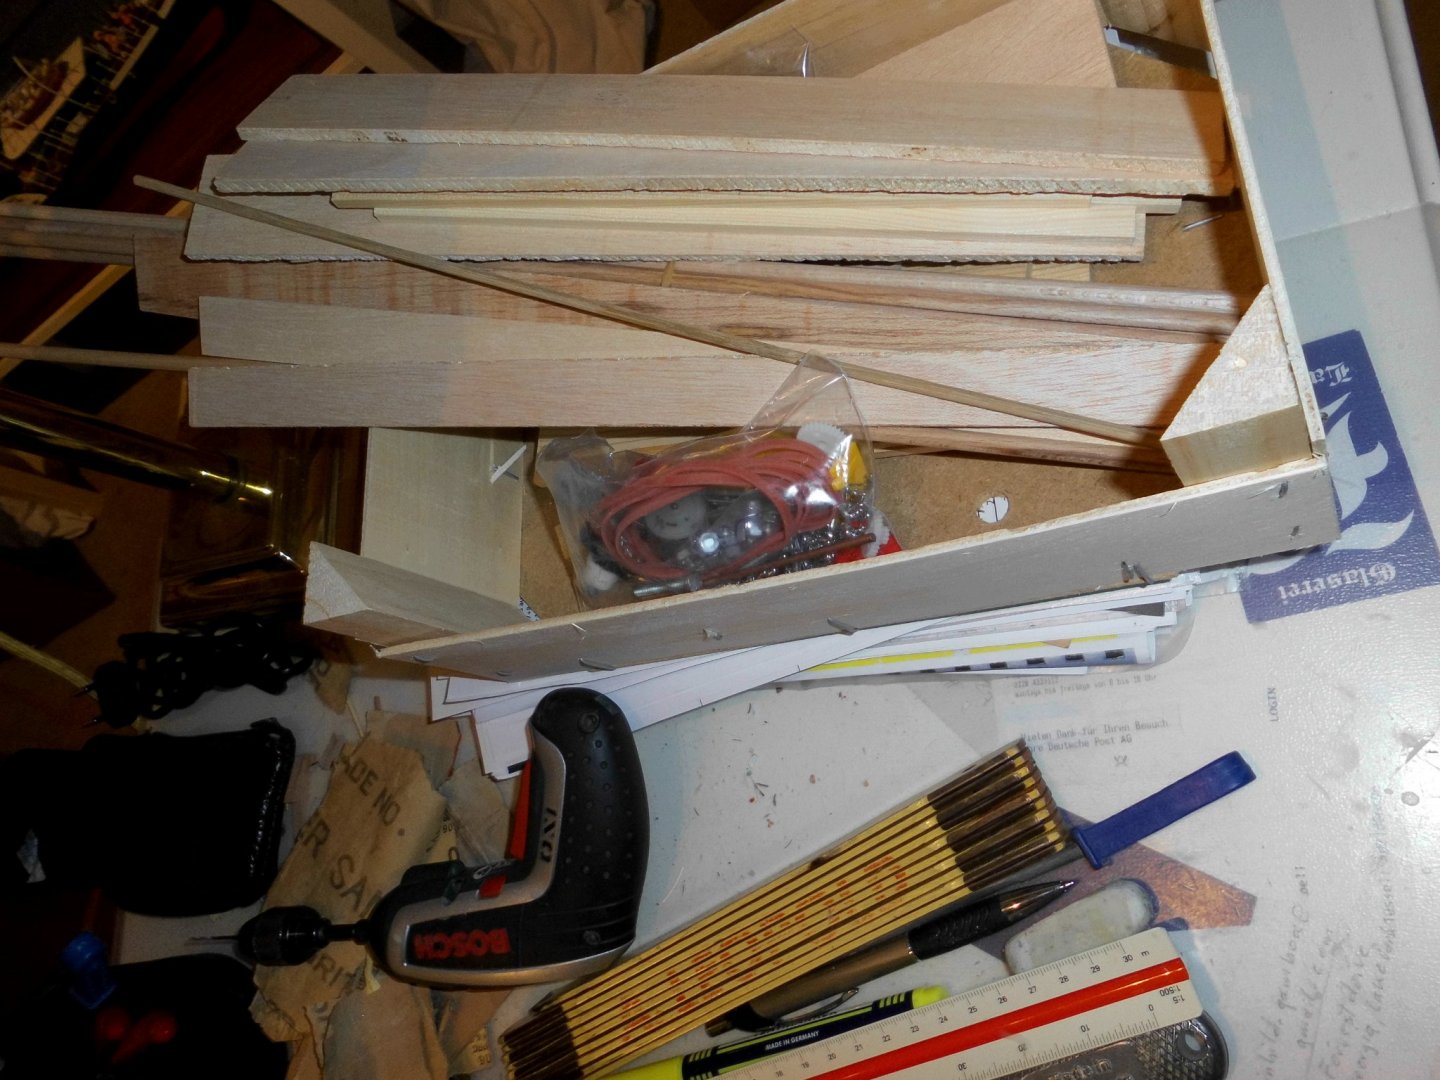
slowly the box with raw material is getting less...
making the roundings
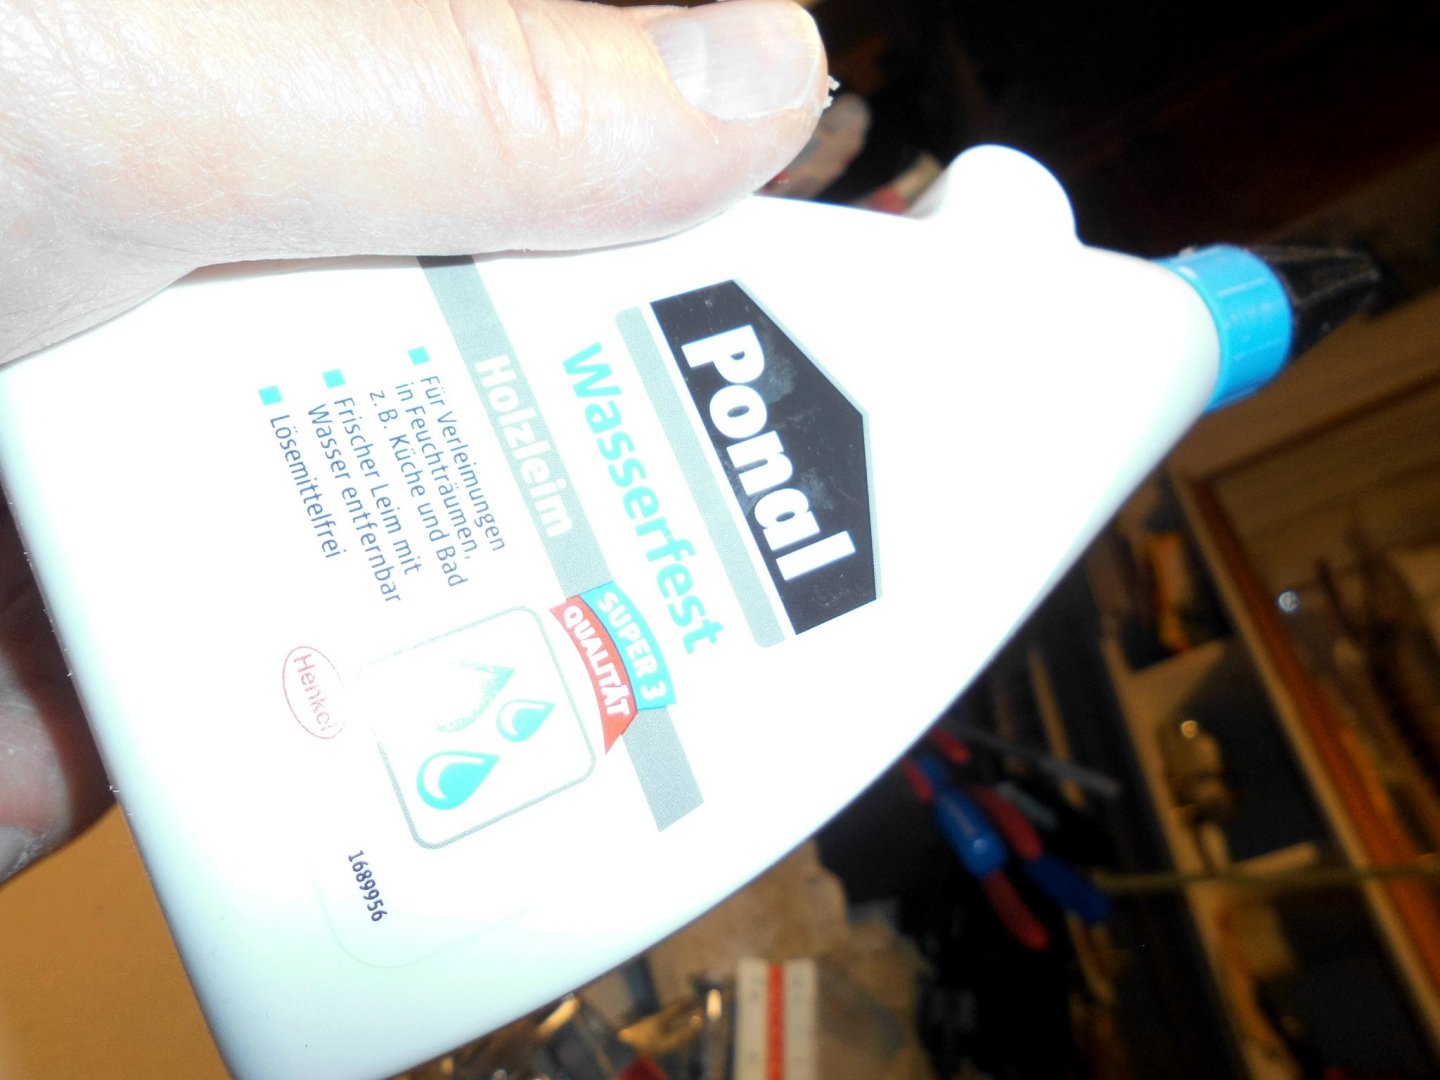
the watertight glue..
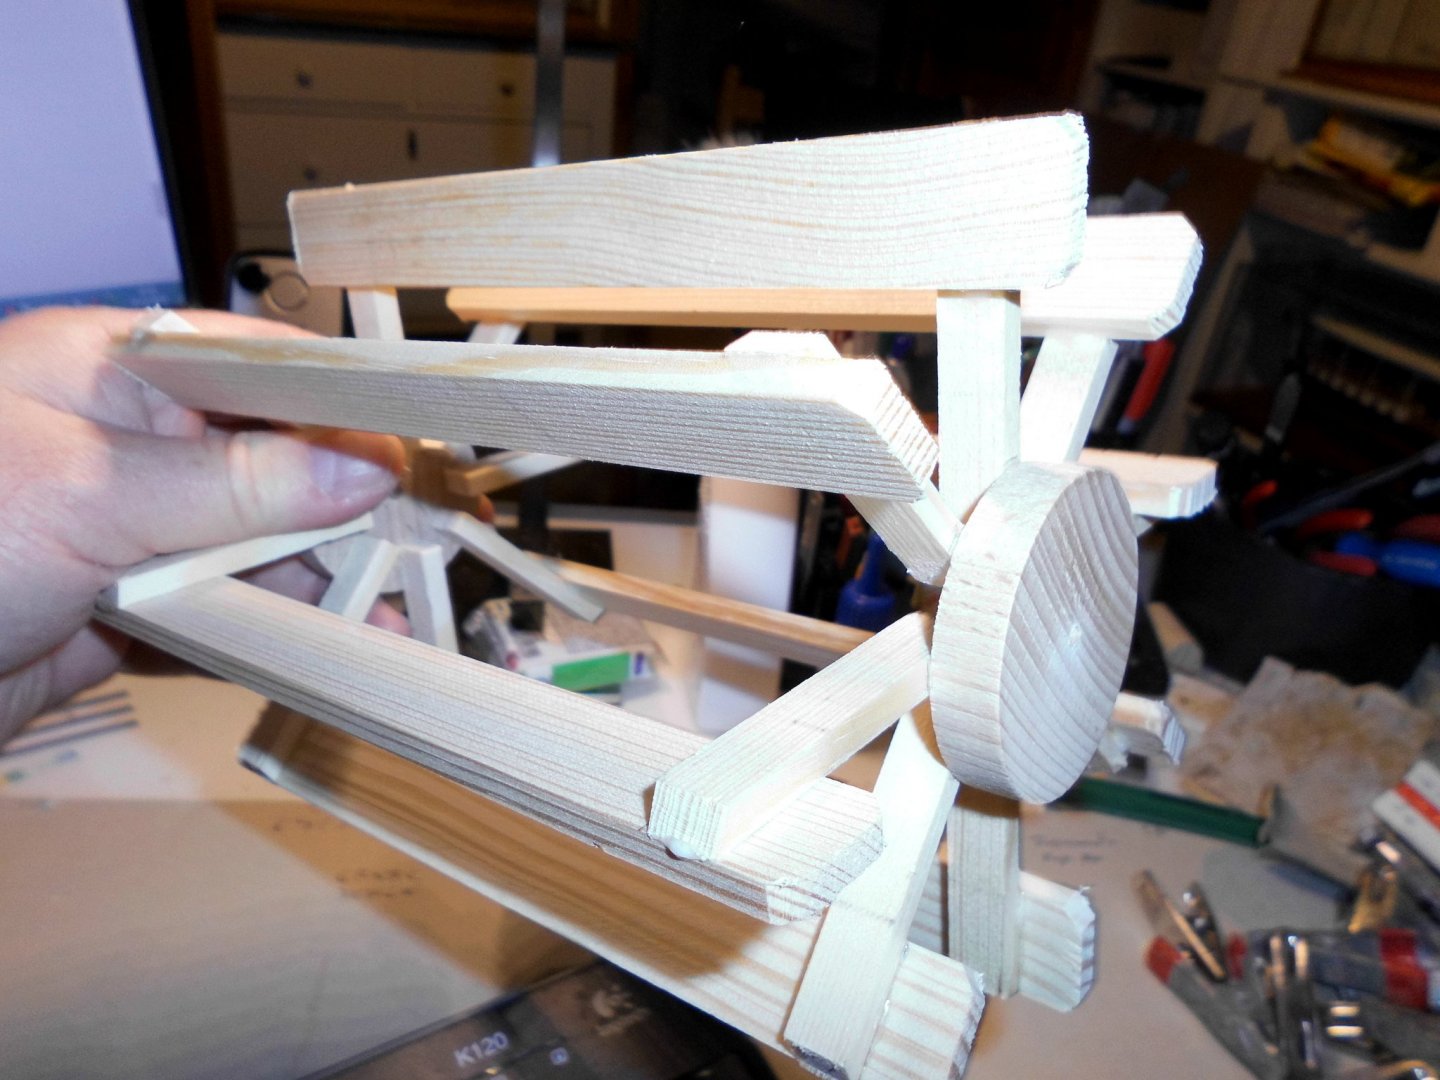
remove the clamps after glue curred out sufficiently
-
-
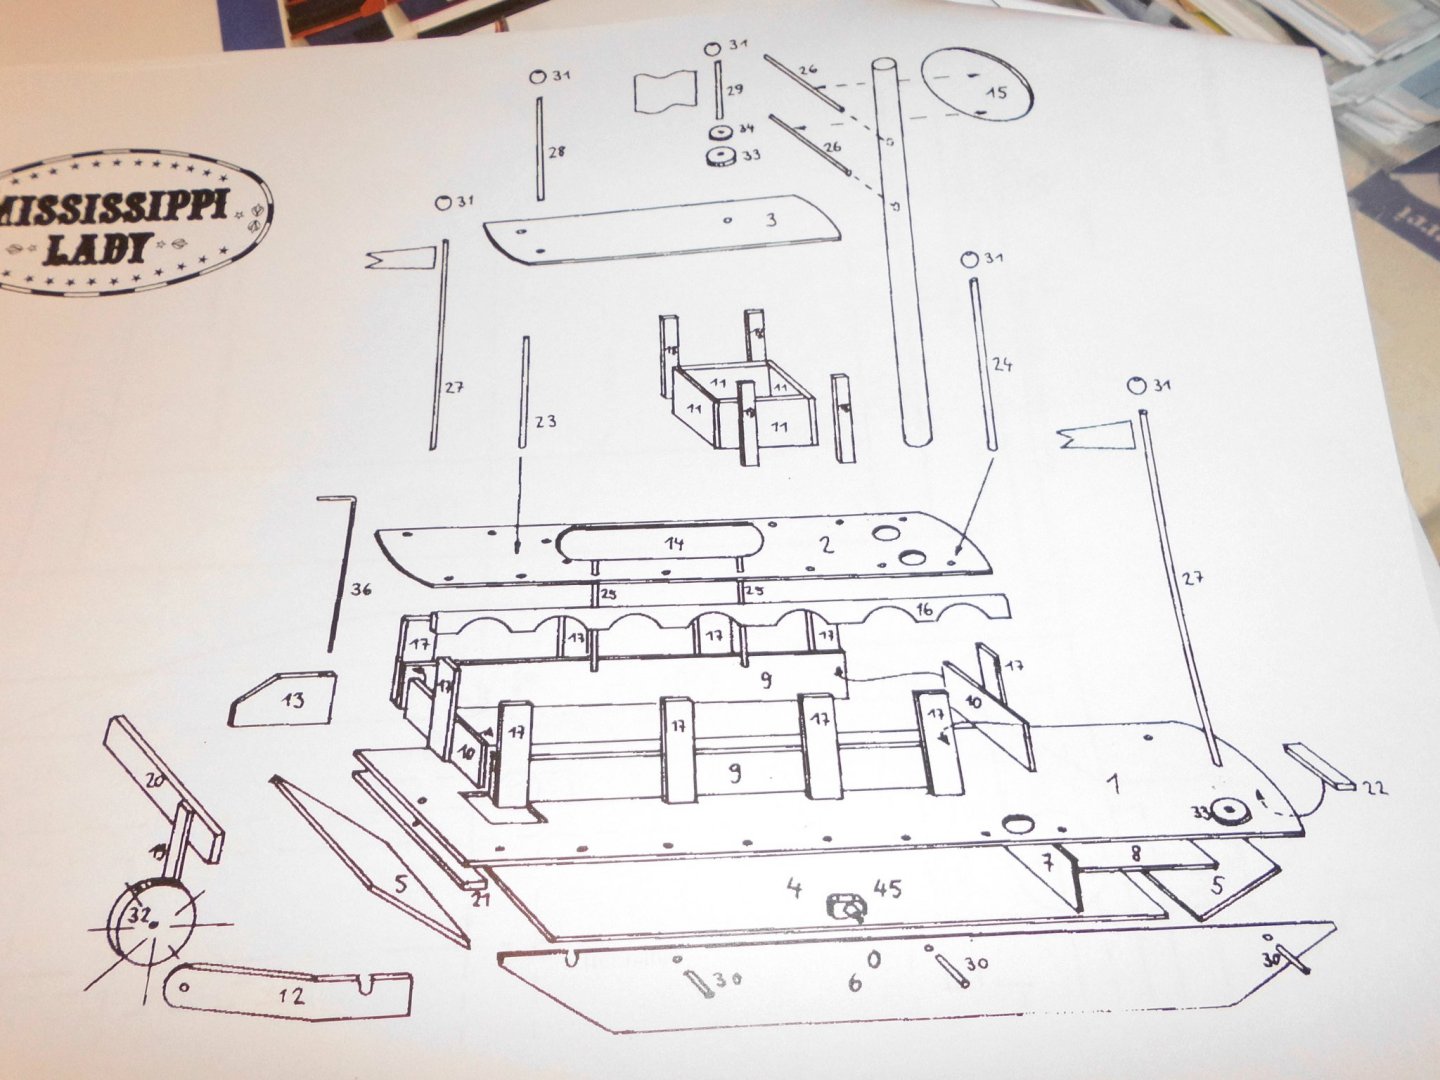
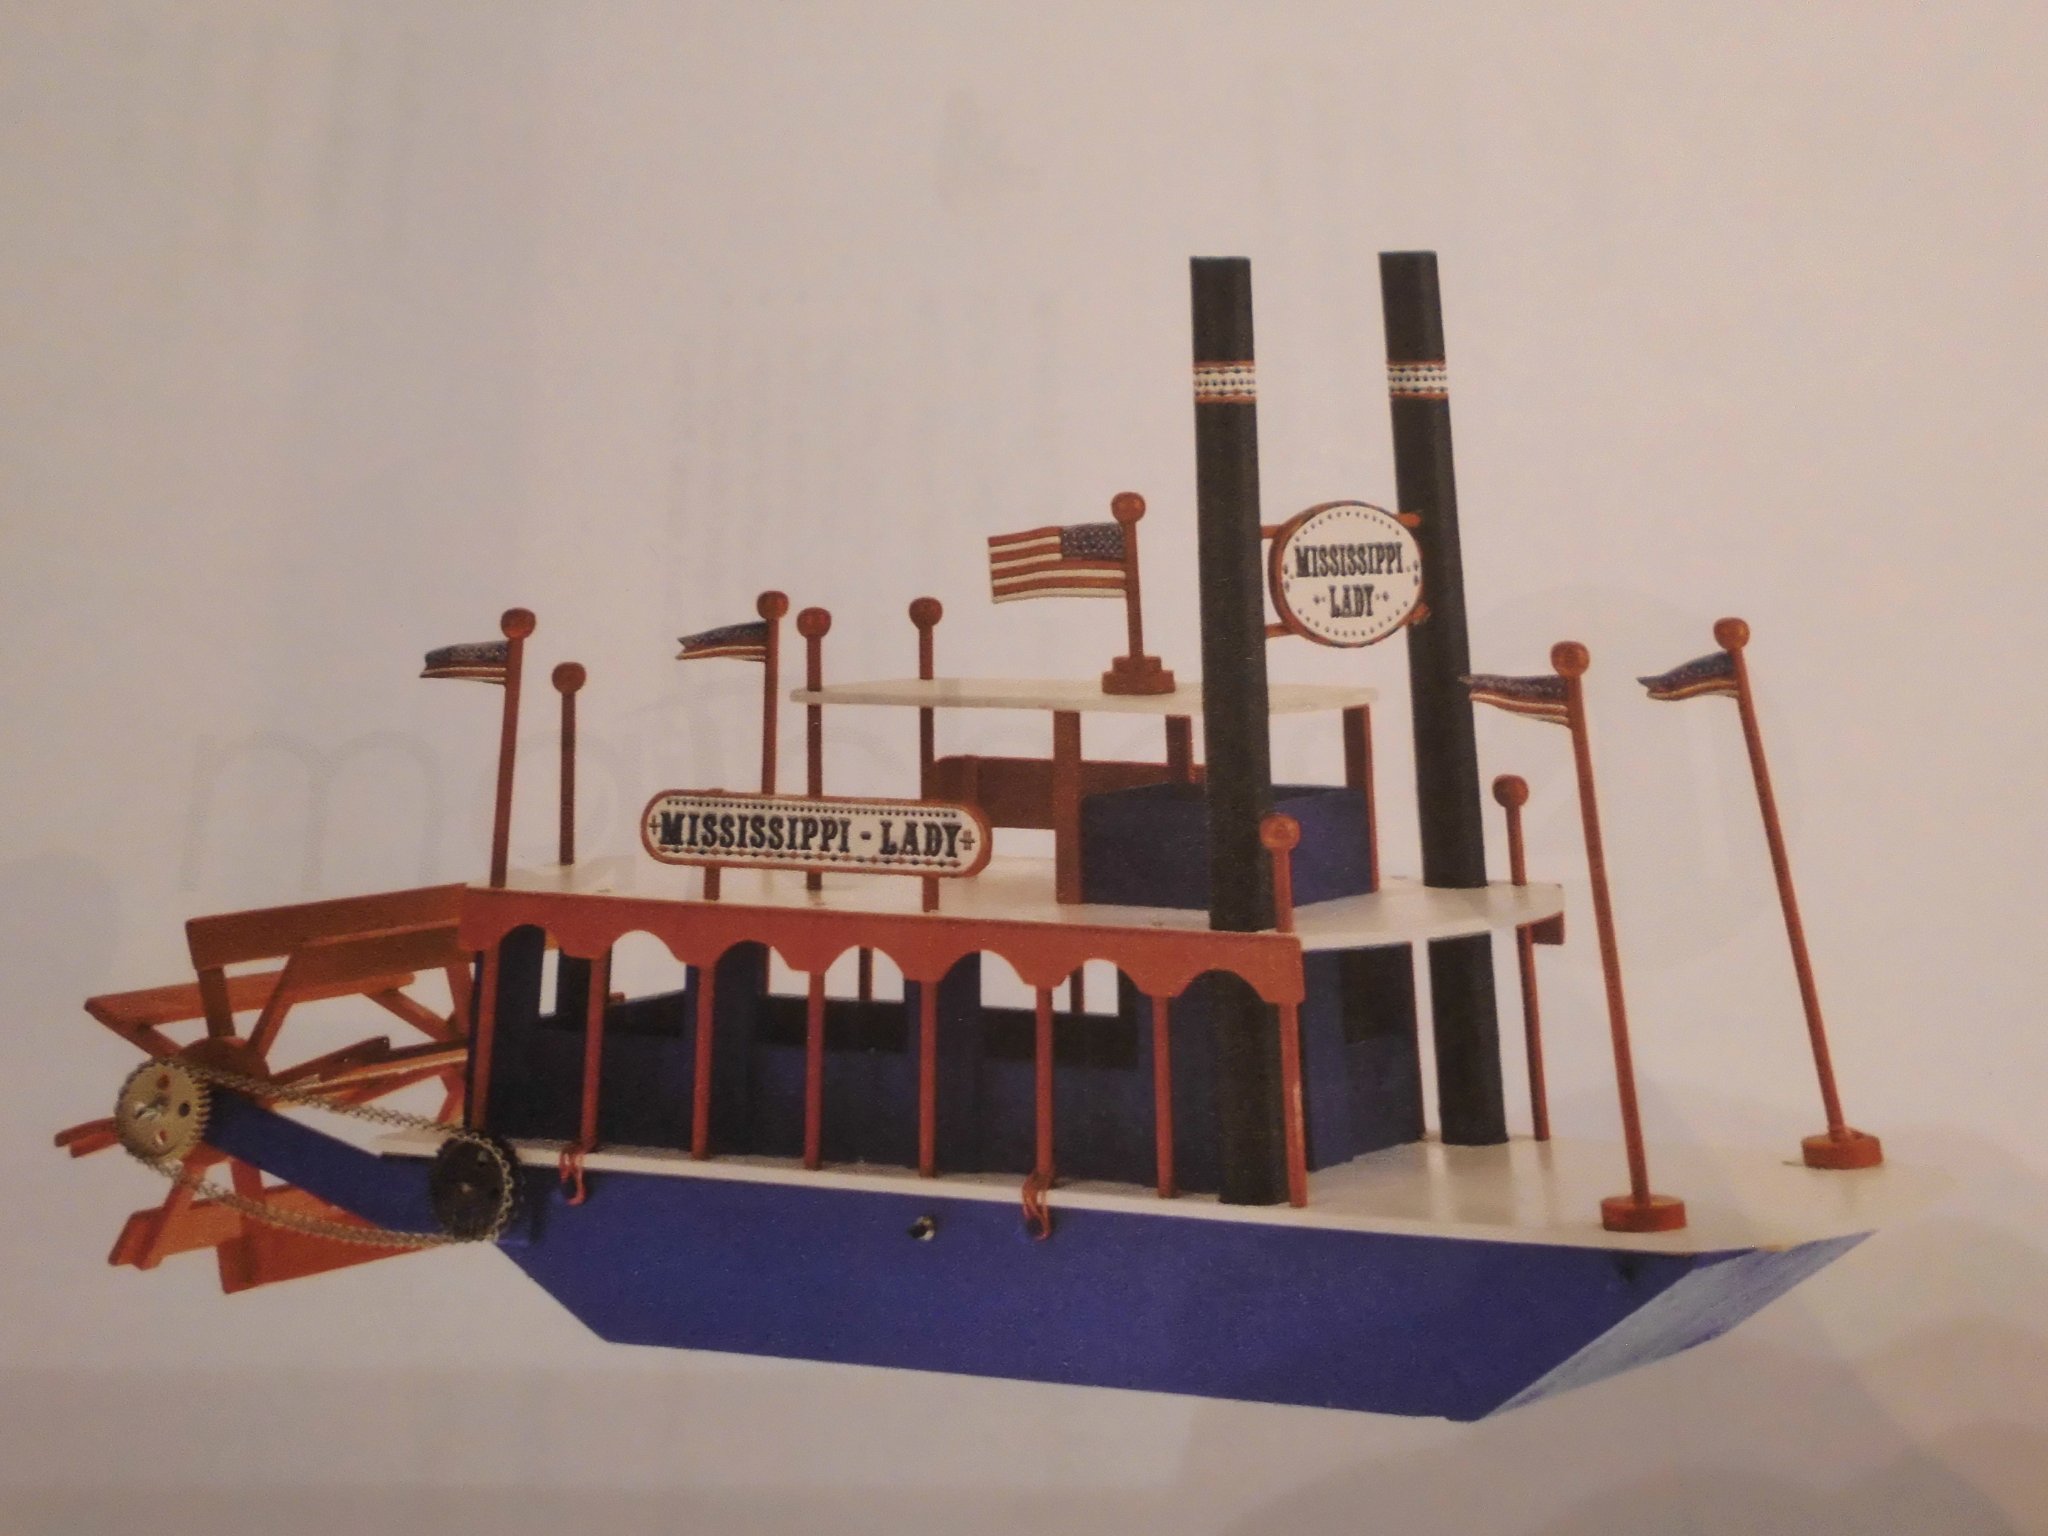
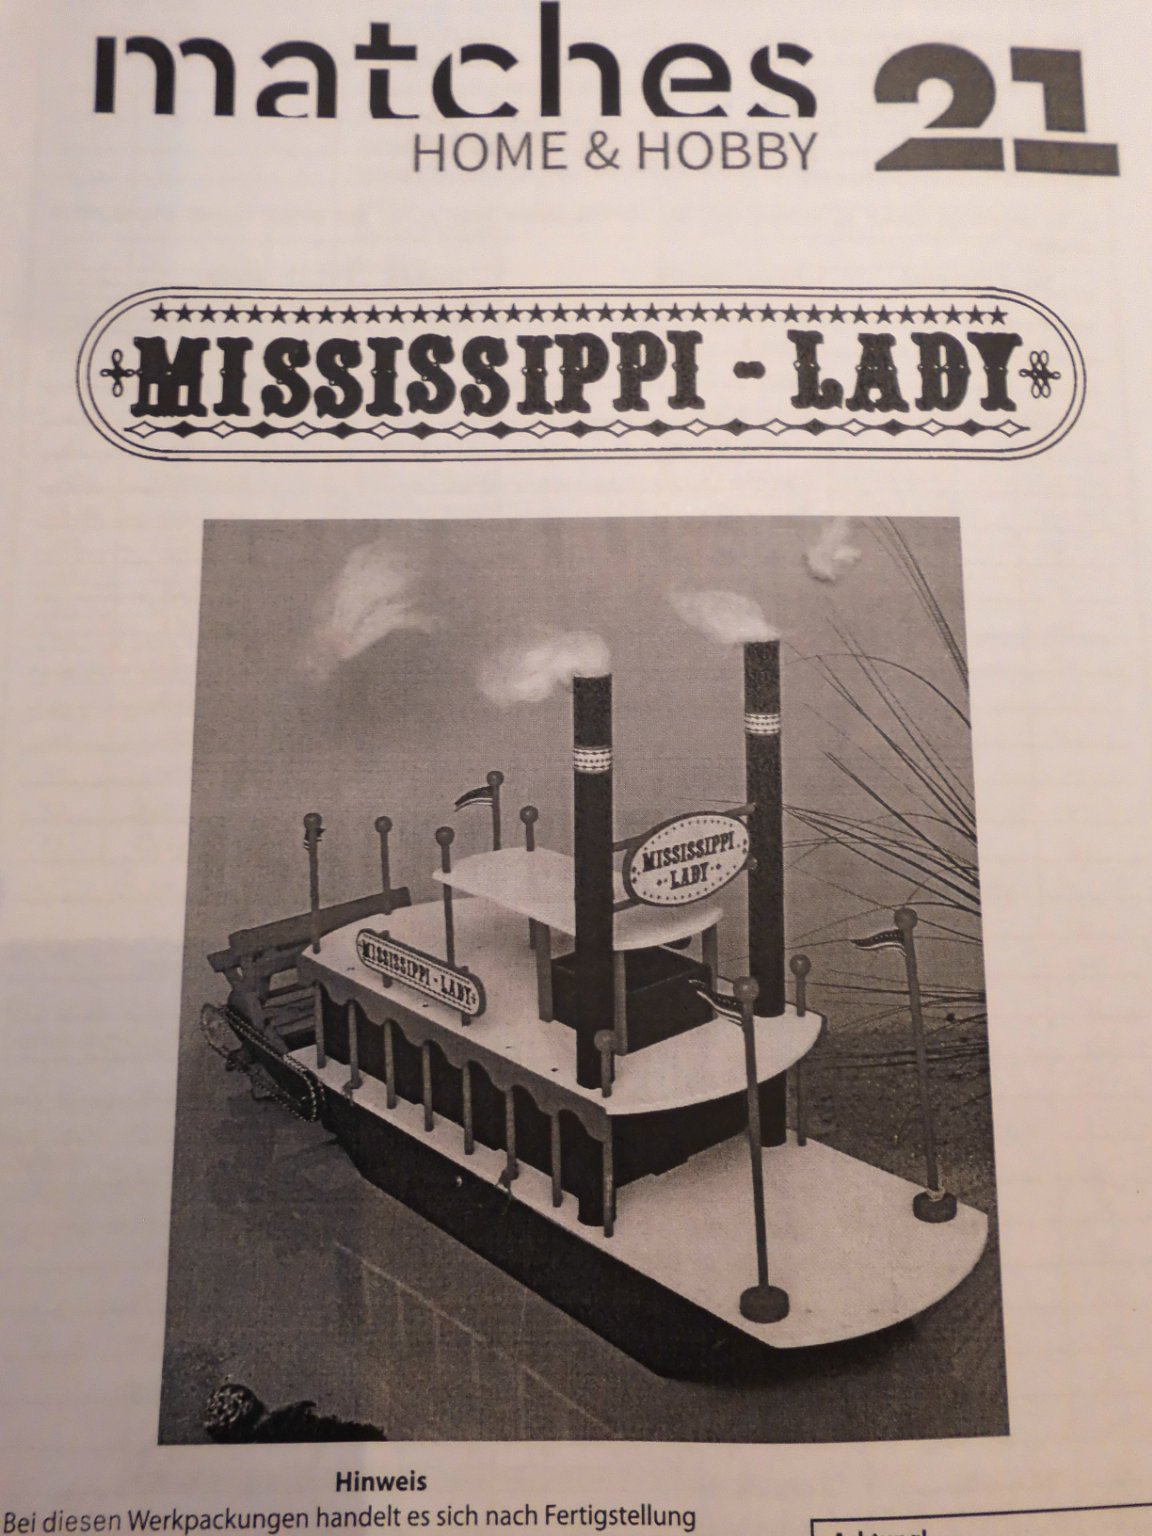
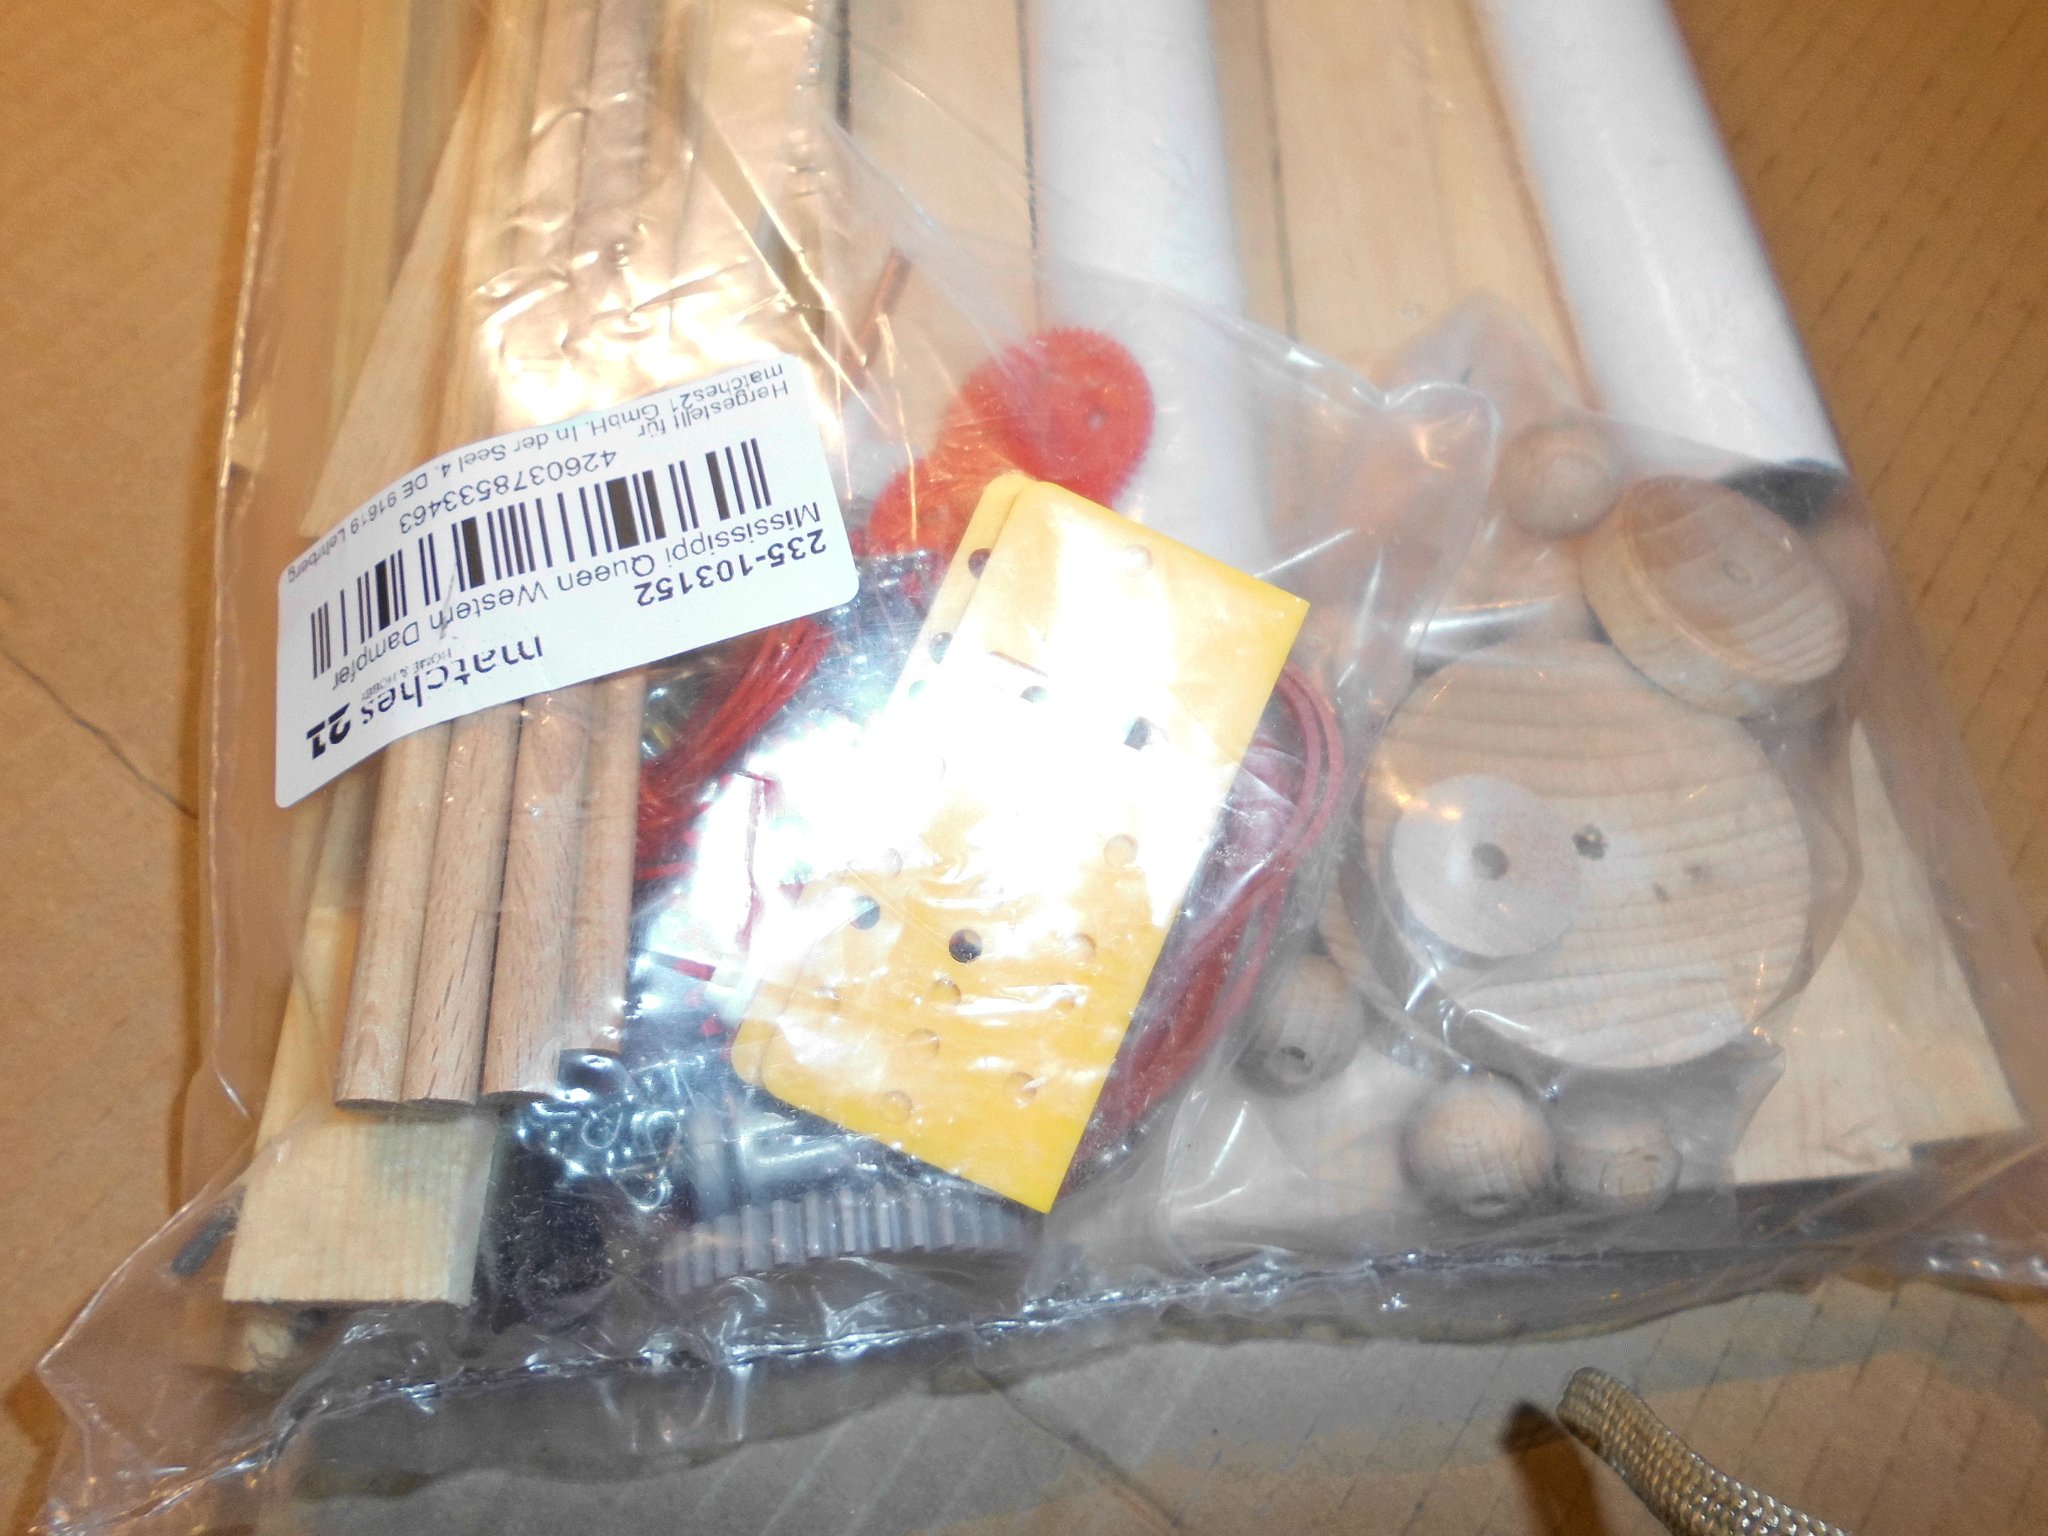
I was looking for something for my 3 year old grand son for Christmas. So grandpa decided to build a sternwheel steamship, and in lack of time for a scratch-build,
it would have to be a relatively simple design, but tough enough to be showen over the carpet. It also would be capable of floating on a lake or pond. It is more or less a nice functionable toy ship for little boys to play with. It would run with a 4,5 Volt battery, if required.
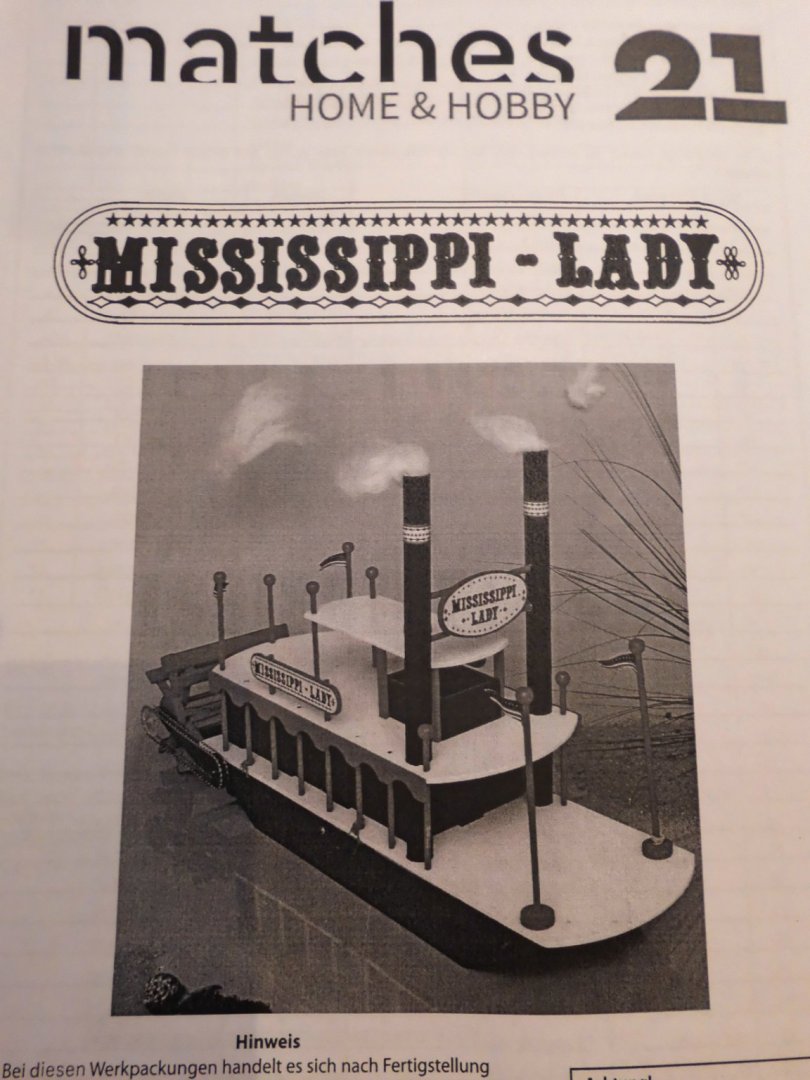
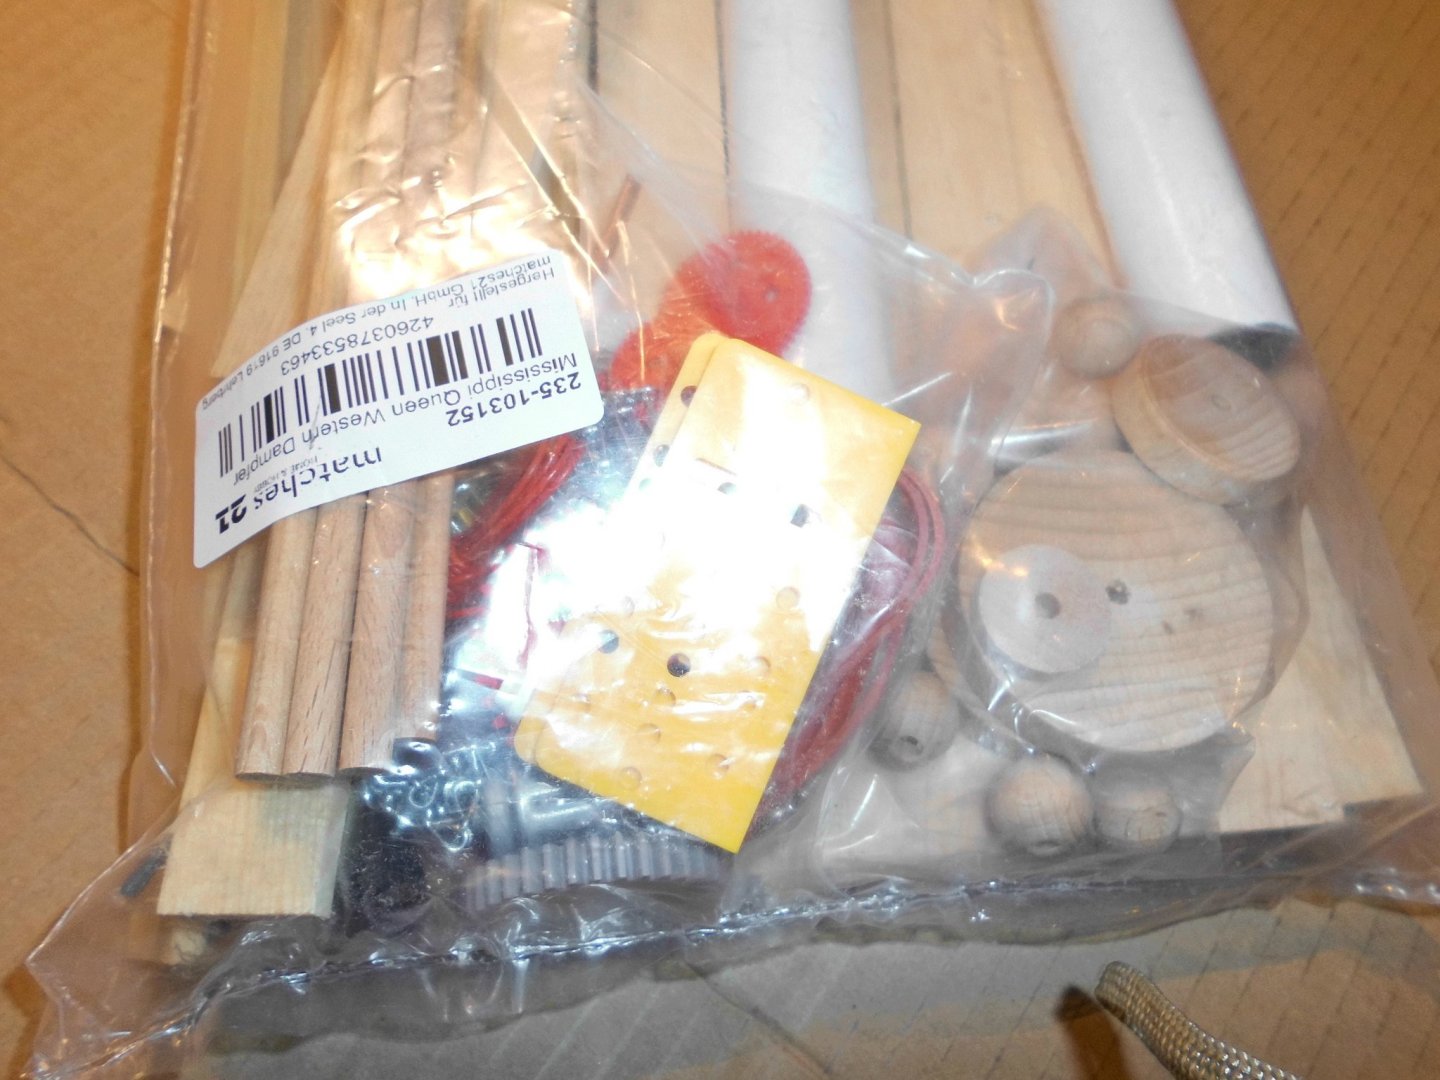
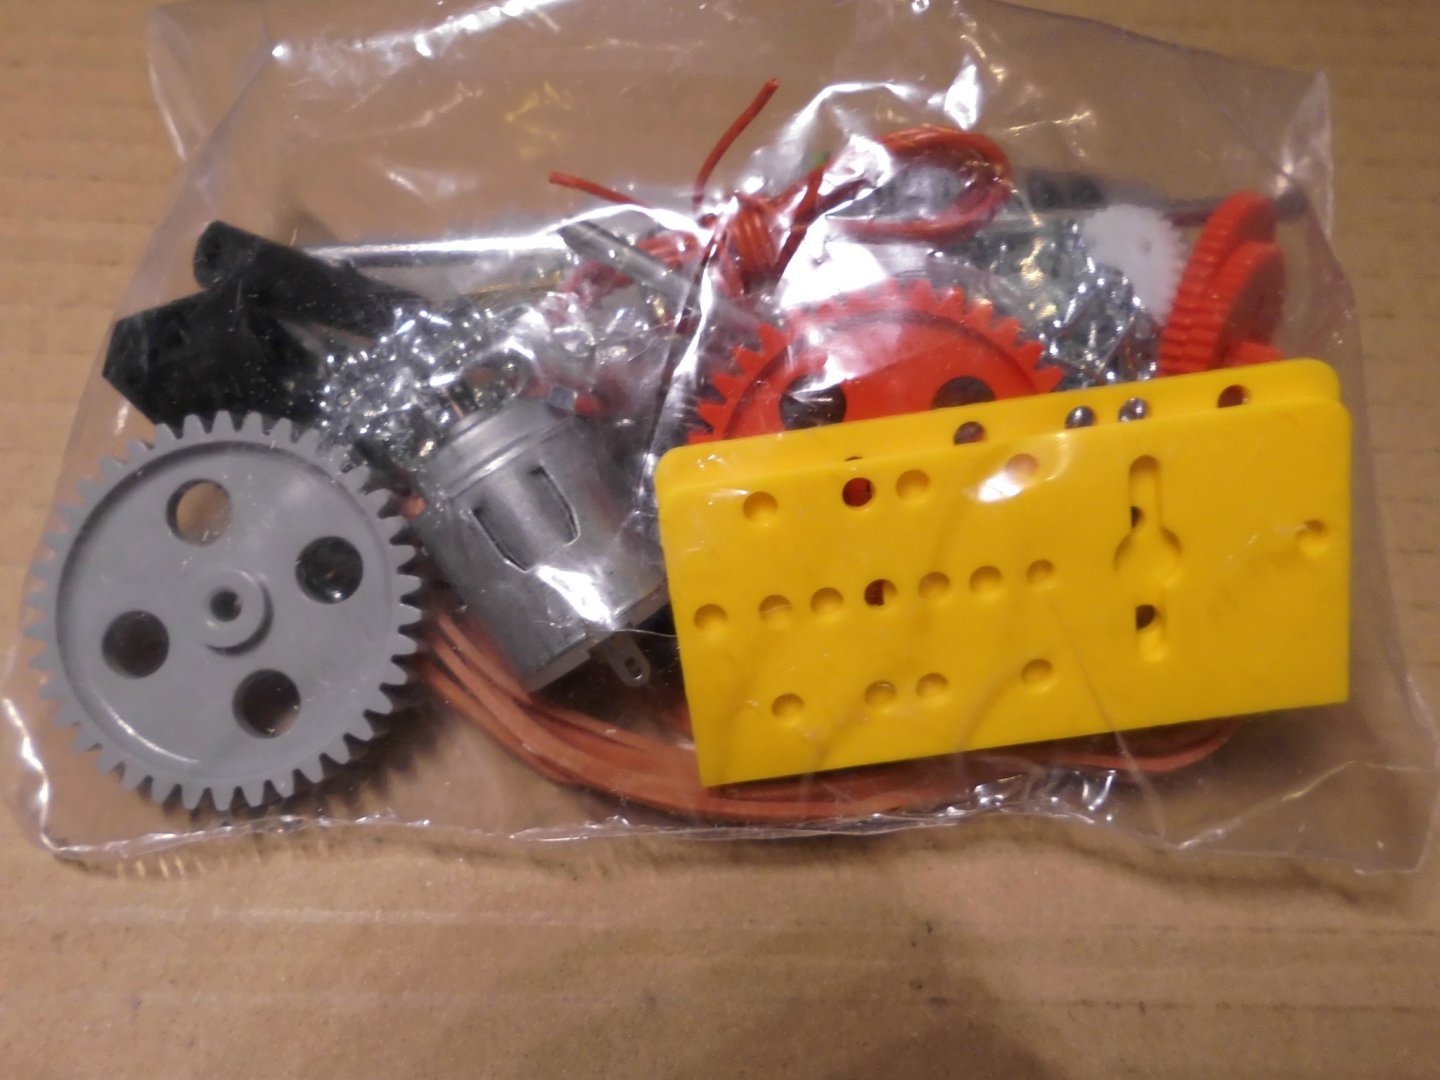
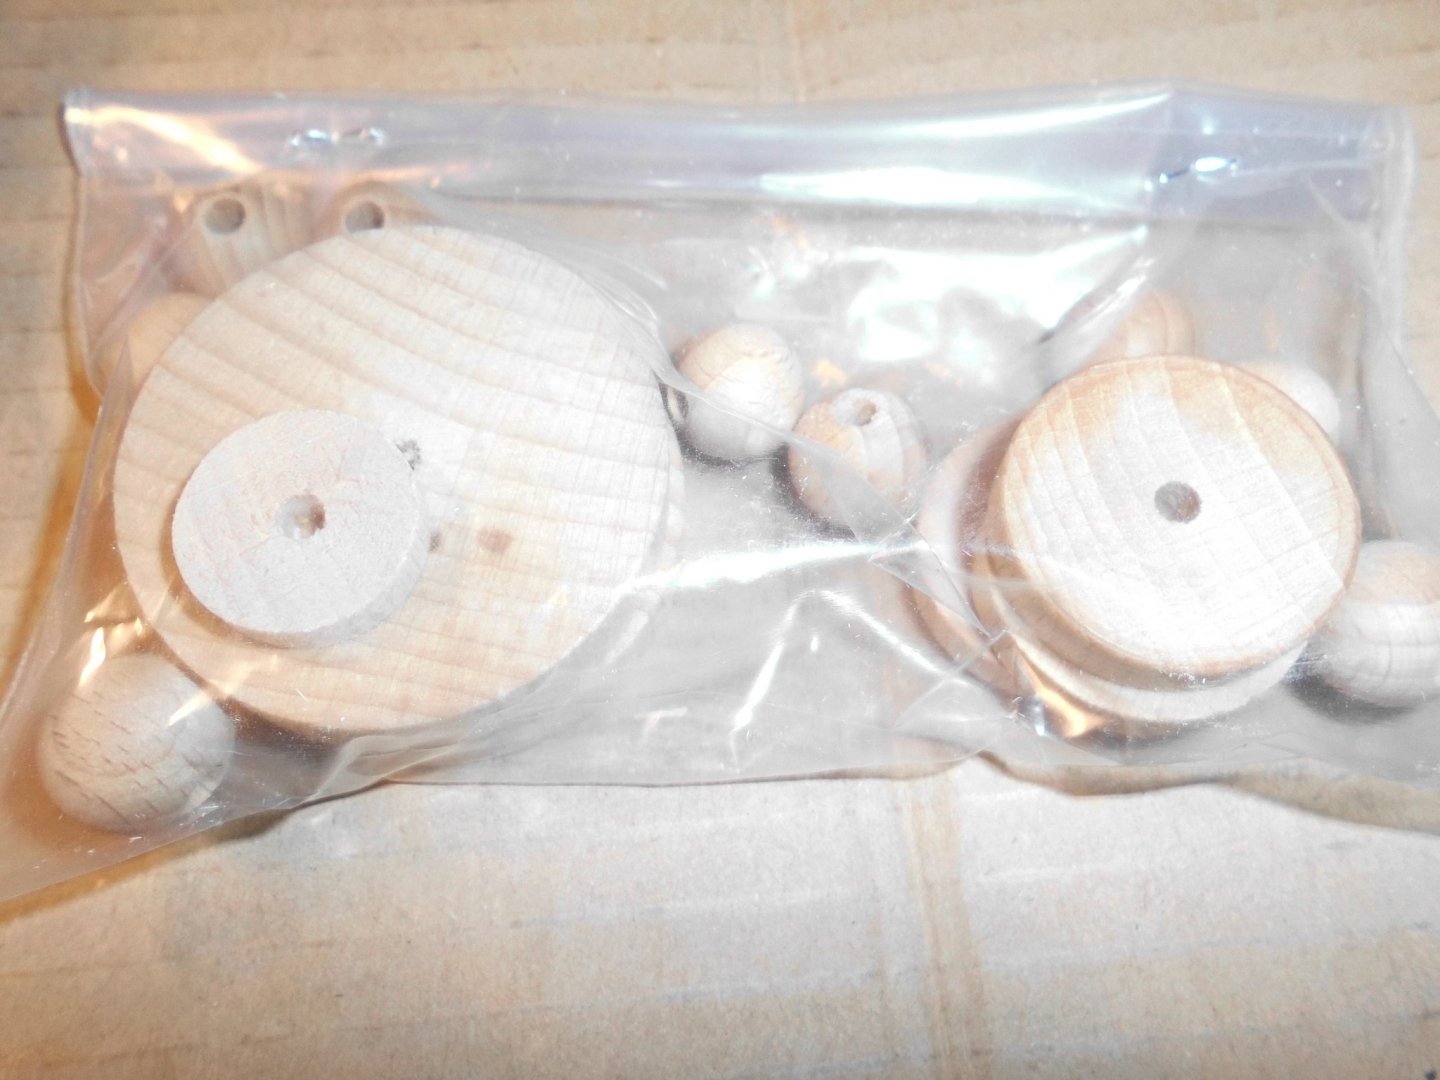
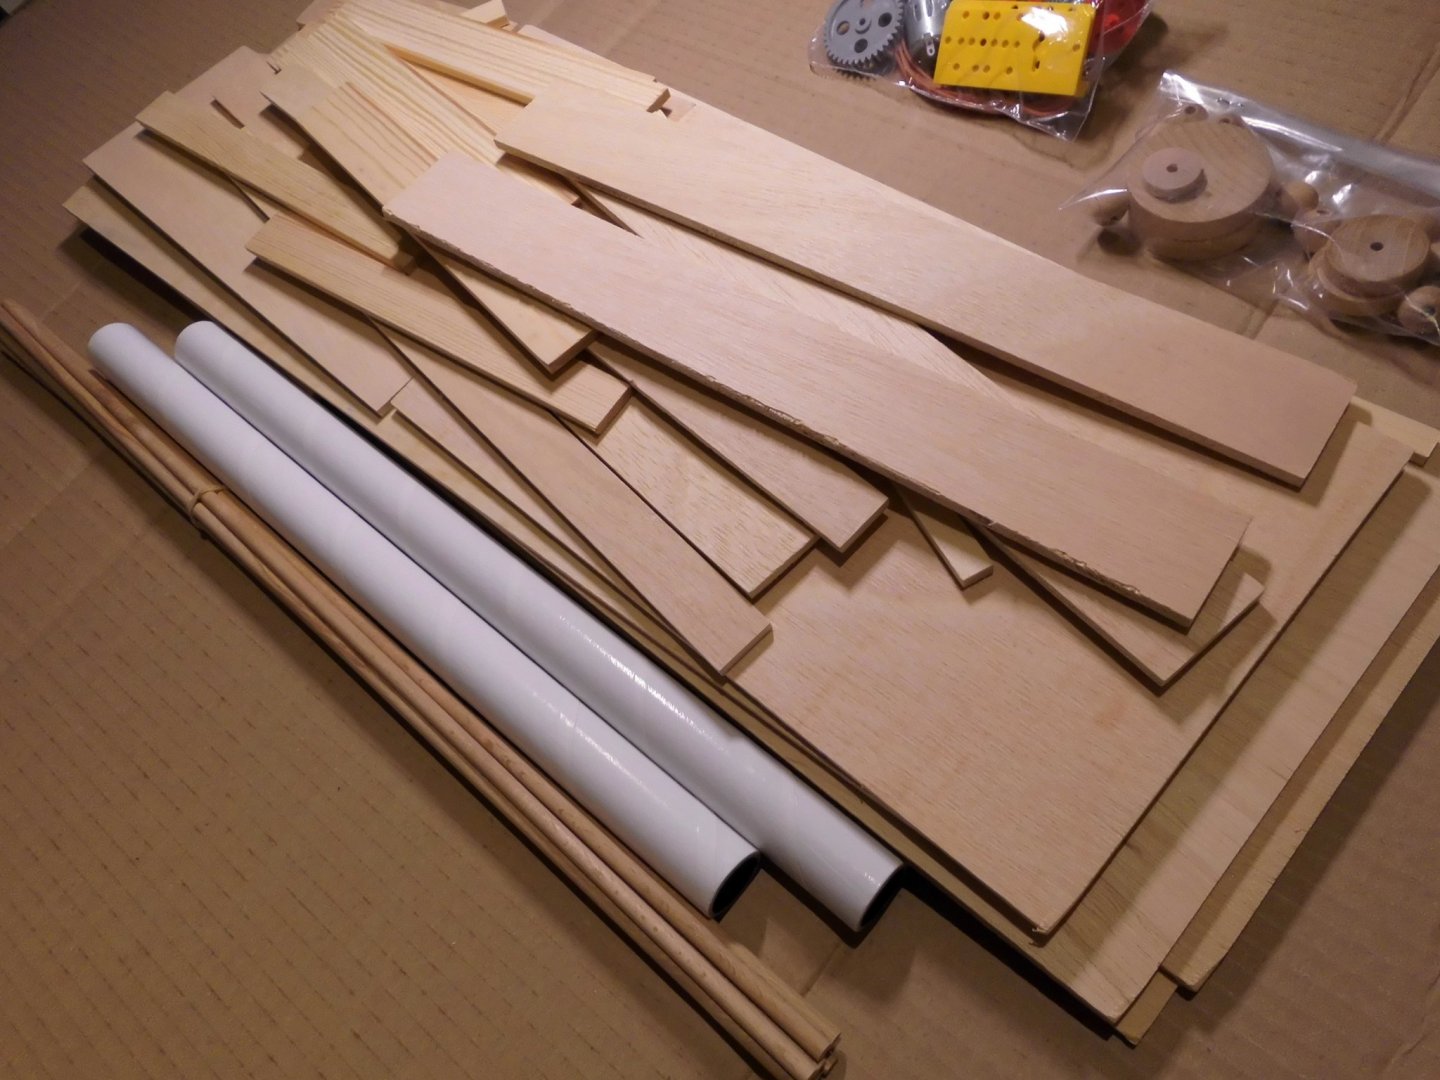
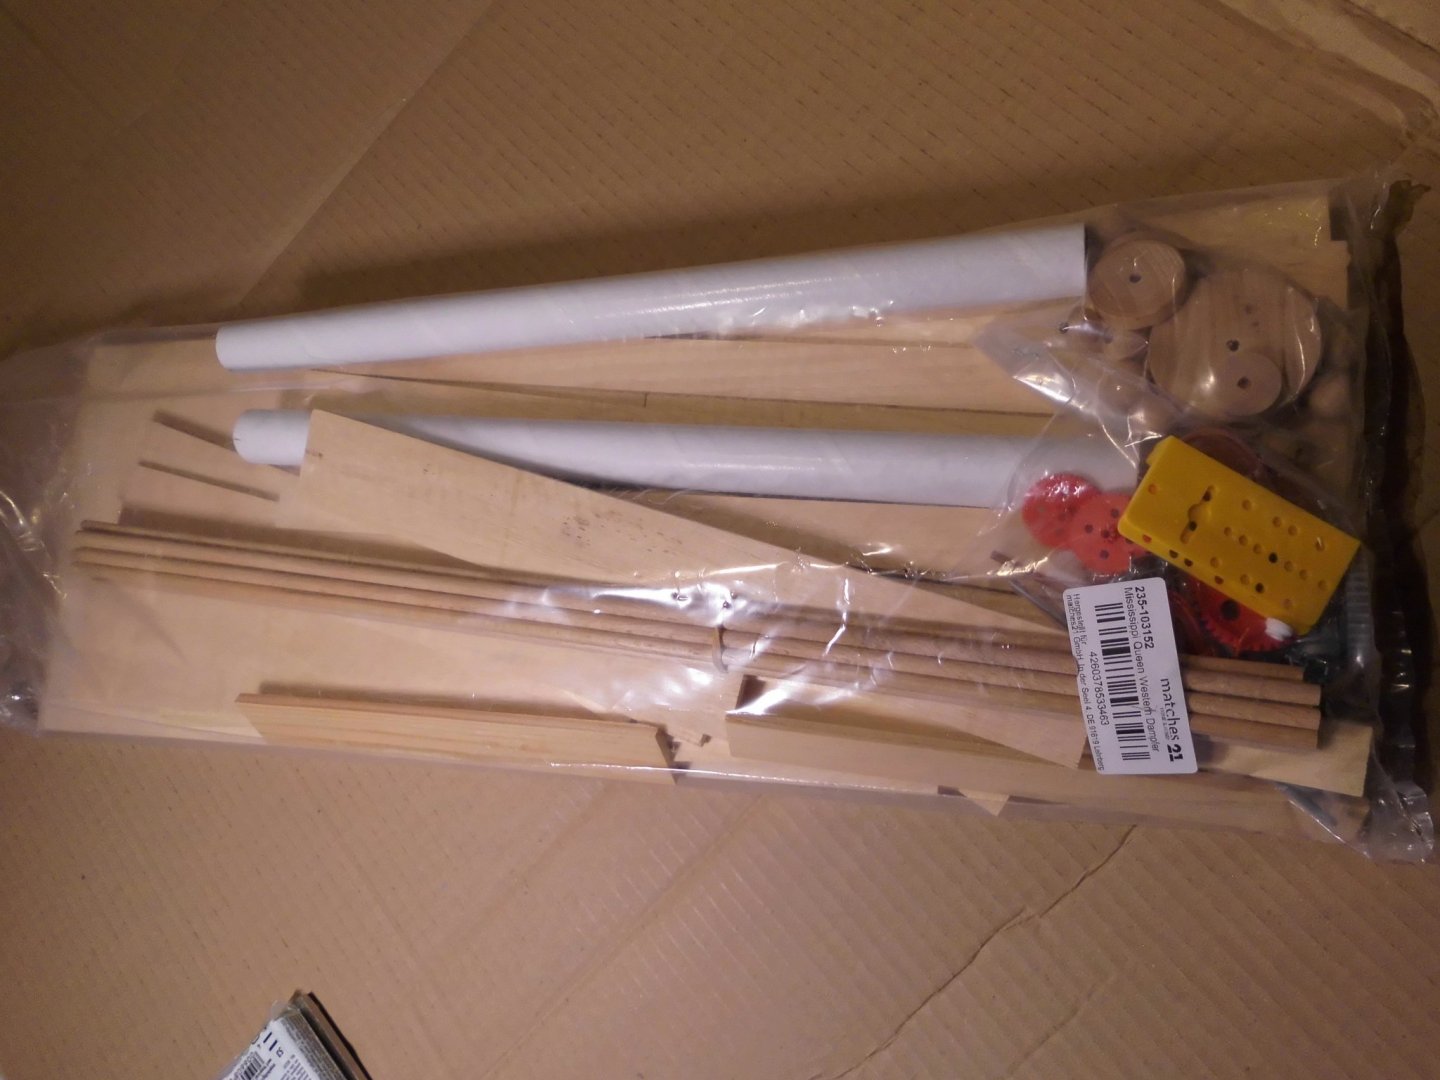
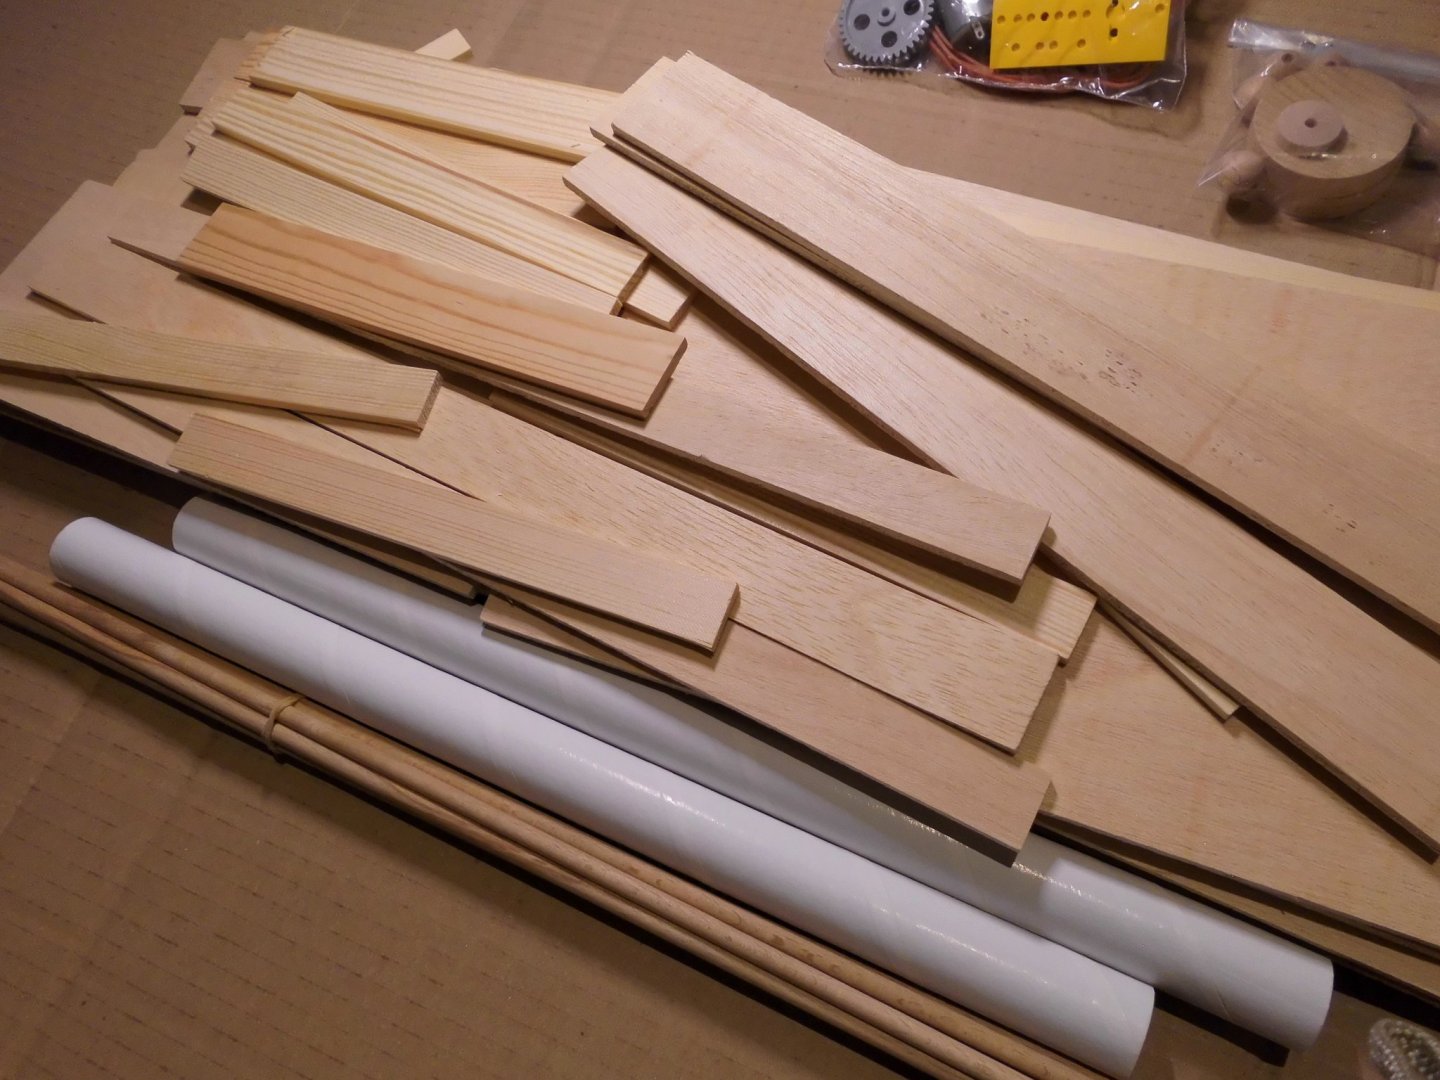
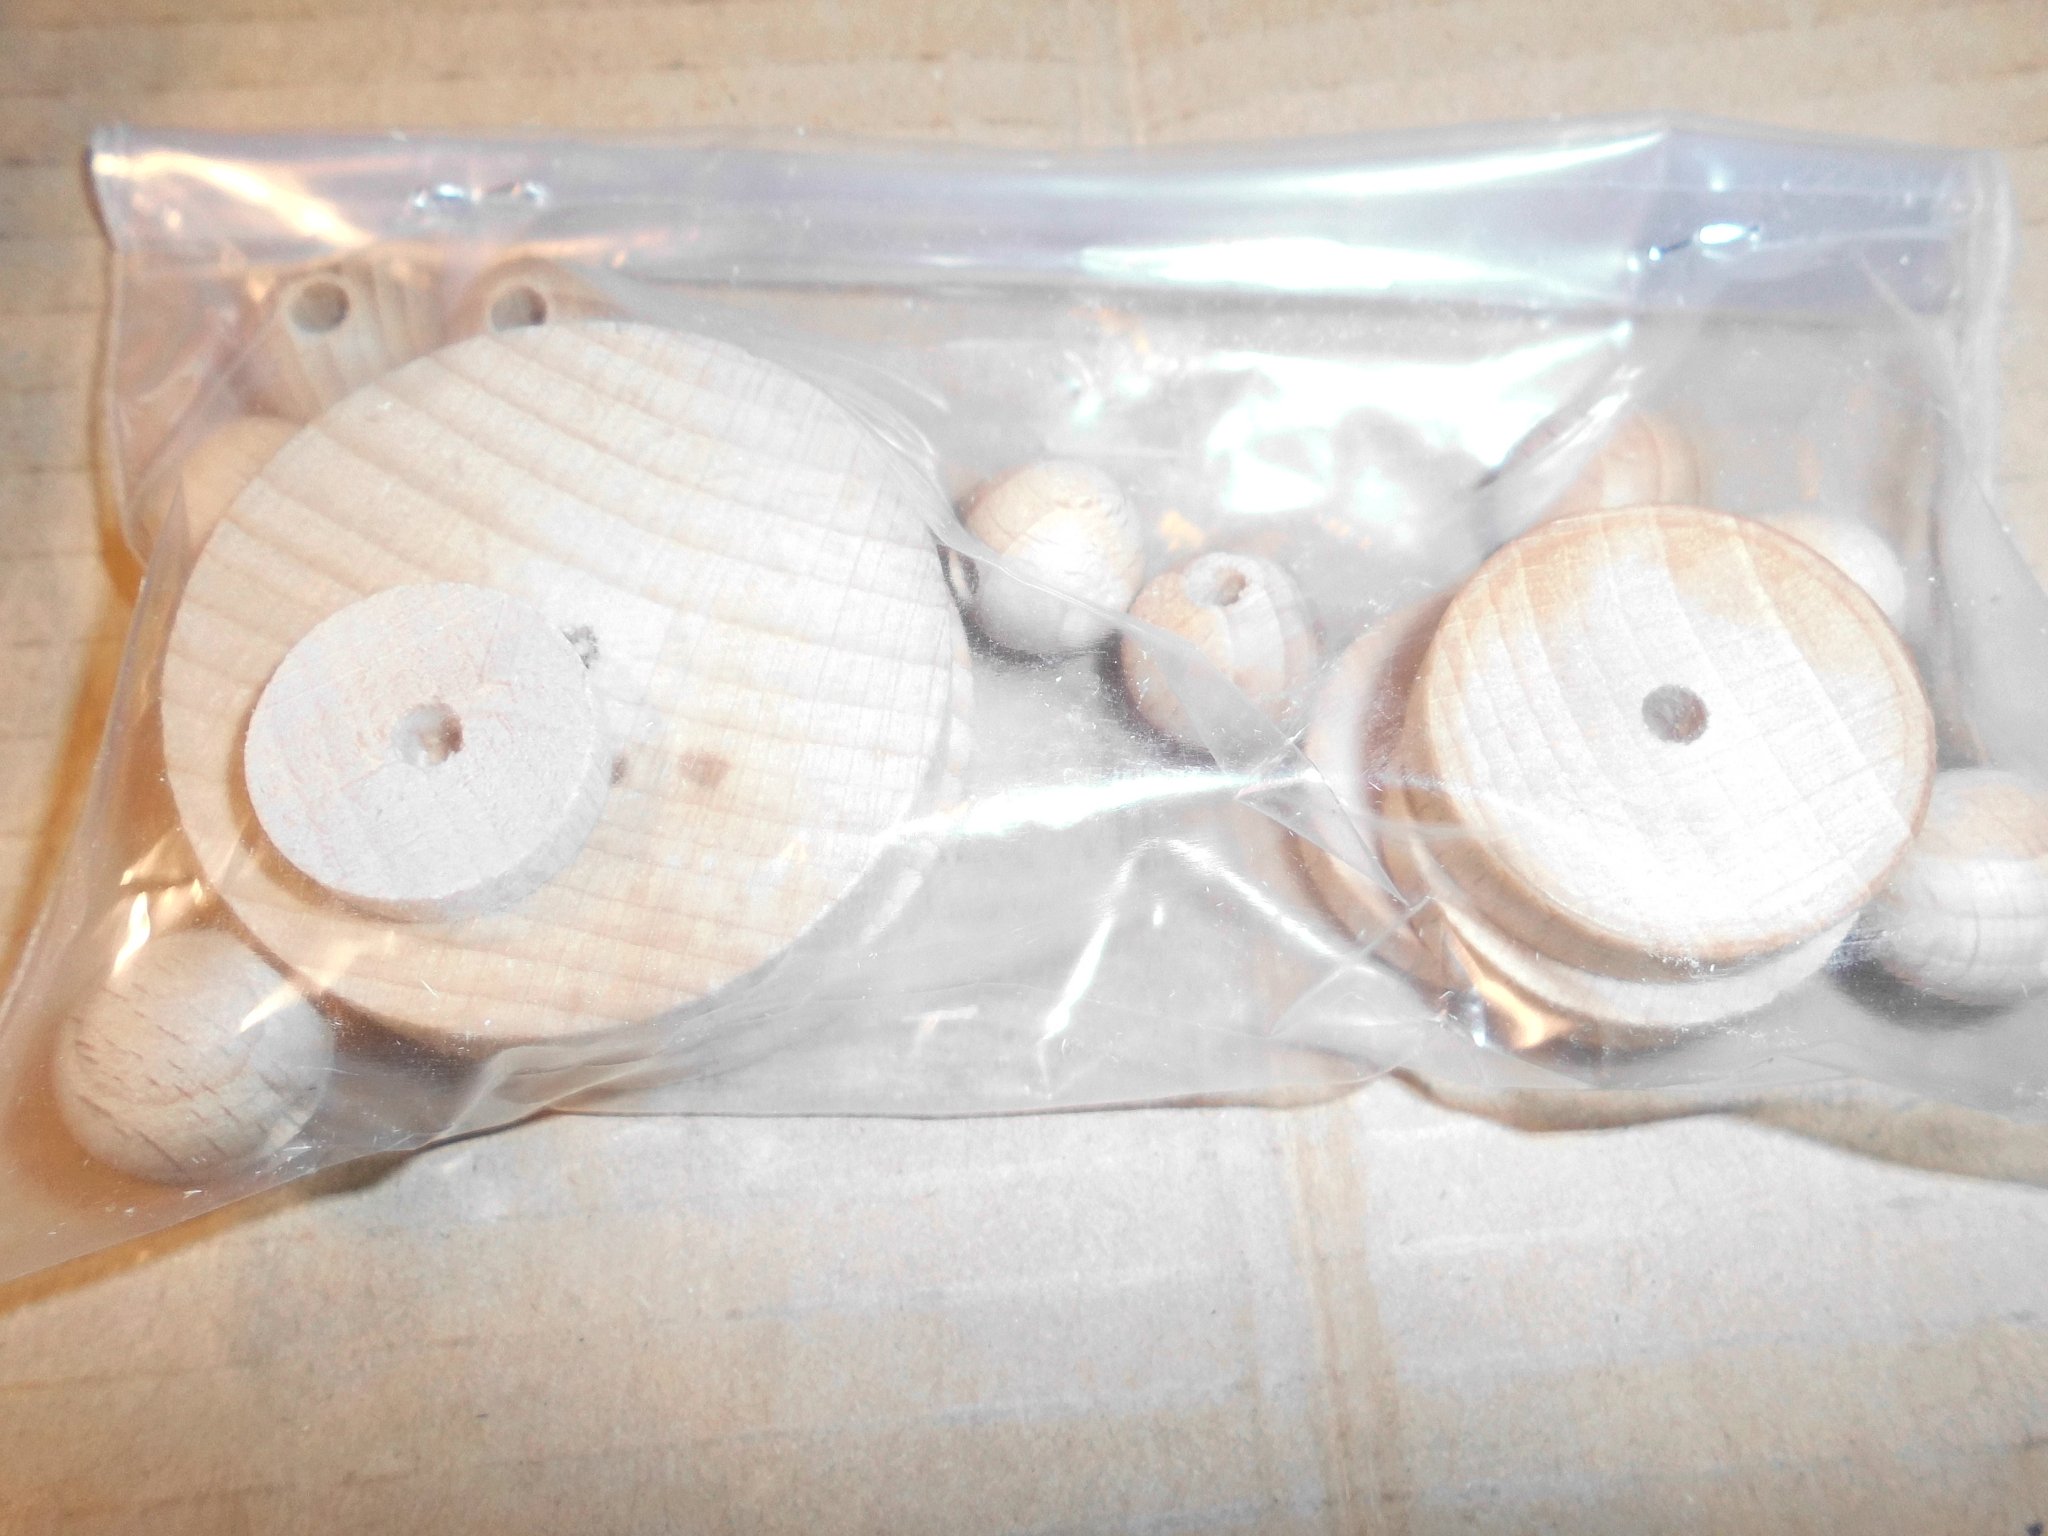
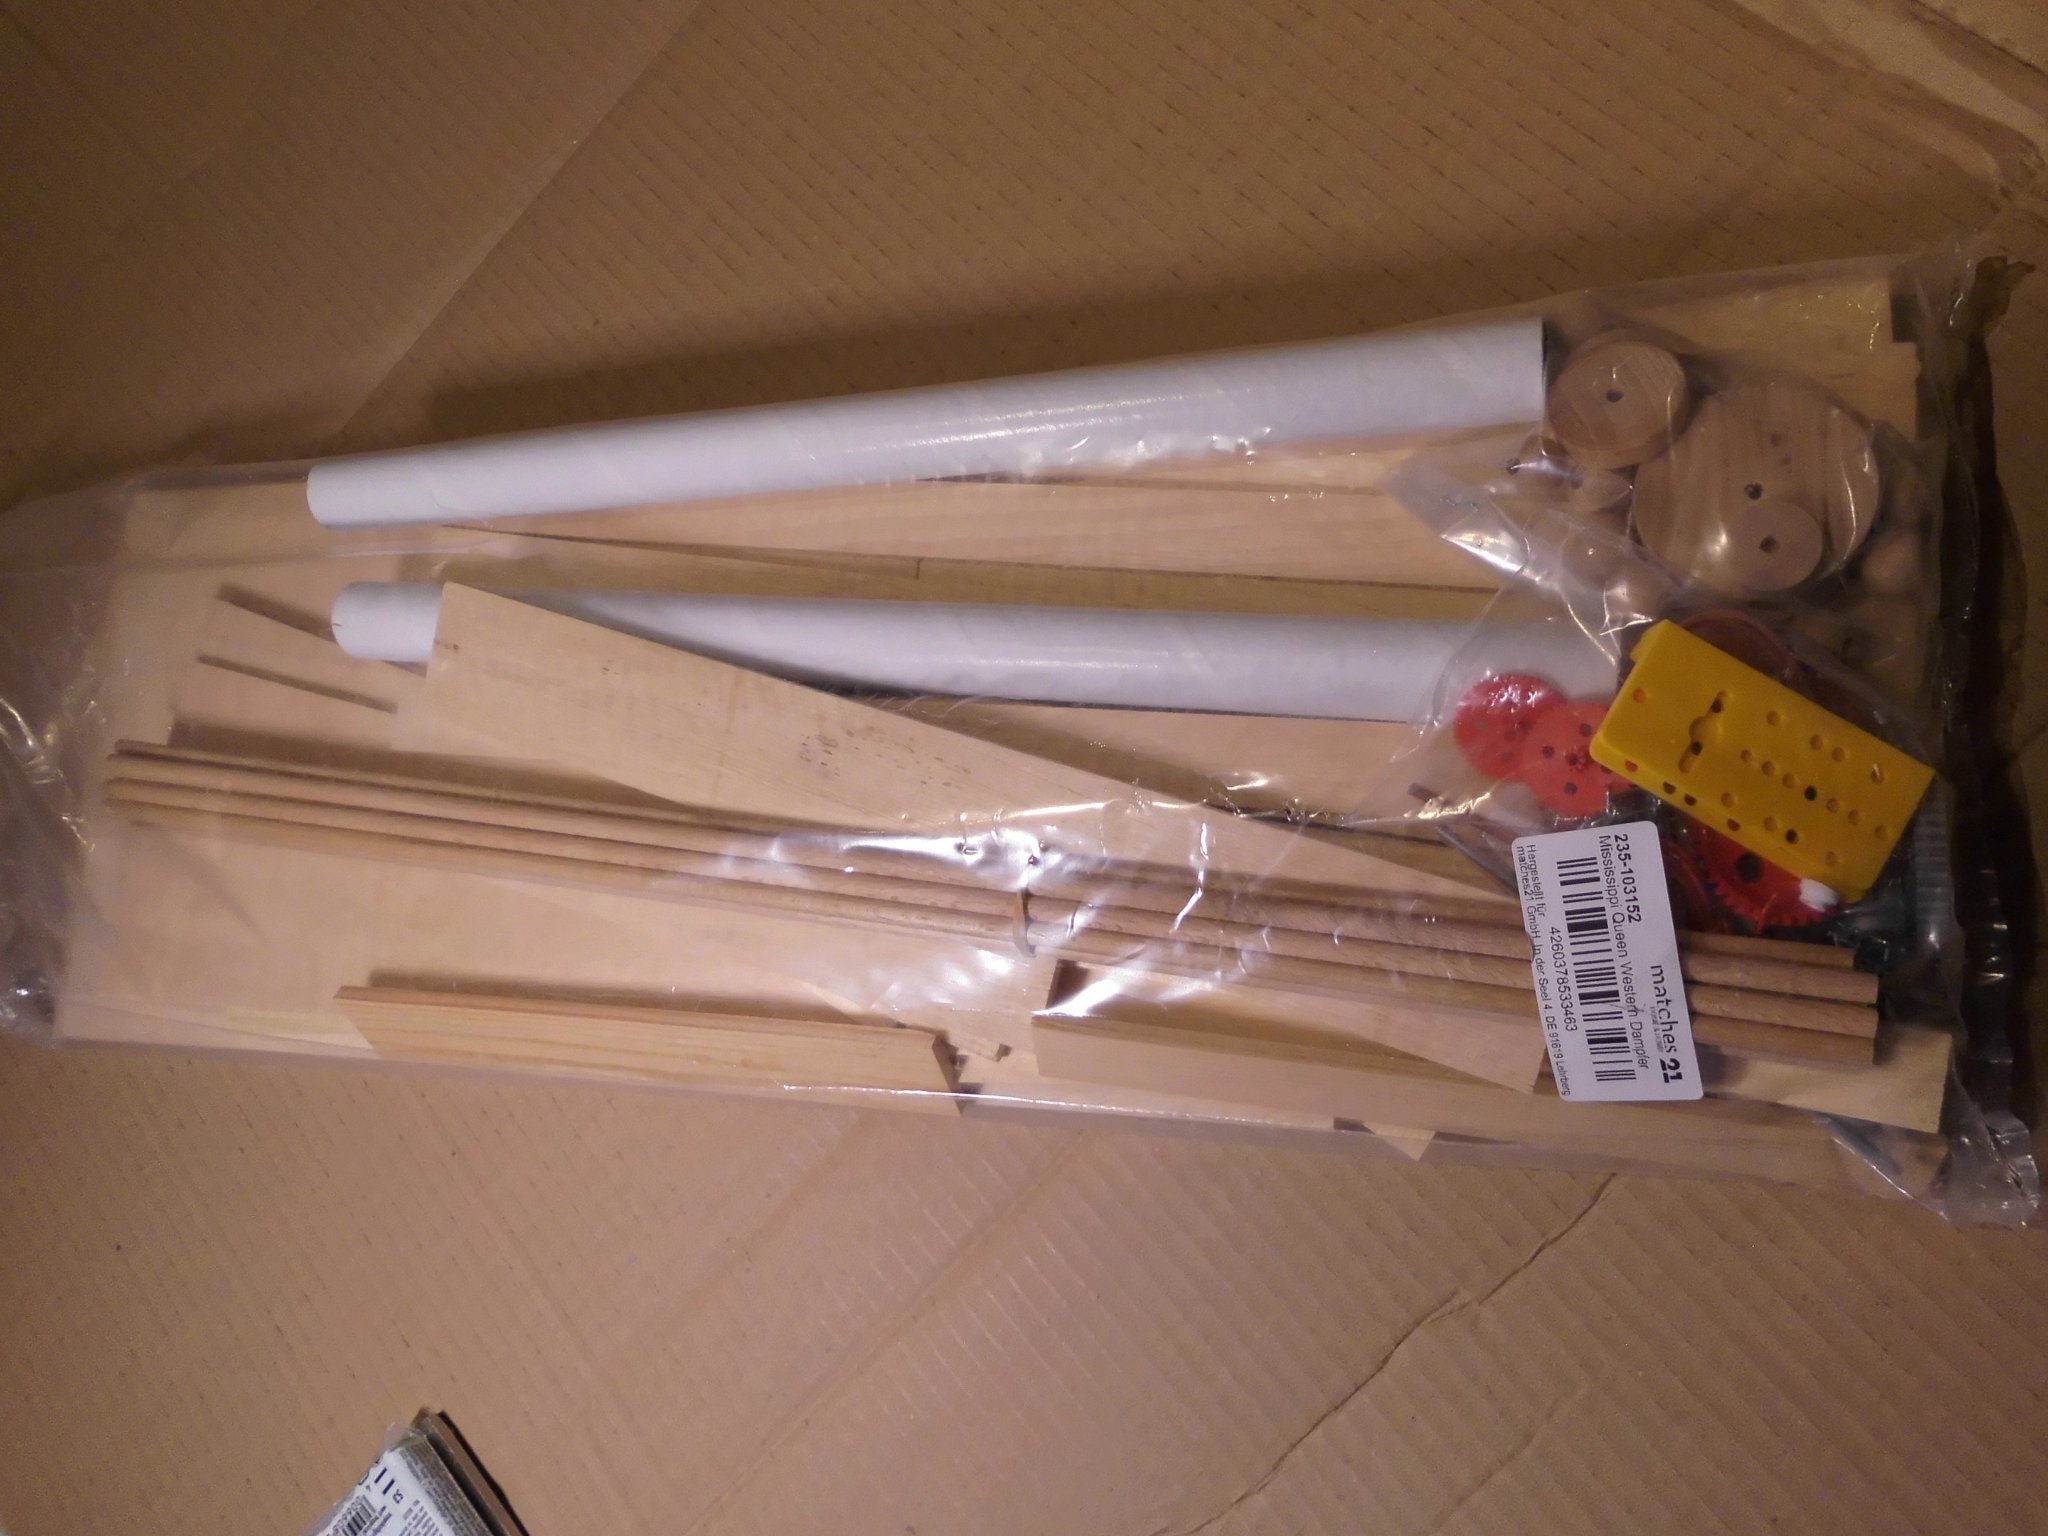
Today I recieved the kit. It was a pile of wooden planks and round dowels together with an electric motor, an reduction gear, a few gear wheels and a drive chain. The wooden parts are neigther printed on, nor laser cut, so quite a task, and I do hope I´ll get it completed by Christmas. The partslists come together with some scetch drawings and a rather short building instruction. The Kit from make "Matches 21" is reasonable affordable, (less 50 Eur ) for the case that the model would not last too long.
Nils

- GrandpaPhil, ccoyle, mtaylor and 1 other
-
4
-
-
Hi Jorge,
a few years ago I also stood before the task of stitching/sewing sails for my models
When using my wifes sewing machine for this and after some trials I came up with the following results :
Nils
How to sew sails on your wifes sewing machine
- modeller_masa and mtaylor
-
2
-
-
-
-
-
Congrats to your fine workshop Castos,
is there also a window to look into the Yard / Garden ? And how do you heat it in the winter months ?
Nils
- Canute, thibaultron and mtaylor
-
3
-
Siggi,
Superb figurehead carving, beautiful work !!
Nils
- mtaylor, FriedClams, Siggi52 and 1 other
-
4
-
congratulations to this excellent Model Kevin,
lovely work !
Nils
-
Wunderbar BE !!
I like your "Alert" cutter very much, its a beautiful model in all details
Nils
-
Excellent work Ilhan,
your hull looks great.....
Nils
- Ilhan Gokcay, Keith Black, druxey and 1 other
-
4
-
-
3 hours ago, Vegaskip said:
Castle Class Corvette/Frigate HMNoS Tunsberg Castle. unfortunately didn’t last long in service. She was mined on Dec 12 1944 off Båtsfjord, Norway with th loss of 5 crew.
Watercolour 14” X 9”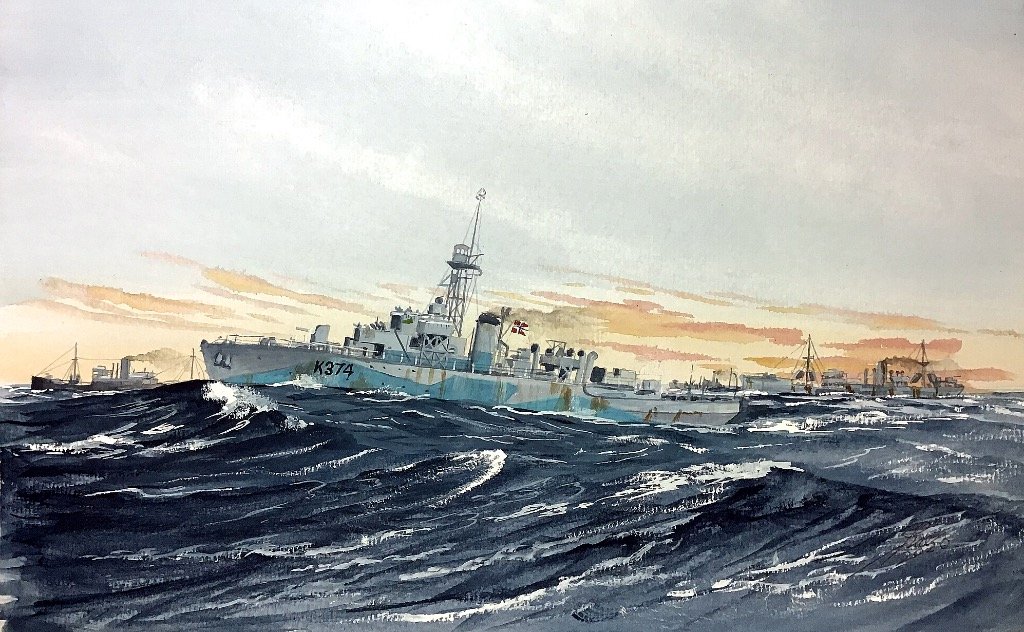
Beautiful paintings Jim,
Nils
- Landrotten Highlander, J11, cog and 3 others
-
6
-
-
nice progress and good work Siggi,
Nils
- Keith Black, mtaylor, Siggi52 and 1 other
-
4
-
Daniel
The deck curvature in two directions is great.....
Guess there will be a planking path above the horizontal leg-parts of the wooden knees, later on, where the guns are running on...
lovely work,
Nils
- Captain Poison and mtaylor
-
2


YOUNG AMERICA 1853 by Bitao - FINISHED - 1:72
in - Build logs for subjects built 1851 - 1900
Posted
Hi HYW,
it is masterful modeling all the way to date....
I also love the way you make your boats, the windless and the bilge pump, and the metal fitting out, let alone the wonderful corpus of the clippers hull....
Wunderbar !!
Nils