


Papa
-
Posts
1,255 -
Joined
-
Last visited
Content Type
Profiles
Forums
Gallery
Events
Posts posted by Papa
-
-
I love your neat work area!
-
-
12 hours ago, mtaylor said:
They don't that I can find.
If you us Chrome, you'll get a pop-up window that asks if you want the page translated.
For IE and Firefox, copy the URL and then open Google. Right hand side of the Google welcome screen, there's a 9 squares forming a box.
Click on it and pick traslate. Paste the URL into the left translate window and it will translate the page.
thanks again. Just pulled out the laptop/Firefox and have a nice translated version of the site. i am traveling in a smallish trailer so tend to use the IPad. Seems there a times when lappy is better.
-
-
-
-
I am ready to sell every kit in my stash and get a kit from Master Korabel!
- Canute, lmagna and greenstone
-
 3
3
-
When I started ship modeling I found this little book from Model Shipways invaluable. Some amazon sellers have it for about $6. Some sellers think it is a rare out of print collectible and are asking hundreds of $$.
The Neophyte Shipmodeller's Jackstay (Paperback)
by George F. Campbell (Author) -
I did a bit of searching for the Mary Celestse a few years ago after I discovered that a distant cousin had owned her (after the found-empty-at-sea event). I couldn't even find a set of plans.☹️. Good luck
There is a plan in the book "Ghost Ship" by Brian Hicks, but it is too small to be of much use.
-
I purchased a yellow box Essex around 1968 or so. It was to be my 3rd Model Shipways model after Young America and News Boy. The instructions are very simple. Essentially: "take the wood in the box and turn it into a model of the Essex." Using the Neophyte Ship Modeler's Jackstay book from MS and later a much more thorough instruction book from MS (forgot the author) and lots of patience and purchasing a bazillion more blocks of various sizes, I finally completed her around 2004. I also built a few plank on frame kits during that time and had to redo work on the Essex as I gained more experience. In the end I have an impressive model of which I am very proud. some pictures are here
-
Words can’t describe the quality of your work!
-
-
I am very impressed with your methodical approach to this kit. It is paying off as you progress. Fine work! Looking forward to following the rest of this log.
-
-
Wow almost 2 months since my last post. Been busy with other projects but I also had a VERY difficult time with the sheer rail at the bow. The laser cut pieces were constantly breaking. Every time i tried to work near the bow my hand would slip or I'd put too much pressure on something and snap, the rail would break along the grain. i think every layer of grain now has been glued together. Finally got it in and inserted the bulwarks; also a difficult task getting them all aligned. I couldn't figure out how to feather the waterway into the ceiling planks without the ceiling planks in place. So I modified the build order and laid a few ceiling planks and this provided a reference to feather the waterway. As one can see in the photo, more sanding is needed for a smooth transition. The Morgan will go on a 10 week hiatus as my wife and i are traveling up to the Canadian Maritime Provinces. Specifically, New Brunswick and Prince Edward Island.

- russ, Ryland Craze, Tigersteve and 4 others
-
7
-
-
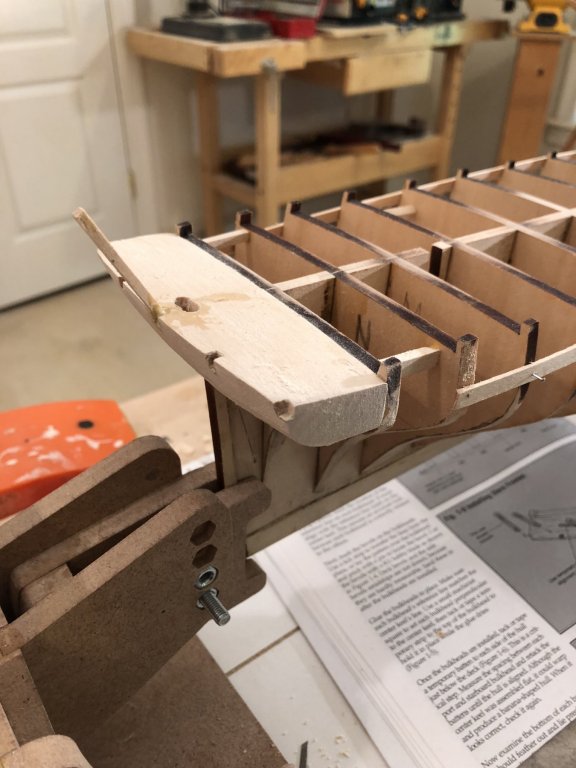
The bow and stern blocks are in and mostly shaped. They still need a bit more shaping, but i will wait until I confirm how the planks will lay down before I take any more wood off.


- Tom E, JayCub and Retired guy
-
3
-
-
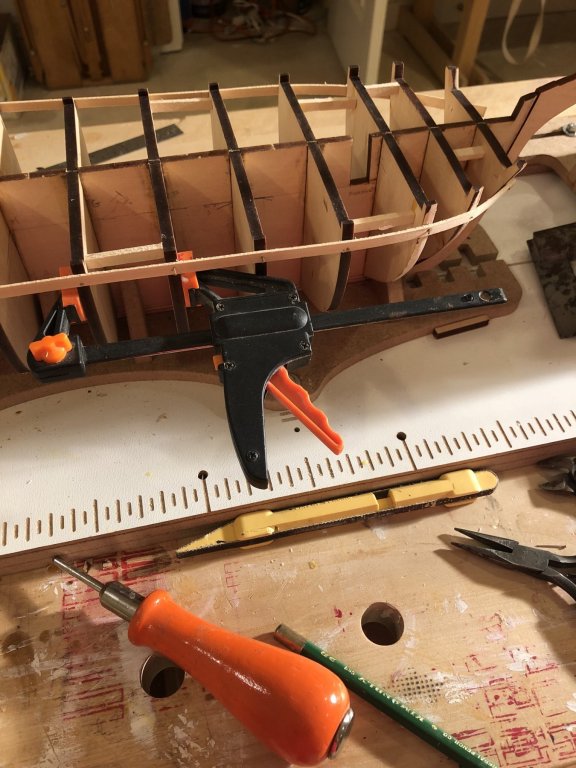
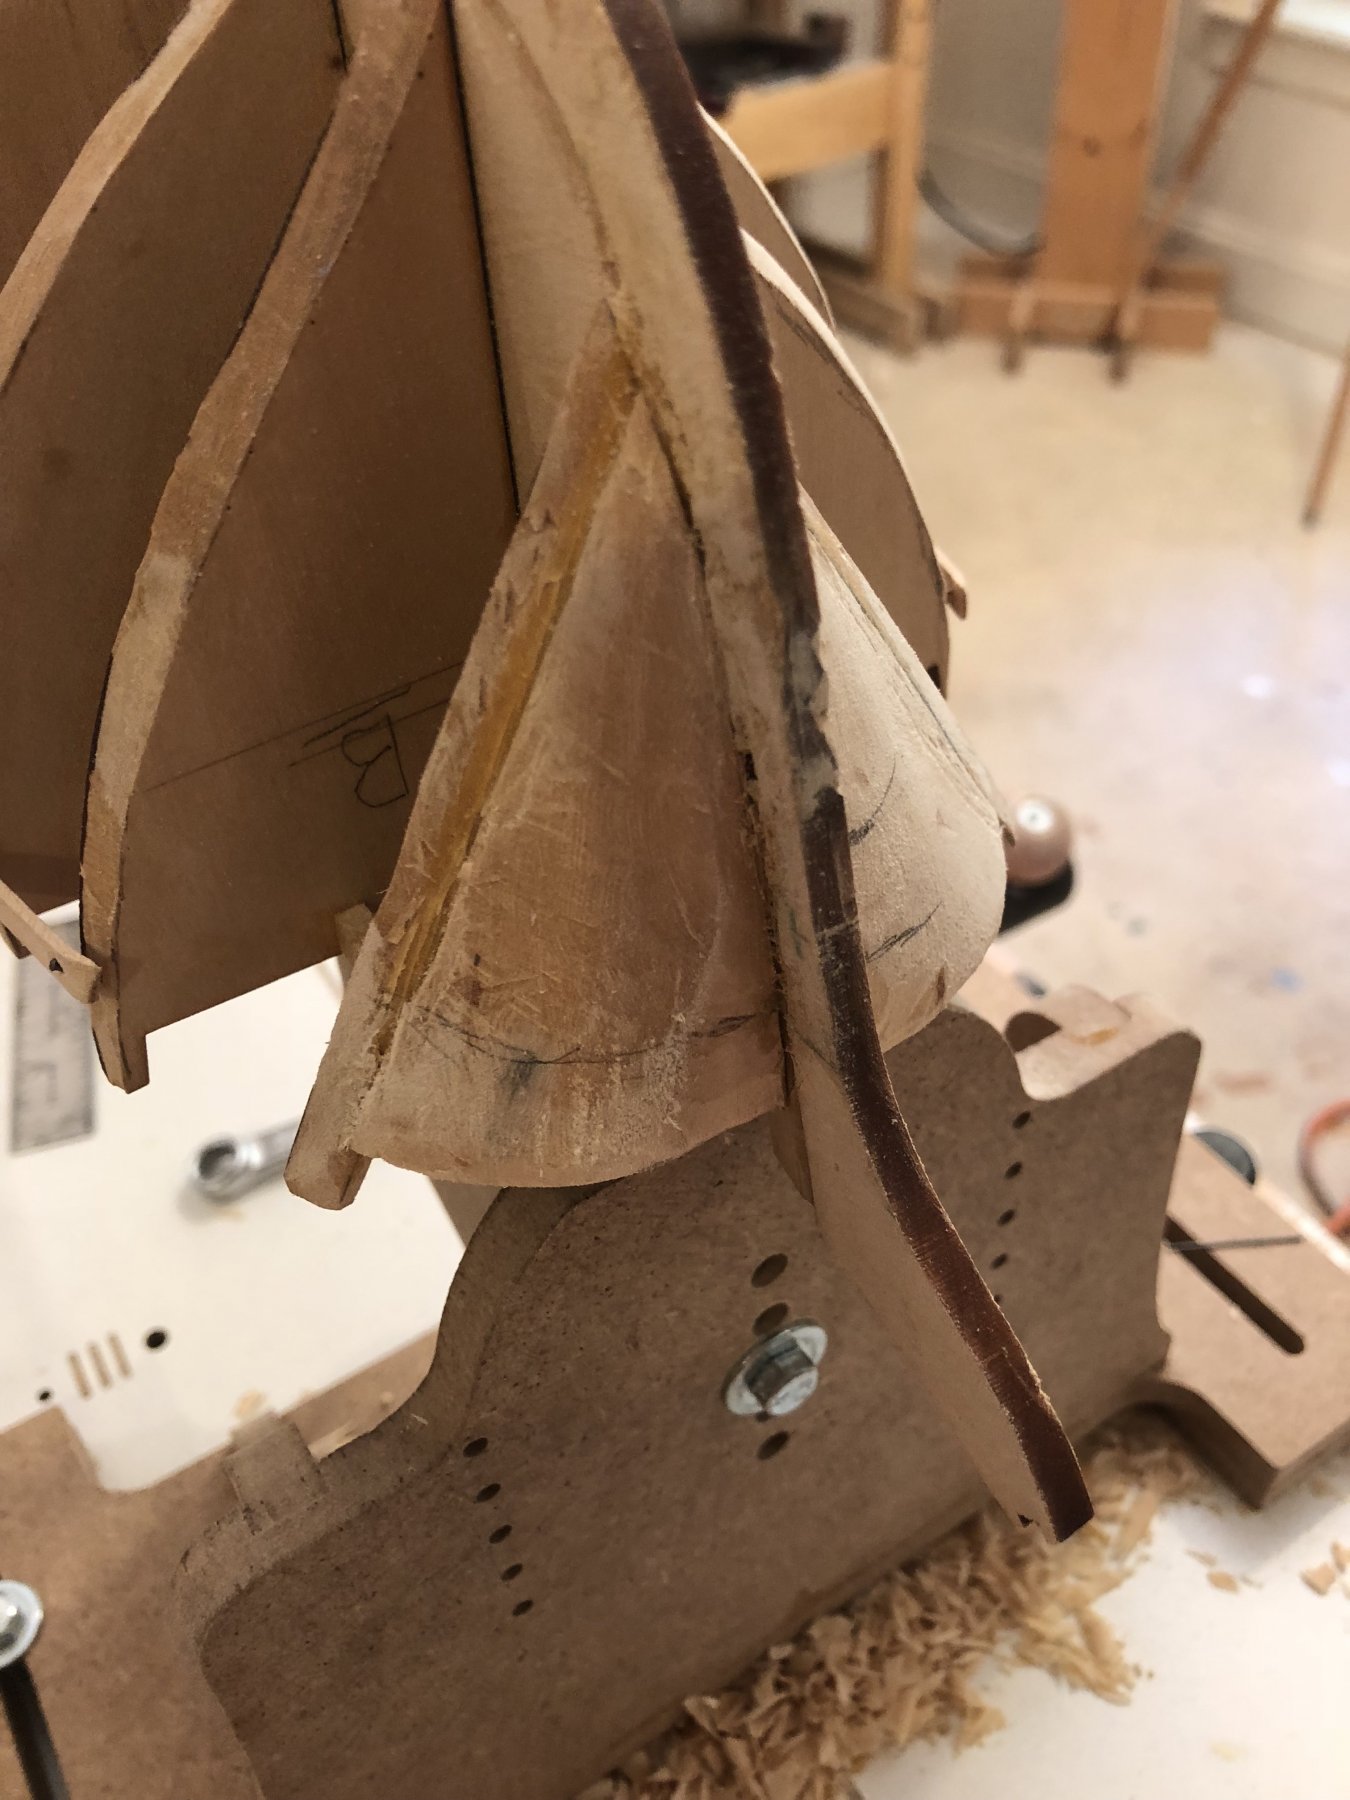
I have shaped the counter block and started the transom framing. I made a quick jig, not in picture, to hold the frame piece at the correct angle until the glue dried. I will trim the frame pieces to length when they are all in place. I found the counter block was very difficult to get right. There are a lot of angles and bevels. In fact, I messed one up and had to start again.
- Jim Rogers, Retired guy and Tigersteve
-
3
-
-
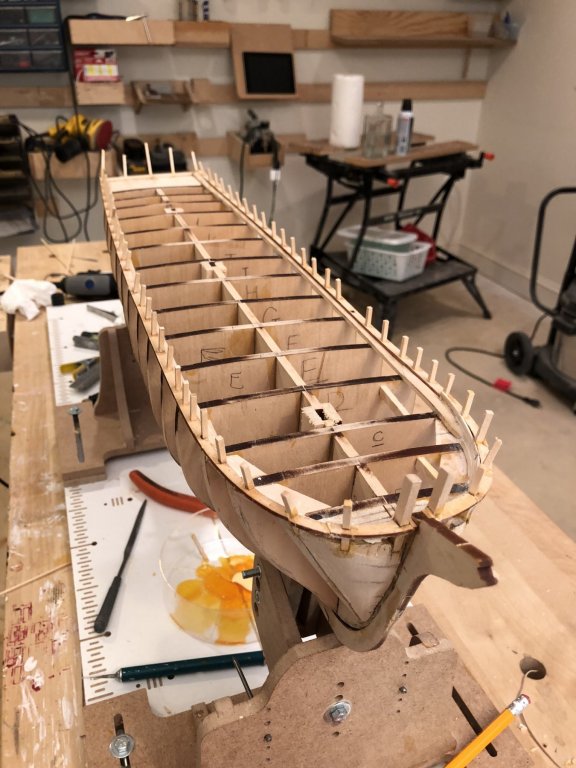
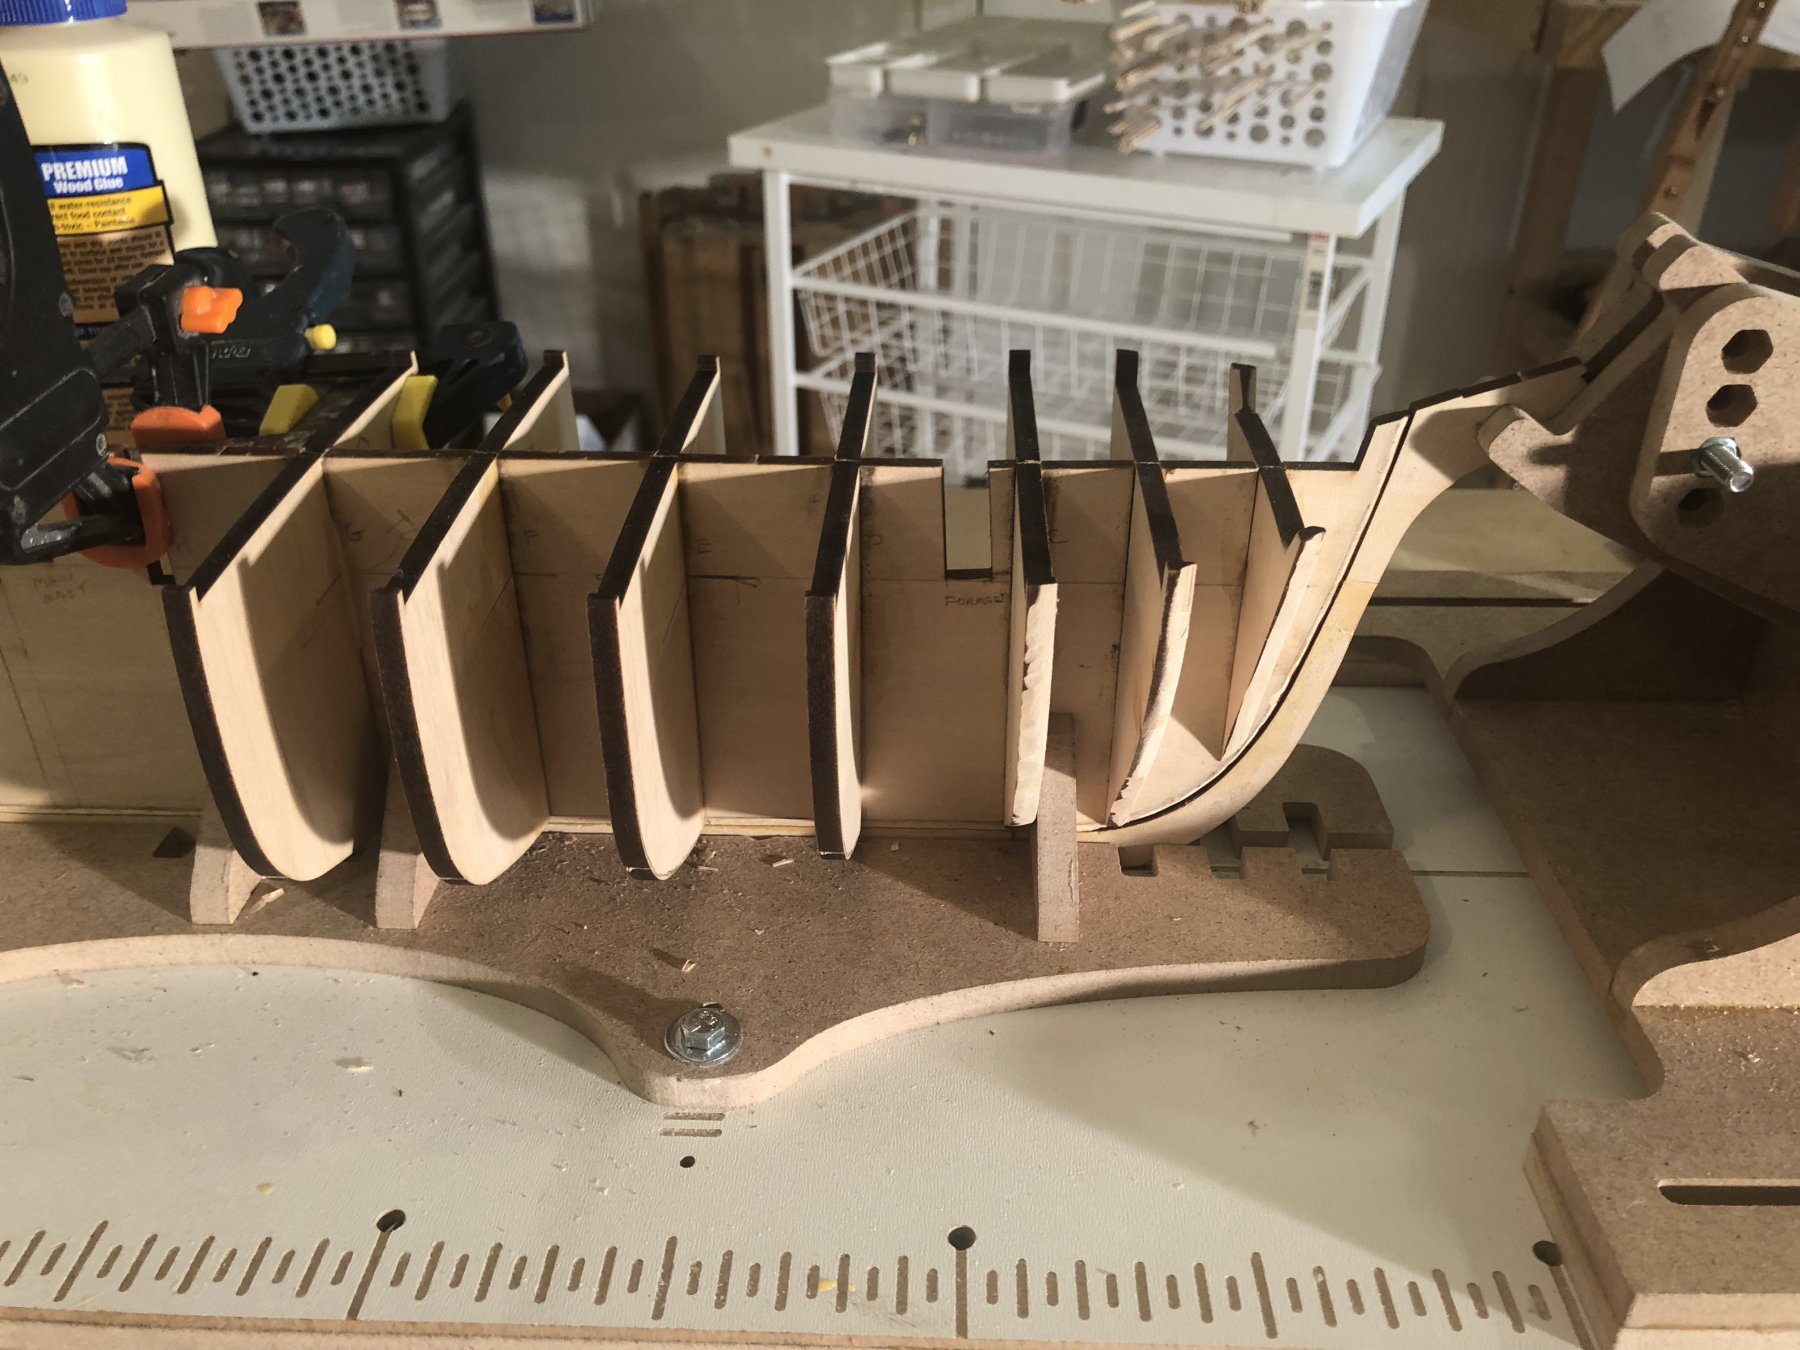
Finished the bulkheads and, following the building instructions, attached temporary battens along the bulkheads verifying that the spacing was identical port and starboard. I did this by cutting spacers that would just fit between bulkheads at the center keel and then used them to properly space the outside. Only tiny adjustments were necessary because I had been very careful to square up the bulkheads as I glued them in place.
- John Allen, Retired guy, JayCub and 2 others
-
5
-
-
The weathering is a work of art.
- RGL, popeye the sailor, mtaylor and 2 others
-
5
-
Work on the Morgan has been slow. I am taking my time making sure that each bulkhead aligns to the reference marks and is square to the keel. I am letting the glue set at least overnight before moving on. I have found that shaping the bevels is so much easier with solid wood bulkheads. Beveling plywood is a pain.

- JayCub, Tigersteve and Retired guy
-
3


SMS Helgoland by Papa - Modelik - 1:200 - CARD
in - Kit build logs for subjects built from 1901 - Present Day
Posted
Gave up and tossed the kit in the trash.
Might try another some day.