


Keithbrad80
-
Posts
416 -
Joined
-
Last visited
Content Type
Profiles
Forums
Gallery
Events
Posts posted by Keithbrad80
-
-
Your making great progress! Everything looks really nice
Bradley
-
Another awesome update! I use sanding disks as well, i cut them in half twice so i have four equal parts, this creates an even tighter sanding area. Looking great!
Bradley
-
Congrats!! Your model is incredible and your research is some of the most thorough I’ve ever seen. Looking for to your next build!
Bradley
- Louie da fly, J11, mtaylor and 2 others
-
 5
5
-
Yours looks great! Looking forward to how you do with rigging.
Bradley
-
-
19 hours ago, ASAT said:
Is it loud? I would like a quieter one....
It’s probably as loud as any other shop vac. I do everything out of a 200 sqft shed in my back yard and I will run it in my shed without ear protection. They may be other options that are quieter though.
Bradley
-
-
Your build looks great! Ive never thought of making a spreadsheet of my costs, and I don't think i want to!
Your spreadsheet though will probably be pretty useful for any considering this hobby and the monetary investment one can expect when starting this hobby. Nice work!
Bradley
-
I really enjoy my disk sander as well, its not Byrnes one but does the job. As mentioned above a nice shop vac is a really nice thing to have, back in march Costco had a sale on really nice on a Dewalt shop vac that may have been 100 bucks. Here is the link it looks like its still only 100 but i use it every day i would say
https://www.costco.com/dewalt-10-gallon-wetdry-vacuum.product.100491610.html
Bradley
- Ryland Craze, Canute, MEDDO and 2 others
-
5
-
Hello everyone,
So bad news first... broke my right hand in several spots today so I won’t be building anything for awhile...
Good news is I finally got my new airbrush in the mail! Eventually I will figure out how to use it, I have time now to watch some tutorials lol.
Bradley
Edit: I may have been 30 minutes premature... although my hand is the size of a baseball glove only my ring and pinky finger are broken, which is great news!
-
I’m building one as well! So far it has been a very enjoyable build, good luck and have fun!
Bradley
-
From the research to the build, your model is museum quality to me. I plan to build a case within the next few months so I’ll be using your log as a guide! Thanks for the history lesson!
Bradley
- mtaylor, Jeff T, Keith Black and 2 others
-
5
-
-
-
I’m going to have to agree with the others, I’m not well versed in the history of Magellan but a quick google search mentions 5 ships, the most notable being the Nao Victoria. The Victoria was the first ship to circumnavigate the globe and a 1:1 recreation was made in the 1990s. As far as recreating the original Victoria might be a very difficult if not impossible task. I suppose you could use other ships from the early 16th century as a reference, the Victoria or the San Salvador as mentioned before might be a good starting point. If you do decide to pursue this I will happily watch with interest as the project unfolds! Good luck!
Btw I also saw a few models on the internet that may be useful for you, I’ll attach the link for you of the nicest one I saw but the website is in Spanish so honestly I’m not sure how much it will help:
Bradley
-
15 minutes ago, LFNokia said:
Have a look at most of my videos on my santisima Trinidad build log
Funny you say that because I subscribe to your channel! I ended up using a similar technique, not as good of results but I’m happy with it. Your build is really cool to watch btw!
Bradley
-
-
-
Looking good! Any ideas for the next build?
Bradley
-
Hello everyone,
The Admiral and I are driving to San Diego (8-10 hour drive, we are about halfway) and stopped to get a hotel so I’m wide awake and figured I would update you all on the flying fish.
I had almost 2 hours to work in the shipyard this morning and started on the bulwarks. I immediately realized I made a bone head move lol, the wood that was supposed to be used for the bulwarks some how got mixed in with planking wood so they ended up on the hull of my model lol. In my defense they are different by only 1/32” on one side, it really wasn’t a big deal because the scrap from planking could be sanded a little bit and worked perfectly fine. Here are my timber heads in place:

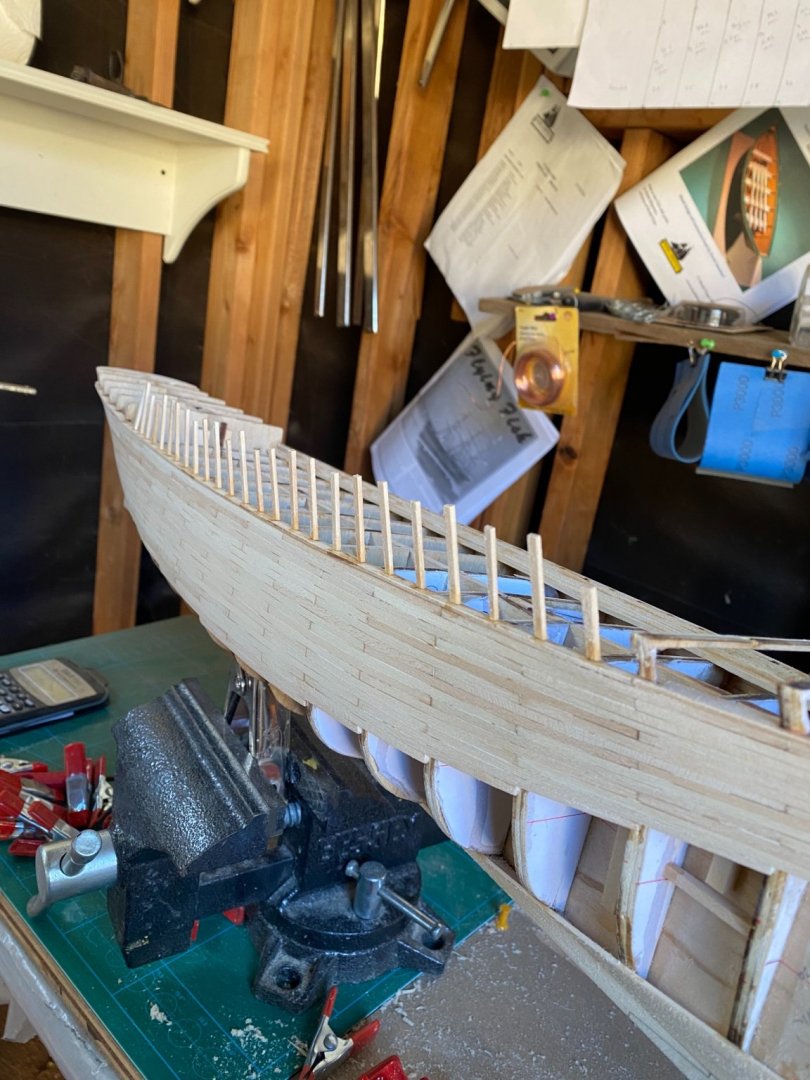
so the plans were very vague as to how these were supposed to be installed, I figured there is no harm making them extra long and trimming as need so that’s what I did.
I started planking the bulwarks and got maybe 80 percent done before taking a week long break. It is certainly started to come together nicely in my opinion. Here is where we are at right now:


Thanks again every one for the support on this build!
Bradley
-
Geb
Looking good so far, this has been a model i have been thinking about for some time so I’m excited to see how you build yours!
-
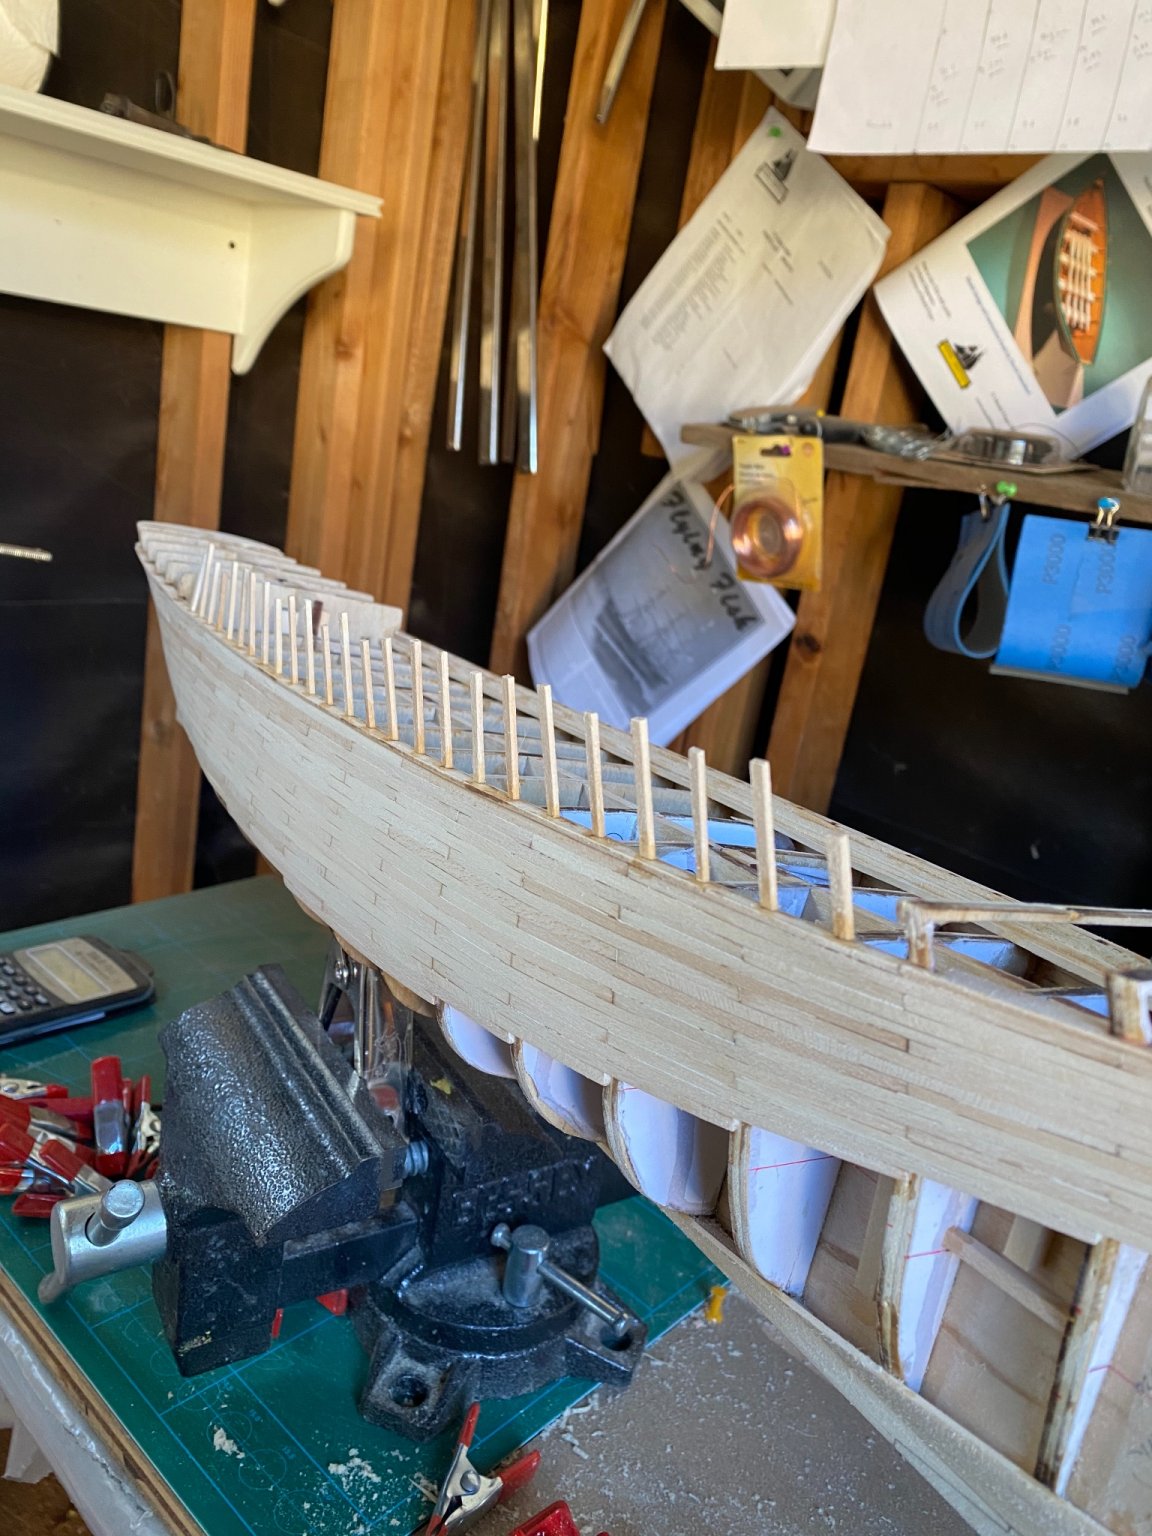
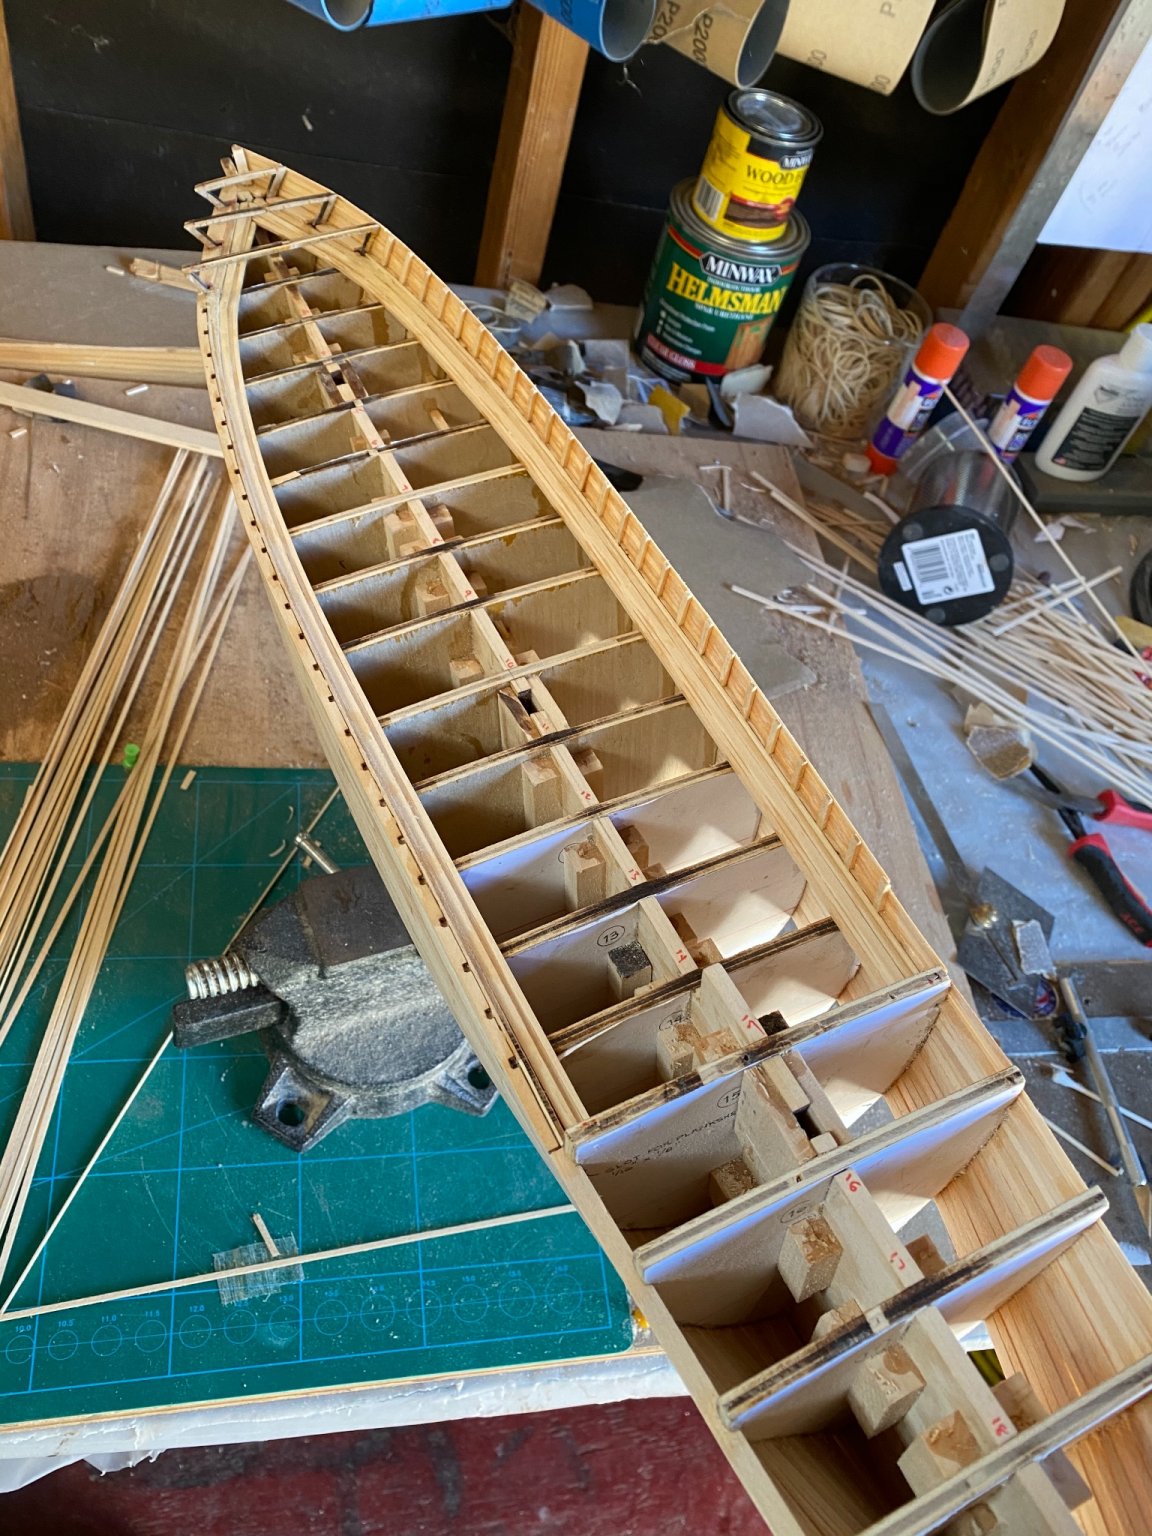
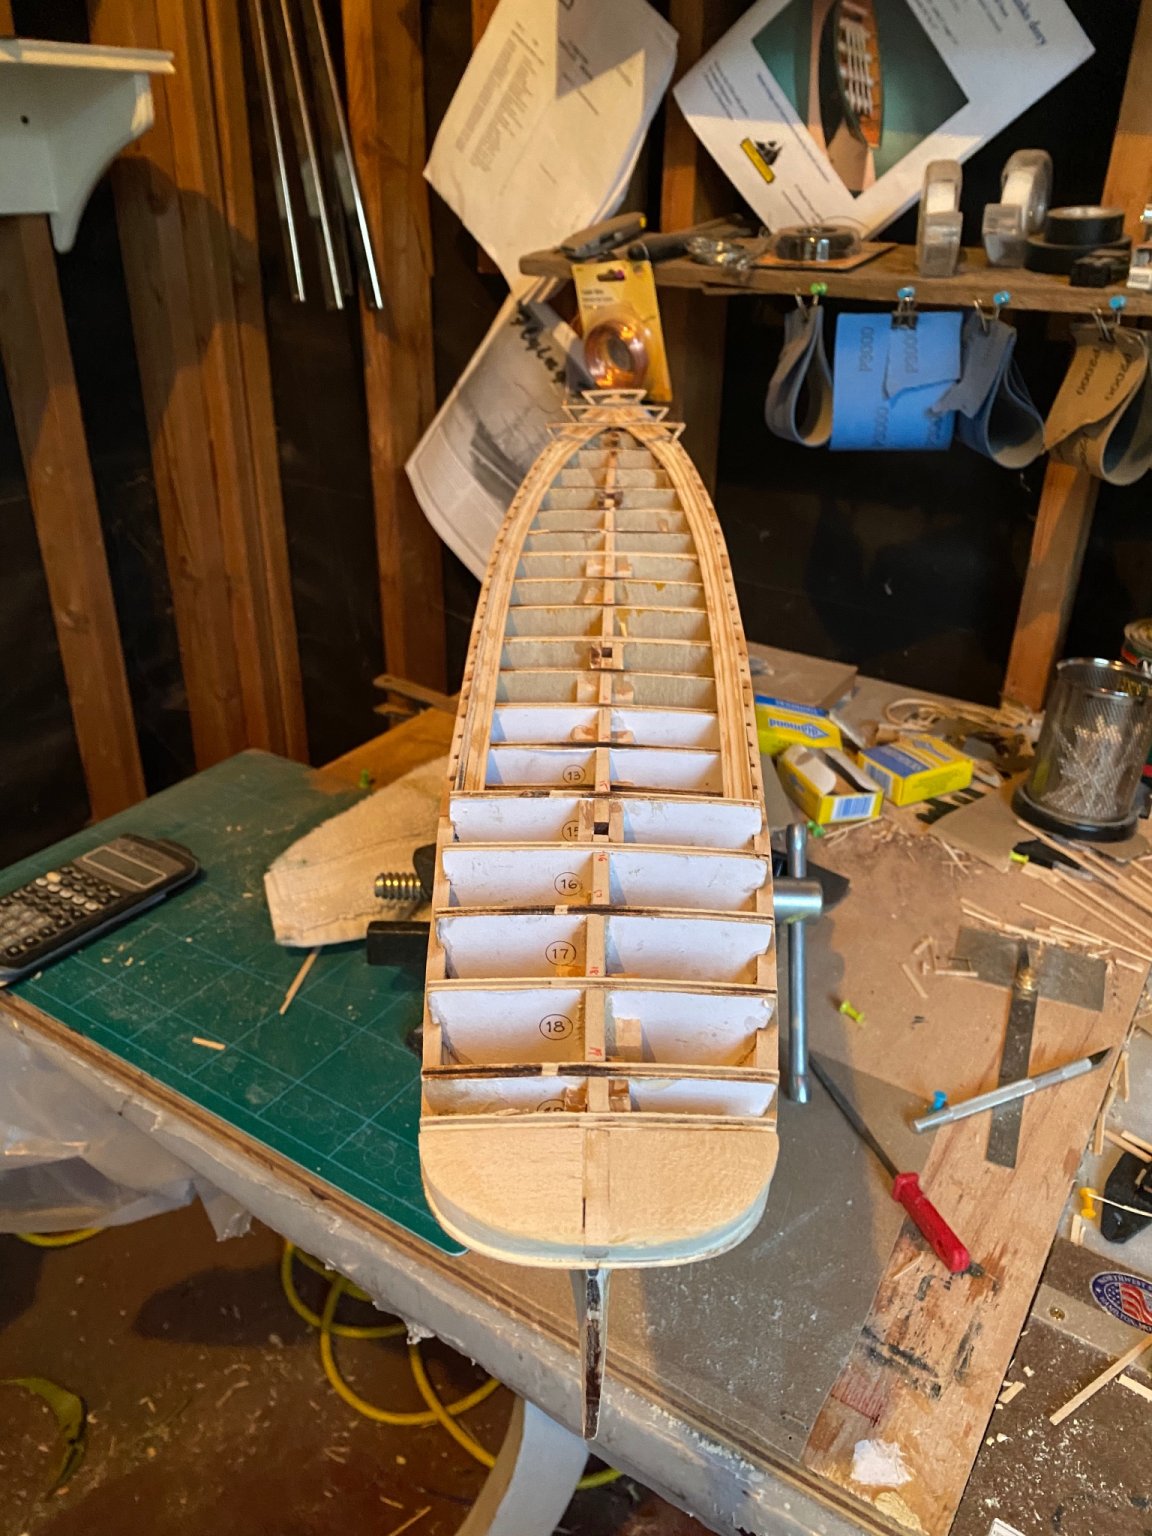
Hello everyone,
So I had basically a week off so lots of time in the shipyard.
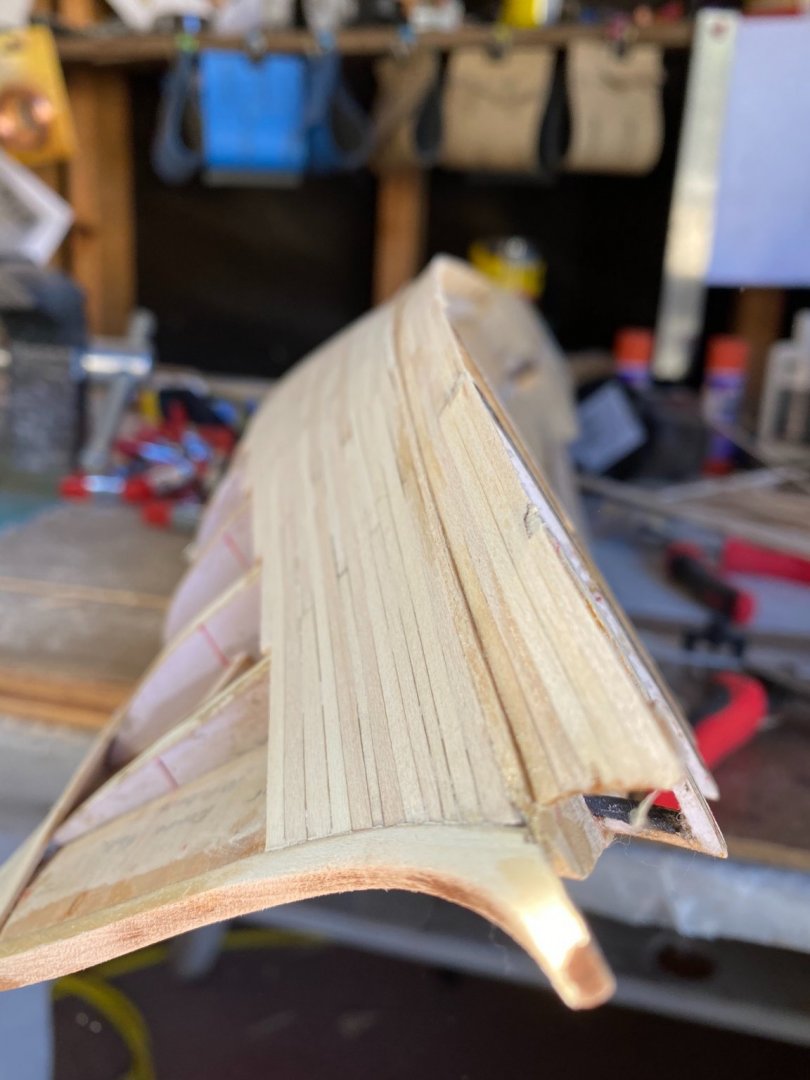
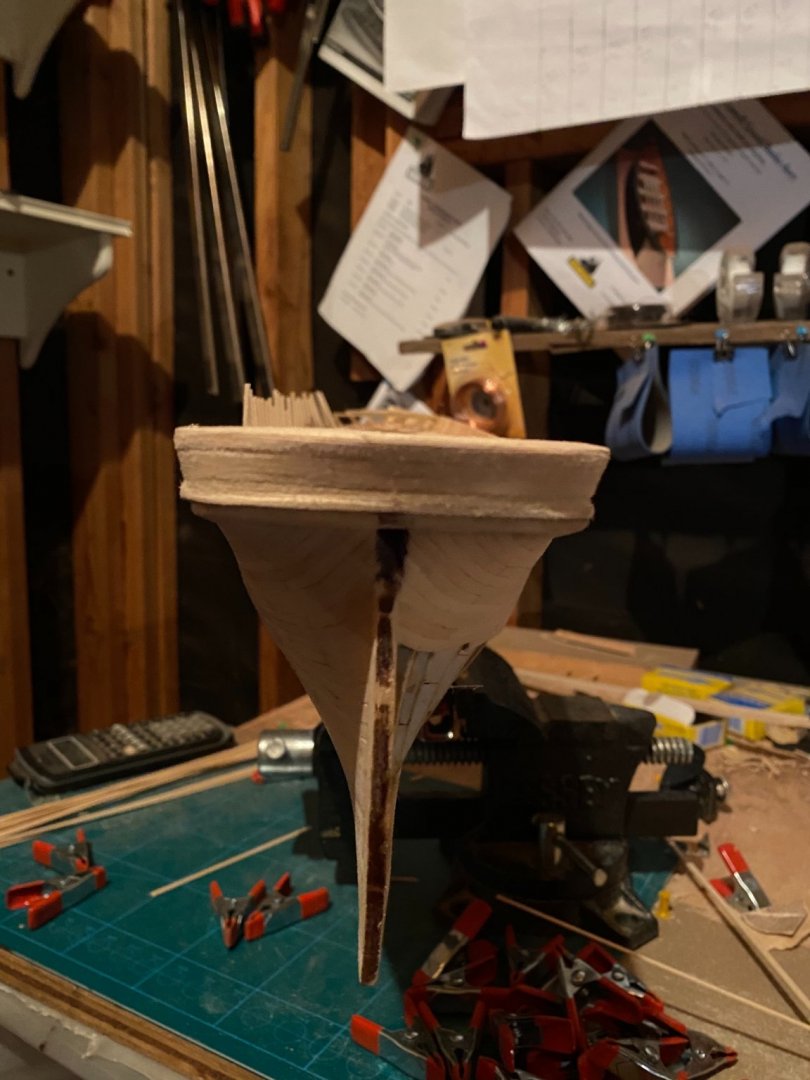
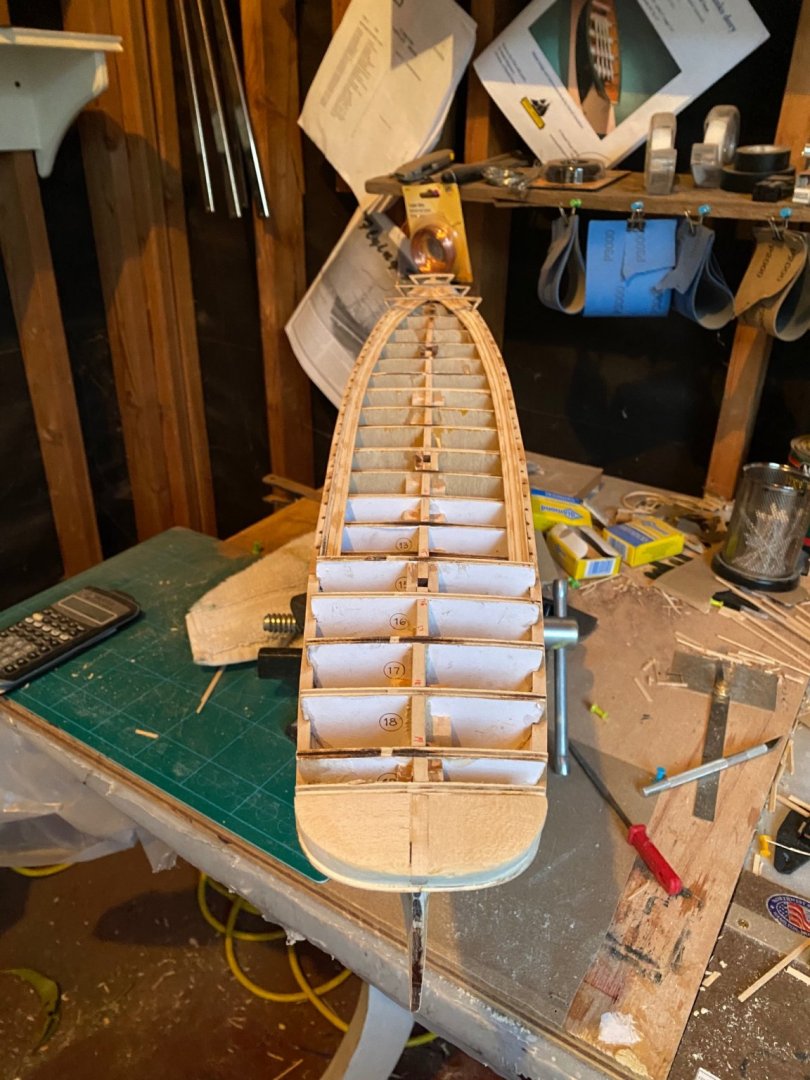
I’m probably 75 percent done with the planking of this ship and honestly while it has been very enjoyable it has also been some what exhausting. The plans call for 3mm width planks and the hull is over 100mm at bulk head 10, multiplied by 22 bulk heads, so its a lot of work. But I will say i have learned a lot during this process and have had a lot of fun doing it, every plank is a small puzzle that has to be perfectly shaped and I have really enjoyed this build.
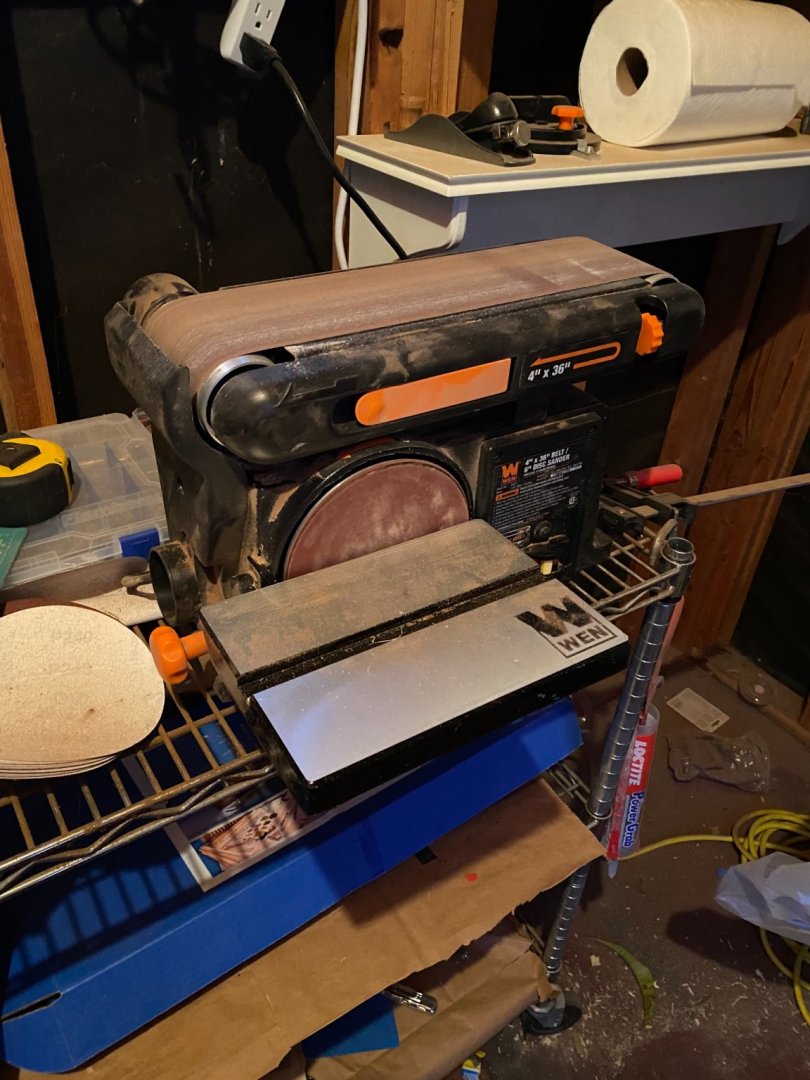
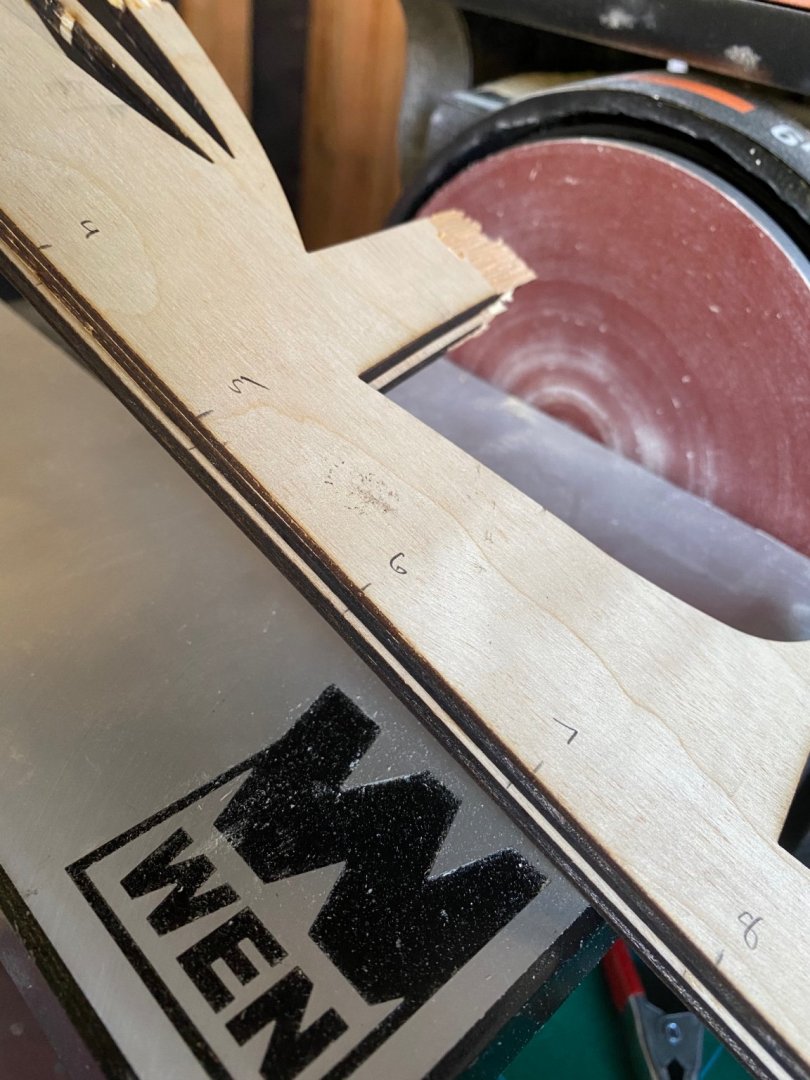
So I convinced the Admiral that I needed a disk sander and now I have one lol, its a little too powerful unfortunately for planking this ship but I have still found many uses for it already. Here it is:
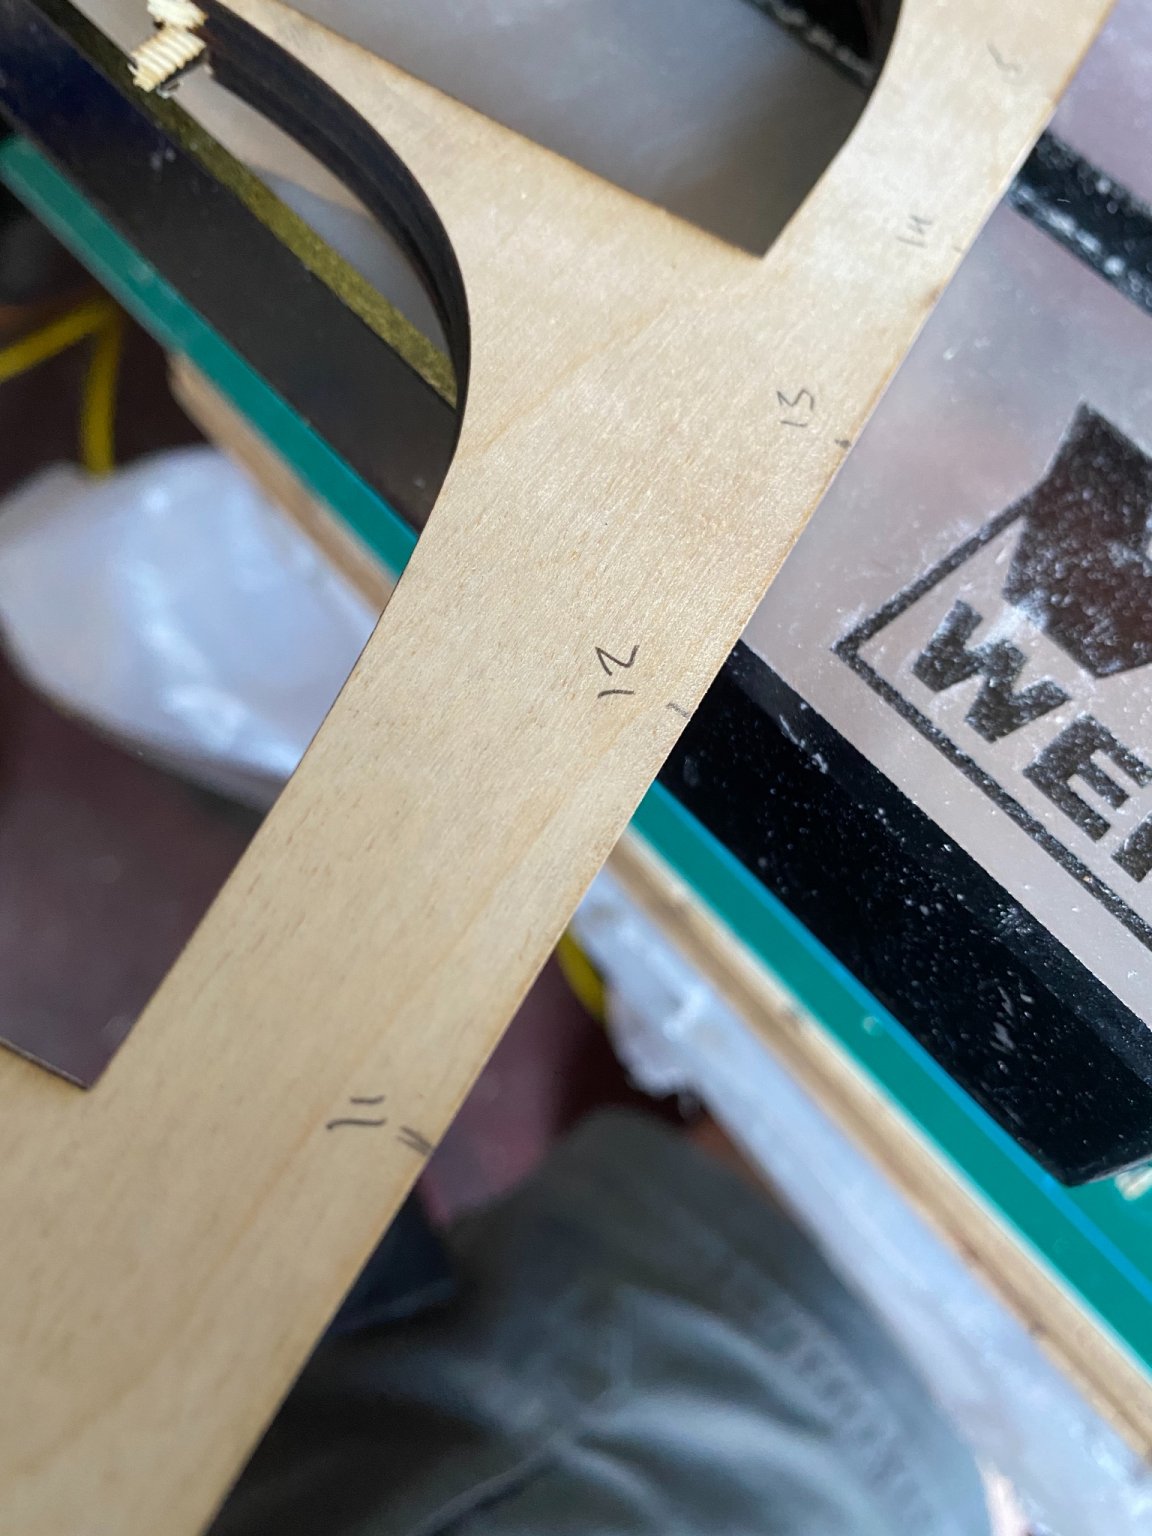
It’s a pretty cool piece of machinery, but my intention was to increase my sanding speed for planking, so I built a jig of sorts. I took a sheet of the laser cut sheets and broke them in half making sure they were as long as the hull itself. I then took some scrap the same thickness as my planking and measured how large a plank should be at each bulk head and marked them down on my sheets gluing the scraps at these measurements. Followed by my other sheet on top, this created a clamp of sorts. If I was making a plank that would sit from bulk head 10 to bulk head 14 then I would put it in the Jig at that spot and sand it flush using the disk sander, and boom its a perfectly tapered plank for that specific spot. Here are some pictures:


It took me 4 tries to get it right, it was surprisingly difficult to get the right dimensions, I probably spent a total of 4 hours or more on this jig and it was useless. I realized way to late that it was faster and gave me a better result when I did things by hand. Duh...
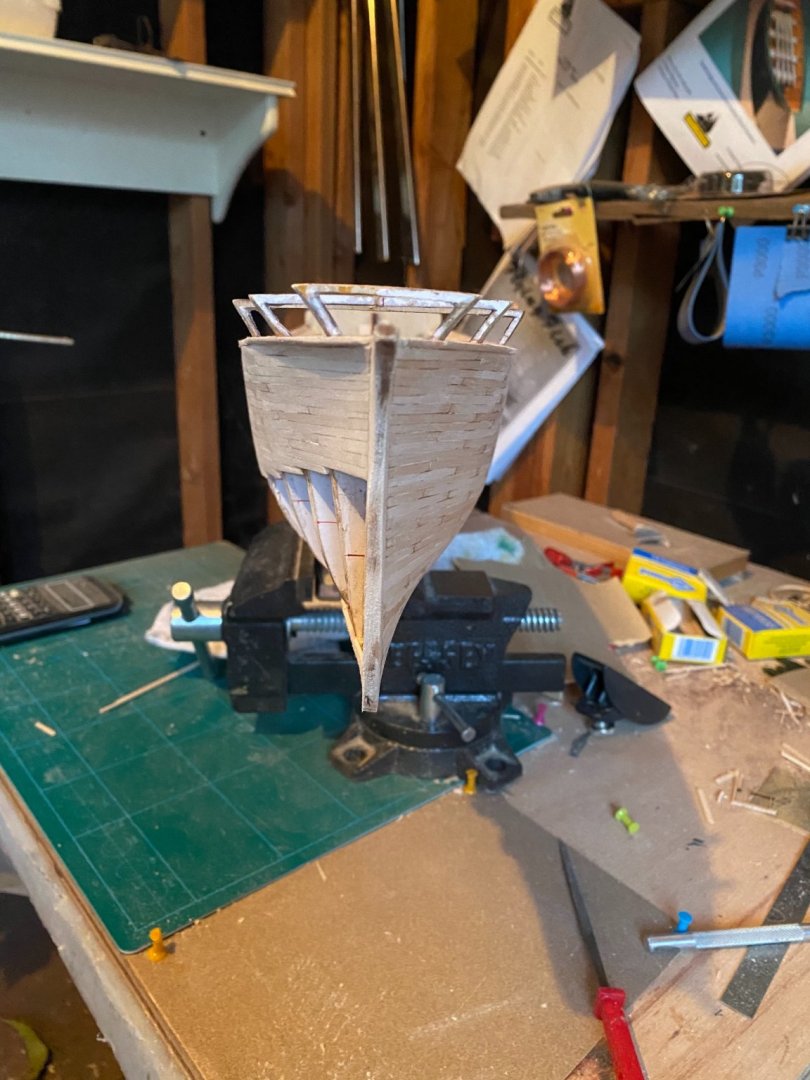
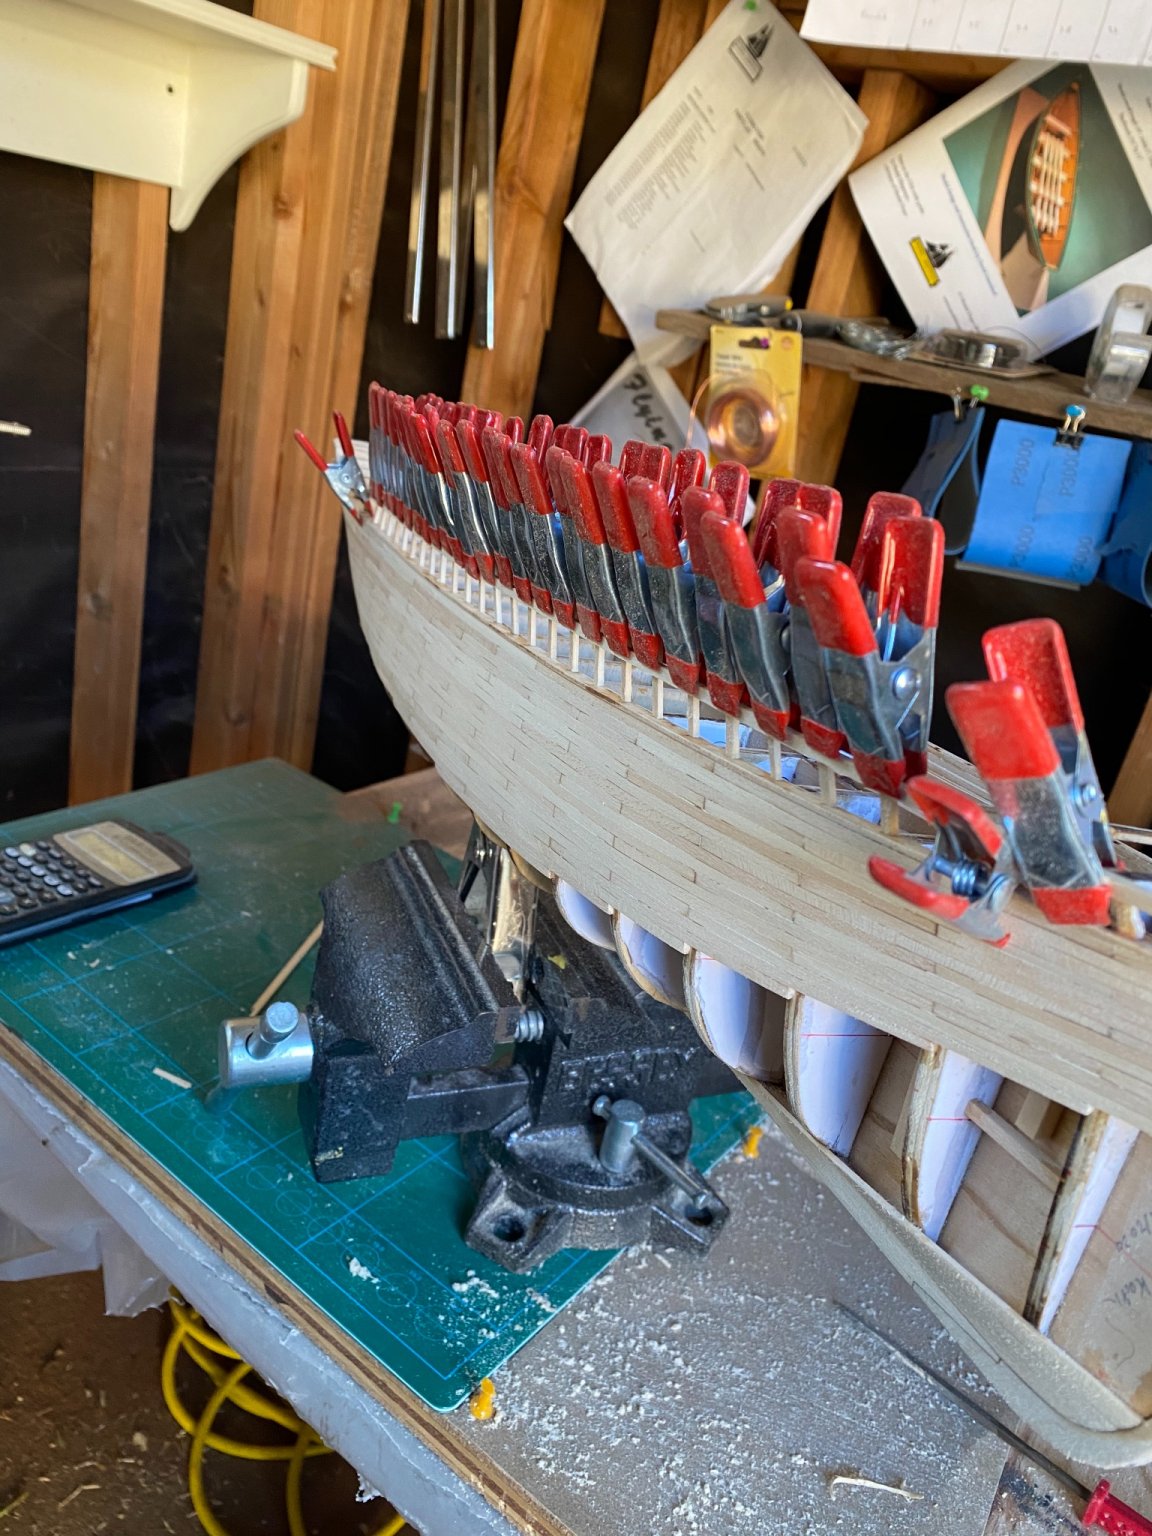
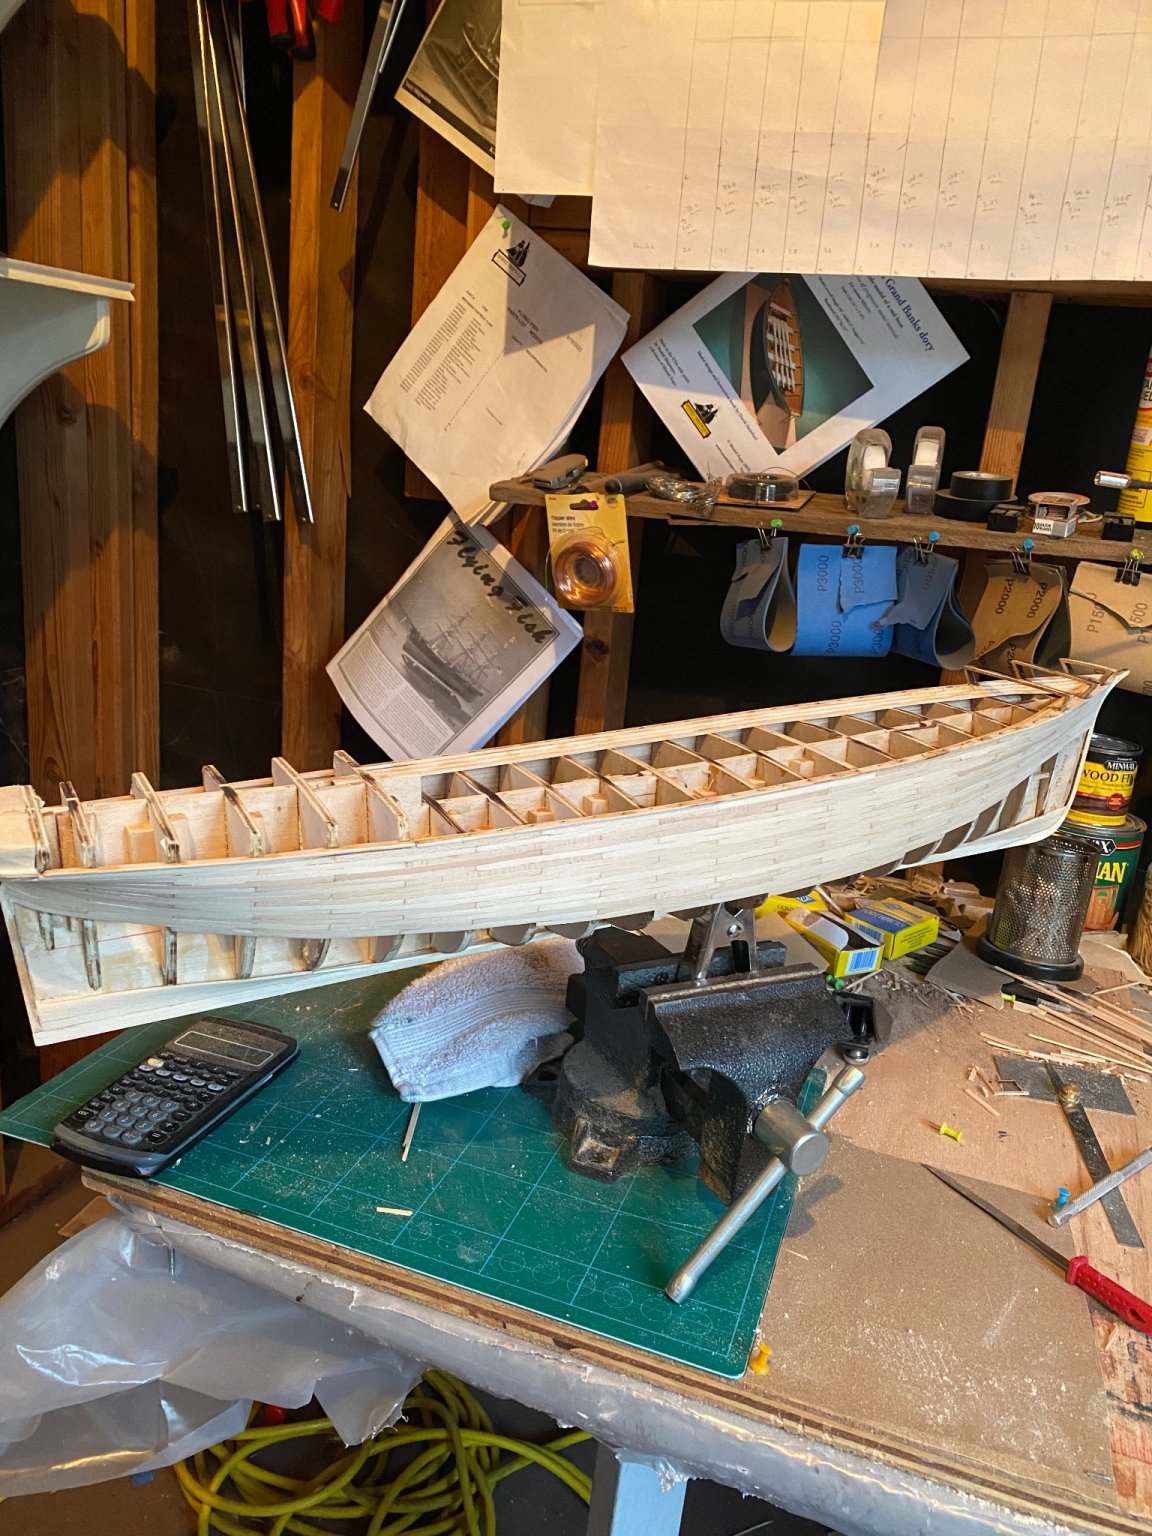
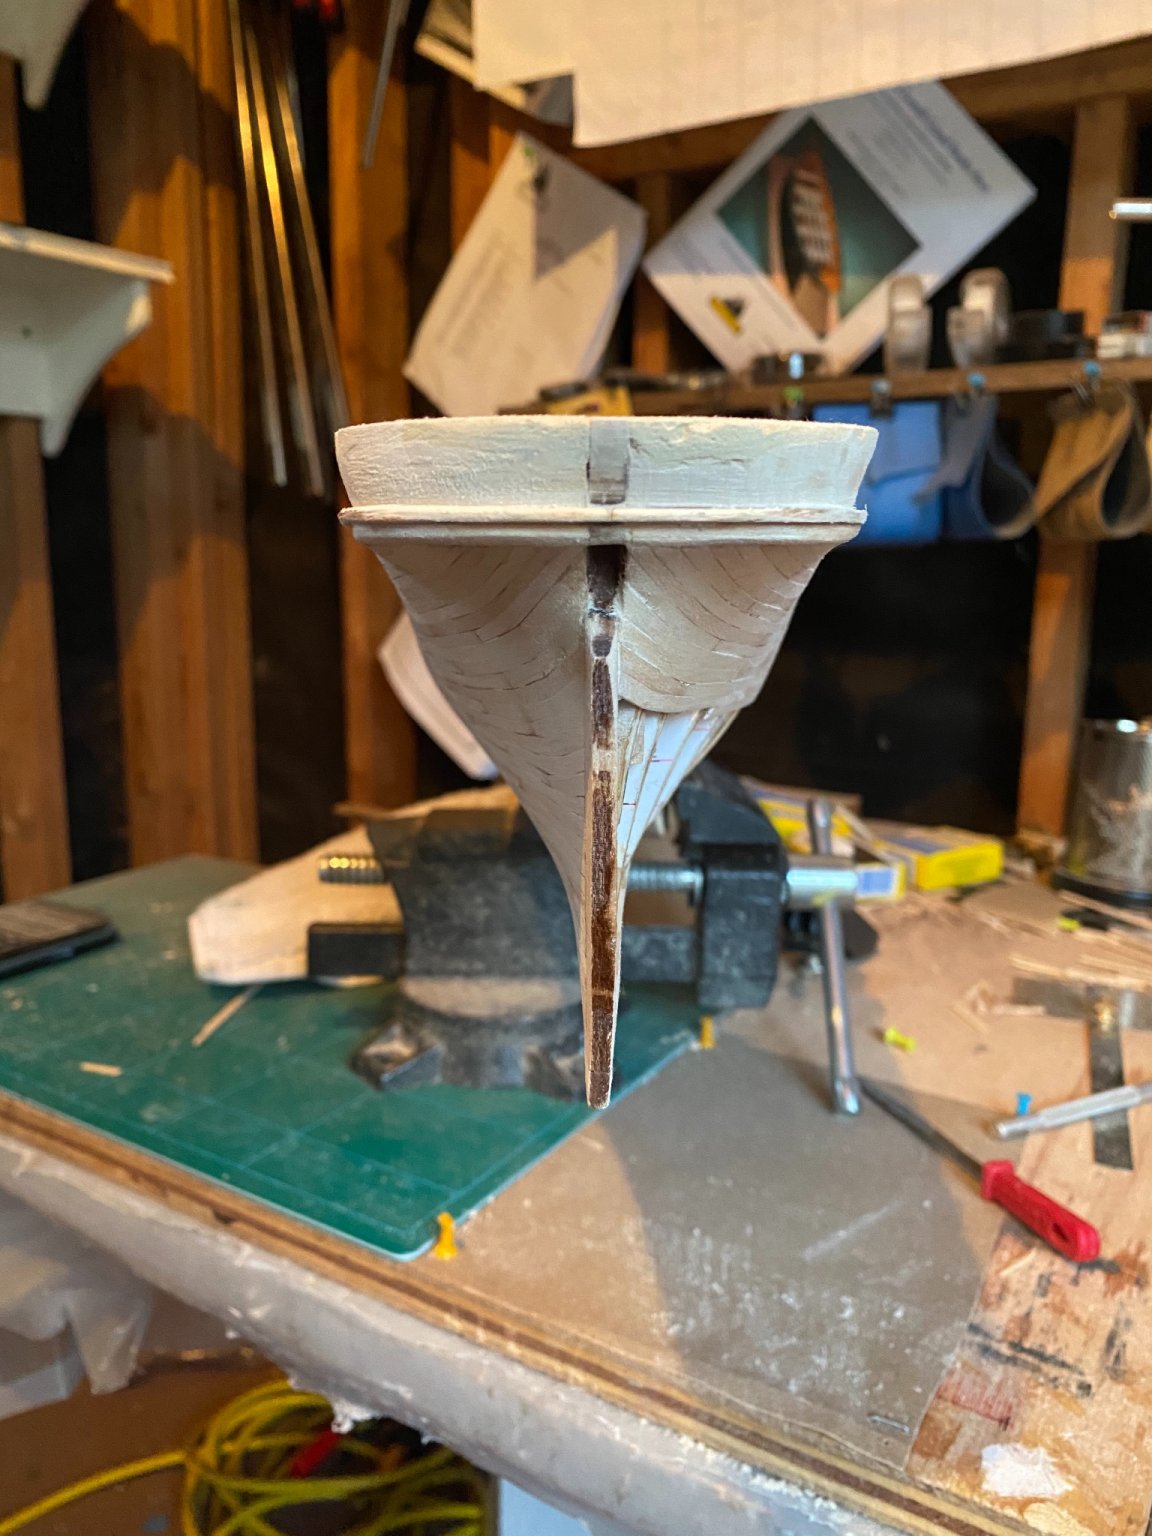
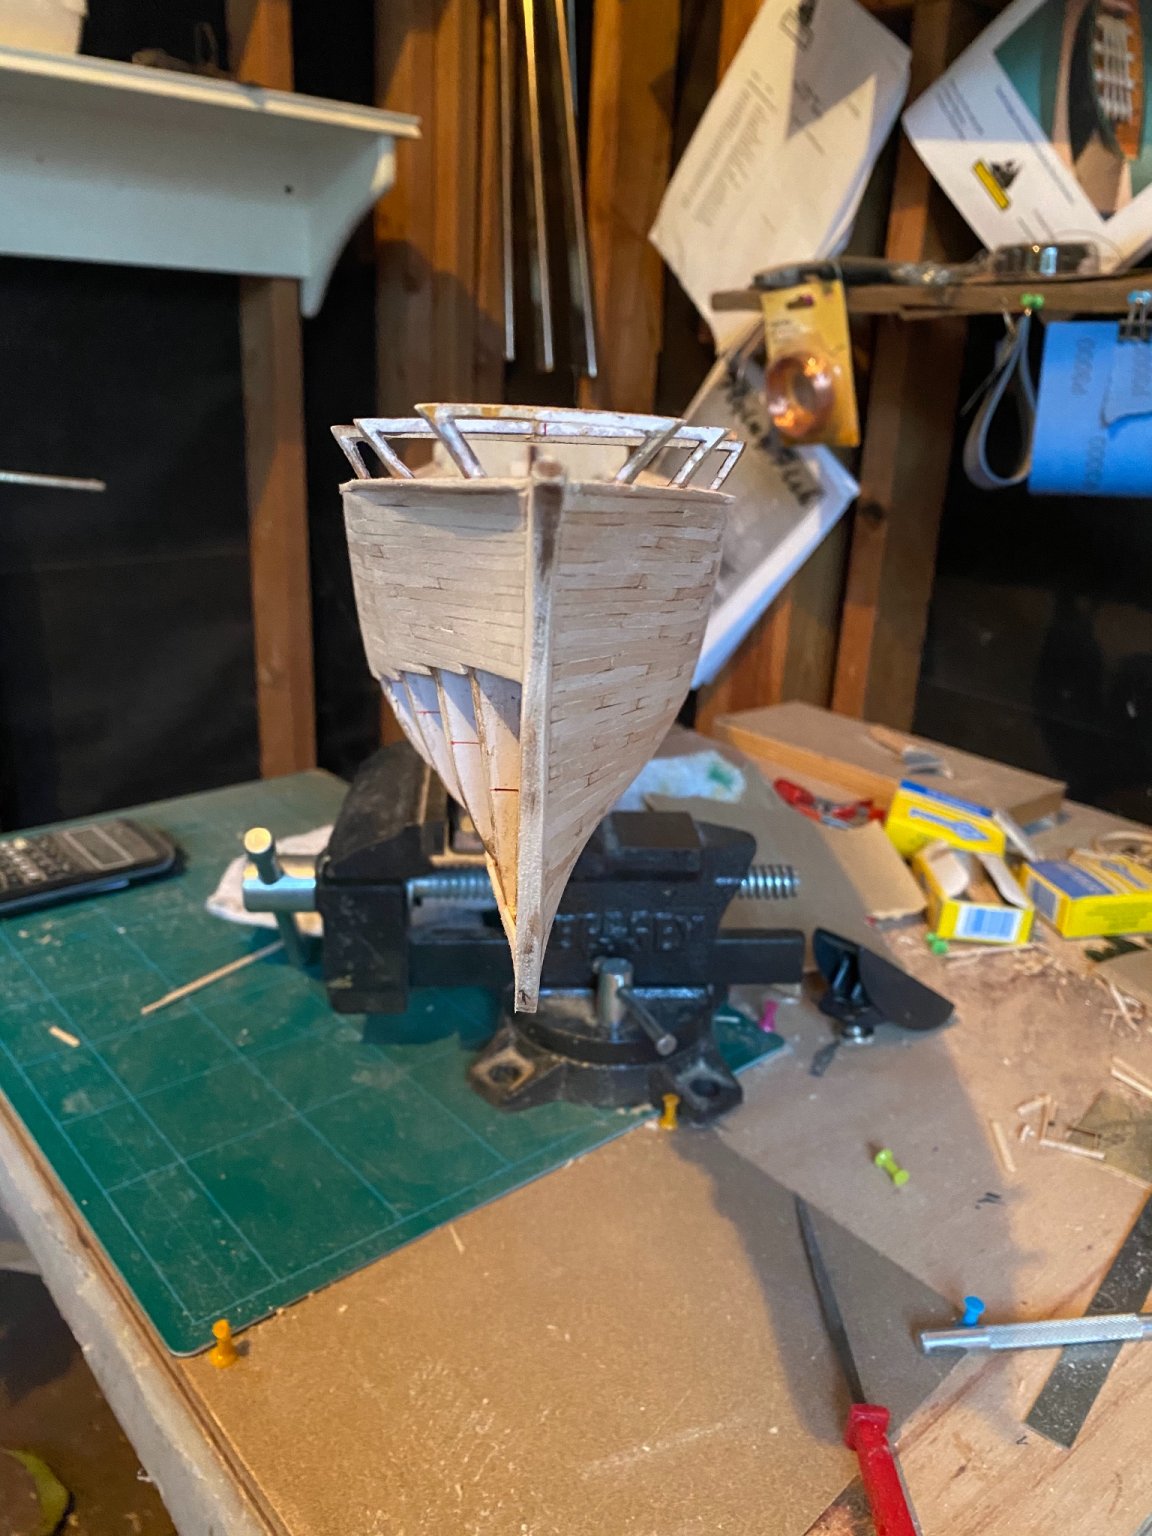
Here are some pictures of the build at this point:


Finally, I’m going to take a break from the hull. The process of planking is something I want to do right, I really don't want to rush through anything and potentially make mistakes or things I’m not happy with. So I’m going to focus on everything above the plank sheer, including the stanchions, and railings and deck planking. At least until i build the courage to finish the planking, ill certainly do it before any furniture is put on the deck, as i decided I do want to paint everything but want to invest in an airbrush first. Lots of stuff in this update, thanks again everyone.
Bradley
- Vladimir_Wairoa, hof00, Duanelaker and 4 others
-
7
-
Wow your dory turned out very nice! I recently made two of my own that were a little smaller but didn’t turn out as nice as yours! Your next build, the Ernest Hemingway Pilar, is it the kit by Constructo? That is a very nice kit and I’m looking forward to following your build.
Bradley
-


Providence by Fentone - Artesania Latina - 1:25 - New England whaleboat
in - Kit build logs for subjects built from 1851 - 1900
Posted
Fentone,
just seeing how you are doing? Would hate to see this kit shelved! Hope all is alright.
Bradley