


Keithbrad80
-
Posts
416 -
Joined
-
Last visited
Content Type
Profiles
Forums
Gallery
Events
Posts posted by Keithbrad80
-
-
-
Hello everyone,
I’m working on painting and chipping and cant seem to get it right, I’m using hair spray but I’m not against ordering a bottle of the chipping liquid if that works best? If any one has advice that could help me out that would be awesome. Thanks!
Bradley
-
Hello everyone,
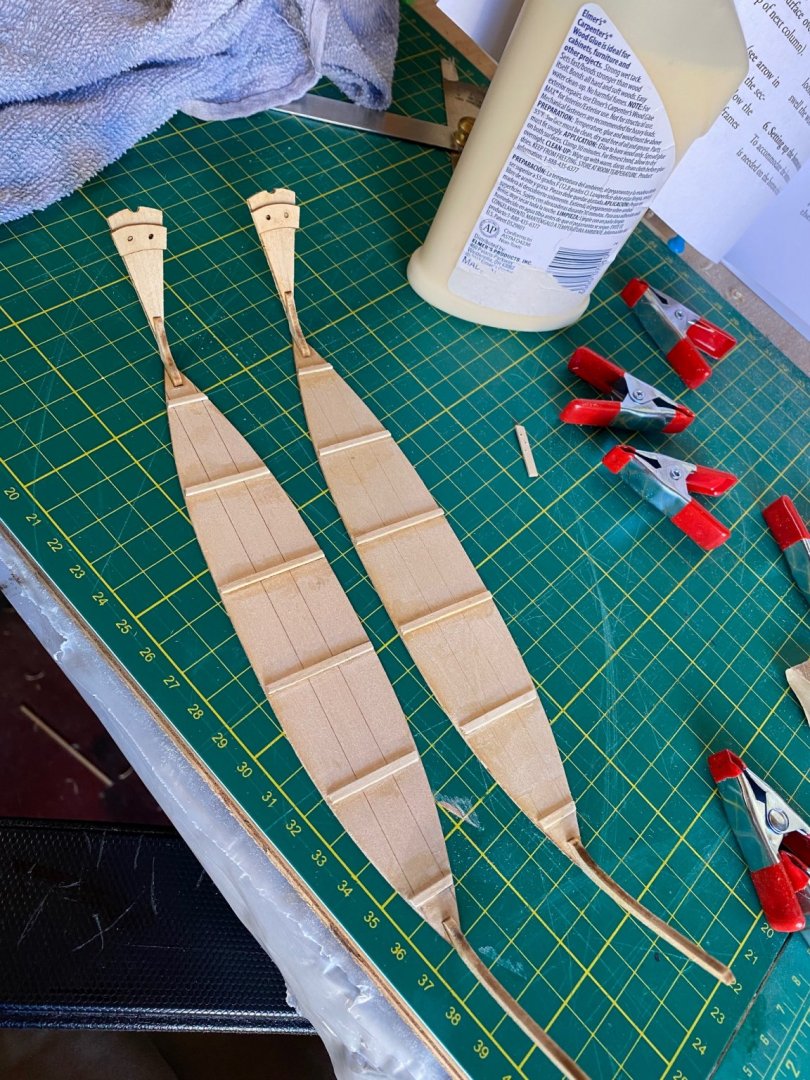
So i had a few hours while work was slow over the last few days and got a lot done. The next step after finishing the bottom was to start on the frames, they were also pretty easy to assemble.

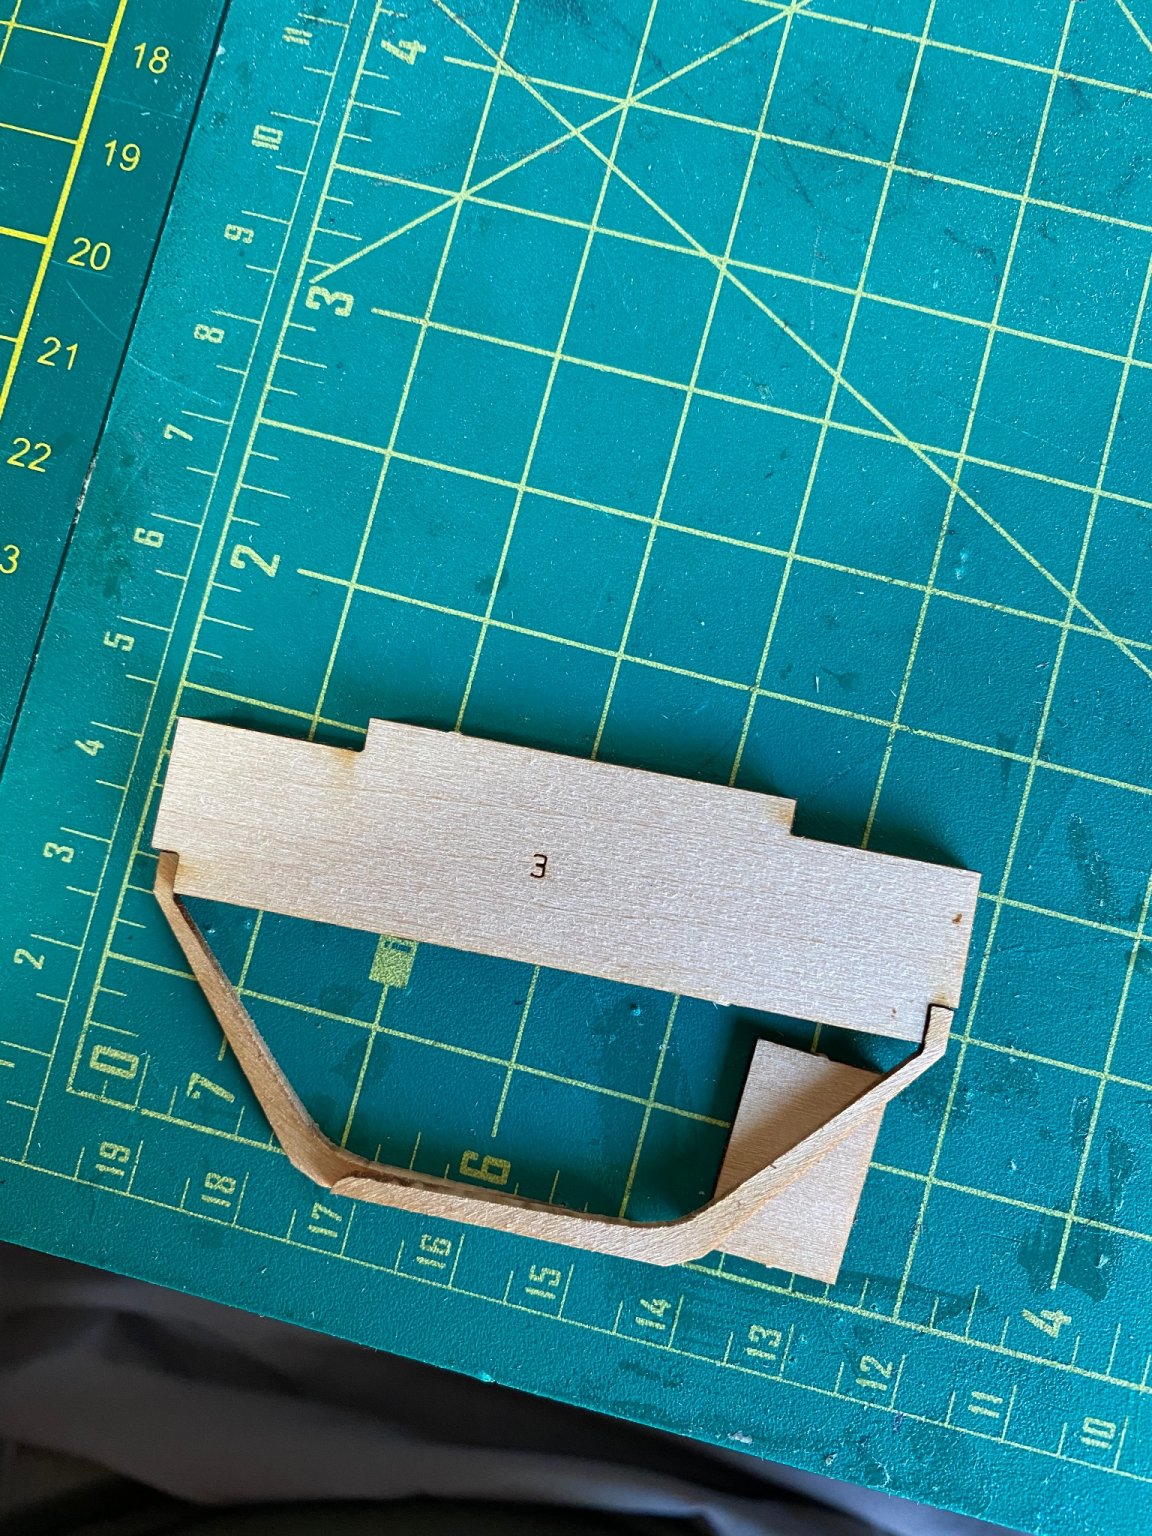
They come in three pieces, the large blocky piece holds the two frame pieces together by fitting the two frame pieces in the notch’s of the frame holder. Mine didn’t fit perfectly but I think its going to turn out fine, the 5 frame pieces then get put into your building board which was really nice to have.
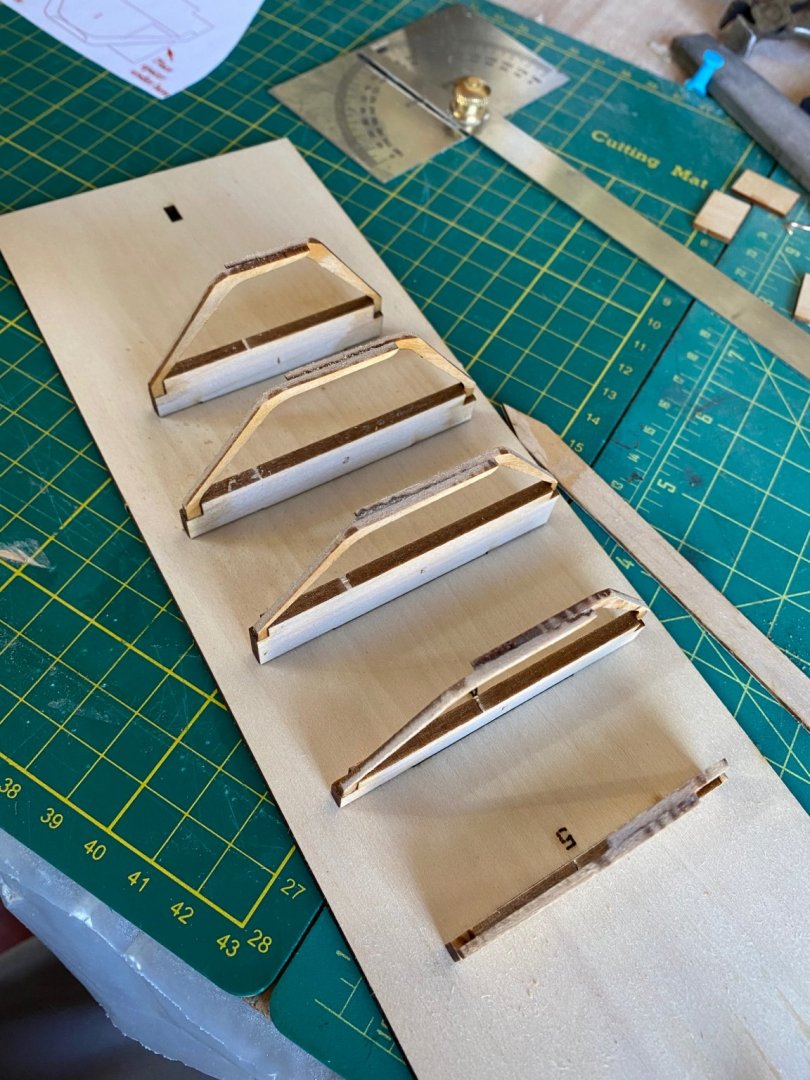
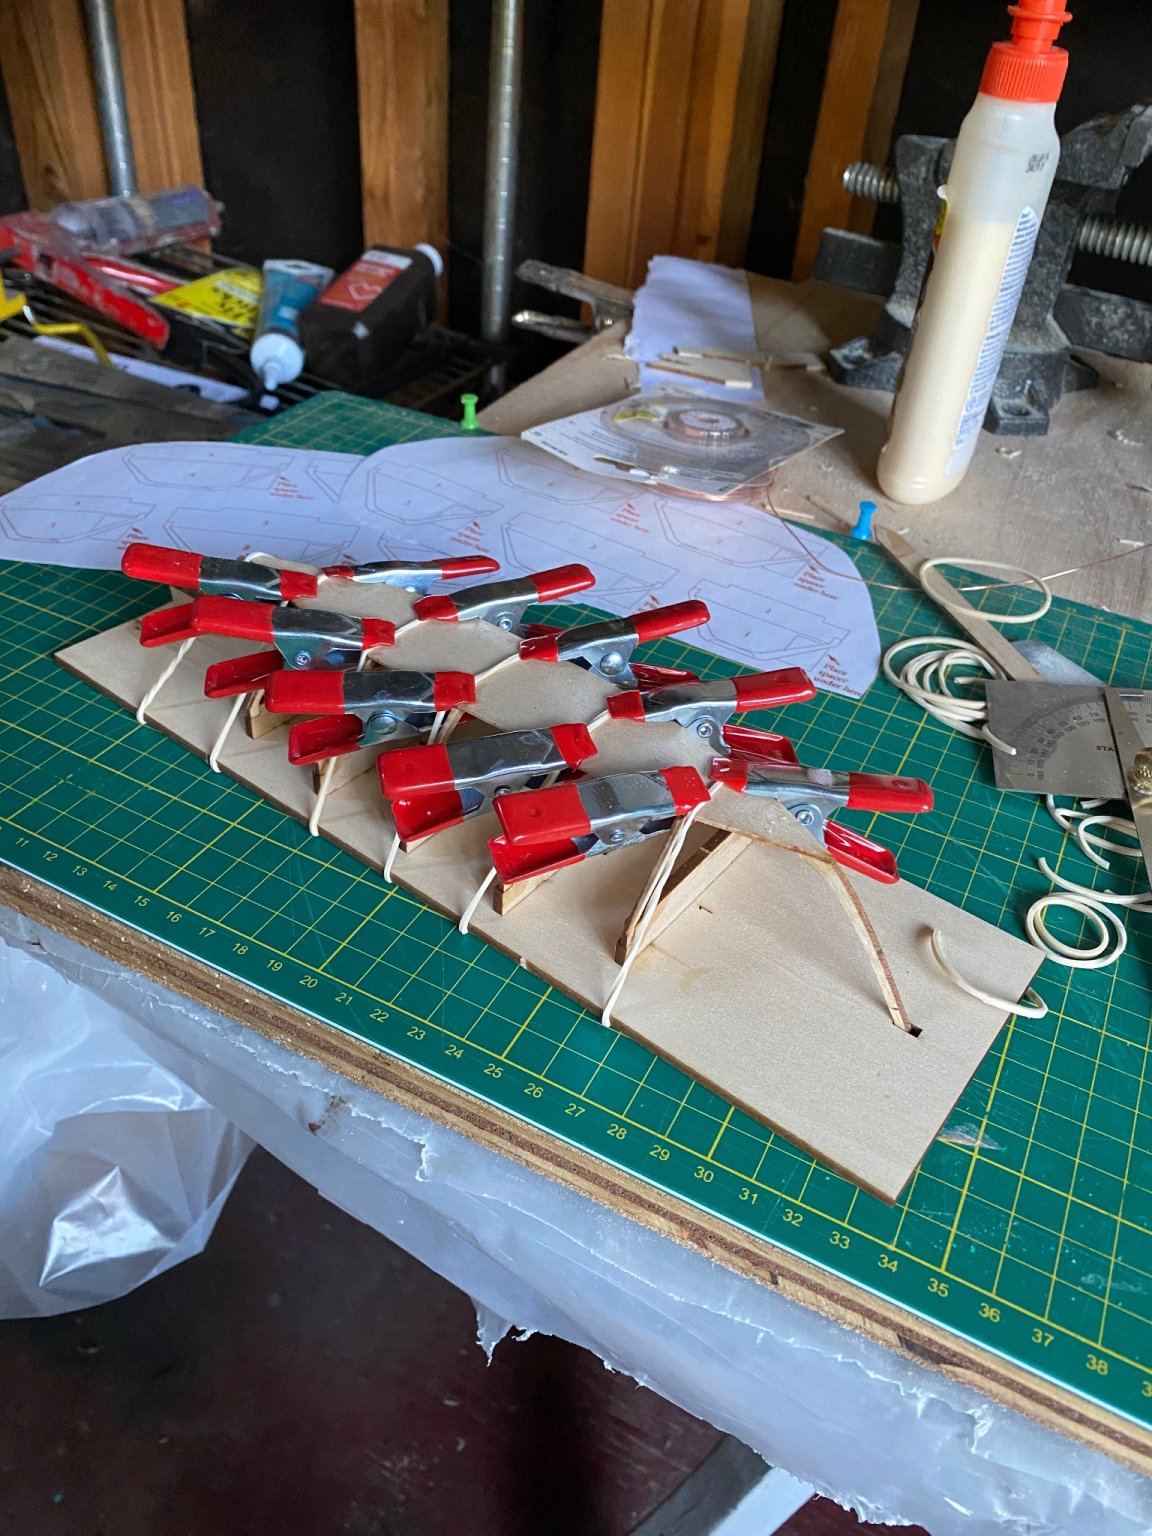
After all my frames were in the building board i gave them a light sanding knowing i will have to sand more later. I beveled the edges of the frames, working three at a time, this helps make sure the bevel stays true with respect to the other frame pieces.

We have had a lot of humidity and some high heat in Northern California recently so my bottom piece warped really bad. I ended up just using extra rubber bands and clips to hold it in place along with just enough water to soften the wood, i let this sit over night.

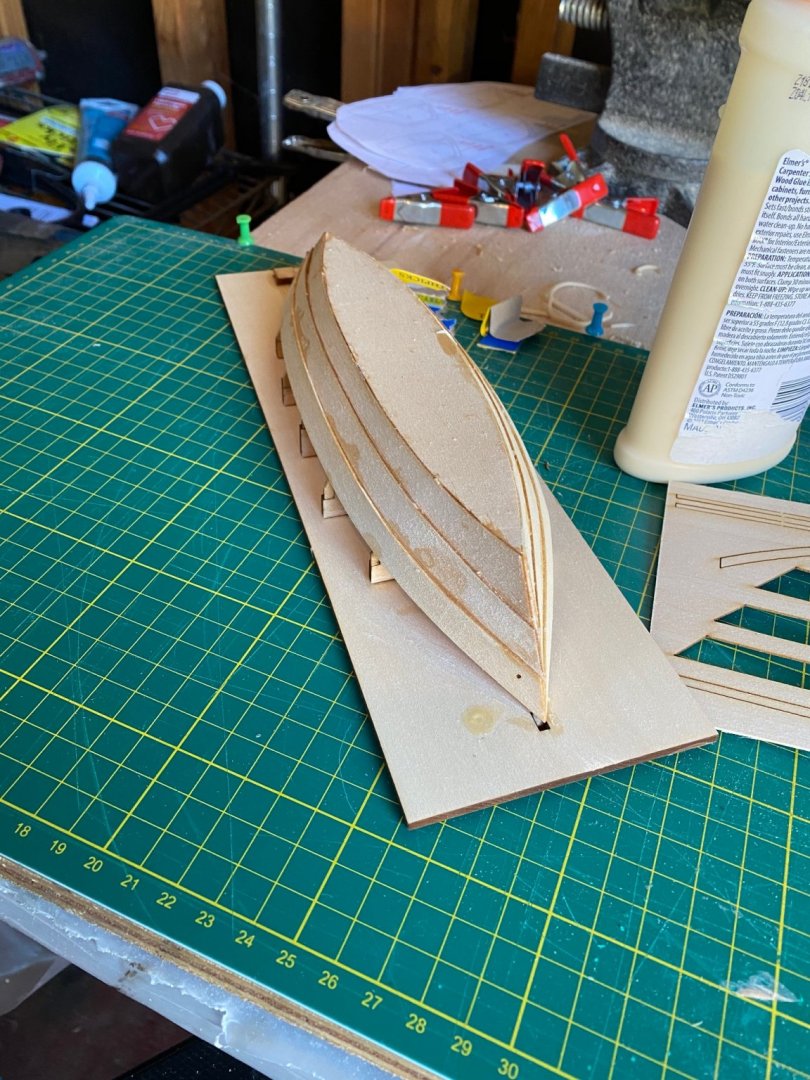
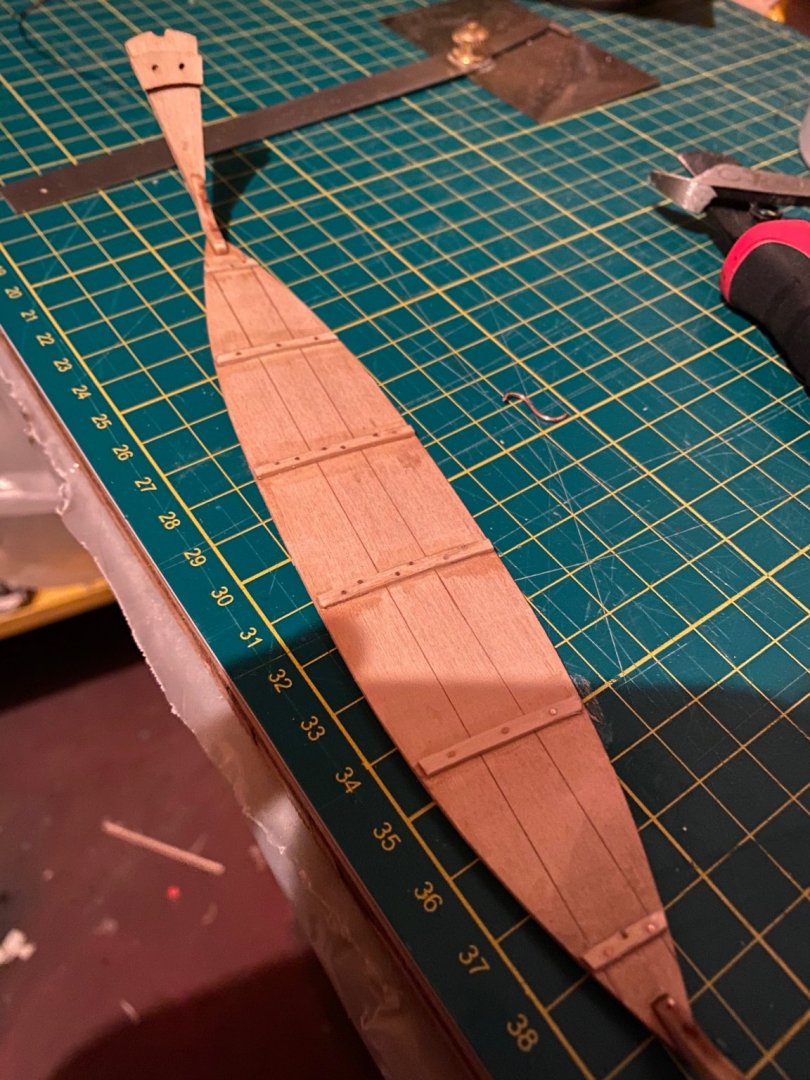
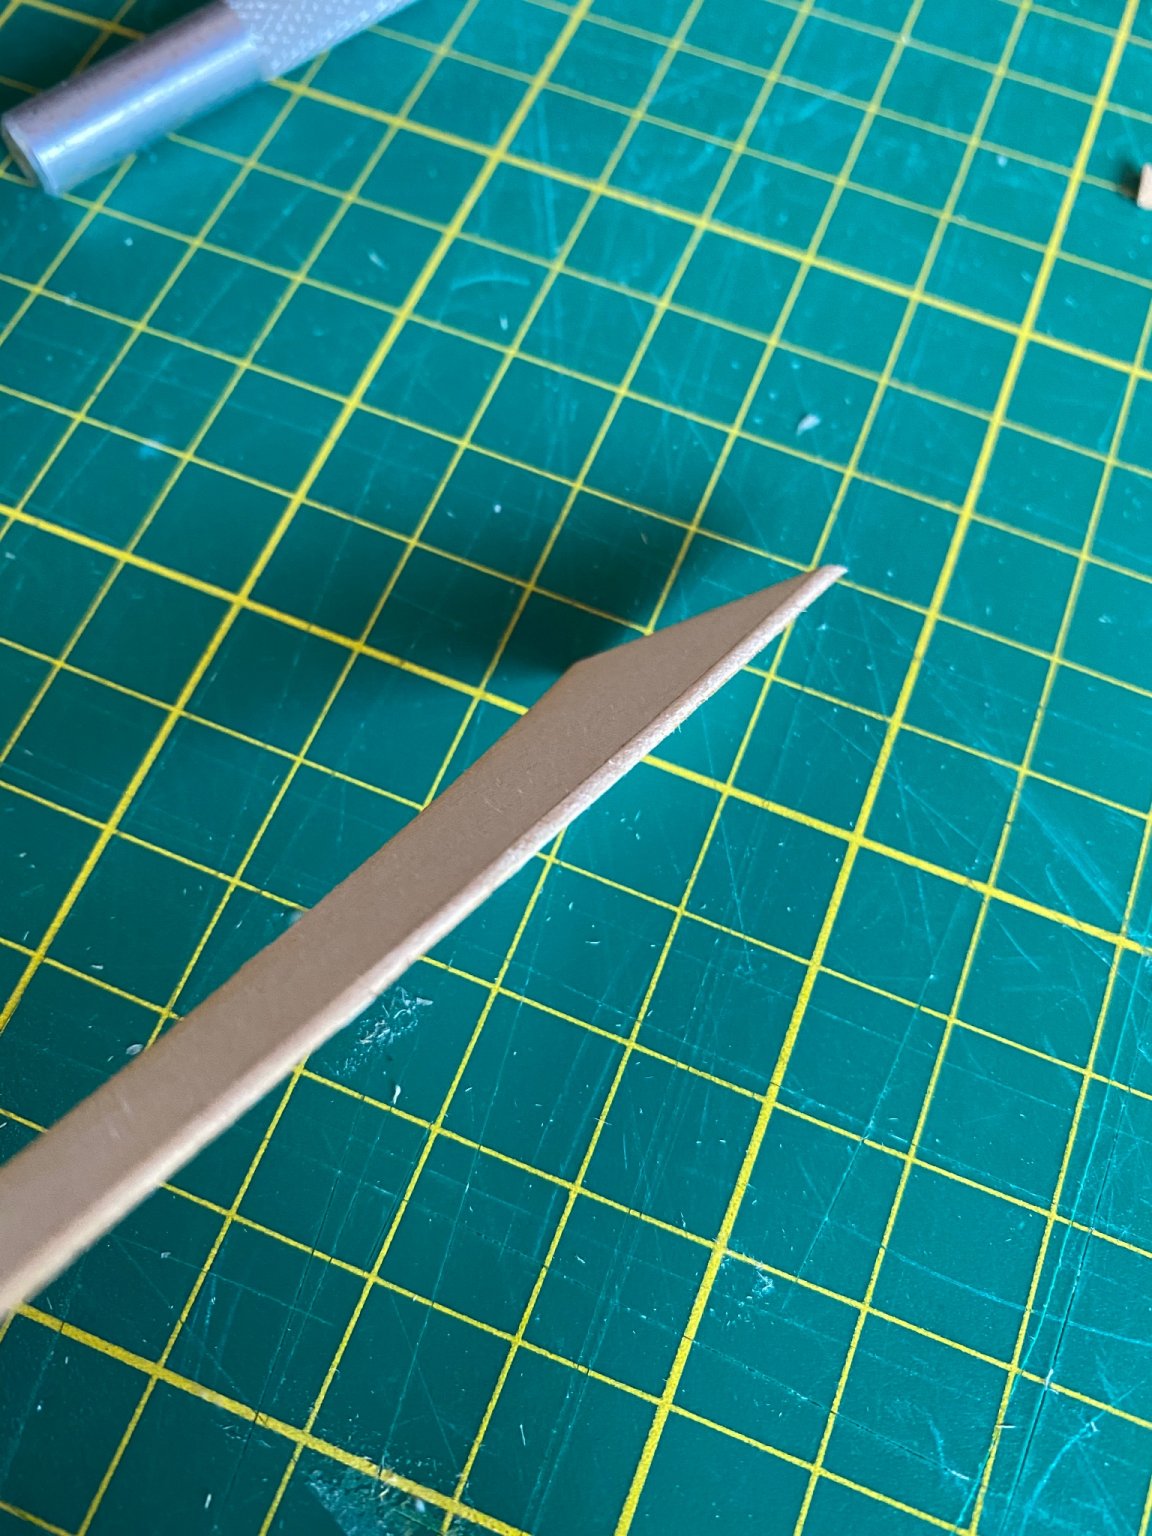
The way the planking was designed for this kit made it a lot easier to assemble. I cut the bevel from the planks and one by one took my time to finish up the planking. Now, you may be saying, wow thats a lot of glue stain! Well i have a plan for that actually, more on that in a bit.

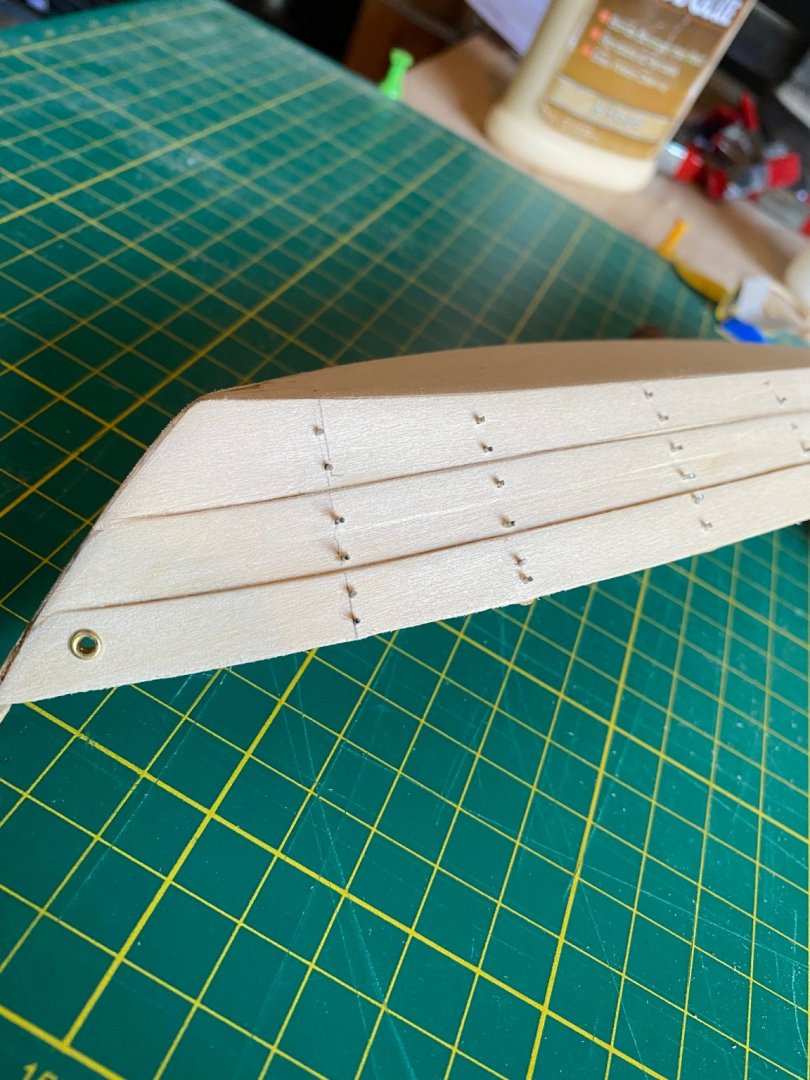
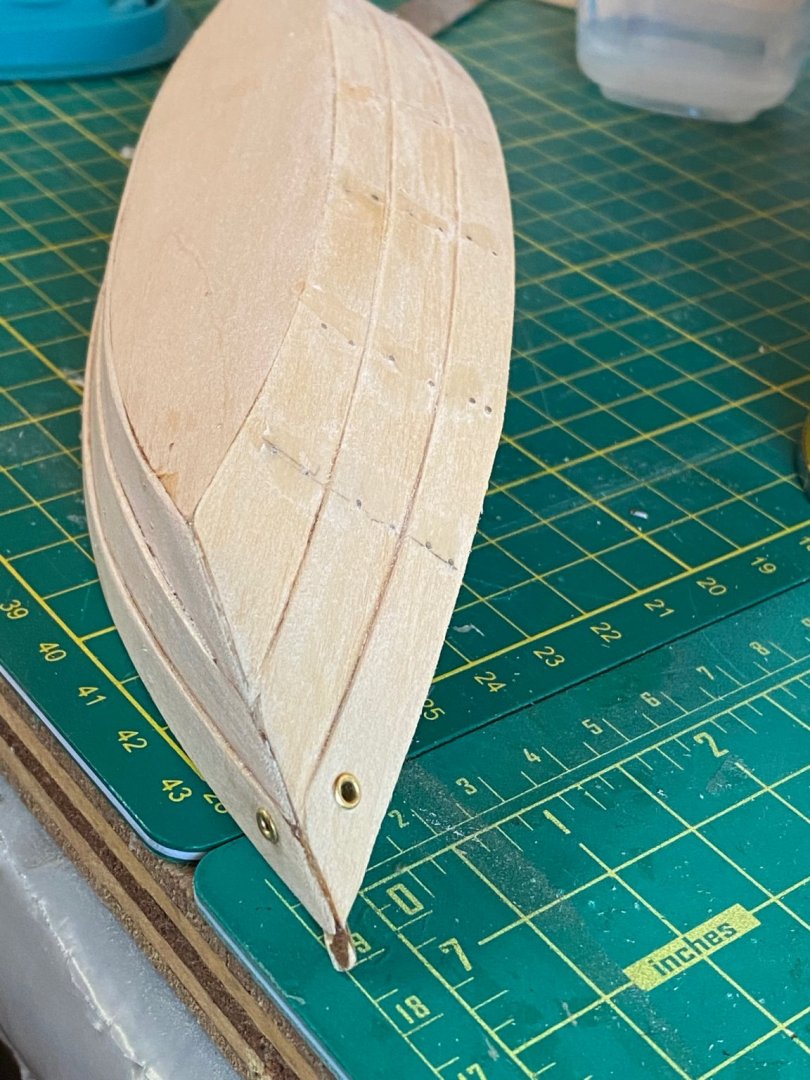
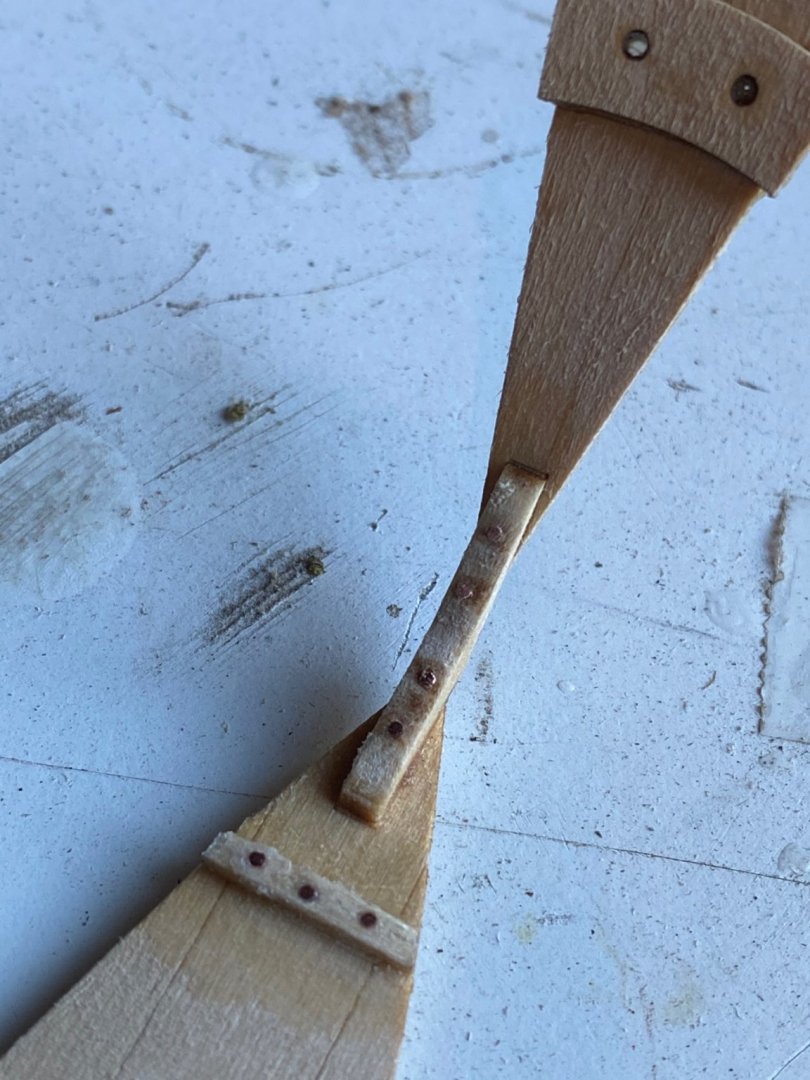
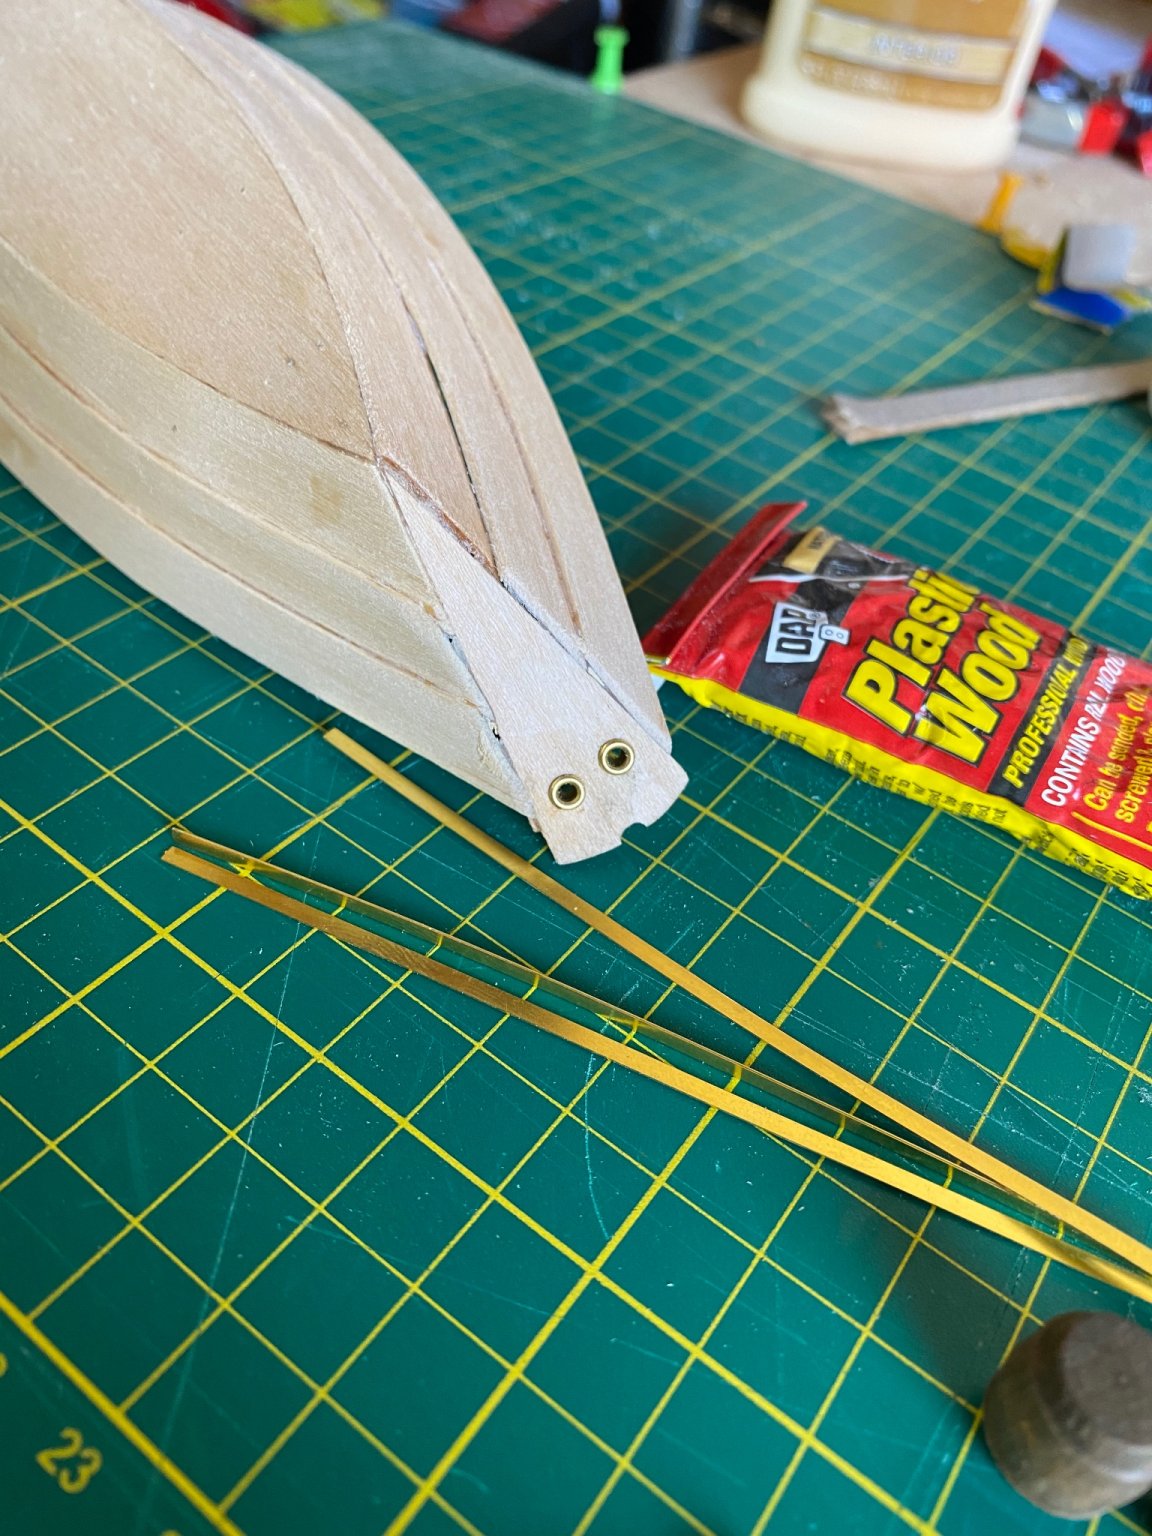
I didn’t take a picture of it but the frames get cut along the sheer plank to release the model from the building board. There is no rigging with this dory but there are two spots that rope would be threaded through or tied. 2 on the stem cleat and one on the sheer plank at the bow of the port and starboard side.
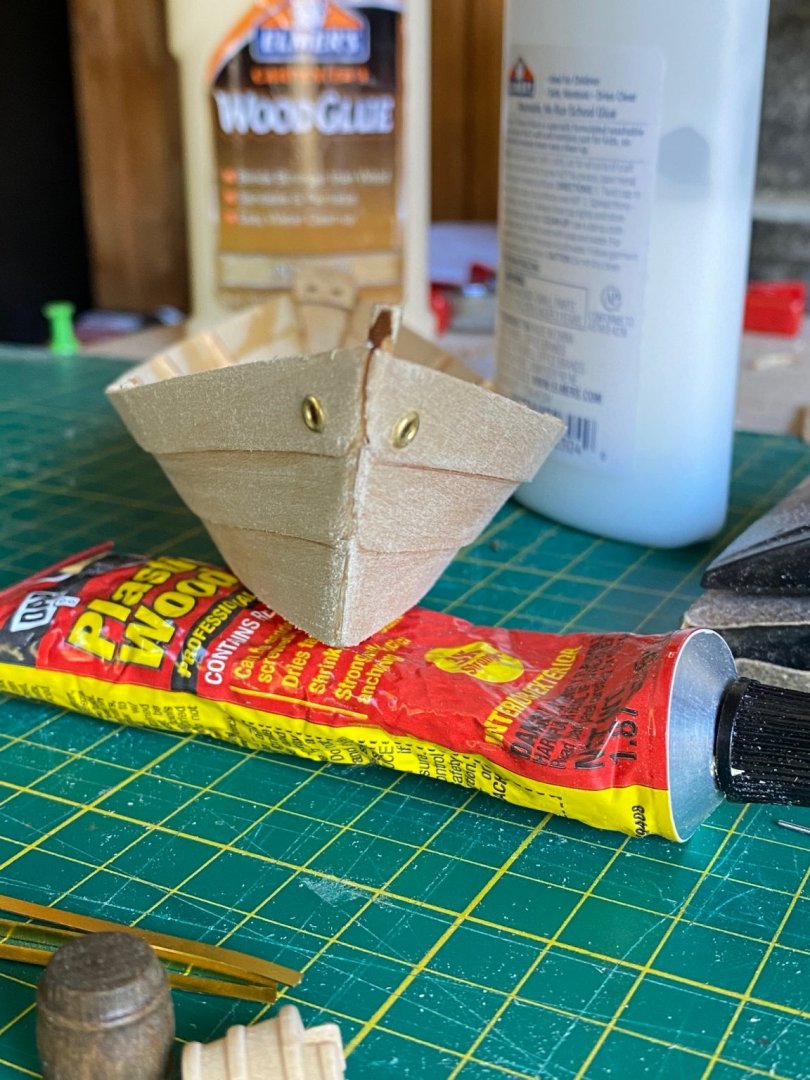
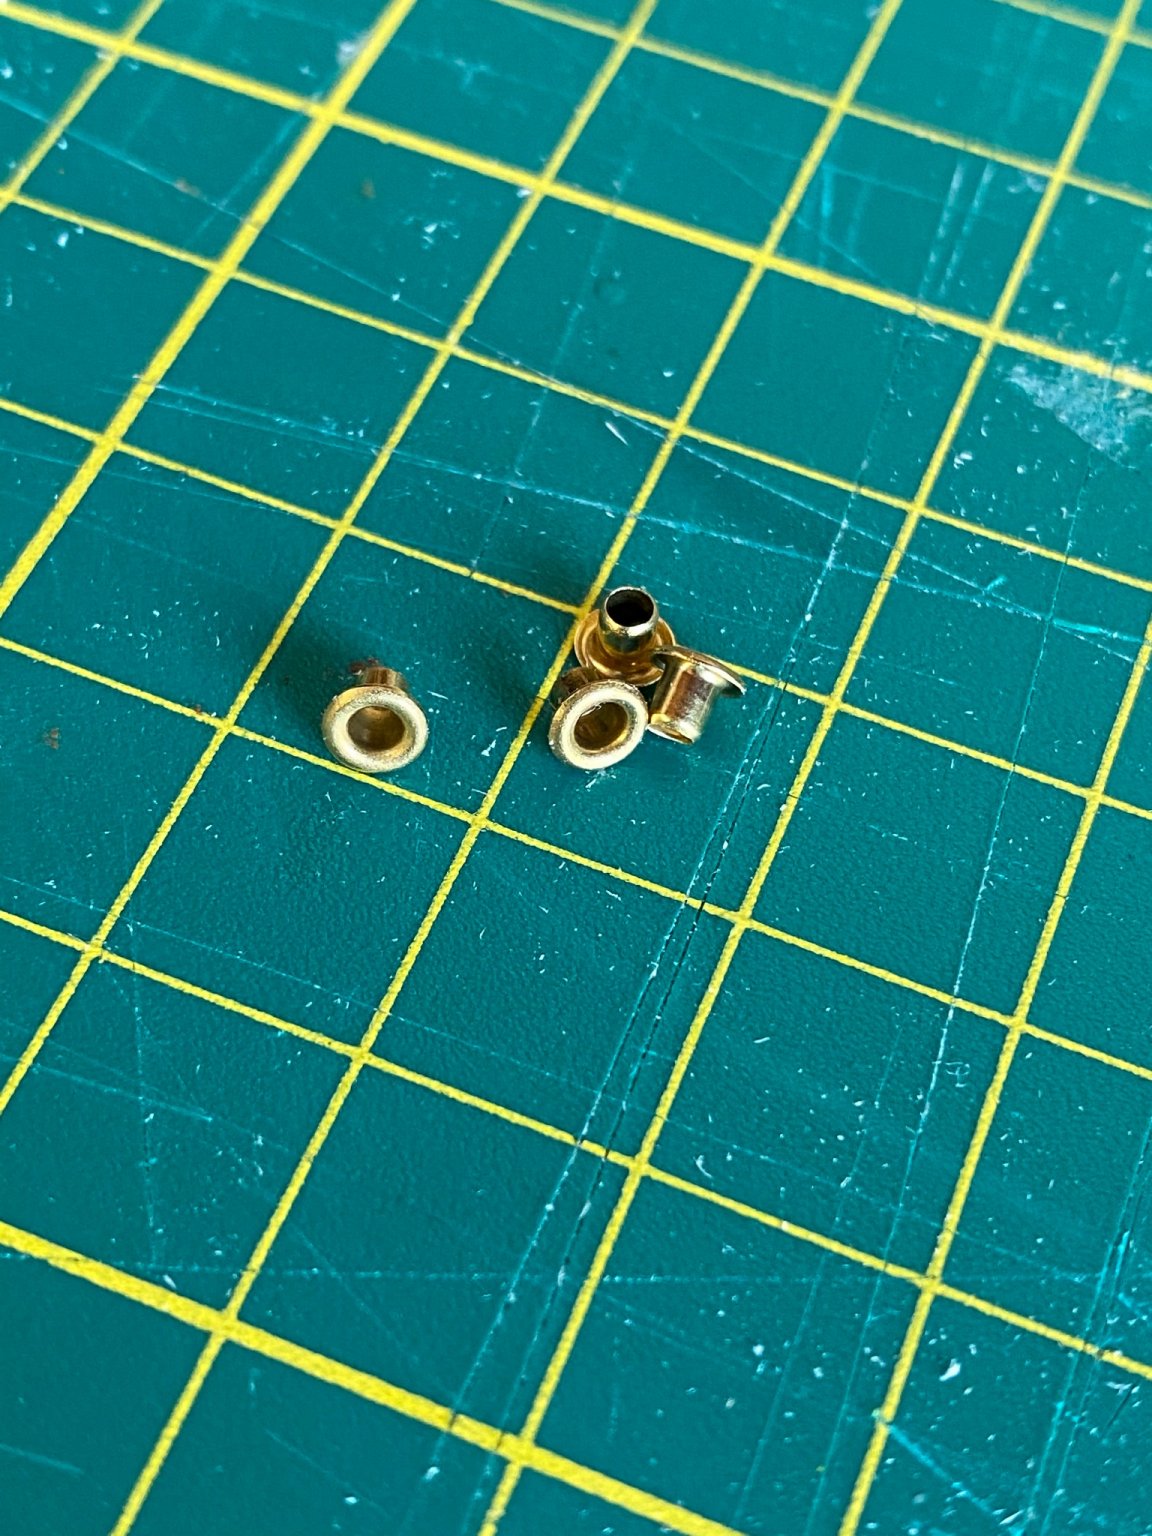
I had some porthole covers from a previous build that were about the same diameter that I thought would make it look a little nicer.


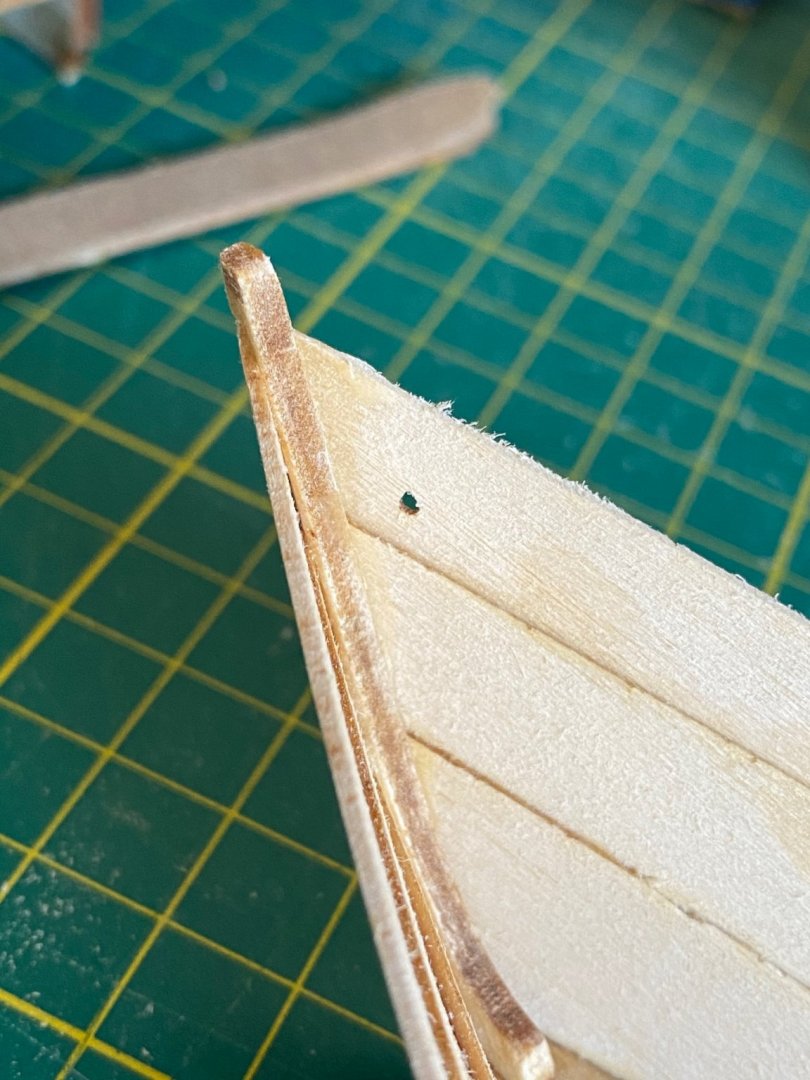
As you can tell the planking is a little off at the bow, I may just have to live with this but maybe i can fix it? Who knows.
I also wanted to add a few nails in the planking to see how it looks, i pilot holes for each nail then inserted steel wire and cut it to length. My nailing pattern may not be super accurate but it will probably be hidden under paint any way.
I really wanted to experiment and learn new things with these dories, this dory i wanted to look like it was 100 years old, I want it to feel like this dory had been loaded and unloaded countless times from some other ship. So I’m going to try staining it to the color i want the wood to be, then I’m going to paint and try some chipping techniques. The other one i want to be super clean and brand new looking, I have almost no experience with real carving so I’m going to try a few things with the other one, these might look terrible in the end lol but ill try my best!
Bradley

- Ryland Craze, druxey, Ondras71 and 2 others
-
 5
5
-
-
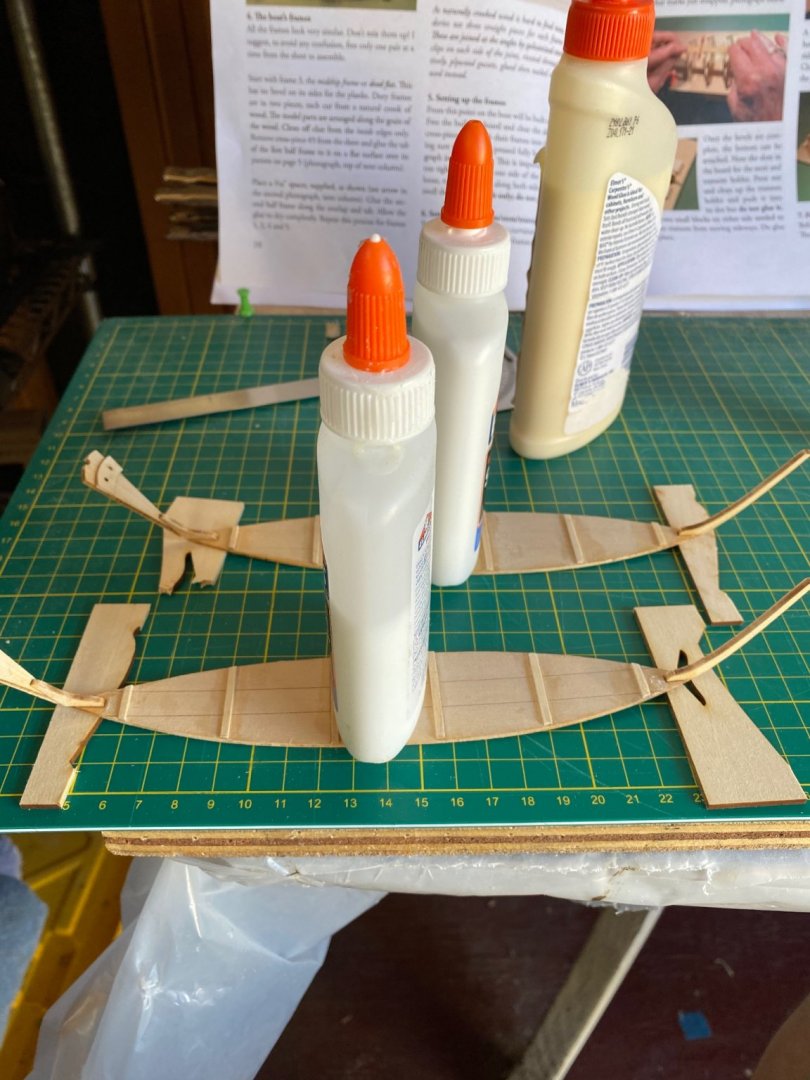
So the name for the ribs is the bulkheads, sometimes they are super tight which is actually a nice place to start, much better than being to loose. You can gently sand on side the bulk head or the false keel piece (the long piece that holds all your bulkheads) but I usually only sand one side so I don’t over do it. A little sanding really goes a long way here.
getting them square is kind of a complicated question lol. So you should work on one bulkhead at a time until the glue sets enough for you to work on another. You should use some kind square to keep them in place until the glue sets enough for it to hold (around an hour). Wood glue takes a full 24 hours to set so after the bulkheads are in don’t touch it for a day!
Im working on a Flying Fish ship and am doing a build log for it. I have a detailed description on how I got my bulk heads square. You should check it out!
Bradley
-
-
Fentone,
im looking forward to seeing your progress on this ship!
About the blades breaking, it does happen that a blade breaks, not the end of the world but make sure a piece doesn’t hit you in the eye!
also with the laser cutting; when a laser cutter cuts the parts out it burns both sides of the wood as it cuts through creating a darker color called char. These charred edges create pretty ****** gluing surfaces, wood glue doesn’t do well with them. You have to be careful though which ones you get rid of. Gently sand the charred edges with A 150 grit Sanding stick until the char just disappears.
the skeleton pieces you cut out should all have charred edges from the laser cutting machine, be carefully how far back you sand them, sanding the false keel to much will leave your bulkhead loose and later you are going to bevel your bulkheads anyway which will probably get rid of most of the char. Pretty much 100 percent of your frame is not going to be visible when the ship is complete. Every thing you do in this hobby requires forethought, just make sure you are thinking about where every piece will go, how it will all fit together, and what the final product will look like.
Bulkhead construction could be the most important part at this point, it’s the only opportunity you have to make sure that every thing is lined up and square to false keel. Even slight differences between the port and starboard side can lead to large differences in planking later on.
Sorry for the super long winded response, I’m looking forward to seeing your build progress, if you have any questions don’t be afraid to ask!
Bradley
-
You really don’t get how small these are until we see them in your hand! Unreal!
Bradley
-
Be careful with the tooth picks, if they are not all straight up and down the tree nail that is left behind will be at an angle which will look kind of like an oval nail on your deck. Just make sure to align them all straight up and down before you cut them. But so far I think it looks great!
Bradley
-
I’m happy to see you got these to work for you, I think they are going to look very nice!
-
-
Hey devil dog,
just wanted to see how the build was going? Hope all is well.
Bradley
-
Much nicer! Can’t wait to see how these turn out!
- Overworked724 and NovaStorm
-
2
-
Hello everyone,
so I have completed the bottom of the dories, I think they look pretty good.
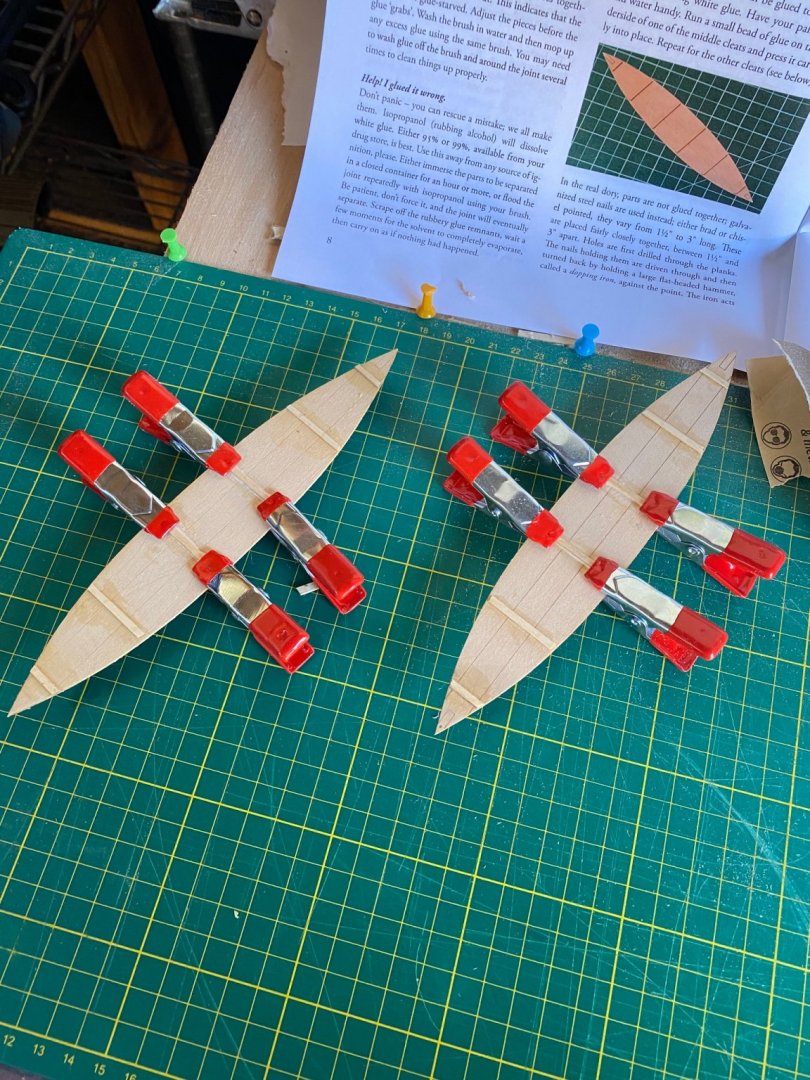
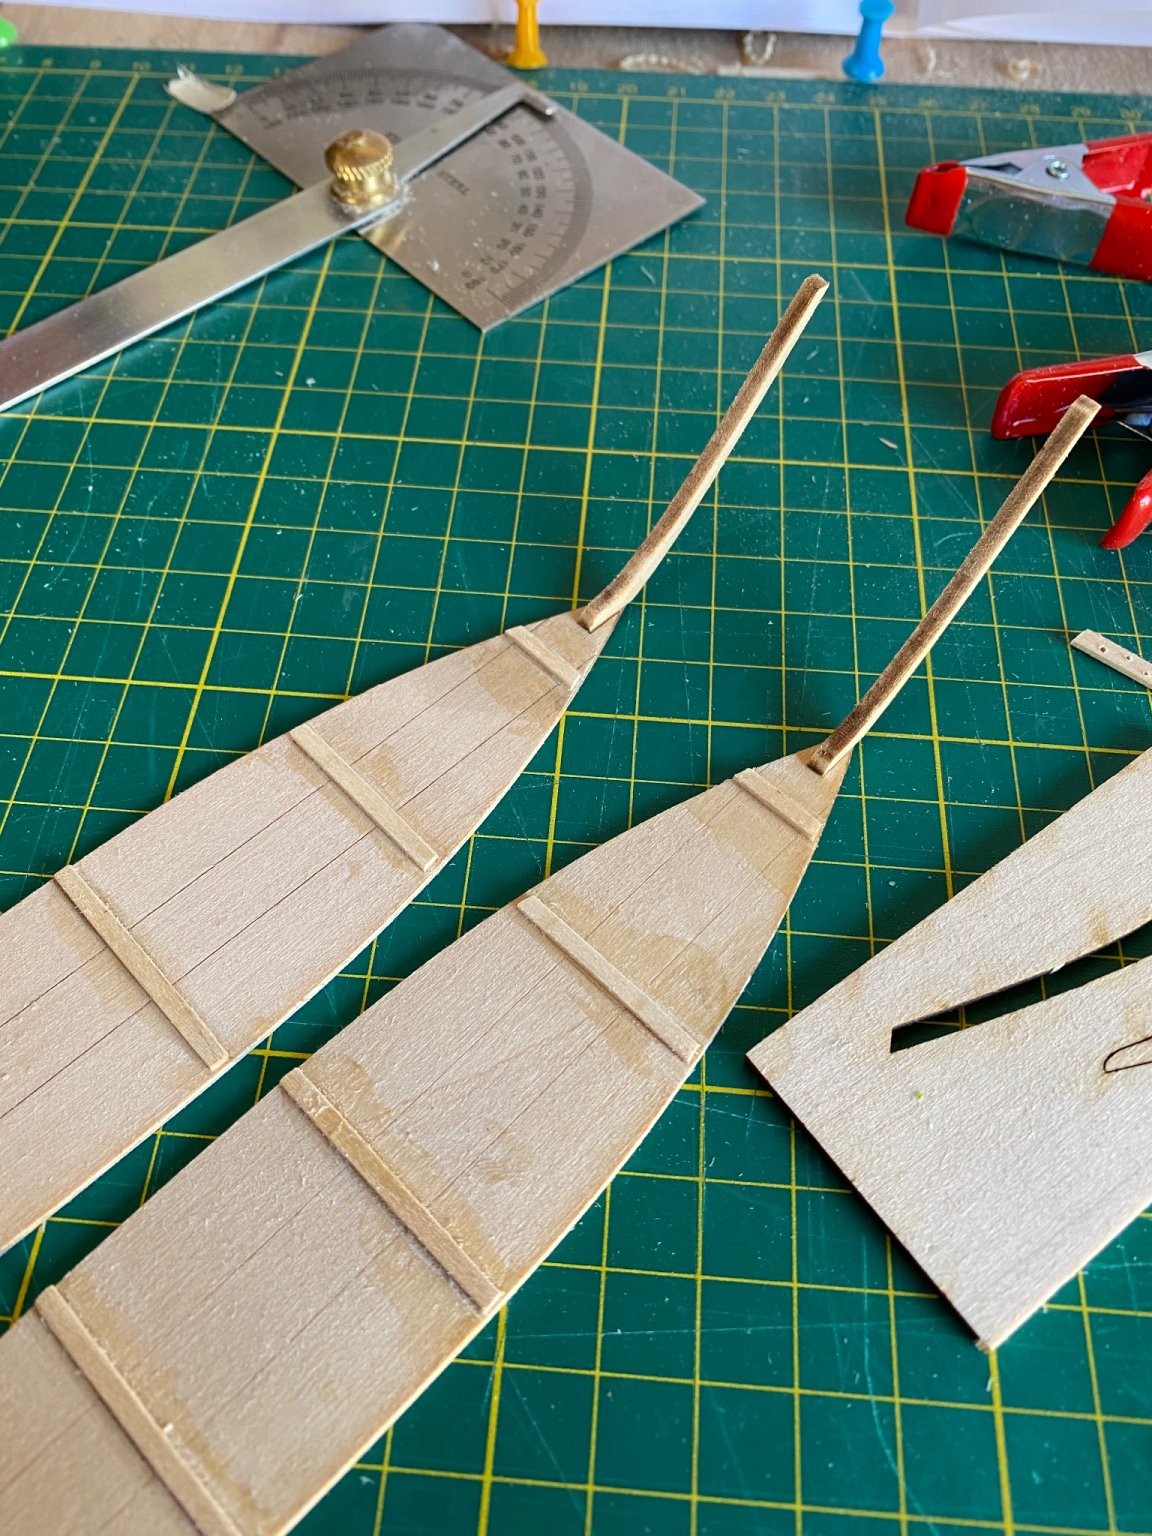
the first step was creating the bottom cleats or cross battens that hold the bottom together.
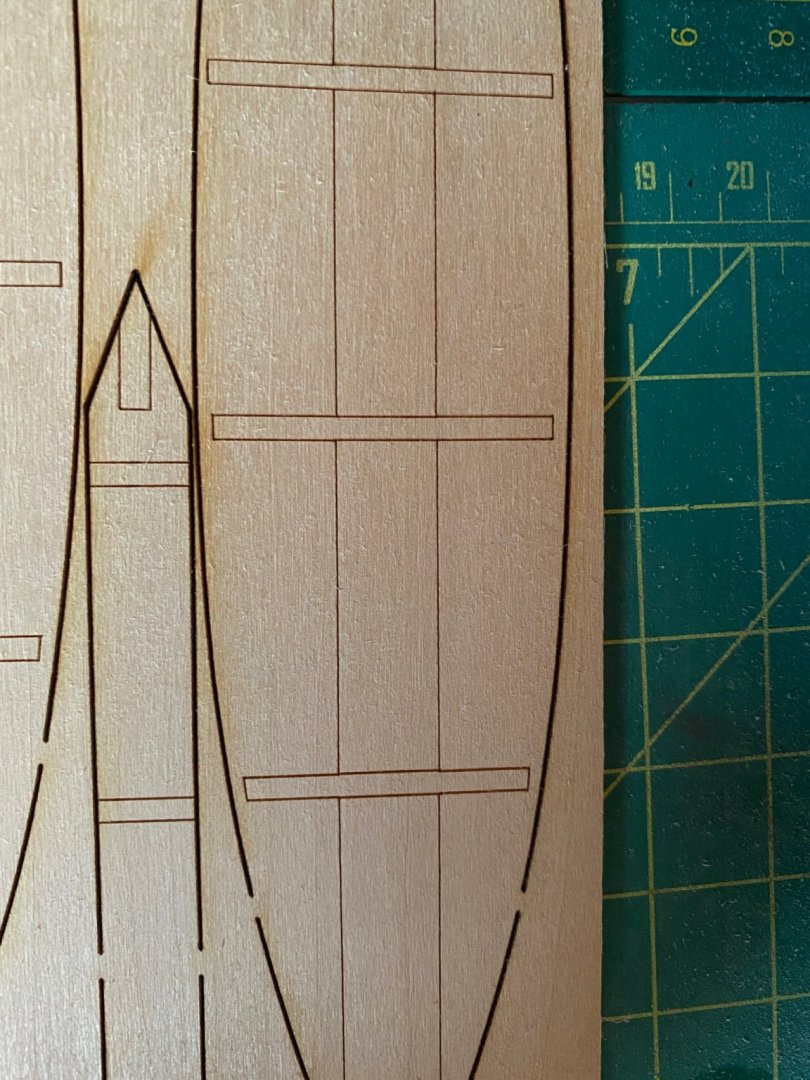
Model Shipways does an excellent job at pressuring the builder into trying new techniques and scratch building, in this kit they offer two different options for the bottom. A laser cut piece, or three wood planks that you can put together your self. One note about the laser cut planks; I order two models at the same time and received them both at the same time, what’s interesting is the laser cut sheets are different in each kit. Not by much, nothing changes structurally, I must have just gotten two kits from two different batches.
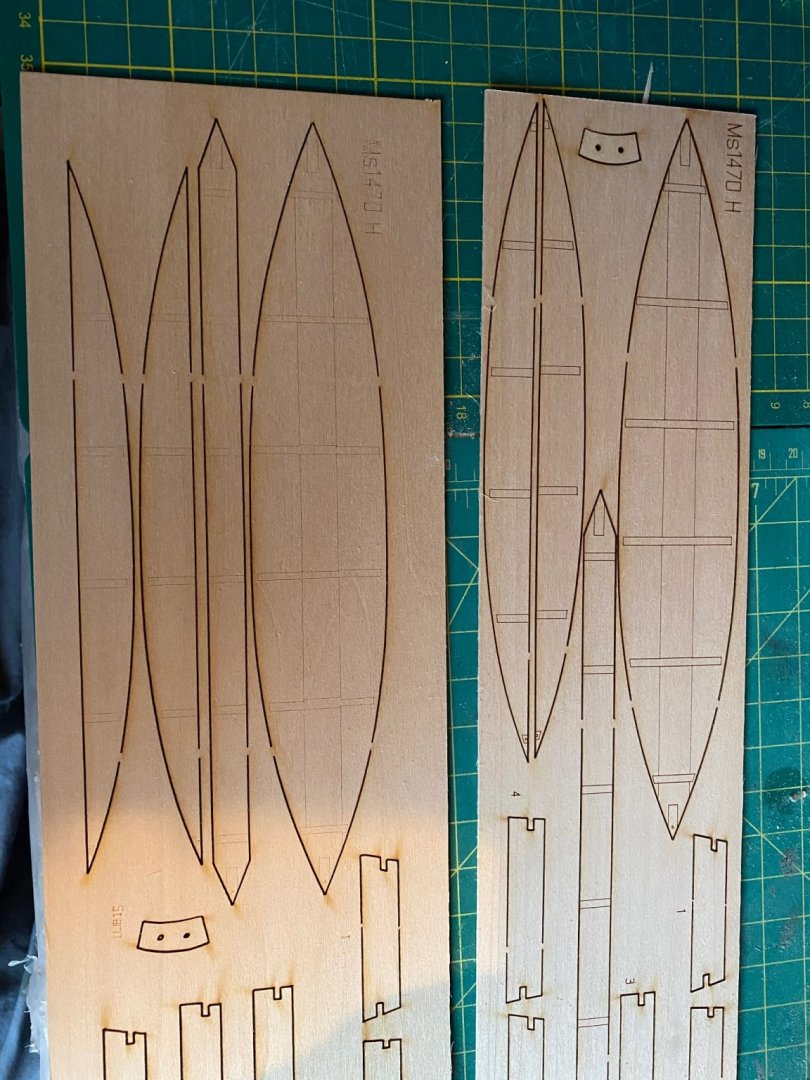
these are the two different laser cut sheets interesting how different they are but it won’t make any difference in the end.
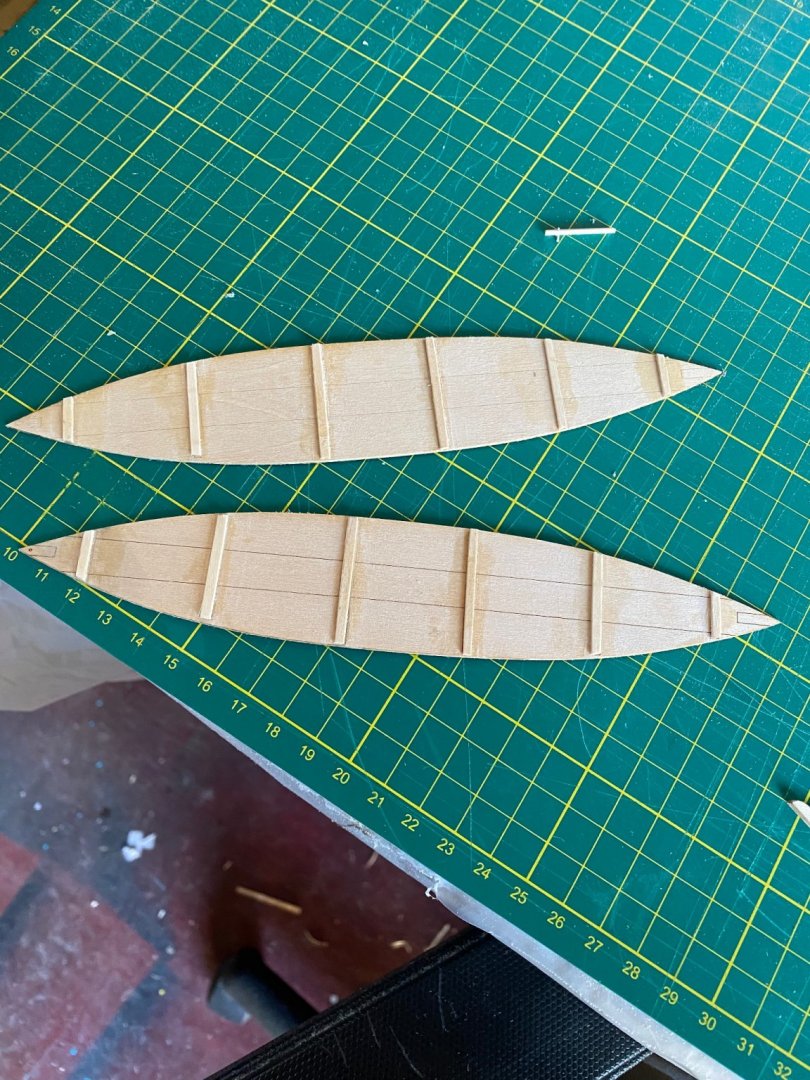
These are the bottom cleats on both bottoms.
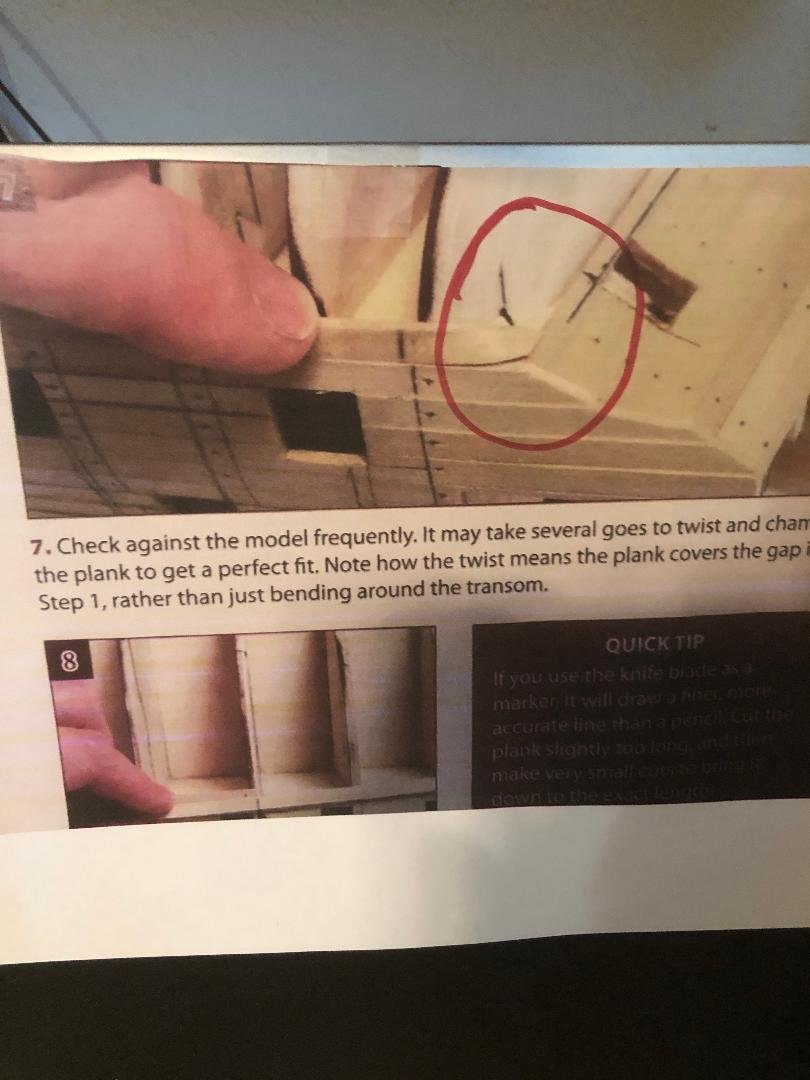
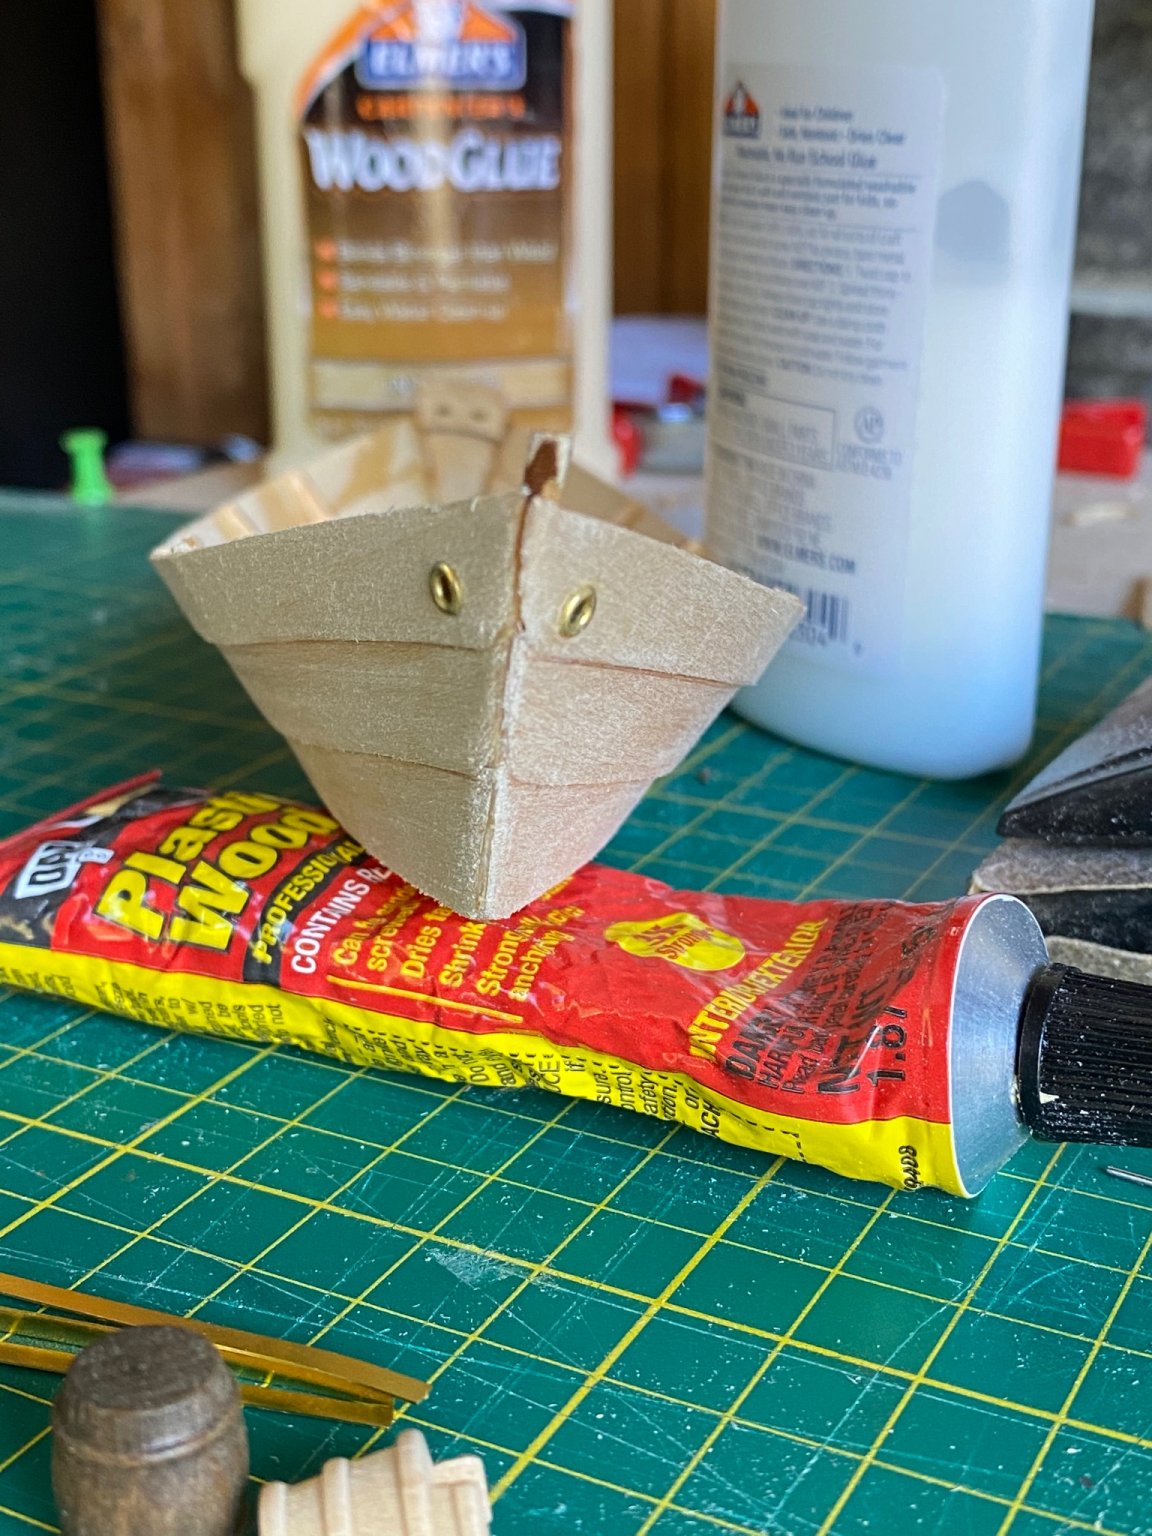
the next steps were adding the stem, the transom and stern knee. The transom was two pieces that were easy to put together but you have to bevel the transom to the meet the stern knee. the master cut bottoms have an outline for you to place these pieces properly.

In the instruction booklet Antscherl mentions that traditionally steel nails or copper rivets would be used instead glue, I wanted to add these details but could not find an example as to how the rivets would have been placed. He mentions the nails are usually 1.5 inches to 3 inches long and about 3 inches apart, following these guidelines I did the best I could to place them where I thought they might be. Personally I think these rivets make for great detail, the models will be painted later so you may not even be able to see these but knowing they are there makes me feel better.
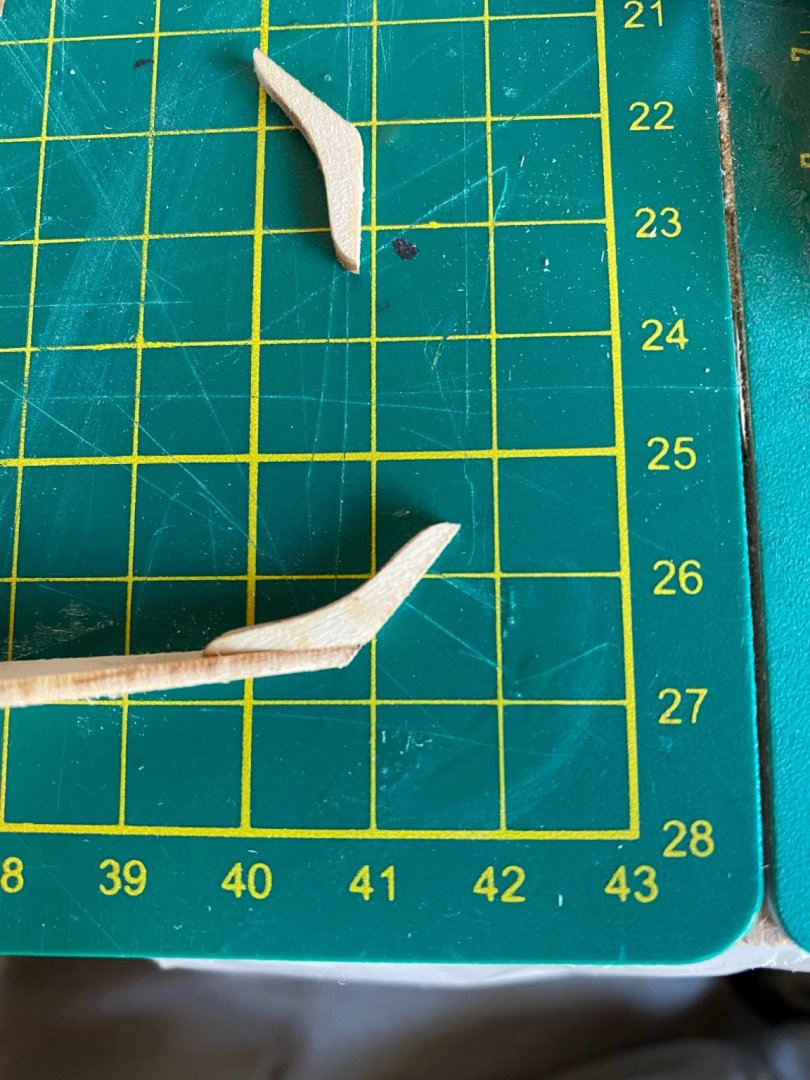
finally I tried to shape these the way they suggest, wet the bottom and place 1/4” pieces of scrape wood underneath the stern and bow and place a weight in the middle. This will give a nice rounded bottom, unfortunately it’s been really hot in northern California so when I tried this method that just bounced back. I’ll fix it before I put the bottom on the frames.
thanks every one!
Bradley
- yvesvidal, druxey and Ryland Craze
-
3
-
-
46 minutes ago, ronald305 said:
the other side of the crimper blade is a wedge shape edge like a blade sort of and the opposite side of the crimper is flat
Ya so the flat side lays against the side of the plank that will be seen and the wedge on the other side. When you apply pressure the wedge is going to leave an indent so it’s important not to be seen or you have to try and fix it.
Bradley
-
-
55 minutes ago, ronald305 said:
thanks Toni
but what if I need a tighter turn such as the first plank around the stern like the photo in the cycle
Ronald
Wow that is a tight turn. To add to @tlevine I don’t see why something smaller than a pot could be used, like a pen or a marker. It will probably take a few tries to get there. To answer your other question about the crimpers; I think (I could be totally wrong) the blunt side is to be used on the side that will be visible on the model. The other side should have a raised surface that pushes the wood in that spot towards the blunt side, this is what causes it to bend. I once saw a YouTube video about a guy who made a steam tank for bending planks using a piece of PVC and some hot water. I’ll try to find it if I can! Good luck!
Bradley
-
It’s too bad you won’t be able to remover the carronade from the carriage but if you can paint them to look real then I think that is what you should do. Those supplies Britannia pieces look like they need a ton of work so I don’t blame you for wanting to use the 3D printed pieces. Good luck and as always your build looks great!
Bradley
- Overworked724, WalrusGuy and NovaStorm
-
3
-
Hello everyone,
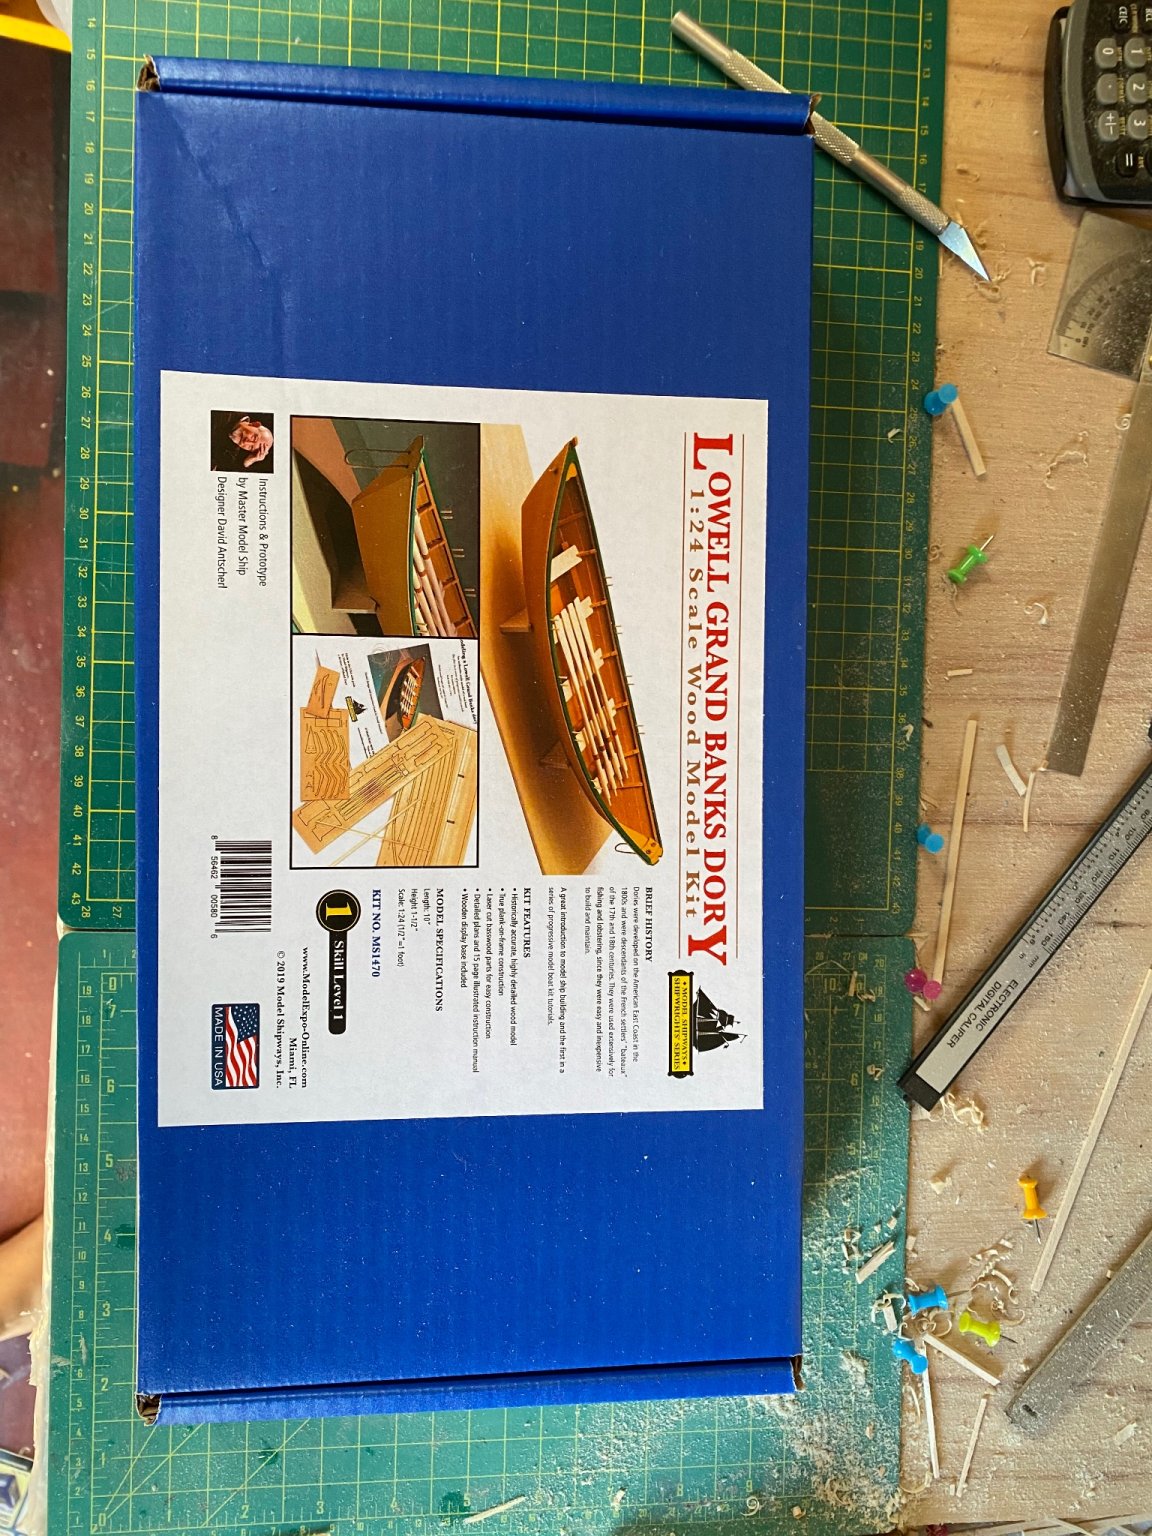
So I’m starting another build to make Christmas presents for my dad and father in law. I recently saw that model expo started a series of progressive model tutorials and the first build in the series, the Lowell Grand Banks Dory, was only 30 USD so I bought two of them!
I have only been in this hobby for a few years but when I started I had a hard time figuring out what kit to start with. Sure there are plenty of builds that brand them selves and beginner level models but they dont give you any more information other than what is needed to complete the build. This build by David Antscherl, is excellent and built for the beginner. I am certainly not an expert by any means but instead feel confident in my abilities, so I’m pretty excited to use some creative thought in building these two small boats.
This kit was built for those who have literally zero experience in wooden model building. Throughout the instruction booklet Antscherl goes into deep detail on not only the build but techniques he has used to help you get there. The kit comes with several sheets of laser cut planks, that may be some of the best quality I have seen in a kit.
Overall I think if someone is considering getting into this hobby this would be an excellent first build!
Anyway, I’m going to quote Antscherl on the history because his quick history lesson is clear and to the point.
“First, a little background on the dory. These were developed on the east coast in the 1800’s and were descendants of the French settlers’ bateaux of the 17th and 18th centuries. They were used extensively for fishing and lobstering. They were easy and inexpensive to both build and maintain. Despite their unusual shape, dories were very seaworthy and literally many thousands were built. One feature of these boats was that they could be nested one inside the other like stacking chairs. Their sears, called thwarts, were removable so that boats would fit inside each other. Fishing schooners carried many dories on board. They were others stacked as many as eight high on deck, both to port and starboard, when sailing out to fishing grounds of the Grand Banks and East Coast.” (Antscherl, 7)
I plan to have two of these dories done before Christmas so my building will probably start tomorrow! I’m looking forward to this build log and I’m sure ill learn some new tips, good luck and have fun!
Bradley

- GrandpaPhil, Ryland Craze, yvesvidal and 1 other
-
4
-
Wow very nice, i was waiting to see how yours turned out before i started my own. Thanks!
Bradley
-
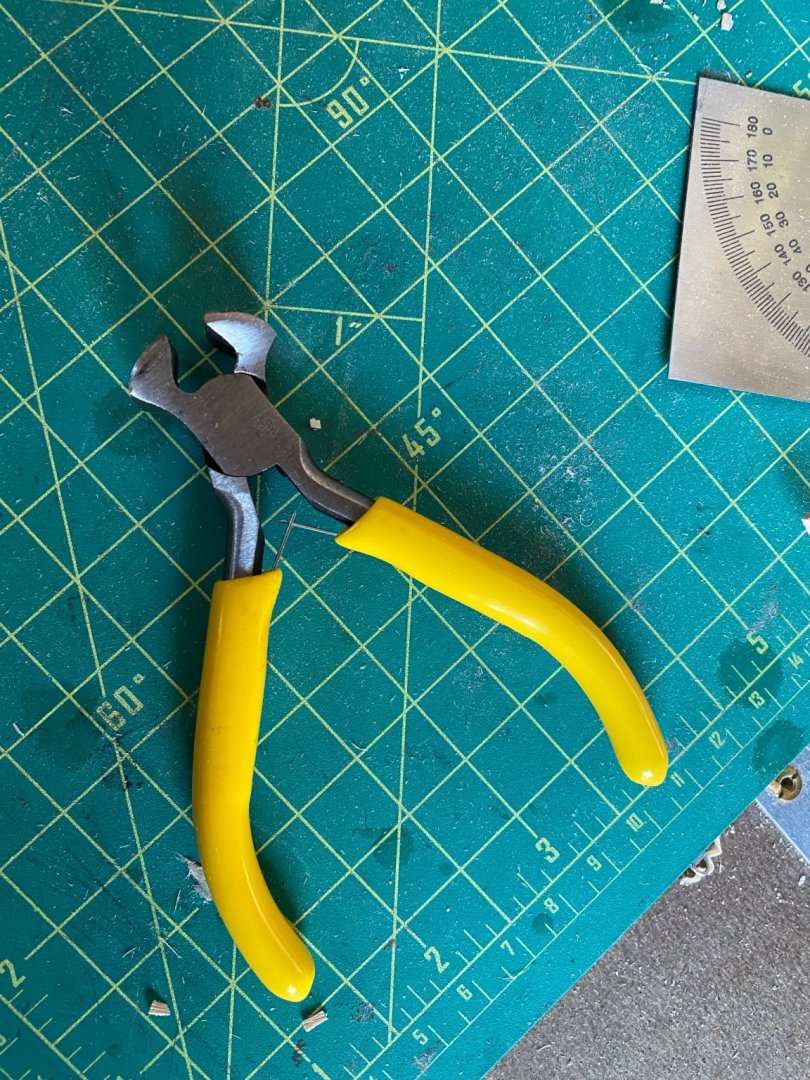
looking great! I just ordered some more needles to start this process. Spru cutters work great but you might have some troubles getting into corners on the deck, also you may not be able to get as close a cut as you want. I use end nippers which cut perpendicular to the deck allowing me to get a much cleaner cut. I think I found mine for less than 10 bucks on amazon. Good luck and have fun!
Bradley
- Overworked724 and Elijah
-
2
-
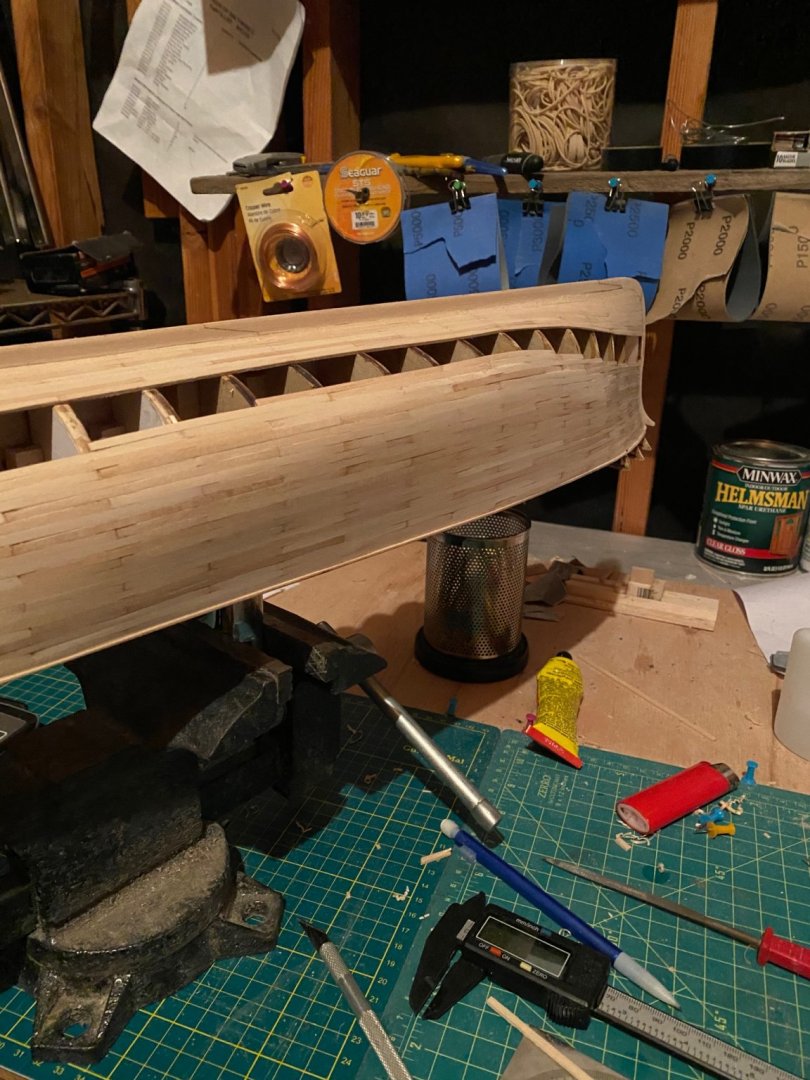
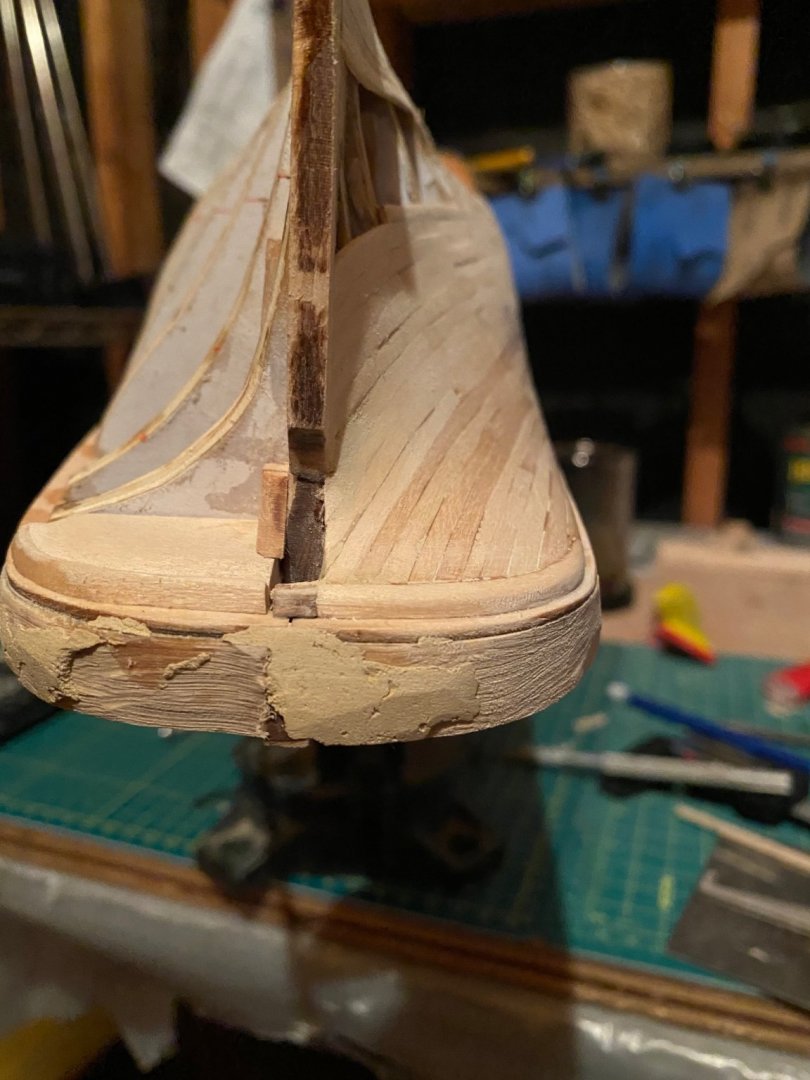
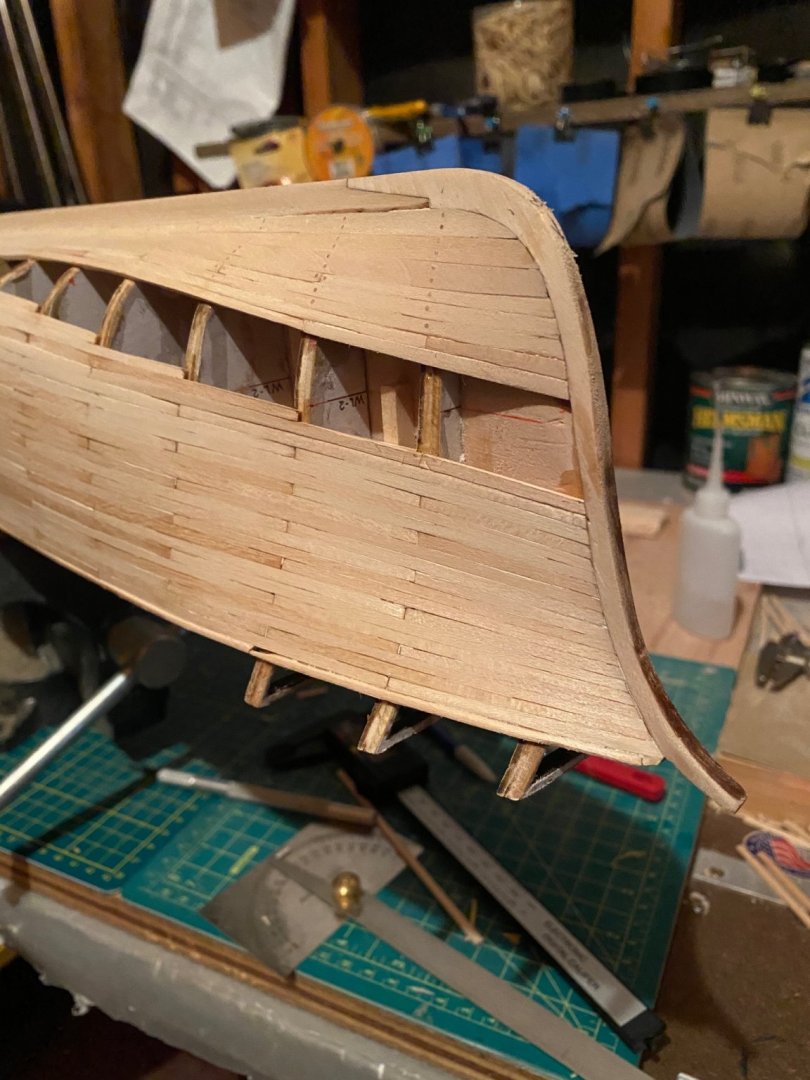
Hello everyone,
So this might be the last time i post for awhile, I’m starting another build, as a Christmas present (hopefully ill have it done in time). This is my build up to this point, normally i would do the port and starboard side at the same time, but i wanted to test a few different planking techniques i learned. So this is the port side maybe 80 percent done. I’m hoping to convince my wife in letting me buy a disk sander lol, that should make the planking on the starboard side that much better. Good luck and have fun!
Bradley

- hof00, BobG, yassin moh and 1 other
-
4
-
I’m about to start building one of these my self and I’m really enjoying your build! I’m looking forward to seeing the finished product.
Bradley


Chipping effect on wood?
in Painting, finishing and weathering products and techniques
Posted
Thanks clogger! I watched a few more tutorials and just practiced until I was happy.
this was the look I was after without stains or paints. Just practicing with some spare primer for now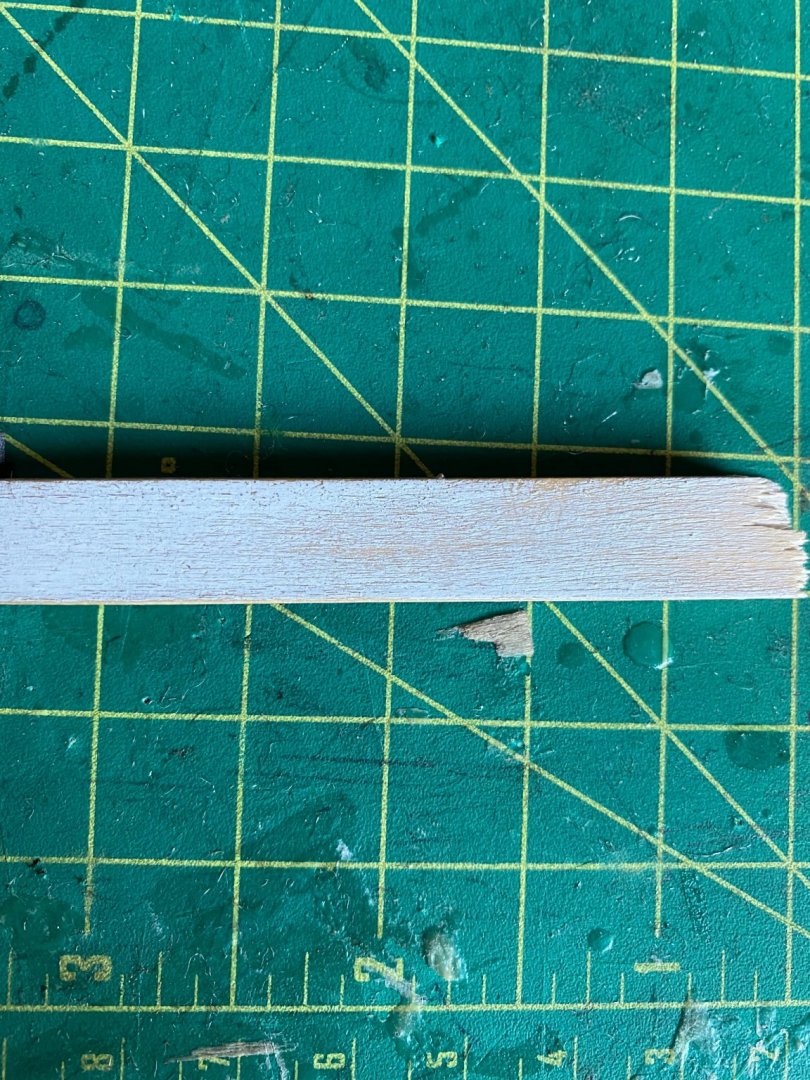
Thanks!