HOLIDAY DONATION DRIVE - SUPPORT MSW - DO YOUR PART TO KEEP THIS GREAT FORUM GOING! (Only 24 donations so far out of 49,000 members - C'mon guys!)
×


DocBlake
-
Posts
1,811 -
Joined
-
Last visited
Content Type
Profiles
Forums
Gallery
Events
Everything posted by DocBlake
-
 Thanks for looking in, Lou. I'd love to see you do a build log! Post here when you begin so I don't miss it. Thanks!
 -
Actually, Hill, I think Weldbond has faster initial tack, but takes longer to set. Titebond is essentially set in stone after about 45 minutes. For my money, the advantage of Weldbond is that you can "unglue" the bond with denatured alcohol. Also it's easier to clean up any goofs with sandpaper after the glue is dry. If Titebond dries, you'll never get it out of the pores of the wood and it will make any staining or finishing a problem Don't get me wrong! I build full size furniture and Titebond is my standard for that application. I use Weldbond for model work, though. Nice job on cutting the rabbet!
-
Thanks, guys! I have Halifax and Kingfisher also. The only LSS kit I'm missing is Fubbs! Bill: She is 19" from the beakhead to the taffrail, with a 5-1/2" beam amidships.
-
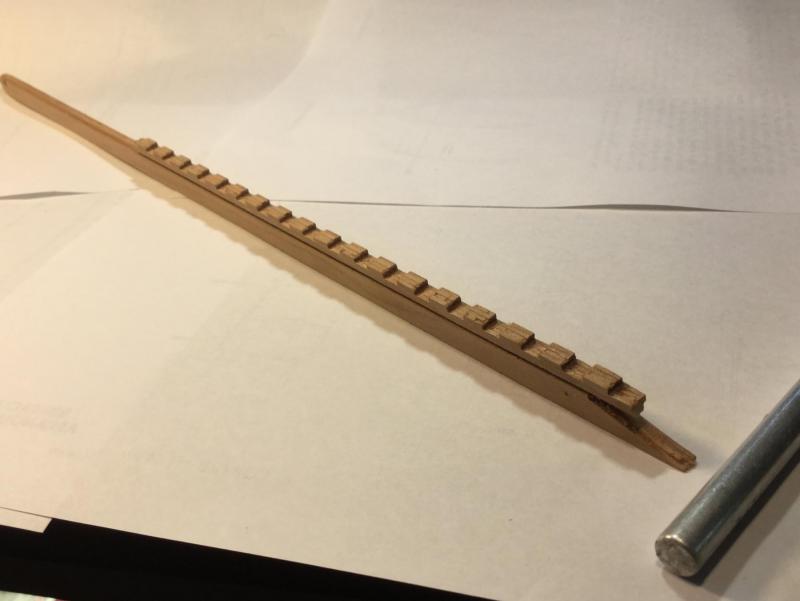
I completed the keel and deadwood assembly. All the parts are cherry, except the false keel which is rosewood. There are 27 individual parts making up this assembly. Next is gluing up the frames. The hull will be framed Hahn style, and the frames themselves are sistered - just as they were in the "Patrick Henry". There are 37 frames in all: 19 full frames, 9 pairs of half frames and 9 pairs of cant frames.
-
Nice job The hull looks great!
-
I'll be following your build with interest.
-
I finished the stem and beakhead; working on the stern deadwood. When that's done I'll glue the keel together and start work on the frames.

-
Great to see you back, Bill. When will the scratch log be up? I need to flag it "content I follow".
-
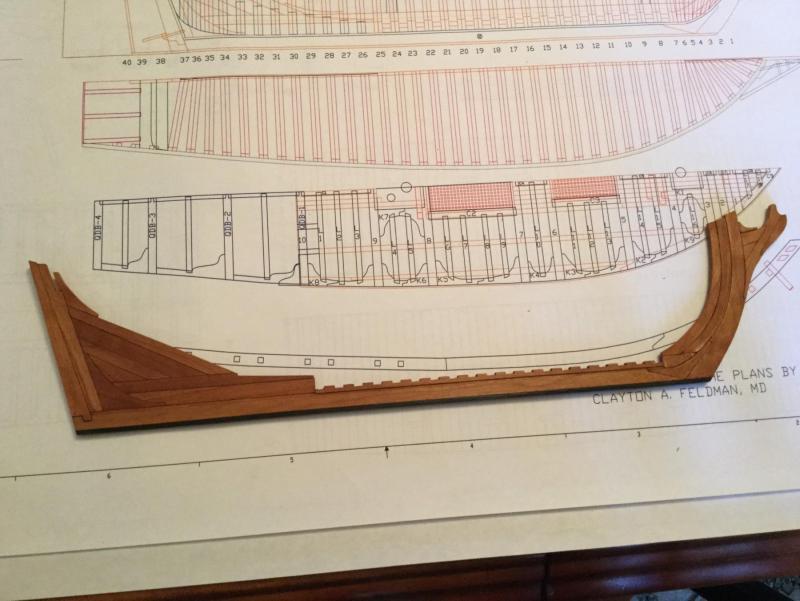
Thanks, Don. In addition to the excellent practicum that comes with the kit, I'll be using Dr. Clayton Feldman's book and Mike Lonnecker's article in the NRJ as resources. I'm planning on fitting out the interior of the ship as Mike did. Here's a link to his article: http://www.thenrg.org/resources/59-3%20NRJ%20%20Building%20Fair%20American%201789.pdf I started work on the keel. The keel, stem, deadwood and framing are all in cherry. In order to create a consistent rabbet in the keel, it is built up of 6 separate parts. After gluing them all up I cleaned up the notches where the frames will sit with a #11 X-Acto blade and sanded the part. There was some distortion of the parts as I added each seperate piece. They are quite thin. This led to the keel curving a bit and causing heartburn! By the time all 6 pieces were added, though, and the keel dried overnight it was straight as an arrow when I took the clamps off. Next I'll add the stem and the beakhead
-
Welcome aboard, Grant! Mike: How's your new workshop coming along? Any chance we'll see a build log from you any time soon? Thanks for stopping by!
-
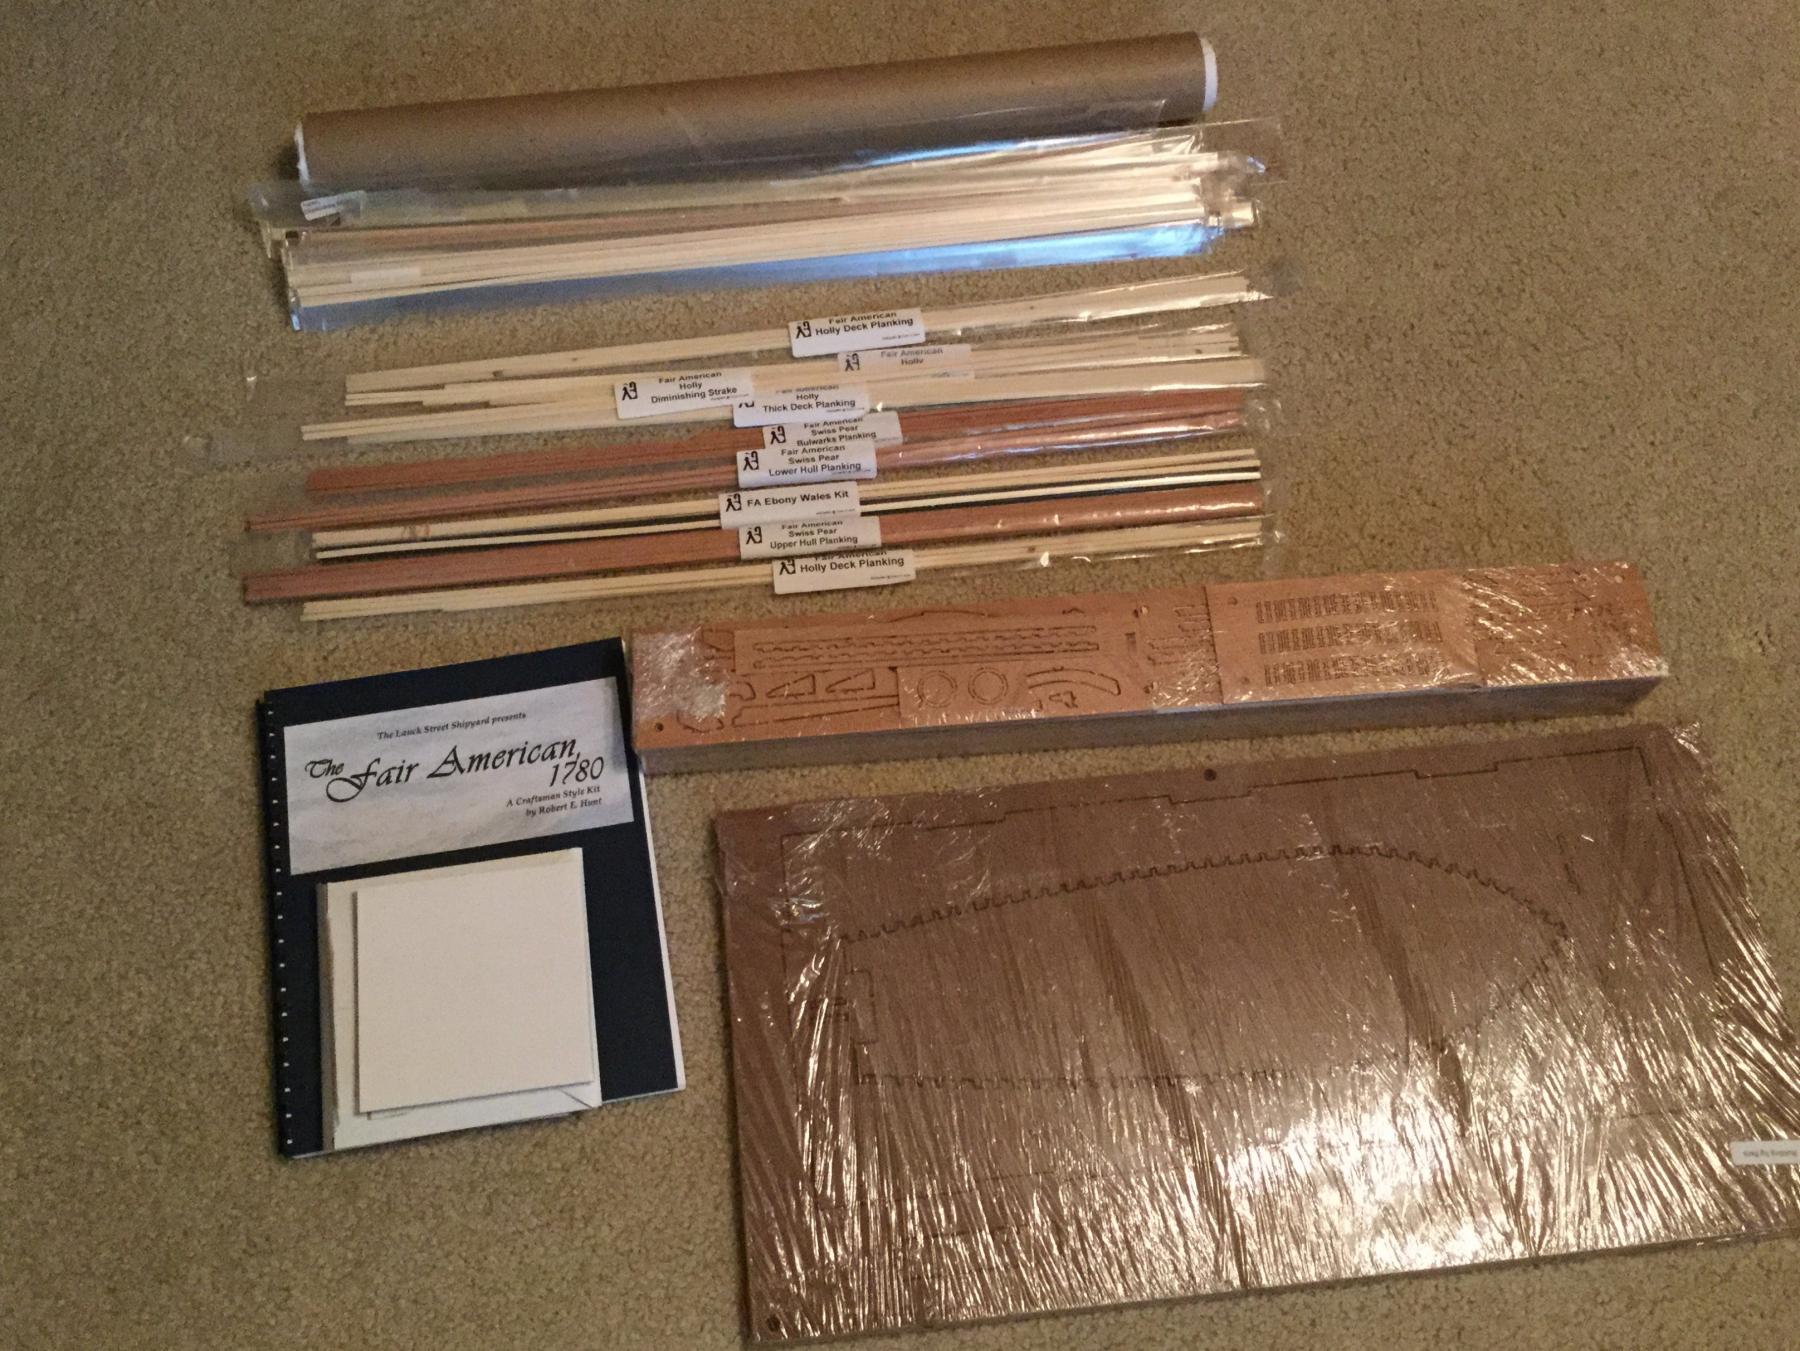
This will be the build log for my second Lauck Street Shipyard kit, "Fair American". As with my AVS "Patrick Henry" I plan to substitute some of the kit's wood. My kit is #116 and I purchased it about 2 years ago. It does contain a wood package from Hobby mill with an ebony wales kit as well as Swiss pear and holly planking stock. I'll also find a way to use boxwood. This kit will be more practice before I go on two my two big goals: The Lauck Street Shipyards "Kingfisher" and a scratch-built "Hannah" in 1/24 scale. The first step is to unpack, and then start work on the keel.

-
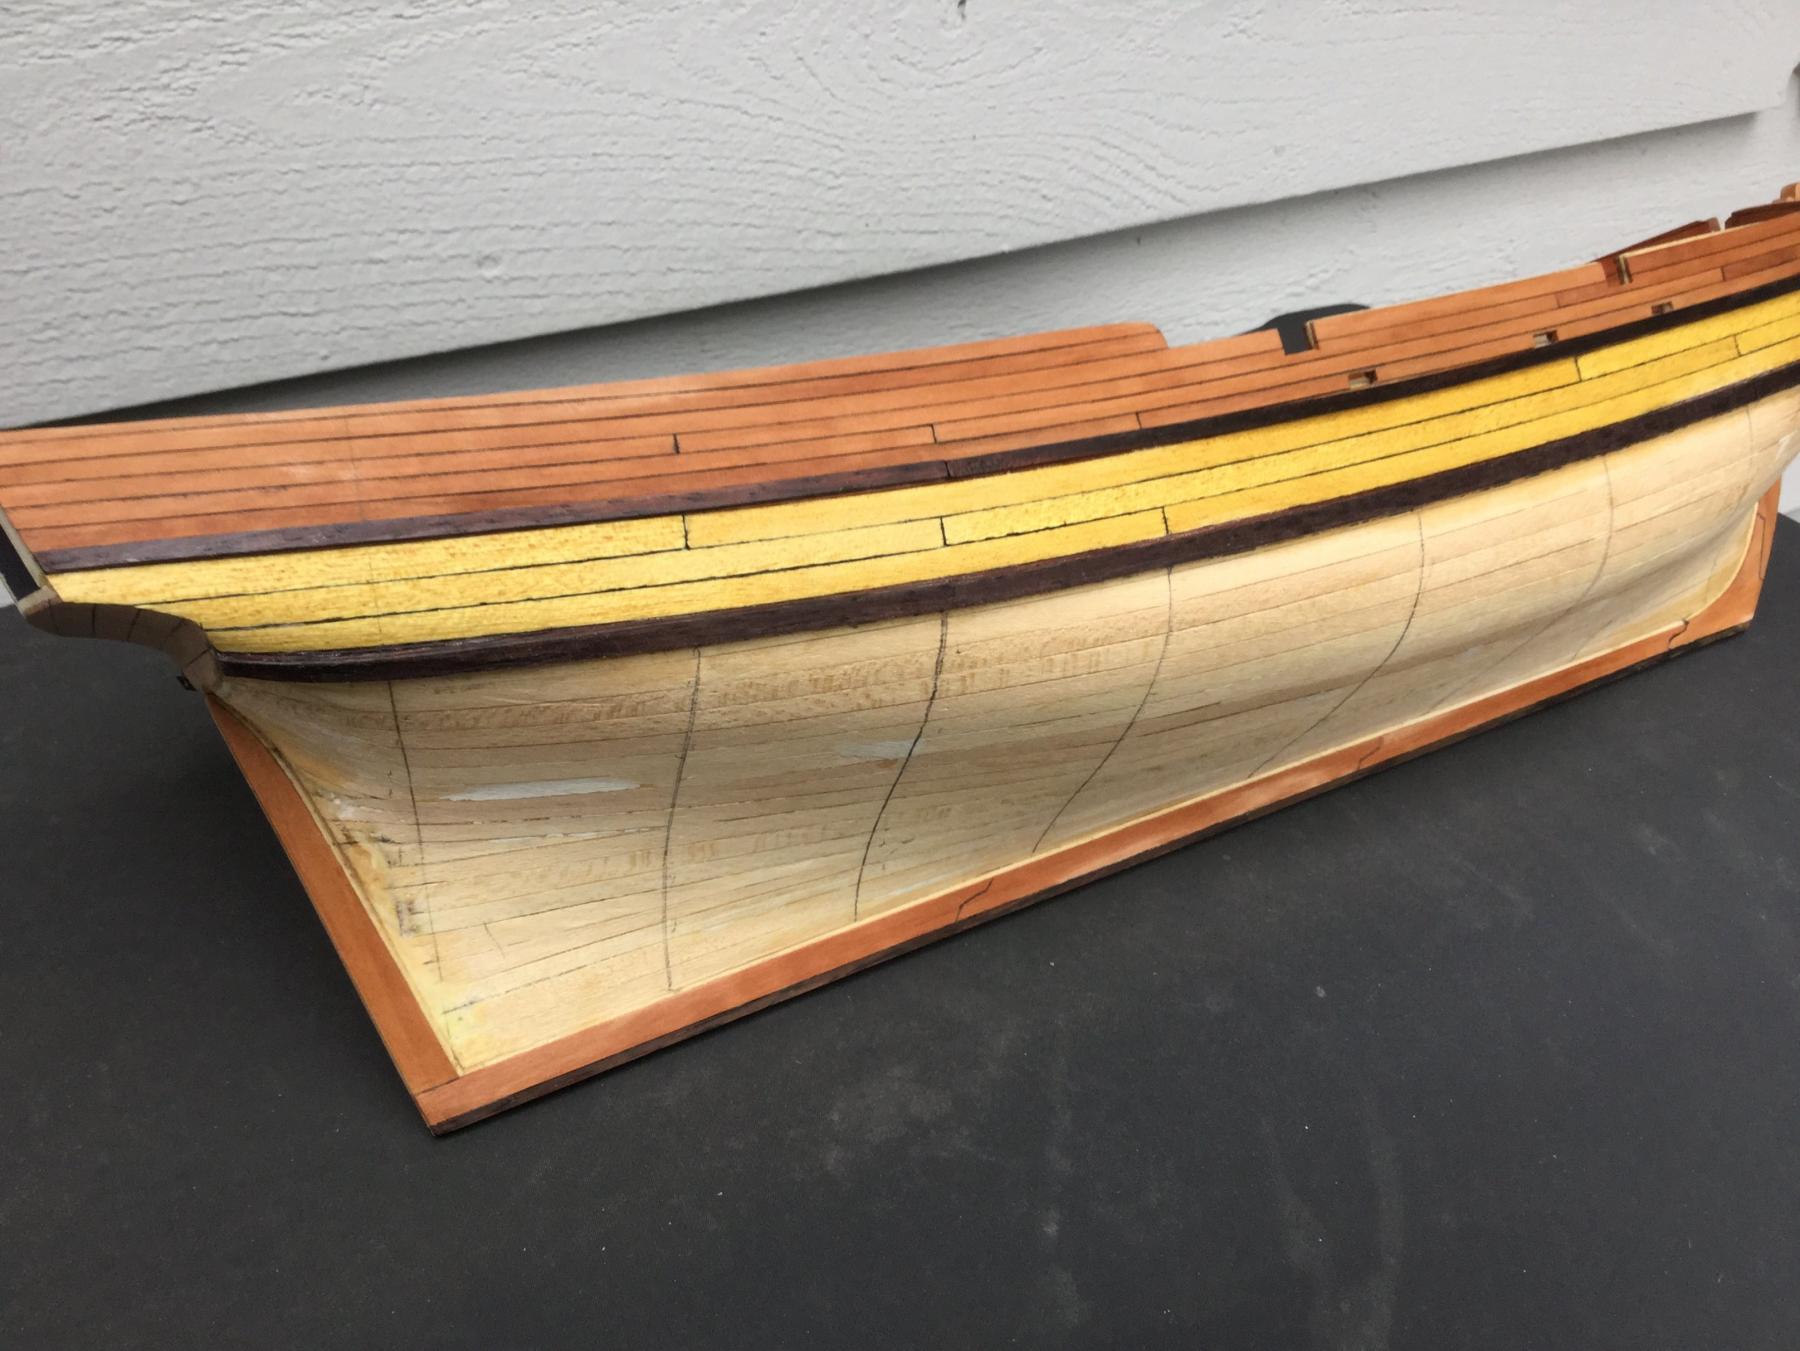
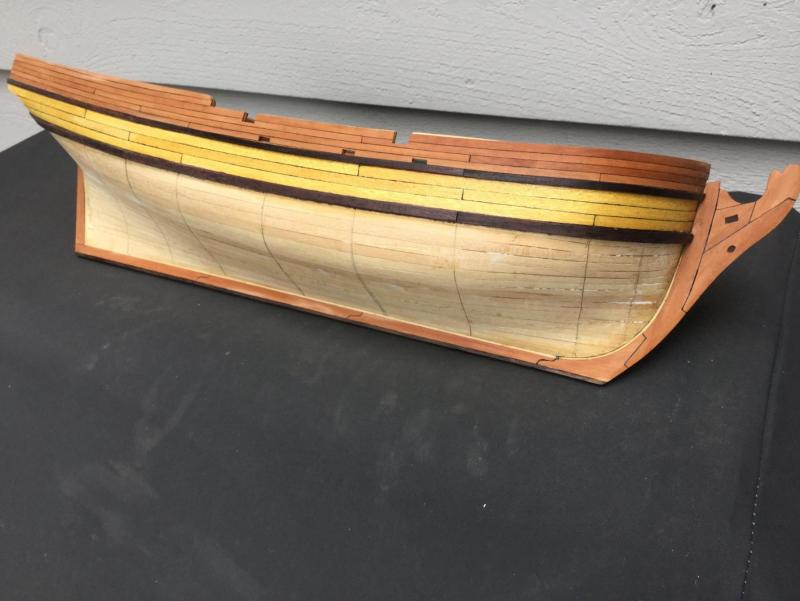
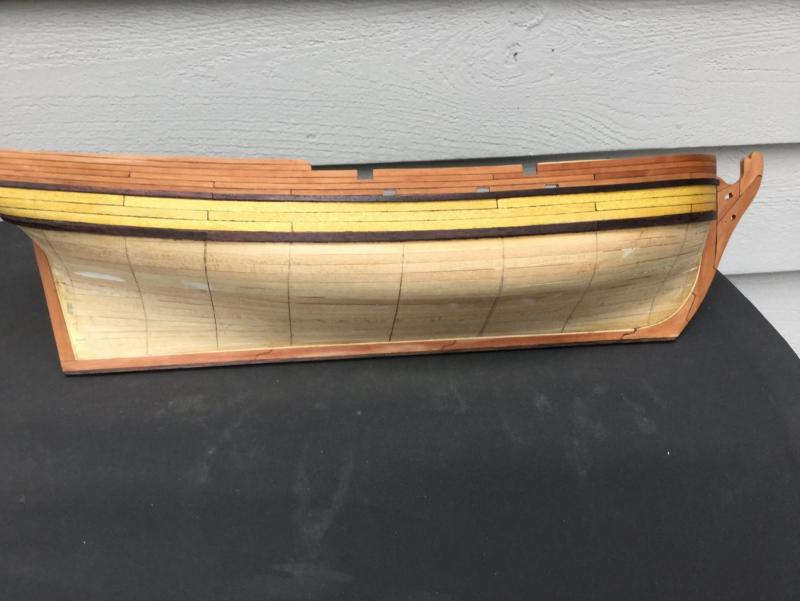
After installing the upper wales I planked the upper hull with yellow heart and added the lower wales. They are rosewood and measure 1.5mm X 5mm. Given the bluff bow, there was no way to easily bend the lower wales so I built them up using 2 layers of stock 0.75mm in thickness. The wales actually curve under at the counter. I'm still trying to figure our how to install fashion pieces! Hull planking below the lower wale will be holly. The photo is of Fair American planked in holly below the wale.

-
Nice work! She's really coming along.
-
Carl: what you say is true, but with very brittle hardwoods (blood wood, yellow heart, ebony, rosewood and even boxwood sometimes, the problem is blowout or ragged edges on the outbound side of the hole. Progressively increasing the bit diameter and reversing the drill at the very end help reduce the problem A backer-block will help a lot too if you can use one.
- 701 replies
-
- 5
-

-
- phantom
- model shipways
- (and 1 more)
-
Mike: You need to be pretty close to the final diameter of the hole to use the "reverse the drill" technique. It won't hog out a lot of wood. When a drill cuts the right way, it's like using a continuous spiral chisel: the wood is "shaved" from the wall of the hole. If you reverse the drill direction, there is no chisel effect, but friction between the metal and the wood can enlarge the hole slightly.
- 701 replies
-
- 6
-
-
- phantom
- model shipways
- (and 1 more)
-
Great job, Don! She is coming together nicely. Nice recovery on the wale, by the way!
- 653 replies
-
- 6
-
-
- trabakul
- marisstella
- (and 1 more)
-
Can i live without a BYRNES TABLE SAW
DocBlake replied to shihawk's topic in Modeling tools and Workshop Equipment
Question on blade life: How long should a .020 slitting blade last? Resharpening is out of the question, so it would need to be replaced. Obviously it depends on how much wood how often is cut, but can anyone estimate what we should expect from Thurston blades? -
Good point, Bill. Whenever I drill holes, I start with a small bit (1/16") and gradually enlarge the hole with successively larger bits. Your tip about reversing rotation of the drill bit for the final couple of passes really works, also! I've used the technique on model ships as well as full sized furniture and it produces clean, crisp holes with no tear-out at the edges.
- 701 replies
-
- 6
-
-
- phantom
- model shipways
- (and 1 more)
-
Great progress! It's going to be a very attractive little ship.
- 114 replies
-
- 1
-
-
- swift
- artesania latina
- (and 2 more)
-
I agree. That millimeter will be nothing down the road. Do make sure your bulkheads are perfectly perpendicular and square against the keel and parallel to each other. That is important. BTW: What's your build and where is the log? You might want to include a link to it with your signature. You can edit your signature under "Edit my Profile" and the "Signature" tab.