
S.Coleman
-
Posts
1,146 -
Joined
-
Last visited
Content Type
Profiles
Forums
Gallery
Events
Everything posted by S.Coleman
-
Im sure there will be a channel of some sort there. The pics show some sort of plank in there I think.
-
 Will be interesting! Hopefully all will go in your favour.
 -
Looking real sweet. The red on the gunport linings really picks out the look. Nice
-
No worries. The tabs that these two rooms slot into the deck are out as I was told by another member a few years ago. Thus avoiding me making this mistake as well. So there you go, Information passed on from one modeler to another over the years.
-
Marvelous planking job! I went back and forth over these photos just to see again an amazing job. The thread caulking job did well.
- 527 replies
-
- 1
-

-
- caldercraft
- victory
- (and 1 more)
-
I have built this ship before. But looking at yours im seriously considering scraping my rigging and starting again. Looks absolutely amazing. Well done. Can you show how you attached the hawse lines to the anchor ring please? What type of knot?
-
All is looking wonderfully done. She is a work of art.
- 322 replies
-
- 3
-
-
- sergal
- sovereign of the seas
- (and 5 more)
-
Music to my ears. Mamoli kits have been my favorite ever since I started ship Modeling. Well done
-
She is looking absolutely beautiful. I bet there is a lot of weight on the stern at this point of the build. As just found out with my Friesland build. Cutting out those individual window panes will be time consuming but worth it for looks. Good neat and tidy work.
-
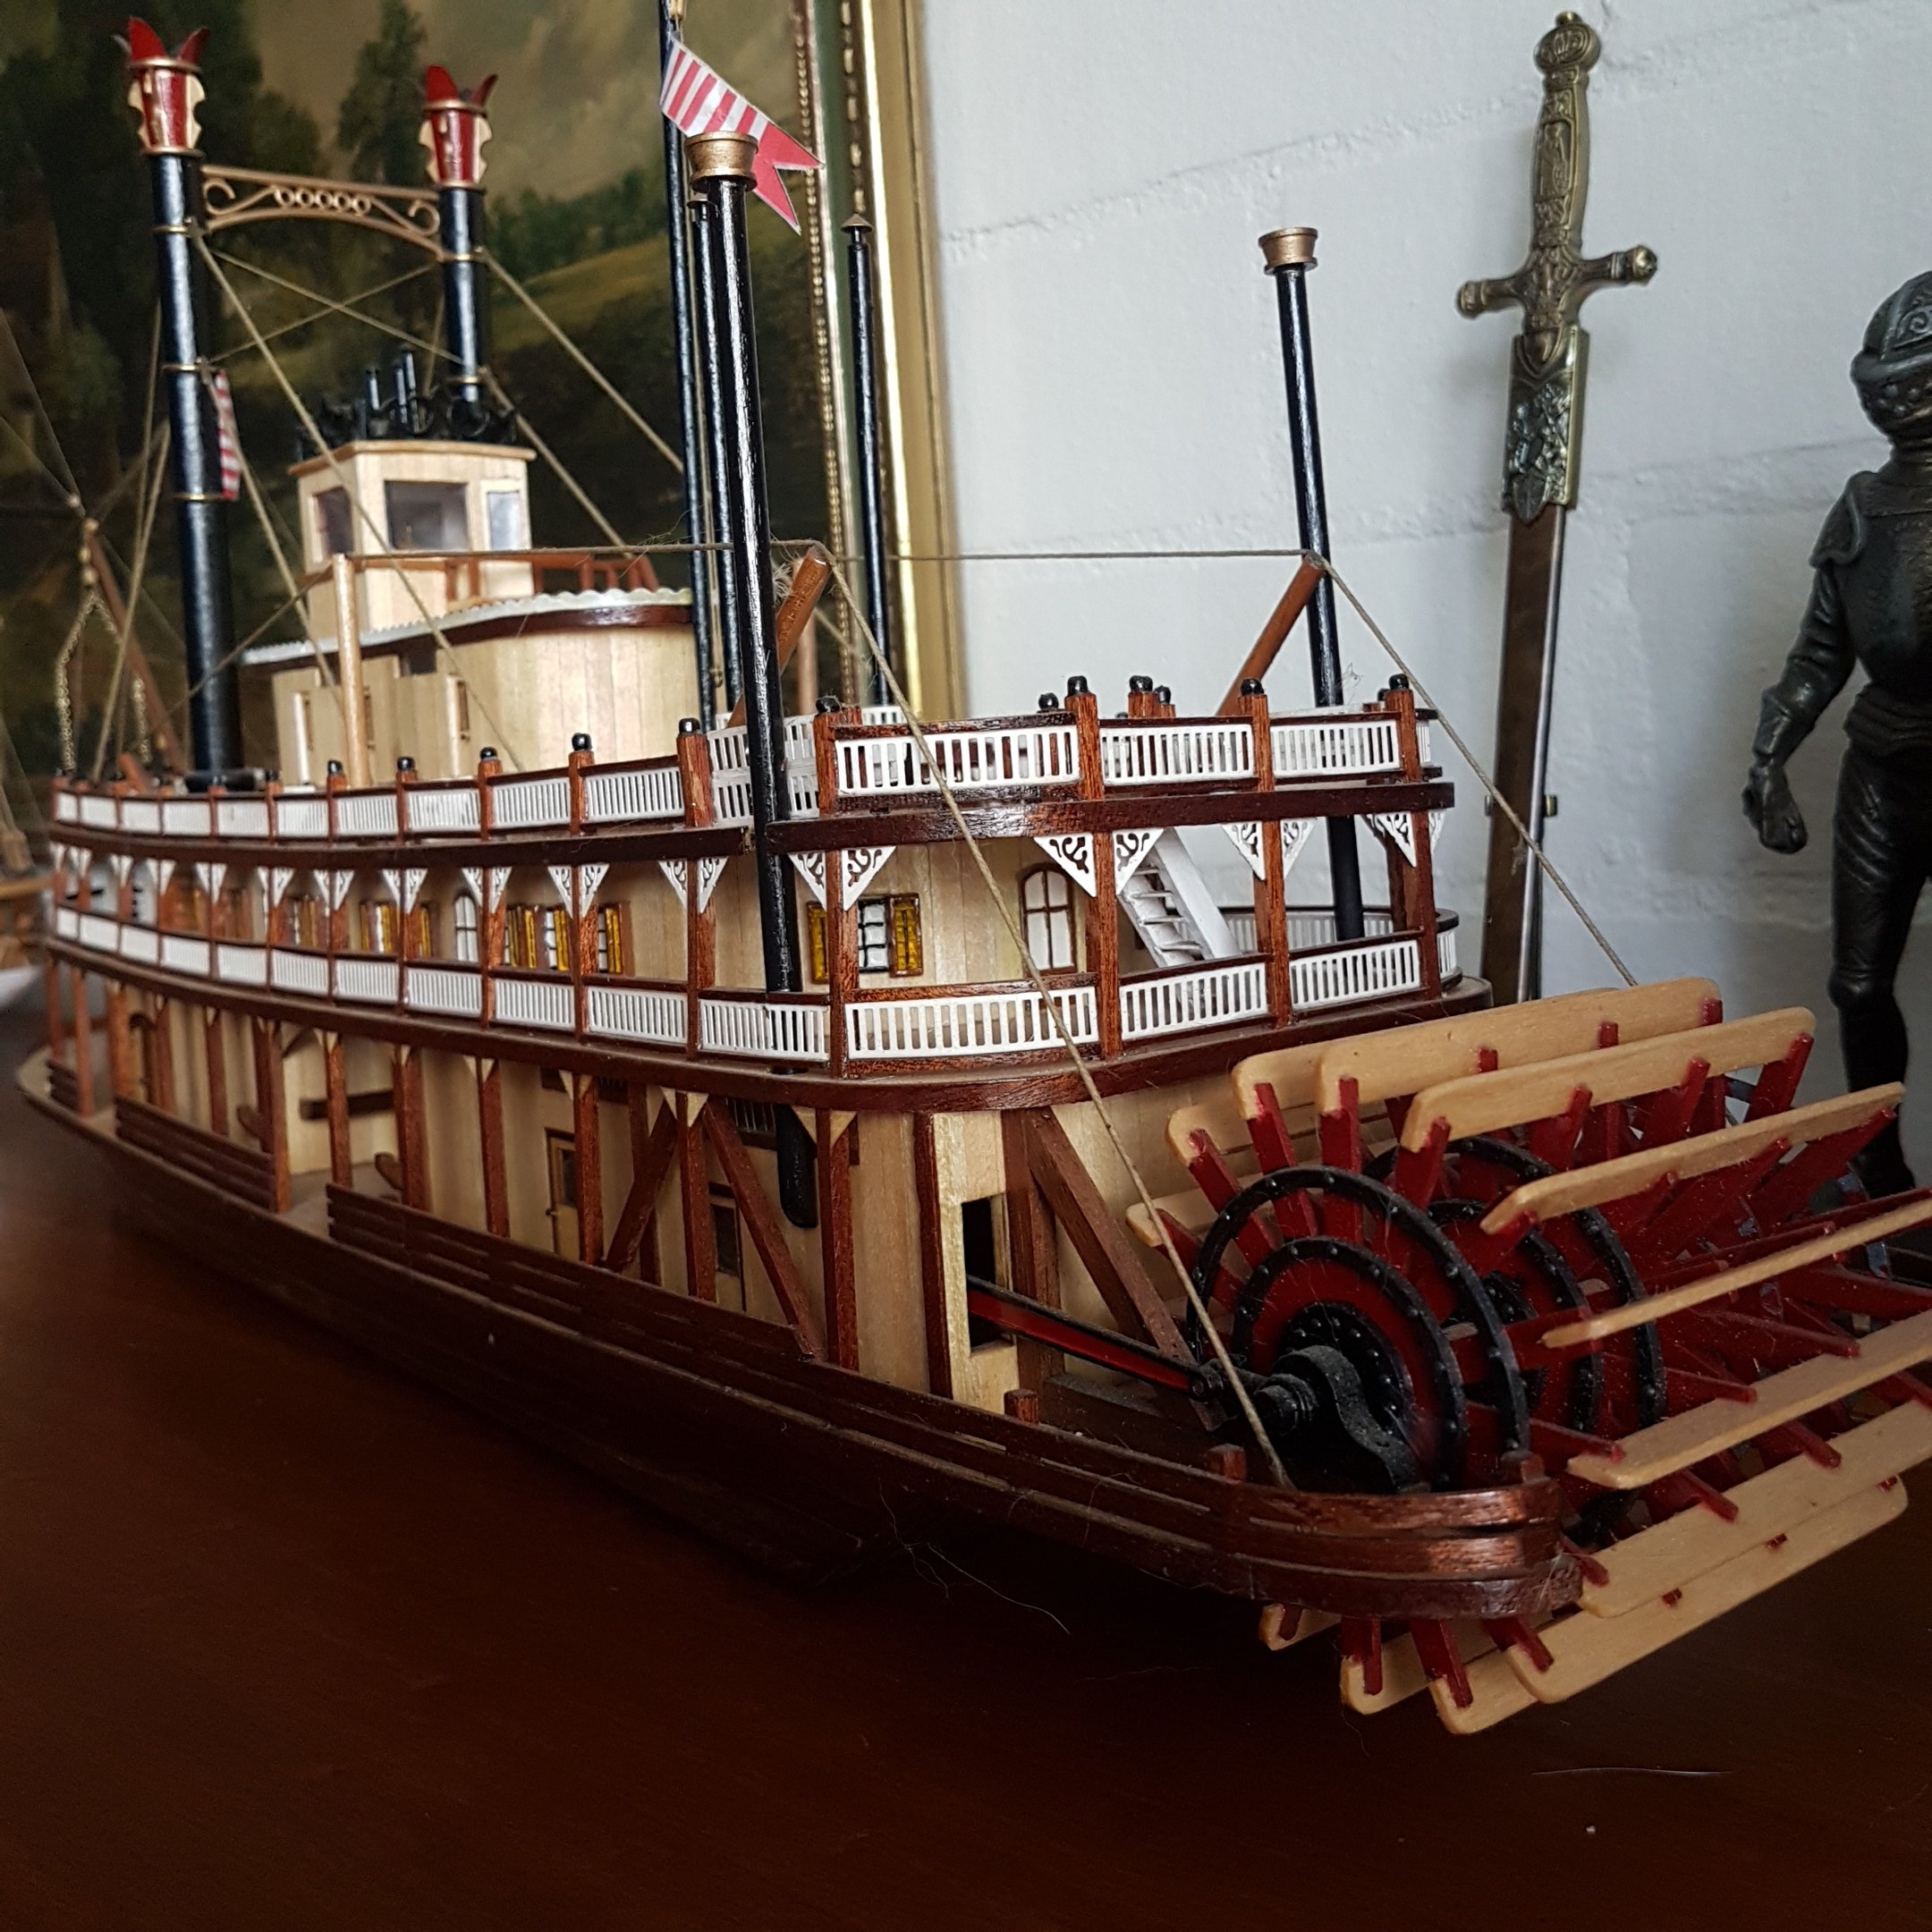
Hey there. Nice start. I have also built this model awhile ago and had a ball with it. I hope you enjoy it too. I'm seriously contemplating building it again. All the best and P.S Watch out for the location tabs on the boiler and engine room not lining up.
-
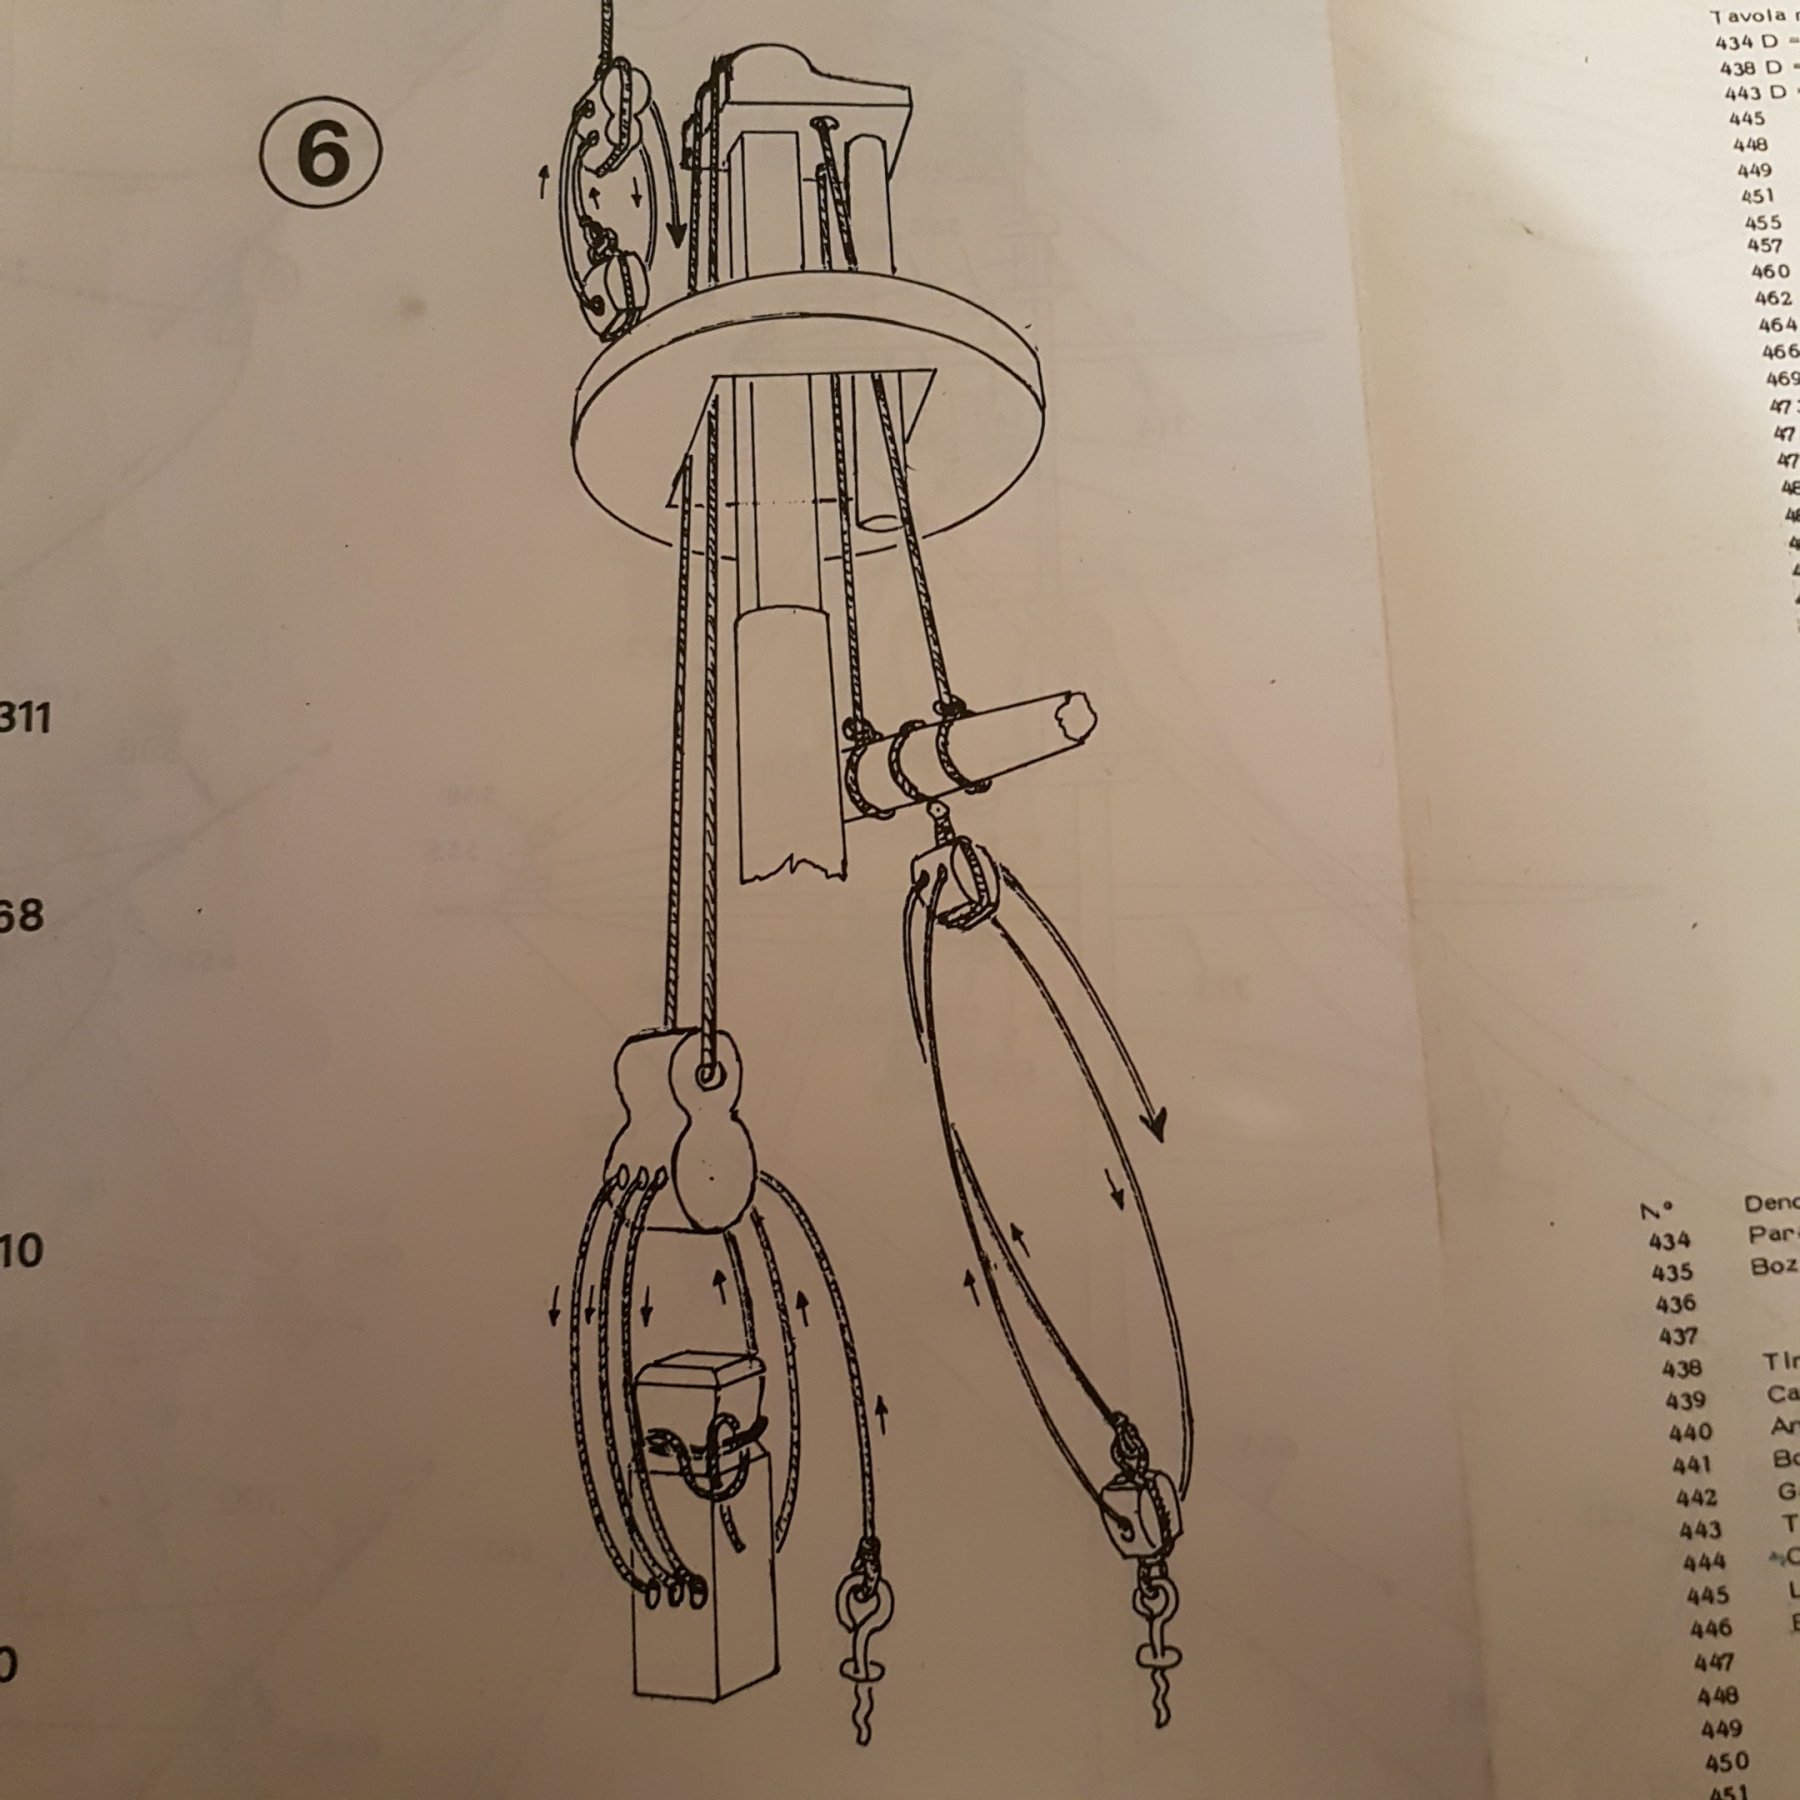
Help reading plan
S.Coleman replied to Rick01's topic in Building, Framing, Planking and plating a ships hull and deck
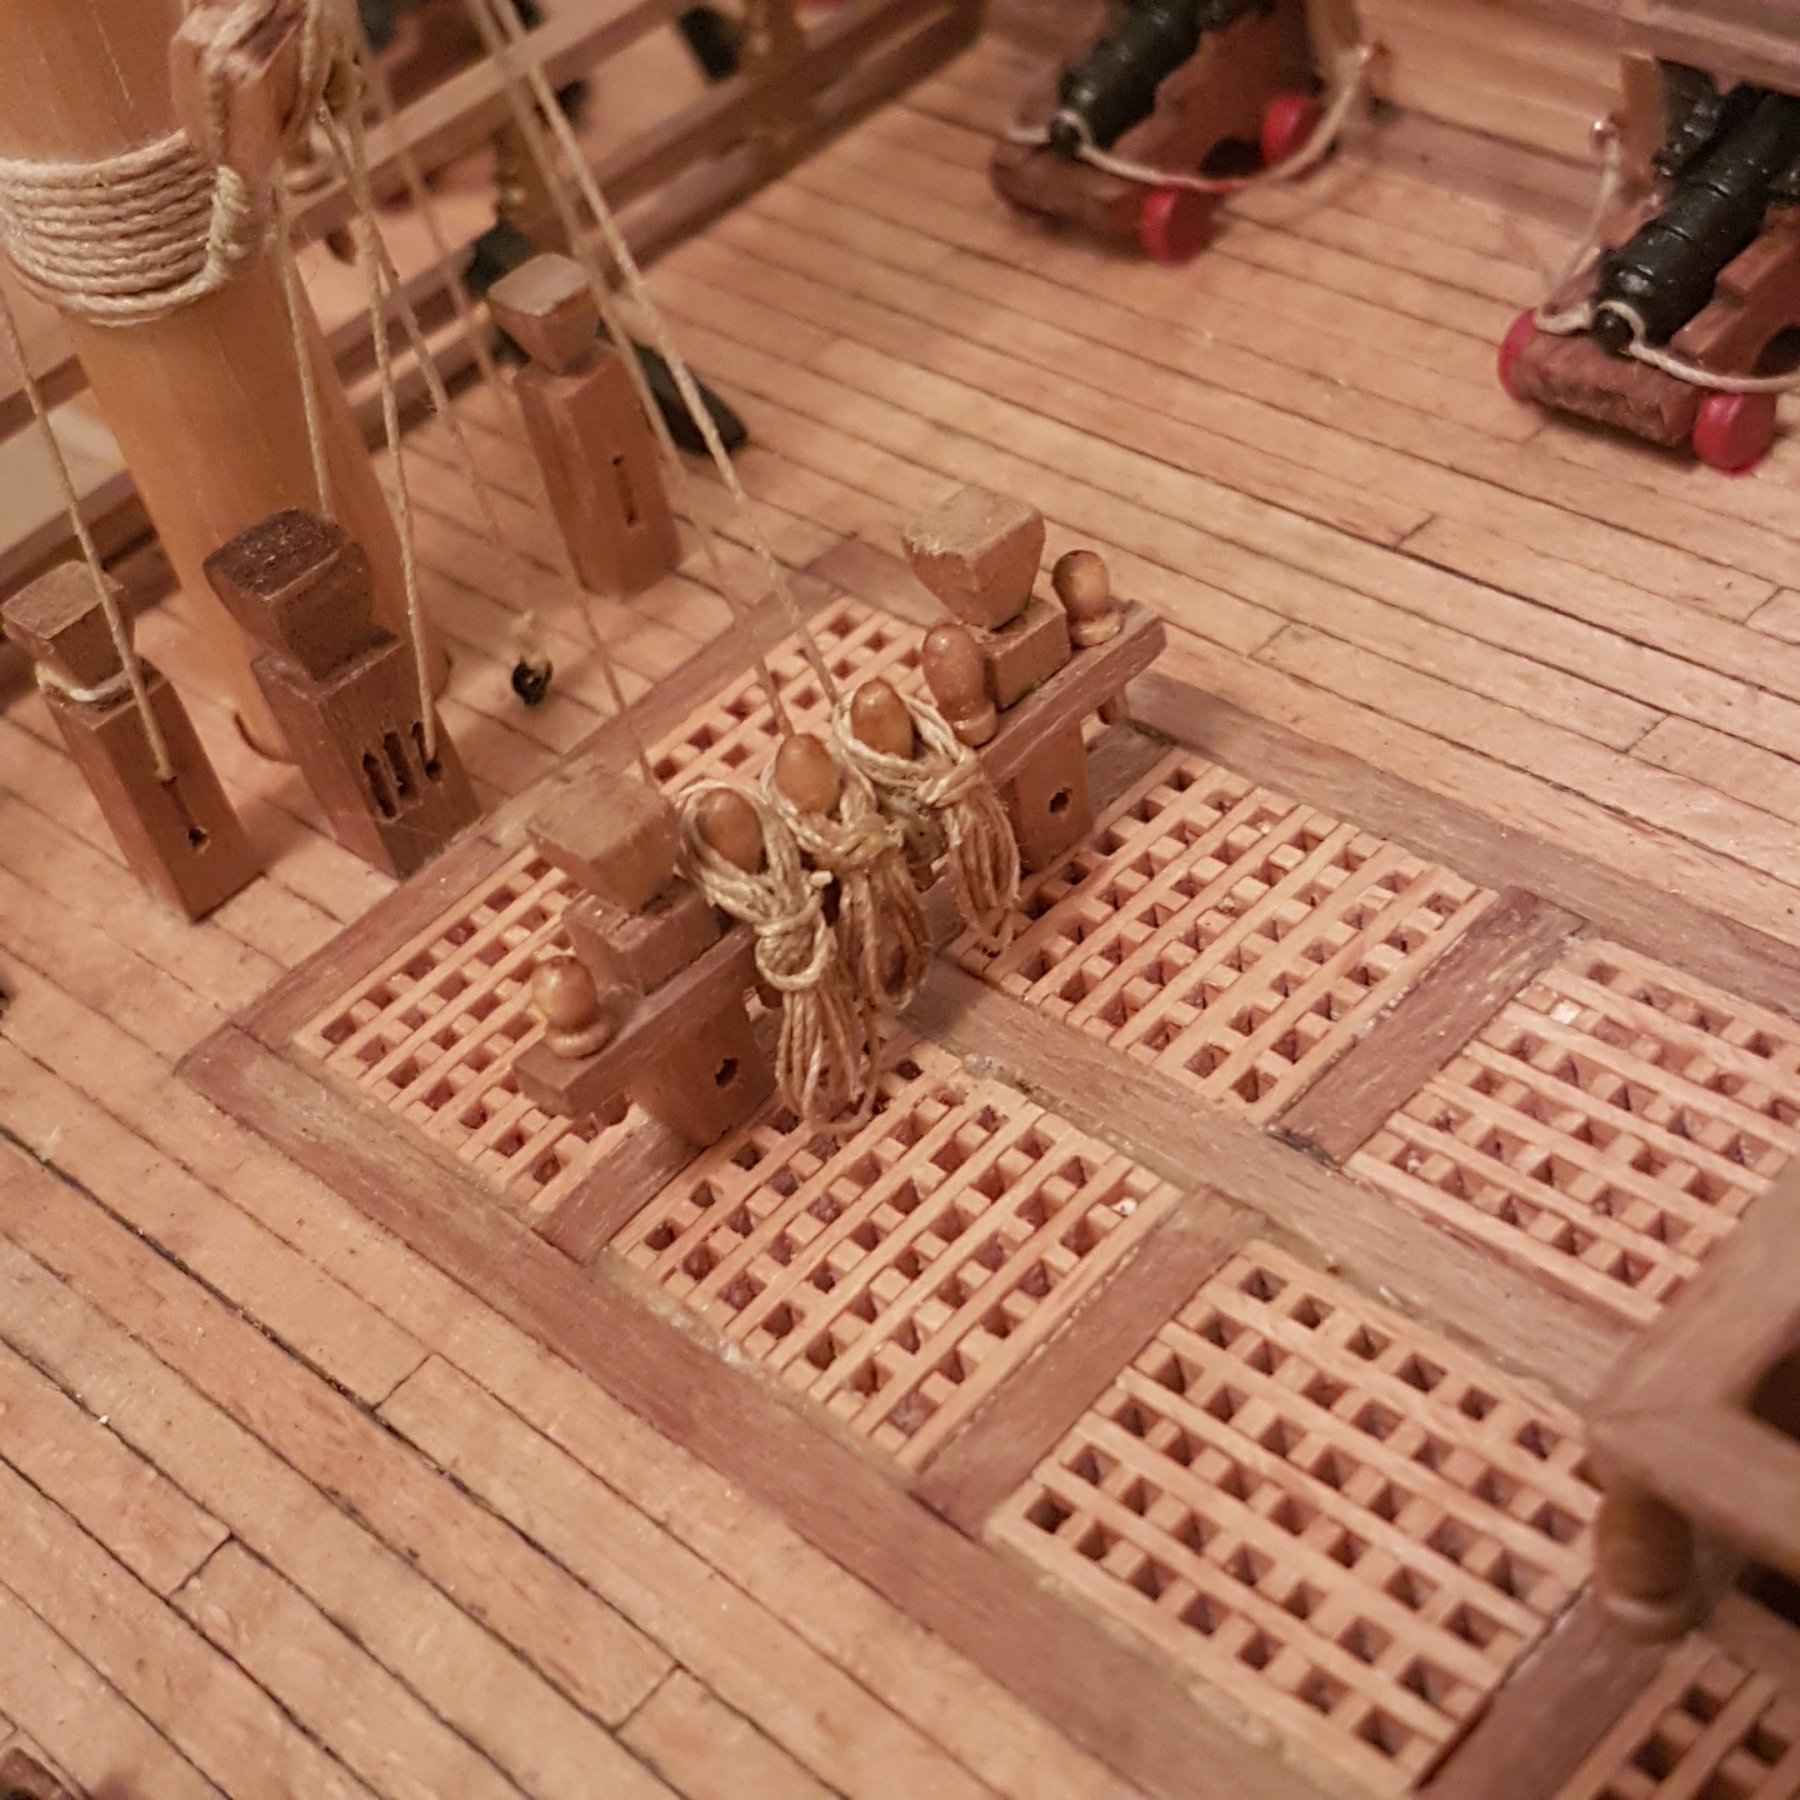
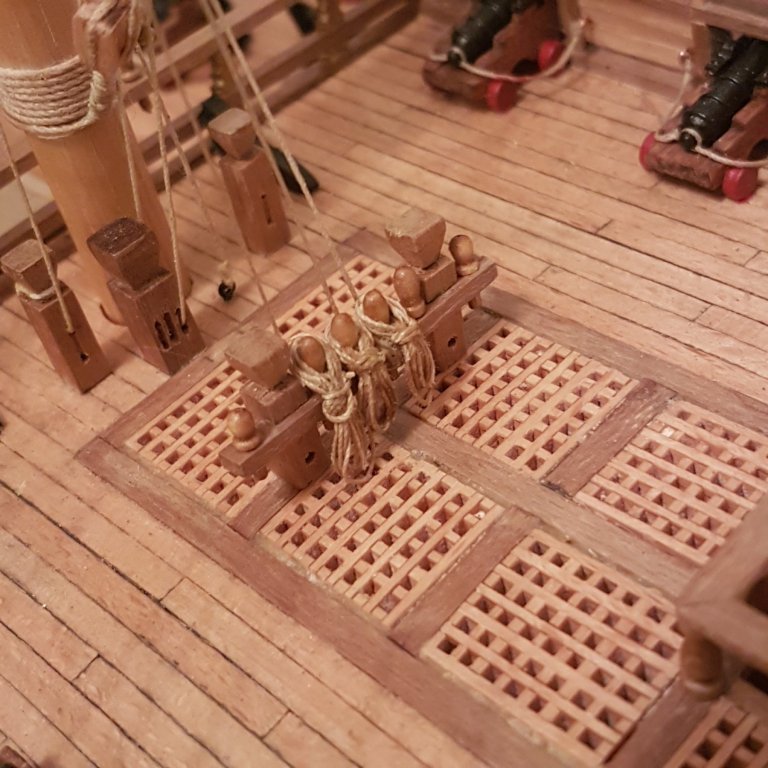
I had this on my Lieda pleasure yacht build. The second picture you have of an apparent hole to below deck looks correct. My plans show the exact same. The anchor ropes come in the hawse holes, wraps around the windlass once mayby twice, And then head below deck through that hole next the the mast. I agree with Don about the hawse hole looking too low but the steep angle sounds good. -
Work has called me away over to Queensland for 1 month so sadly no more updates for a little while. A big thank you to all who are following this build and your comments are much appreciated. Posts will commence when I return.
-
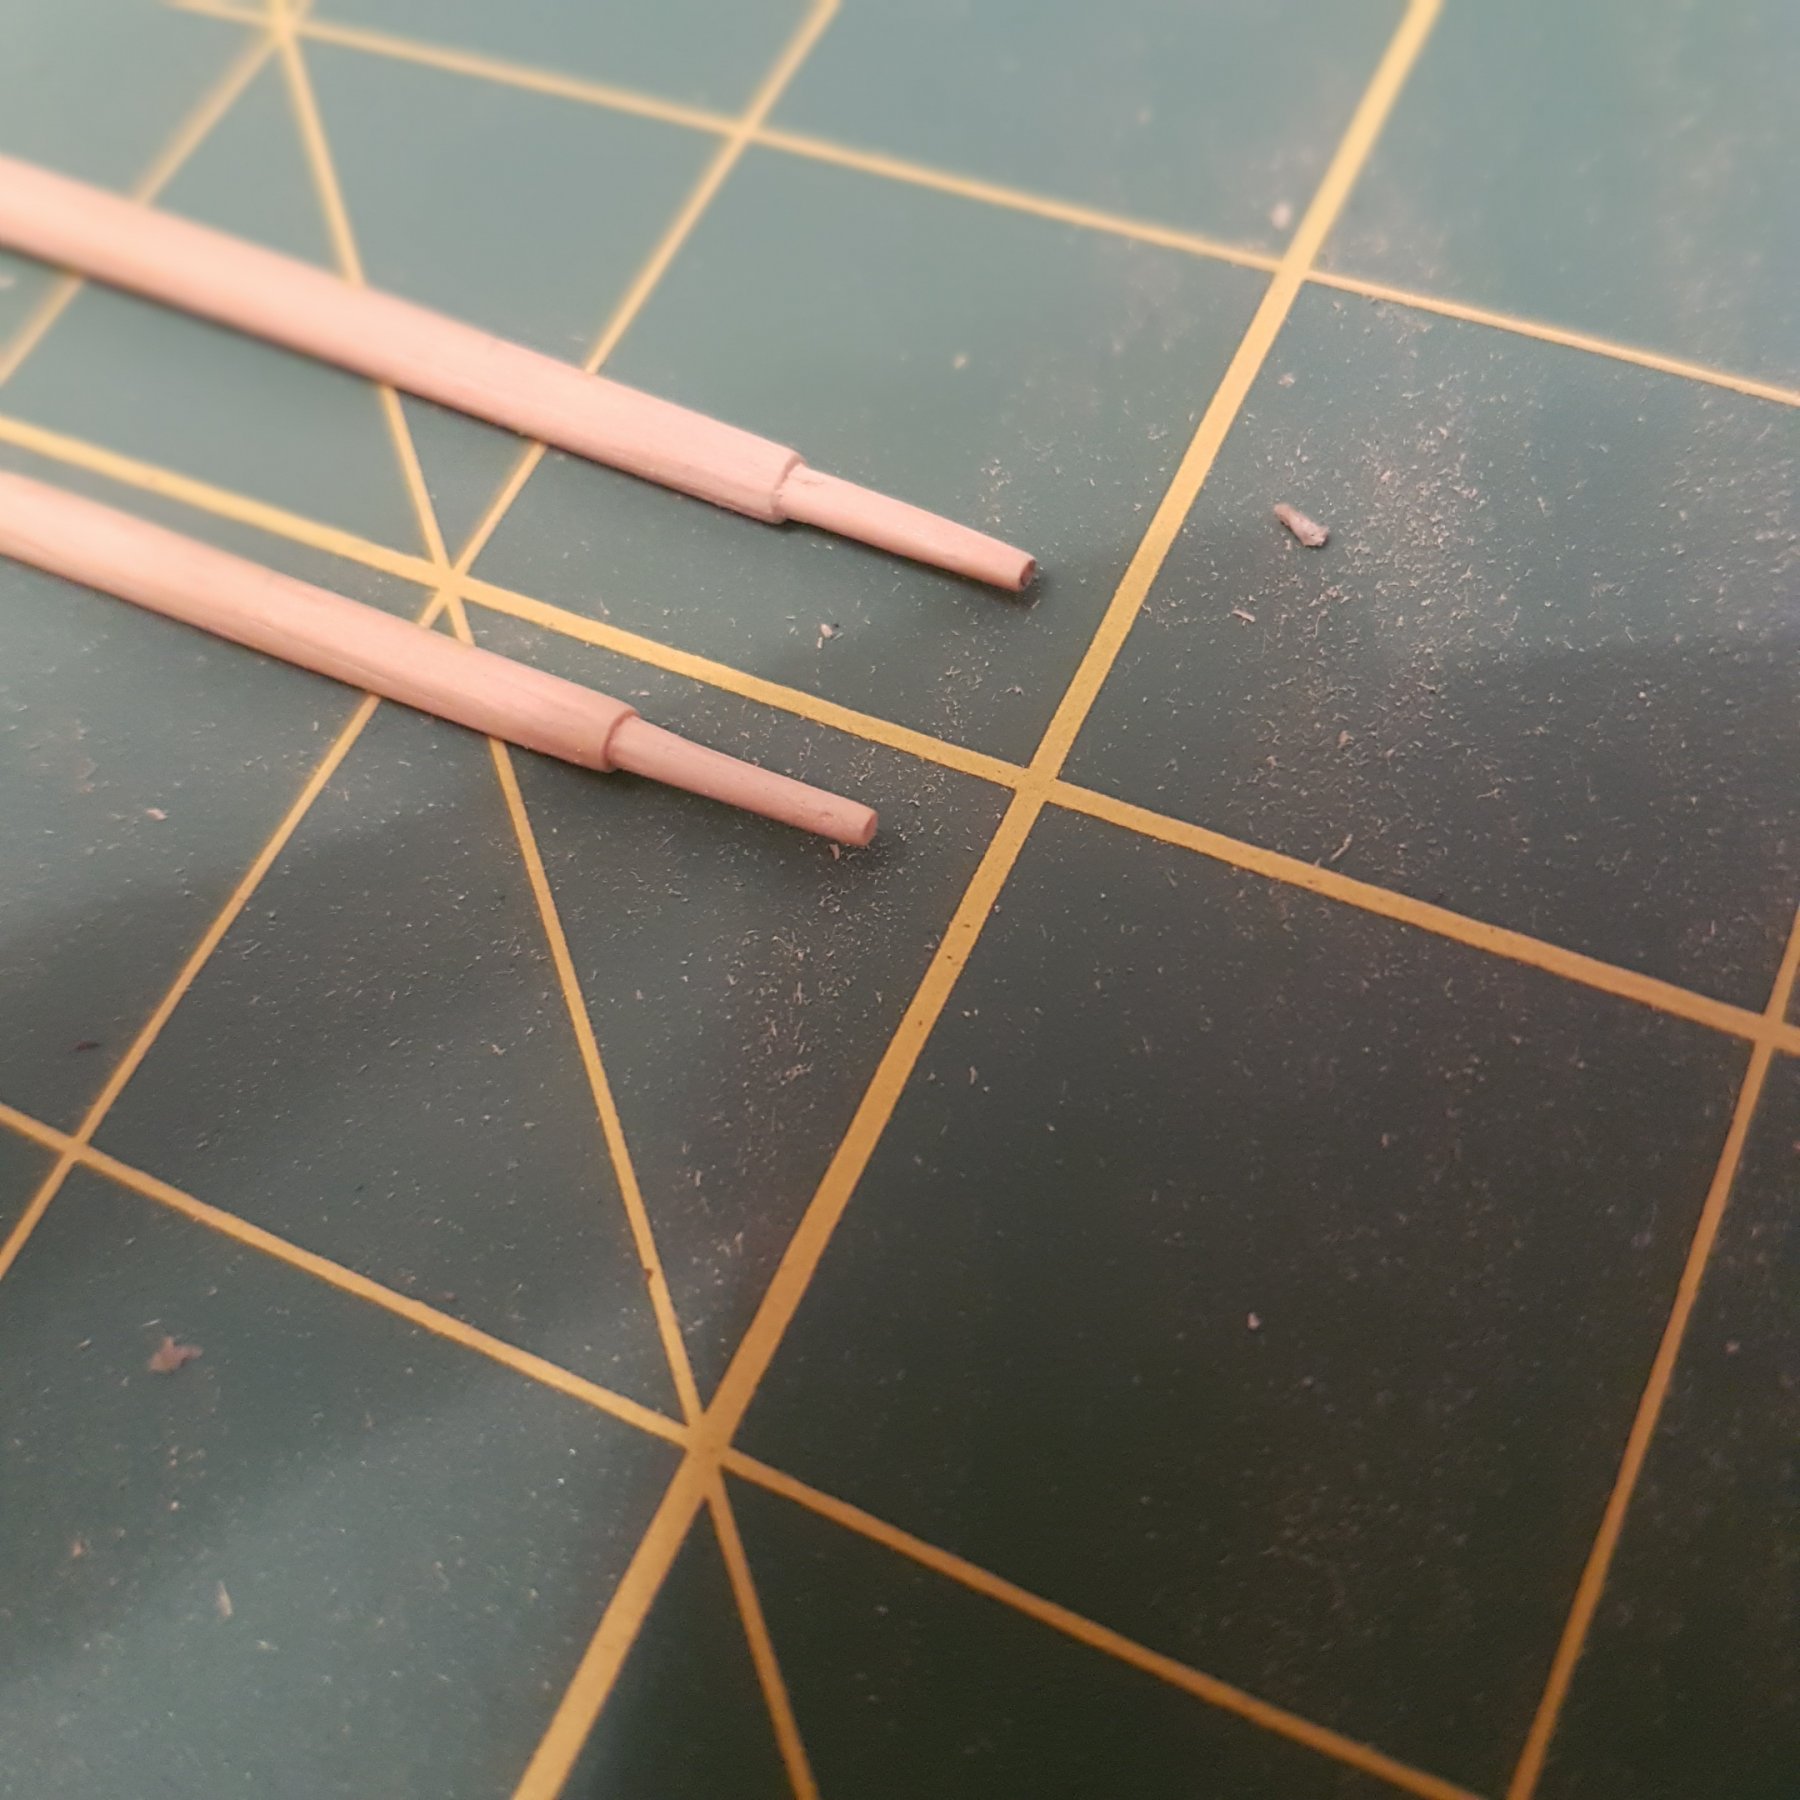
One thing I have noticed before I do anymore rigging on the bowsprit, it needs to be darkend to suit the rest of the masts. It's too light a colour.
-
Main mast and fore mast has all of their yards attached and raising and lowering rigging attached.
-
But then again, this pic is from the plans of the Friesland. A Dutch ship from 1663. Best of luck
-
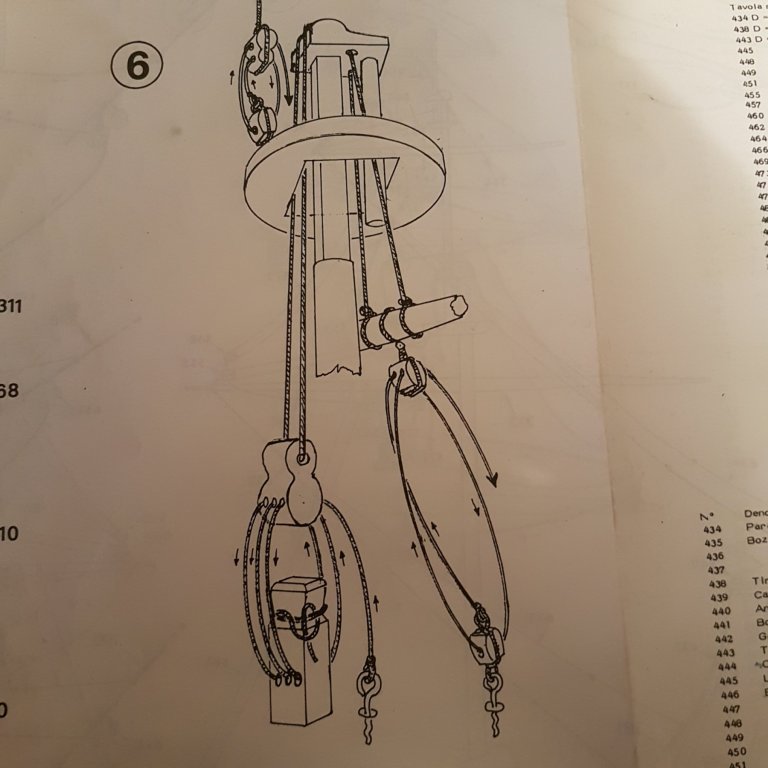
I would go with the two ropes heading down to the deck. The ropes sometimes link around a sheave block and then are connected to the deck. As in the pic...
-
So... busy tying more blocks. I have the lines from the center of the yards down to their respective Belaying pins. Coiling the excess rope as I go. Here are the first three ropes belayed.
-
Looks great. And very neatly done. Have a look at my build of the 1:75 Friesland, Mamoli for ratline ideas. I never tie my ratlines, just 50:50 white glue and water. I rekon it would work a treat for your scale. The black and yellow have come up really well.
- 23 replies
-
- 1
-
-
- Victory
- Mini Mamoli
- (and 1 more)
-
Congratulations on finishing the gun rigging! The ships boats look great as well. All the best for the new house.
- 786 replies
-
- 2
-
-
- Royal Louis
- Finished
- (and 1 more)
-
Looks neatly done. Will there be also copper plates on the keel bottom?
-
Have a look at my build, The Mamoli 1:75 Friesland. On Page 2 it shows me putting the second planking on. Just buy using drawing pins next to the plank. No holes Your build looks fantastic. Good work
-
Hey great little build you have going on. These kits are great to keep you busy. I have the IL Luedo Mini Mamoli and are yet to start it. I'd like to see the shrouds and ratlines! At least you won't have to rig deadeyes.
- 23 replies
-
- 1
-
-
- Victory
- Mini Mamoli
- (and 1 more)
-
Hopefully will make a start on the fore mast yards after work.