
Knocklouder
-
Posts
2,985 -
Joined
-
Last visited
Content Type
Profiles
Forums
Gallery
Events
Everything posted by Knocklouder
-
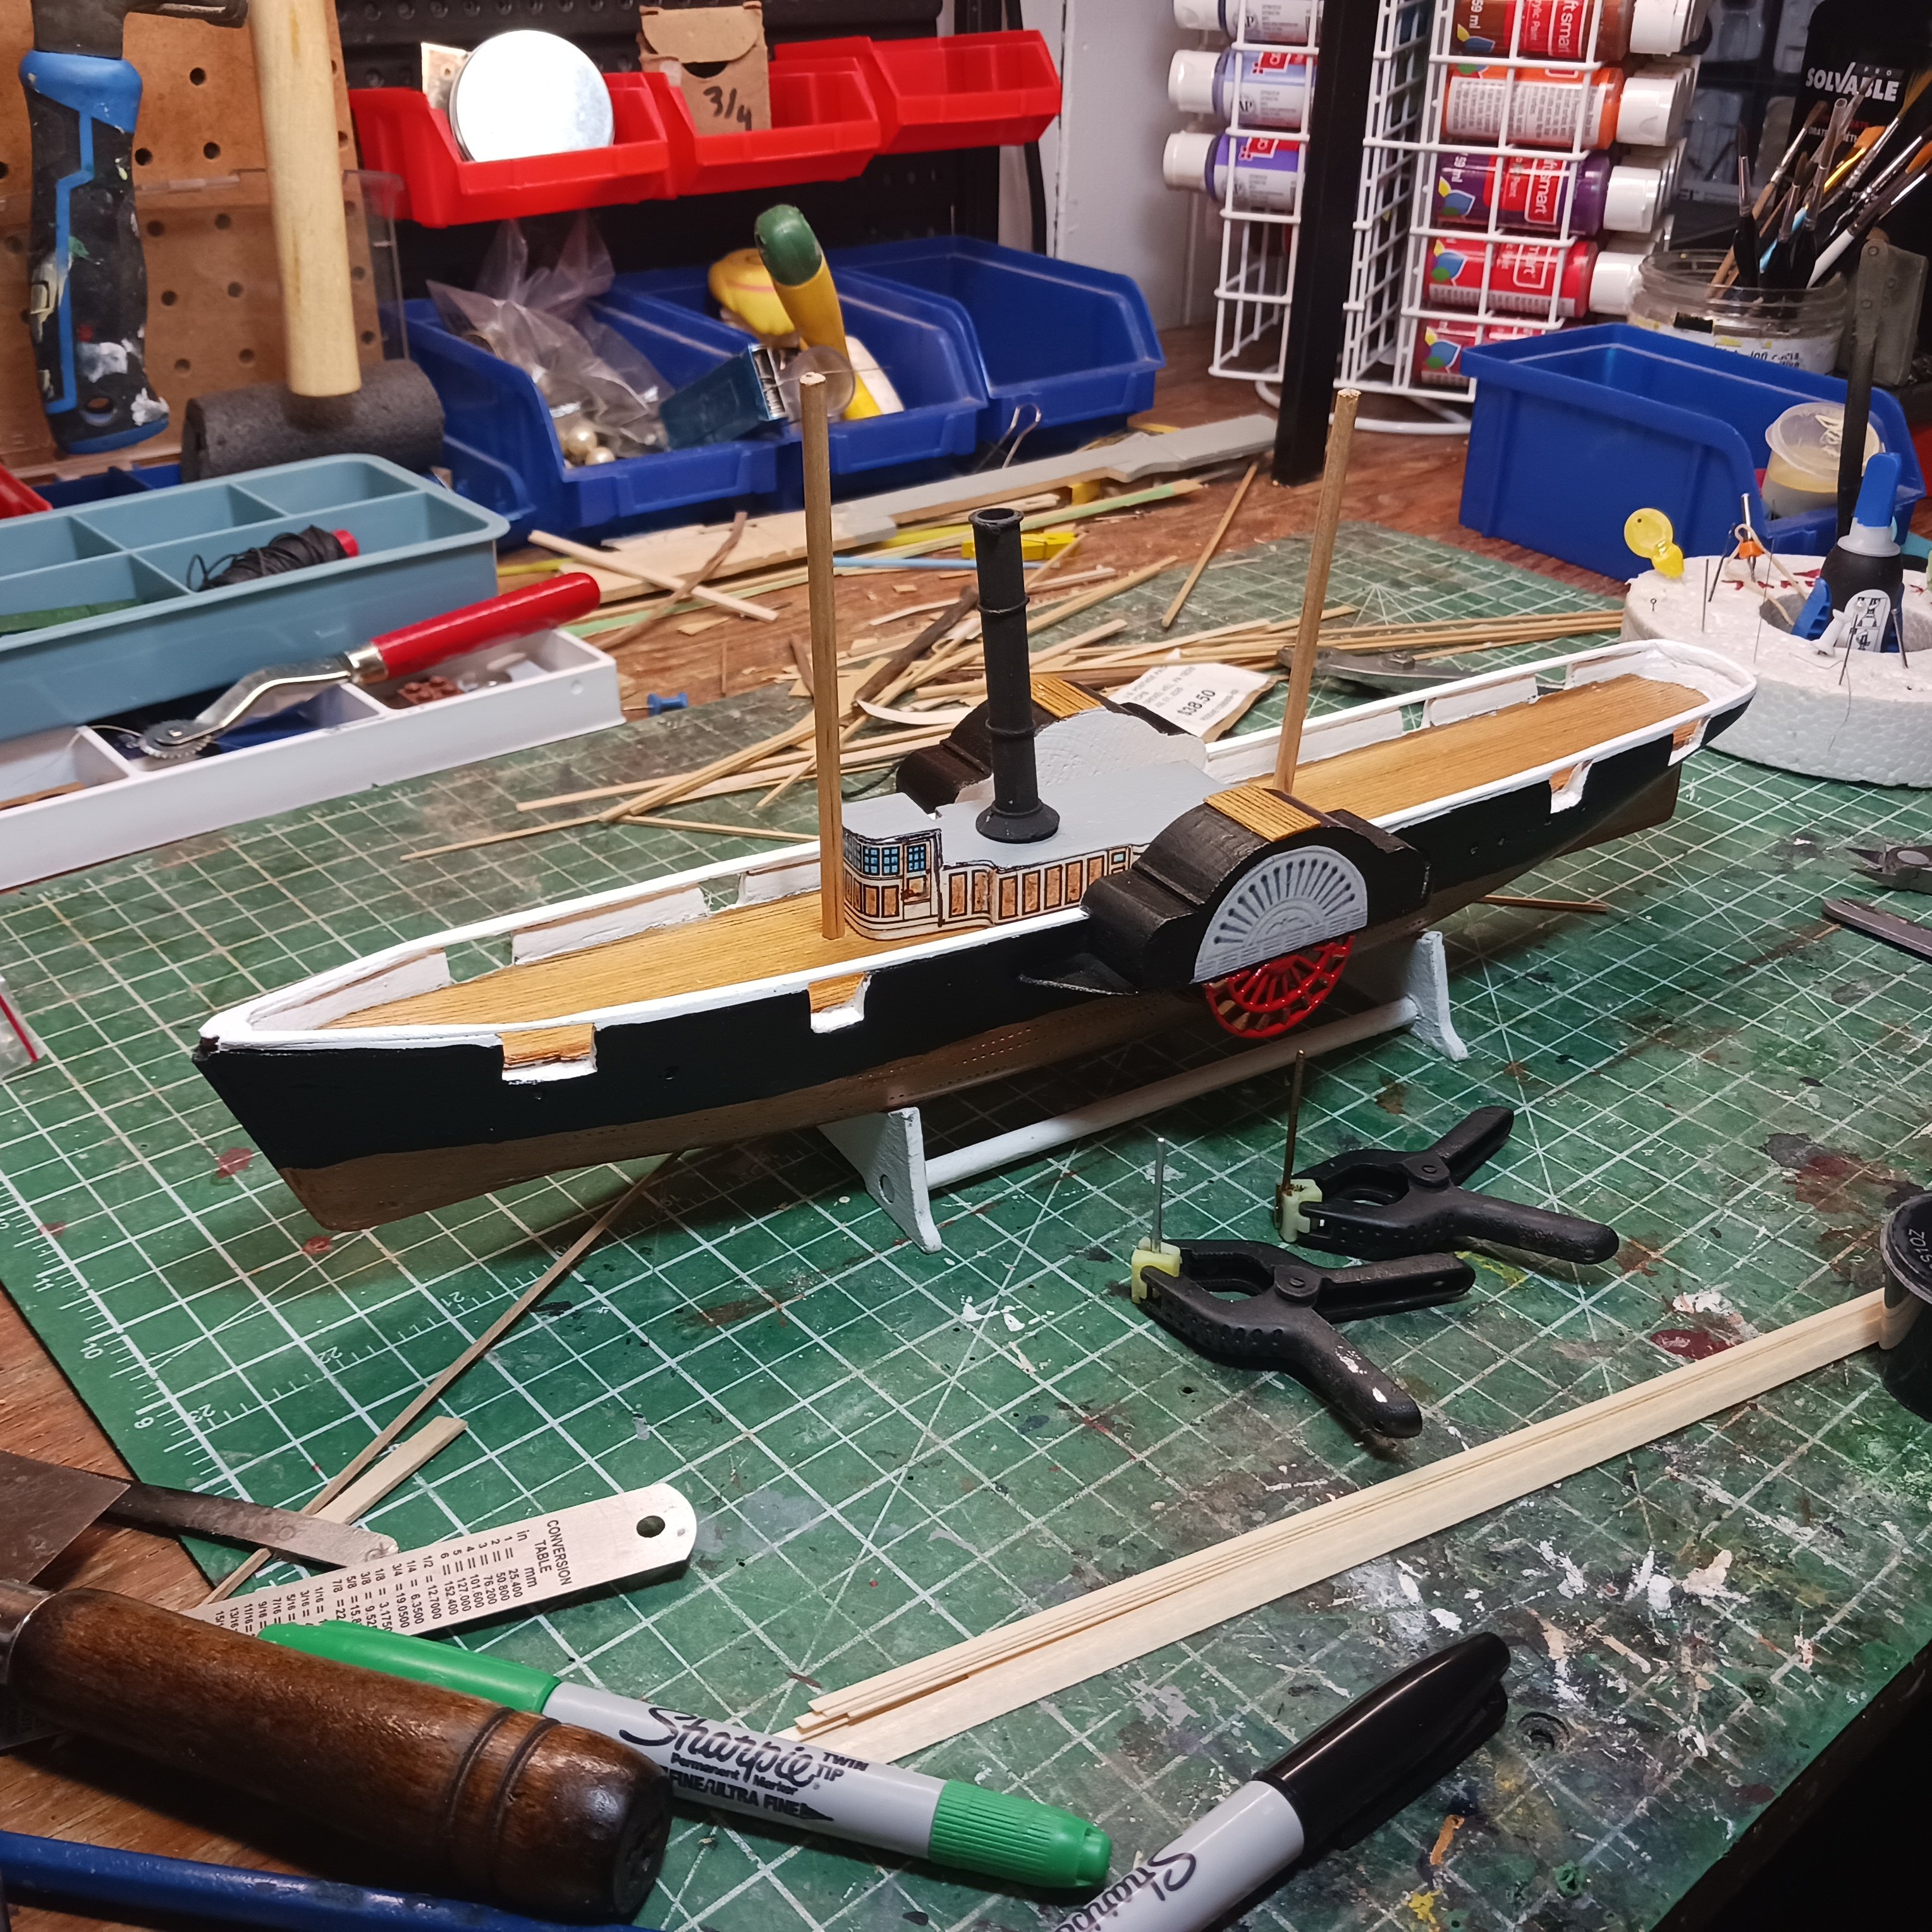
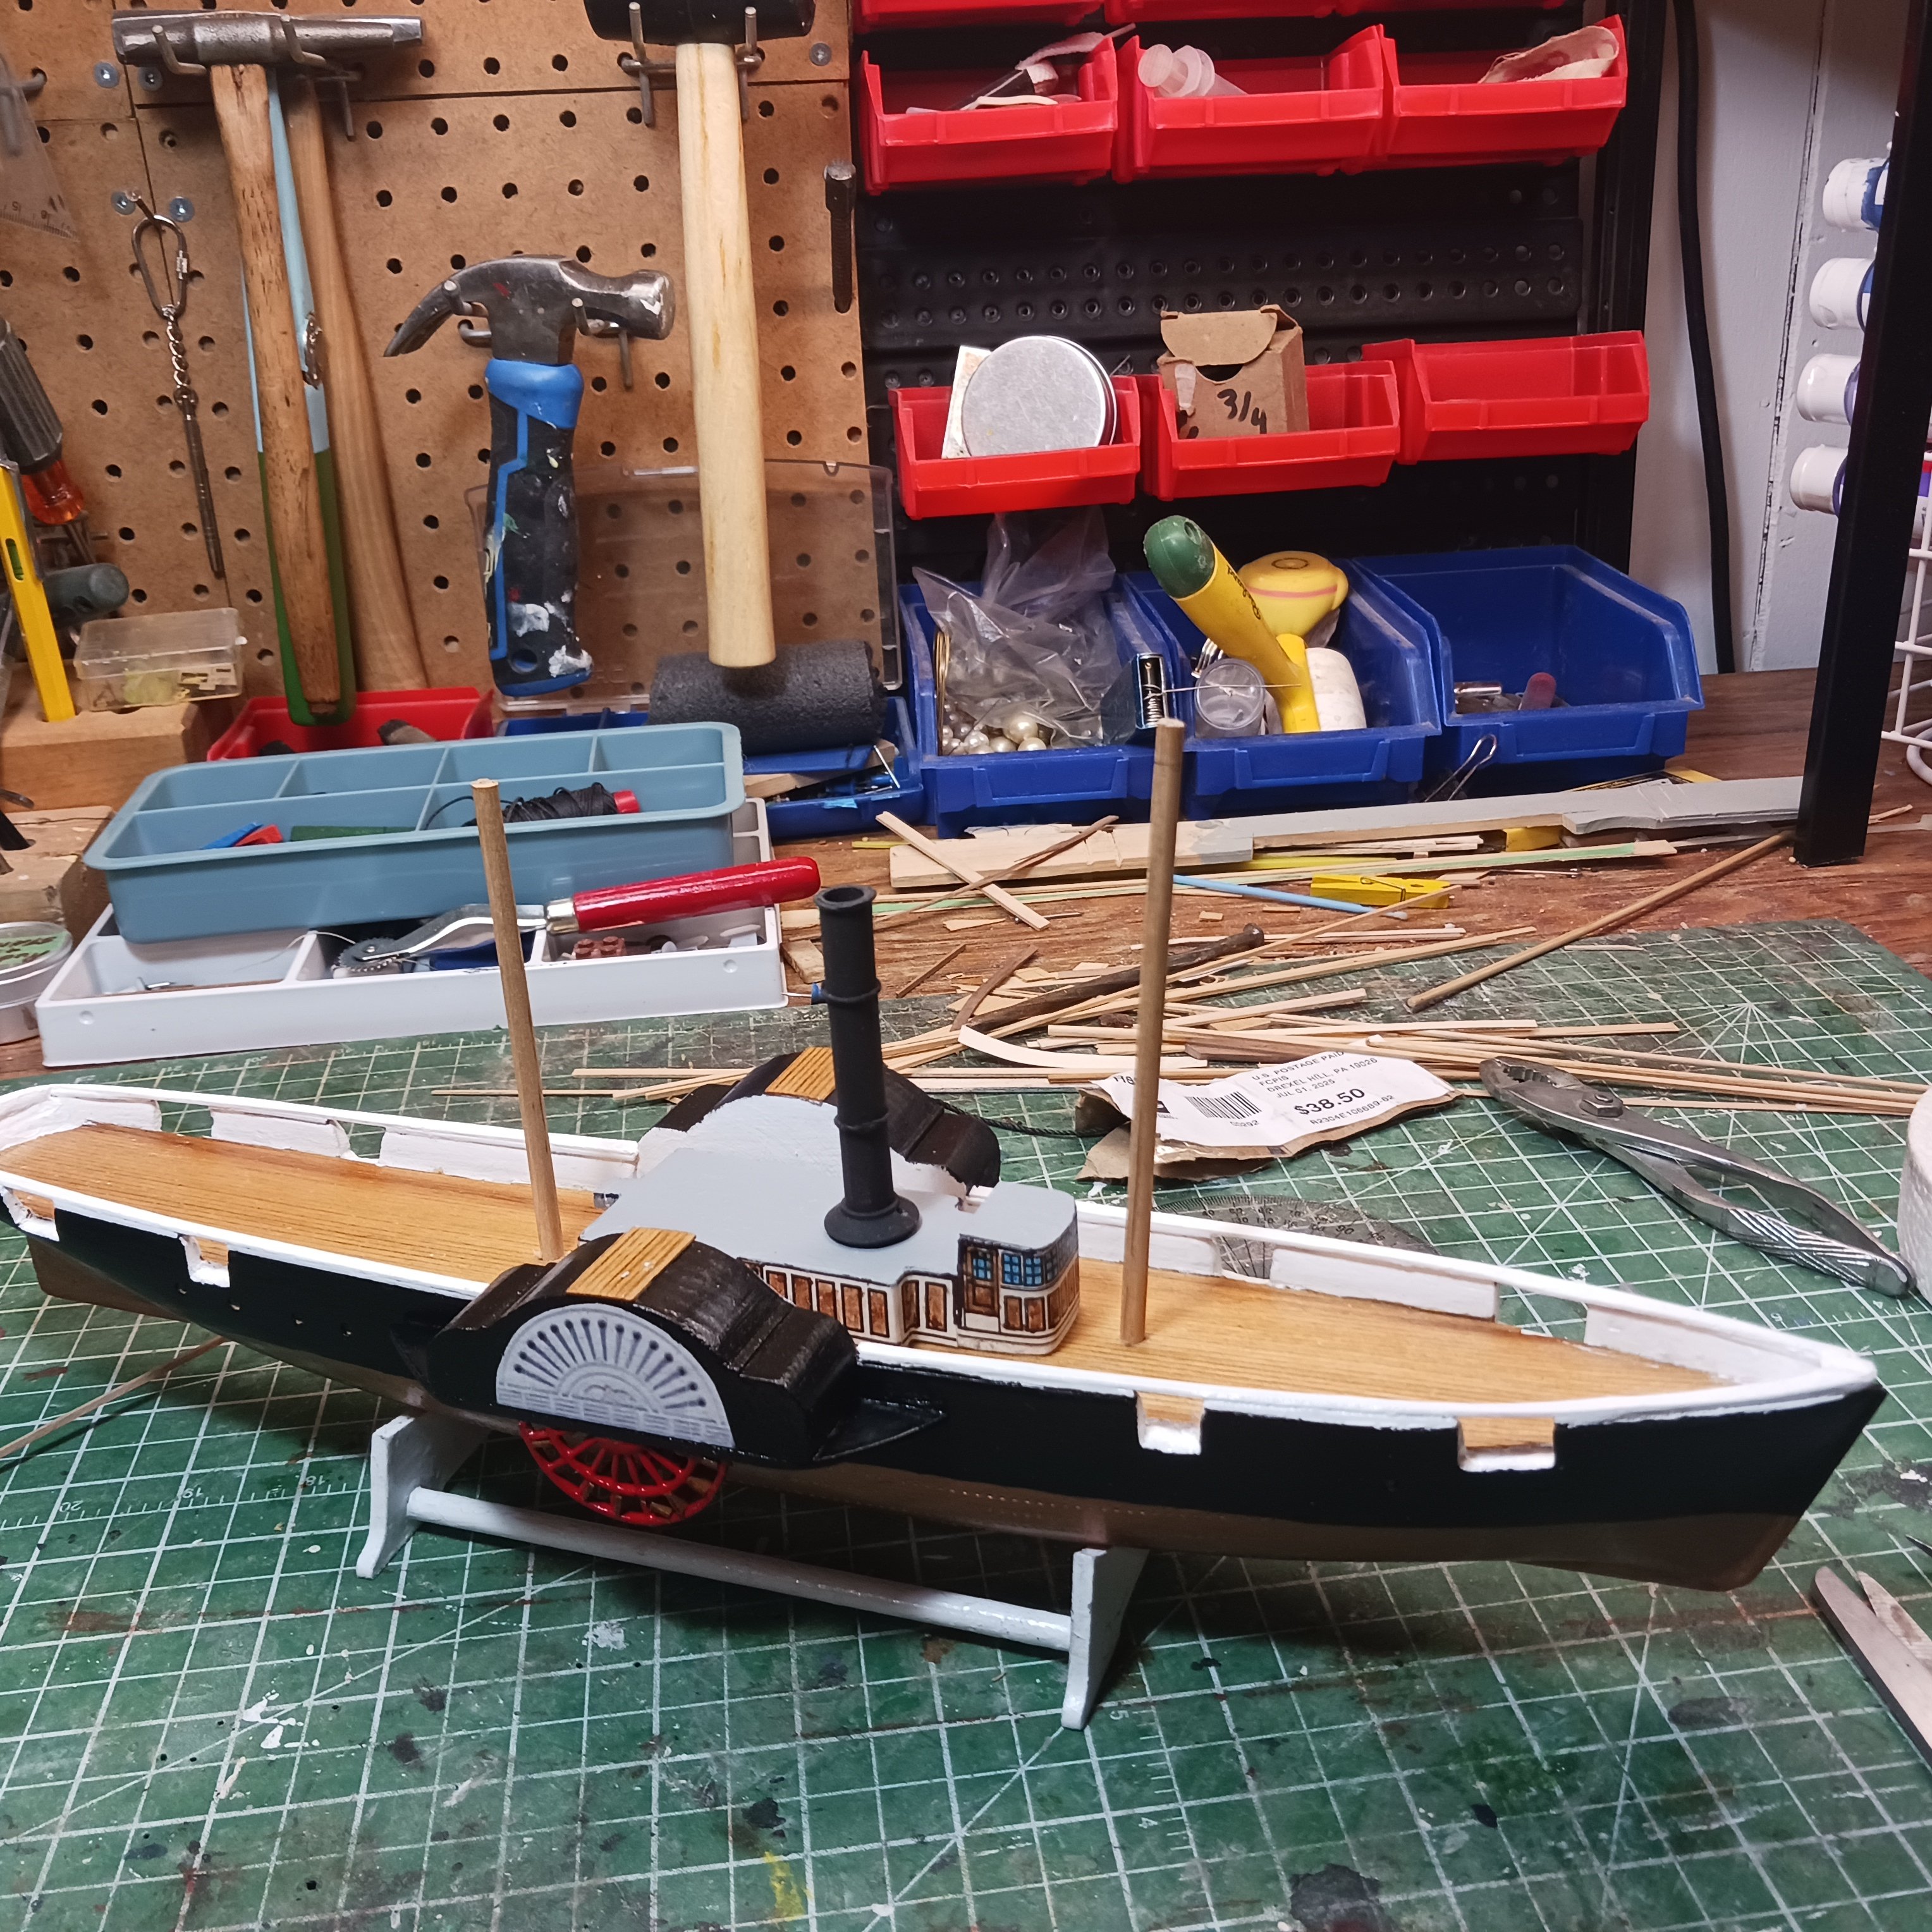
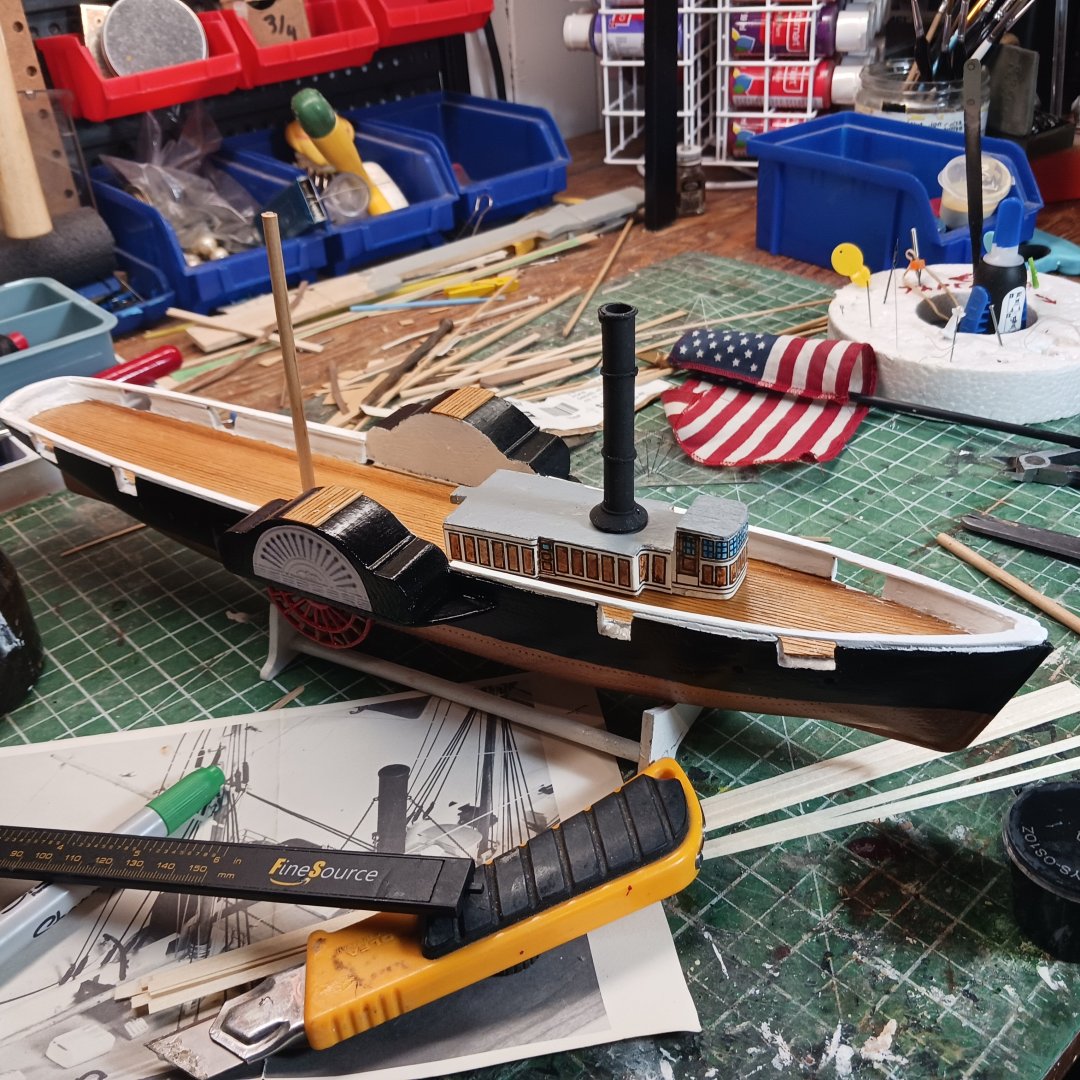
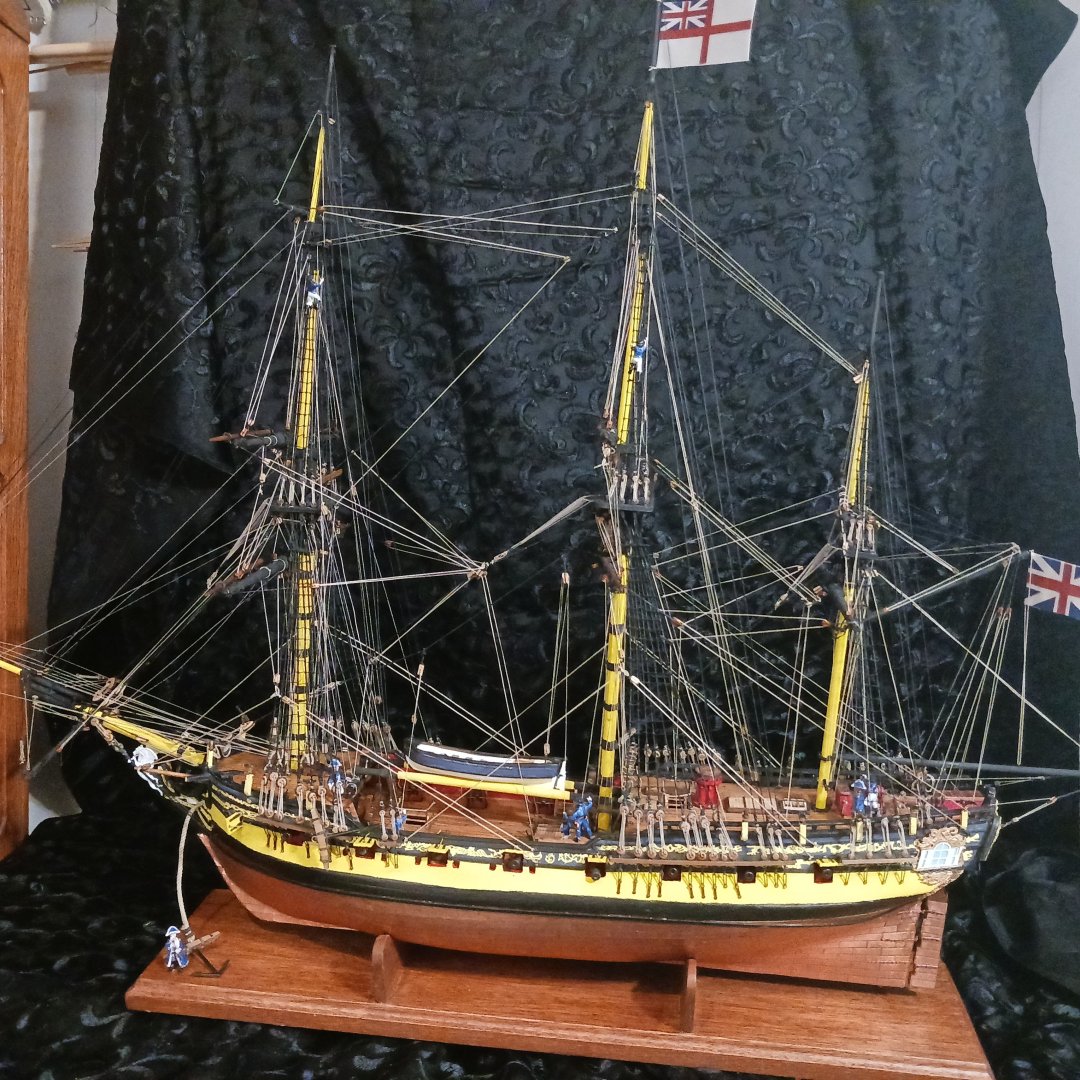
 A special thanks to @Gabek, he has come through for me again. Jumping ahead to the rigging section, I decoverd that parts are missing. Deadeyes, blocks and the flag were missing, a few pieces for the deck as well. Steve told me that he got this model a very long time ago, it was given to him by a freind, it just sat in his closet till he gave it to me. Don't know about the flag, but Deadeyes, that's where buddy Gabe comes in. I called him, explain things, away he go's 60 deadeye blocks ready for pick up. Thanks so much Gabe. I have the single blocks and a few doubles from the Scientific Bluenose model left over. Also the thread for the rigging, I am changing all of it. The larges one the kit has was .75 mm for shrouds, then the smaller black thread is .4mm it's not very good. Oh well I got a lot of thread in my stach box The pilot house is just about done waiting for the paint to dry on the vent pipe and the whistle pipe, the rest is as good as it gonna get lol The windows went the best, the doors and siding not so much, but It'll DO lol. I only have one American flag, and was told that it is the wrong flag, mine is not supposed to have that many stars. I will find one. The pilot house grows on you the more you look at it, add the steps and it will pass Coming together nicely, its a nice boat, I think it will go beside the Pegasus in the display case, looks like there is room for one more model. On to the steering wheel box and wheel, the guns. Thanks ever so much for following along, also Gabe sent me a link for the plans for the Harriet Lane, the are great, shows a lot of stuff and how to make it. It has a rudder section I didn't even know it existed lol. Now it just a matter of getting down to business. Oh no, I have a bowsprit mast, not fond of them, maybe later 😆 . Talk to you all soon. Knocklouder 😁 Captain Steve 👮♂️
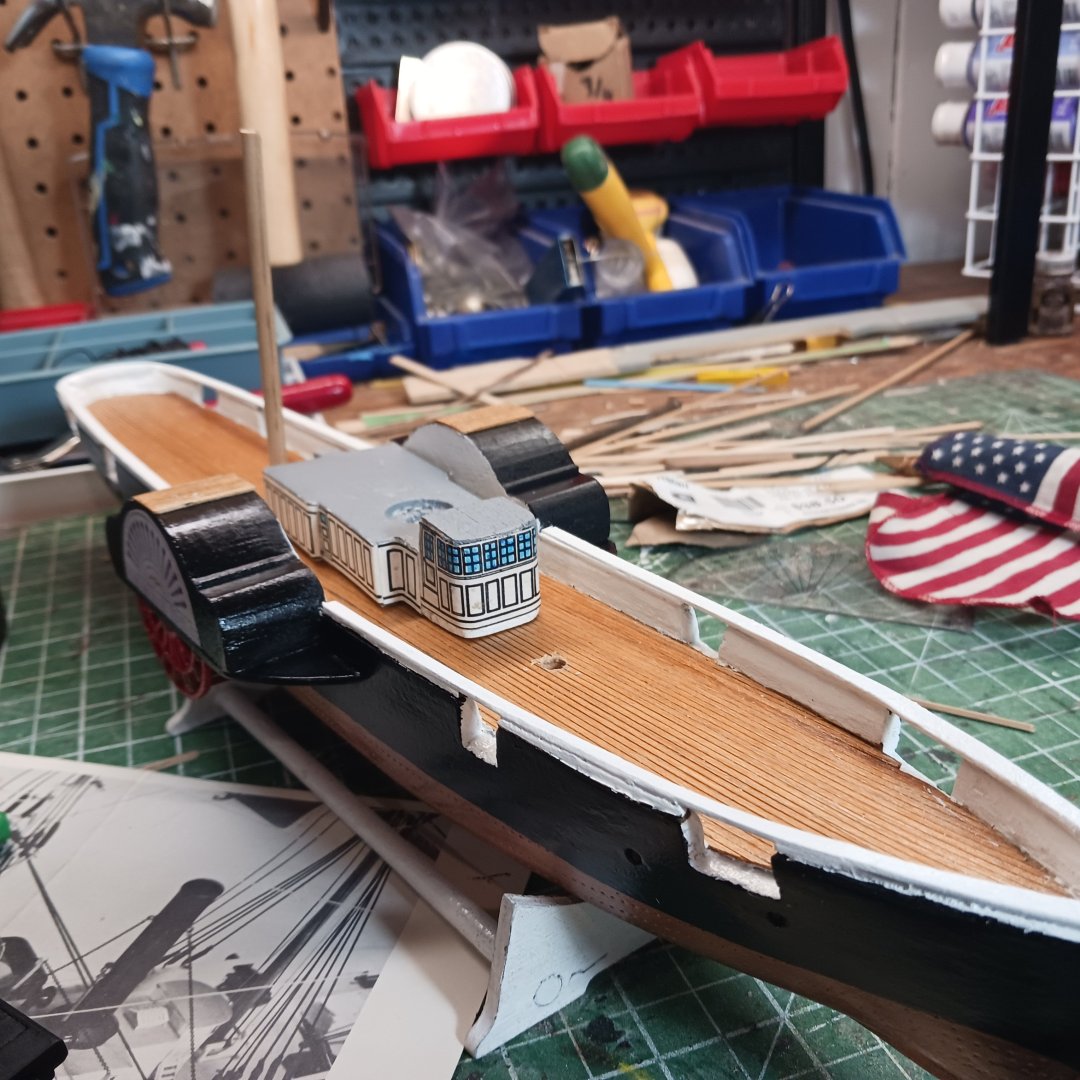


- 73 replies
-
- 9
-

-
- Steam Cutter
- Harriet Lane
- (and 2 more)
-
Very nicely done, Congratulations, it's always great to get the first one done. About starting your next model, 10 minutes is long enough between builds. Knocklouder 😁
- 51 replies
-
- 2
-

-
- bounty jolly boat
- Artesania Latina
- (and 2 more)
-
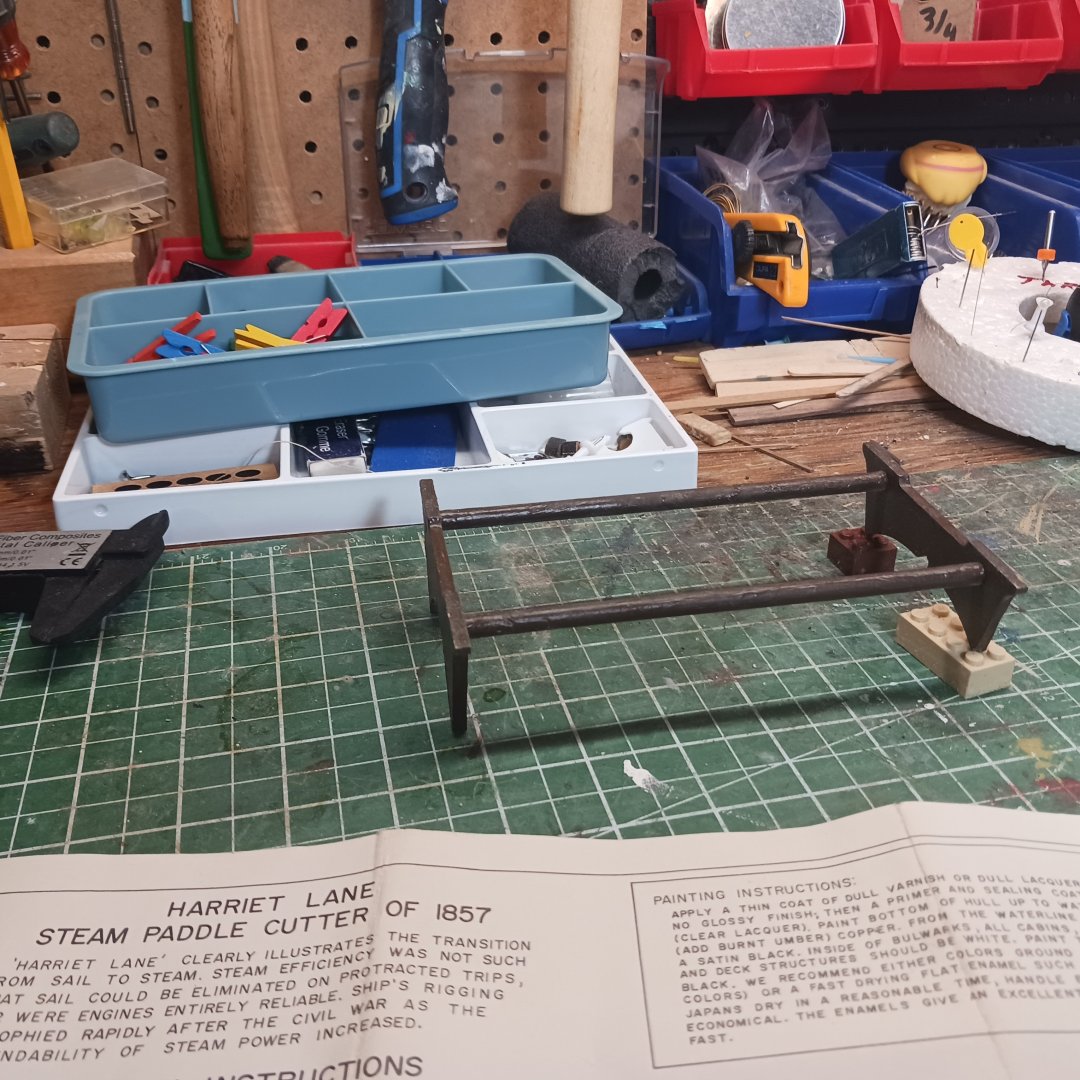
@palmerit I am not much of a reader more of a visual kind of guy, lol. I will go look but I have so much painting to do on the Harriet Lane. @robert952 very glad you came aboard, . Got up today feeling like a kid, couldn't wait to start. CS says let's prime everything today, So to the paint shop. After 30 minutes or so they are touch dry. After a second cup of go go juice I placed them about were they go. Now I have to let the primer dry over night before finish coat, color to be determined later. Well lunch time, maybe a nap , just saying. Lol, let's see what I can do after lunch 😴. Thanks for looking in, very greatful. Looking at the yard work , no help from the instructions, but that's the fun part. 😀. Knocklouder 😁 Captain Steve 👨 Ps. Steve demands a better picture, he's a river boat man , lol 🚢 🚣♂️


- 73 replies
-
- 9
-
-
- Steam Cutter
- Harriet Lane
- (and 2 more)
-
Thanks @Keith Black, and @vvvjames poor Captain Steve was hit by a low flying seagull and now has taken up hiding behind the pilot house lol lol it is late ,time for a nap lol. Thanks for popping in. Havein so much fun. 😆 🤣 Knocklouder 😁

- 73 replies
-
- 10
-
-
-
- Steam Cutter
- Harriet Lane
- (and 2 more)
-
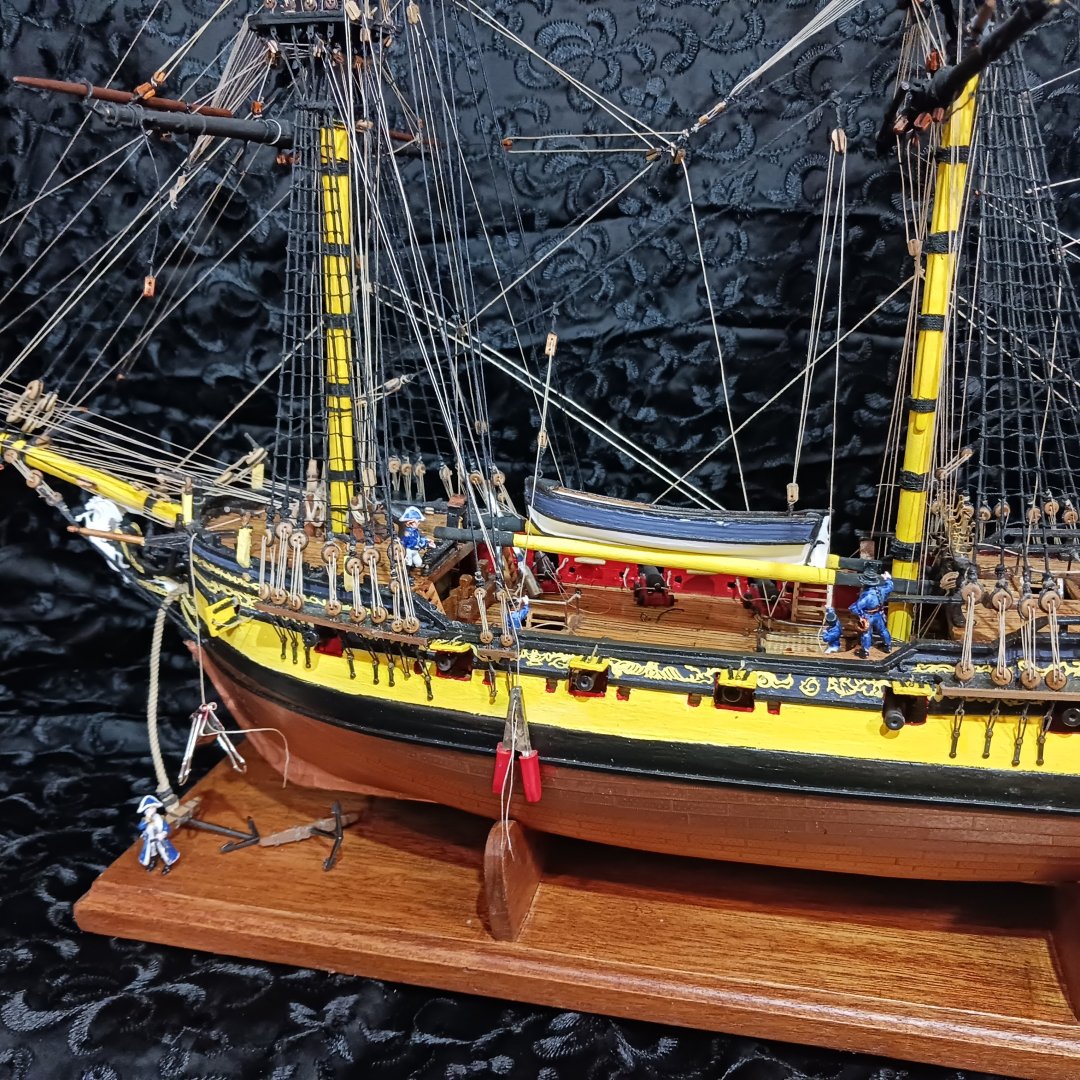
@GrandpaPhil that's exactly what I did, all most. I found a picture of the Harriet Lane, croped the wheel decal, printed two and glued them on, I used mog podge. There is a little trim board I will add tomorrow after the decals are dry. Looks ok to me, time for the big guns. I wonder why everything is black, the gun carriages should be red wheels brown and the gun barrel blacken oh well all black it is . What do you all think? Knocklouder 😁

- 73 replies
-
- 11
-

-
-
- Steam Cutter
- Harriet Lane
- (and 2 more)
-
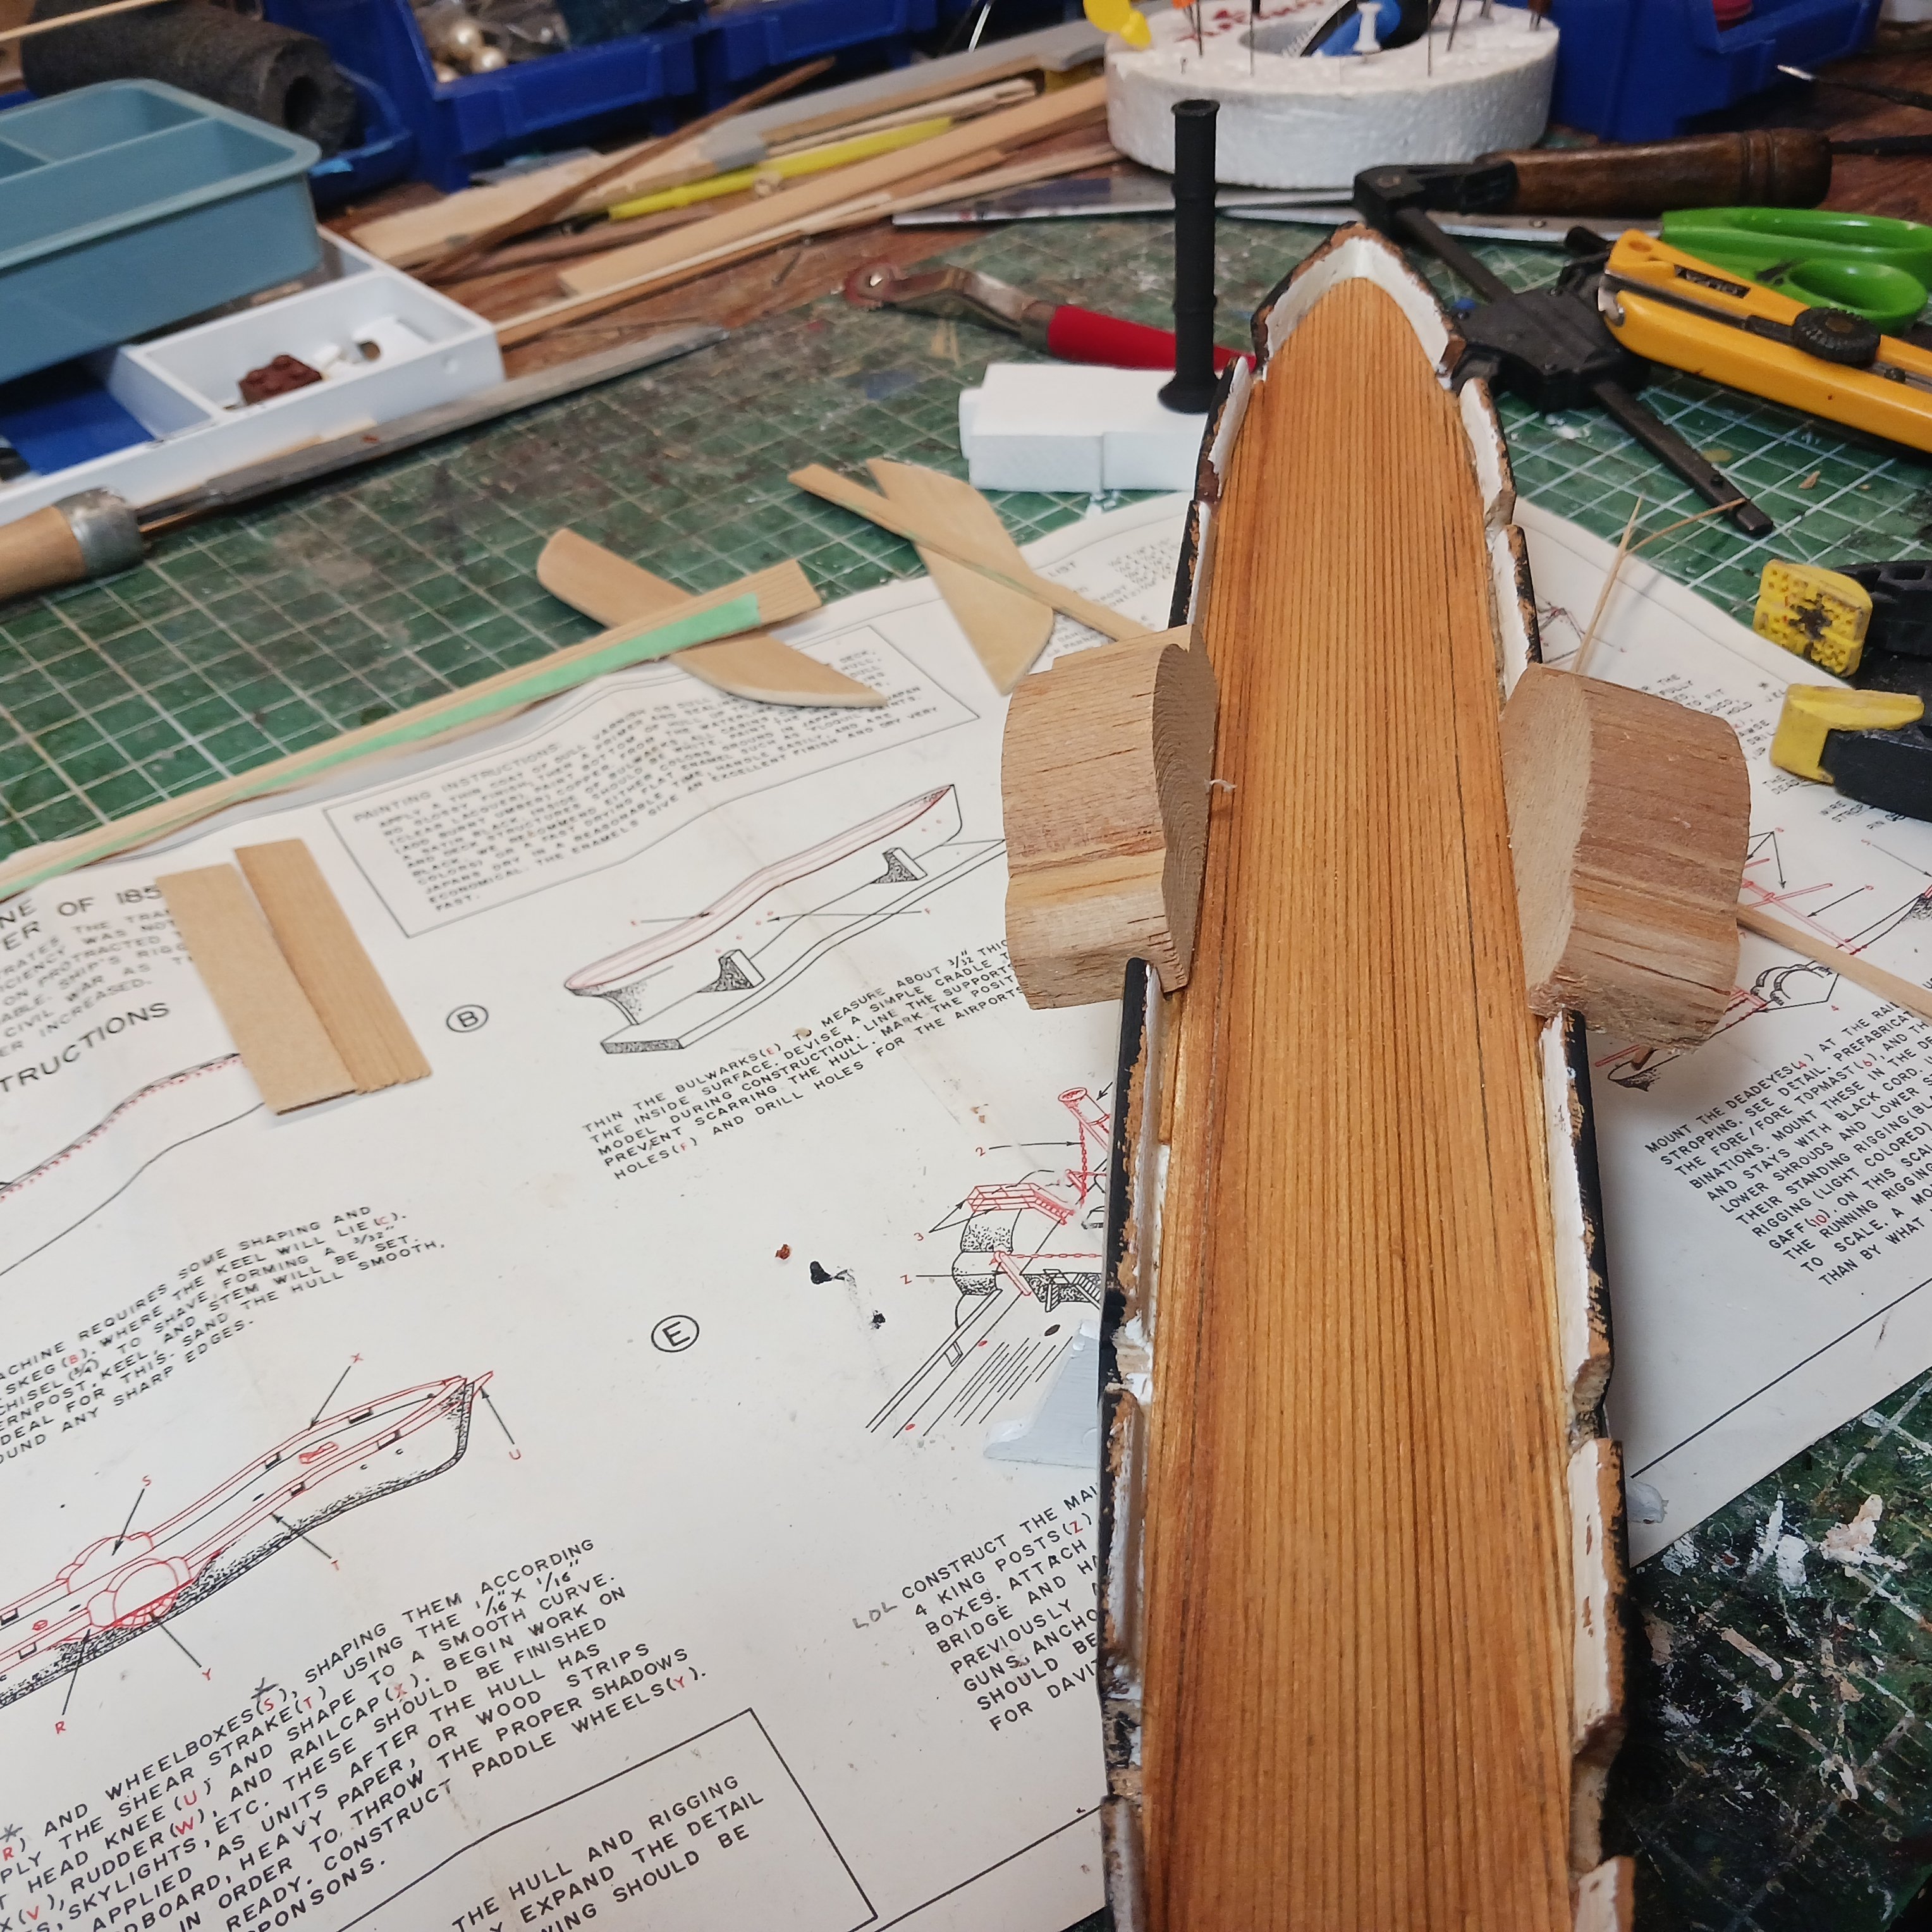
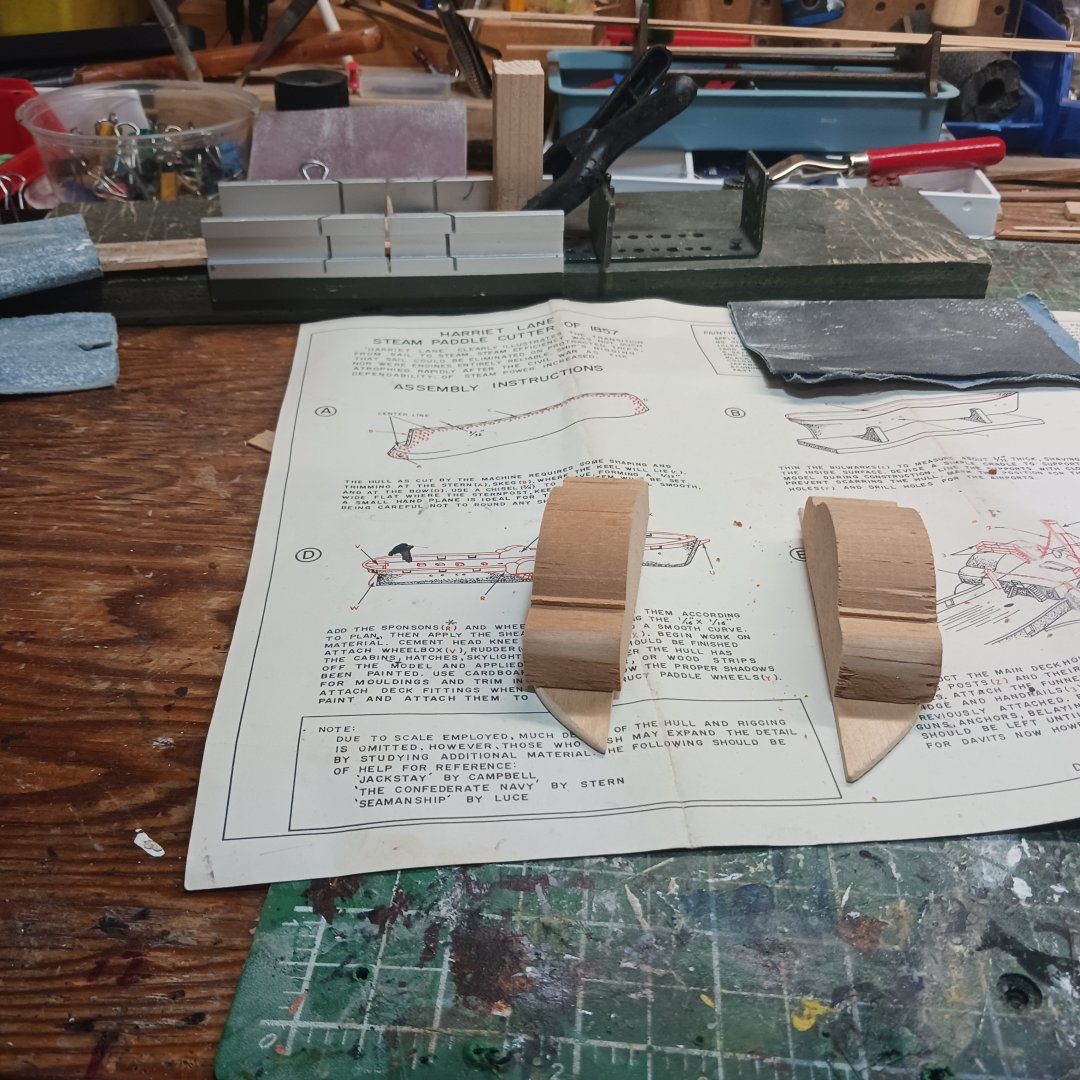
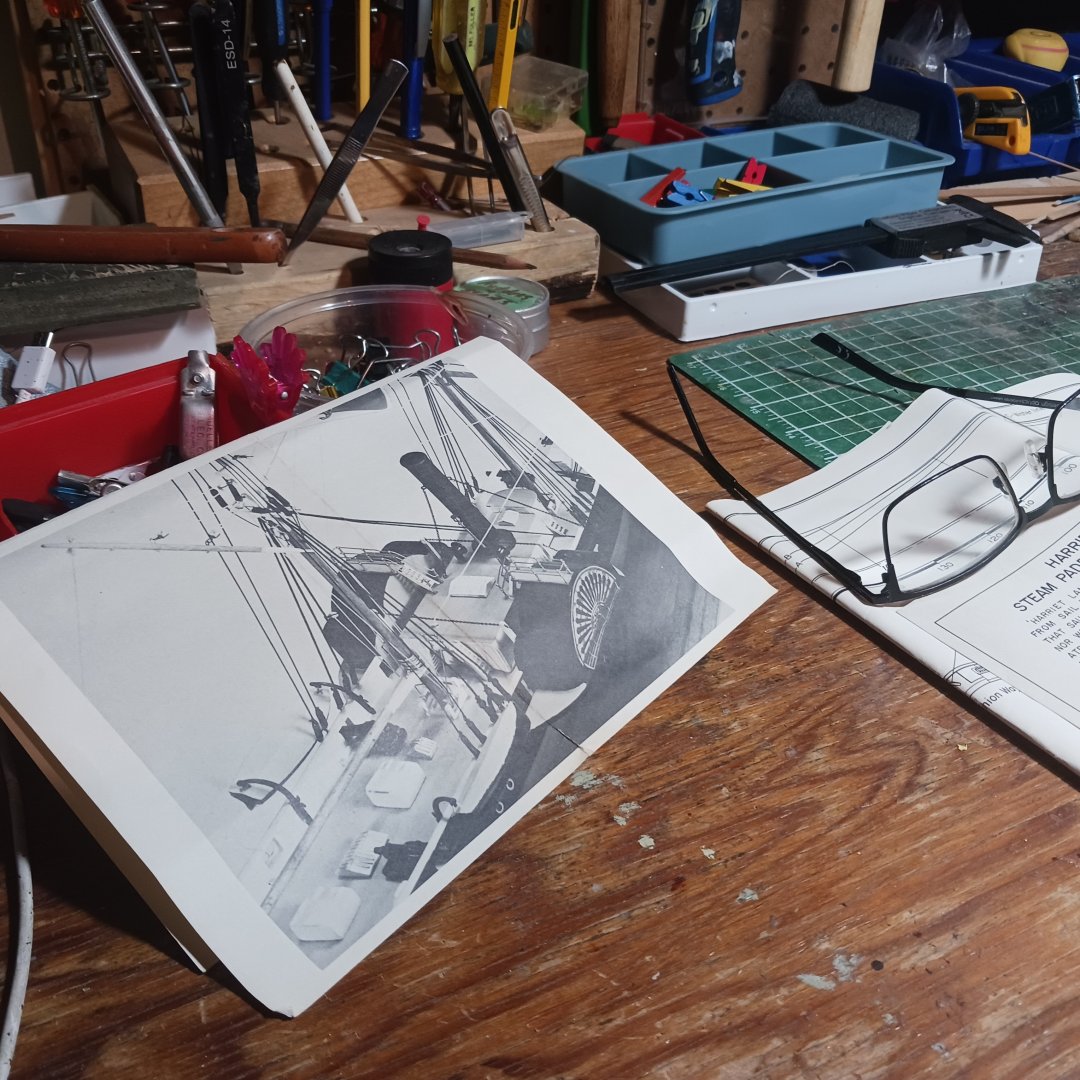
This is Captain Steve, he will be along for the journey. He will be placed on the bridge when completed. We started of making the paddle wheels Materials were gathered and the first wing was on. Time for the decal, poop, They were to old and just floated up in pieces, I could only watch as they slowly disintegrate in front of my eyes. Oh well I hope Modele Shipways have more, got to find out. With the decals destroyed, that took the wind out of my sails, oh well luckily 😉 the Harriet Lane has an engine and sails ,so time to fire up the steam engine and carry on. But first off to find new decal, 😔. Even with one wing on she looks great. I also came across @trippwj log for the Harriet Lane, it is the exact same scale as mine. I emailed him right away and ask if I could send people over to his log, wow all the information on the Harriet Lane supplied by the USCG, you all should go have a look at his Harriet Lane, wonderful, and a very detailed log with all the answers to anything about the Harriet Lane. Thanks so much. Captain Steve , likes the work so far. Ok time to go find so decals. Knocklouder 😁


- 73 replies
-
- 13
-
-
- Steam Cutter
- Harriet Lane
- (and 2 more)
-
Good luck on your adventure Bob M.
-
I am with everyone else, just fantastic work. Bob M.
-
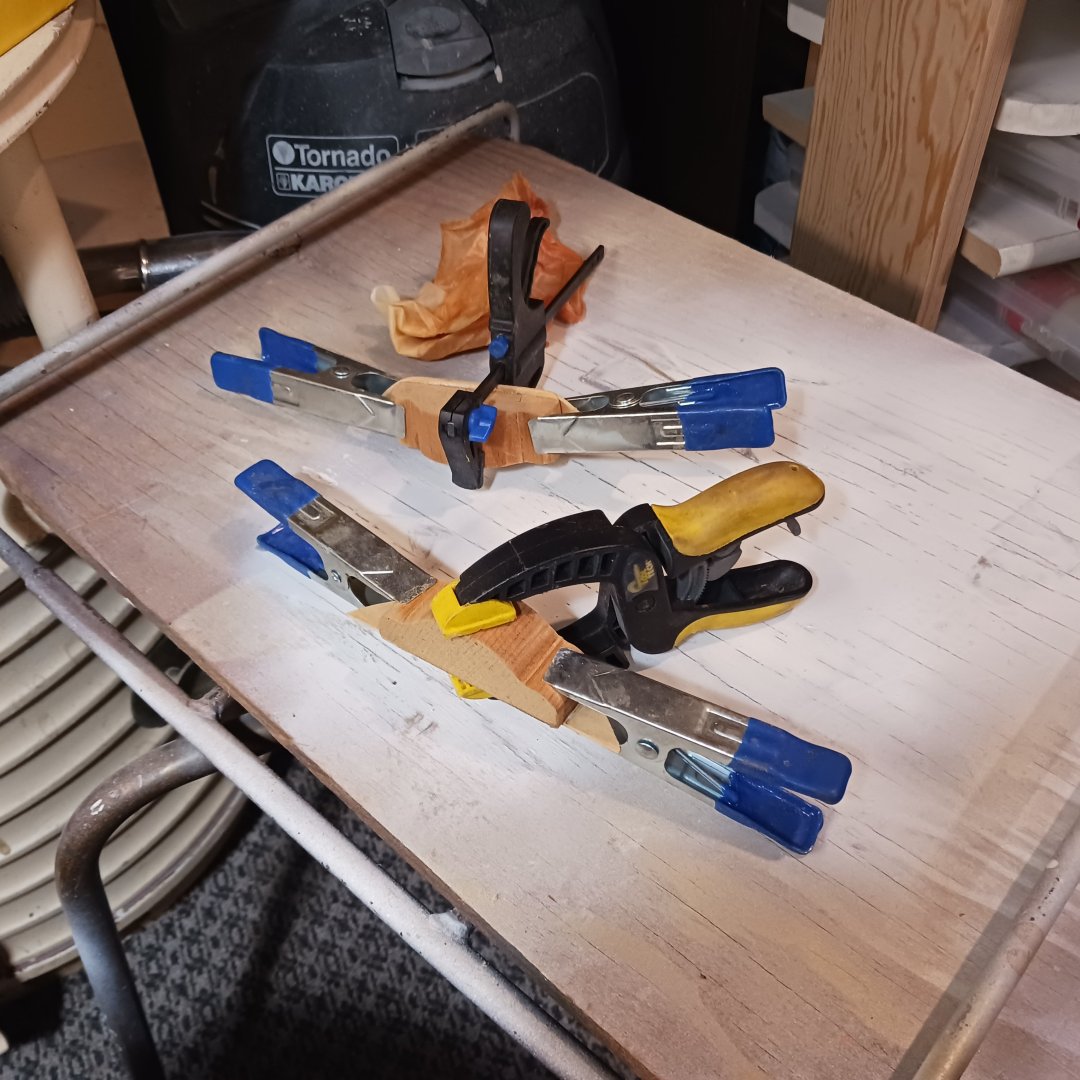
Thanks @Keith Black , I have been to that page before, I may give that a try if I don't like my clove hitches lol I installed the deck this morning, I laid a piece down the center, and made tape copy for the side cut them glued them on. On to the wings, oh yes, I stained the deck, Honey maple and gave it two coats of shellac, I love shellac it drys fast , paint you got to wait, and watch it dry lol. I like the chopper I got from Amati, it sure saves time and my cuts are nicer, lol. Once the glue drys, paint. 😆 Time to make some paddles, they have to be painted as well. Then a decal for the side, it's old I hope it doesn't just break all apart. We well see. After I get the cap rails on and the gun ports box in, paddle wheels on, I will sign the bottom of the hull with a note , then put it on the stand never to be looked at from the bottom again lol. The kit pilot house plans are not so good, I looked at all the logs for the Harriet Lane and found everyone made there own, I will have to see what I come up with, as I don't like the paper decals the kit has. UP grade lol. Thanks for peeking in, a very fun kit to put together, I am enjoying it immensely, be done by Christmas, just in case someone wants to Surprise me 😮 🫢 lol Paint is dry , got to go. Knocklouder 😁


- 73 replies
-
- 13
-
-
- Steam Cutter
- Harriet Lane
- (and 2 more)
-
I may have miss counted the clove hitches, more like 298 lol , shees that's even less. Lol All the openings are cut, time for the keel. First coat on the pilot house, and final coat on the hull. An attempt at riveting was made , I will see what it looks like when dryed and in place. I have to wait till tomorrow to install the wheel box, they need to fitted to the hull before I paint them. Tomorrow I will make the butterflies, paddle wheels lol. @Keith Black are your paddles all the way around, mine only get glued to the bottom, lol only half a butterfbutterflie ? Going to put a second coat of white on the wheel house and call it a night. Thanks everyone for the likes I can't belive how much fun this riverboat is, taking blocks of wood glueing them together and making a pilot house 😀. I be rigging in no time , and with a revived count on the Clove hitches , even sooner lol. Knocklouder 😁


- 73 replies
-
- 11
-
-
- Steam Cutter
- Harriet Lane
- (and 2 more)
-
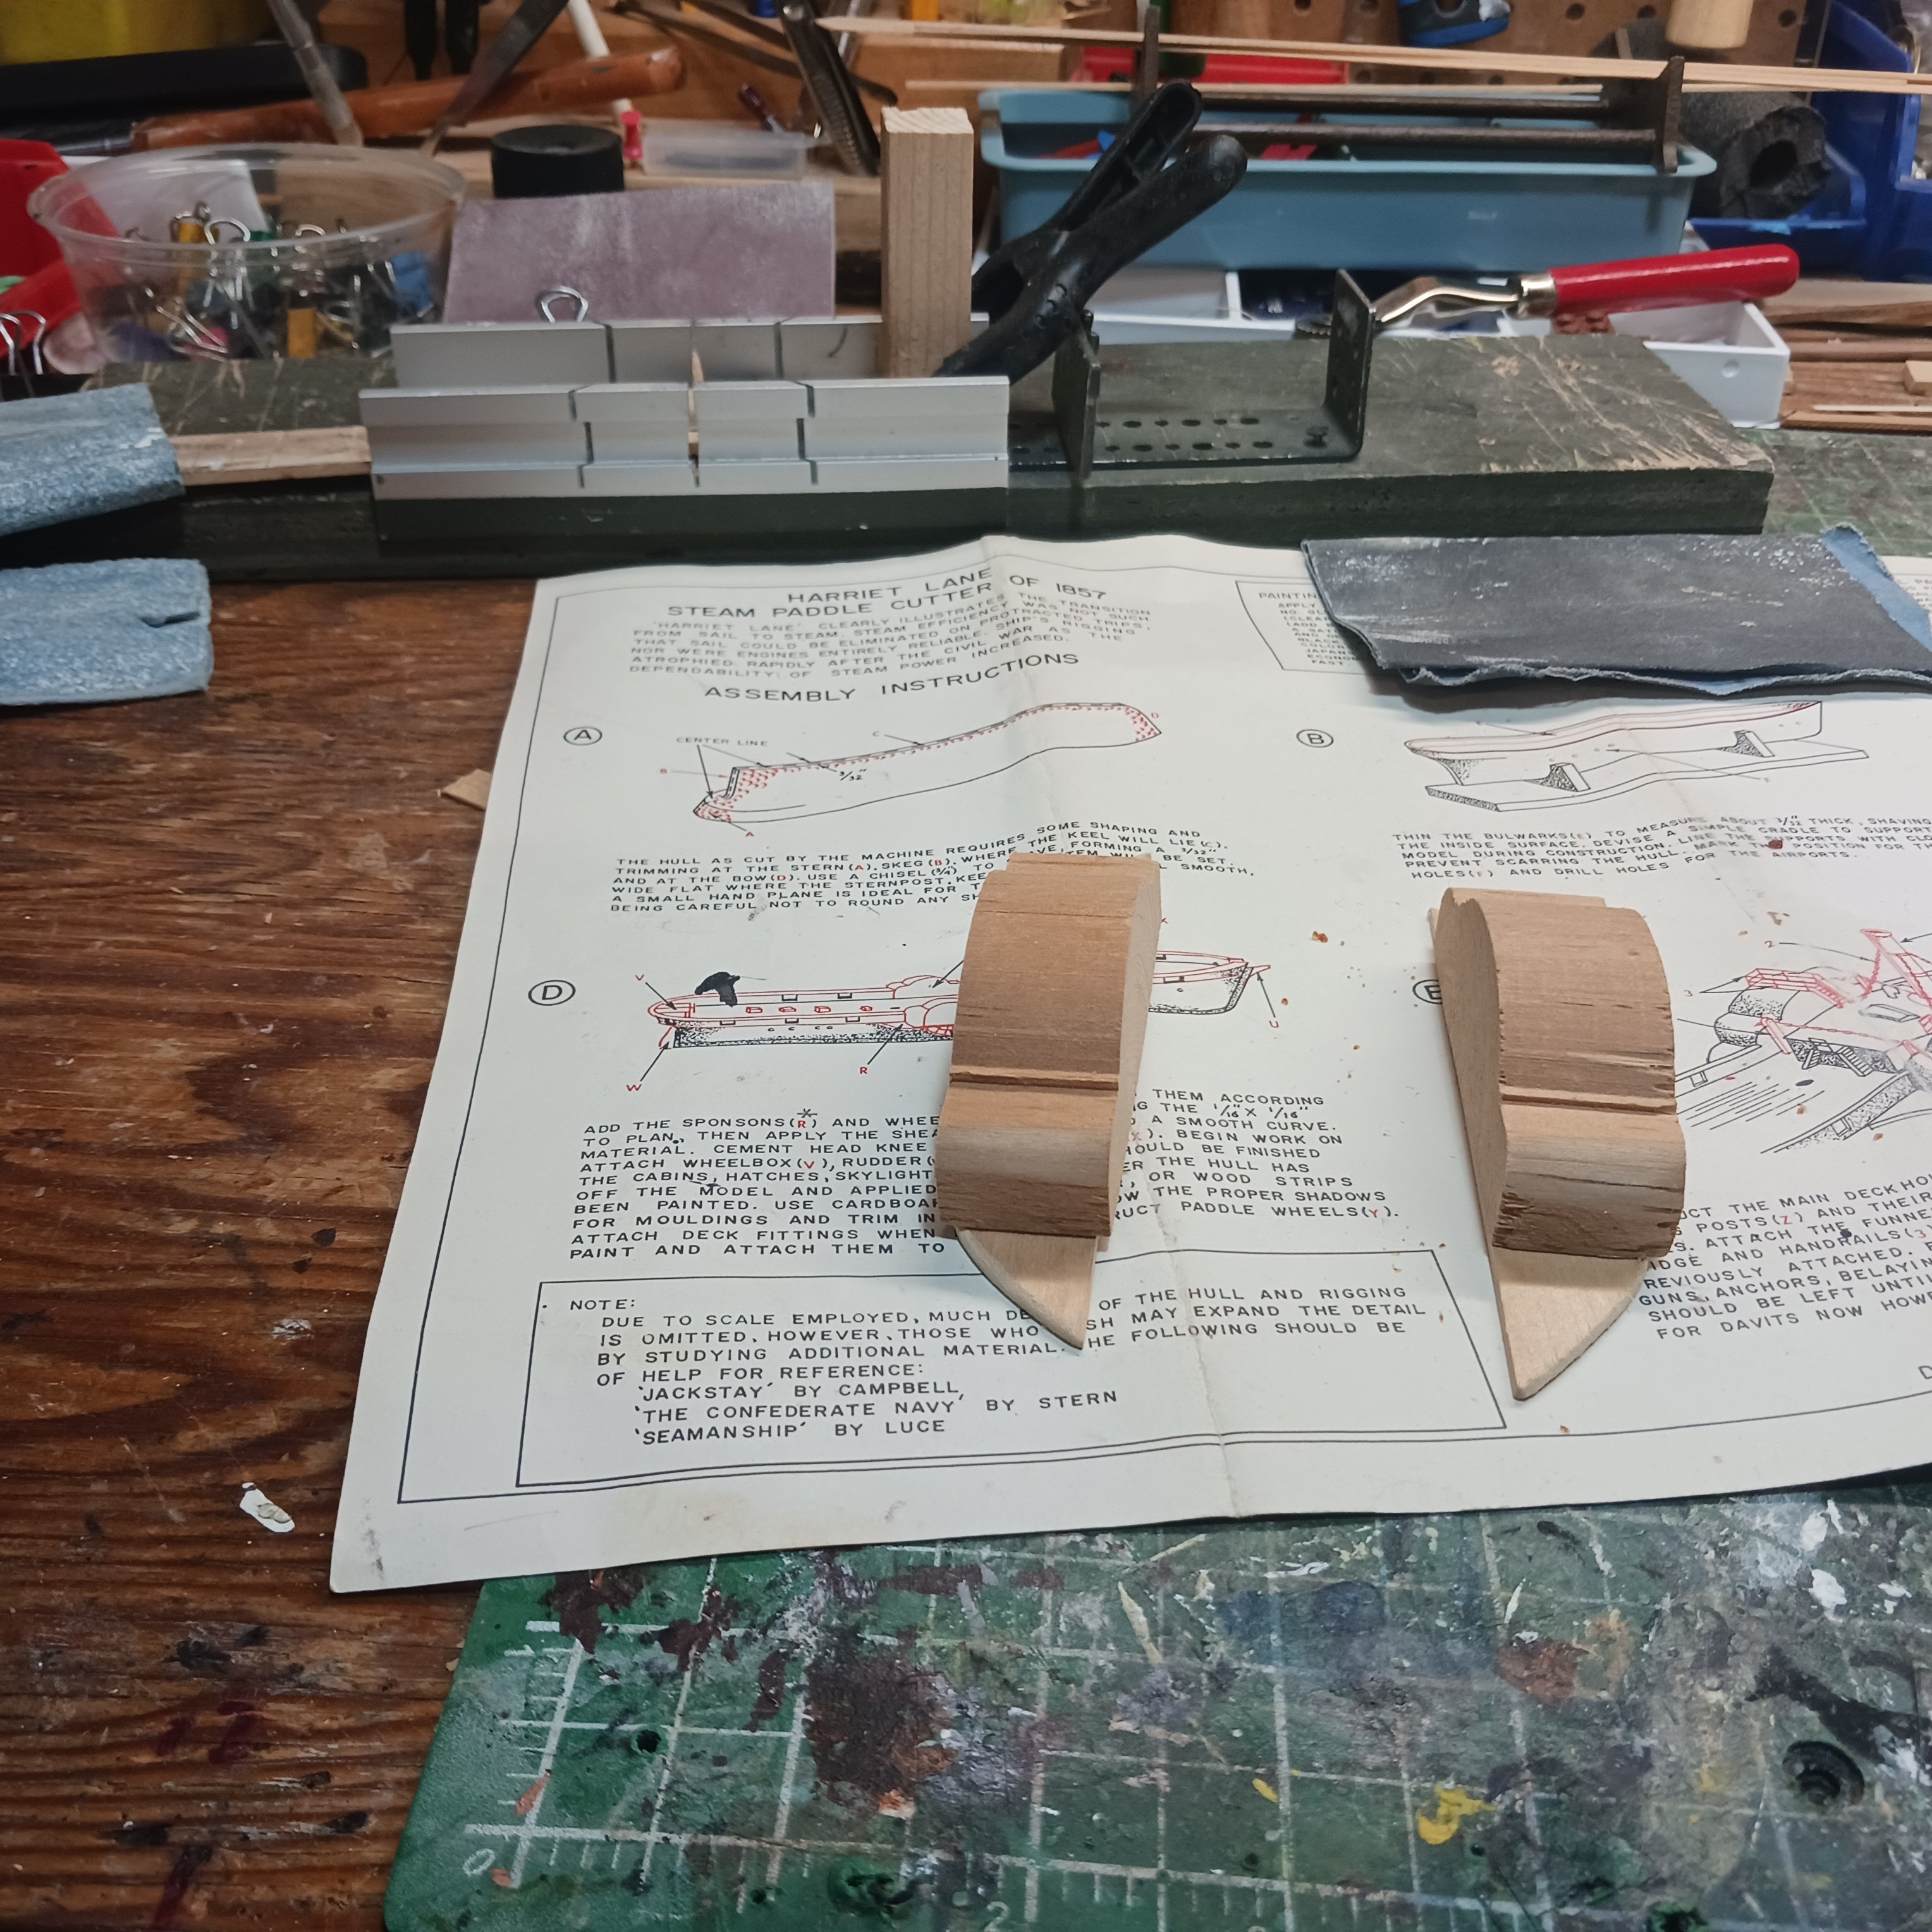
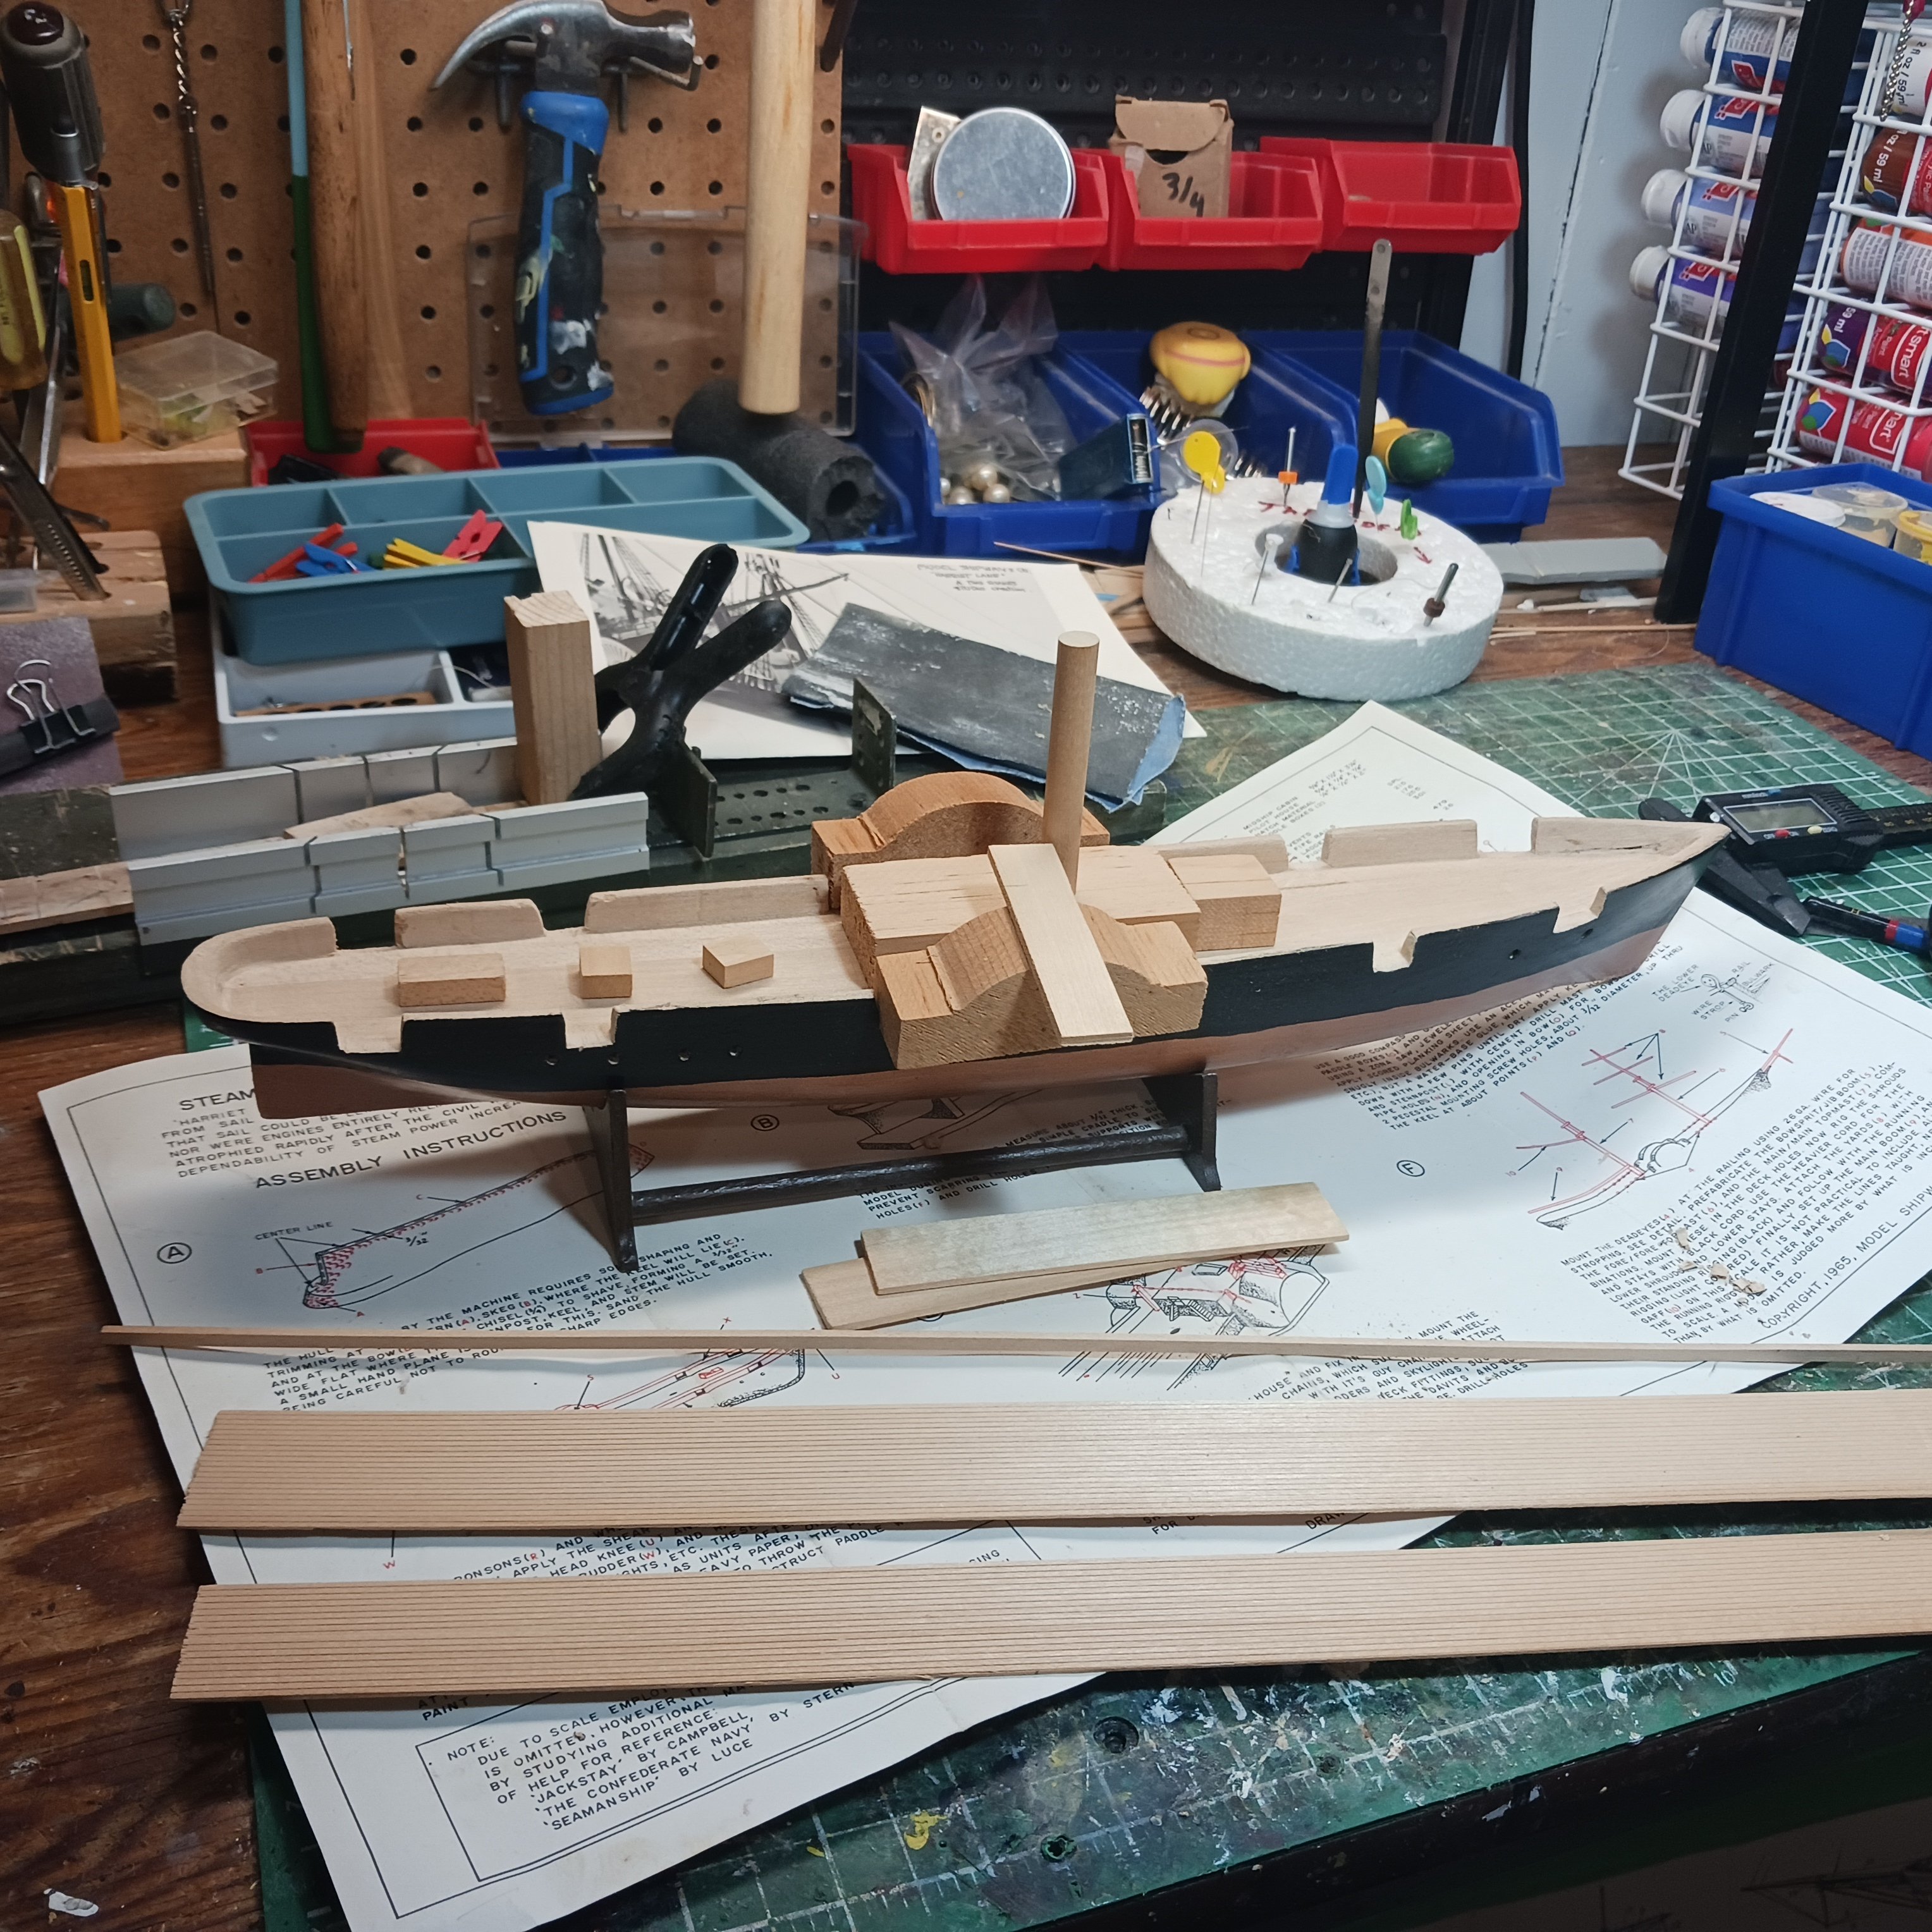
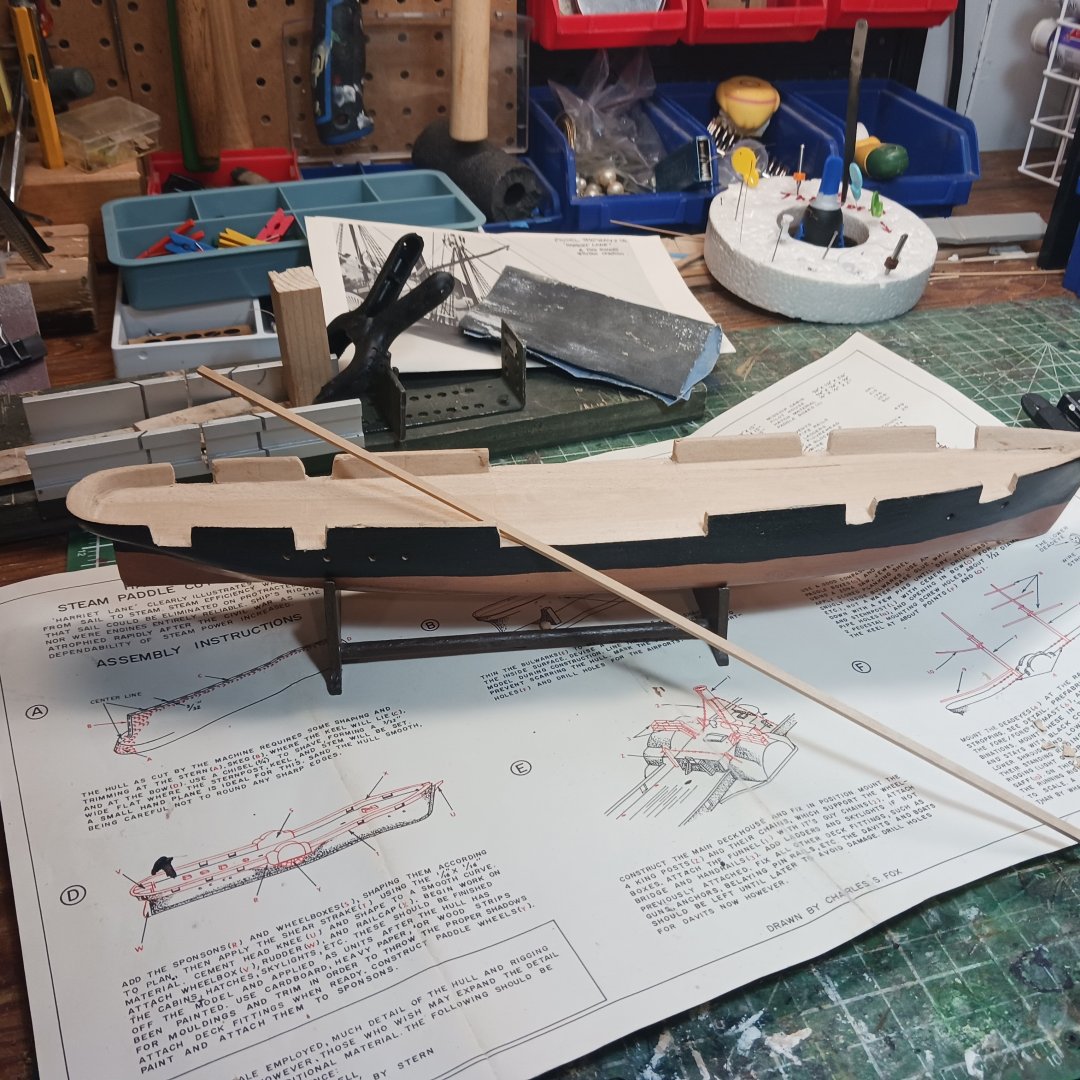
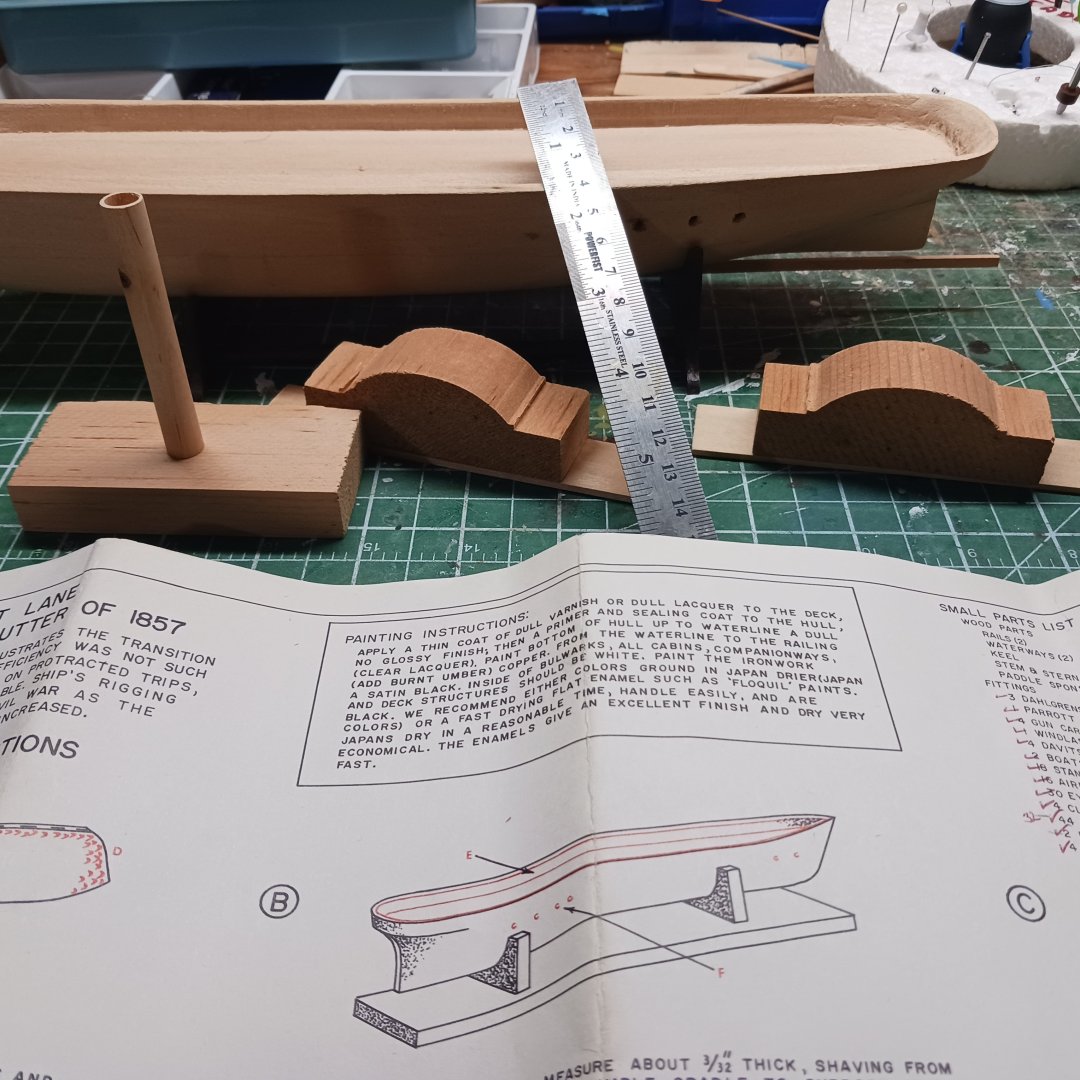
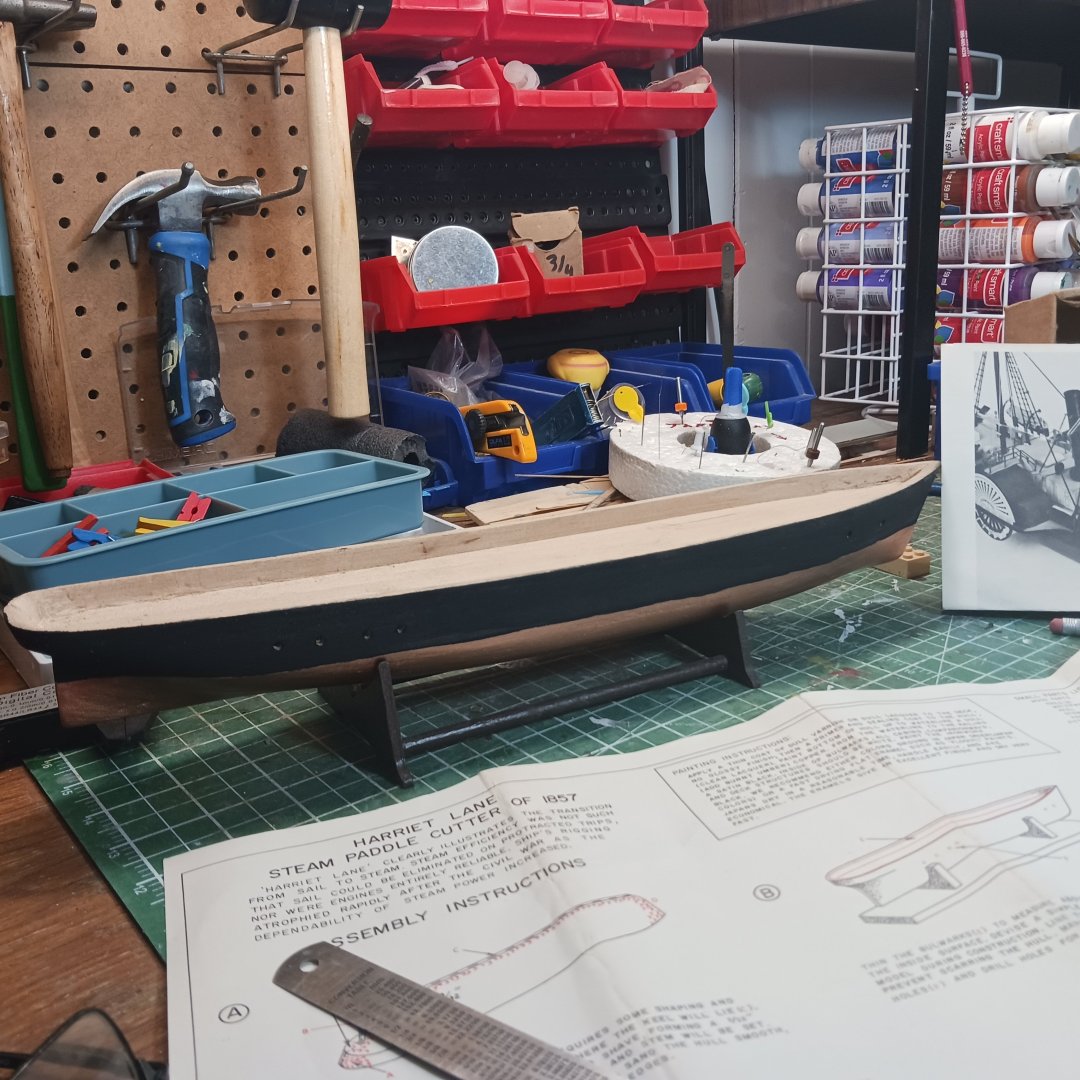
Thanks @Snug Harbor Johnny, I had that in mind, the First Mate has one for her sewing, befor I put the final coat of paint on I will do that. It is a pretty small surface so it should look good to all who see it lol. Taking the measurements off the plan I hope they are in the right stop, I cut it all. Now its time to install the keel, then I will work on the wheel box and the pilot house and the stack, thats it on top of the wheel house lol. The decks look ok , I have a plan for the decks but I need to check some logs first to see ifI can do that. Research, the HL, was 180 feet length and 30 feet wide. It had three 9 inches cannons and a 30 lbs Rifle. Also it was black and white. The USCG used this ship in its first formation of the coast gaurds, I think, 🤔, more research needed lol. Having way to much fun in the ship yard today, it must be the Christmas season, or the 300 clove hitches the USCG Harriet Lane has, Sponson , wheel box up next. Thanks for look in, on the little boat. Knocklouder
- 73 replies
-
- 11
-
-
- Steam Cutter
- Harriet Lane
- (and 2 more)
-
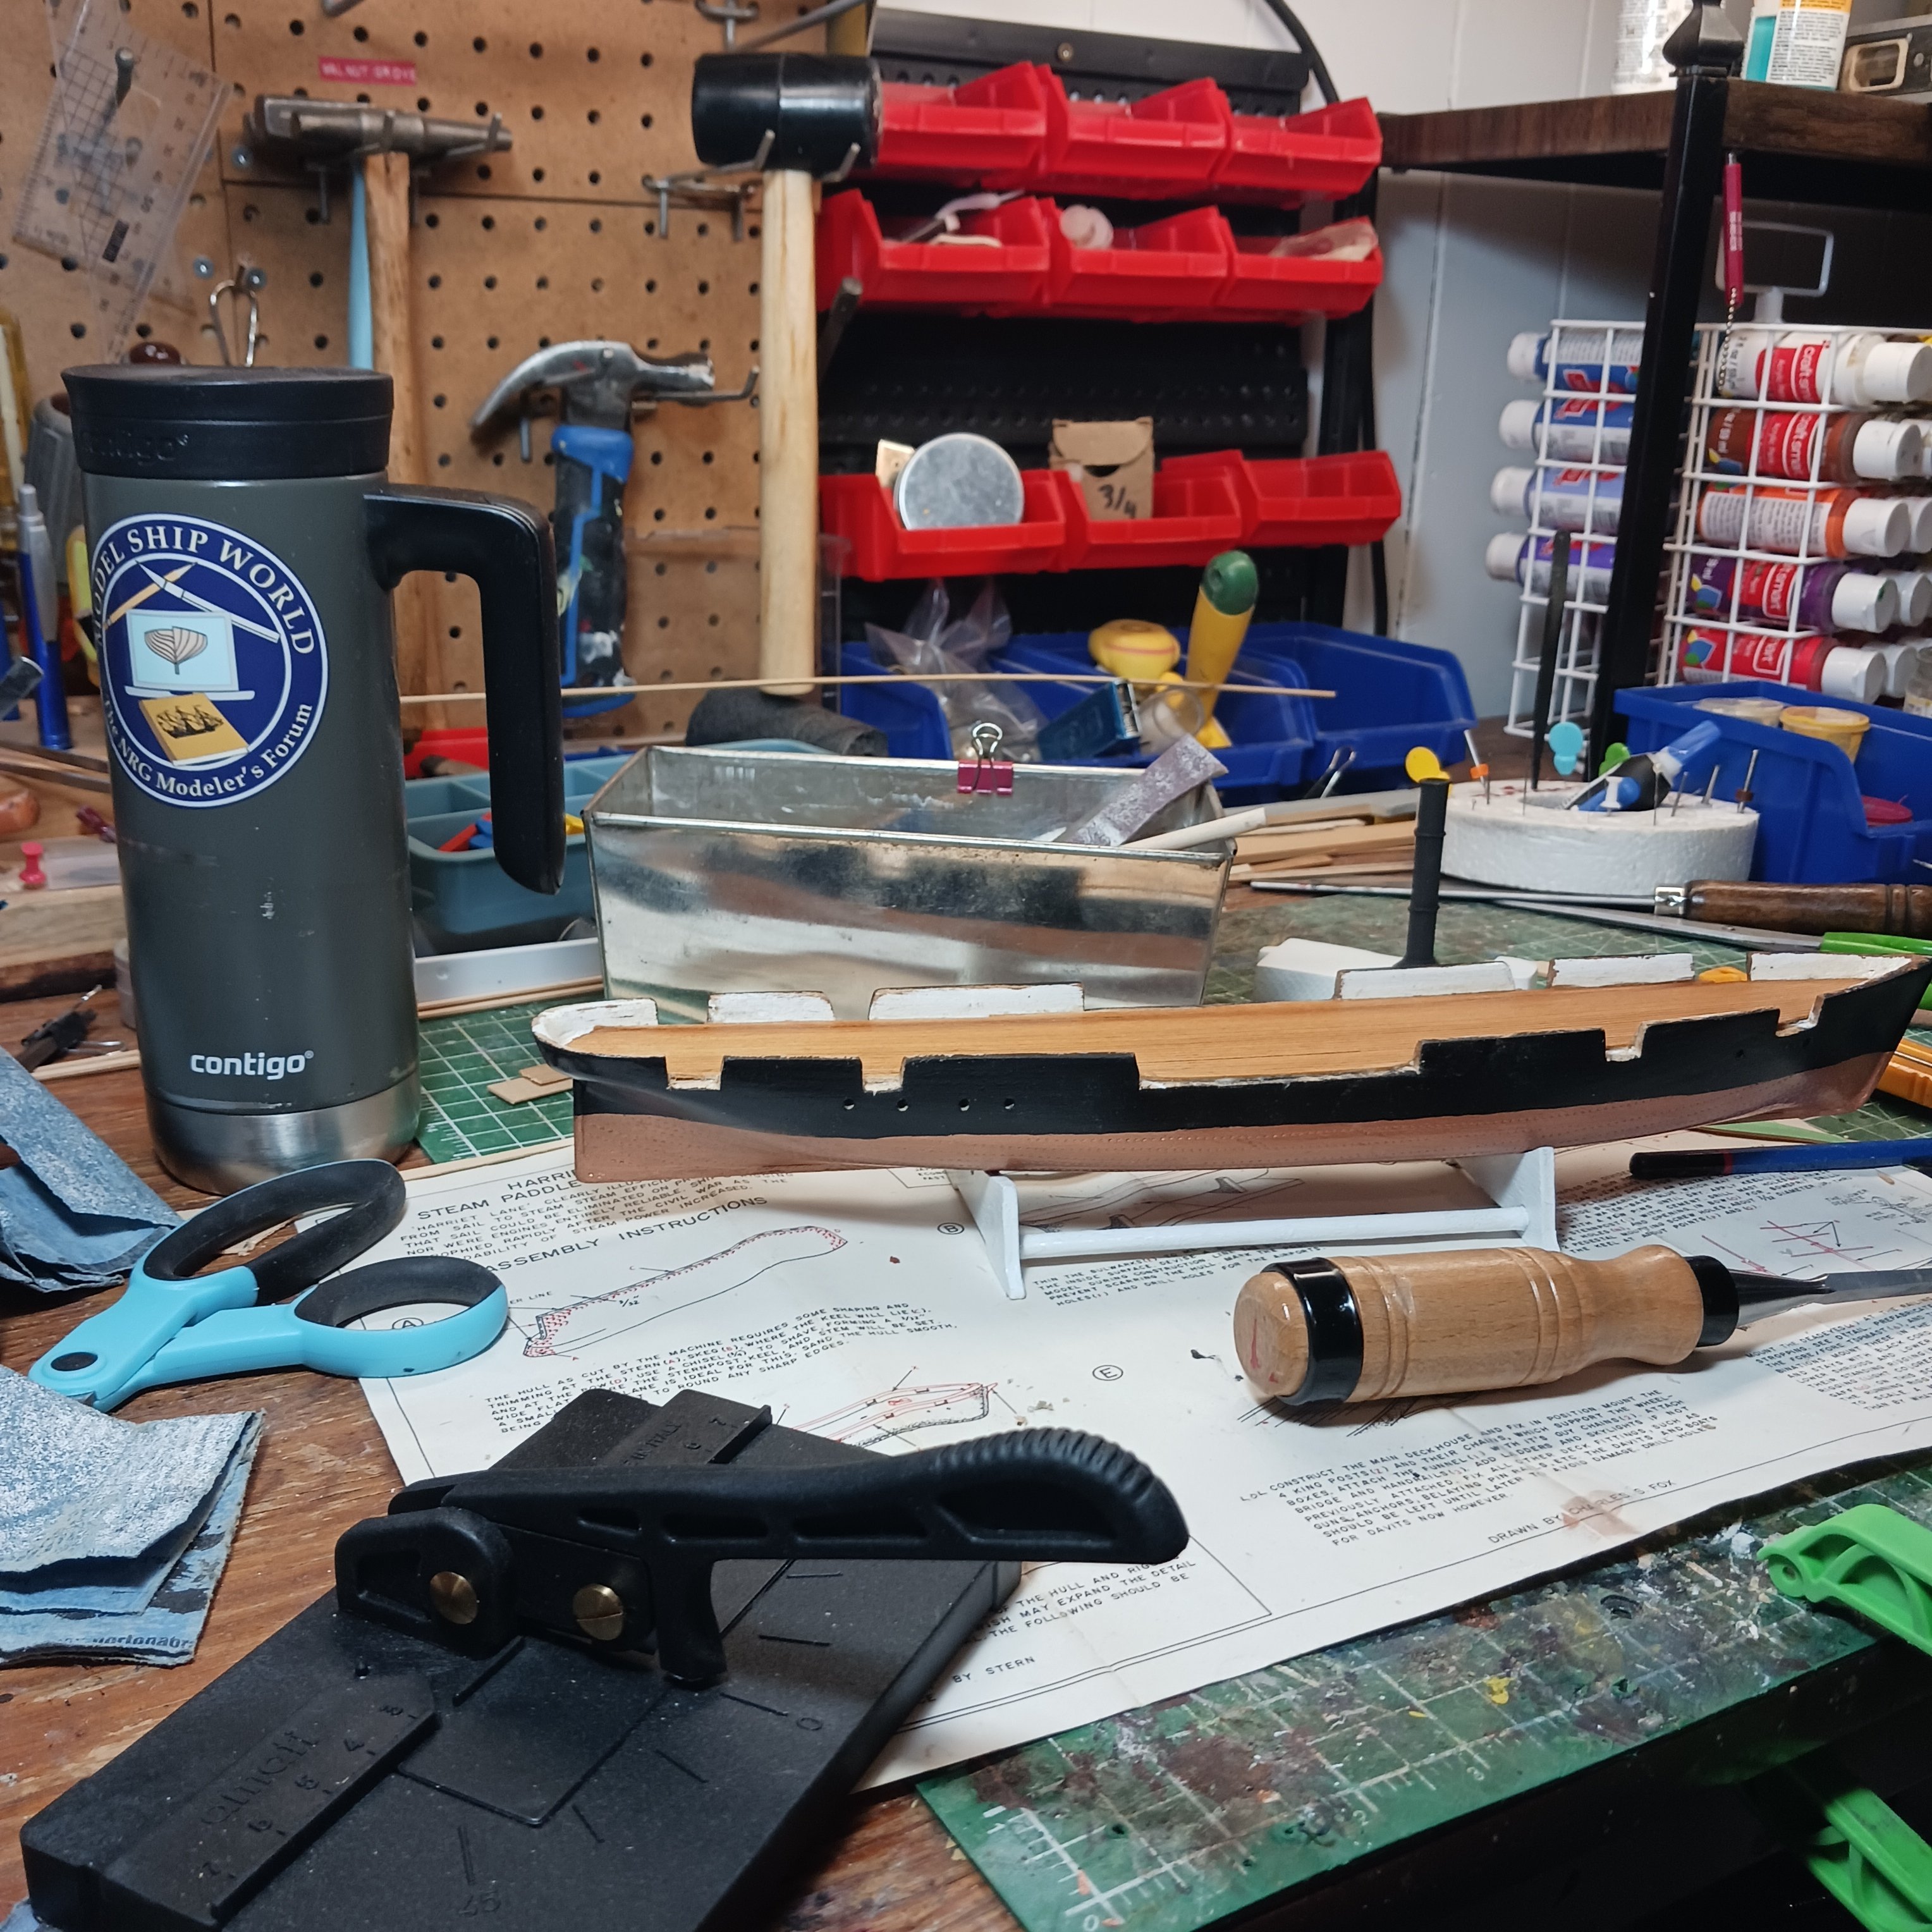
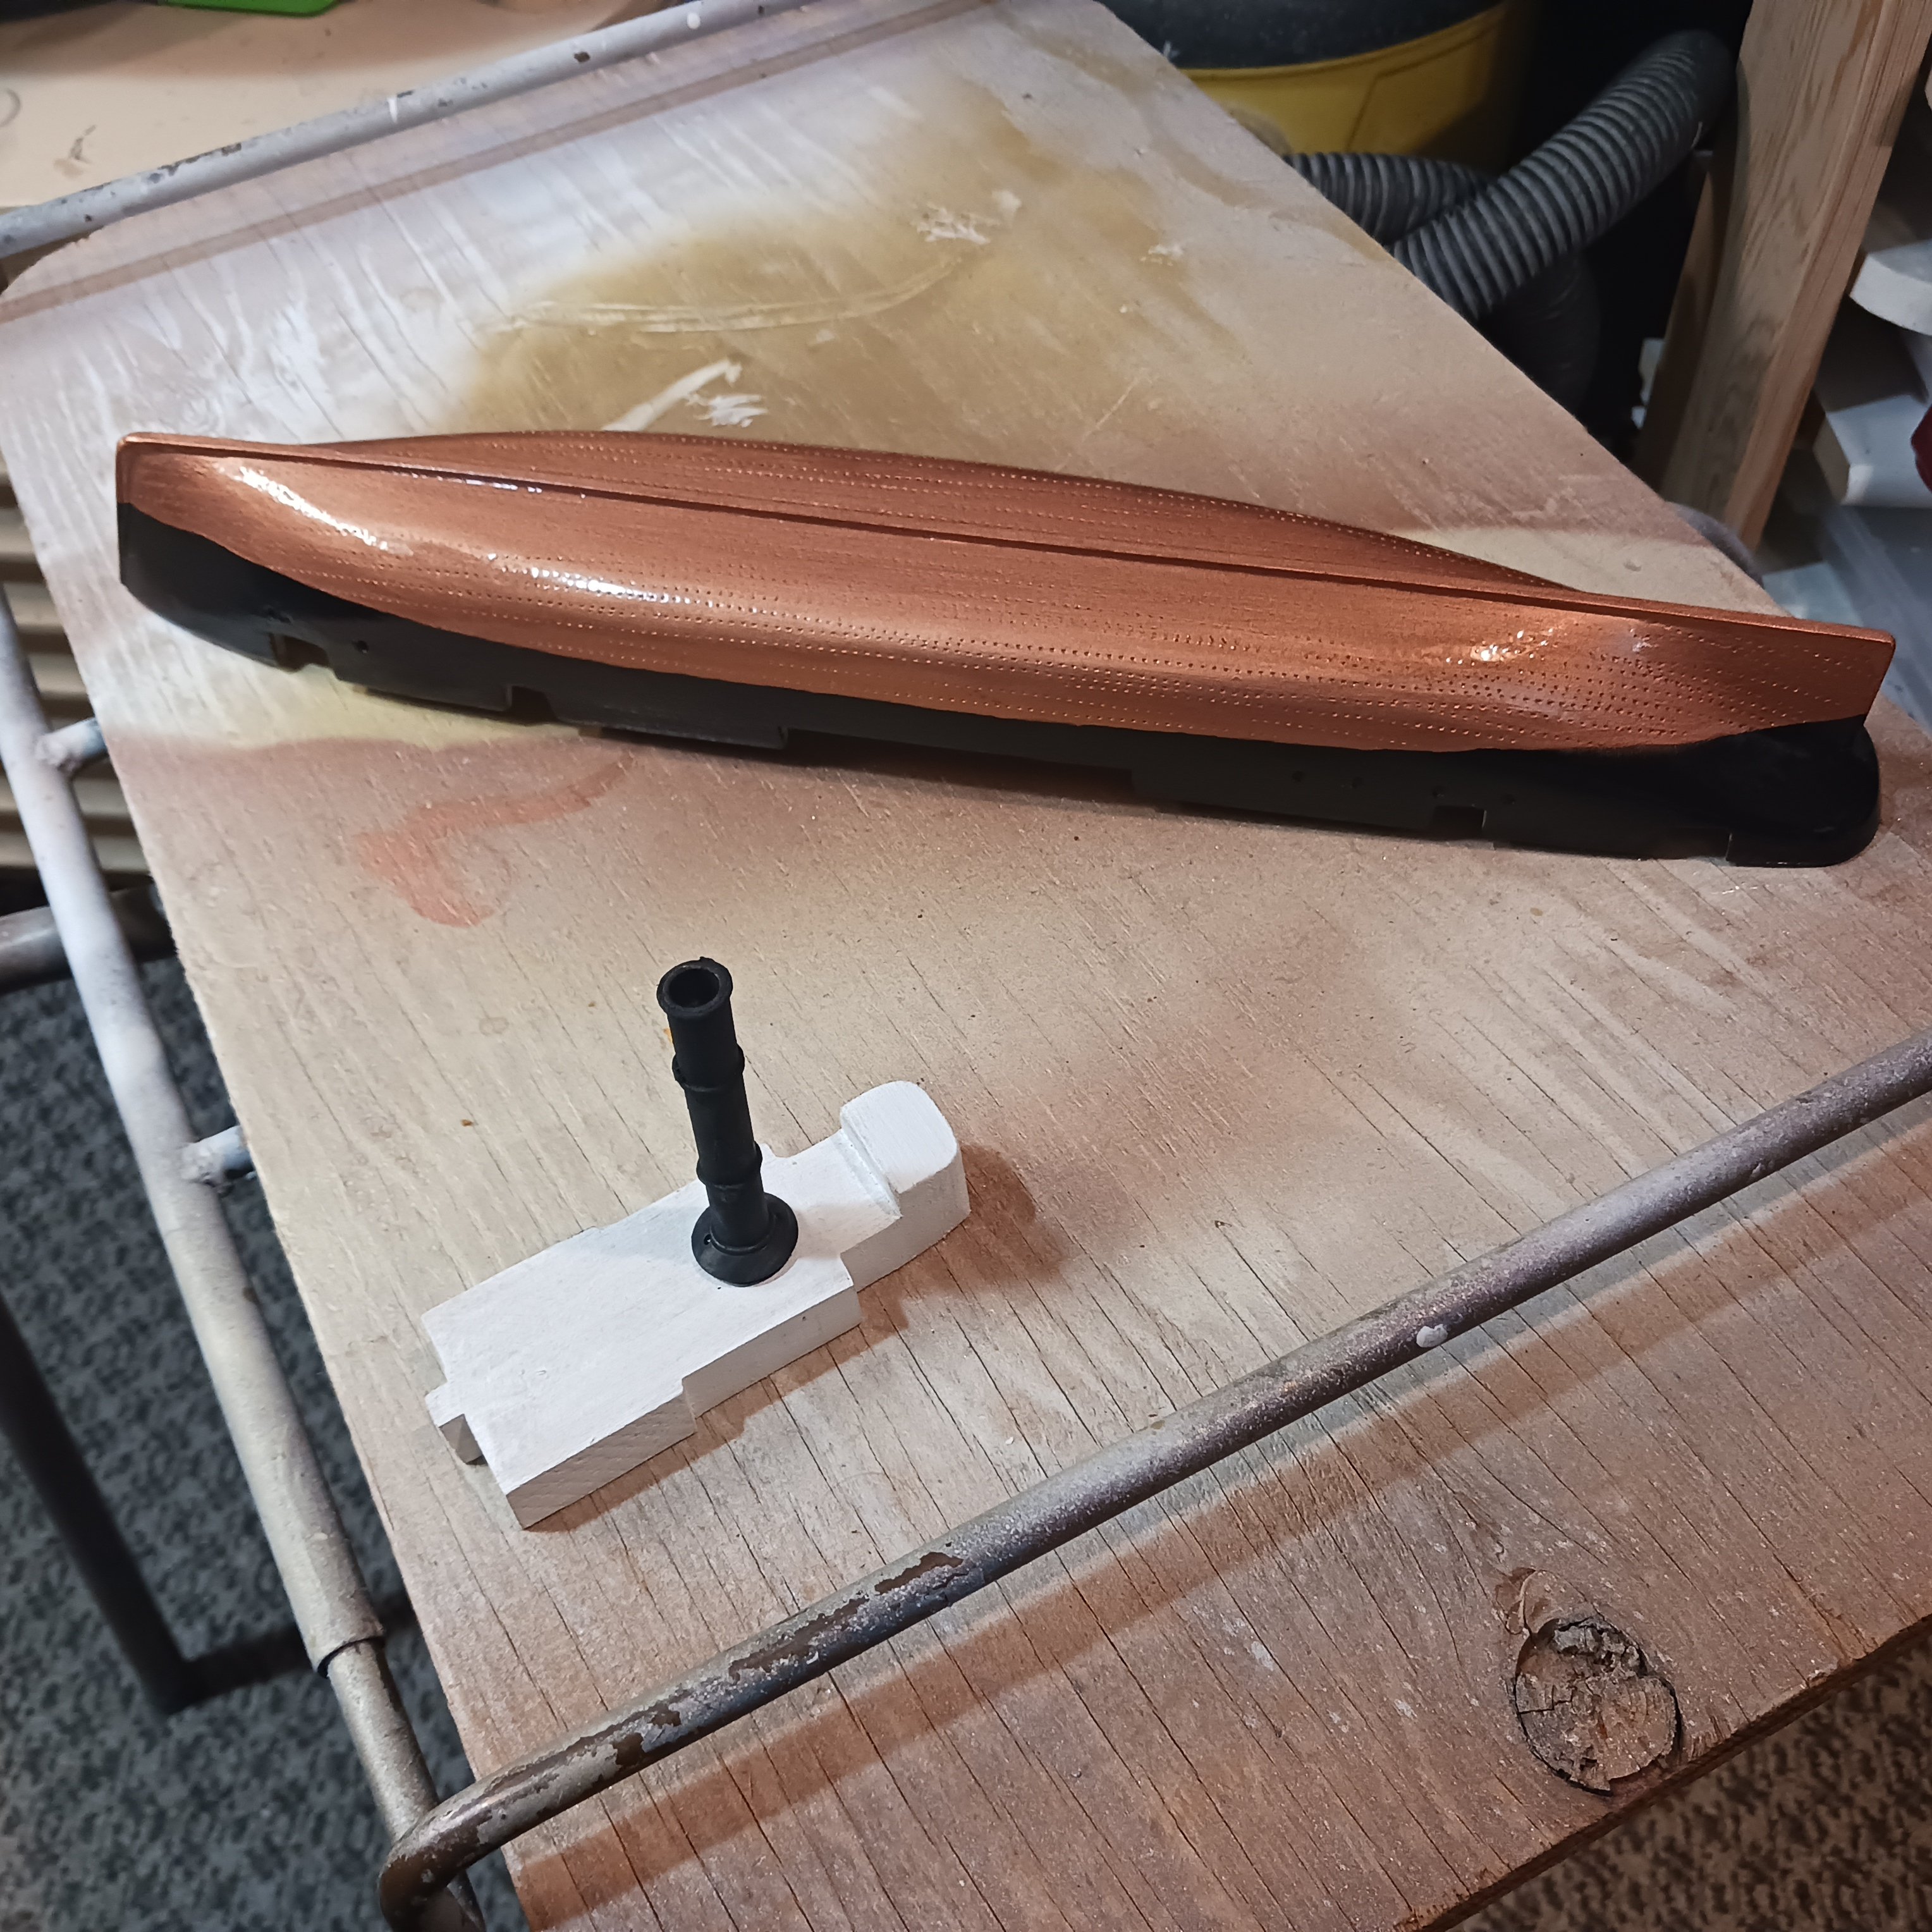
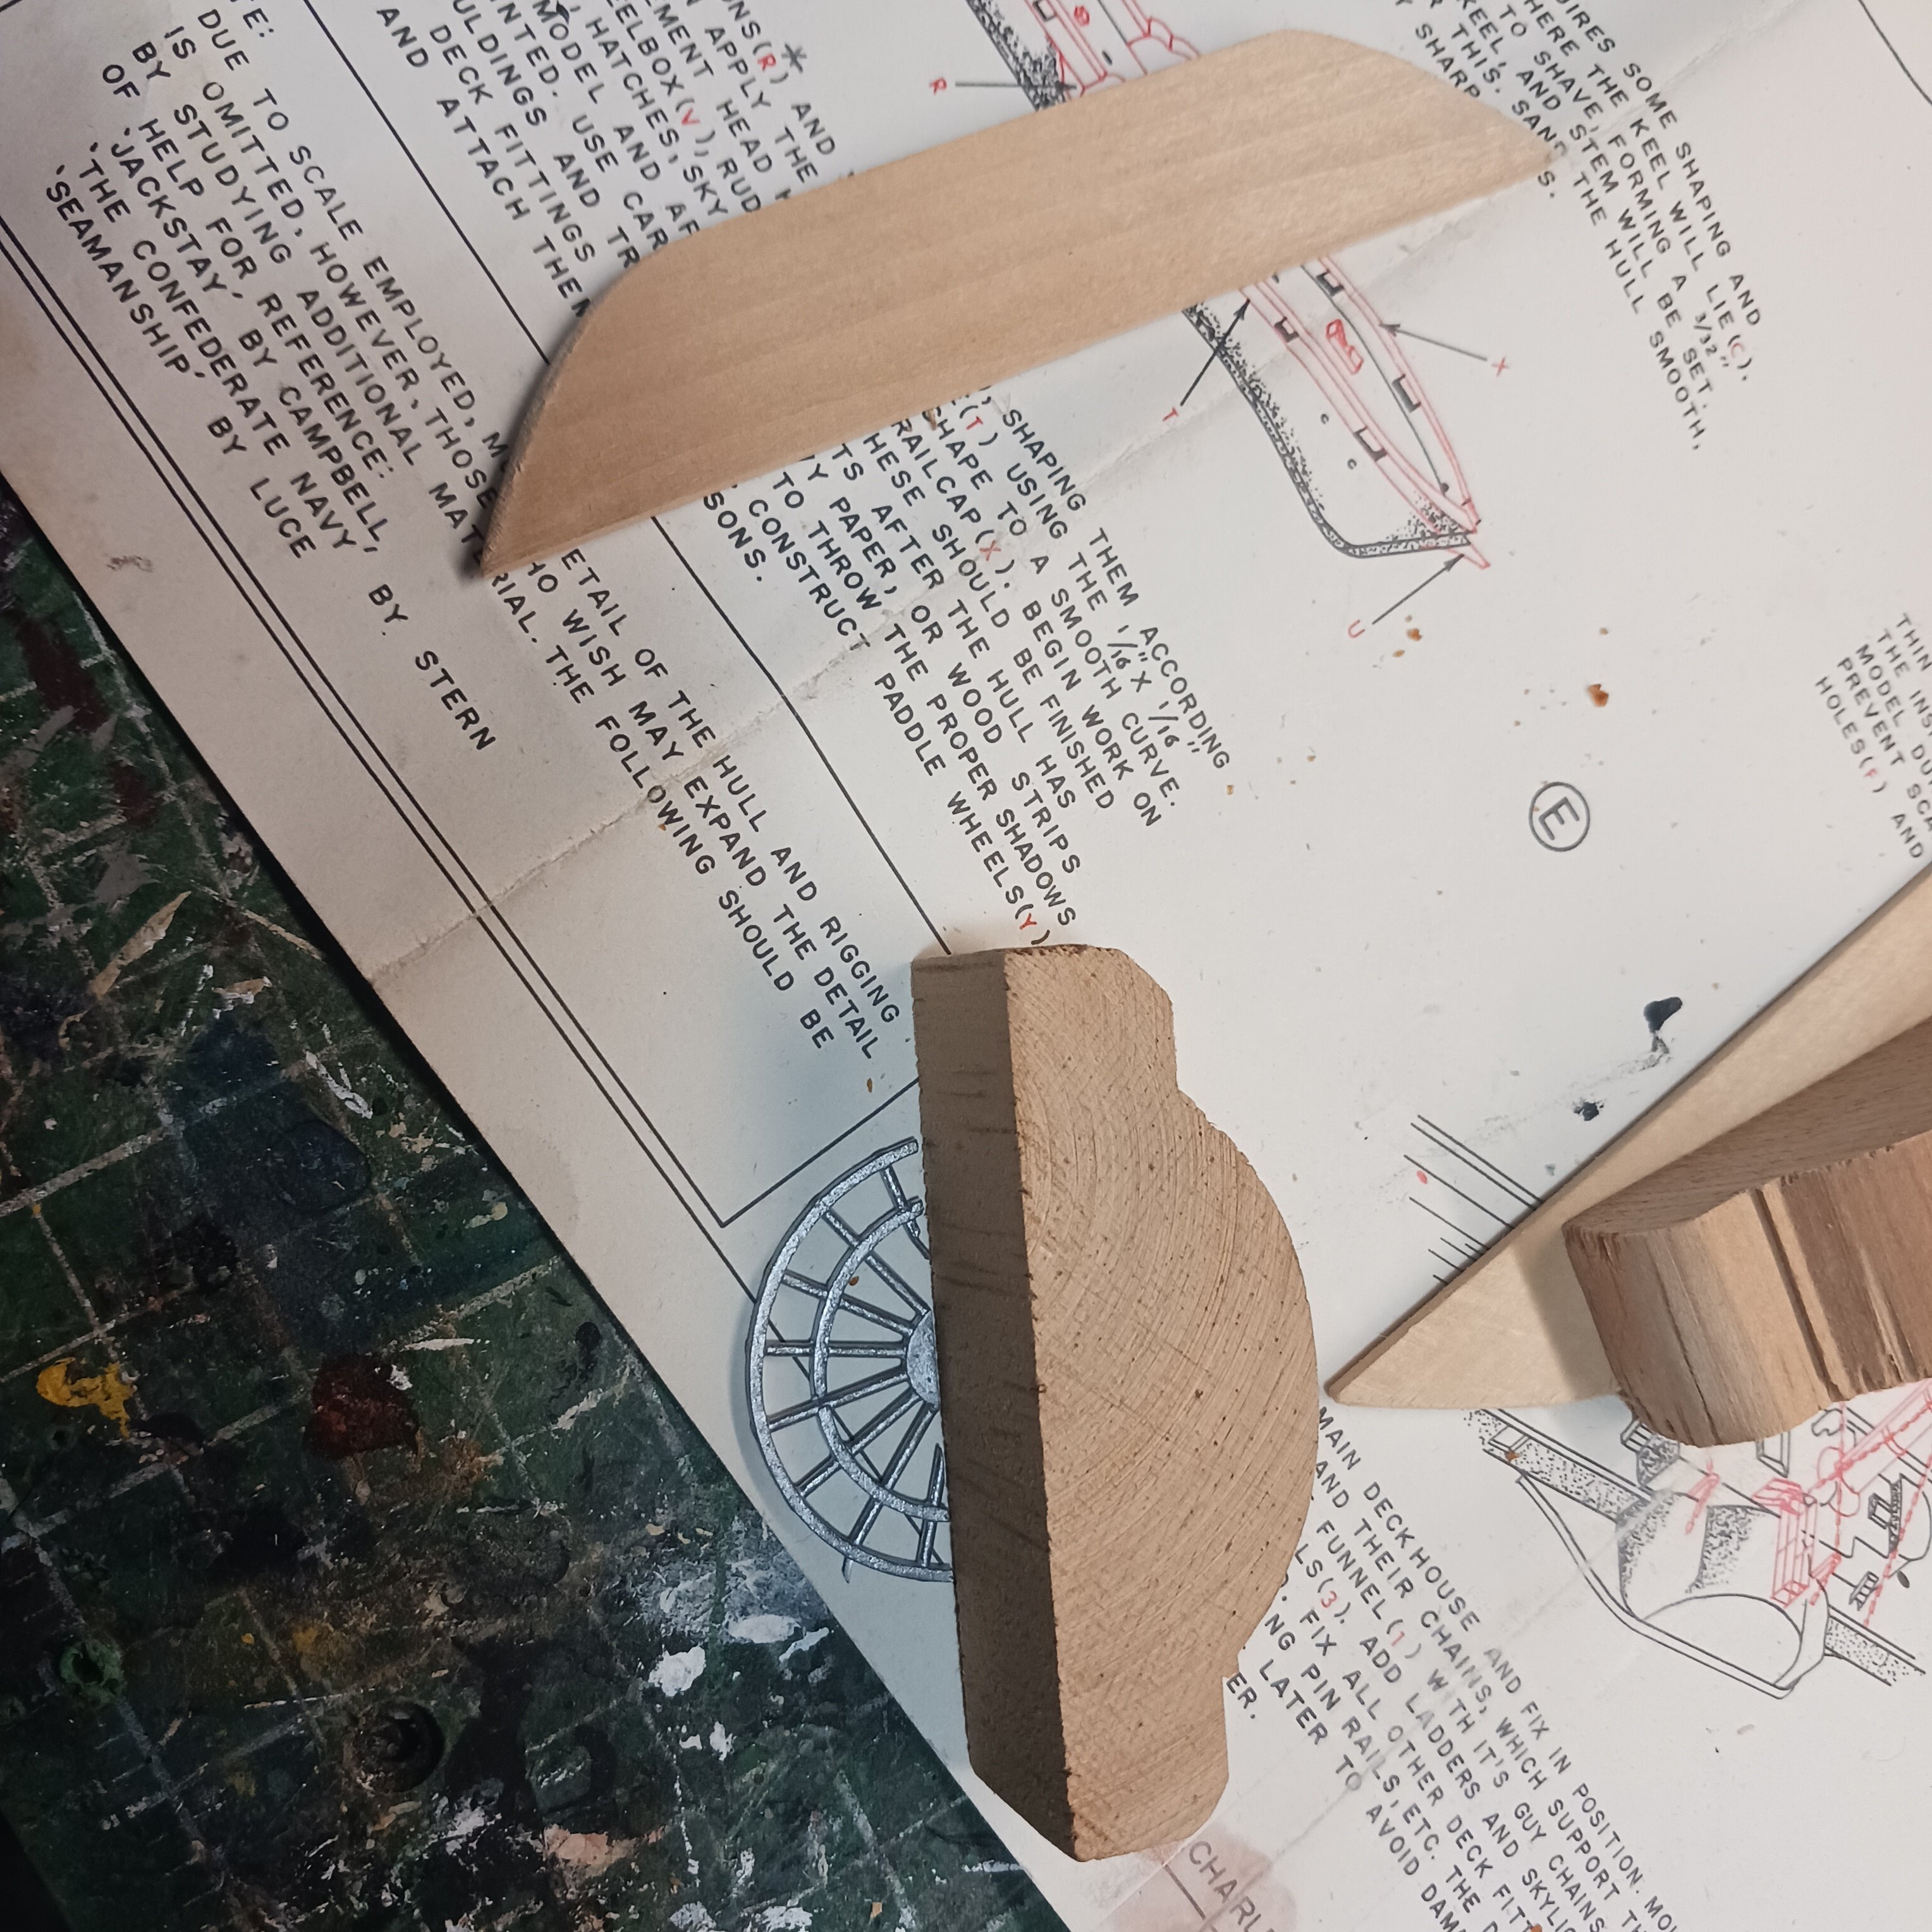
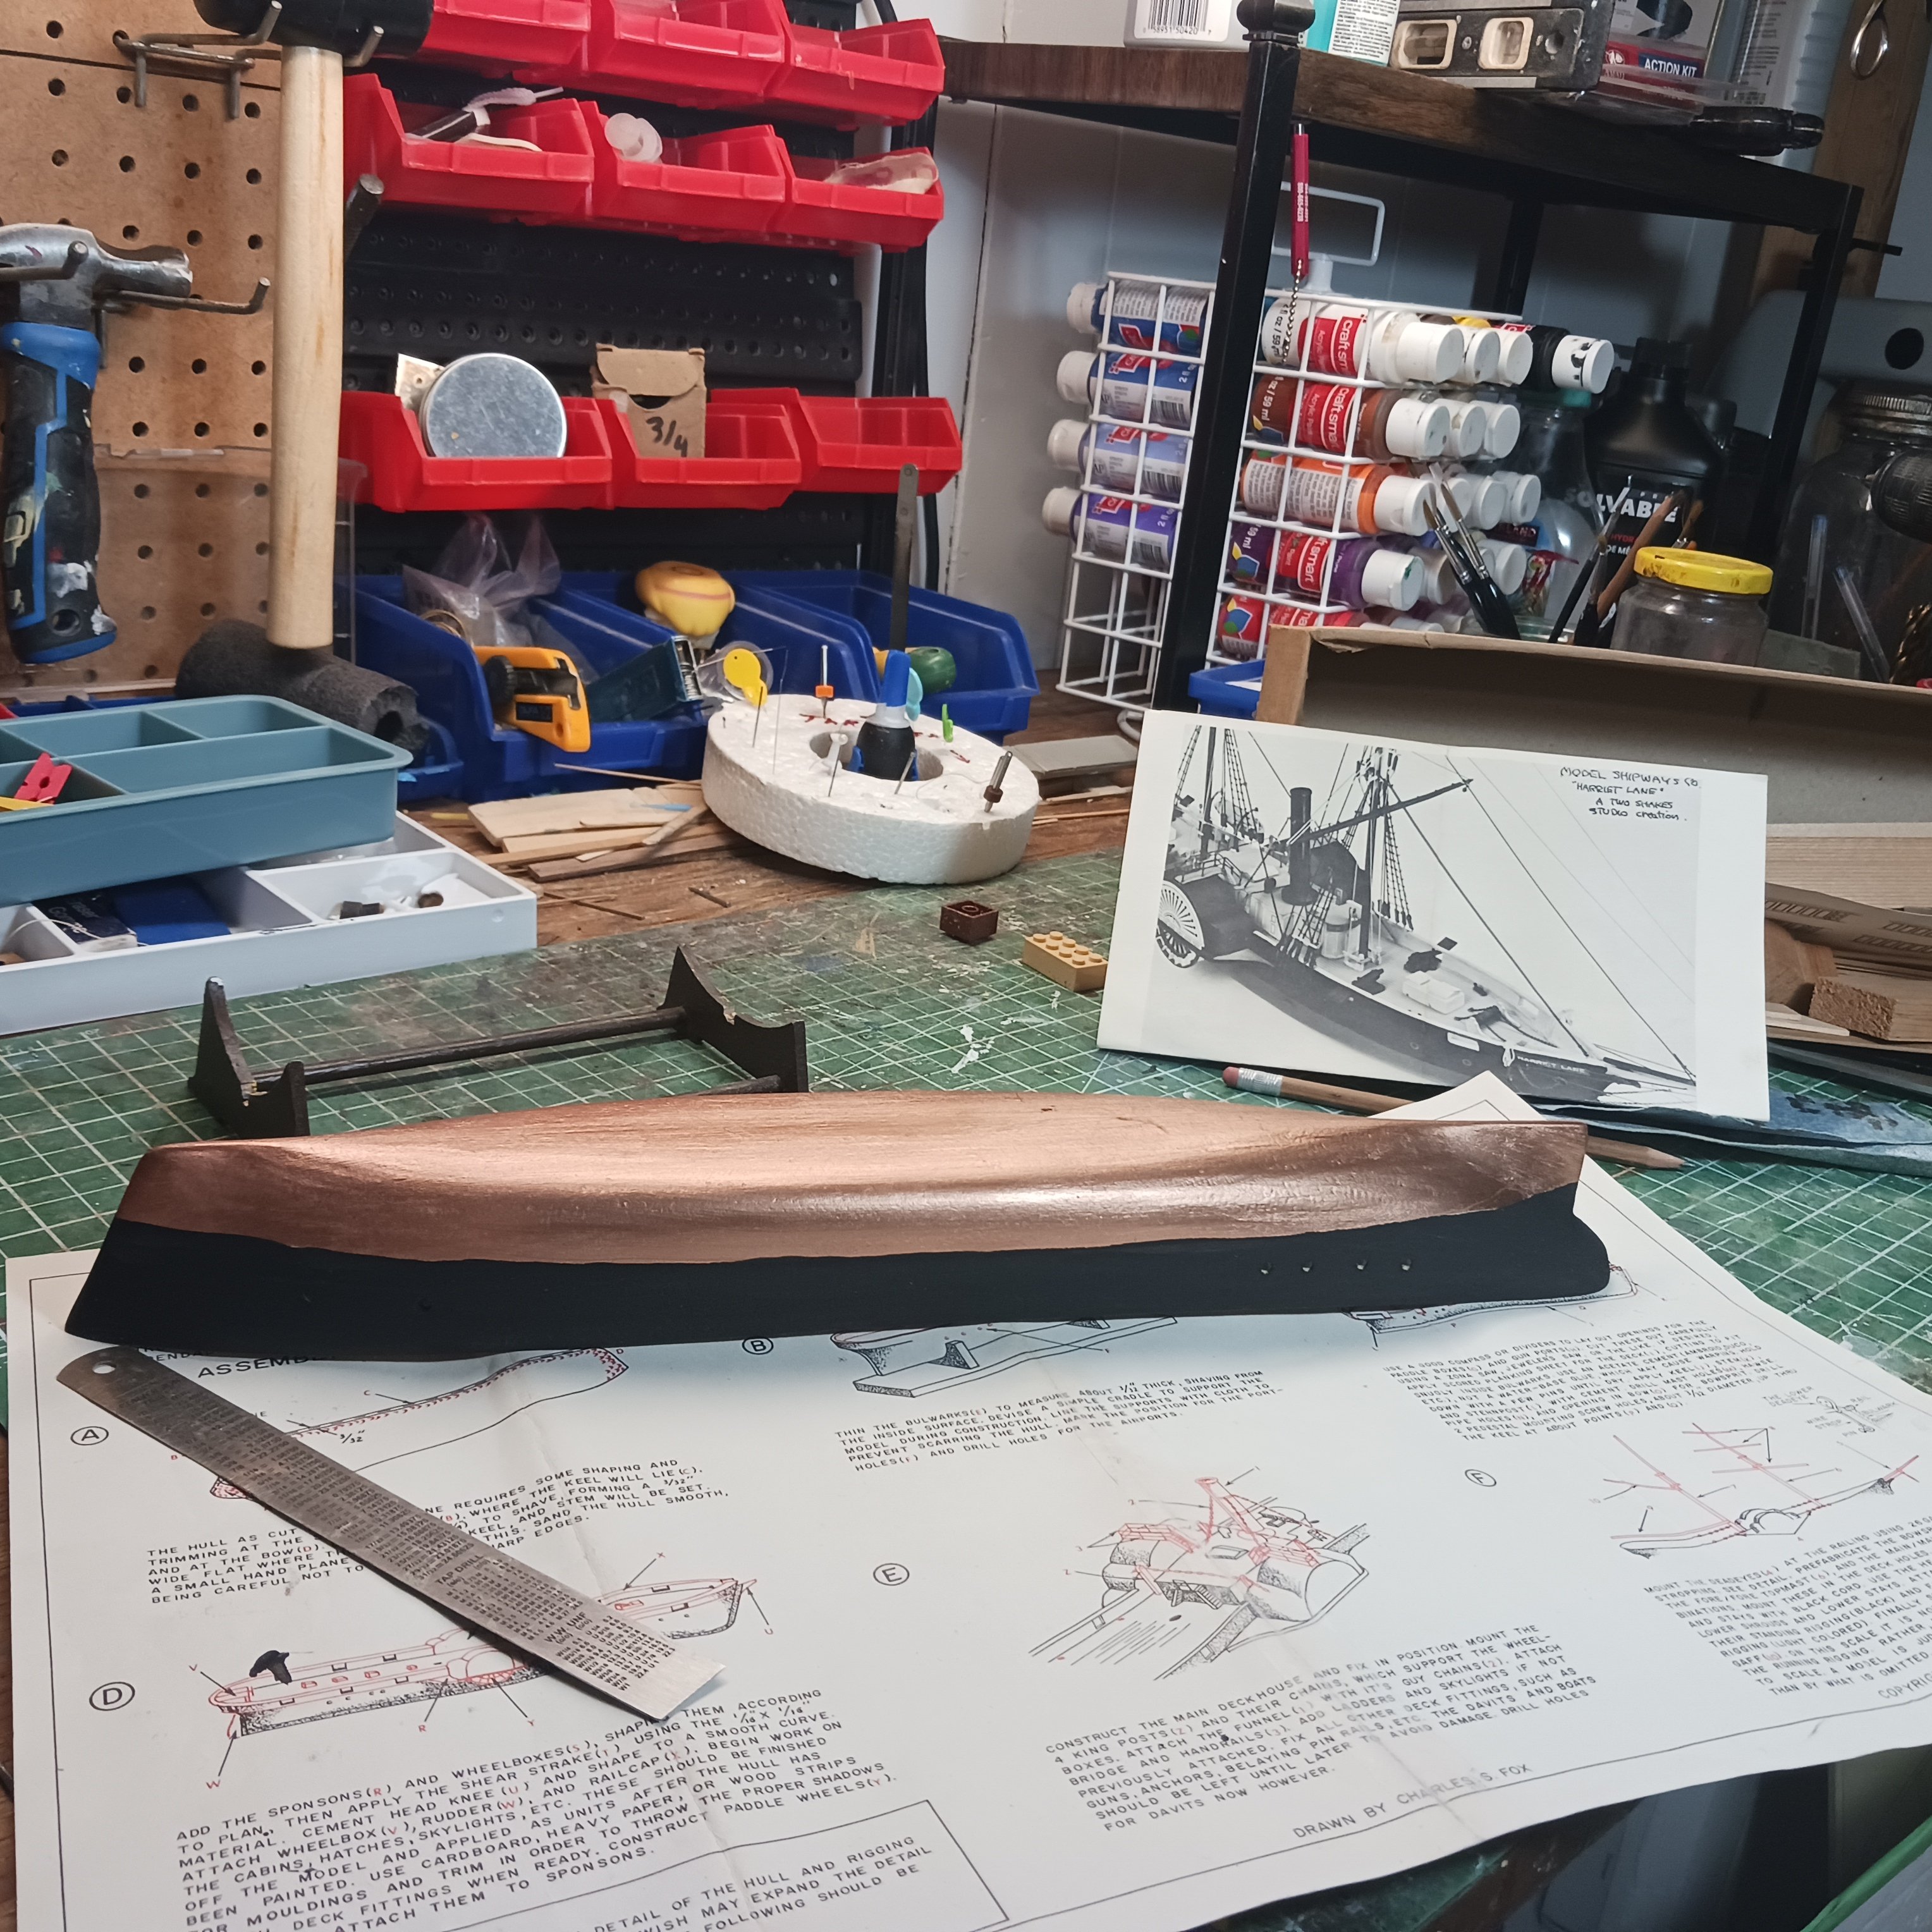
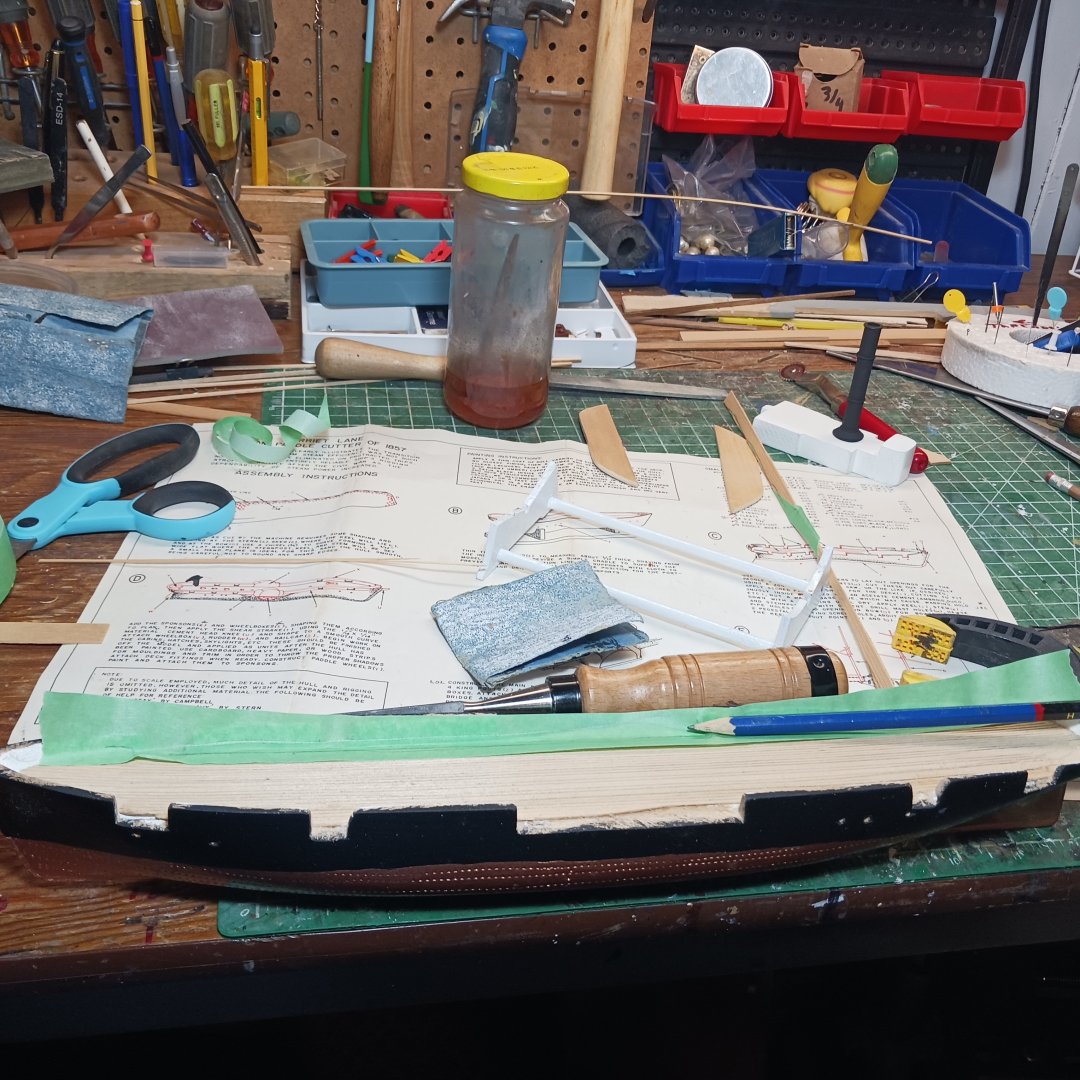
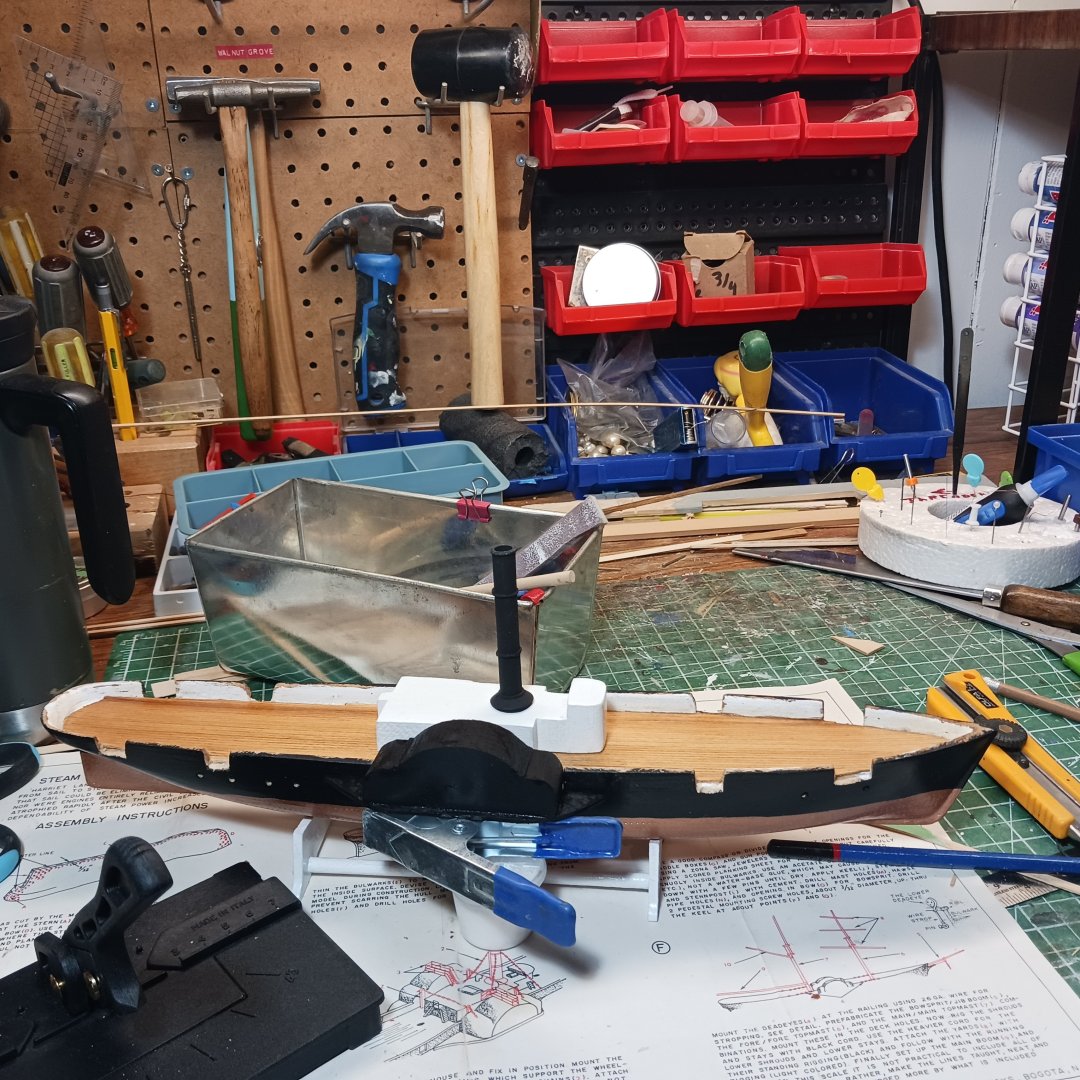
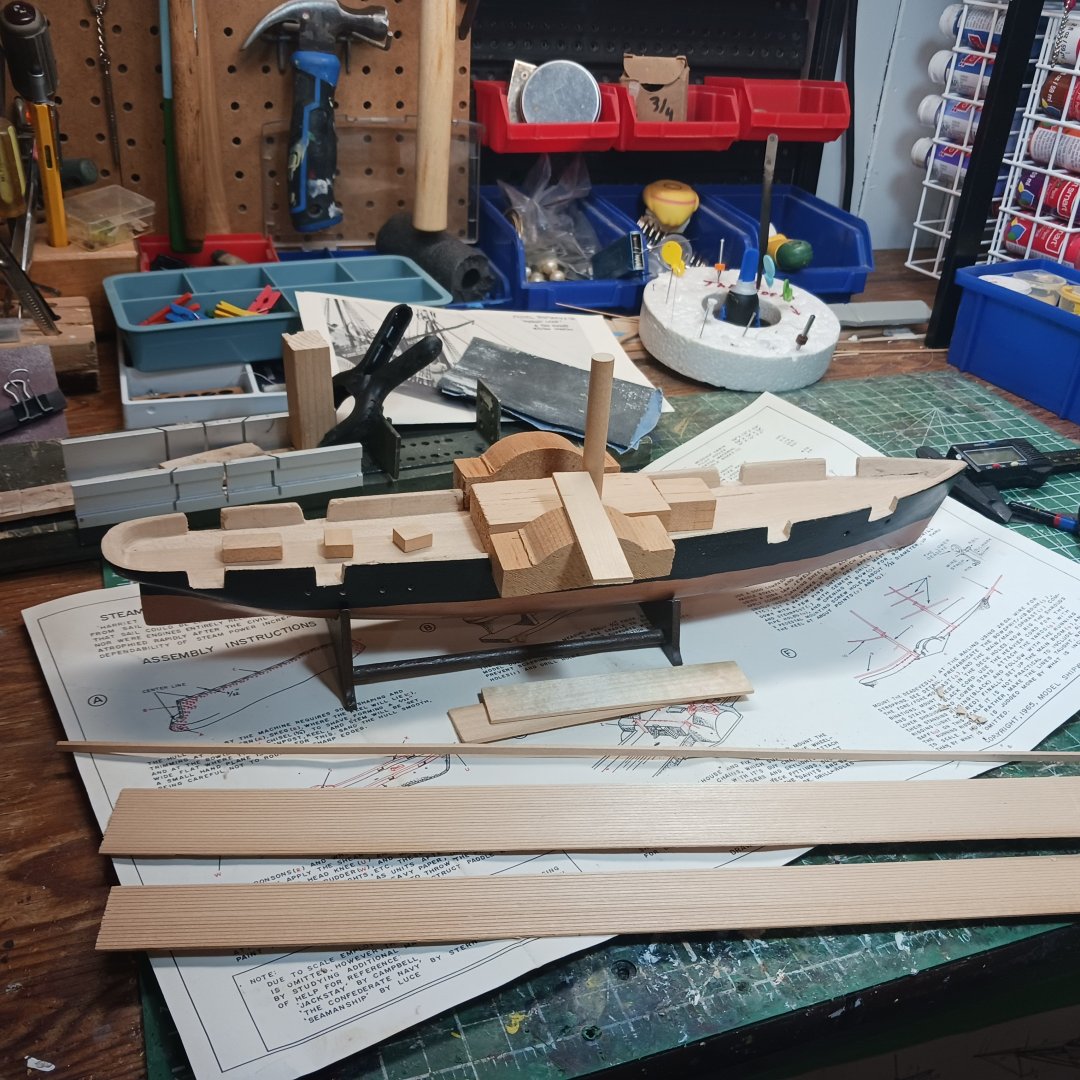
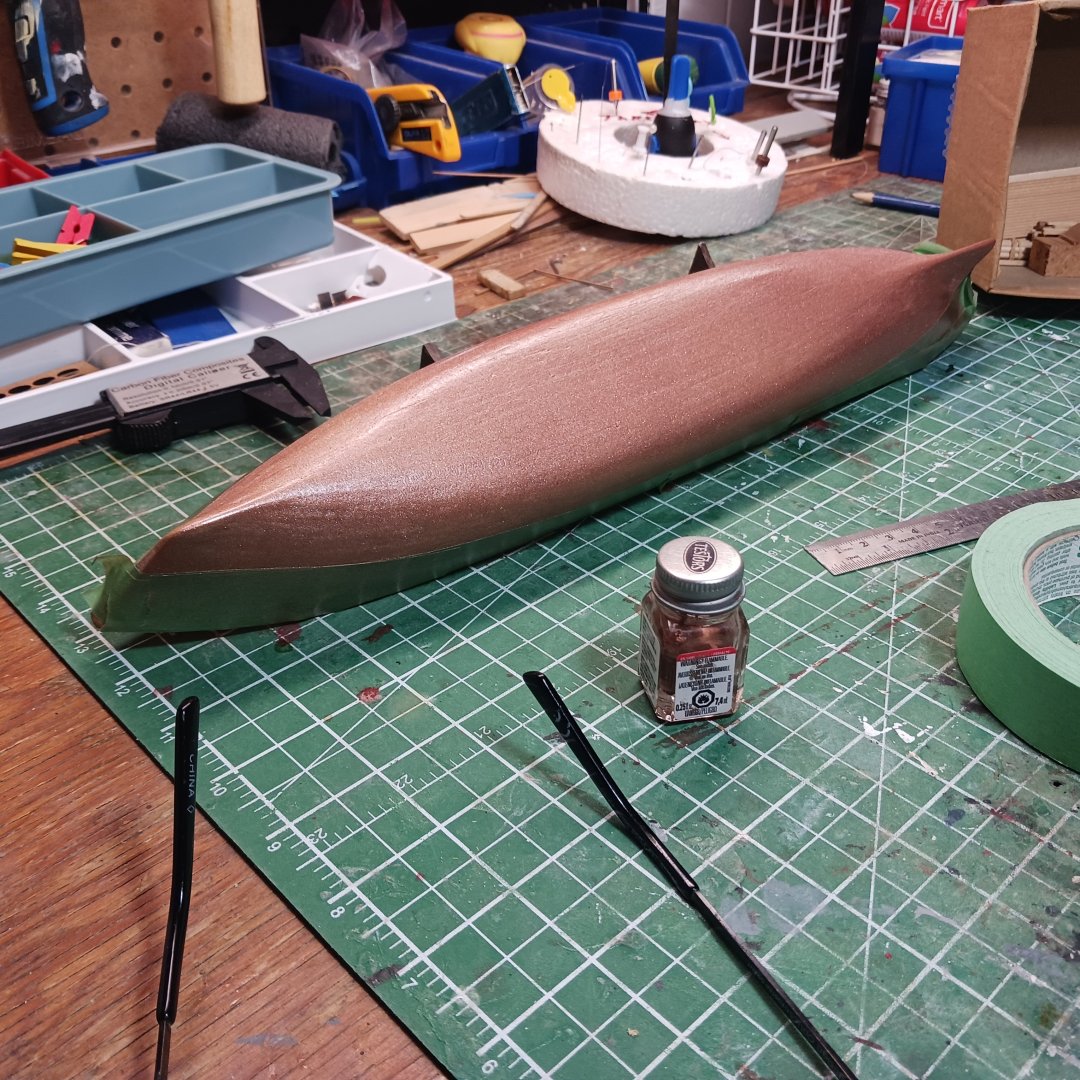
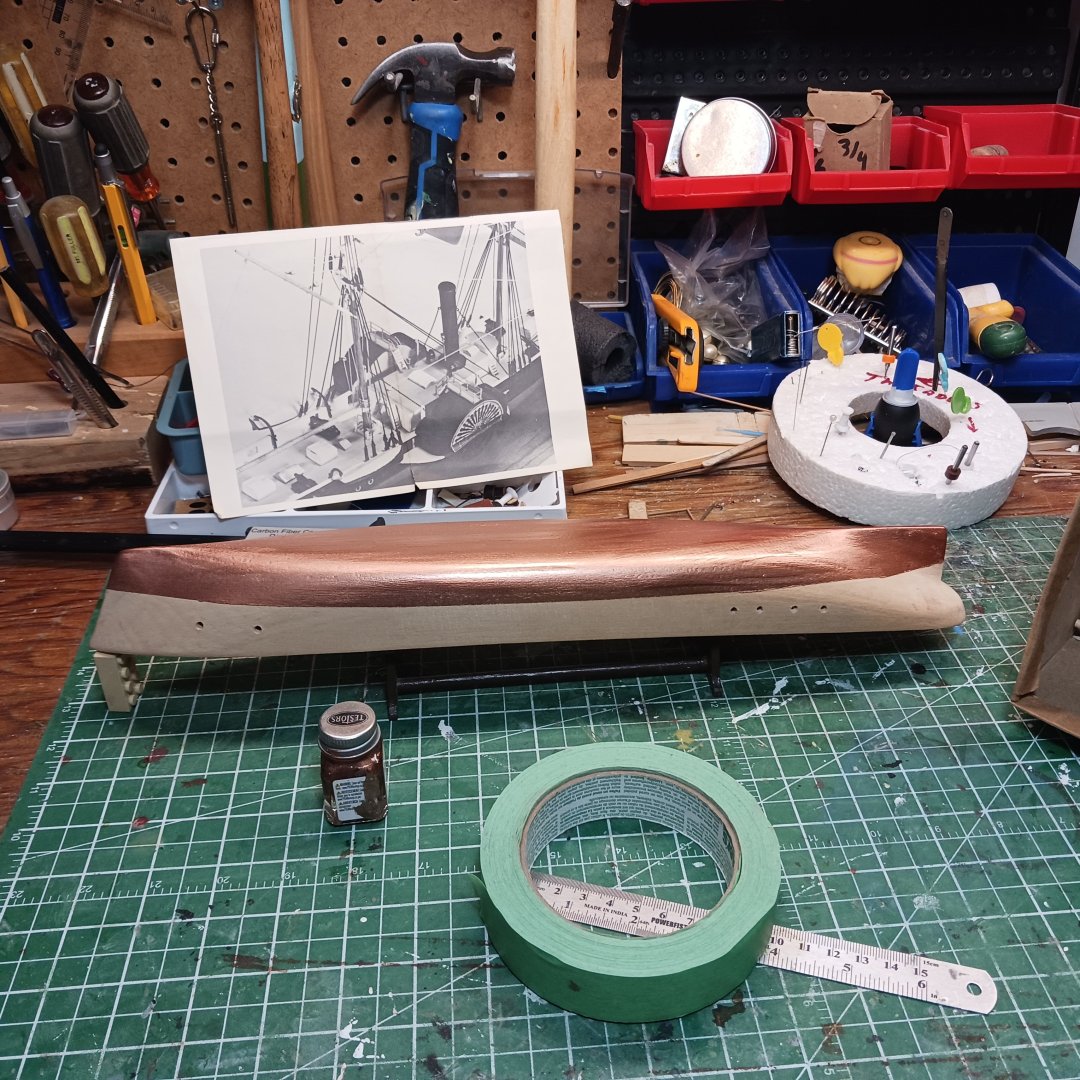
Oh this is going to be fun, thanks @Literalman for this, we are having fun. So this will be my version of the USCG Harriet Lane, thank moderators for changing the name. Stev had started the ship and has drawn the water line, and drilled the port holes. The plan just says make up the wheel box and wheel house and put them on the ship. Little else in the way of help, but thats the beauty of modeling, and this will be another beautiful ship. I feel it. Lol. I was going to buy copper plates for the hull , but due to economic reasons, paint it is. I going to modify the working stand from my La Nina build to the stand for the HL. Taking advantage of Steve's water line I brushed the copper and the black free hand, I will straighten them out on the final coat. I well have to let this dry up over night , before I start cutting holes in her. Lol. About the research, I was having to much fun to do any , tomorrow for sure , research lol Knocklouder 😁


- 73 replies
-
- 11
-
-
- Steam Cutter
- Harriet Lane
- (and 2 more)
-
Ratlines, did some one mention Ratlines. Lol . Great work my freind, I started researching my Harriet Lane, it only has 300 clove hitches to tie. ,a little is better then none. Your mesements for the shrouds is bang on. Thanks for posting it. Knocklouder 😁
- 165 replies
-
- 1
-
-
- Red Jacket
- Marine Model Company
- (and 2 more)
-
@GrandpaPhil , I looked on the plans no David, there are three sheets of plans, two draw by James F. Berge and one from Charles S. Fox. @Snug Harbor Johnny the scale is 1/12=1 foot, , 1965 copyright, Bogota N. J. so what ever that works out to, I am still looking . Guessing I would say an old 1:44 scale, but no good at that sort of thing lol. The parts are really tiny , so I am going with the smallest one. I will find out. Research, research, research 😪 lol Bob M.
- 73 replies
-
- 8
-

-
-
- Steam Cutter
- Harriet Lane
- (and 2 more)
-
Have as much fun as you can, enjoy the journey, Bob M.
-
Enjoy the journey, good luck on your adventure Bob M.
-
Well Tom you made it to the black list lol, I will add your name to my list right under Keith's lol. Your sign looks great, that bubbling at the top may be vener lifting off because of moisture, but your's is great. Go with that. Bob M.
-
Link to current build, https://modelshipworld.com/topic/39515-wasa-1628-by-knocklouder-billing-boats-175/#comment-1128649 On the build table: WASA On Hold: Astrolabe 1812 -Mantua 1:50 Bluenose- Billing Boat 1:64 Bluenose- Scientific 1:42 USRC HARRIET LANE FINISHED: AMATI: Santa Maria-1:64 La Pinta-1:64 La Nana-1:64 Mayflower-1:60 Viking Long Boat-Darkkar -1:50 Hannah- Ship in a Bottle 1-300 HMS Pegasus,-Amati:1;64 *********************************** Sea of Galilee - Scott Miller ** **** *** The Golden Hind: Airfix ** *** ** Queen Anne's Revenge-Piececool-1:300 ** **** **** Duchess of Kingston:1:64 🙂 VANGUARD MODELS.
-
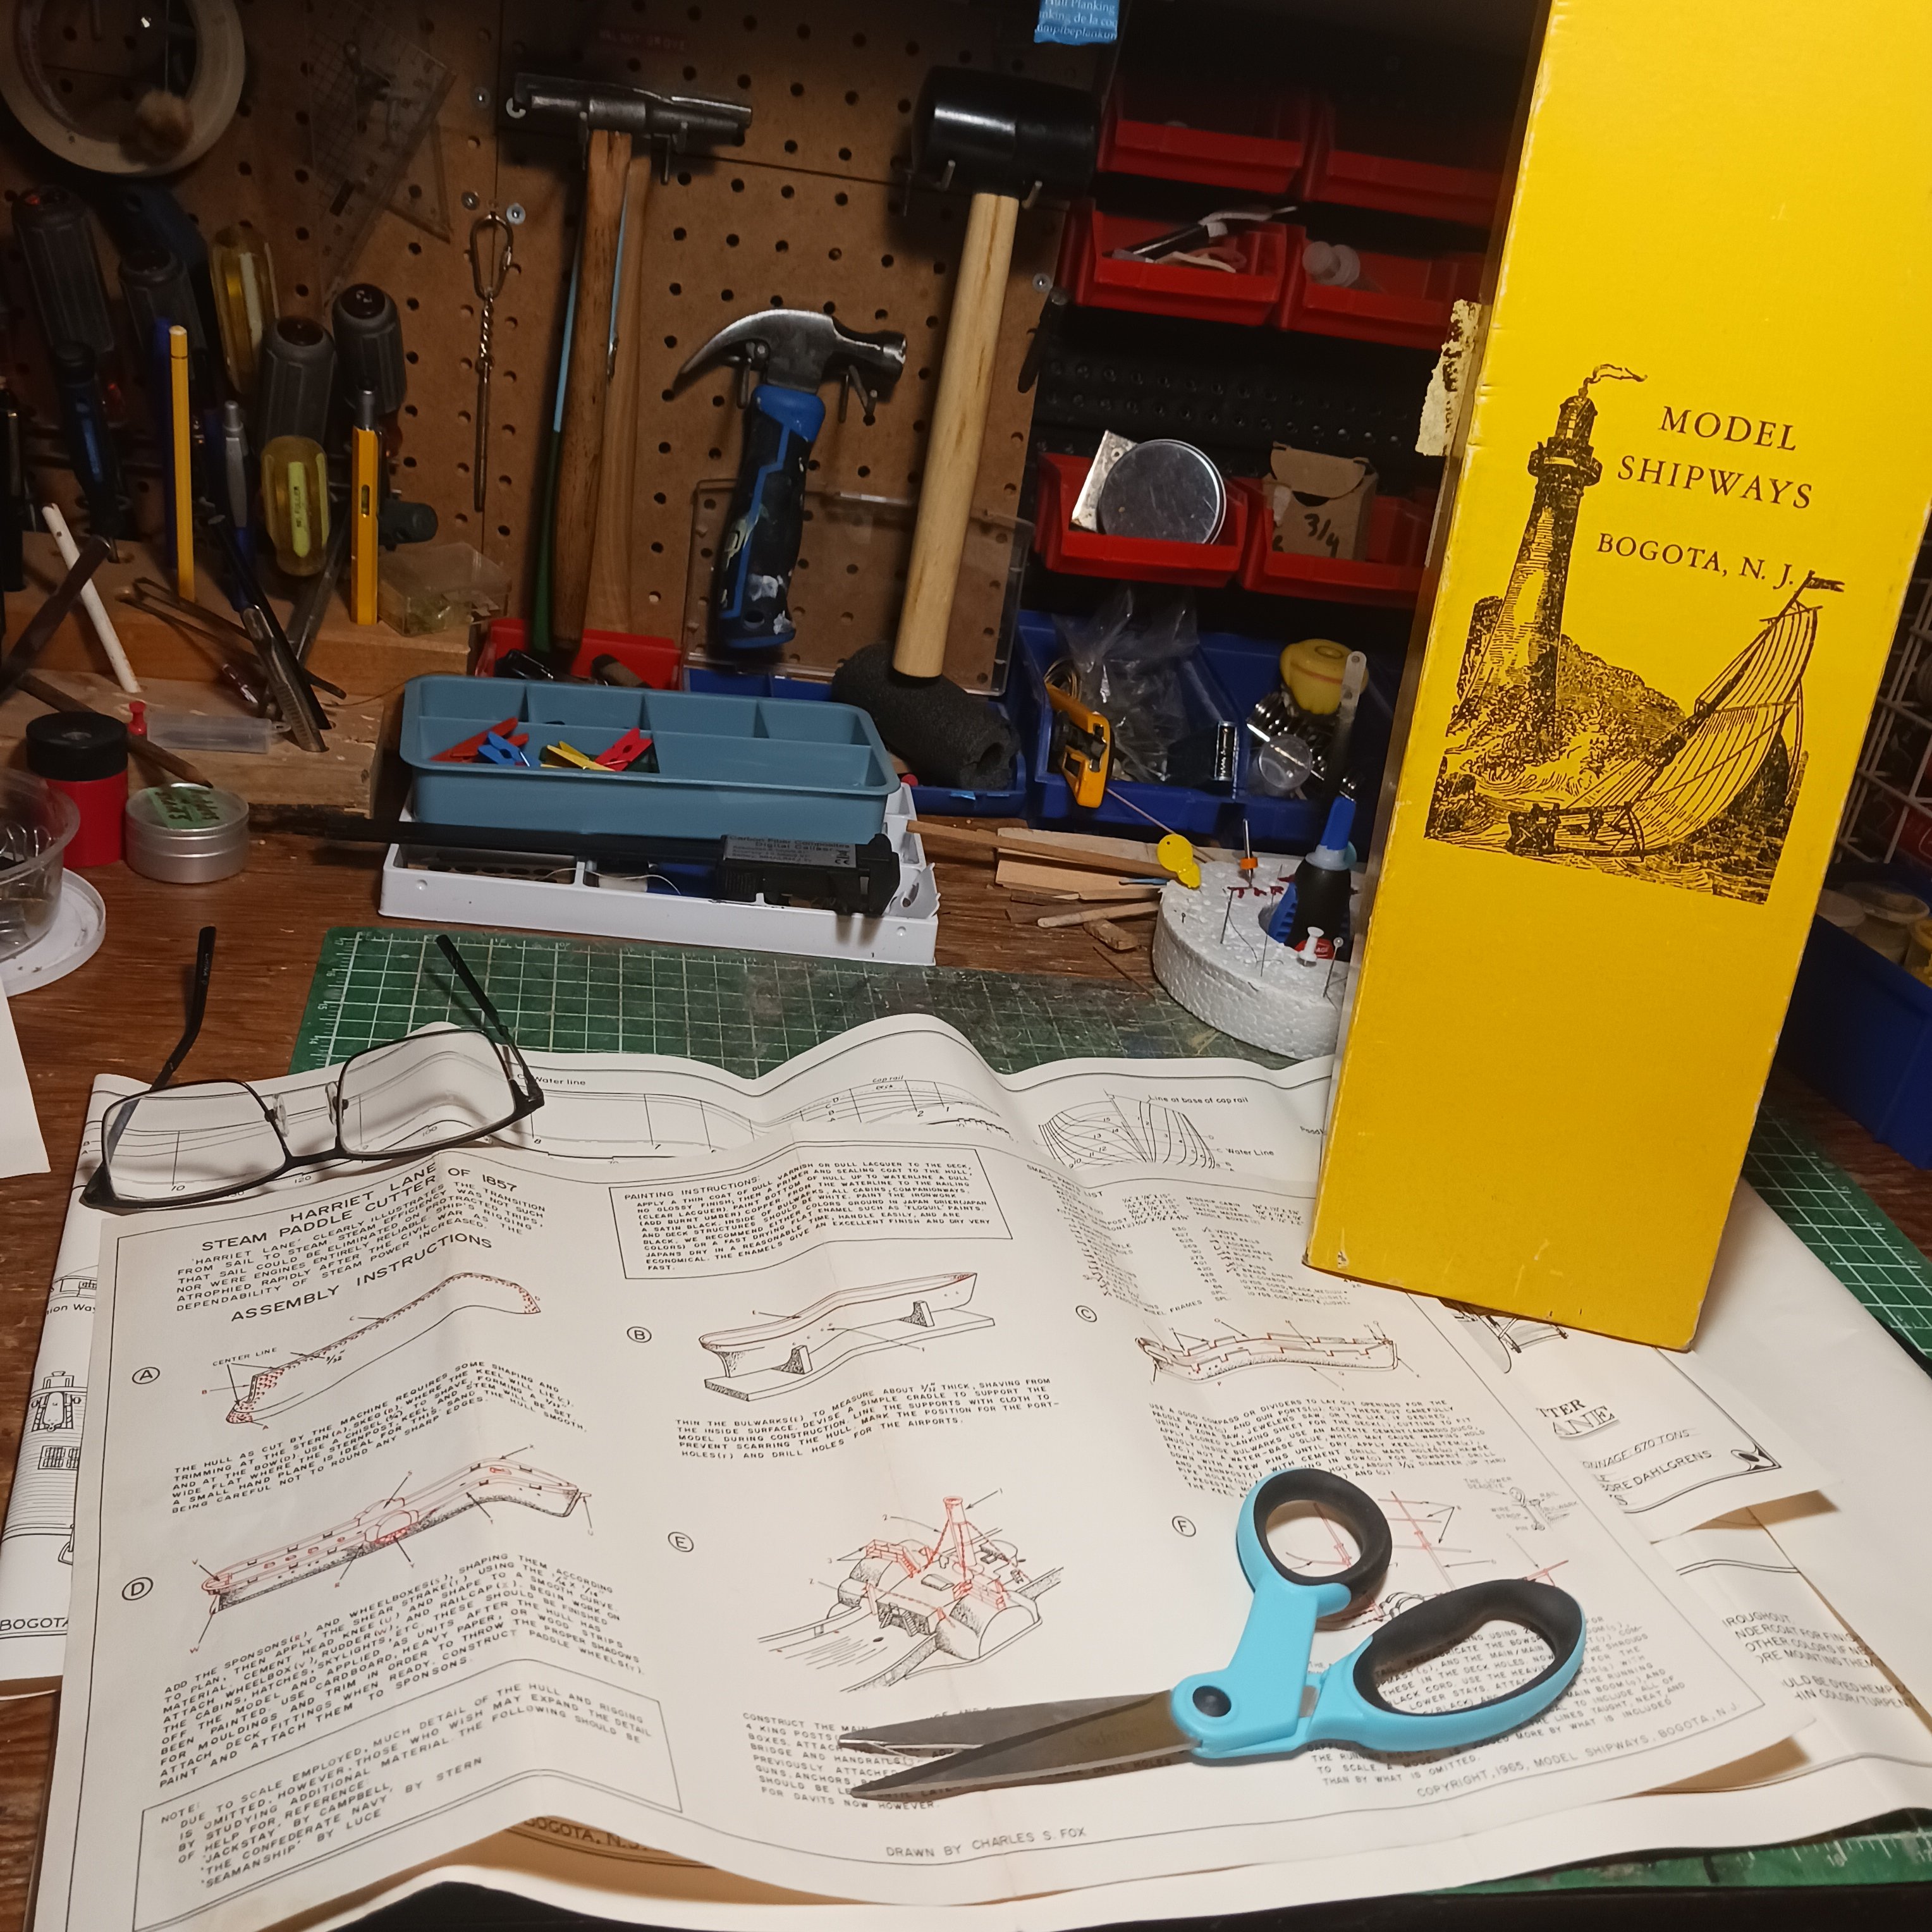
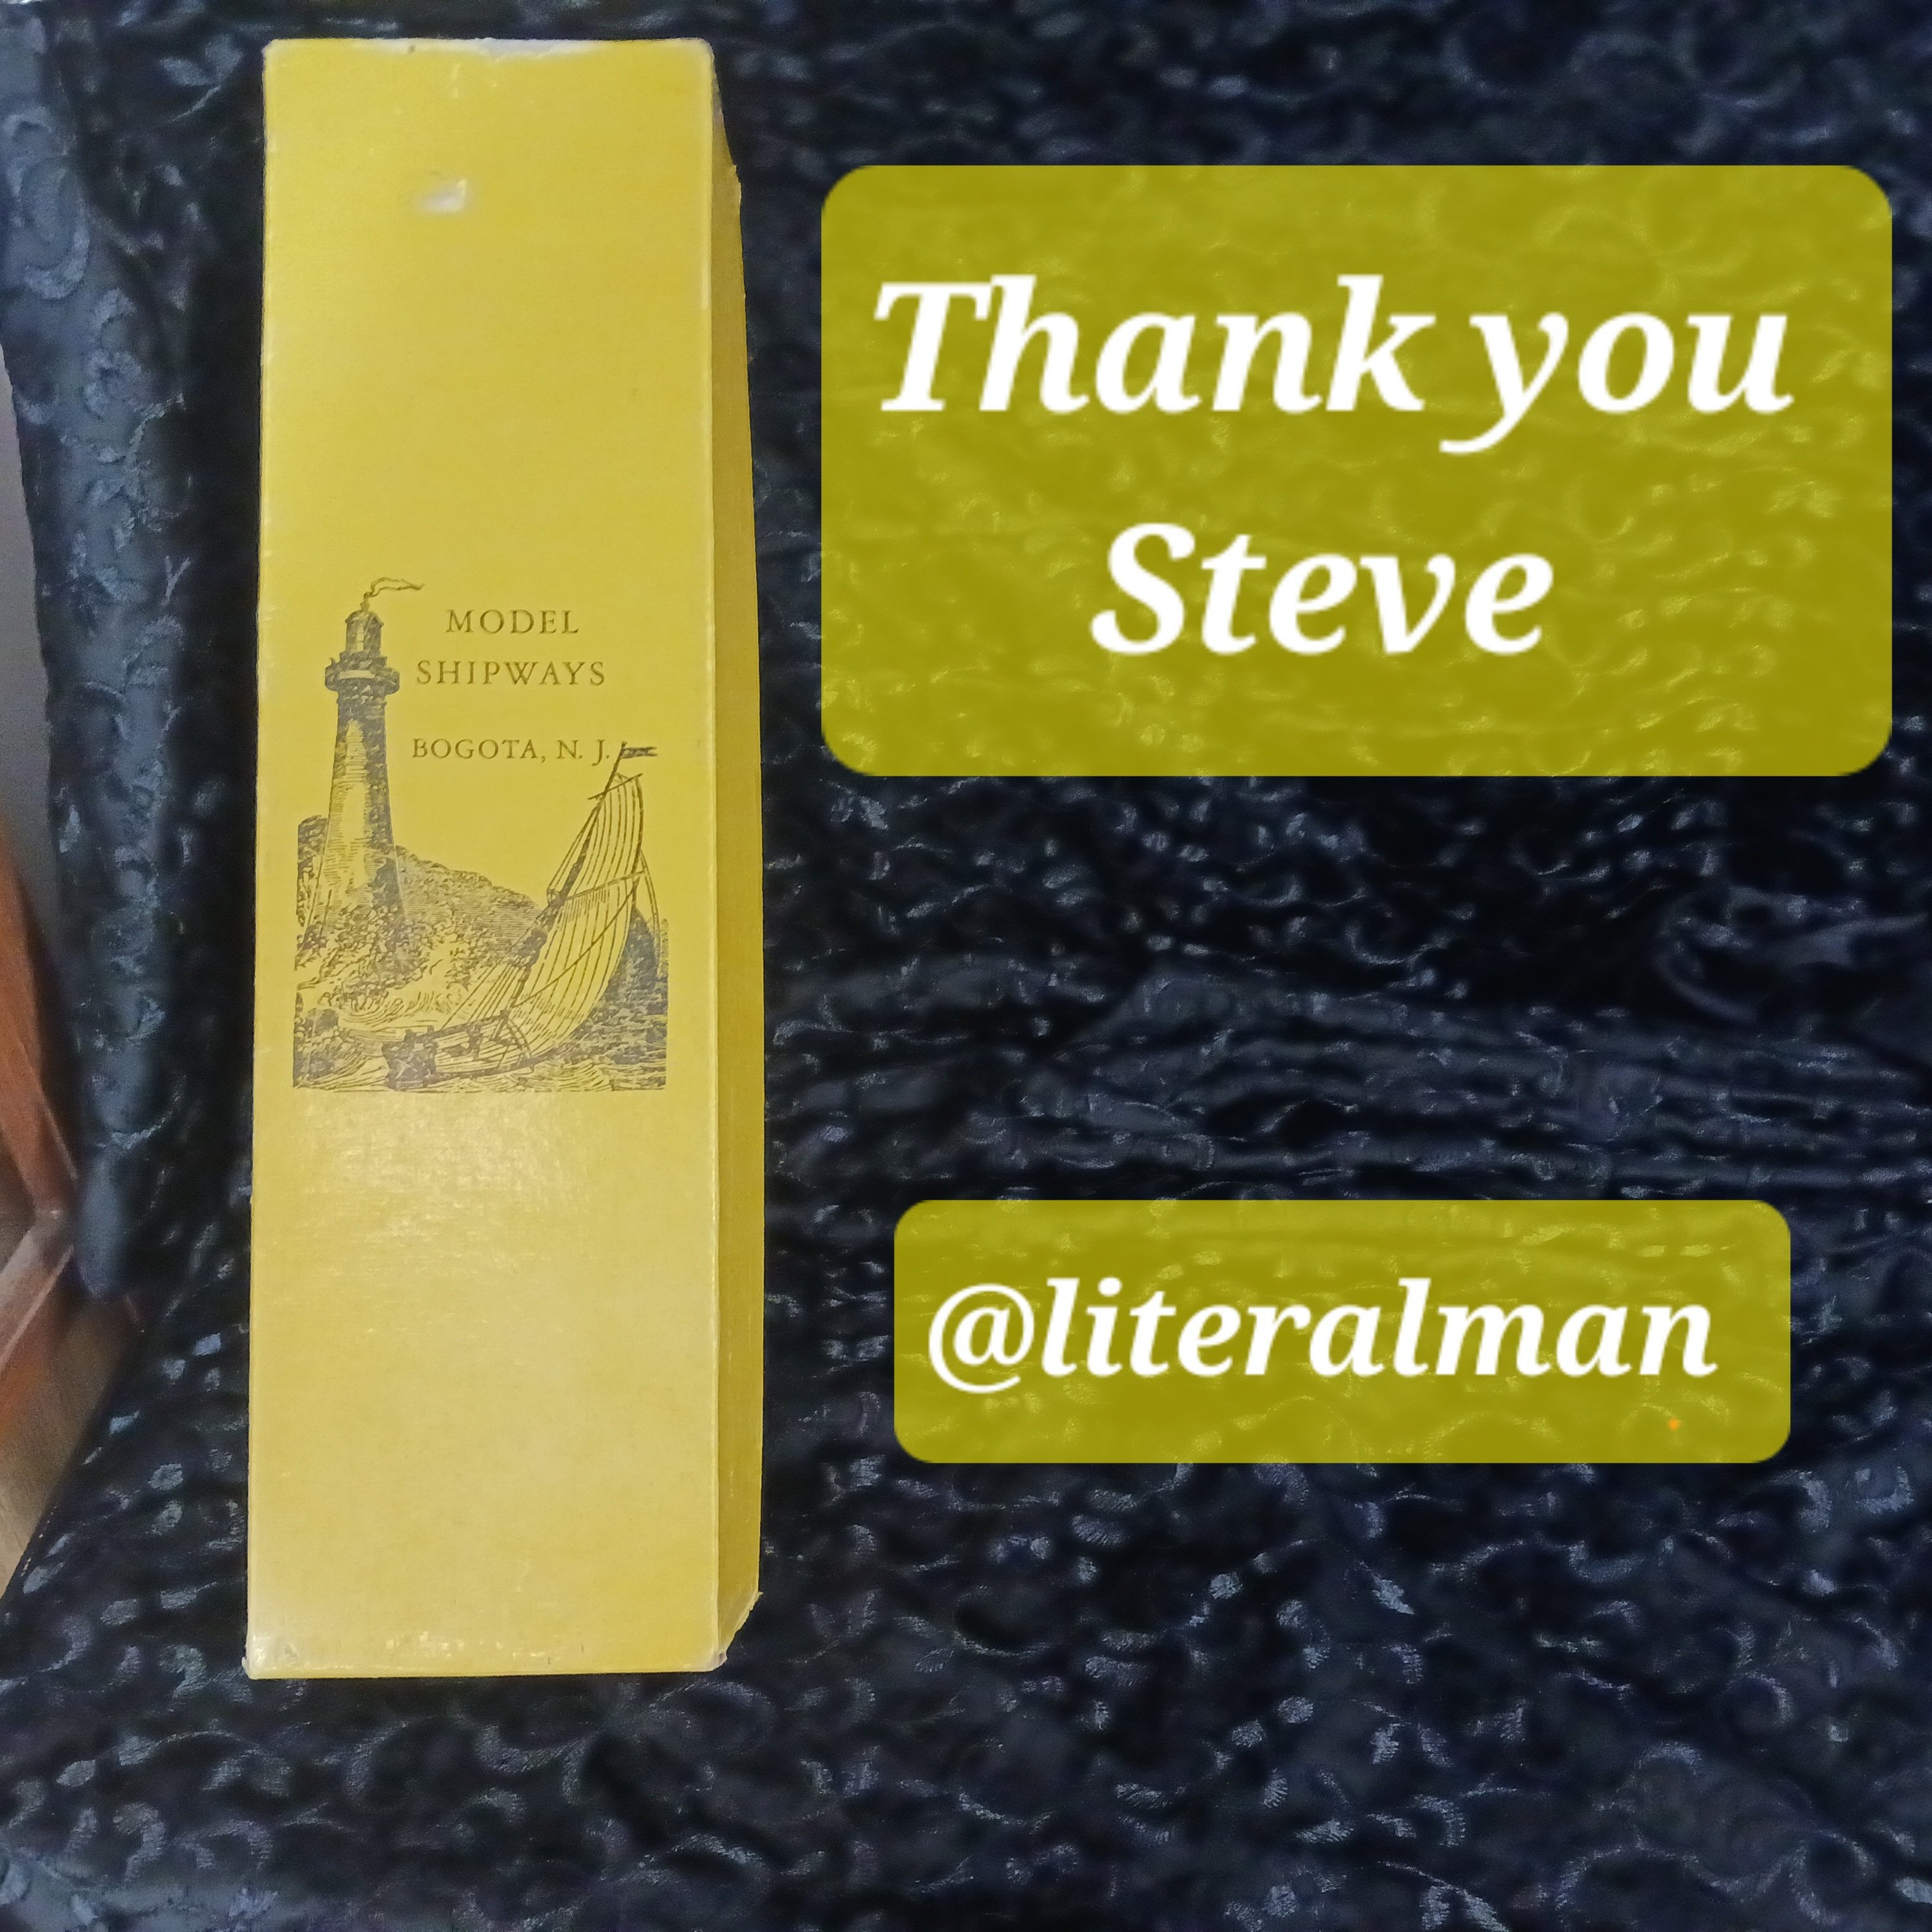
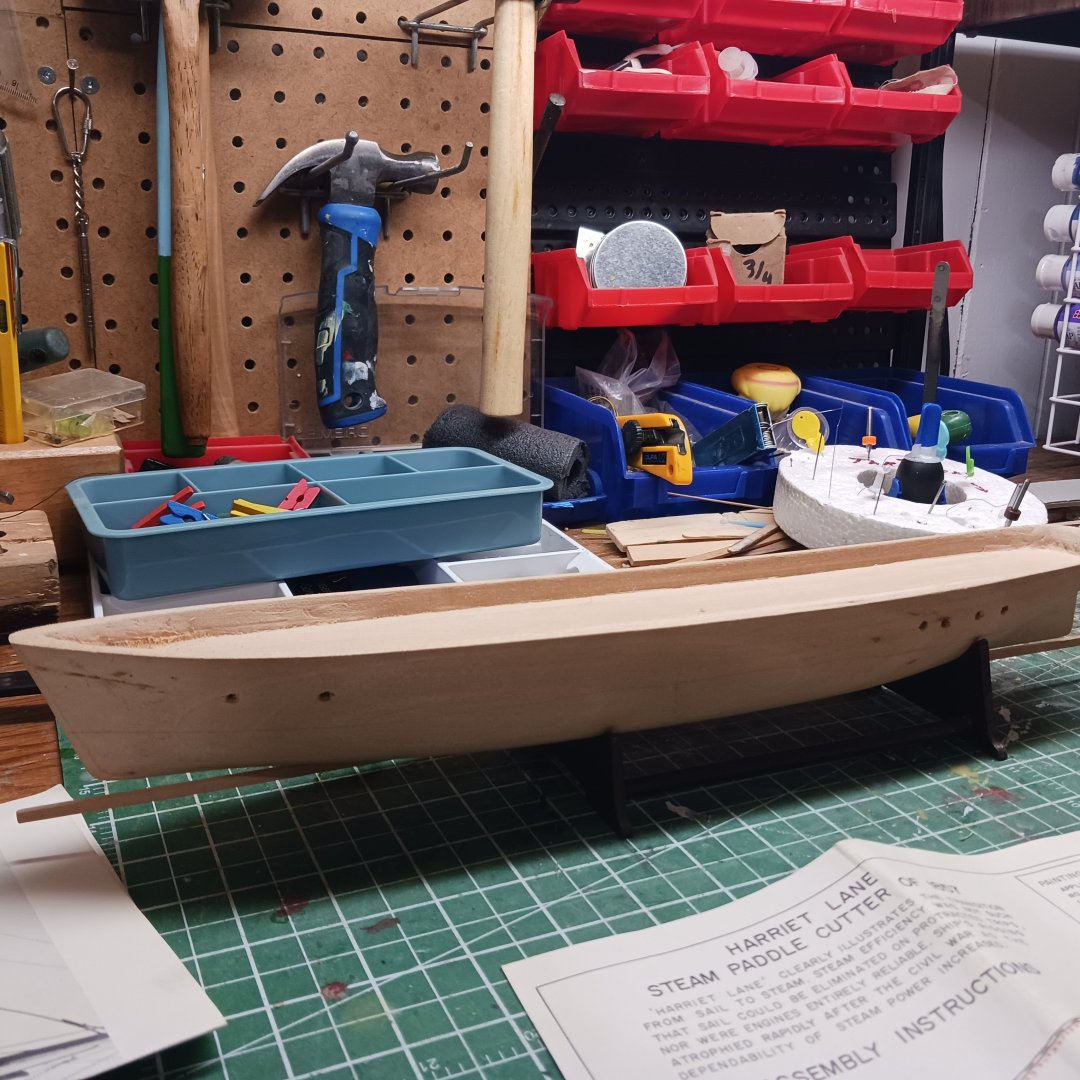
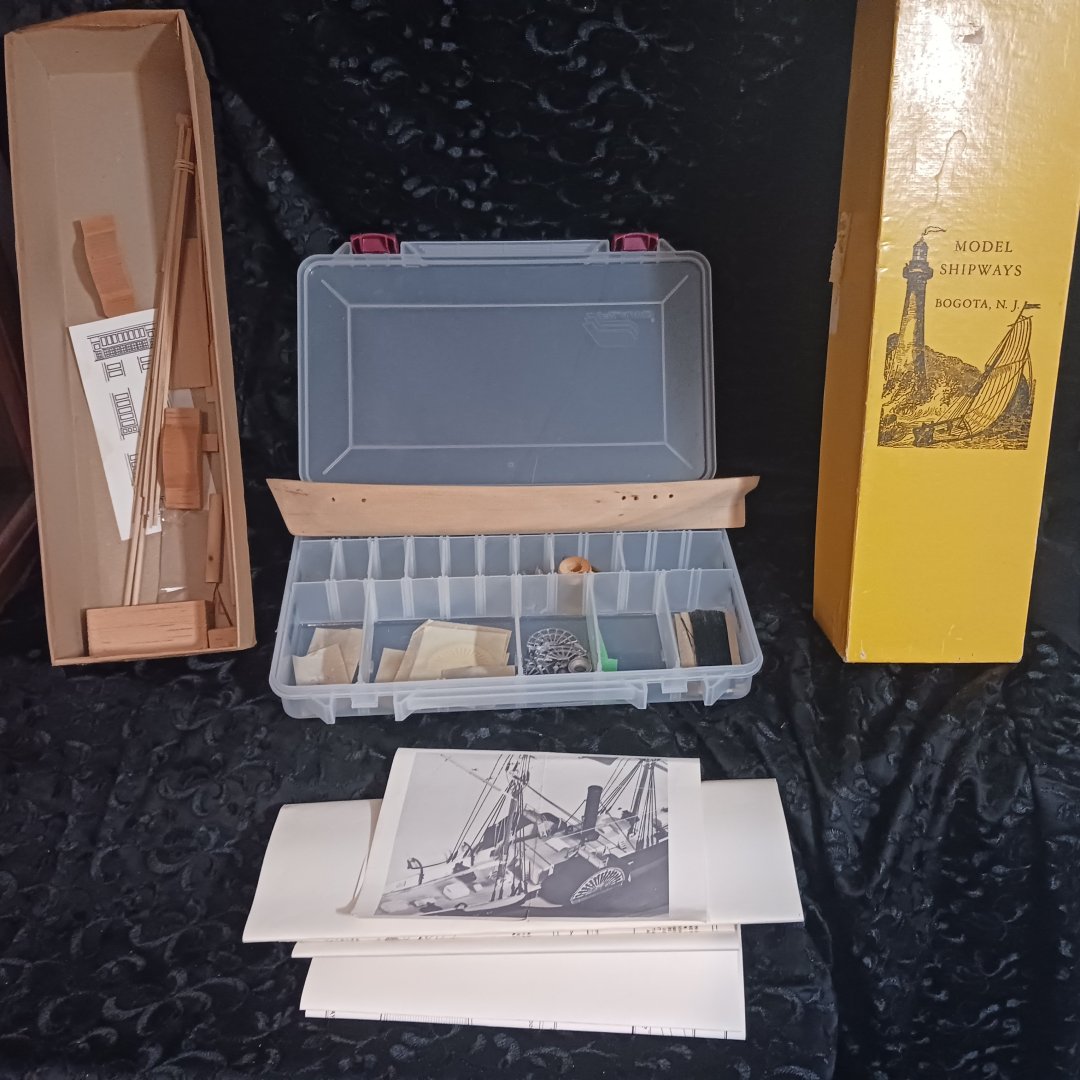
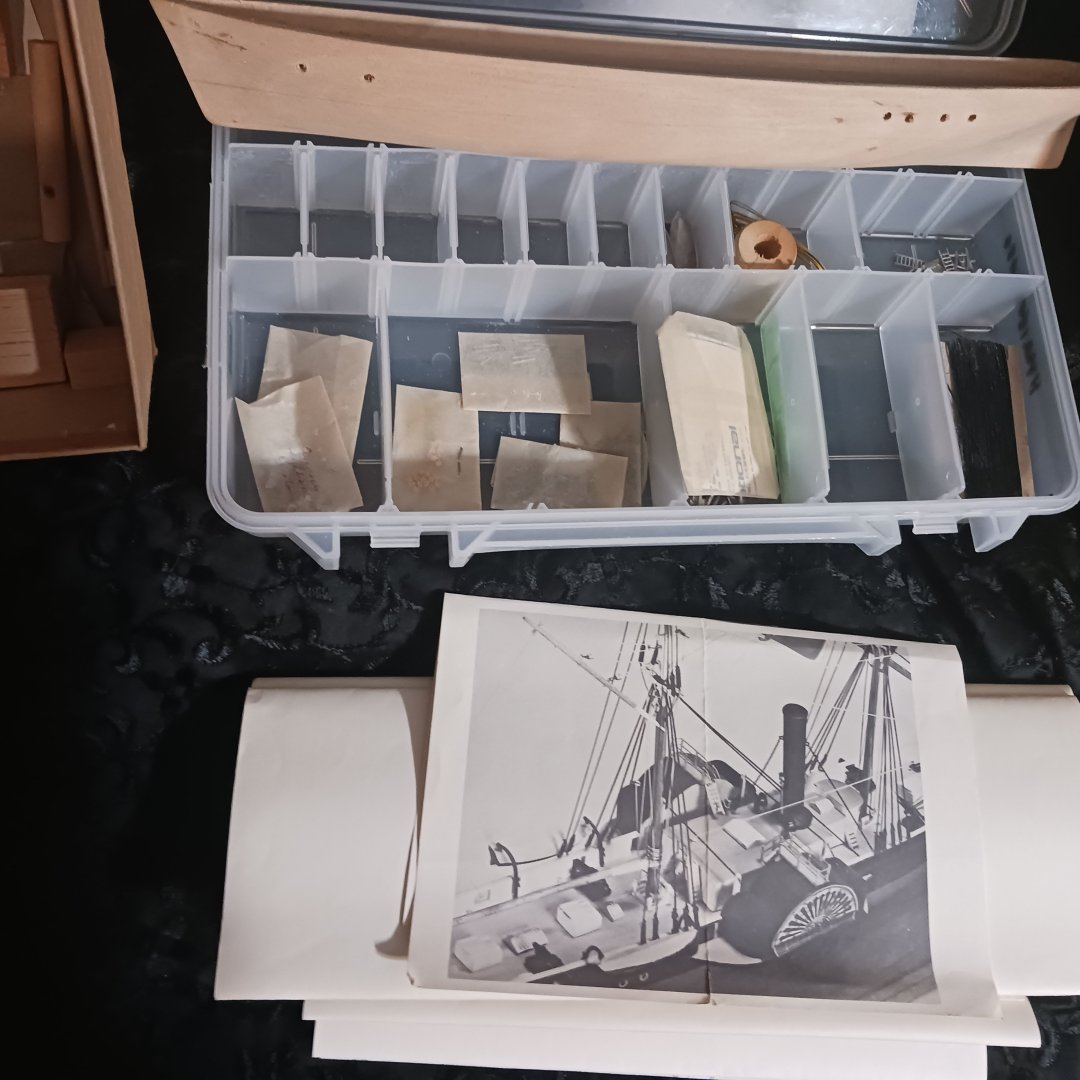
Hello, my name is Bob M. and I go by Knocklouder here on MSW. Welcome to my adventure in river boat making . First of all, Awhile ago @Literalman, Steve had this Steam Paddle Cutter of 1857 that he and I struck a deal on , and I hope I can do a great job, for us. Thanks Steve. 😊 I will be writing your name under the boat later on for sure. You will always be part of the build. So Let jump in to the yellow box. First off, I had to start this log so I can fix my signature lol. I muffed up Royalie, no good with computers. Lol but I will get it fixed. I put all the packages into a plastic container and left the wood in the box. They is a pile of little parts, that will need magnification, holy they are small. It is a very nice looking boat, the Instructions say it is clearly illustrates the transition from sail to Steam. I will do some more research on this boat before getting going, lots of logs for this boat here so I should be good to go. I won't start right away, taking a break, cleaning the shop getting ready for Christmas, that sort of thing. Maybe Monday I jump in to it lol. I have to read about the Harriet Lane and write about her in my next post. It certainly different from my last build, but she has a copper bottom lol Hope to get my signature straight out soon lol. Bob M. Knocklouder 😁


- 73 replies
-
- 14
-
-
- Steam Cutter
- Harriet Lane
- (and 2 more)
-
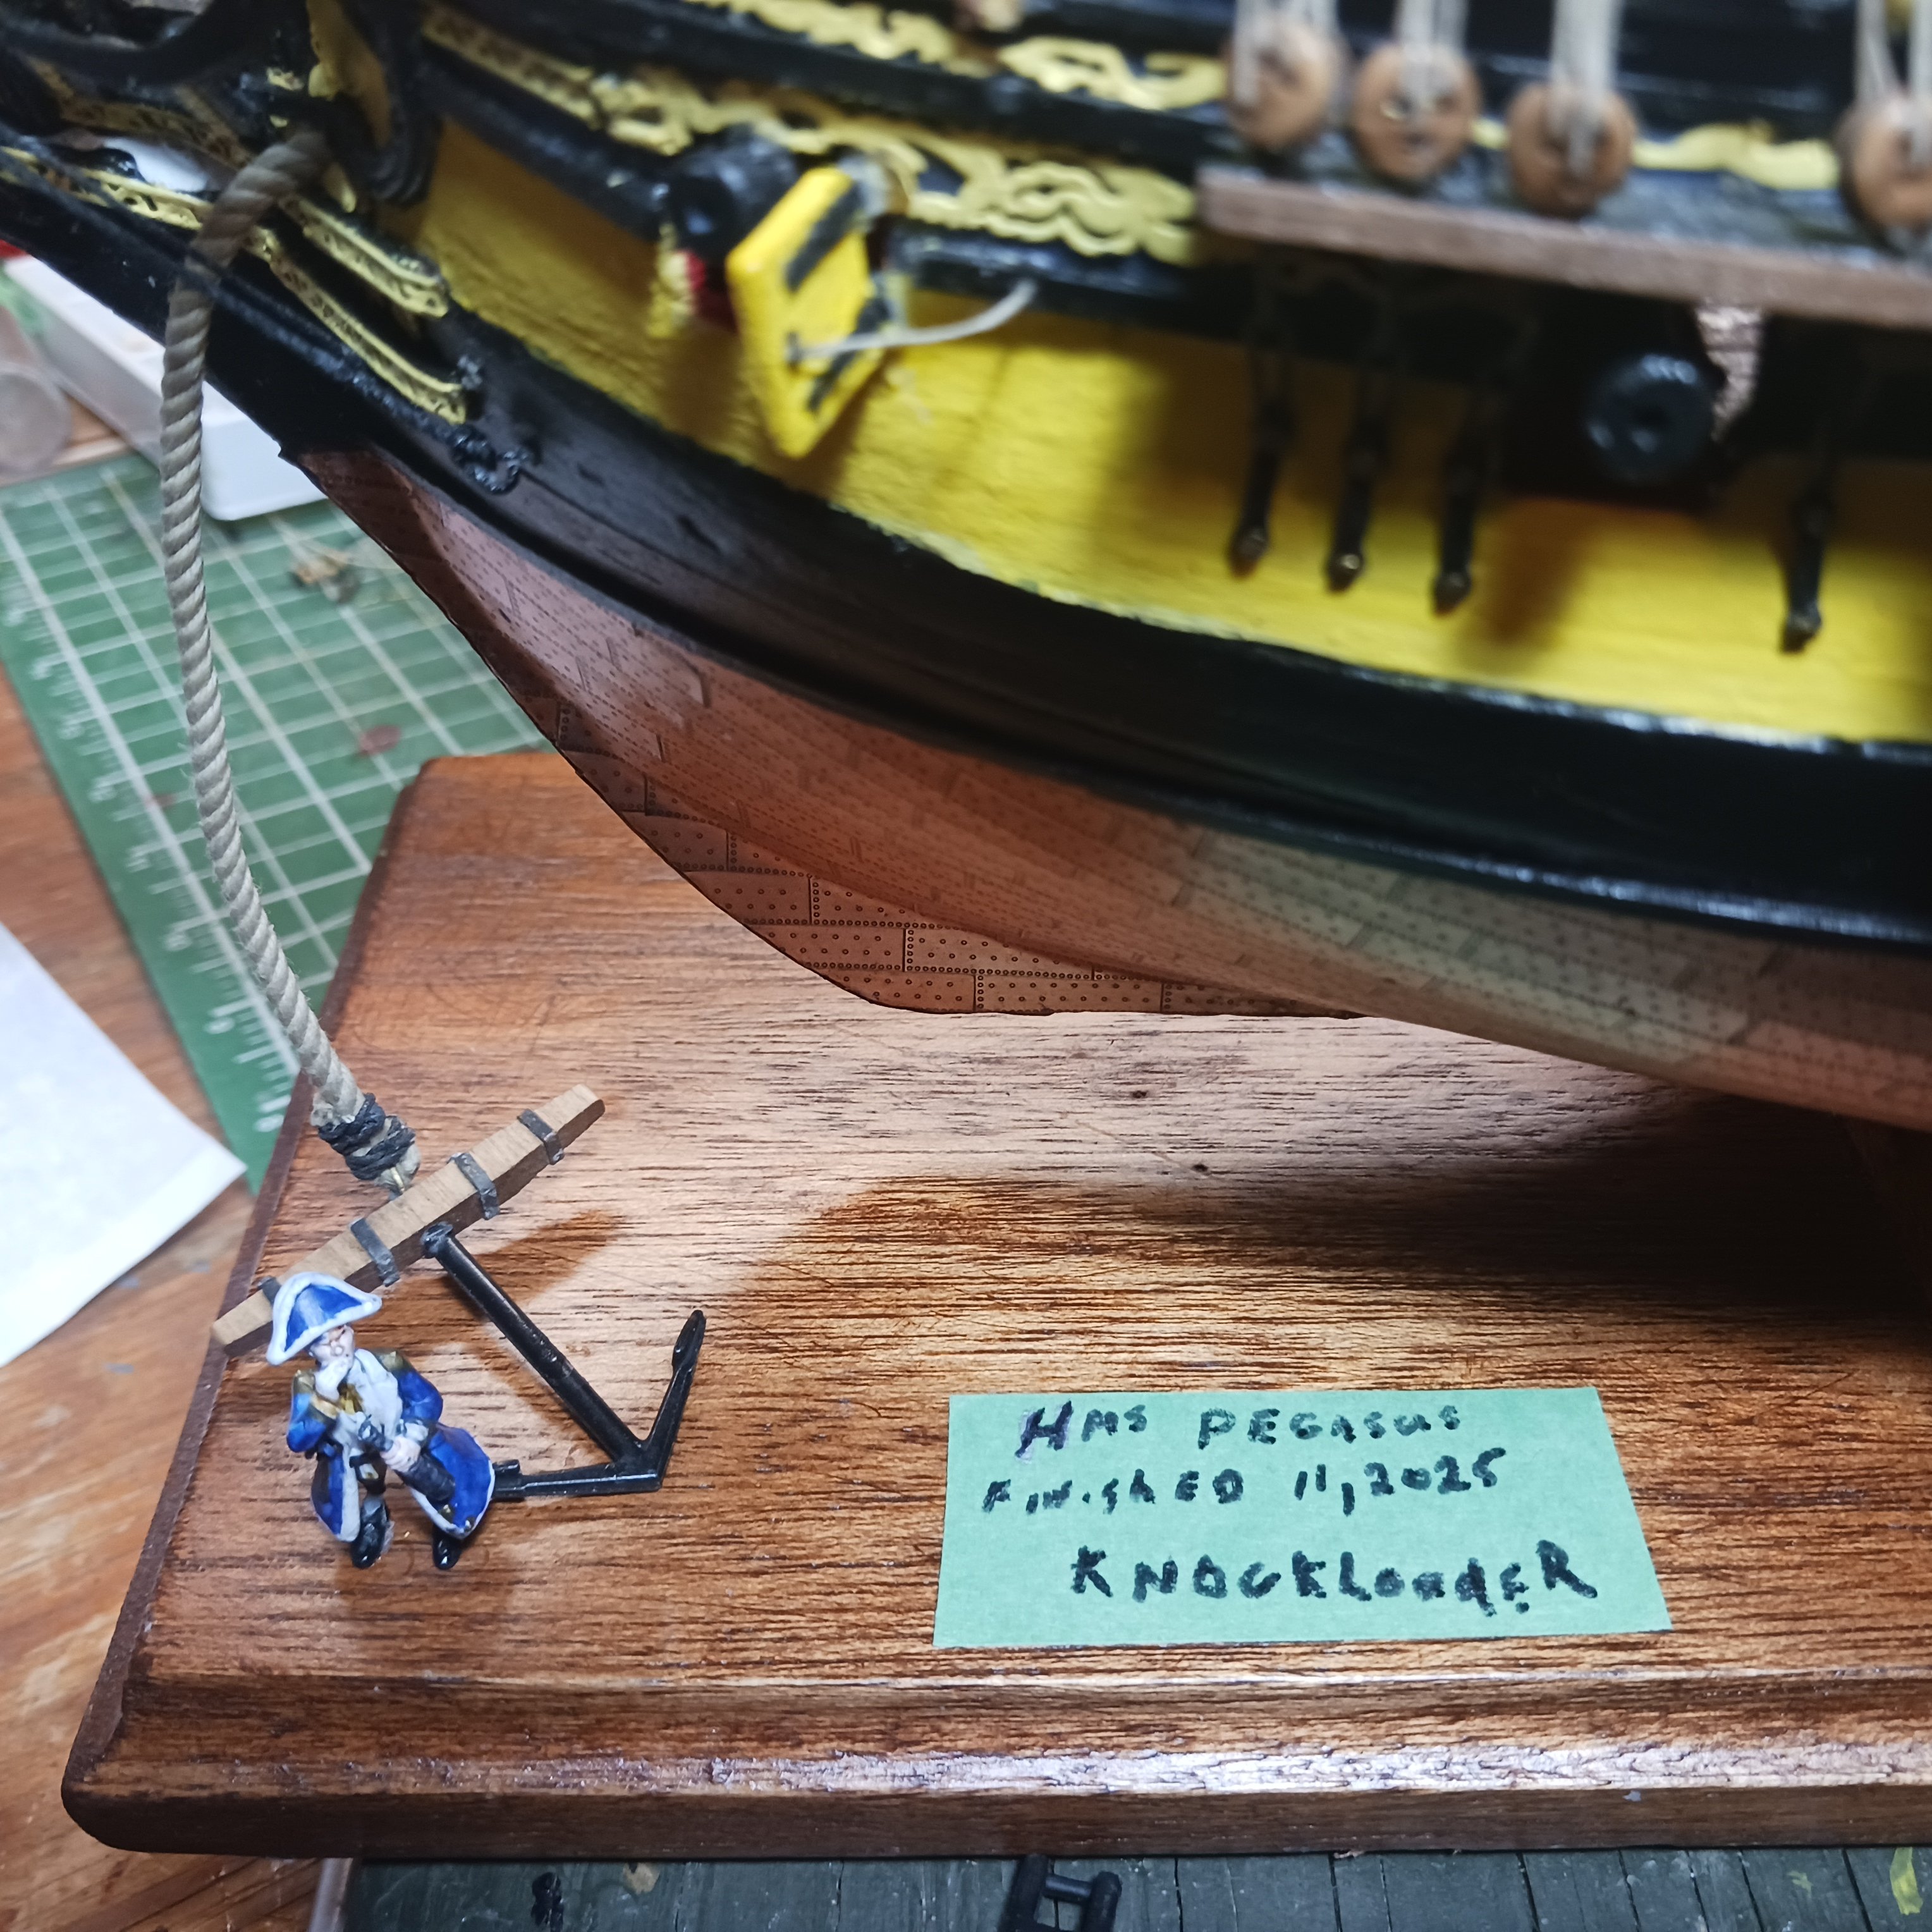
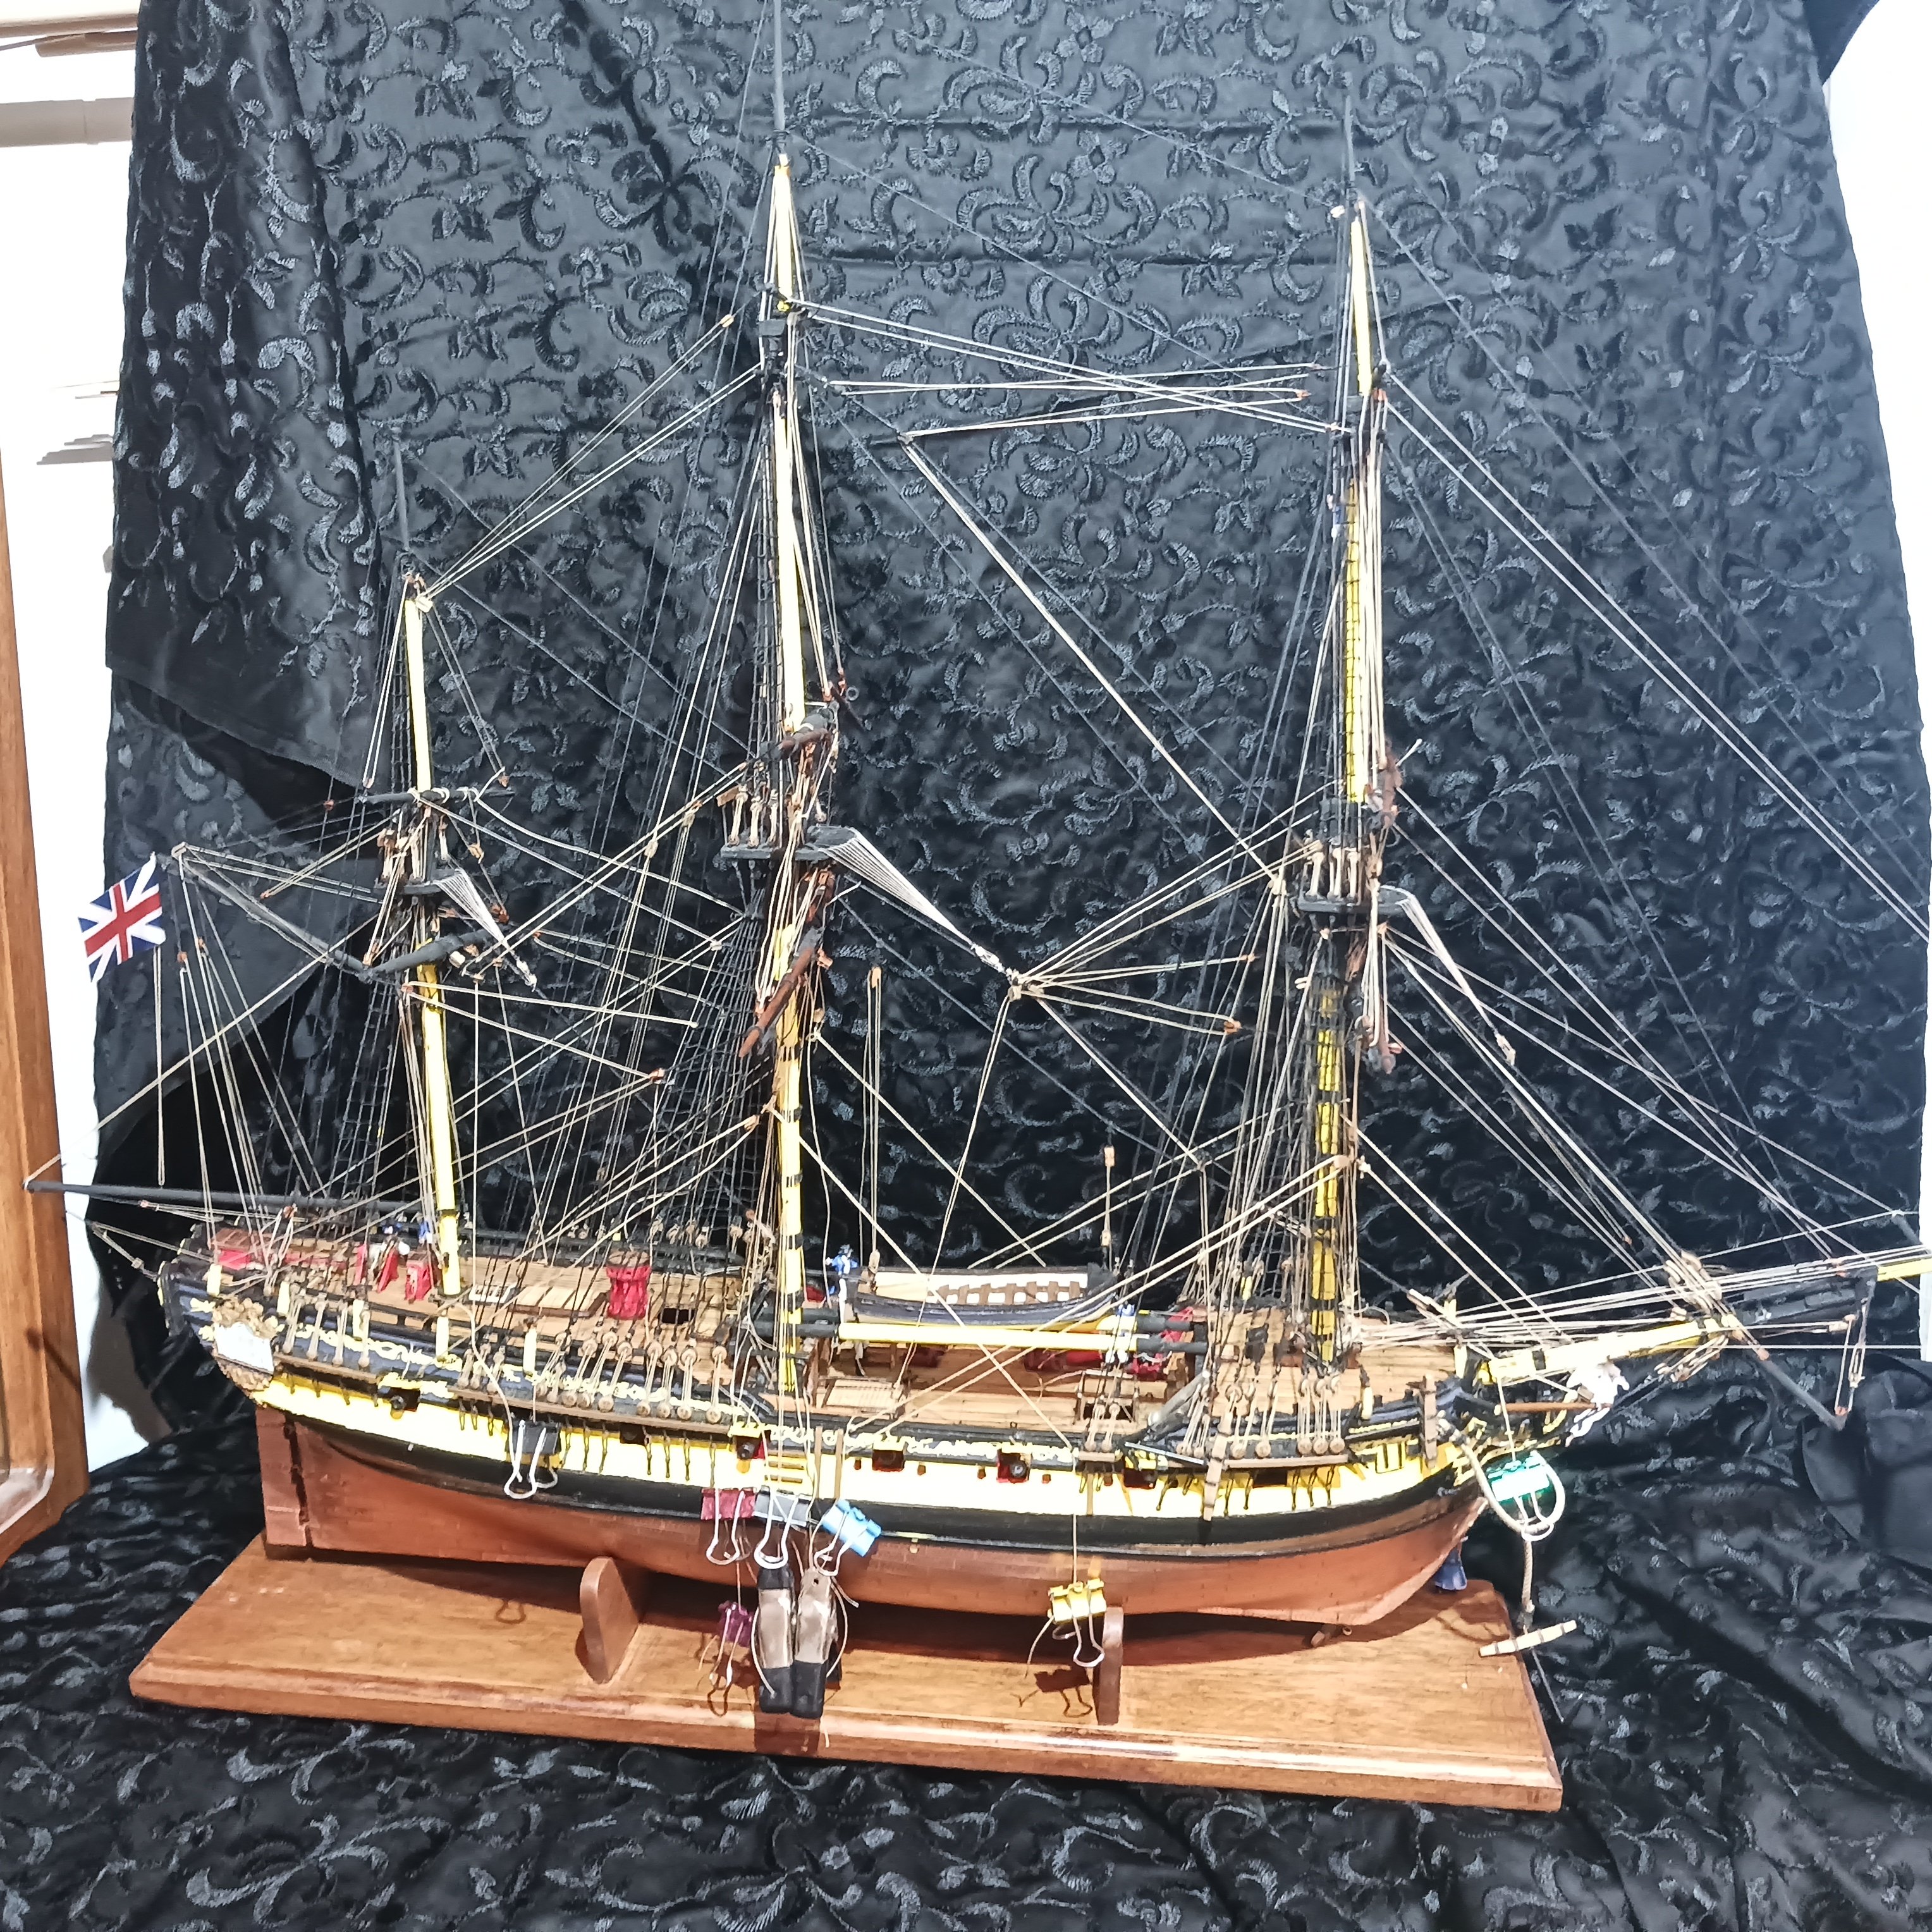
Today I have about 20 more rope coils to make up and put on, also the side stairs on the port side to install but I think I mark this ship Finished before the end of the day. Lol. Again thanks everyone so much, it has been quite the adventure 😀. I love it. Mistakes were made but a lot less, some lines are twisted but so am I. It's finally finished, it was really intimidating when I started. And I did shelf it for a year , almost packed it in right there. So greatful that I didn't ,happy to have finished this. Yes, I am marking it down as Finished. Flags have been raised, Crew added, some missed the boat , lol, but when I get a better camera, I have them added. Greatful for those who braved the journey, your incuragement likes and wows are always appreciated thanks. So another in the case, time to go change my signature lol to 12. And mark this one Finished. Lol Good bye, see you next year , lol listen to me, I will have a log going in a week 😅 😄 Bob M.


- 261 replies
-
- 15
-
-
-
- Victory Models
- Pegasus
- (and 3 more)
-
Nice attention to details, very nice work. Bob M.
-
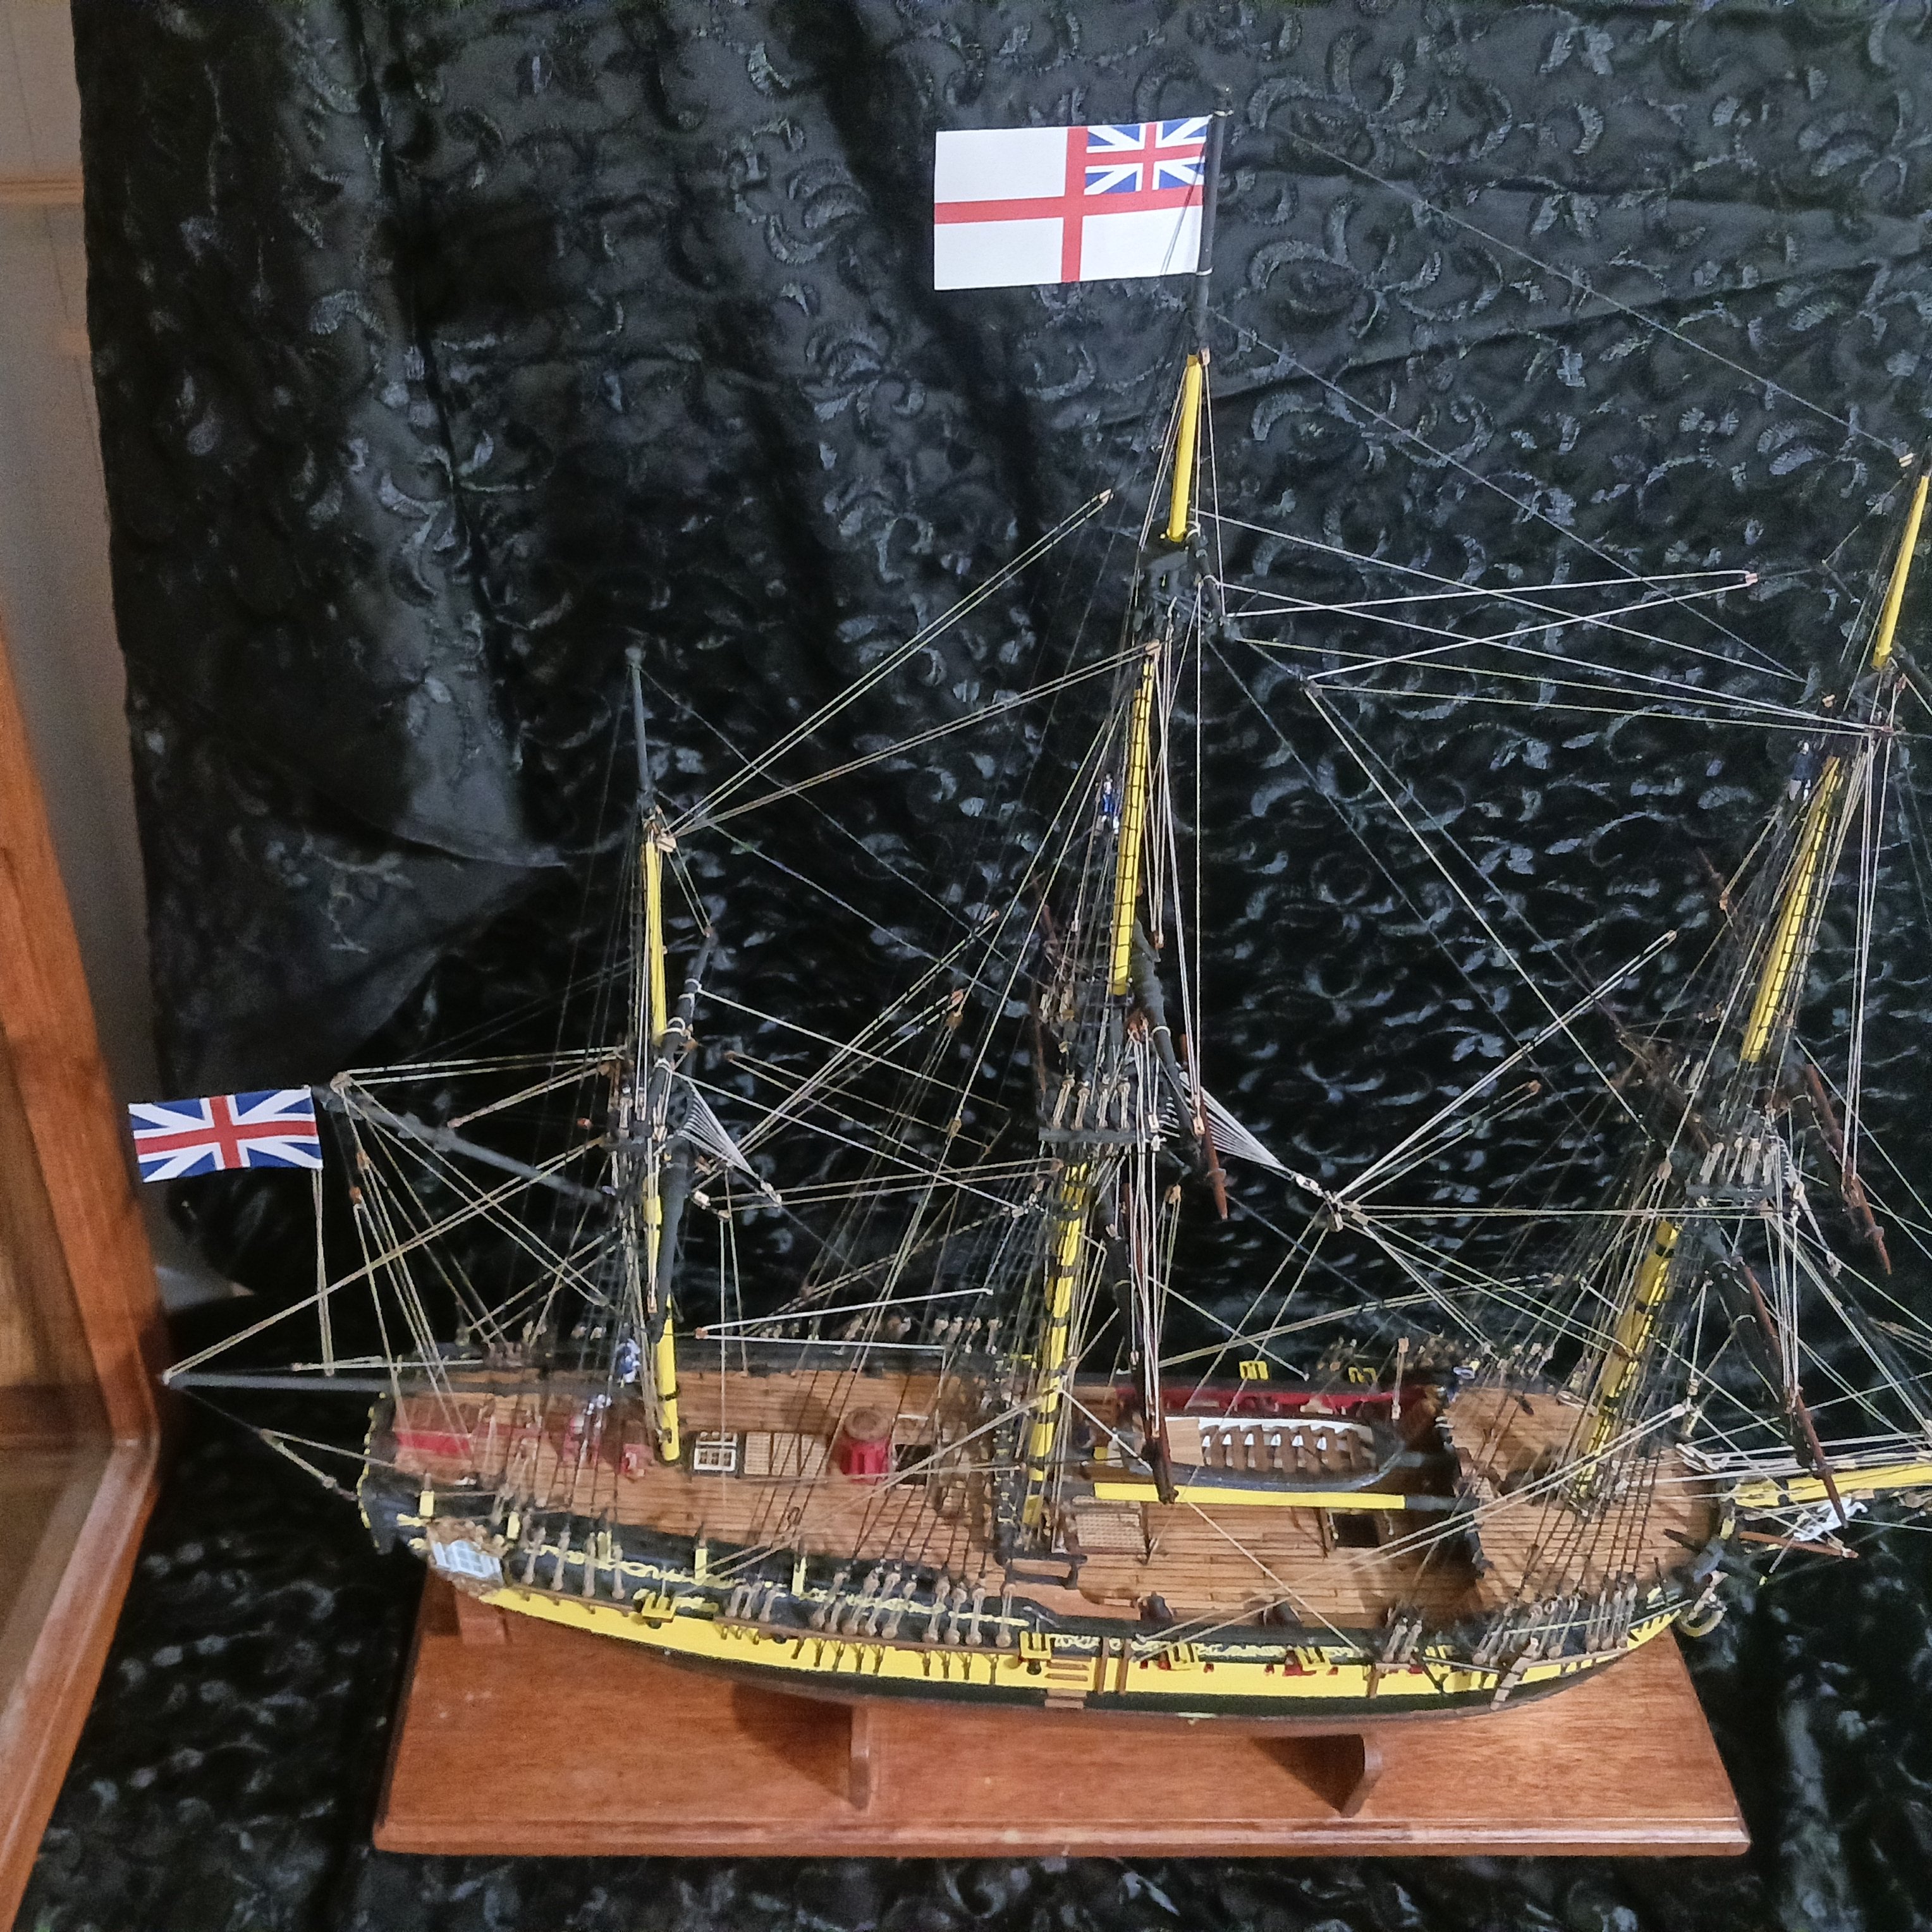
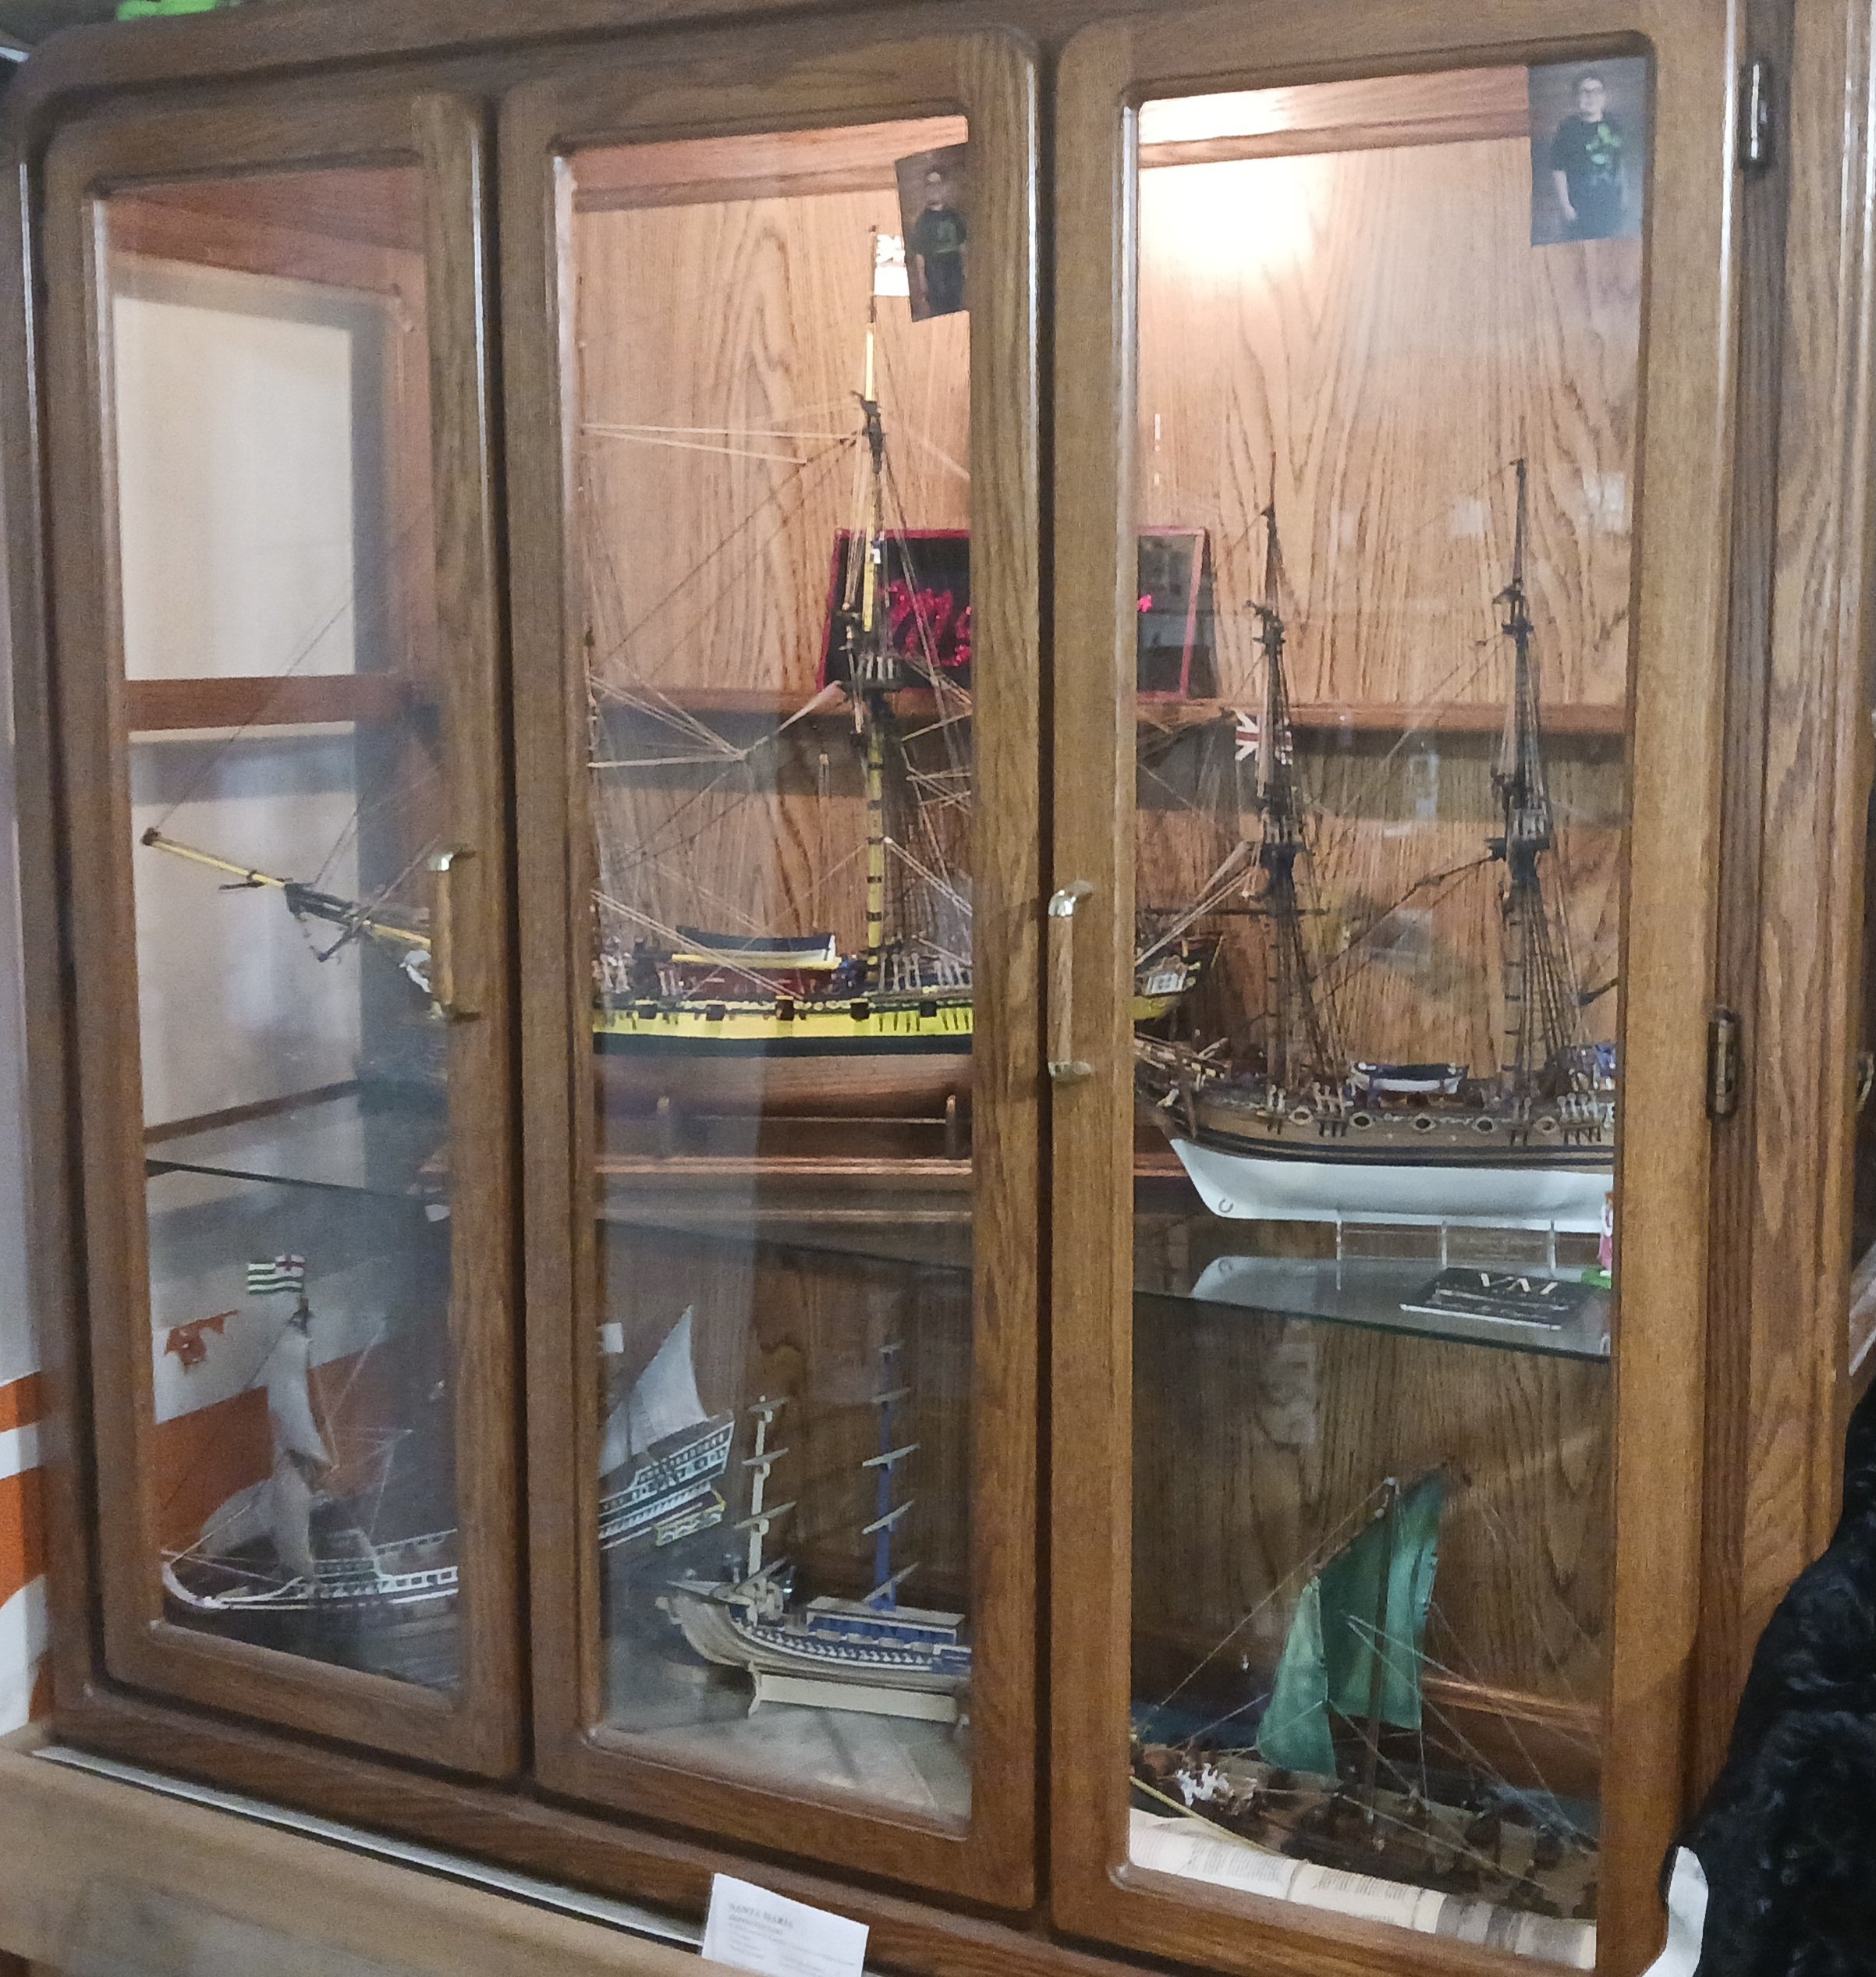
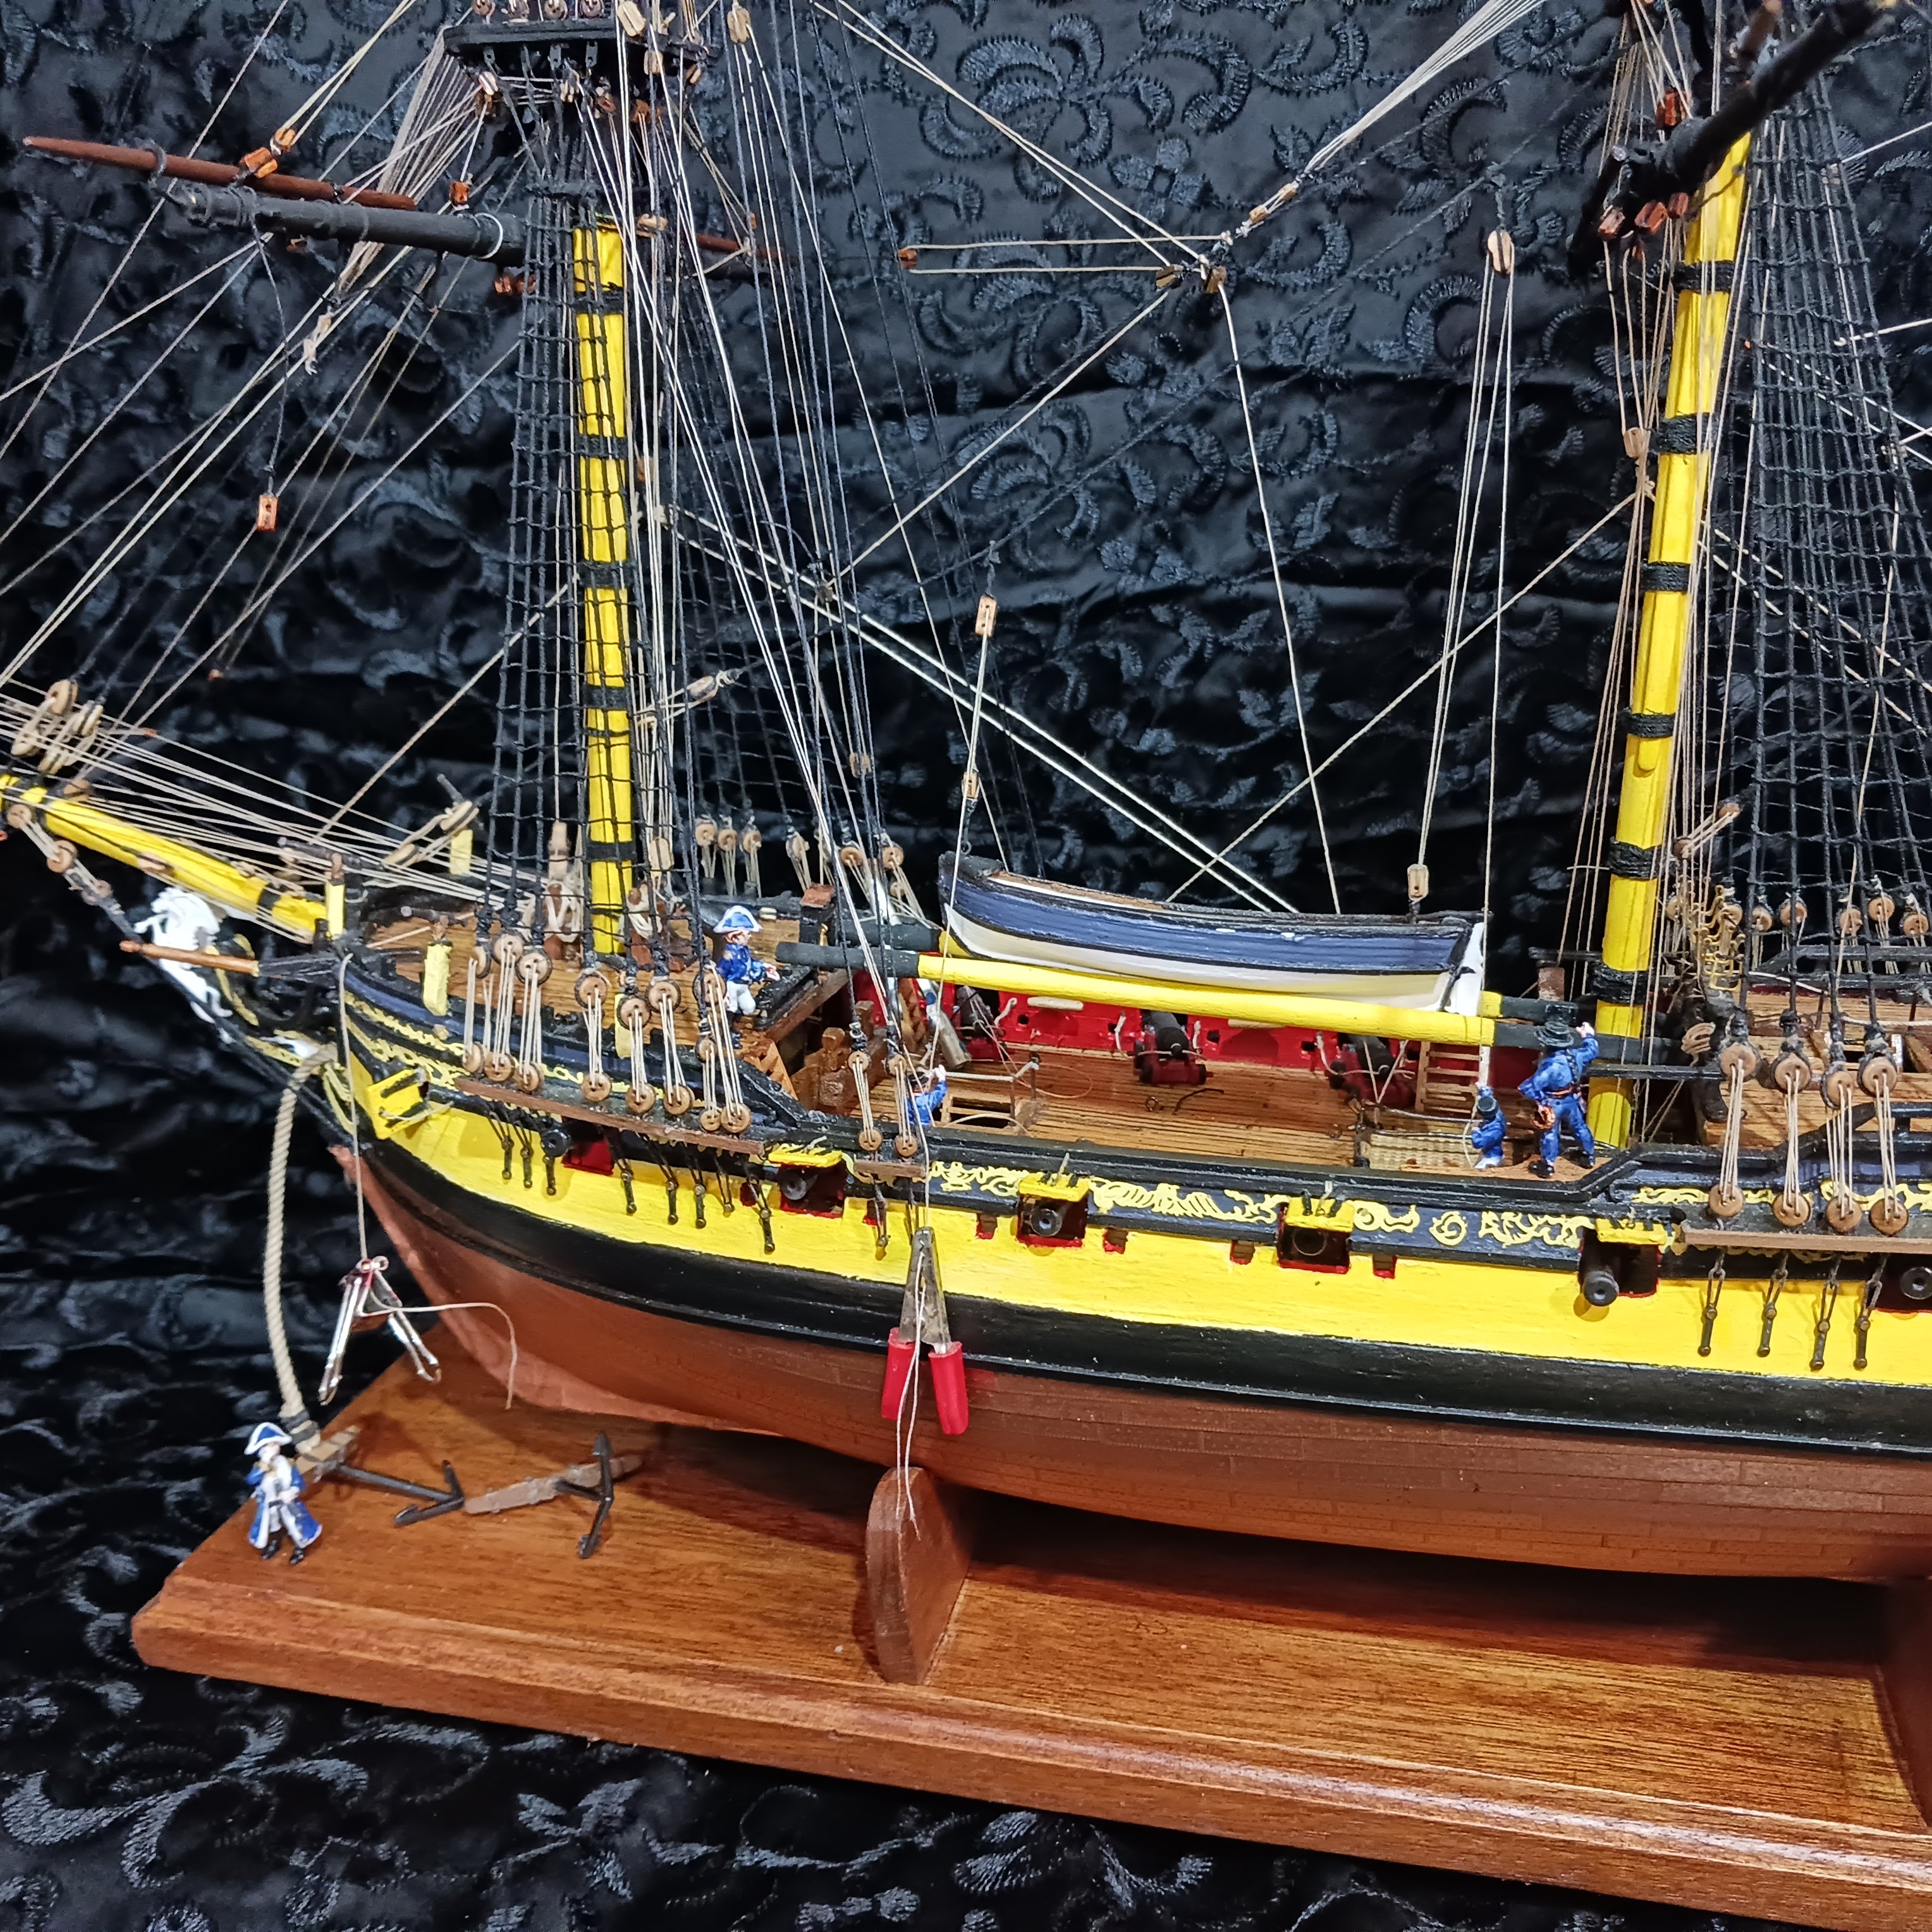
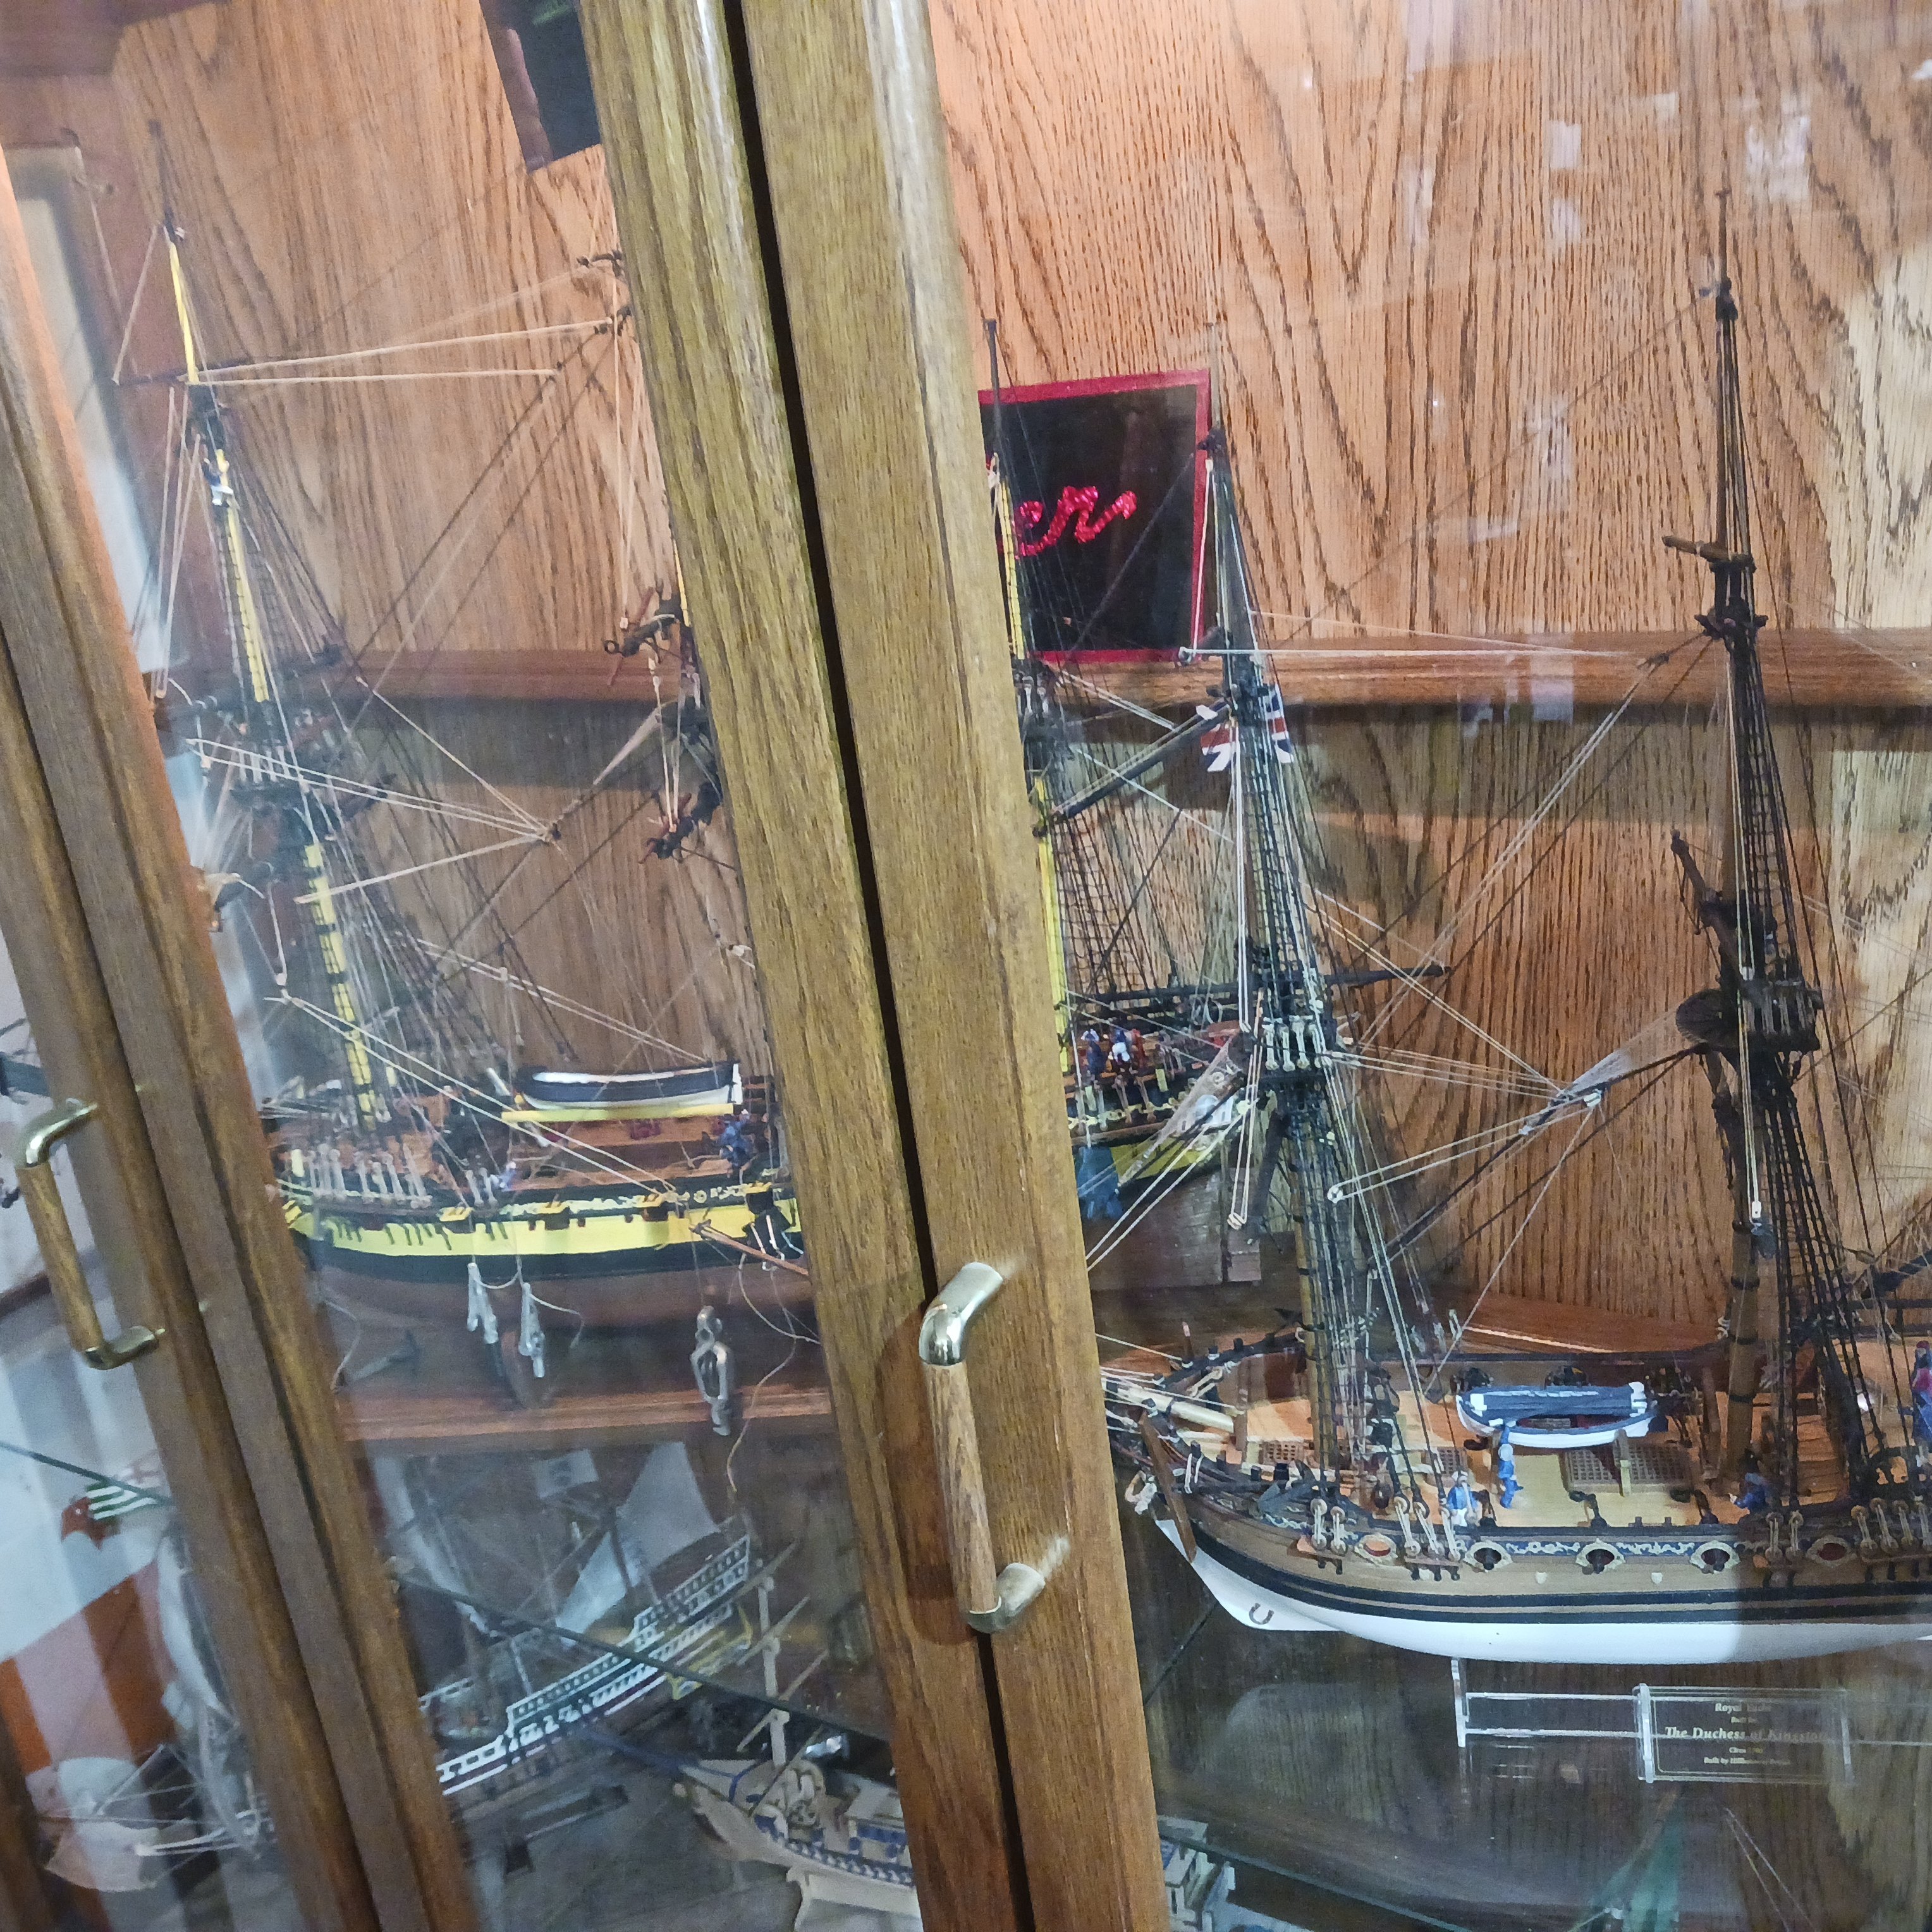
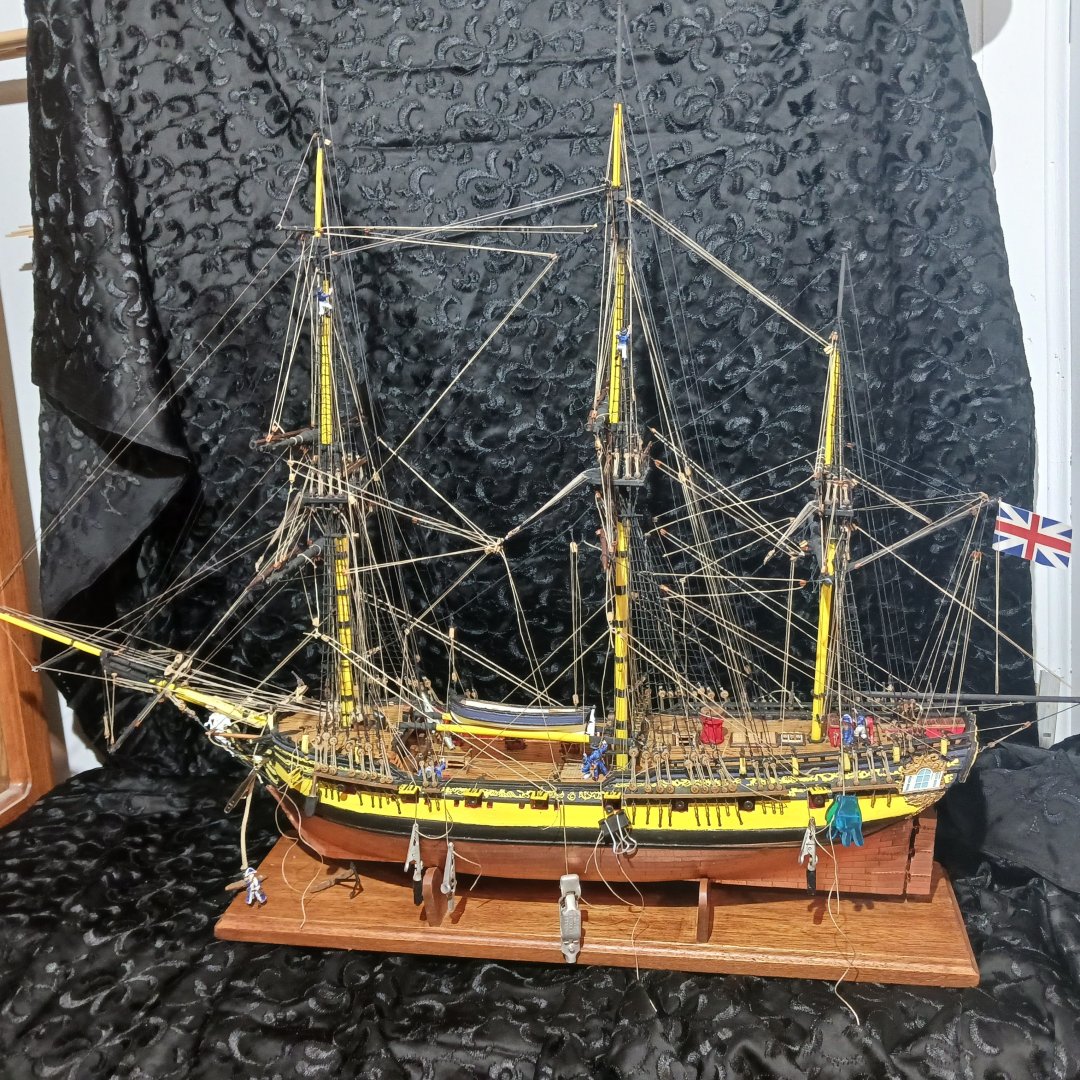
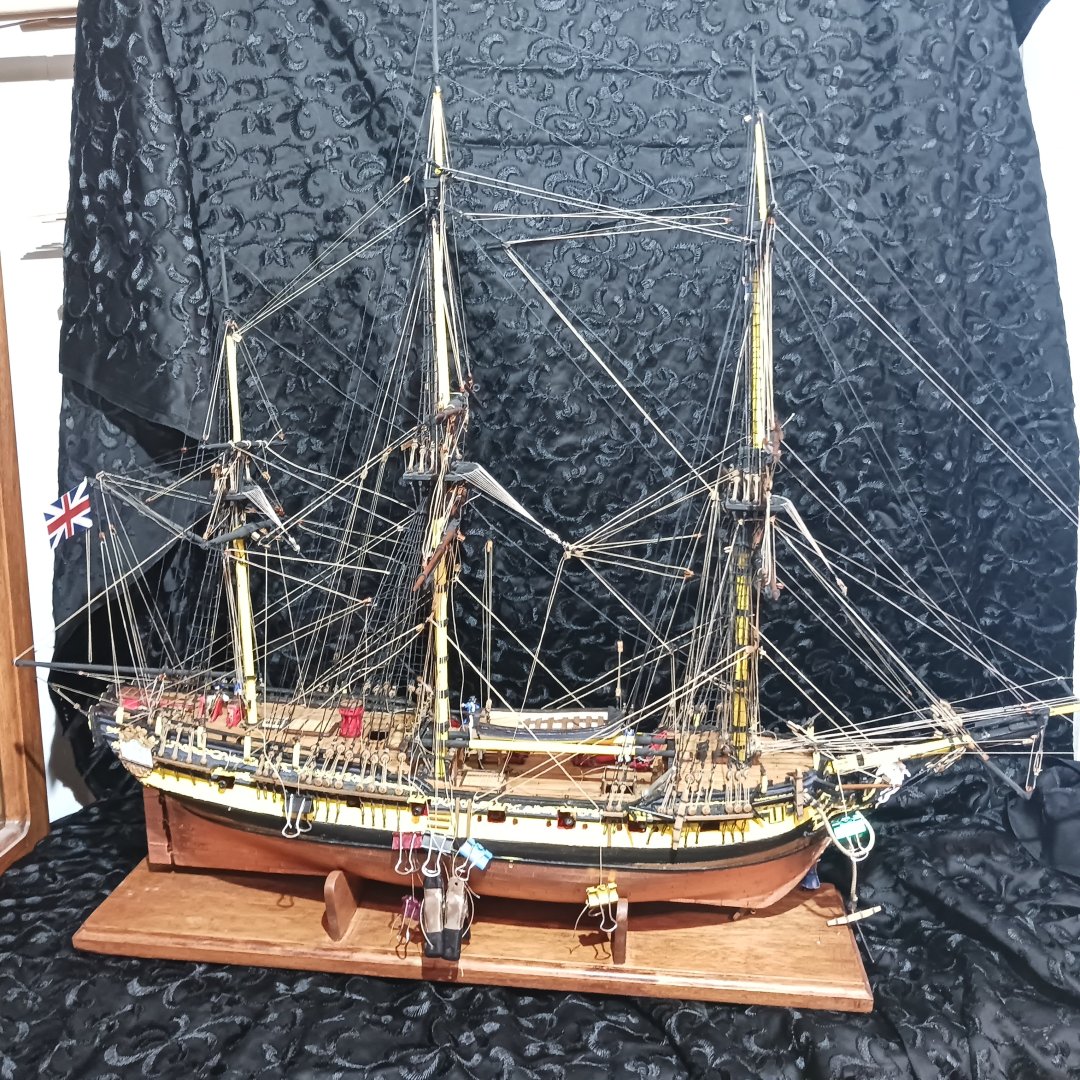
It's rigged, it's rigged lol now just got to tie up some lose ends lol 😆 Thanks @John Ruy, I know what you mean,this was a fun build, like they all are. Thanks for making me pay attention to details 🙂. And a big Thanks to @Moonbug and @Blue Ensign for your wonderful logs, a wealth of information thanks to both of you. Man thats was a lot of rigging, loved it. Had to see what it looks like beside the Duchess of Kingston. Wow , thanks to MSW/NRG for all the access to all the information I need to make ship, forever greatful. It has been an amazing experience, I really picked up valuable experience. They are getting better. I got a Wasa I want to do a number on later. It has lots of ratlines. Lol. Thanks everyone for being part of the build, Tieing up the lines and a few things left, be totally done before Christmas, so people can Surprise me with a new kit at Christmas lol Knocklouder 😁


- 261 replies
-
- 14
-
-
-
- Victory Models
- Pegasus
- (and 3 more)
-
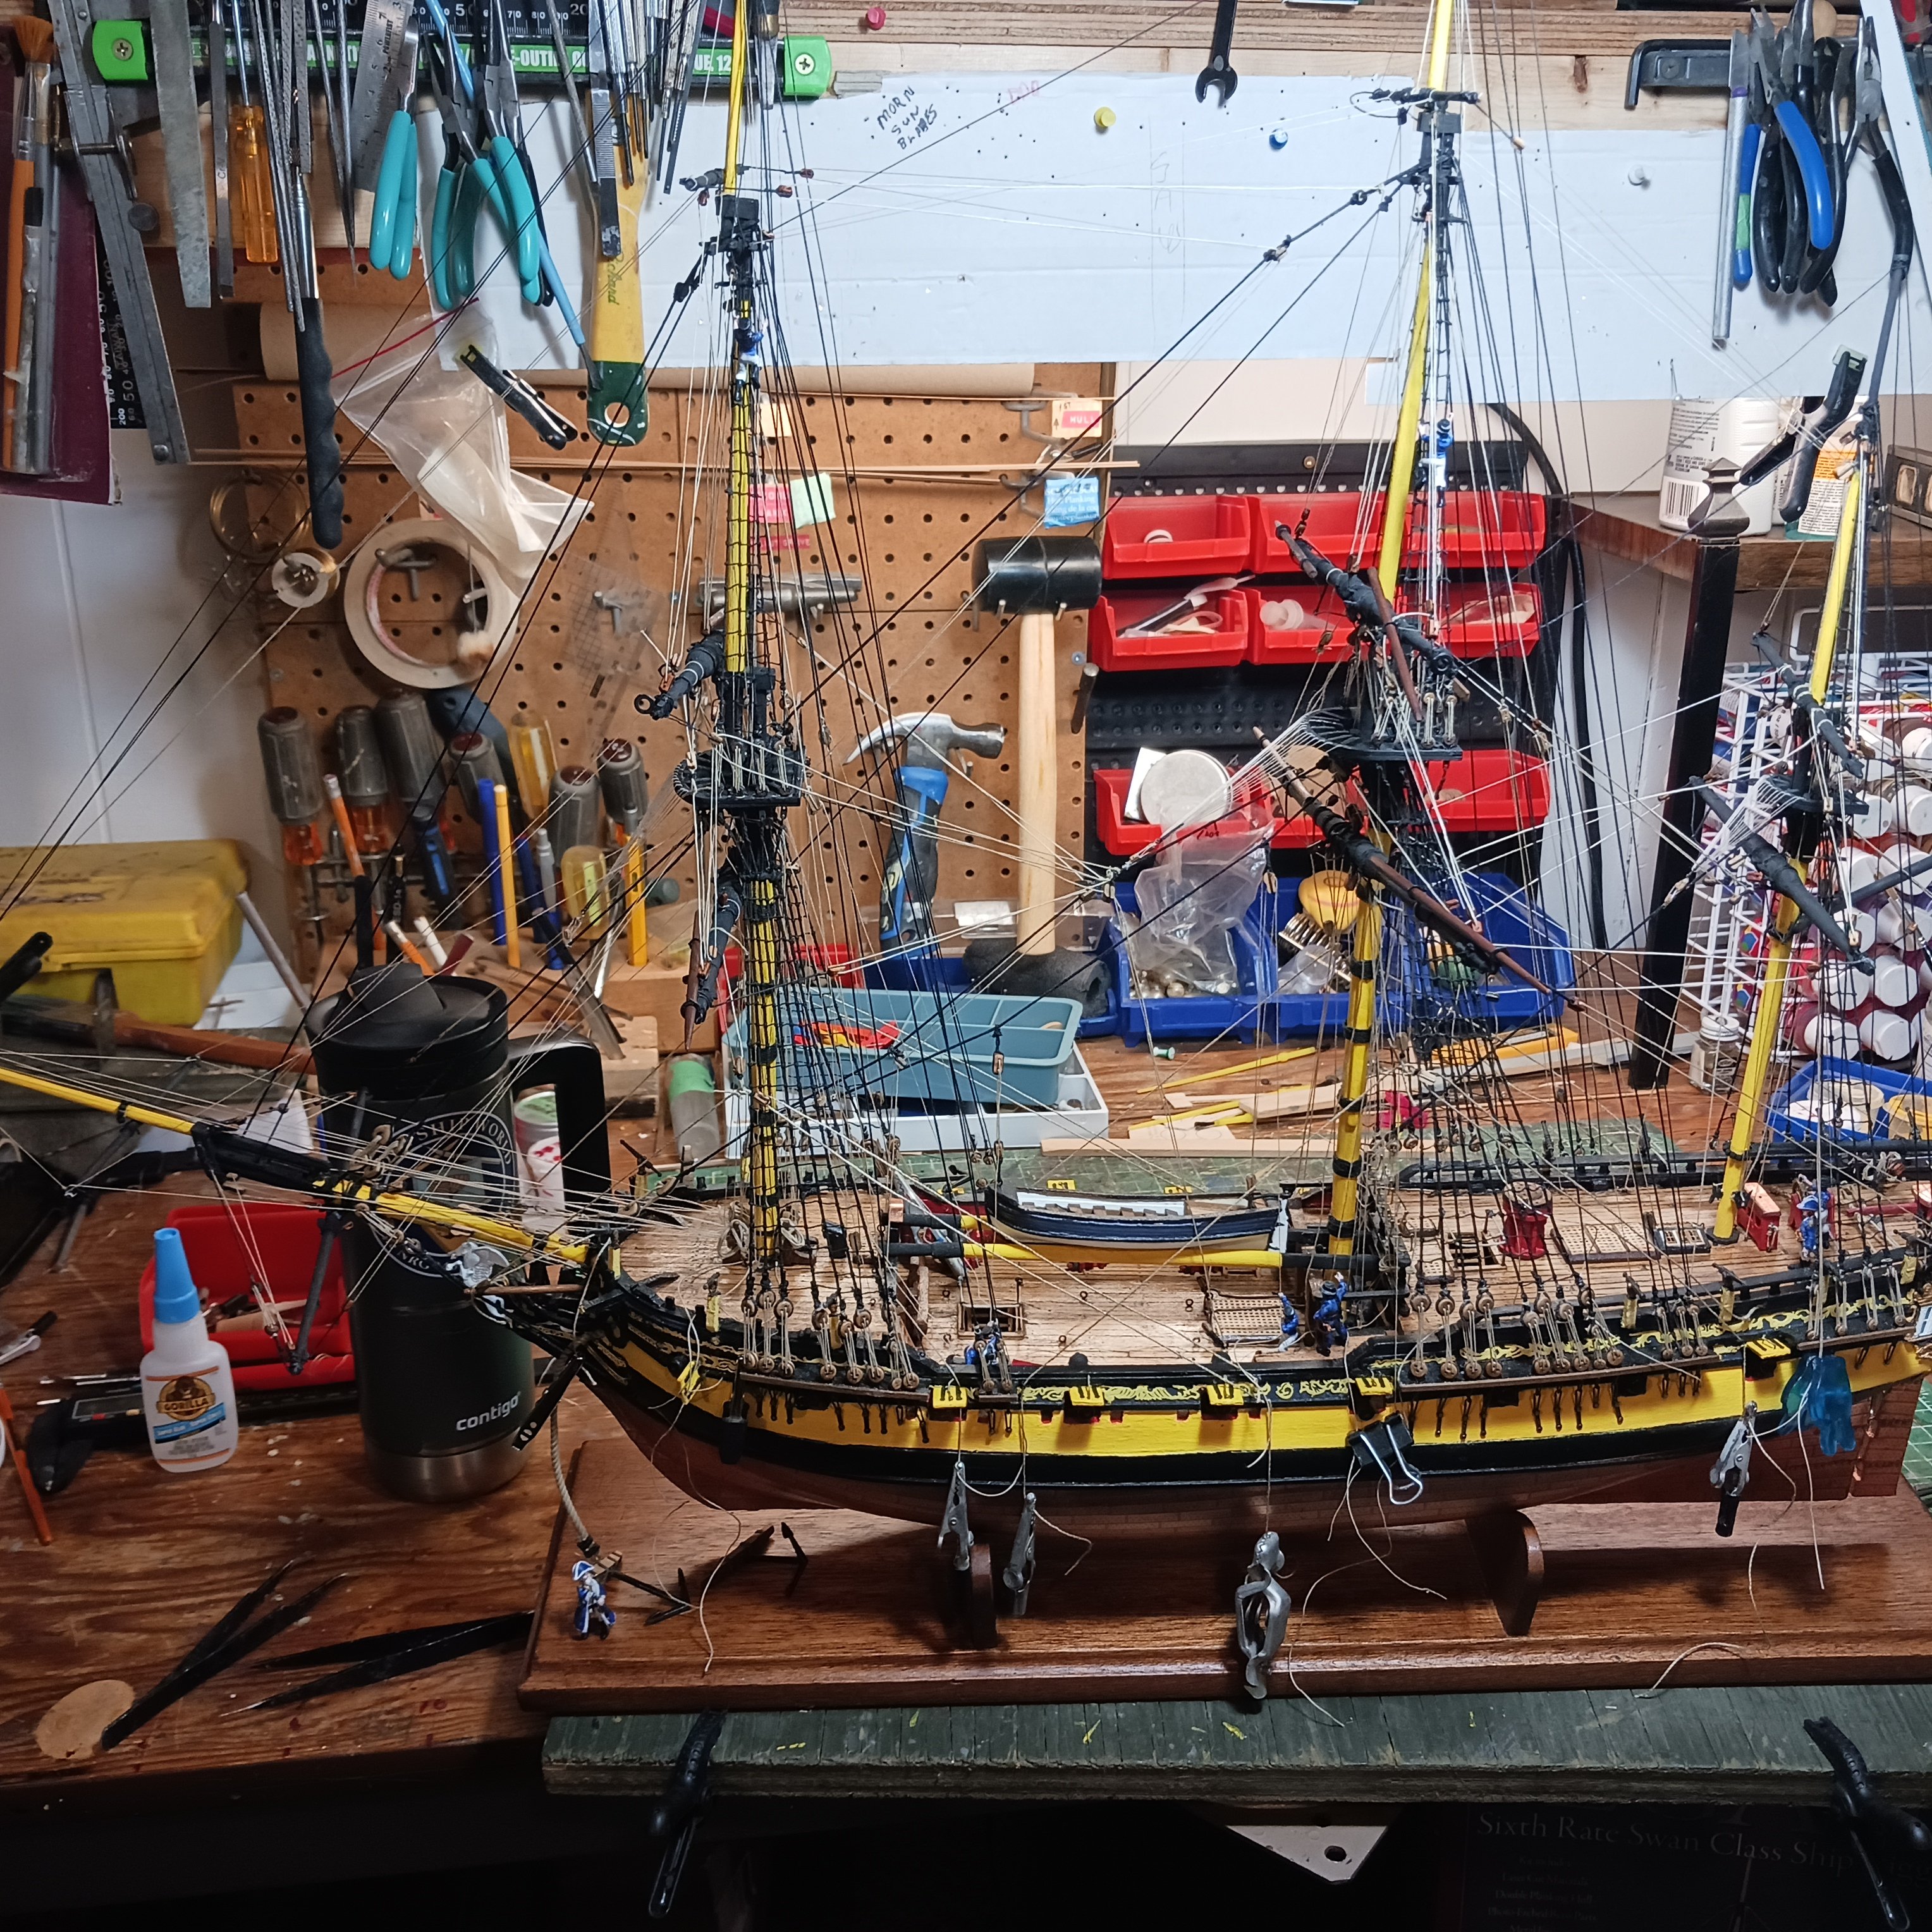
An attempt was made to complete the rigging by today, Frist Mate B-Day, but came up close. The starboard side is complete rigged, just have to tie things off but waiting for the port side so I can add tension evenly. Lots of natural tread now, and my first Tack toggle, they are not as bad to do as the seem, they tie up even and look ok. A few rope coils here and there to make it look better. So I belive that we are down to 12 lines left on the portside, two days. Lol. Have to go to a party so no work tonight, but as soon as I wake up lol. It's like when I first started shipbuilding is on the front burner 24 7 lol 😆 To the portside, in the back of my mine, ,I hear, I am going to finish, I am going to finish lol 😆 I hope I haven't cursed myself lol Talk soon, Knocklouder 😁


- 261 replies
-
- 17
-
-
-
- Victory Models
- Pegasus
- (and 3 more)