Rustyj
-
Posts
2,536 -
Joined
-
Last visited
Content Type
Profiles
Forums
Gallery
Events
Everything posted by Rustyj
-
 Great workmanship JJ.
 -
First off very nice work! I think your final two choices look very good and if Naphthol Red is easier to use then go for it.
- 109 replies
-
- 4
-

-
- medway longboat
- Syren Ship Model Company
- (and 1 more)
-
Yes we all have had that moment. I used a hair dryer to accelerate the drying time to just an hour with no ill effects.
-
Very nice Bob. I agree that it all fits together quite nicely and the brushed on glue method really works well.
-
Very nice JJ. Great tip on the molding. I'll try to remember it next time around!
-
Welcome aboard! Follow Chucks advice and you'll be fine!
-
Very nice masts and spars. It is something I think we all do a little differently and you seem to have found out what works for you. That's what's important. Each time you do it it'll get easier and easier. Well done!
- 436 replies
-
- 3
-
-
- vanguard models
- alert
- (and 1 more)
-
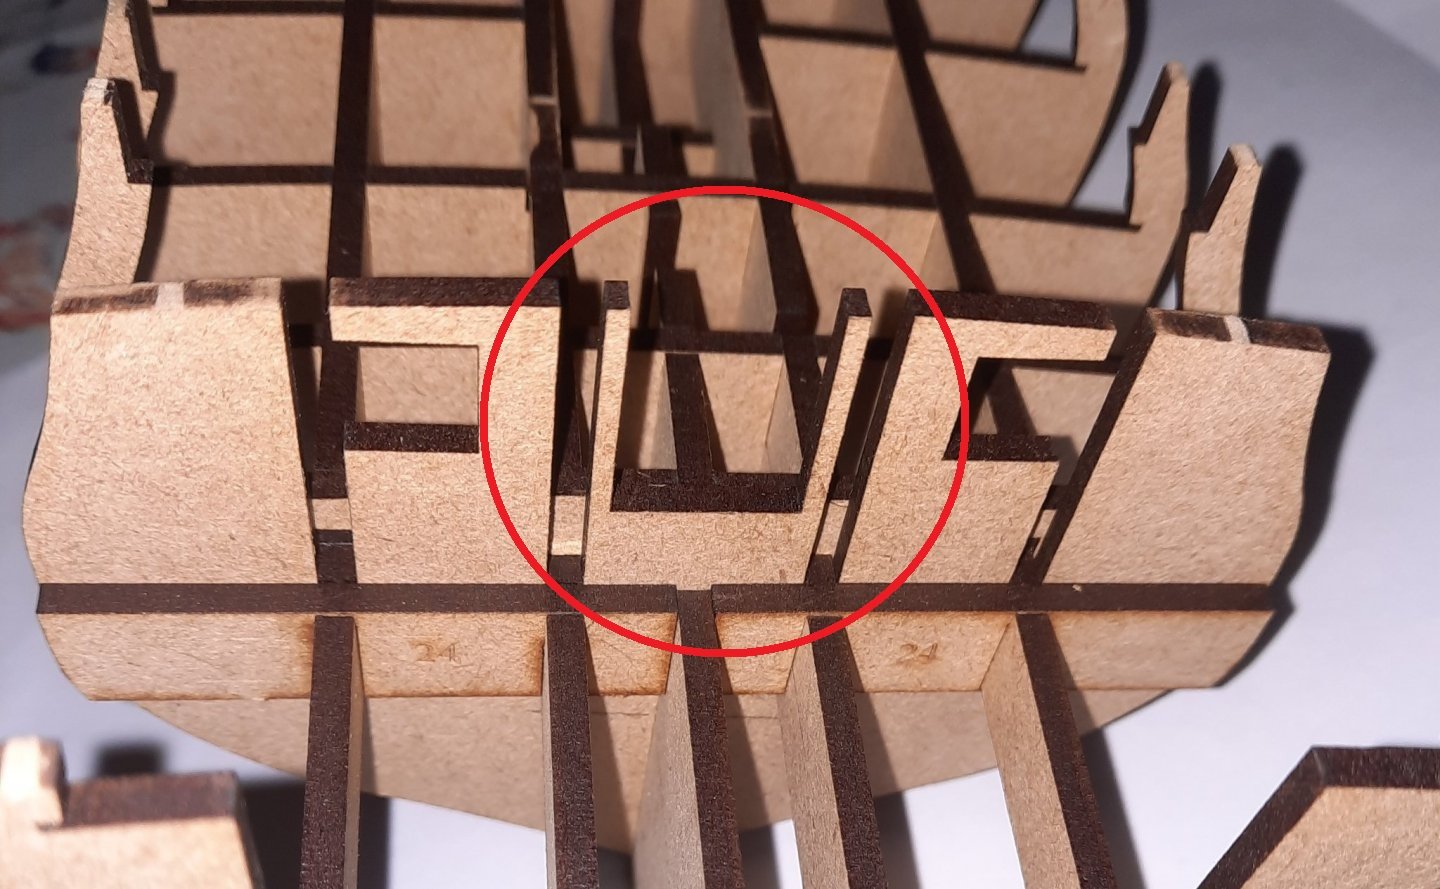
Hi Glenn, Great save. Those little buggers were hiding on you. Beware when your placing the fore deck. The two vertical pieces circled in your picture below are fragile and can be bent or snapped off if your not careful placing the fore deck. As least if you have heavy hands like me. Keep up the good workmanship!
- 382 replies
-
- 4
-
-

-
- Vanguard Models
- Duchess of Kingston
- (and 1 more)
-
That is some fine work on those sticks Glenn. Nice tight joints too! It's really rewarding when you can take " sticks" and make them into something nice like you did.
- 778 replies
-
- 3
-
-
- cheerful
- Syren Ship Model Company
- (and 1 more)
-
I'm in the same boat as you Bob. It'll be a lot of fun building along side with you and the others.
-
Your detailed log will be very beneficial for all who follow. Thanks for this. I tend to get in a zone and forget pictures for several steps. 😉
- 382 replies
-
- 6
-
-
-
- Vanguard Models
- Duchess of Kingston
- (and 1 more)
-
I'n the past I have used boxwood on numerous models. Your use of pear, along with you're beautiful design is why I've ordered the Duchess. 😁
-
On the butt joints if you feel that you can't hit the frame then drill just deep enough to hold the line. I don't think they really supply structural support.
-
I gave in and ordered the DoK yesterday!
-
Thank you Jean-Paul, Sjors, JJ and Bob. Much appreciated. Also for all the likes. I'll give you the same answer I used to give my dad when I was a teenager and I quote, "Ummm, ahhhh, welllllllll, maybe, I don't know." That should about cover it.
- 642 replies
-
- 2
-
-
- winchelsea
- Syren Ship Model Company
- (and 1 more)
-
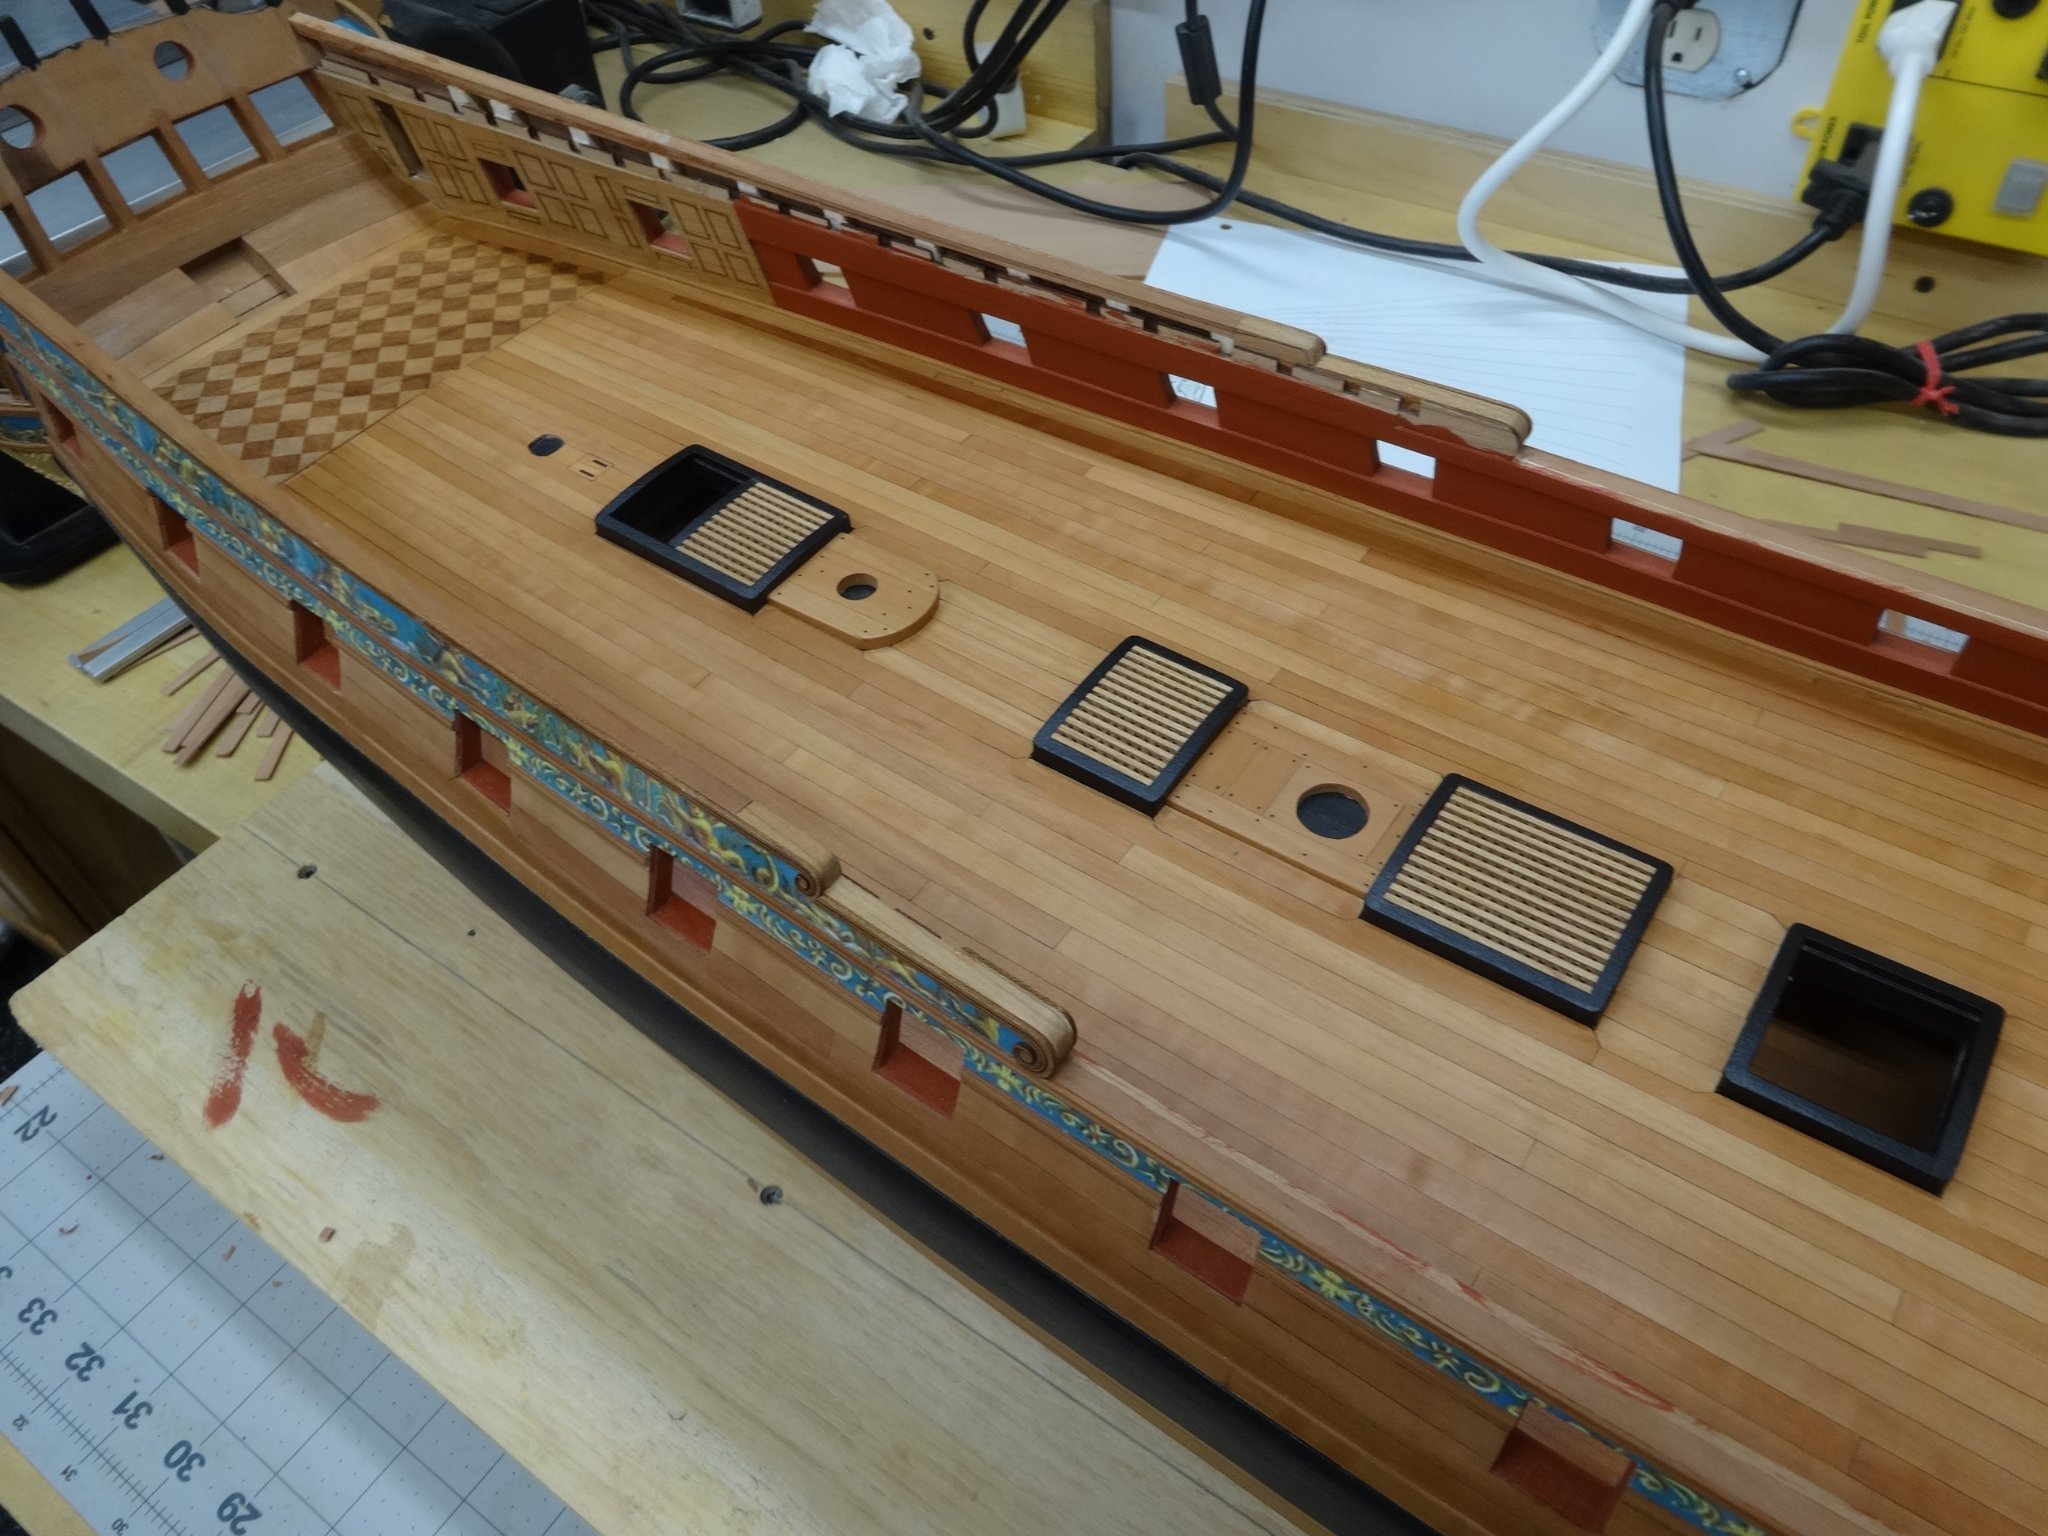
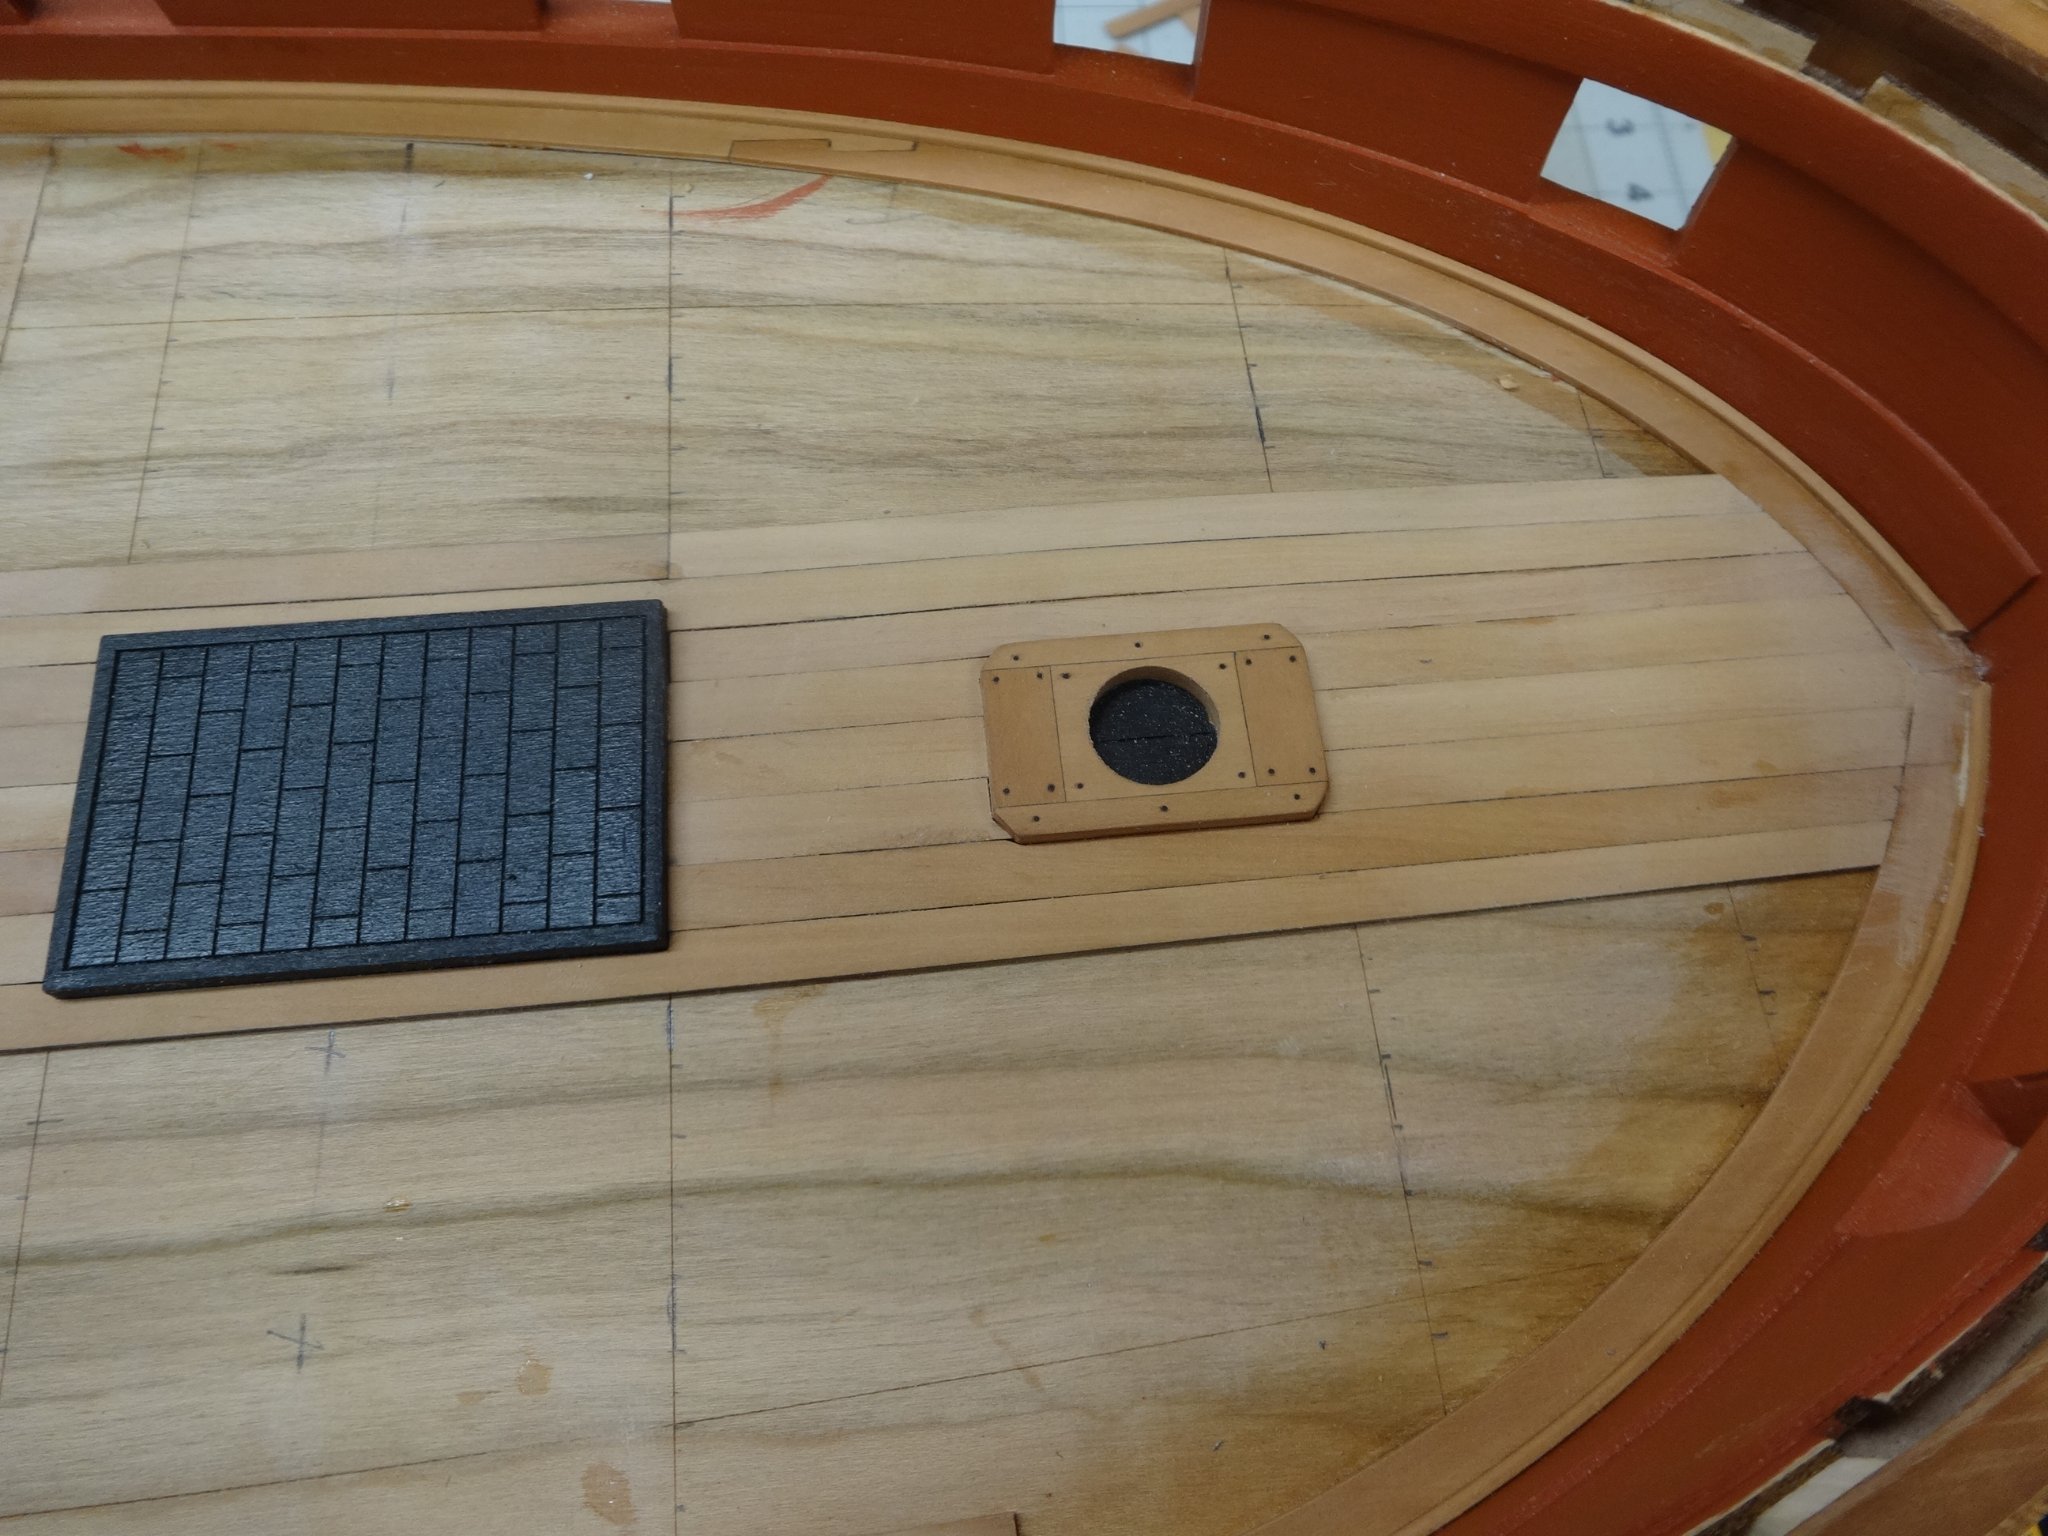
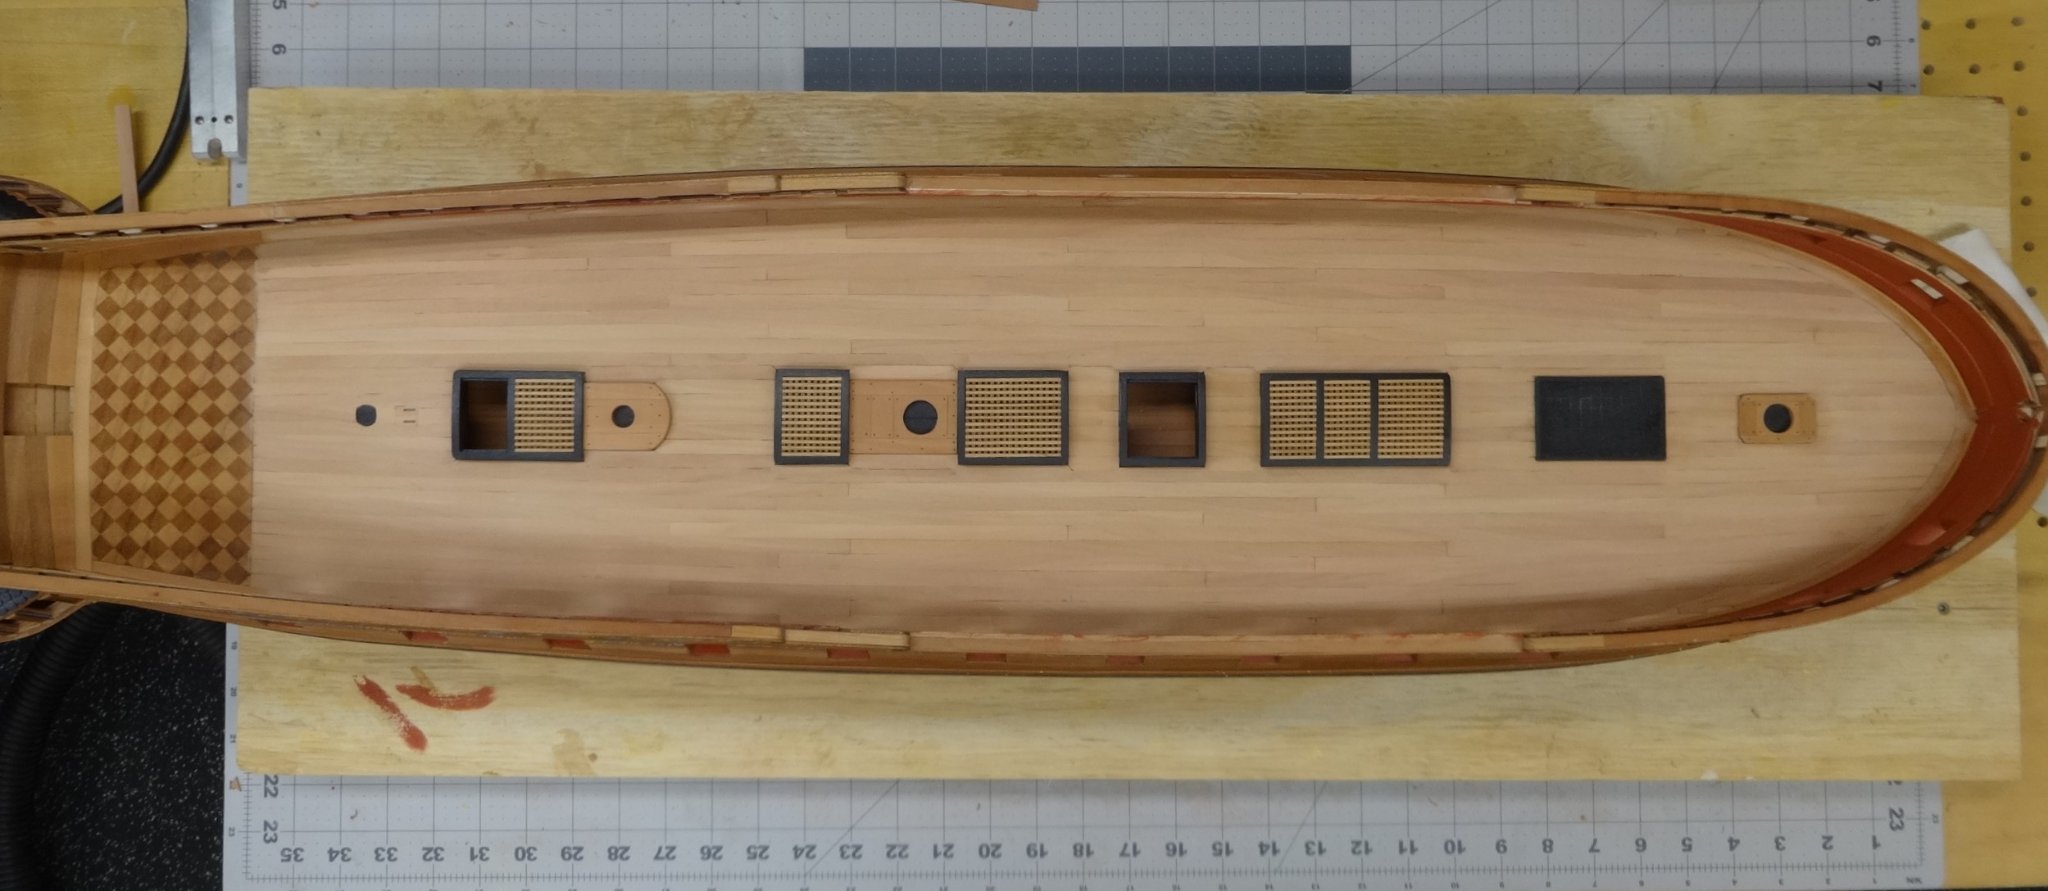
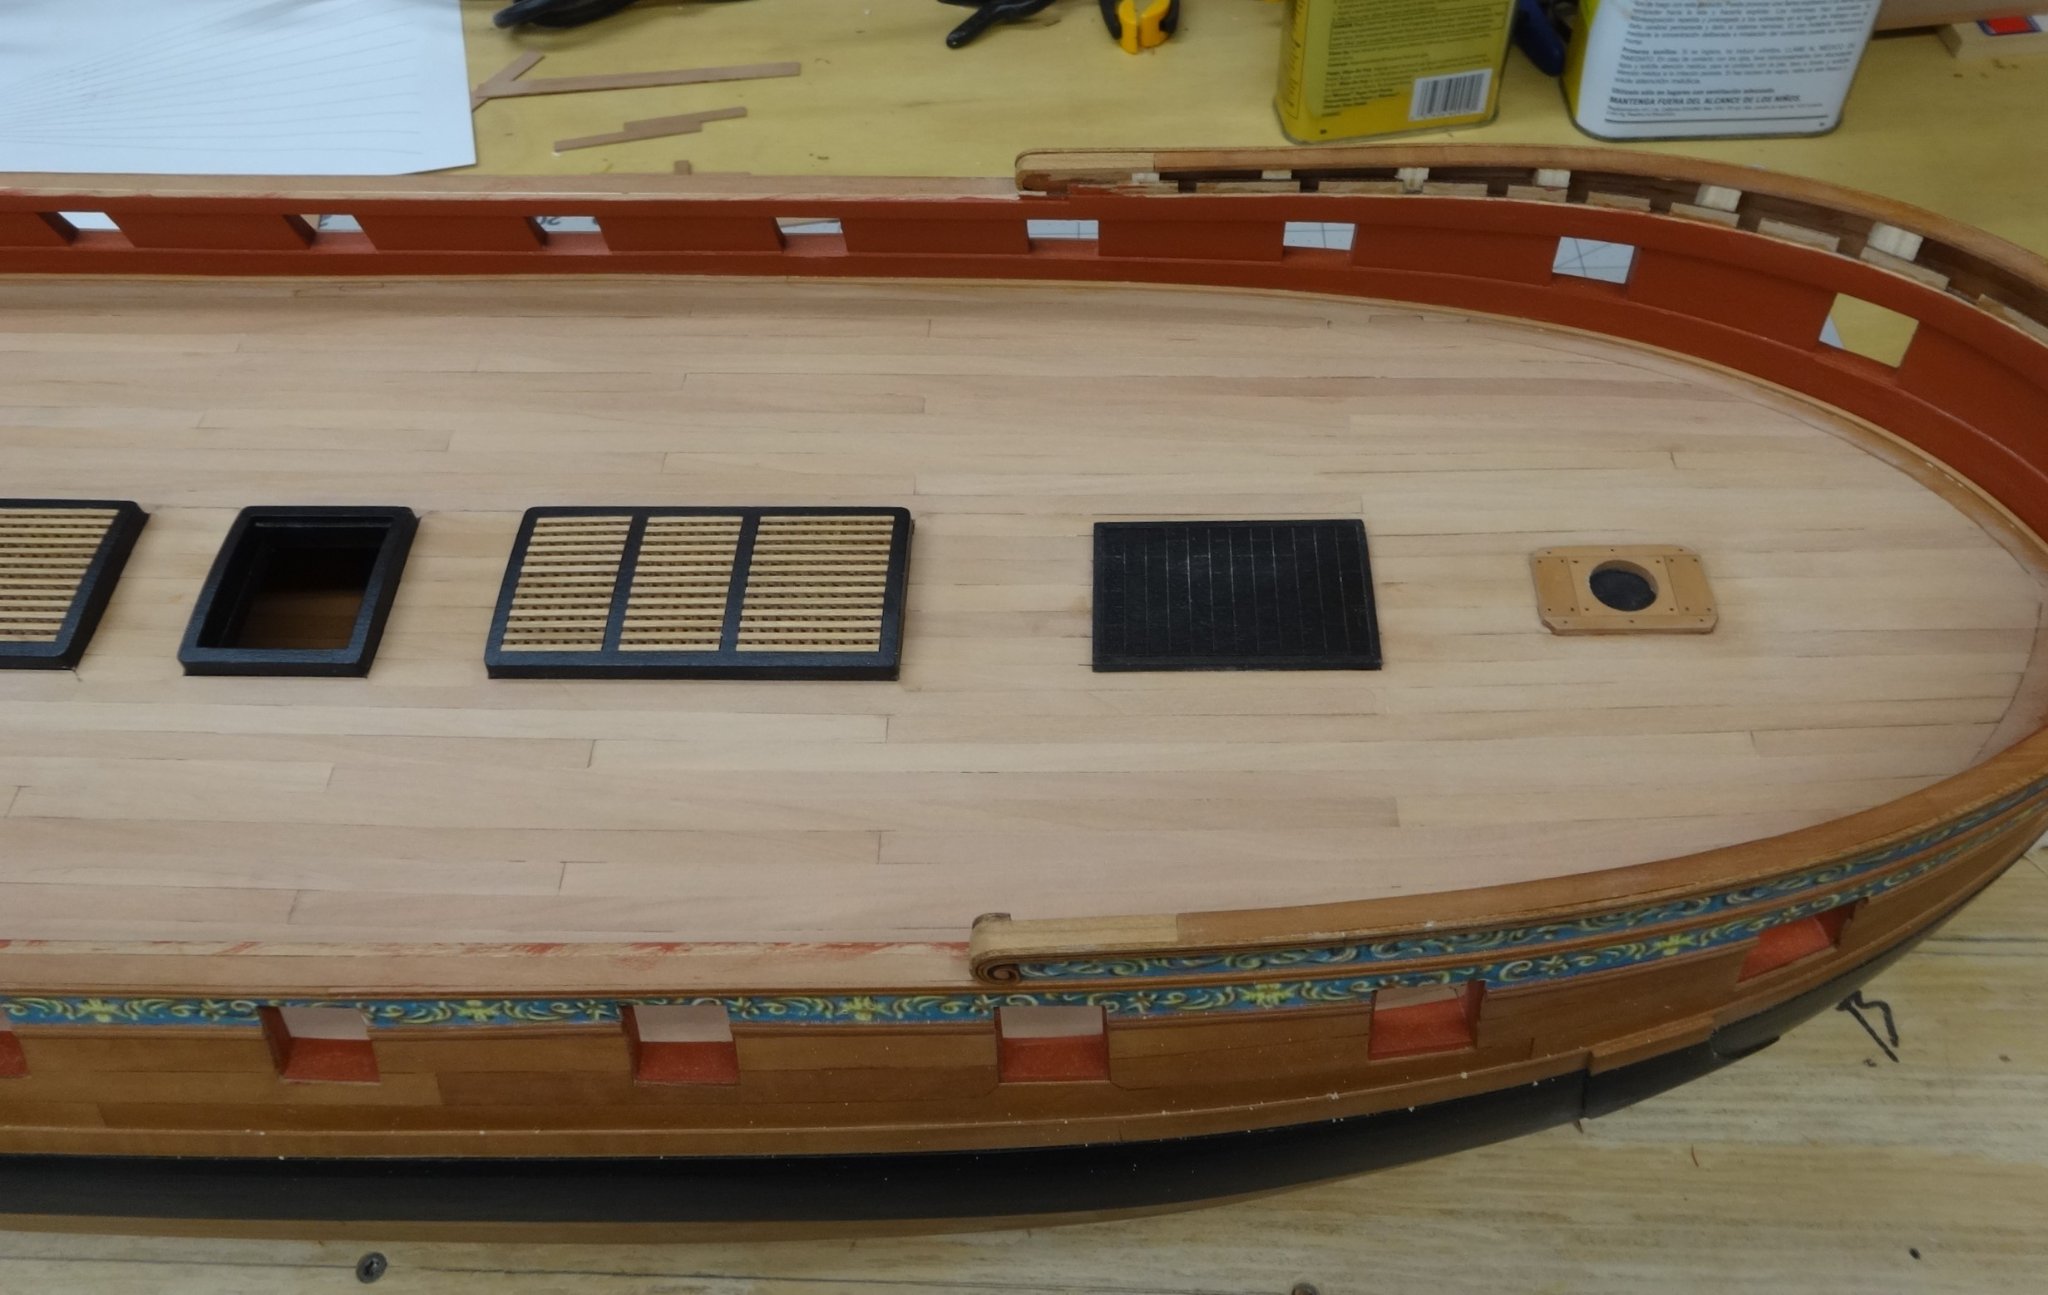
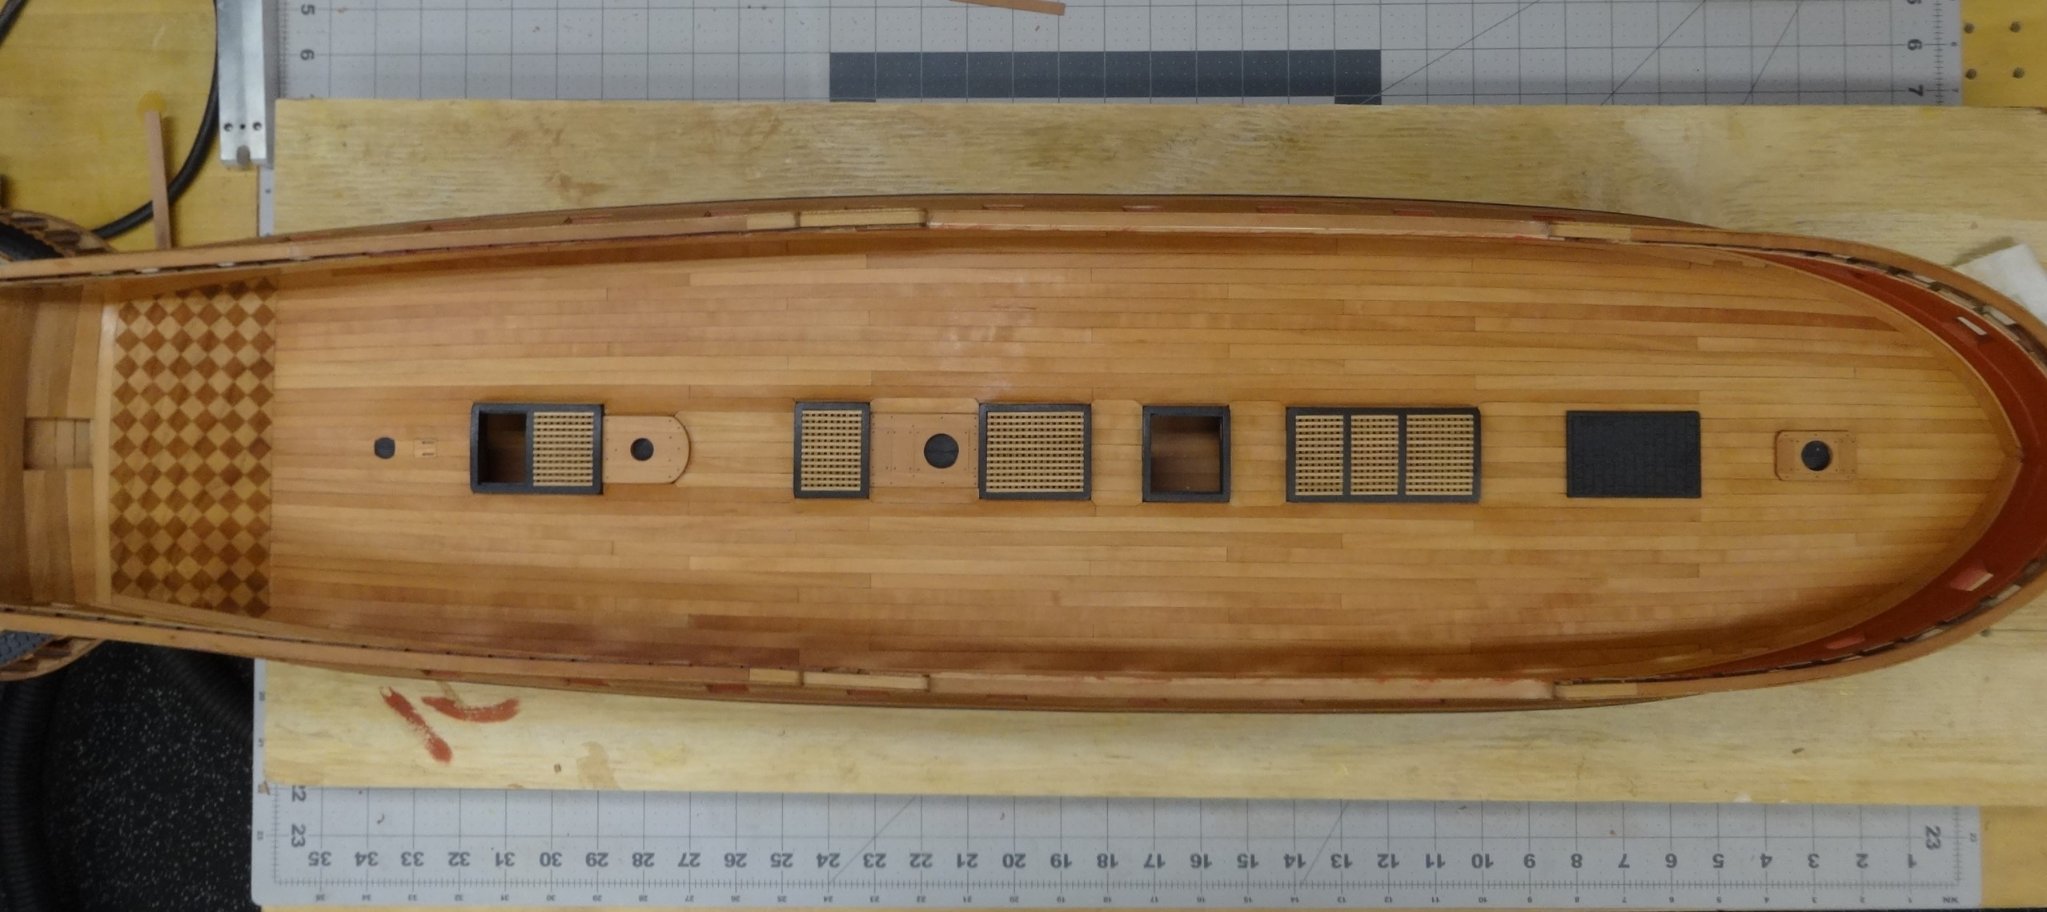
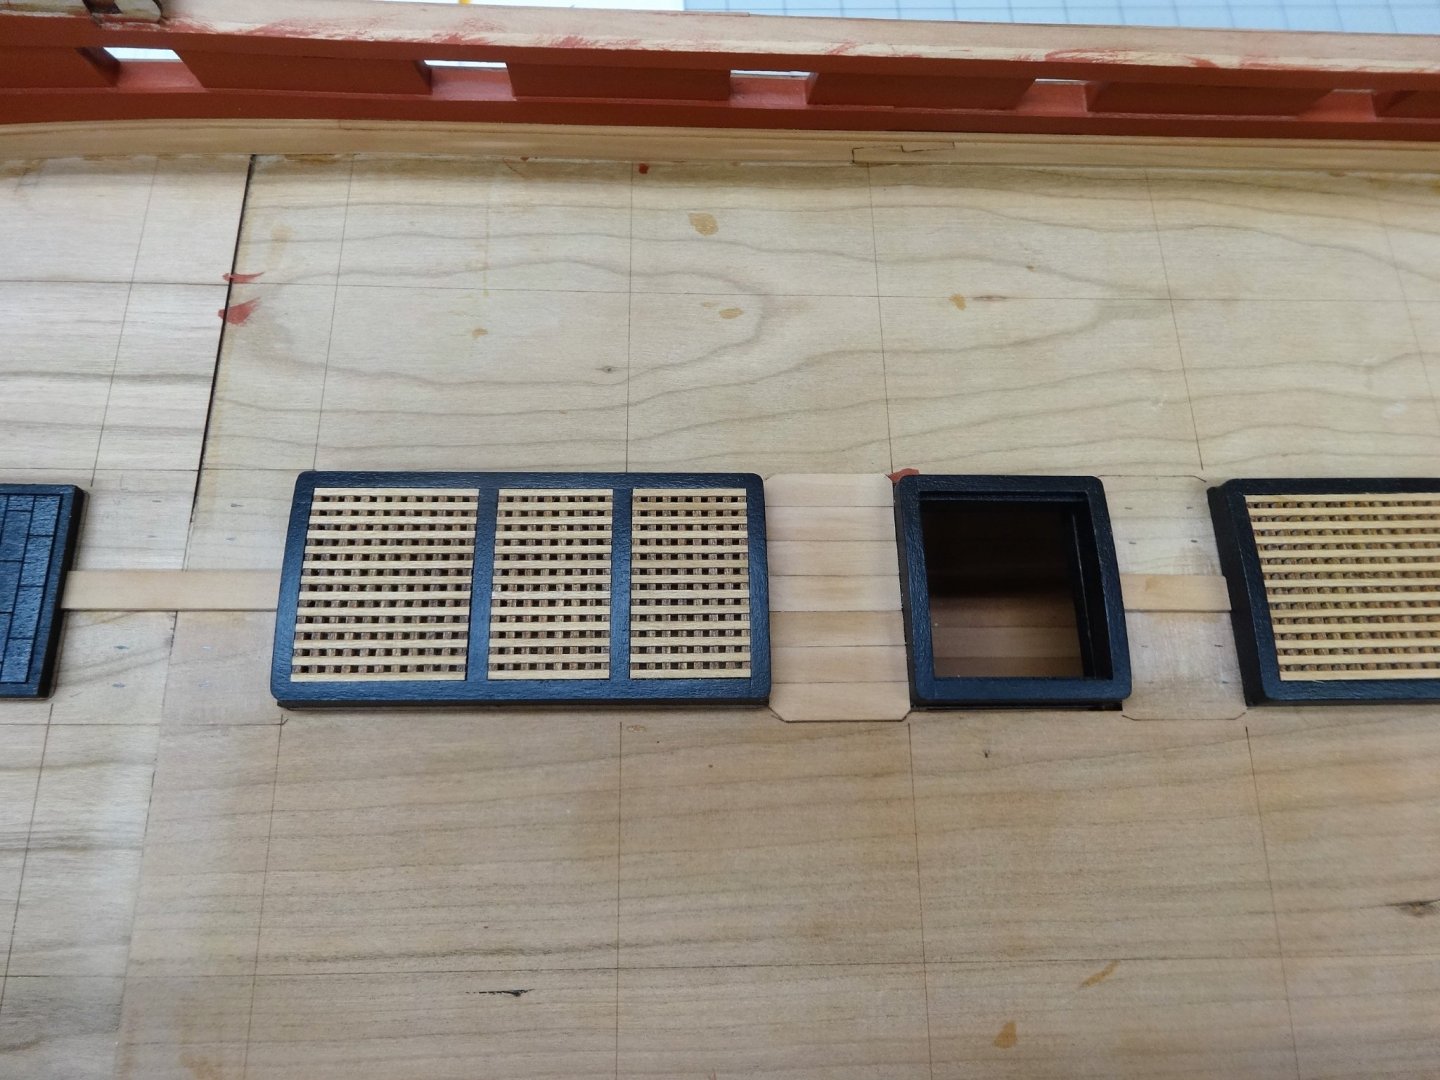
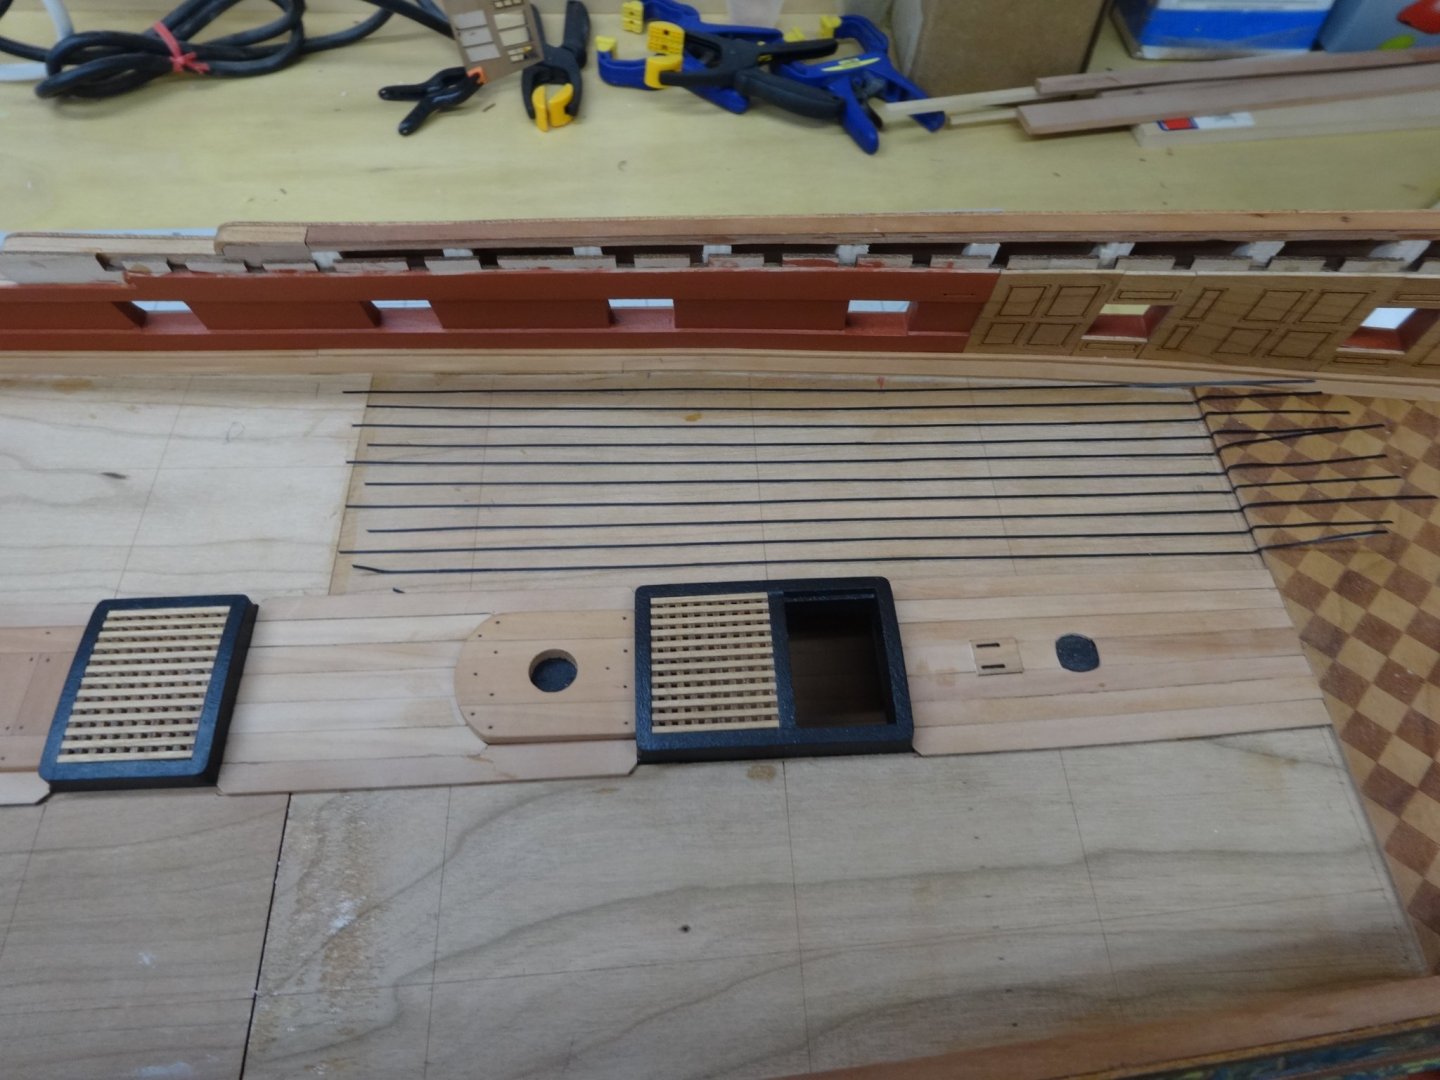
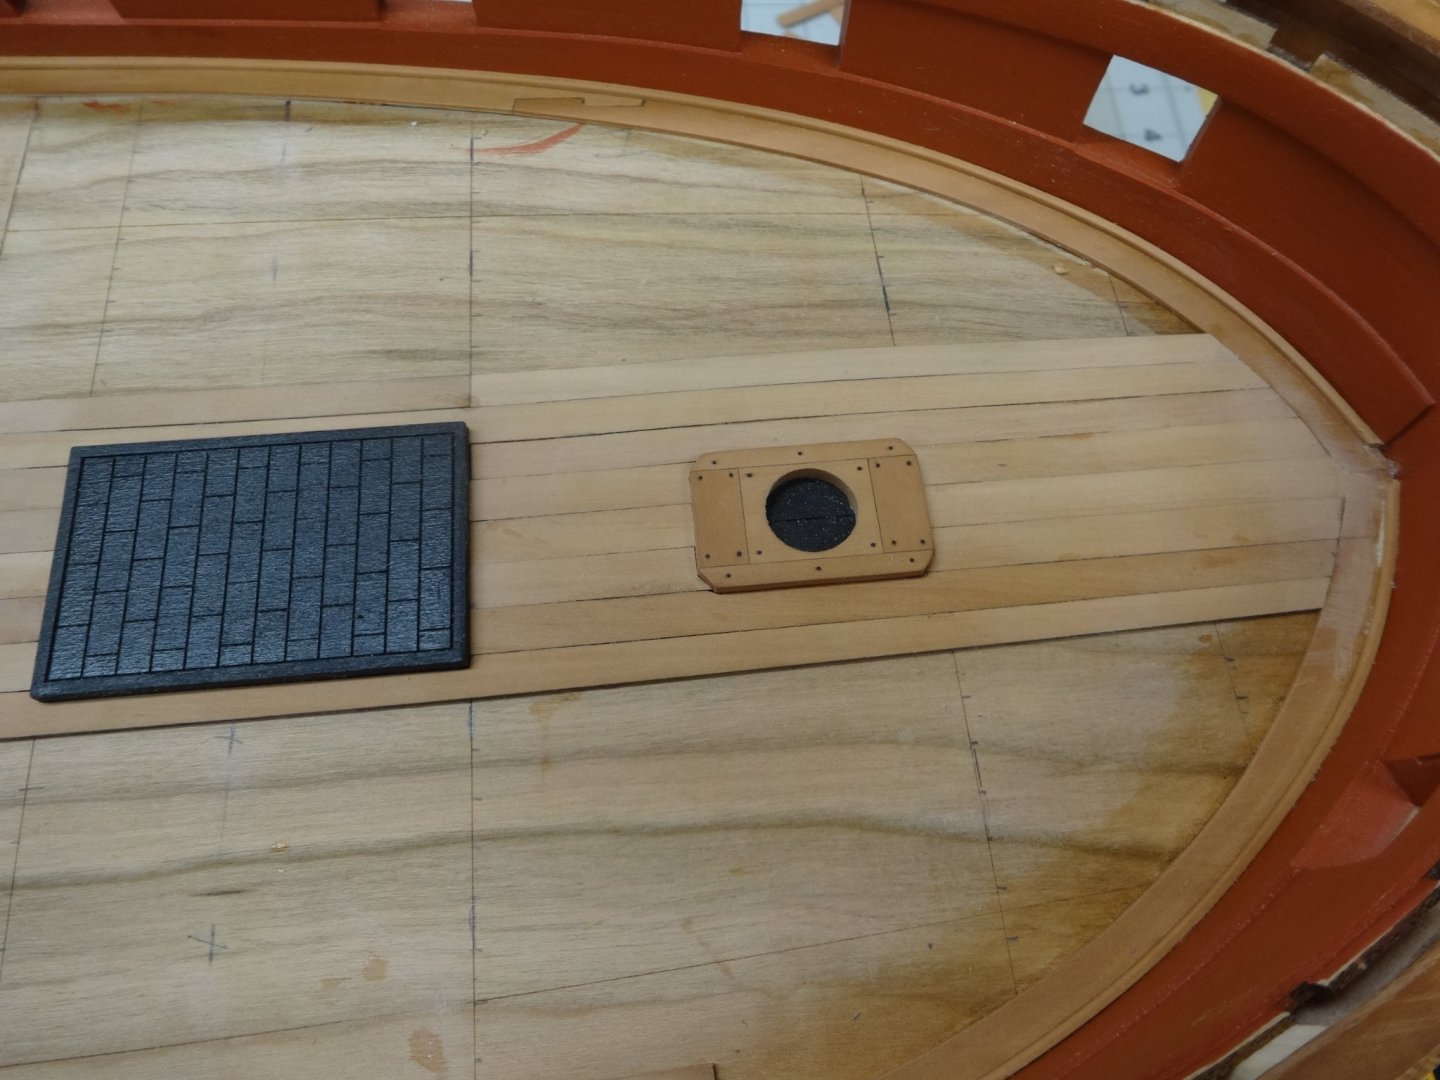
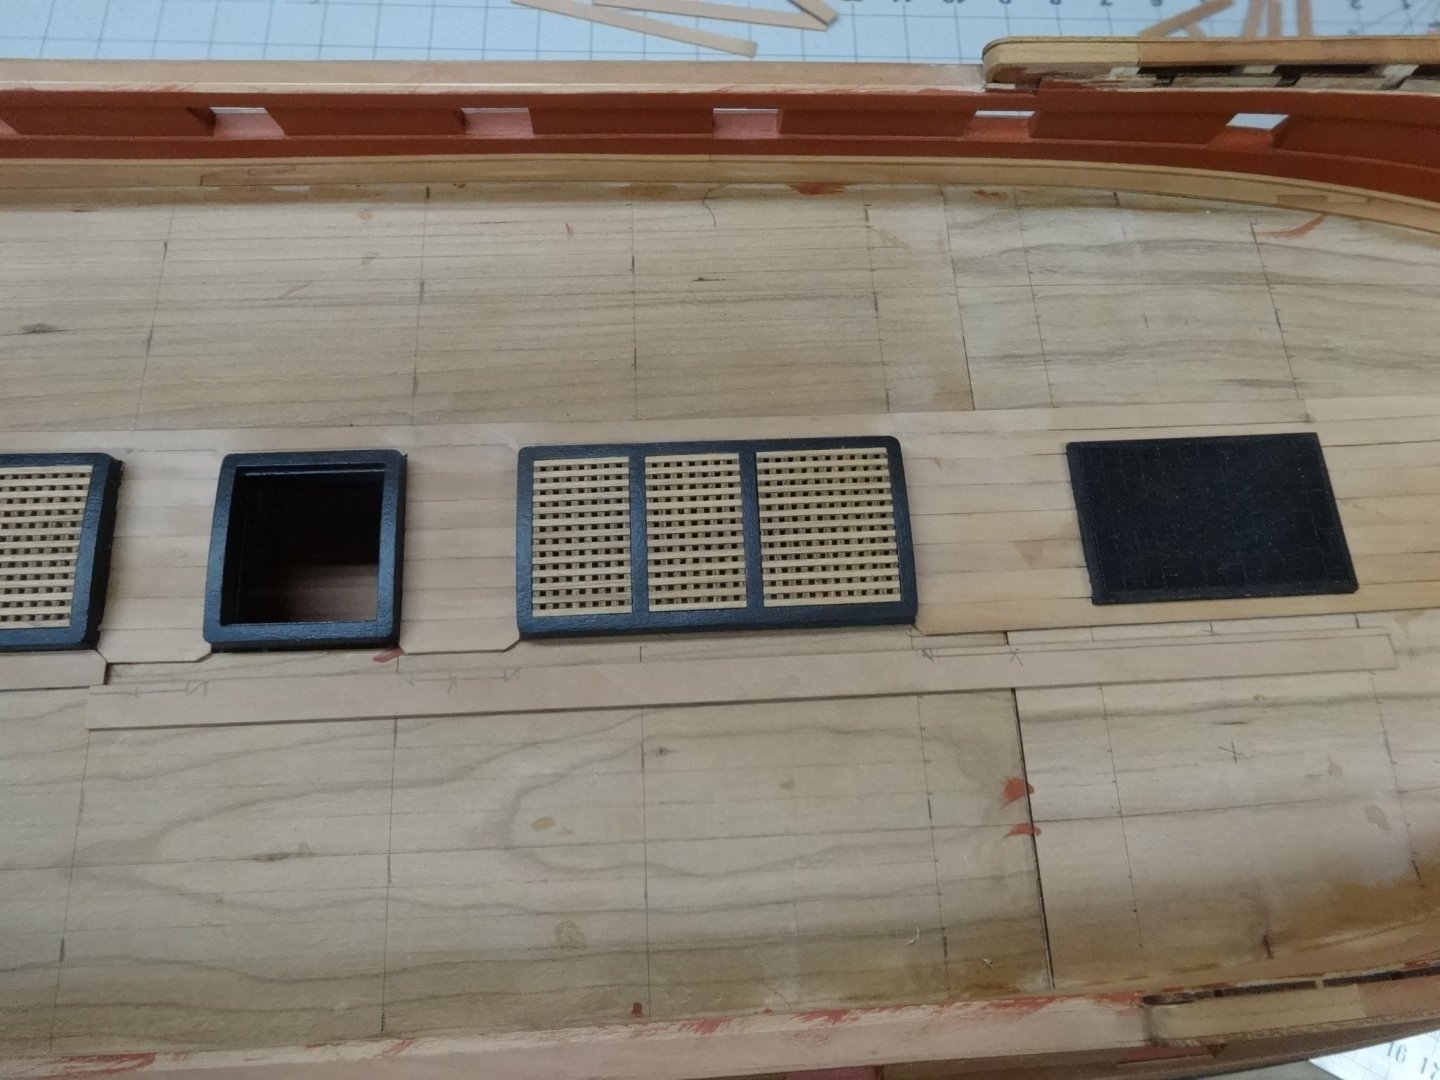
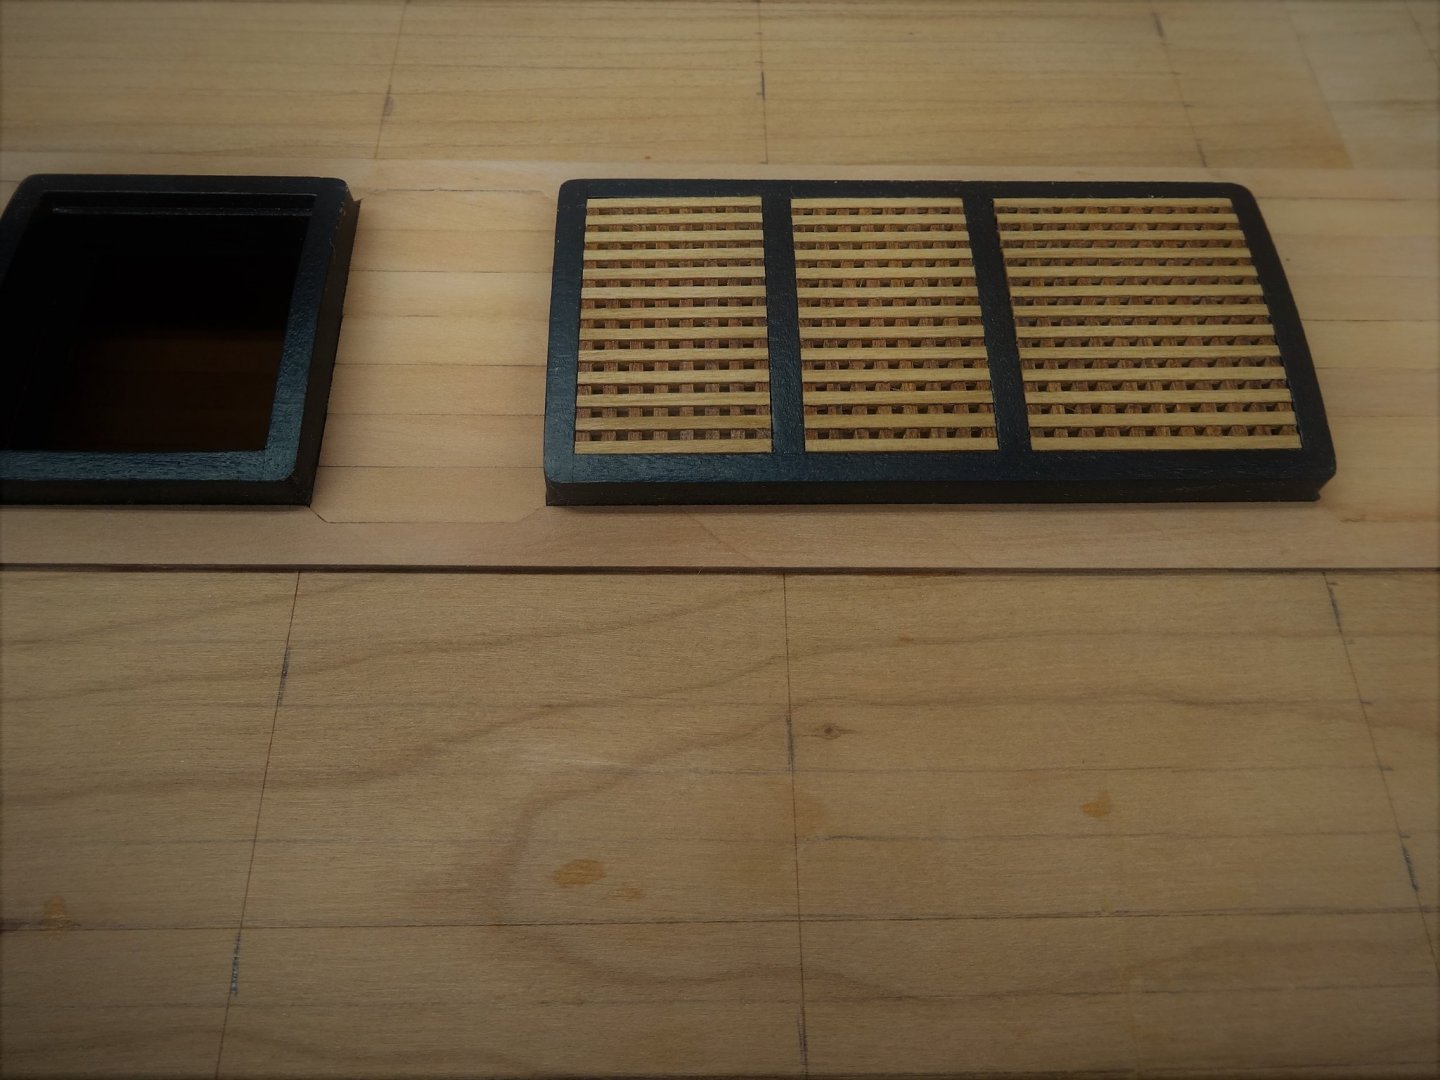
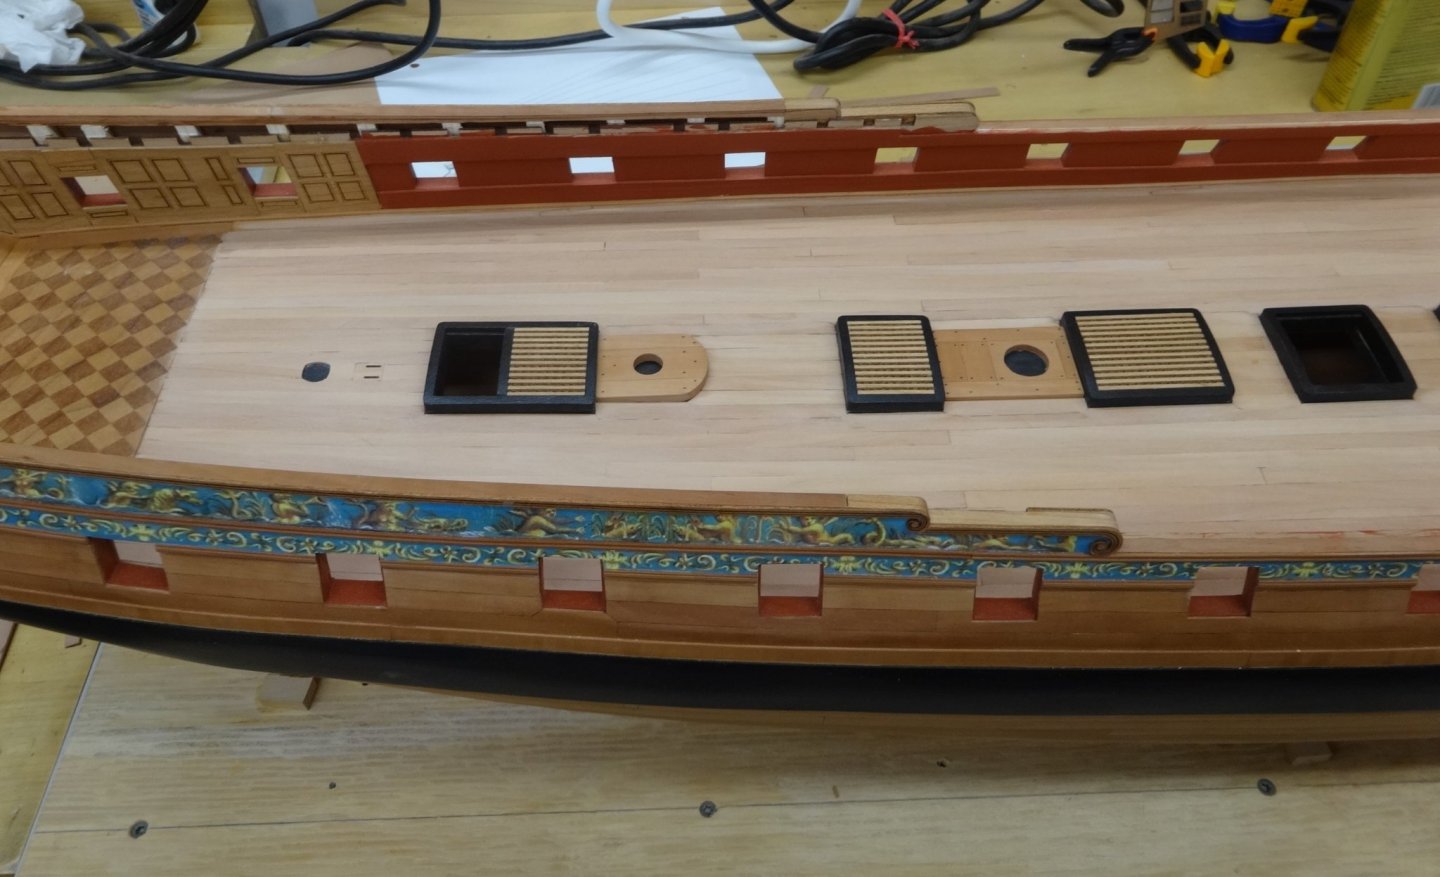
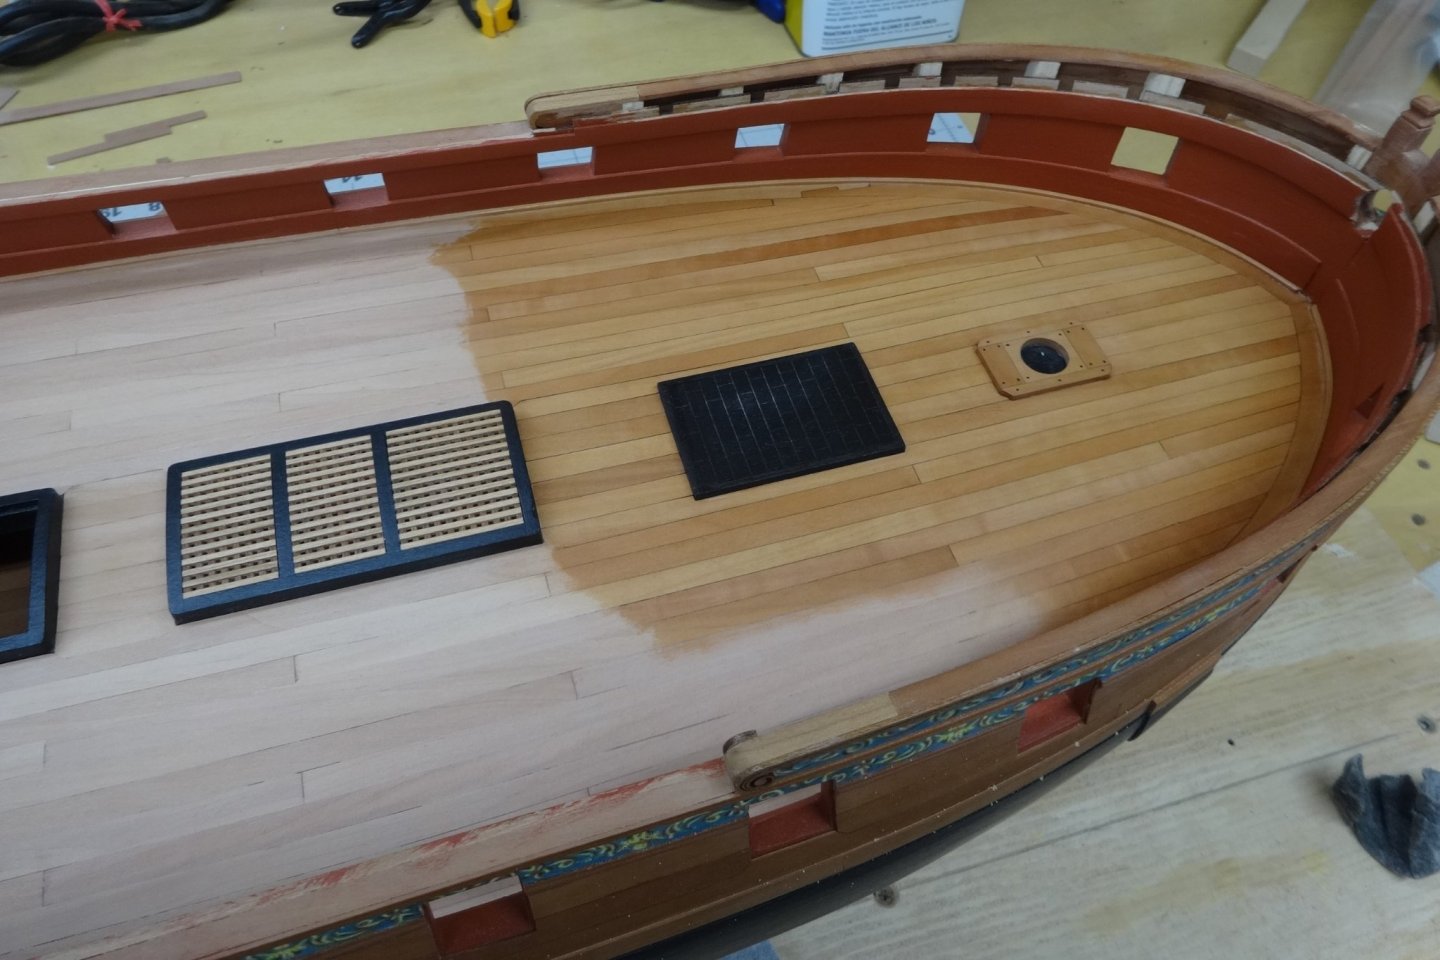
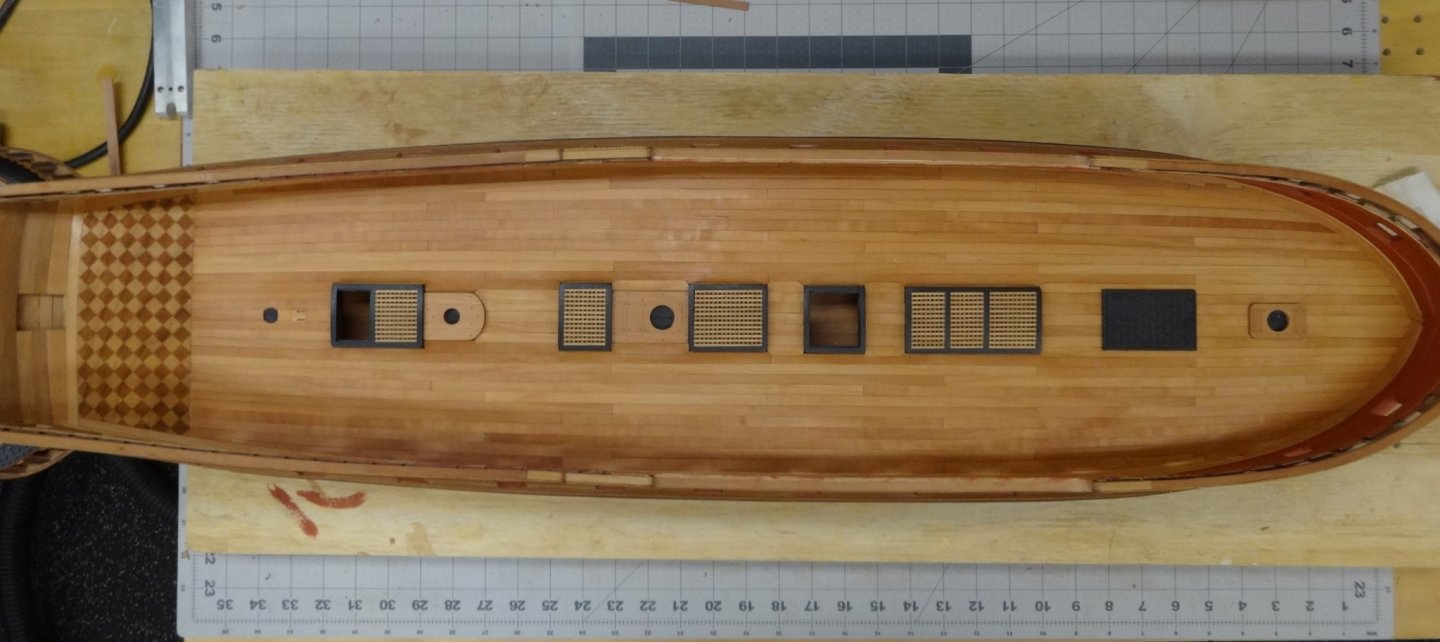
Thanks Mark and Sjors. Sjors I've been following your Flirt and you're doing a great job on her! Also thanks for the likes. On to planking the deck. I planked her using pear wood. No big surprises, just follow Chucks directions! Here you can see the start of laying the first center line plank and the the filling in between the hatches etc. Then came the tabs around the hatches. You can see how I started figuring the cuts and just kept making small cuts and sanding until a tight fit was obtained. More pieces than I care to count went into the waste bin! Here all the tabs have been completed. Planking the remaining deck came next. First coat of wipe on poly going on. Brings out the colors nicely. Whew that was a lot of fun!


- 642 replies
-
- 28
-
-
- winchelsea
- Syren Ship Model Company
- (and 1 more)
-
Very nice Grant. I'm glad you restarted it too!
- 109 replies
-
- 3
-
-
- medway longboat
- Syren Ship Model Company
- (and 1 more)
-
Very nice job Don. We must have gotten our hands from the same store!
- 144 replies
-
- 2
-
-
- winchelsea
- Syren Ship Model Company
- (and 1 more)
-
Hi Bob. I spoke with Chuck regarding the cannon a while ago and he said "The cannon are in fact the 1 15/16 resin for the gun deck. 1 9/16 for the upper decks. If you leave the aft port empty like I will you will need 24.....1 15/16 cannon. None in the foremost port either." By the way great choice on the Duchess of Kingston. I'm severely tempted to get her.
-
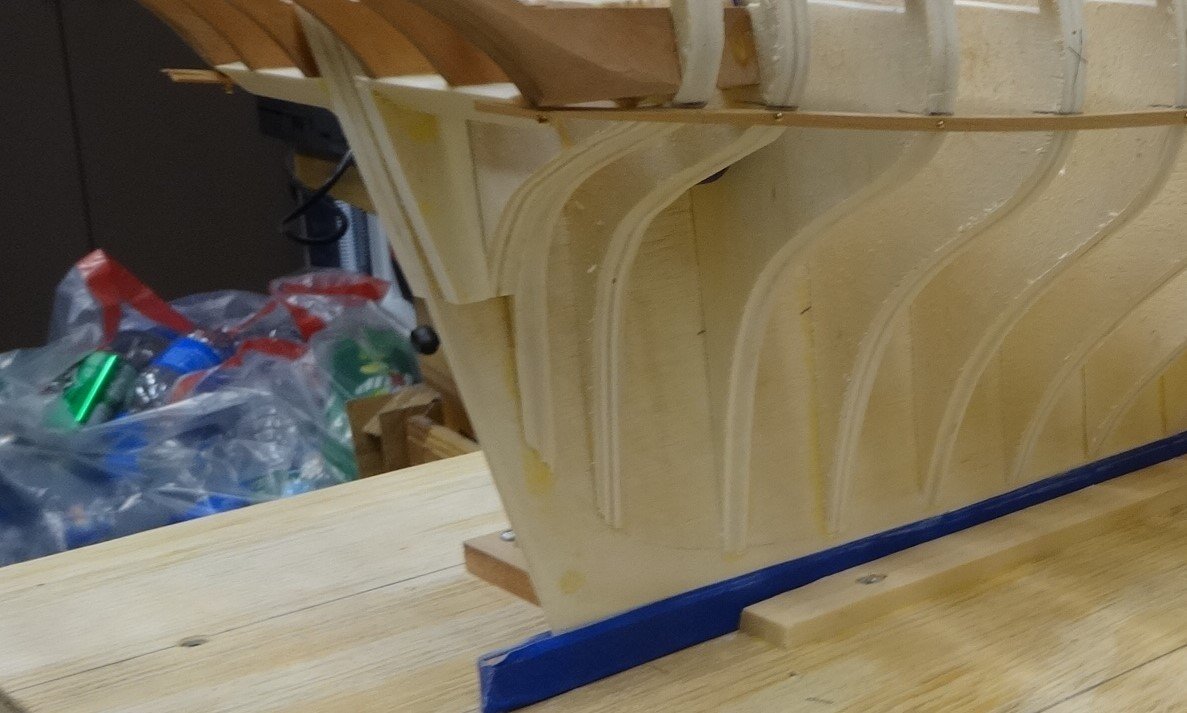
From the pictures it looks like you were a little to aggressive with the sanding. You can build the frame back up with stripe wood on the face if needed. I would wait until you've framed in the stern. Once that's done I would think it will give you better idea of just how much you are off. I hope this helps
-
Mike explains it perfectly. See below.