yvesvidal
-
Posts
3,641 -
Joined
-
Last visited
Content Type
Profiles
Forums
Gallery
Events
Everything posted by yvesvidal
-
 What a beautiful boat. Nice choice of colors. Yves
- 70 replies
-
- 1
-

-
- Lowell Grand Banks Dory
- Finished
- (and 1 more)
-
Beautiful little boat. Yves
-
Mike, Nothing wrong about asking a question. Yes the virtual kit has all the parts that you see on my log. Every time I add something, it is mentioned. So far,only the stanchions and wood + styrene strips have been added to the parts produced by the 3D printer. I am a newbie in that technology and the only thing I know to do is to modify the size of parts before printing. Yves
- 321 replies
-
- 5
-
-

-
- Finished
- Flower-class
- (and 1 more)
-
I brought them back from France. Wolfcraft is the brand.... I am sure you can find them on this side of the pond...it is all Chinese stuff anyway. Yves
- 321 replies
-
- 6
-
-
-
- Finished
- Flower-class
- (and 1 more)
-
Mike, instead of doing everything with Styrene (which you could do....), why don't you get a 3D printer, purchase the $50 kit, and print all decks, superstructures and fittings? It may cost you less than buying all this styrene material... (not really) and you will learn new skills that may come handy. Parts can be printed to fit your hull: you can play on the width, length and thickness of the decks. It is very easy. Yves
- 321 replies
-
- 5
-
-
- Finished
- Flower-class
- (and 1 more)
-
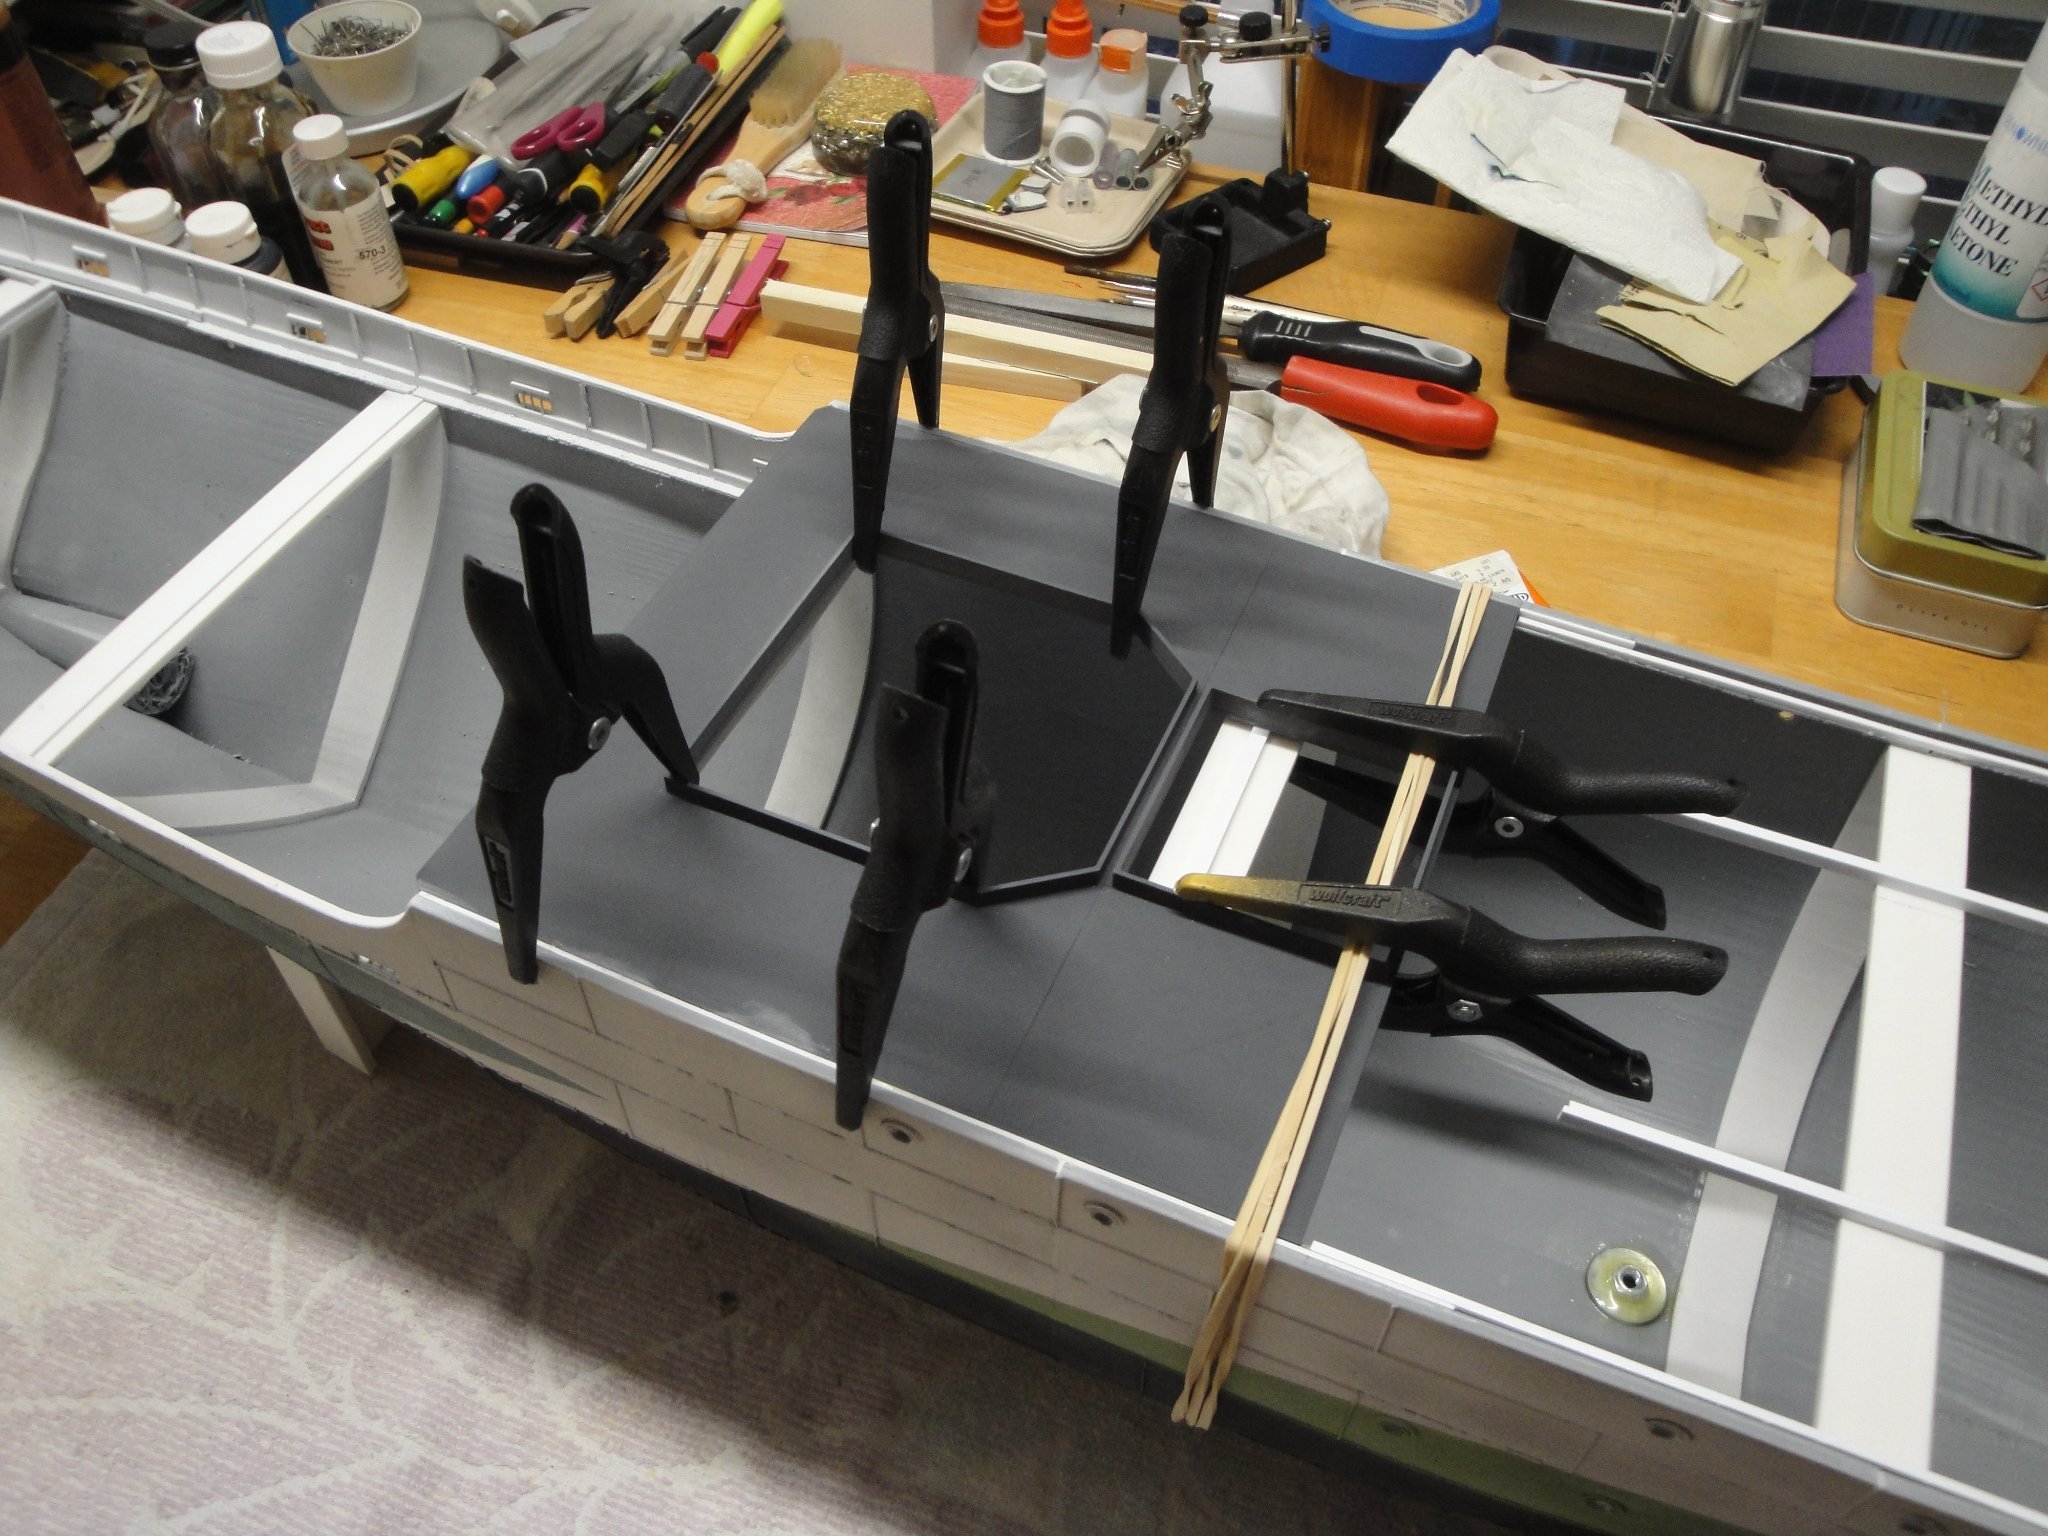
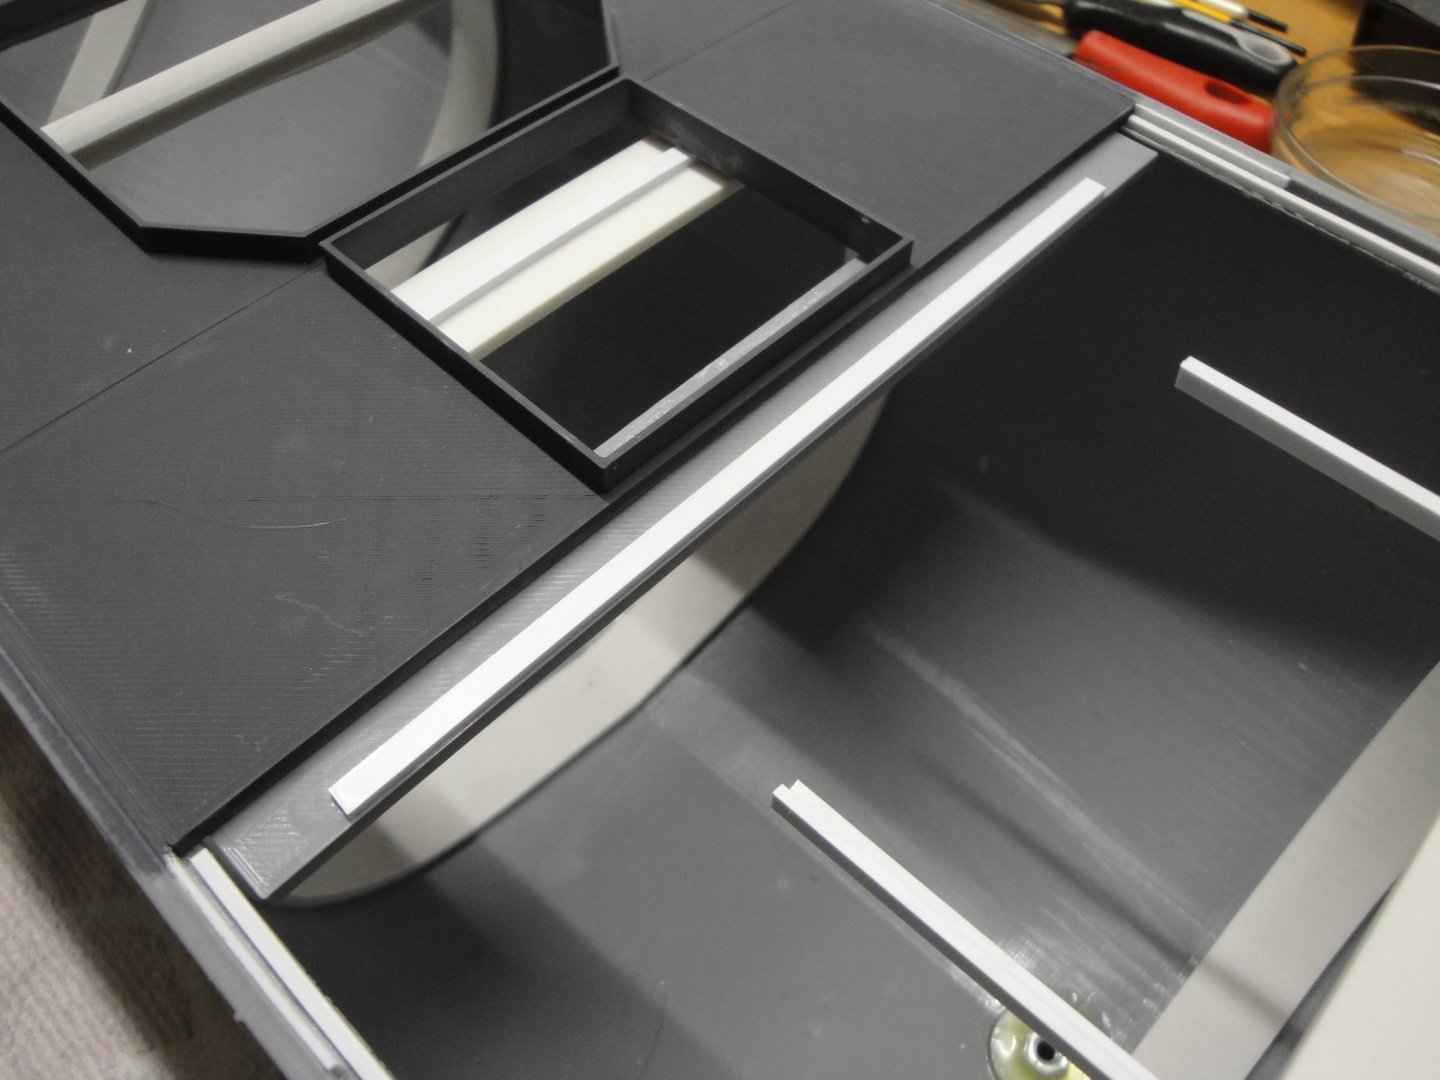
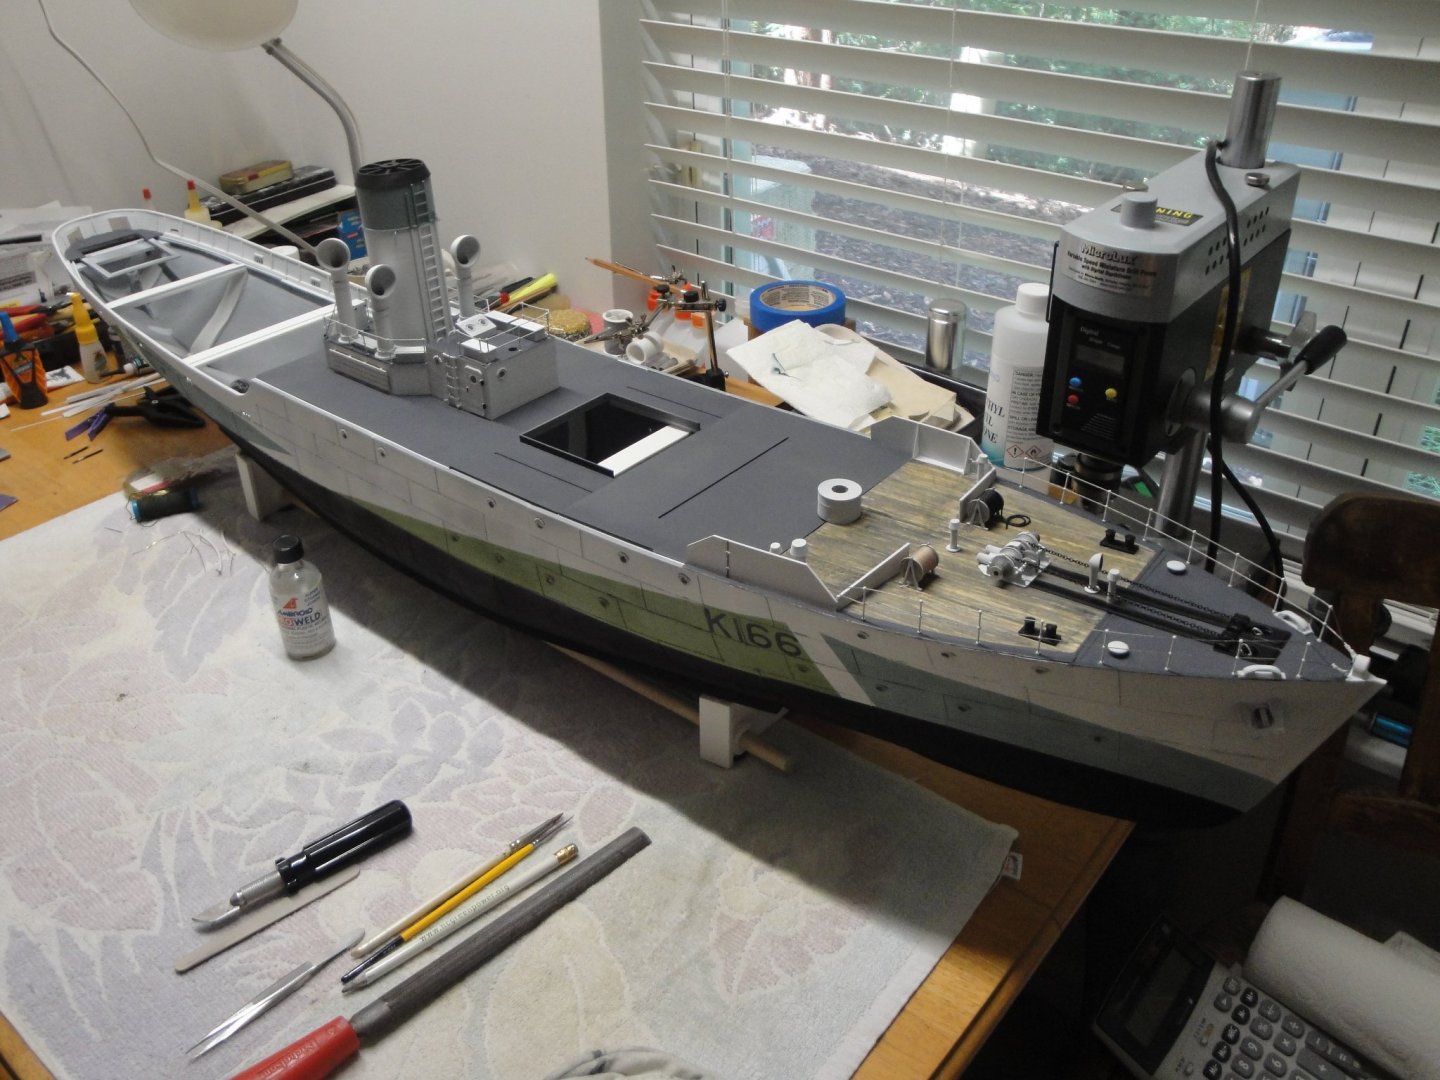
Major milestone today, with the permanent gluing of the floor (Deck #4) of Module 4 on the hull: This piece of deck is very stiff and thick: 3 mm! It brings an additional stiffness to the hull (not that it would need it...). It is glued after careful placement of the forward sections of decks (#2 and #3). Deck #4 holds the tall funnel but more importantly the mast. As such it must be strong and resilient. Note that Deck #4 also rests and is glued to the large white couplings, used to connect the hull sections. The Deck section #3 holds the wheel house and the very top heavy deck. It is made of PLA of only 1.5 mm and may sag a little bit, under the load. To prevent this problem and make sure that the decks #3 and #4 sit perfectly flush, I have added some support in the front of Deck #4. This is made using the "Deck_D_Lip" part with a 1.5 mm strip of styrene on top: With this approach, the deck #3 sits perfectly flat and flush with deck #4. You could glue all the decks at once and be done with them. But then, working on each independent section becomes a challenge as this hull is large. I'd rather work on a small section at a time and then place it on the hull, once it is finished. Yves

- 321 replies
-
- 10
-
-
- Finished
- Flower-class
- (and 1 more)
-
Fokker Dr.I by hornet - Artesania Latina - 1/16 scale
yvesvidal replied to hornet's topic in Completed non-ship models
There is a gentleman who made a replica of that plane in one of the local airports, Franklin County Airport, NC. That plane can take off within 50 yards and is a pleasure to see flying. Your model is remarkable. Yves -
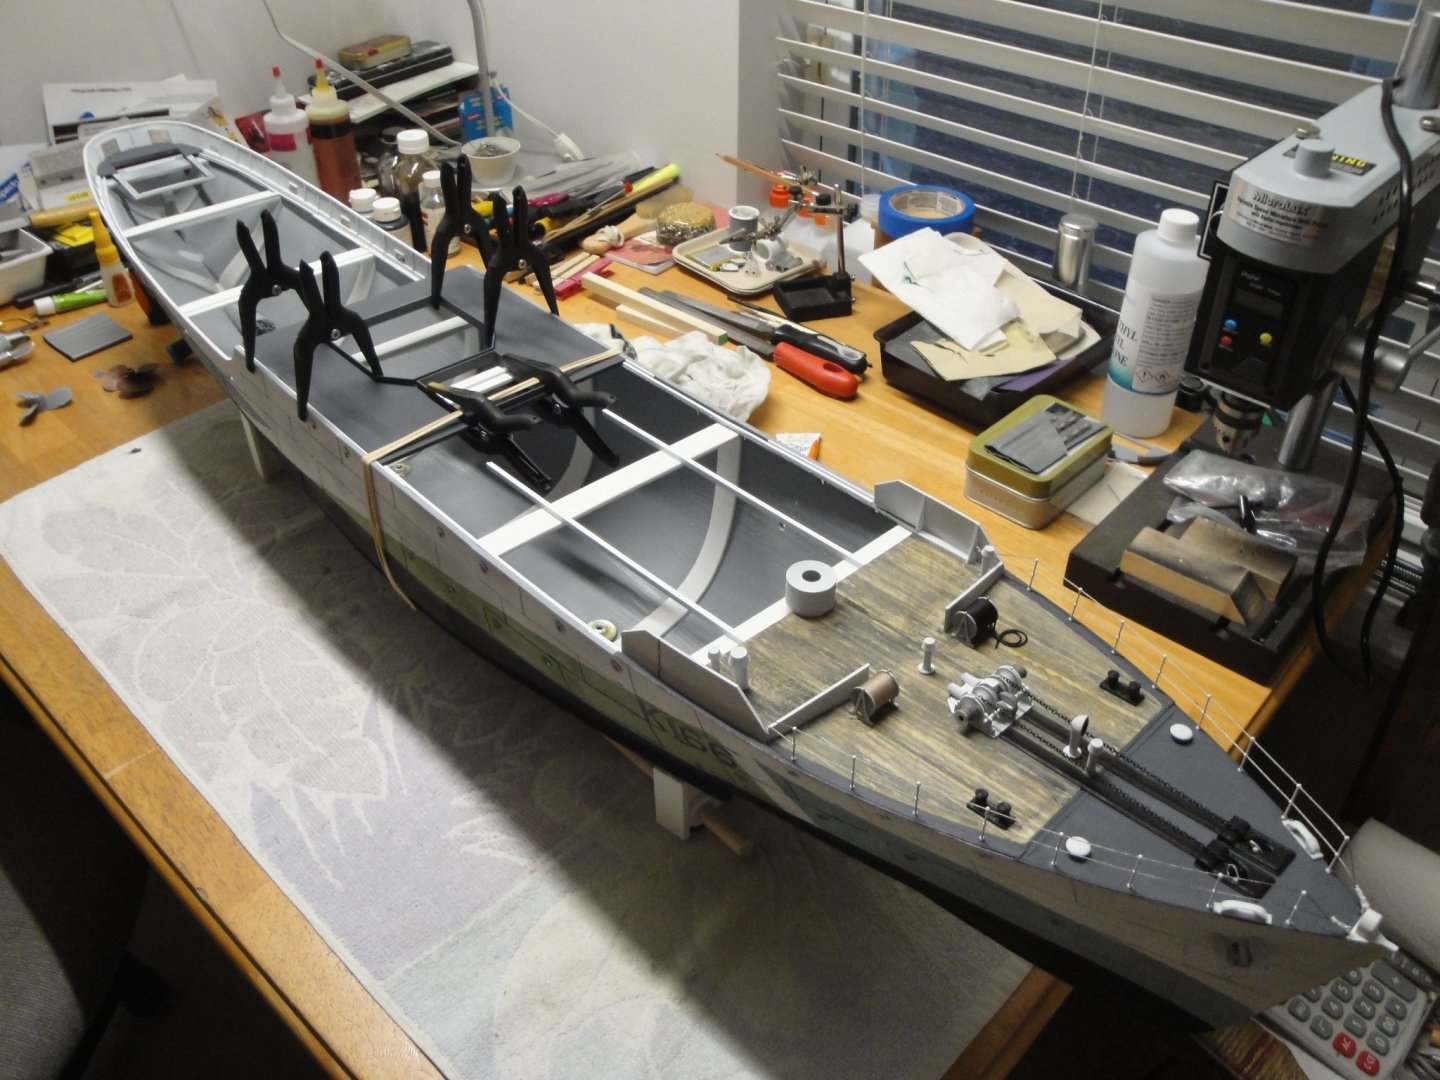
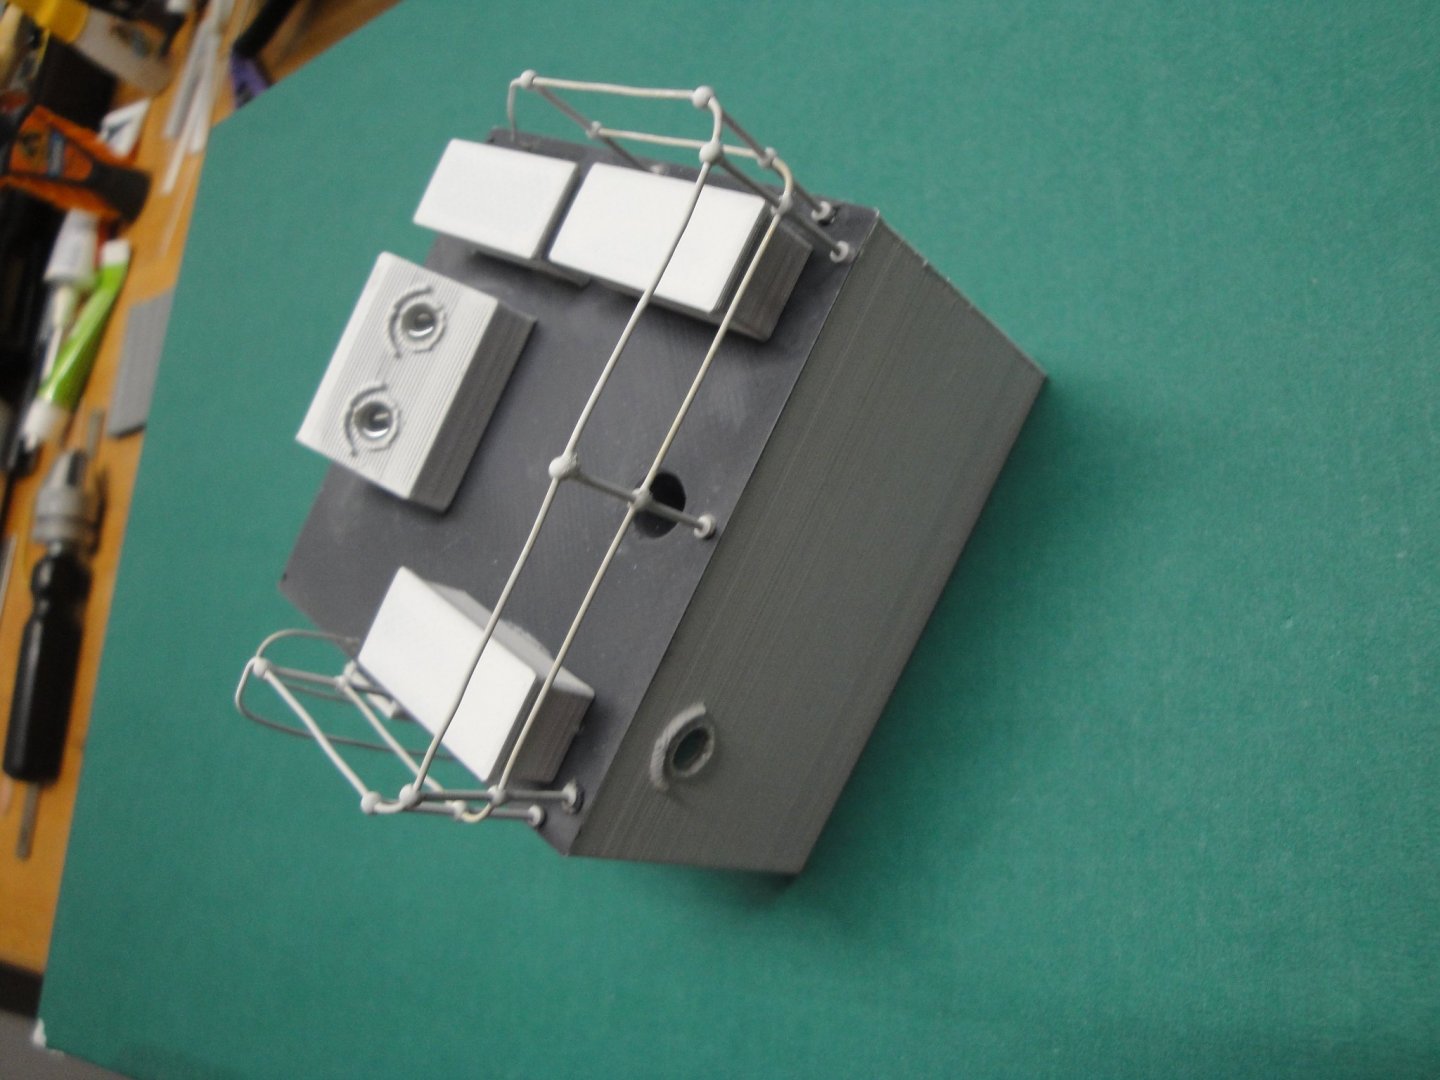
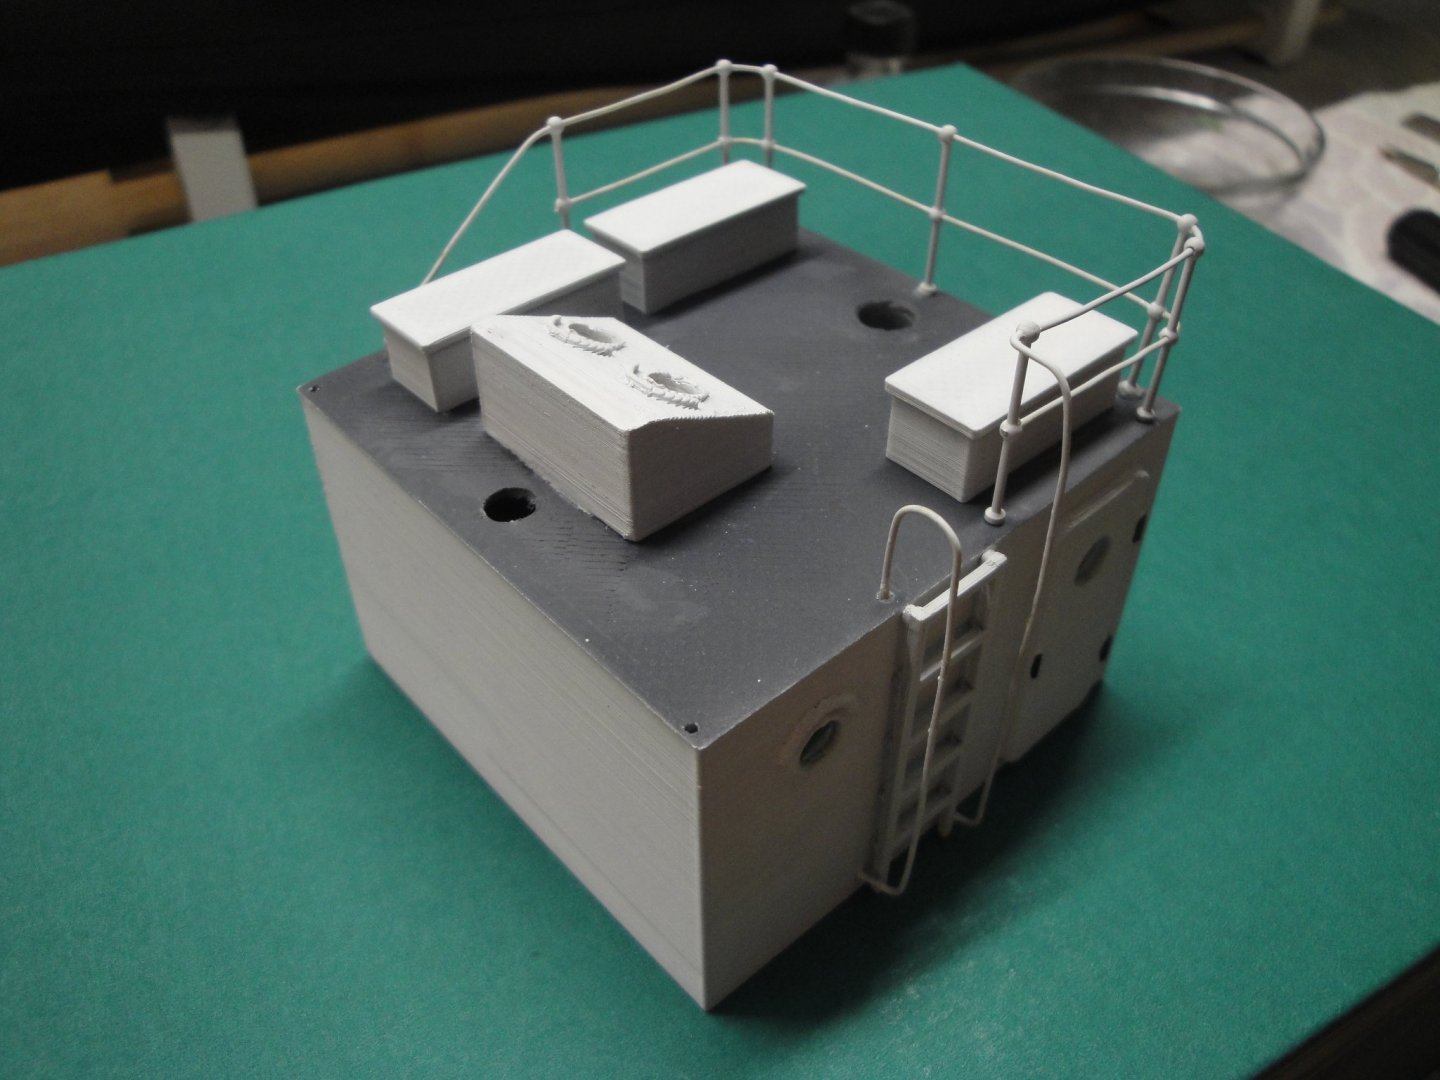
Some pictures of the Galley: The galley combined with the other structure: Overall view of the beast, as it stands today. I have not glued the Module #4 yet. Most likely, I will first glue the floor, then each of the small superstructure on it. Then, there are still a few details to be added, dinghys, davits, stanchions and other little stuff. The mast will come later on as it quite prominent on that model. Yves


- 321 replies
-
- 14
-
-
-
- Finished
- Flower-class
- (and 1 more)
-
Yes, I saw that on my book on the Flower Class Corvette. However, the Bensworx kit did not recreate that specific detail. Again, the kit is very generic and it would take a lot of time and efforts to turn it into an accurate model. Yves
- 321 replies
-
- 5
-
-
- Finished
- Flower-class
- (and 1 more)
-
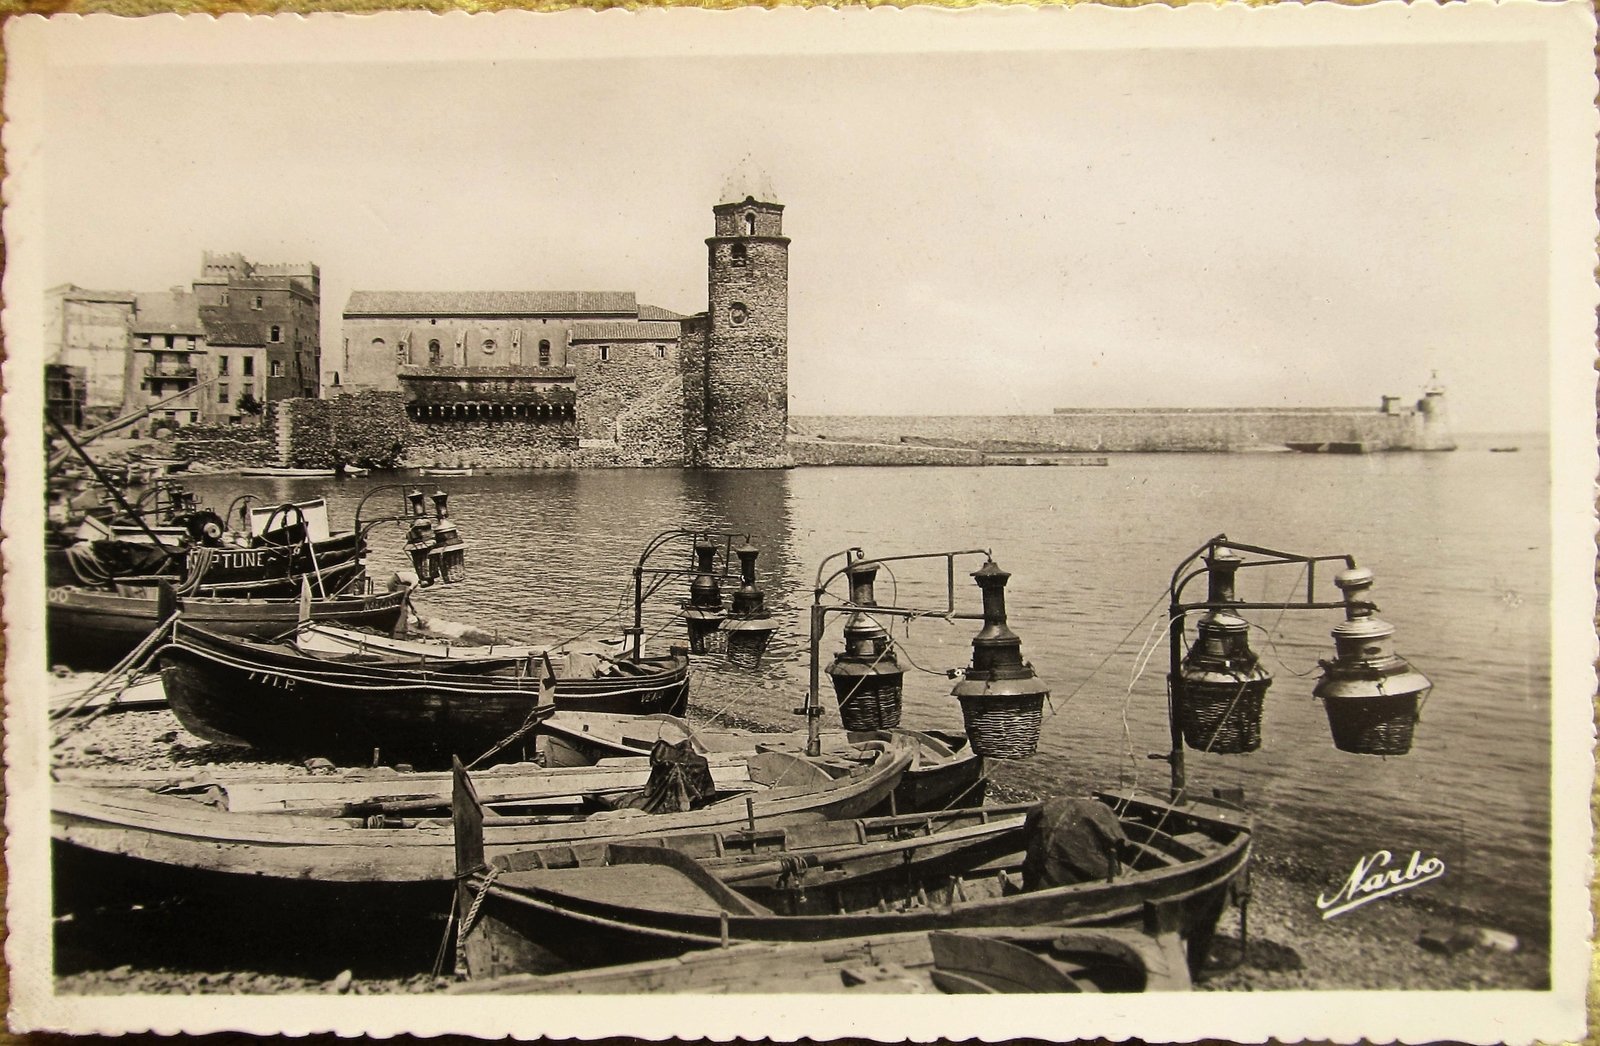
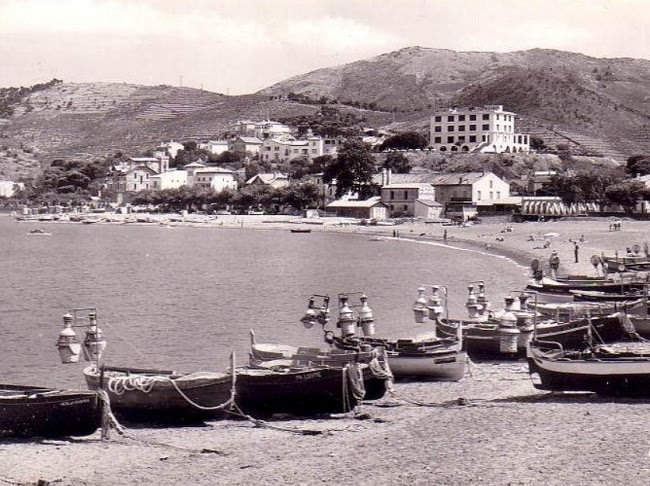
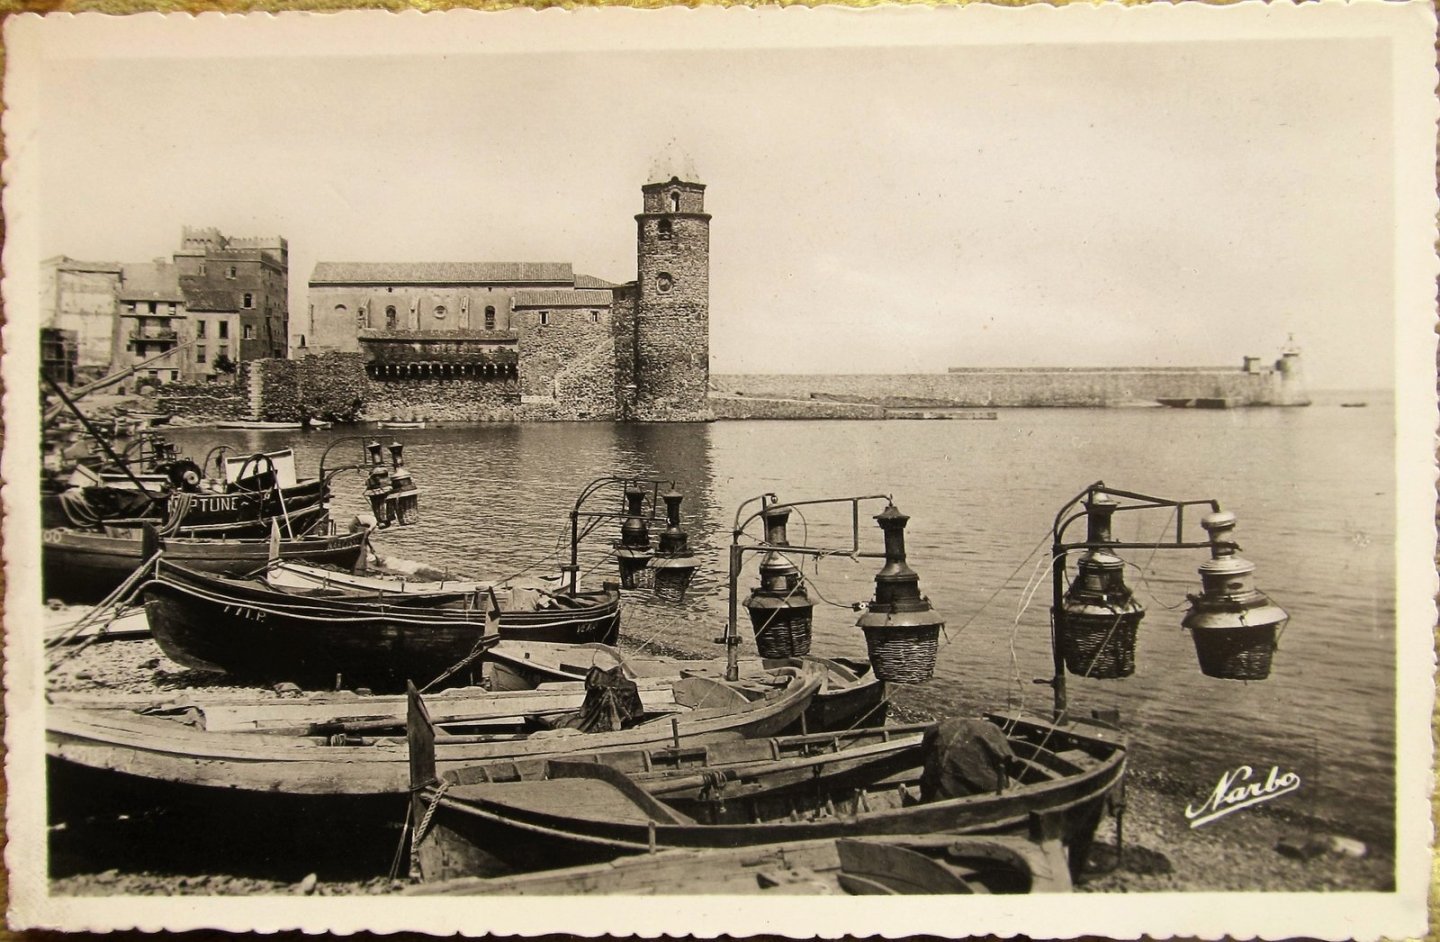
Yes, it is hard to find recent pictures. Here are a few old postcards of these endearing boats: Yves

-
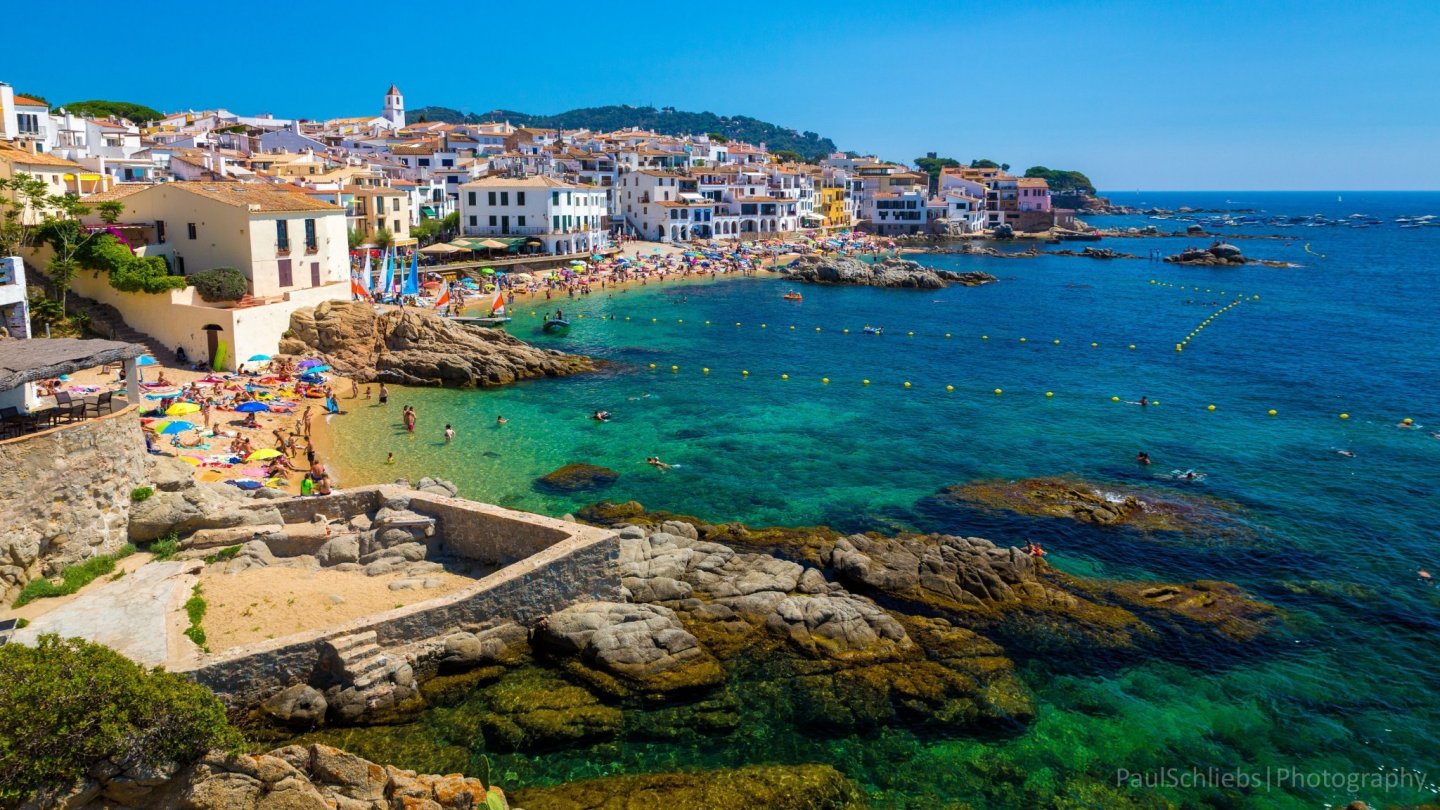
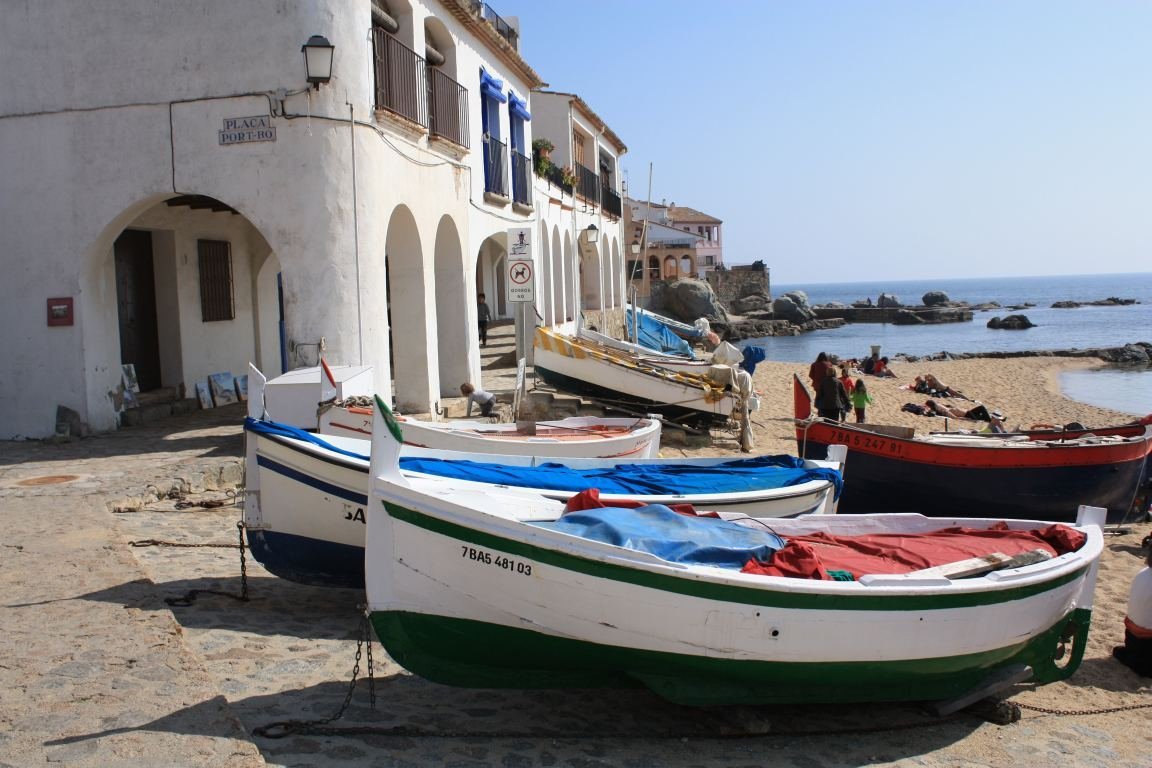
Wonderful model from a lovely place: Calella is a beautiful village on the Costa Brava and numerous boats of this type can be seen, there. My brother always take 2 weeks off in the summer time to enjoy that location. The food is delicious and the fish, freshly caught, are a treat. Even the supermarkets sell fresh fish every day, brought by these same boats that you will be building and depicting. Sorry, I hope I did not highjack your thread. The boat that you are building is called a "Lamparo", because it uses these high intensity lights to attract the fish, at night. It is quite a show to see all these strong lights at night, scattered on the sea. Yves
-
Yeah, we ALL do love them !!!! One is fun, two a chore....then you need Valium. Yves
- 355 replies
-
- 4
-

-
-
- vanguard models
- Sphinx
- (and 1 more)
-
Ras, this is an excellent choice. However, you should move your Log to the Scratch Built section. Yves
-
I really like the shape of that ship. Greg, you do such a fantastic work: it could easily pass for the real thing ! Yves
-
Imagna, Thank you for pointing this suggestion. It made me look into it and I realized that in fact, this little cabin is the "Galley" !!! The long and bent pipe exiting from it, is the Galley funnel, which supposedly had multiple access to remove the soot due to the cooking. I am modifying my previous post to reflect this change. Yves
- 321 replies
-
- 6
-
-
-
- Finished
- Flower-class
- (and 1 more)
-
You did a fantastic job on the timbers. This will look very realistic. Yves
-
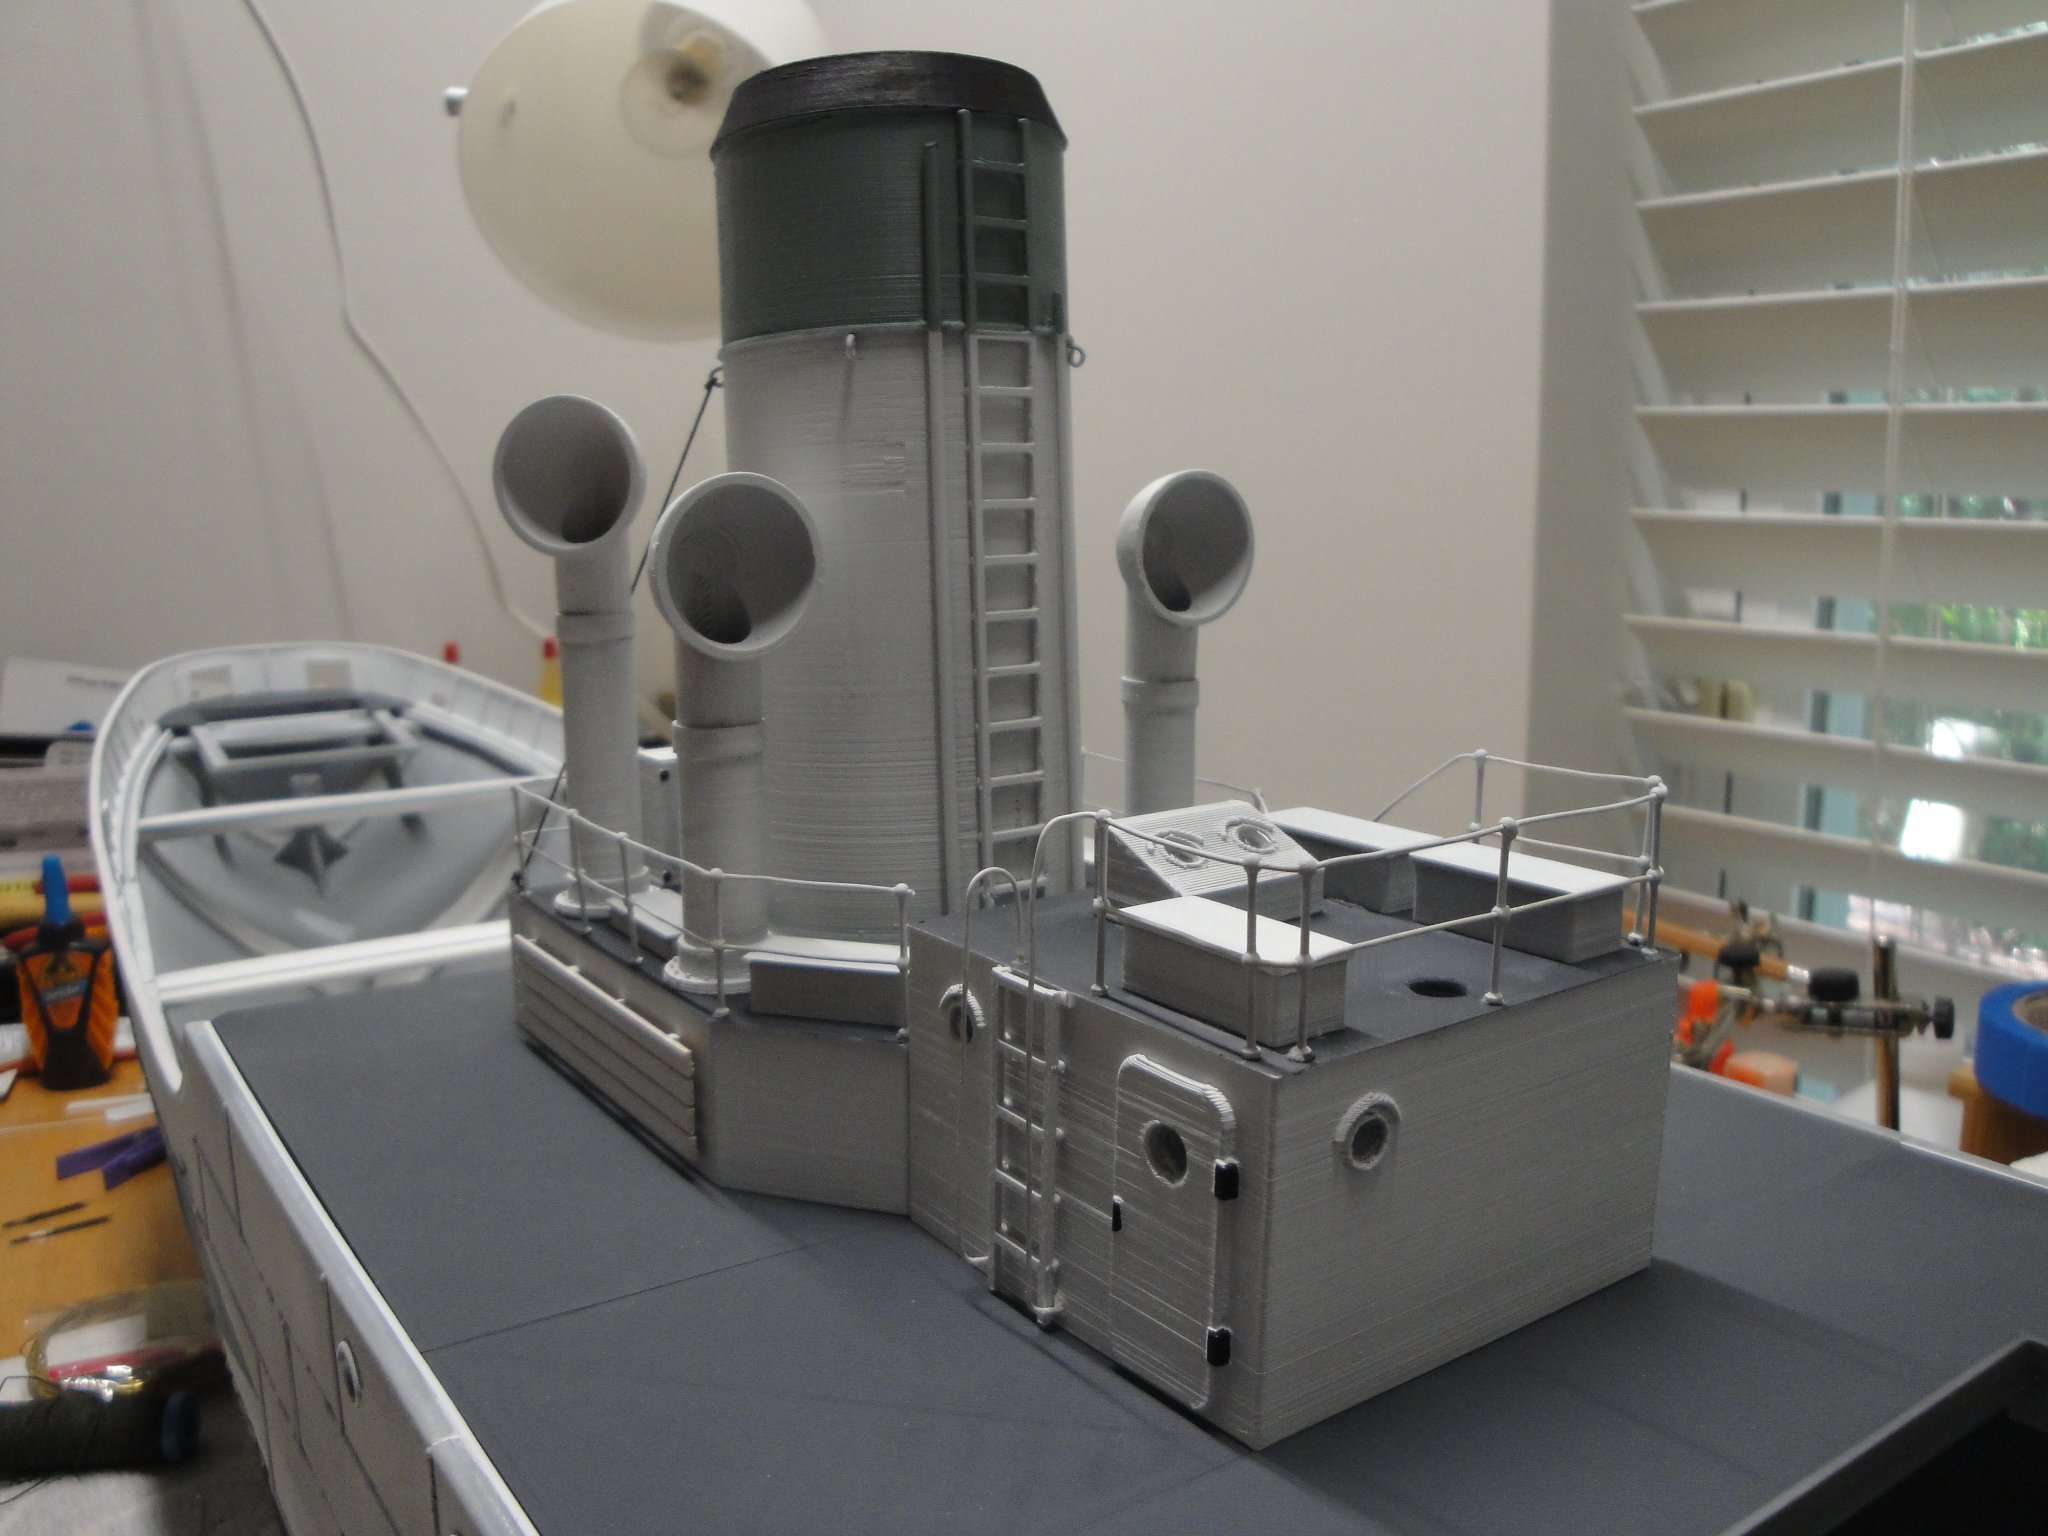
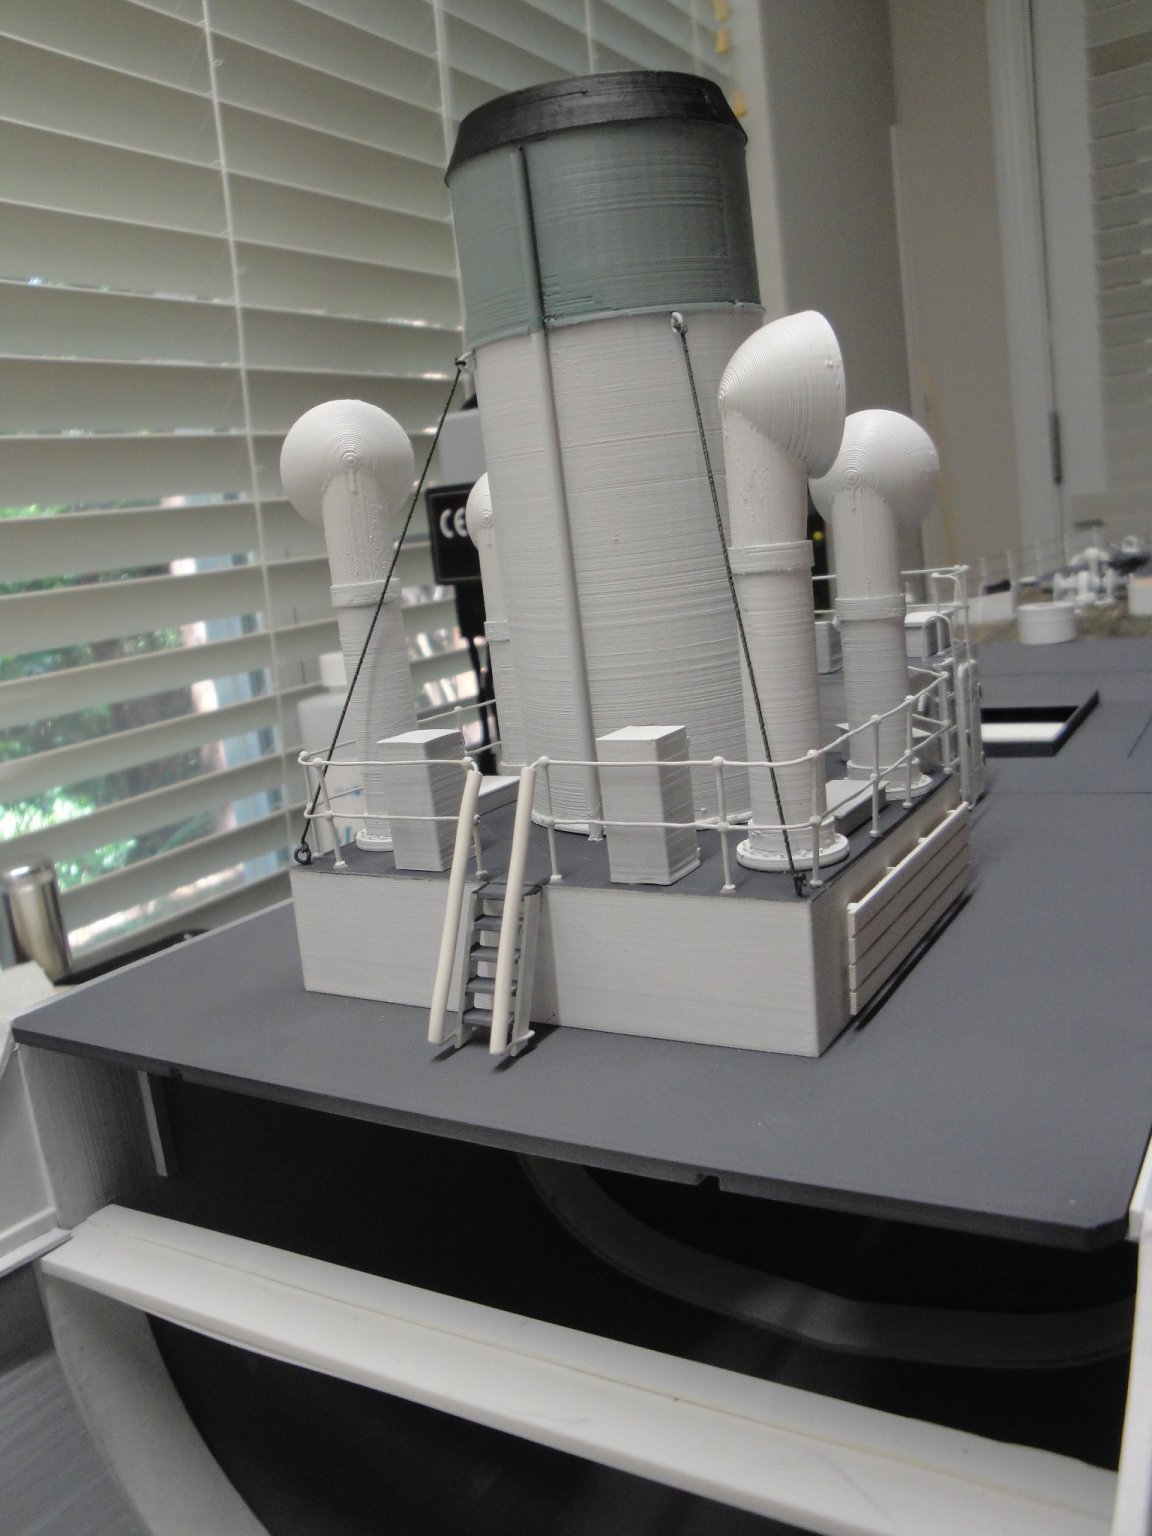
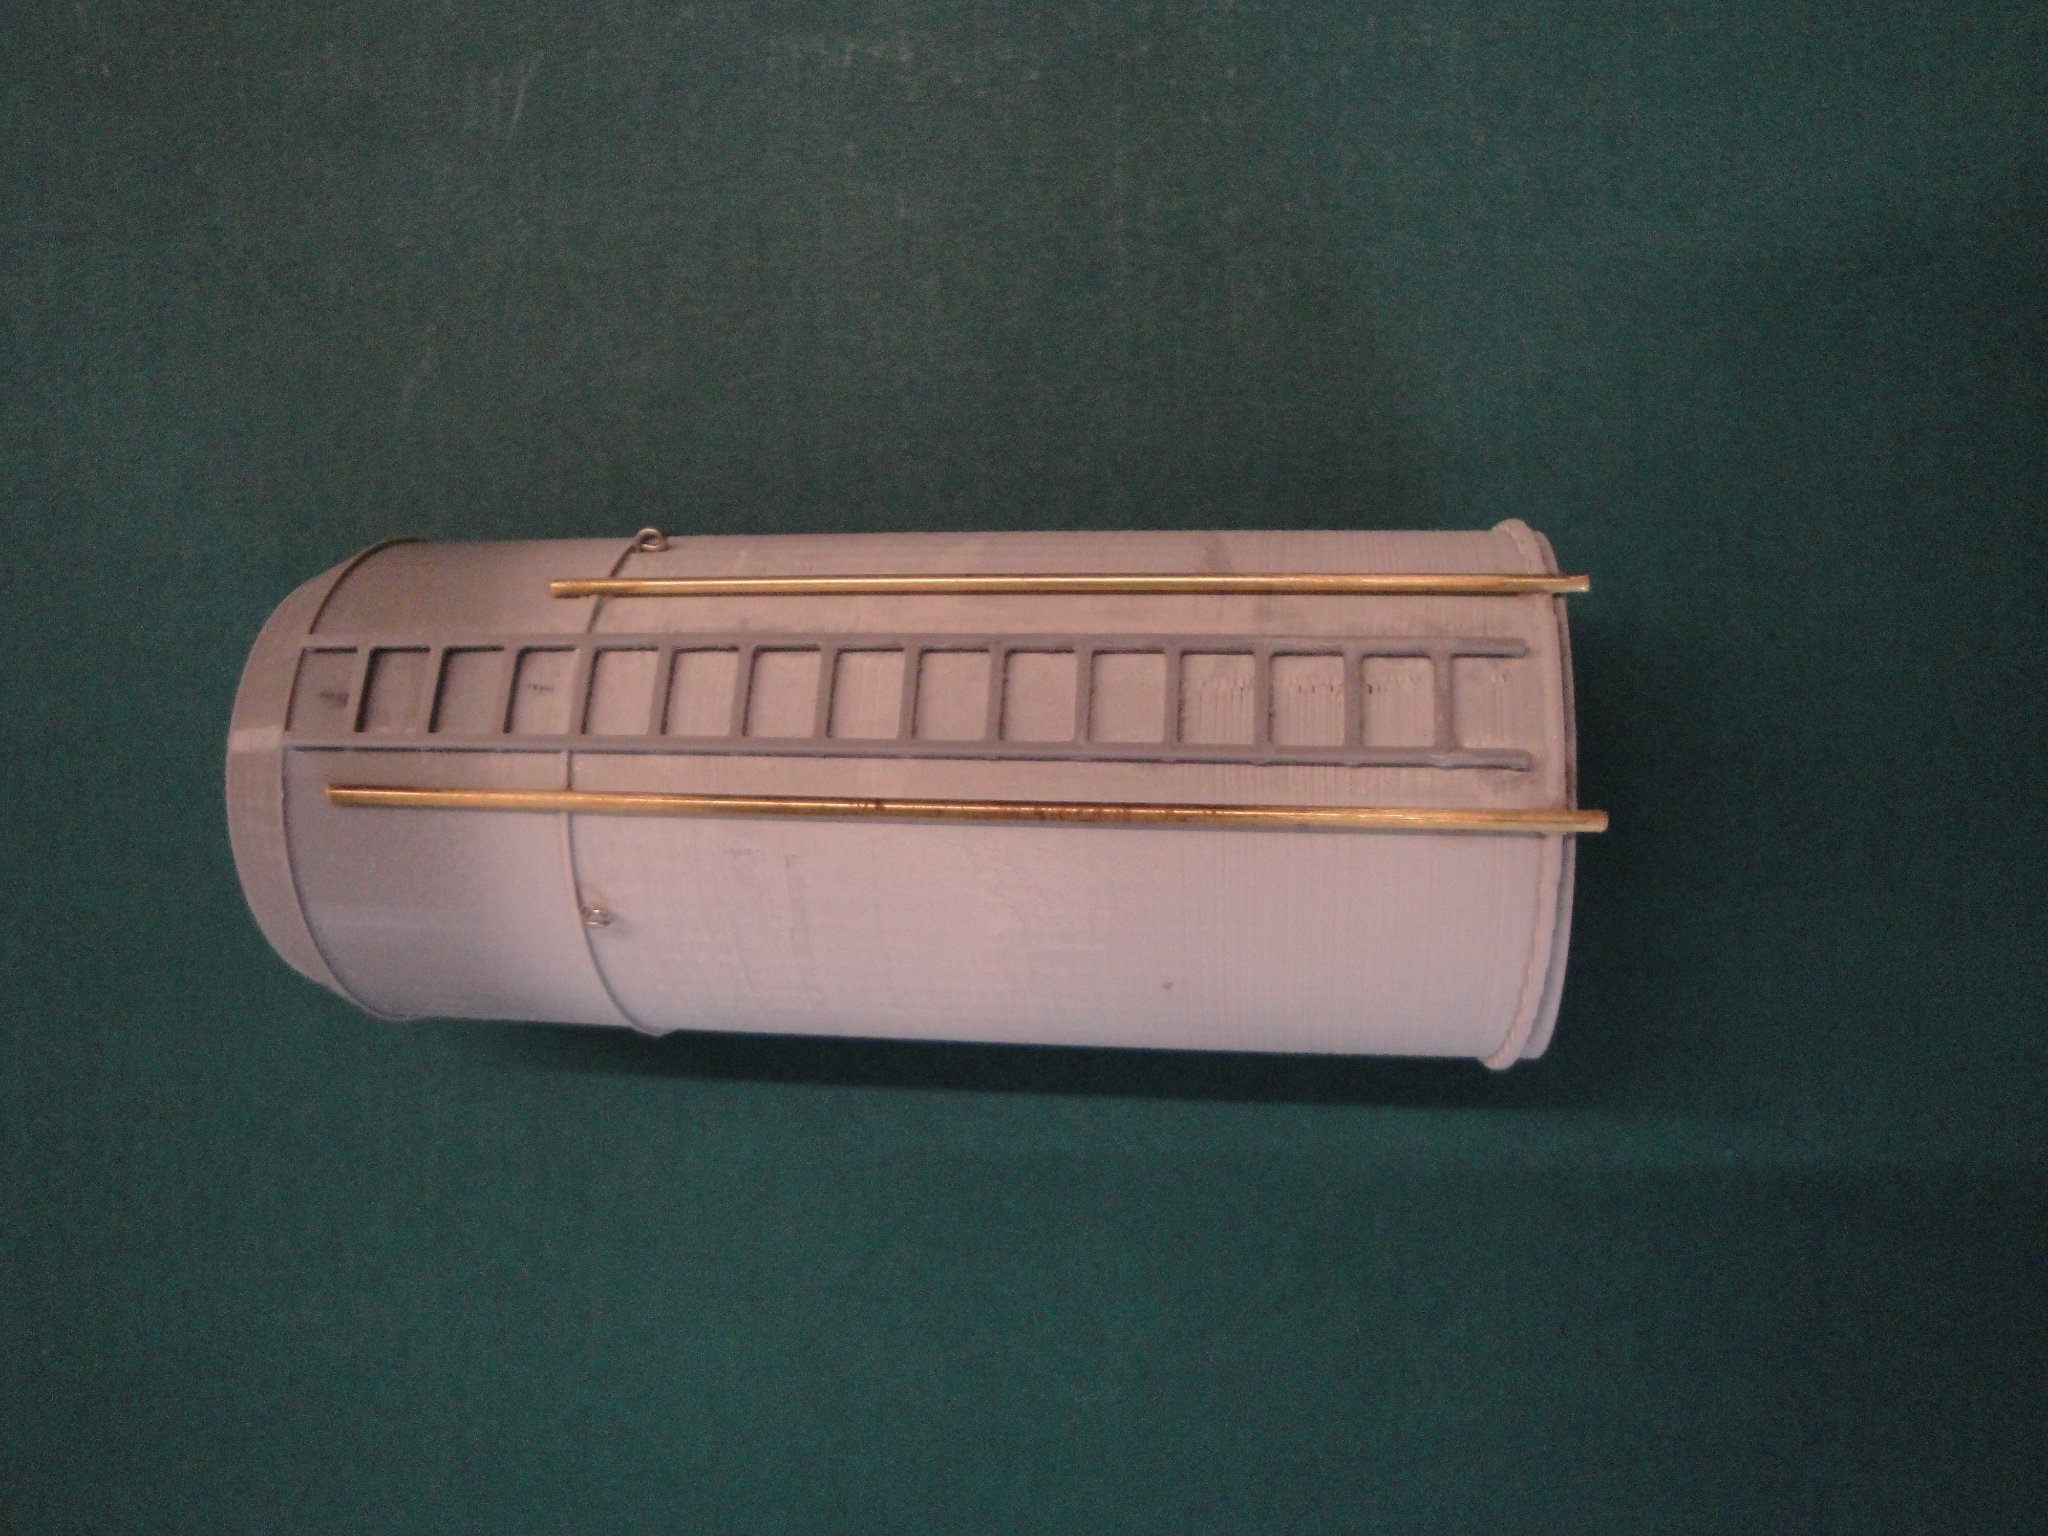
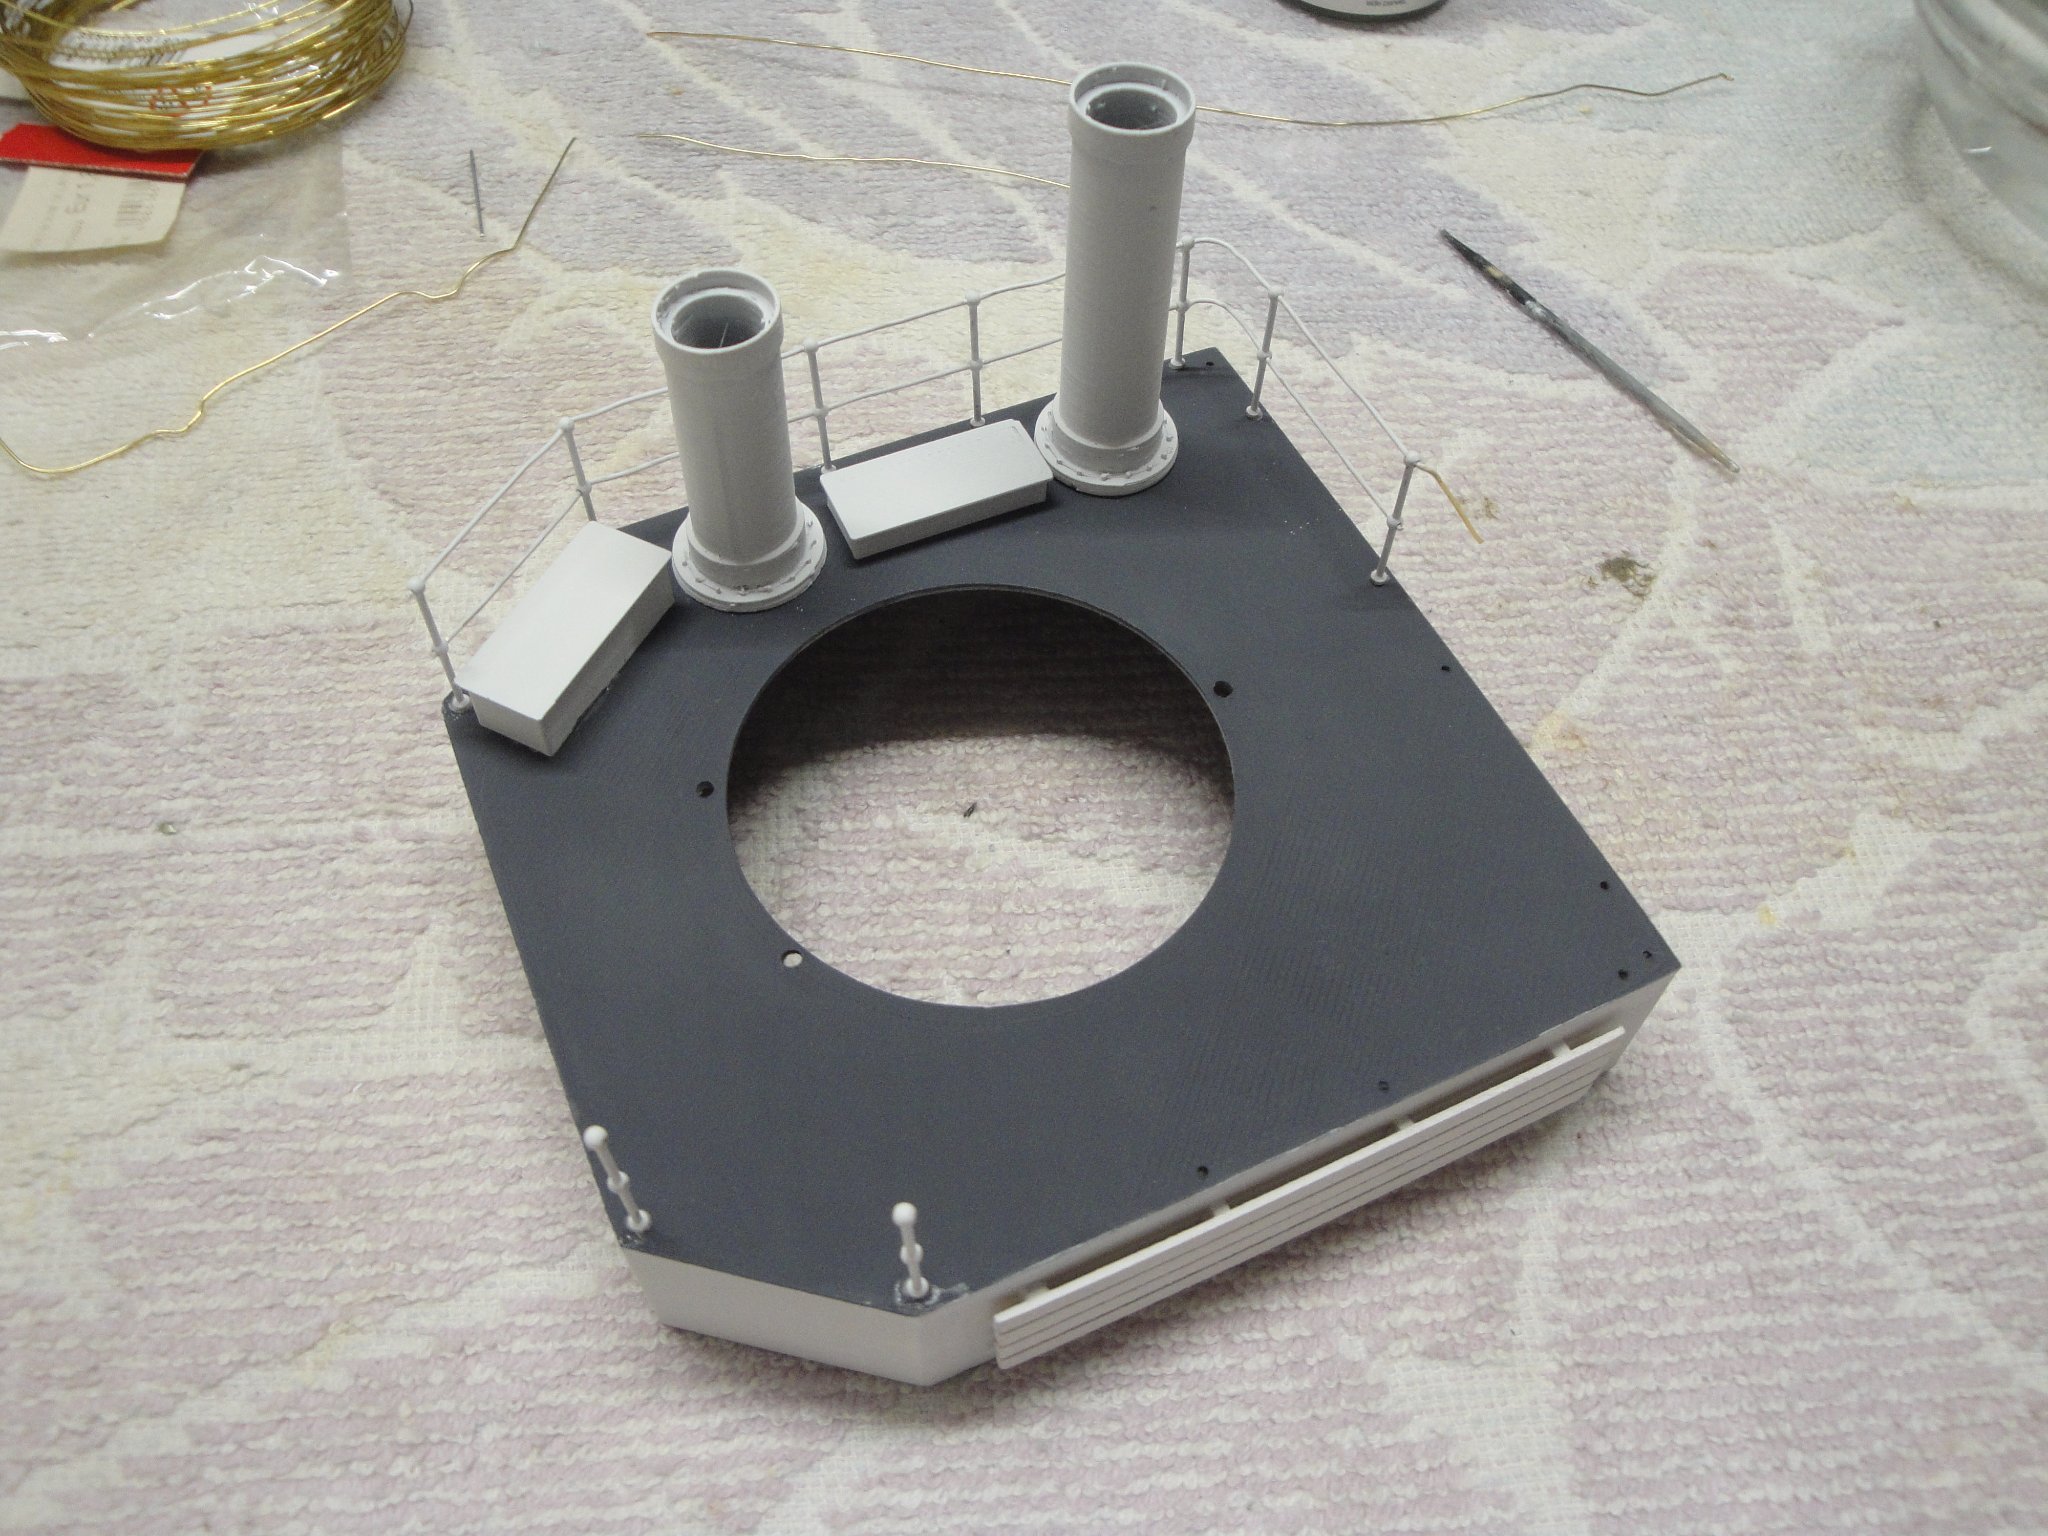
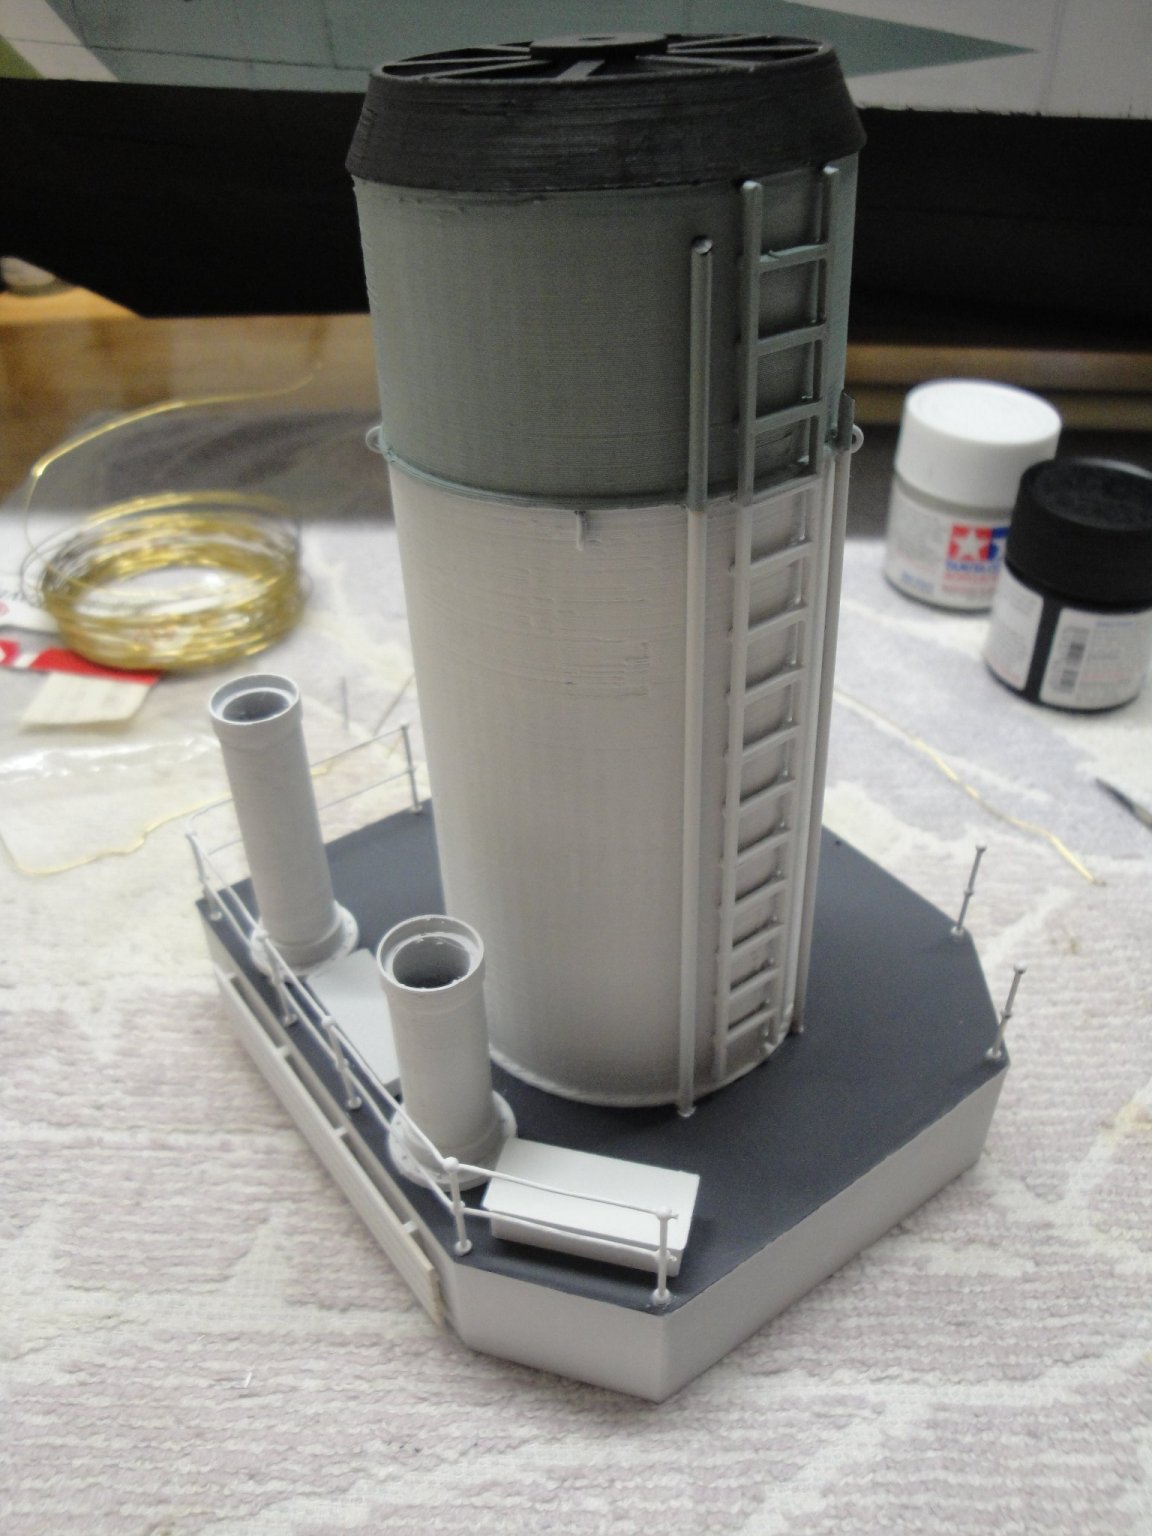
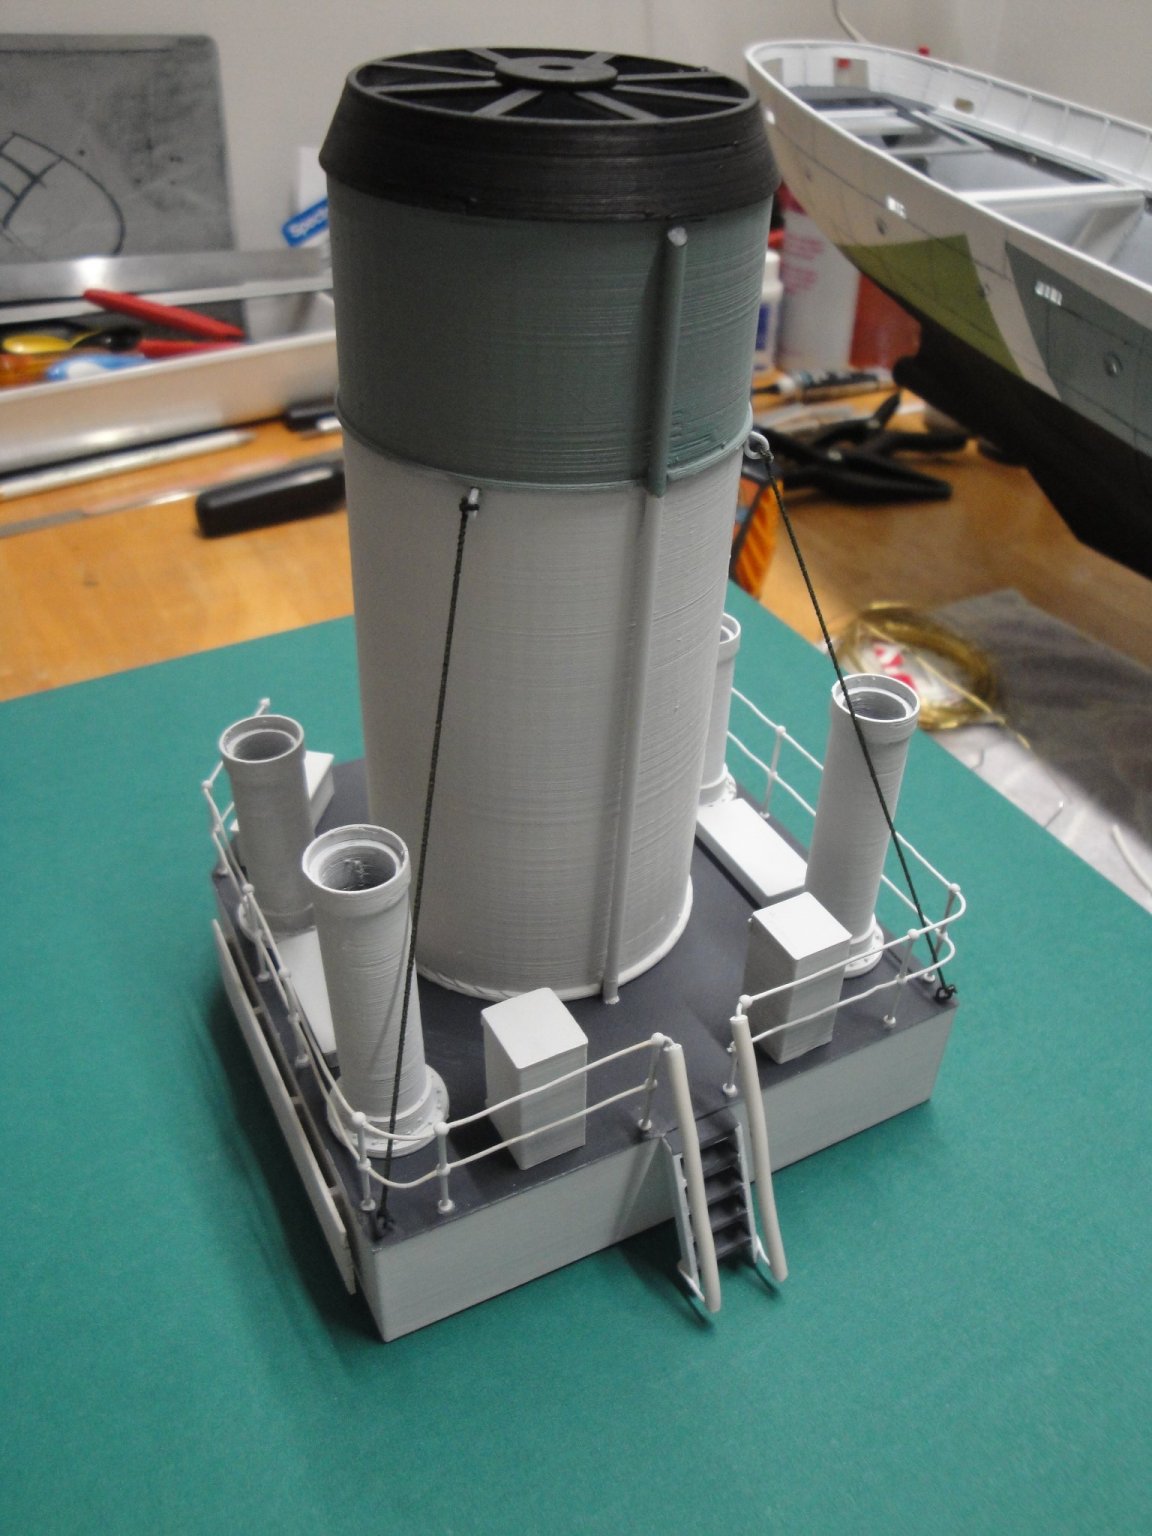
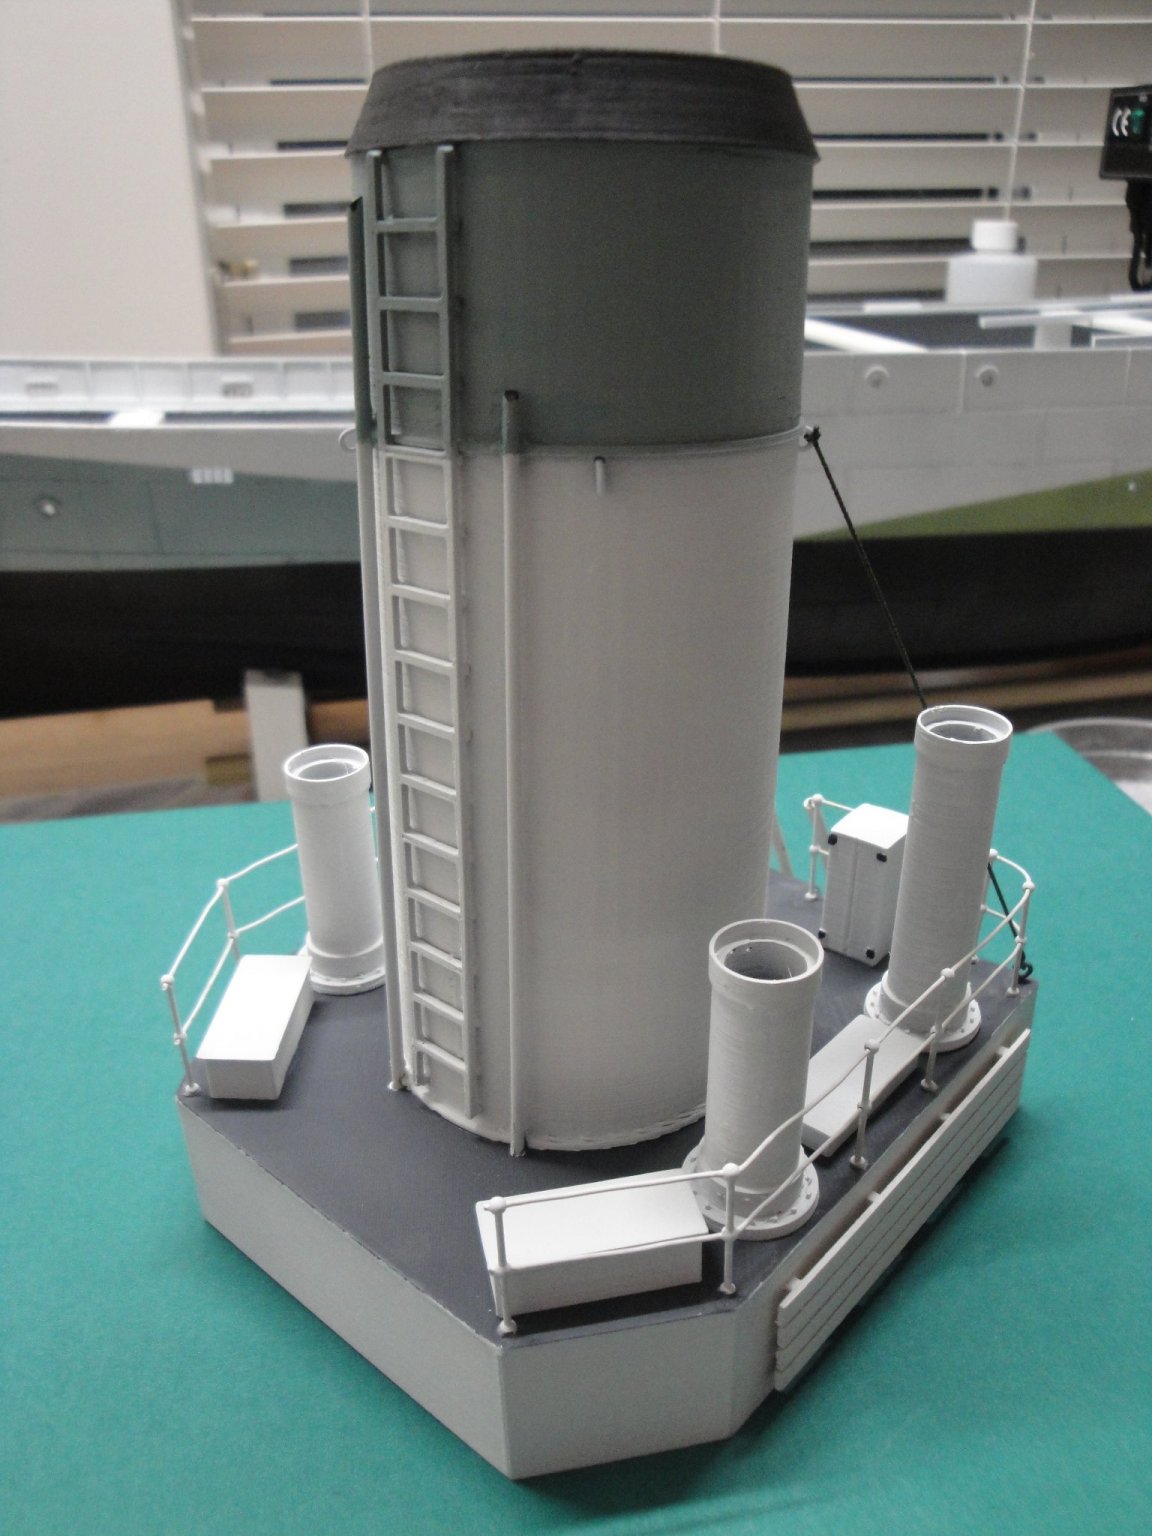
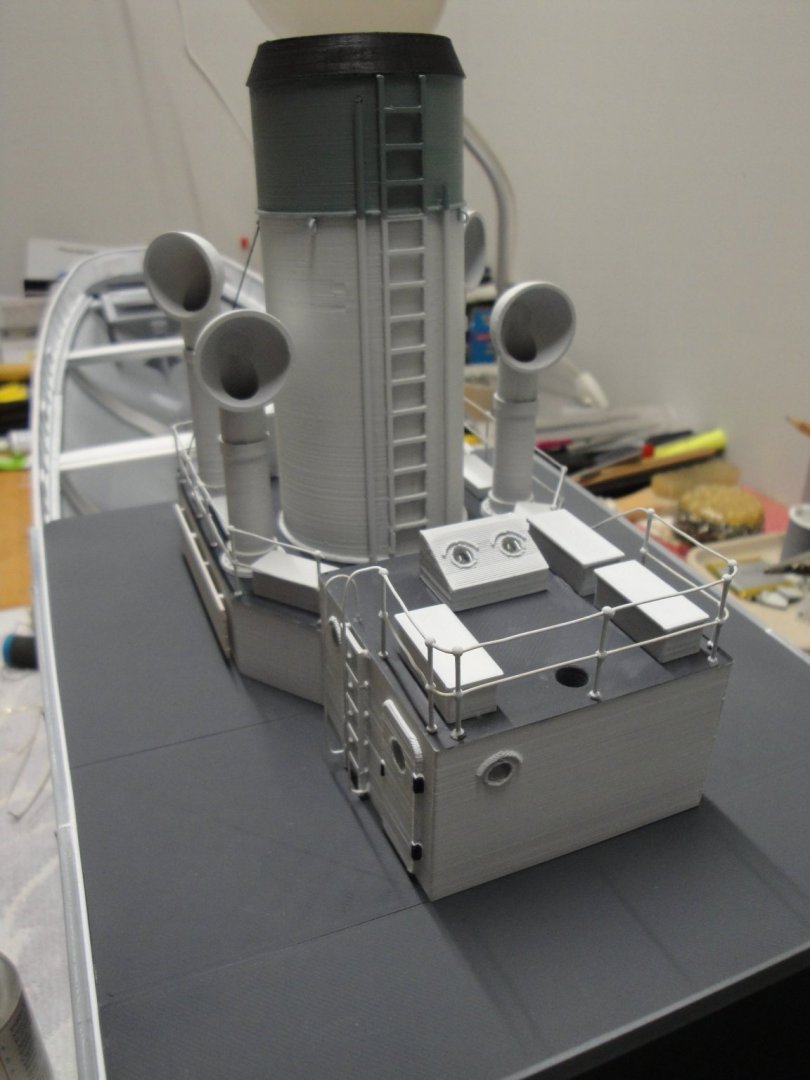
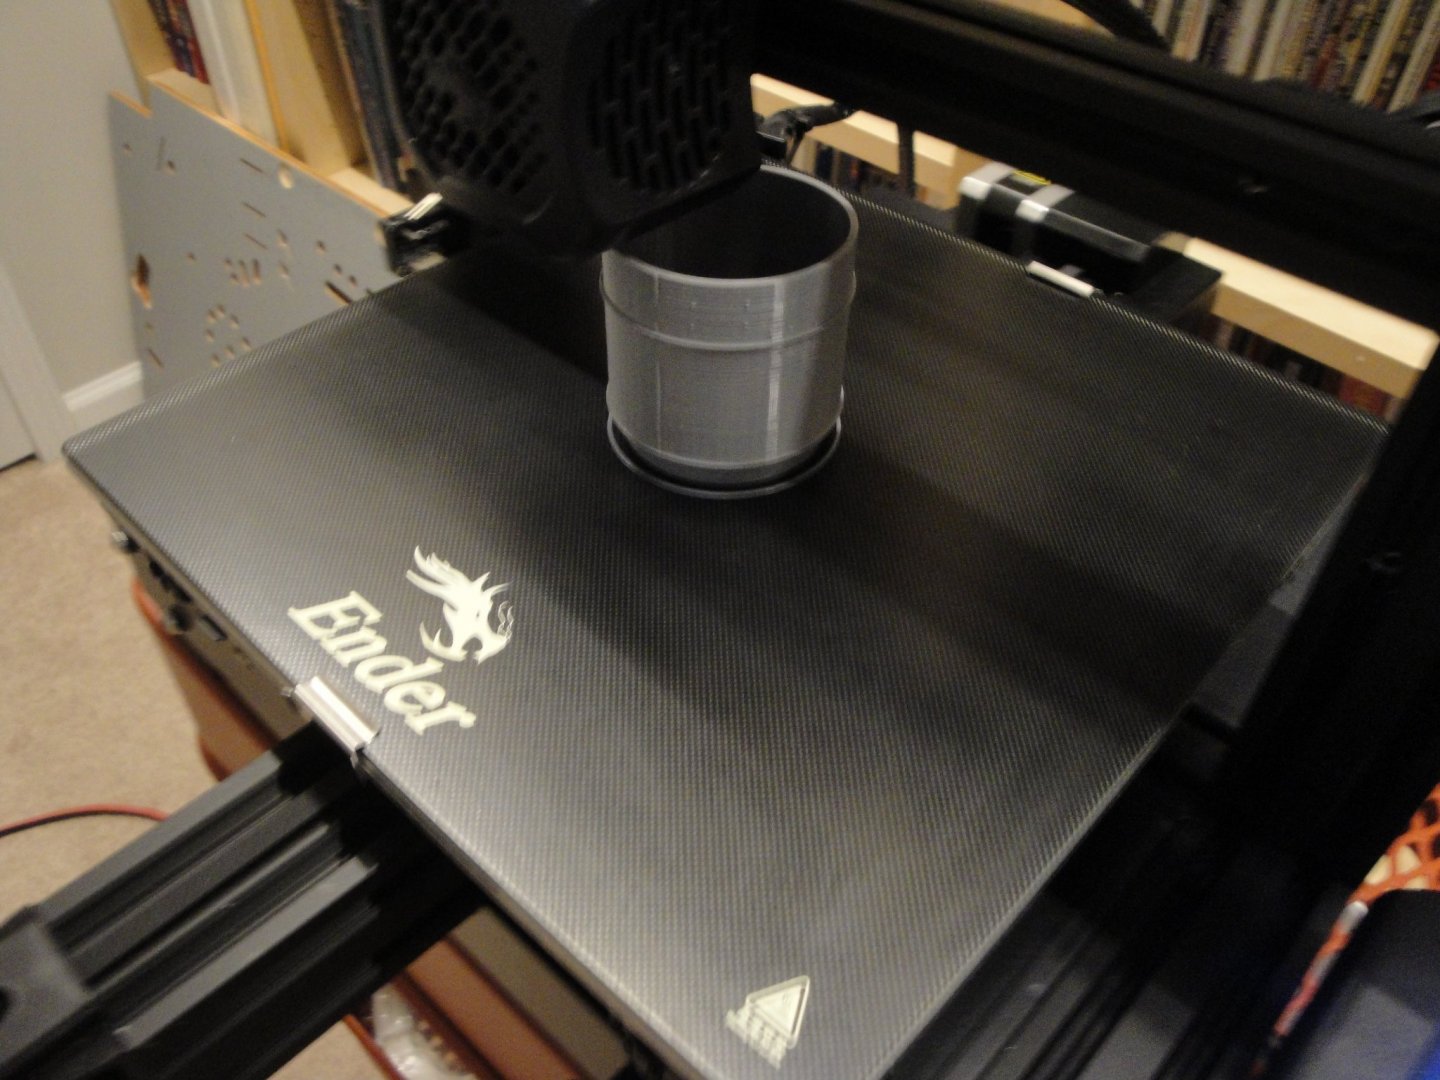
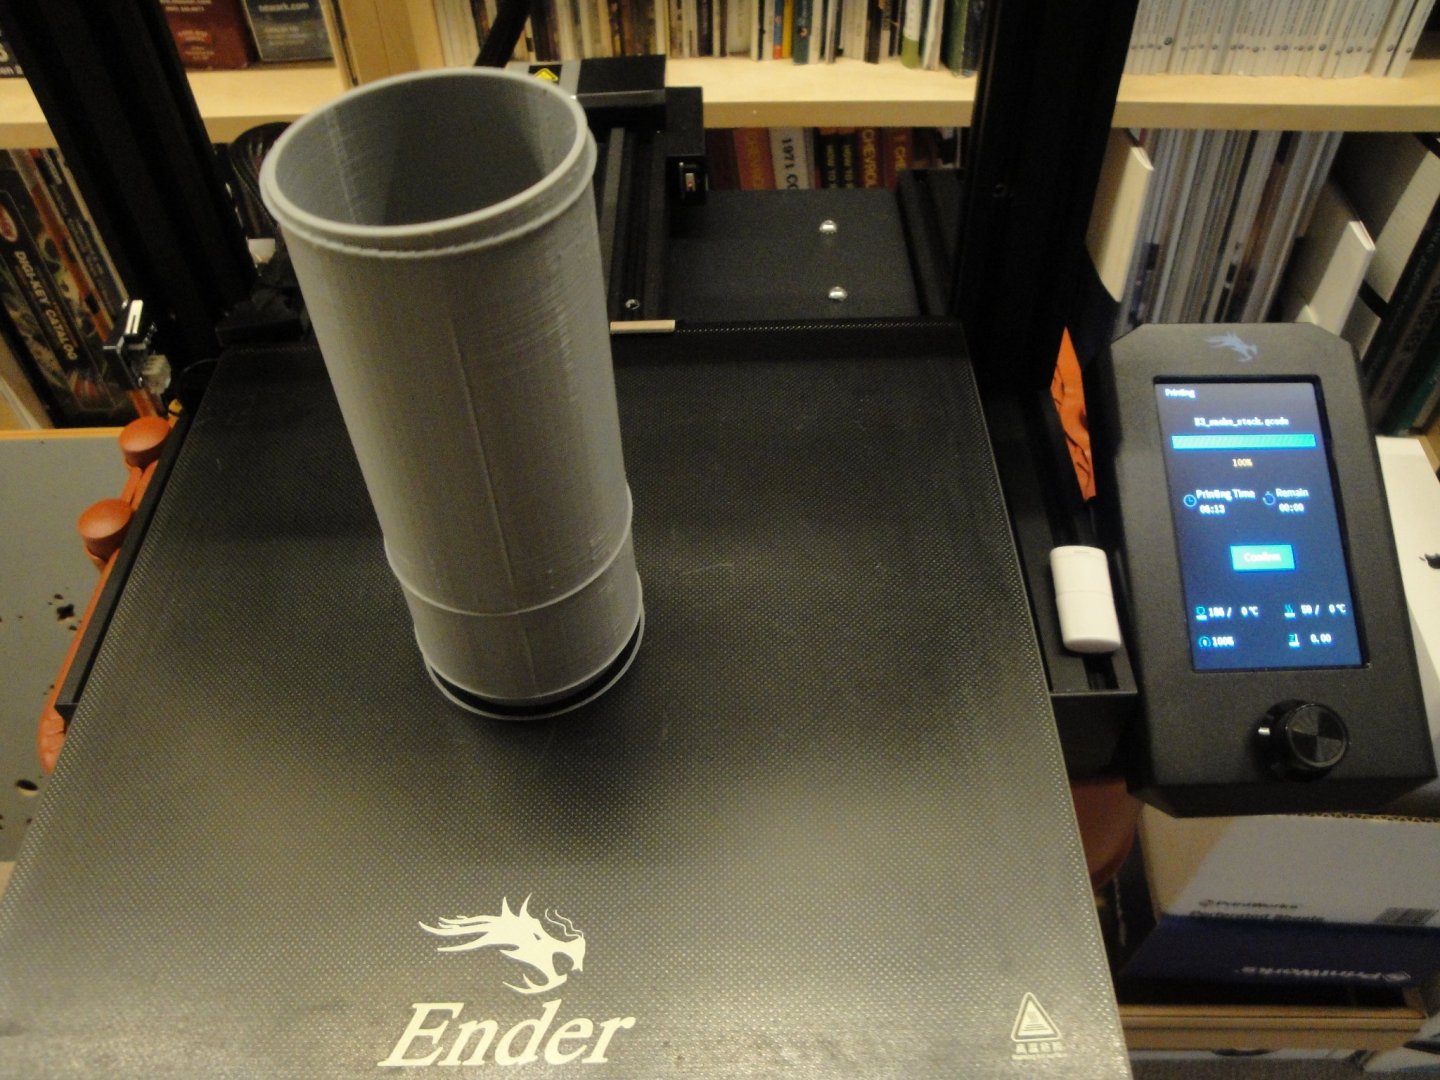
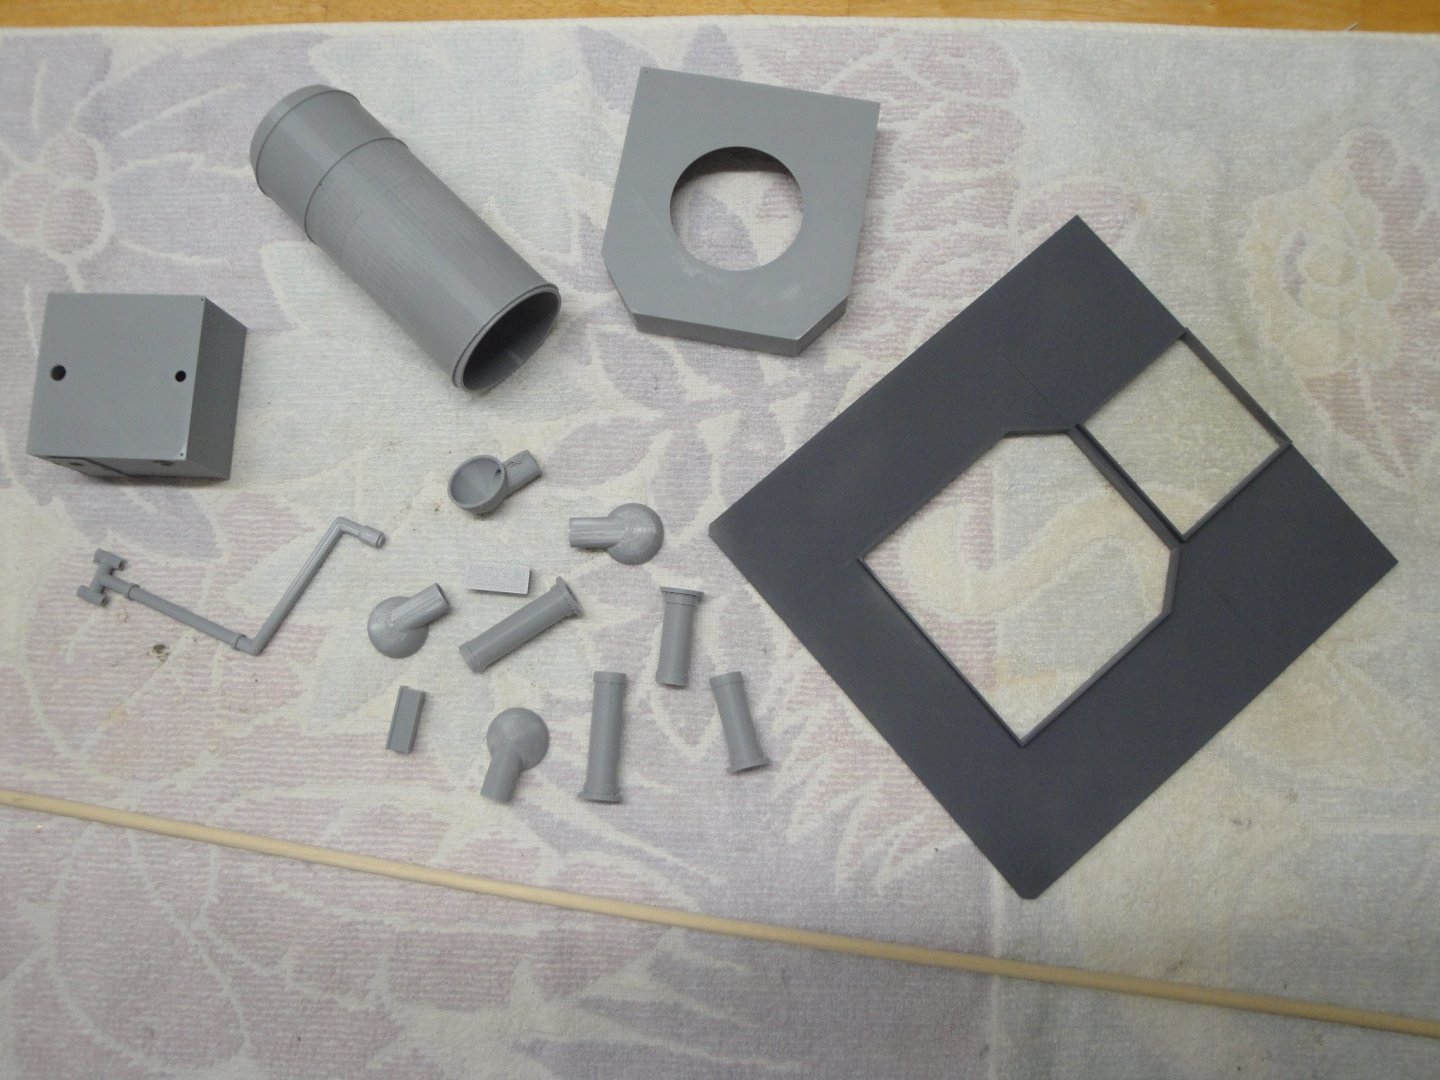
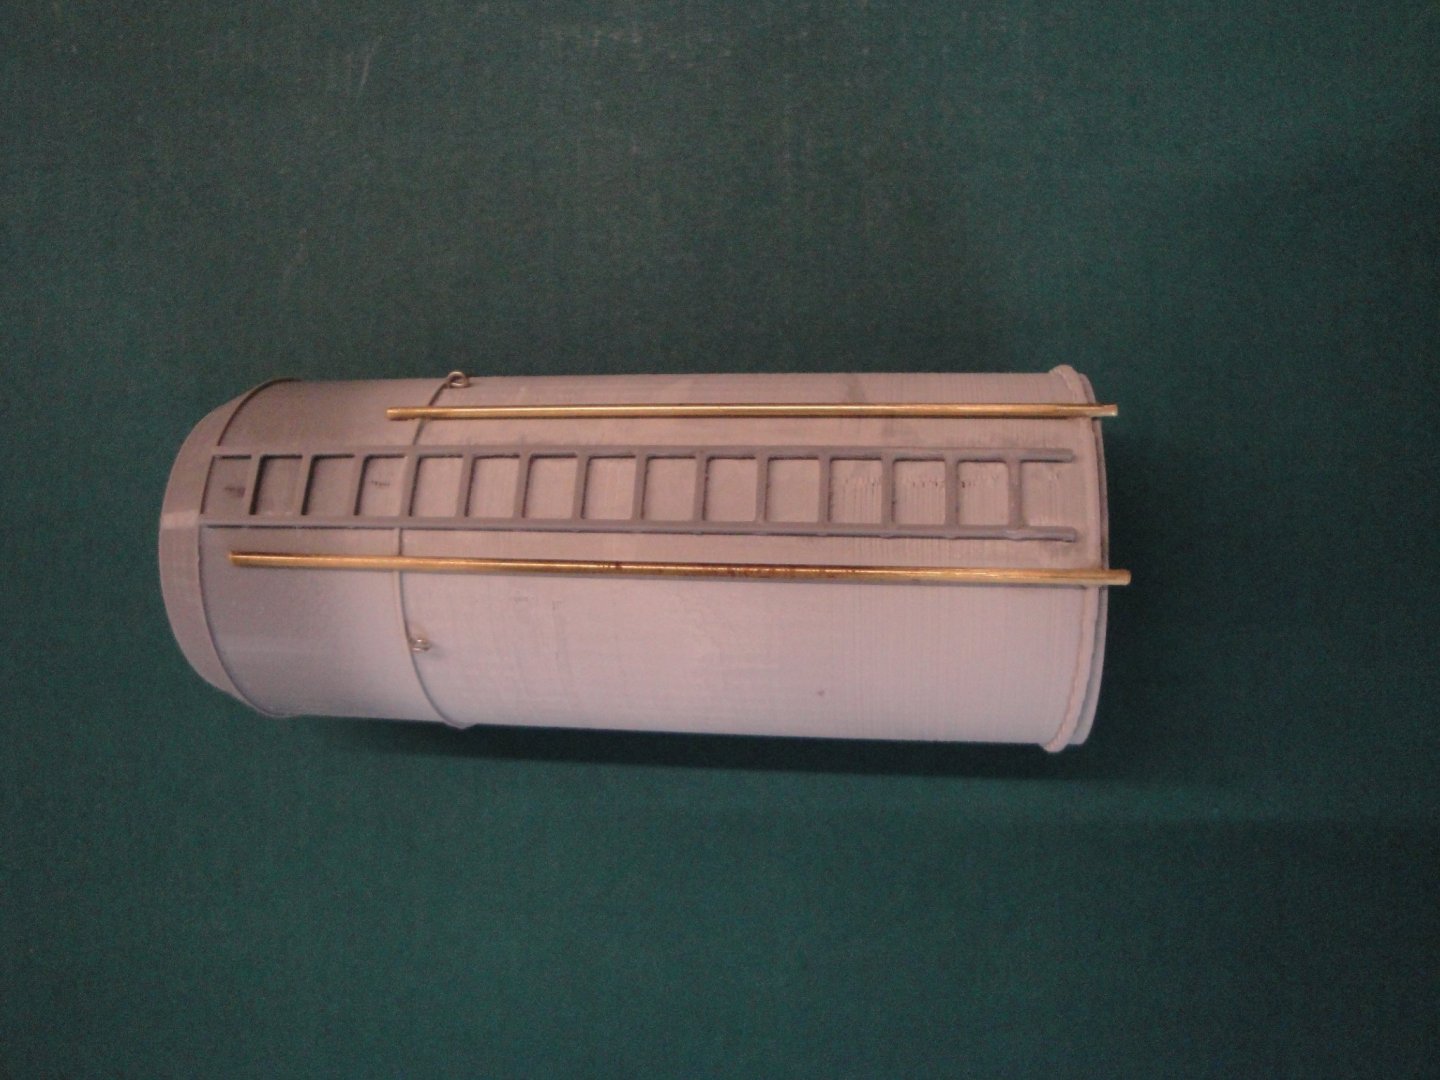
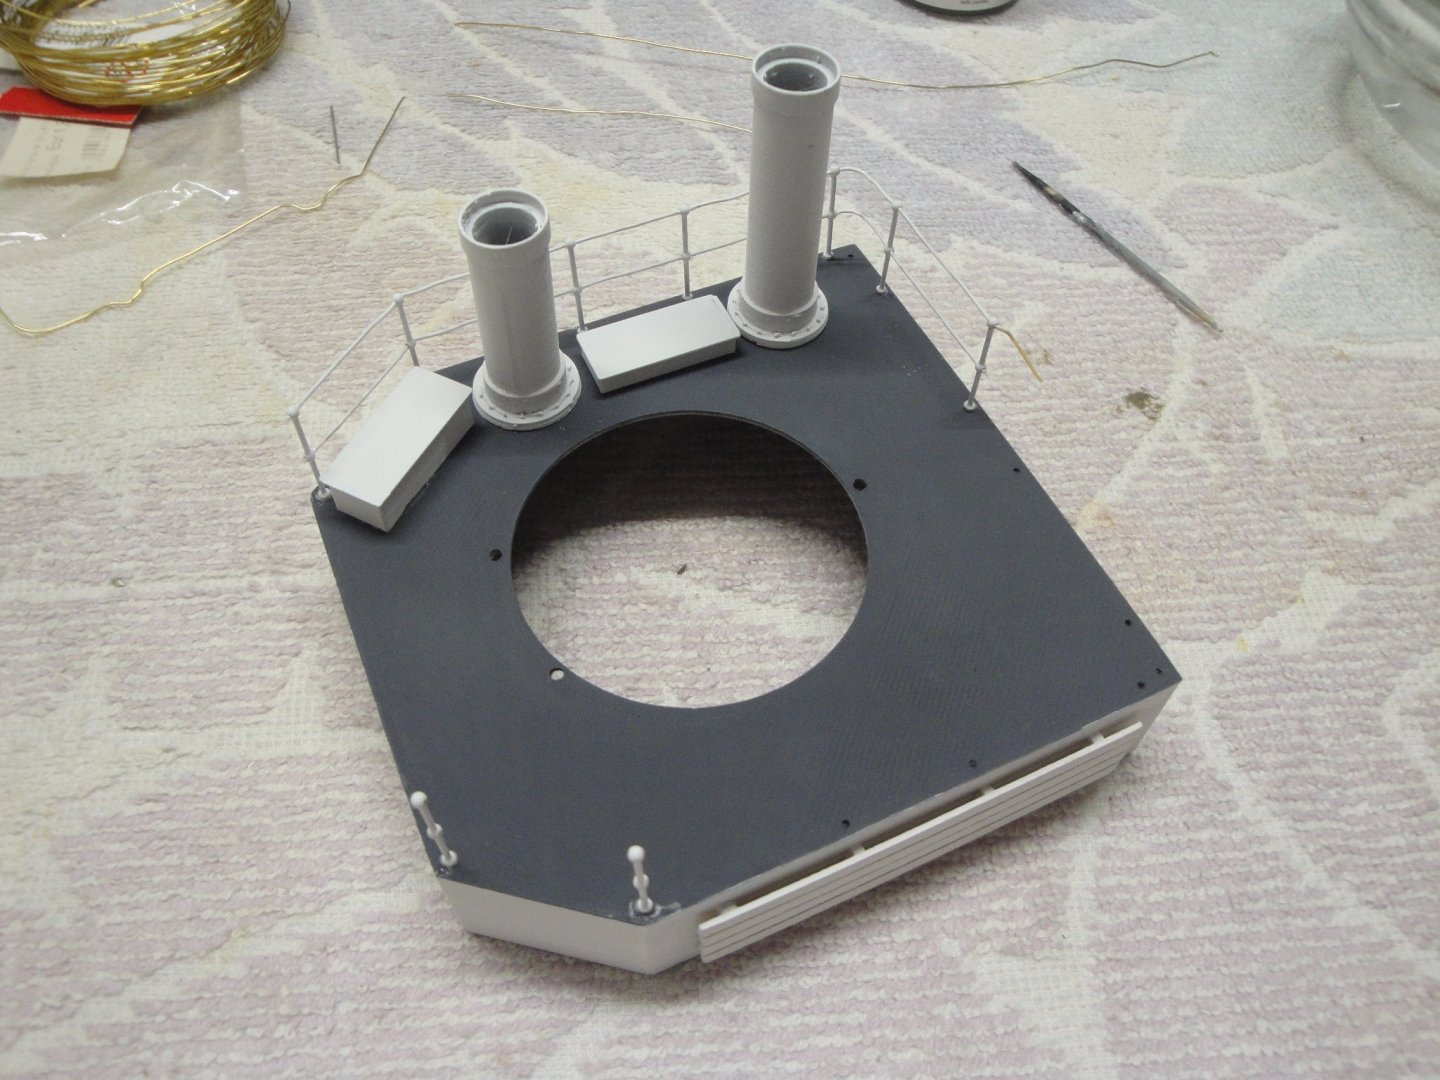
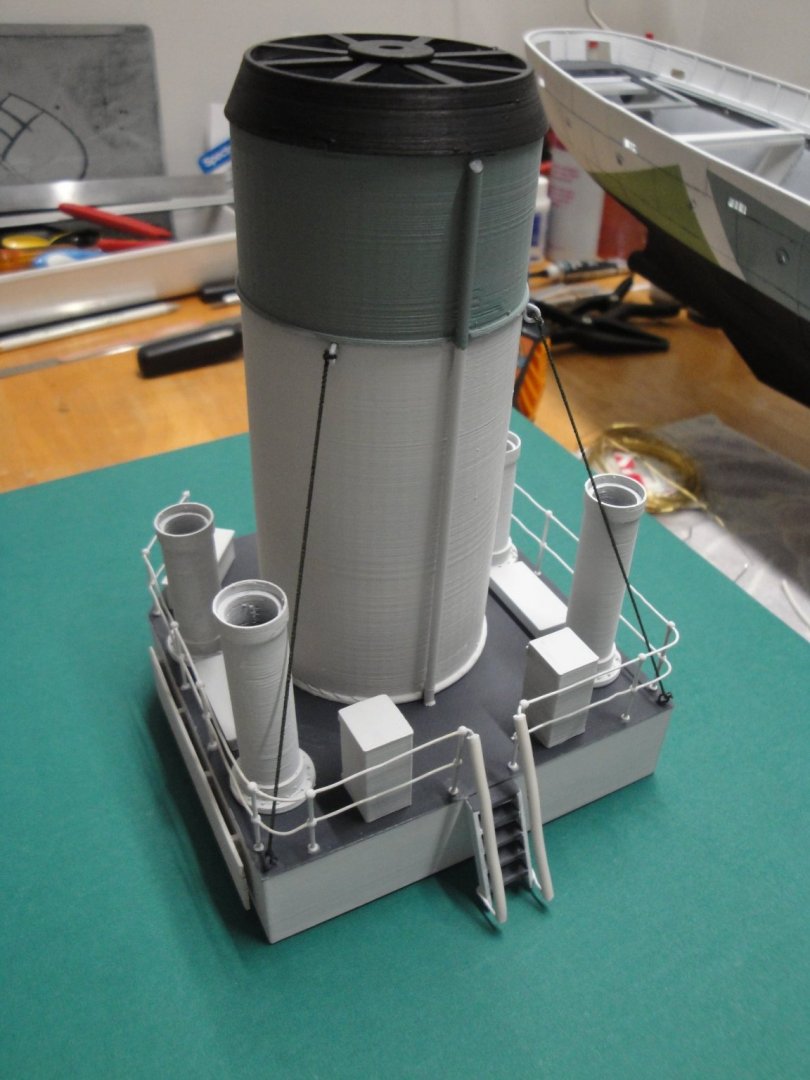
A few progress on the Smoke Cabin (as it is called....). First the birth of the funnel: And its completion: That is a large part. It does require some sanding and care, too look presentable. Next, other parts required for this assembly, are printed: The funnel stack is somewhat crude and will need some additional details. The ladder is from the kit and three brass tubes are added around the funnel, to make it look more realistic. Again, using the same Calder Craft stanchions, the delicate building of the railings is started. Some 0.6 mm brass wire is used to fabricate the railing. It is then glued with CA and painted white to simulate the tubing found on the prototype ship. Wooden protections are added on the sides, following the 3D rendering seen previously. These parts are extra and not provided in the kit. The funnel is now added and this is a delicate task: all brass tubes have to go in their respective holes and the funnel has to have the correct inclination, which is helped by the printed part. On the deck various chest and cowl hoses are installed. The trunk located between the two cowls, is identical to what is provided in the kit, with its height reduced by 50%. The vertical lockers (see below) are identical to the lockers provided in the kit, but reduced to 50% of their width and length. The rigging is made with elastic wires found at Michael's or Jo-Ann's. This section is complete and I just have to install the painted cowls, on top of their respective tubes. Yves


- 321 replies
-
- 16
-
-
- Finished
- Flower-class
- (and 1 more)
-
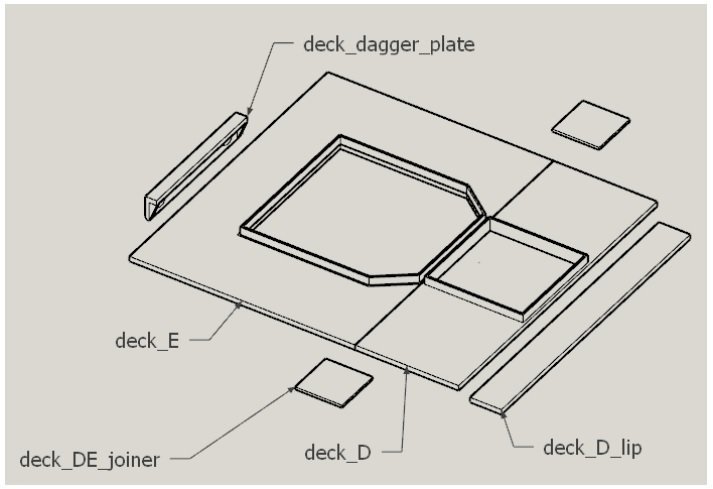
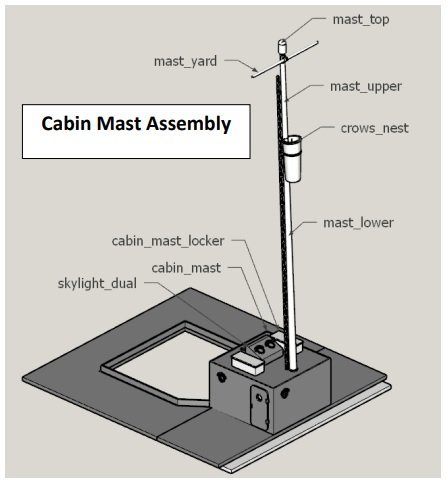
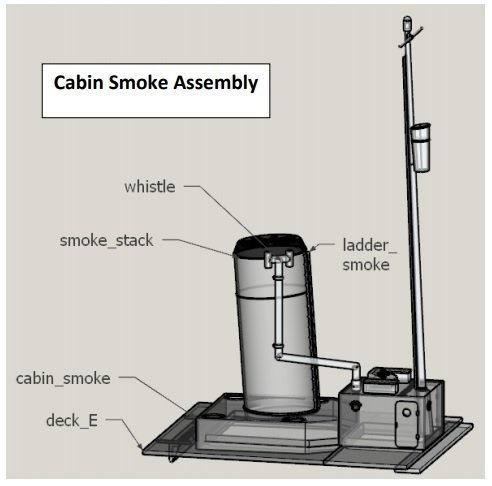
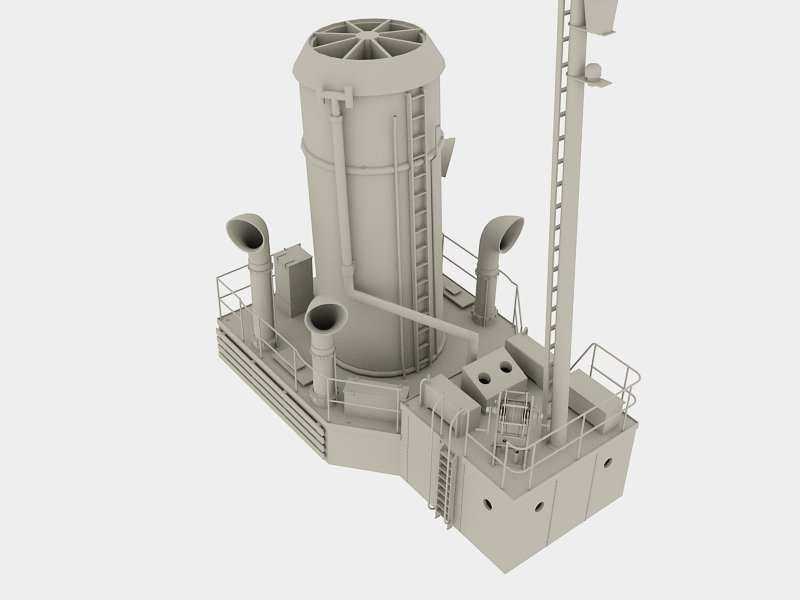
MODULE #4 (Galley and Smoke Cabins) This is the second module that I am building. As indicated earlier, the careful installation of the deck floors and precise setting, allow you to approach each module in an almost independent way. For our next installment, I have decide to concentrate on the Galley Cabin (where the mast find its anchor) and Smoke Cabin. Before showing the implementation, let's quickly review what the Virtual kit is offering us: Decks D and E are glued together and coupled with two joiners. I have printed the Dagger plates and the D lip but will not be using them. These parts are for RC builds, to allow an easy access to the inners of the vessel: The Galley Cabin is depicted below: And the Smoke Cabin below: Overall, these sub-assemblies are rather crude and need some pimping up. The mast is printed with long parts, the crow's nest and the top part. I have decided to use a mast made of a wood dowel, instead. The large smoke stack is nicely provided in the kit, with a ladder and the whistle pipes. Since I am trying to depict the HMCS Snowberry, I needed to find more details of these areas. Unfortunately, the archive pictures are very hard to study in this particular area and not of a great help. Fortunately, I found a 3D rendering of what the Snowberry could have been at one point or another: And this is what I will be trying to model. Yves
- 321 replies
-
- 9
-
-
- Finished
- Flower-class
- (and 1 more)
-
Okay... I am giving up on this hobby... 😞 That is simply amazing. I am so glad to not work at 1/87th scale..... Your work is just incredible. Yves
- 189 replies
-
- 12
-
-
-
Beautiful!!! A 1/700th model always gains at being presented in a small diorama. Yves
- 14 replies
-
- 4
-
-
- O-class destroyer
- Tamiya
- (and 2 more)
-
Beautiful kit. Very well made. Yves