yvesvidal
-
Posts
3,634 -
Joined
-
Last visited
Content Type
Profiles
Forums
Gallery
Events
Everything posted by yvesvidal
-
 This water is gorgeous and renders so well the cold and ominous fjords of Norway. Yves
 -
Superb model. Congratulations. Yves
-
Beautiful collection. That trawler is enormous. Yves
- 273 replies
-
- 3
-

-
- panart
- amerigo vespucci
- (and 1 more)
-
Quick update: printing of the hull couplers (8 of them) is done. Each took between 1:30 and 5:00 hours to go.... I am currently printing the pedestal (2 x 7 hours) and still have four major pieces of the hull to go through: another week of non-stop printing. With Virtual kit, you either need multiple printers or build two kits at the same time... :-) Yves
- 321 replies
-
- 12
-
-
- Finished
- Flower-class
- (and 1 more)
-
Superb model. The P-38 is truly a special bird. Yves
-
Craig, I am buying the PLA filament from Amazon. The brand is Overture and each spool cost about $19 to $23 depending of the color. Spool comes with 2.2 pounds of filament, which gives you a lot to print. I have been able to do 4 sections of the hull, plus extra parts with less than one spool. I suspect that your plane will not take more than 1 spool. Only drawback of this technology: the material is incredibly hard..... not easy to sand or drill. Printing may not be that expensive, if you are not in a hurry. They may schedule you during the night and give you a nice price. Yves
- 321 replies
-
- 7
-
-
- Finished
- Flower-class
- (and 1 more)
-
Time consuming progress..... 28 hours.... Hull_2 section: Even better....33 hours !! Hull_7 section: The positive side of these virtual kits, is that while the model is building itself, you can get a life !!! Yves

- 321 replies
-
- 13
-

-
-
- Finished
- Flower-class
- (and 1 more)
-
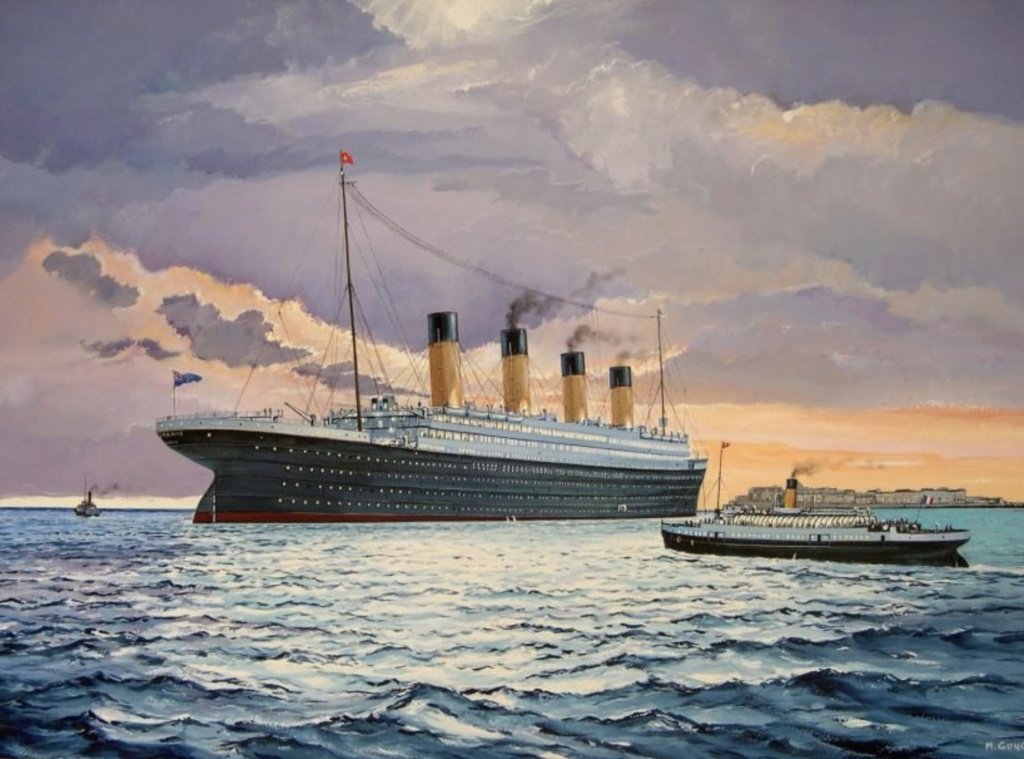
Finally, someone will cover that MONUMENTAL kit from Trumpeter. I have been waiting for this moment, a long time. Thank you so much Winnie for launching this massive endeavor. We will all enjoy it immensely. For information, there is a very active Forum on the Titanic, in French (not sure if you can decipher it or not), but it has a lot of information and these guys are searching around the world for after-market parts to make the model even better than it is: https://www.laroyale-modelisme.net/f32-montages-titanic-sisterships and this one in particular: https://www.laroyale-modelisme.net/t25181-montage-titanic-trumpeter-1-200-par-le-barbenchon Yves
-
Lancia Assunta by maurino
yvesvidal replied to maurino's topic in - Build logs for subjects built 1901 - Present Day
Great choice and beautiful boat. I hope you will reproduce that stunning sail.... In 1/24th scale, it should make for a very nice model. Yves -
I agree with you Craig, there is a lot to learn with this new technology. The beauty of it is that you can print intricate internal structures (like what you are showing), which would be sometimes impossible to build (easily). I am currently printing another section of the hull (Hull_7) and that is planned for 33 hours, non-stop !!! Yves
- 321 replies
-
- 8
-
-
- Finished
- Flower-class
- (and 1 more)
-
Impressive model. So well done. Yves
-
Hermann, There is no need for curing or washing. Curing is done automatically, as it cools from the printer. Washing is always something good to do, but there is no demolding agents used in the process. Yves
- 321 replies
-
- 6
-
-
- Finished
- Flower-class
- (and 1 more)
-
Cockpit and engine are absolutely stunning. Yves
- 55 replies
-
- 2
-
-
- hydroplane
- Slo-mo-shun IV
- (and 1 more)
-
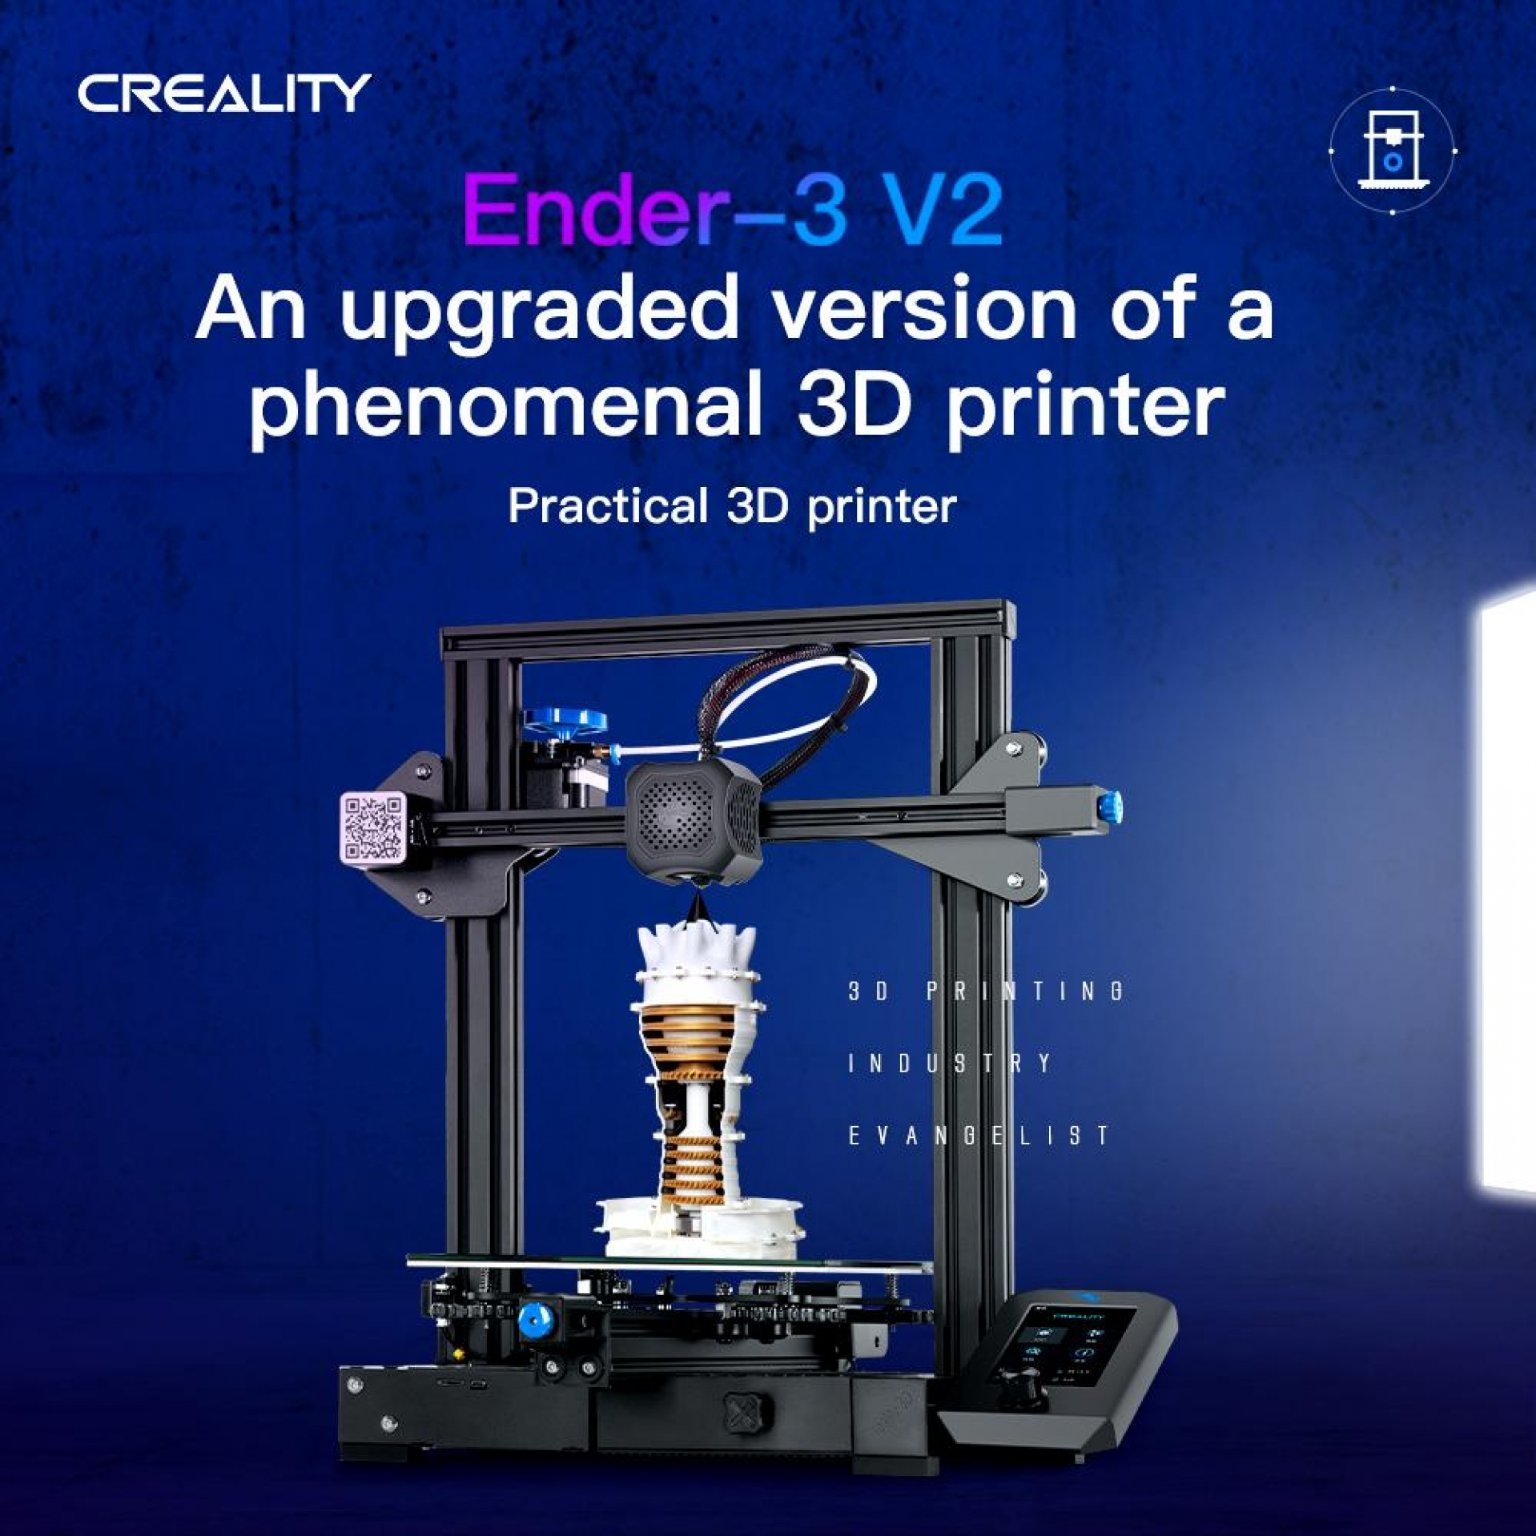
You can pause it, but the beauty is to run it during the night, while you sleep. My current print (Hull section 2) is given for 27 hours.... Not to worry: these printers are designed to run a lot and are quite silent *at least the Creality Ender-3 V2 is thanks to the silent chips they use to drive all motors. The only thing you hear is the fan for the extruder and an occasional motion of the spool. Running it during the night is actually perfect, as the electrical power is cleaner and more stable than during the day. Yves
- 321 replies
-
- 6
-
-
- Finished
- Flower-class
- (and 1 more)
-
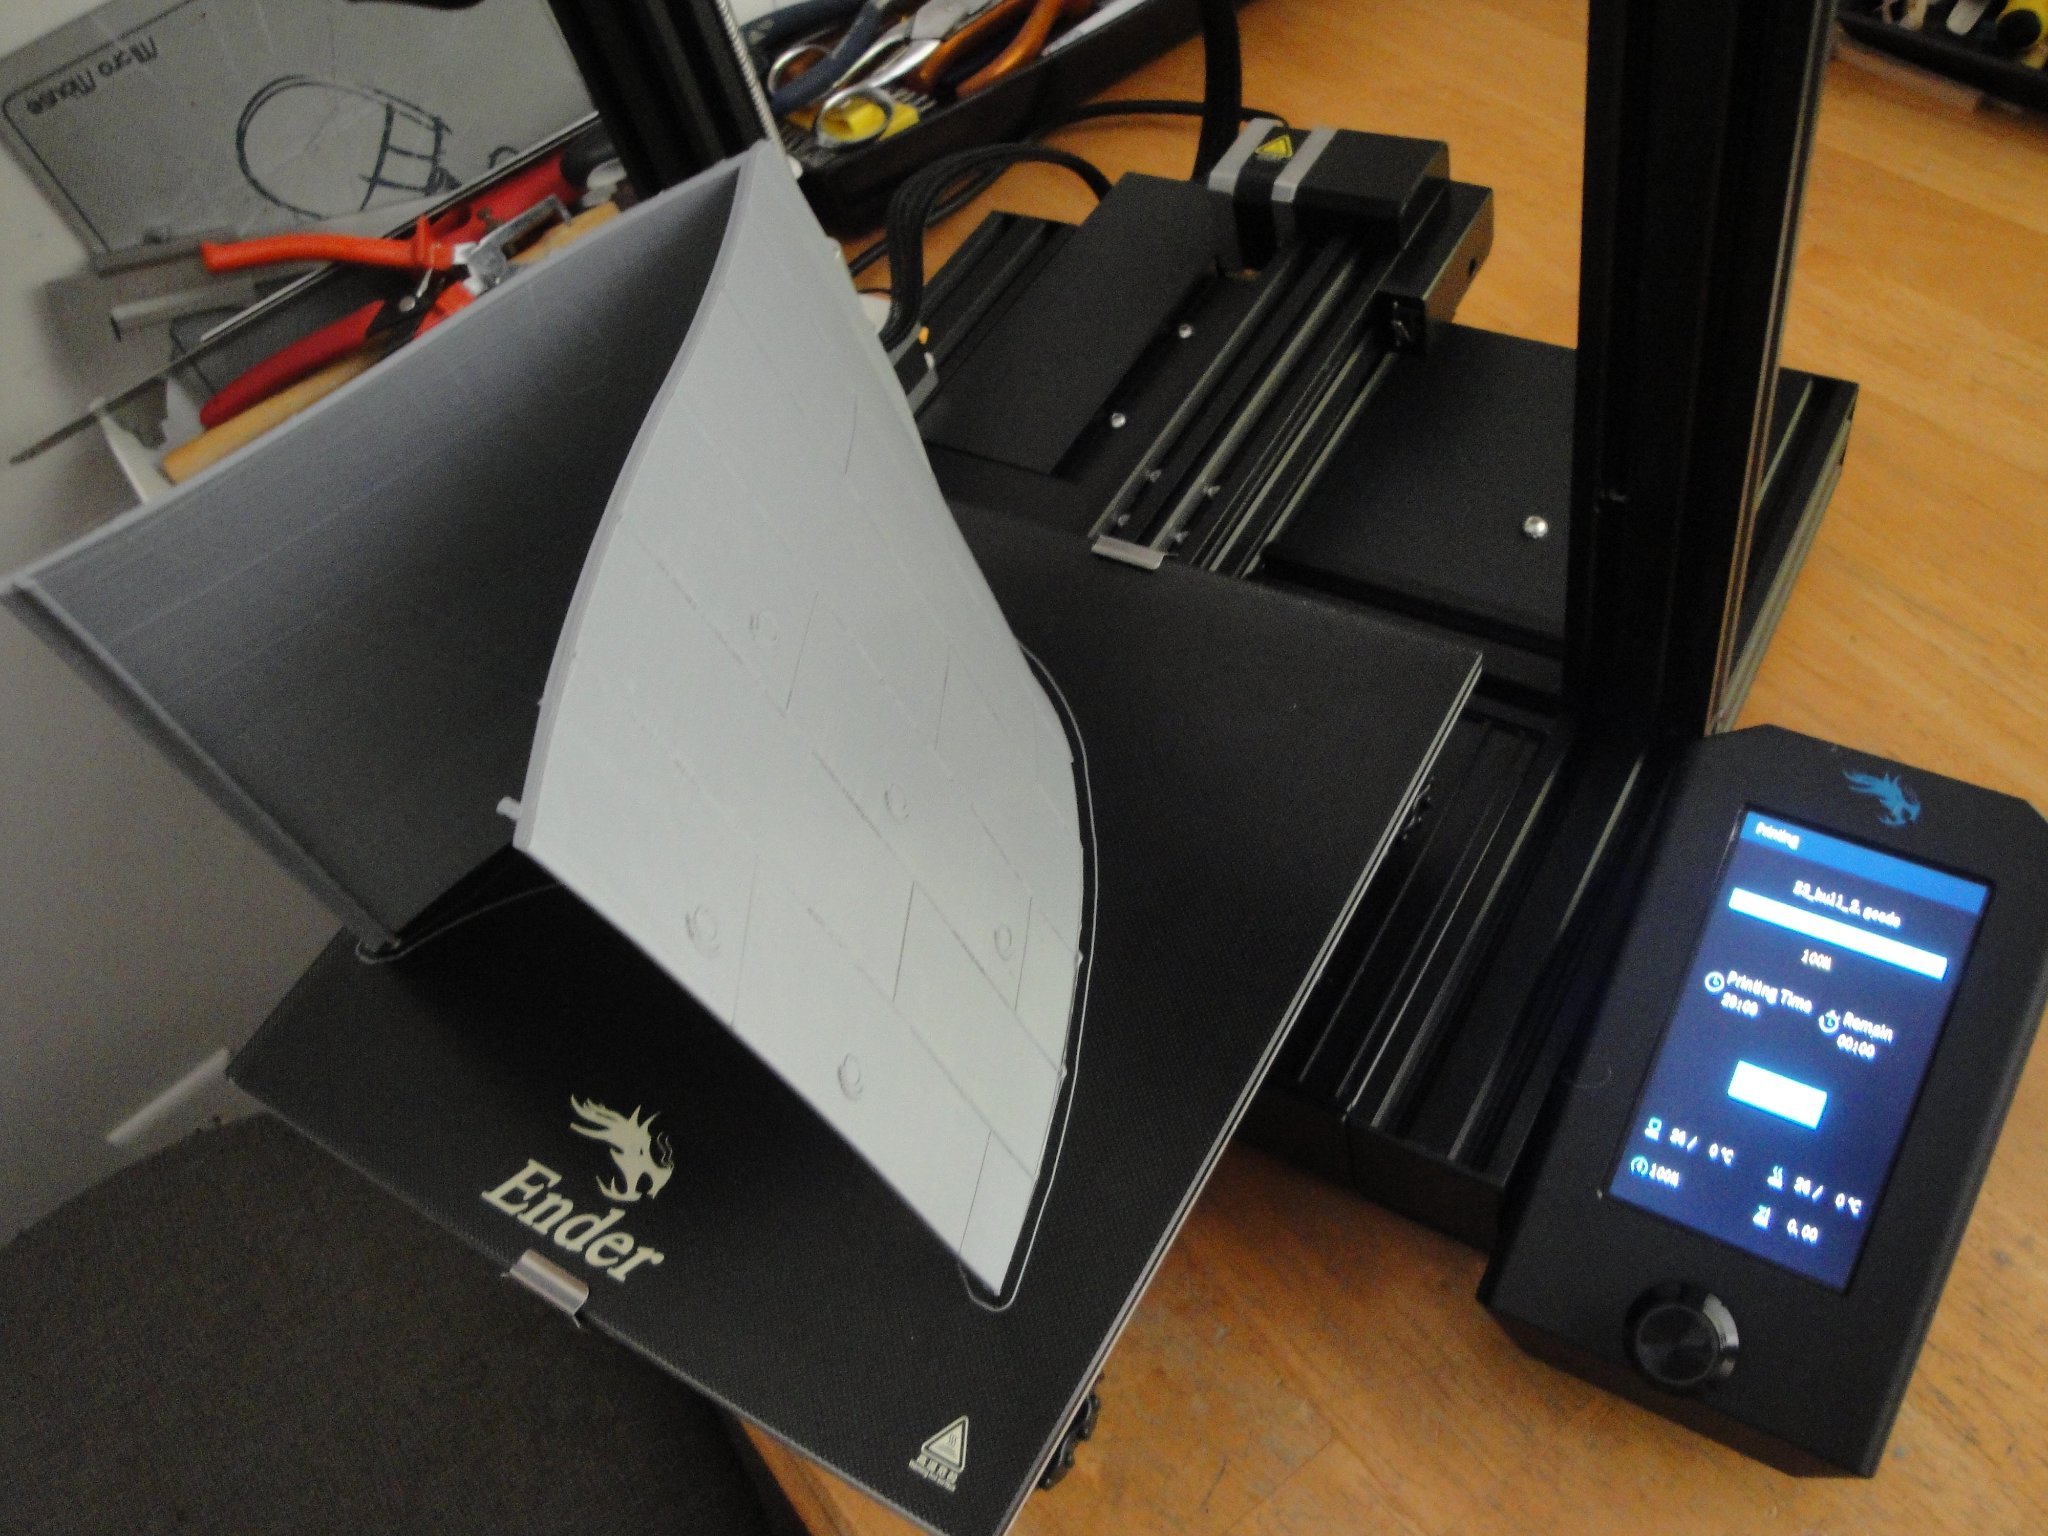
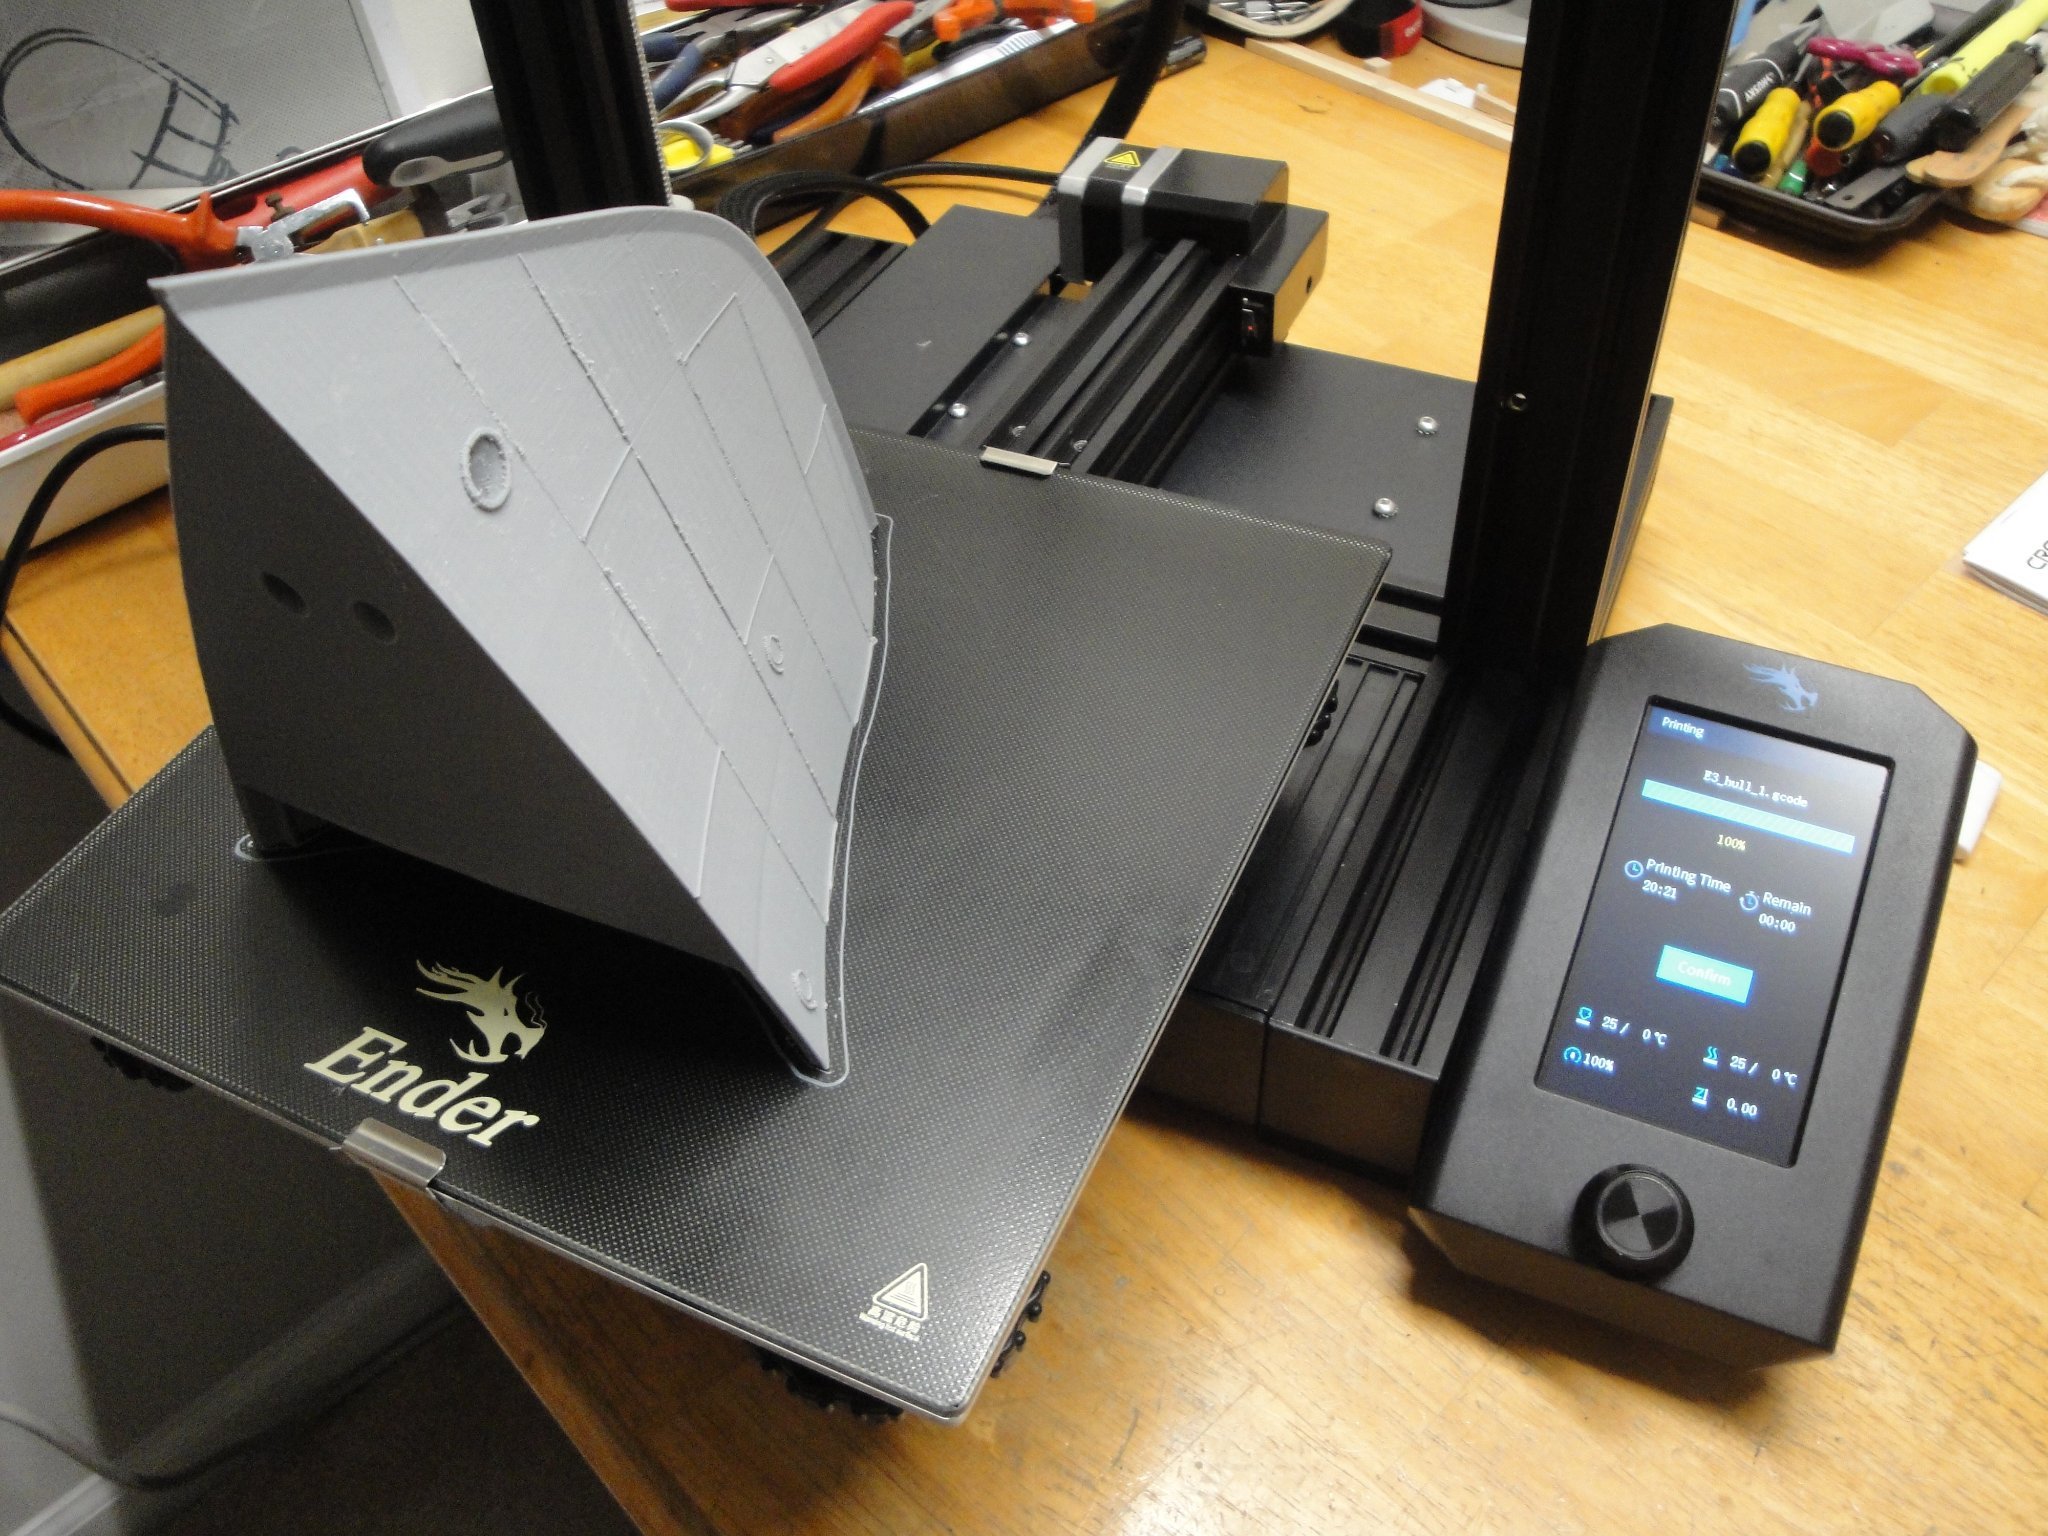
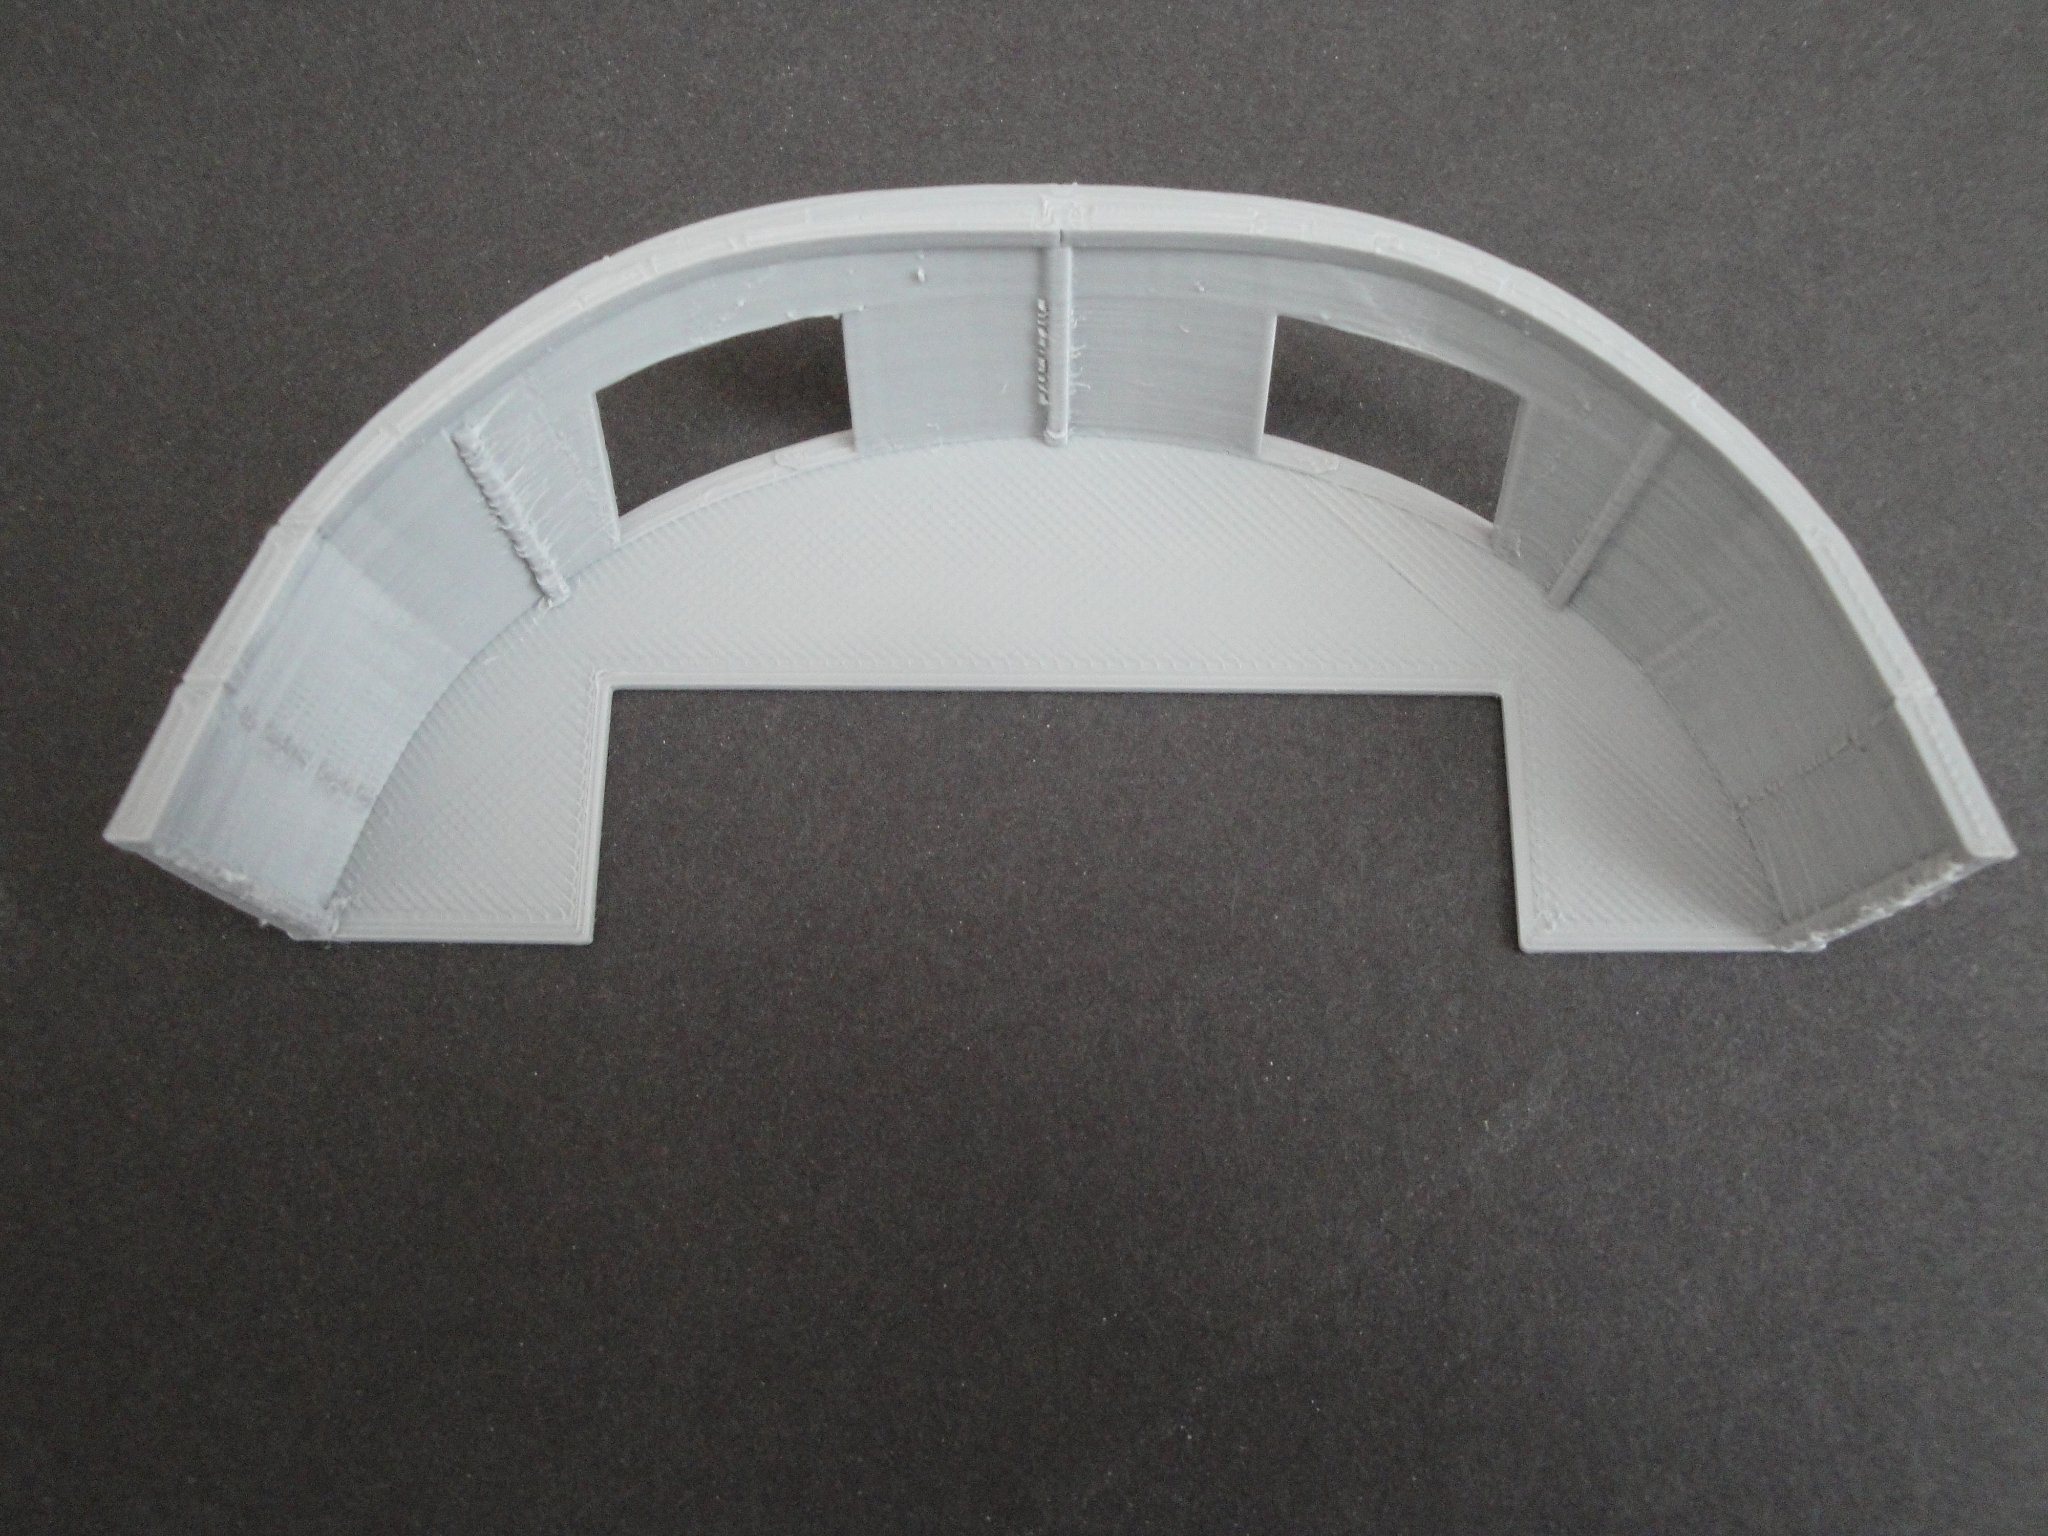
Dinner is Ready !! You have been served a new part.... Duration 20 hours and 21 minutes of non-stop (thanks God) printing. Details of the anchor chain wells. Hull_2 section is just starting..... expected duration 56 hours... It will be less once it gets going. Yves

- 321 replies
-
- 15
-
-
- Finished
- Flower-class
- (and 1 more)
-
Thank you Mike. Yes, epic... it is !!! That is why I will be happy if I manage to finish the hull !!! Yves
- 321 replies
-
- 8
-
-
- Finished
- Flower-class
- (and 1 more)
-
Alan, I am myself a complete newbie as I started printing two days ago. The hull is very thick (4 mm) and incredibly hard and stiff. Sanding parts will not be as easy as regular plastic models, for sure. Hull is printed with a nozzle of 0.4 mm with a layer height of 0.2 mm (usually half of the nozzle size), for nice overlapping of the layers. This is standard procedure to optimize speed, details and surface aspect. To print smaller parts, my understanding is that you need to use a smaller nozzle (0.2 mm), reduce the speed and use a layer height of less than 0.1 mm. Resin is of course the way to go for ultimate details, than the PLA will never provide. Yves
- 321 replies
-
- 9
-

-
-
- Finished
- Flower-class
- (and 1 more)
-
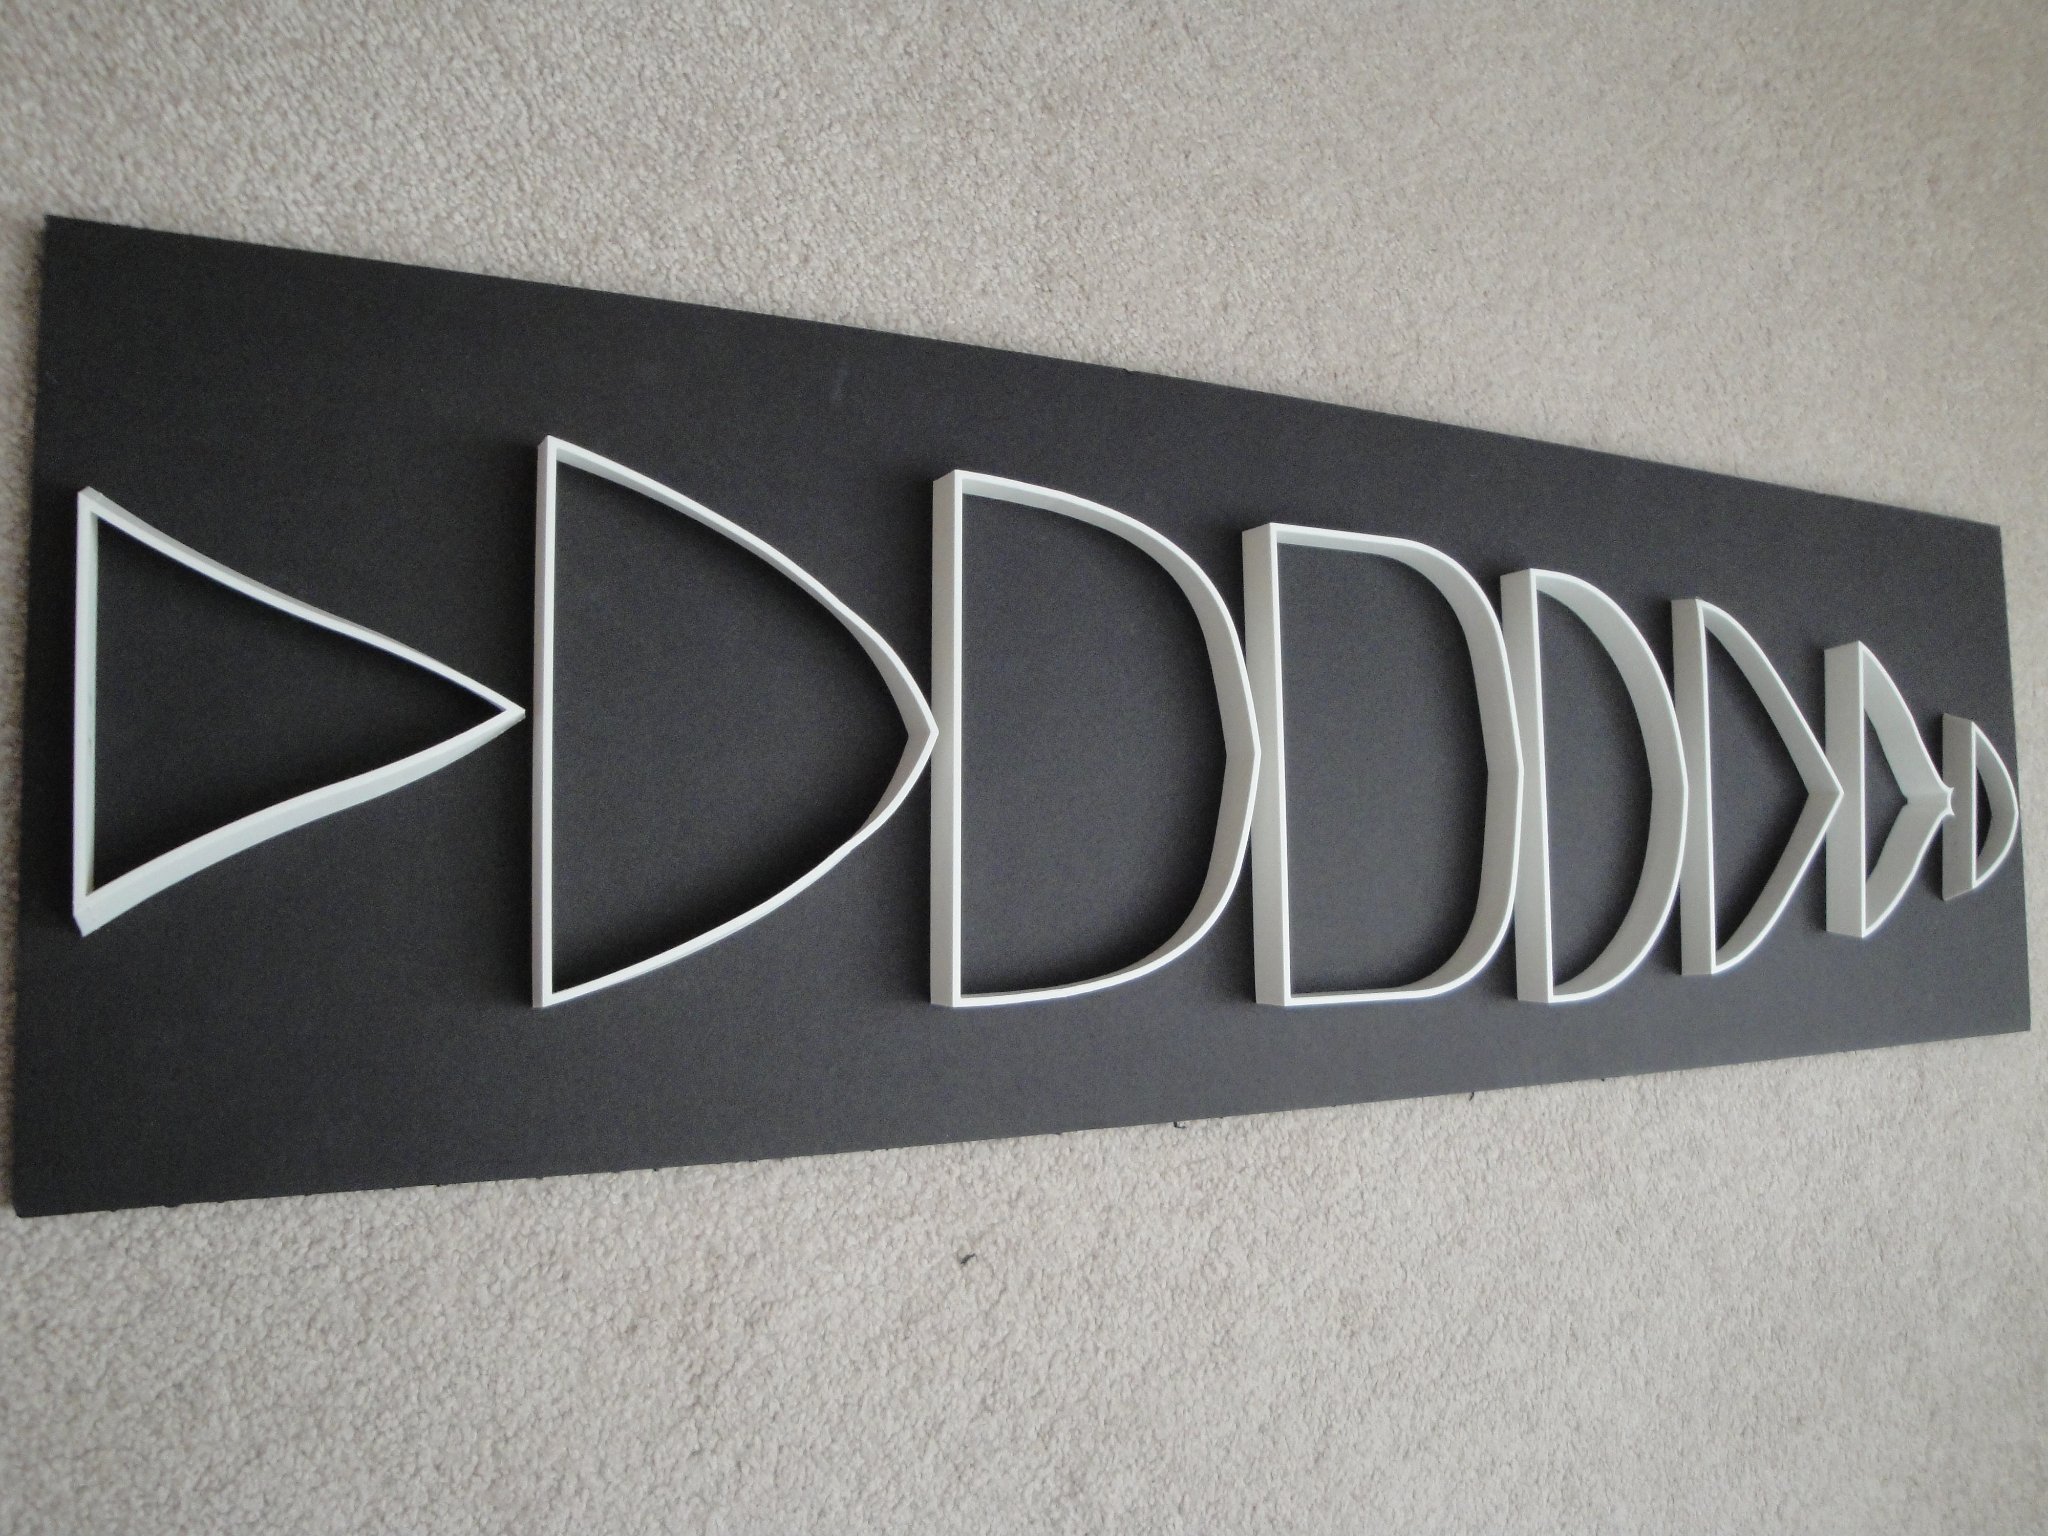
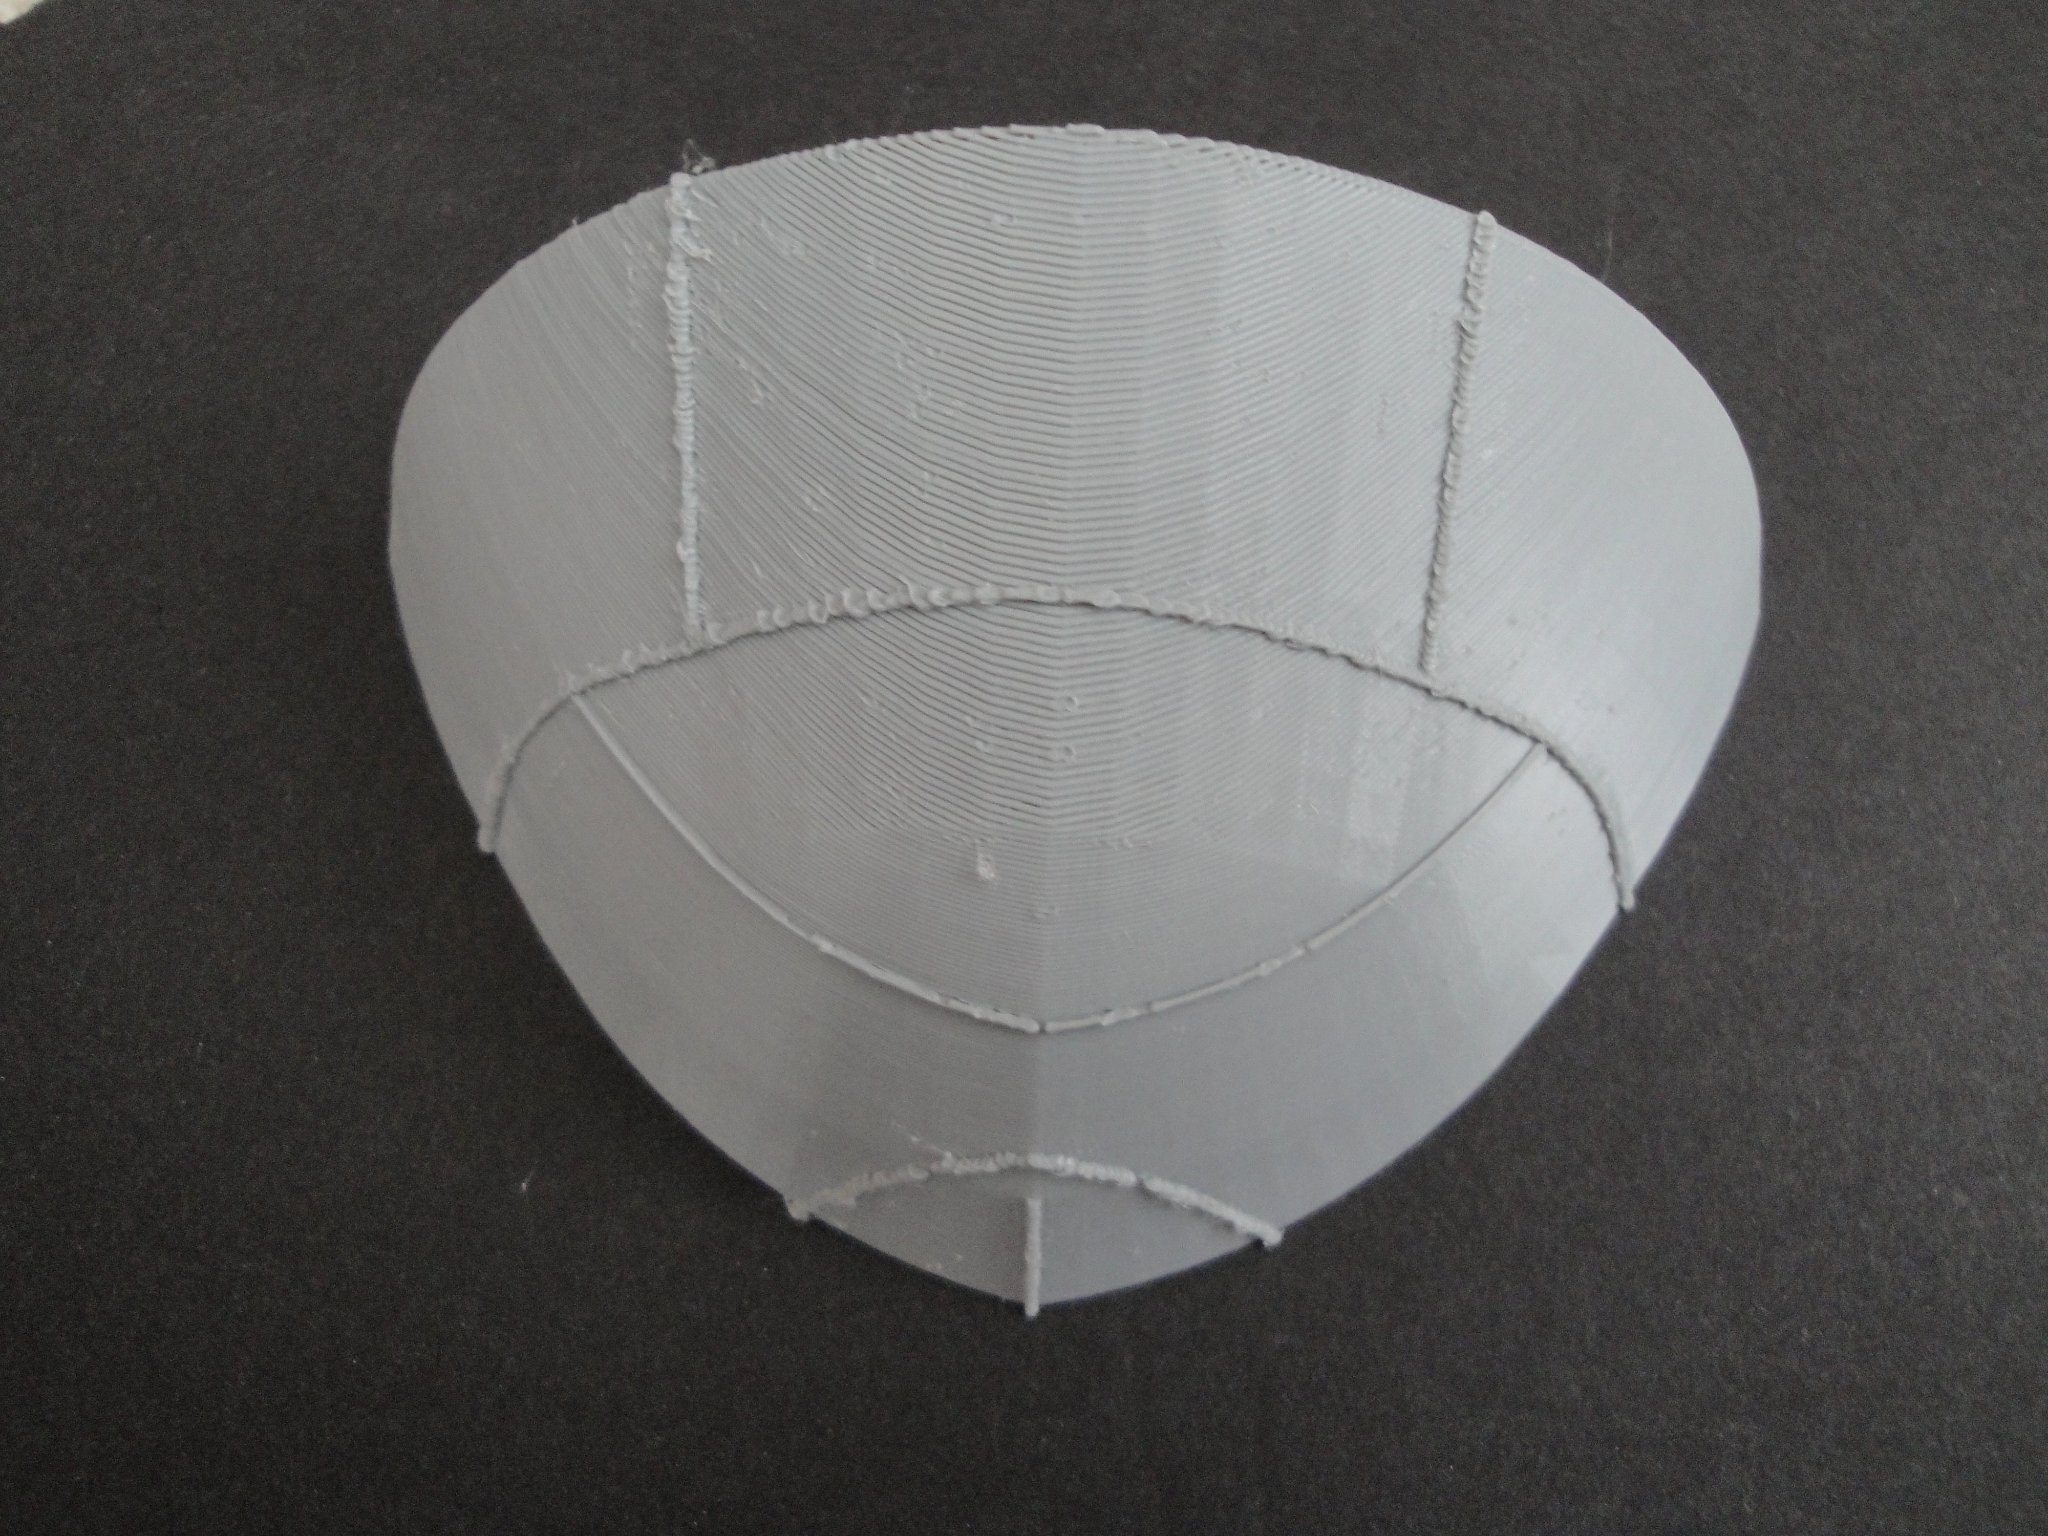
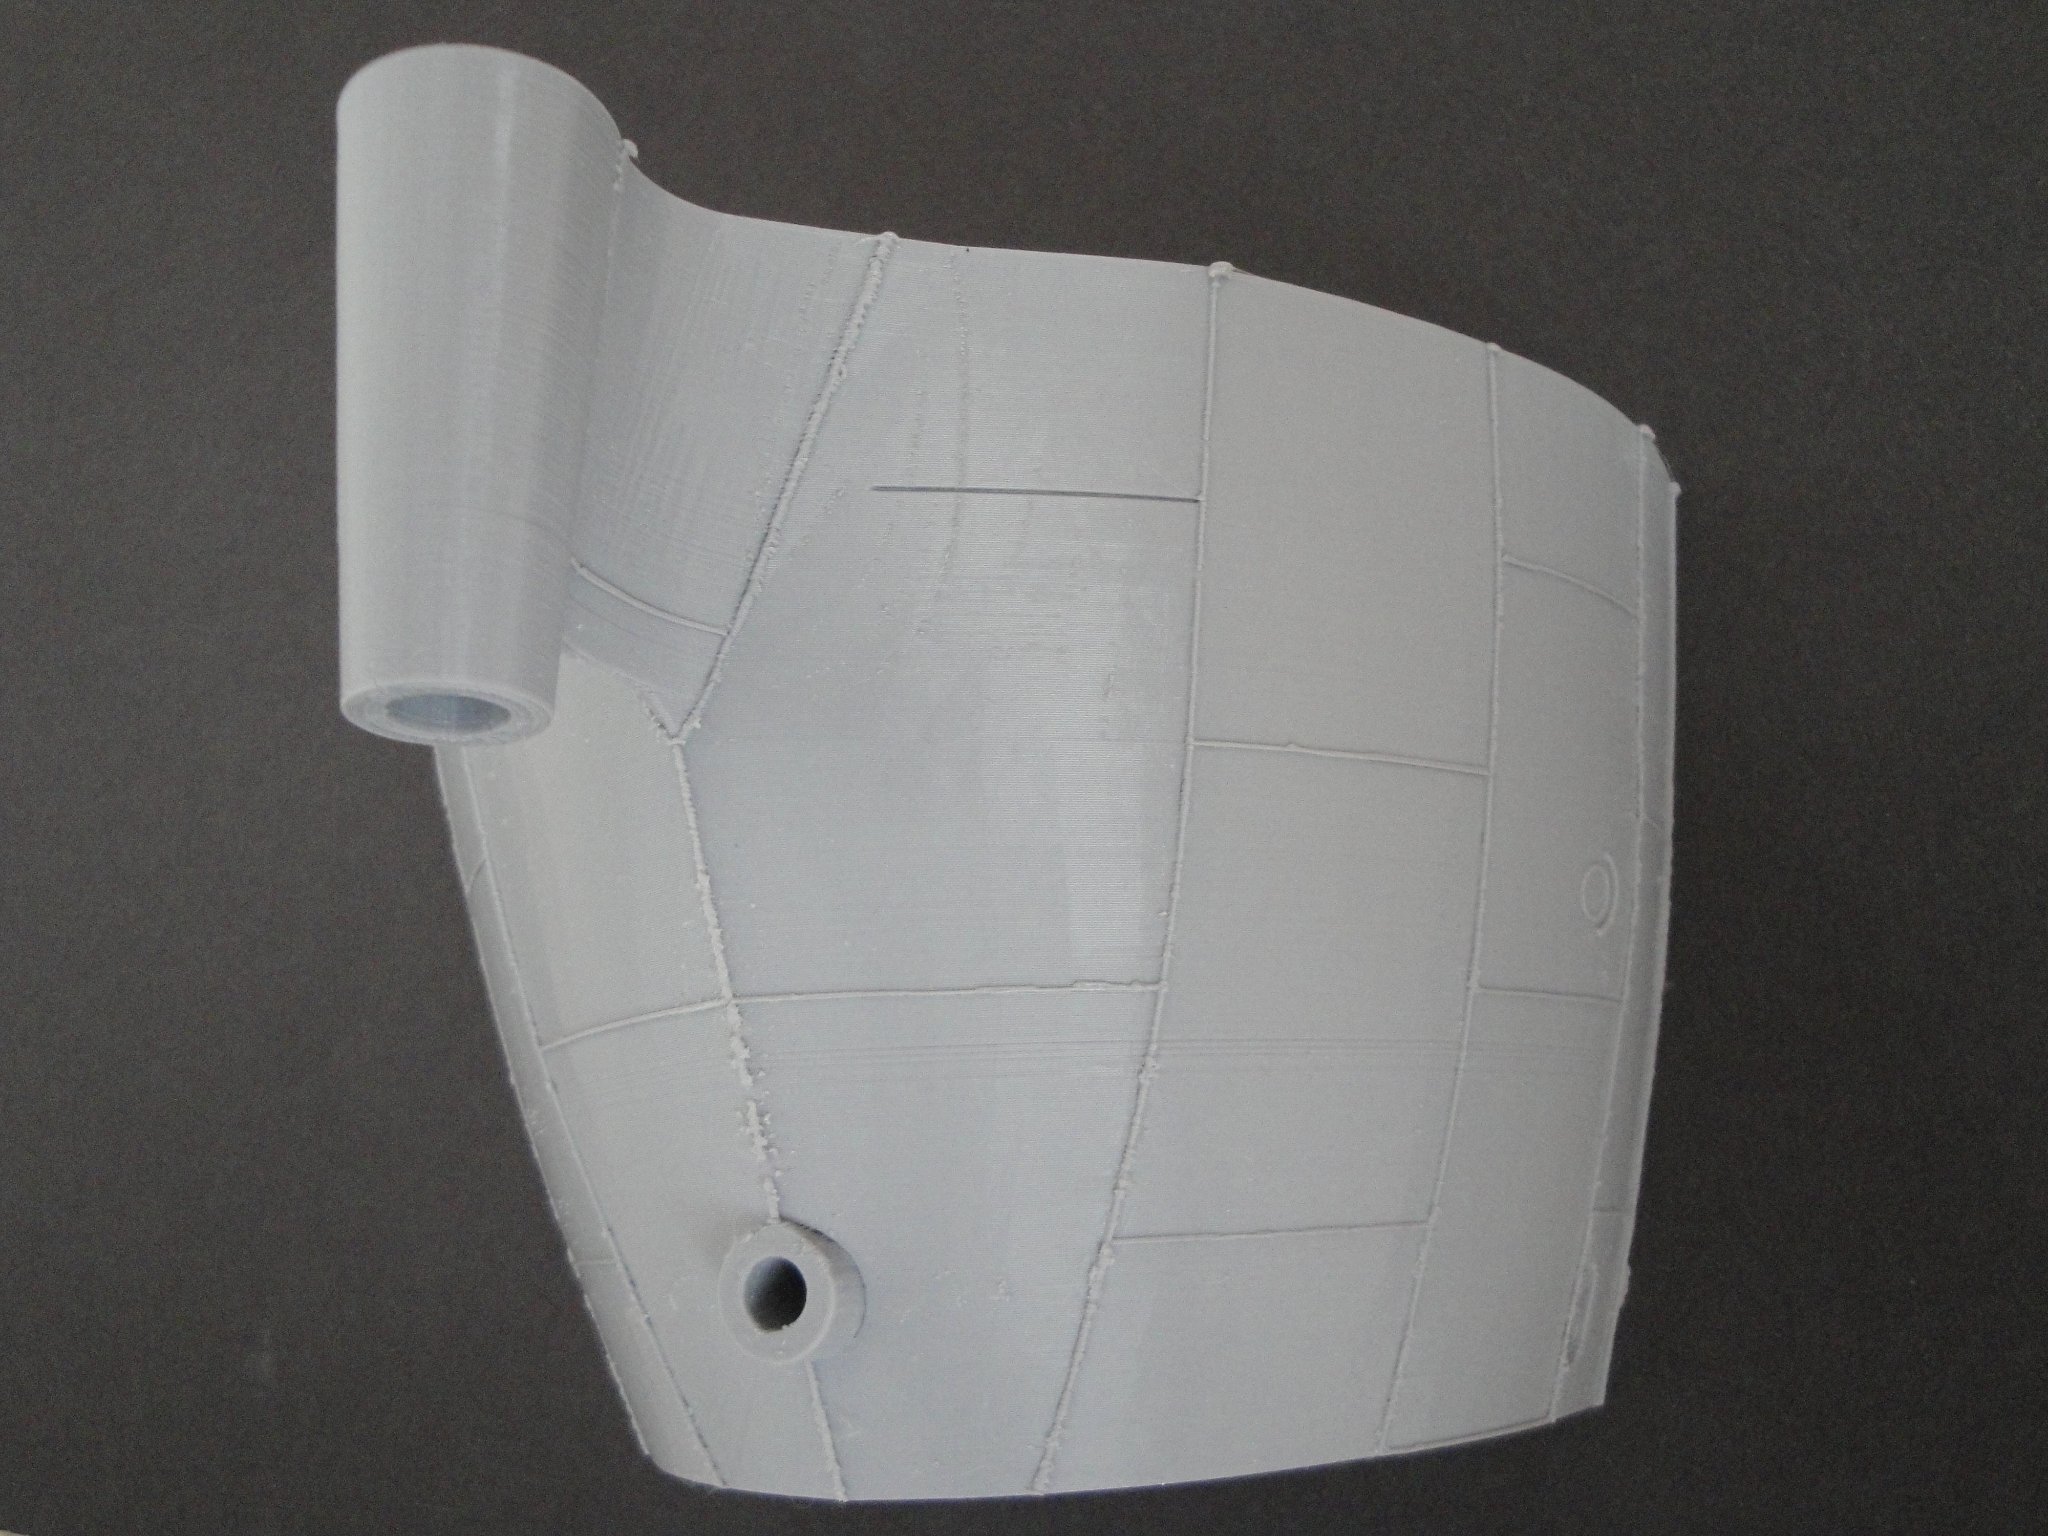
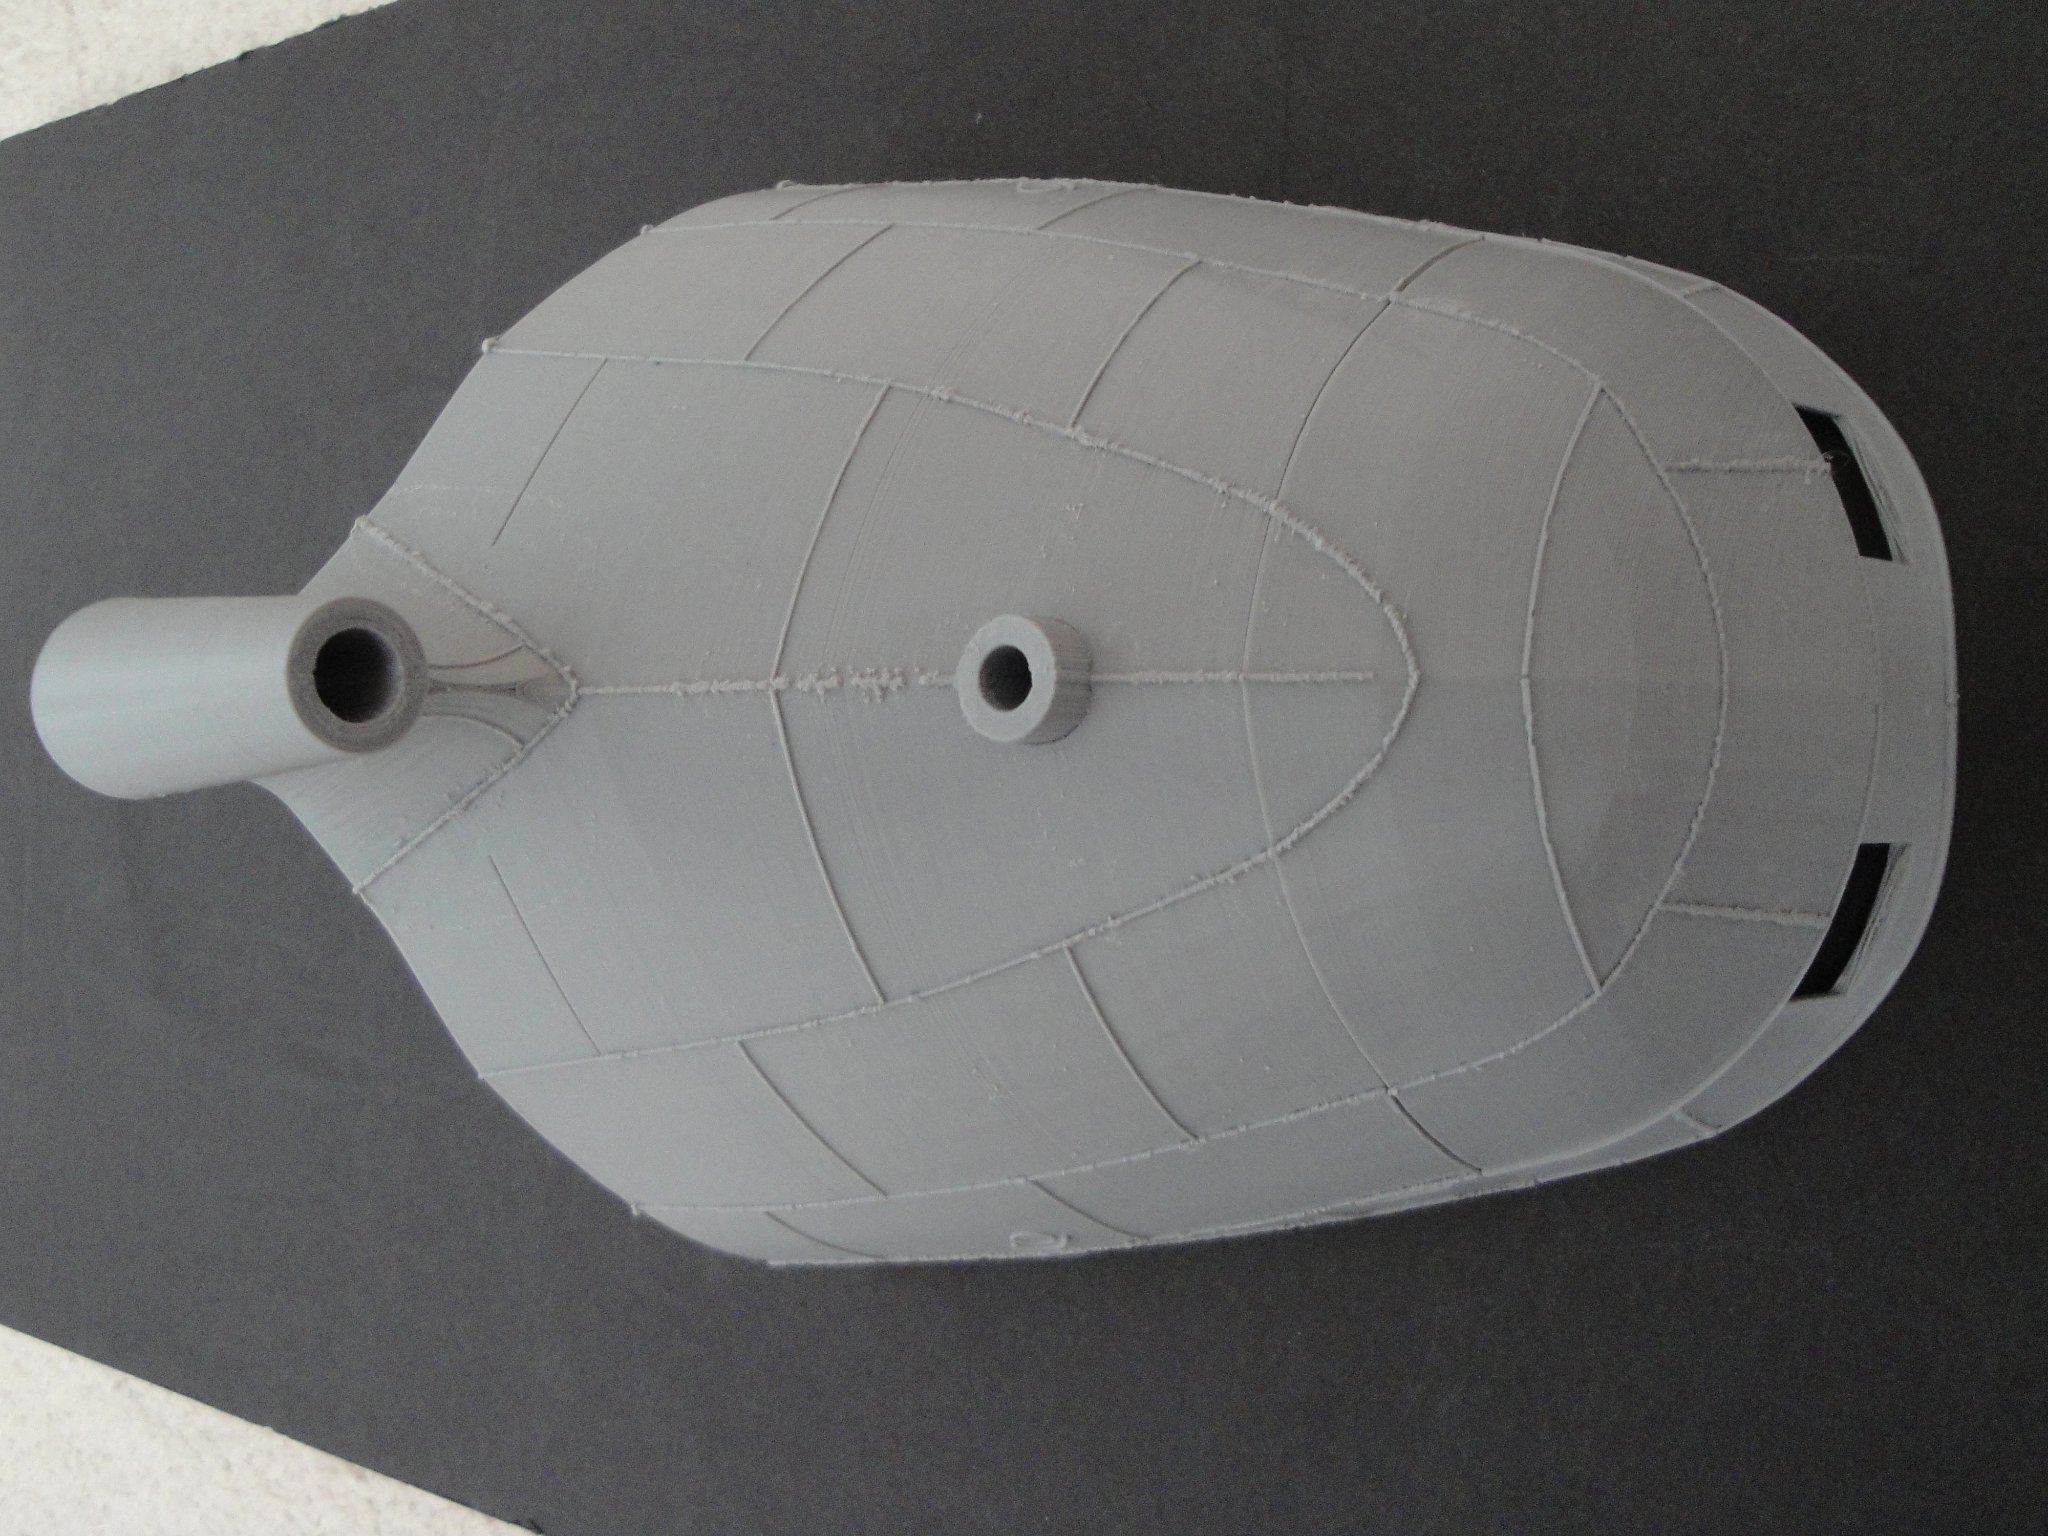
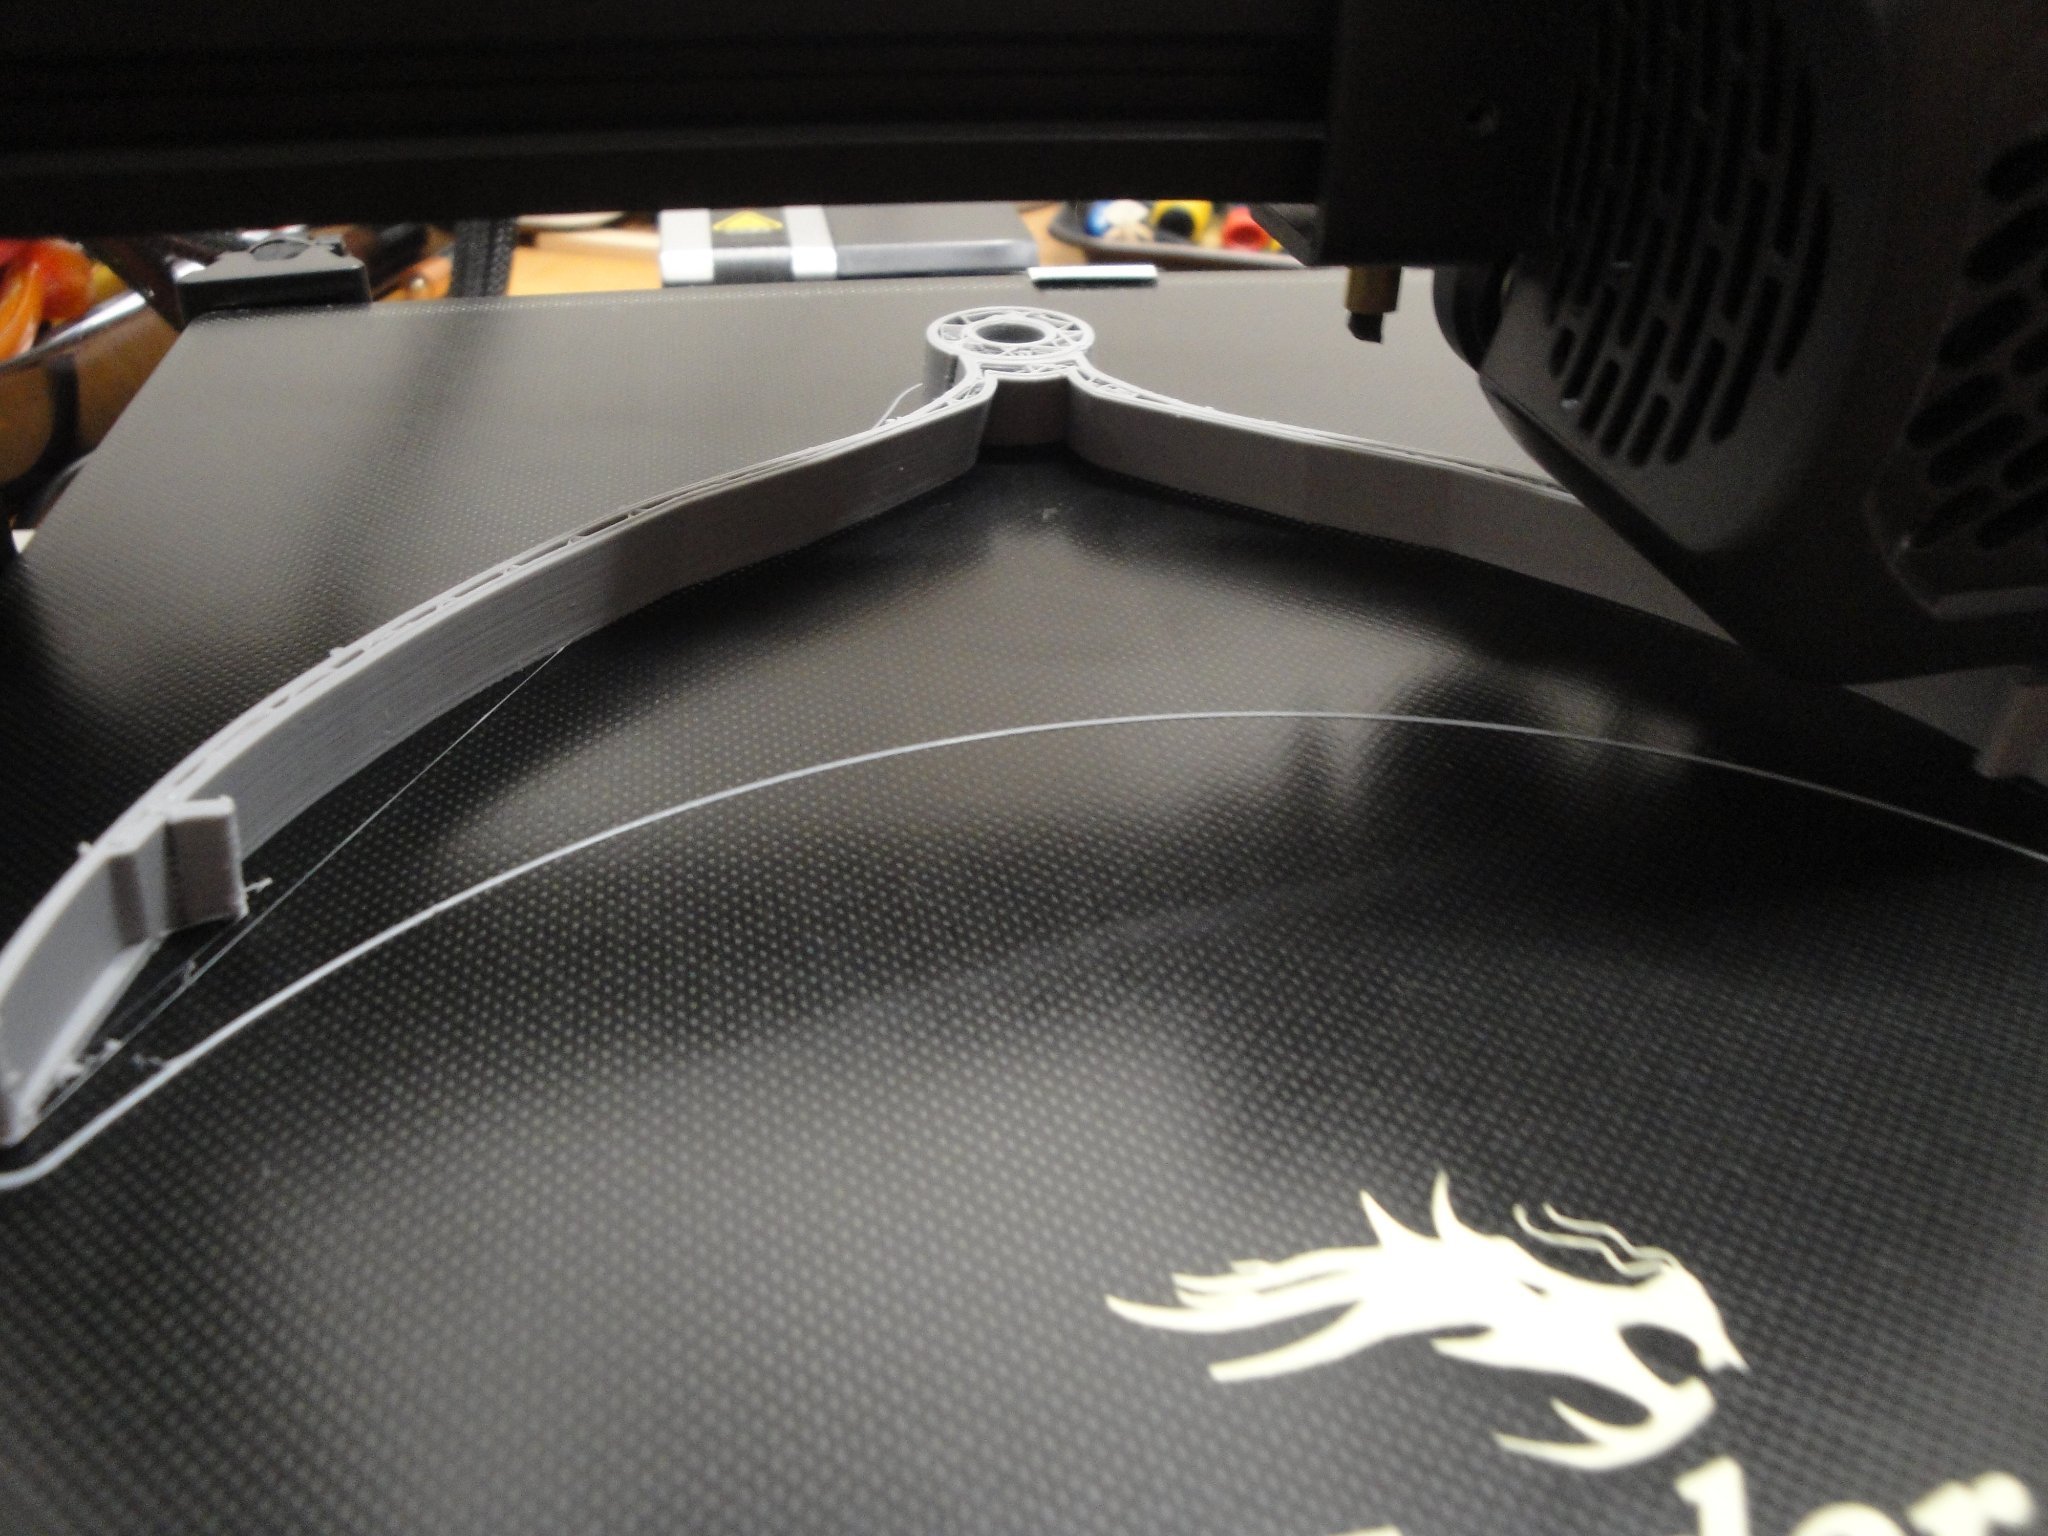
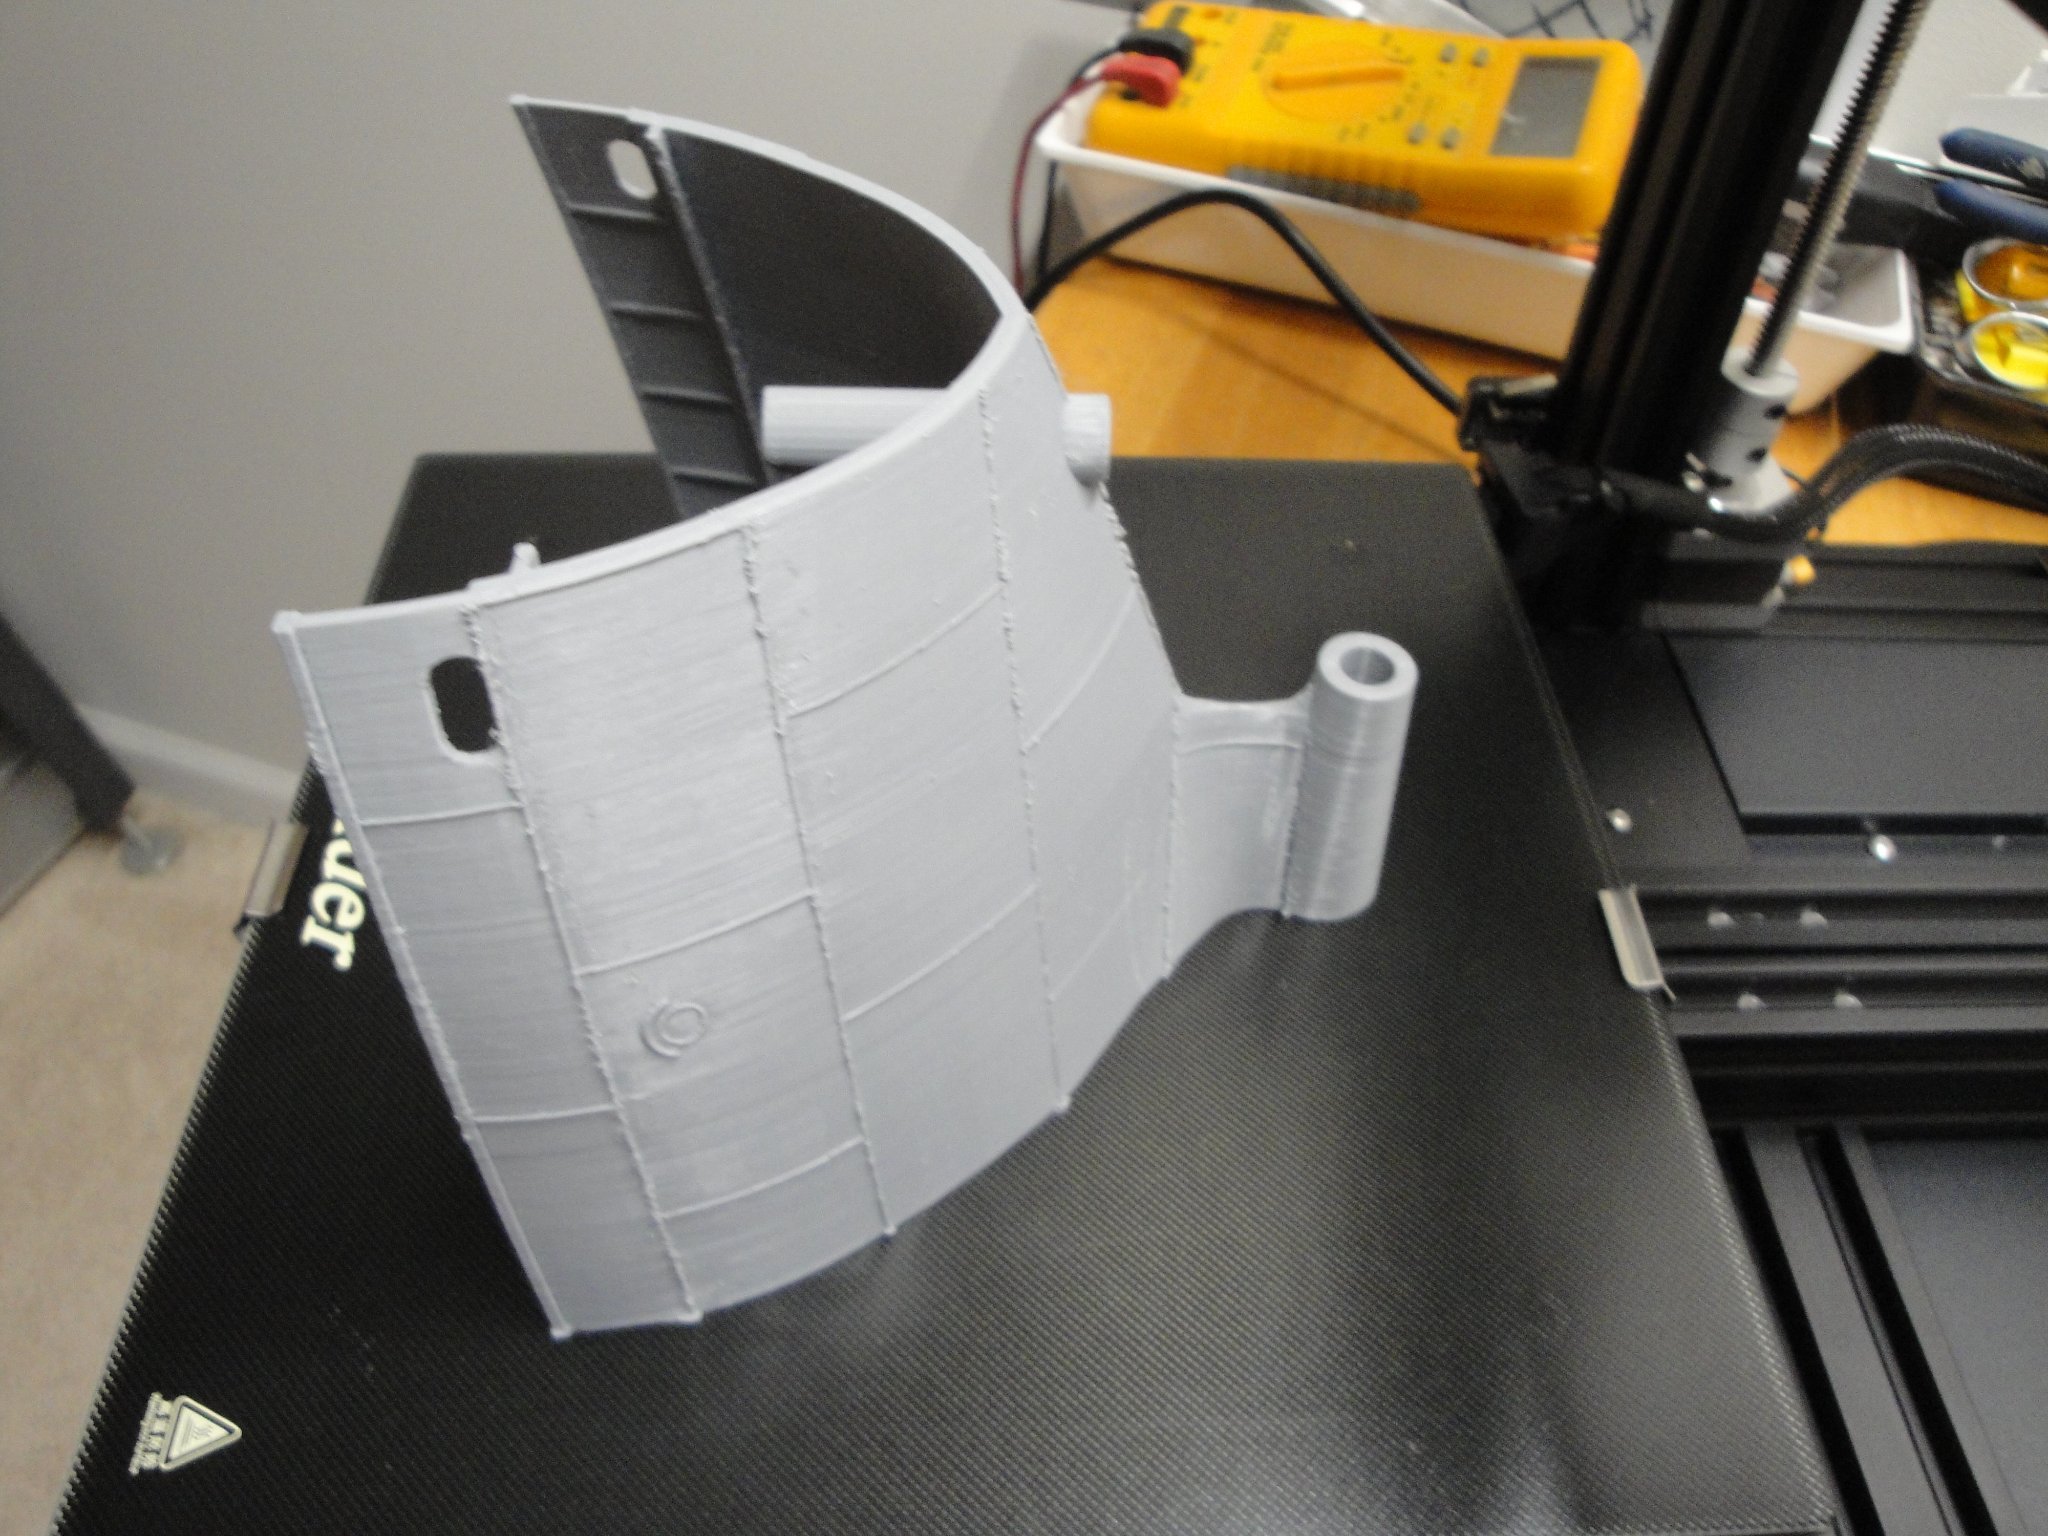
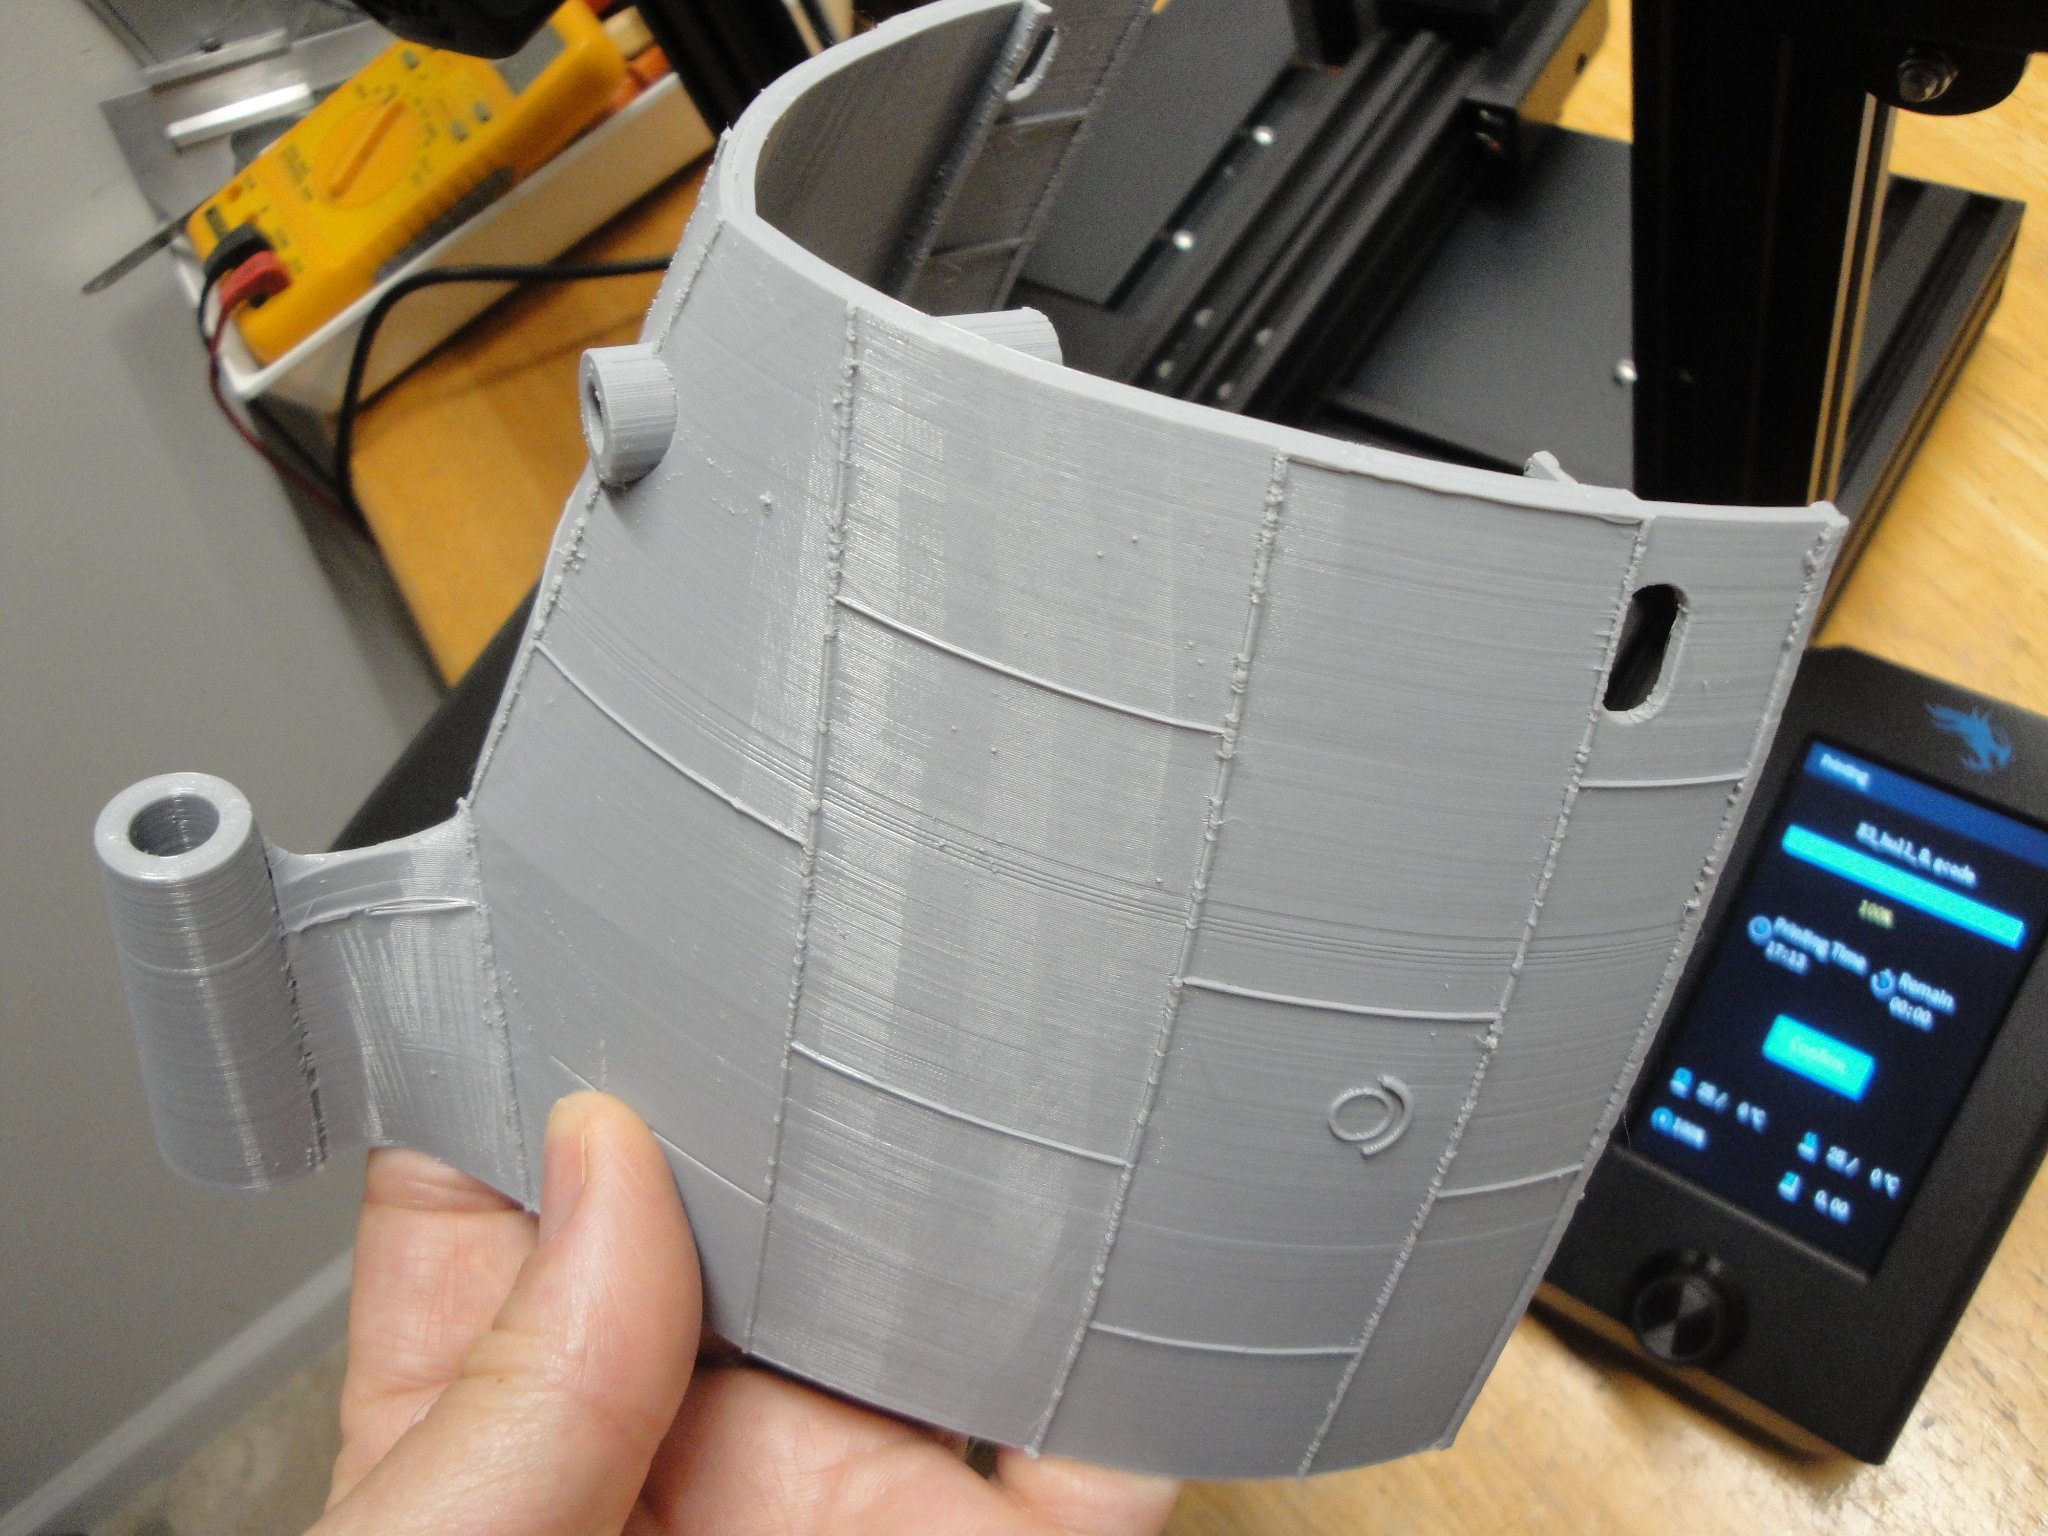
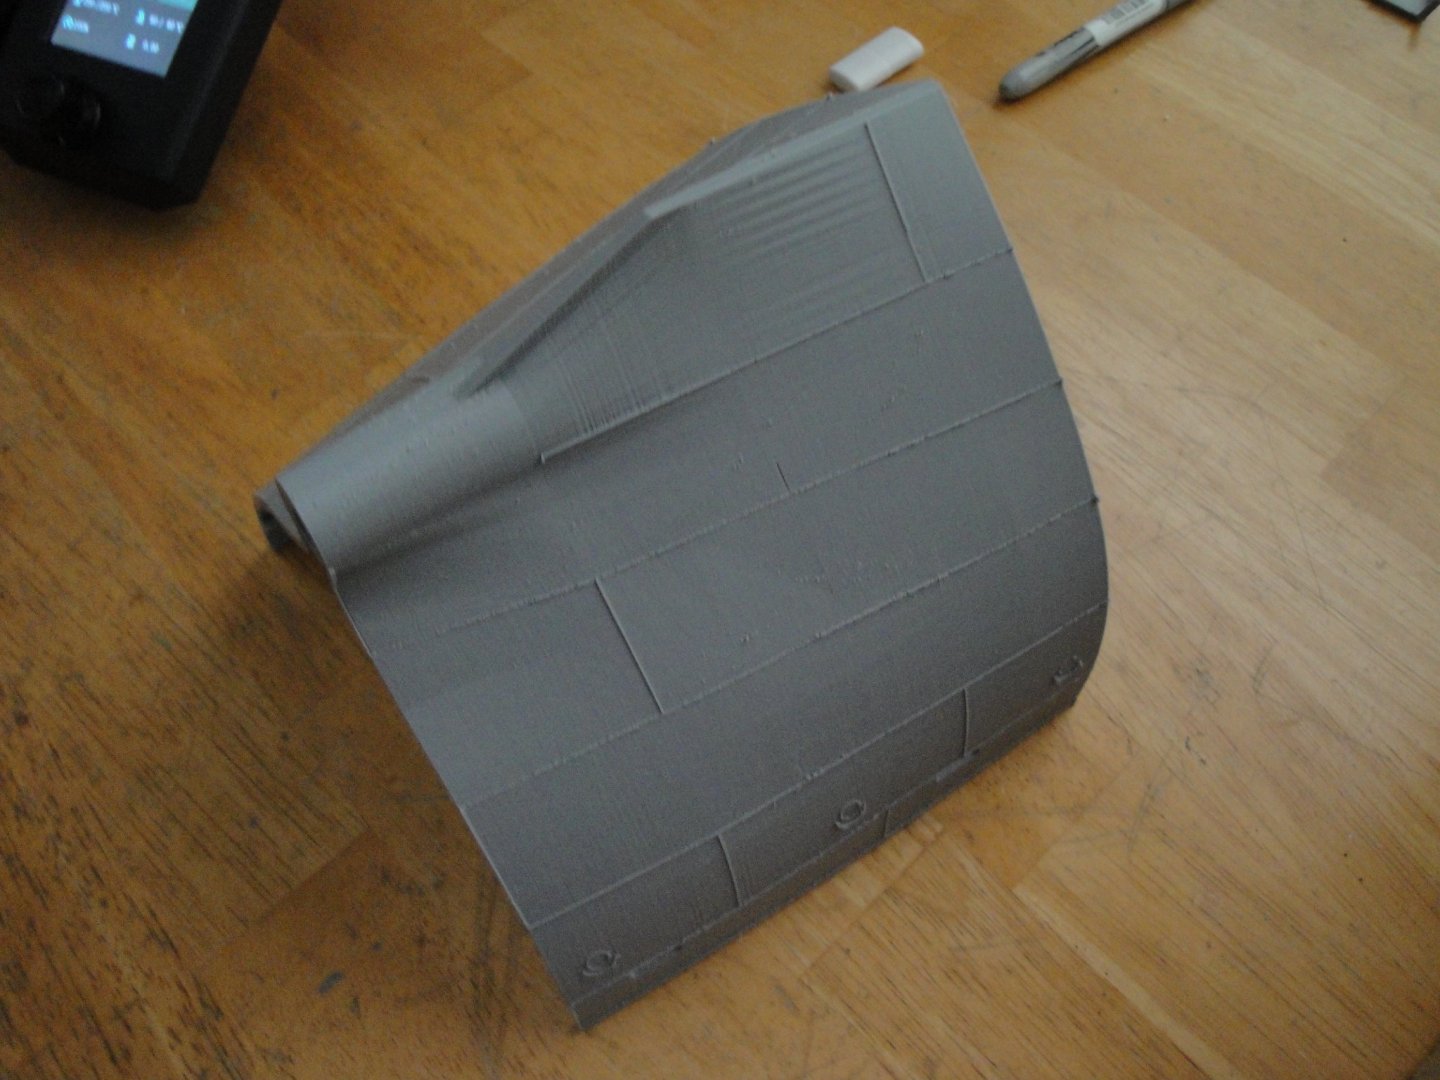
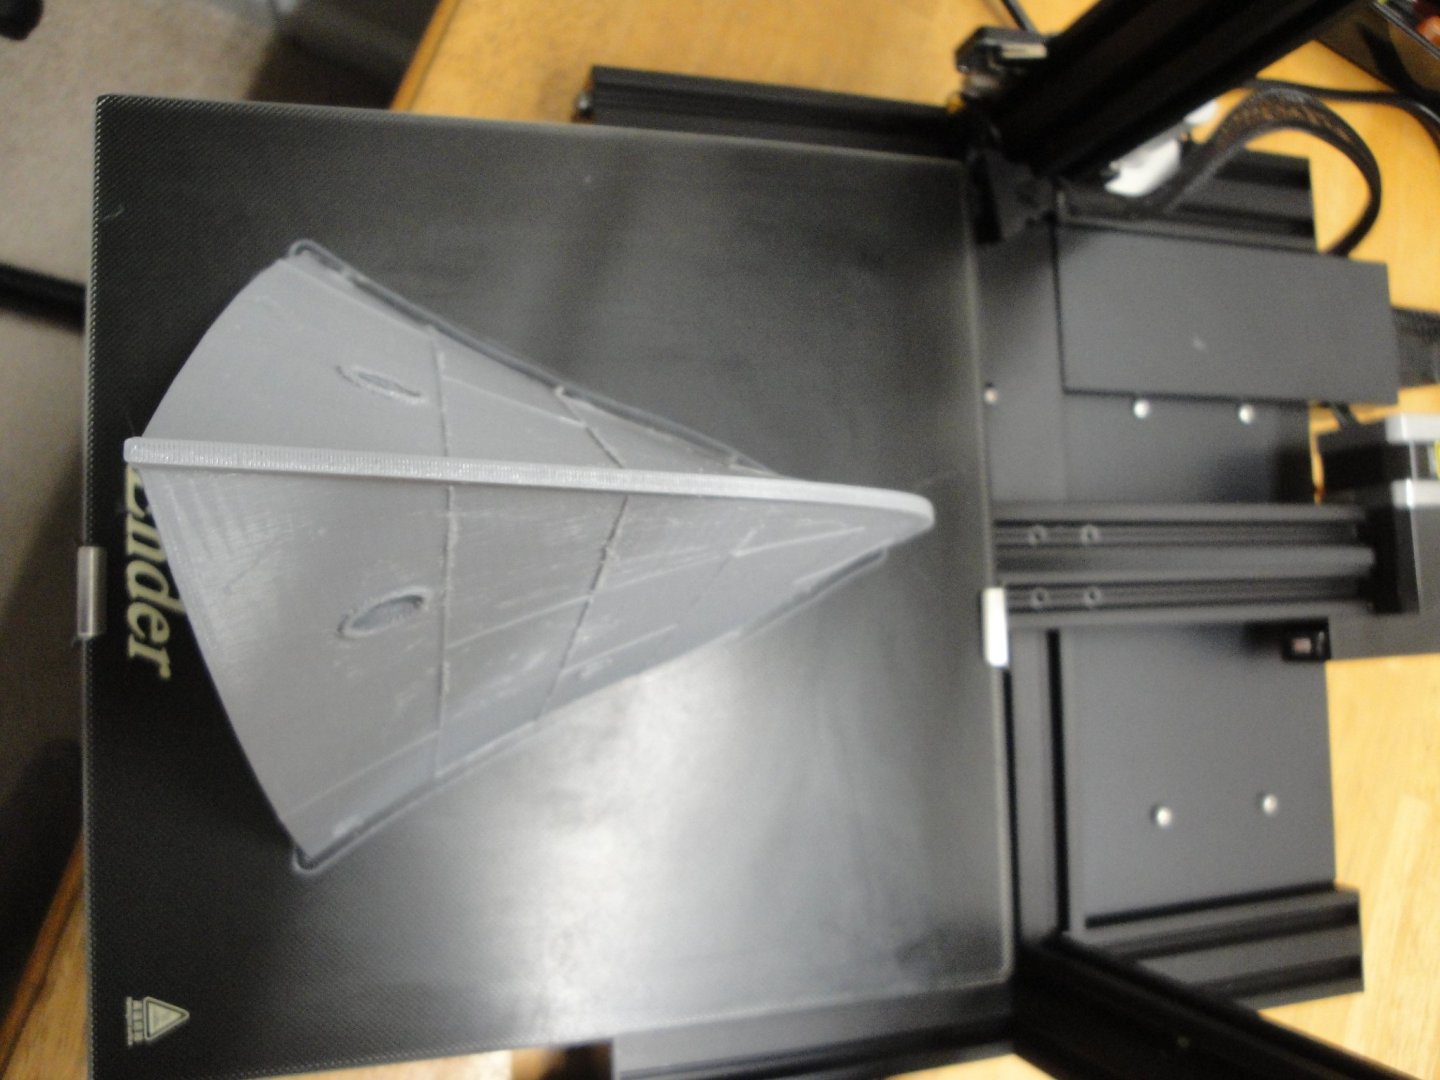
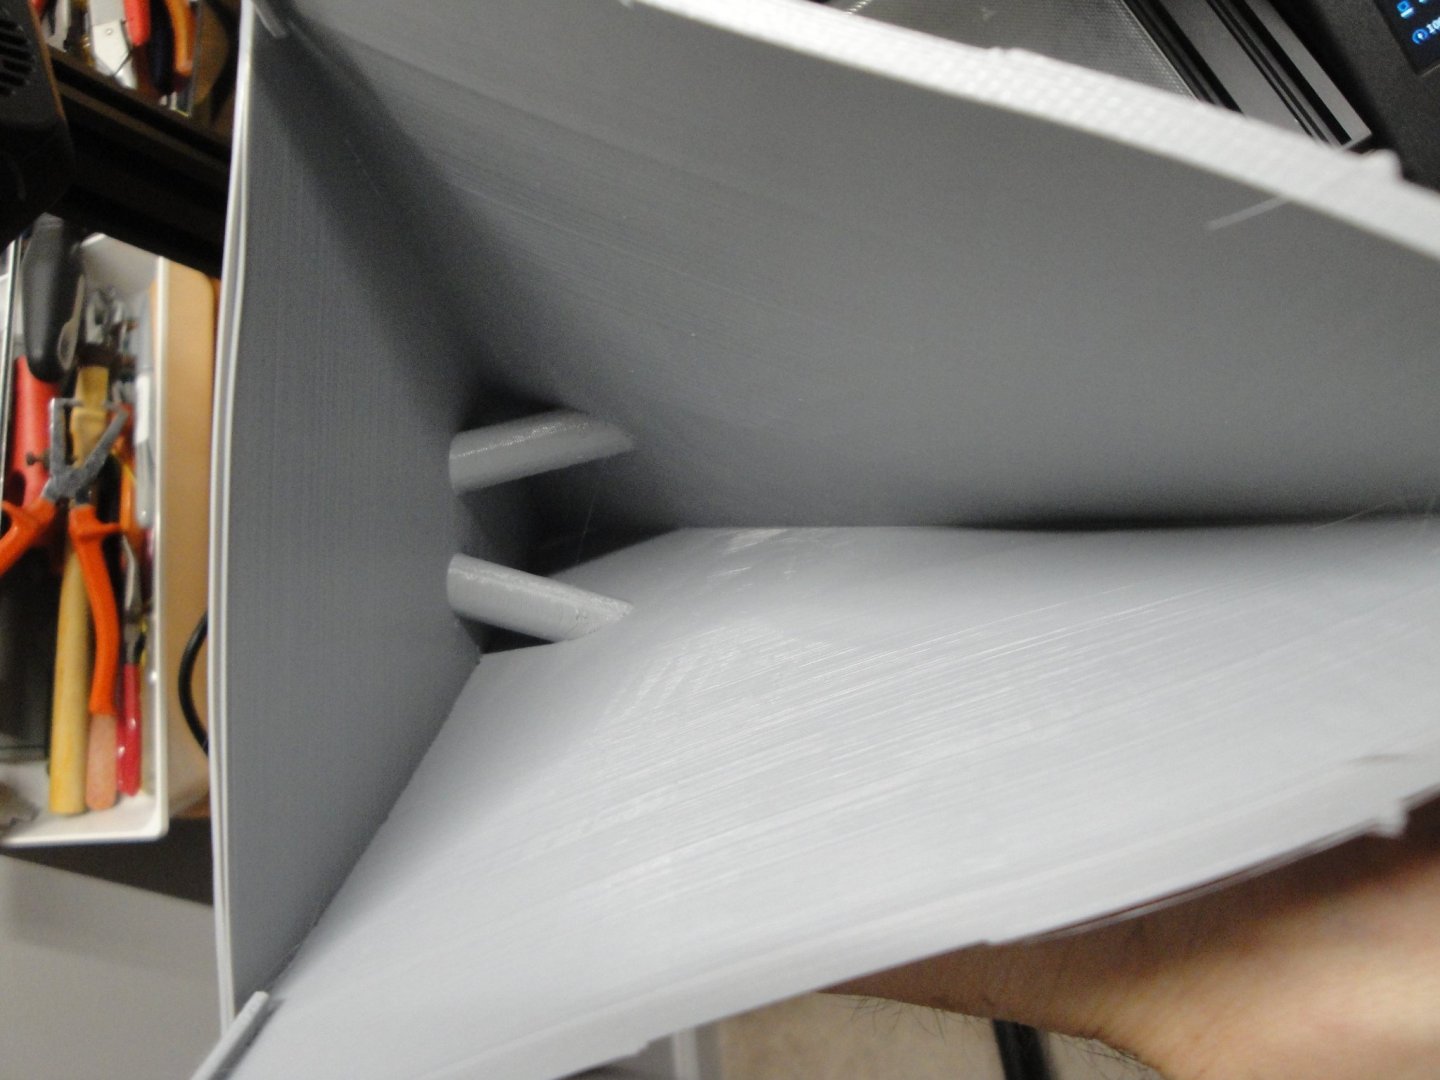
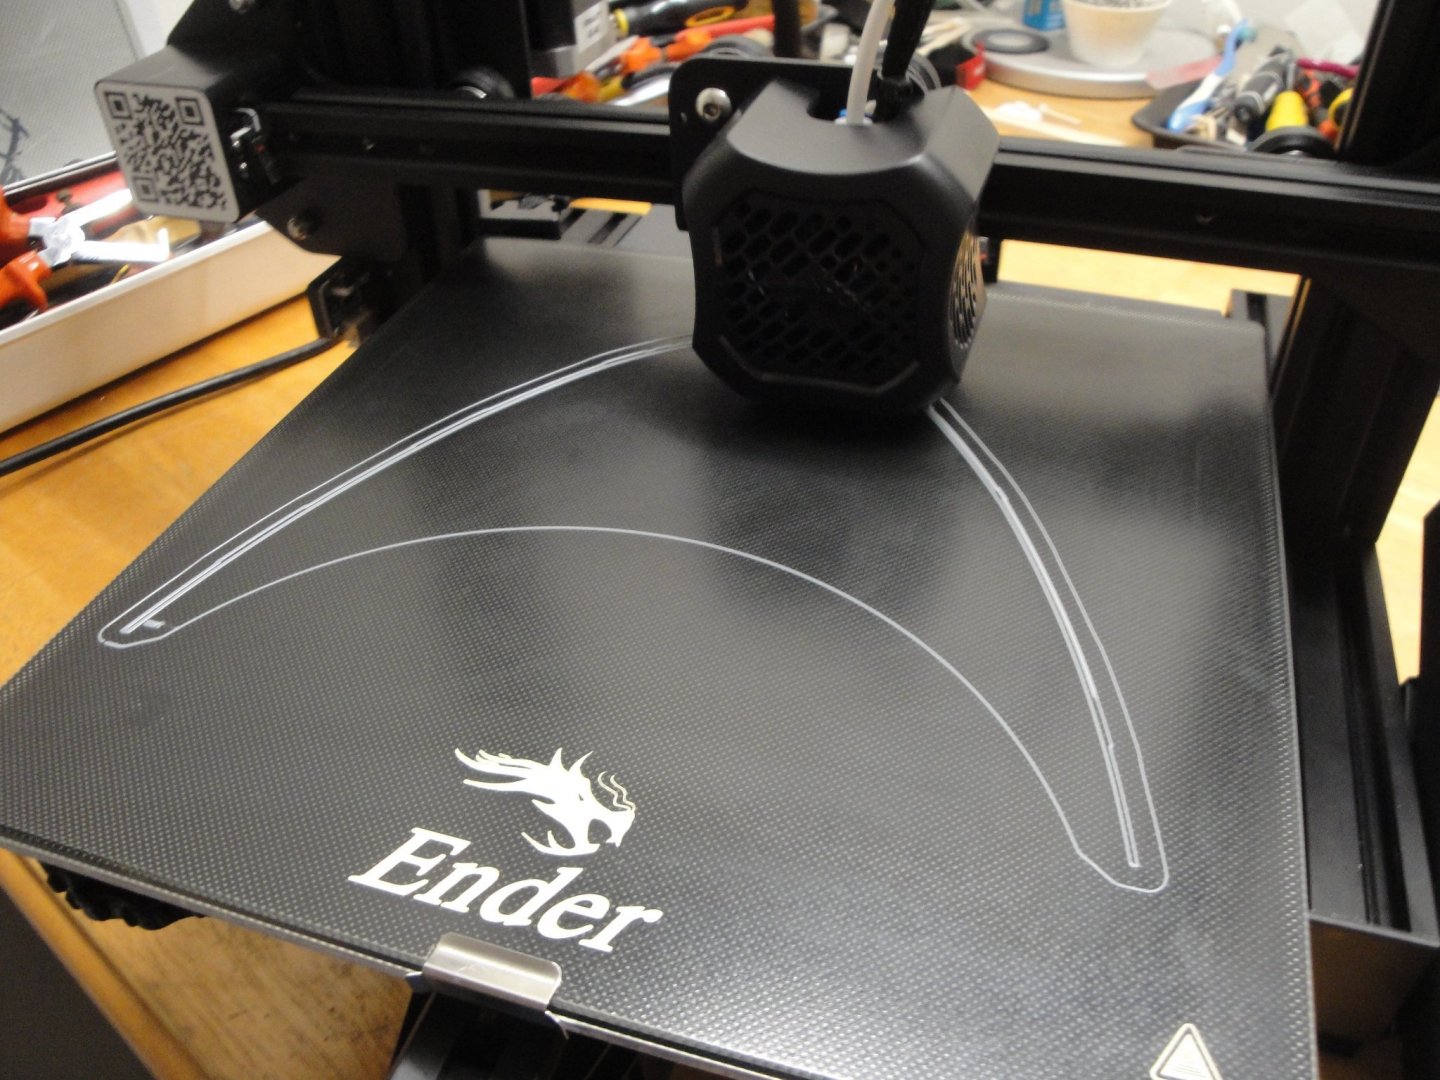
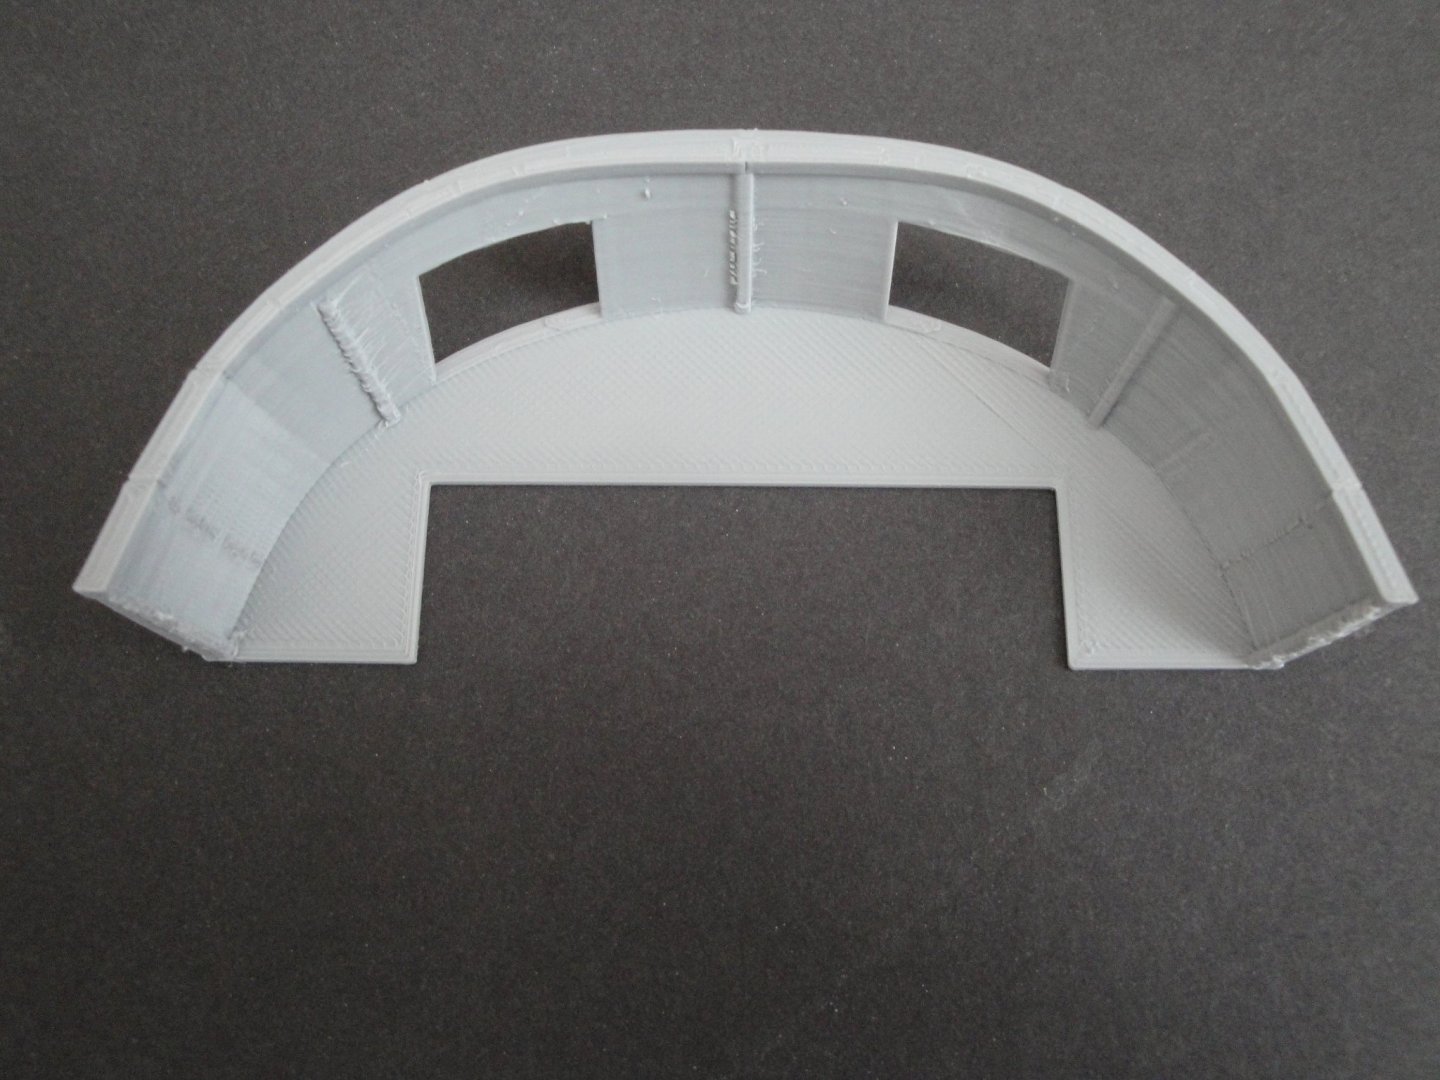
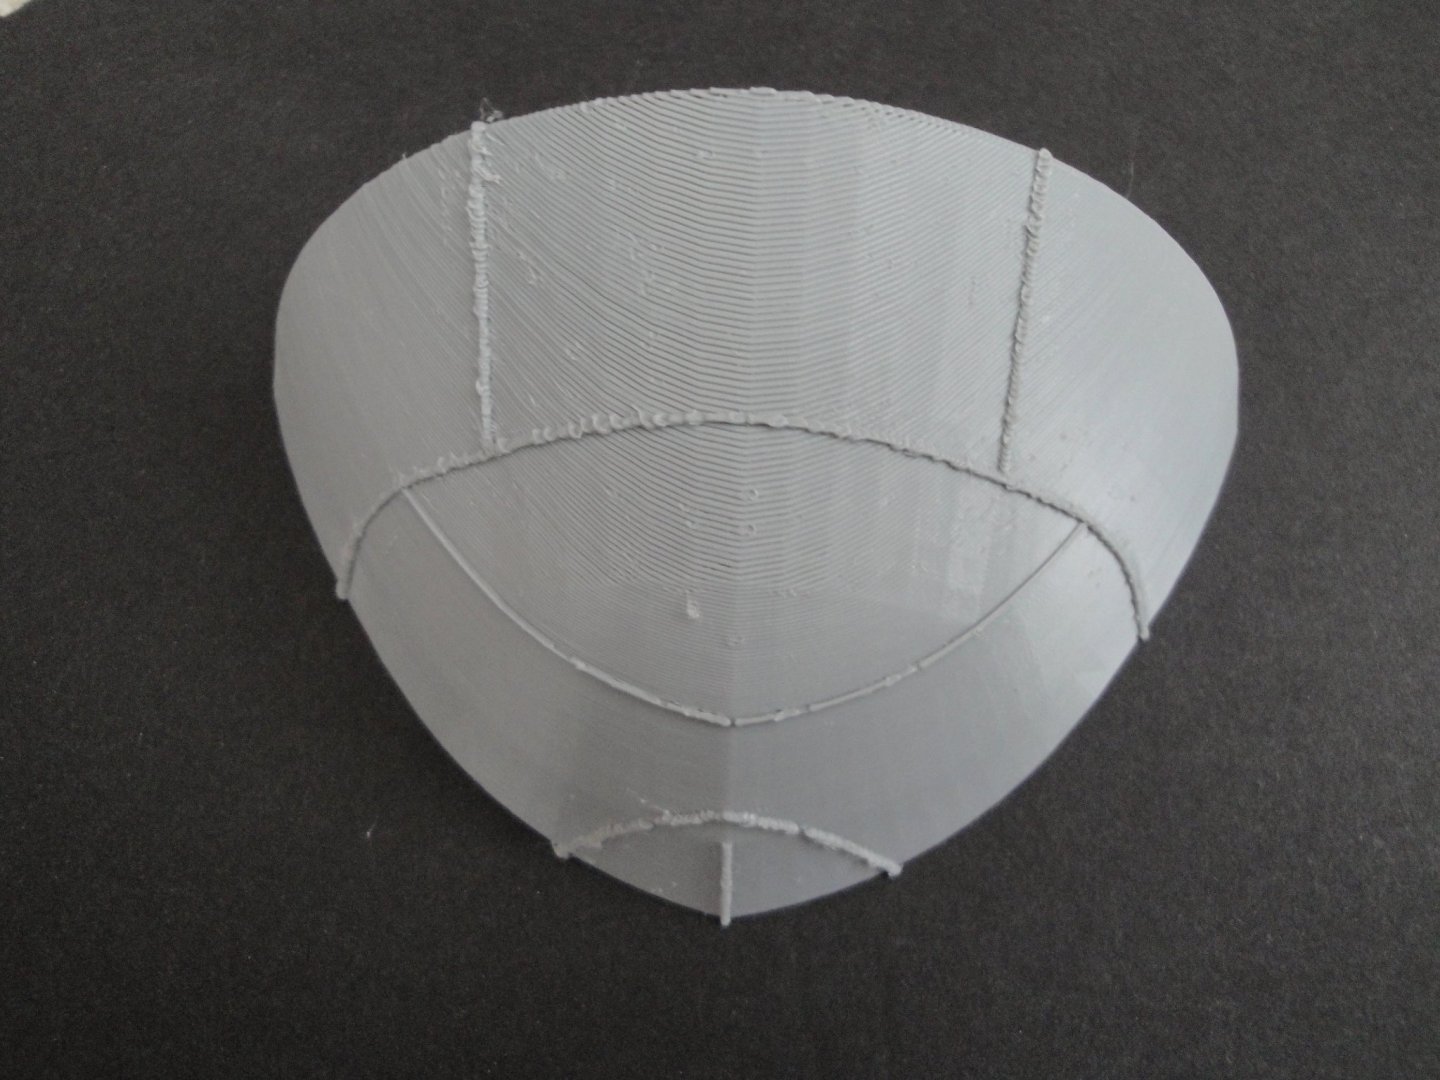
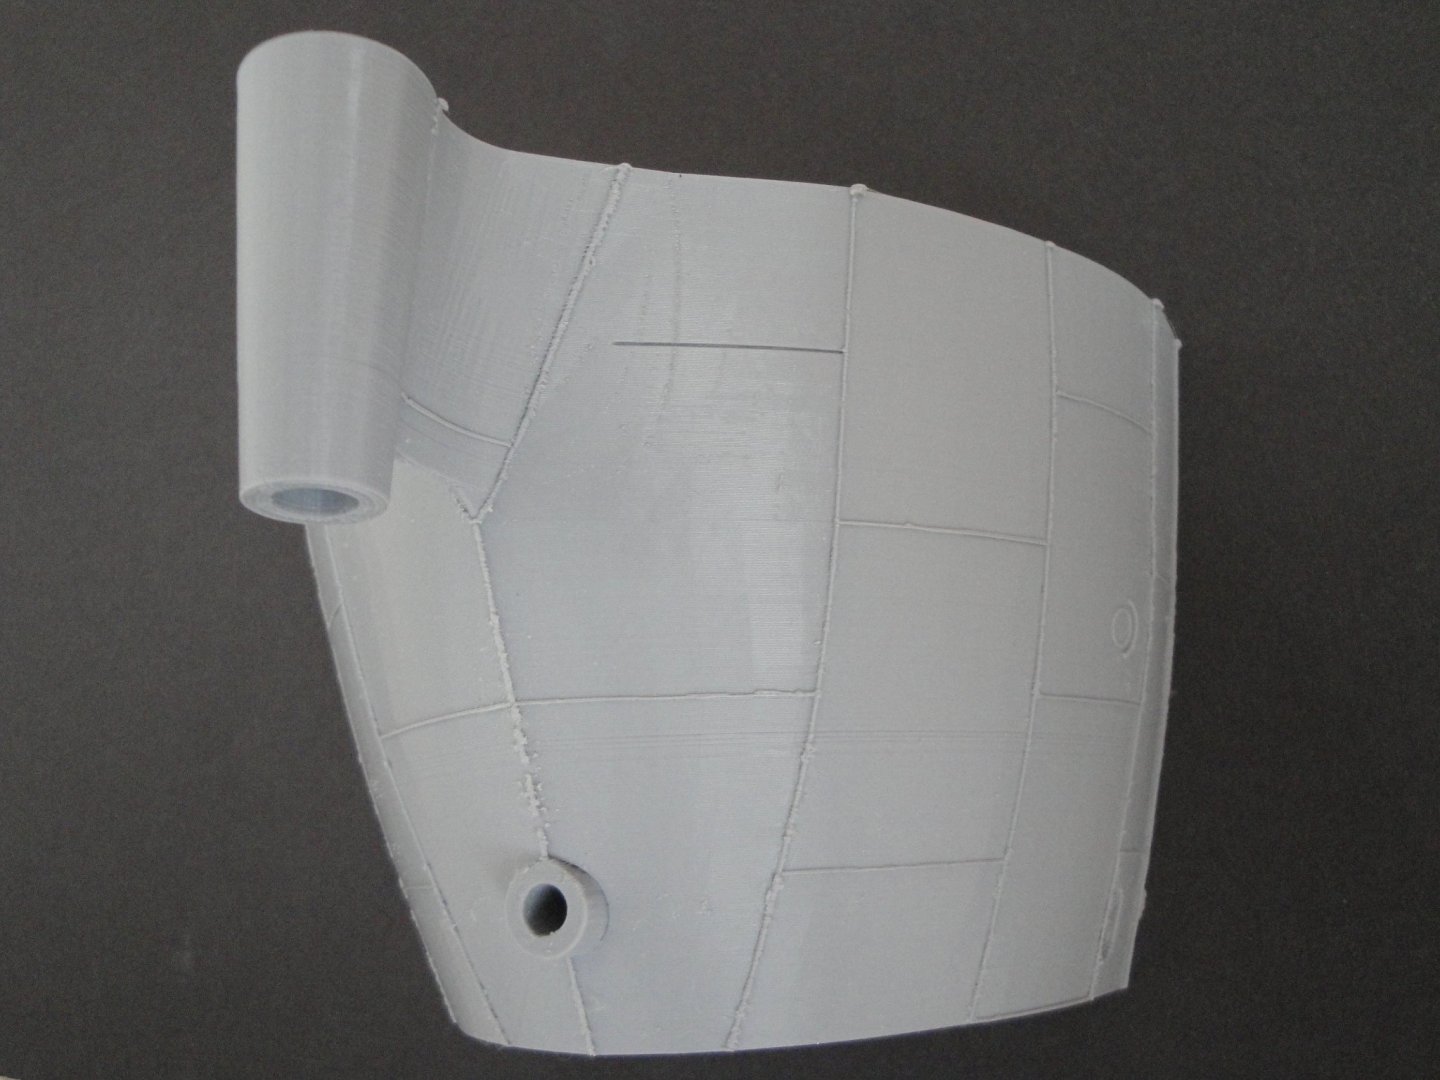
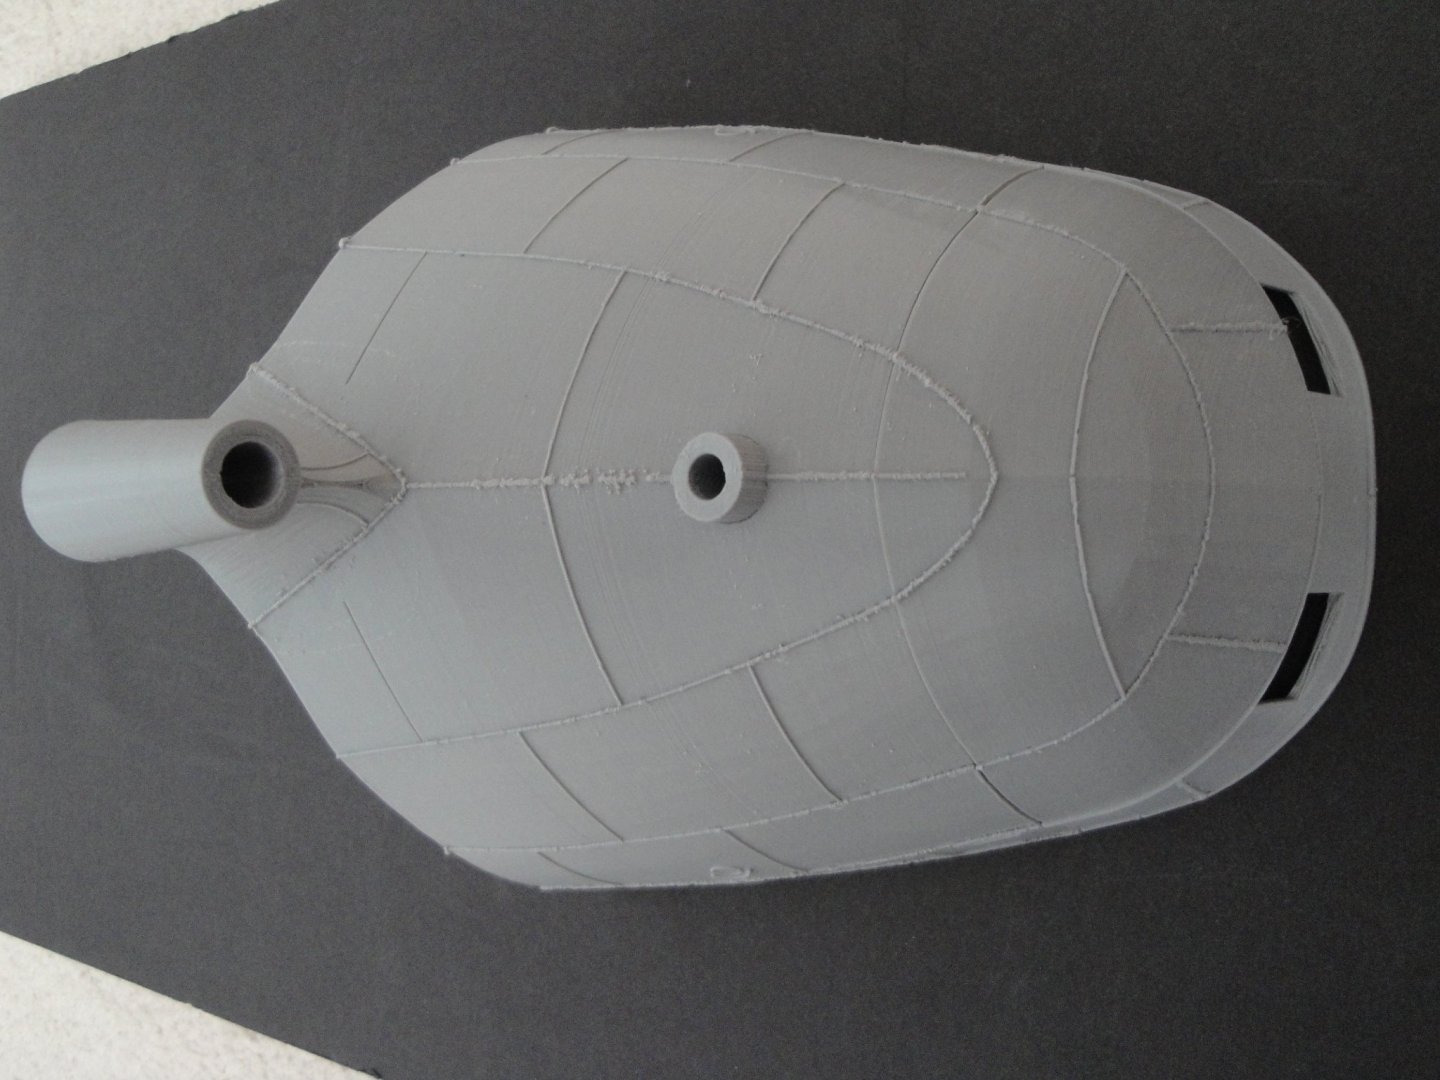
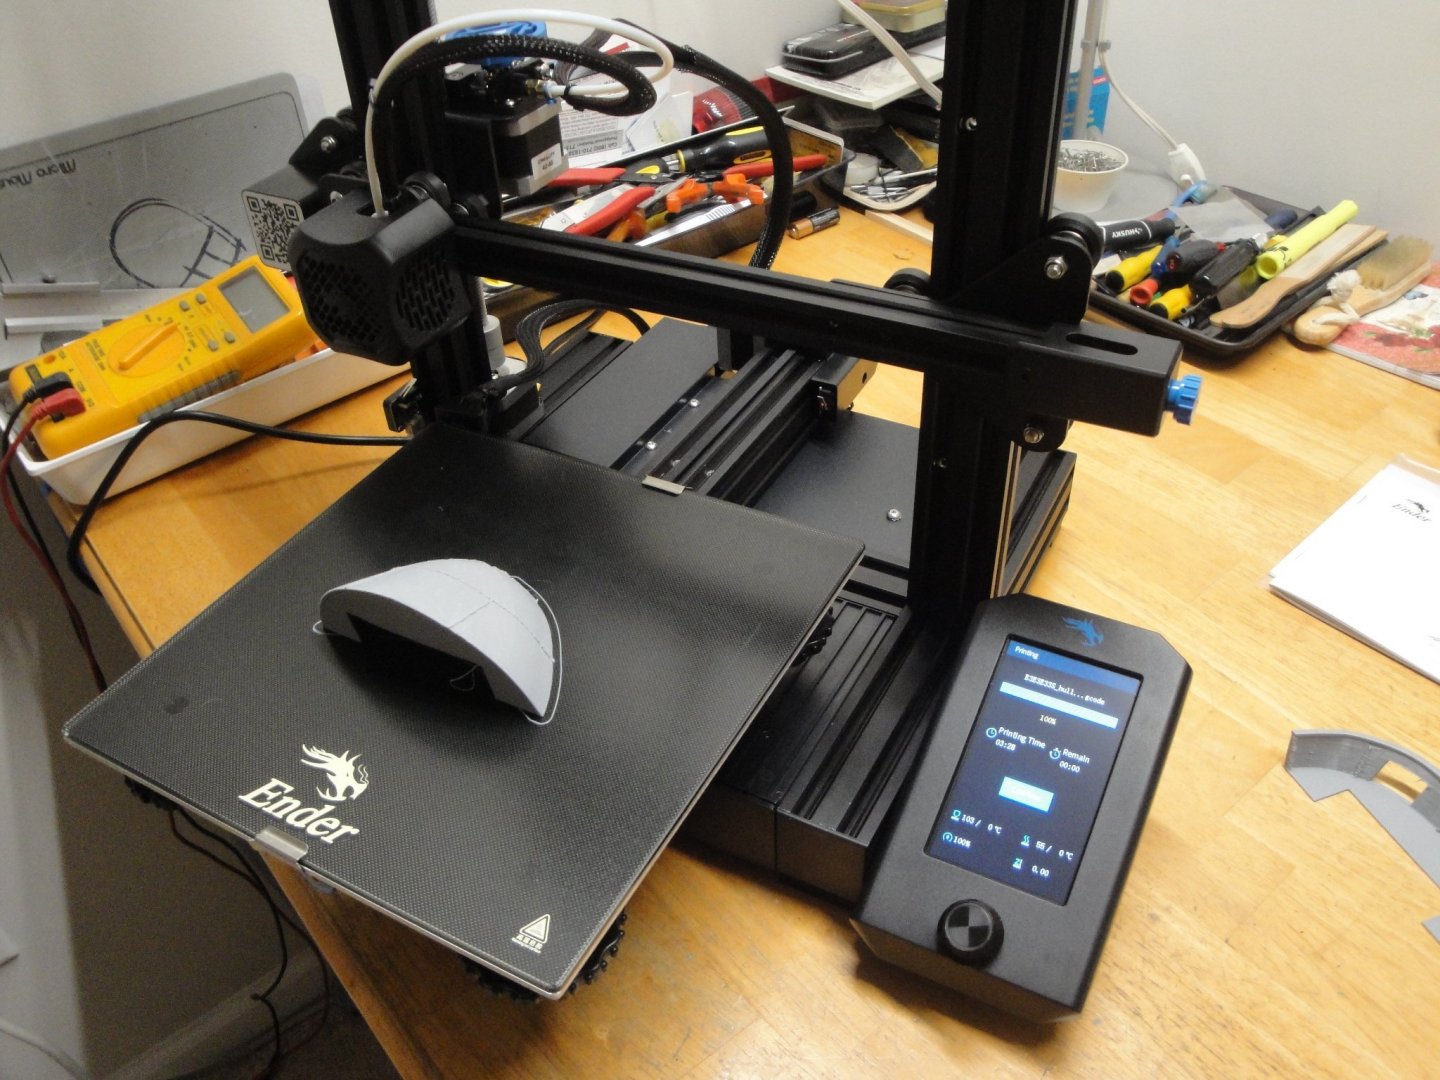
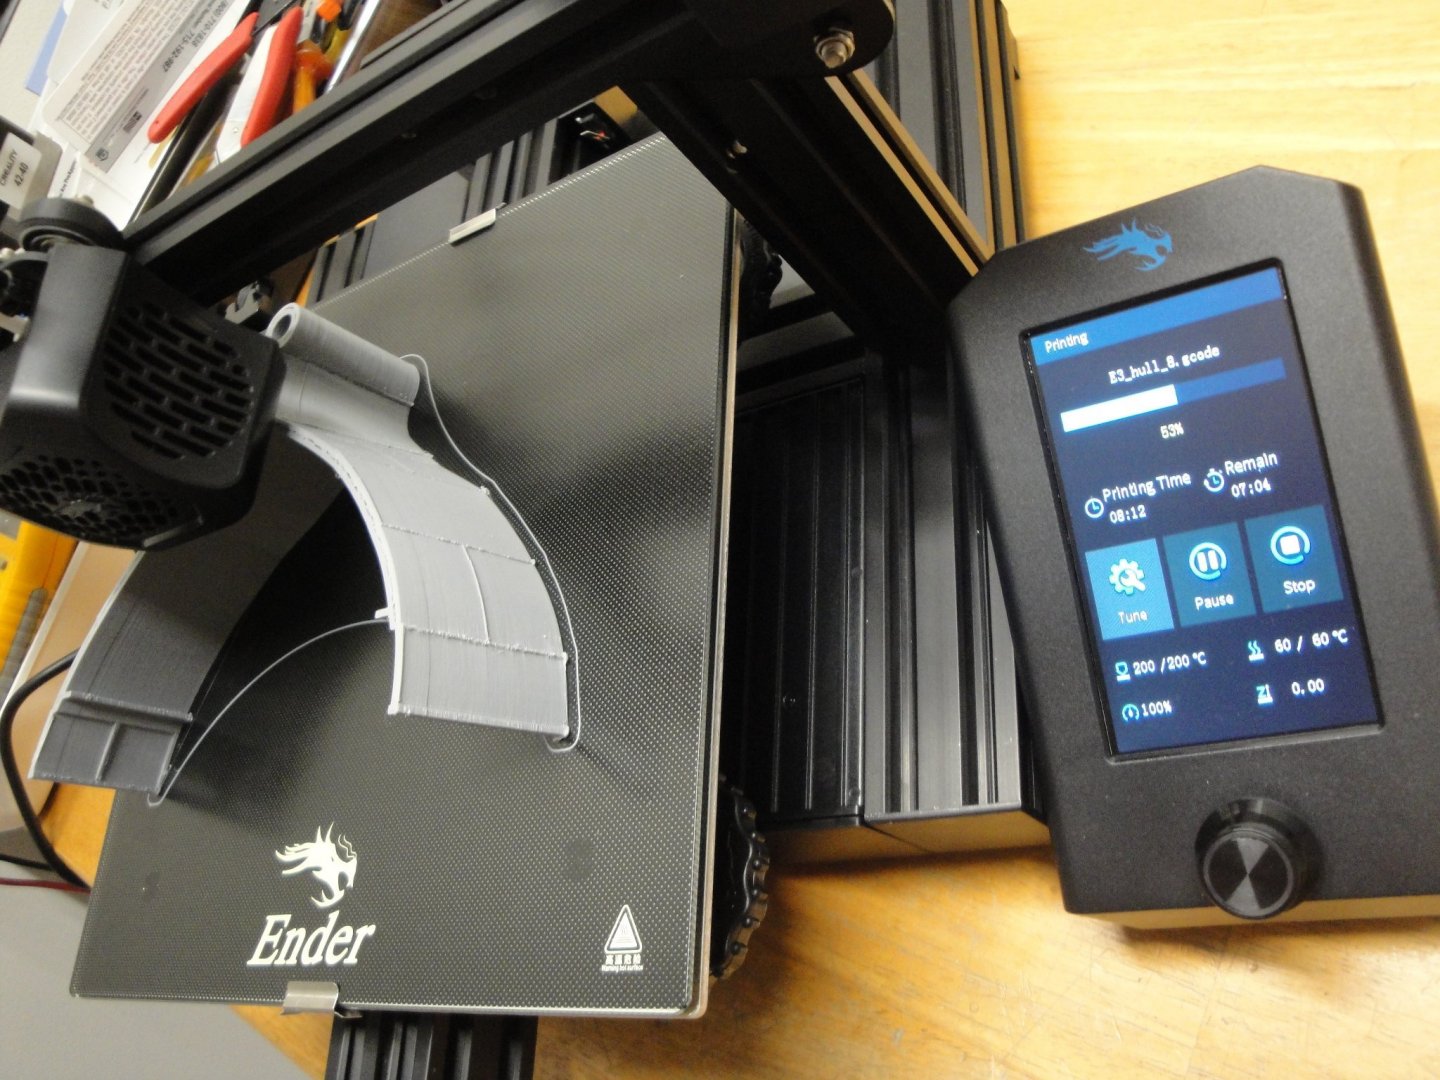
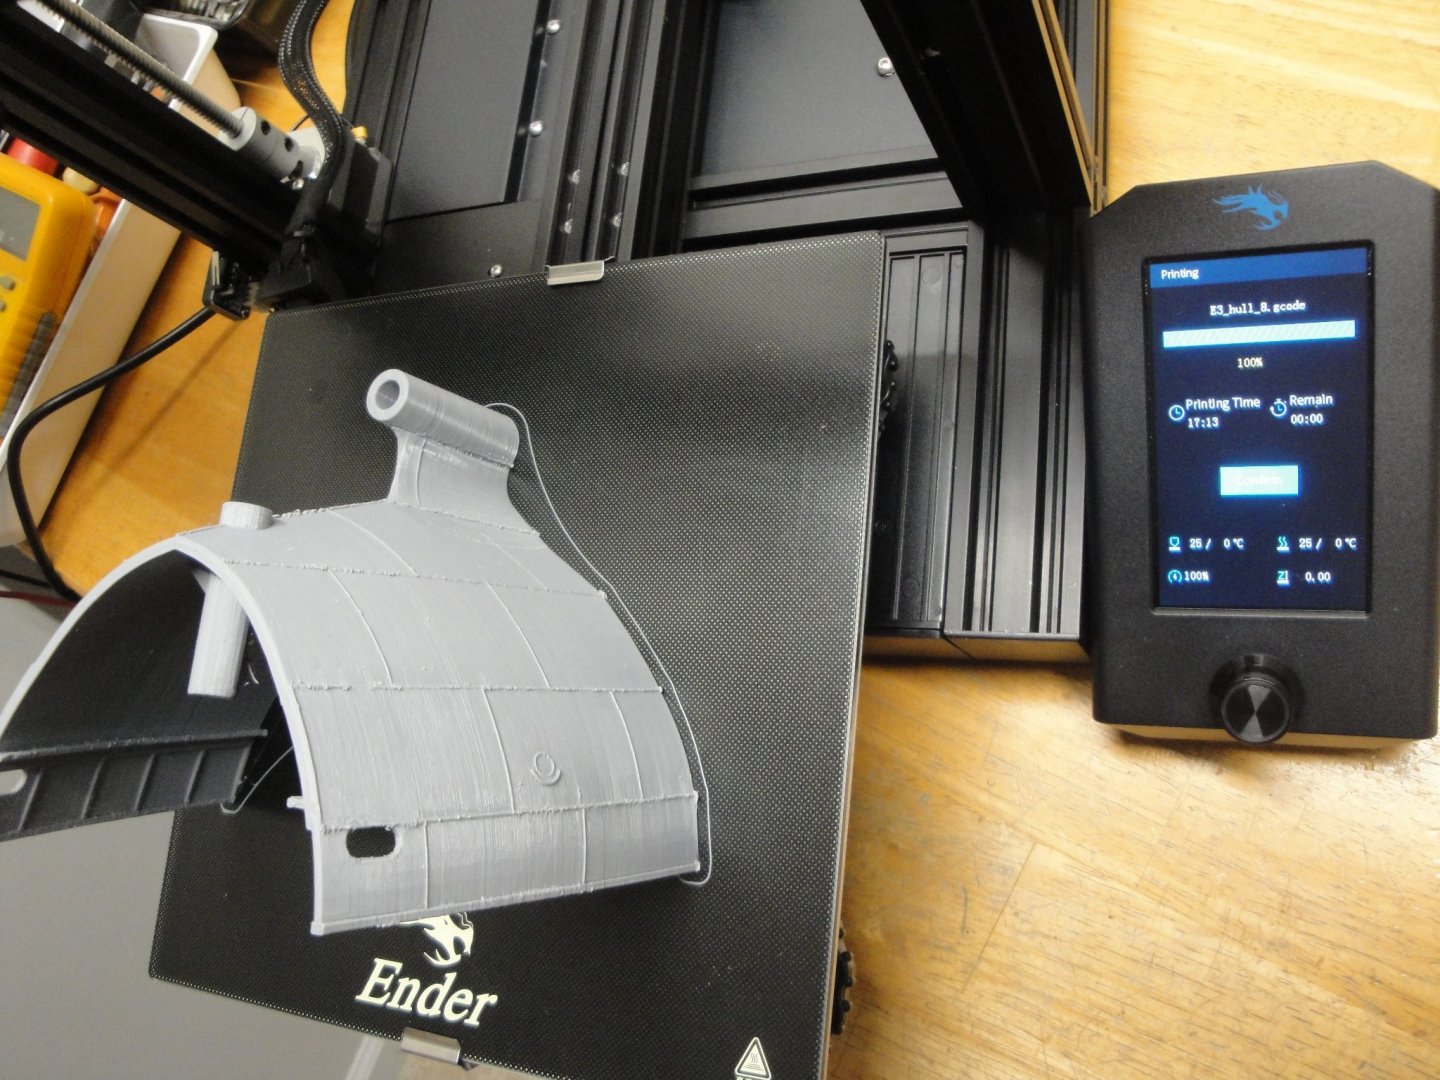
A few pictures of the printed parts, so far. I am using light gray Polylactic Acid (PLA) from Overture to print all these parts. The diameter is the standard 1.75mm which is extruded to 0.4 mm, at 200 Degrees Celsius. The bed (glass plate) is warmed up at 60 Degrees Celsius for adhesion and nice bonding of the filaments. The PLA is sold in spools of 2.2 pounds (1 Kgrs) and my understanding is that it will take about two spools to complete the hull. First part printed: Took about 2:00 hours. All the parts displayed are direct from printing and I have not sanded or refined anything, yet. The Fused PLA is very hard, much harder than the polystyrene used in plastic model kits. This one took 3:28 hours. The rear of the stern has some waves which are actually very superficial and will be easy to remove with light sanding and priming. Hull_8 part took 17 hours. I prayed that the printer would not stop .... and it did not. Very nice and crisp details. The welding traces are actually very nice and will be perfect after some light sanding. Ports have to be drilled. The entire stern put together. Very precise assembly and probably little use of putty. For those interested in the printing process, here are a few pictures of the birth of the Corvette: 8 hours done....7 more hours to go!!! Done !!!! Yves


- 321 replies
-
- 15
-
-
- Finished
- Flower-class
- (and 1 more)
-
Hermann, Thank you for your support. I am actually following your Build Log with a lot of attention as you will be my REFERENCE. I am planning to model the Snowberry, too. Yves
- 321 replies
-
- 6
-
-
- Finished
- Flower-class
- (and 1 more)
-
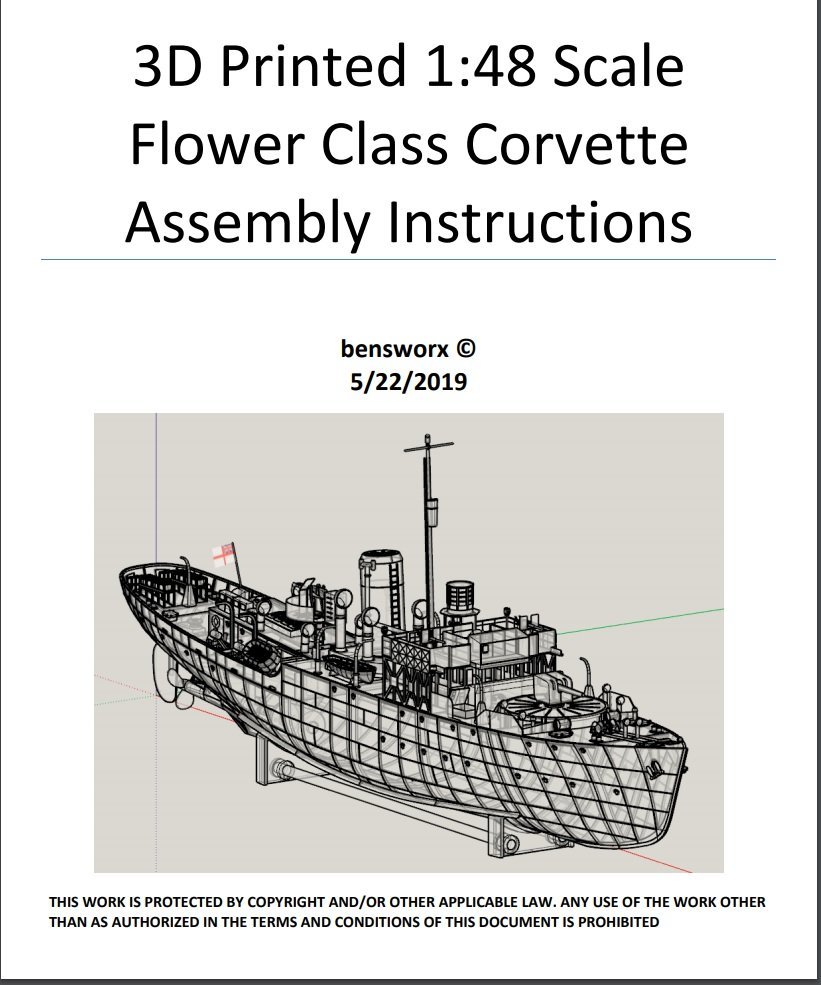
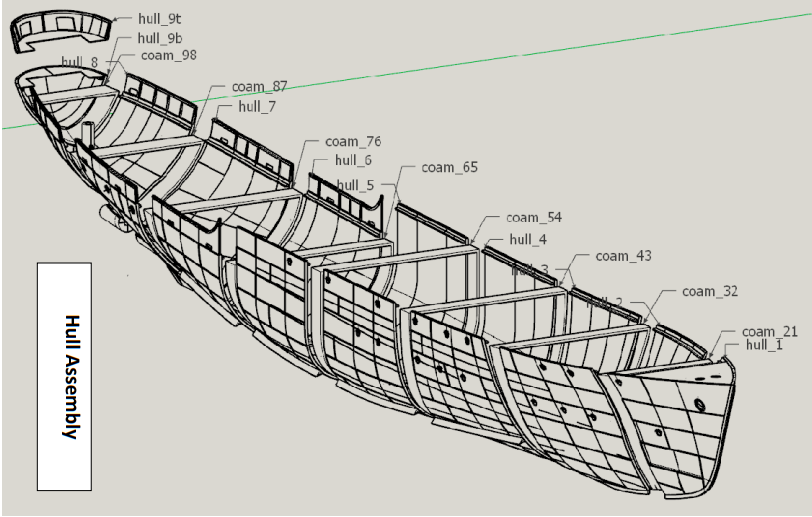
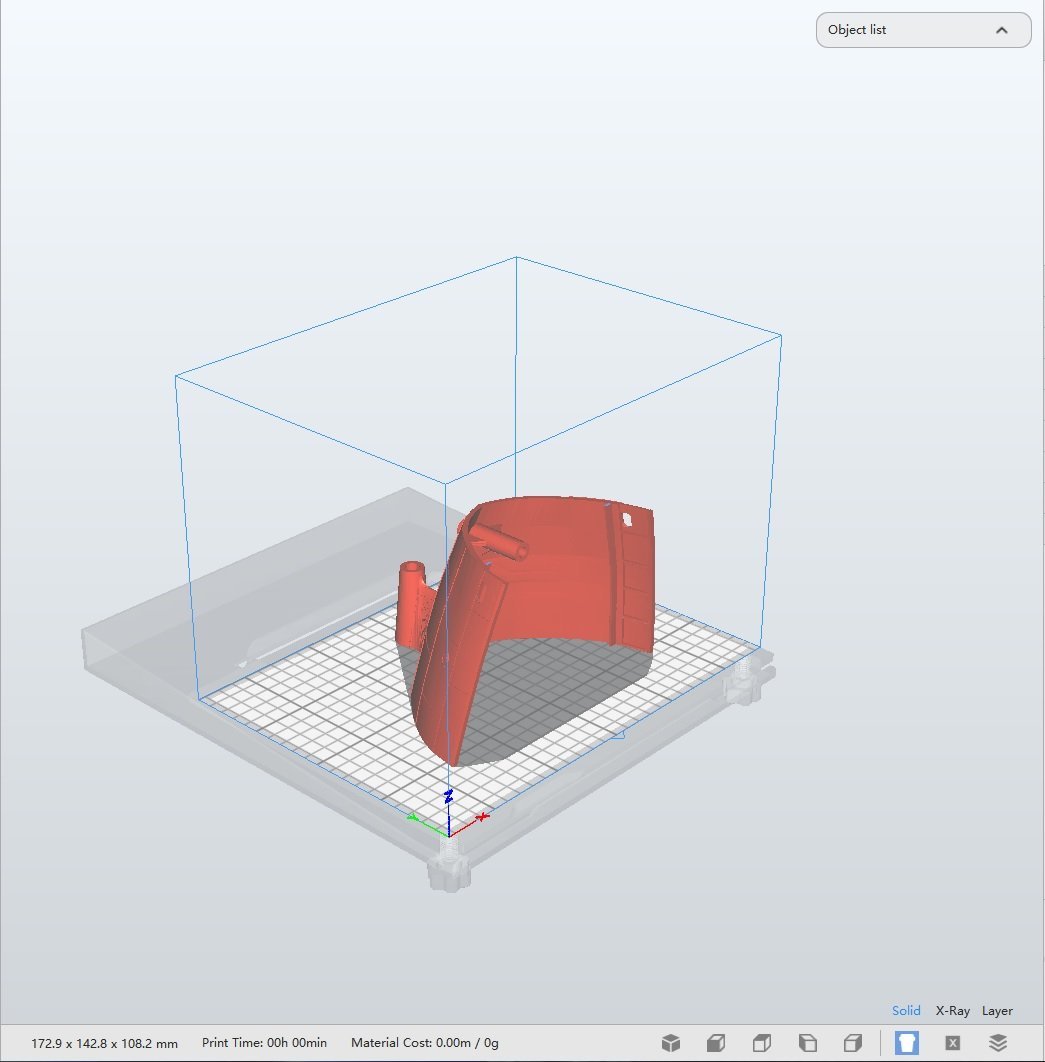
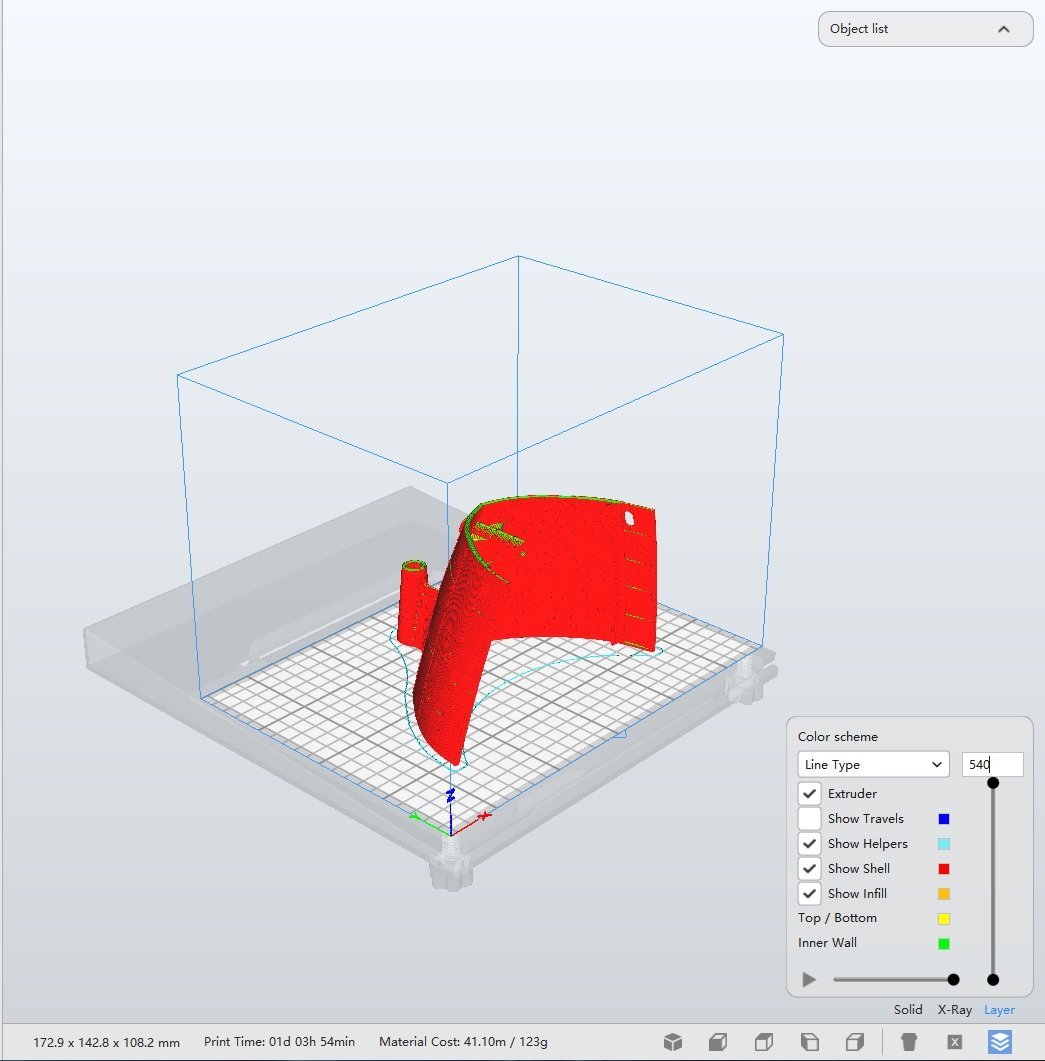
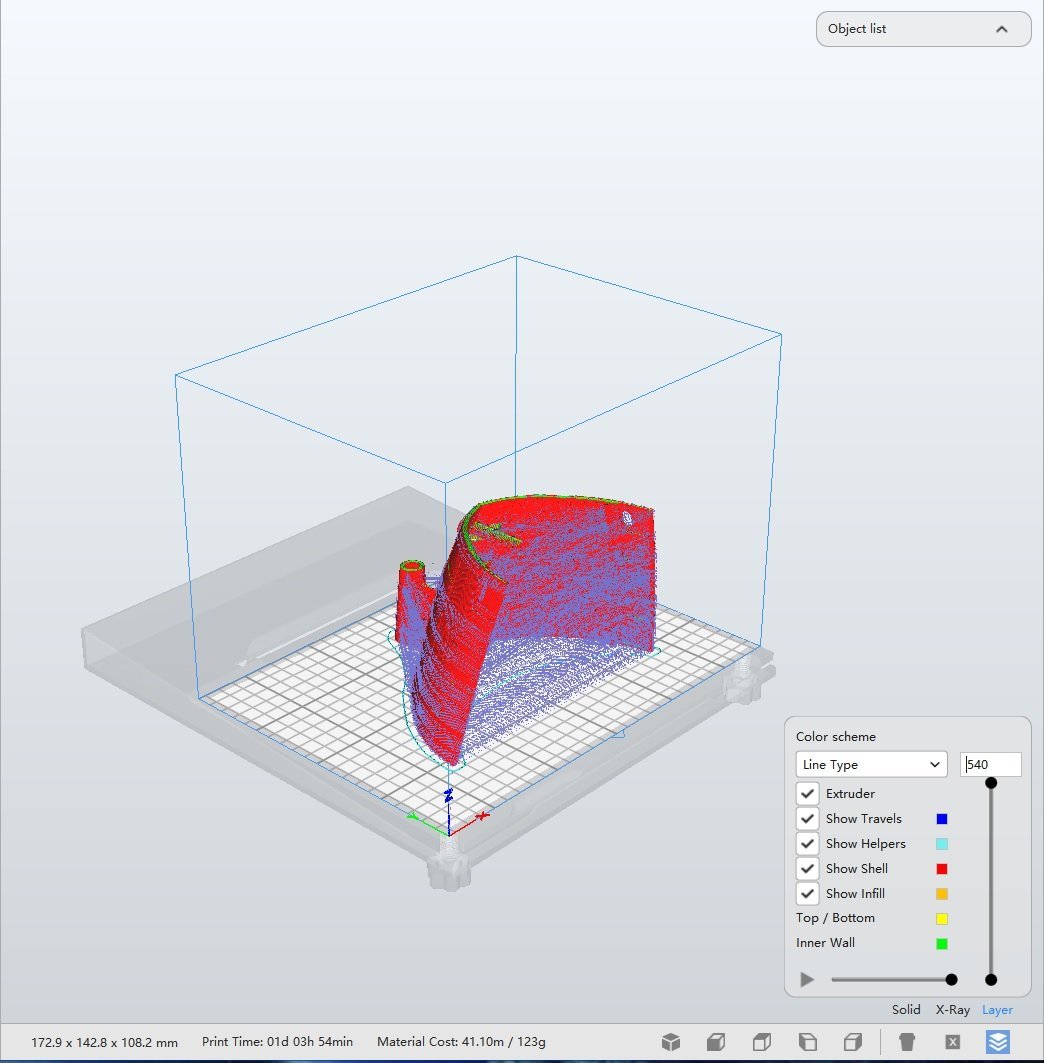
Folks, thank you so much for this warm welcome and stimulating support and interest. We are all going to learn new things as this virtual kit is most definitely something that is sitting between Plastic models and wooden models building, as we will see. I will describe the printing of one major part of the hull, to illustrate the process. This process will be identical for all parts. First, this is the cover of the 76 pages documentation which is coming with the kit. The documentation is very well written and illustrated of many pictures and sketches. Overall, I am very pleased with it. As we mentioned before, the hull is made of 10 parts, which are printed independently and later on glued together using plastic glue. The parts are "sized" to fit certain printers (large ones) and as the technology progresses, it may be possible to fuse multiple parts and print them in one swoop. However, as you will see, it takes time and late errors can cost a lot in money but mostly time. By the way, that hull is 1.24 meter long.... The next pictures will show you the implementation of the section Hull_8, located towards the stern. It is the most interesting and challenging section as it holds the propeller shaft and the rudder axle. This model was created for Radio Control and Bensworx is providing a motor stand and servo stand for the rudder. My model will be static, only. The 9 sections of hull, are linked with Coam parts, that are printed separately. Note that the Ports are not drilled in the original virtual kit (same was true with the Matchbox kit, if my memory is right). The .STL files are provided in the kit and are fed to the CURA program, used to "slice" the model. Here, you can see (above) the HULL_8.stl file, imported in CURA. It gives you (at the bottom of the picture) a very precise indication of the size of the part. We just finished slicing the model (which took a minute or less) and can see how this part is going to be printed. It also gives you (bottom of the picture) an estimate of the print duration 27 hours and 54 minutes and the material which is going to be used during the printing: 123g out of a spool of 1Kgr. We have to make sure we do not run out of PLA filament, while printing. The slide below, shows a summary of some of the travels, the extruder is going to do during 27 hours.... That little Ender-3 is working hard on these part. In the next segment, I will show you pictures of the finished part, that took only 17 hours to print. Yves
- 321 replies
-
- 14
-
-
-
- Finished
- Flower-class
- (and 1 more)
-
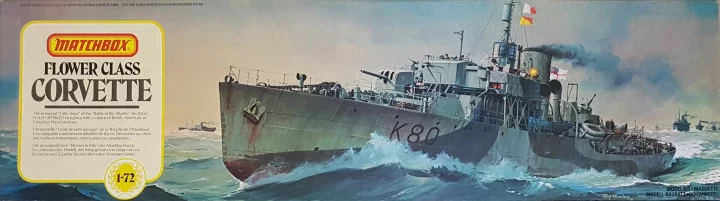
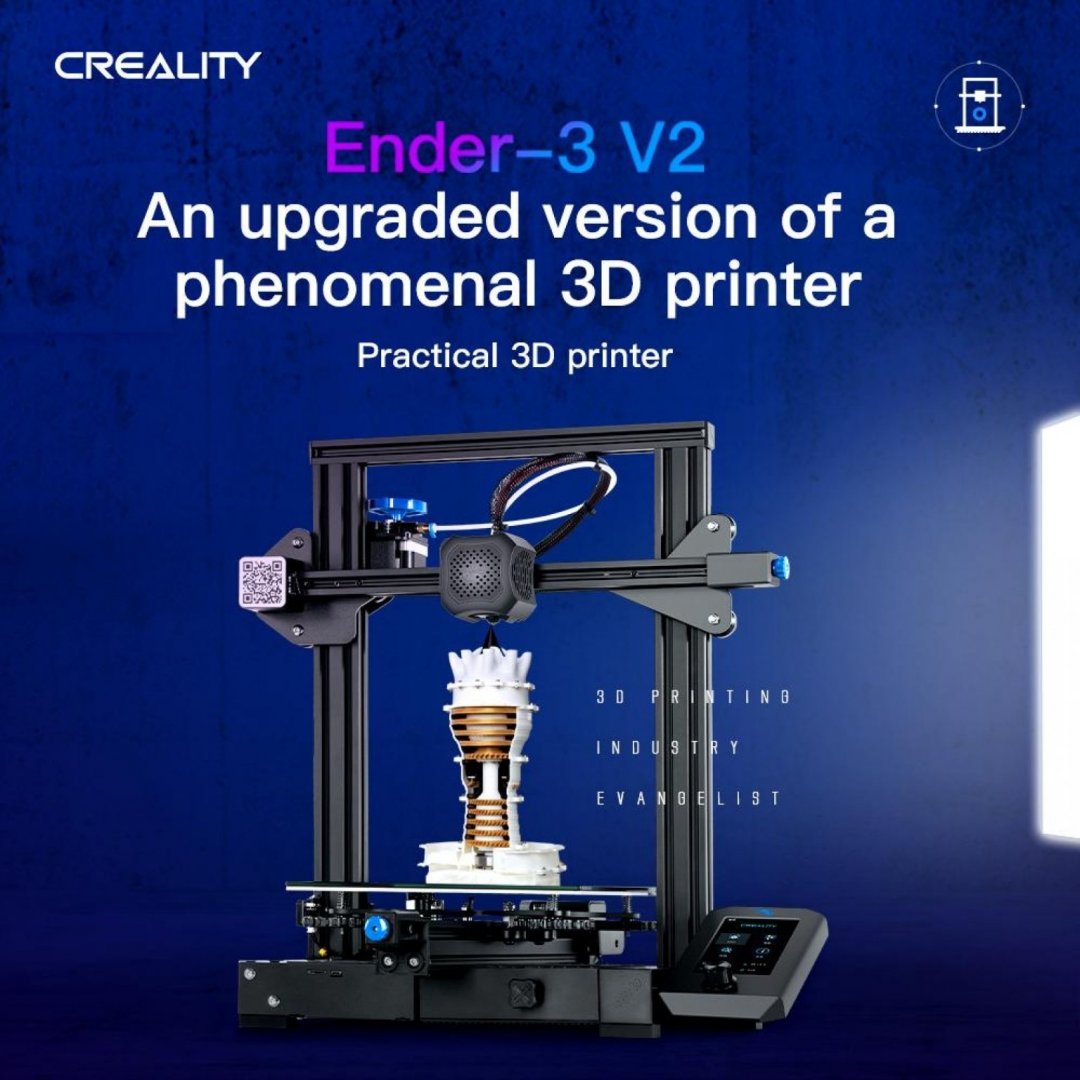
Well, after the long and very involved U-552 Trumpeter Submarine kit in 1/48th scale, it was time to think about another crazy project. The Flower Class Corvette seems to be the perfect candidate for this new insanity, as it represents the nemesis of the U-boots. https://modelshipworld.com/topic/20268-u-552-type-viic-submersible-by-yvesvidal-finished-trumpeter-148-plastic/?tab=comments#comment-617816 This model is dear to my heart for reasons which will be explained later, but is not available as a kit in the scale of 1/48th. A couple of GRP hulls exist (mostly on the British market) but nothing else readily available. Until recently.... Fortunately, in the Spring of 2019, Bensworx came up with a "Virtual Kit" of the Flower Class Corvette. I debated for a long time, whether this Build Log should be posted under the Kits section or under the Scratch Build section. I finally decided to present it here in the Kits section as it is truly a kit, although "virtual". By virtual, I simply mean that you purchase a large bunch of files, a 70 pages PDF documentation and you are on your own !!! The set is sold for $50 under the CGTrader web site. Most parts are available but the Virtual Kit leaves plenty of room for details and modifications. As you may have easily guessed, the large number of files are the description (.stl) model file of all the parts needed to assemble a generic Flower Class Corvette in the scale of 1/48th. This crazy project was also for me an "excuse" to start exploring 3D printing as it is now becoming very widespread and very affordable. Disclaimer: I do not intend to finish this project or more precisely, it may take a long time. At the very least, I want to complete the hull and decks and test the feasibility of such kits and models. Who knows, maybe the energy and time to complete the model will come to me.... In the Spring of 1980, while being a student in the city of Toulouse (South of France), I was visiting my favorite Hobby Shop and was struck by a new kit from Matchbox: The Artwork, the massive size of the model and the fame of the Flower Class Corvette were all contributing to make this kit a "must-have". I gathered all my savings (the kit was 650 Francs in 1980, about $115) and travelled back home the following weekend, riding a train with that enormous box under my arm and two quarters left in my pocket. I still remember the incredible excitement and pleasure to put together such a kit, a passion that was soothing and healing a recent heartbreak. Nothing better than assembling a kit when you are depressed or heart broken. Of course, the Matchbox kit was far from being perfect, no PEs were available, no wooden decks, no metal guns and my ability to build a model was not what it is now. Therefore, I promised myself that I would build another kit of that legendary vessel in 1/72th scale (Revell) or bigger... or maybe both. Some of you may be well versed in 3D printing but I am a complete newbie. When it was time to choose a printer, I was totally overwhelmed by the amount of choices, types, jargons and technologies. The only thing I knew was that I needed a printing bed of at least 210 mm x 180 X 160 mm to print the nine segments of the hull. I first looked into the Bibo 2 printer, used by the designer of the kit but its price and availability were more than what I wanted to invest. I then ordered a QIDI ImateS capable of printing PLA and ABS but that model worked for 1 hour and 30 minutes, stopped spooling the filament and never allowed me to print anything else. It was quickly returned and I am awaiting for my refund. I finally decided to go with what is now a legendary machine, embraced by thousands of people around the world: the CREALITY Ender-3 Version2. This machine is amazing, comes as a kit (which is a good thing to learn about 3D printer) and can be purchased for $270. It is no wonder it has become today the absolute reference for amateurs printing. In addition, numerous add-ons kits and upgrades can be easily found on the Internet. I assembled that printer in one evening and the following night was spent printing (with success) hull sections of the Flower Class Corvette. And no, I did not print a Benchy (even though it is a boat) or the "X-Y-Z" cube and jumped directly into the parts of my virtual kit. Yves
- 321 replies
-
- 19
-
-
- Finished
- Flower-class
- (and 1 more)
-
I can't believe the French would tolerate such a poor maintenance job on that ship..... 😬 Seriously, Greg, this model is a pure marvel of precision, realism and preciousness. A beautiful addition to your extensive and comprehensive collection. Yves
- 53 replies
-
- 6
-
-
-
-
- photo etch
- resin
- (and 3 more)