yvesvidal
-
Posts
3,641 -
Joined
-
Last visited
Content Type
Profiles
Forums
Gallery
Events
Everything posted by yvesvidal
-
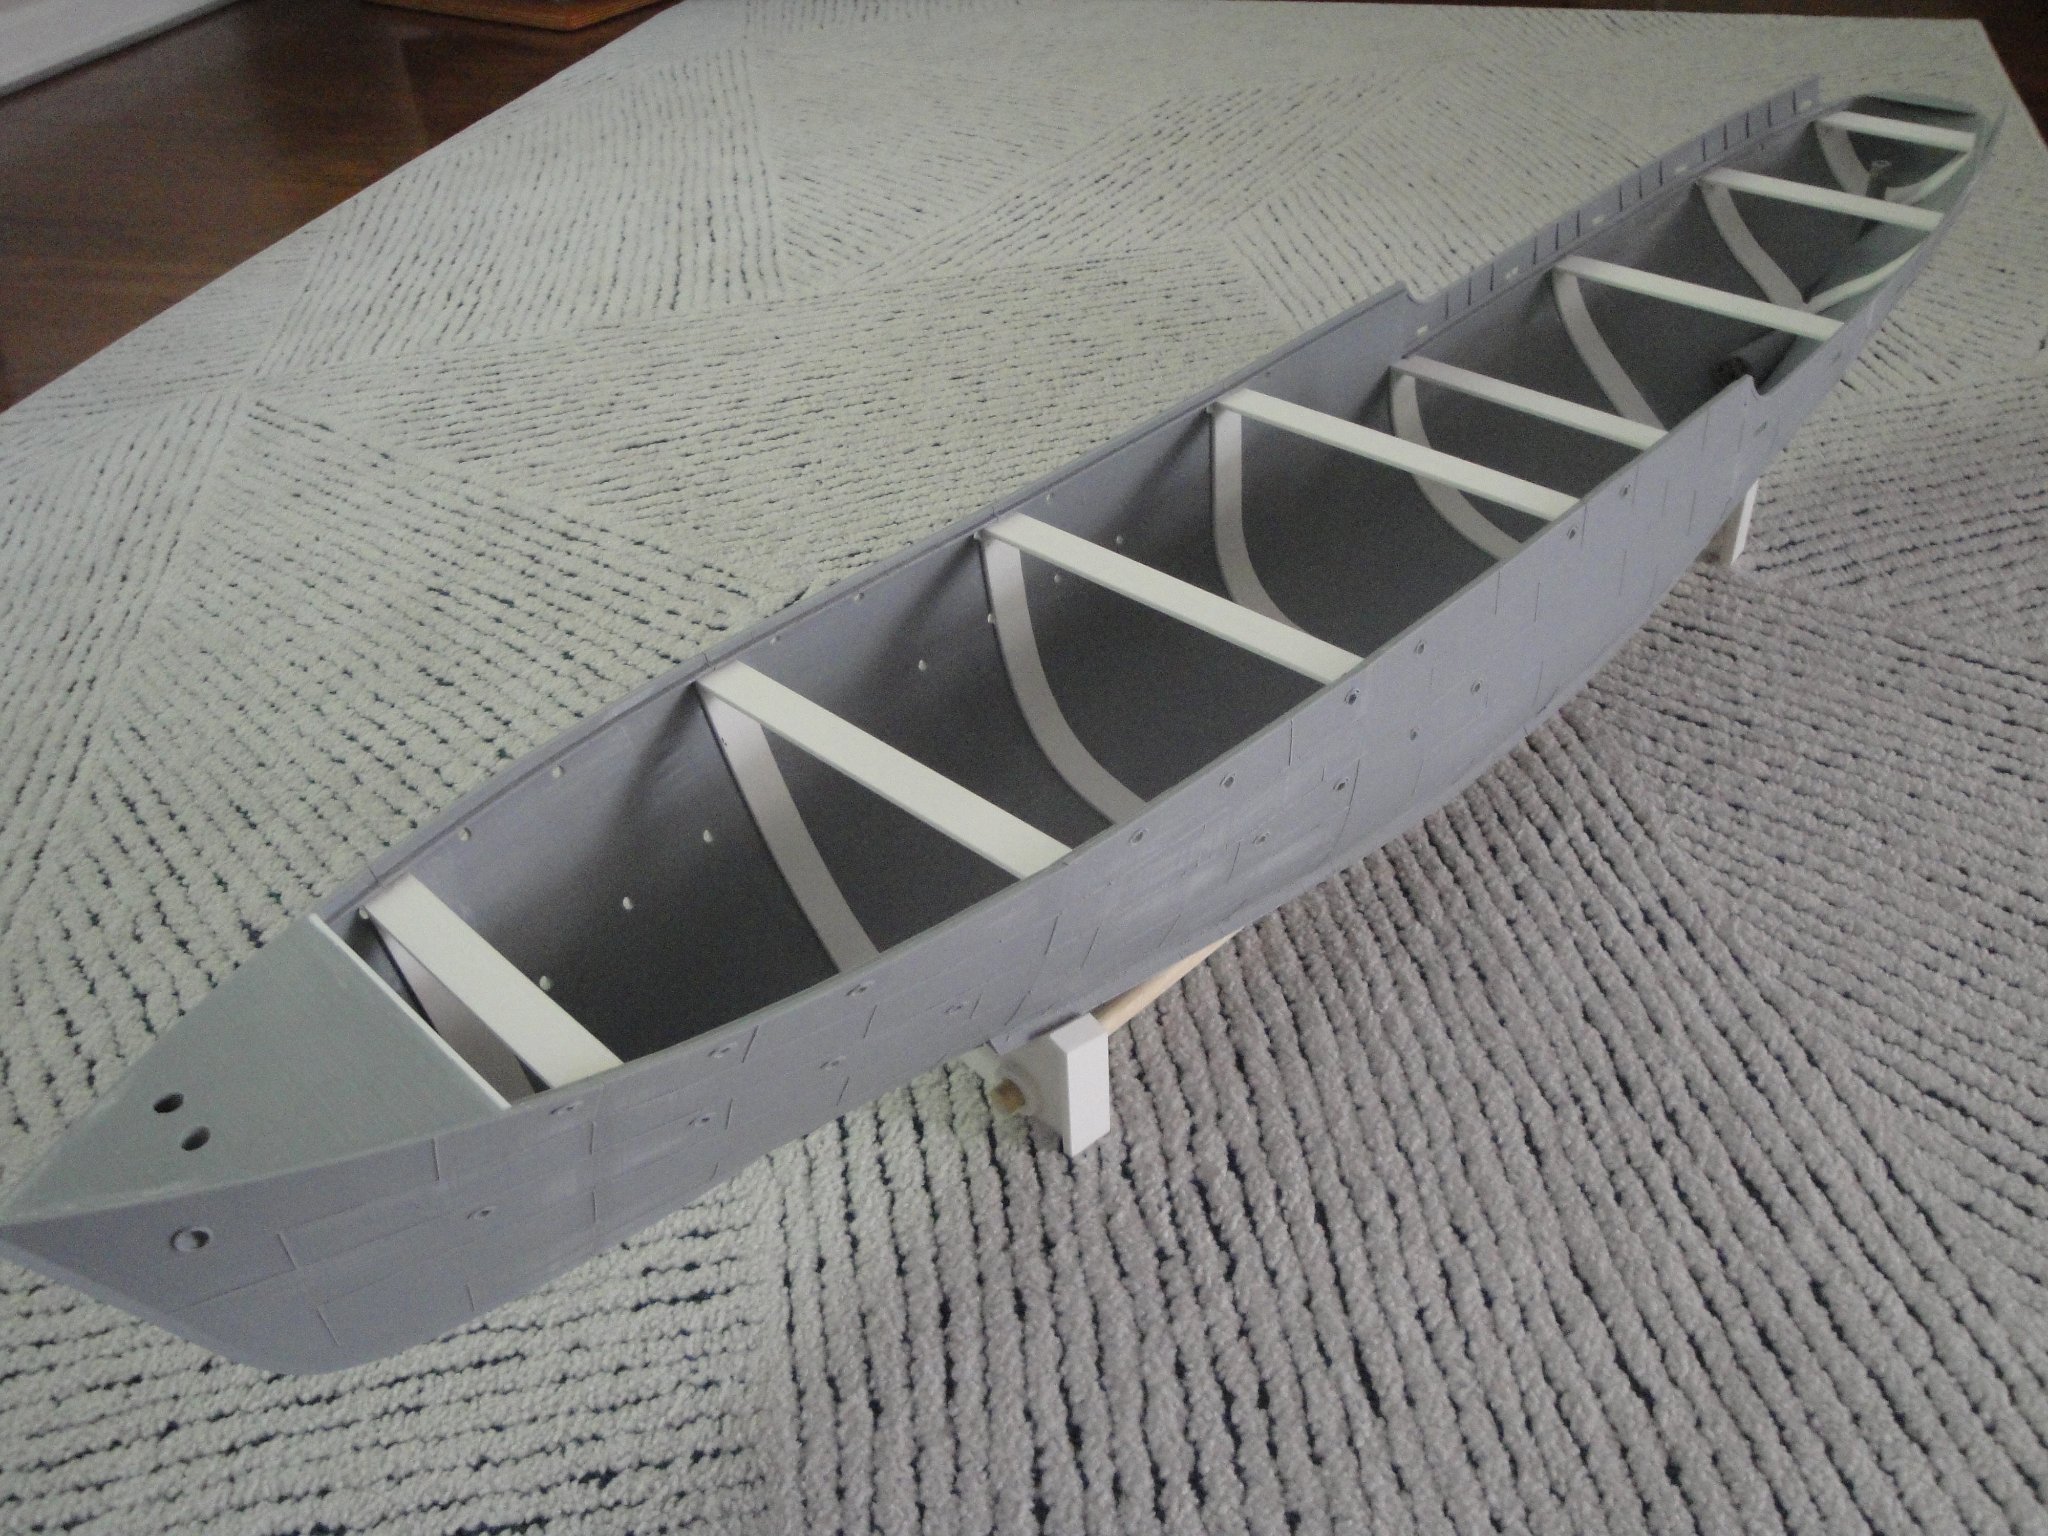
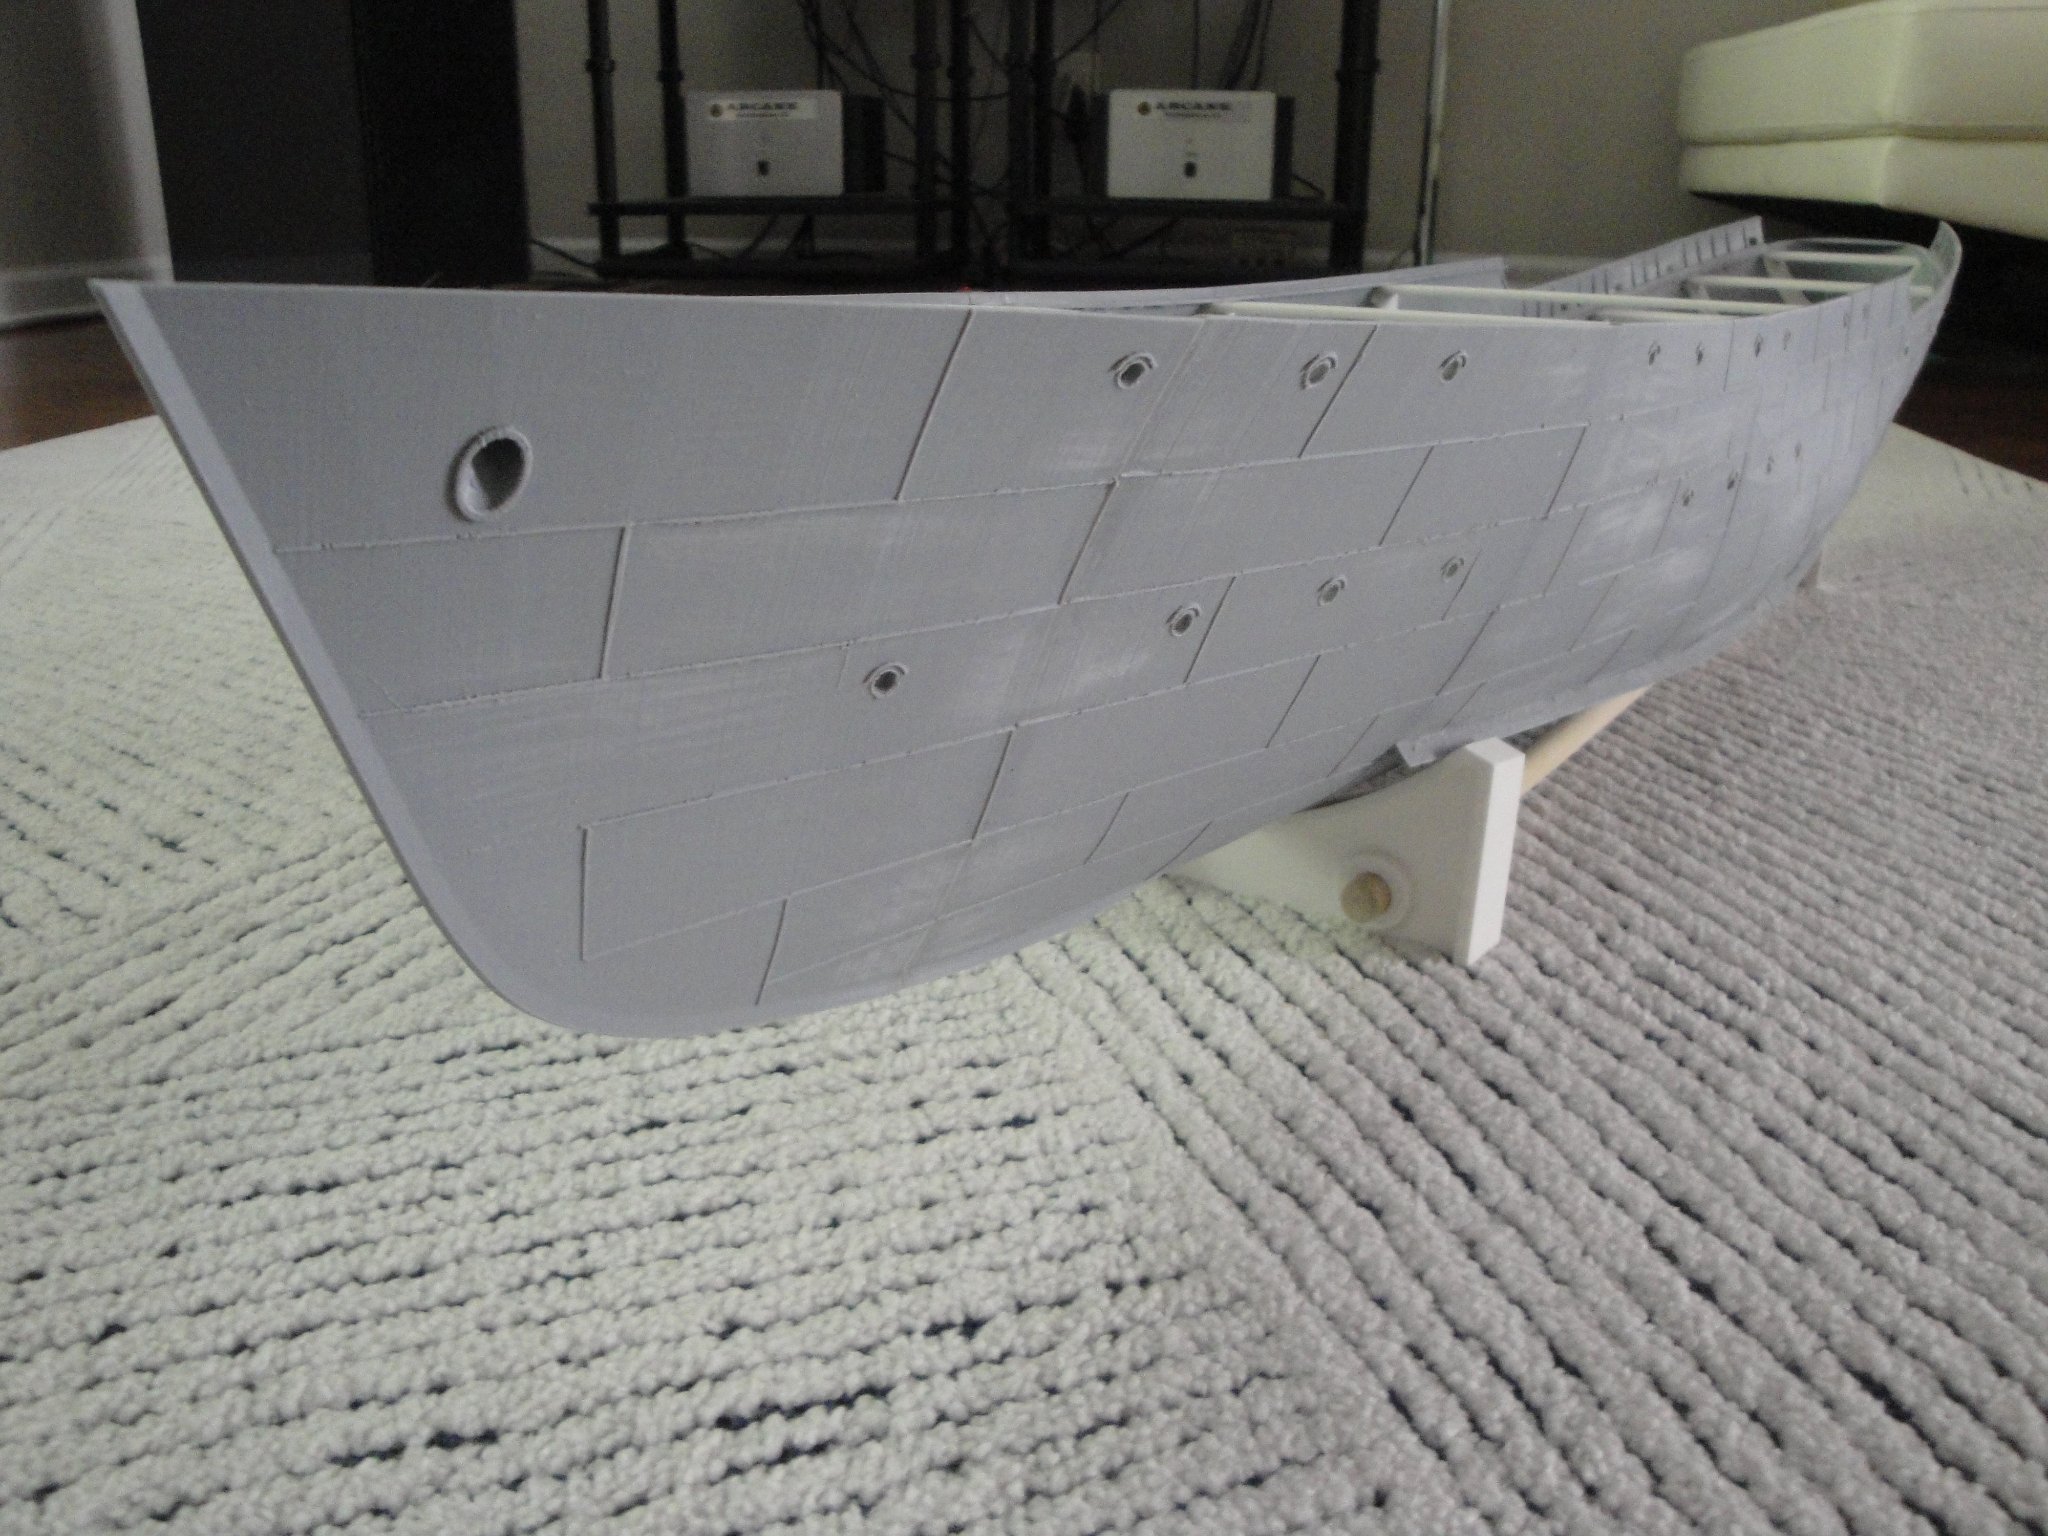
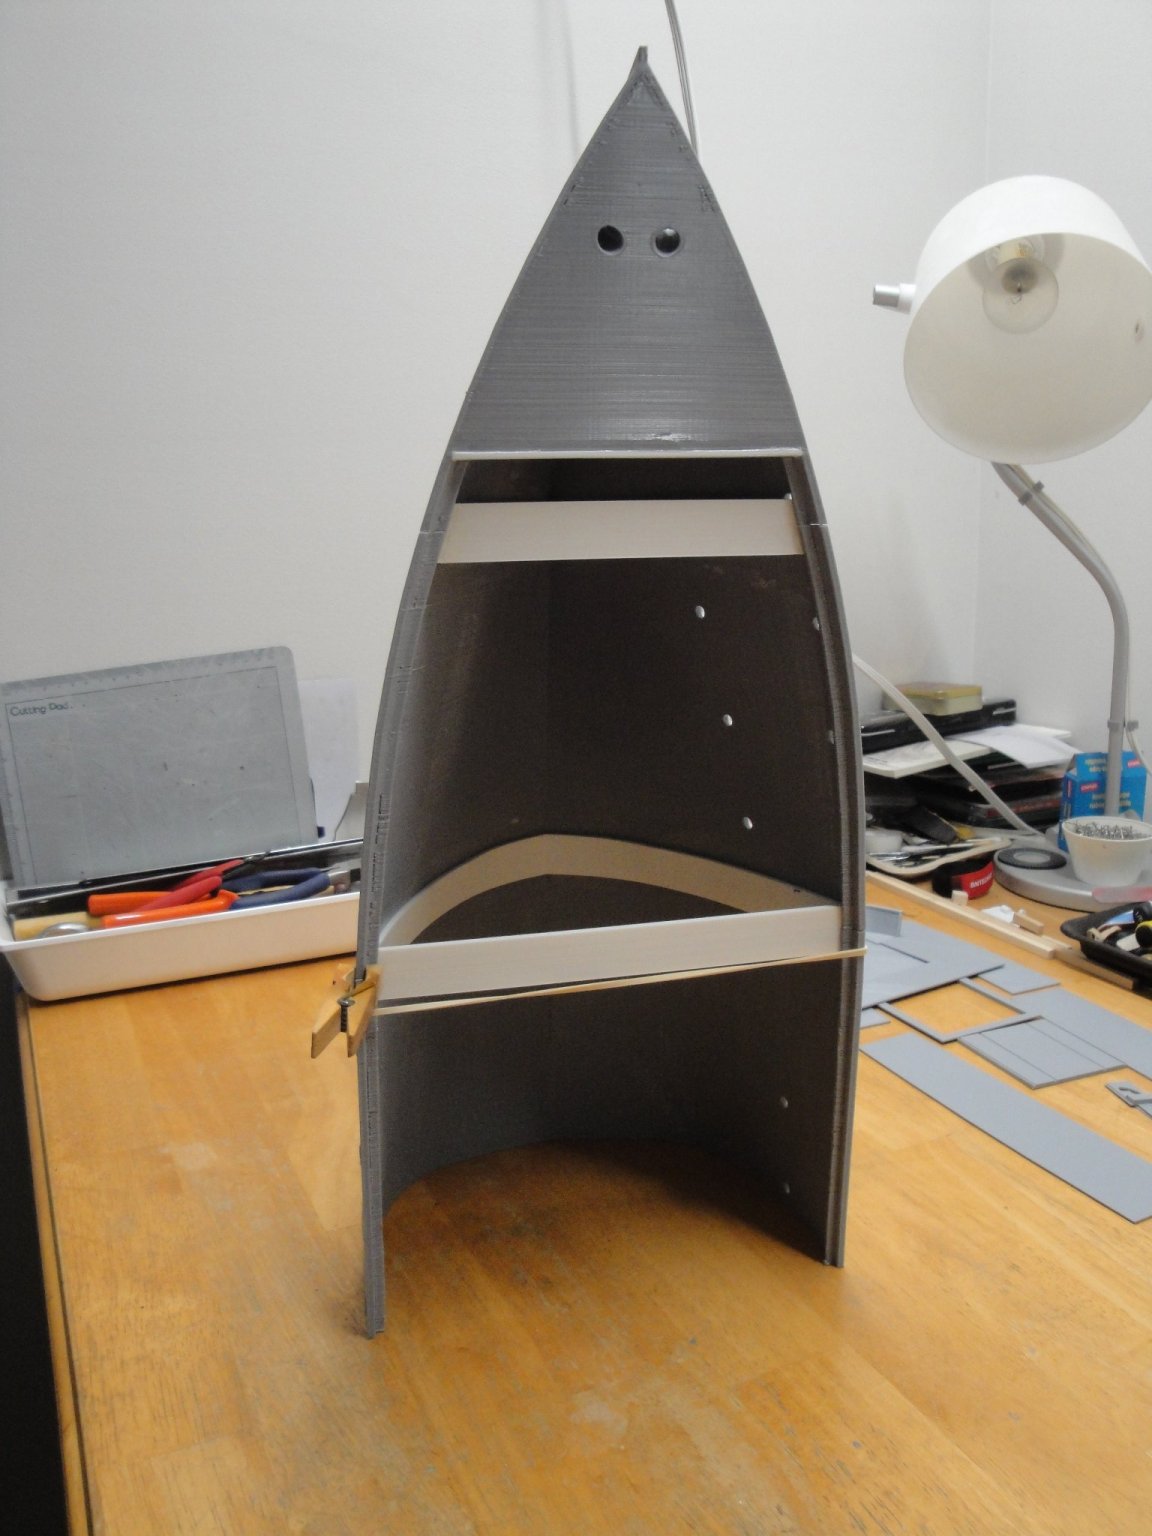
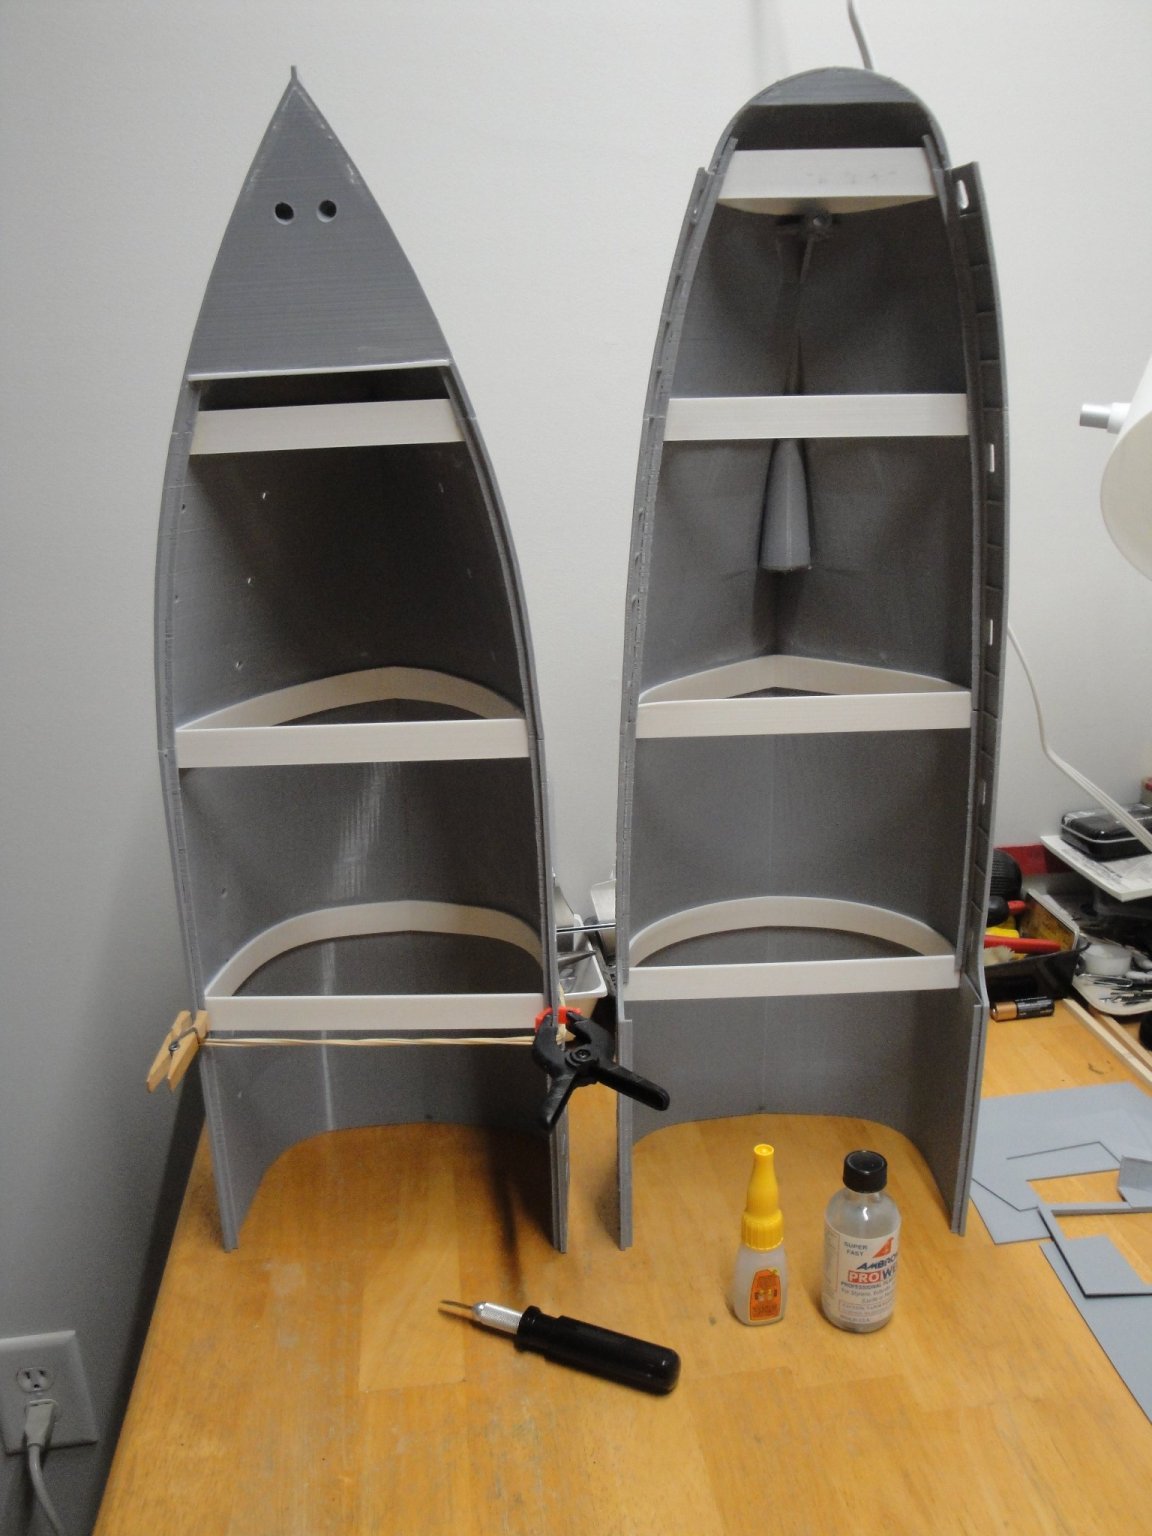
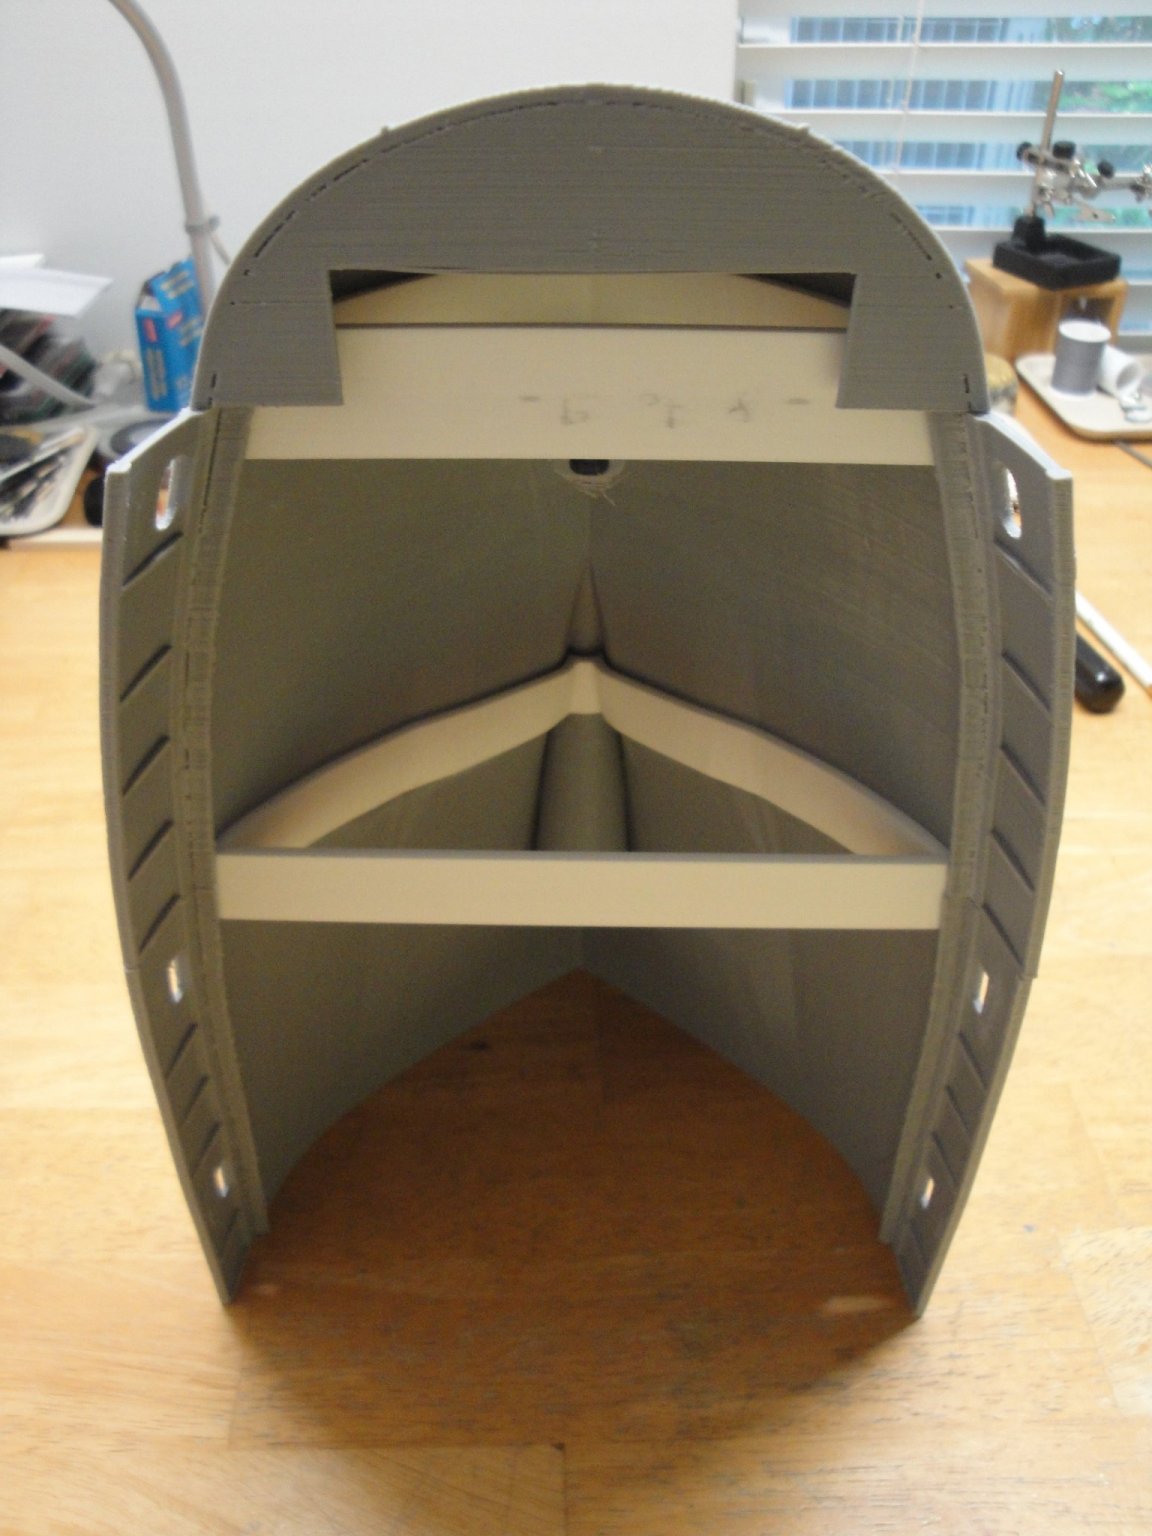
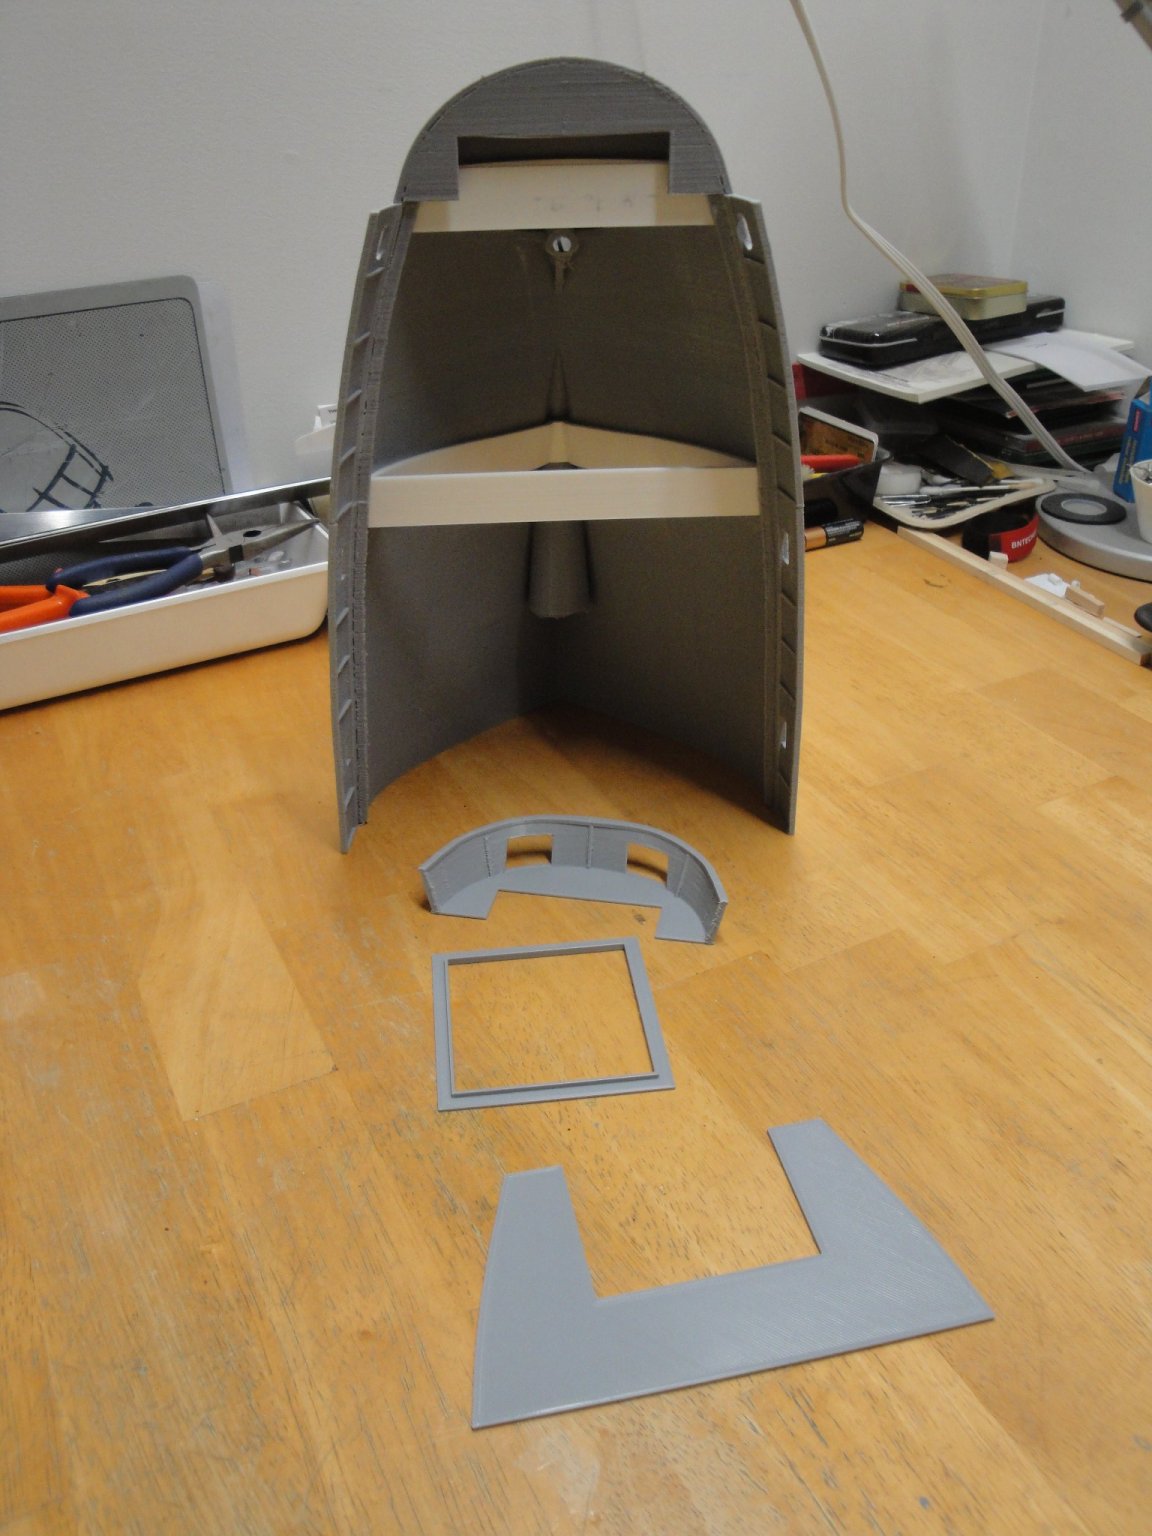
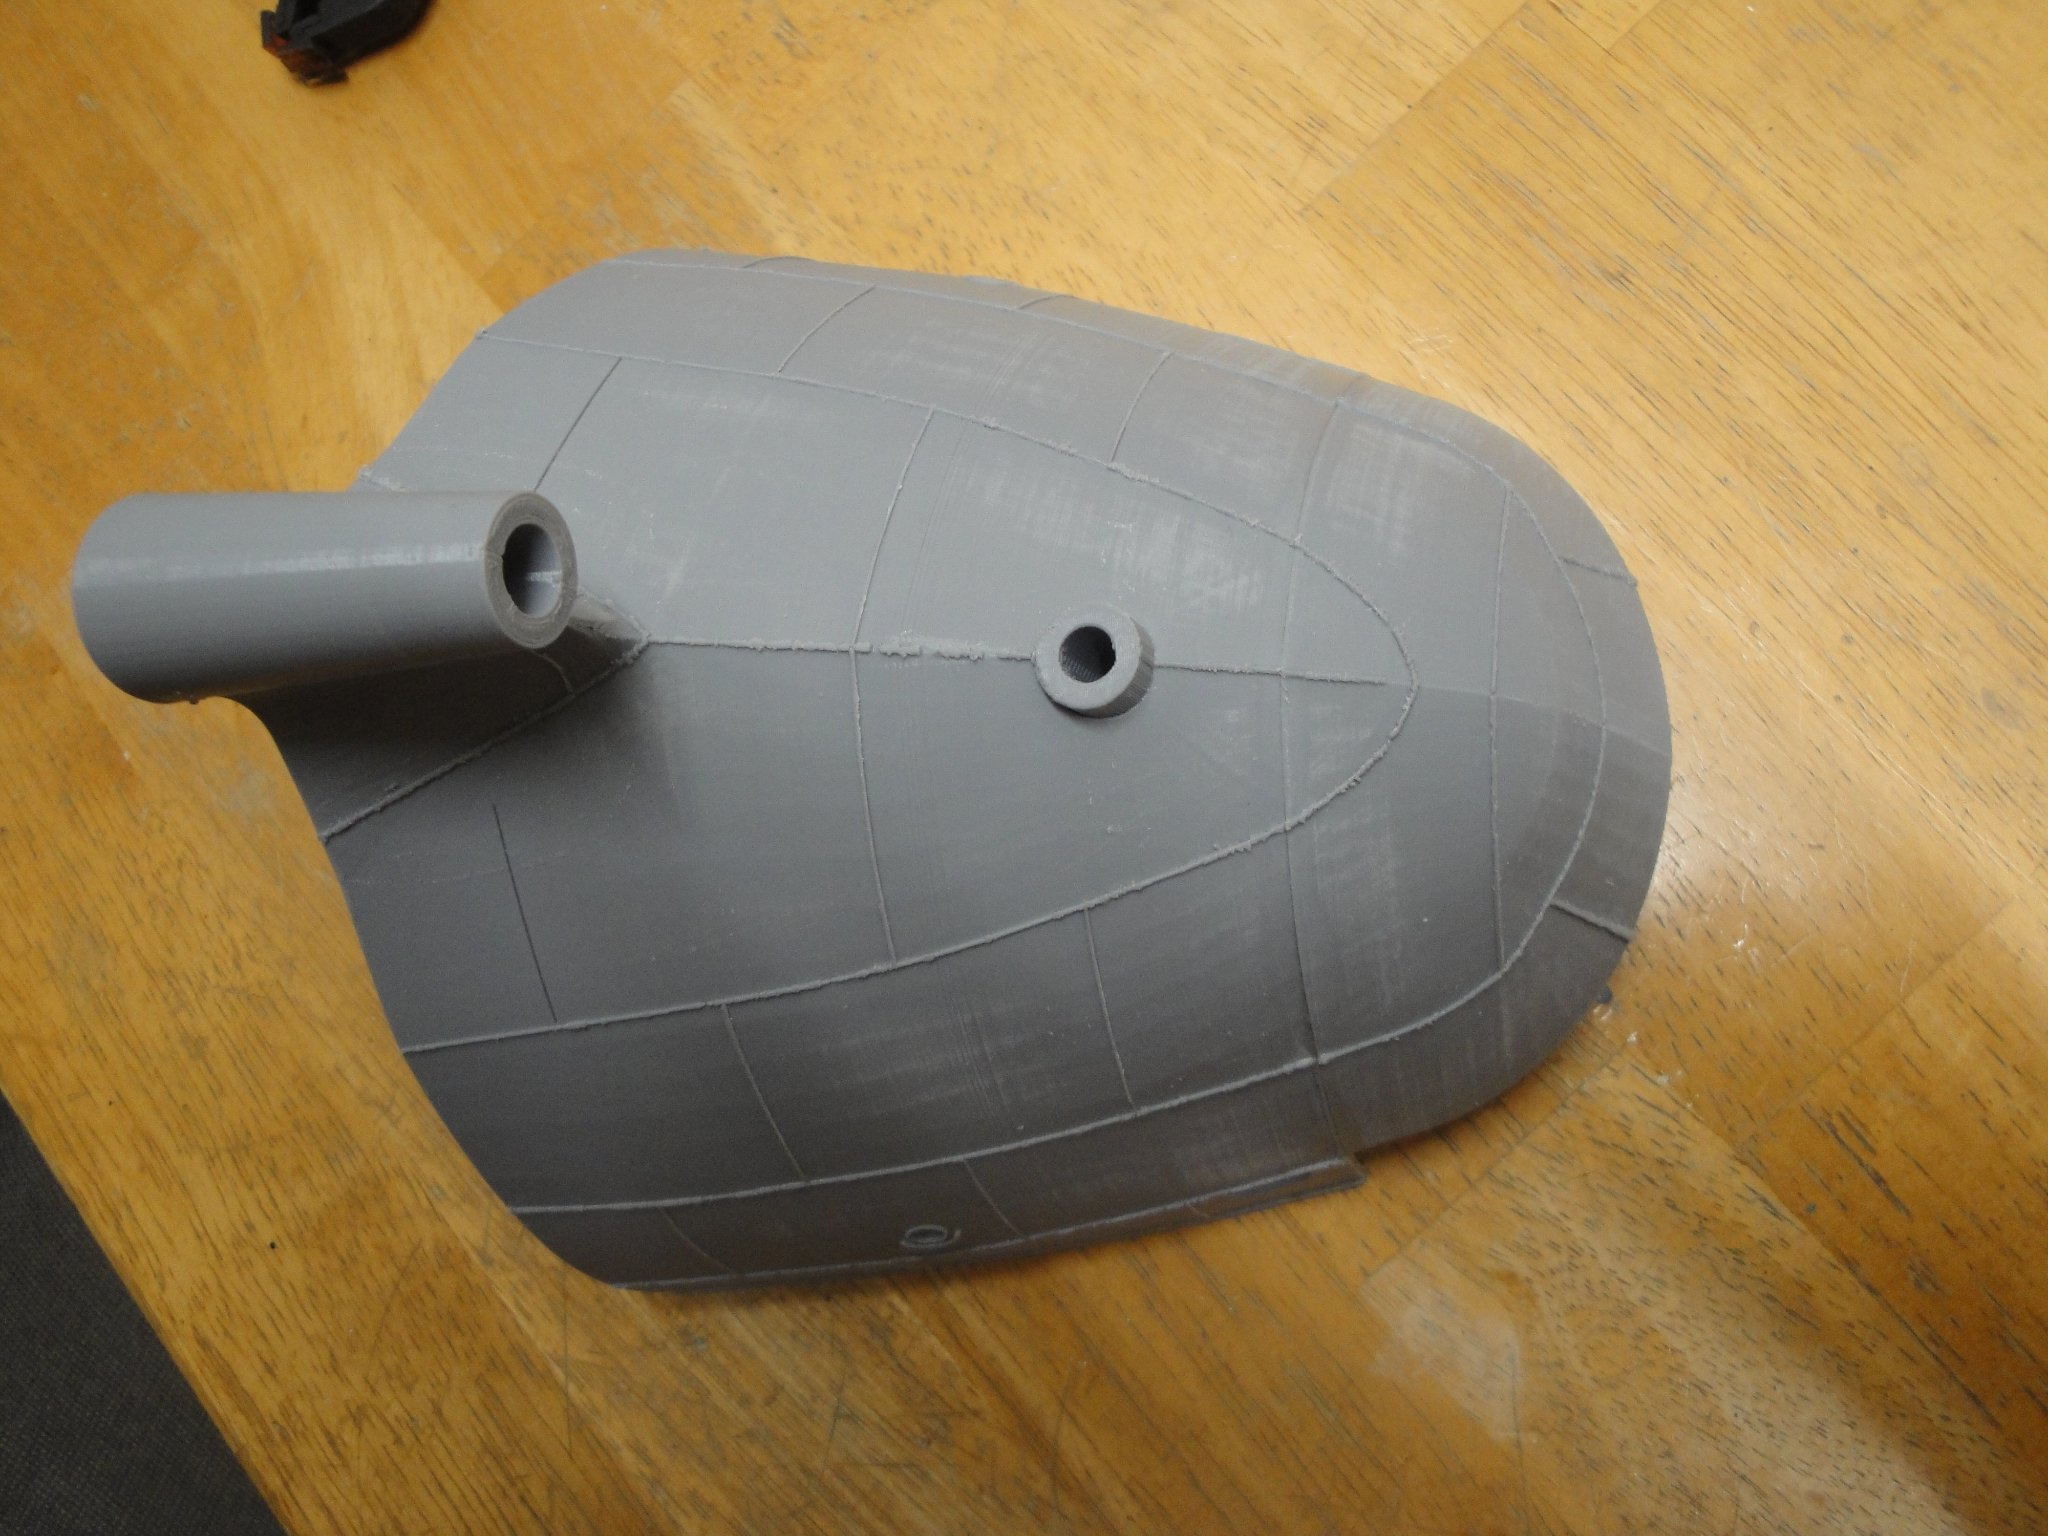
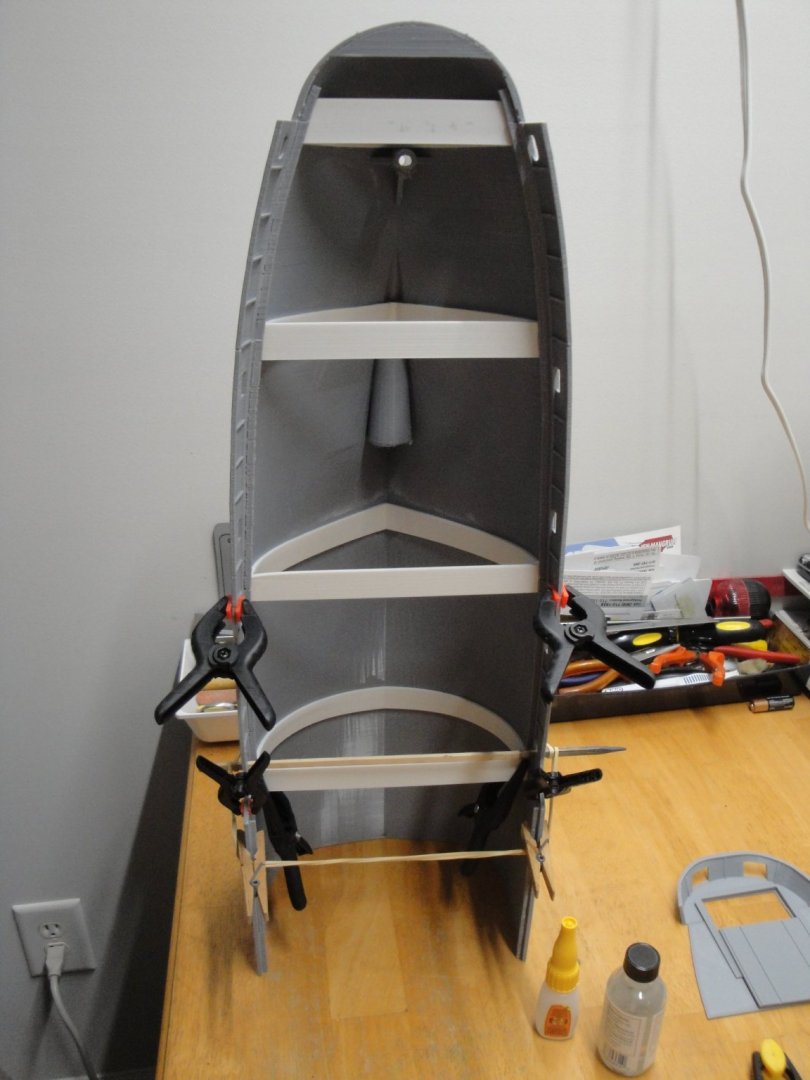
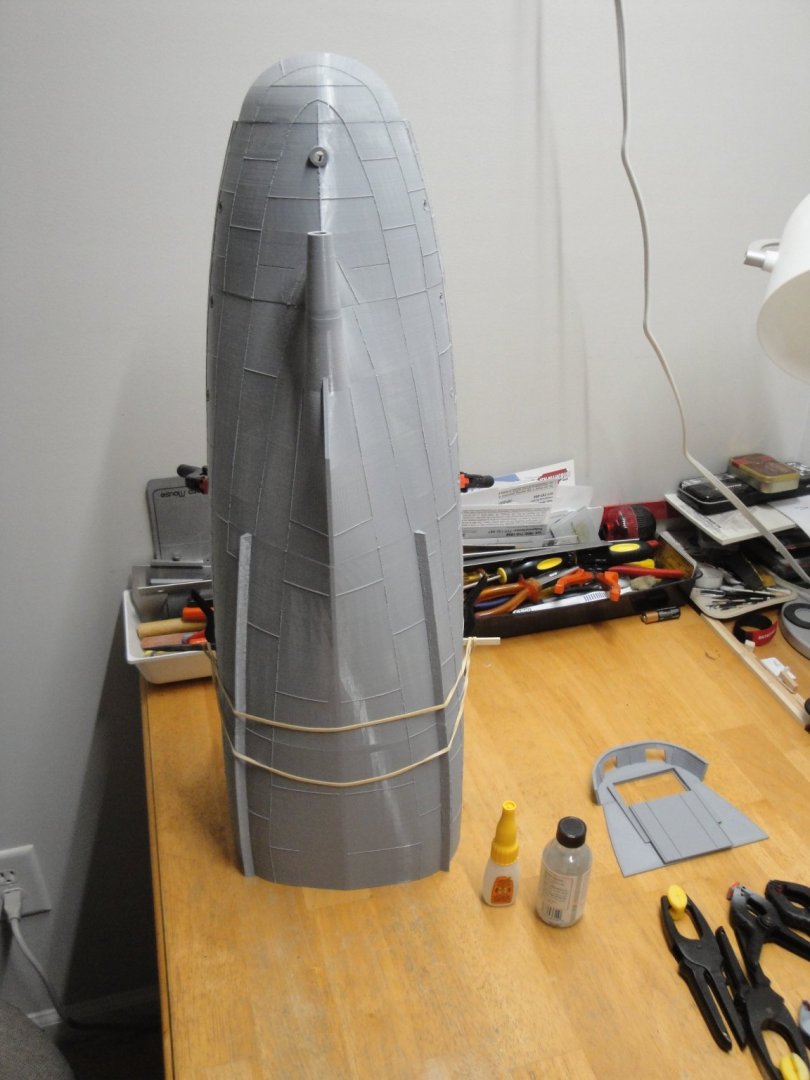
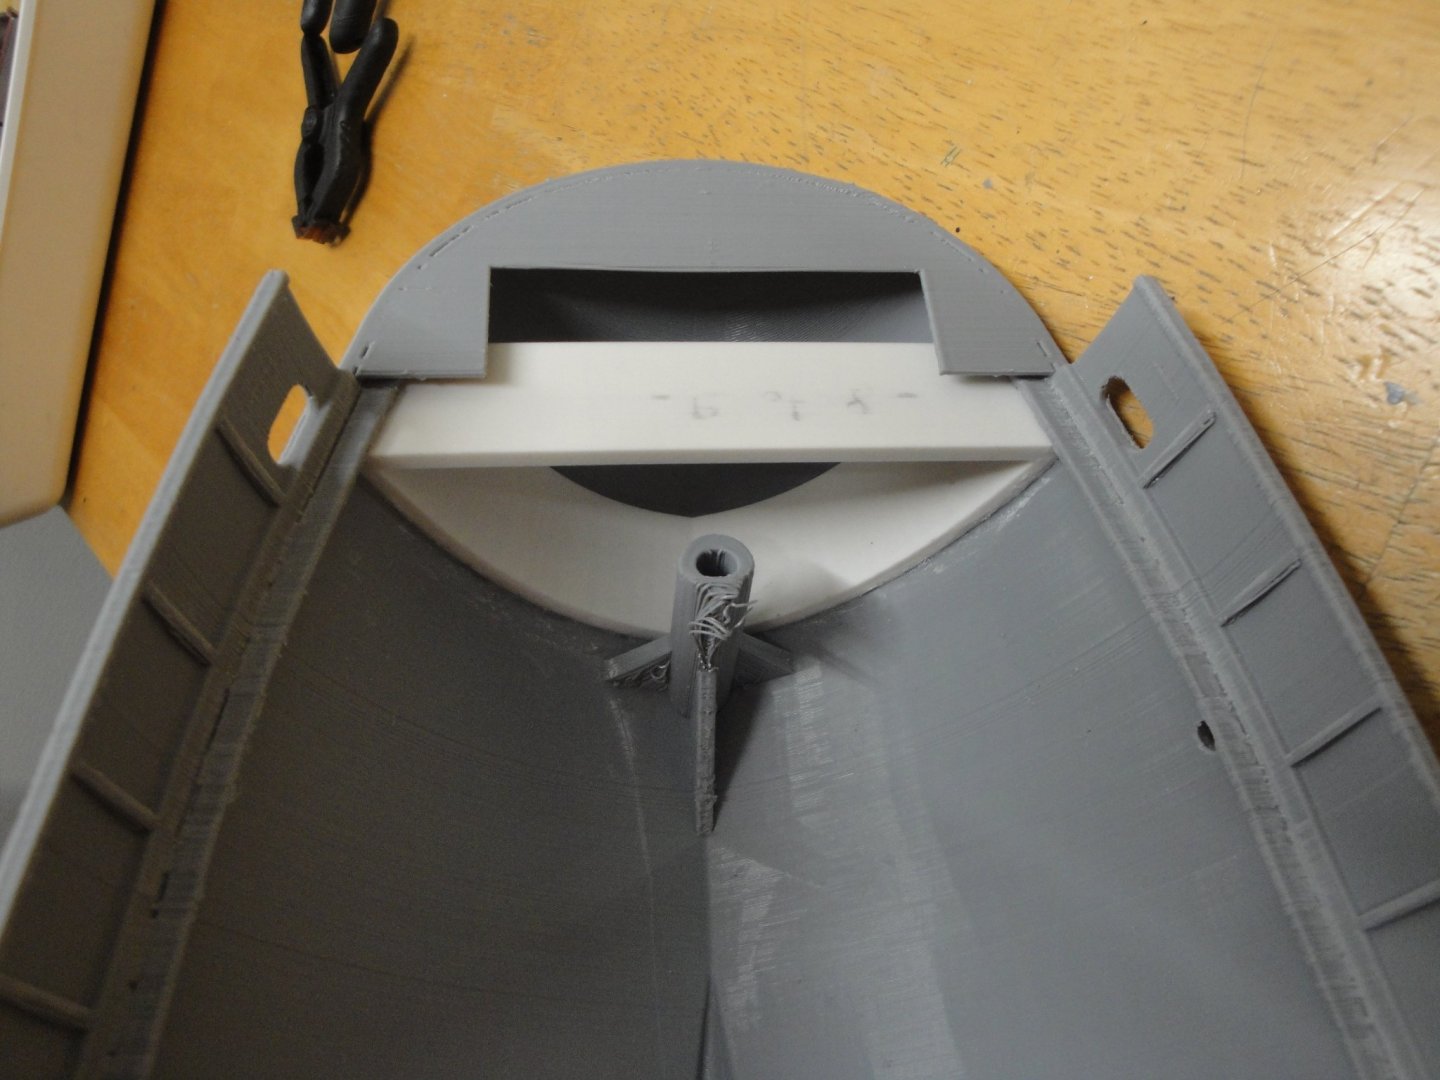
 I am now working (at least planning) on the decks. This is a delicate part of this kit for the reason that the model has been designed for Radio Control. The designer is suggesting caulking the deck to the hull, if a possible access to the inside of the hull was required, in the future. In most place the deck sits too low and we will need to come up with a solution. Let's look at the stern, for instance: You can clearly see that the deck level of the stern is not at the same level than the rest of the decks. In fact, the stern deck sits at the right height and everything else is way too low. One of the problems is that the deck pieces are not wide enough, if you raise them. Also, the scuppers must be flush with the deck, to fulfill their role. One solution would be to slightly increase the width of the deck (X-Axis) when slicing the model. An increase of 2% may do the trick but may also result in an opening for the engine room, which no longer fits. You still have to raise and support the decks, from underneath.... The other solution is to raise the hull side/support and to use a thin styrene strip to fill up the gaps. This is the solution I will be using. Another thing to take into account is the use of wood planking, while keeping a constant height for the deck. I will be presenting a solution in the coming days, that may work to my satisfaction. In the meantime, let's enjoy some pictures of the recently glued stern. And yes, the hull received a first coat of primer. Yves

- 321 replies
-
- 13
-

-
- Finished
- Flower-class
- (and 1 more)
-
This model is way beyond Museum Quality..... The pedestal itself, is a piece of art !!! Magnifique. Yves
-
Lancia Assunta by maurino
yvesvidal replied to maurino's topic in - Build logs for subjects built 1901 - Present Day
Beautiful colors on your sails. Yves -
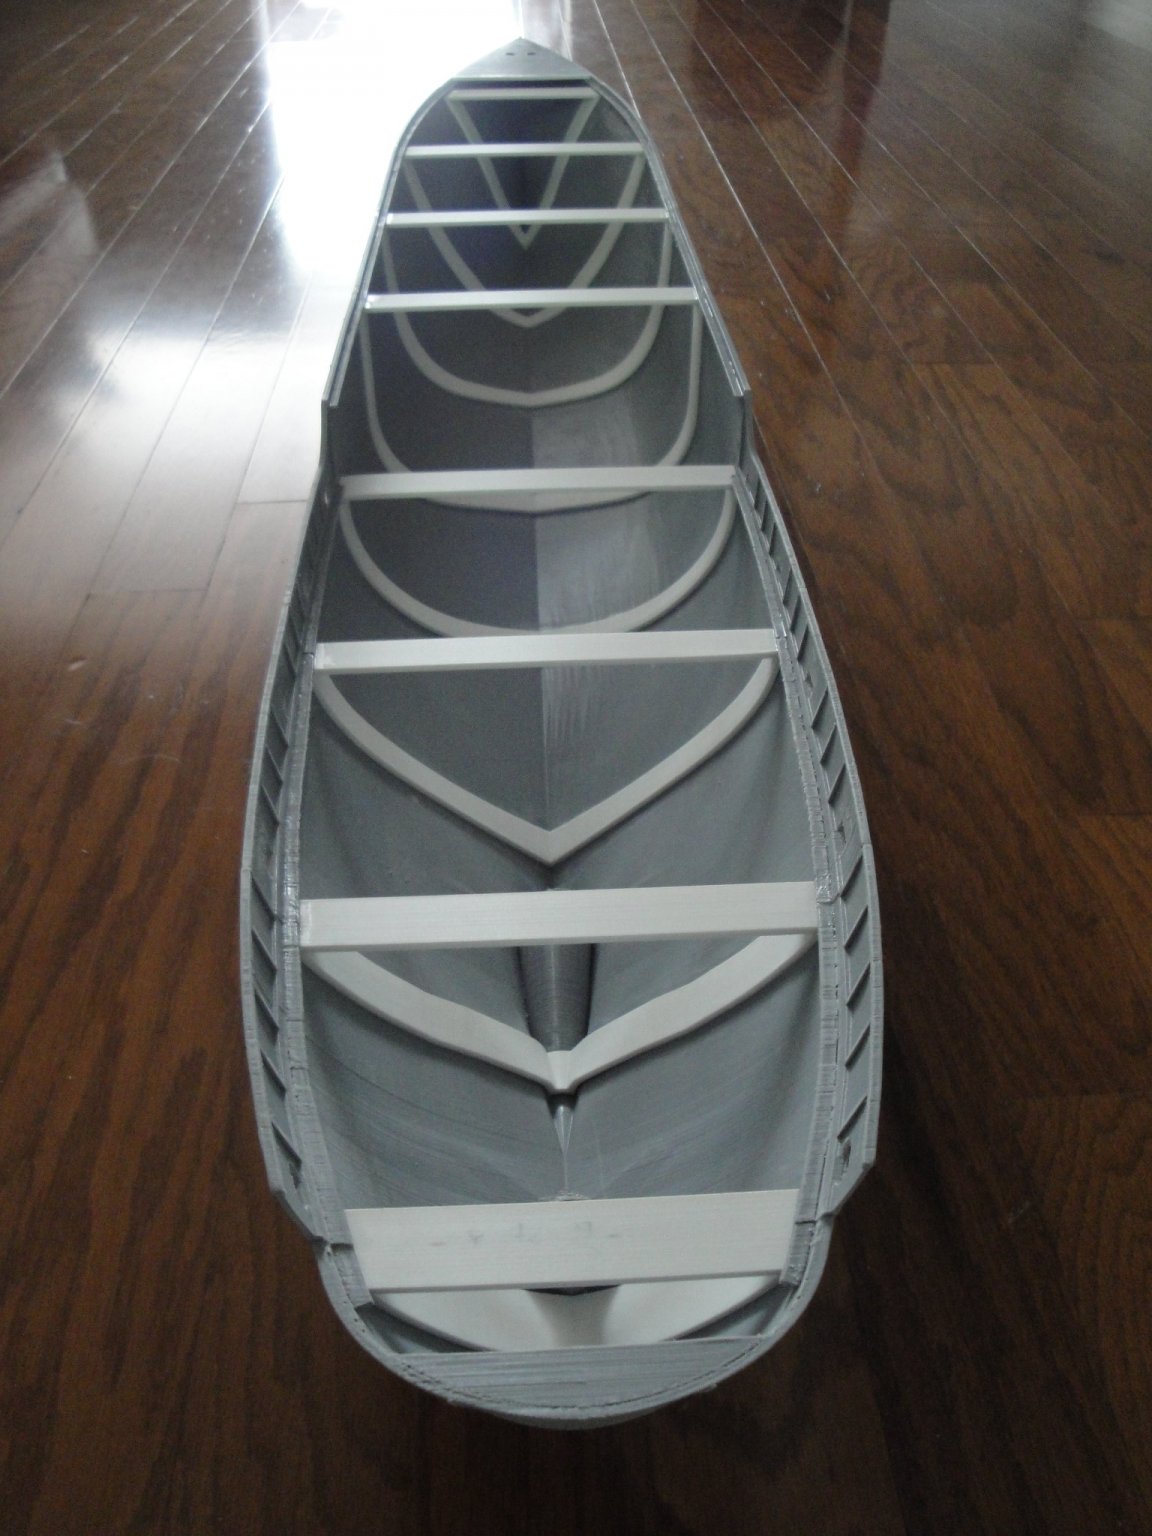
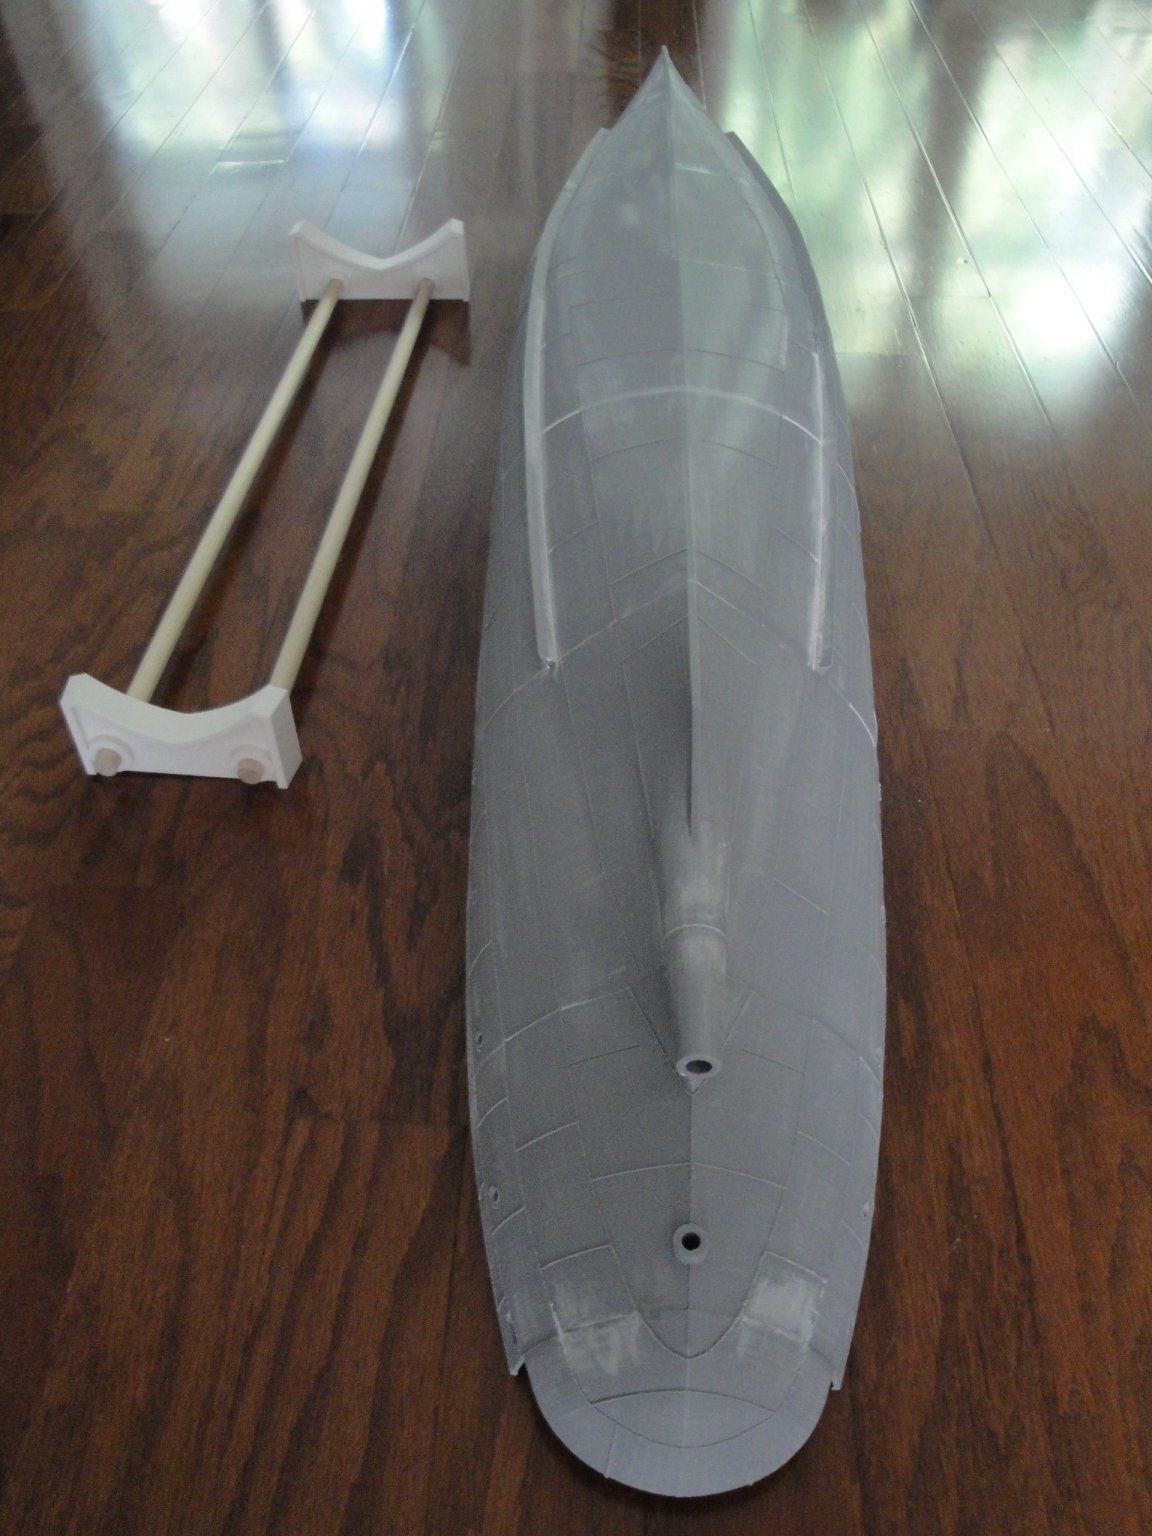
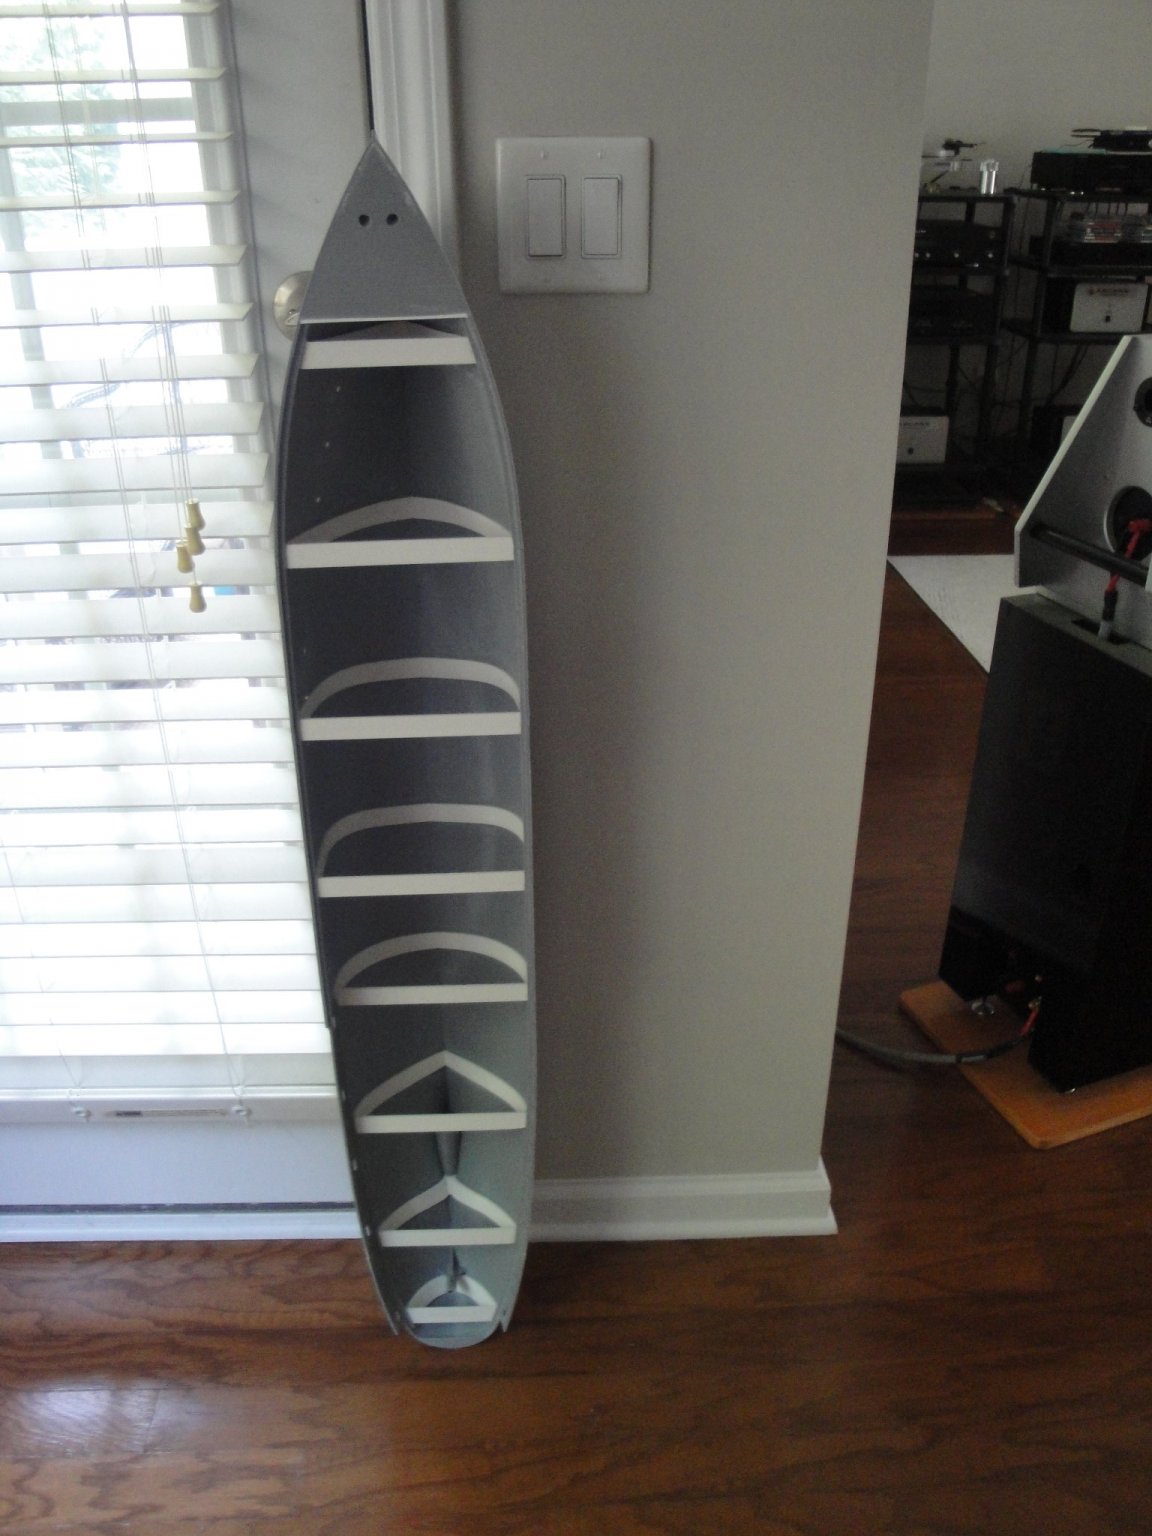
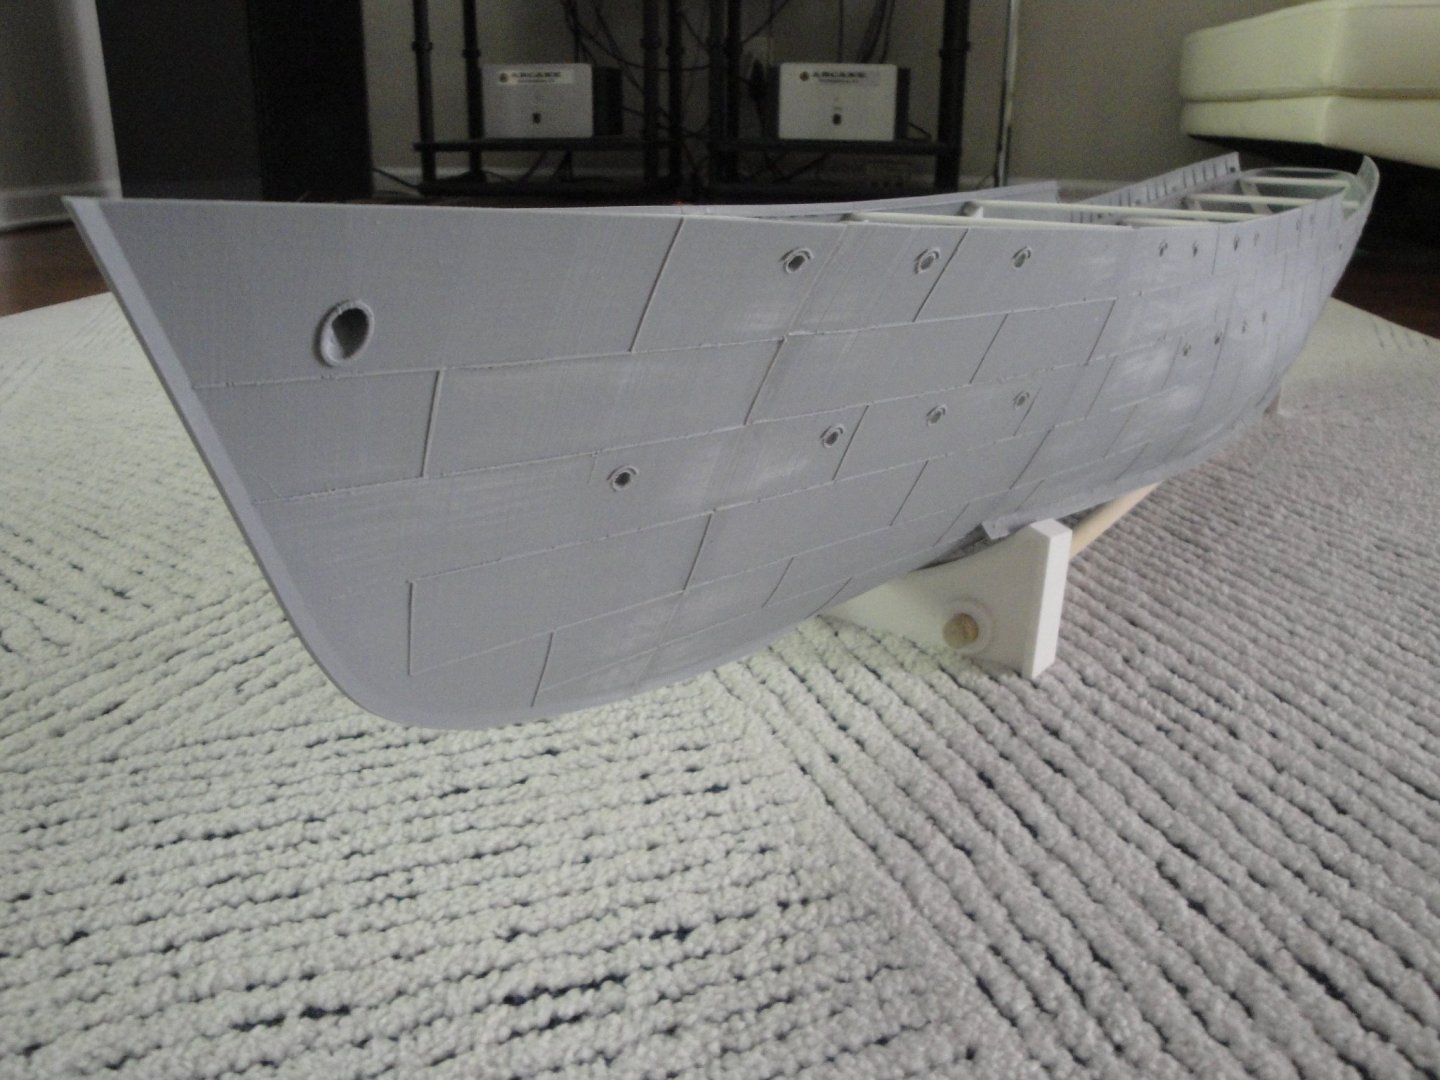
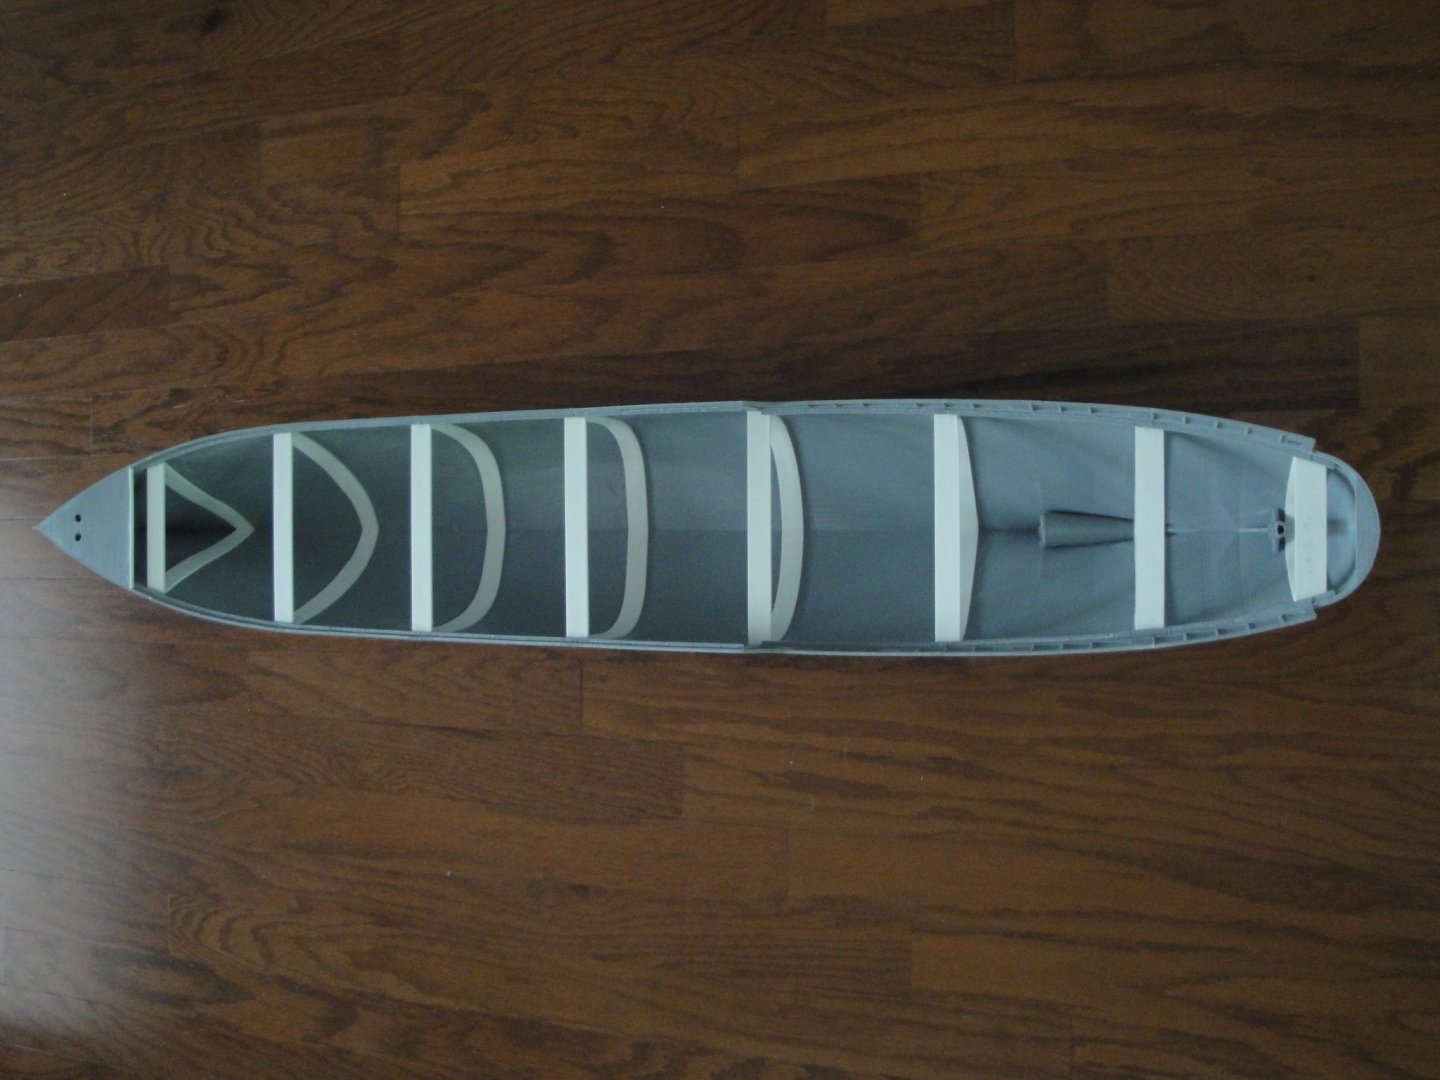
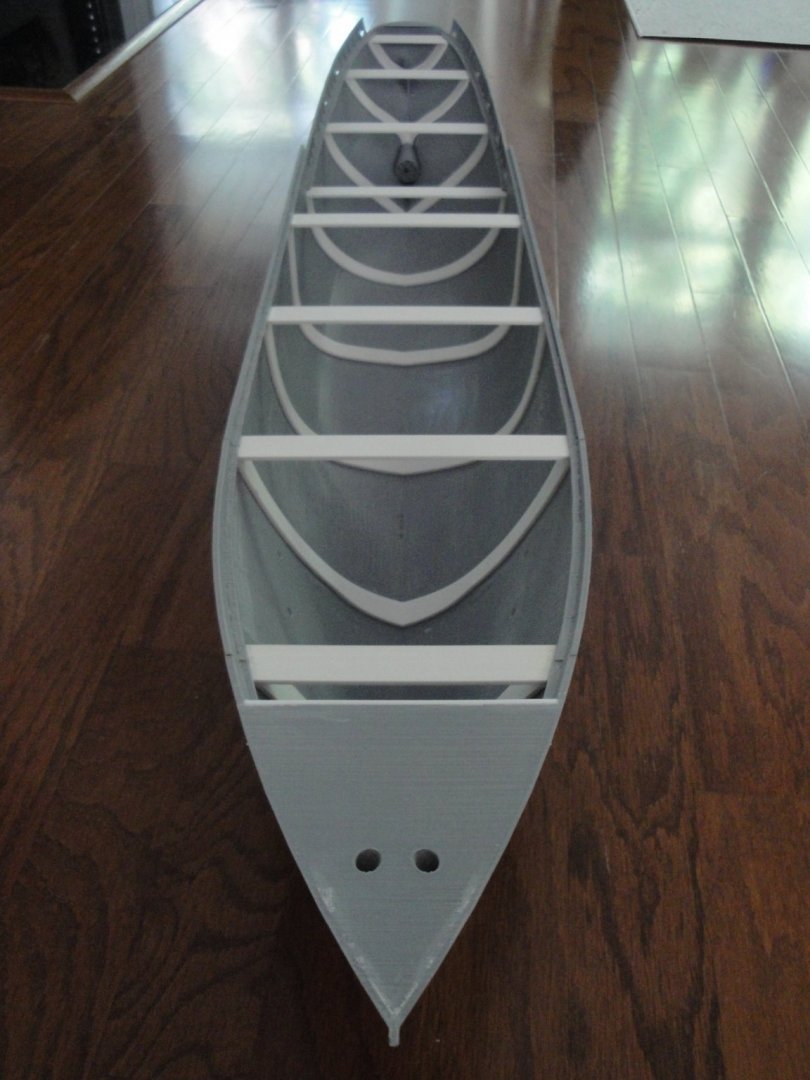
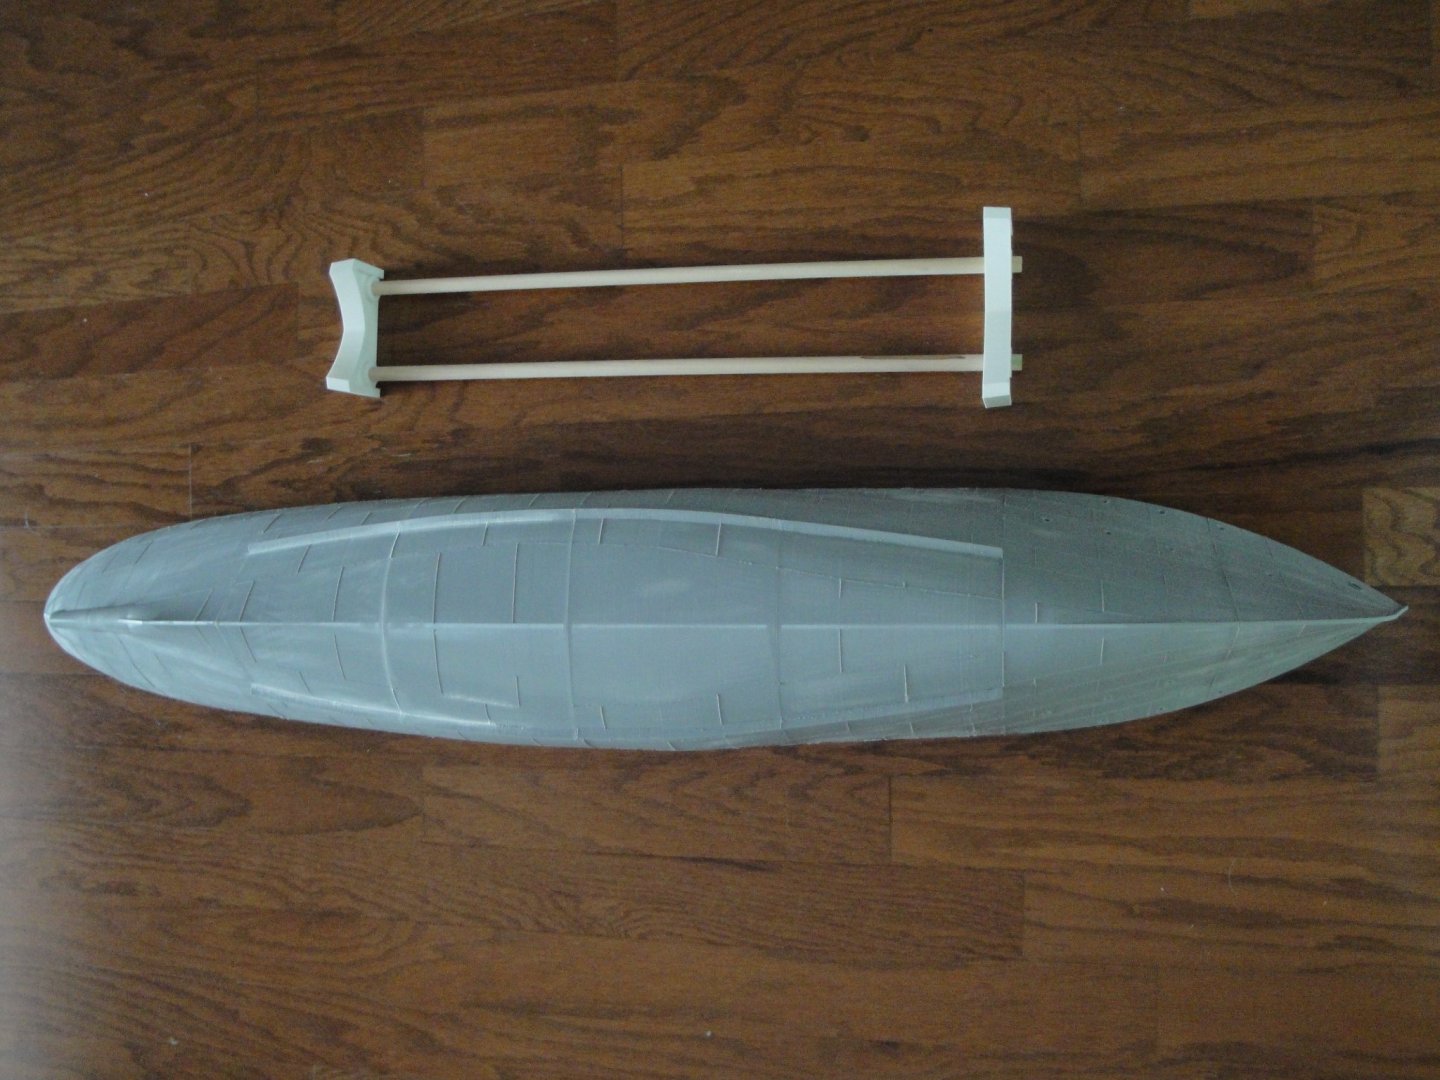
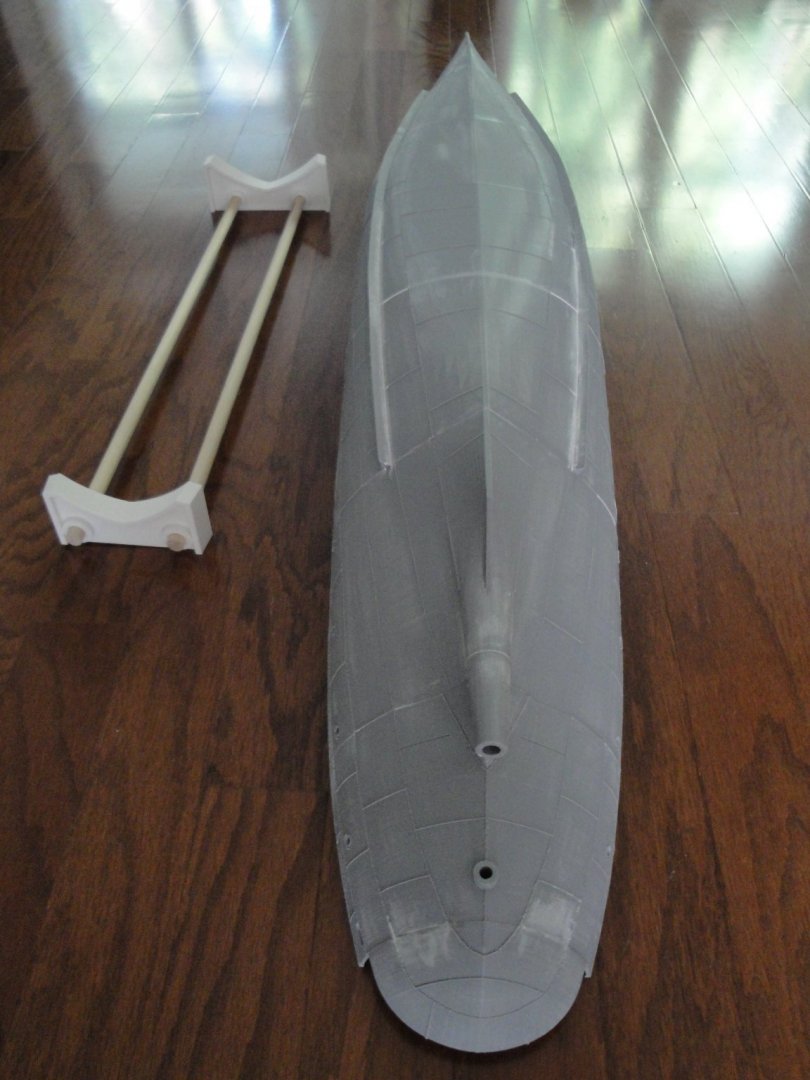
From these: To this: It is literally amazing. The hull as you see it, has a total cost of $45 plus $3 for the pedestal. Once the license has been purchased ($50), you could print out as many hulls and parts as you want. A few more picture of this behemoth: This last picture gives you an idea of the size of this hull: Next, is the delicate application of acrylic putty and some sanding, before a first coat of primer. Originally, this kit is intended for navigation and Radio Control and as such the designer is suggesting to cut the inside frames to gain access to the RC equipment, batteries and motors. I am going to keep them all, as they will be perfect to support the decks and cabins. Hull is very stiff and would not require them, but they will make my life so much easier for what is to come. Yves Yves


- 321 replies
-
- 23
-
-

-
- Finished
- Flower-class
- (and 1 more)
-
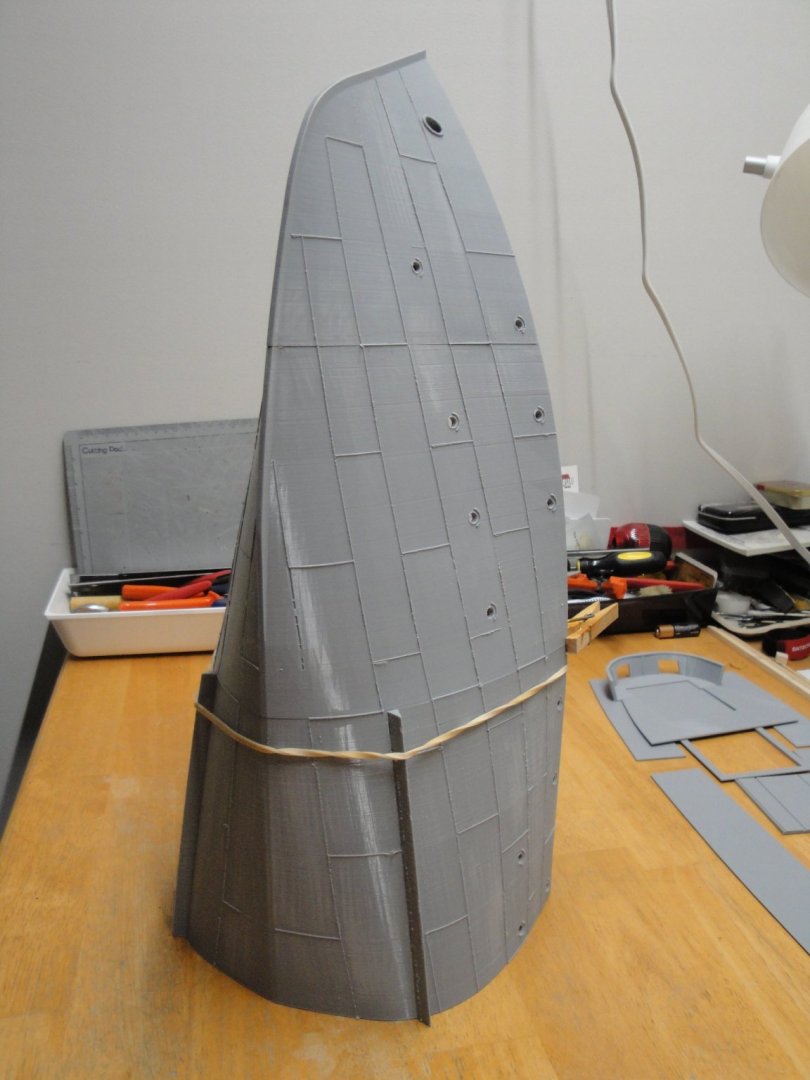
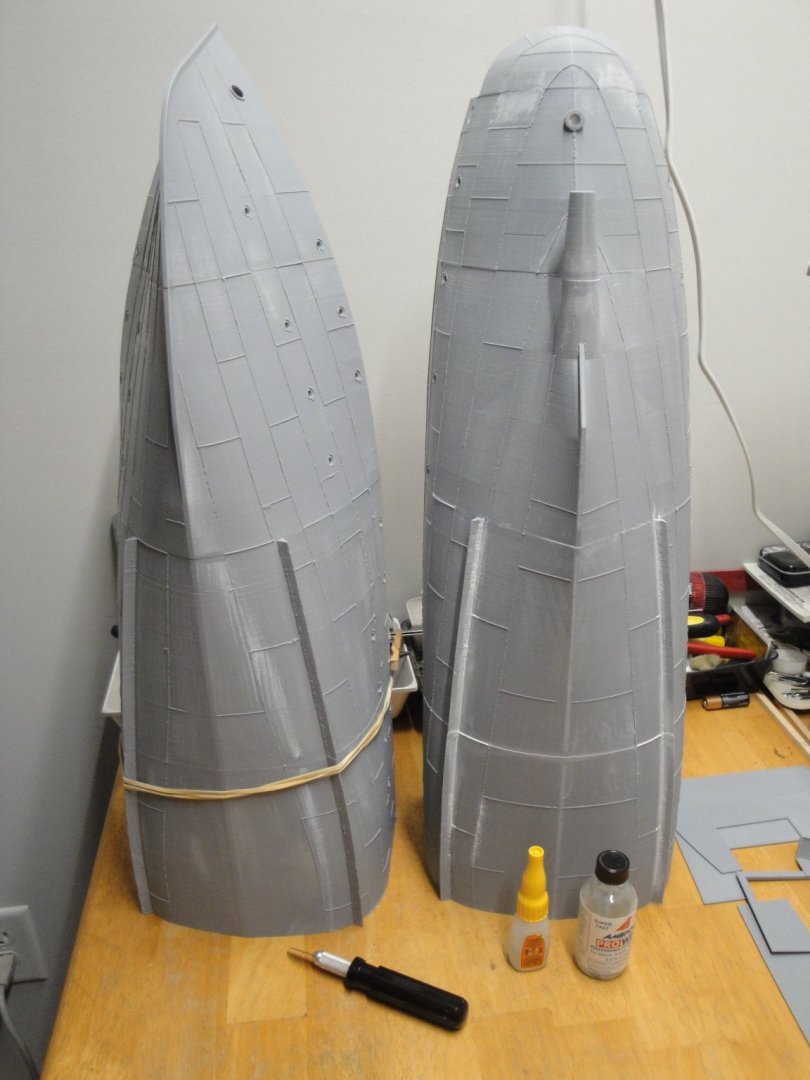
Moving along and close to the hull completion. First working on the bow and front sections (1, 2 and 3): Last section (#4) glued: This is going to be a large hull, to say the least. Yves


- 321 replies
-
- 15
-
-
- Finished
- Flower-class
- (and 1 more)
-
Beautiful rigging. You are a Master.... Yves
-
Craig, we are now using CURA 4.10. Update is free. Yves
- 321 replies
-
- 7
-
-
- Finished
- Flower-class
- (and 1 more)
-
Congratulations Alan and welcome to the 3D printer club. I strongly suggest you watch and follow the Video from "Just Vlad" on the Ender 3 V2. That guy will lead you through the fine tuning of the machine and the various mistakes to avoid. Worth your 40 minutes of YouTube. Really !!! After following his recommendations, I had absolutely no problem printing. Levelling has to be done very carefully.... and then you never touch it again. Use a very think sheet of paper (I use the little flyer provided with the kit, in the plastic bag). Perfect adjustment. Yves
- 321 replies
-
- 7
-
-
- Finished
- Flower-class
- (and 1 more)
-
Most of the parts are "part" of the virtual kit. Of course, you can always add more and turn it into a museum piece, with time and money. I am exploring the feasibility of such kits and not shooting for the stars. I intend to finish the hull, with a few decks and mingle some wood, in this jungle of PLA. Yves
- 321 replies
-
- 7
-
-
- Finished
- Flower-class
- (and 1 more)
-
Superb rendition of a fjord and exquisite model. The water is very tempting but must be too cold for my taste. Yves
-
Sections 6 and 5 are now glued: Still using a dab of CA glue to immobilize the parts and then welding with the MEK. Seems to hold....so far. Having reached the middle of the boat, I am going to focus on the bow, from now on. Yves
- 321 replies
-
- 15
-
-
- Finished
- Flower-class
- (and 1 more)
-
I use Ultramaker CURA like most people for slicer program. Yes, everything can be adjusted and will go into your profile. But being a complete newbie, I am using the default values and sticking to what the Kit designer specified. Yves
- 321 replies
-
- 5
-
-
- Finished
- Flower-class
- (and 1 more)
-
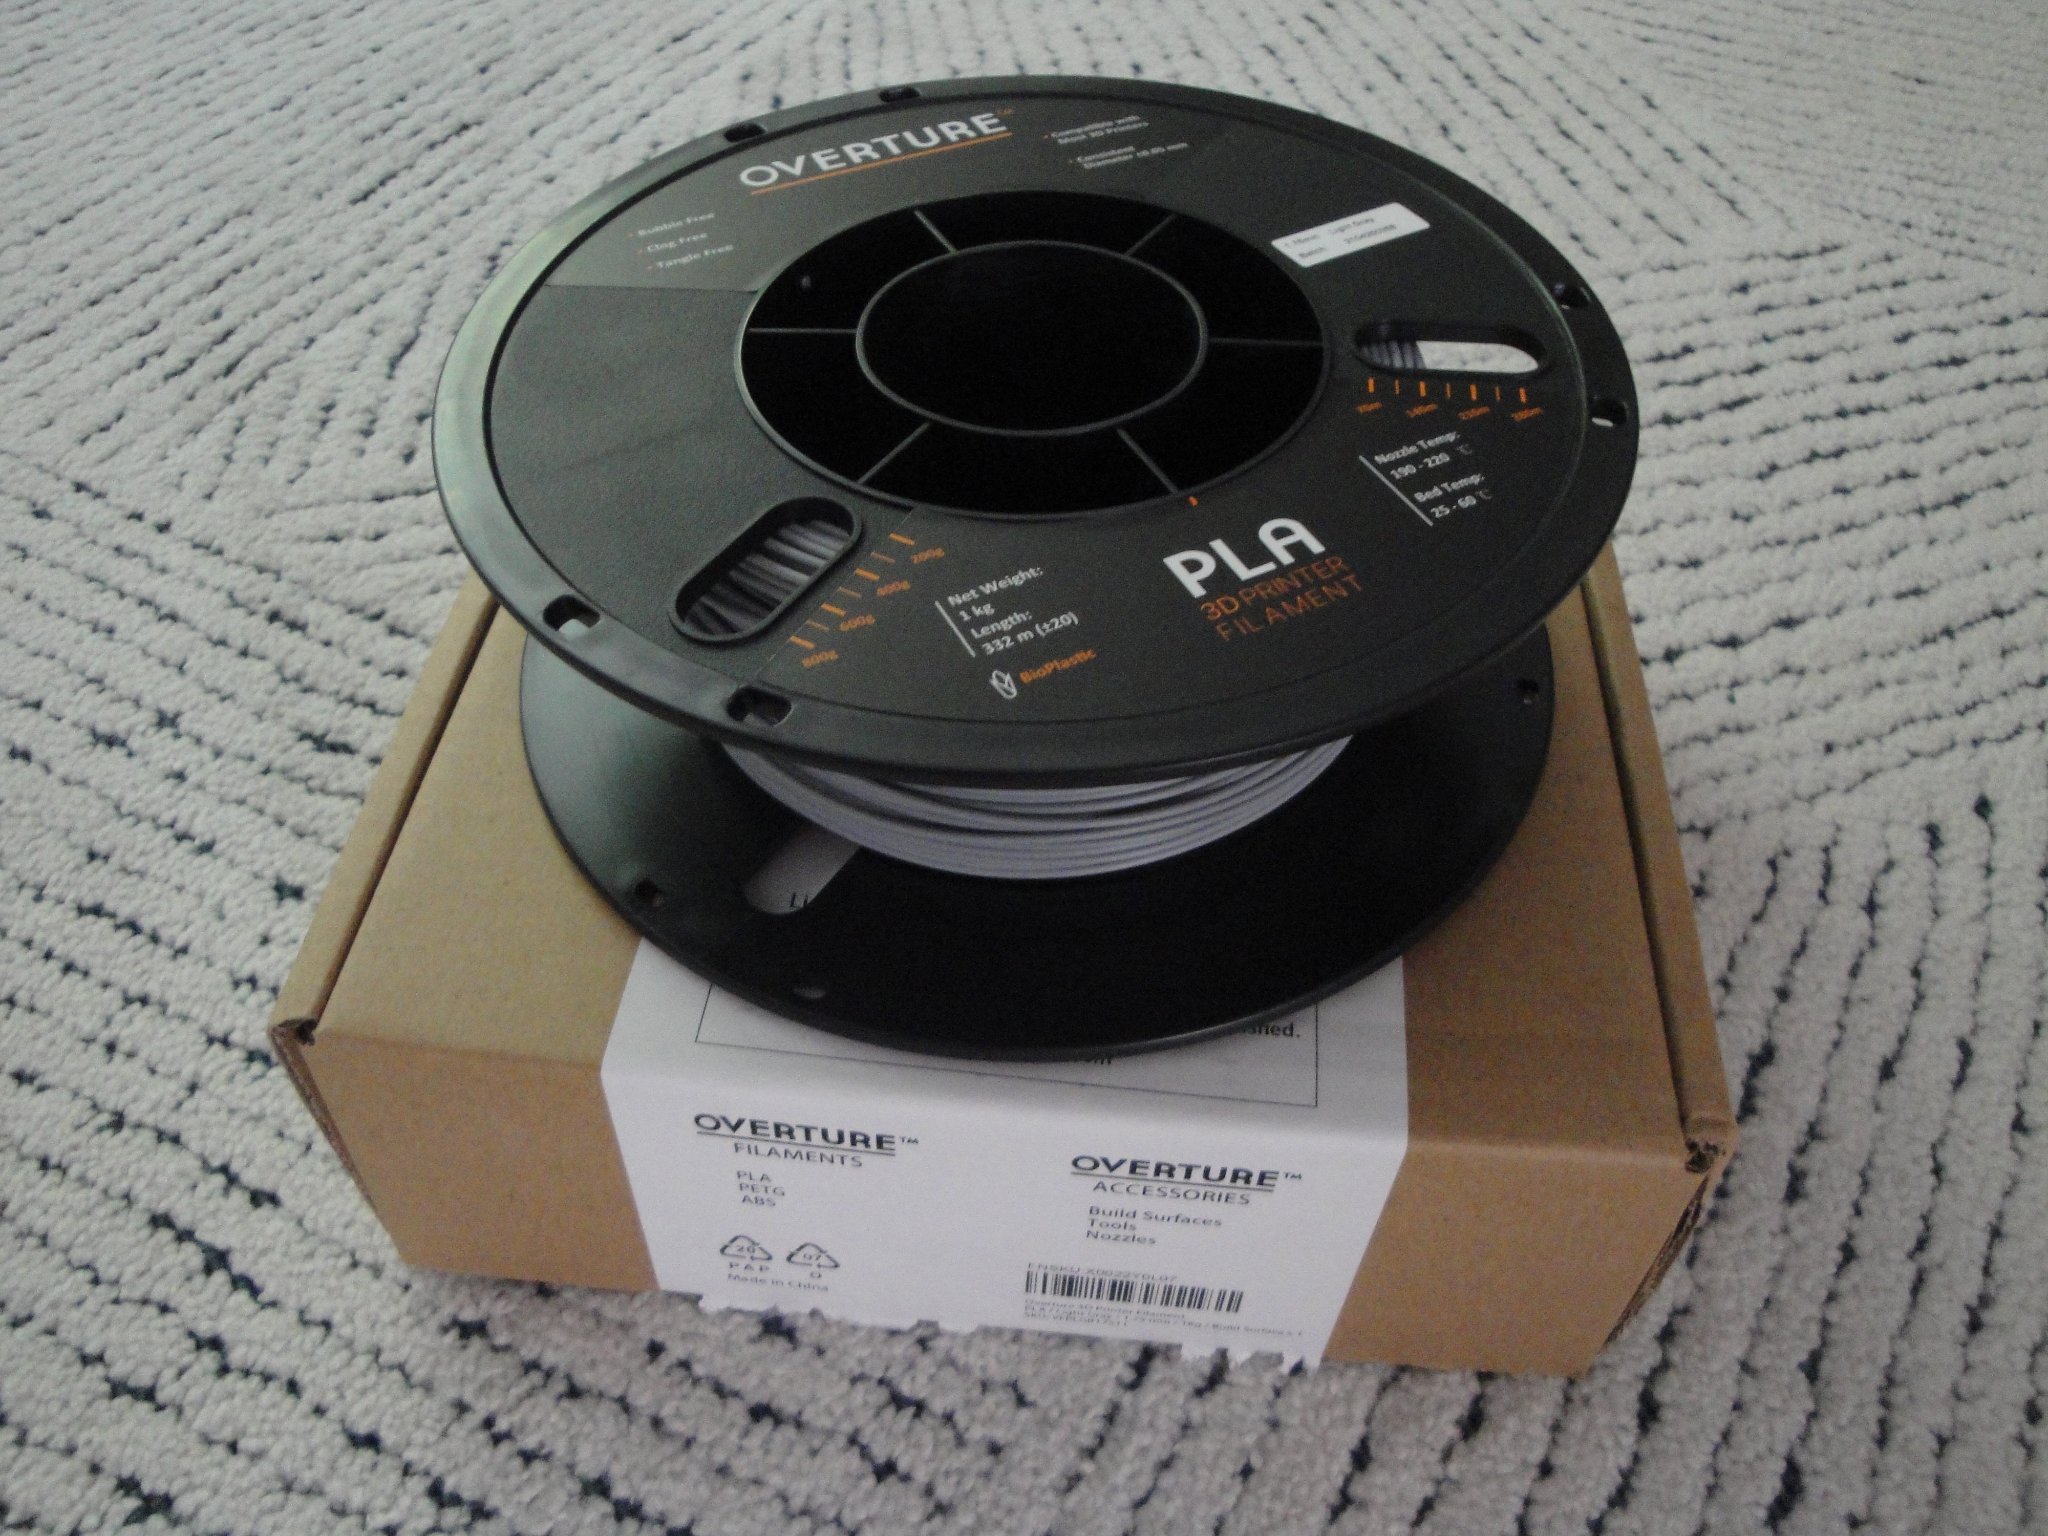
I wanted to go back to the printing process and slicing of the hull parts. The nozzle of the printer is the standard 0.4 mm diameter. The filament is extruded at 200 Degrees Celsius from 1.75 mm diameter and kept under pressure in the extruder. The pressure will be quickly relieved when the nozzle has to move to a location where no filament is needed. Then pressure is applied back. I mentioned that the thickness of the hull is about 4 mm. In fact, the hull parts are made of a sandwich of two walls and some filling in between. All this is determined at the conception of the model and by setting the Slicer. I have watched the nozzle run its course and noticed that each wall is comprised of 3 runs. That gives us a total of 6 runs plus the filling in between. When the filament is placed on the hot glass surface and later on, on top of the part as it gets built, the 0.4 mm of the hot filament becomes 0.5 mm. This is called over-extrusion and is accounted for by the slicer program. The net result is that we have two walls totaling six times 0.5 mm in thickness plus a middle section of 20% filling and 80% empty. Again the filling is determined by the Slicer and set to 20%, to increase speed, reduce printing time and material (filament) consumption. Walls plus filling amounts to 3.0 mm plus 1 mm, giving approximately 4 mm thickness. Another interesting parameter is the printing height: it is typically half of the nozzle diameter, which is to say 0.2 mm. That is the increment in which the Z axis is building the part (vertically). For every 0.2 mm of material, we have six complete travelling of the nozzle (two walls), one Z shaped travelling (20% filling) and one additional travelling for details outside the hull, such as plates, rivets....etc. In summary, 8 complete sweeping of the part by the nozzle for every 0.2 mm on the vertical axis. For every millimeter, that translates to 40 passes.....Hull sections are 155 mm high....I will let you do the math...That is why some sections take 40 hours or more of non-stop printing. Yves
- 321 replies
-
- 6
-
-
- Finished
- Flower-class
- (and 1 more)
-
Craig, yes large ships made of metal are built in the same way: sections are pre-built and then assembled together. Same for planes. Yves
- 321 replies
-
- 5
-
-
- Finished
- Flower-class
- (and 1 more)
-
The delay is entirely due to the printer....😁 It is too slow.... Yves
- 321 replies
-
- 7
-
-

-
- Finished
- Flower-class
- (and 1 more)
-
Nice touch with the rollers for the coffin.... Yves
-
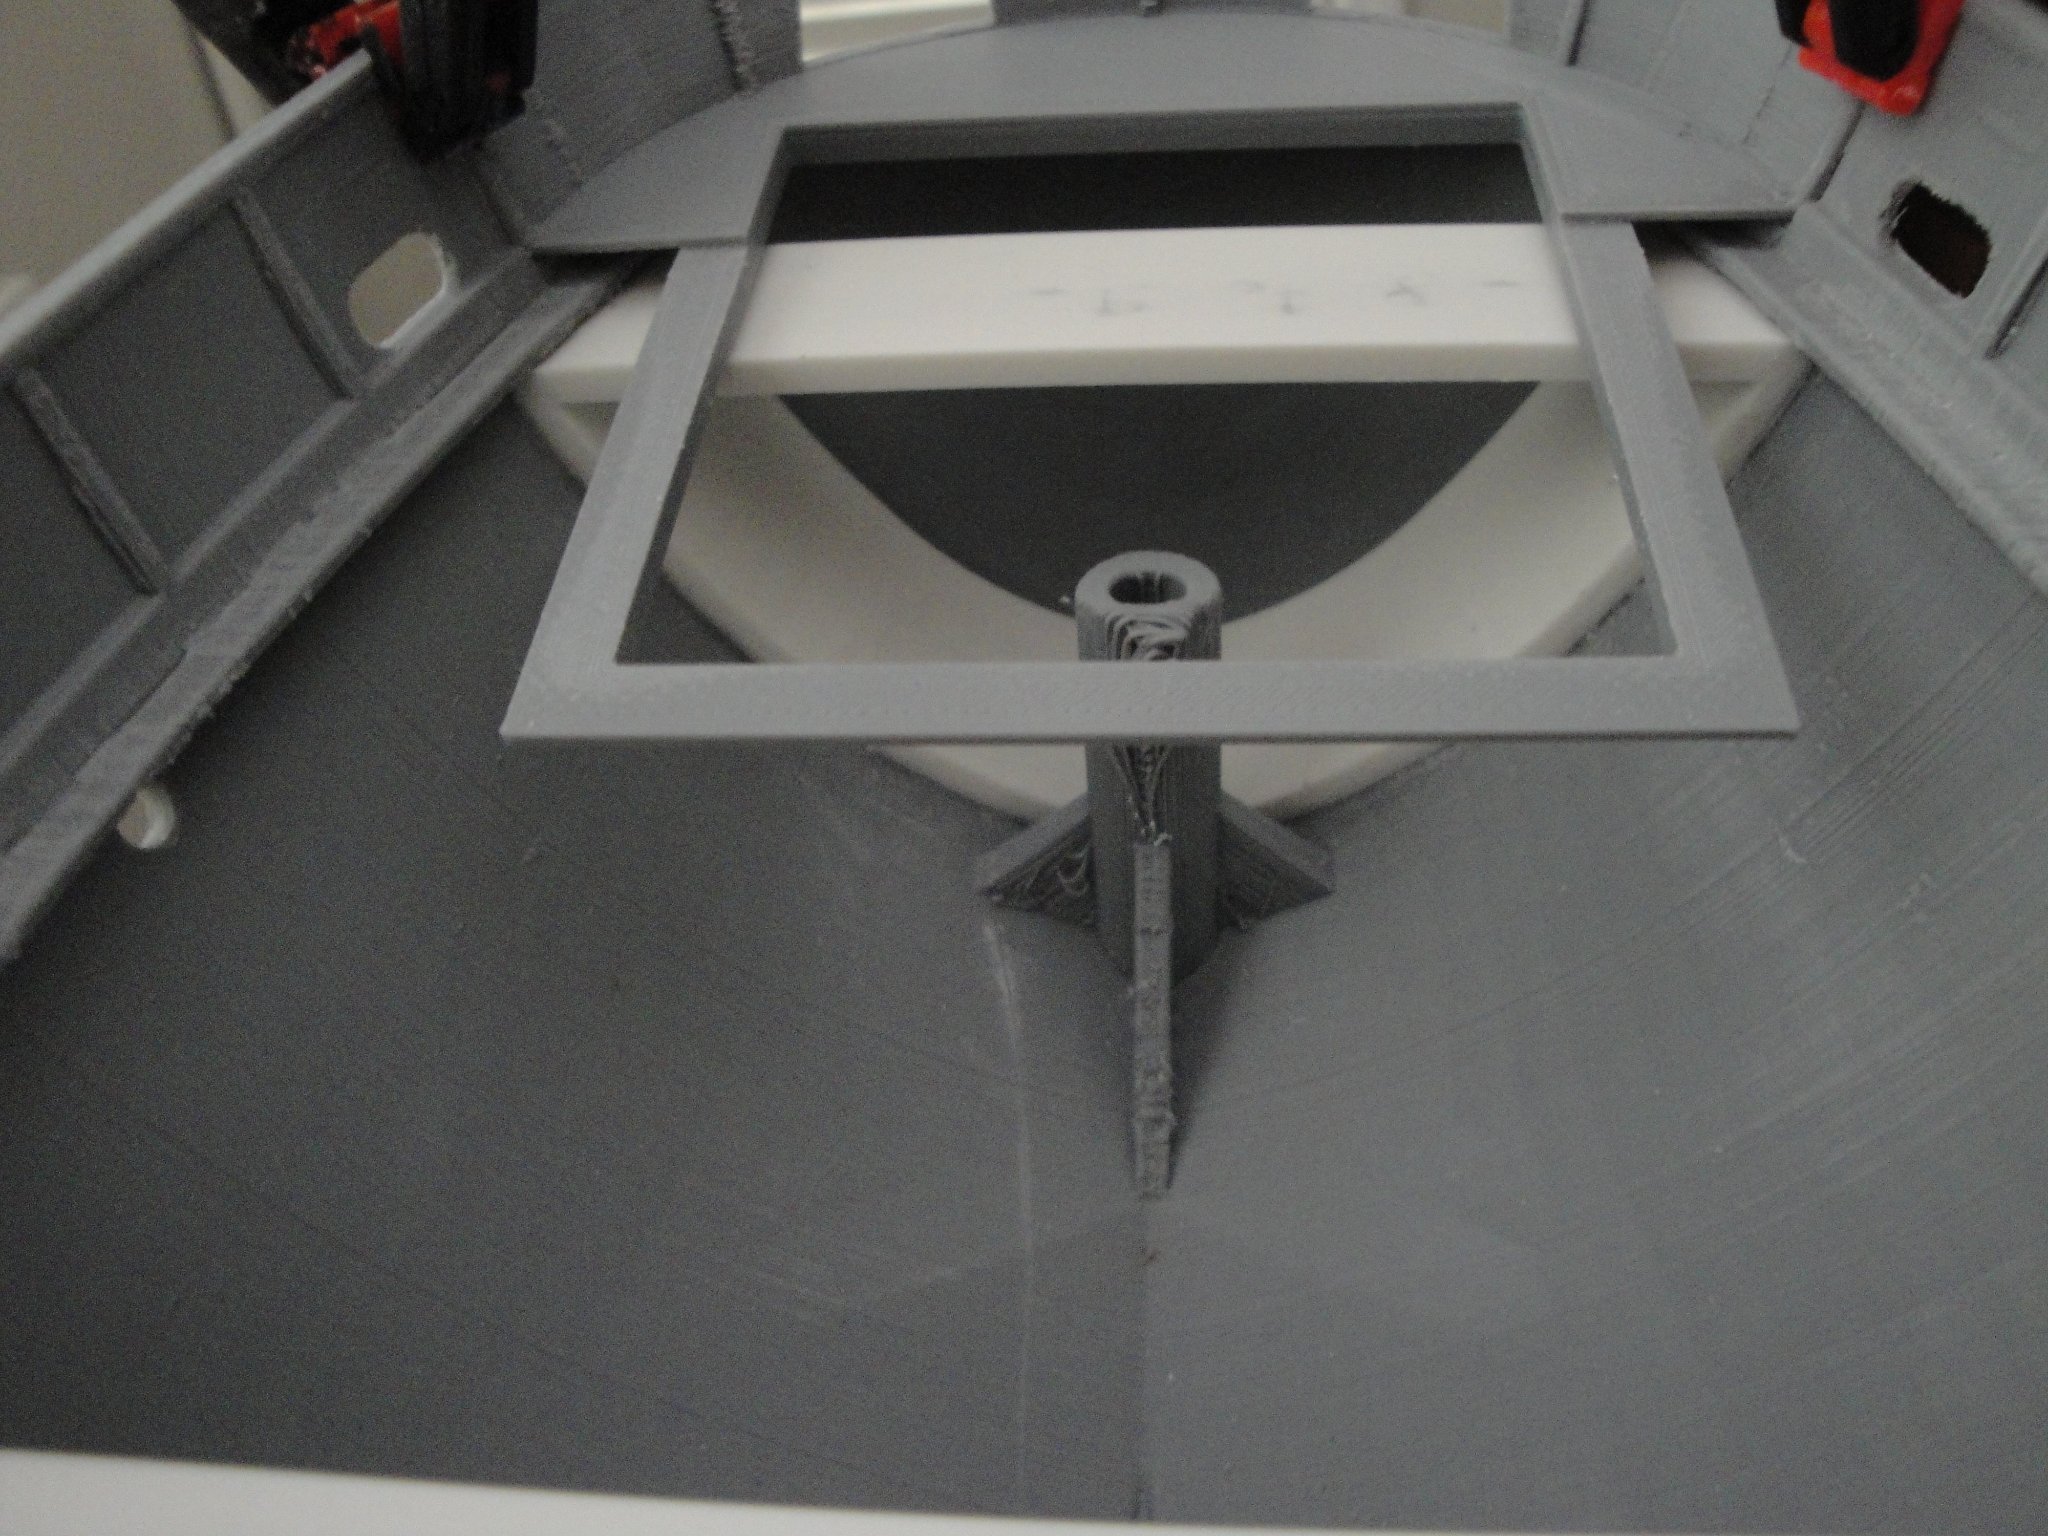
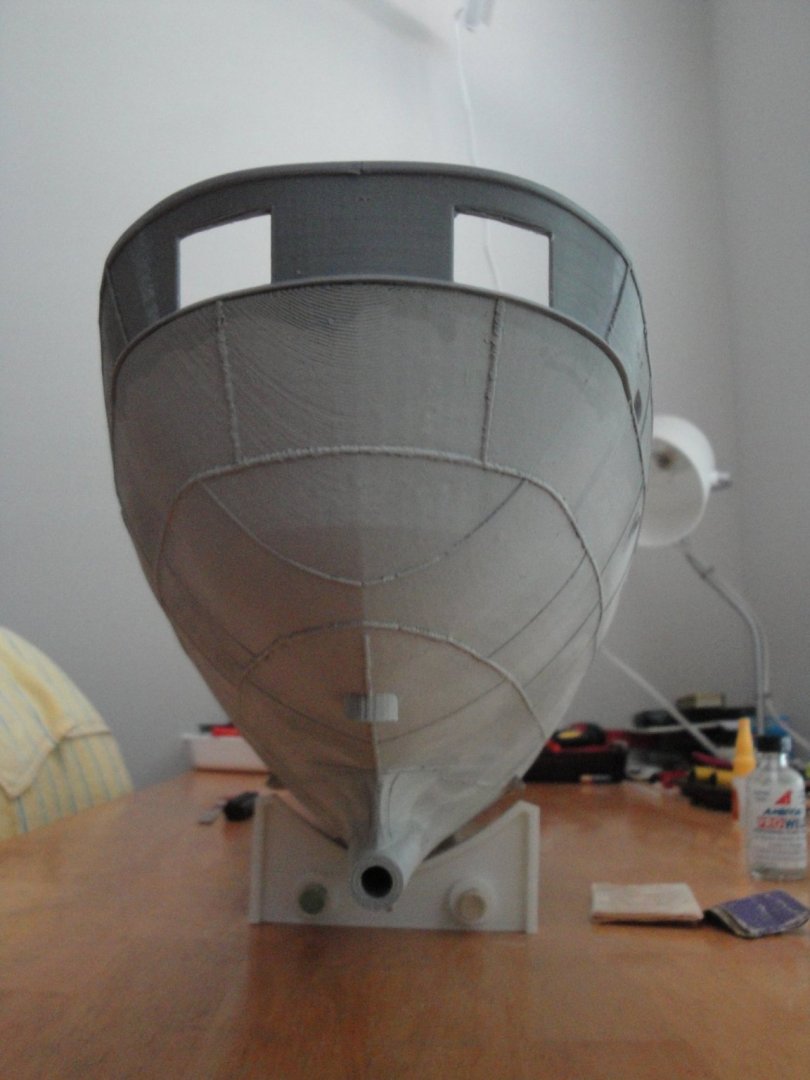
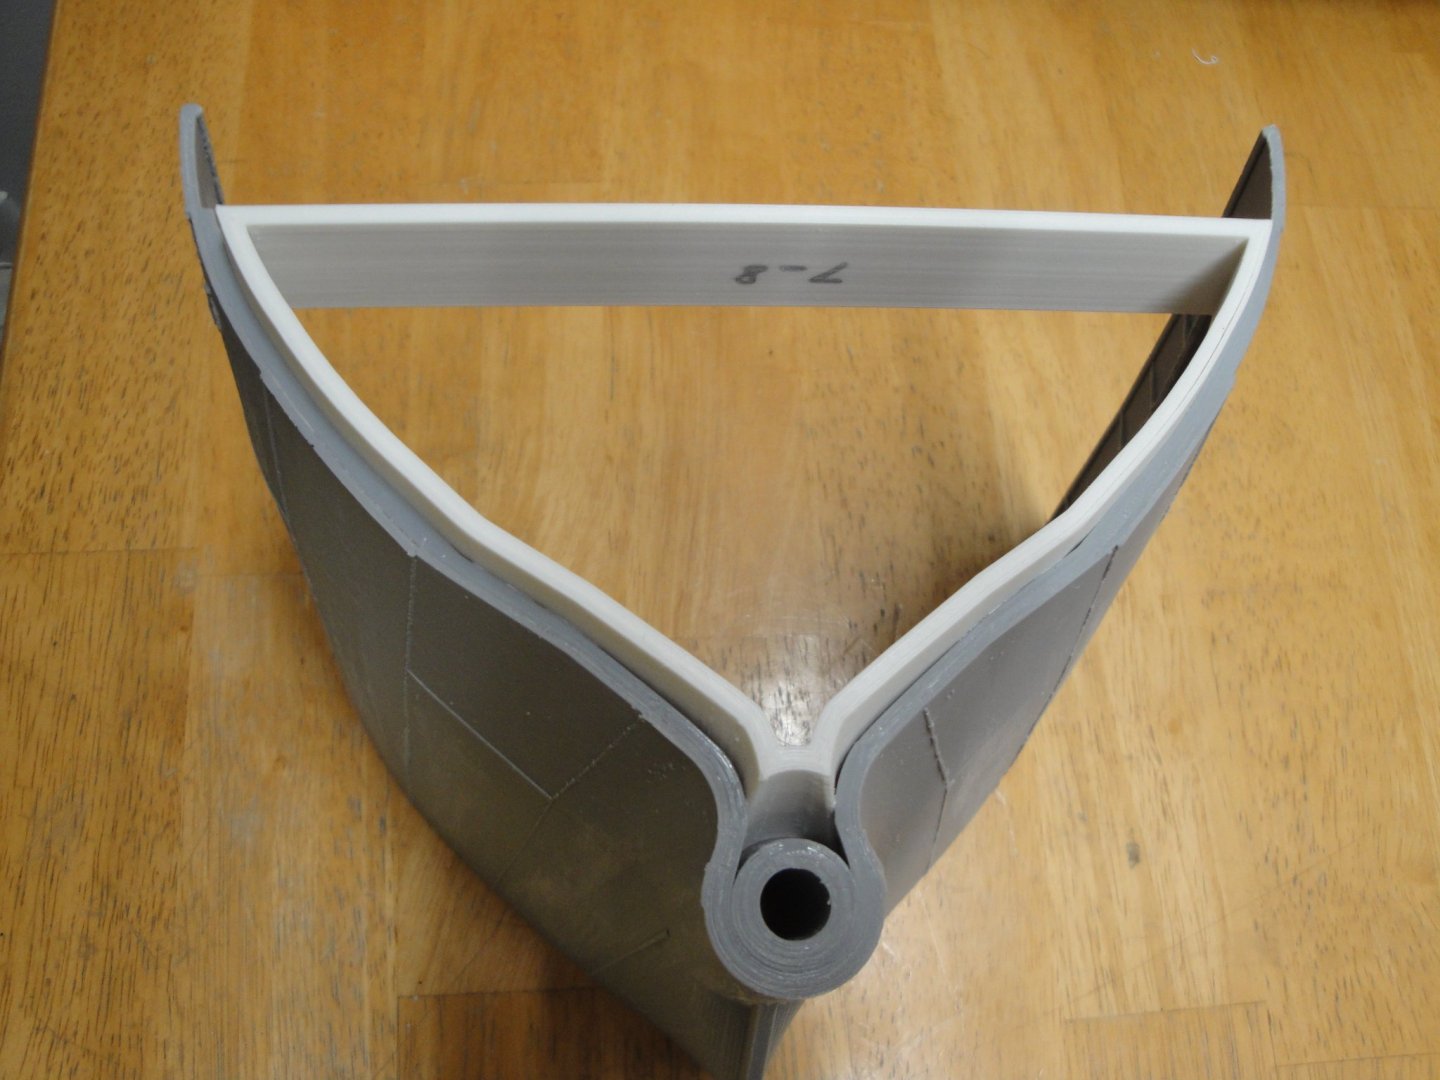
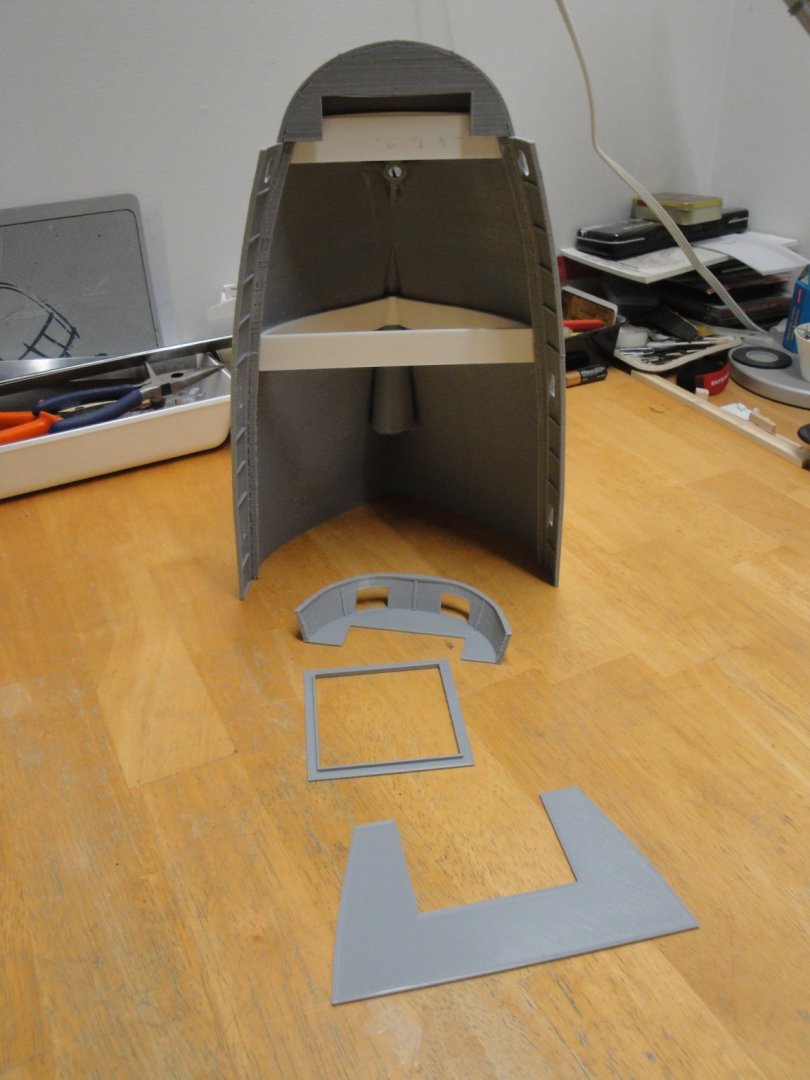
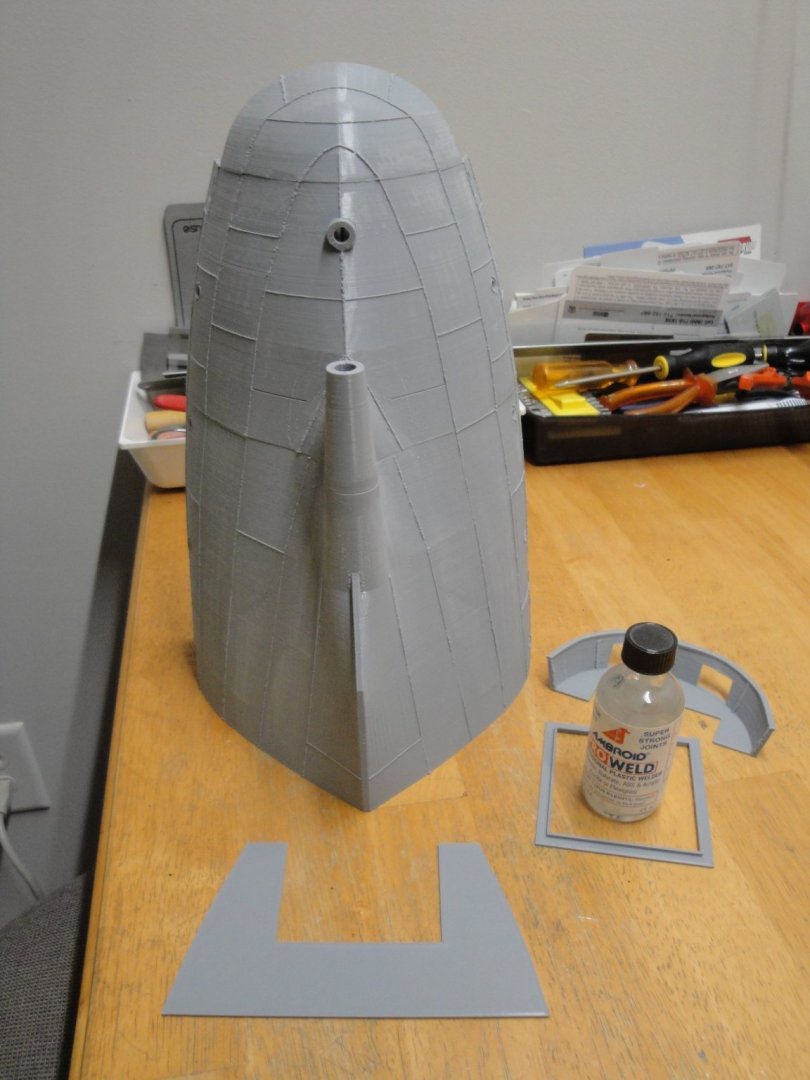
Moving on with the hull. Insertion of the coupling part between section 8 and section 7: You can appreciate the finesse of the fit. This model is designed for Radio Control but will be assembled as a static model, in our case. After a few hours of drying, I am starting to print some deck parts to see how this whole kit is fitting: The little bottle of Ambroid, gives an idea of the size of the hull: it is massive !! Yves

- 321 replies
-
- 14
-
-
- Finished
- Flower-class
- (and 1 more)
-
My brother, in the south of France, has a friend who owns a Velorex in working condition and fully restored. Yves
-
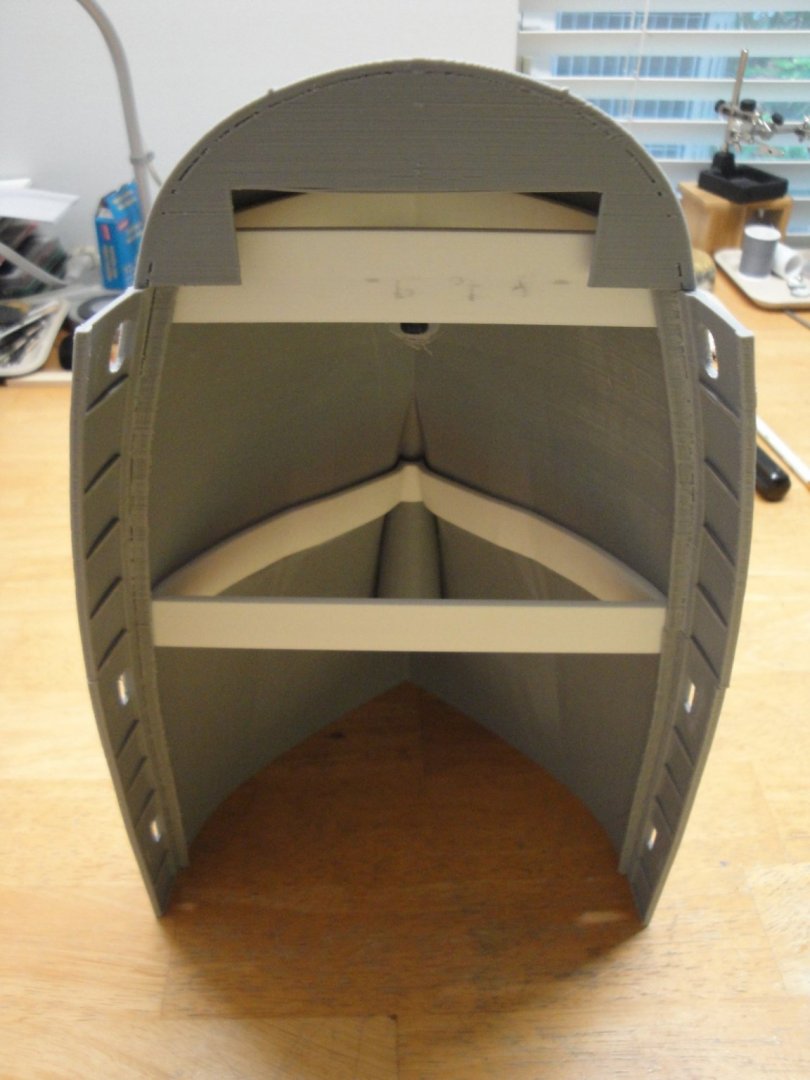
Starting with the Stern. As mentioned, I am using CA glue to secure the very large coupling part to the hull shells: Overall, it is not too bad. I will have to put some acrylic putty in some places, sand and I hope that after a couple of primer coats, the hull will be presentable. I will try to be more careful for the other sections. The trick is to lightly sand the inside surface of the hull shells and the contact surface of the coupling part, to make sure that the glue can adhere well. The fit of the coupling piece to the hull shells is amazing. Yves

- 321 replies
-
- 15
-
-
- Finished
- Flower-class
- (and 1 more)
-
I want to come back on the subject of gluing PLA parts, as we are experimenting: - My tests with MEK/Plastruct liquid glue are working very well for small parts. I believe the reason why it is so solid (like welded) is that the surface of each part is softened and fused, creating a very strong bond once dry. You still have to press very hard the parts for a few minutes. It does not offer the convenience and ease of Polystyrene bonding found on Plastic models. I will be able to use that gluing technique for the superstructure and small details. - For the hull parts, these are so big and so hard that the softening of the mating surfaces is going to require a very large amount of glue and time. So, I am resorting to Cyanoacrylate glue and two components epoxy for parts requiring fine adjustments. I think it will be overall more solid. I am also seeing different melting points for PLA of different colors (white versus light gray). The White seems very impervious to any softening.... - Other people have had good success with SCIGRIP 16 and specialized (and expensive) PLA glues. ACETONE is also an option although the fumes are nasty. I suspect that Acetone will evaporate too fast for large parts, anyway. - Some people use a 3D pencil, which is the equivalent of a welding iron, as it creates a 200 Degrees celsius bead of PLA, to bond two parts together. Results of course is not too sharp, as it adds materials and not strong either. Yves
- 321 replies
-
- 7
-
-
- Finished
- Flower-class
- (and 1 more)
-
Aon, The white couplers fit incredibly tight. Yes, I have tested the glue and it is ultra solid: the PLA is welded !! However, you have to put a lot of glue and hold the parts tightly coupled while the glue dries. I also noticed that gluing different colors PLAs is more delicate, as far as gluing goes. As you mentioned, in some places, resorting to Epoxy glue may be the right thing to do, for a nice and secure bond. Because the parts are so large, I have to use a brush to apply the glue and use capillarity to work for me. Yves
- 321 replies
-
- 7
-

-
-
- Finished
- Flower-class
- (and 1 more)