


yvesvidal
-
Posts
3,634 -
Joined
-
Last visited
Content Type
Profiles
Forums
Gallery
Events
Everything posted by yvesvidal
-
 Very interesting and unusual model. I will follow with a lot of interests. Yves
 -
Superb model. It looks so precious and the presentation is beautiful. Yves
- 53 replies
-
- 5
-

-
- photo etch
- resin
- (and 3 more)
-
Okay, that is were I stop the hobby!! That is incredibly small....you are hurting yourself ☺️ Yves
- 225 replies
-
- 6
-
-

-
- I Love Kit
- Hood
- (and 2 more)
-
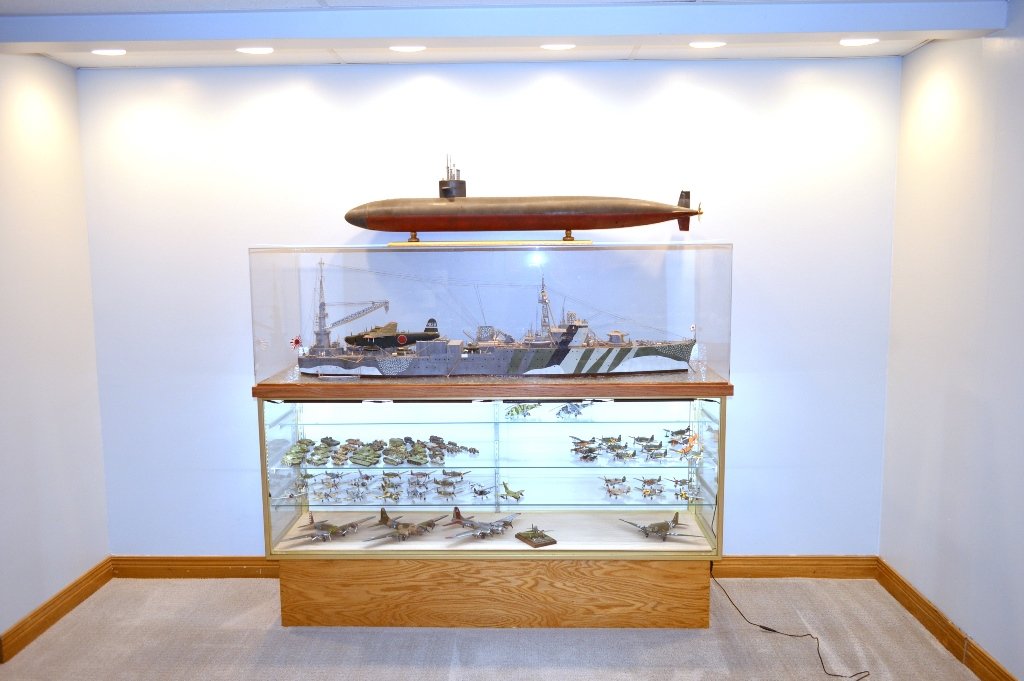
This is looking fantastic Kevin. Your models will be safe and well protected from the dust. What is that hull with parts and plans, hanging in the display? Yves
- 273 replies
-
- 3
-
-
- panart
- amerigo vespucci
- (and 1 more)
-
It is a difficult decision. These kits are so precise and provide all the intricacies of the various decks and framing. In a way, it would be a pity to not show all your beautiful work. On the other hand, it is also very nice to have a fully finished hull and to be able to admire the sleek and harmonious shapes of it. Are you an engineer or an artist? I think it boils down to that. Whichever decision you go with, I know it will be perfect. Yves
-
When planking the ceilings, will you be planking everything or just half of the hull? Beautiful build, I am in awe at your skills. Yves
-
Kevin, you are becoming the King of Brass !!! Yves
- 273 replies
-
- 2
-
-
- panart
- amerigo vespucci
- (and 1 more)
-
Almost fifty years ago, I built the Bismarck by Lindberg. It had "almost" 😉 the same features than the Agora model, but everything was mechanical and driven by rods and gears. It sailed rather well on calm waters and I later on equipped it with a small combined Kraft RC set, that gave me steering and FWD/Stop/REV positions. It was a lot of fun. Yves
-
That will be quite a project, that we will all be following with attention and interest. Yves
- 127 replies
-
- 7
-
-
- Akitsushima
- Pit Road
- (and 2 more)
-
Sorry Craig, I forgot that you did a French battleship. Glad to see you attempting a small vessel, rarely seen in the world of models. Yves
- 53 replies
-
- 5
-
-
- photo etch
- resin
- (and 3 more)
-
Finally, a French vessel to place in your extensive collection. Yves
- 53 replies
-
- 7
-
-
- photo etch
- resin
- (and 3 more)
-
Quite incredible what this gentleman has done, starting from a 1/72 scale kit of the plane itself. And all in plastic card.... I was thinking about the doing something similar, after purchasing three kits of the Yamato guns by Takom..... I think I need to be placed in an asylum !!! Sorry CDW for high-jacking your thread. Yves
- 127 replies
-
- 11
-
-
-
- Akitsushima
- Pit Road
- (and 2 more)
-
Hello Fellow Modelers! We are excited to announce that www.squadron.com IS UP! Our team has been working tirelessly over the past 6 weeks to be ready for this day, the day we can say, www.squadron.com is back and running! We have cleaned up the navigation, eliminated a lot of products and categories that were not core to our vision of what Squadron is going to be in the future. We have also sourced thousands of models kits, detail accessories, paint, books and tools for you to order! We are still loading hundreds of new products every week, so if you don't see something you're looking for, check back often or email us and we can prioritize getting it loaded in for you. The new site does operate a little different from the old site: · We only allow in stock items to be added to the shipping cart. We do not plan on taking 'backorders'. · If an item is out of stock, you can sign up to be notified by email when it is available again to be ordered. Be quick on this, we may only have a limited number, and if you can't catch the item in stock, you'll have to sign up on the email list again. · We are offering FREE SHIPPING on orders over $39.99, for the continental US and we have adjusted shipping costs for all other order. · One important item you need to keep in mind. Any and ALL orders placed before January 11t, 2021 were cancelled when the original company filed bankruptcy. We will have additional information with regards to the bankruptcy in our FAQ section in the coming weeks. The relaunch is here! We are excited to share this next chapter of Squadron with you. Until then, Happy Modeling! Chris Decker www.squadron.com
-
The Japanese truly had some very unusual ships, in their fleet. That is what makes it so interesting to depict them. After your Scharnhorst, that should be a piece of cake.... Yves
- 127 replies
-
- 7
-
-
- Akitsushima
- Pit Road
- (and 2 more)
-
What a great project !!! I wonder how I could have missed it.... Fantastic progress on a truly lovely boat. Yves
- 153 replies
-
- 1
-
-
- Ancre
- Bruno Orsel
- (and 2 more)
-
Metal Tractor by Senza Timone
yvesvidal replied to Senza Timone's topic in Completed non-ship models
Impressive. Yves -
This is incredible work!! It reminds me of that Japanese gentleman publishing his masterpieces under the name of Kim's House: his motorcycles collection is THE REFERENCE of what can be done in that domain (http://kimshouse7015.com/). Your Porsche bicycle is a work of art. Absolutely stunning. And yes, replacing the spokes on the wheels with insect pins, changes completely the model. Yves
