HOLIDAY DONATION DRIVE - SUPPORT MSW - DO YOUR PART TO KEEP THIS GREAT FORUM GOING!
×


SaltyScot
-
Posts
853 -
Joined
-
Last visited
Content Type
Profiles
Forums
Gallery
Events
Everything posted by SaltyScot
-
 I work with black walnut A LOT, it is a beautiful wood and also smells fantastic when you sand or cut it. It never fails to amaze me how the grain pops once you put any kind of finish on it. The live edge piece you have there is beautiful and, as you so rightly said, perfectly compliments the wood tones of that spectacular model you are building. I will follow along as a (beginner) model ship builder but also as a very interested long time woodworker.
 -
Man that made me laugh!! You are really quite eloquent, sir.
- 301 replies
-
- 6
-

-

-
- Constitution
- Bluejacket Shipcrafters
- (and 1 more)
-
John, I didn't want anything that drew attention from the model and was aiming for functional but simplistic. Thanks for picking up on that sir.
-
Vossie, After sharing my thoughts with the CEO it was suggested that I centralize the base under the boat. I will not be making it any longer, just moving the holes to, as you so rightly said, balance it out a little better.
-
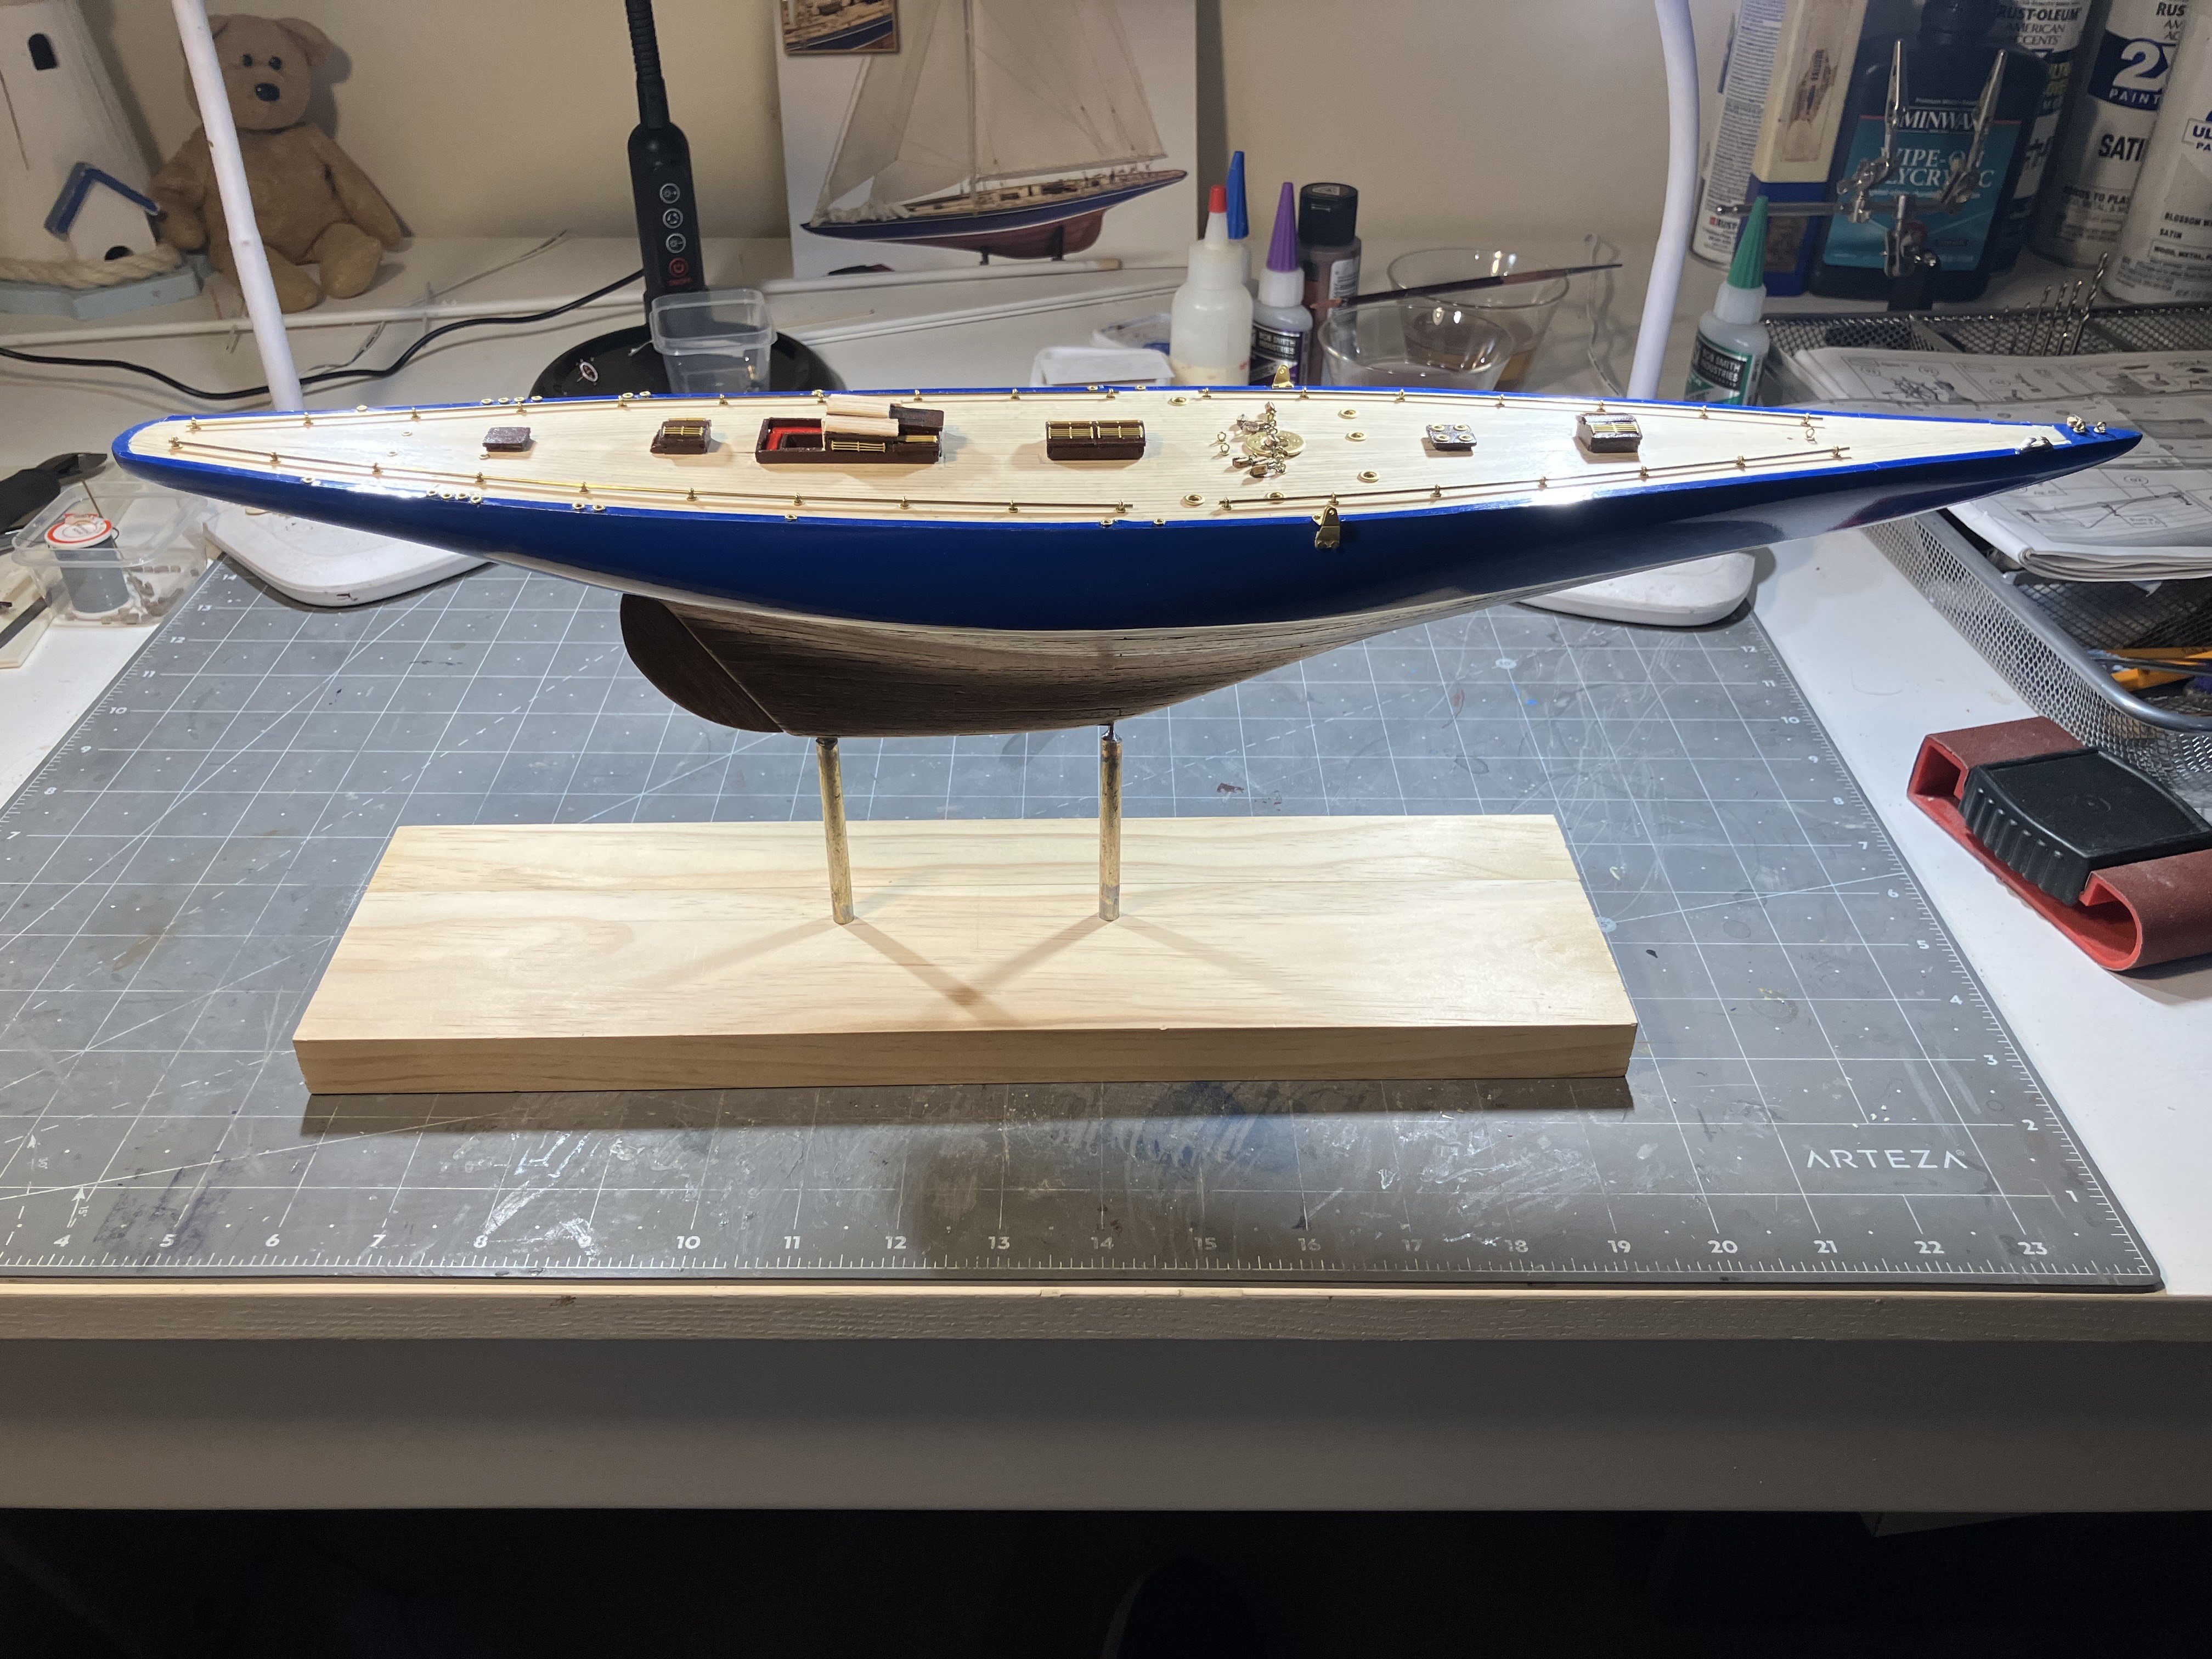
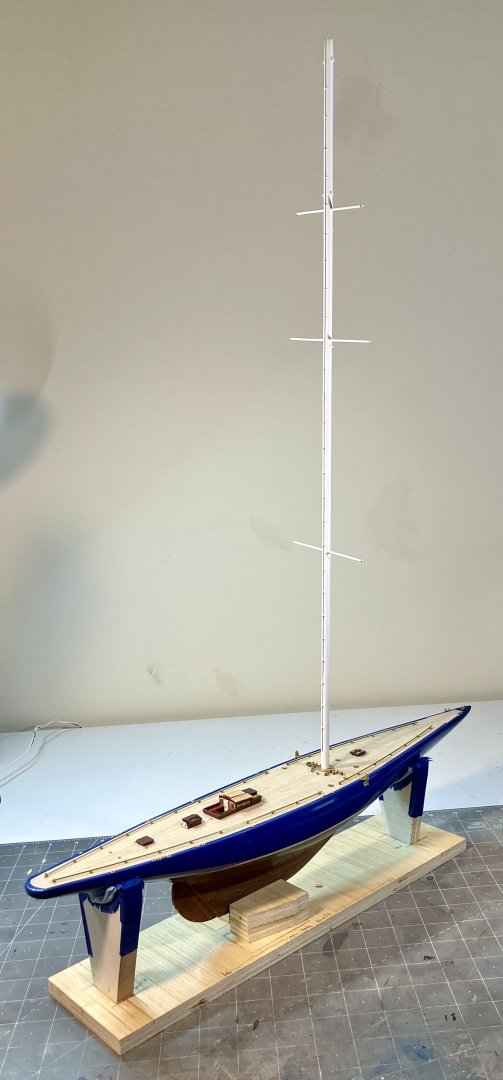
Afternoon all, House renovations have kept me (us) busy over the last few days so minimal time in the shipyard. I have a question for those who follow this blog. I have put together a display stand for the Endeavour: I have brass/copper covers for the pins and a nice nameplate that will be mounted to a block once the base has had its edges rounded: My question to you good folks is, should the stand be as long as the model or does it look OK as it is? Any feedback would be very much appreciated.


-
Very meticulous, Glenn and the results speak for themselves sir.
- 241 replies
-
- 2
-
-
-
- Vanguarrd Models
- Harpy
- (and 1 more)
-
This really is coming along well. Let's hope we see another update soon. Because I have recently acquired this same kit, I will hop on board and follow along. One thing that does concern me is the holes for your masts, Gaffrig. As far as I know, they have a 15 degree lean stern wards. It will be interesting to see how you get that lean now that the decks are complete sir.
-
I am with you on that one! Awesome work!
- 301 replies
-
- 4
-
-
-
- Constitution
- Bluejacket Shipcrafters
- (and 1 more)
-
Brig Le FAVORI 1806 by KORTES - 1:55
SaltyScot replied to KORTES's topic in - Build logs for subjects built 1801 - 1850
That is some meticulous work there, very well done. I think I might just pull up a barrel and follow along here -
So very quickly too ...........
-
Thanks buddy.
-
Nice lines, Glenn, she looks very neat. If I may ask, what sanding sealer did you use sir?
-
I can only agree! A real pleasure to look at, Peter.
-
Apologies are not needed here, both of these stories are very touching, John. I must say I was saddened to read of this great boats demise on the sands, what a very sorry end to a wonderful ship. She certainly led a full life at sea. The story of the model is not so different. There were times when it could have been lost and completely forgotten, were it not for some good fortune and a few very willing people. I am so very glad she is being restored in such a professional way to at least show the people who get to see her just some of the grandeur and spirit of the once great Duchess!
-
I am not sure if you are familiar with the term "gob smacked", John, but I was certainly that when I went through this log. It literally means speechless and sitting here staring open mouthed. The quality is outstanding. I know you are a long way into the build but I will hop on for the rest of the journey sir.
-
She looks good from this distance, Kurt
-
Having been through something similar in the past, I can (quite literally!) feel your pain Vossie. I too wish you a speedy recovery. One TV series that we did enjoy was the Day of the Jackal (we watched it on Peacock). If you haven't seen it and can get Peacock I can highly recommend it.
- 714 replies
-
- 2
-
-
- lady nelson
- victory models
- (and 1 more)
-
This is starting to look pretty good. So much detail ..........
-
That is quite ironic. I am researching the history of the Baltimore Clippers right now. Although a little earlier than the 19th century, they still spent some time up in this area (I live on the edge of the Chesapeake Bay). Whatever you do, I look forward to being able to follow.
-
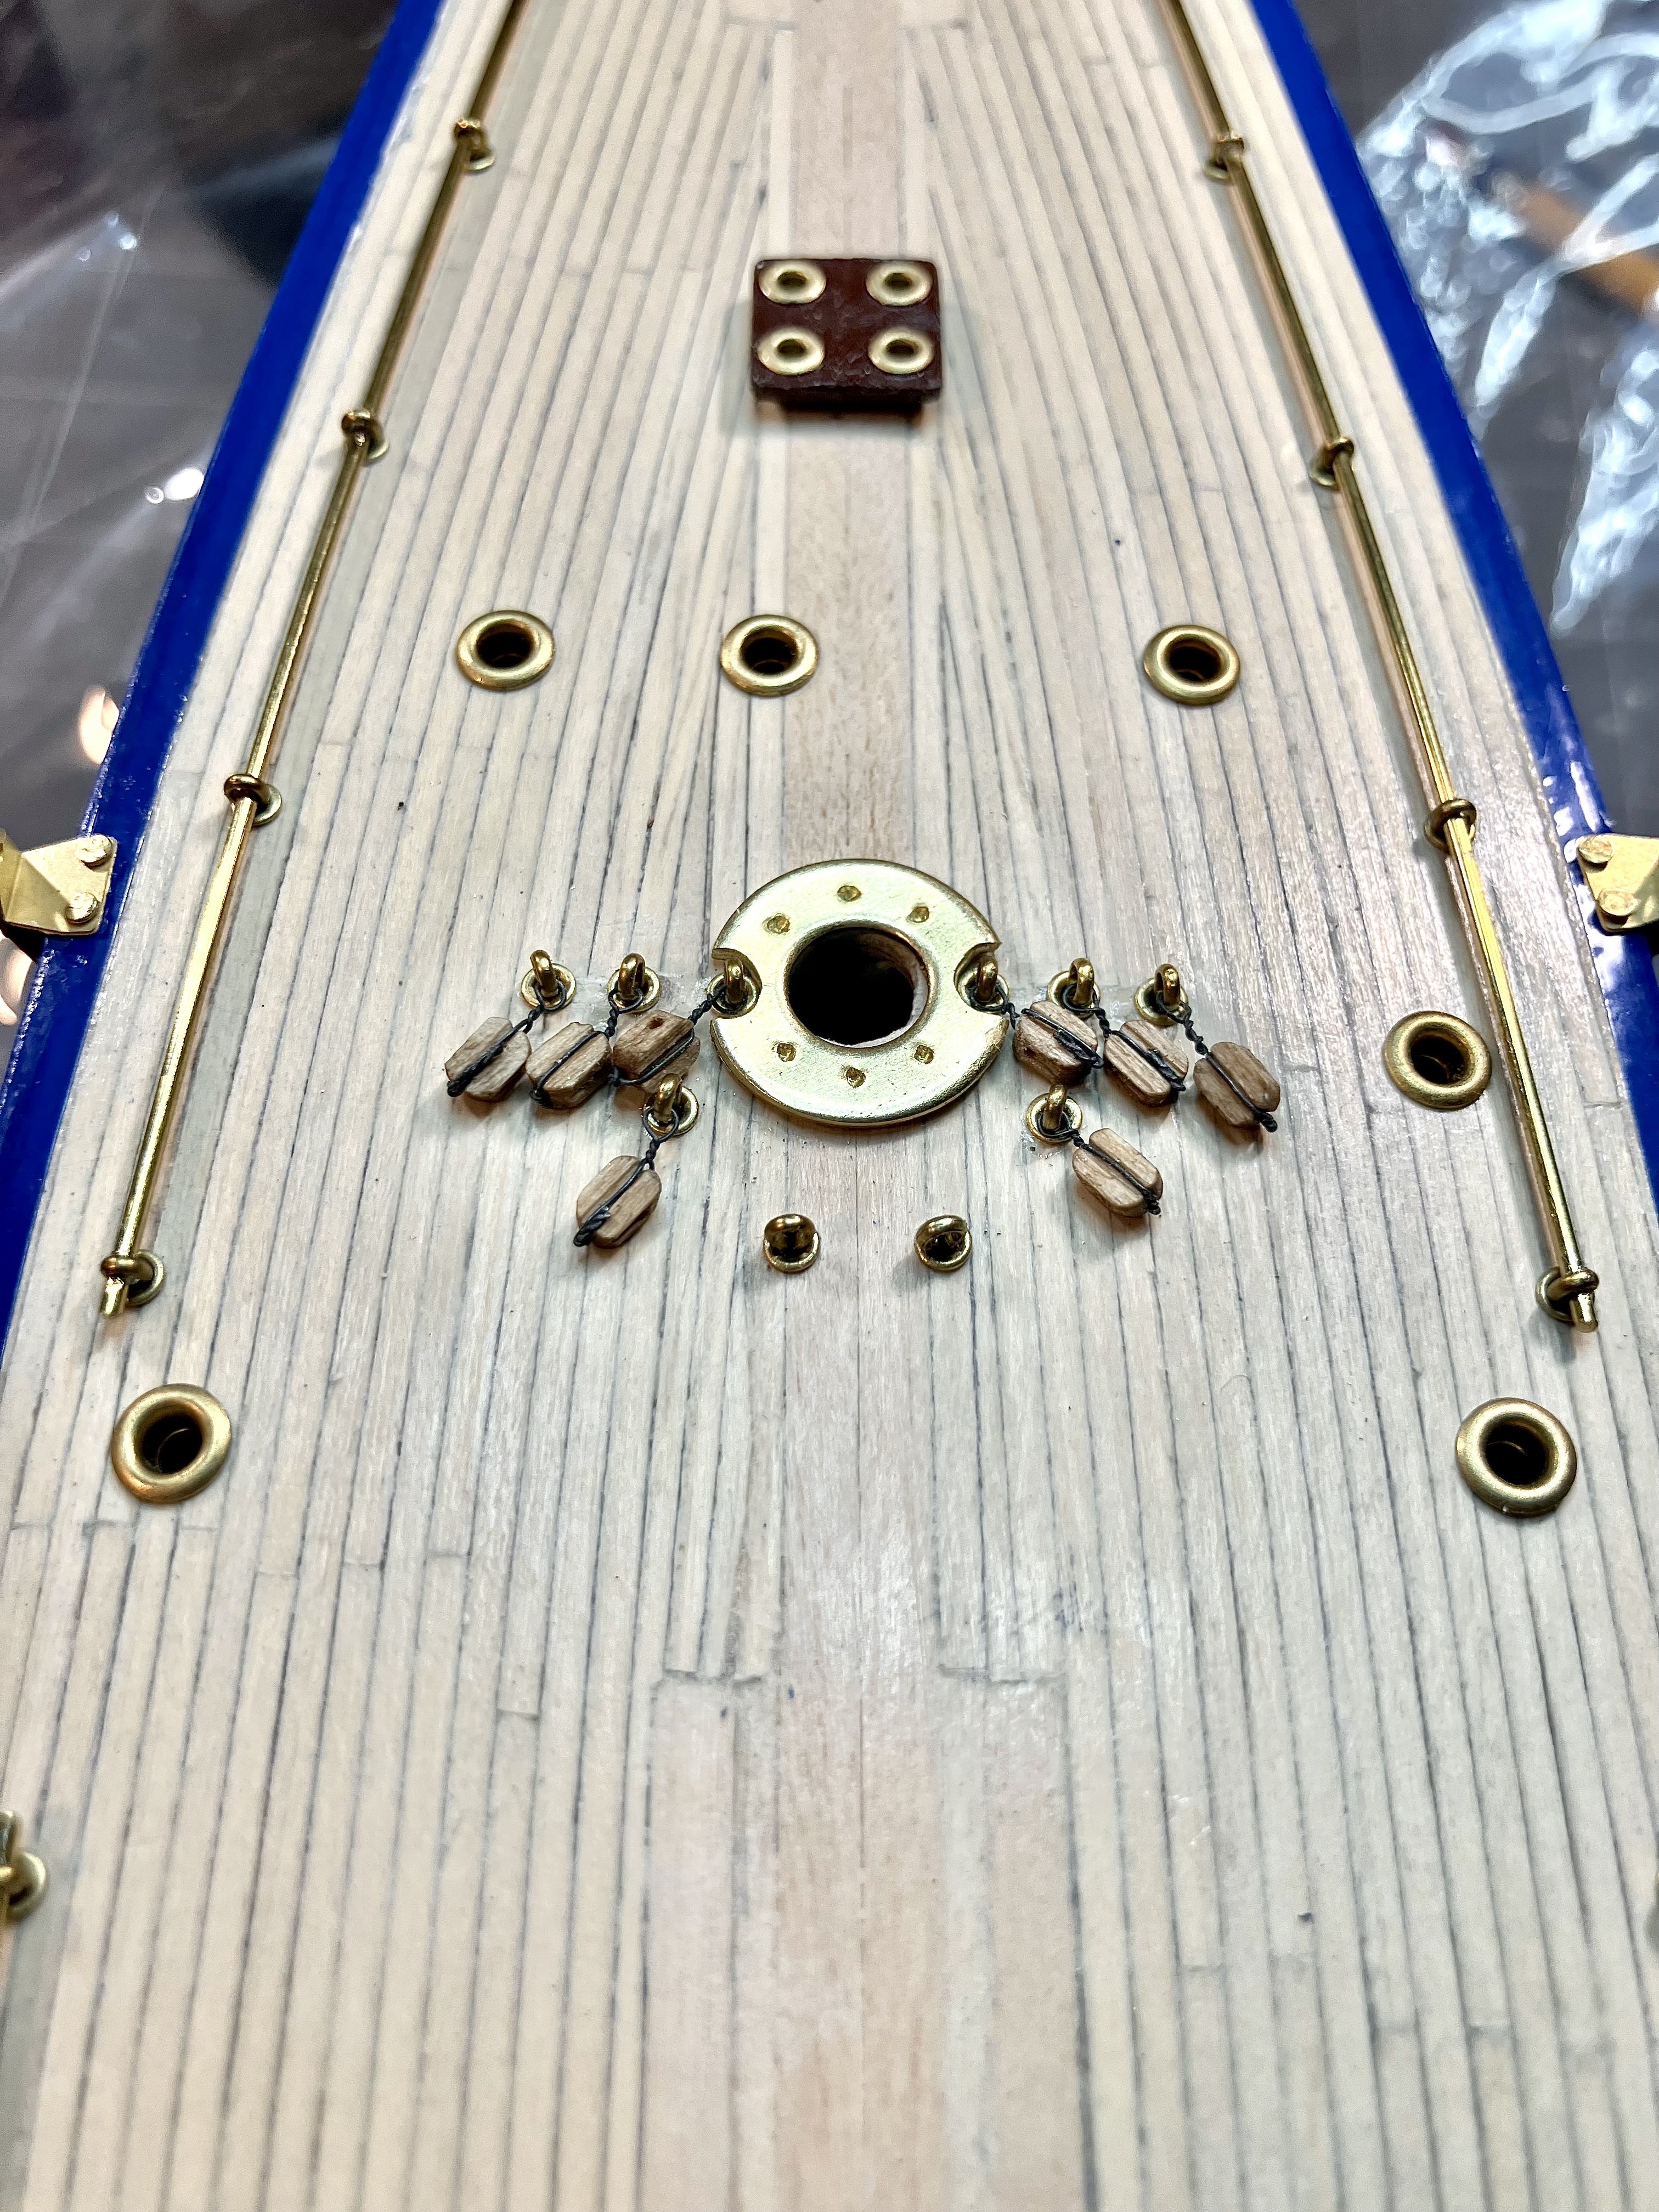
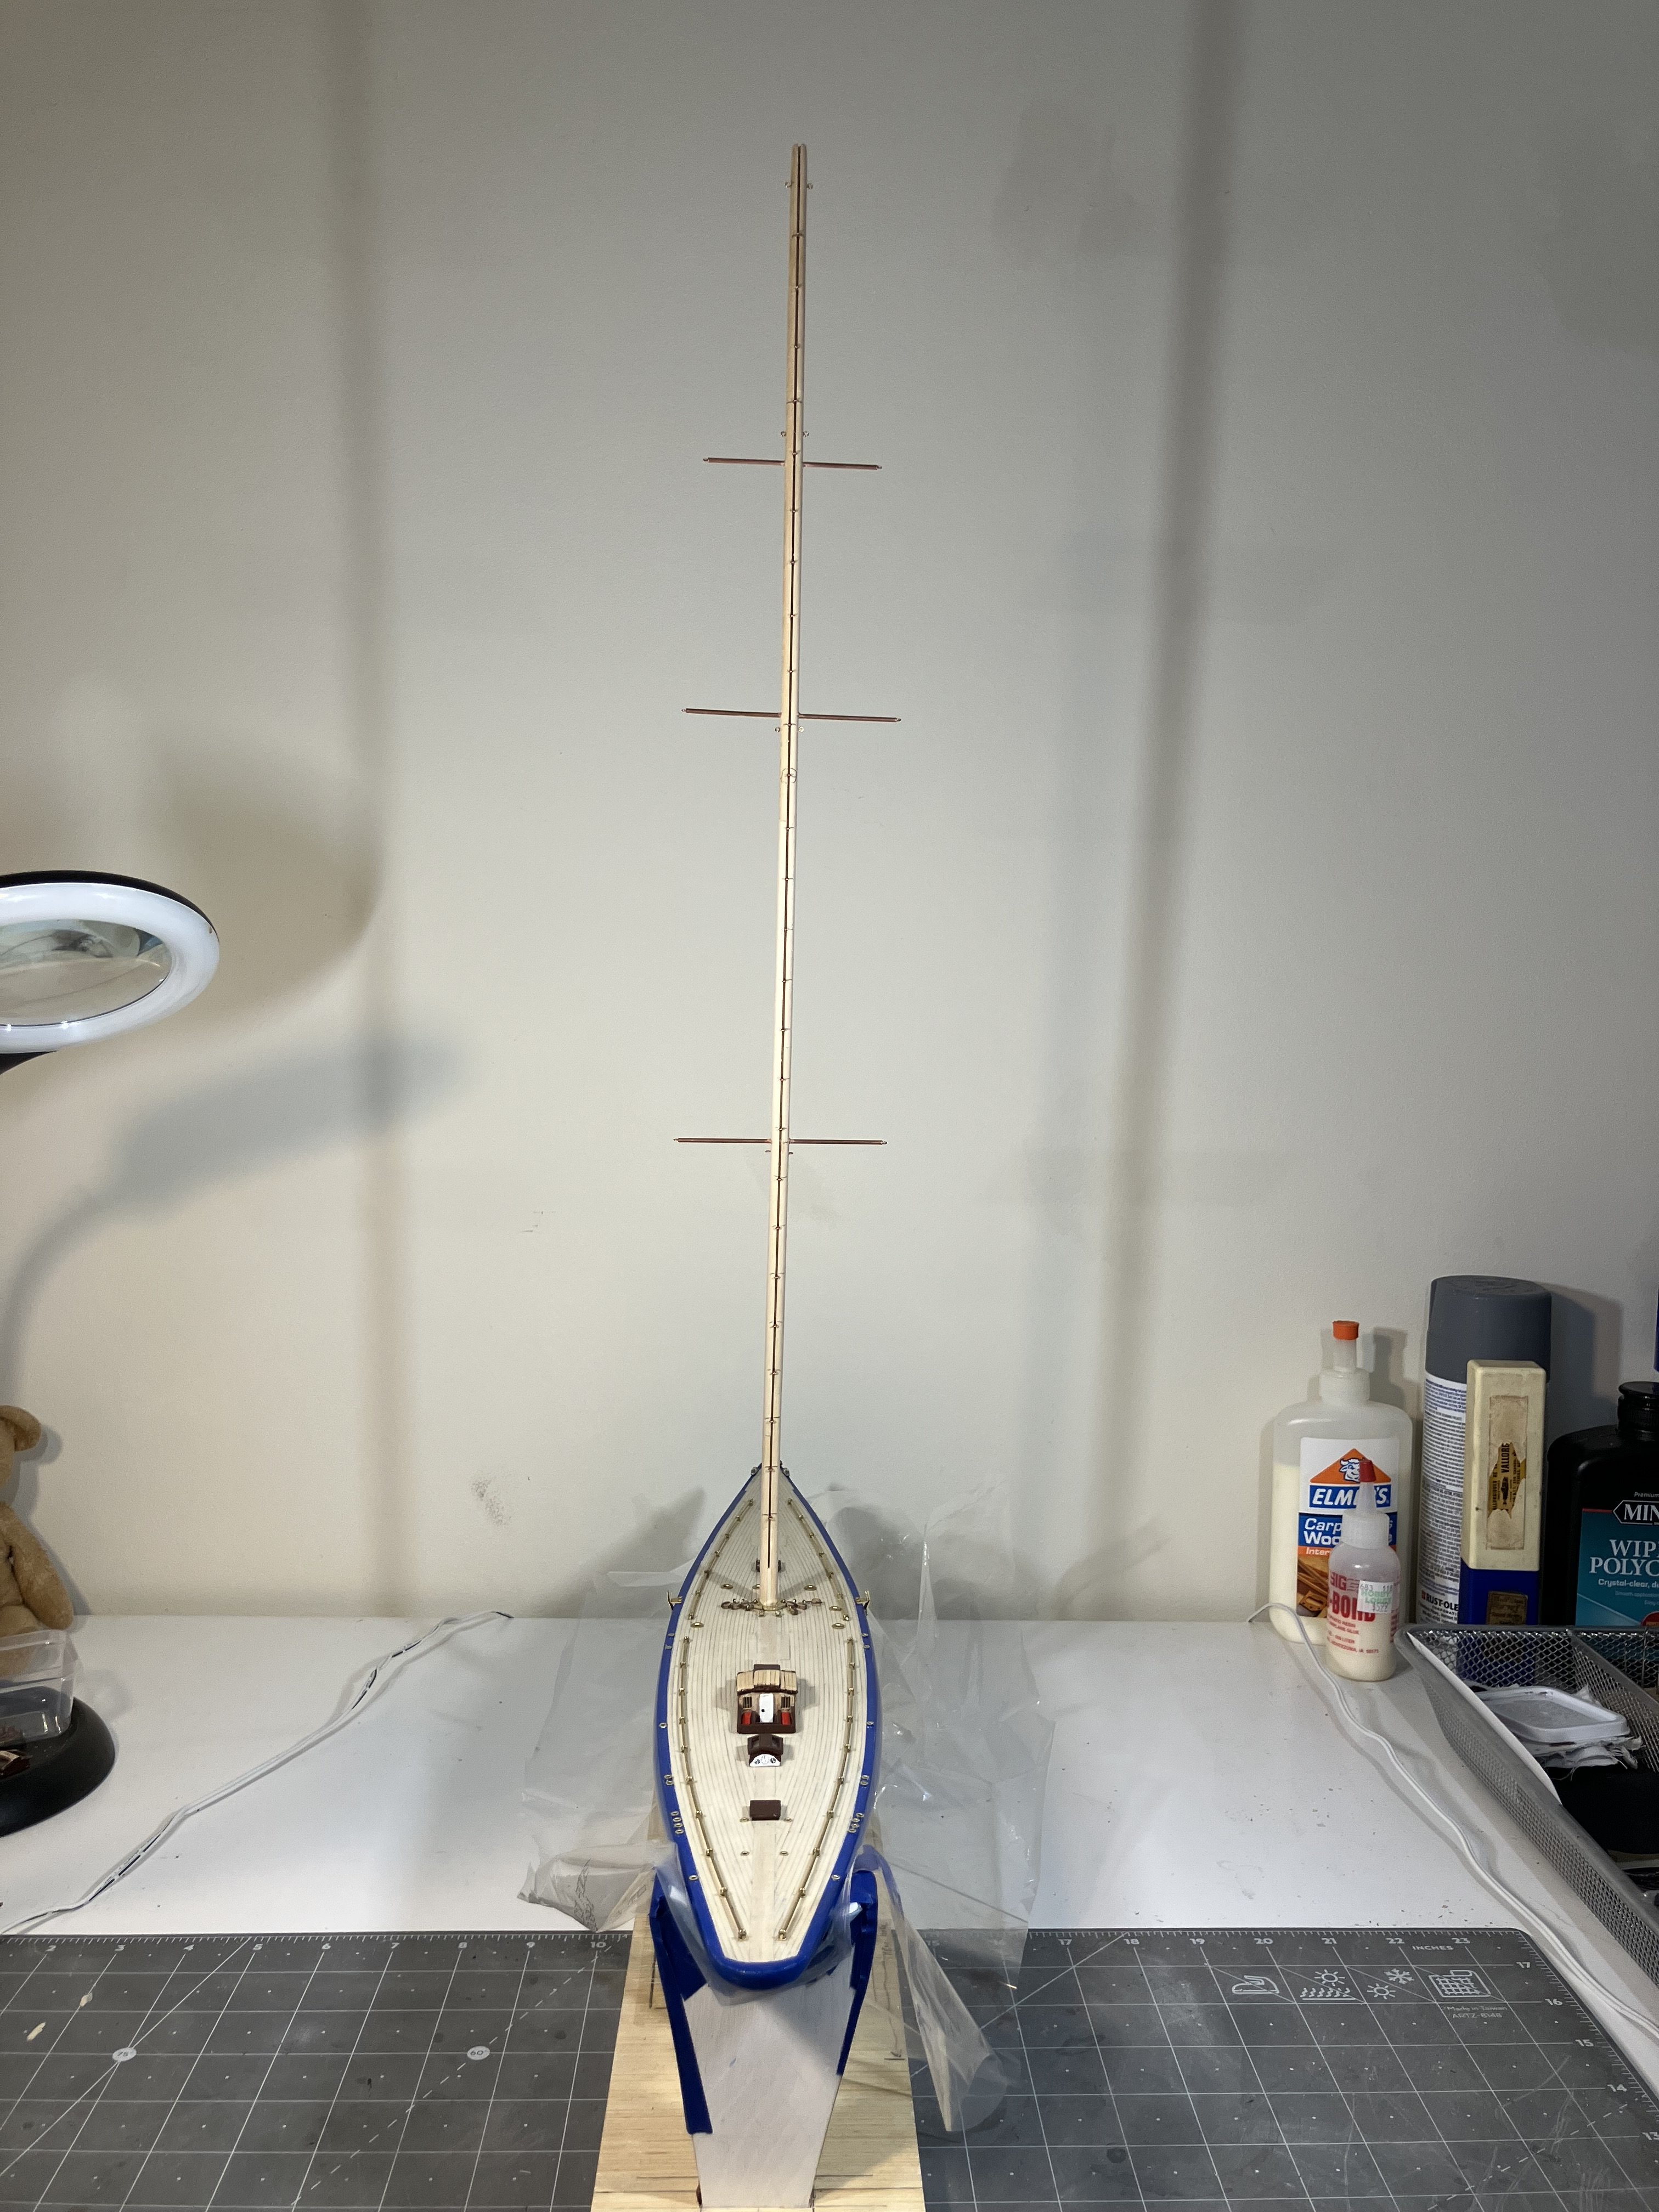
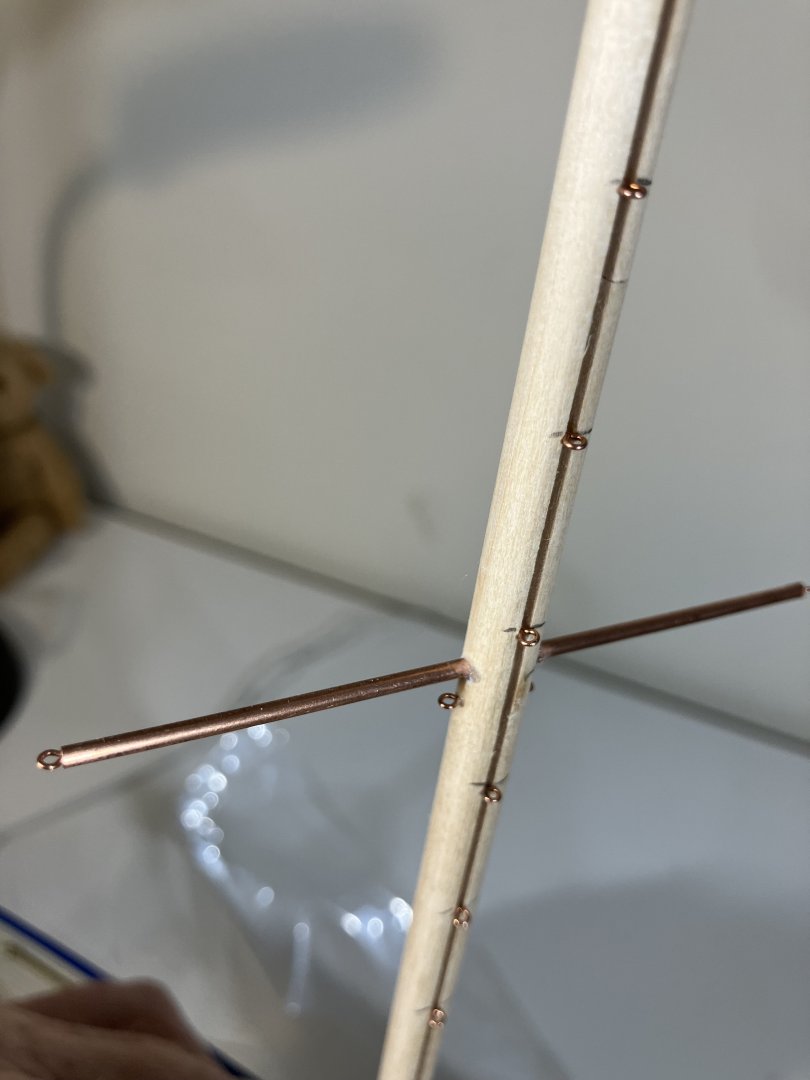
Today I tackled the mast. I went ahead and fitted a brass washer at the mast base. I had seen this done on an Endeavour build on the Ships of Scale forum and quite liked the look (although that builder had painted his black to match the boat's theme). As anyone who has done this build knows, there are A LOT of the small eyelets to be attached to the mast, 26 alone running down the stern facing side for the sail. It was certainly interesting drilling all the holes and cutting the eyelets down to size. The plans recommend cutting them down to 7mm in length but I found this to be too long. I adjusted mine to 5mm and they fit just fine. The only ones I had to make a little shorter were the few at the top of the mast. The taper up there required shorter eyelets so that they didn't protrude out the back. Once everything was assembled, I did a dry fit. This is one tall mast! The mast was then primed, left to dry and another fit was done. This really gave me a good idea of how the final colors will work together. I will be applying two more coats and a clear coat before all is done. I do have one small spar still to add at the top, I wanted to wait until everything else had had its first coat and dried because it sticks out at the rear of the mast. It will soon be time for the rigging Before that happens though I must finish the deck completely. I have a bunch of cleats to add and a few blocks still to make.


-
I can only agree, this looks fantastic. You did a fine job with that ink wash, it really made it pop.
- 78 replies
-
- 3
-
-
- Derfflinger
- Flyhawk
- (and 2 more)
-
Bit of an understatement there, Peter, if I may say so. You should be proud, she is looking extremely good, sir. Congrats on a job well done. Do you have anything particular in mind for your next project?
-
Nice work, Phil. They look really nice, you should be proud of what you achieved here sir.