


schooner
-
Posts
643 -
Joined
-
Last visited
Content Type
Profiles
Forums
Gallery
Events
Posts posted by schooner
-
-
Opening up some cargo hatches
In thinking about how I want the finished model to look I decided that rather than have each of the 5 cargo hatches and their associated booms looking basically the same I will try to rig each one with a different style of rig and also show at least one hatch with the hatch covers removed. I decided to open up the #2 and #4 hatches.
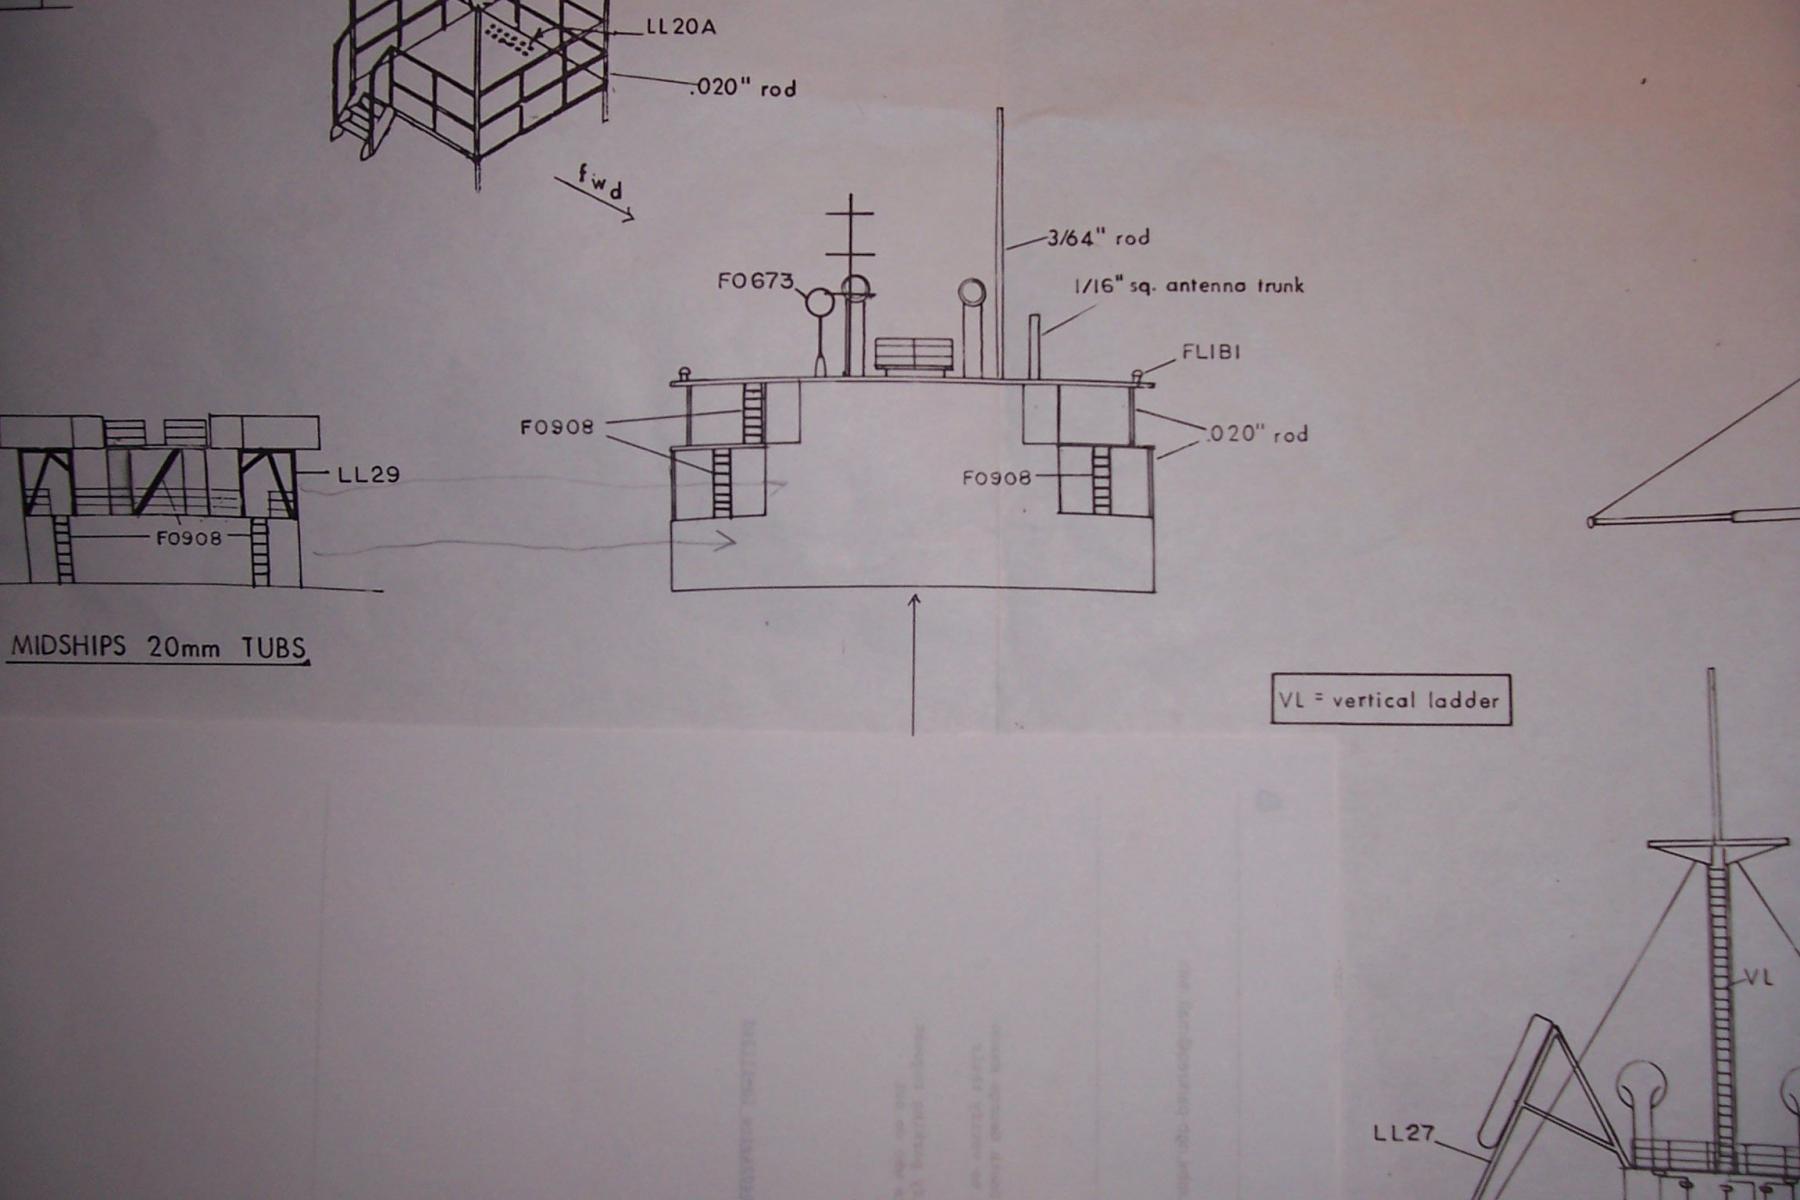
Each cargo hold consisted of an upper and lower hold, divided by the Tween deck. I will only go down as far as the tween deck since anything below the tween deck hatch would definitely be too dark to see. As you can see in this drawing the upper holds were only about 1/3 the size of the lower holds:
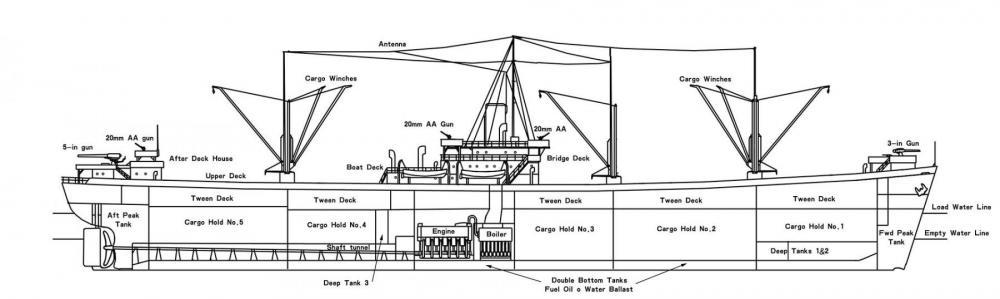
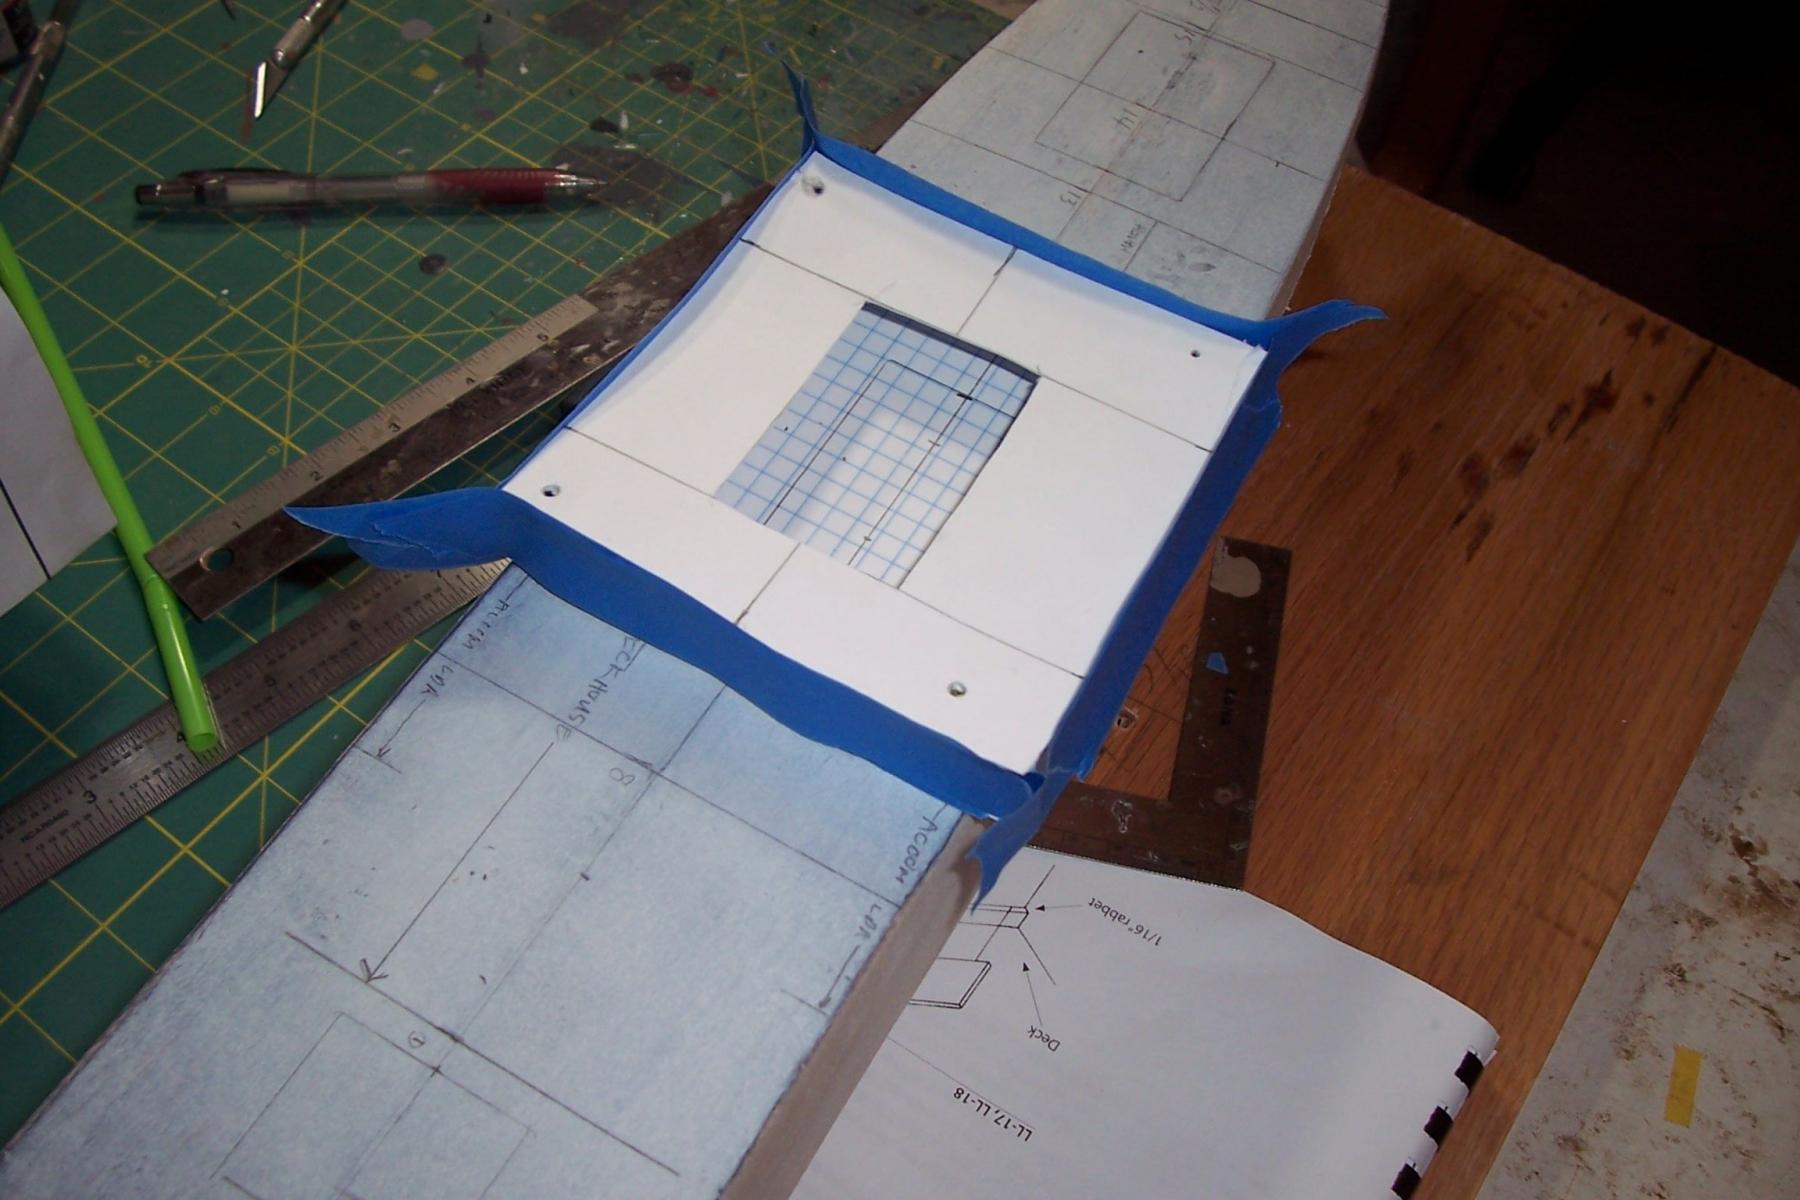
The hatches were relatively small in comparison to the size of the holds so in order to give them some depth I wanted to remove as much wood as needed horizontally so that the holds are visible when looking down through the hatch at various angles (this is assuming there is enough light to see in there, if not then no harm done - at least as much as can be seen will be somewhat realistic). In order to figure out how far back from the hatch combings I would have to “excavate” I made a simple mockup from cardboard with the upper hatch cut out and 4 straws cut to the scale 10ft length to separate the decks. The graph paper on the lower piece allowed me to figure out how much of the Tween Deck could be seen.

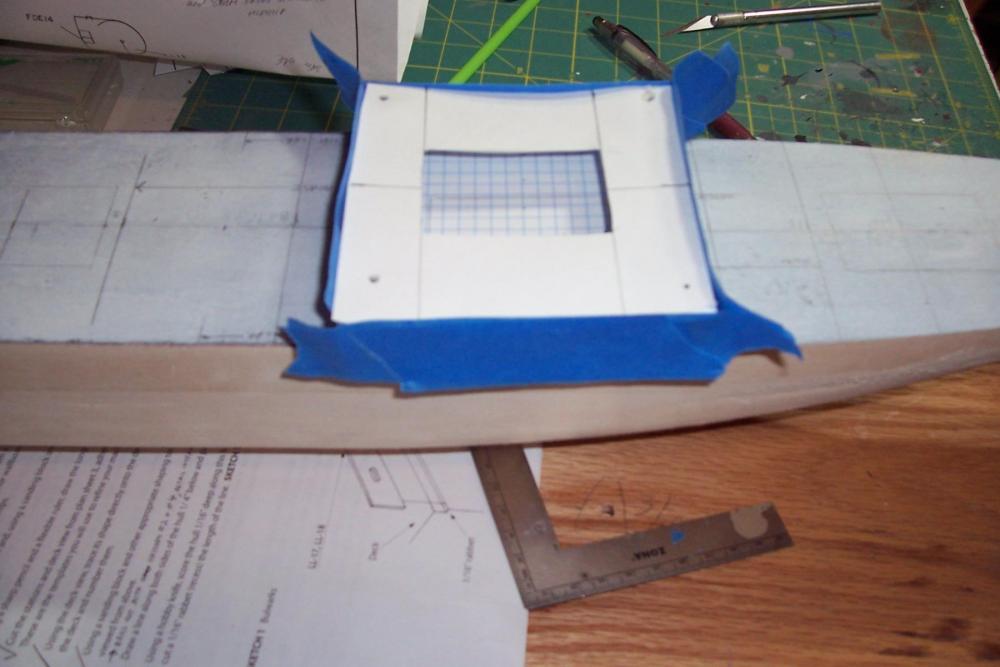
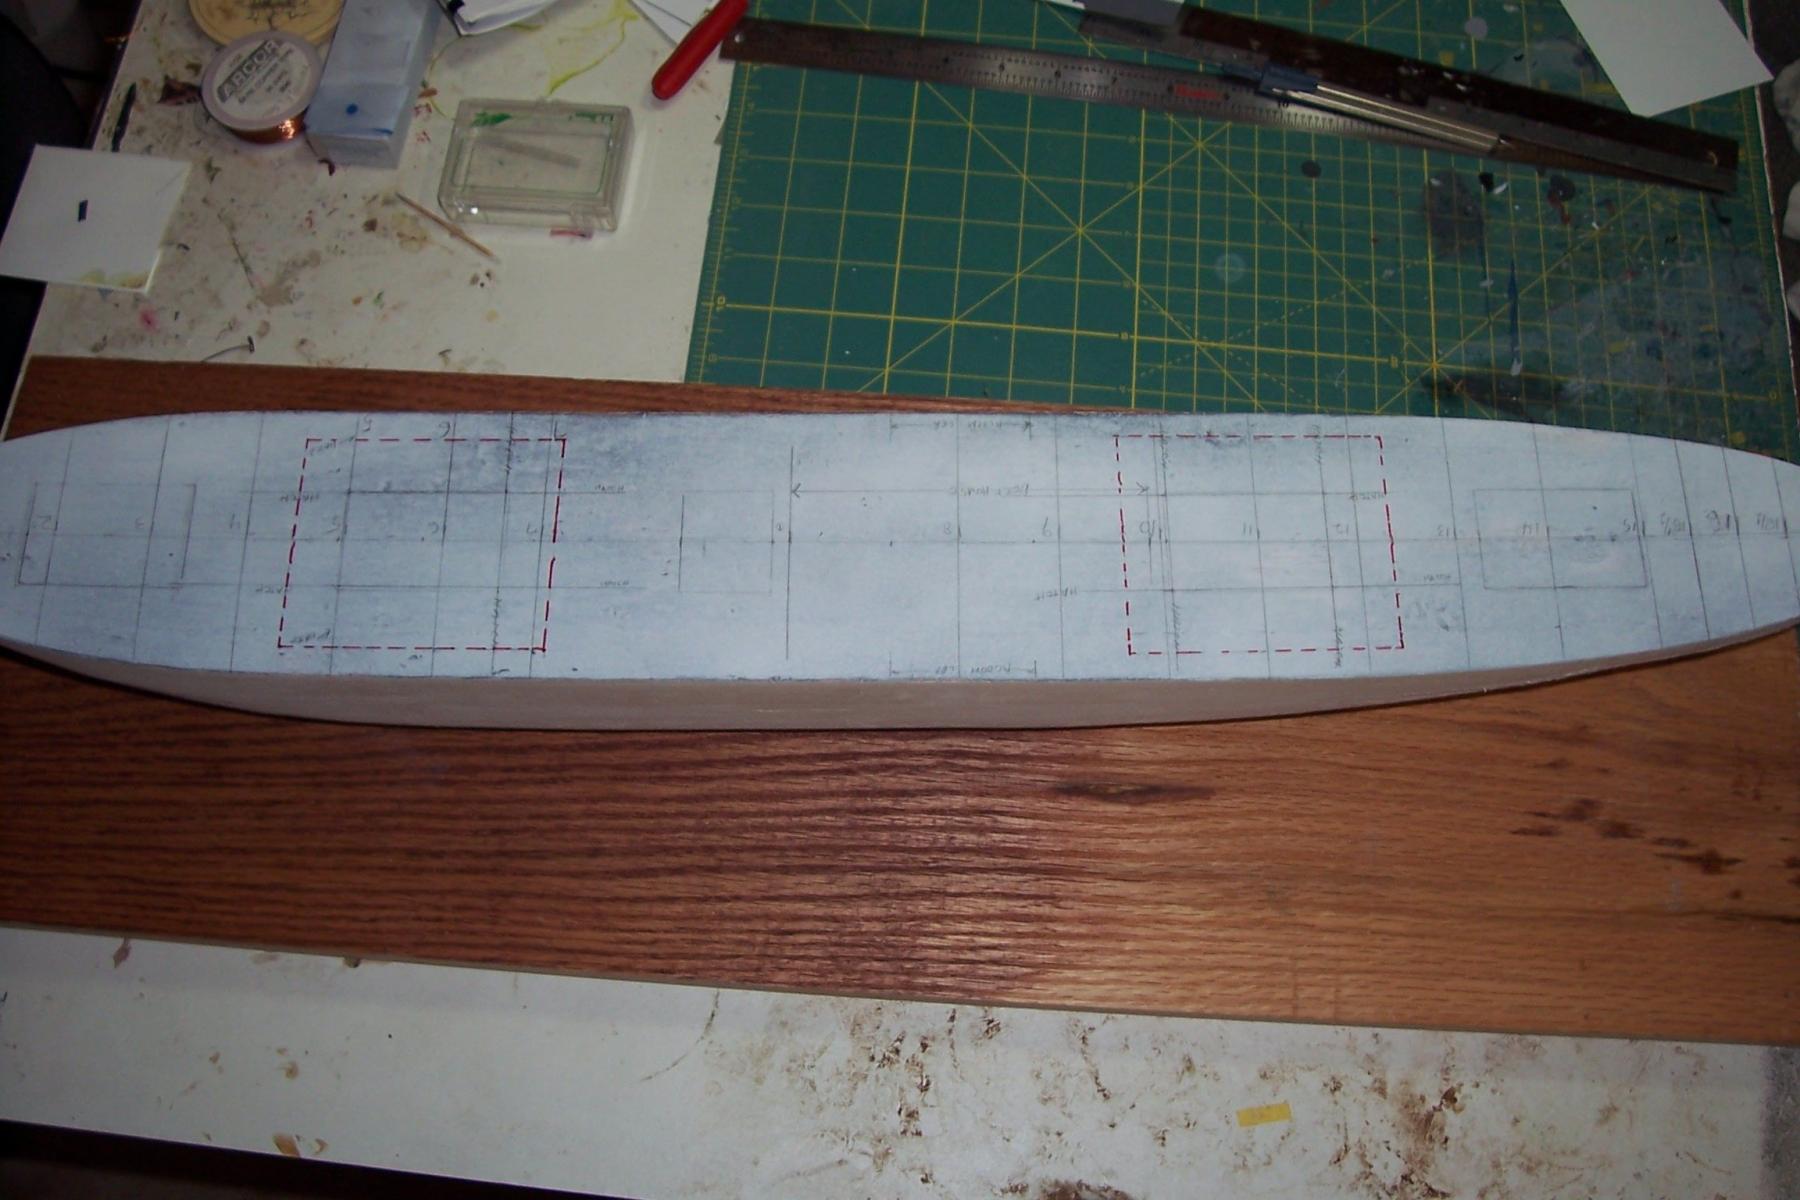
After getting my estimates and adding a little fudge factor I marked the deck in red with the areas to be excavated:

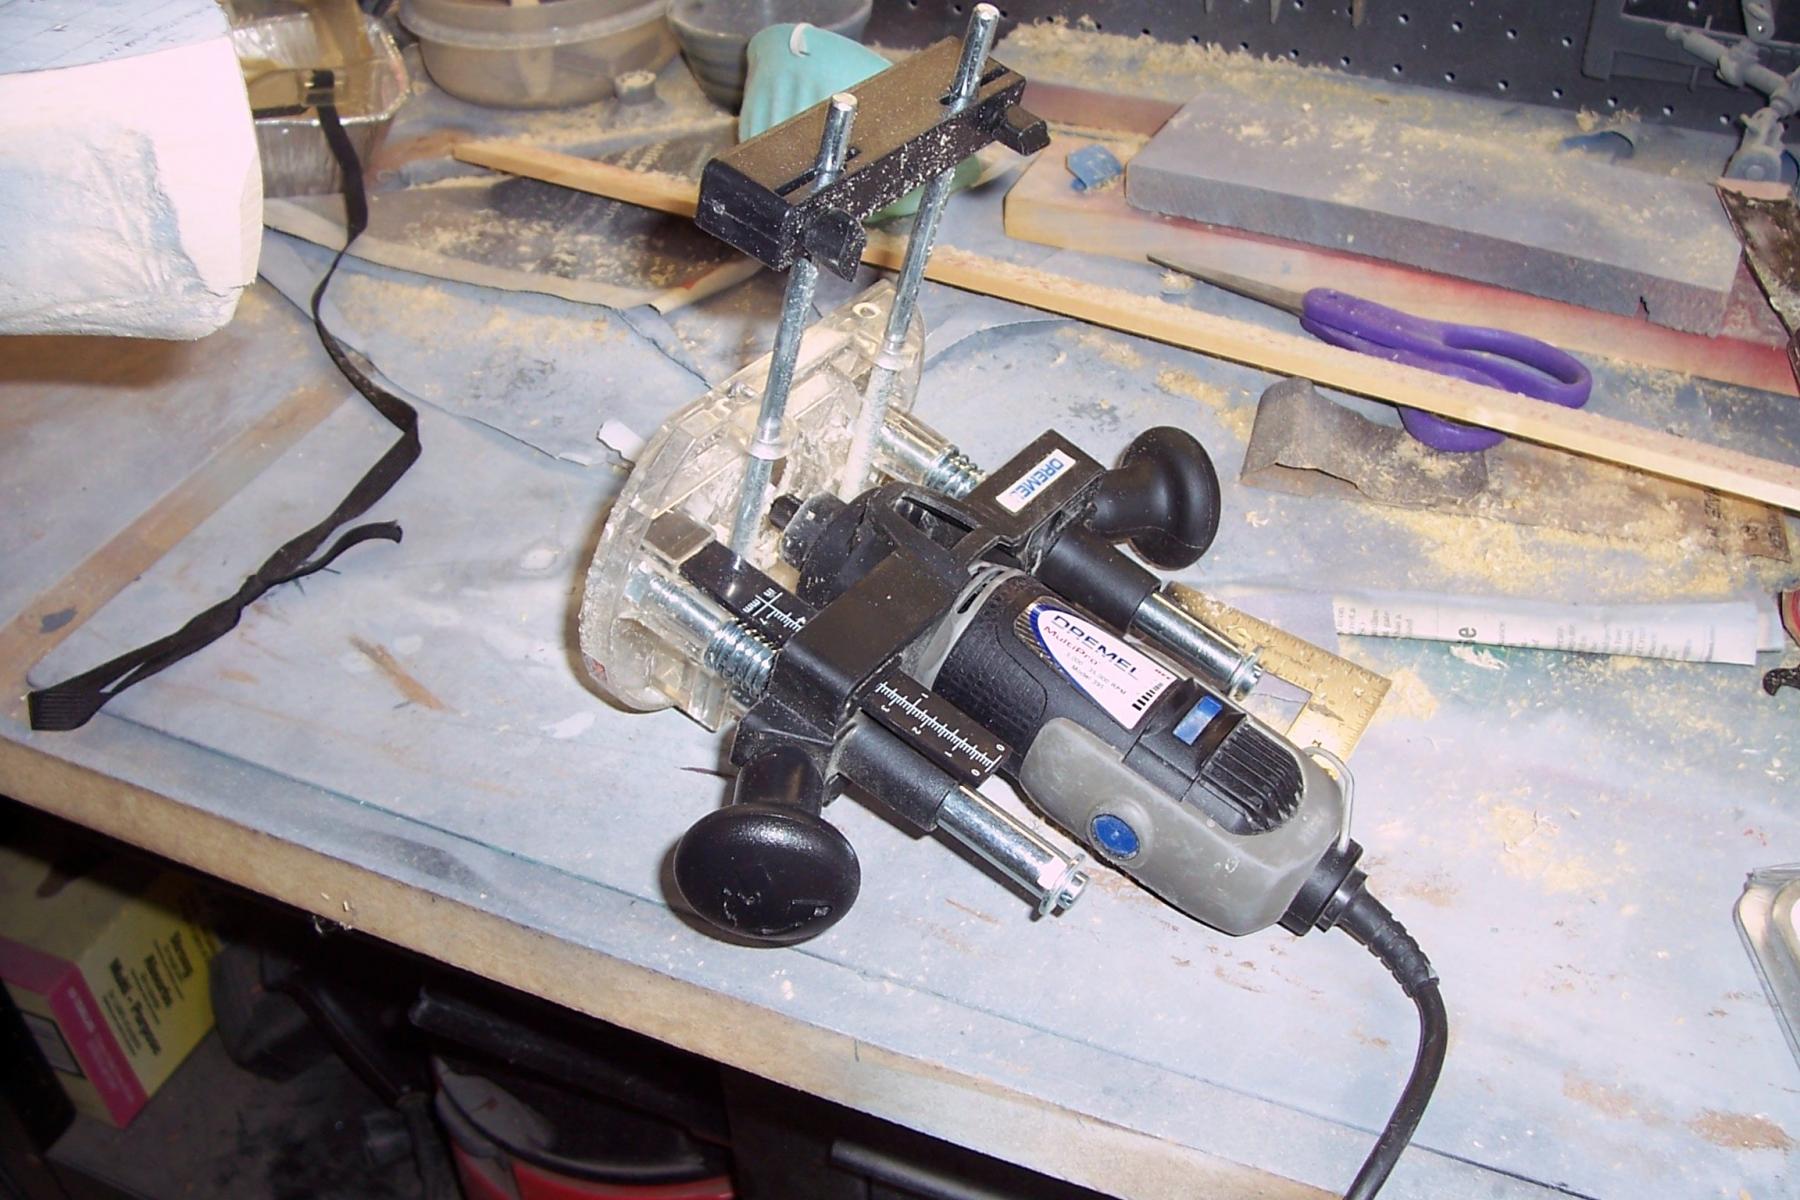
Fortunately I already had a router attachment for a Dremel tool so it was much easier than chiseling, although it will take multiple passes since it can’t handle taking off much more than 1/8” of wood at a time (the final depth will be 5/8"):

Here’s the progress so far, both holds are at about 1/3 of their final depth:
I’ll hopefully be taking off a few days for a fishing trip. When I return I’ll bring the holds to their final depth, add the tween decks and lower hatches, add the fore and aft bulkheads (if they can be seen) and then start fitting 1/16” ply to cover the openings, cut-out the upper hatches and then move on to other things.
- Piet, steamschooner, Captain Slog and 10 others
-
 13
13
-
Thanks for the input Pete & Dgbot, that's great stuff about the differences between building yards and it helps explain why the plating is easily seen on some photos but invisible on pix of other ships, even with good photo definition.
I'm going to play around with the tape on some scrap lumber and see how it looks after priming and painting. If I end up doing anything on the model I will keep it subtle.
thanks again.
-
You bet Kevin. Your Victory and Bismarck are impressive, especially to have both going on at the same time. Wish I could tackle something that big but I'm afraid the wife would tell me "There is room for you or the model but not both ... "
- mtaylor, Piet, captainbob and 3 others
-
6
-
I'm going to try to plate it. I've never done it before. The plating on the Libs was pretty subtle compared to a riveted hull, or even to a welded warship hull. On some photos it is invisible but on most you can at least see the strakes, although the vertical weld lines are hard to pick out since they were butt welded with no overlap.
I'm going to try to use aluminum tape for the "out" strakes and leave the hull bare for the "in" strakes and then scribe the weld lines. If it doesn't work I'll just strip it off and paint it.
-
-
-
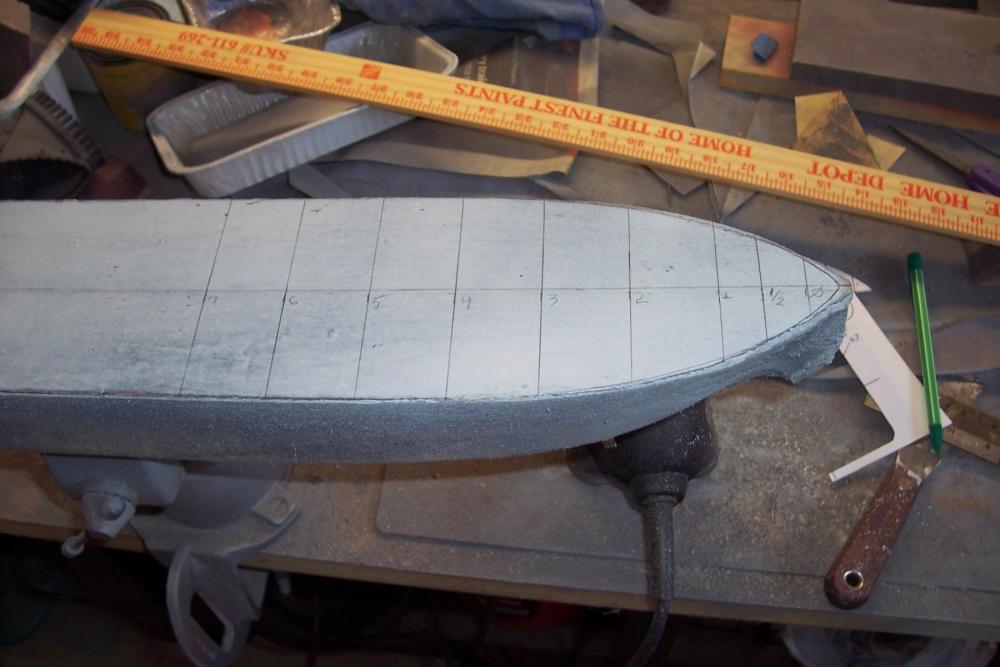
Main Deck in Final Shape
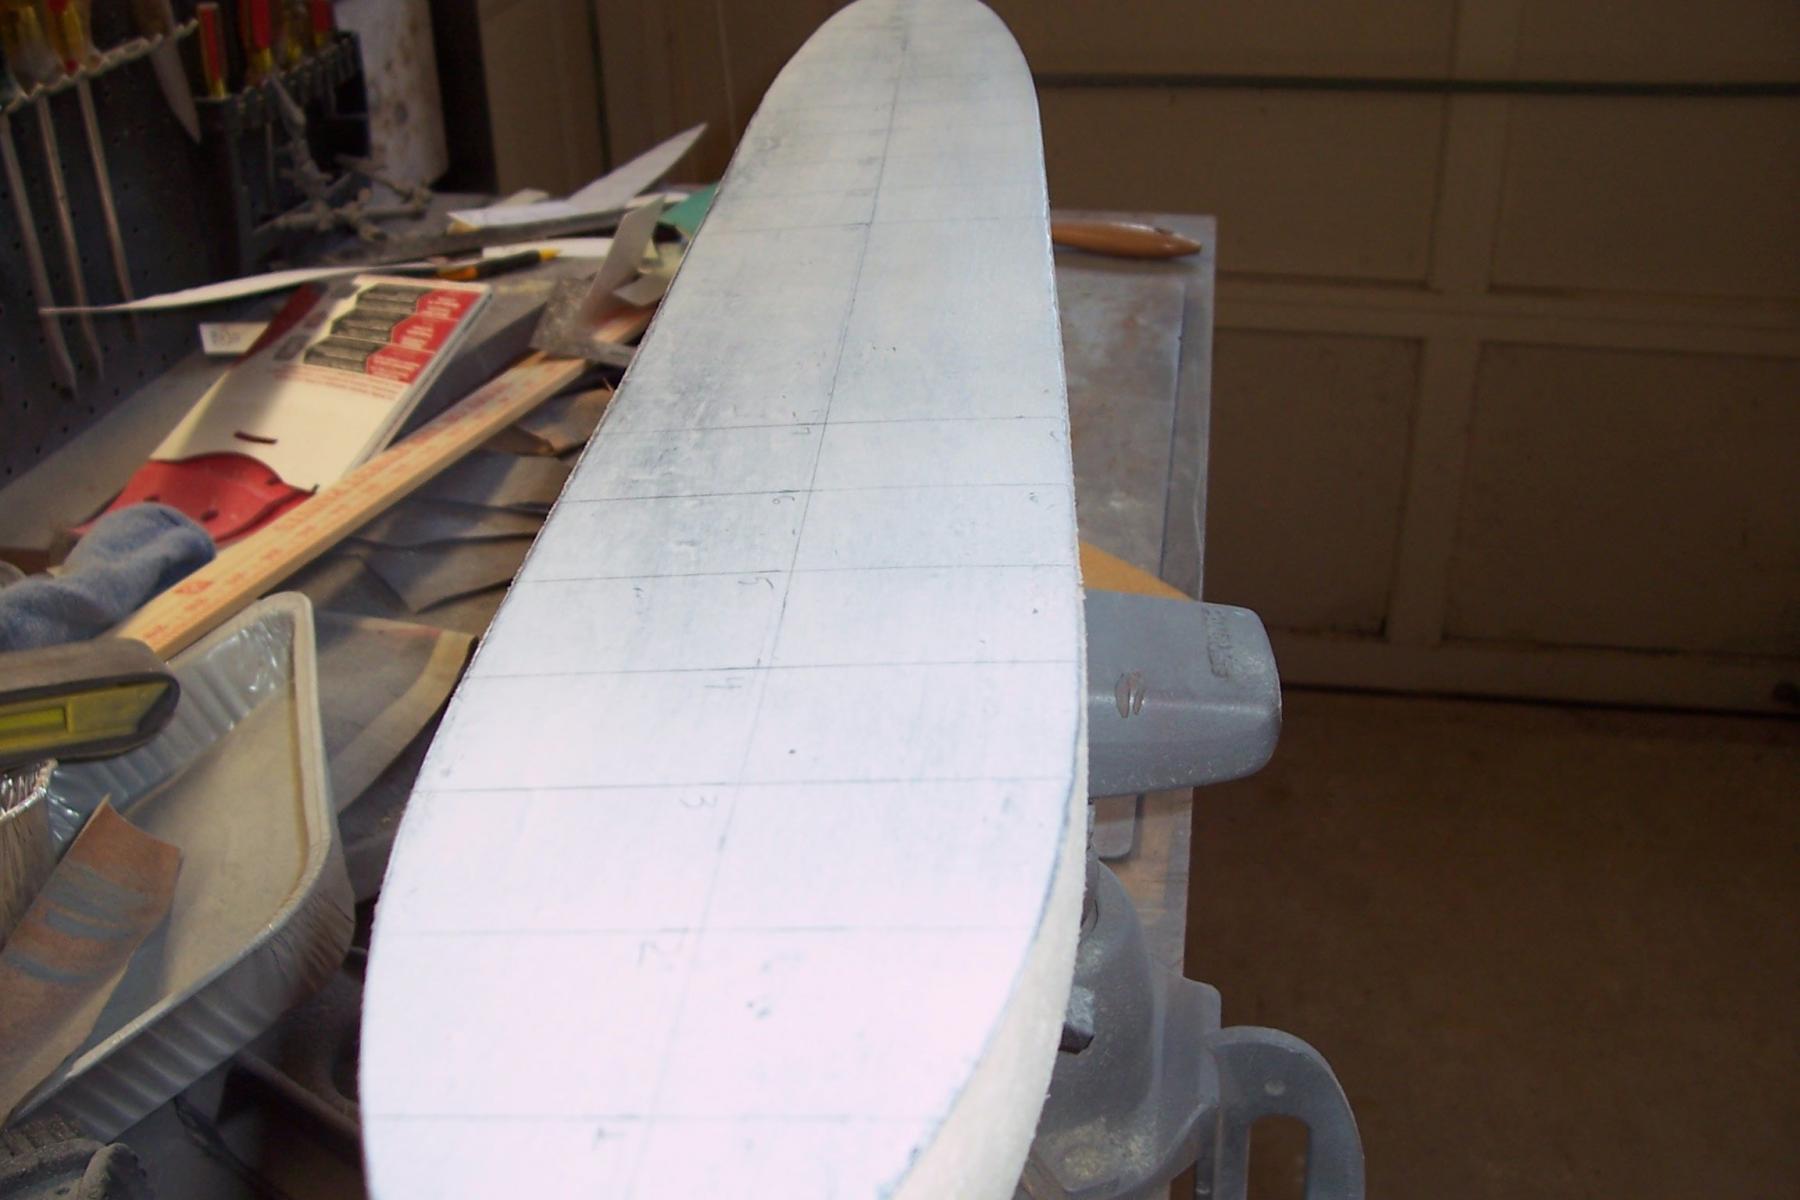
The main deck is now in its final dimensions, so far only as much of the sides of the hull were done as needed to shape the deck.

The directions next call for cutting a rabbet around the deck circumference where the bulwarks will be fastened but before I do that I’m going to think over a little kit bashing associated with a couple of the cargo hatches - work that would best be done before the bulwarks are attached and exposed to damage while handling the hull.
- Captain Slog, steamschooner, hexnut and 6 others
-
9
-
Thanks Bob.
Your Pequot build brings back memories of another fine old workhorse, the USCGC Fir, which was based just down the street from my house while I was growing up in Seattle. She served 51 years.
- mtaylor, captainbob, Piet and 1 other
-
4
-
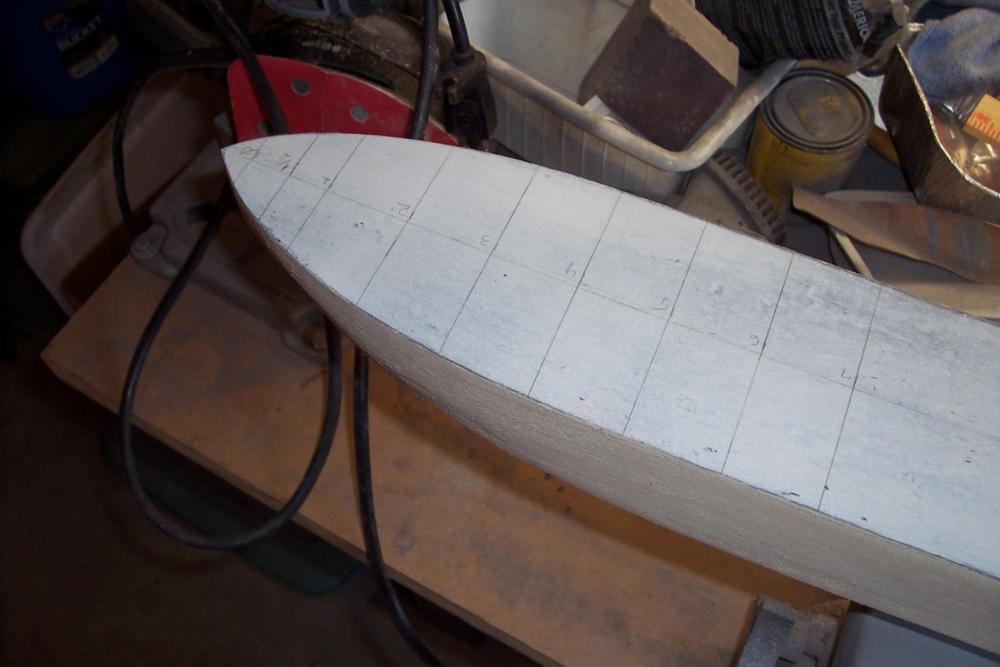
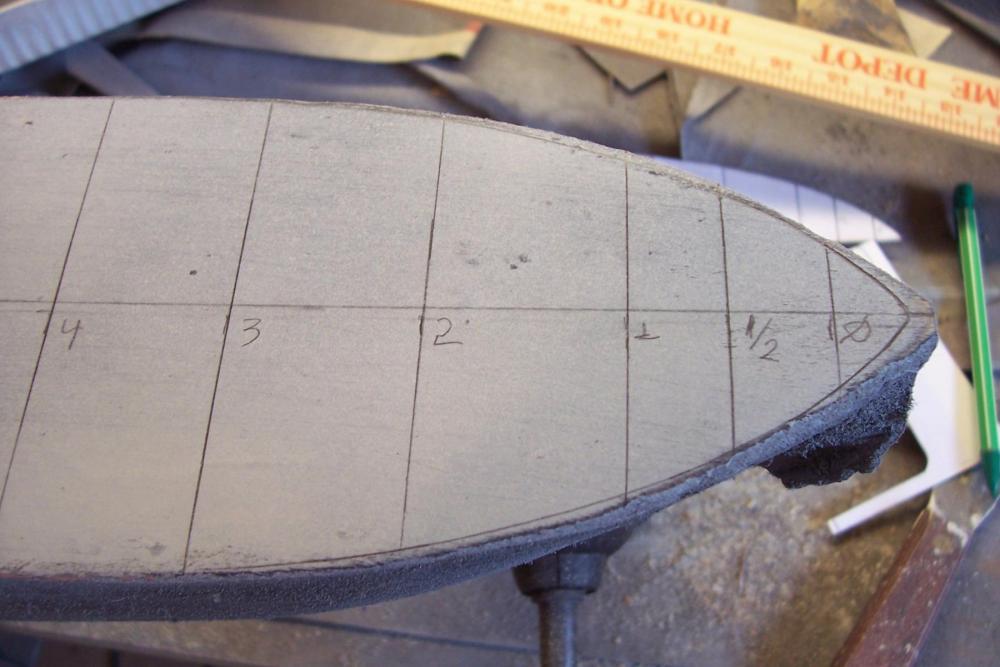
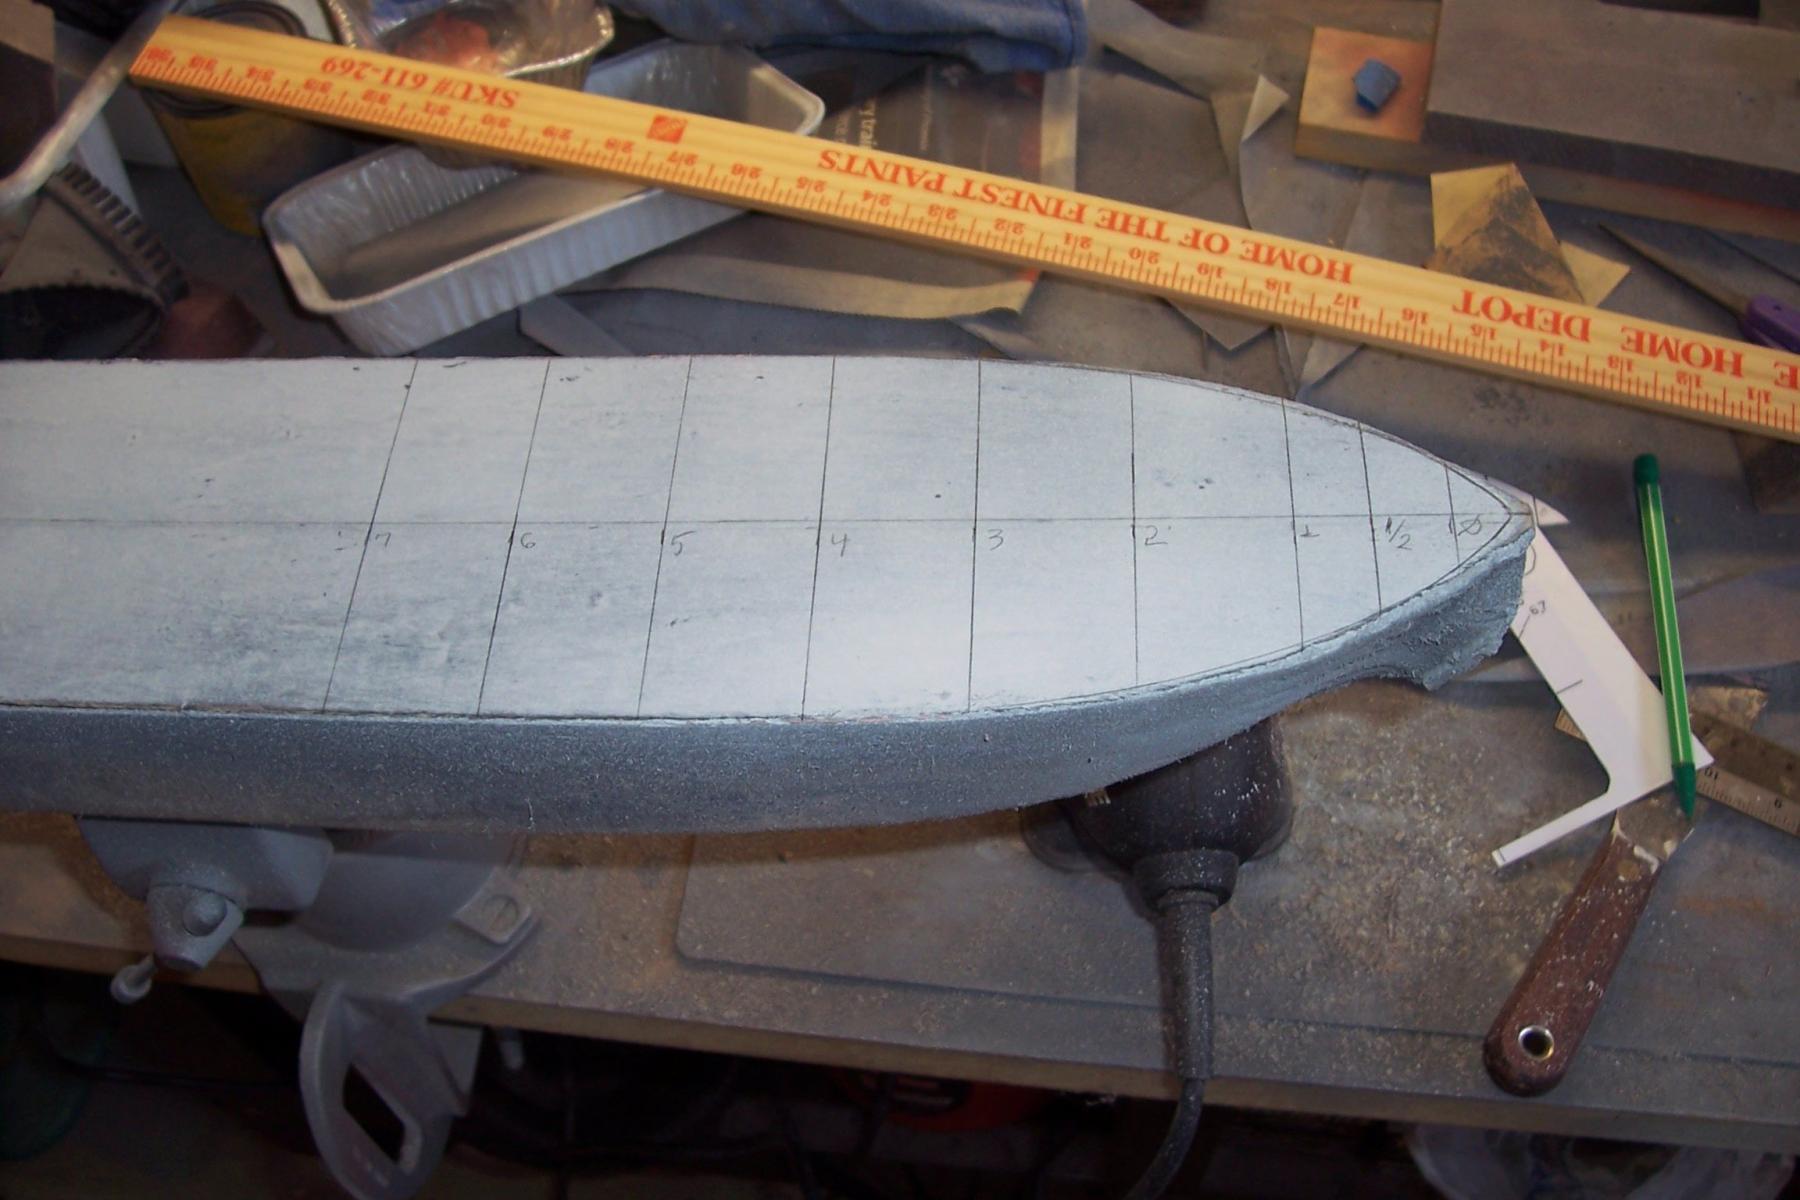
Laying out and shaping the main deck
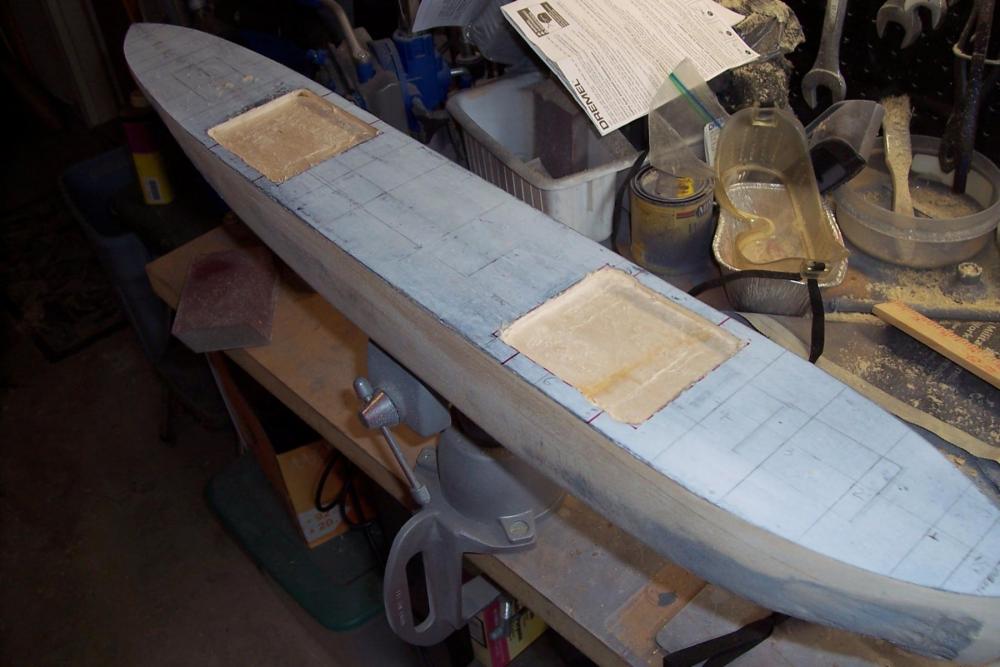
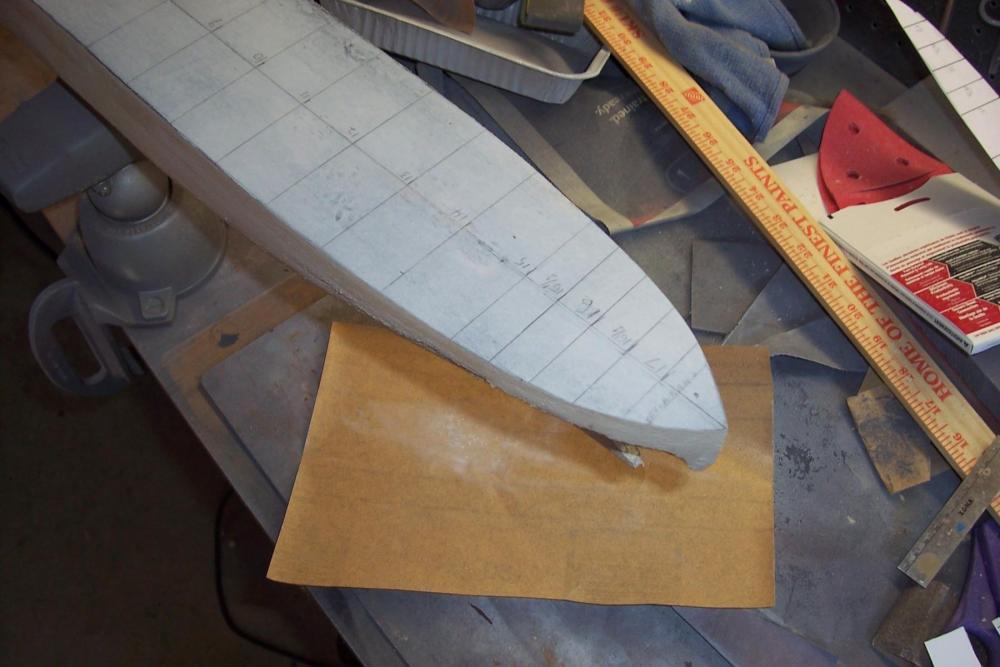
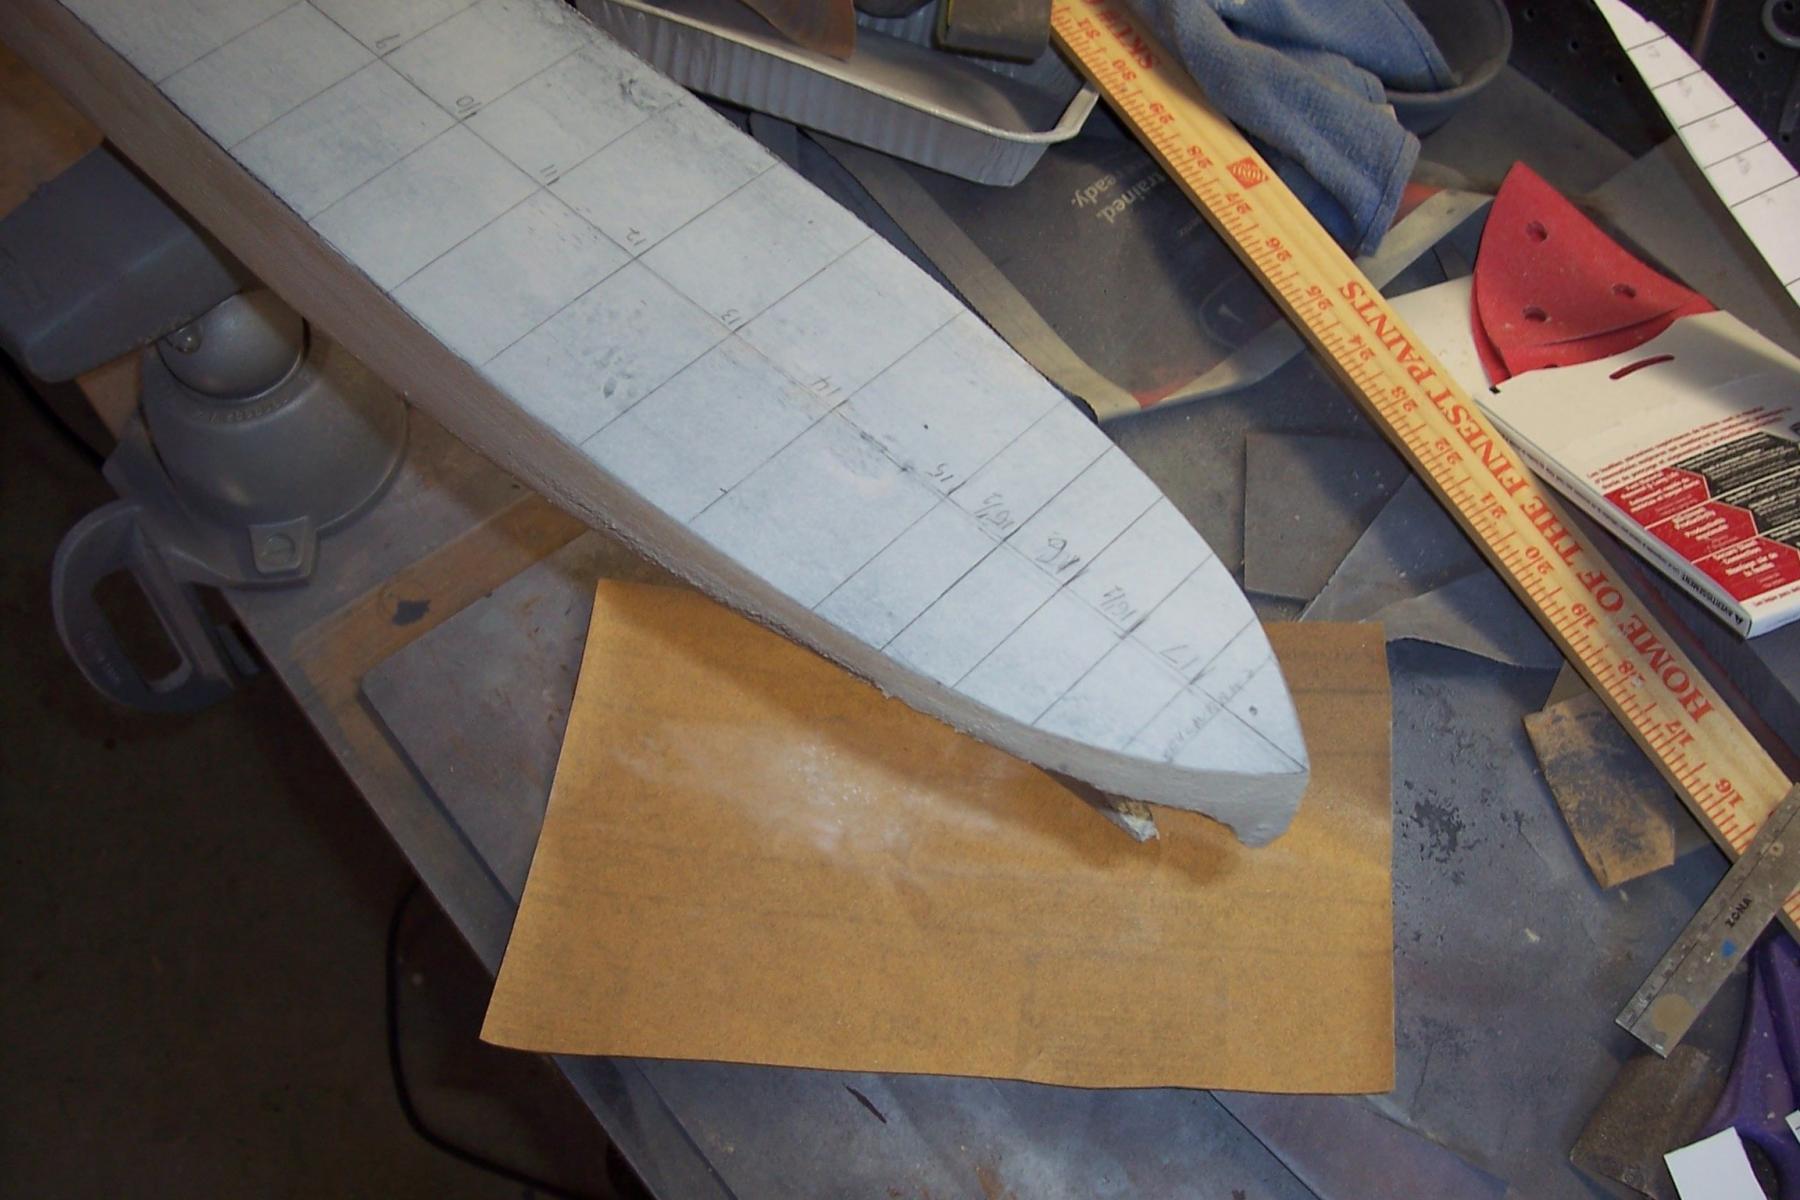
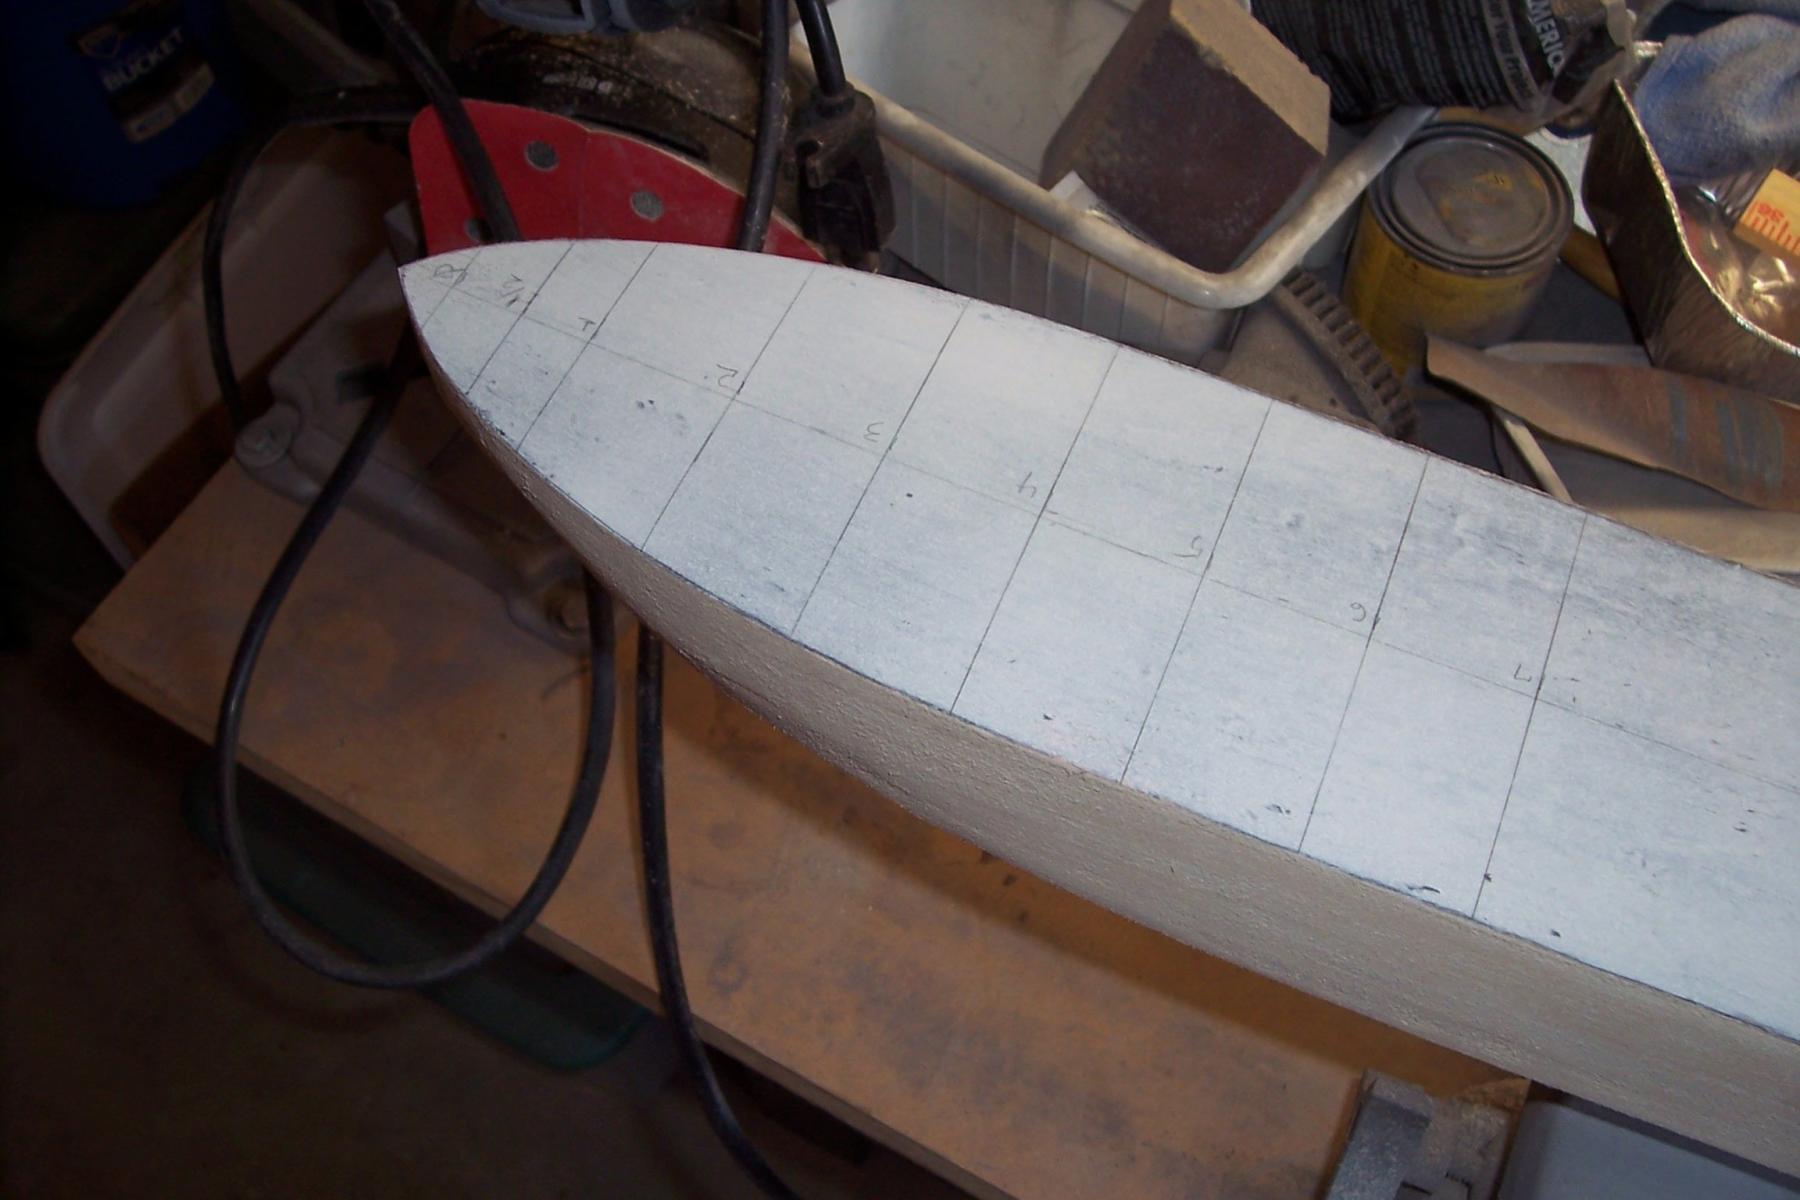
After marking the centerline down the main deck the stations for the templates are marked, I’ll show how the templates are used when I get to that point. The deck outline is then traced on both sides of the centerline. As you might be able to see below, there will be a little to take off around the bow and stern but along the majority of the hull almost nothing needs to come off, which is fine with me since I hate to sand.


 Next step will be sanding the deck edge to shape.
- hexnut, Mirabell61, WackoWolf and 8 others
-
11
-
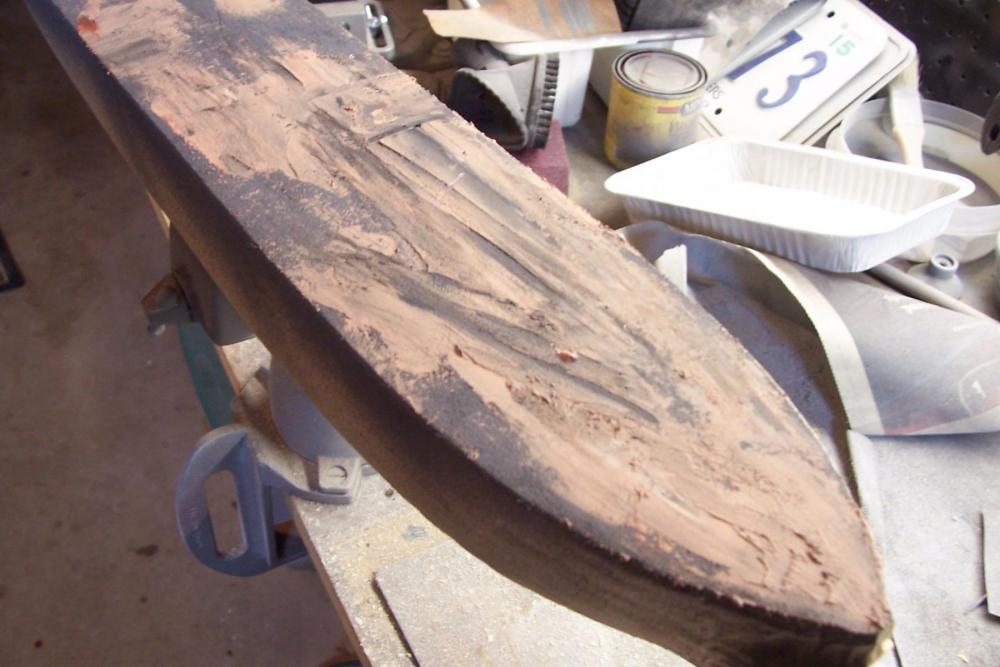
Sanding the main deck
It’s time to start making sawdust.
The first step is to sand the main deck smooth. I’m no fan of sanding so I do it in 10 minute increments or I get careless and sloppy - those who don’t mind it would make much quicker progress.
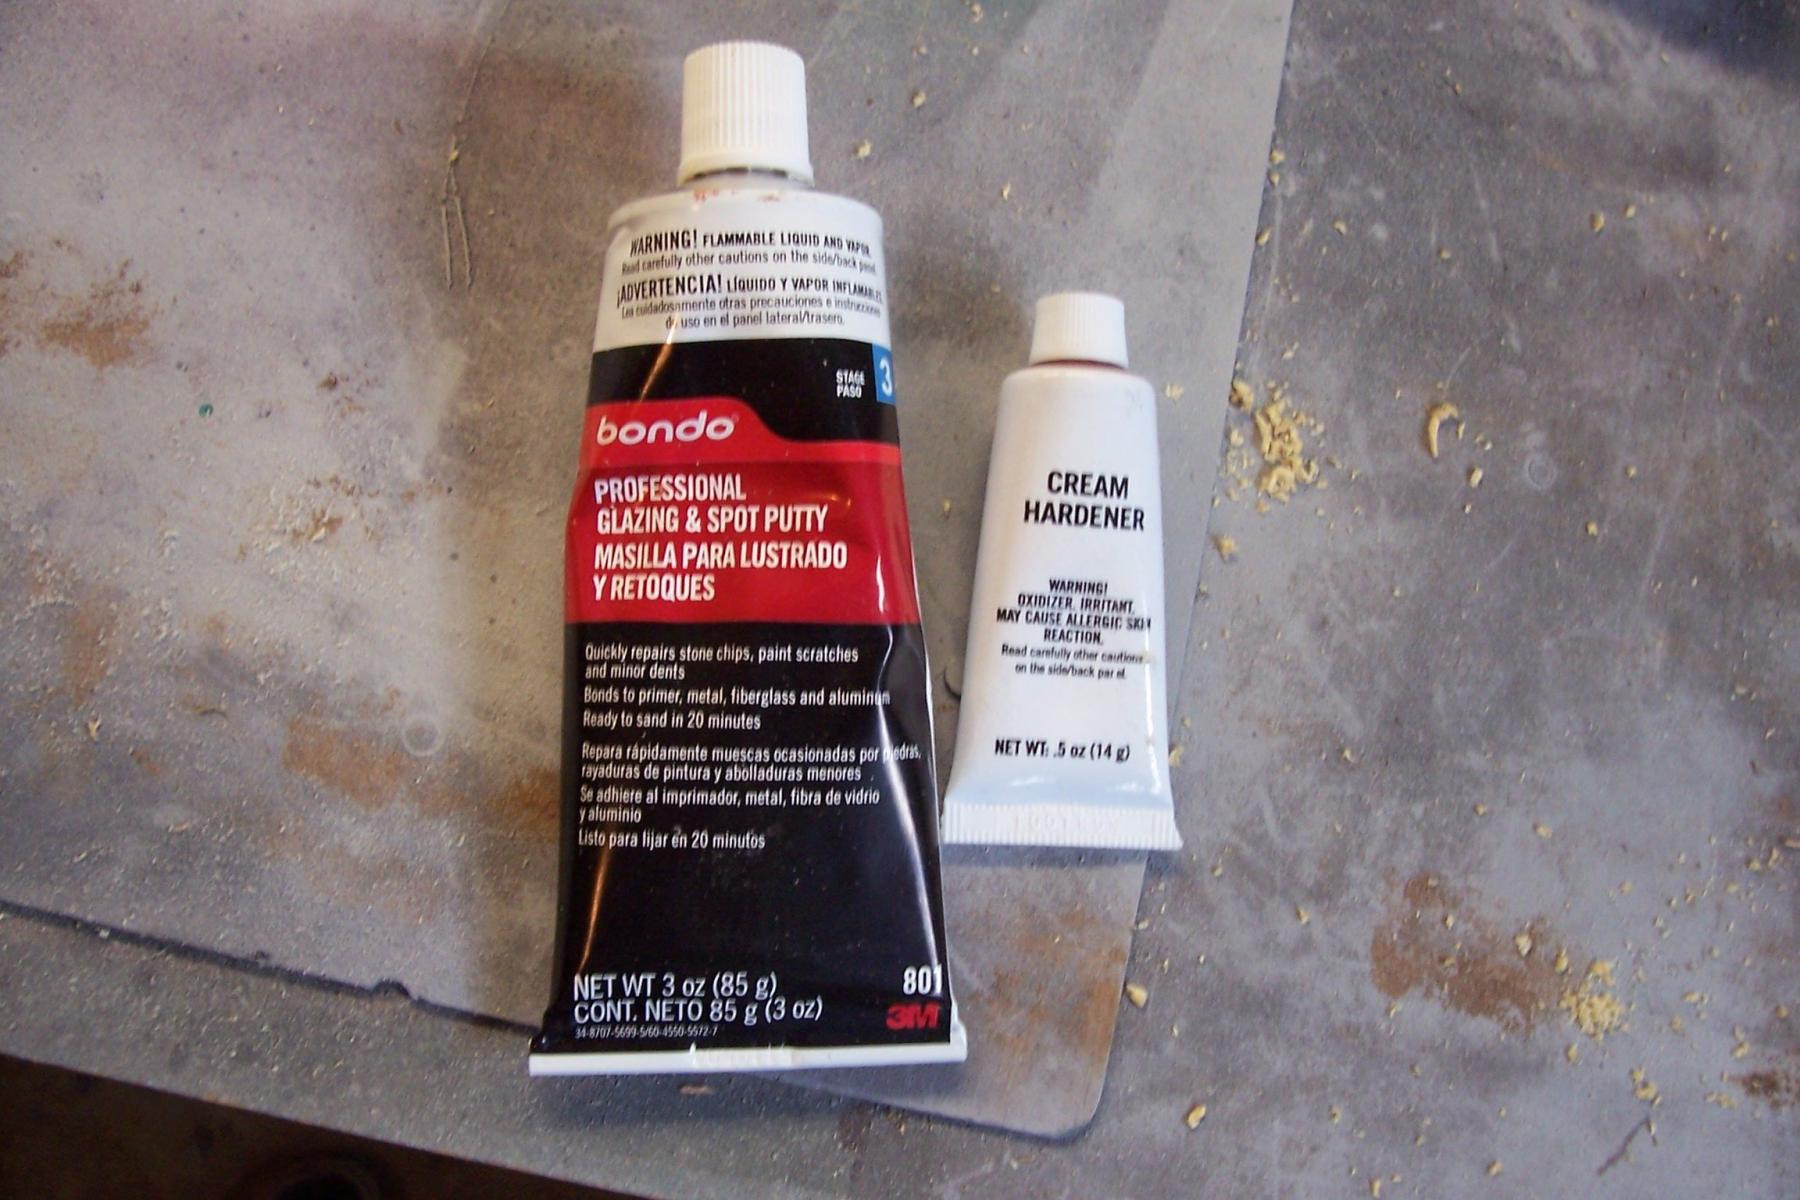
After using a sanding block and getting what looked and felt like a nice smooth surface I sprayed some primer on to see if if everything was good to go - it wasn’t. There were still low spots and some machine marks so it was time to break out the Bondo auto body filler which is my preferred wood filler since it dries quickly and sands well. My only problem with regular Bondo is the cost since so much of it is wasted. It comes in quart cans but has only 2 small “pills “ of the hardener mix so you really can only mix it twice and a half a can is far more than you can use on an entire model and it can’t be saved because it hardens quickly. Fortunately somebody on this site mentioned Bondo’s Glazing and Spot Putty, which is also sold in auto part stores. It works just like regular Bondo but you can mix just as much or as little as you need since the hardener is in it’s own resealable tube - pretty neat.

After applying the filler it will just be a matter of getting a smooth deck then it will be time to play with glue and scissors when I cut out the hull form templates and get ready to bring the deck to it’s prescribed dimensions.
-
Greg,
After seeing the start of this build and being amazed at the detail you put into the guns I somehow "dropped track" on it, to use a gunnery term, around New Years (I forgot about the "follow" button). Thank God I found it again today before it is done and slips into digital deep freeze. I've had a very pleasant hour and a half catching up. This is amazing work at any scale but particularly at 1/350. You've overcome many problems that would have defeated me. Wonderful work and I can't wait for the Dreadnought.
- Old Collingwood, RGL, Canute and 1 other
-
4
-
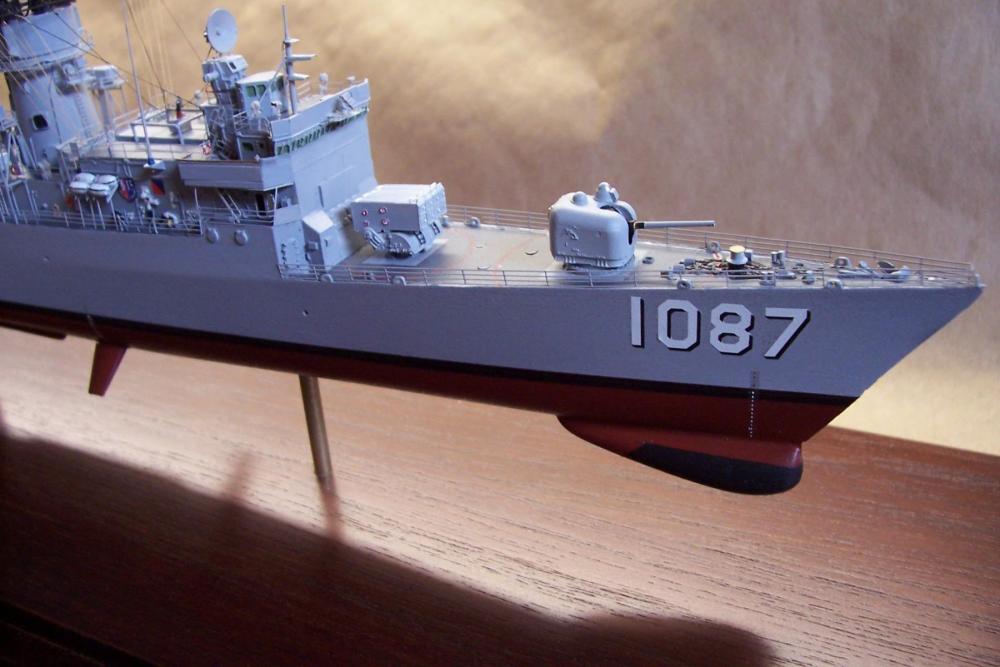
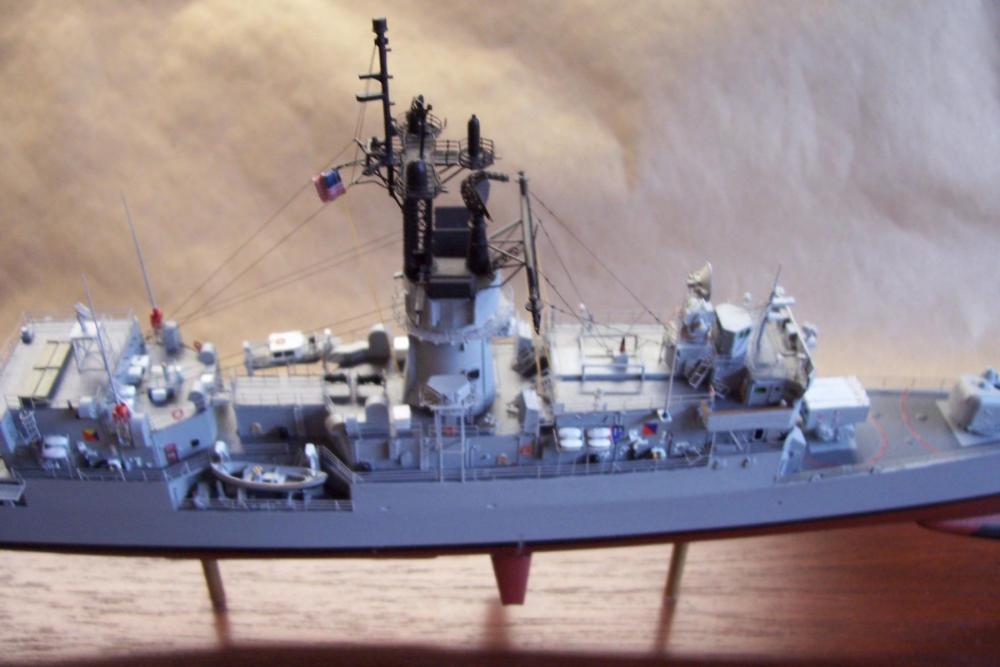
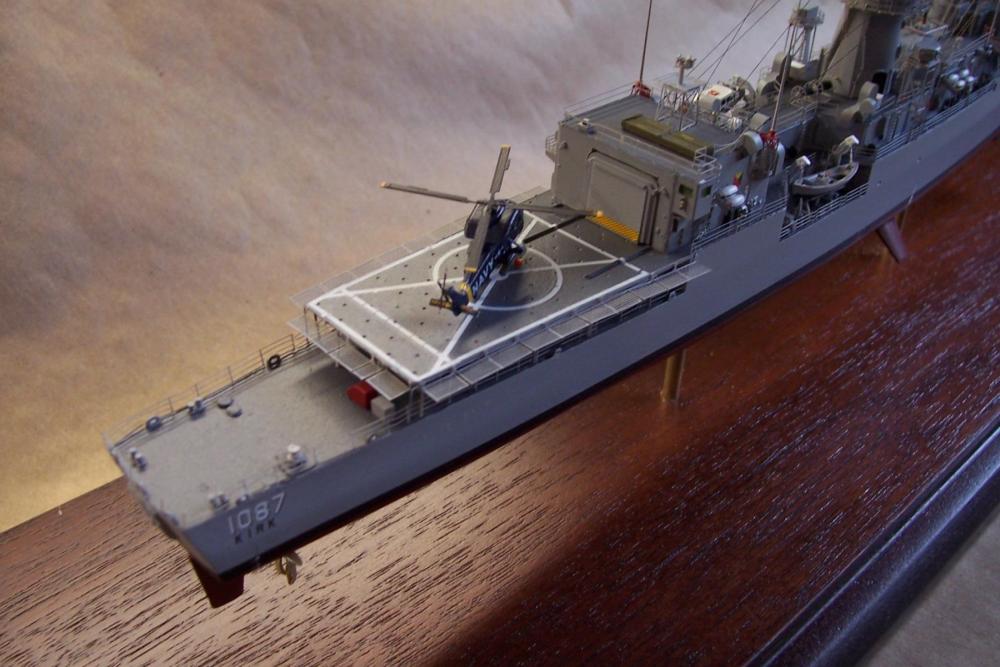
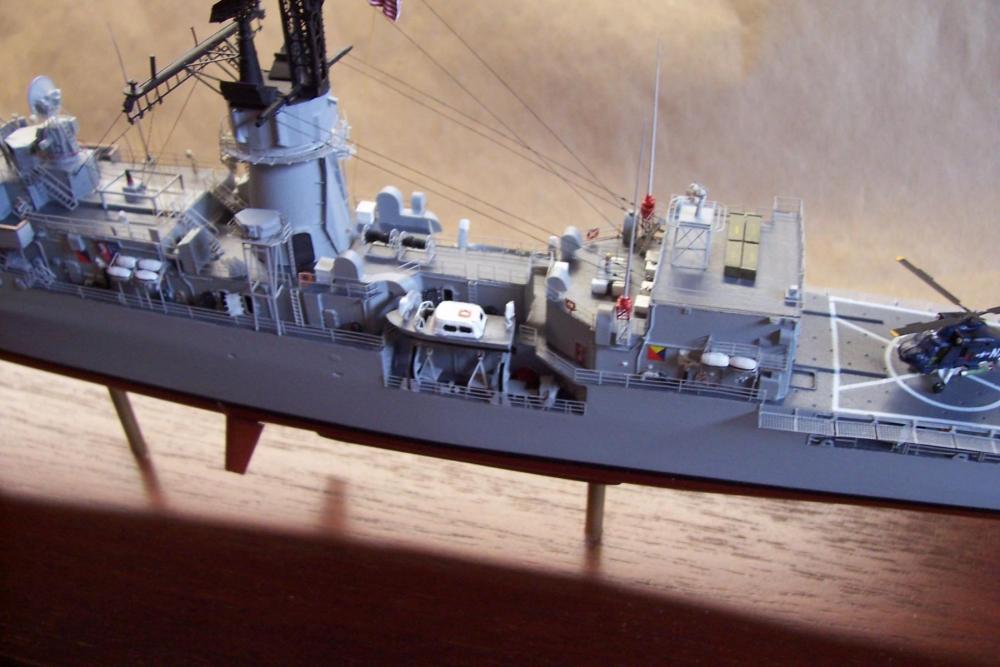
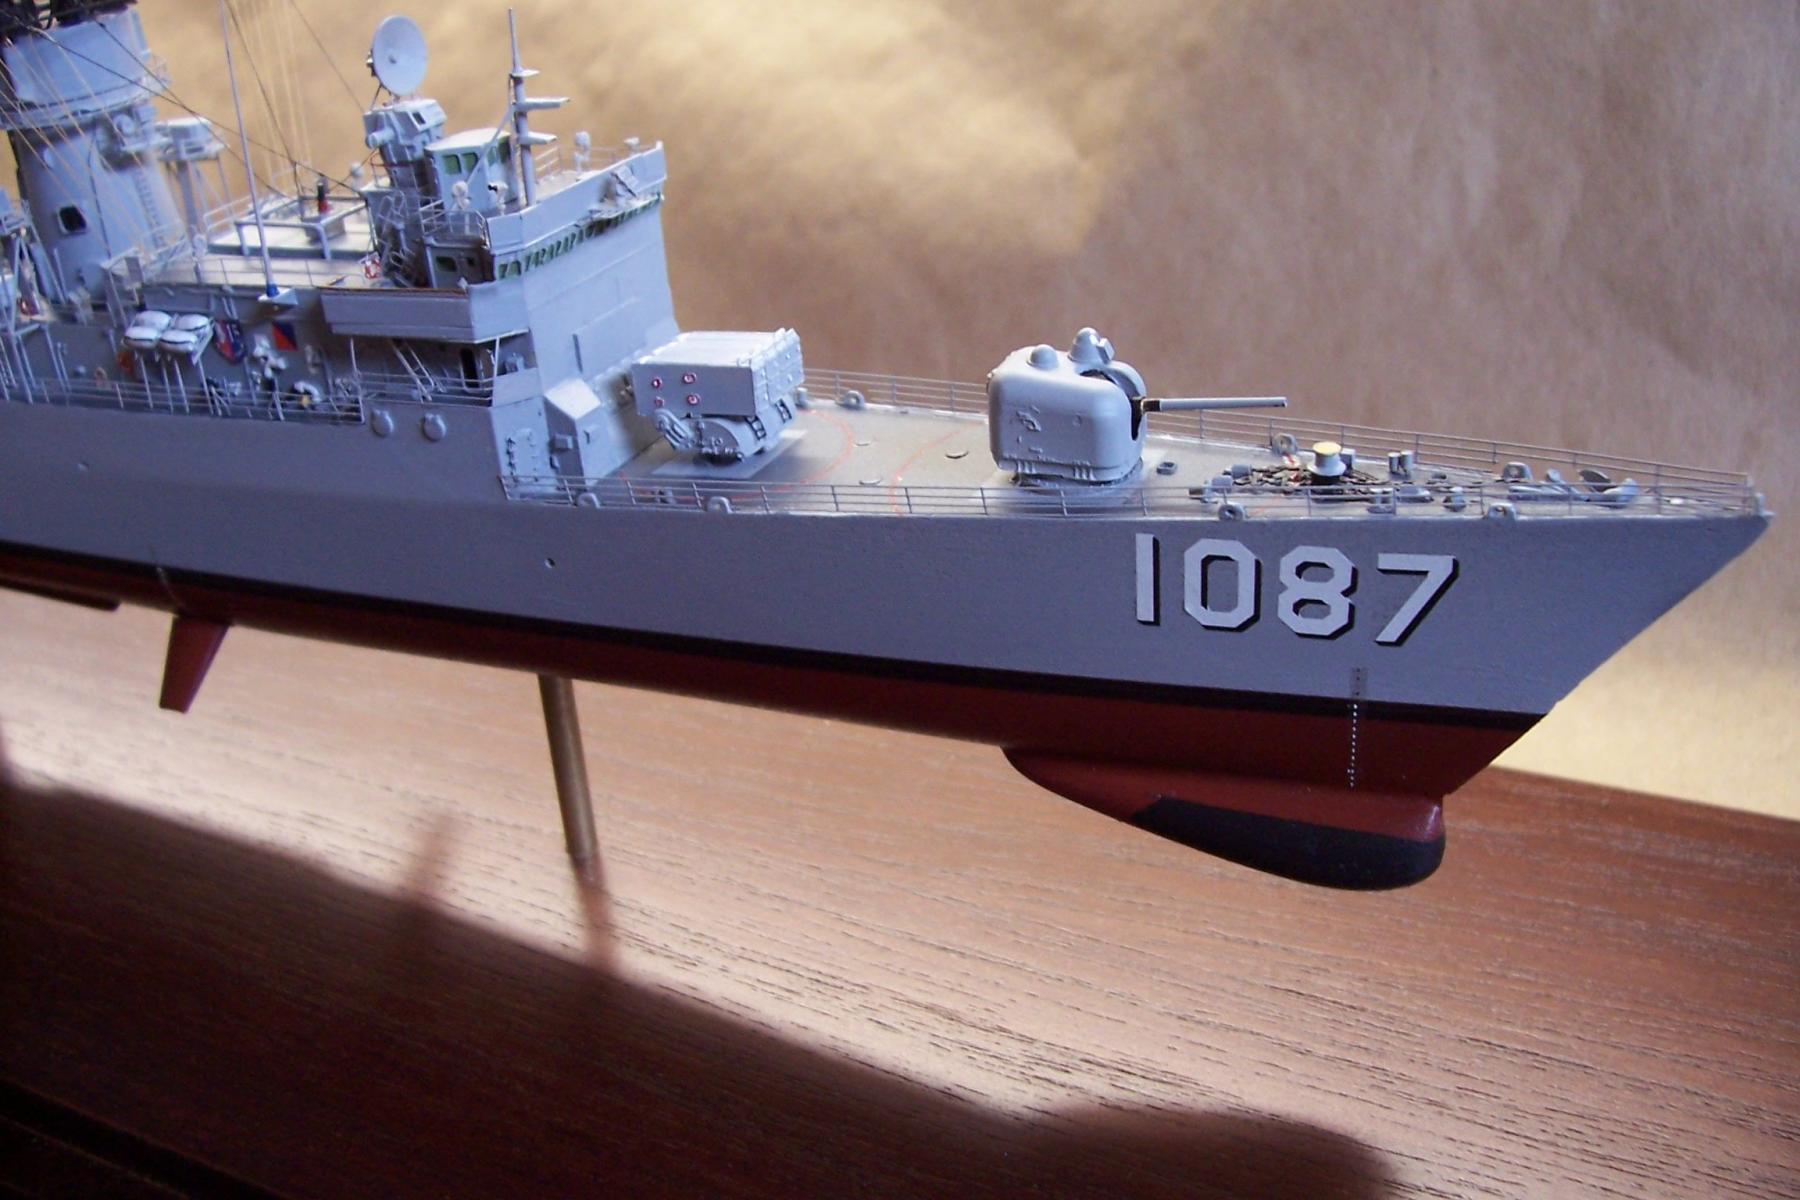
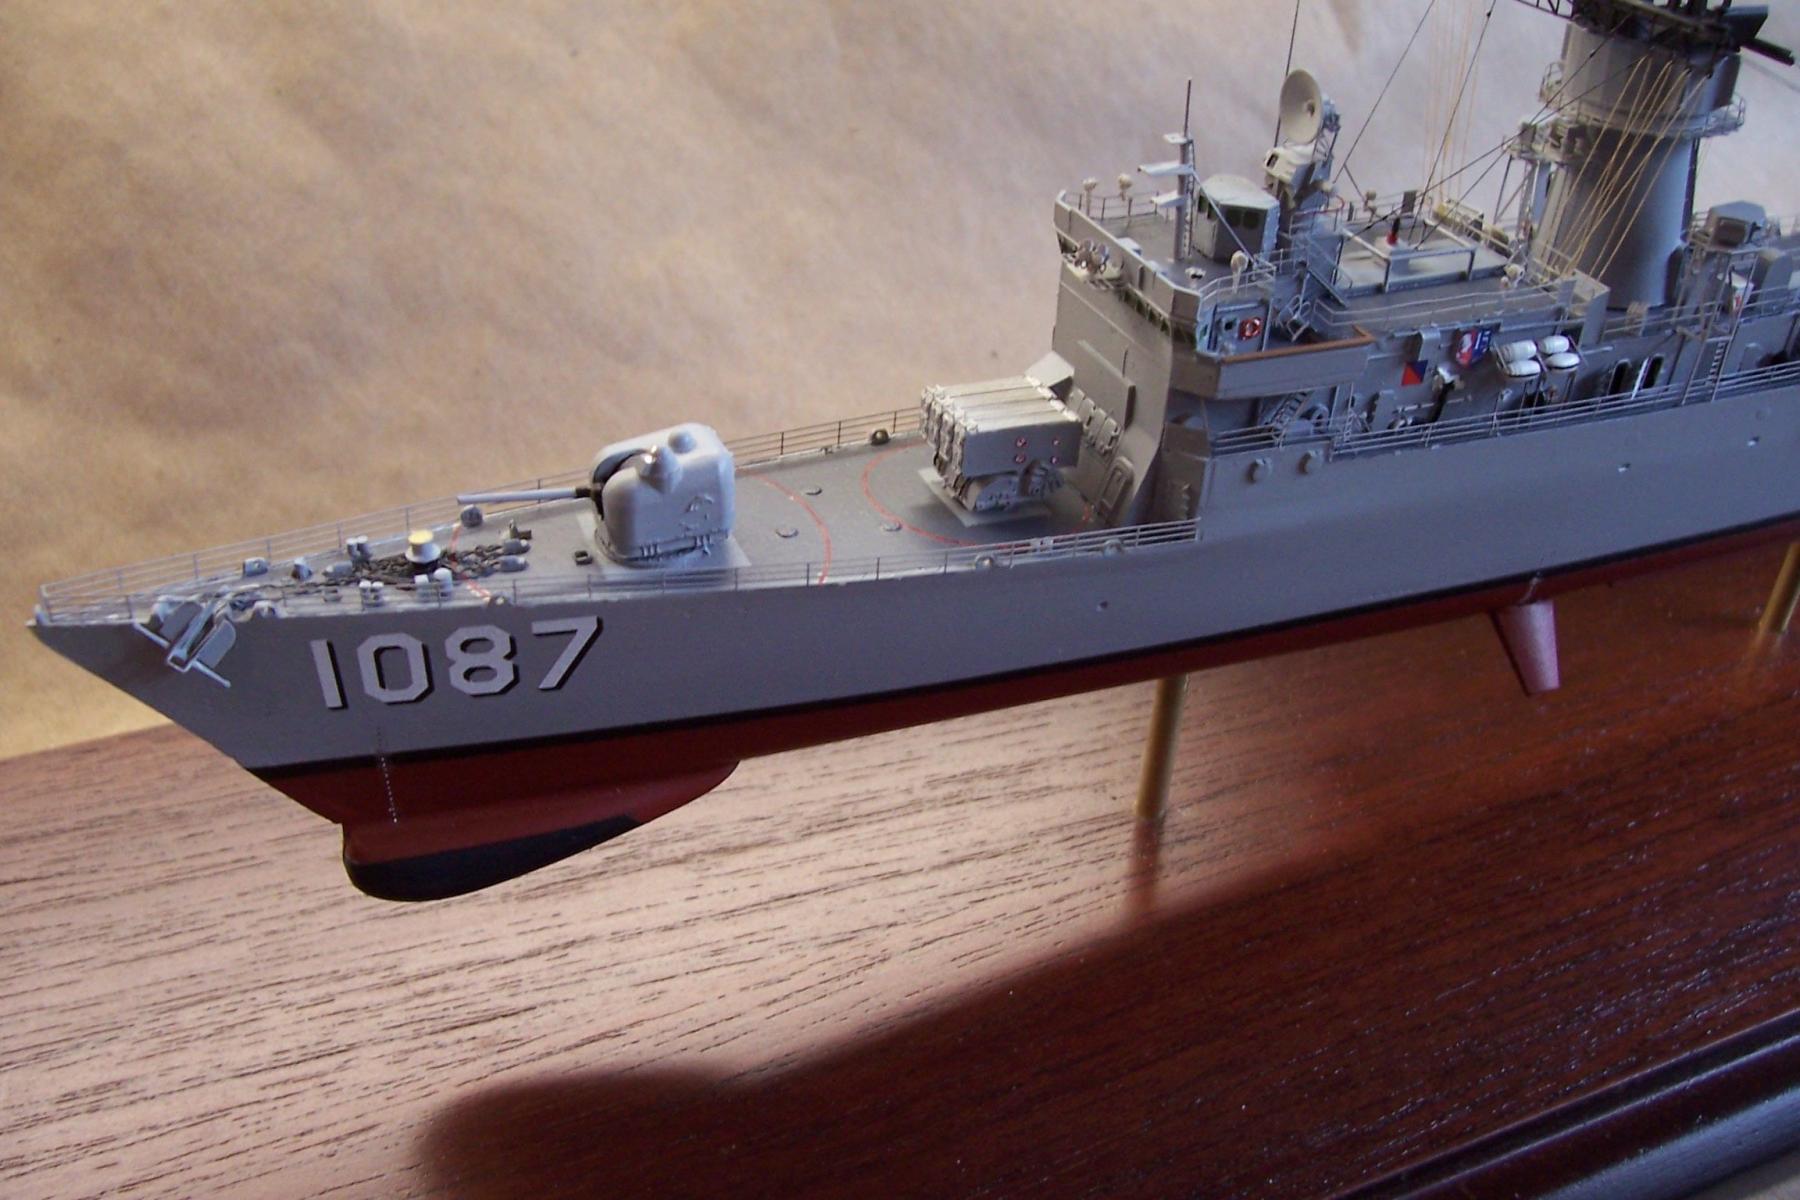
After adding the MACK, the rigging and the HF whip antennas this one is ready to go on the shelf. Time to get back to making sawdust on a wood model.


-
-
-
Dgbot, you're right, their kit is of the Jeremiah O'Brian, I'm going to modify the kit to reflect the Stephen Hopkins. The only differences between the two ships were the guns they carried. The BJ kit has what probably 90% of the Liberty ships carried. As one of the earliest Liberties launched, the Hopkins was fitted out with whatever could be scrapped together so I will have to scratch build the 4-inch gun, 2 37-mm AA guns, and modify the kit-supplied 20-mm guns into 50-cal guns. These are relatively small details, for all the big stuff like hull, superstructure and cargo booms the 2 ships were identical.
-
Liberty Ship SS Stephen Hopkins - BlueJacket Shipcrafters - 1/192 scale
Kit Contents

Although this kit has been in the BlueJacket inventory for quite a few years, it was updated just a couple of years ago to take advantage of new technologies and materials.
Difficulty Rating
BJ uses a 1-9 ranking to help customers figure out if a kit is within their skill level. They rank this kit “8” with the elaboration:
“Construction experience with more complex kits is helpful.”
I would not recommend this kit for a first time build mainly because the instructions tell, and sometimes show, WHAT to do but not always HOW to do it because prior experience is assumed. If you are interested in trying this kit I recommend you call Bluejacket and have a talk with them about your previous builds, they may recommend a simpler (and less expensive) solid hull kit to get you up to speed.
Instruction Book
The 28-page instruction book contains:
- a list of recommended tools (just simple had tools, nothing most folks would not have on hand)
- recommended construction sequence with explanatory sketches
- a parts list that should be used to inventory the kit on arrival (mine had everything)

Plans
3 sheets of plans show the ship in both plan and view, fore or aft views of sub-assemblies where needed, rigging plan, and multiple copies of the hull lines which you cut out and glue to cardboard as templates for shaping the hull.

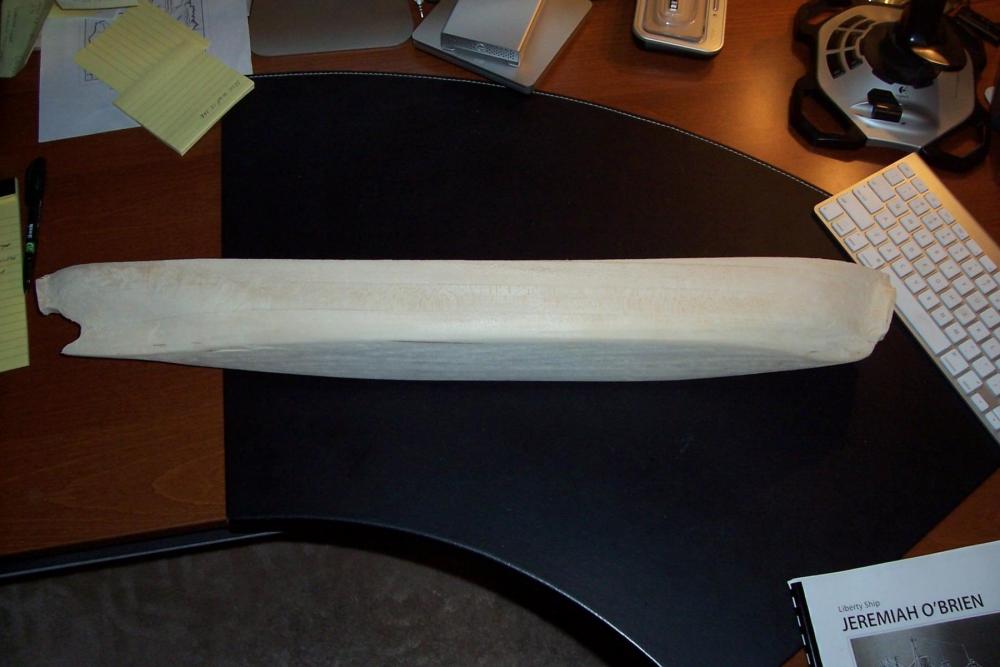
Hull
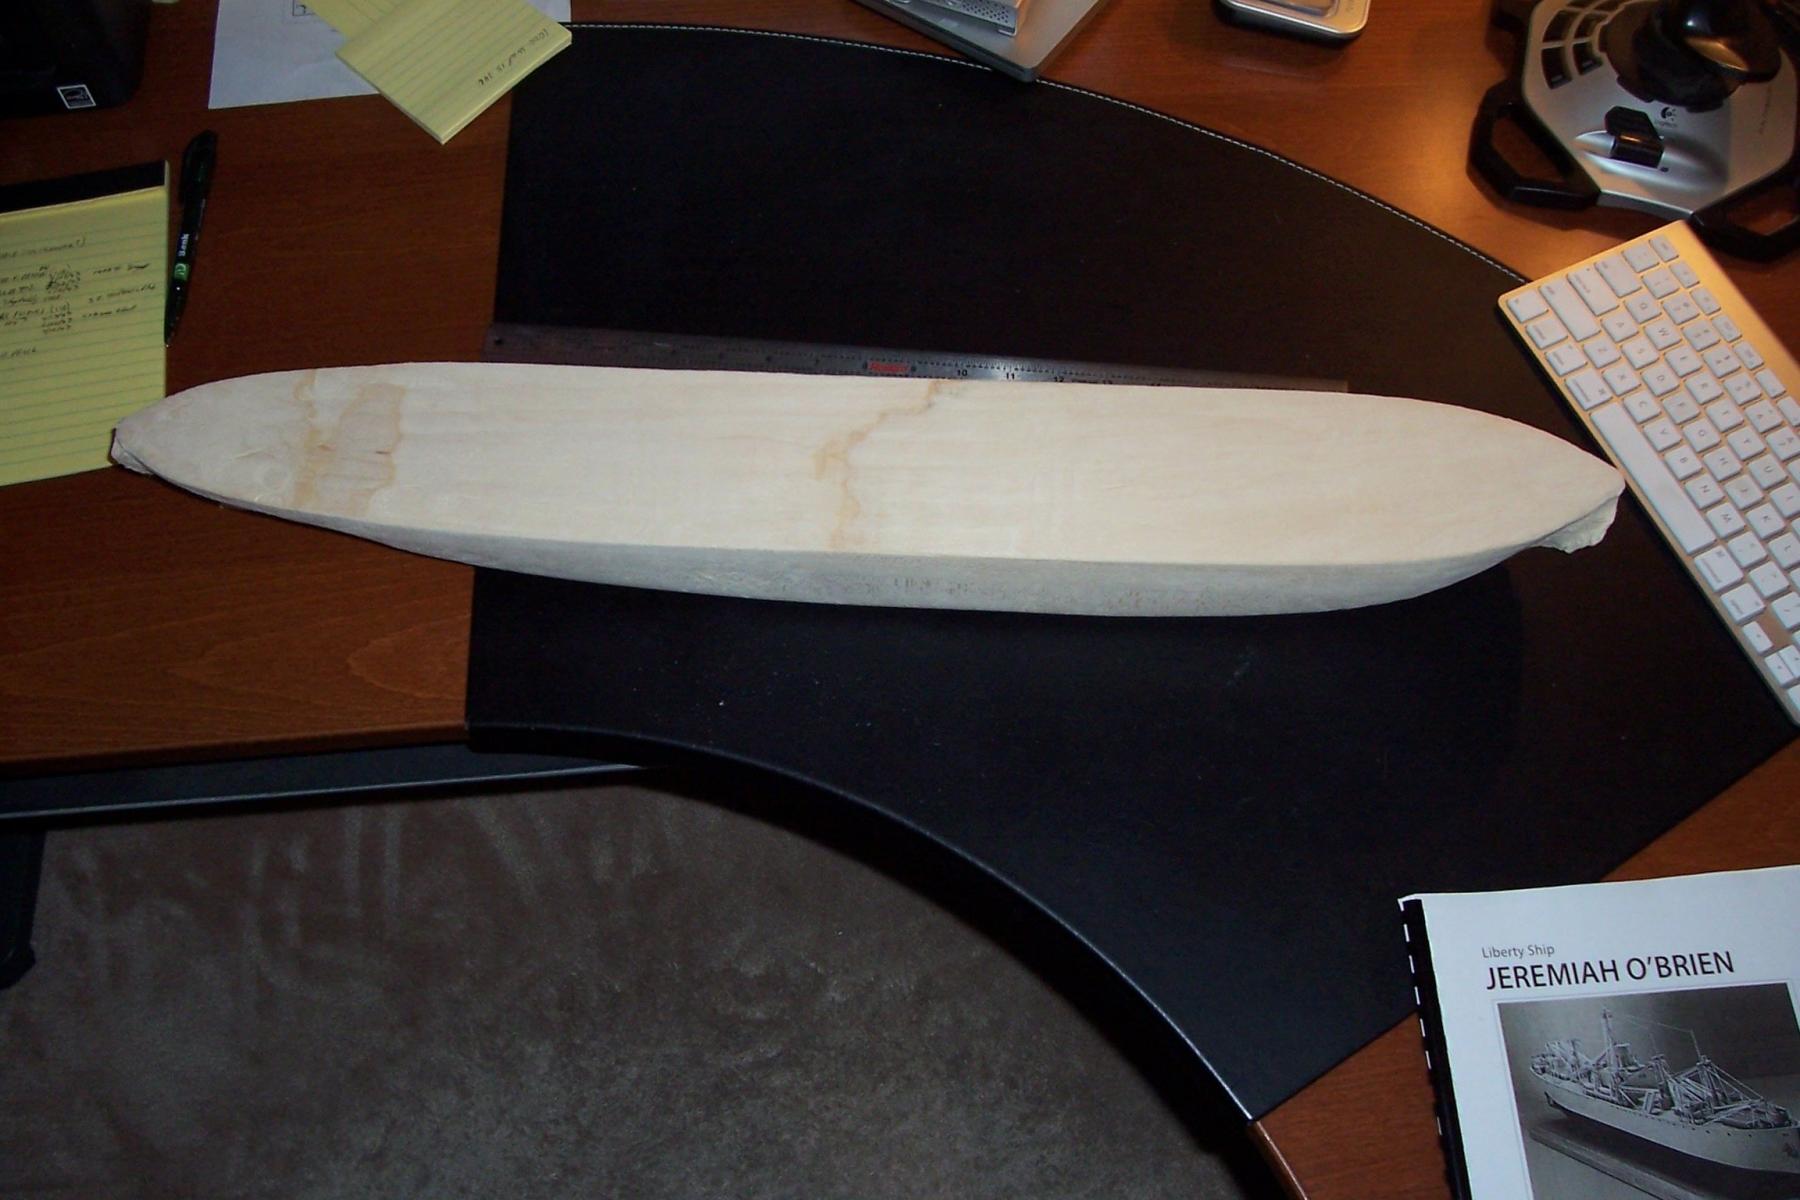
When I opened the kit the hull was wrapped in brown paper, I left it wrapped and put it aside while I looked at the plans. Looking at the stern area I thought “How am I going to shape the rudder area???!!!” since the rudder post sits on a integral projection of the hull that looked complicated to bring out. Fortunately when I got around to unwrapping the hull I found the rudder rest already carved.
The basic hull shape and dimensions are in place. There are machining plugs at the bow and stern which are easy to remove, after that it is just a matter of sanding the hull until the templates for each station fit properly. The hull is 27.5 inches in length.

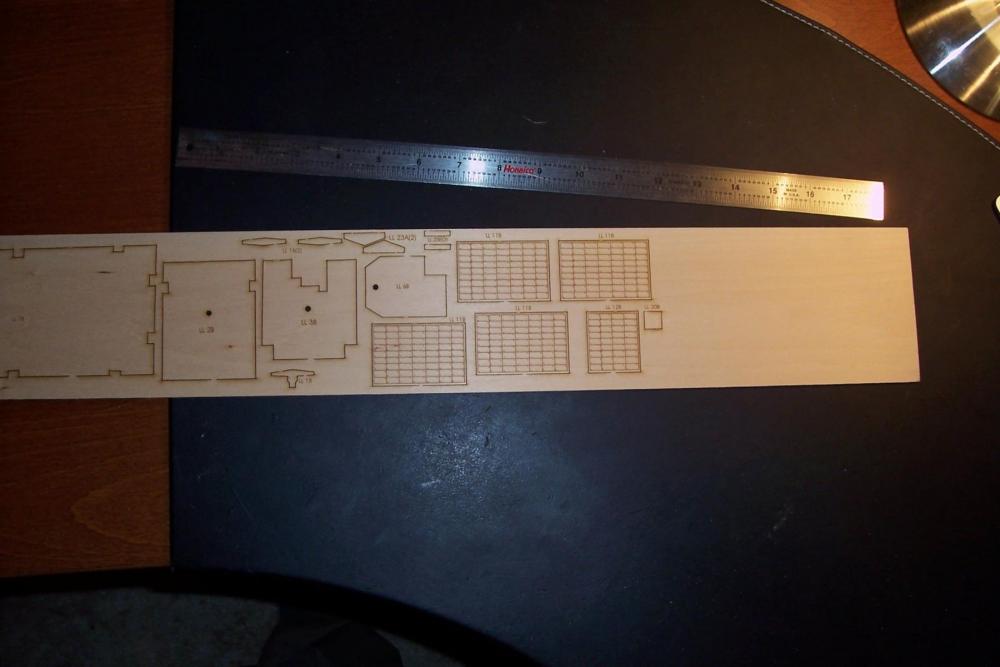
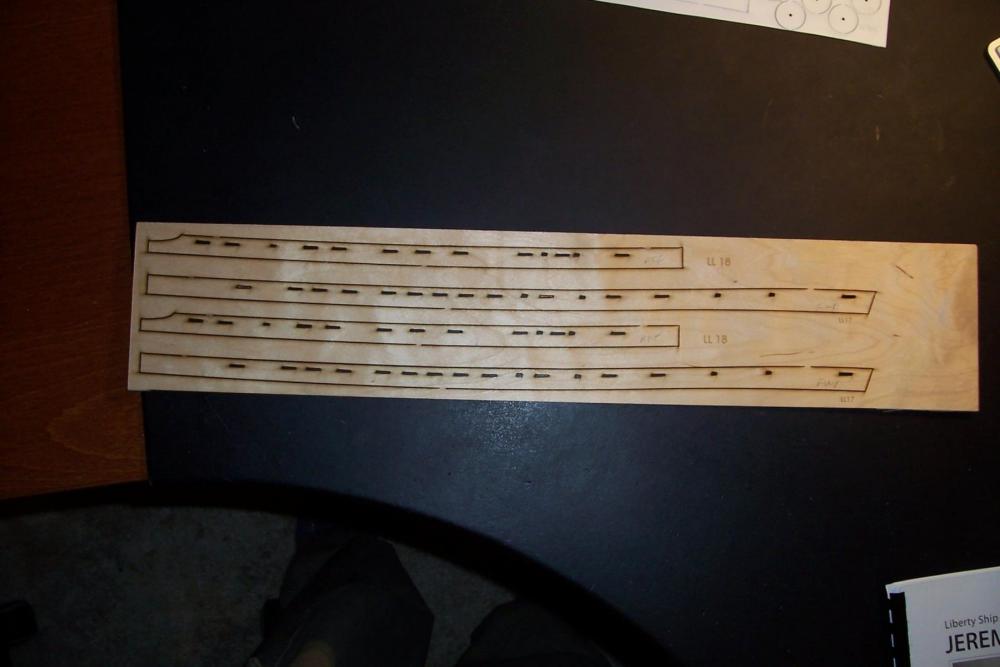
Laser Cut
One of the updates to the kit involved more use of laser cut wood. In addition to the expected pieces which are stacked to construct the deckhouses there were several pleasant surprises. Although the printed catalog photo of the finished kit do not show them, there are now etched hatch covers showing all the individual hatch covers. After discovering this I’ll be leaving most of the hatches uncovered and even trying to open a couple of them up. Another nice surprise was the bulwarks. I don’t know if they were always in the kit but I had assumed that like many solid hull kits with bulwarks I would have to carve down the deck leaving the bulwarks as a thin “fence” around the deck. On a model of this size that’s a lot of wood and I am a poor hand with chisels - I might as well use a chainsaw since it would be quicker and no worse than my chisel work. Fortunately the kit provides the bulwarks, with the scuppers in place (there are a ton of them). The bulwarks are simply attached to the deck edge along a rabbet. The last surprise is that thin facing pieces with portholes in place are provided to cover the exterior of the deck house. Drilling portholes has always been my bane, I either get tear-outs or have 1 or 2 that are out of line with the rest of them, now I don’t have to worry about that.
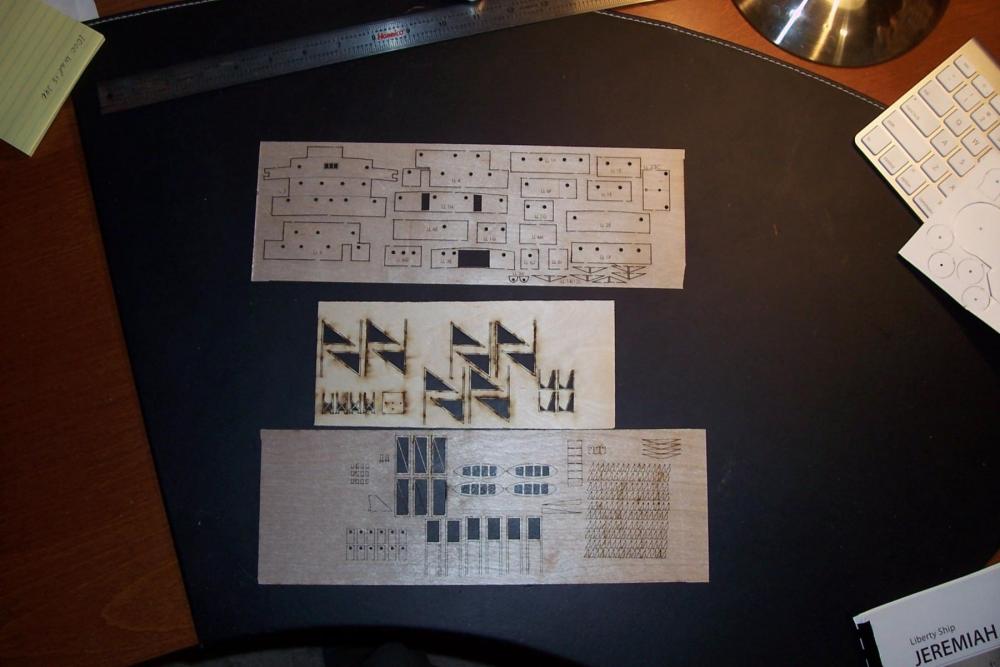
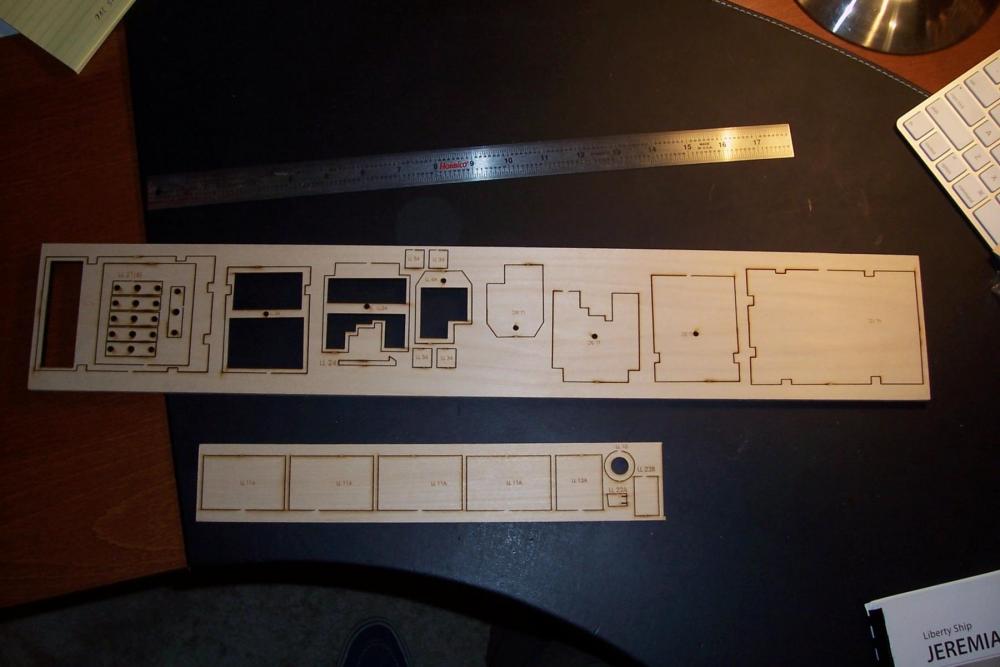
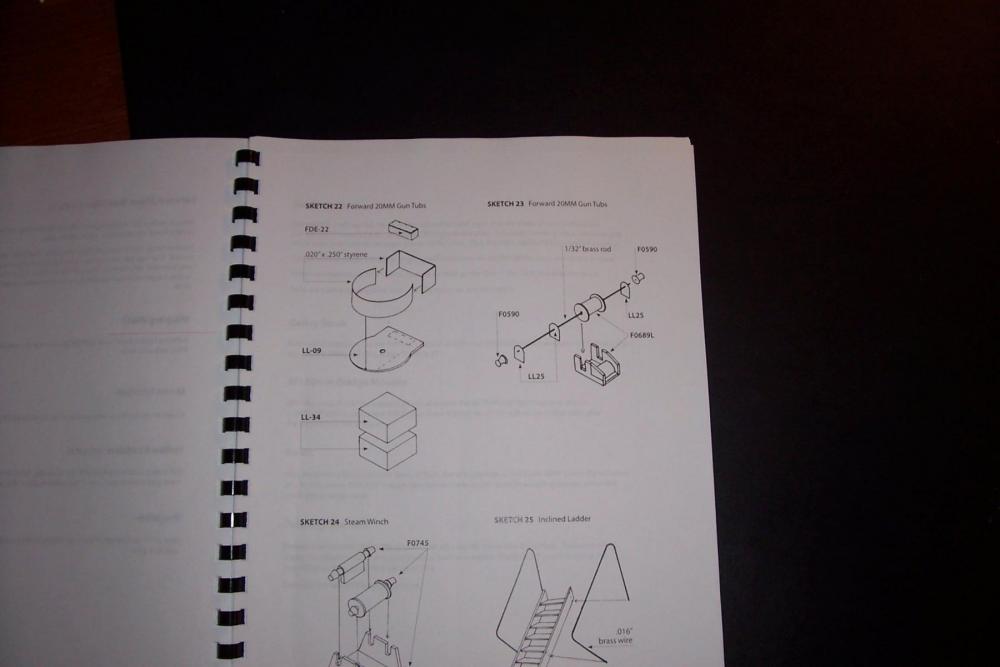
There is also a sheet of laser cut plastic for gun tubs and other fittings.
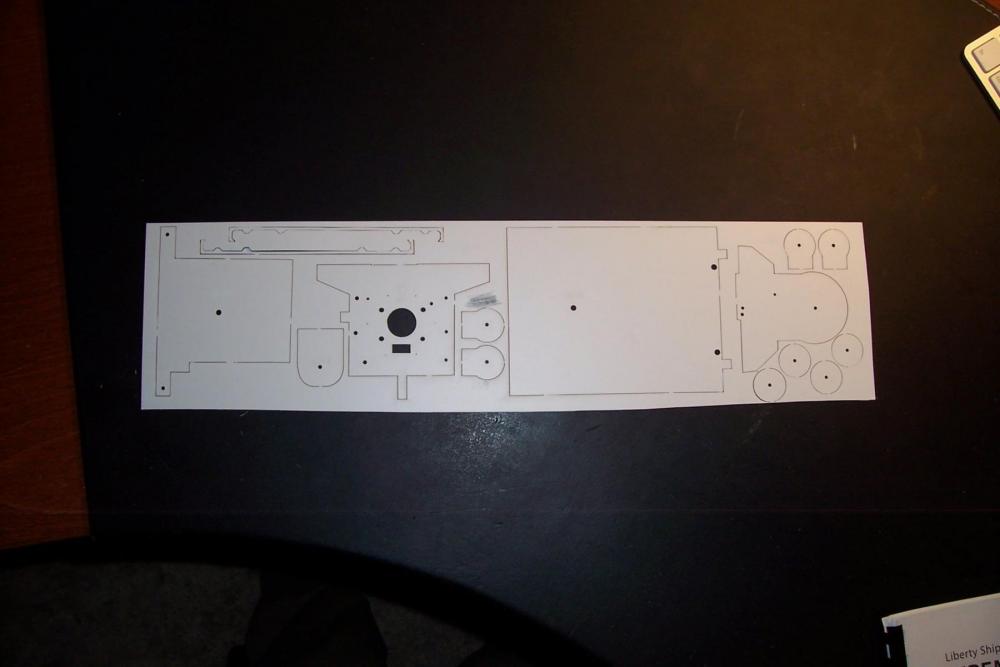
Photo Etch
There is just a little PE supplied with this kit which is not surprising - it is used for delicate parts and there was nothing delicate about Liberty ships. Having just finished a 1/350 scale USN frigate with hundreds of tiny PE parts it will be nice to get away from that stuff for a while.
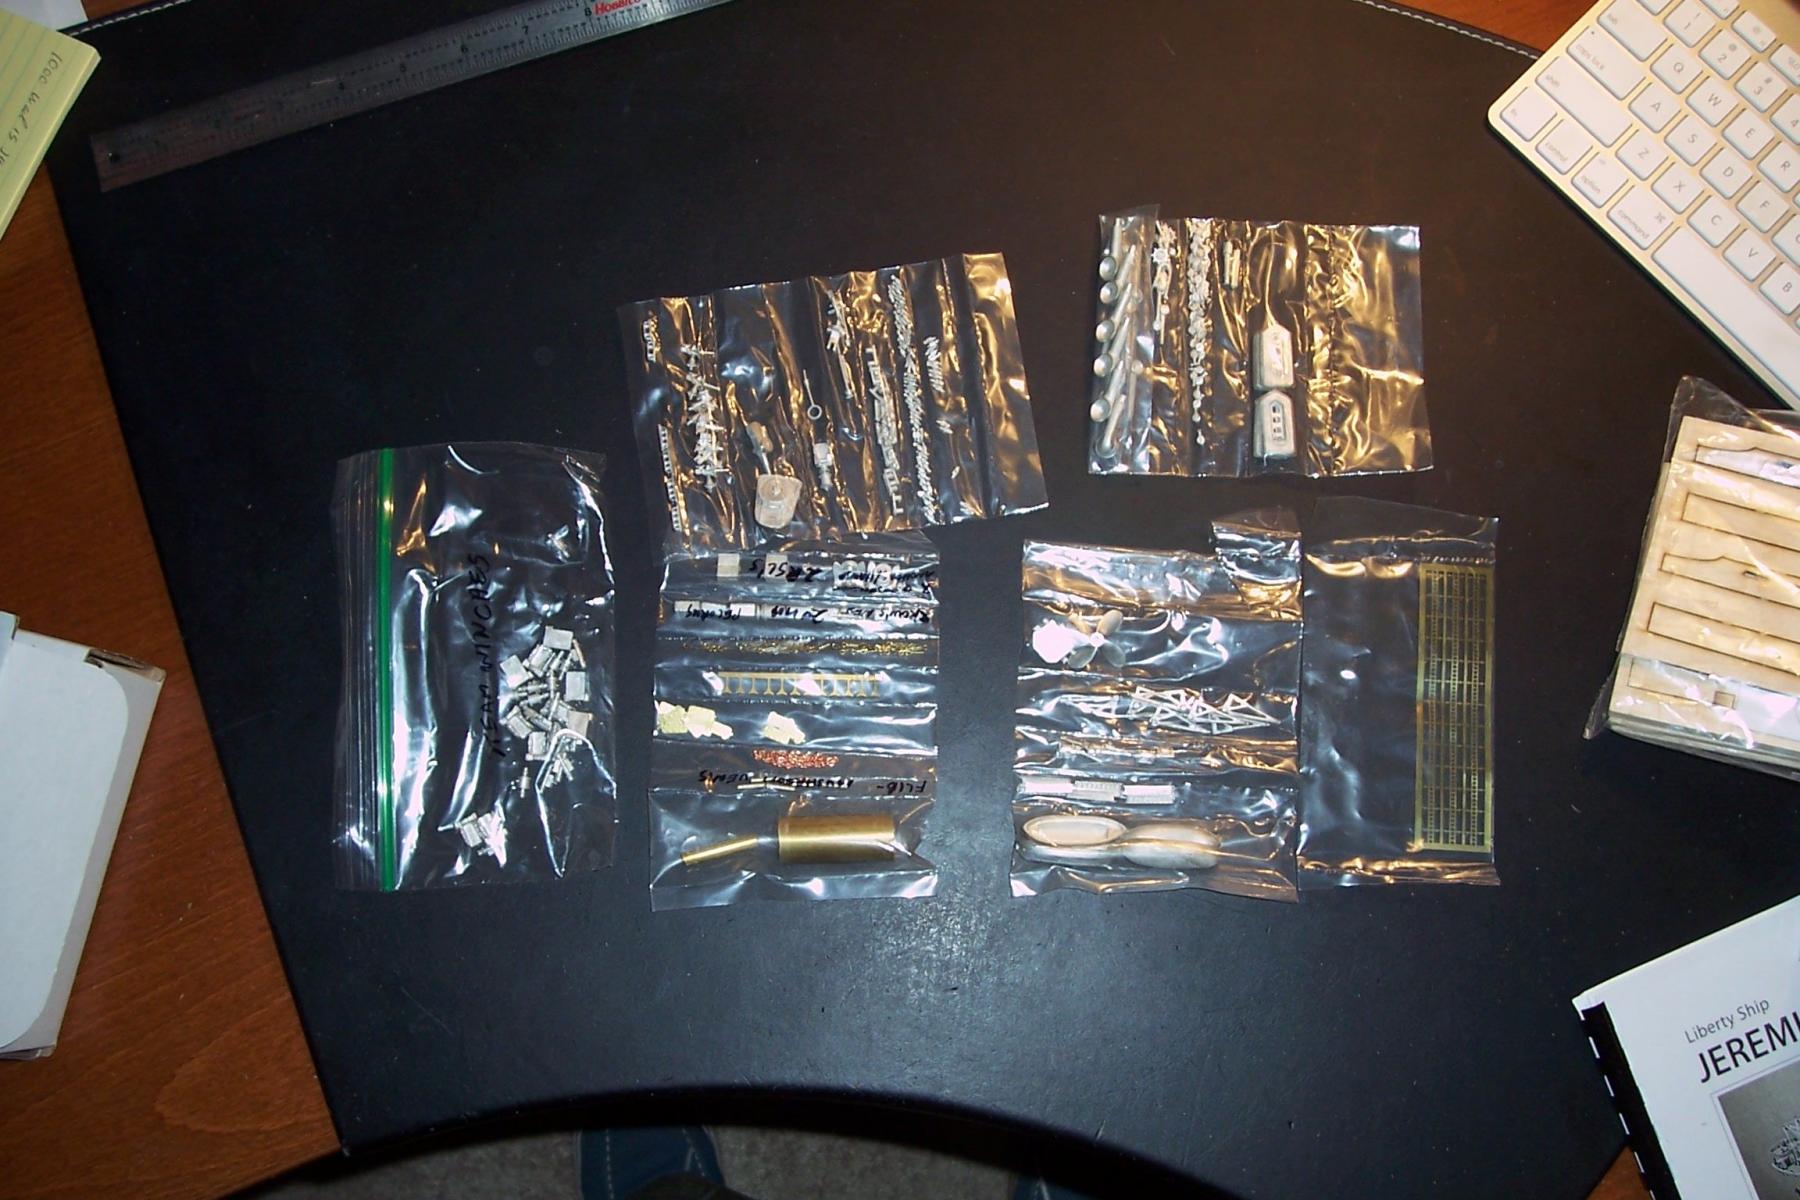
Brittania Metal Fittings
There are quite a few Brittania and brass metal fittings provided, all of them well cast and largely free of flash. This kit does not have any resin fittings.

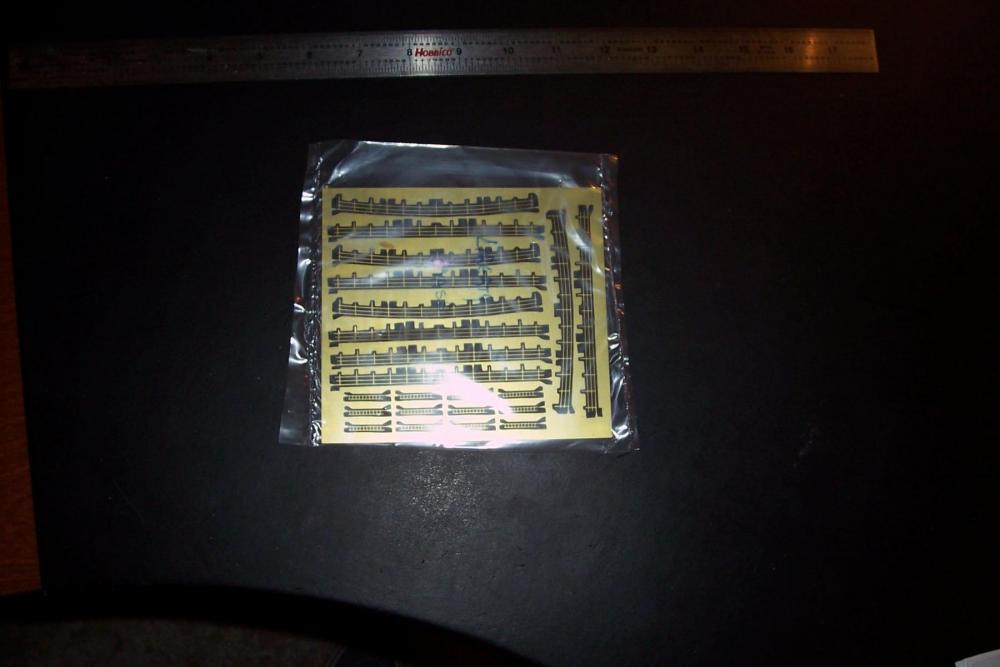
Misc. Parts
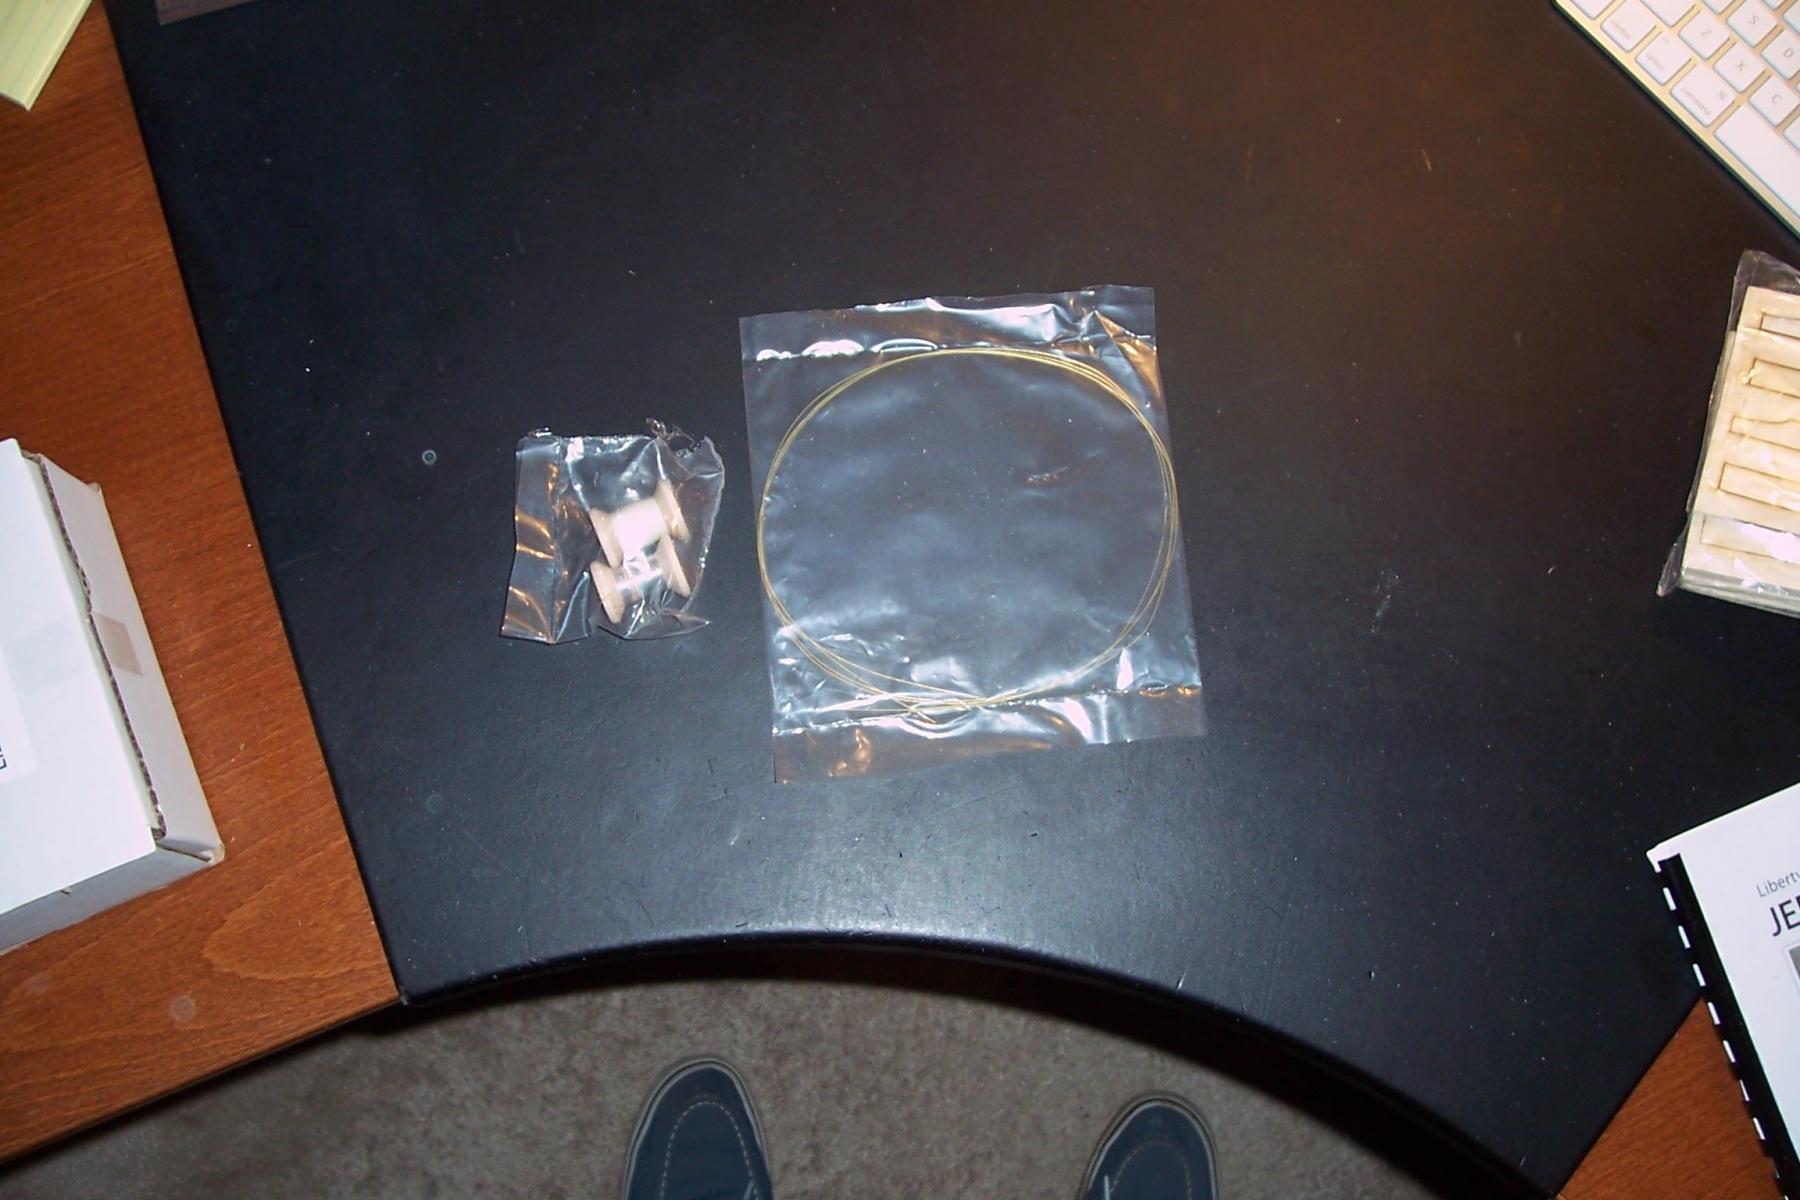
There are wood dowels, wire, brass rod for fabricating parts and a sheet of rub-on letters specific for the Jeremiah O’Brian, and rigging thread.
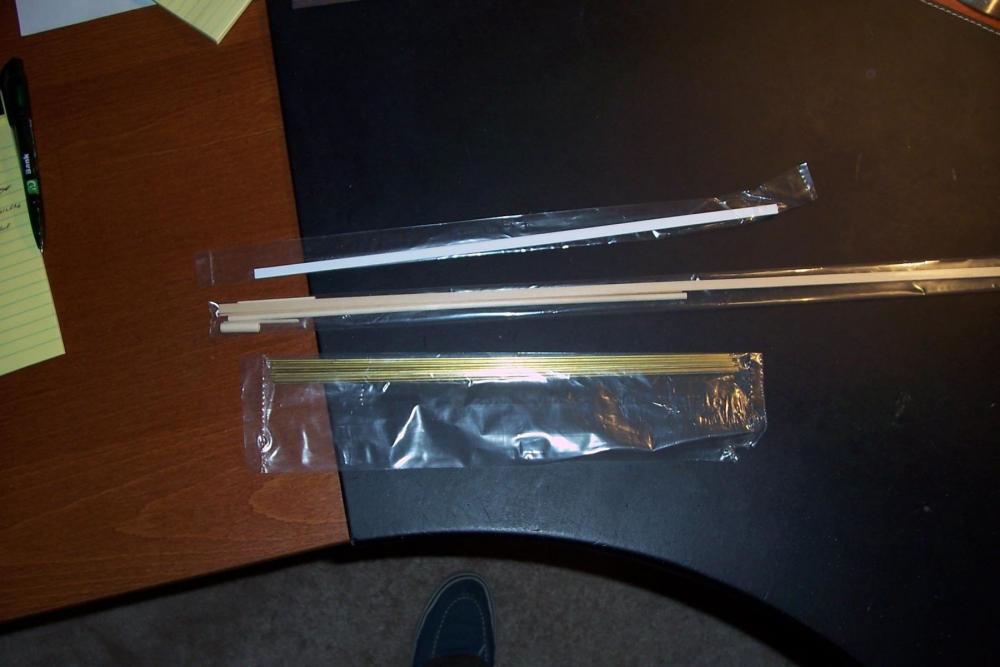

All told, it looks like there is everything needed for a nice model.
- texxn5, dgbot, Captain Slog and 12 others
-
15
-
Dgbot - This will be a solid hull, it comes from Bluejacket about 85% to shape so it it just a matter of sanding it to final shape and dimensions, I will post a photo of the hull and other kit parts soon.
Piet & Brian - welcome aboard, kit pictures to follow
Robin b - I think you are referring to the USS Belinda, which was a fictional troop transport from the book and movie "Away all boats." I enjoyed both. This ship will look similar but smaller and without all the landing craft.
-
-
Al, Here's what I was able to find about your father's ships, hope it helps:
SS Sahale
1) Looks like you can get a photo from the Army Heritage and Education Center at:
http://usahec.contentdm.oclc.org/cdm/ref/collection/p16635coll20/id/80714
2) mentioned in article about racial problems in 1942 at https://news.google.com/newspapers?nid=2211&dat=19420411&id=Bh0mAAAAIBAJ&sjid=sv0FAAAAIBAJ&pg=4829,1171630&hl=en
3) Ship’s Purser decorated for heroism in Sept 42 at http://www.usmm.org/heroes.html
4) Reported near torpedoing at http://uboatarchive.net/ESF/ESFWarDiaryMar42APP4.htm
SS George F. Patten (note different spelling of last name)
1) listed in a USN convoy escort War Diary from Dec 1943 at:
https://www.fold3.com/document/270948074/
2) A local Mass newspaper with news from the troops in Jun 1945 mentions the ship as being in the Atlantic on pg 3 of the following (just above “Plummers News” at the following:
http://spindle.trajnet.com/resources/v3-8.pdf
3) From: http://ww2ships.com/acrobat/us-os-001-f-r00.pdf
Built at North East aShipbuilding Corp yard in Portland Me
Hull # 802
Laid down 3/29/1943
Launched 5/22/43
Completed 5/31/43
Completed Service Mar 1970
Scrapped
4) involvement in a 1951 lawsuit at:
SS Casimir Pulaski
1) from: http://ww2ships.com/acrobat/us-os-001-f-r00.pdf
Built at Southeastern Shipbuilding Corp in Savannah, Ga
Hull # 1053
Laid down 4/13/43
Launched 6/25/43/completed 7/16/43
Went to US Reserve Fleet at some point
2) probably a photo of the ship at https://www.jstor.org/journal/georhistquar
3) Included in a Merchant Marine officer’s memoirs at: https://books.google.com/books/about/The_Memoirs_of_a_Seagoing_Soldier_in_Wor.html?id=jX84twAACAAJ
4) photos from a sailor who served on the ship in the Naval Armed Guard at:
http://www.armed-guard.com/nanni.html
SS Marine Devil
1) Not a Liberty, but a larger C4 ship, listed here:
https://en.wikipedia.org/wiki/Type_C4-class_ship
2) service mention at:
http://en.allexperts.com/q/Military-History-669/2011/6/dad-service-eto.htm
http://cbipage.tripod.com/c-home.html
http://www.45thinfantrydivision.com/index12.htm
3) Photo available on Google under “SS Marine Devil”
-
Hi Alde,
Believe me I know how hard it can be to find pix of individual ships. Have you tried Googling each ship's name with SS in front of it?
The attached URL lists all the ships and what ultimately happened to them but not their operational histories:
http://ww2ships.com/acrobat/us-os-001-f-r00.pdf
If you get a chance please post the names of his ships and I will see if I can find anything. Part of the problem I think is that although the government built the ships most of them where then turned over (leased maybe?) to individual shipping companies and the govt has no records thereafter.
I found a book "the Liberty Ships" by Sawyer and Mitchell on Amazon as a used book for a few bucks but it doesn't give much more info for most of the ships than what is in the website above. As far as finding out where each ship went during the war that would probably be a research nightmare, given that the Navy only cared about them when they were in a convoy (many sailed independently at times) and most shipping company records were probably tossed when they went out of business.
Tim
-
-
Welcome aboard BV,
Merchant Sailors like your dad were the unsung heroes of the war, especially those on the tankers.
- Piet, BLACK VIKING, mtaylor and 3 others
-
6
-
-


SS Stephen Hopkins by schooner - FINISHED - BlueJacket Shipcrafters - Liberty Ship
in - Kit build logs for subjects built from 1901 - Present Day
Posted · Edited by schooner
Cargo Hatches at final depth
The # 2 and # 4 cargo hatches are now at their final scale 10ft depth and a 1/16” deep rabbet has been added around the edges for the ply deck replacements to sit in.
The paper mockup resting on the deck gives some idea of how much of the interior will be visible. Since a little of the fore and aft bulkheads can be seen I will detail those with stiffeners, the sides on the hull are not visible so I won’t have to do anything there. The wood square on the deck is a placeholder for the Tween Deck hatch that I will make to match the main deck hatches.