HOLIDAY DONATION DRIVE - SUPPORT MSW - DO YOUR PART TO KEEP THIS GREAT FORUM GOING! (Only 20 donations so far - C'mon guys!)
×


dvm27
-
Posts
2,457 -
Joined
-
Last visited
Content Type
Profiles
Forums
Gallery
Events
Everything posted by dvm27
-
 That's a very interesting method of making gudgeons. Any problems where those corners meet? Seems like there's very little brass under the solder.
 -
A simple "like" won't do here Rusty. Congratulations on the completion of your exceptional build. I'd hardly call this a "kit" model but your choices in wood and finishes makes it unique.
- 642 replies
-
- 4
-

-
- winchelsea
- Syren Ship Model Company
- (and 1 more)
-
Next NRG Conference
dvm27 replied to YankeeClipper's topic in NAUTICAL RESEARCH GUILD - News & Information
I agree with Roger with regards to a regular NRG meeting in Mystic (or Newport News or Annapolis). But to be fair I would think it could alternated with a West Coast NRG meeting. If memory serves me well all the largest NRG meetings I've attended have been on either coast. Perhaps not fair to our interior members but we need to attract as many members as possible to our annual meeting. -
I think this would be a simple detail to add. After all don't most kits require shaping the mid/keel section to a bearding line? But the problem I foresee is that the tapering goes across the part of the stem where the figurehead sits and any reduction of this area would lead to a loose fit of the figurehead.
-
I do it mostly side to side. This keeps both sides parallel athwartships and prevents gouging on one side. It is essential that the tops of the frames are parallel or the plankshears (top rails) will cant in or out. Until I get very close to final dimension I usually pin one side of the sanding stick with my thumb and swivel sand the opposite side over a couple of inches. Then repeat in reverse. Sneak up to the line with 120 grit then finish with 180 grit. You'll notice that the char is gone on Chucks forecastle and QD toptimbers and this is a pretty good indication that it is fair.
-
Congratulations Chuck on achieving this milestone! For fairing the toptimber line the sanding sticks are invaluable to insure the line is fair both at the top and athwartships. It's very hard to far the line when just working on one side at a time. I use 8 inch or so sanding sticks with 120 and 180 grit glued on and sand across the ship keeping a careful line on the toptimber line on each side as I go. I use much smaller widths near the hances.
-
Look's terrific Mark. When you are fairing the deck if you add a little white glue into the joints those small gaps will disappear. I don't do a lot of full sized carpentry but I believe it's standard practice to cut the dovetail first then the recess for it. Much easier to trim the joint to receive the dovetail.
-
And they're generally unrigged as well. Even then they knew what a pain in the **** it was to rig cannons. I also like the decorative red feature on the barrels of this model. Is this modelers fancy or were they painted n actual ships cannons as well?
-
You've produced a beautiful hull, Chuck. For those nervous Nellies such as you and I it wouldn't hurt to add small spacer insets between the top of the frames with PVA. Once the hull is faired and a clamp added they can be removed with isopropyl alcohol.
-
Had a similar problem until, after positioning as you have done, I painted them with a diluted white glue solution and placed a weight against the bottom, This holds the bent over lower part in position while the glue sets.
- 113 replies
-
- 2
-
-
- Cheerful
- Syren Ship Model Company
- (and 1 more)
-
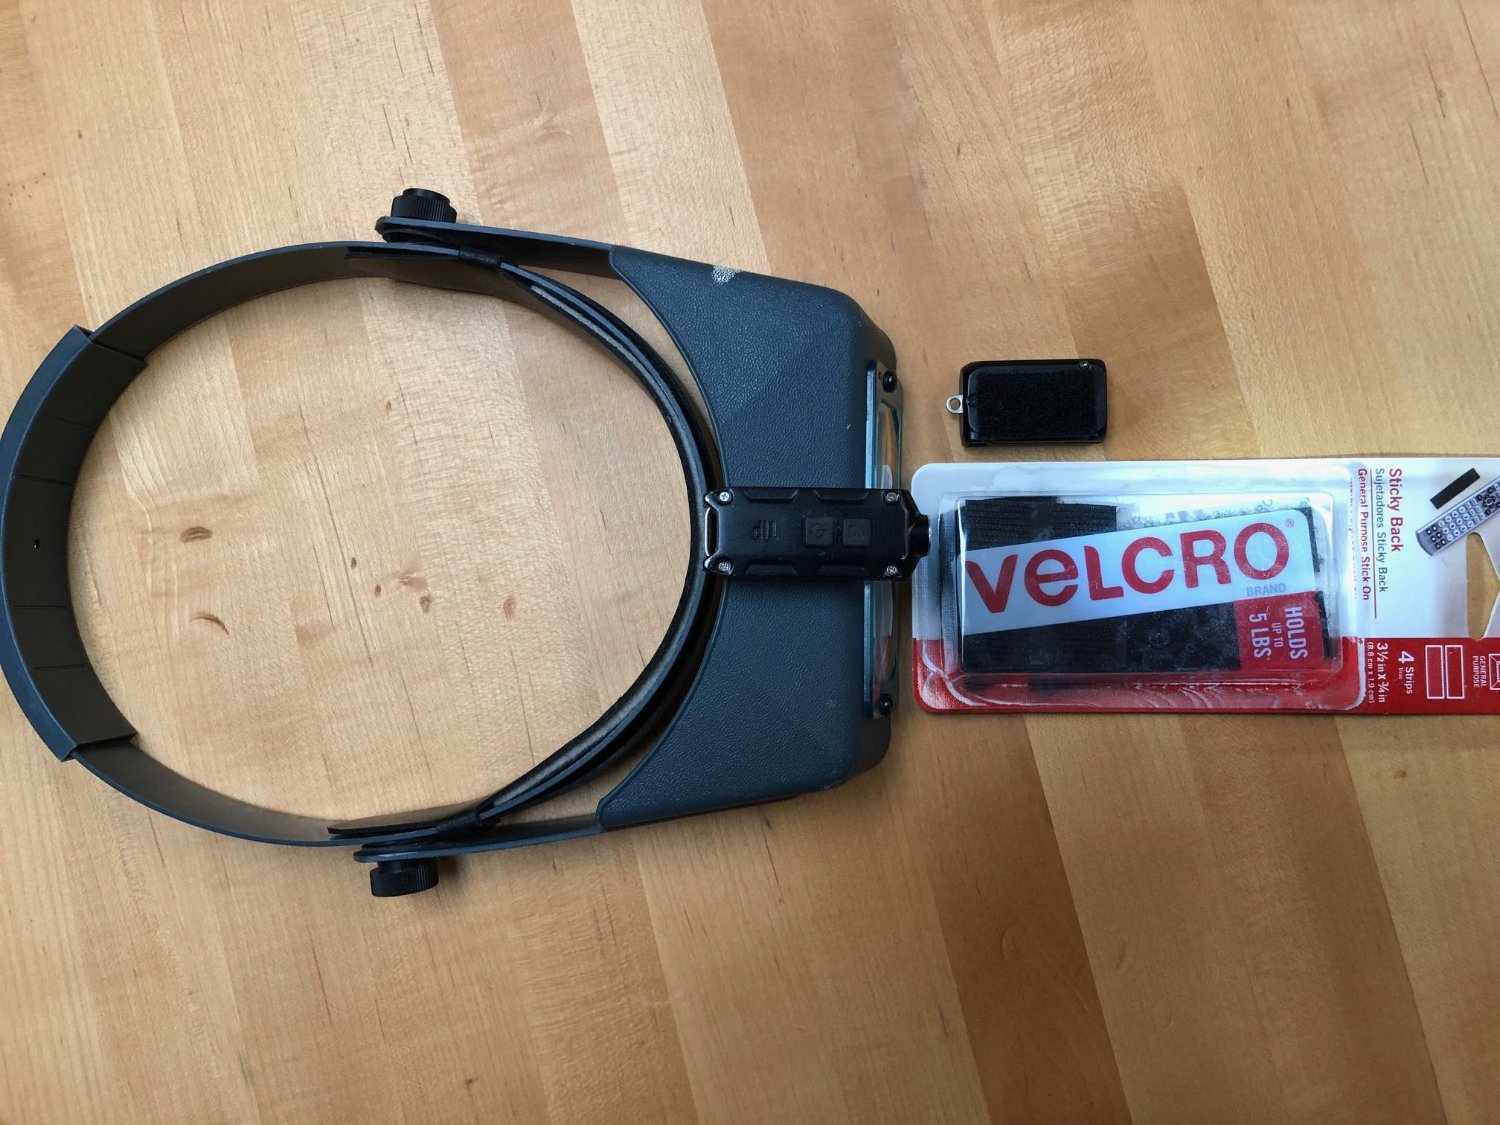
No need to wait Allan. The Velcro has a sticky part which gets mounted to the visor and the clingy part which is adhered underneath the light. Light is perfectly centered and weighs next to nothing.

-
I use mini LED keychain lights. They're lightweight and rechargeable. I just use Velcro to secure them to the top of my Optivisor. This keeps the beam centered on my work. Of course I have two, so one is always charging. - https://www.amazon.com/WUBEN-G2-Flashlight-Rechargeable-Brightest/dp/B09WY6WBD5/ref=sr_1_3_sspa?crid=25X8AWG6AVDIM&keywords=mini%2Bled%2Bflashlights%2Busb%2Brechargeable%2Bsmall%2Bkeychain%2Bflashlight&qid=1681702648&sprefix=mini%2Bled%2Bflashlights%2Busb%2Brechargeable%2Caps%2C120&sr=8-3-spons&spLa=ZW5jcnlwdGVkUXVhbGlmaWVyPUEzRVQ3OVg2RThLMzlZJmVuY3J5cHRlZElkPUEwMDE5MDUzMlJIRVBaRTFFUjhGQyZlbmNyeXB0ZWRBZElkPUEwNjk2MTIwMk9CUTBJSEMxQVA2TSZ3aWRnZXROYW1lPXNwX2F0ZiZhY3Rpb249Y2xpY2tSZWRpcmVjdCZkb05vdExvZ0NsaWNrPXRydWU&th=1
-
HMS EURYALUS by Matiz - FINISHED - scale 1:56
dvm27 replied to matiz's topic in - Build logs for subjects built 1801 - 1850
Your pictures are literally worth a thousand words but we'll make do with "Hi". Perhaps someone could point us to another forum where you describe some of these construction techniques. Auto-translate works pretty good these days. -
I'm wondering if the top over bottom feature of the upper center pane has actually fallen off the original model? I'm thinking the upper lip feature should look identical to the outer panes as in the central light of the larger ship. To me the center pane appears to be missing the outer portion. Perhaps it was sandwiched and fell off? What do you think David? My holly is toning down after all these years and I prefer it now over the starker white. But the use of ivory in some of these models is well documented so you can't go wrong either way. Just a matter of taste. Fabulous work Chuck!
-
Amongst the many things I've learned from your excellent log is to rig as much of the yard as possible before installing on the model. This takes some serious study and planning! additionally, worming the rope before serving really makes a difference visually and I suspect make the rope easier to work with afterwards.
-
first class work as always. What did you use to set the footropes in position? Dilute white glue, shellac or some other medium?
- 589 replies
-
- 1
-
-
- le gros ventre
- cargo
- (and 1 more)
-
If you glue a small sacrificial piece behind the wood to be thicknessed you will eliminate kickback.
-
Here is a link to the video he made for his Speedwell. It's...impressive!
-
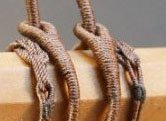
Thanks for the illustration Johann but actually I was referring tp these beautiful eye splices )on the two larger trusses segments)
-
How about the secret to those beautiful served truss eye splices? I assume you angle cut the served end to form the eye then seize over it? Mine look a lot clumpier.
-
The care you take with every detail is evident in the overall photos. The appearance of perfection only occurs if every sub-assembly meets very high standards. You're building a beautiful model!
-
Looking really good! Cross-sections require minimum tools so hopefully you can proceed without a full workshop.
-
Spectacular, Keith! May your model remain dust free for eternity as that dark wood attracts dust like a magnet.
-
Perfectly understandable Johann. Such a simple solution as well!