dvm27
-
Posts
2,468 -
Joined
-
Last visited
Content Type
Profiles
Forums
Gallery
Events
Everything posted by dvm27
-

HMS Enterprise by AlexBaranov - 1:36
dvm27 replied to AlexBaranov's topic in - Build logs for subjects built 1751 - 1800
Another beautiful model on the stocks, Alex. I don't notice a rabbet. Are you planking with veneered stock? -
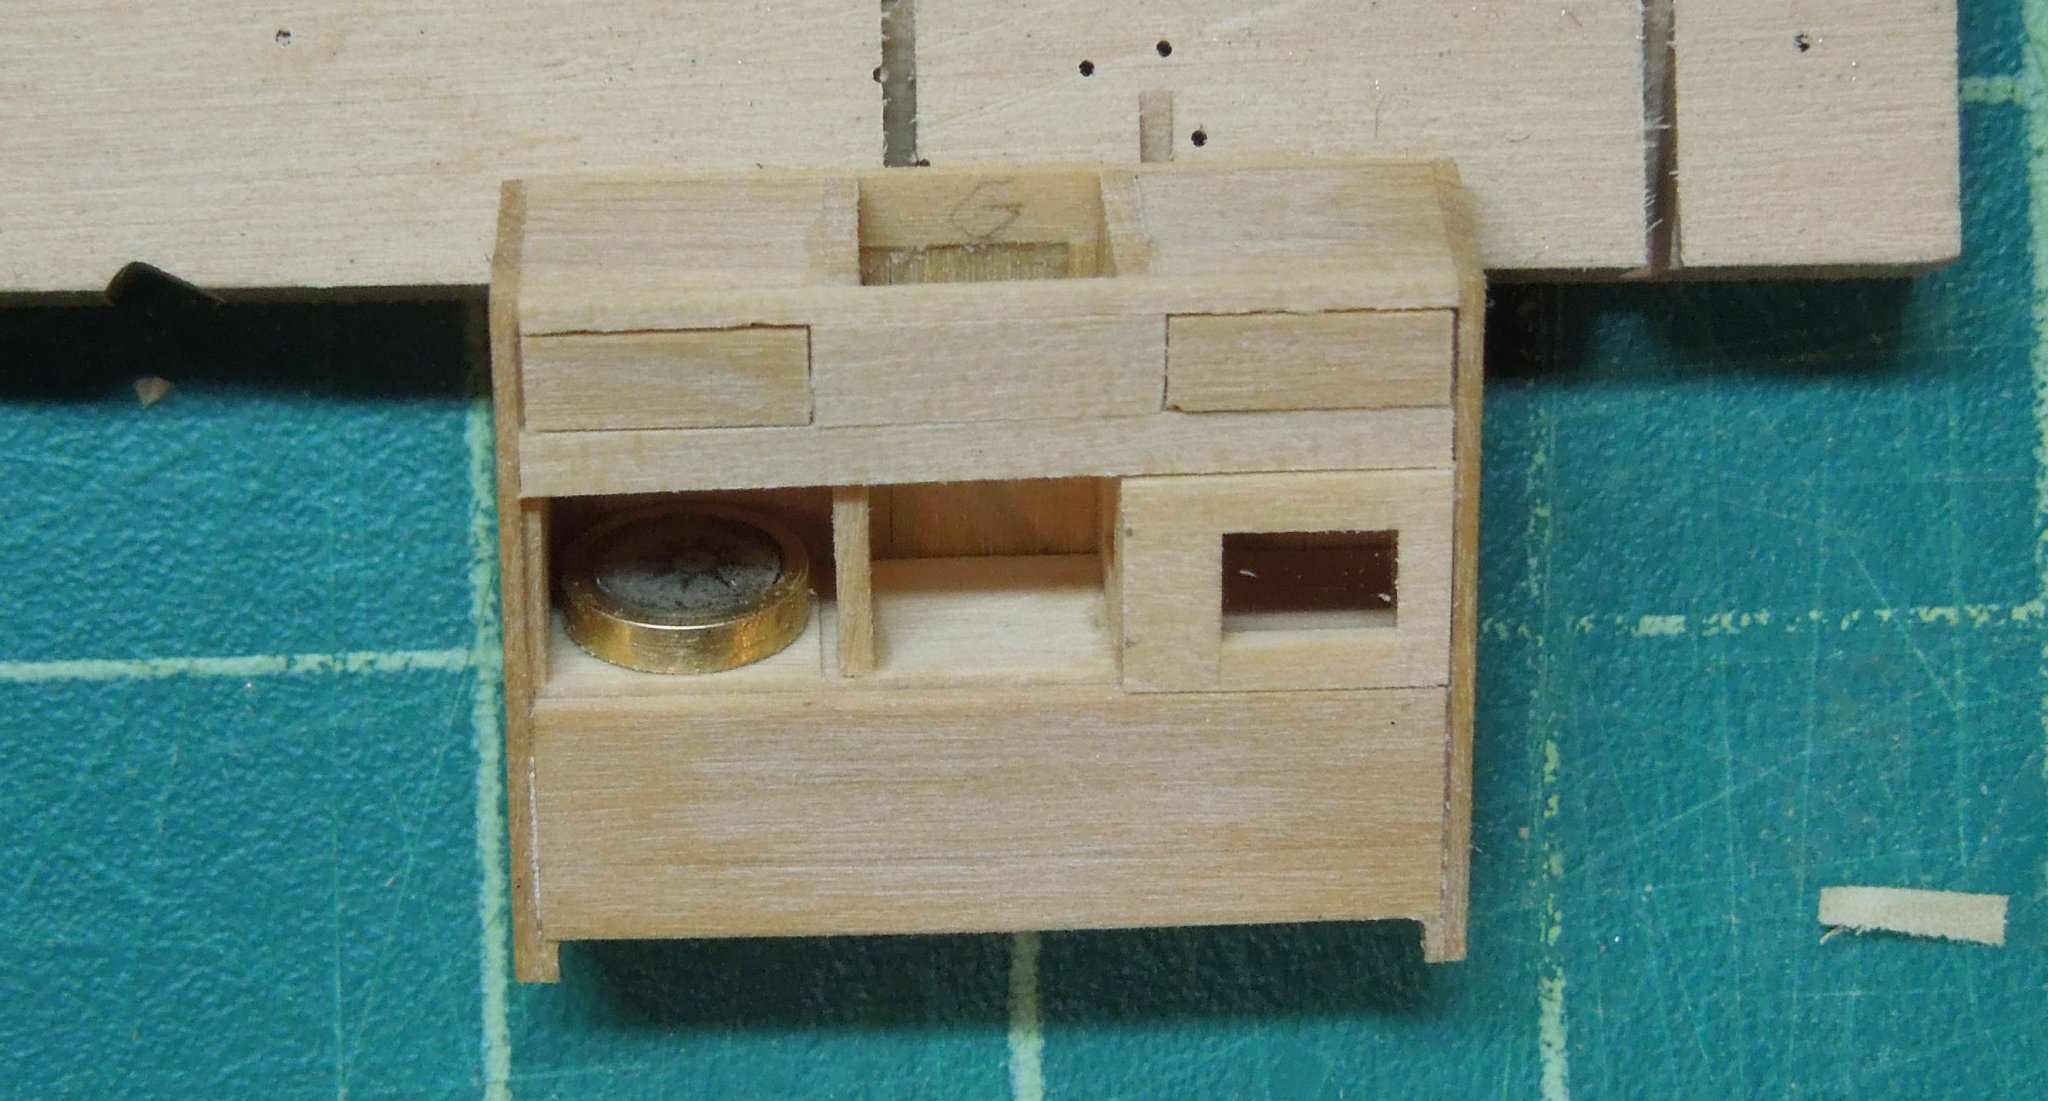
Yes, we are including the detailed plans for our binnacle. Keep in mind that the binnacle is less than an inch in length so those extreme close-up photos magnify every flaw a gazillion times.
-
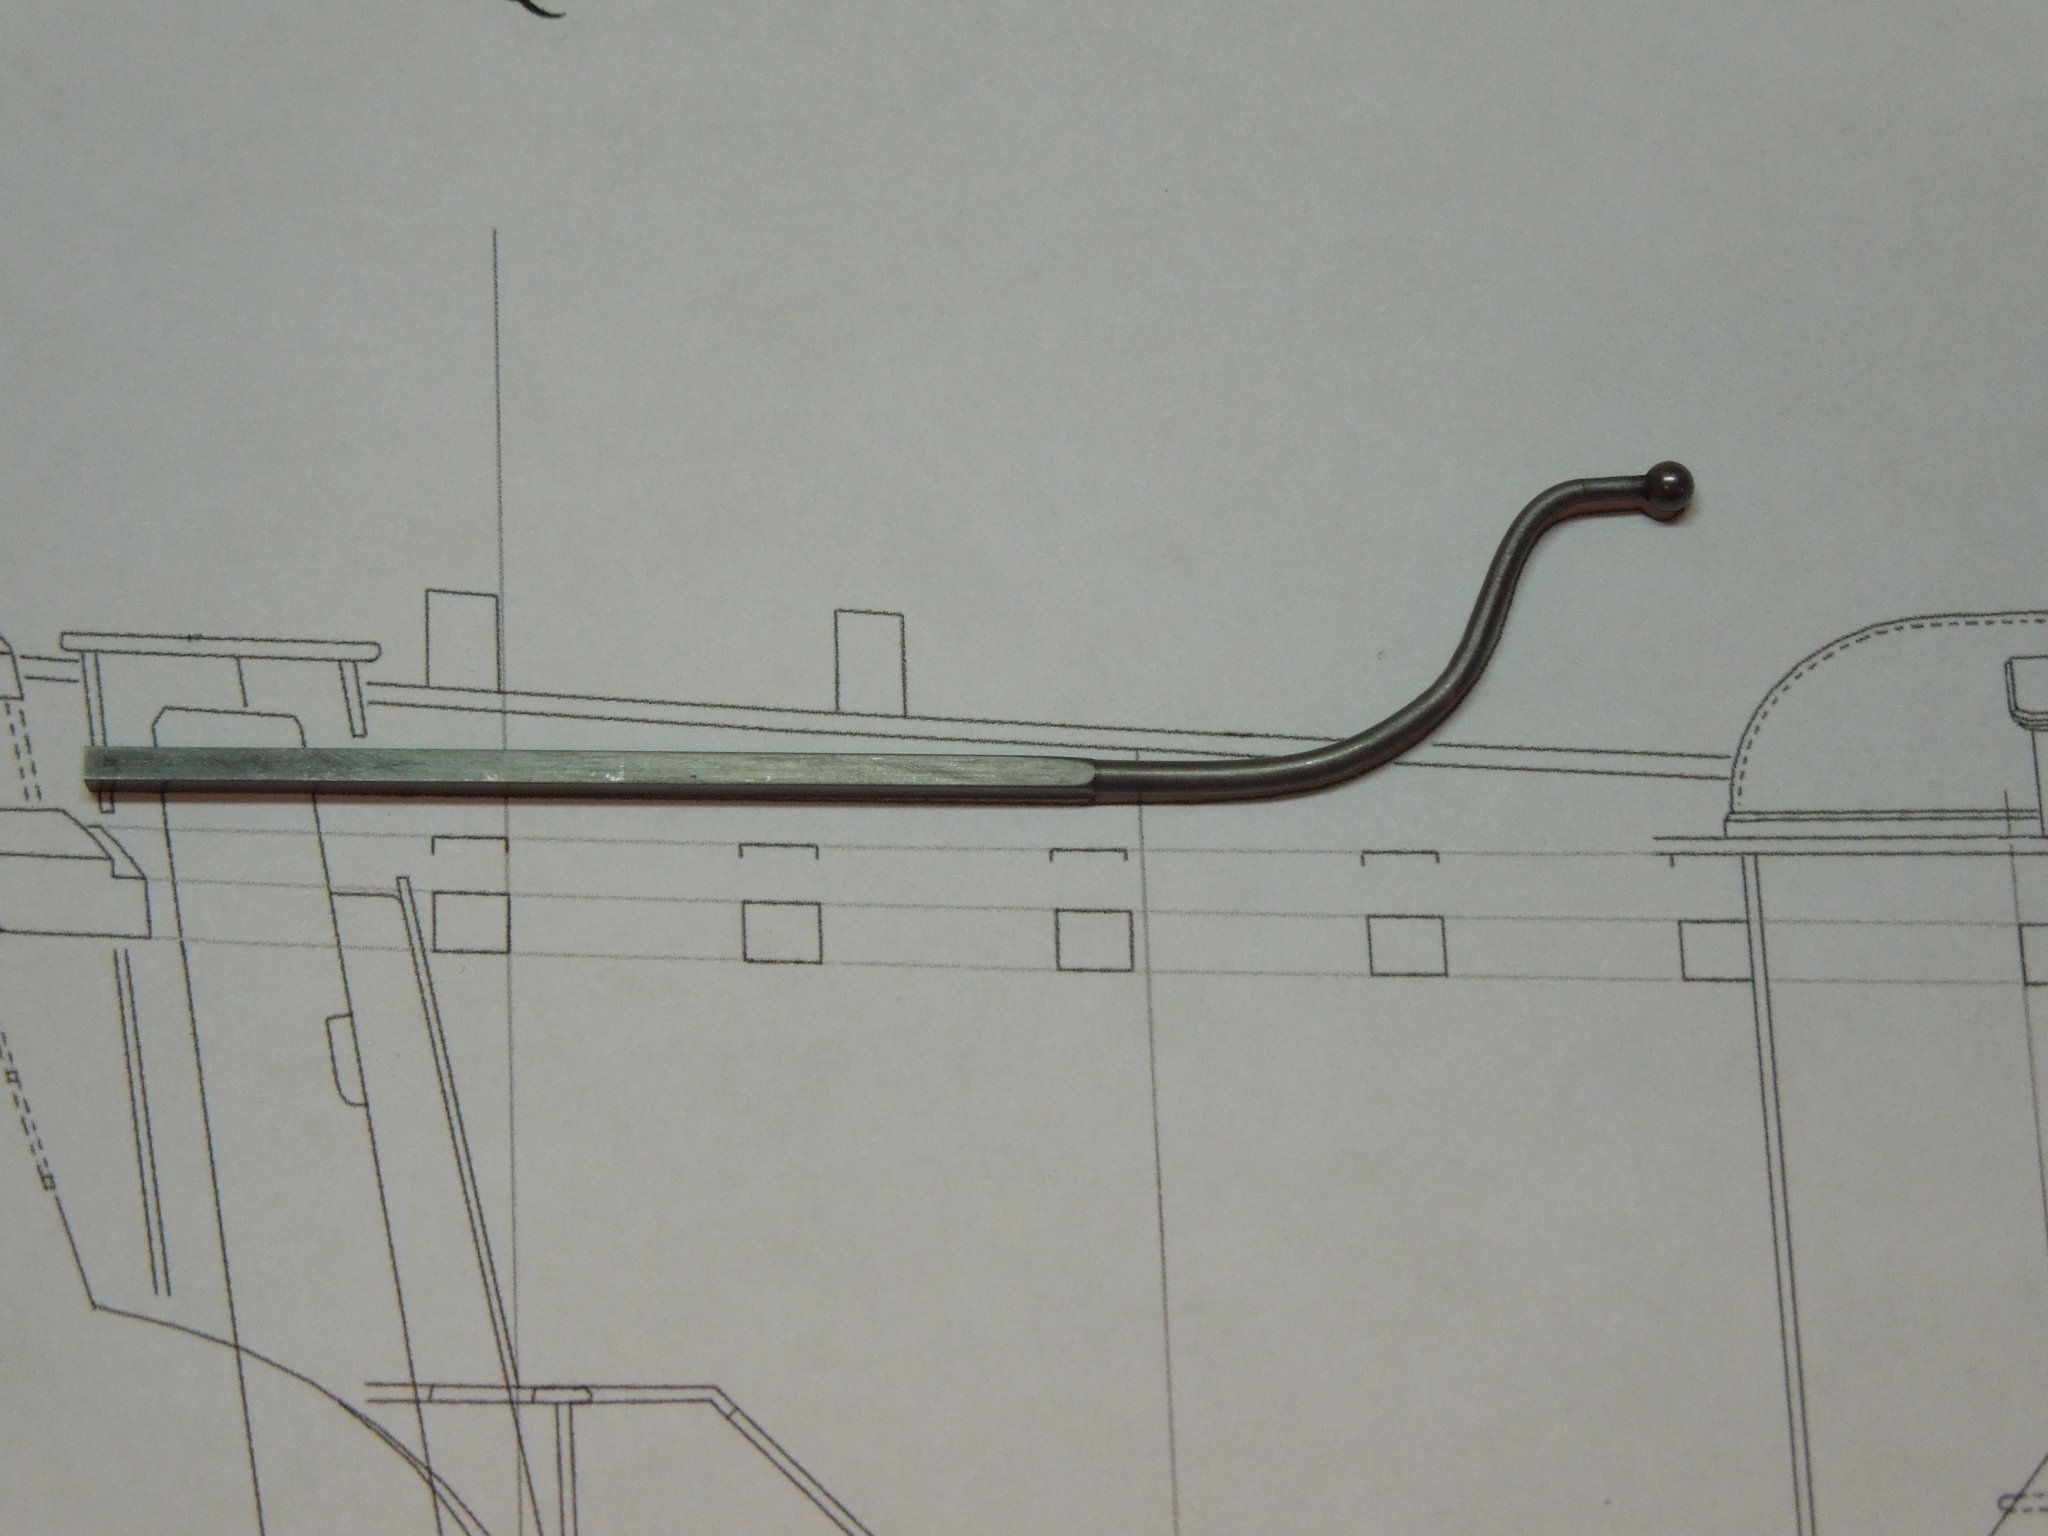
The bending was done after cutting the square sides to their final dimension, Mark. Remember that the over-sized square stock was chucked in my four jaw holder with a live center. So essentially I had a round tiller piece emerging from square stock. One of the square faces was then placed against the table saw fence and the opposite face was cut to the outside diameter of the round portion. The piece was rotated 180 degrees and the opposite face cut. This was repeated with the other two faces.
-
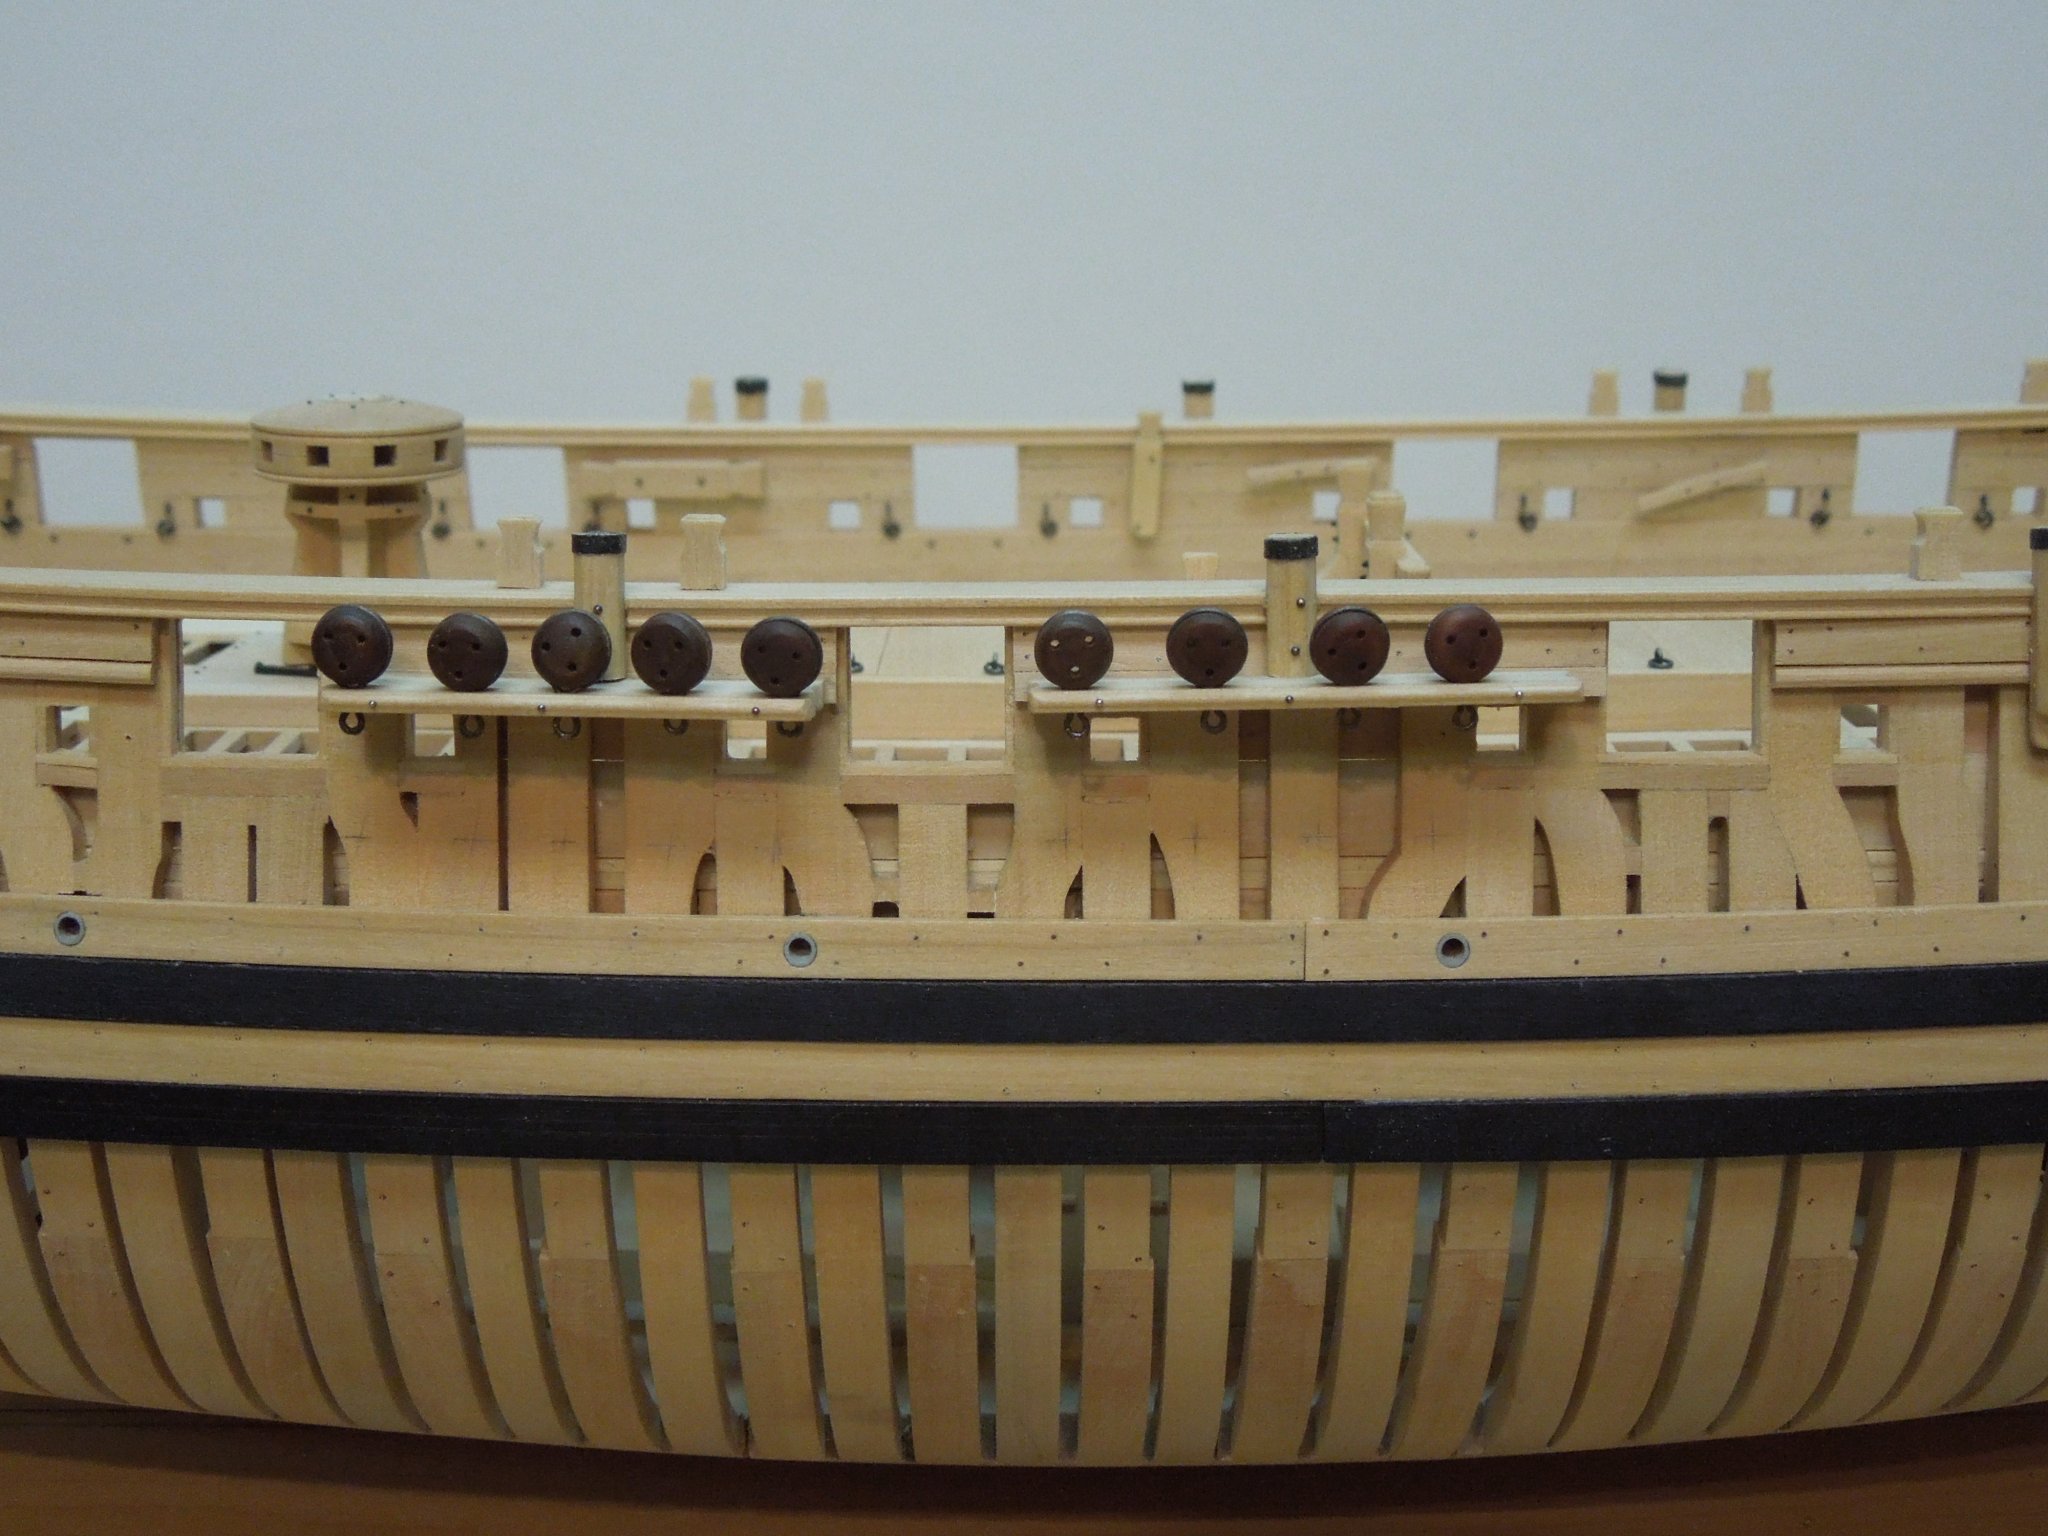
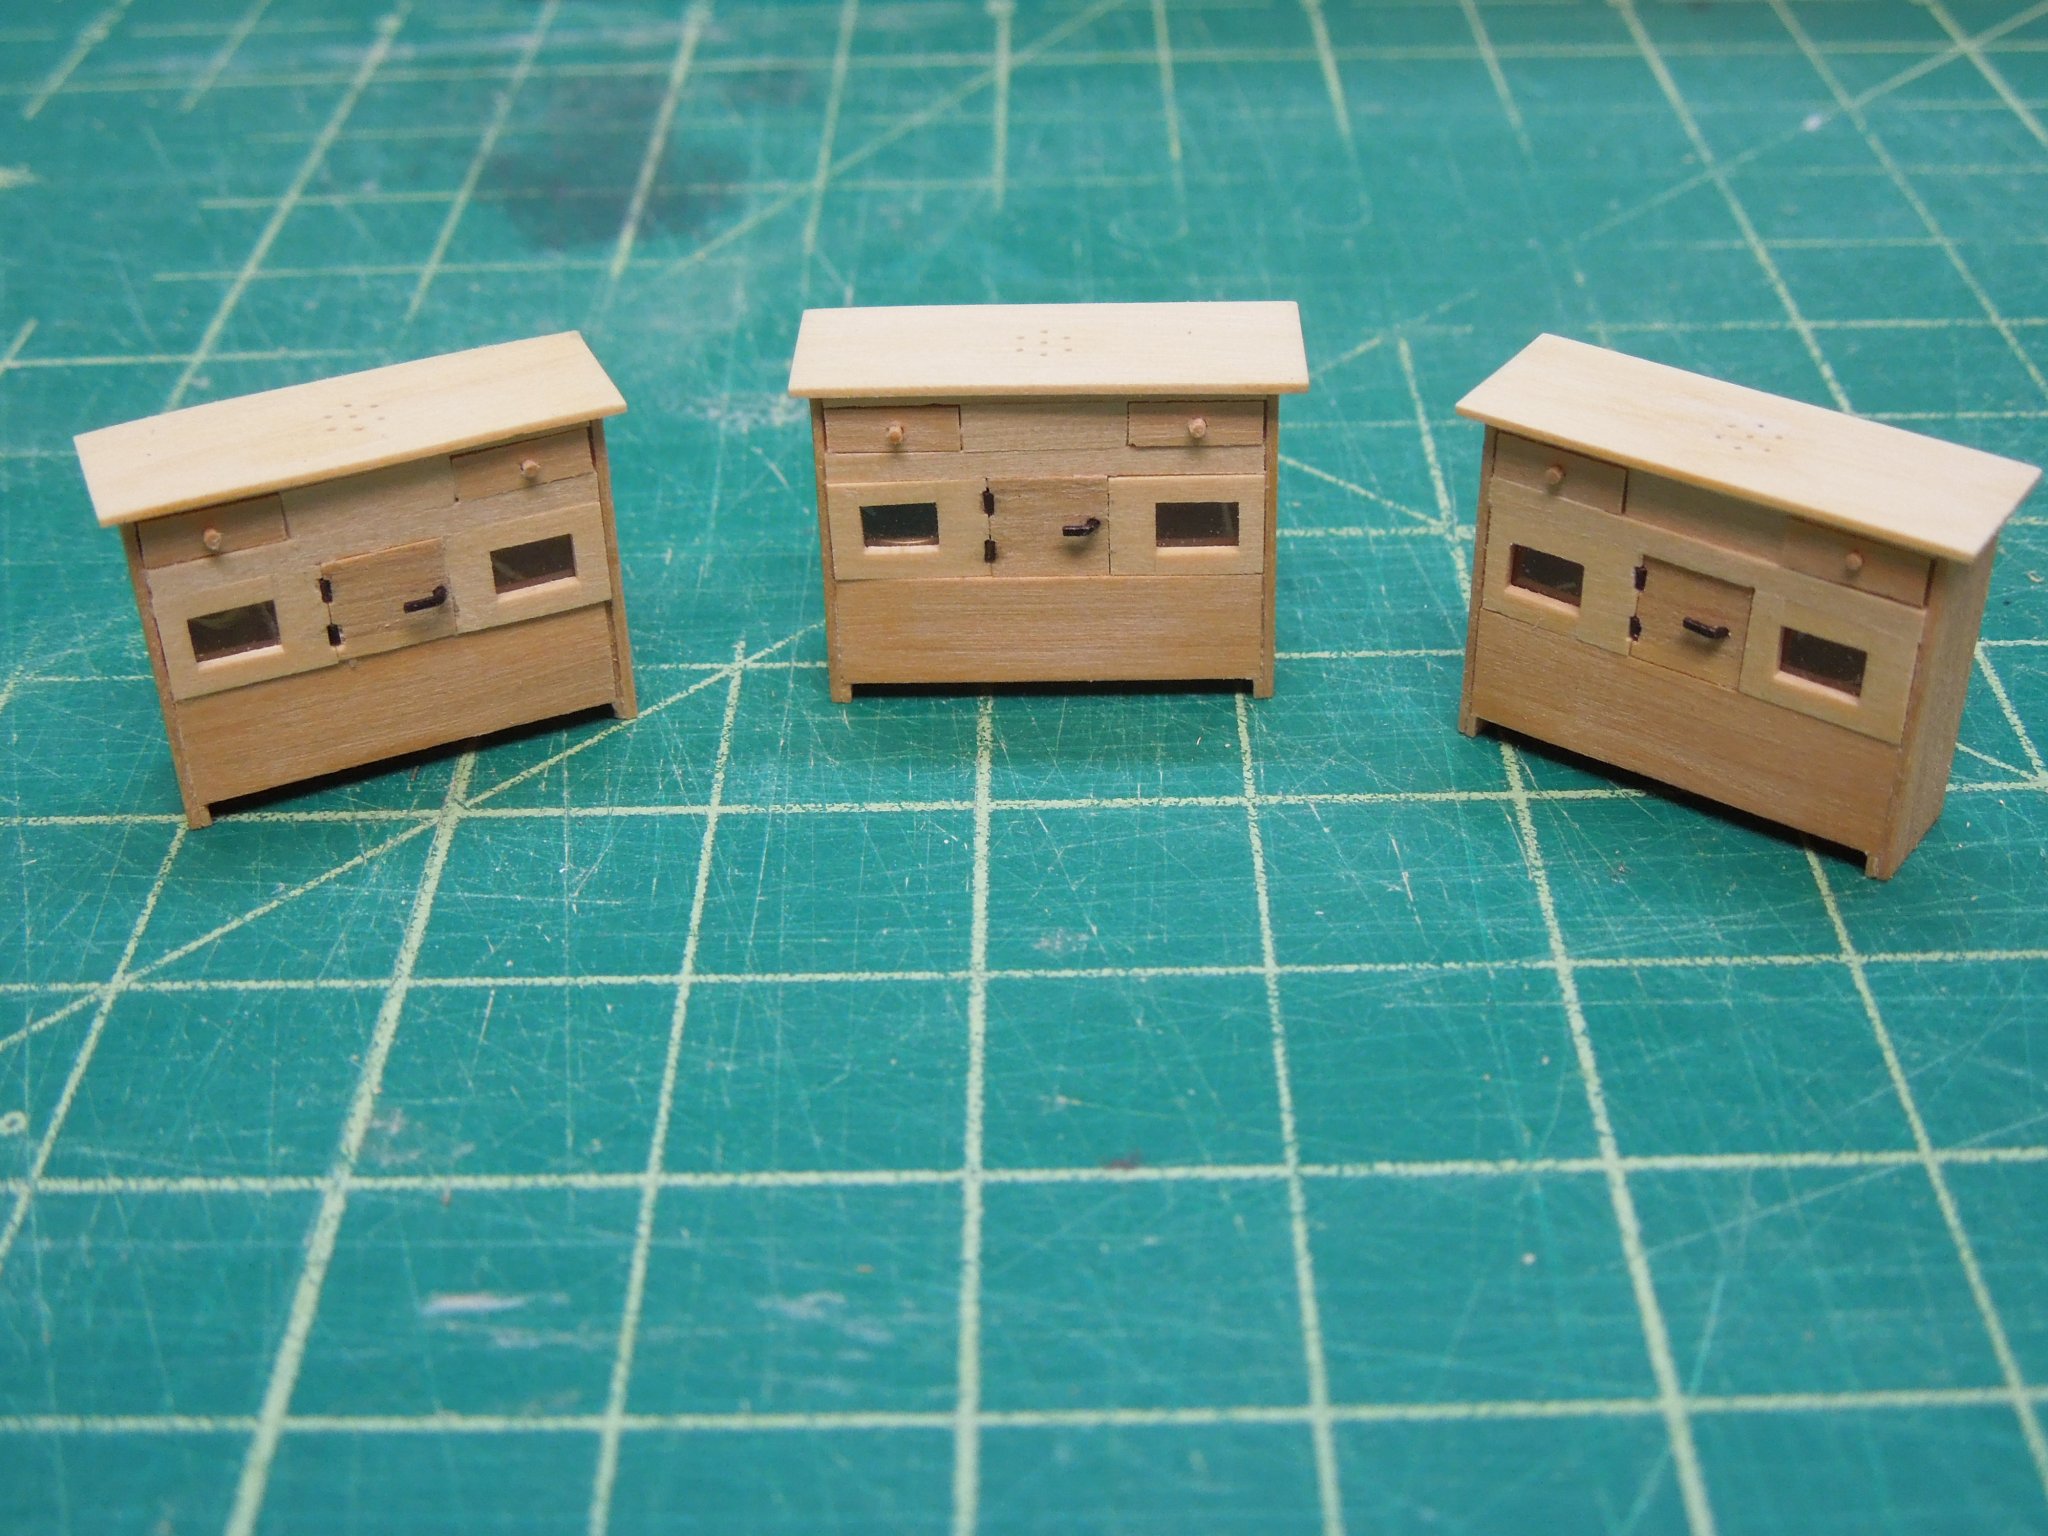
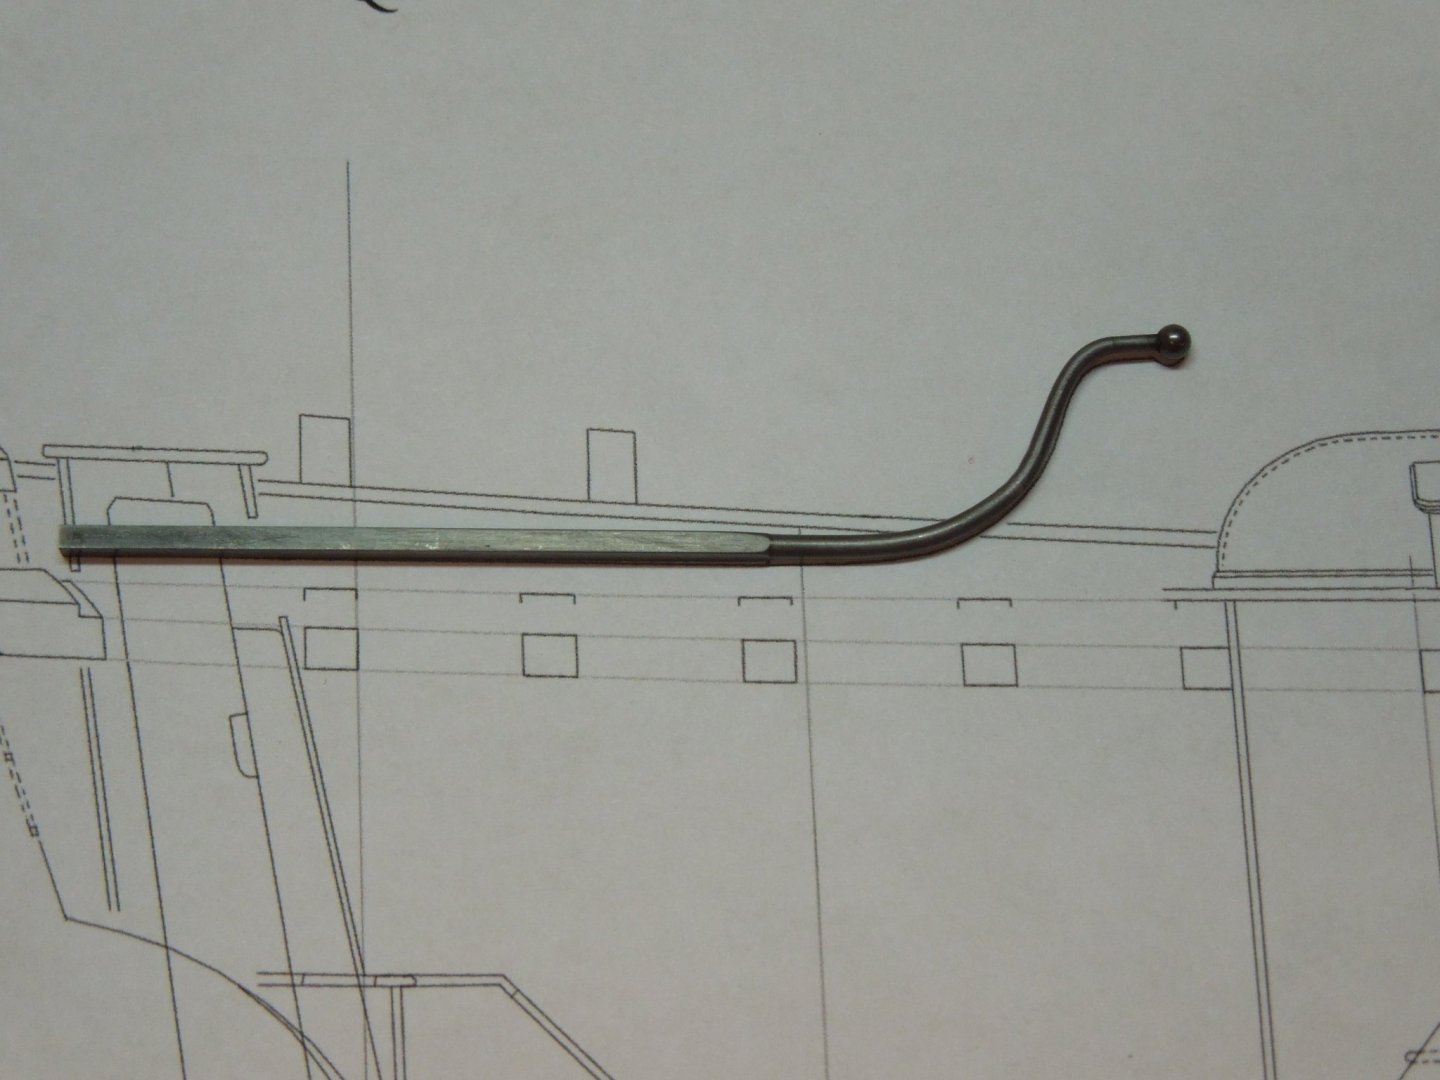
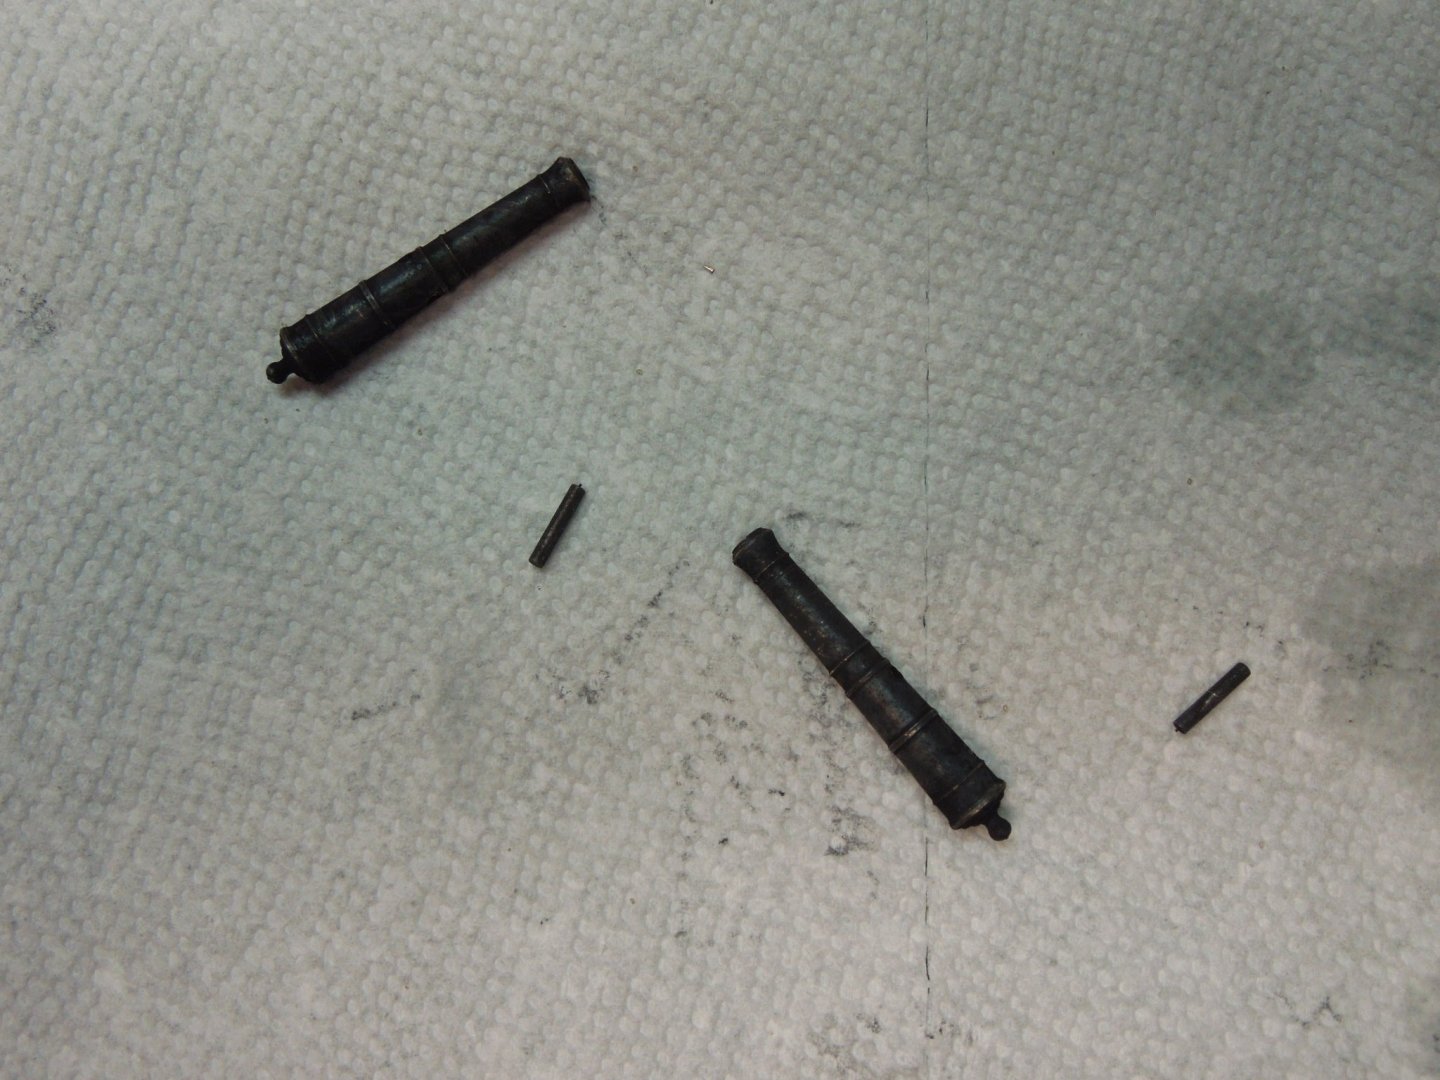
Speedwell is up in Canada receiving her carvings so not too much to report from the shipyard. Her deadeyes are dyed with Fiebings brown stain and a new tiller created. The old one was built up from hollow square tubing and round tubing but I never quite liked the way it looked. So I replaced her. Basically, I started with oversized square stock and turned the round tapered handle on the lathe. I then cut each side of the square stock on my Byrnes table saw with slitting blade until the matched the round stock. The small ball was silver soldered in place and the new tiller blackened. Much improved! To forestall building the masts and spars I decided to build a binnacle. David Antscherl designed a simple version which would be appropriate for the sloop. I built three because...why not. But only one has a compass. I would be happy to give the other two away to anyone who can provide proof they purchased our Speedwell book (a photo on your desk will suffice). Just send me a PM.

- 345 replies
-
- 33
-

-
We had the pleasure of Mitch's presence at several Admiralty Models workshops. In his non-assuming and humorous way he always seemed to be the center of attention. My sincere condolences to his family and friends.
-
Welcome back Pete! Always look forward to your updates.
-
Just catching up after a vacation, Chuck. Great tutorials! One question regarding the tick strip patterns. Is it possible to add a small scale on these? From experience I have learned that downloadable patterns sometimes print out larger or smaller on different printers and this can create problems if the builder doesn't realize this.Also, I encourage each participant to make sure that they are printing at the "actual size" in their printer dialog box. This has solved many problems for me in the past.
- 1,784 replies
-
- 5
-
-
- winchelsea
- Syren Ship Model Company
- (and 1 more)
-
Watch this video from Beaducation. Very concise. https://www.beaducation.com/product_videos/65-sparex-pickling-compound
-
It's my understanding that Sparex is only effective when it is very hot solution. I'm sure any jeweler in the UK would have pickling solution.
-
It's the lighting Mark. They are black. One could leave them in the blackening solution for a longer length of time to deepen the color. In that case I'd recommend a more dilute solution over a longer period of time.
-
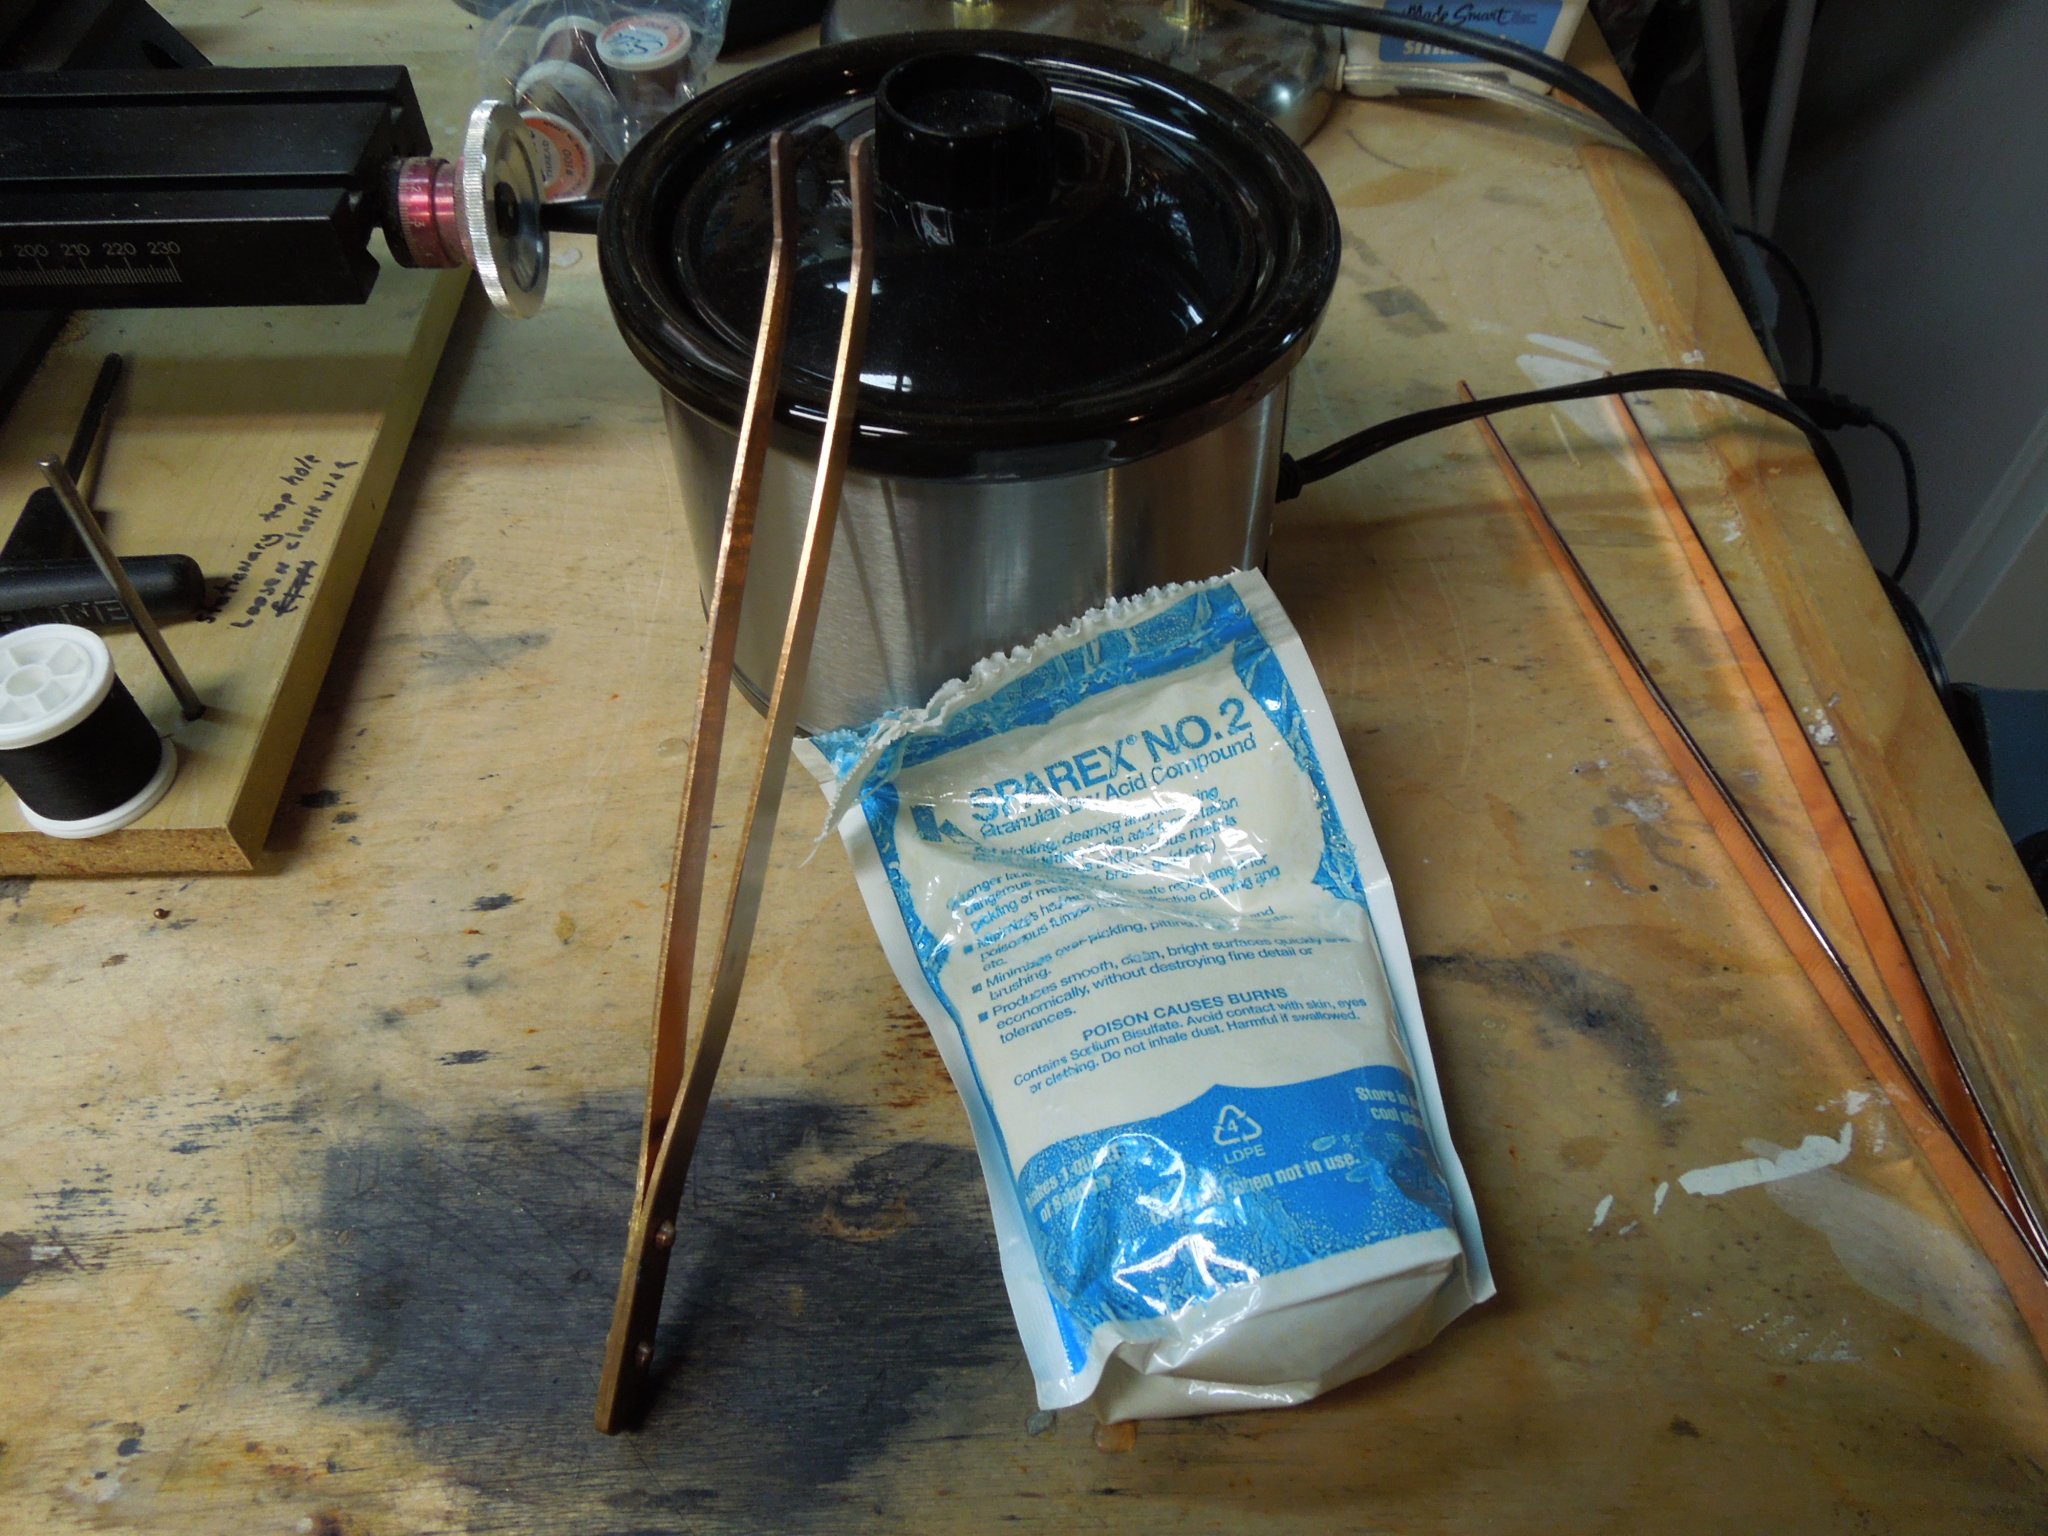
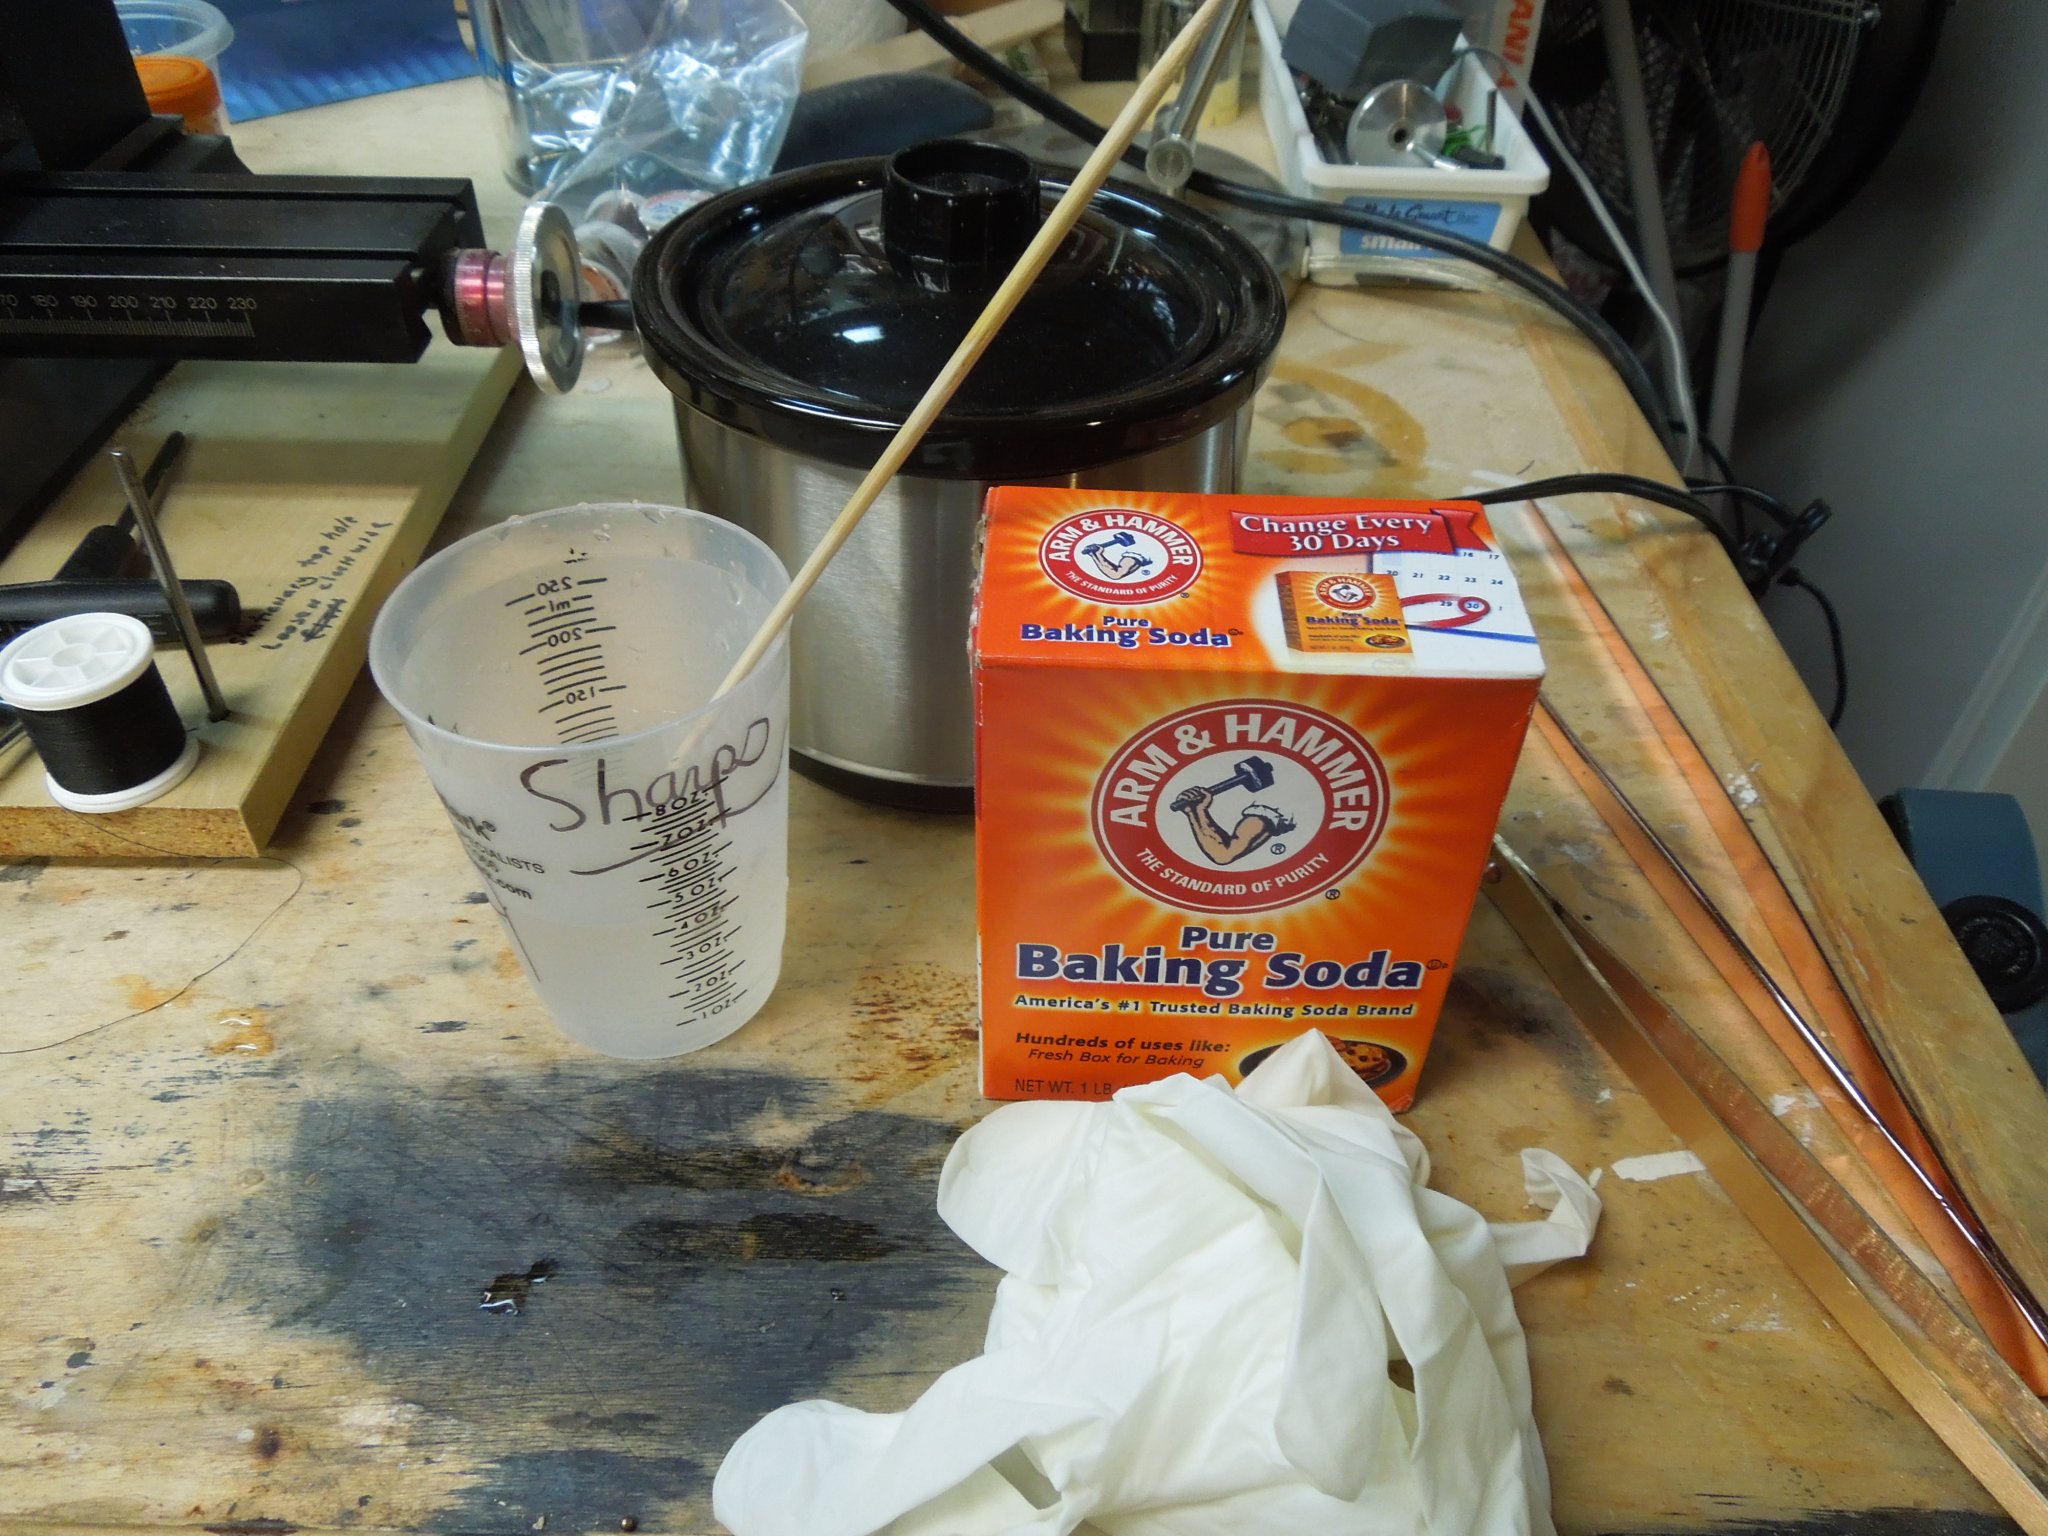
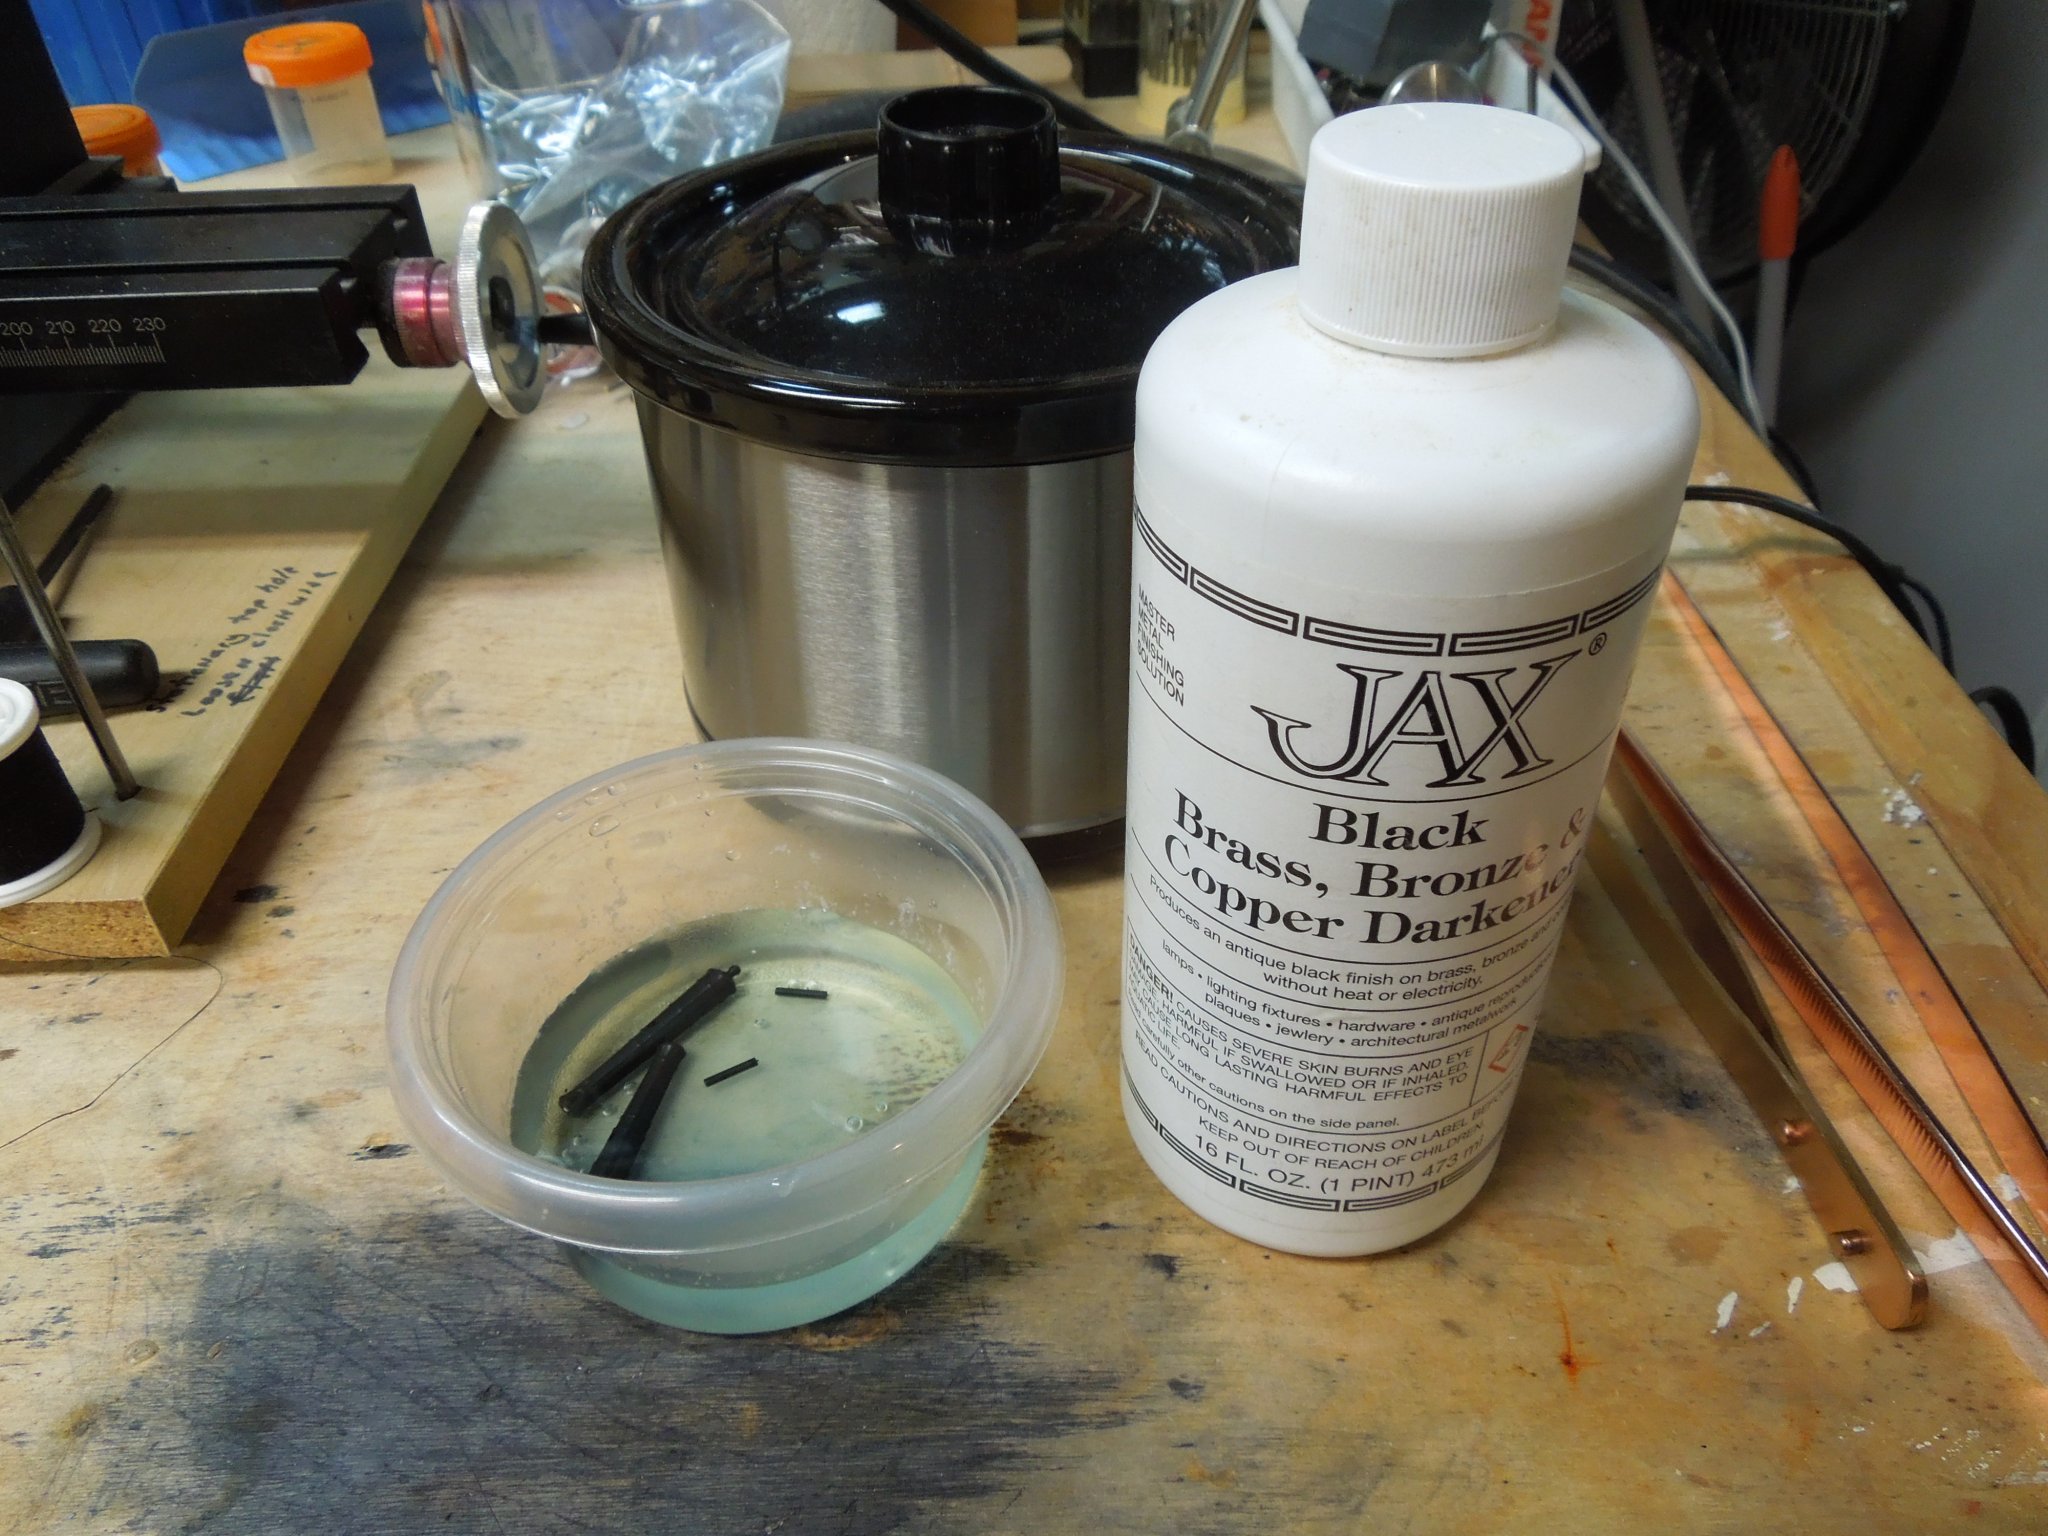
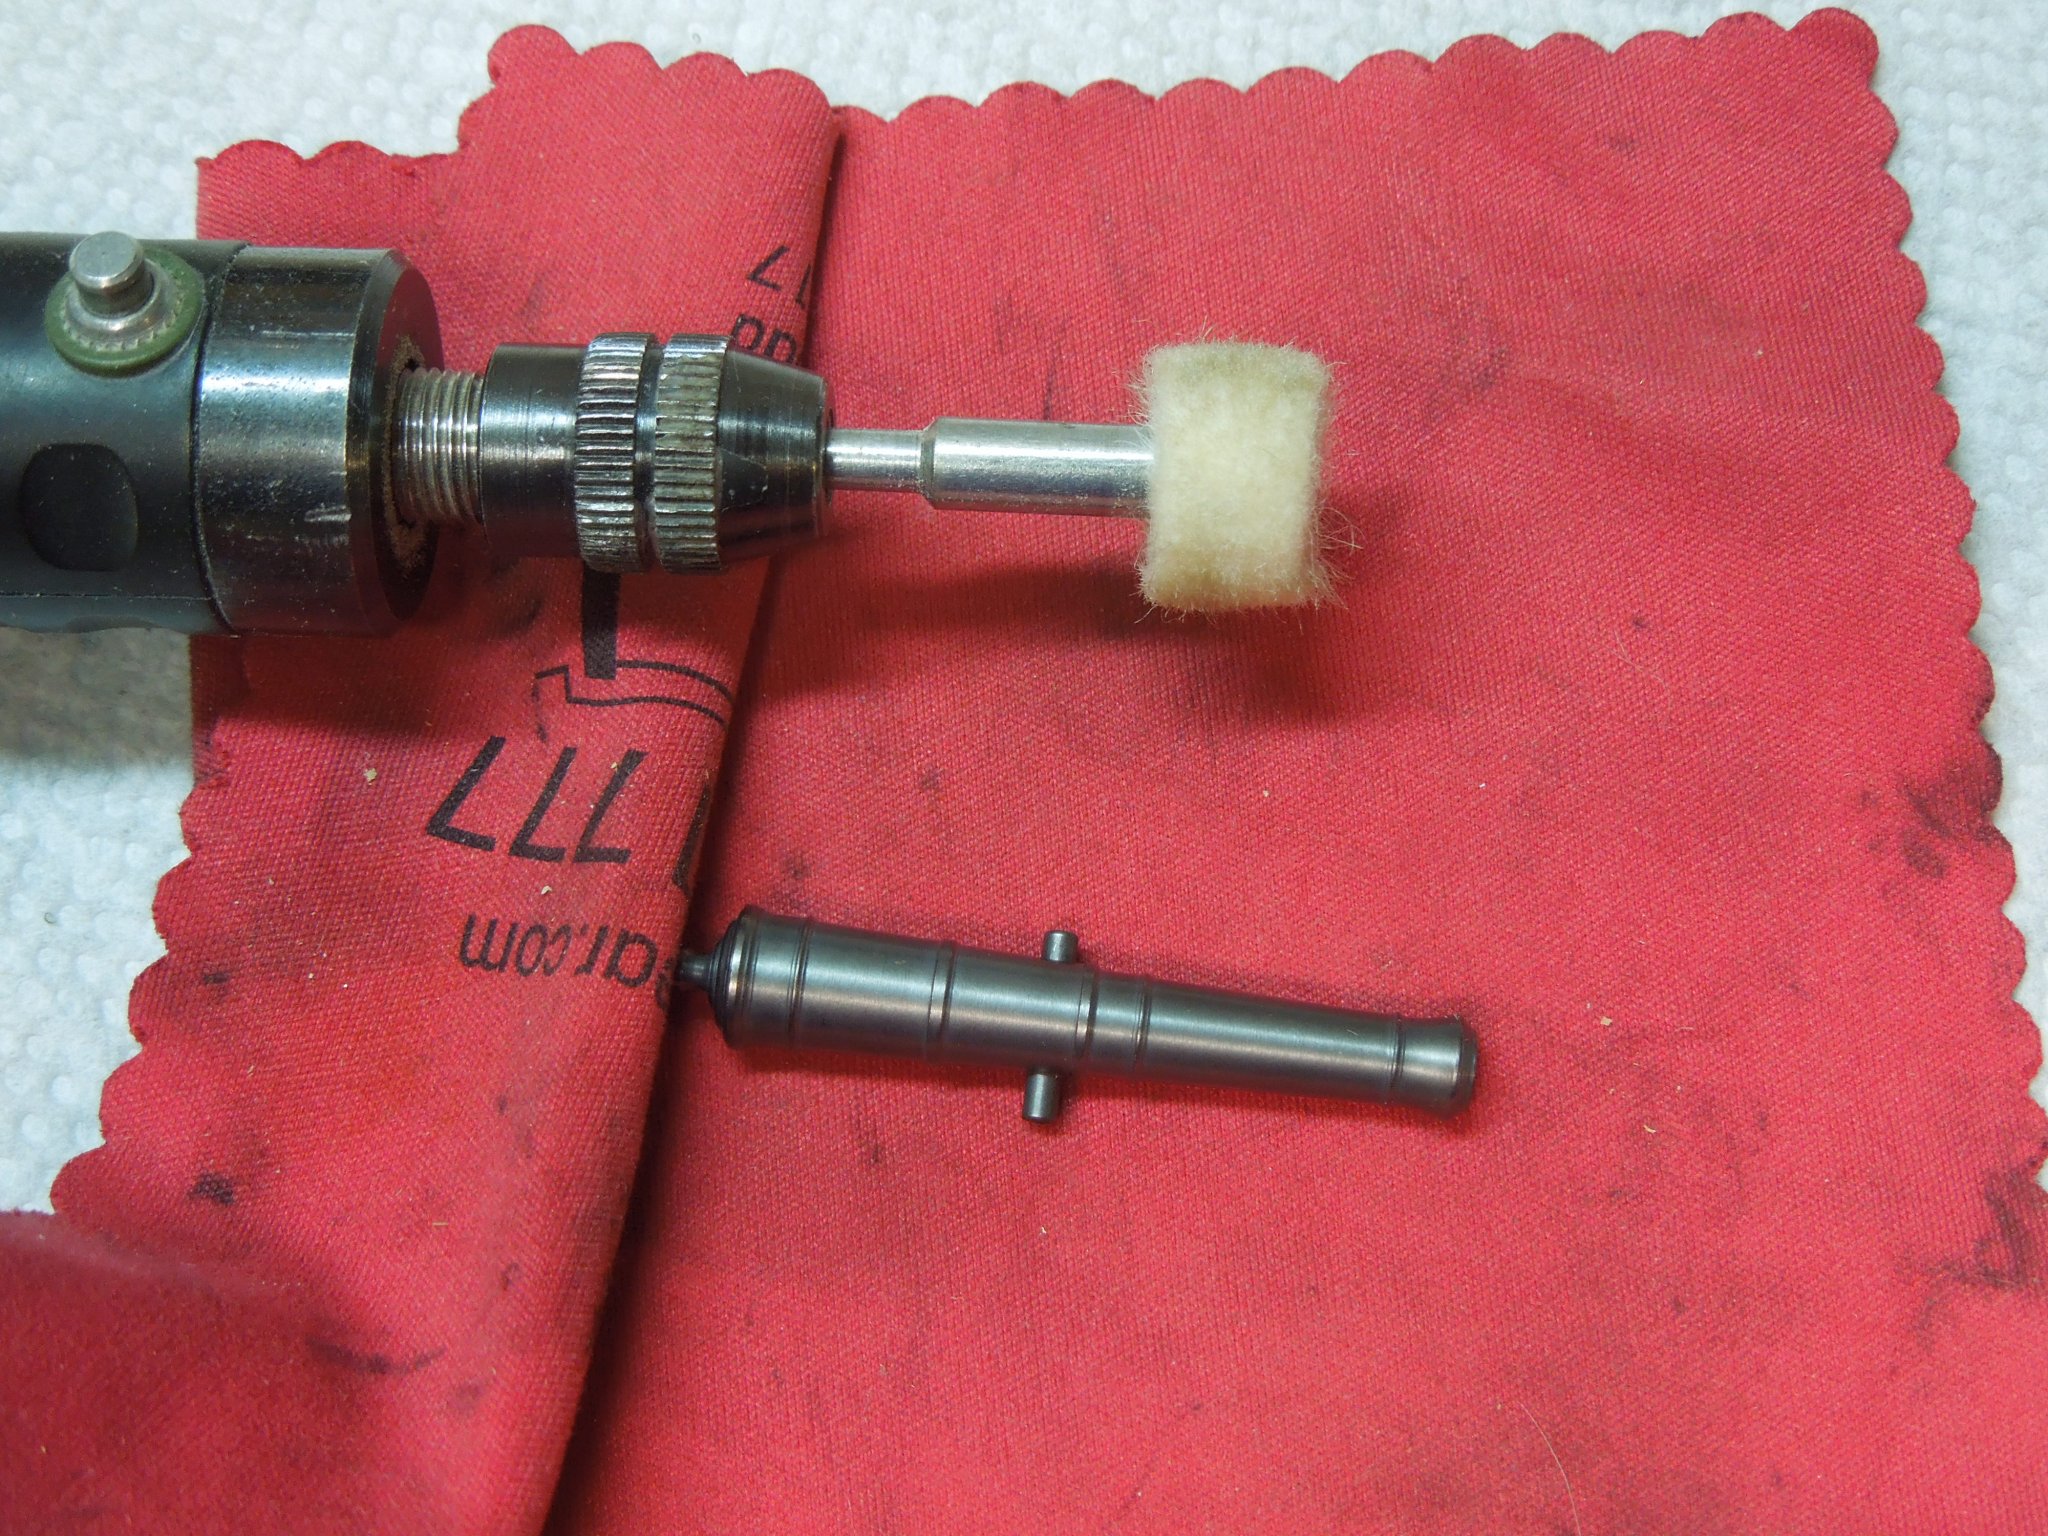
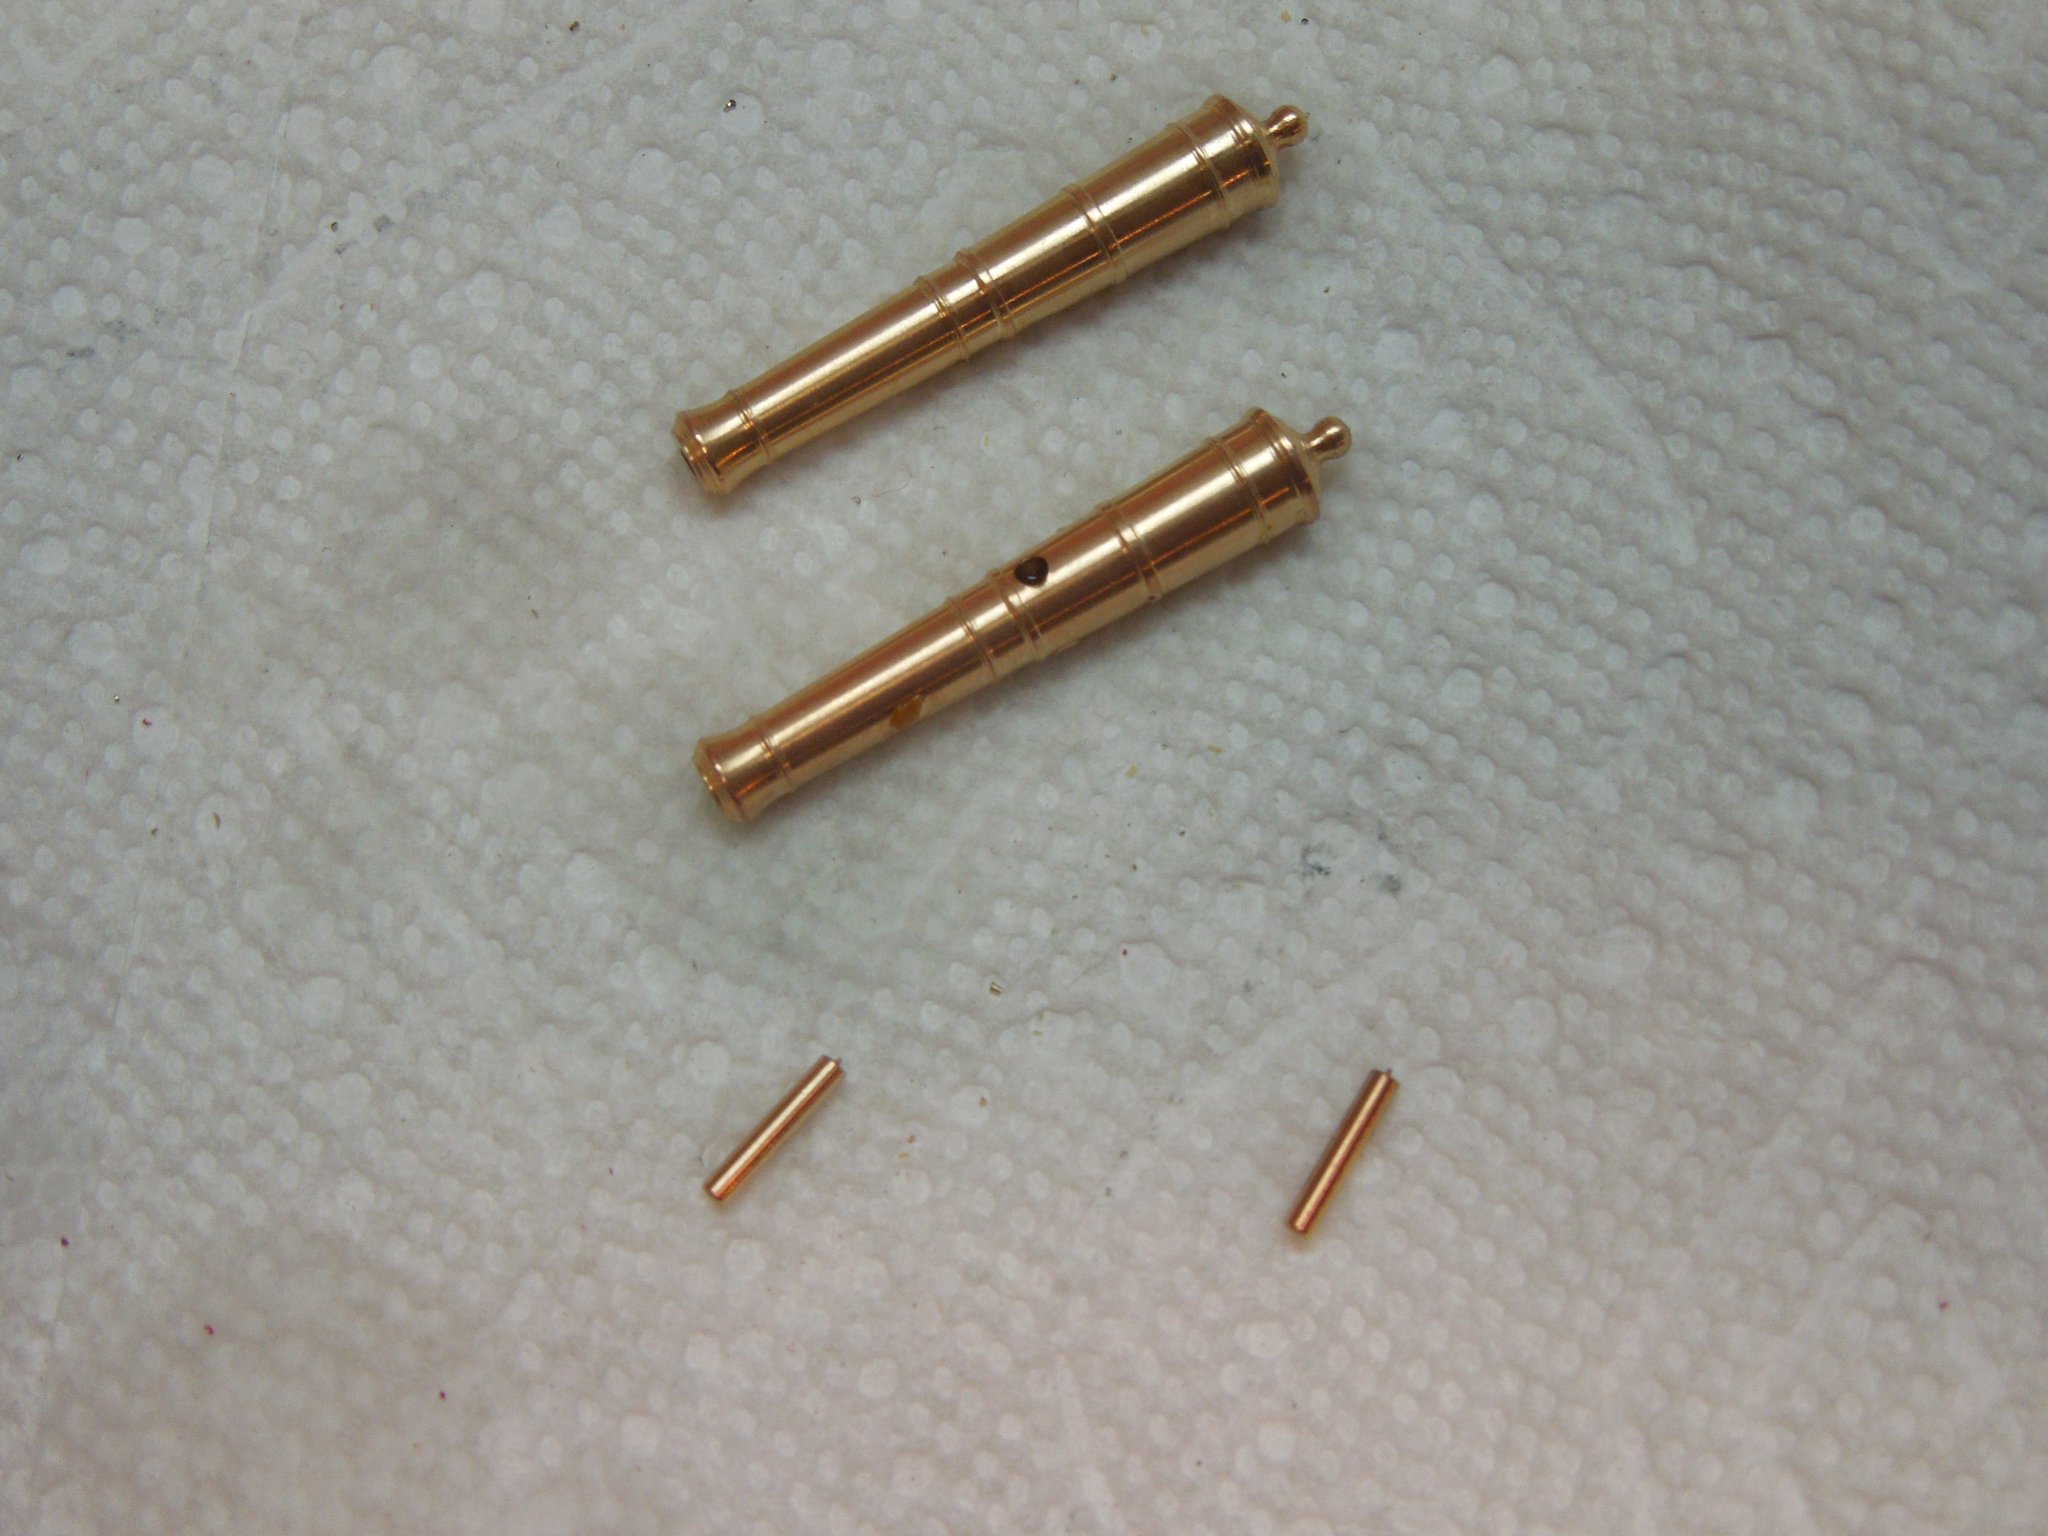
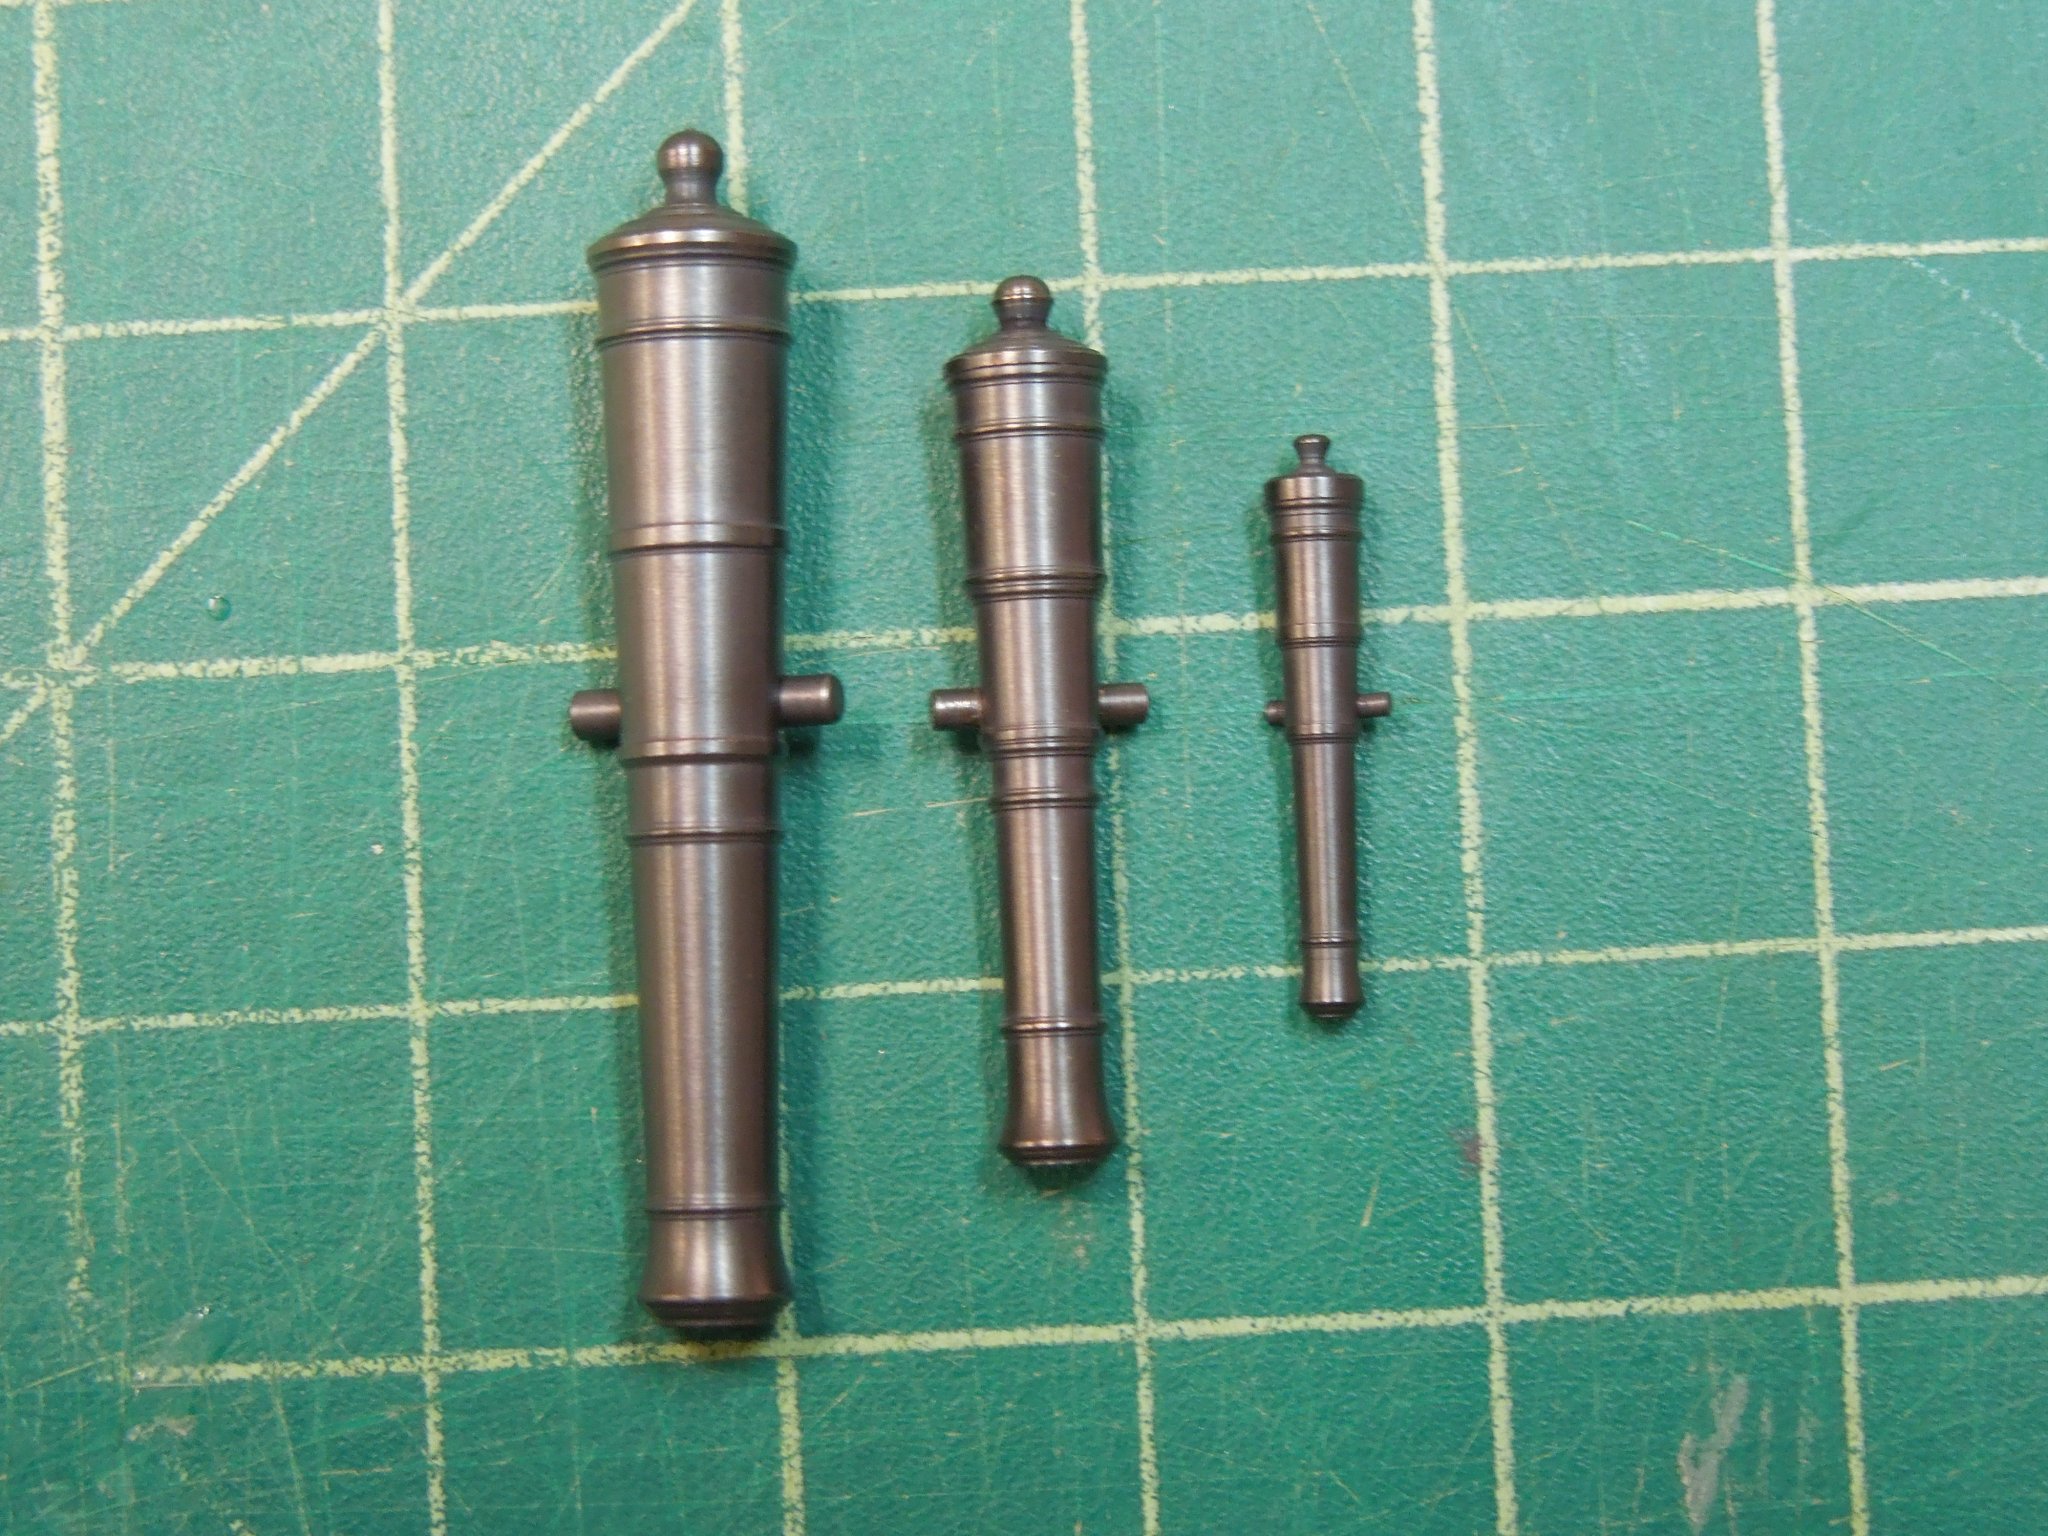
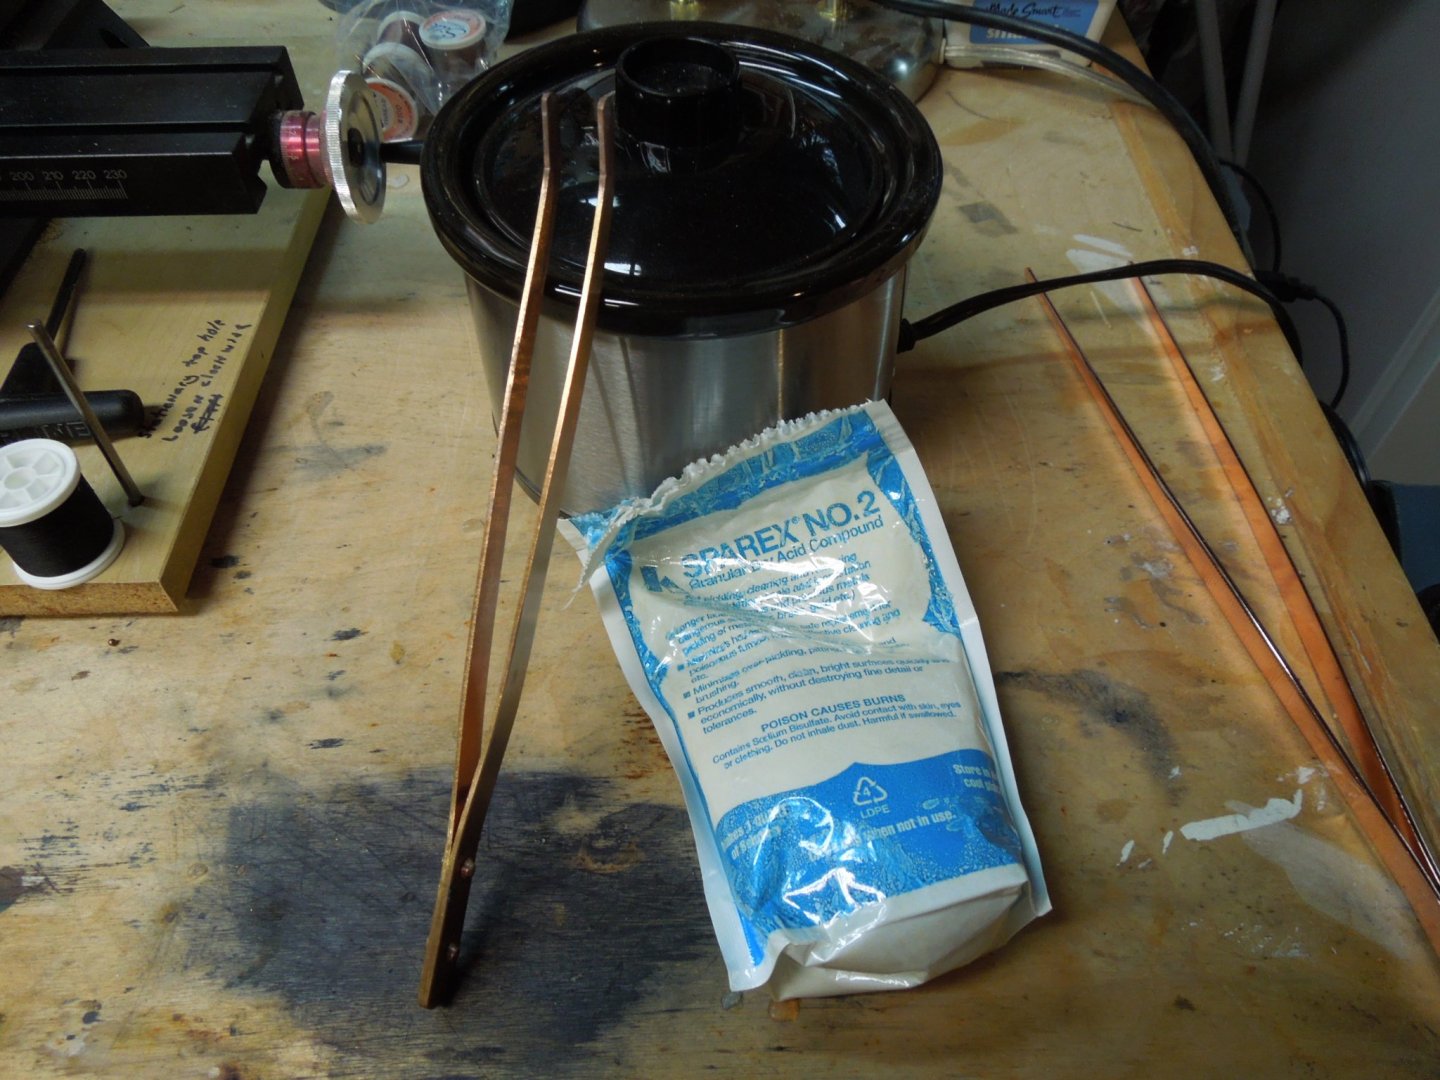
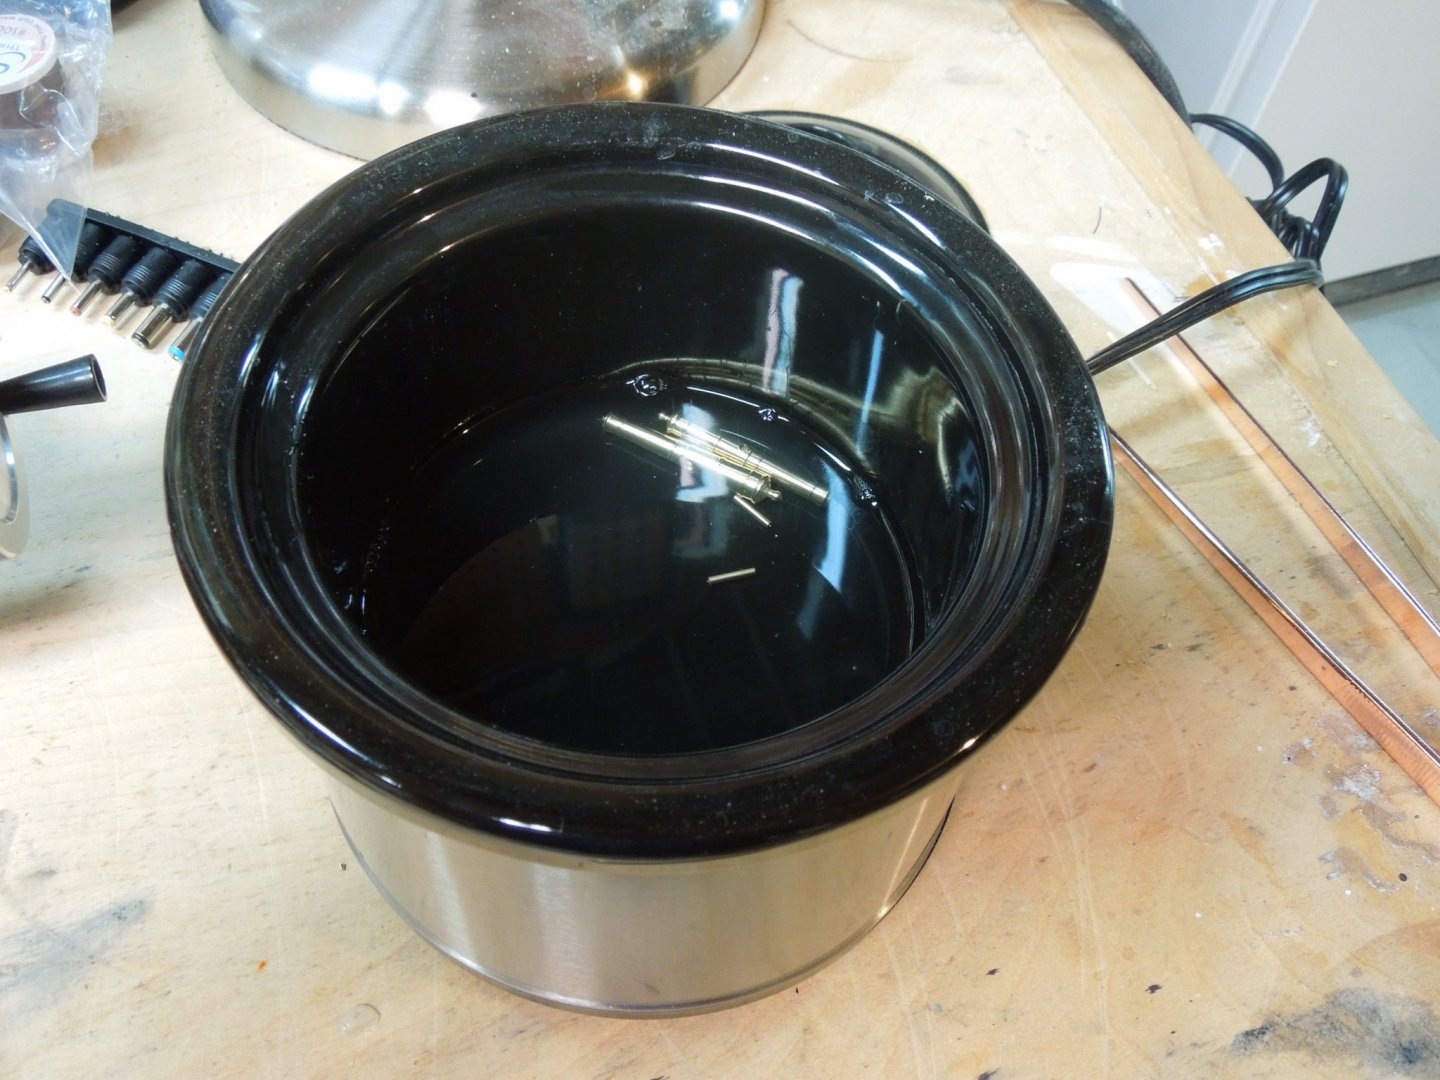
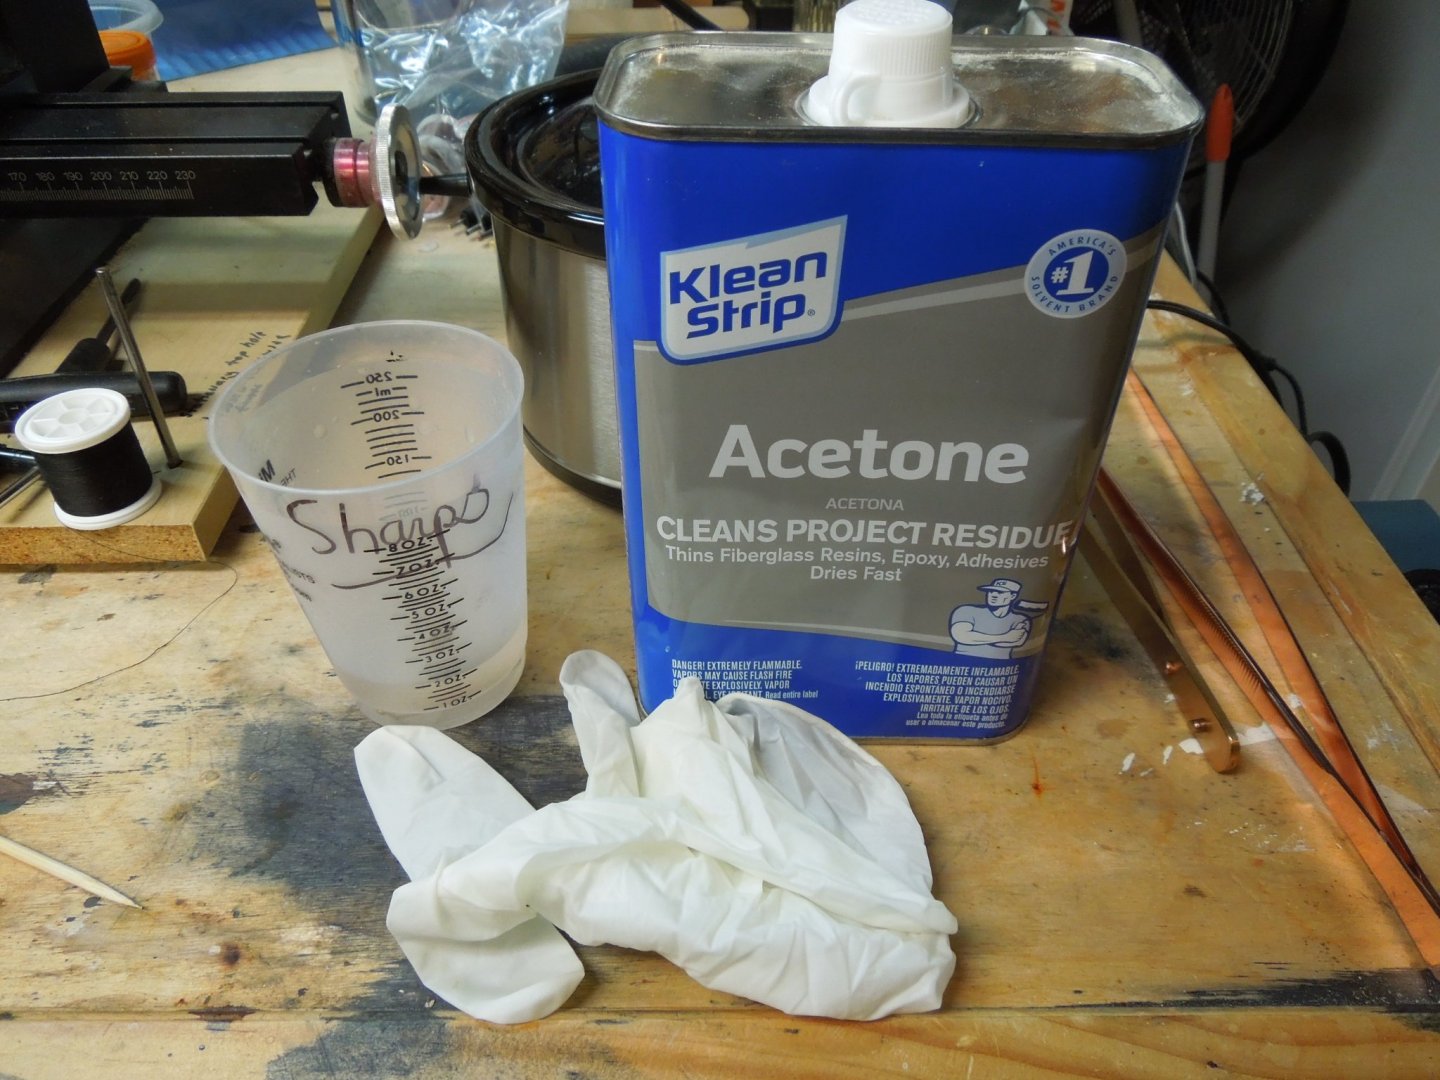
For those of you who have had hit or miss success with blackening I have found the following techniques to work consistently and create a durable finish that won't rub or flake off. Most of the products are available from Beaducation, a jewelry supply store that also has great learning videos https://www.beaducation.com/pc/393-jewelry-making-tools-soldering-fusing-tools. Check it out. The change I have made is that I now use Sparex on all my brass parts prior to blackening. Anyone doing silver soldering should have Sparex and a small pickle pot in their arsenal (see above link). The heated pickling solution removes oxide (and solder remnants) from the surface of the brass. I used to just soak the piece in acetone or alcohol to degrease but had some failures. Not so with the Sparex. These are my steps: Pickle for 10-15 minutes. You must use copper tongs! I just keep my solution covered when not in use and it lasts for months. Do not forget to unplug or you will need a new crock pot (ask me how I know)! It does not have an on-off switch. Place the brass items into a baking solution/water bath for a few minutes to neutralize the solution. If you fail to do this you will get uneven blackening (ask me how I know (again)! This is how they look after pickling. Clean as a baby's bottom. Place the brass objects in an acetone solution for ten minutes or so. I have also used isopropyl but acetone seems to work better for me. Keep covered and don't inhale the acetone! Use only disposable gloves to handle the objects from this point on. Any grease from your fingers will prevent the blackening solution from adhering. Prepare the blackening solution. I use hot water and Jax Blacken it. I use somewhere around a 1:7 ratio but in truth I just eyeball it. Place the brass objects into the solution and gently agitate so all surfaces are exposed. After 3-4 minutes rinse flush out the solution with warm water for a couple of minutes until it is clear. I do not reuse the blackening solution as it is inexpensive and seems to lose its potency after mixing. Dump the brass objects on a paper towel and gently blot dry. There will be an uneven powdery surface but this is normal. Allow to dry for 10-15 minutes. Use an eyeglass cleaner or old tee shirt to gently remove the surface covering then continue to rub. An evenly blackened surface should appear. You can also use a cloth polishing wheel at low speed to get into the nooks and crannies. And here's the final product. No streaks, blemishes or chips. I hope you find this useful. Next up, if interested, is how I conquered silver soldering (finally).


- 37 replies
-
- 36
-
-
A "Good morning" post from Amalio is my favorite way to start the day! Flawless workmanship as always.
-
That's one crappy looking boat Gary! And I hope you'll take that as the highest compliment.
-
Your use of dies to reduce round stock is new me. Very useful.
-
1:48 boiler
dvm27 replied to Bitao's topic in Discussion for a Ship's Deck Furniture, Guns, boats and other Fittings
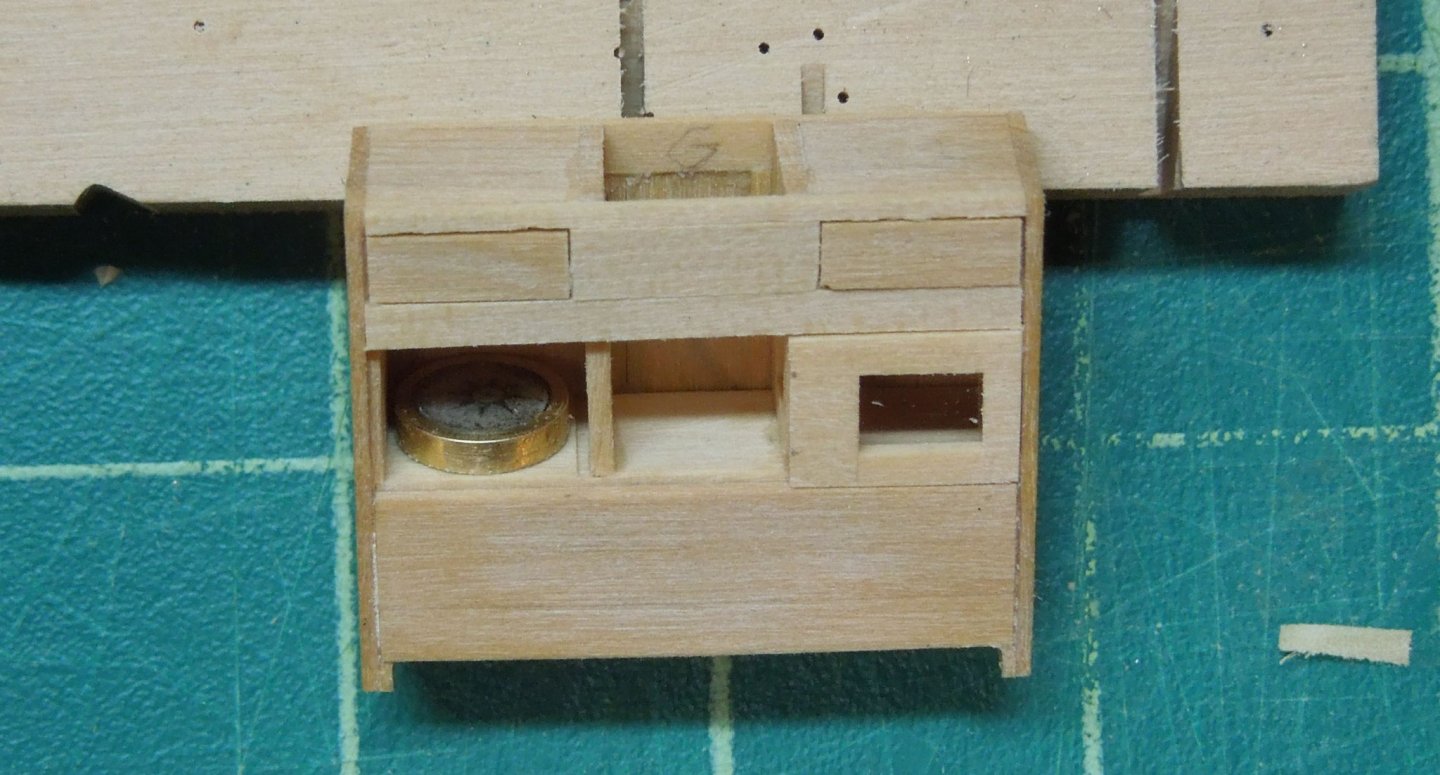
Now that is extraordinary work! May I ask what scale they are? A small ruler or pencil might help us better appreciate their size. -
1:48 boiler
dvm27 replied to Bitao's topic in Discussion for a Ship's Deck Furniture, Guns, boats and other Fittings
Your work looks very nice (I think) but too small to fully appreciate. I have posted very hi-resolution photos here so perhaps you need to change camera settings? -
Both models look beautiful. Mike, you weren't tempted to put Chuck's figure head on your model for a photo op? Or slip it into your pocket,,,
- 1,784 replies
-
- 3
-
-
- winchelsea
- Syren Ship Model Company
- (and 1 more)
-
it's like the movie "Groundhog Day". You just keep rebuilding the model until you get it right. Looks like it will be a great kit, Chris!
-
I no nothing about paint Mark but I'm sure someone like Druxey could advise you how to tone down the color by mixing with another.
-
ancre La Belle 1684 by Oliver1973 - 1/36
dvm27 replied to Oliver1973's topic in - Build logs for subjects built 1501 - 1750
Lovely work!. Are you familiar with the models and research of Texas A&M University who excavated her? If not check out http://nautarch.tamu.edu/model/report1/bellehull.htm -
You can also try laminating thinner strips over a form. Shape a piece for wood to the curve you want (add a little extra curve to allow for spring back). Glue and clamp the 2 or 3 thinner strips together over the form. when dry they will retain the curve.
-
Mini Lathe recommendations?
dvm27 replied to jfinan's topic in Modeling tools and Workshop Equipment
Depending on the lengths of the mast and spars you wish to make the lathe may not be the best choice due to deflection of the piece towards the center. Sherline does offer a steady rest but in a yard with an octagonal midsection this feature doesn't work well. -
So the clinker effect is created by paring back the next section of frame to the notch? I’m used to seeing the top of the plank shaved back to receive the bottom of the next plank. Is this how you built the 1:1 version? Seems easier.