HOLIDAY DONATION DRIVE - SUPPORT MSW - DO YOUR PART TO KEEP THIS GREAT FORUM GOING! (Only 72 donations so far out of 49,000 members - Can we at least get 100? C'mon guys!)
×


dvm27
-
Posts
2,461 -
Joined
-
Last visited
Content Type
Profiles
Forums
Gallery
Events
Everything posted by dvm27
-
Atalanta would make a lovely model. If you use the NMM model as a basis, with it's lovely color palette, it's a guaranteed winner!
-

Swan class 3D model in progress
dvm27 replied to dvm27's topic in CAD and 3D Modelling/Drafting Plans with Software
Our fully rigged Swan class 3D model is almost complete. How cool would it have been to have this photo when building your fully framed model? The CD should be ready later this year. Kudos to Denis!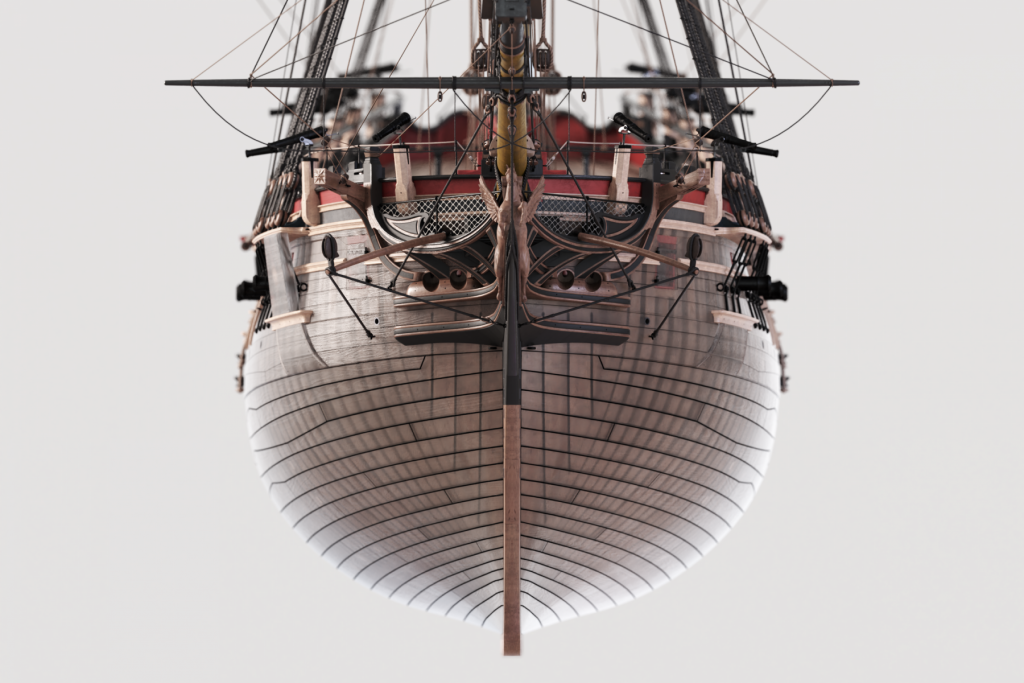
- 141 replies
-
- 22
-

-
- pof swan series
- swan
- (and 1 more)
-
Airplanes and Tanks in plastic by Jörgen
dvm27 replied to Jörgen's topic in Non-ship/categorised builds
Outstanding work, Jorgen. Airplane model details are so much cooler than when I was a kid. The cockpit detail, especially, is amazing (color PE details!). I find it amusing that aircraft modelers seem inclined to weather their models for a more realistic appearance while us ship modelers prefer a more pristine approach. -
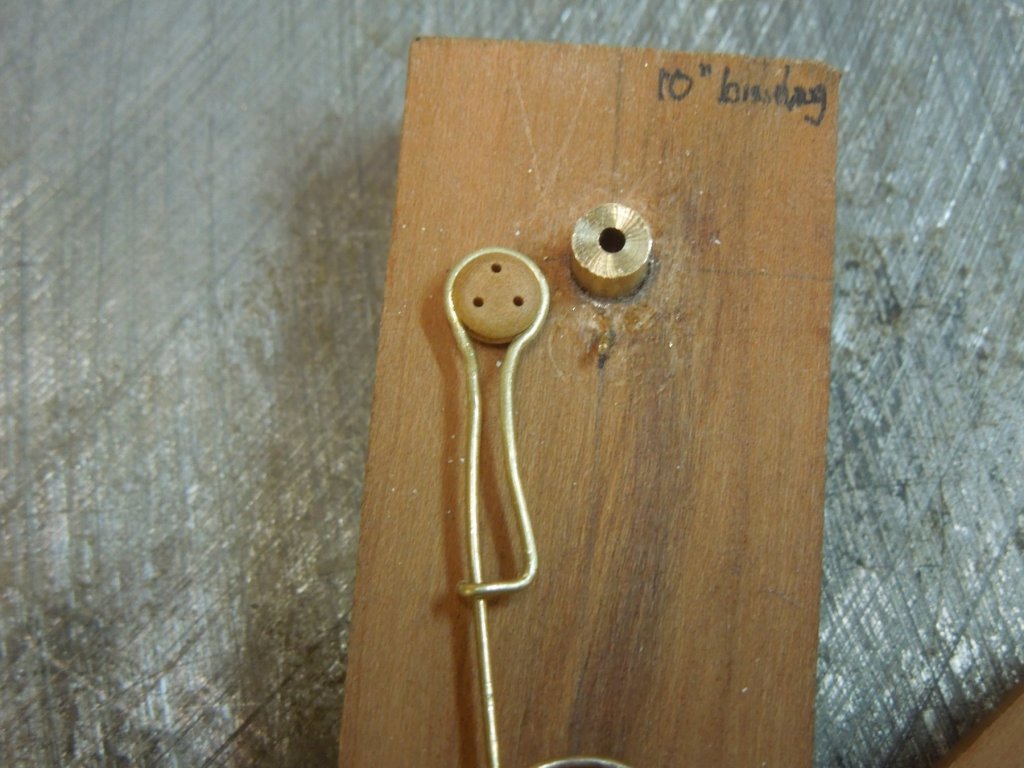
What a fantastic and simple holding tool! Thanks for the tip. Do you have any video of making the brass bindings for the lower deadeyes?
-
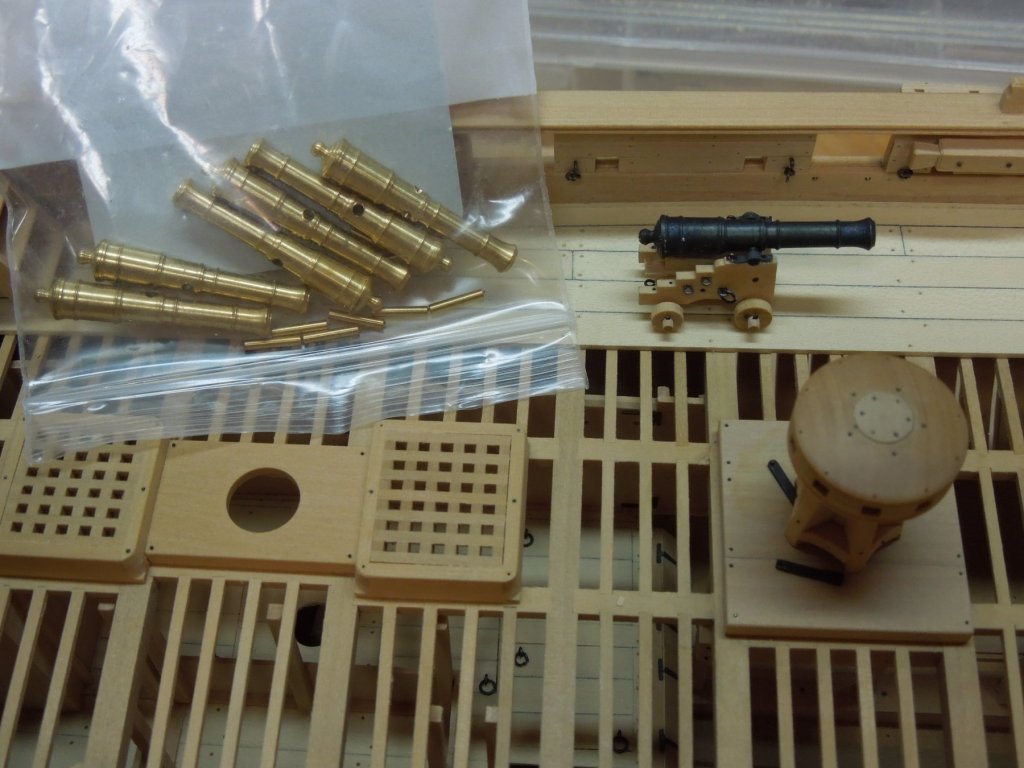
Admiralty Models has only a few three pounder Speedwell cannon barrels left. The set of eight are CNC turned in brass with exceptional detail. Bored for trunnions (included). Barrels are 1.125" in length (32 mm). If you are planning on building Speedwell at 1:48 scale then these are the cannons you want! Price for the set is $40 US plus shipping. If interested please send a PM or respond to dvm27@comcast.net.
- 4 replies
-
- 10
-
-
Wow, that's old school. Cutting out all those bulkheads to spec and getting them to align will be fun! The bulkhead and keel wood looks nice. Is it birch ply? Any warping over the years?
-
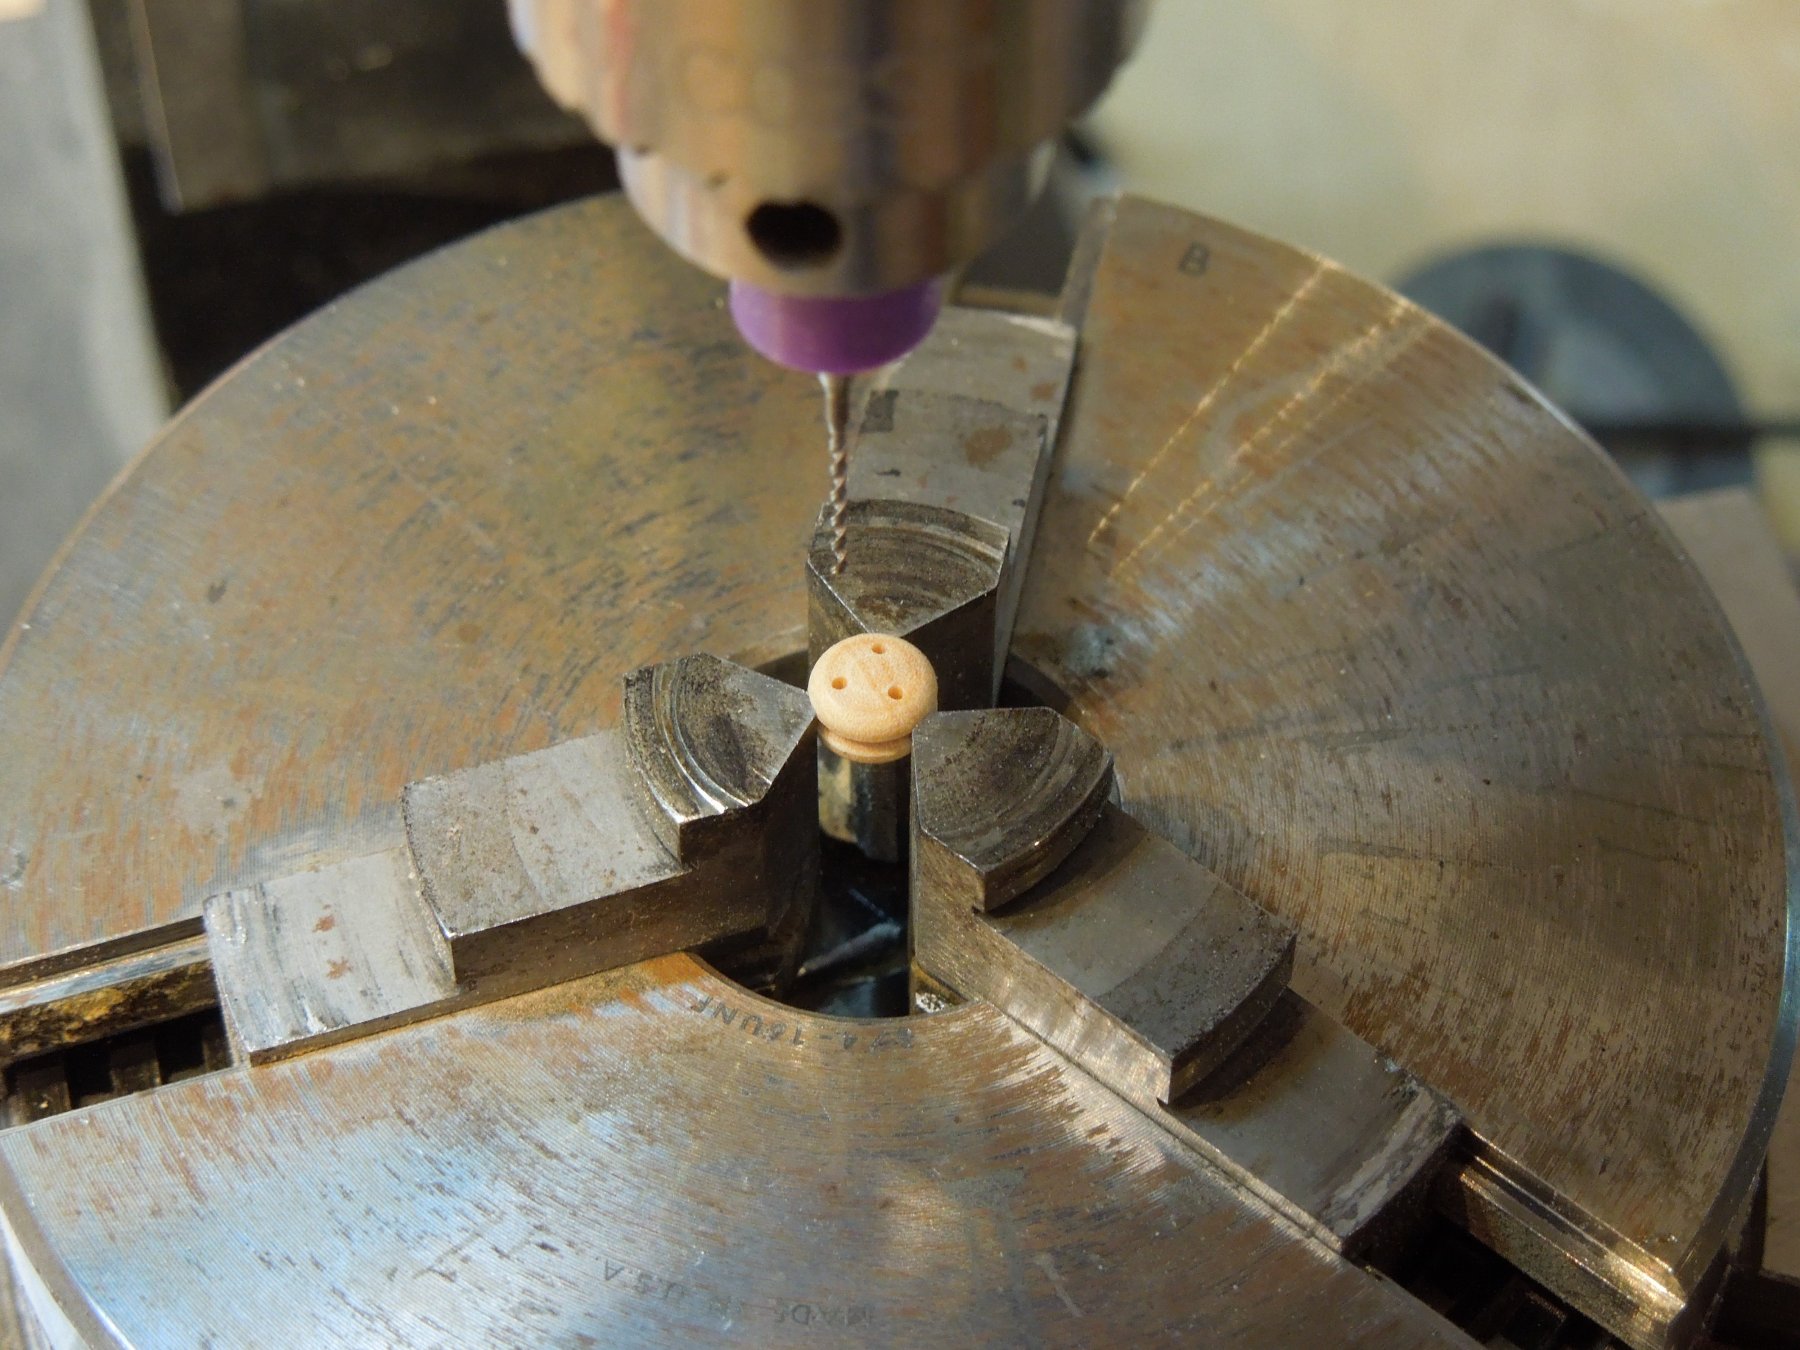
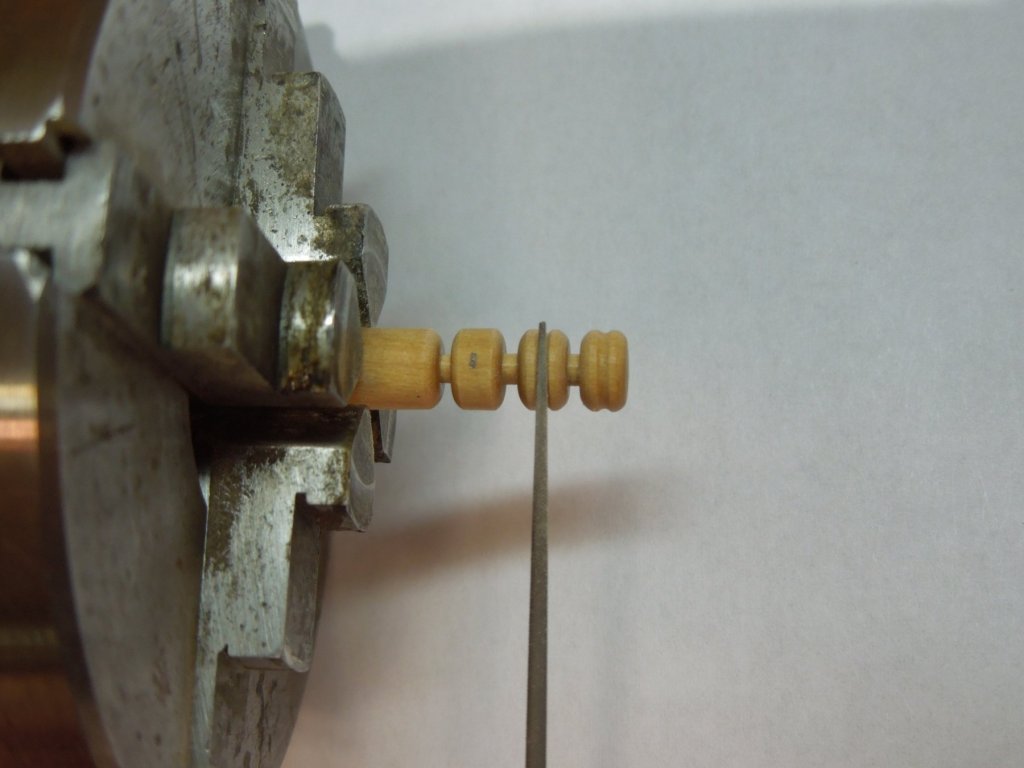
Had some trouble loading at first Dave but then started loading deadeye with a curved hemostat (right hand) and tightening the chuck with the left hand. Only required finger pressure tightening to hold the deadeye in place. No bars required to tighten or loosen. Mark, the form tool cost was only $35 and included one on each end. I imagine they could make form tools for the muzzle, reinforcements and ball of a cannon. They are cut on a wire EDM machine (whatever that is) and are incredibly precise.
- 345 replies
-
- 10
-
-
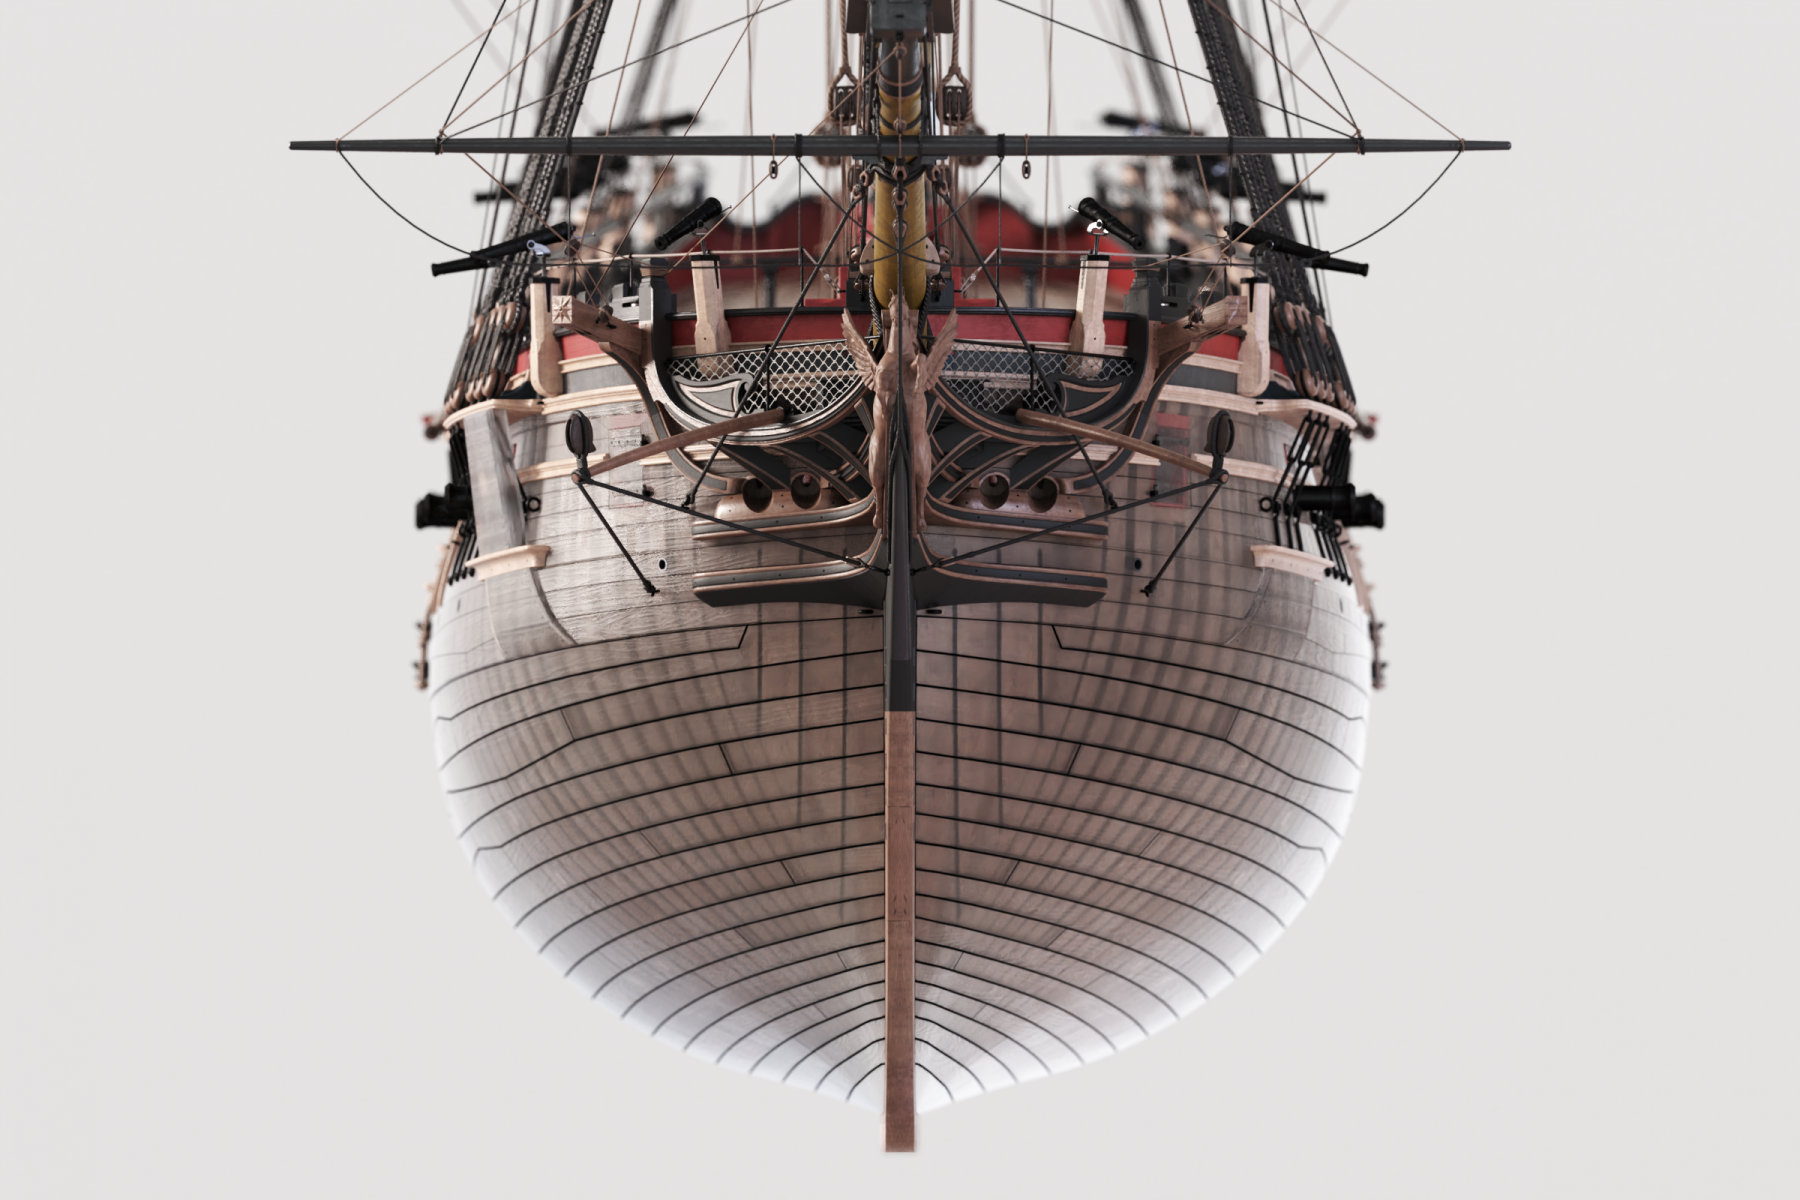
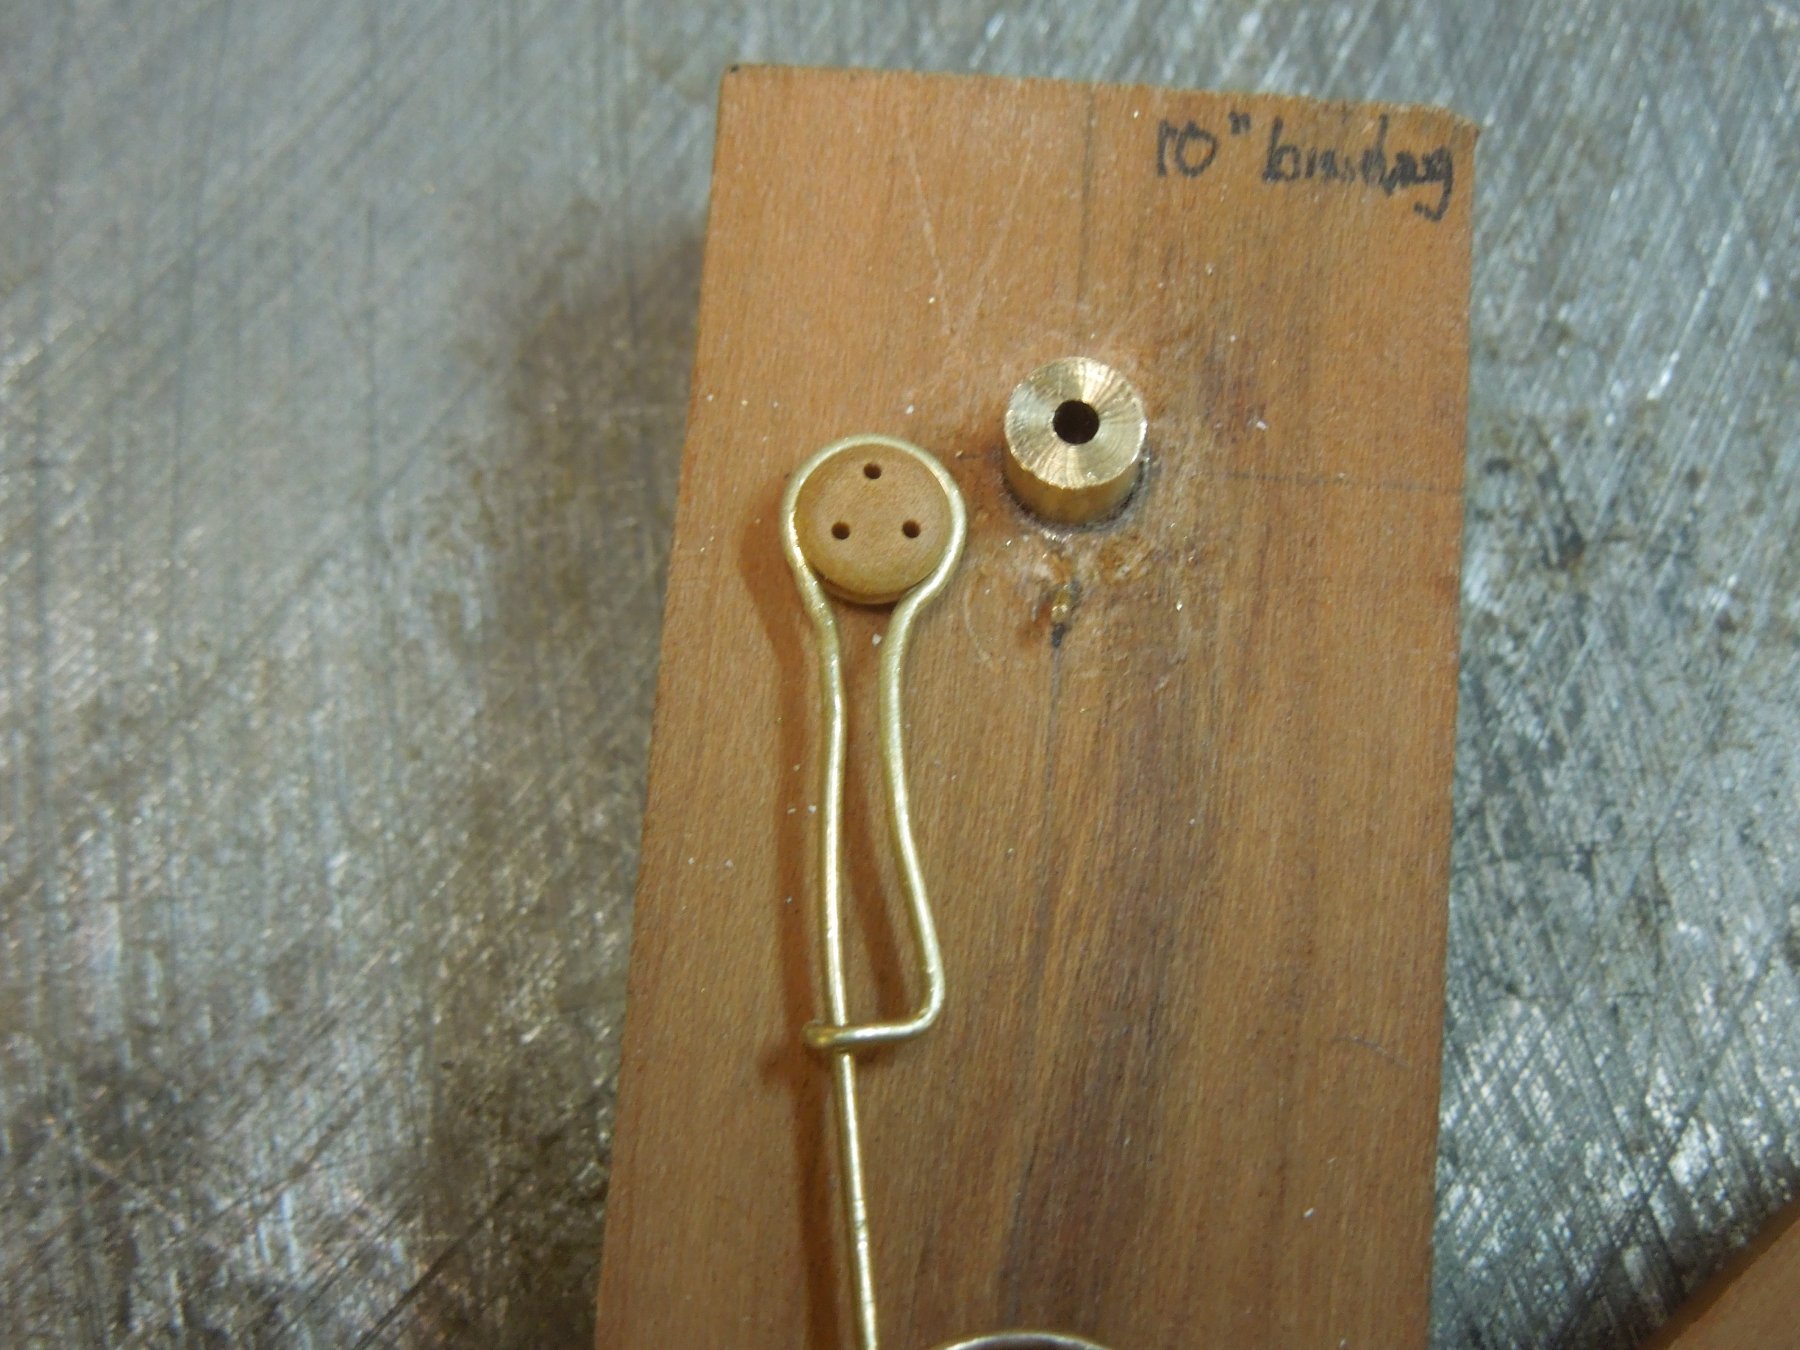
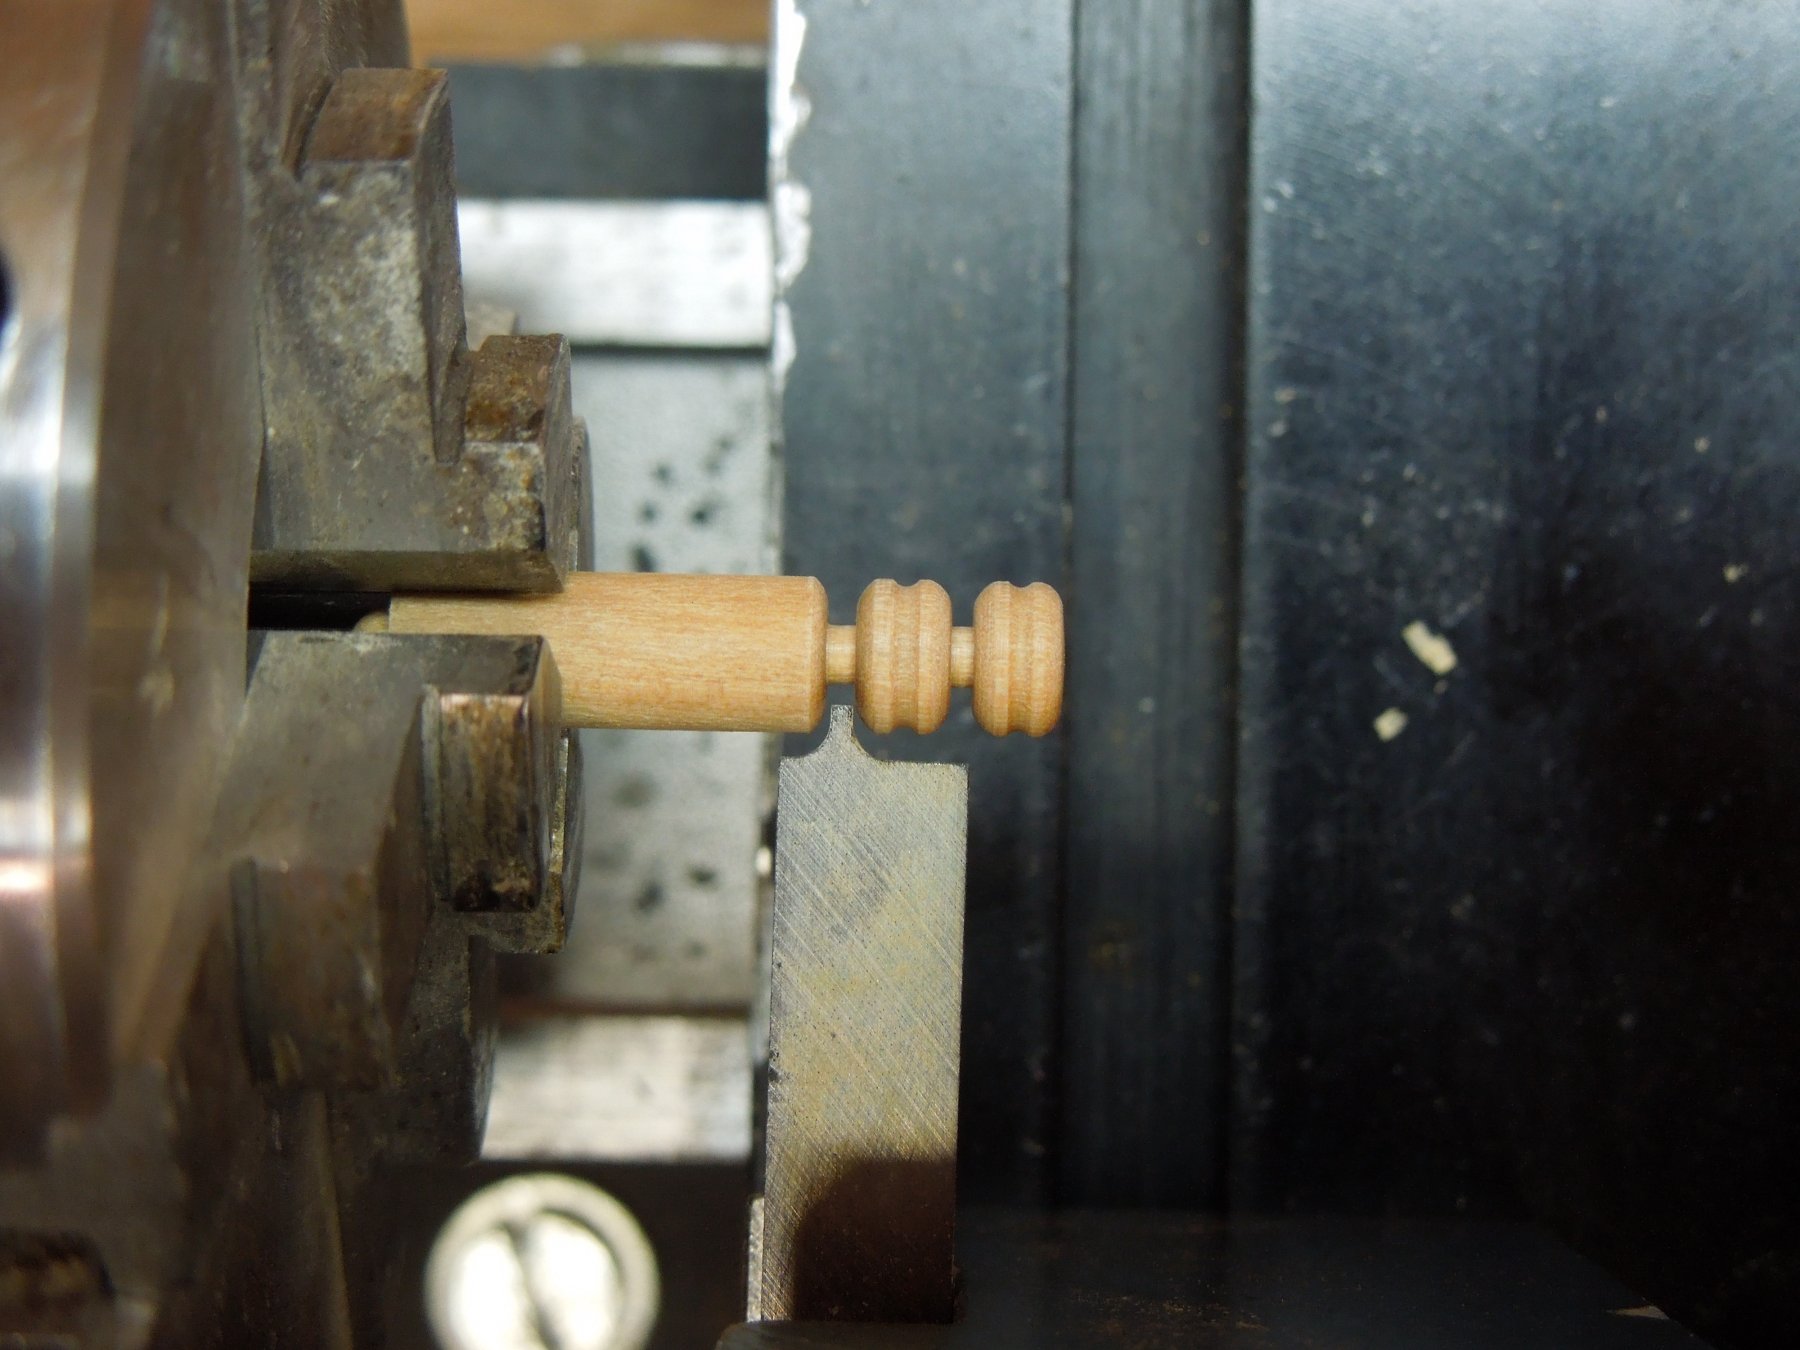
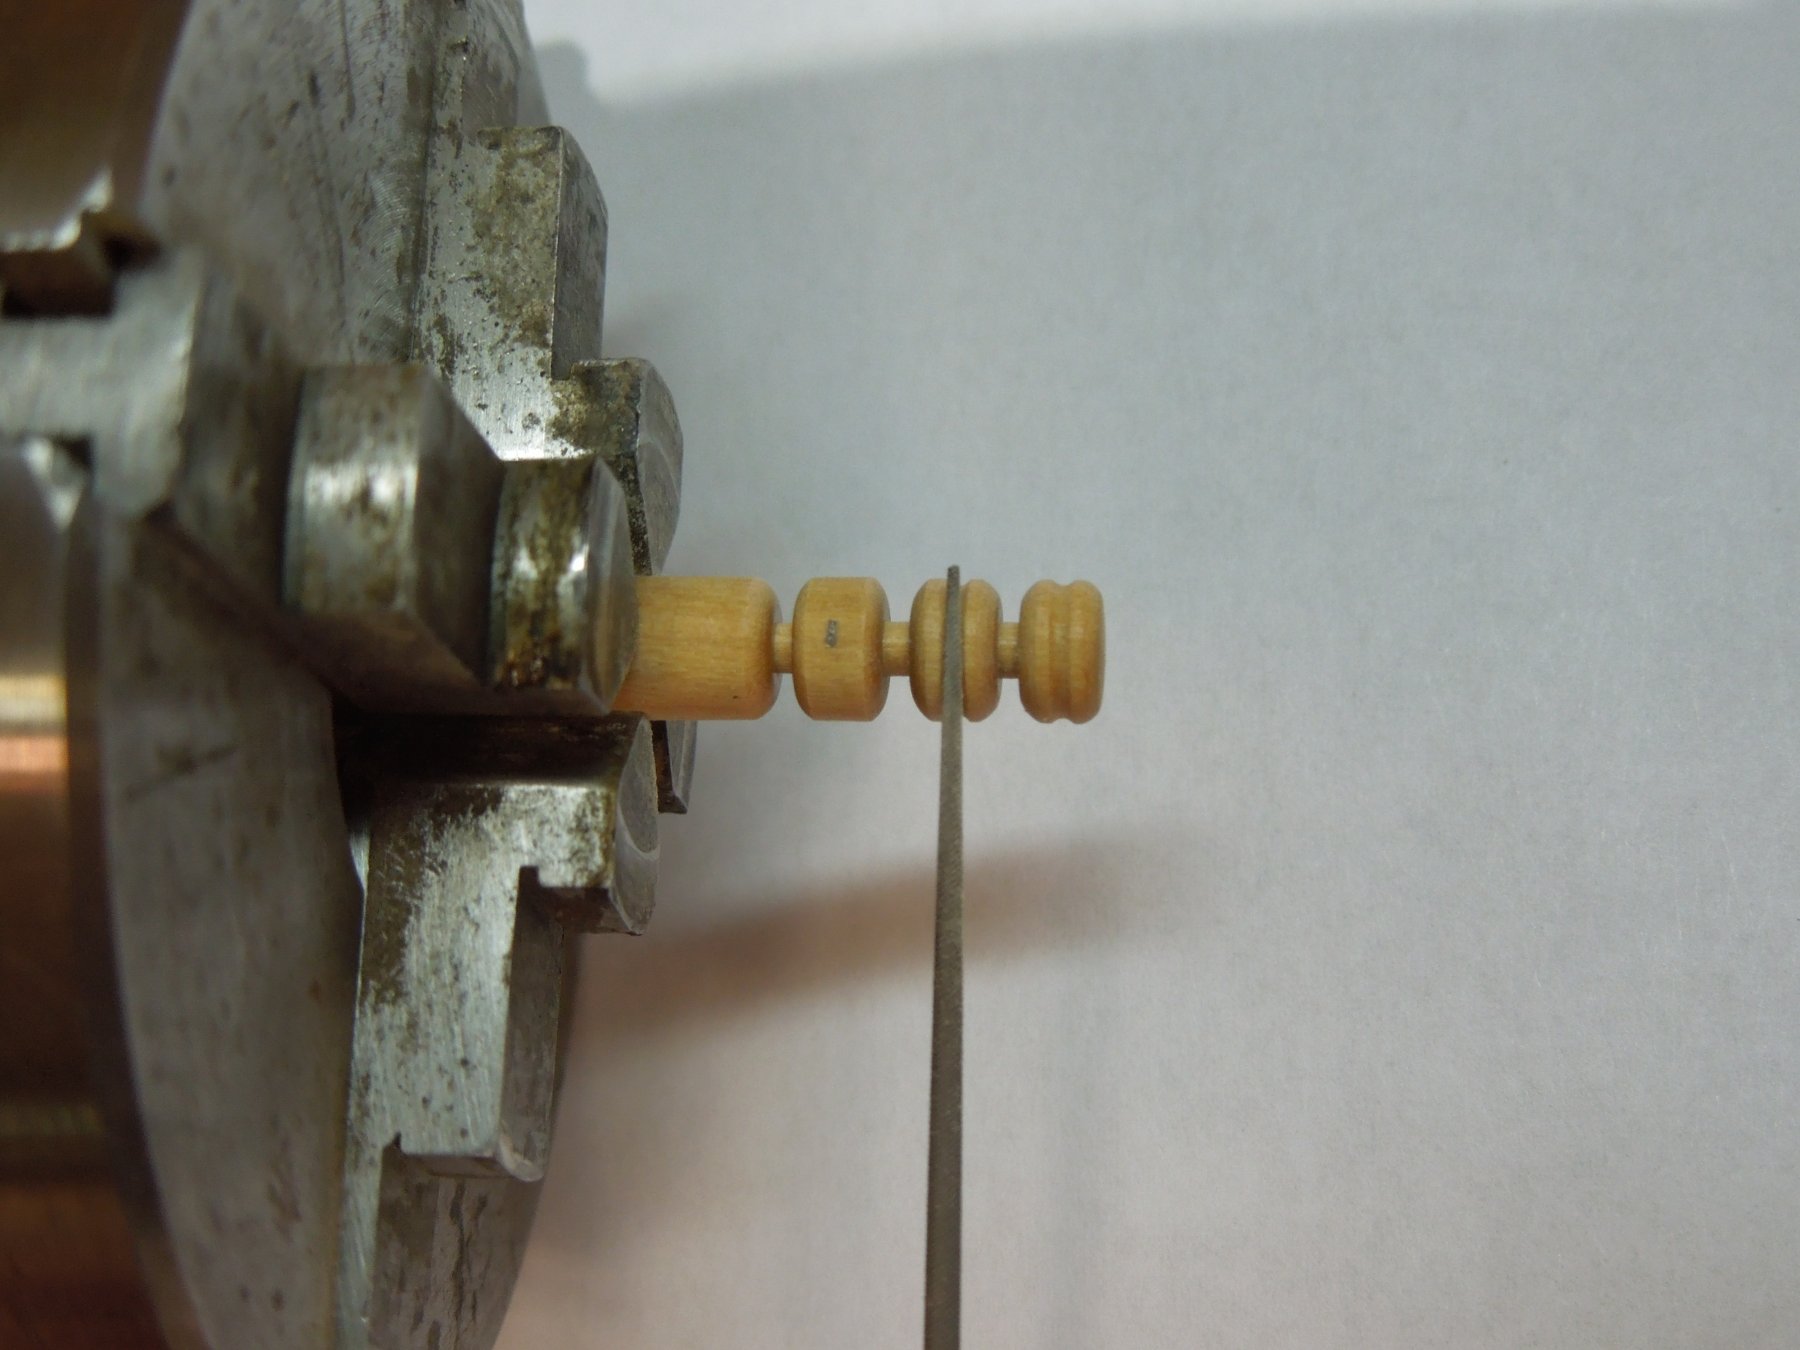
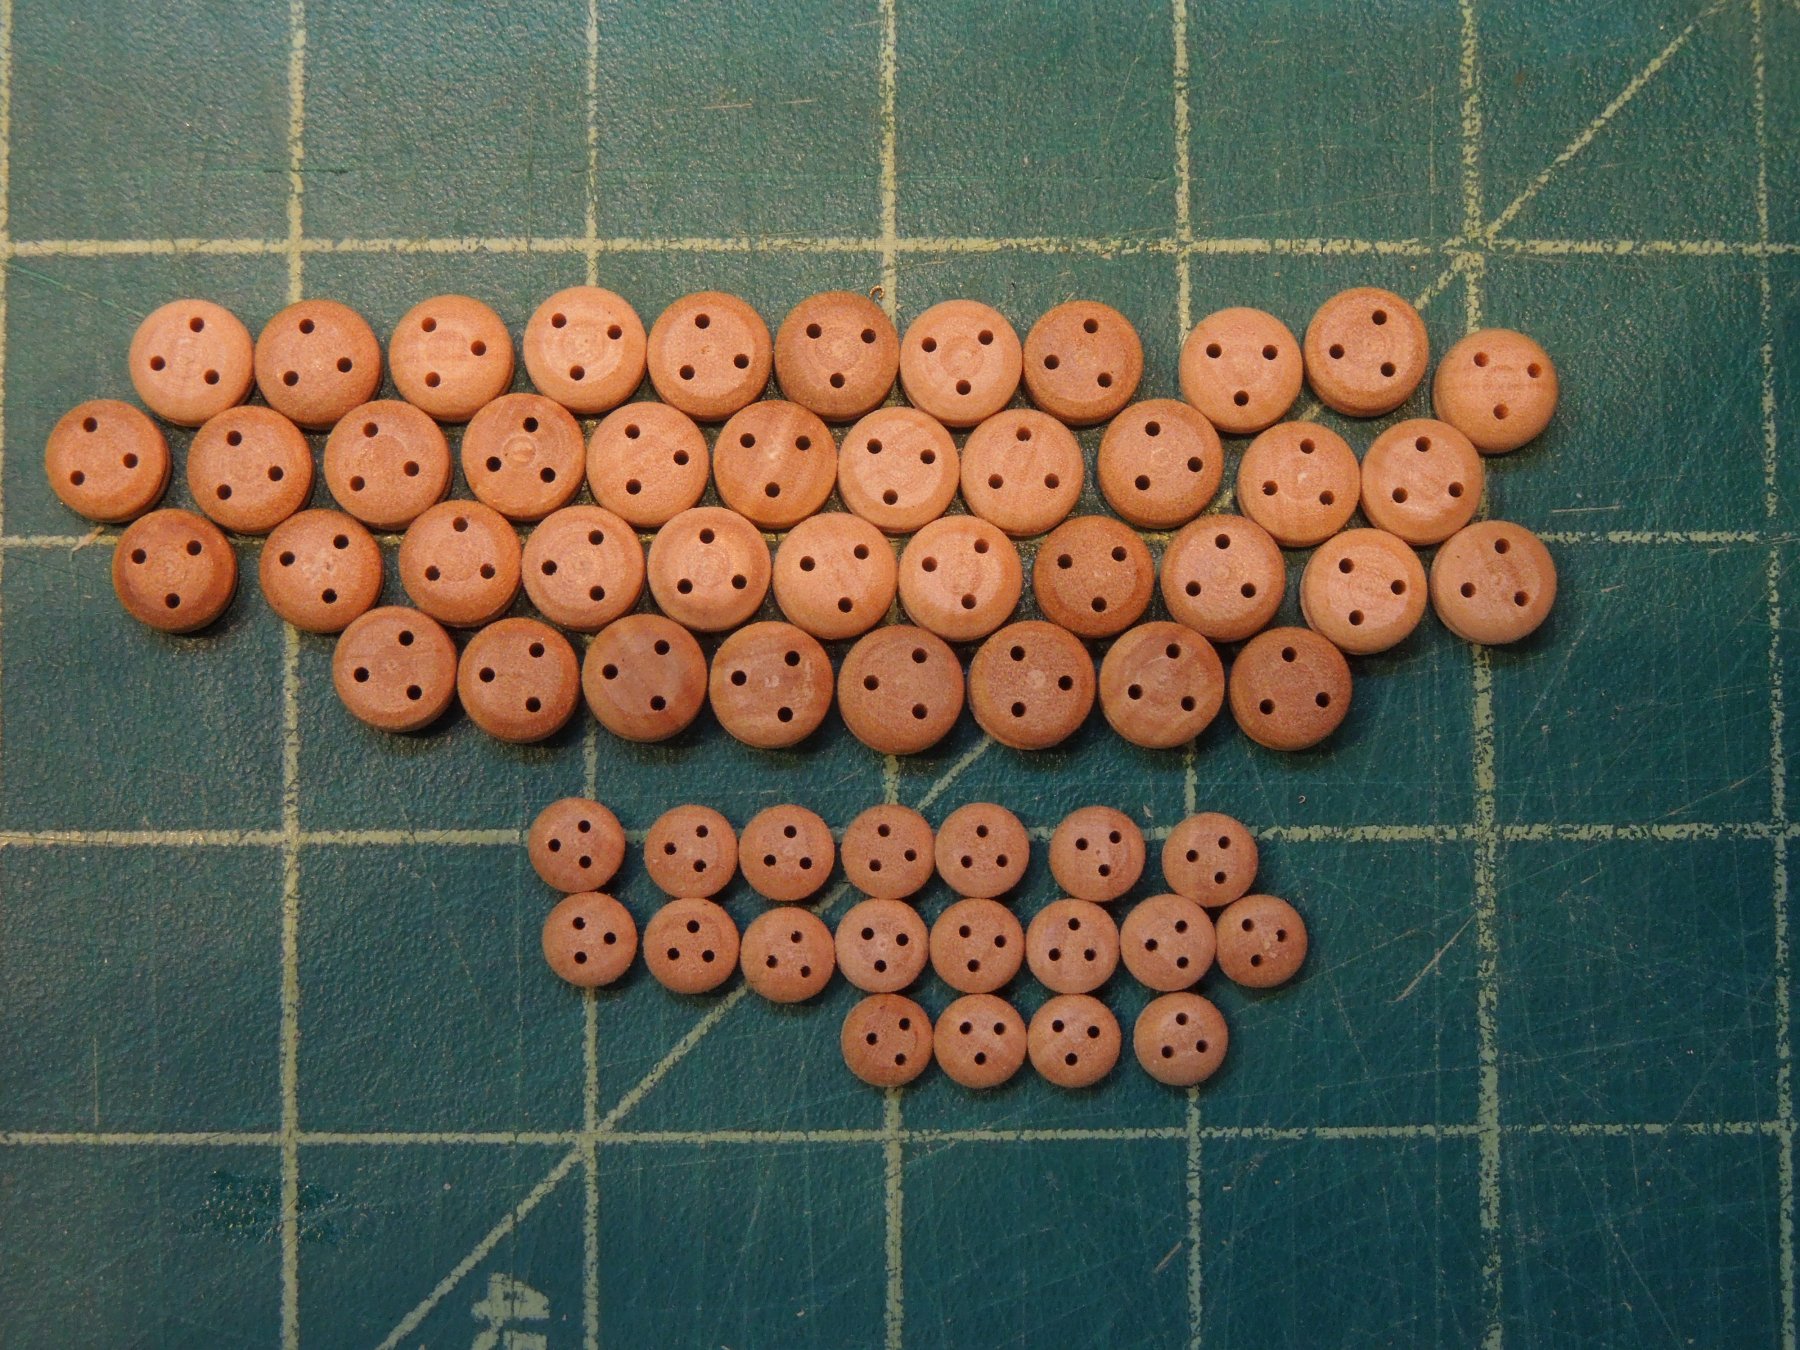
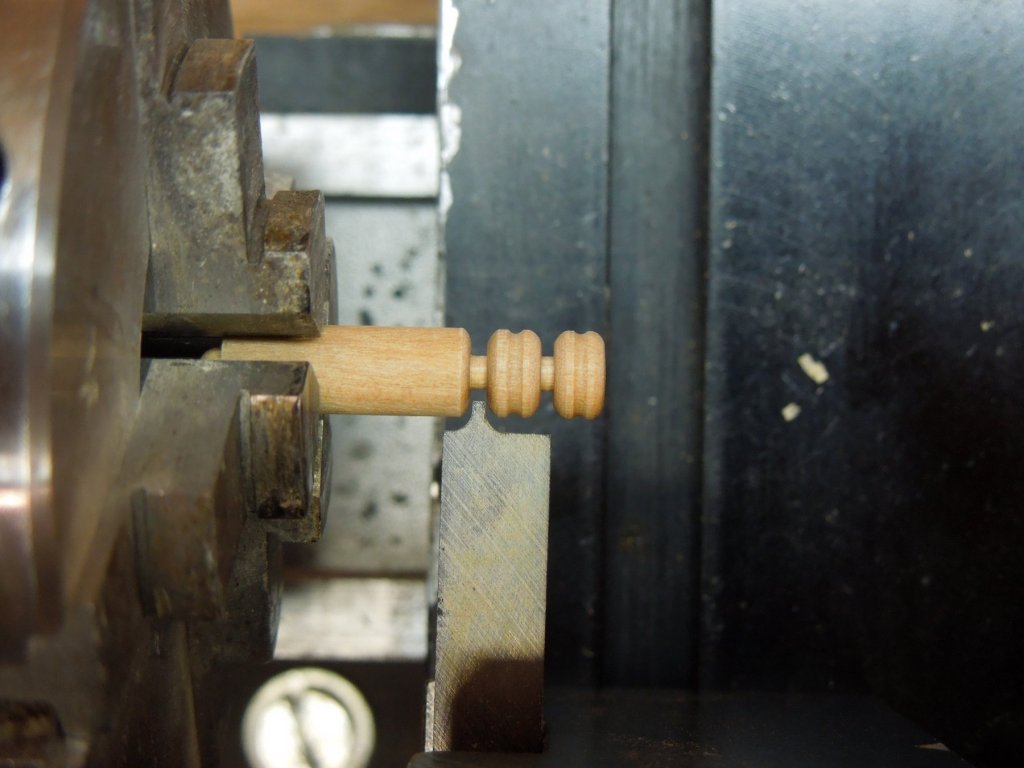
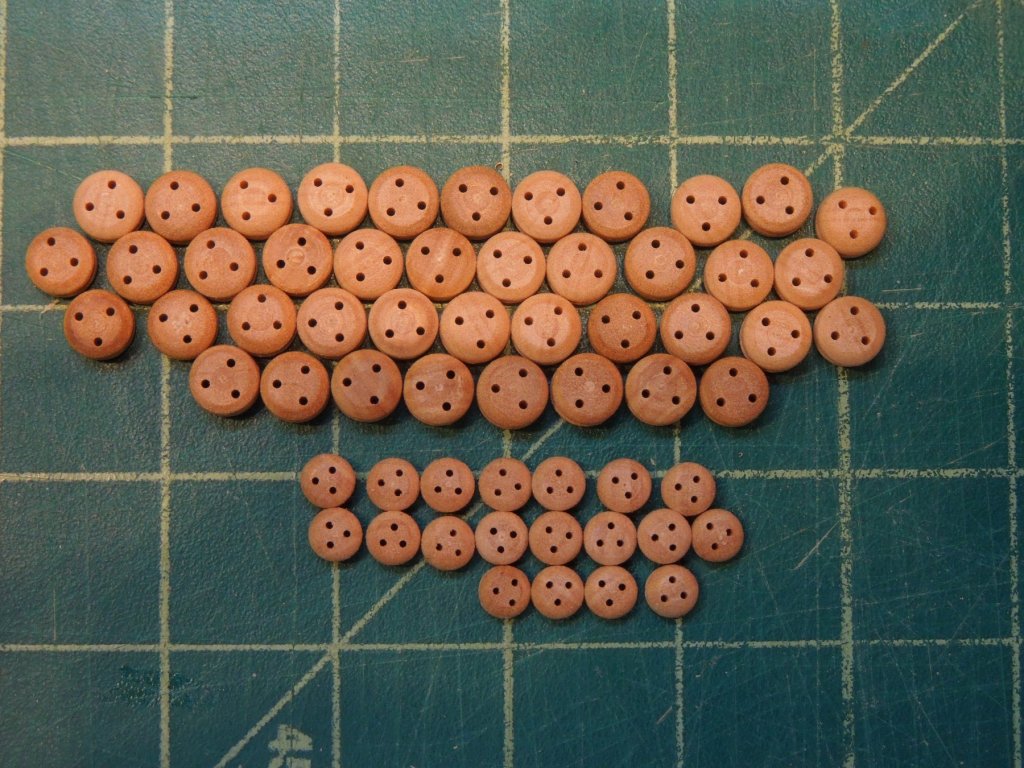
Been awhile since my last update. Currently busy turning deadeyes and preparing for rigging. I had a form tool made for my by Sherline and it works beautifully for both the 10" and 7" deadeyes. Ideally I thought the form tool would part the finished deadeye precisely as both shoulders were formed but, in actual practice, the pressure resulted in the deadeye chain snapping off prematurely. I suspect this would not happen if the material was brass but wood just cannot handle the deflection. No problem though as I just shortened the parting portion of the form tool. Each deadeye was then parted off with a razor saw. Drilling was also a breeze using the rotary table on my mill. No holding jig required - the jaws keeps them in perfect position (thanks for the tip Ed). Later this month Speedwell heads up to Canada where David Antscherl will provide his carving magic. We have a detailed bill of carvings from the original so they should be very accurate.

- 345 replies
-
- 32
-
-

-

-
For the Byrnes saw I chose the 0.50" diameter hole and 3" diameter blades. Catalog numbers are: CT303012000 - .030" thick CT302012000, CT 304012000, CT305012000. (.020", 040" & 0.050" respectively). Ideally you should have a separate aluminium blade insert for each size to prevent small parts from flying into the machine after cutting. They're inexpensive and worth the effort in changing with each blade.
-
Yup...got the 0.030" and it does a great job on boxwood. Also got varied widths from 0.008" to 0.052"
-
I just received an order from Malco for blades for my Byrnes and Preac saws. They are beautifully made and cut through hardwood like butter. Thanks for the lead Chuck!
-
Beautiful planking job Ryland! So was the lining out just an exercise since Chucks spiled planks fit so well?
- 263 replies
-
- 1
-
-
- Medway Longboat
- Syren Ship Model Company
- (and 1 more)
-
Here is an online link to Roger's beautiful model. He has done significant additional research for his model. His clenched lap planking i the way I'd do it! http://www.craftsmanshipmuseum.com/BuildingAlert.pdf I have seen a copper sheathed clinker planked model but can't recall where.
- 335 replies
-
- 4
-
-
- alert
- vanguard models
- (and 1 more)
-
Nice recovery, Jeff! Just curious - did the boy's parents sue you for allowing him to run with a dangerous, non-secured toy in your house?
-
Very nice video, Kudin. I especially enjoyed your demonstration of splicing the rope. I have a question regarding your planking of your hull. I did not see this demonstrated in your videos. Have you applied black paper between each of the planks or have you slightly beveled the edges to create a small shadow or recess? The effect is different than most other planked hulls I have seen.
-
Gorgeous work! Personally, I love the brass look which mirrors the builders ship models of that era.
- 34 replies
-
- 7
-
-
- mikasa
- wave models
- (and 2 more)
-
Welcome aboard Kudin. I have been following your excellent build videos on YouTube and one thing I admire about you is your willingness to replace older inferior work with new improved versions. I should warn viewers that the CC/translation feature is a bit buggy with only about 50% of the text accurately translated but it's enough to get the idea. Kudin's videos are among the finest ship model building videos available.
-
Stunning work, Bob!
-
Your model belongs in the NMM or Science Museum in whatever interactive exhibit they have depicting the tea trade or clipper ship era. But I'm sure she'll find a great home somewhere.
- 3,618 replies
-
- 2
-
-
- young america
- clipper
- (and 1 more)
-
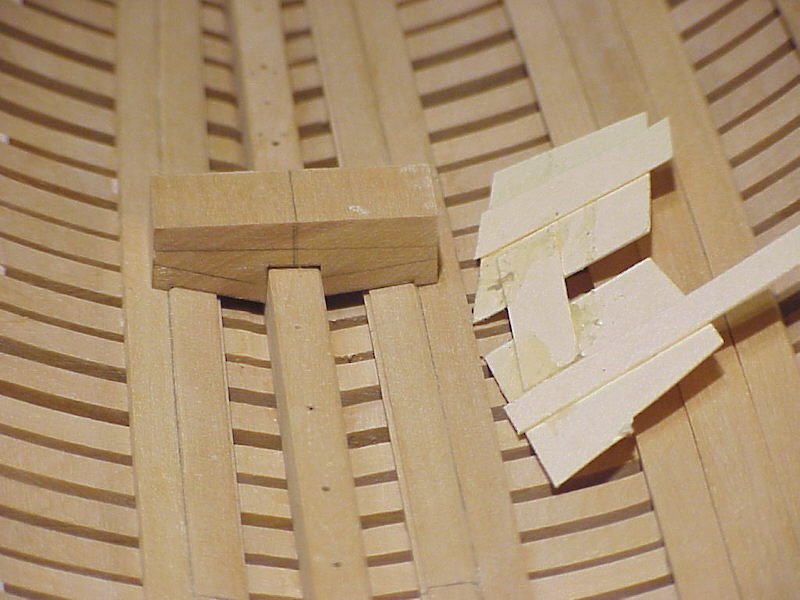
Nice job on those steps, Kevin. You may find it convenient to use built up card patterns of the area in order to get the actual shape to transfer to the wooden blank. It's very simple and wastes no wood. I just use pieces of index card stock glued together progressively with white glue. You'll find this method particularly useful later on when determining bulkhead shapes as they meet the hull. In case you're wondering, the pencil lines are placed to help position them in the mill vice. Each line is parallel to the surface that needs to be cut and would line up with the top of the mill vice jaws.
-
Nice work on those complicated outer counter timbers. If you nailed them on the first attempt extra kudos!
- 589 replies
-
- 3
-
-
- le gros ventre
- cargo
- (and 1 more)
-
Lists lining cannonports
dvm27 replied to TomJonas's topic in Building, Framing, Planking and plating a ships hull and deck
Perhaps he is referring to port stops? -
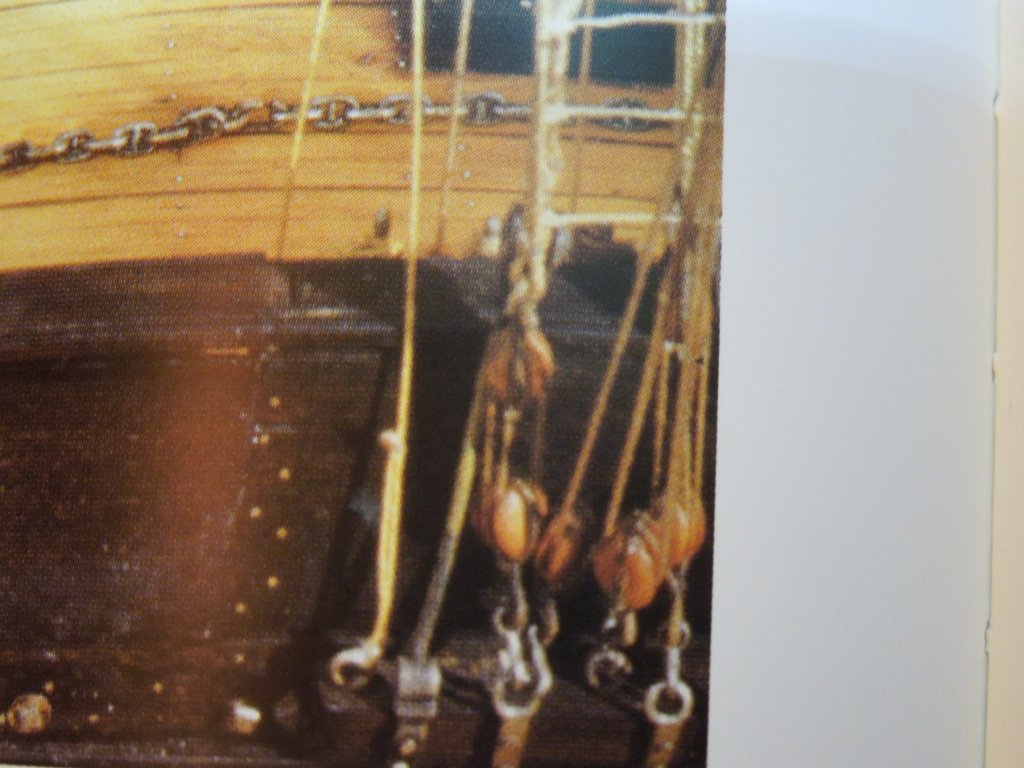
I studied all the photos under high magnification. There are many lines converging on the channels but I'm pretty sure each of the shroud lines ends up on a 4-5 ft. tall iron stave. Not sure how the shroud is attached up top but the stave appears to terminate within a shackle on the channel. This shackle, in turn, pierces the channel and ends up as a link which is bolted to the hull. At lease that's my impression from studying the photos. I am not well versed in French ship building though.
-
I do have this lovely book. It has beautiful photos of most details of the model but, unfortunately, not this area. However, in the attached photo blown up it does appear to match DJ's illustration. Other photos show a similar arrangement. I cannot discern any shrouds ending in the usual deadeye arrangement. They appear to end in some sort of long iron stave.
-
Well, as you're finding out, building a plank of frame model can be...frustrating! But the only strake of significance is #15 where the deck beams seat. Your plan of correction is a good one. I promise you that you will never even see those other strakes after the lower deck is installed.