


popeye the sailor
-
Posts
15,981 -
Joined
-
Last visited
Content Type
Profiles
Forums
Gallery
Events
Posts posted by popeye the sailor
-
-
time for the paint booth!
cracked open a fresh bottle of Olive Drab just for the occasion
")

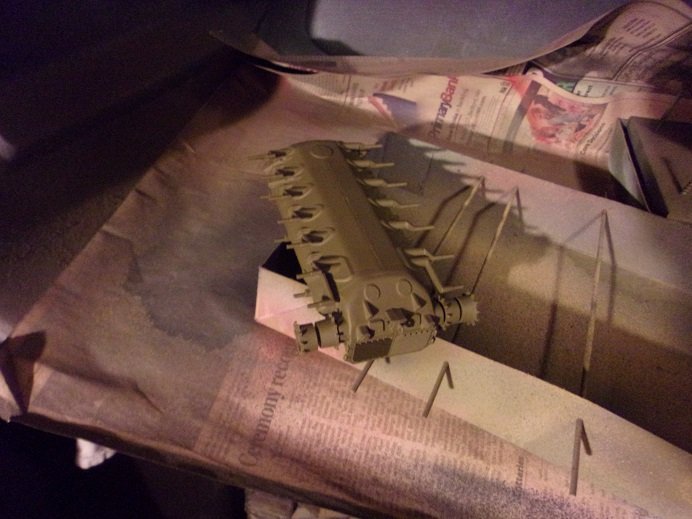
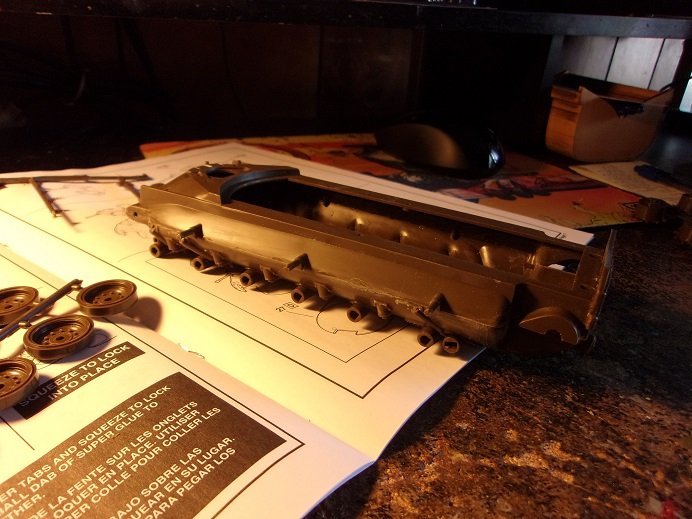
painted the bottom.......the top part will be next. I wasn't going to add the drive dears, but at the last minute, I changed my mind.
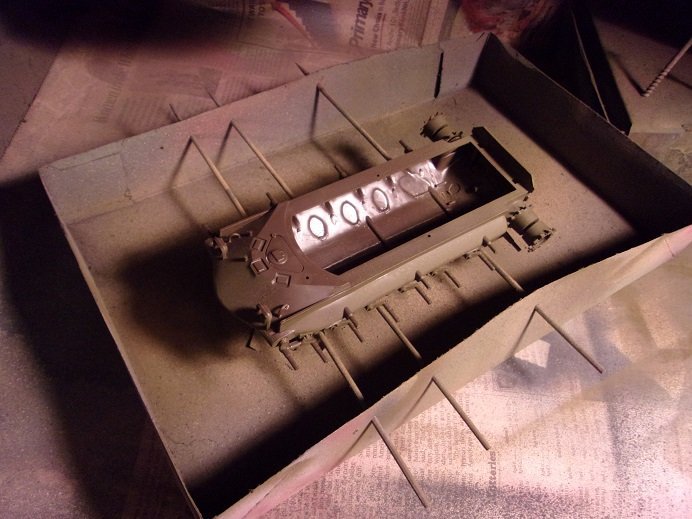
the top deck was also painted along the undersides of he fenders. so while that was getting done, I painted the bogies Flat Black and Olive Drab. I put on what I had done so far.
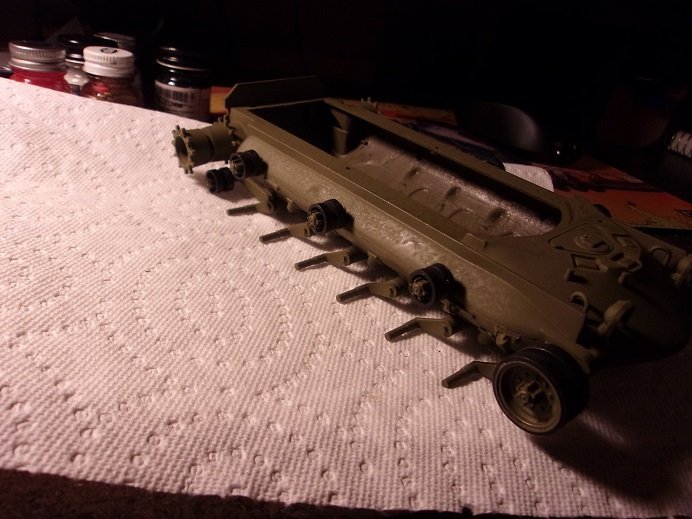
there is some inconsistency with the paint.......a clogging airbrush coupled with too much thinner {I think}. I decided to leave it as is since it won't be seen and appears somewhat worn by the elements.
- Papa, Jack12477, Edwardkenway and 6 others
-
 9
9
-
ok.......dog and garbage has been done........back to the log
you'll see engines sprinkled all through this log........I have at least six of them in various stages. one hemi Ford 427, and the rest Chevy's.......and one Plymouth added to the mix. I also have the two L6's 'round here somewhere.
I'm getting closer to the paint booth......just a bit more to go. I did a fit of the top deck on the body......the back area isn't too bad.

it's when you get to the front fenders......they are slightly warped.
I'll see how the warp runs and use a bit of heat on them
")
-
firstly.......the bottom pan is joined together and set aside. the error monkey is still around.......let's try again
the top part of the main body was added.......the scars from scraping and sand is evident. other parts were laid out and cleaned up....

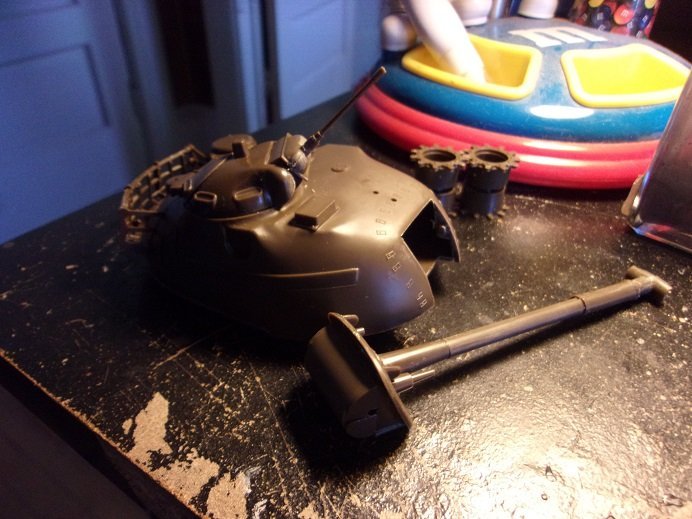
the 50 cal turret was assembled along with the Jerry cans. they won't be added till after painting. the main body got some legs......kinda looks like an insect

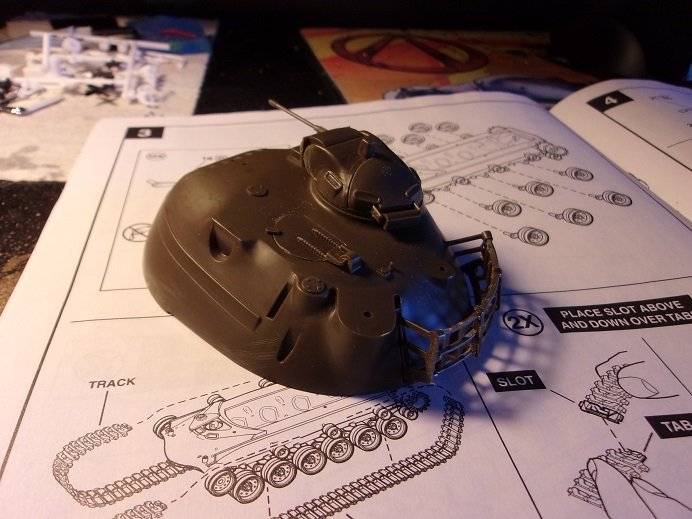
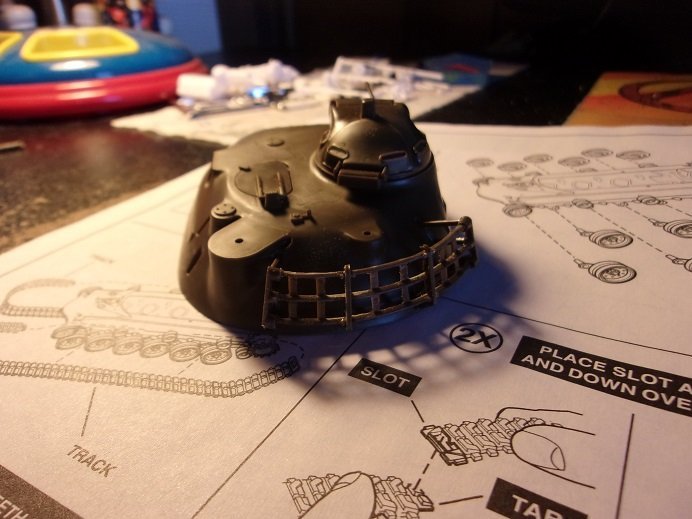
the body after more sanding of the undercarriage.....still more to go before that ugly seam is gone. the 50 cal turret was added to the main turret.....it is moveable.
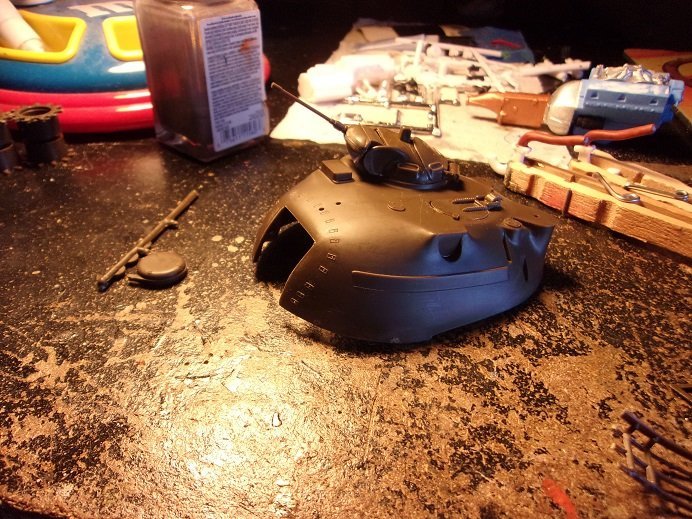
the luggage rack was added to the back part of the turret. the 90mm gun was assembled of three parts and fitted before the bottom pan was added to the turret.
- Edwardkenway, Jack12477, Egilman and 5 others
-
8
-
I haven't done an armor piece since I was a young lad.......I was more of a plane guy though. after seeing all this wonderful armor work going on here........and after my tangent with Leopold......I bought one. we were at Hobby Lobby to get supplies....and again, the admiral saw that kits were 40% off. I got this one and the AMT '59 Chevy El Camino. so now I have that one.......the '59 Chevy Belair, the '60 Chevy Belair, and the 1:16 scale '57 Chevy Belair convertible. doing some research on the cars, as well as the models, things have mushroomed quite a bit......I will never be able to remember it all by the time I get to them. but during my doldrum, I have been assembling the engines. just recently, I purchased another kit during a stop at Michael's......this one really opened a can of worms! thanks Scalemates!
anyway........this model has been around for some time........1966 to be exact
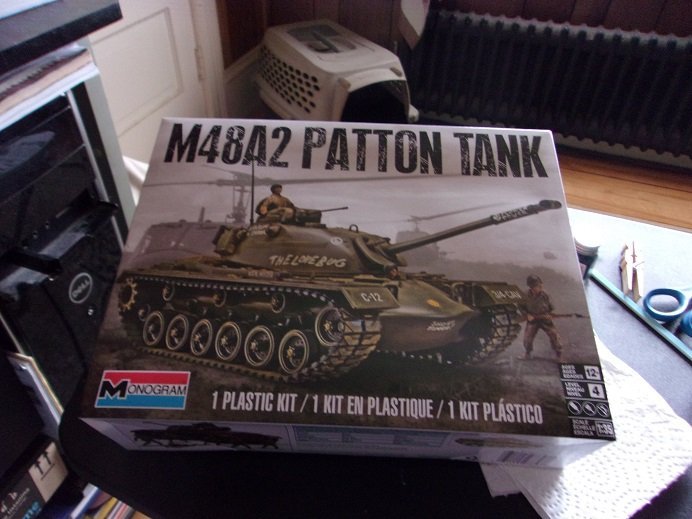
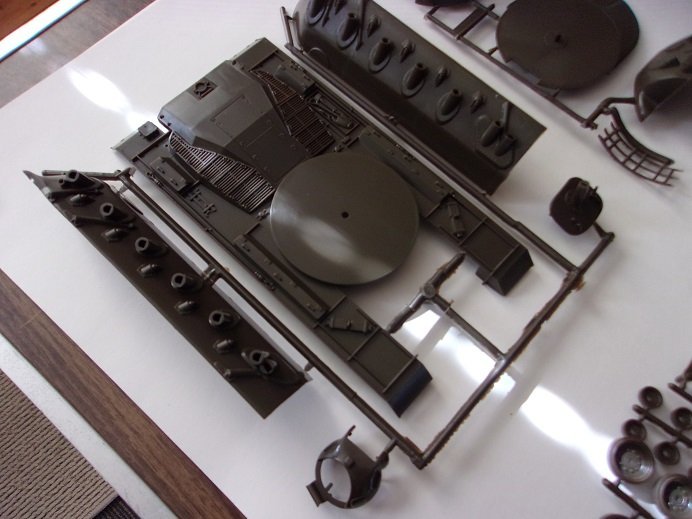
it went through a few revisions.....box art and such.......but I don't think there was any retooling done. it is a fairly simple kit, with no interior to speak of. there are several movable features, but I limited a couple, and I think the model itself will do the rest.......you'll see what I mean as I get into it. the contents are as seen:
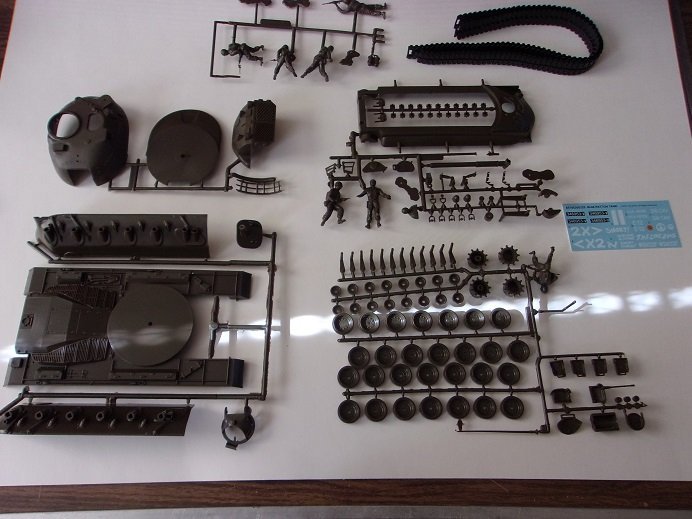
we start off with the top deck being warped......I will try to resolve this. there are a lot of molded detail, the signature of an older reissue model. those 1:72 Tigers I modified were more modern than this one
the decals are neat......
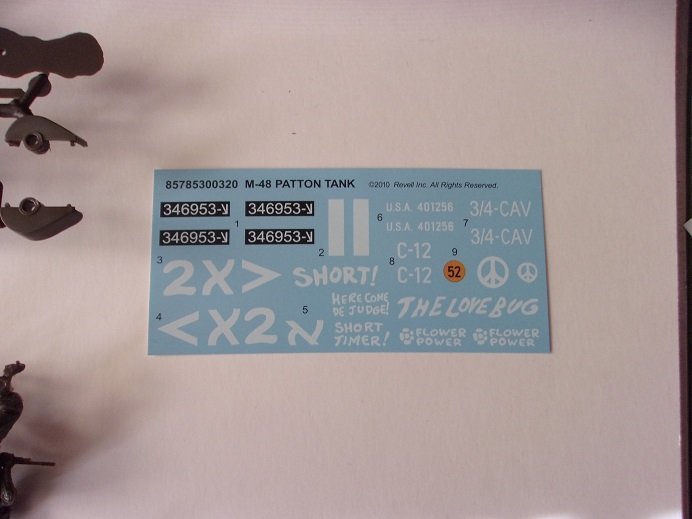
you have the choice of building the U.S. Army version {Olive Drab}, or the Israeli Army version {Desert Sand}.
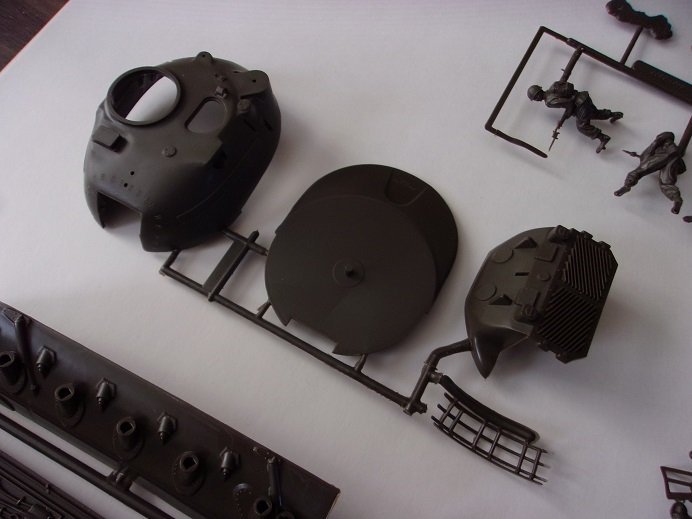
the plastic is rather hard......care must be taken cutting the parts off the sprues. as can be seen, the finish is kinda rough...not smooth like other kit plastics. I see that there is a lot of edge flaring and flash that must be squared and sanded off before assembly. I rebagged the figures......perhaps some other time
I'm sure that there are other fine points to tell you about, probably moot where I'm at with the assembly. I hope I can make it interesting.
- Old Collingwood, Baker, Egilman and 5 others
-
8
-
now this one definitely counts towards a quick build
look'in awesome Patrick......any camo?
-
sorry I missed this Patrick........you've turned out a very sweet little tank! the winter camo looks great........something I've never tried. very nice job indeed!
- Jack12477, Canute, Edwardkenway and 4 others
-
7
-
good to see your back working on the coach!
the chassis and wheels look very good........a very cheerful color. so when the occupants are ticked off by the erratic ride.....just stop and tell 'em to look at the chassis {look at the flowers Lizzie}!
it might not be that dramatic.......what he's using is woven with fabric. it will tend to sag over time, but it will take longer to completely fail.
-
I'm planning on doing another one in the future.......a B 17 this time {more surface area}
- Edwardkenway, mtaylor, Canute and 2 others
-
5
-
these are some super cool models...........I'd love to get one! I've seen them around, but sadly still above my budget........the admiral would kill me
- Moonbug, flying_dutchman2, Egilman and 4 others
-
7
-
really nice job on the train car
the roof assembly was very interesting.
-
looks quite busy.........sweet!
- Egilman, Edwardkenway, Canute and 1 other
-
4
-
magic marker can also be used
sweet look'in tank!
-
Wow.....the engine looks really good
yep....agree.......shame to hide it in the fuselage. progressing quite well!
- king derelict, lmagna, FriedClams and 6 others
-
9
-
-
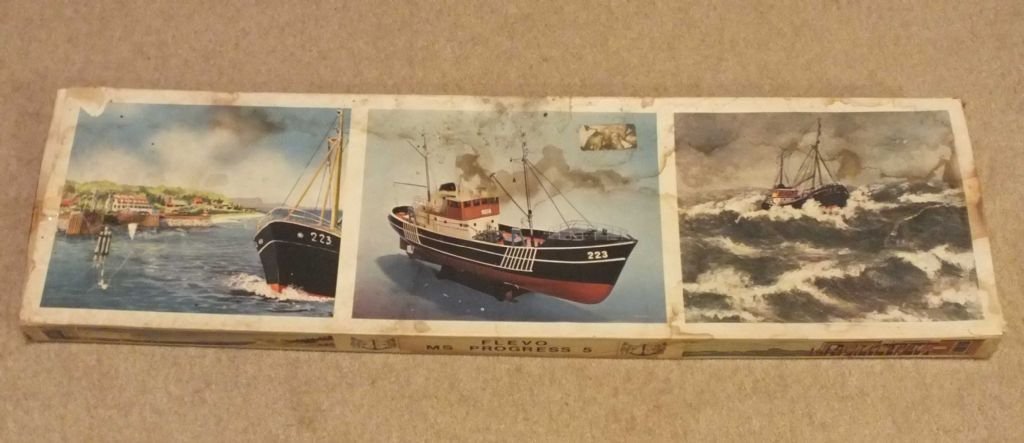
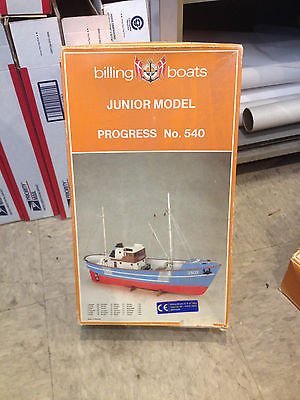
I have a chance to do another for the Progress. once I shaped the one for the Nordkap, I sealed it and then did the finish sanding. I did the hawse holes for the anchors like I did for the Nordkap, but I'm thinking of changing it to a more oval look. I see you left the boat crane as a manual crank. this was the first wood kit I ever built, and being uncut forced me to learn scratch early. I assembled the one that came with the kit and the one from the fitting kit........I may use them both. I'm also playing with the idea of a fore deck, which will deviate from the pictures I have of the Progress. your probably wondering.......the Progress kit was produced around the same time as the Nordkap kit.......it is basically a clone of the Nordkap kit. there were two kits, the full size Progress and a Junior kit. another kit that was produced in this fashion was the Wavney class life boat...
-
she looks awesome Mike! I enjoyed shaping the funnel for mine...took my belt sander, laid it upside down in a milk crate, and had at it
blue seems to be the fitting color for this model....I used a grabber blue. you really did a nice job! the base is sweet!
-
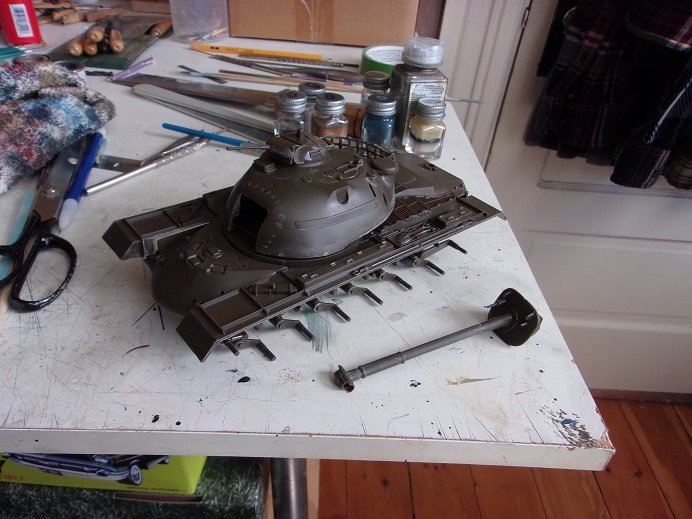
couldn't keep my fingers out of that Patton tank........got a few pictures. waiting to do some painting
- Canute, Edwardkenway, Jack12477 and 4 others
-
7
-
really good article Ken.......the gent did a lot more than I did with mine
there were a few good ideas I'd like to try out though
- Canute, Edwardkenway, lmagna and 3 others
-
6
-
great start OC...........
- Canute, mtaylor, Edwardkenway and 1 other
-
4
-
I'm sorry I missed this one Greg........so much went into her and the planes look so very good....I can see why your nails are so short
such beautiful detail and so much of it.......amazing how much your able to stuff into your models! good info on the deck....I have one that I got a wood deck for, and haven't even thought how I'm going to be able to place it since I've never done one before. you have a way bringing out the life in a model.......I'm envious, but glad to partake in seeing how you do it
-
good to see I'm early too........I know I have a lot of catching up to do
very nice job on the cockpit........nicely detailed! fingers are crossed that you can pull it off...look'in forward to see the finish.
- lmagna, Canute, Edwardkenway and 4 others
-
7
-
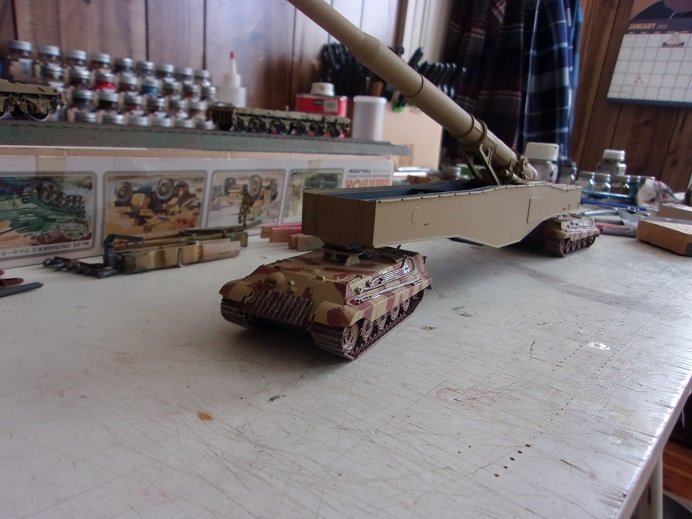
but that's the point Roger.....there are more roads than tracks. there could have been an advantage here. but I do agree about the instability......I think the gondola should be shorter. it likely would also require stabilizer legs, much like heavy construction equipment for support, and when positioned, the tanks could have been turned 45 degrees to help counter the residual recoil. the K5 gun itself has the ability to buffer the recoil, built in...hard to say how much more would be left over. thanks for the pictures Patrick.....interesting that there was a pillar system on the drawing board, considering that most mechanized mortars were short, an utilized the coupler and King pin concept.
given what I had to work with, I figured it figured it wouldn't be too hard to snaz up Hasegawa's shortcomings.
this concept doesn't mean that it would be a totally 'off road' piece of equipment, but it opens up more strategic advantages for it to be more effective. even tanks navigated roads, as well as open field, to get where they were needed. most of the time, they were in a convoy along with other pieces of equipment that would have a hard time. as said, I do think that the wheel base is too long, but reading this information, made it too hard to ignore. it was a great exercise in the 'what if' catagory
I have the next two days off........along with my normal week end, I should have more to add here
- mtaylor, Canute, Edwardkenway and 6 others
-
9
-
thanks Bug and OC........I guess it was good that I held off on showing the process. one gets to see it as a whole {or close to it} rather than in sessions, like normal logs run. I've done a few tanks.......haven't done one in quite a while. I'd love to do more. the admiral today commented on the chassis, saying that they are too small......she'd like to see them bigger. I told her........OK.......I can get one in 1:16 scale.....the detail on them are so much more!
there was talk about cost.......as a matter of fact, we were at Hobby Lobby yesterday, and saw that there was a sale on kits....40% off. so I bought two kits......a '59 Chevy El Camino and this tank.......

1:35 is a decent scale......I showed her the difference in body length, as opposed to the 1:72 chassis. it even comes with several army figures.......I doubt I will ever used them {any takers?}. hey....who knows.......maybe I can angle my way towards getting one of those large scale kits
 !
!
aside from this diversion......I still have been play'in......I have some automotive engines I've been work'in on for future projects. it seems that the 1950's is my play field
thanks for look'in in......I hope I did good
-
ok....the blood is up to my head.......if this was to have come to fruition, it would have been a monster.........a total game changer, in my view. Leopold would have had the ability to better positioning.....would have made a huge difference at Anzio. here is what Leopold would have looked like, if it had been mechanized.
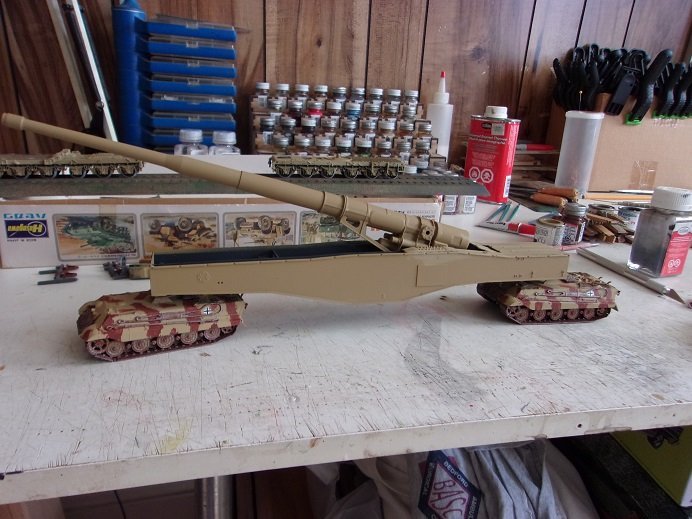
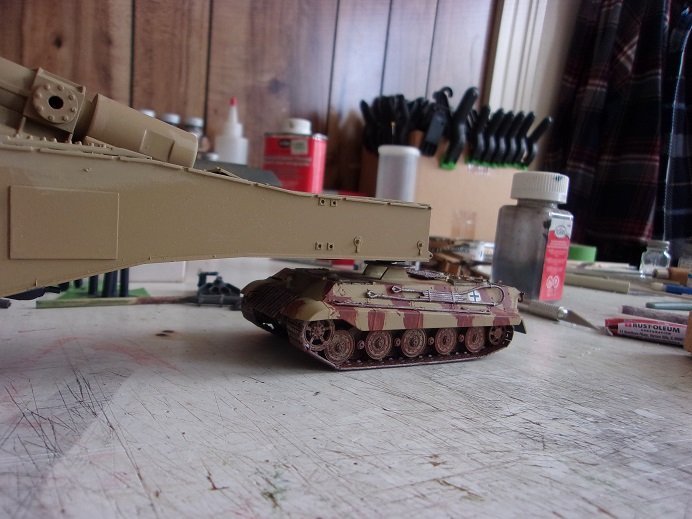
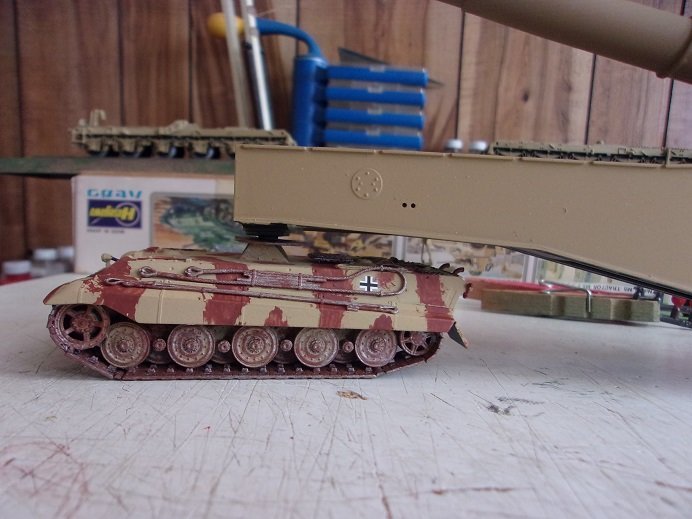
the chassis is level....high enough off the ground to navigate rough terrain. I mention the antennas, since it is crucial that the lead chassis be in constant communication with the trailing chassis {and vise versa}. I thought about the turrets.......I think rather than buy another kit to use just the gondola, I may scratch build another gondola, a bit different than this one, and base the turrets on it. I can also shorten it up a bit.......I'll do a different log
again, I apologize for digressing like this, but this was too good of a concept to ignore. with so many kits out there, this was too tempting not to exploit on with the normal programming......


M48A2 Patton Tank - 1:35 scale by Popeye the Sailor
in Non-ship/categorised builds
Posted
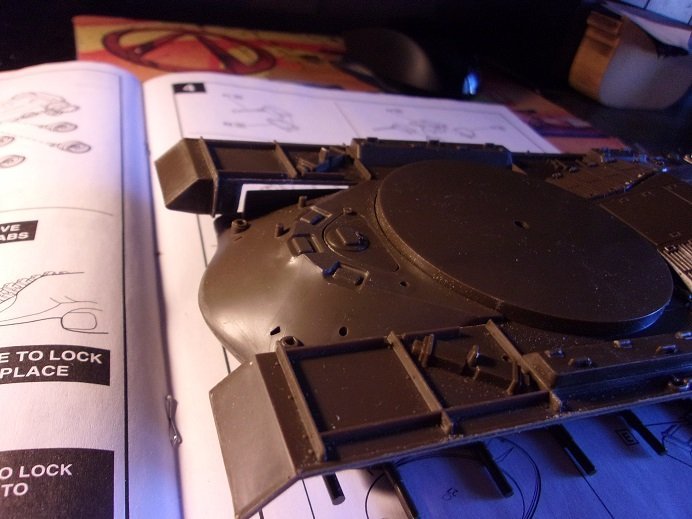
bear in mind that all this has happened over the past couple of weeks........I am not being fast by any stretch of the imagination") I'm still not finished yet, although another week might just do it. the main turret was secured to the top deck......it will be moveable as well. a couple of the hatches didn't fit very good, so they were cemented in place.......only the 50 cal turret has a workable hatch.
I'm still not finished yet, although another week might just do it. the main turret was secured to the top deck......it will be moveable as well. a couple of the hatches didn't fit very good, so they were cemented in place.......only the 50 cal turret has a workable hatch.
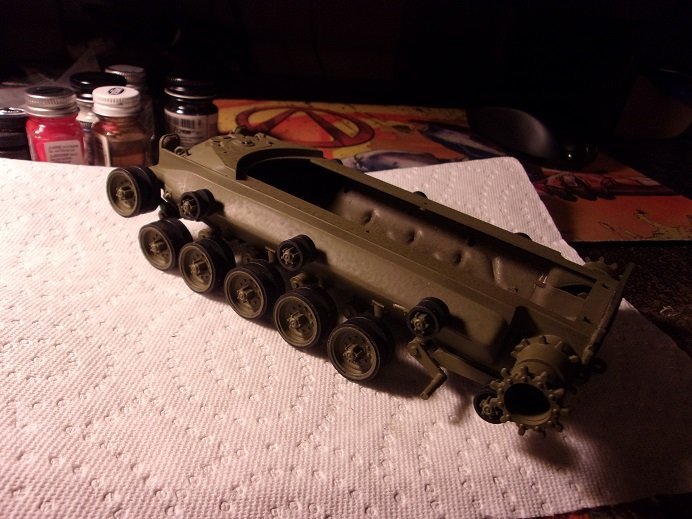
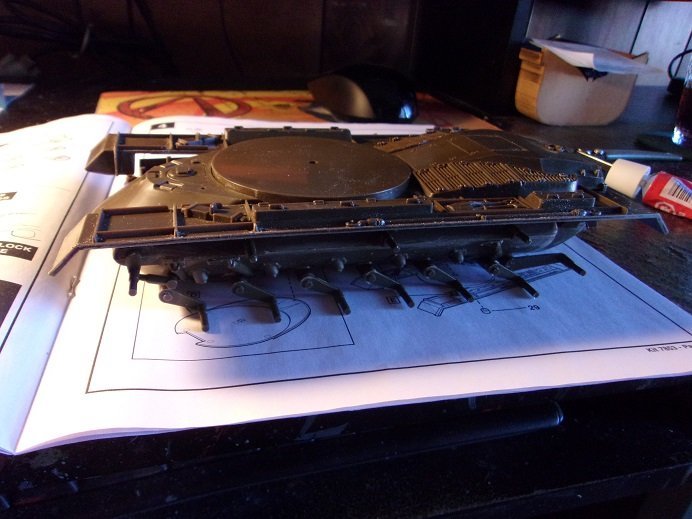
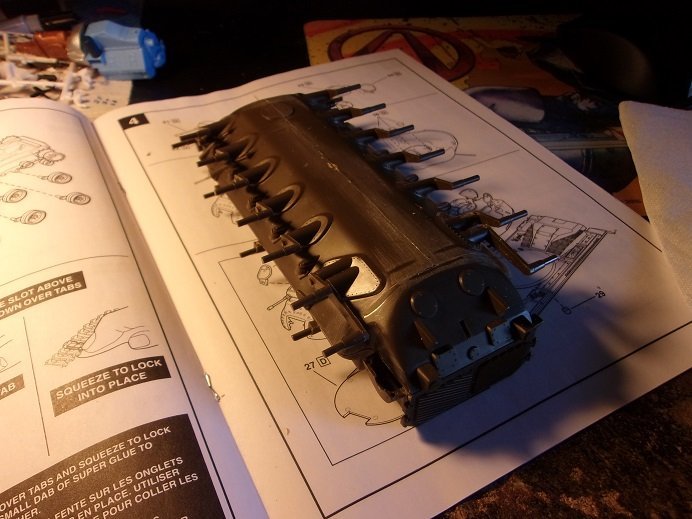
so far so go {so far} on the bogies........they all move, although hampered by paint.
it was time for the tracks.......I will do them now before the top deck is put on. as can be seen, they have a locking tab that fits into the other end.
it looks good once secured in place.
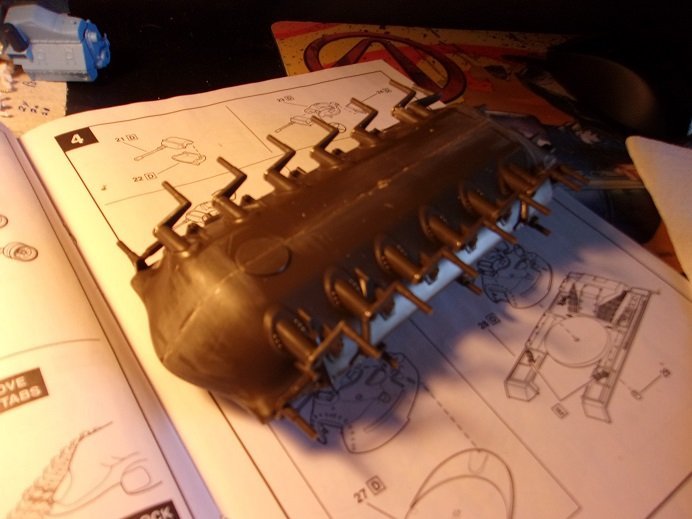
but get a bit dicey when thinking of longevity
yea....they are a bit tight........there is no way the assembly can be wrong. all the bogie legs are keyed to fit one way, along with all the other bogies. with them being so tight, the fact that the tracks can move isn't that big a deal......but I see the tracks failing in a very short time, unless I do something to better secure them. I decided to use thread and sew them together. using black thread, I did just that......created a double wrap and sealed them with CA.
not too good a picture.......
with both sewn, they were put back on. I made sure that the joints were near the drive gear, but up under the rear fenders. the end results is pretty good