


glbarlow
-
Posts
4,017 -
Joined
-
Last visited
Content Type
Profiles
Forums
Gallery
Events
Posts posted by glbarlow
-
-
I acquired some different thin and wedge shaped files from a jewelry making website for my breast rail columns, spent a lot of time on those, more than six.
-
This looks great. Looking forward to seeing you back on Winnie.
- scrubbyj427 and mtaylor
-
 2
2
-
Another great build. I’ve followed yours going back to Pegasus I think, they are all so wonderfully build and so fully documented. I really like the clever display for this one. I hope to see you back at it soon.
- Blue Ensign, Ryland Craze and Knocklouder
-
2
-
 1
1
-
This Helping Hands is an essential tool for all rigging in my opinion. This link is for US Amazon, I’m sure they are available elsewhere online. They come in multiple sized base plates with different types and amount of arms. I like this smaller plate with four arms, I later acquire a fifth arm. I used to use a cheap smaller version, this one though was a game changer for my rigging, makes it all much easier. You have many seizings in your future.
I think it was when I built Cheerful I first used it, post 669 and 706 among others show it in action.
- Canute, Ryland Craze, PaddyO and 1 other
-
4
-
Please ignore the poor photography and messy work bench.
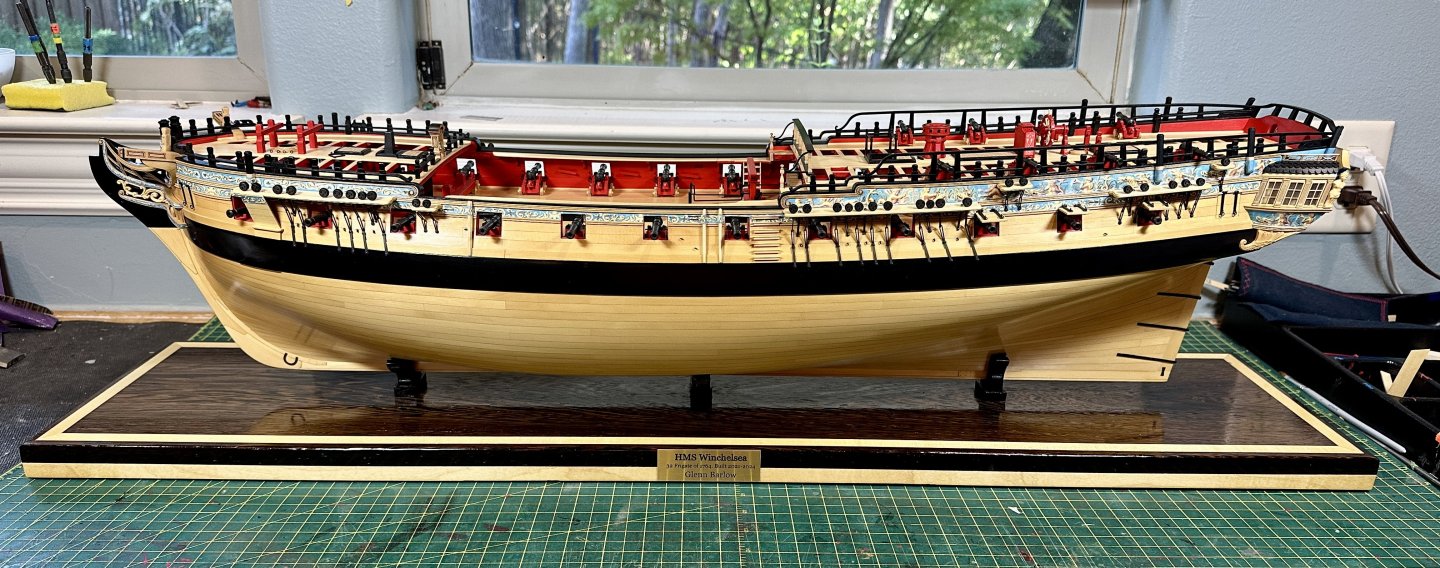
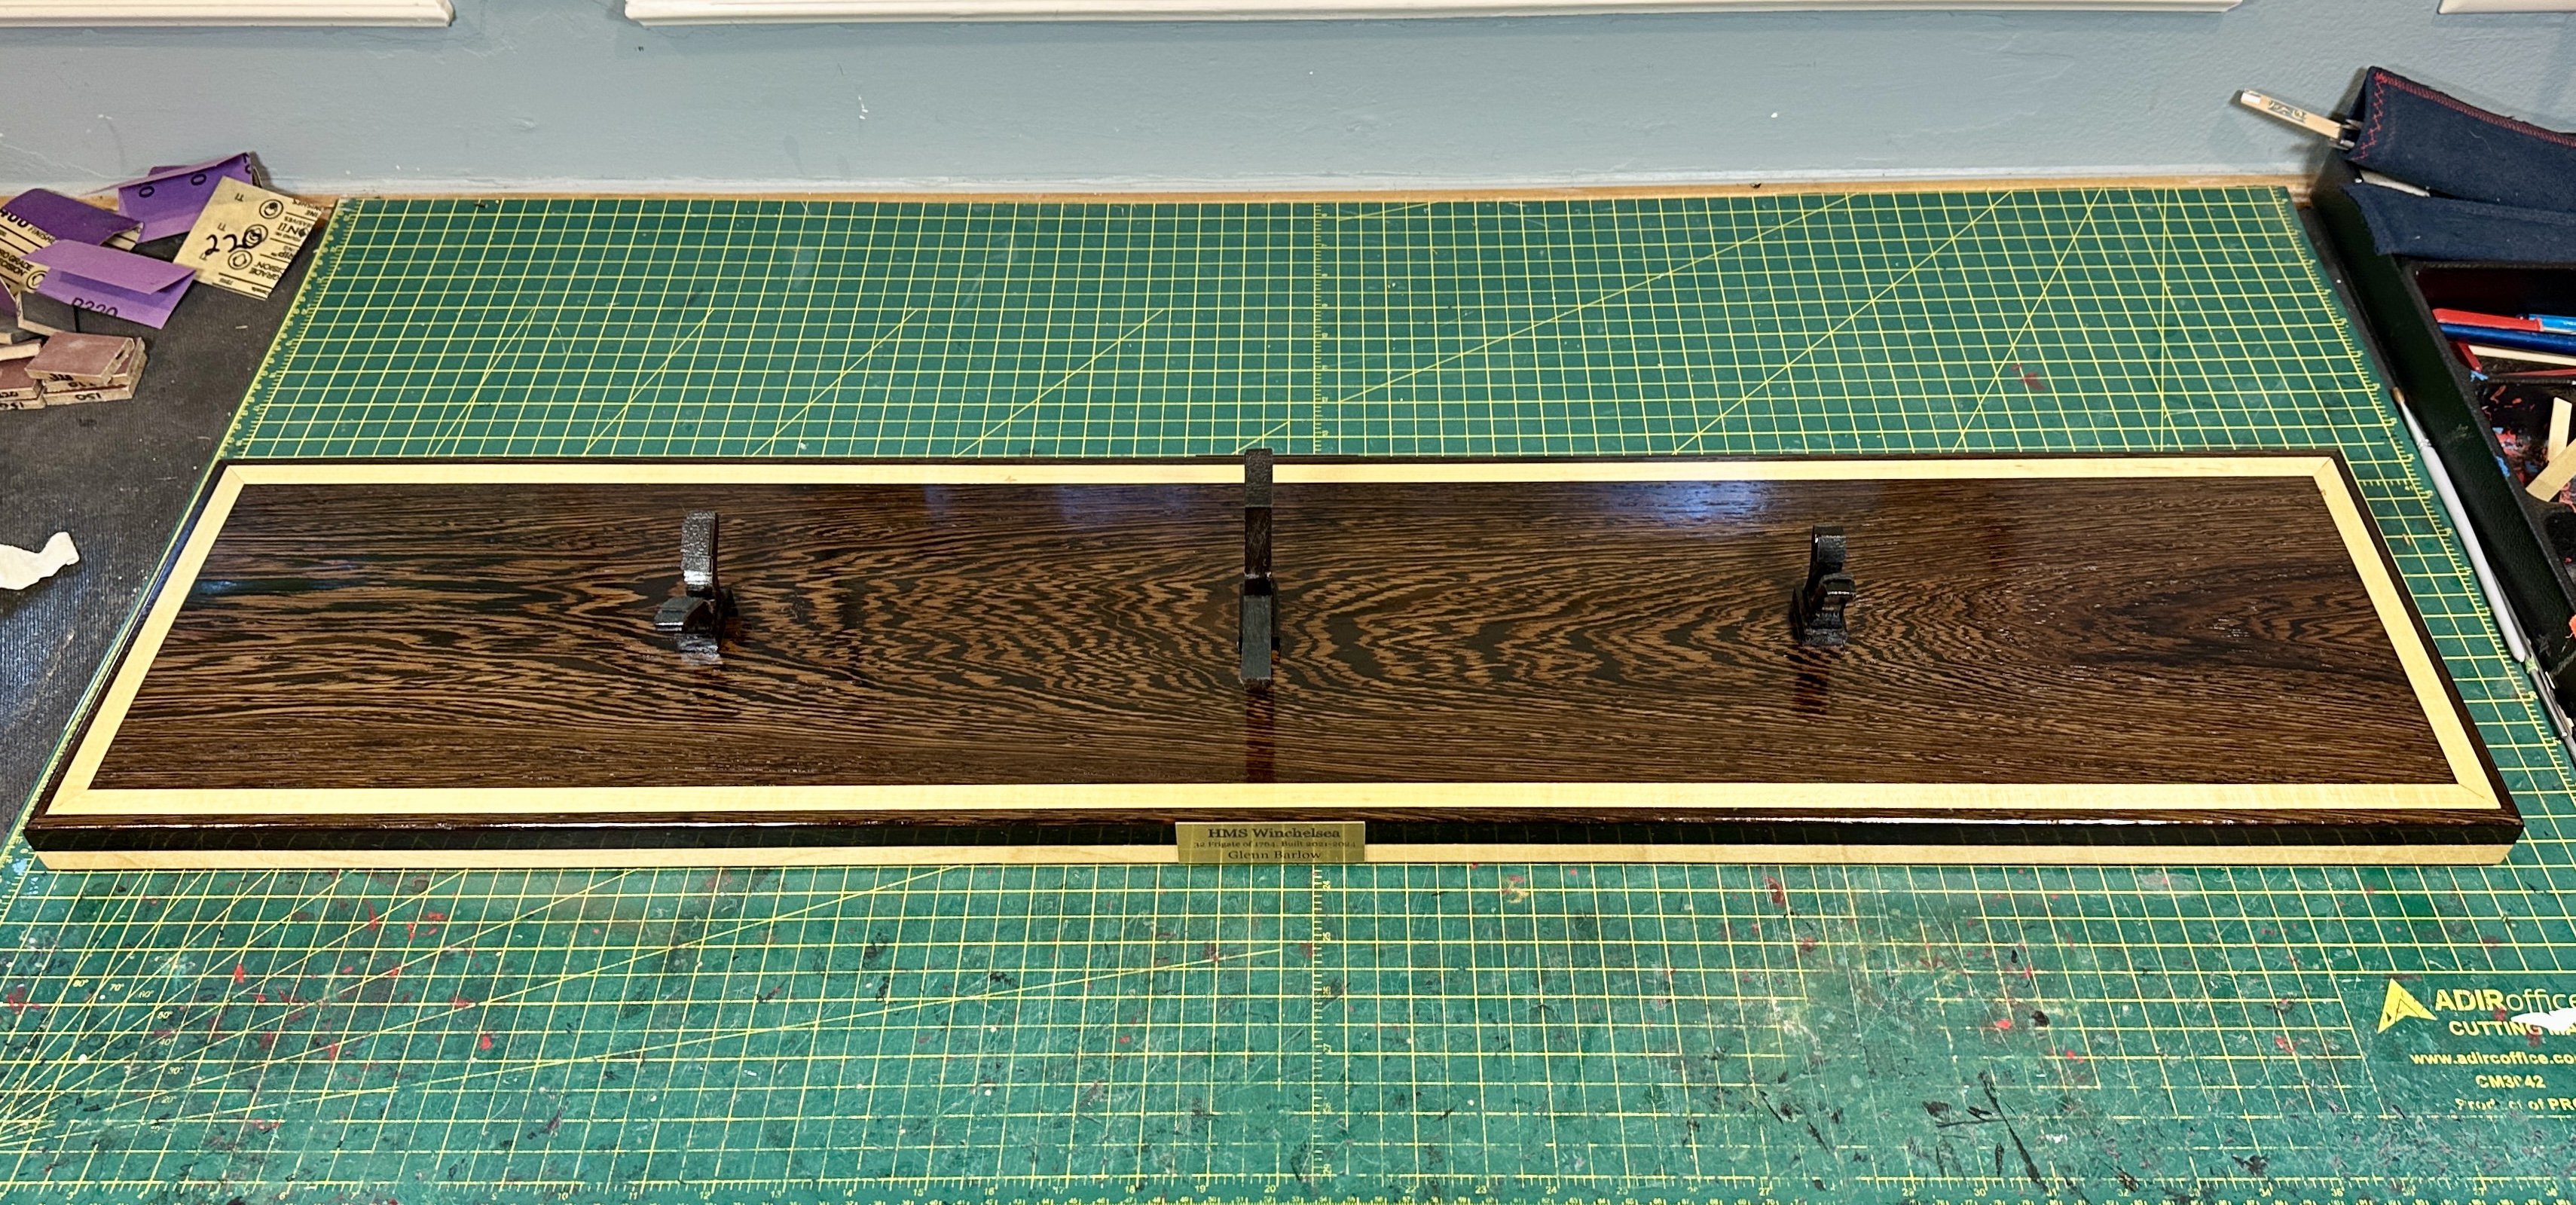
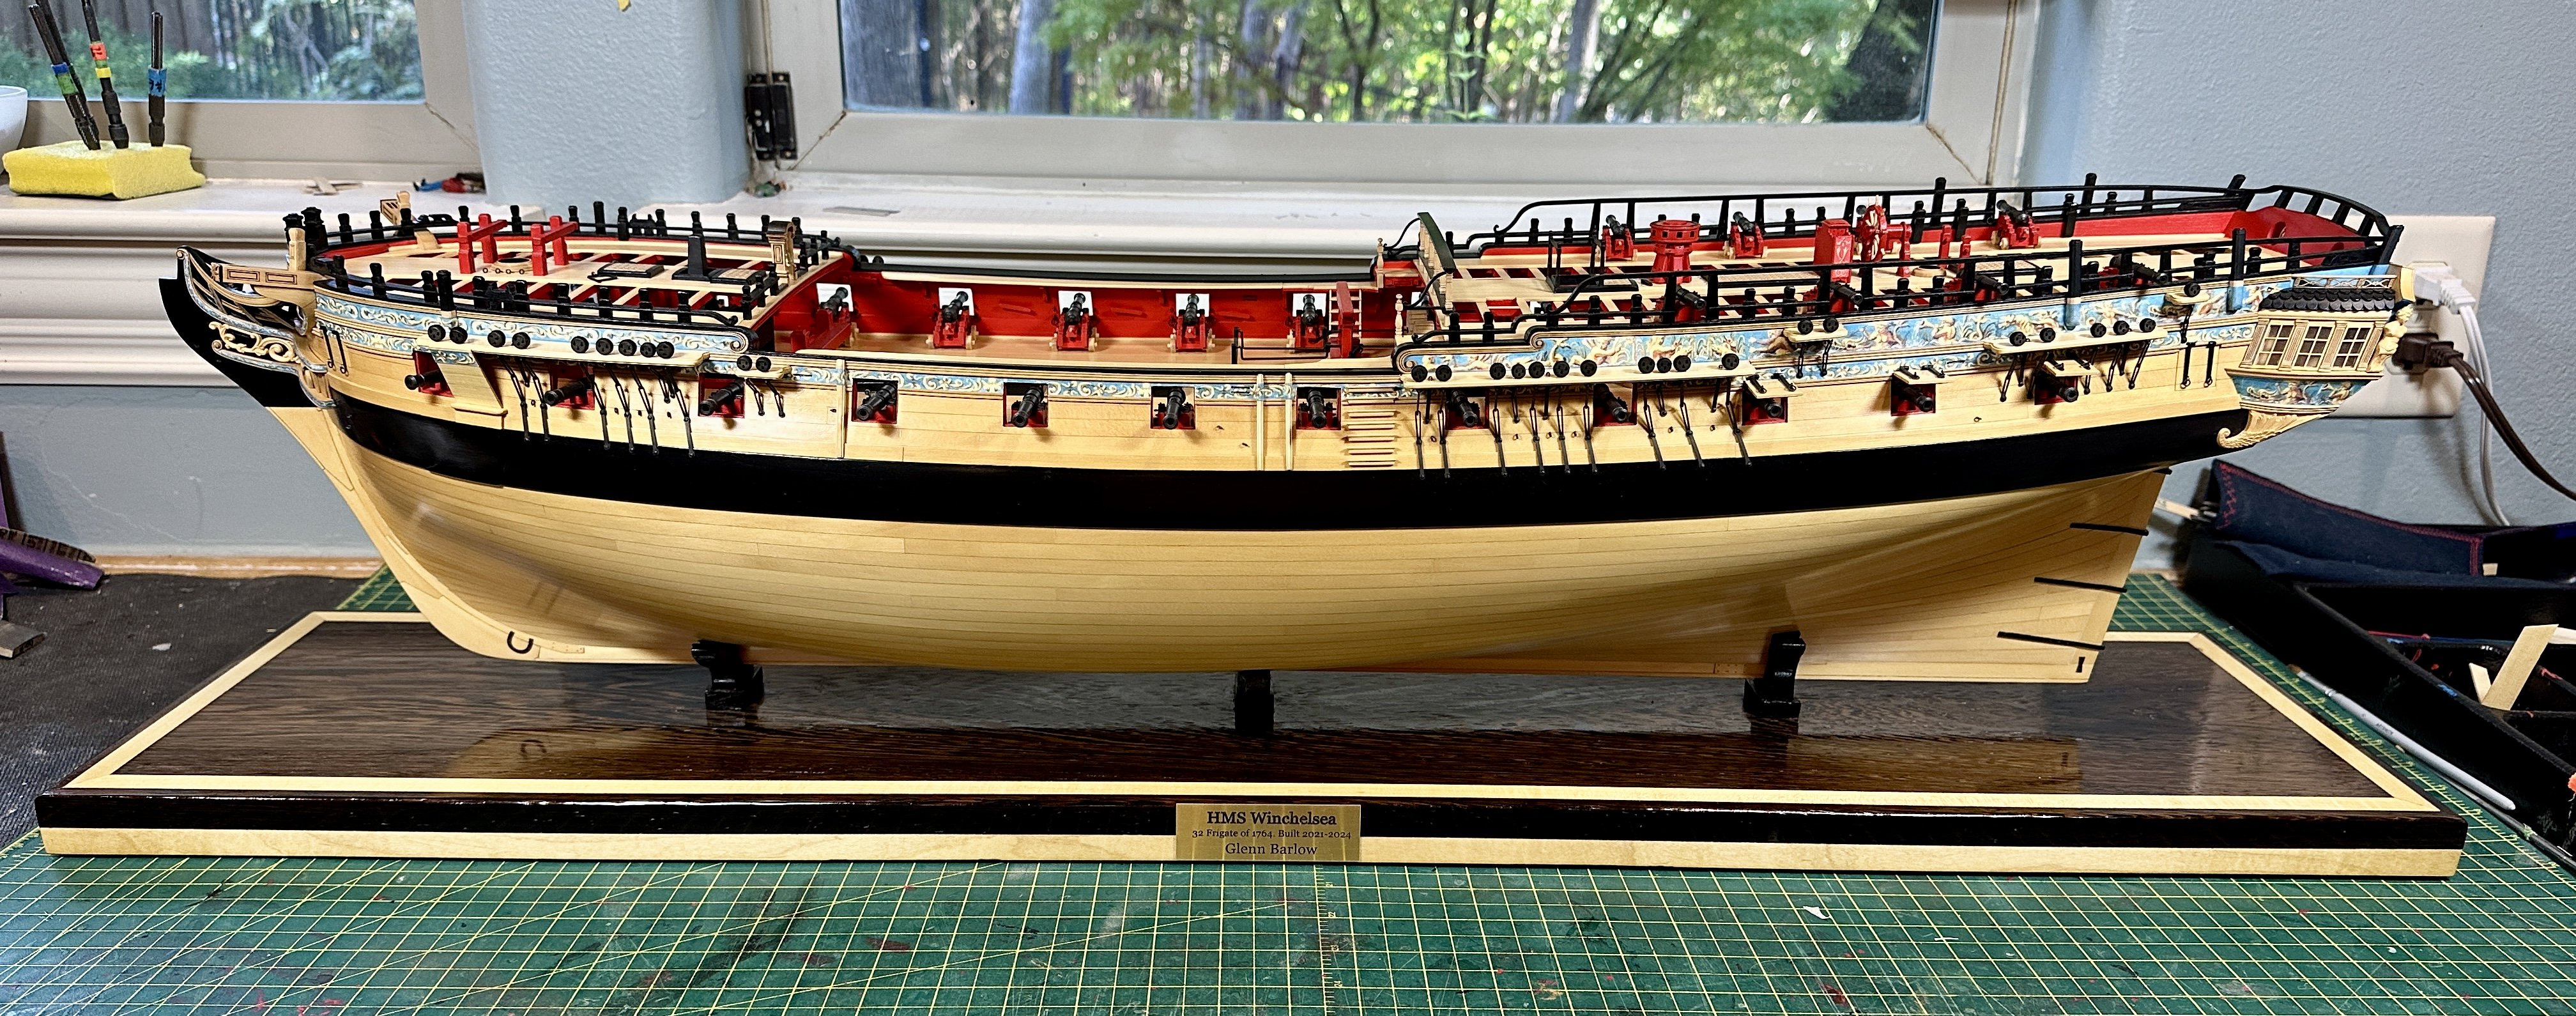
My “big wood” artist friend has completed the stand and future home for my Winchelsea. Note how the grain imitates the bow breaking the water. He intentionally selected this piece of wood for that reason. The maple inlay compliments the cedar as does the African Wenge compliment the colors of the ship. You know the Byrnes thickness sander many of us have? He has the big boy version, he ran this piece through it multiple times, routed out the edges for the inlay then ran it through several more times.
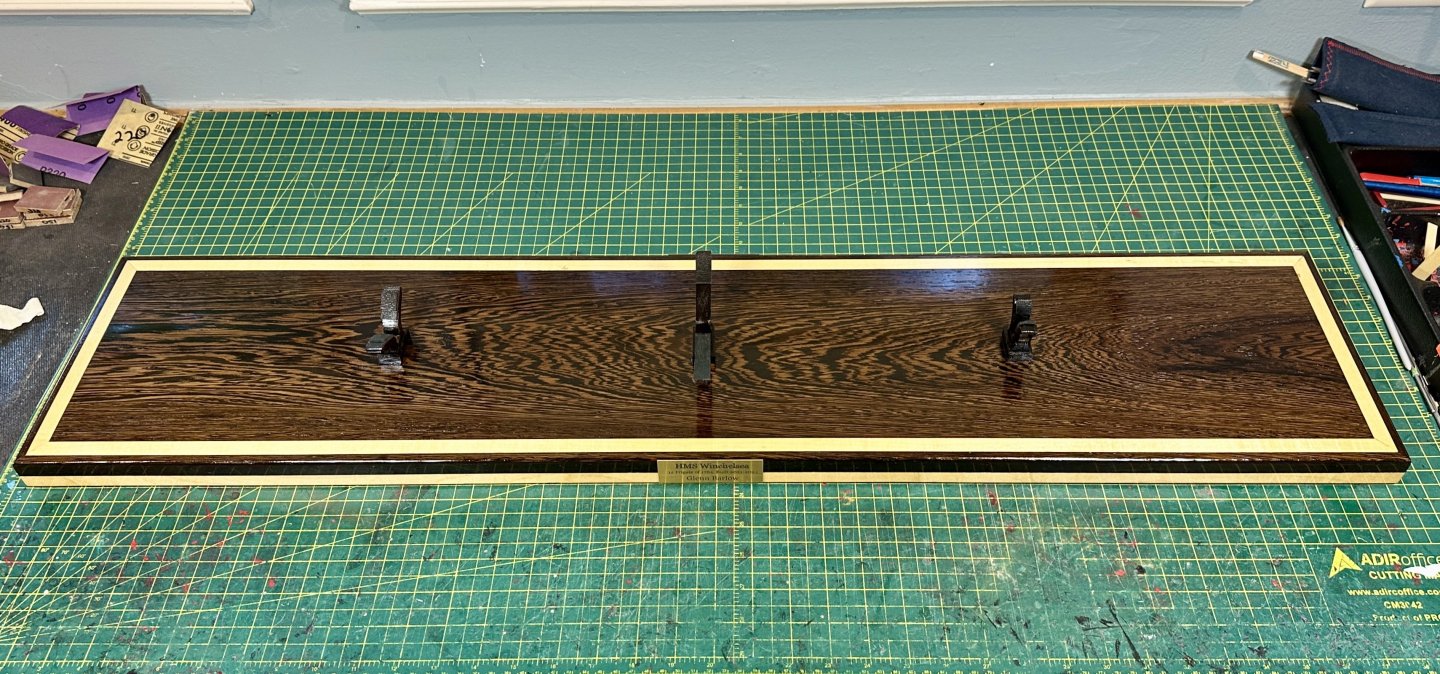
I wasn’t sure about the lacquered finish until we set the ship on it. It reflects the underside of the boat, so that bottom planking isn’t lost from sight after all, an extra dimension for viewing. We had multiple ‘fittings’ to get the brackets just right, they are a work of art by themselves, carved from the same Wenge as the base.
I’m really excited by the time and expertise Bill put into this. Really nice to have a friend with these skills, far beyond anything I could do and a perfect home for my Winchelsea. Now I just have to get back in the workshop to finish it. -
Thos logs should so there is an upper counter that meets the lower counter at that angle bend on the frames. Hard to know from photos but it seems your’re a bit low. Try a temporary plank for the upper counter, they have to match up. Maybe look later in other logs or a few pages ahead in the monograph to see the finished look.
also keep in mind the planks have to curve to meet the lower counter. Your angle for that and the filler as you have it might make that tough. This is a challenging area, worth it to get it right.
I'm closing in on four years…its a process.
-
-
Leave the char on the back edge of the bulkheads from bow to midships and the front edge of the bulkheads from stern to midships until the very last. This helps maintain the proper hull proportions and shape. Also key is the frequent use of a long thin batten to ensure a smooth run.
I always reviewed several build logs as examples of Chuck’s monograph before each major step.
- Ryland Craze, Zarkon and JpR62
-
3
-
-
-
-
Excellent work. This area frustrated me a lot.
- FrankWouts, Ryland Craze, westwood and 1 other
-
4
-
Excellent work! Enjoy your vacation, three days weeks…cool!
- Rustyj, FrankWouts and Ryland Craze
-
3
-
Well done on a challenging part of the build.
-
Great progress, on the way to being a beautiful model.
- mtaylor and thibaultron
-
2
-
On 9/7/2024 at 4:15 PM, woodartist said:
Question: are all the stern frames to be level with each other
The templates are your friend and guide along with the windows frame filler blocks. A large rubber band helps hold things in place until it’s time to glue. As Ben says, it’s critical to get it right now as it affects all to follow. As I’ve offered earlier looking at multiple other build logs at this point is very helpful.
-
On 9/8/2024 at 5:16 PM, Trussben said:
seems it’s just you and me making regular updates
I’m still here with chapter 12 underway, I’ve been out of the country exercising my other hobby of photography. I’ll be back at it soon. You aren’t alone.
-
Easier is good, so is accuracy. I’d still want a wooden model with its fair set of challenges.
- thibaultron, mtaylor, KentM and 2 others
-
5
-
On 8/19/2024 at 6:14 PM, Dan Poirier said:
some kind of little signs to identify models that I'm displaying
There are plenty of companies to order a small brass plate etched with whatever you want, all my models have one. They can include adhesive tape on the back. Here’s one such company Halex Brass Plates. These of course go on the display board, not the model itself.
-
I certainly know where to come for reference when I get around to my long boat. Well done!
- Blue Ensign and Thukydides
-
1
-
1
-
-
-
3 hours ago, Stuntflyer said:
what can be done with a Syren kit
Thanks Mike. The design and laser cutting of Chuck’s models are definitely next level.
- Stuntflyer and FrankWouts
-
2
-
I just can’t do another big model for a while, so I’m envious
- FrankWouts and Rustyj
-
2

HMS Winchelsea 1764 by westwood - 1:48
in Member Build logs for the HMS Winchelsea
Posted
Well done on all the fine work required here.