Tigerdvr
-
Posts
389 -
Joined
-
Last visited
Content Type
Profiles
Forums
Gallery
Events
Everything posted by Tigerdvr
-
 JMHO, Gorilla wood glue seems to work well. Most of my Confederacy has been constructed with the Gorilla. Cheers, Harley
- 242 replies
-
- 1
-

-
- syren
- model shipways
- (and 1 more)
-
Cutting Planks
Tigerdvr replied to sfotinos's topic in Building, Framing, Planking and plating a ships hull and deck
I have something older but similar to your Sand-It. Do you find that you are only using a small portion of the sandpaper before you have to replace it? Thanks, Harley -
I didn't anticipate dowsing the model but some people are more susceptible to various fluids than others. That's why so many stains, paints, lacquers, etc. are specific on use in well ventilated areas.
-
Does the lacquer method have fumes?
-
Greetings Gahm, I just caught up on your excellent log. Your hammocks are really outstanding as is the description and pictures of the methodology you used to create them. Having seven ties on the hammocks was the detail icing on the cake. Thanks for sharing. Harley
-
Just an experiment. I'll try some different applications and see what happens. Yours is a good point as to the longevity of the applications, thanks. Cheers, Harley
-
Your SWAN sir, is terrific. I admire your skills. Thanks for sharing.
Regards, Harley
-
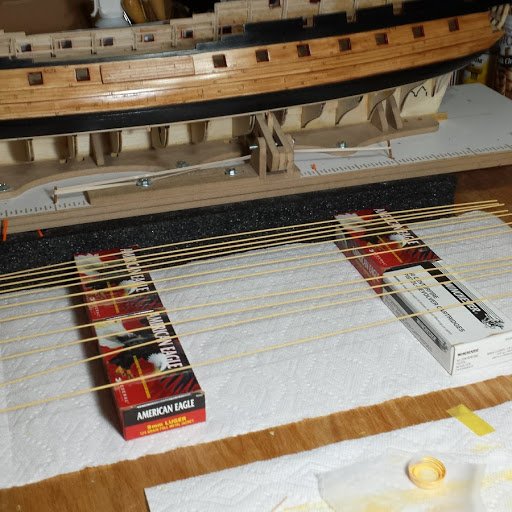
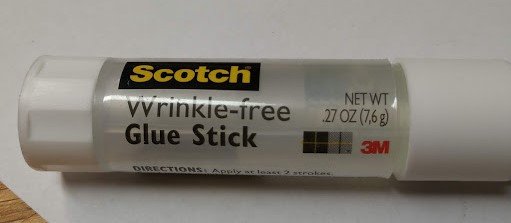
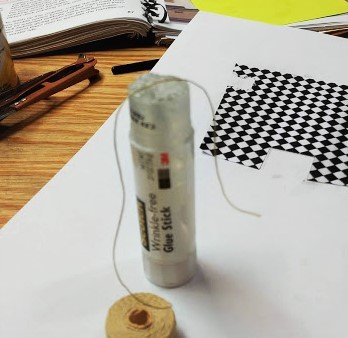
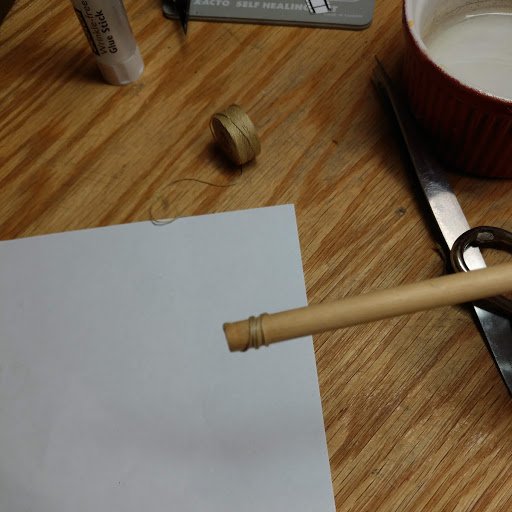
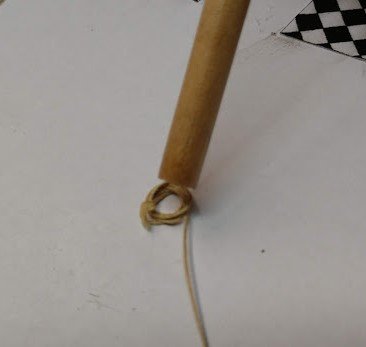
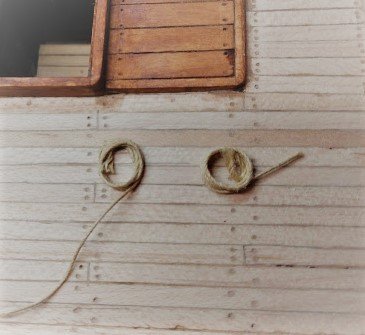
I’ve never been able to coil rigging very well even though there have been any number of great tips and hints offered on this website. I am working on the ME Confederacy and am using a paper pattern to simulate the canvas covering for the great cabin. No contact cement was available so I picked up a Scotch Glue Stick which worked well laying the “canvas” down on the planks. Then a little light bulb went off and I wondered if this easily handled adhesive could be used to coil rope. I simply dragged a length of line across the top of the Glue Stick, wrapped the line around the base of a dowel (1/4” in this trial) to the depth I wanted. Stripped the coiled rope off the dowel and had a very nice coiled rope. Fast, simple, & inexpensive. You can use a similar drill storing extra rope length on belaying pins. Check out Kevin Kenny’s video for some useful hints on setting up a jig. The coils held their shape with no problems. Cheers, Harley

- 24 replies
-
- 11
-
-
Well done Peter. The instructions suggest getting the long boat secured before rigging. I did that on my Syren and don't feel the boat conflicted with rigging process (JMHO). I think the question is if you can secure the long boat to the gallow bitts after you complete the rigging. Enjoy, Harley
- 242 replies
-
- 2
-
-
- syren
- model shipways
- (and 1 more)
-
Really like that filament method. If practical, what filament size would you use for a 1/64 (3/16) ship? Thanks, Harley
- 421 replies
-
- 6
-
-
- medway longboat
- Syren Ship Model Company
- (and 1 more)
-
Like your netting jig, simple and very effective. hjm
- 1,306 replies
-
- 8
-
-
- syren
- model shipways
- (and 1 more)
-
Distance is our friend, saves headaches sometimes Harley
-
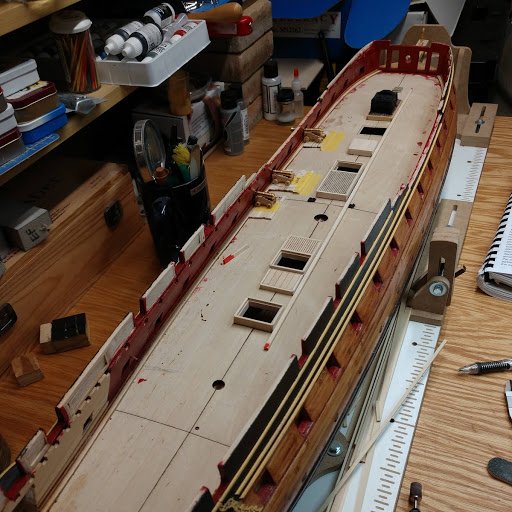
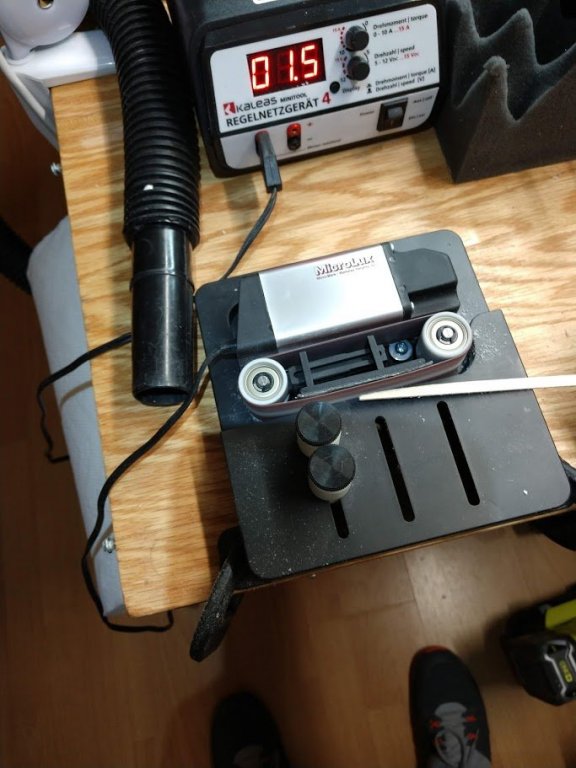
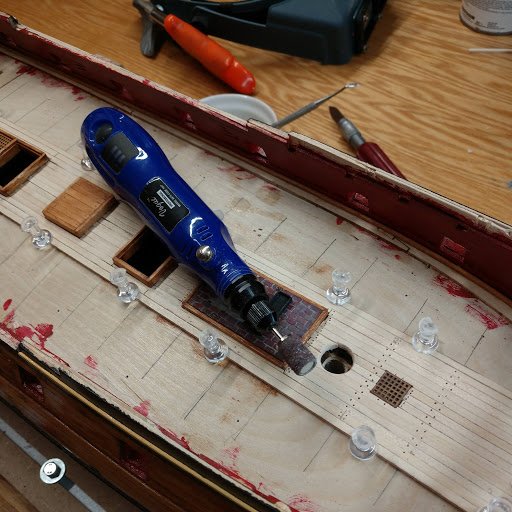
Work on the gun deck continues. The last Limewood planks have been scarphed and laid. Lime wood was used more to gain experience with other than basswood. The Limewood is harder than bass but was a bit prone to splintering along the edges. My new MicroMake belt sander was used for some of the scarph shaping. The sander has worked quite well so far. My right hand and wrist get sore quick using a twist drill. Too many hours teaching on the range I guess so I’m going to use the MicroMake high speed drill to do the treenail holes. The test strips have come out okay. The drill is variable speed through the power source and very controllable. So next comes the sanding, treenails, eyebolts, Captain’s cabin flooring, and finishing. The deck will be kept light as the crew has been manning the holystones every morning before breakfast. Cheers, Harley
-
Jesse, just catching up on your log. Really like what you did with the hammocks, your mice are OK too, a lot better than mine came out. Enjoy your build Cheers, Harley
- 1,306 replies
-
- 6
-
-
- syren
- model shipways
- (and 1 more)
-
Thanks for sharing your methodology with us. Interesting detail work on the bow. For my own education, aren't the items for the depth charges at the stern referred to as "racks" rather than "shutes"? The RNC probably has some different terminology than USN. Cheers, Harley
-
That's just great work. I don't know if I could try that after you did such a nice job on the "clean" hull. Following with mucho interest. Cheers, Harley
-
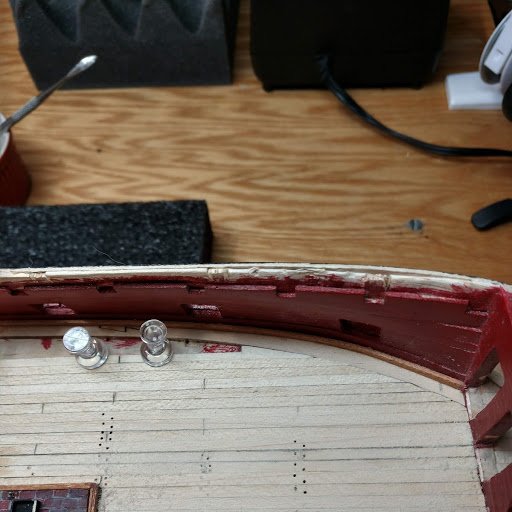
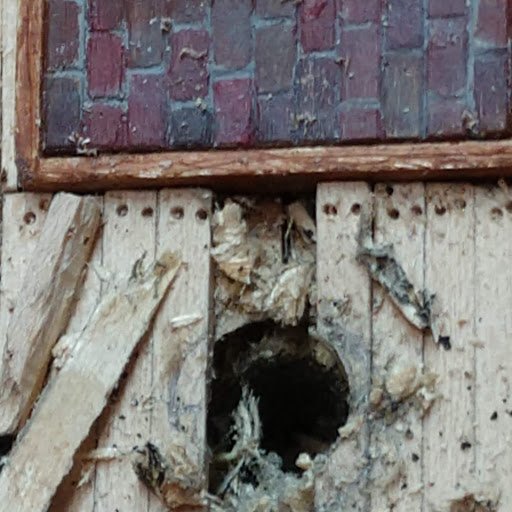
The lime wood gun deck was progressing nicely until I blew up the planks around the base of the foremast. I was using progressively larger drill bits to make the 7/16 opening. As the pictures show, things went array. Got good practice at repairing damage. After making pilot holes I used a small sander to shape the holes for the fore and main masts, just drill bit and files for the mizzen. Lesson learned. Cheers, Harley
-
Hi Svein, really nice work on your Syren. Enjoying your log. Your lanterns are a good addition. I chose to copper plate my Syren without the nail heads. I rationalized that the nail heads were not obvious unless you were really close to the ship. I admire all of you that have taken the time to stamp the plates. There is one fault though my friend, your work area is entirely too clean and neat.😊 How would you find anything?👀 Regards, Harley
-
Greetings Doris, this will be short & sweet-wow, just, wow. I can sit back and enjoy your log now. The lady is very skilled with the camera to. Thanks for sharing Cheers, Harley
- 1,035 replies
-
- 6
-
-
- royal katherine
- ship of the line
- (and 1 more)
-
Chuck Would not seeing how planks are spiled by a professional be a great training tool/method? Having an good example in your hands brings much more meaning to the printed instructions of "how-to". IMHO that's as close to having a professional like you looking over my shoulder and guiding me through the process. Cheers, Harley
- 421 replies
-
- 5
-
-
- medway longboat
- Syren Ship Model Company
- (and 1 more)
-
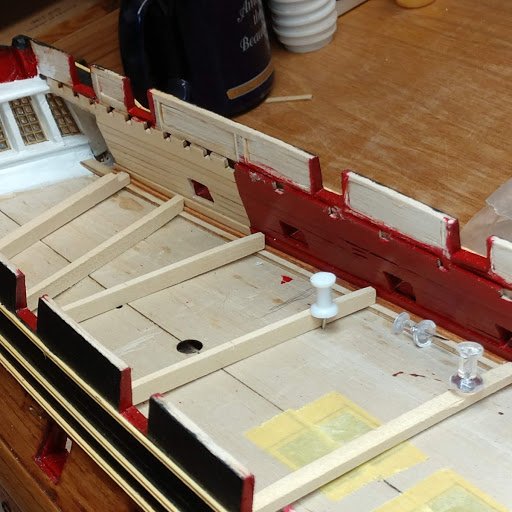
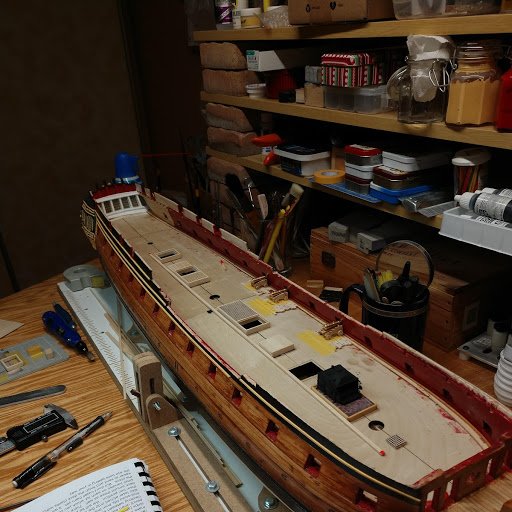
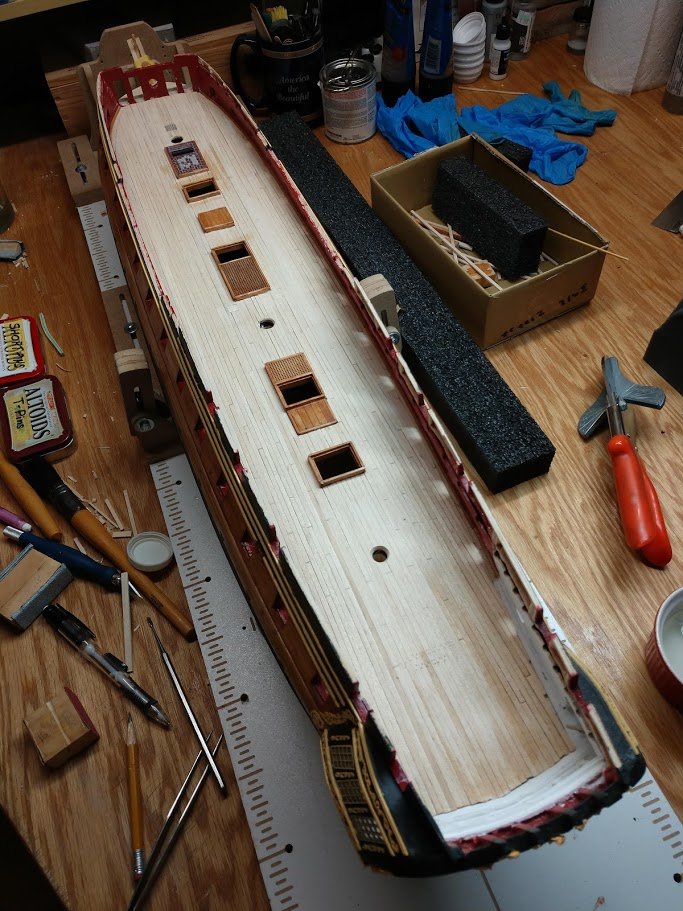
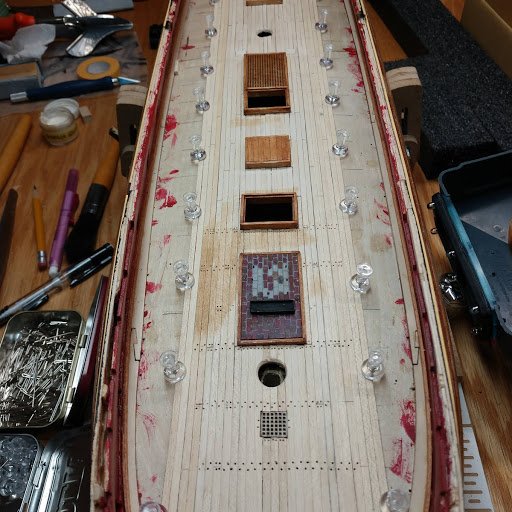
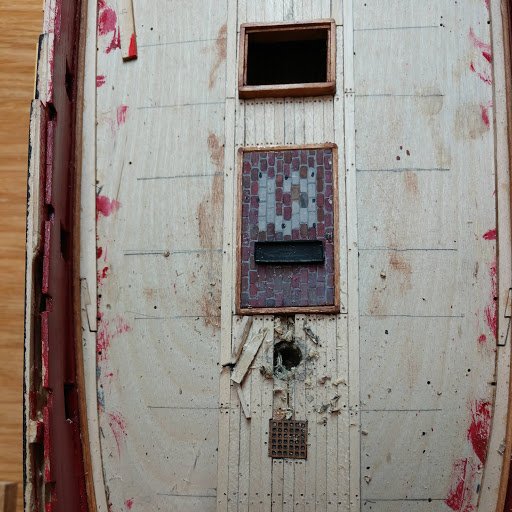
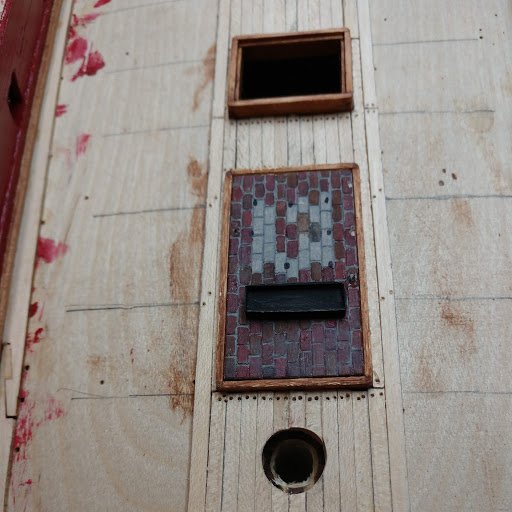
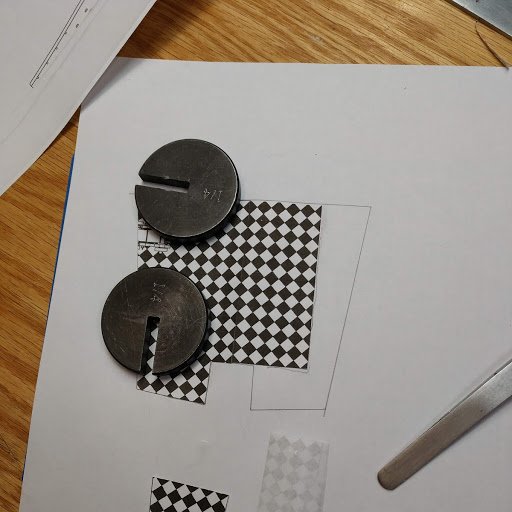
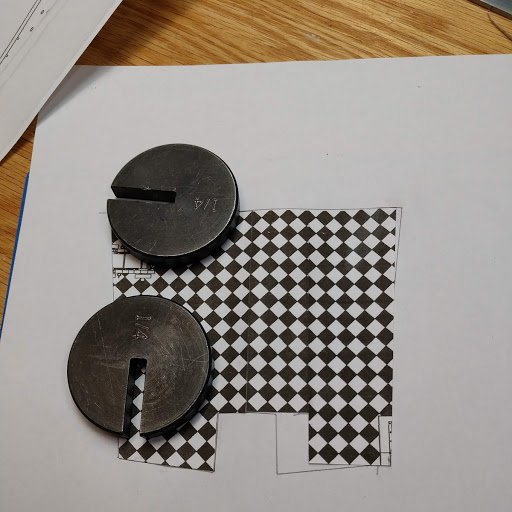
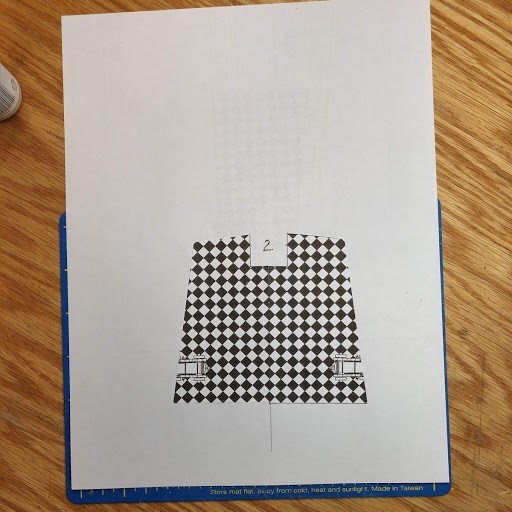
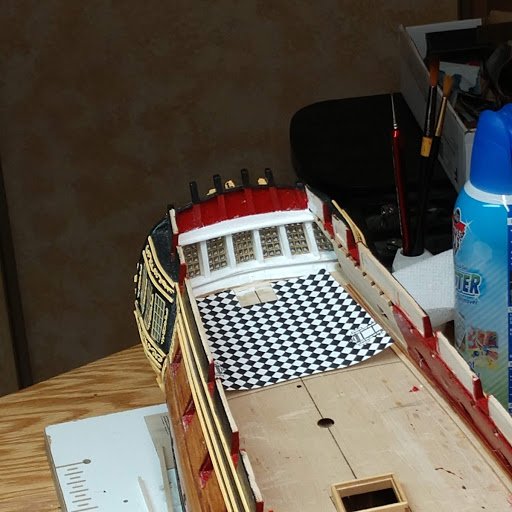
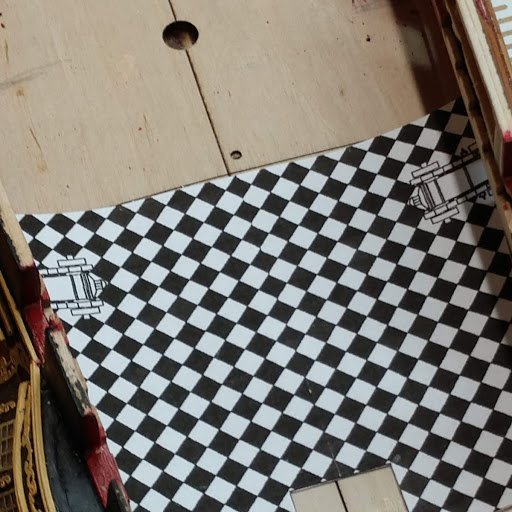
Great Cabin Checkerboard The gundeck hatch coamings and compaionways are finished and will be glued to the false deck. I can hardly believe that I’ve reached the point where I can start laying down the gundeck. It’s almost two years since the keel was laid but that includes a hip replacement for me and taking care of an ailing Commodore. From what I have been able to research, the checkerboard pattern on the deck in the great cabin was painted canvas nailed to the deck. I have chosen to run the gundeck planks all the way to the stern and add my own “canvas”. I scanned the checkerboard but couldn’t figure out how to flip the image to get a one piece canvas. The plans only show the port side. After I spent considerable time and eye strain putting checkerboard panels together to form the “canvas deck covering”, I found that my computer error was in scanning in a pdf format. Scanning in .jpg gave me the ability to flip the image and then join the images into one canvas deck covering which will be applied to the deck and sealed. Attachments show working through the project. I think it will work out fine. Harley
-
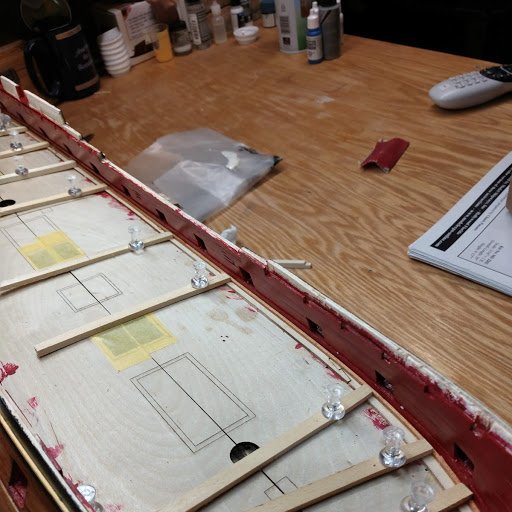
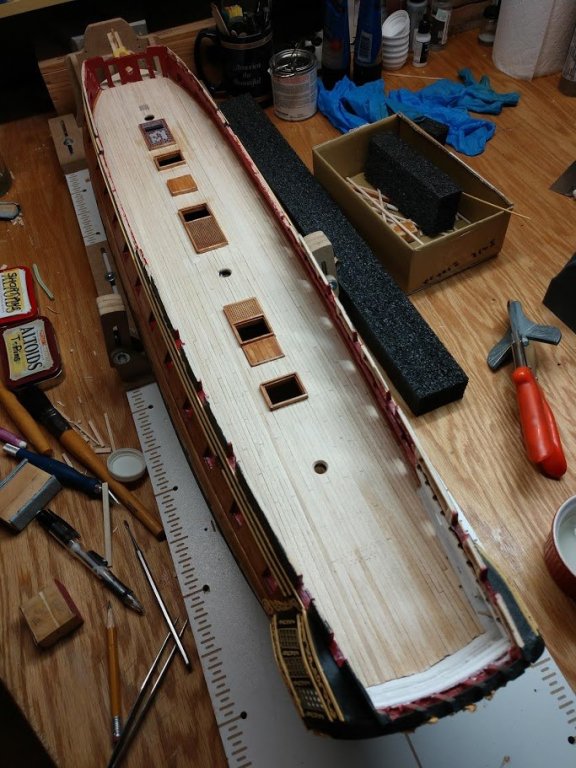
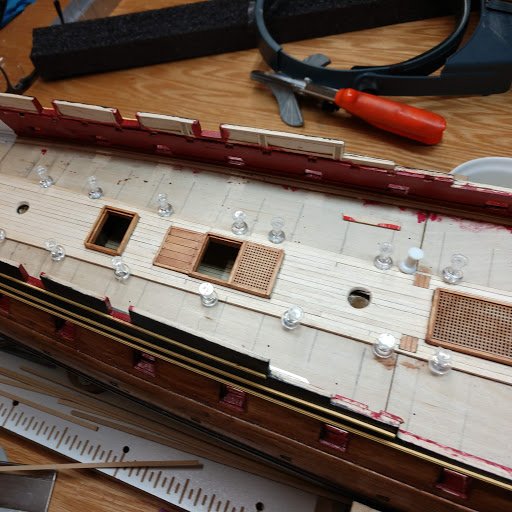
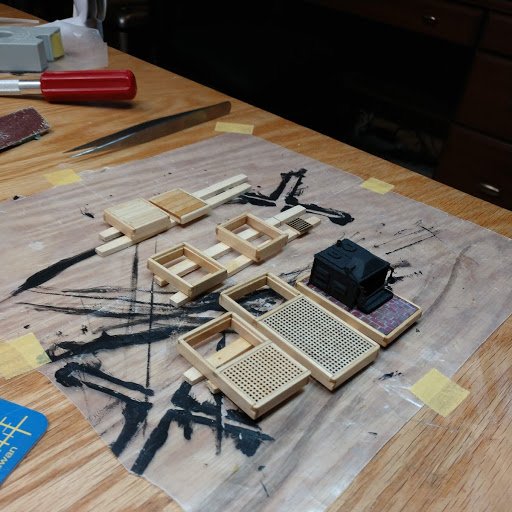
After a break for work in the armory I am back to the shipyard. The margin planks and waterway have been laid down. Braces were used to make sure they stayed in place while the glue dried. The coamings, gratings, etc, were constructed and will be stained and glued down. I had completed the stove previously so it's ready. Next will be the great cabin deck and then the gun deck which will be lime wood and kept light as in holystoned. Cheers, Harley (Sorry for the last picture, it was unintended and I wasn't able to delete it)