HOLIDAY DONATION DRIVE - SUPPORT MSW - DO YOUR PART TO KEEP THIS GREAT FORUM GOING! (Only 13 donations so far - C'mon guys!)
×


Tigerdvr
-
Posts
389 -
Joined
-
Last visited
Content Type
Profiles
Forums
Gallery
Events
Everything posted by Tigerdvr
-
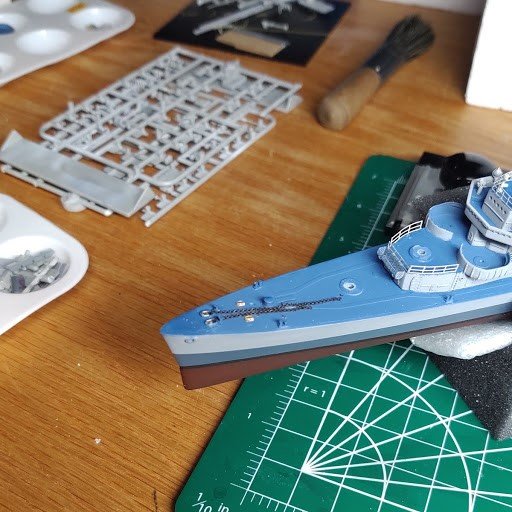
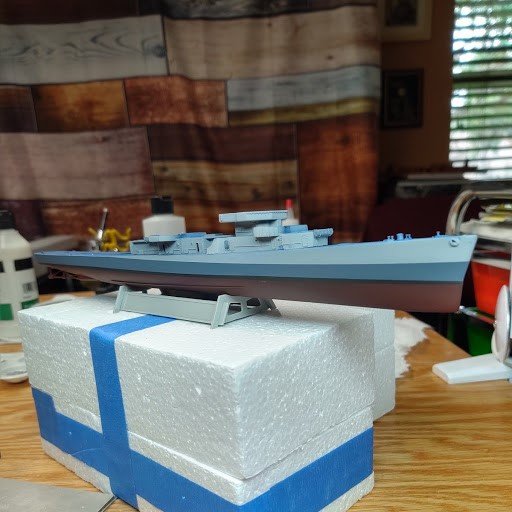
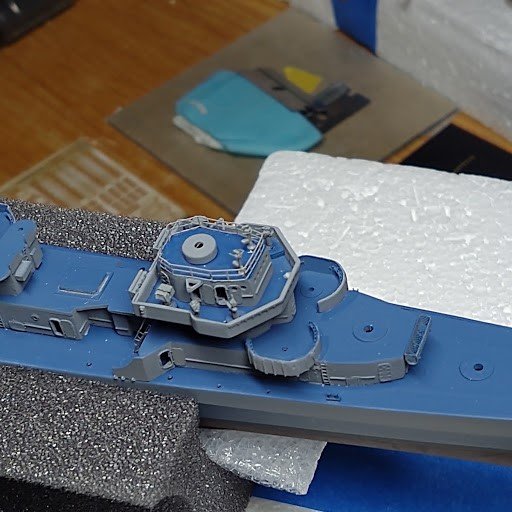
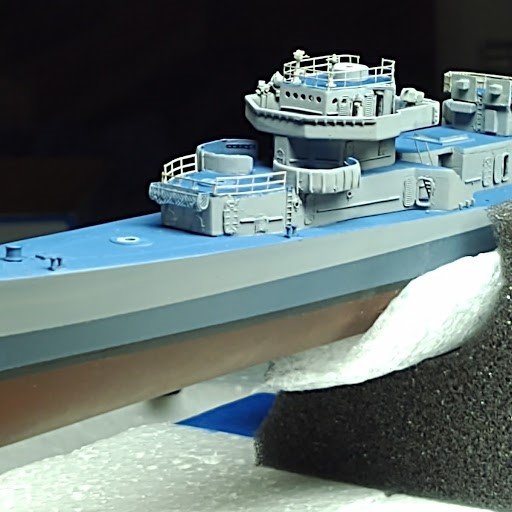
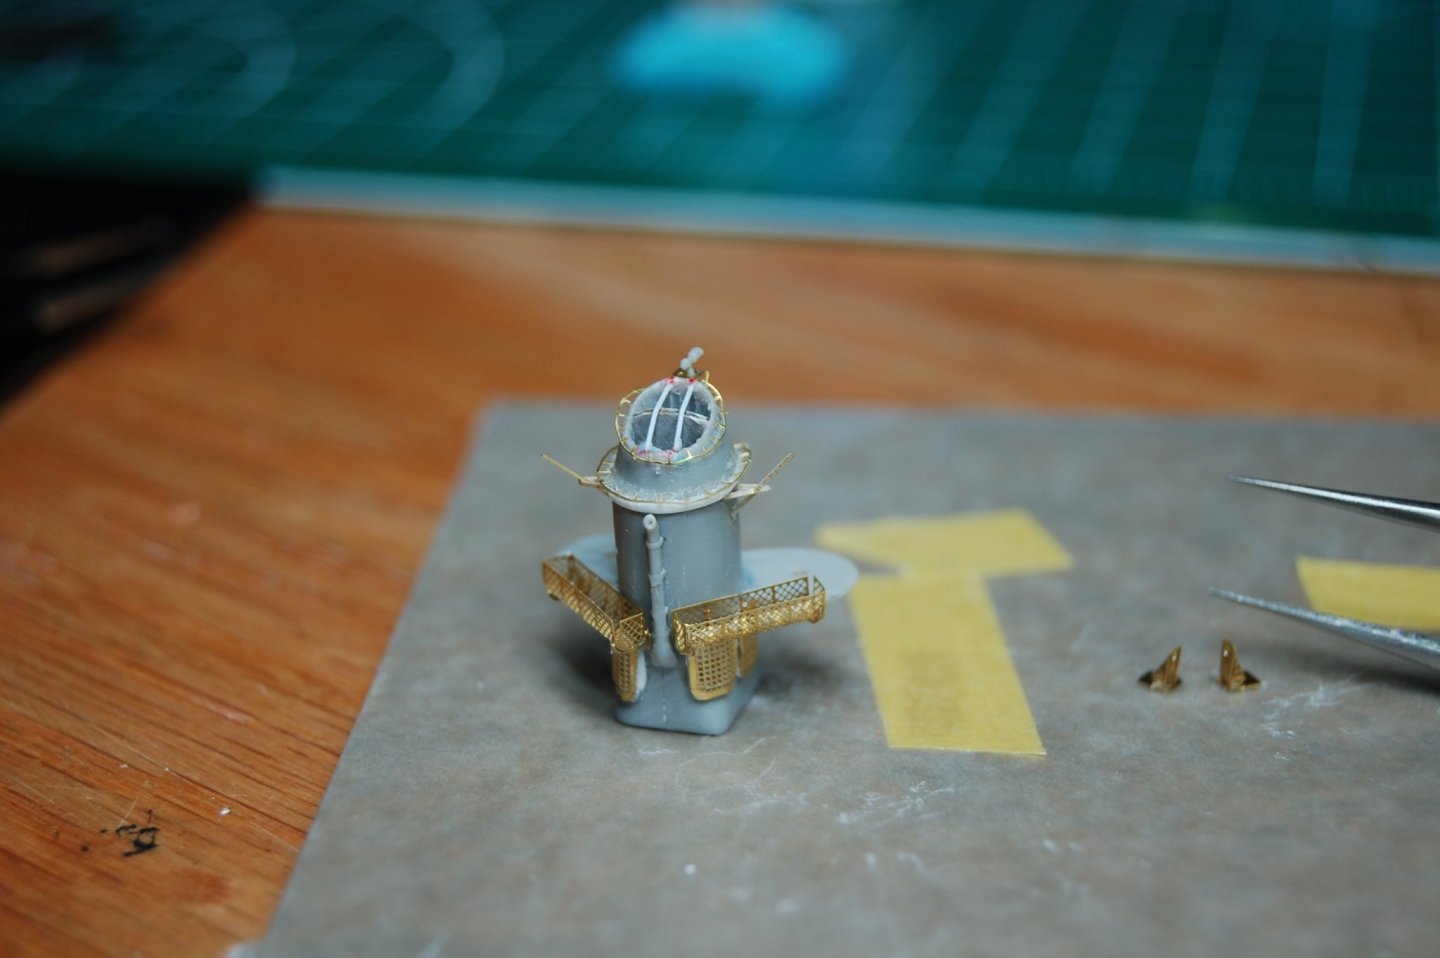
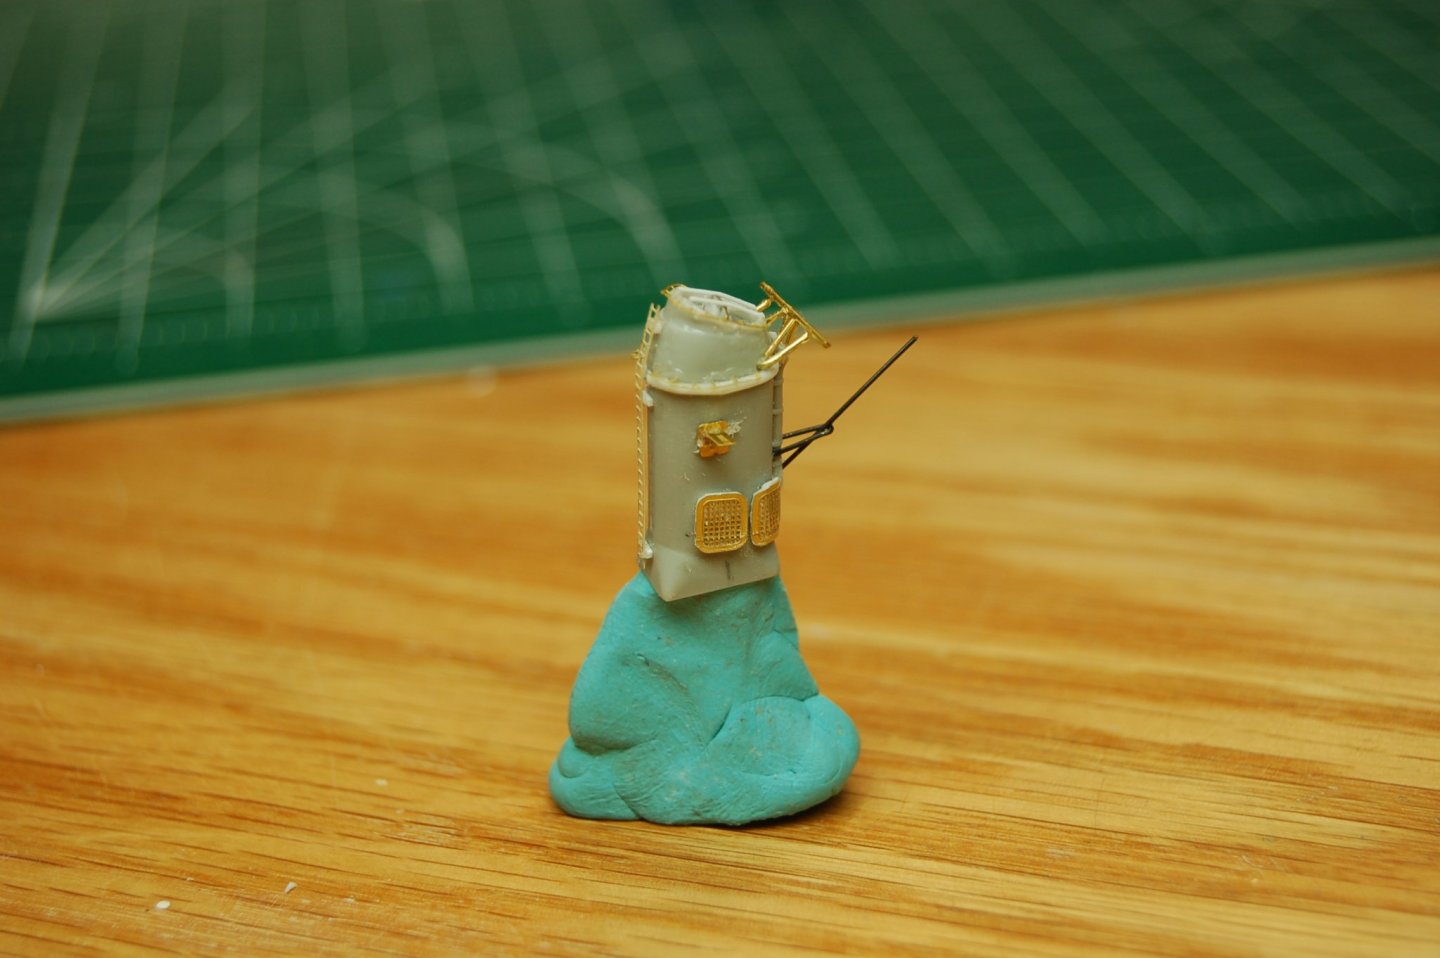
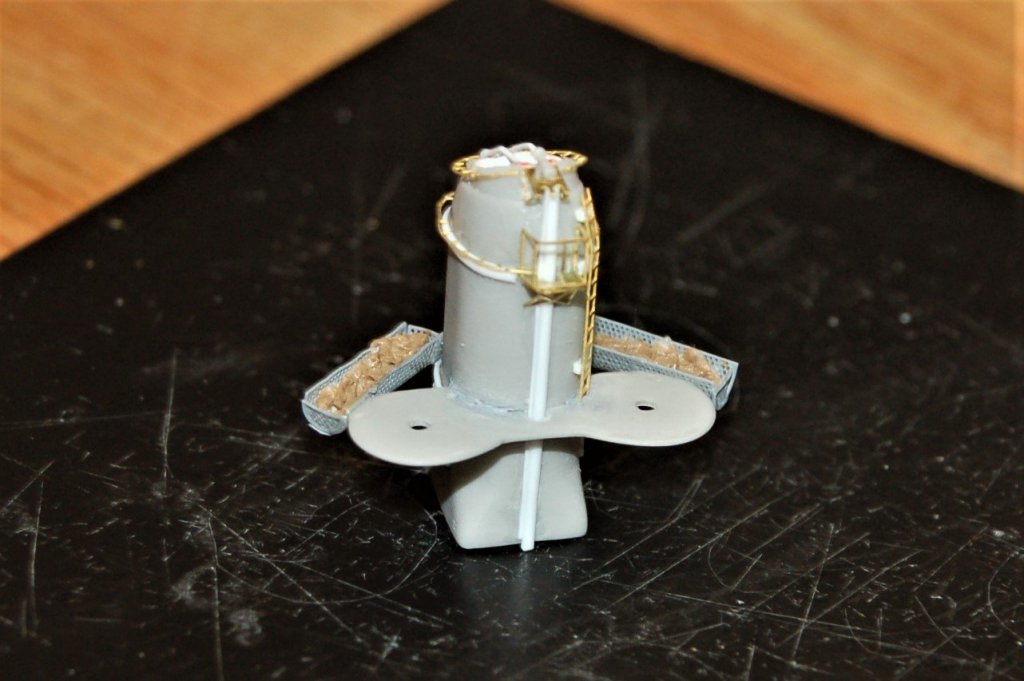
 Begin installation of the main mast. Upgraded details with some of the antennas and equipment yet to be added. How long will it take me to accidently knock the mast out of line. The Mk 37 Fire Control is not glued on yet.
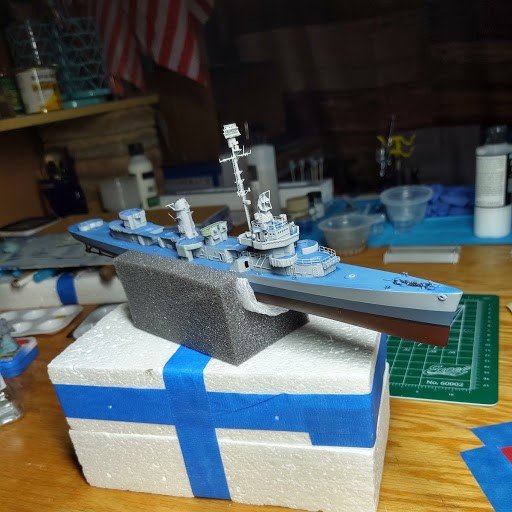
- 55 replies
-
- 13
-

-
Full speed ahead! Congrats on jumping in with both feet. You have selected a great rendition of a great ship. I think your selection of Blackcat's 20 mm batteries is a good compromise between the kit and all PE options. I'm using their AA guns on my current build of USS Kidd. Will be watching with interest, keep your patience cup full & most of all, enjoy. Cheers, Harley
-
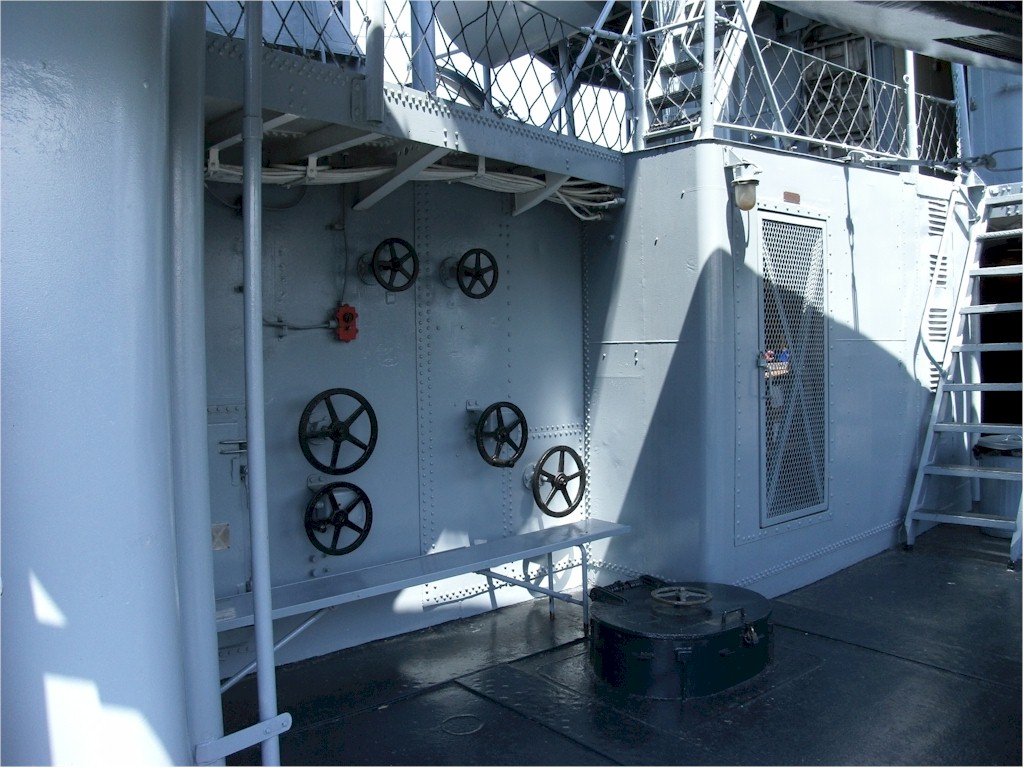
Greetings, I recently posted a question on this website regarding the ladders behind the bridge on the Kidd. The Trumpeter kit shows two ladders going from the main deck to the top of the deck house and another ladder from the deck house to the navigation bridge. I have found the answer-- FYI, there are, in fact, three ladders not two as shown on the kit. Source: NavSource, Naval History. A very nice source of information and photos of what you might be building. Busy building PE ladders Cheers, Harley
-
Check Alliance Model Works, www.am-works.com, Part#35054. Warning: They have a lot of goodies that you didn't know you needed/wanted!☺️
-
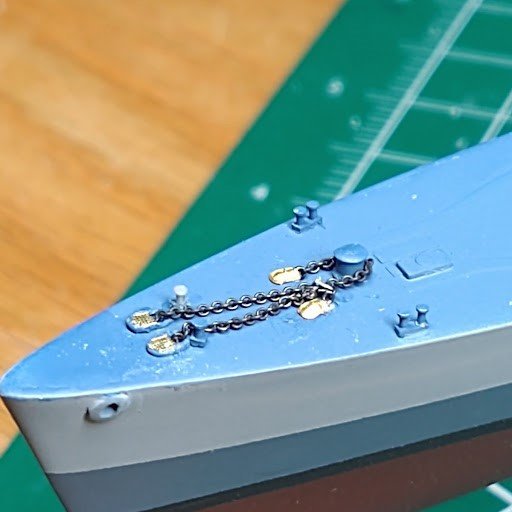
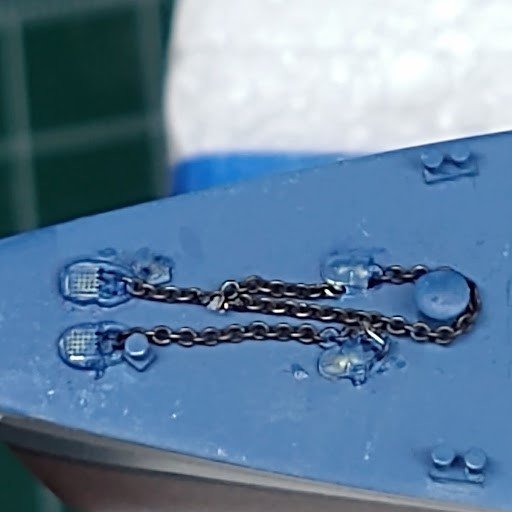
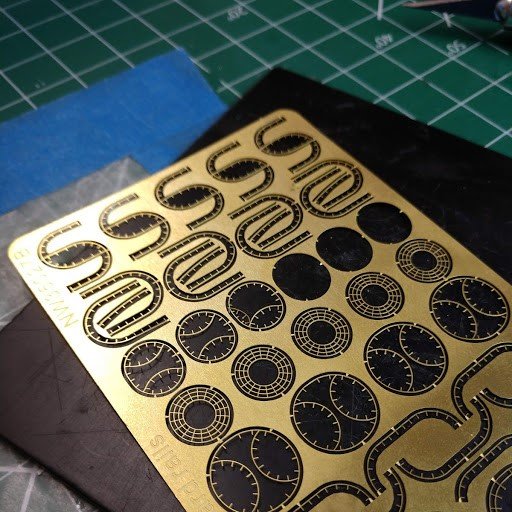
Upgrade the anchor gear: Removed the molded anchor related gear. The new chain is 40 links per inch. Hawse pipes are made from wire with grills made from pieces of 1/700 PE and bollards from a resin set. The end covers are fashioned from PE hatch covers. I only had room for one stopper that I put on the starboard chain just for effect. The windlass brake wheel will come on later. Ref: Squadron/Signal USS Kidd On Deck. Pages 6 & 7.
-
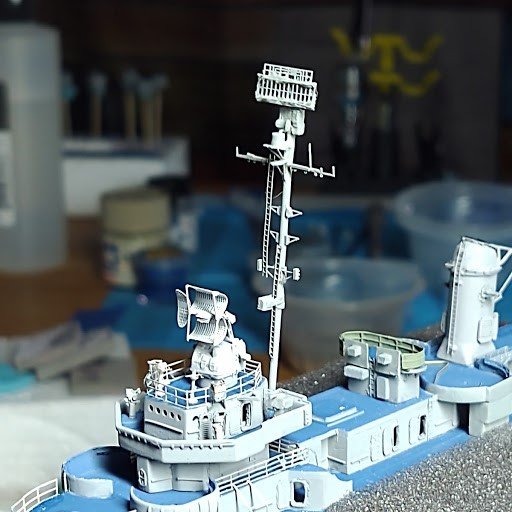
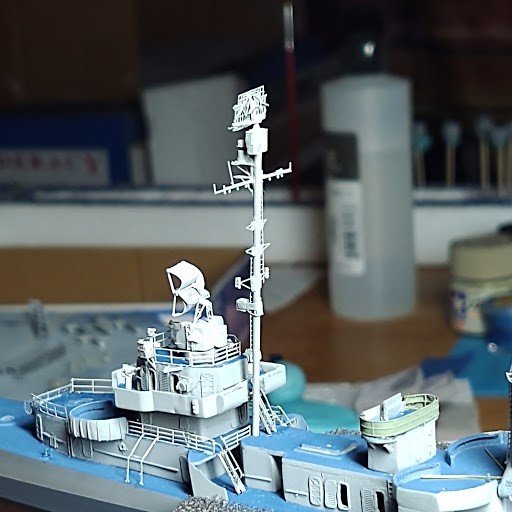
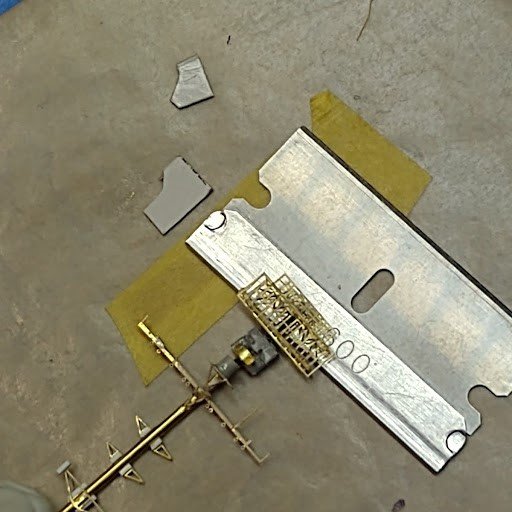
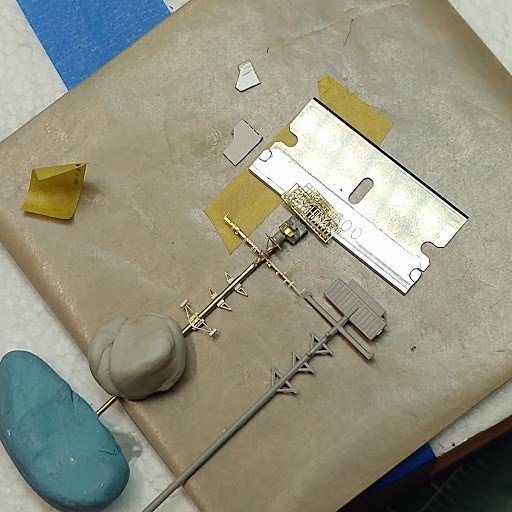
Some project progress photos-- Building replacement main mast-- With all the references available I'm letting myself constantly find details that are not in the kit and are a great challenge to duplicate. I have not been able to locate a picture or other source that will clarify my current configuration question. The kit shows two inclined ladders mounted on the main deck (100 I think) terminating on the next level just outside of the flag bags on the navigation bridge. I replaced the kit pieces with PE. Then I found a picture showing an inclined ladder to the starboard side of the main mast that originates at top of the deck house and terminates at the navigation bridge level. The picture is on page 27 of "USS Kidd, On Deck" (Squadron/Signal). If anyone can clarify how the inclined ladders are configured, I would greatly appreciate it. Thanks for your time, Harley
-
Another brave fool(from South Africa)
Tigerdvr replied to The Bitter End's topic in New member Introductions
Welcome. I know it's just me but I tend to let a build log interfere with my actual building project. Considering this is your first major project you might consider focusing on the build itself. You seem have a good systematic approach which will be a great asset. As they say (whoever "they" are) there's no such thing as a dumb question just unanswered questions. So don't hesitate to share your questions with others on this site. That will help you and others of us that may have the same question. Most important, enjoy yourself. When things get frustrating, take a break. Cheers, Harley -
Just outstanding plus all the other nice things folks have said. Truly inspirational. Congratulations on a job well done. Cheers, Harley
- 90 replies
-
- 5
-
-
- bomb ketch
- pyro
- (and 1 more)
-
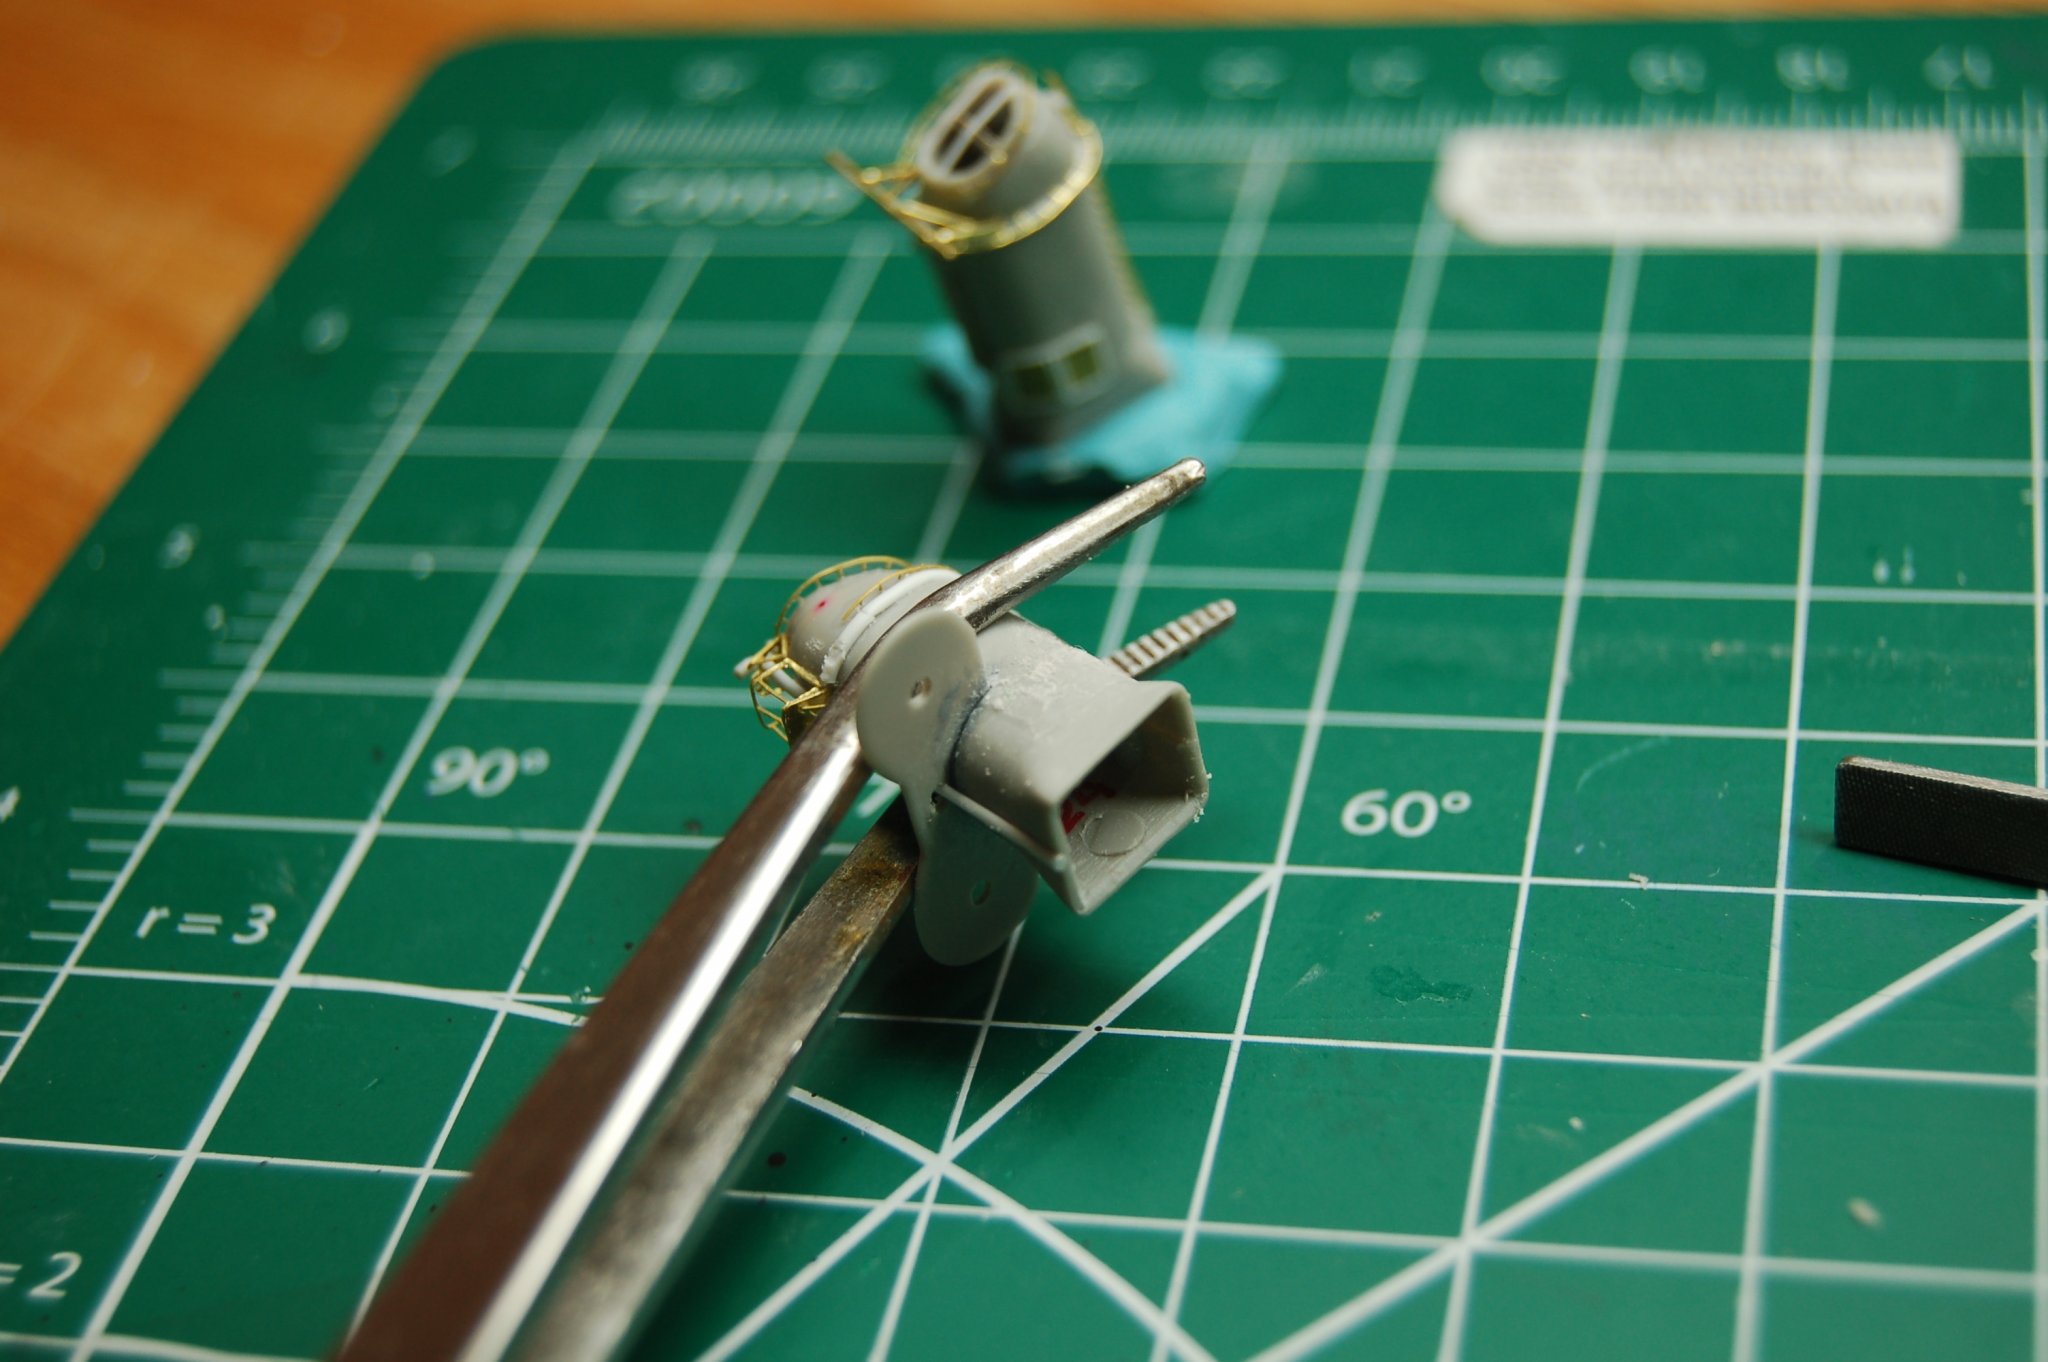
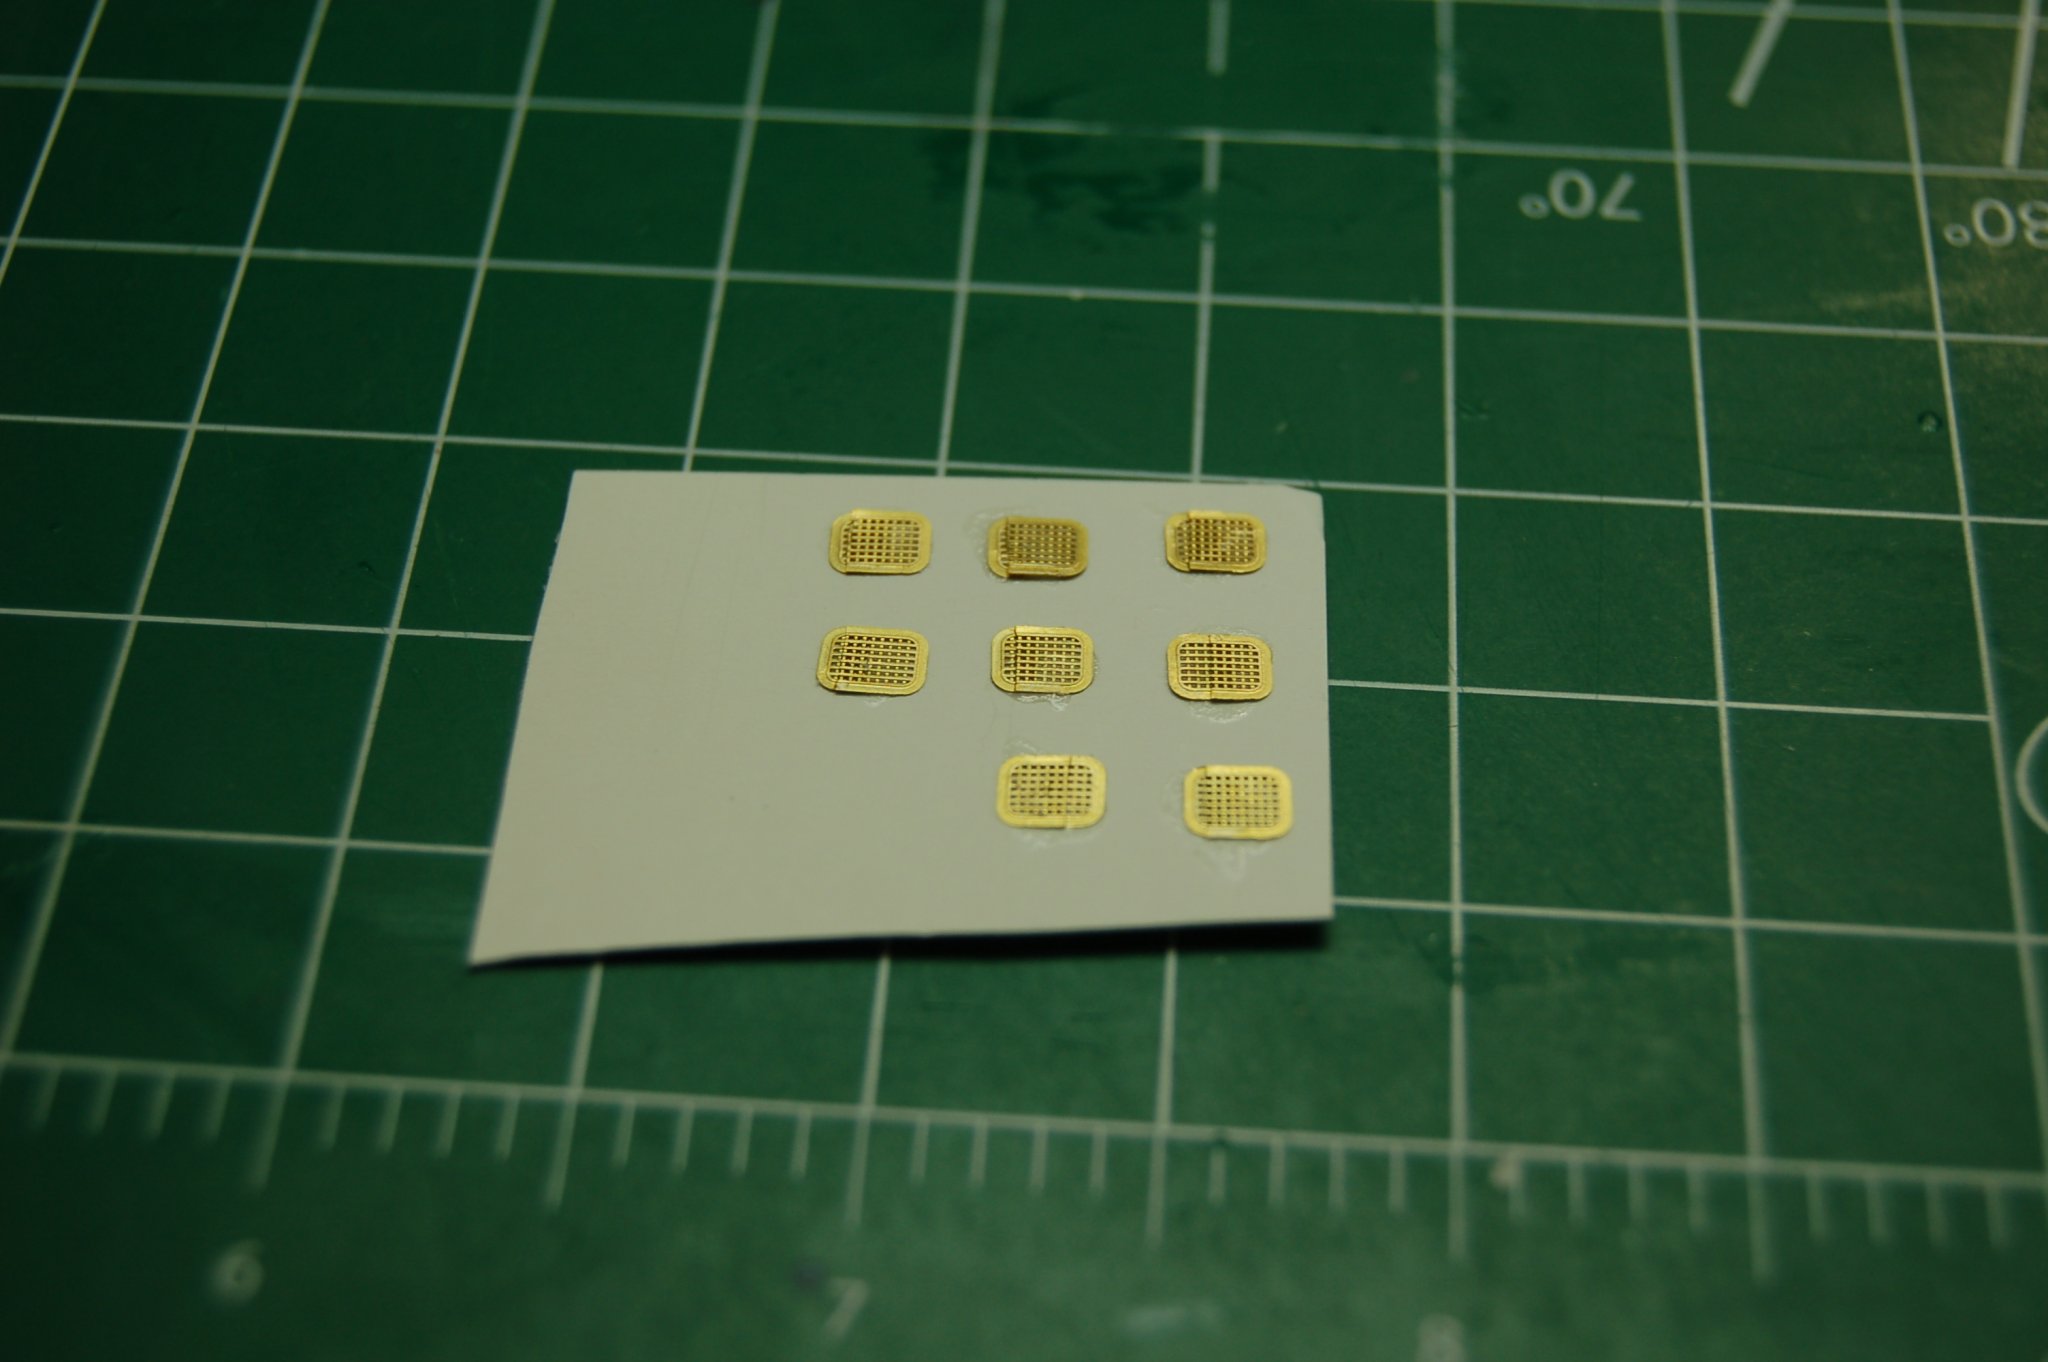
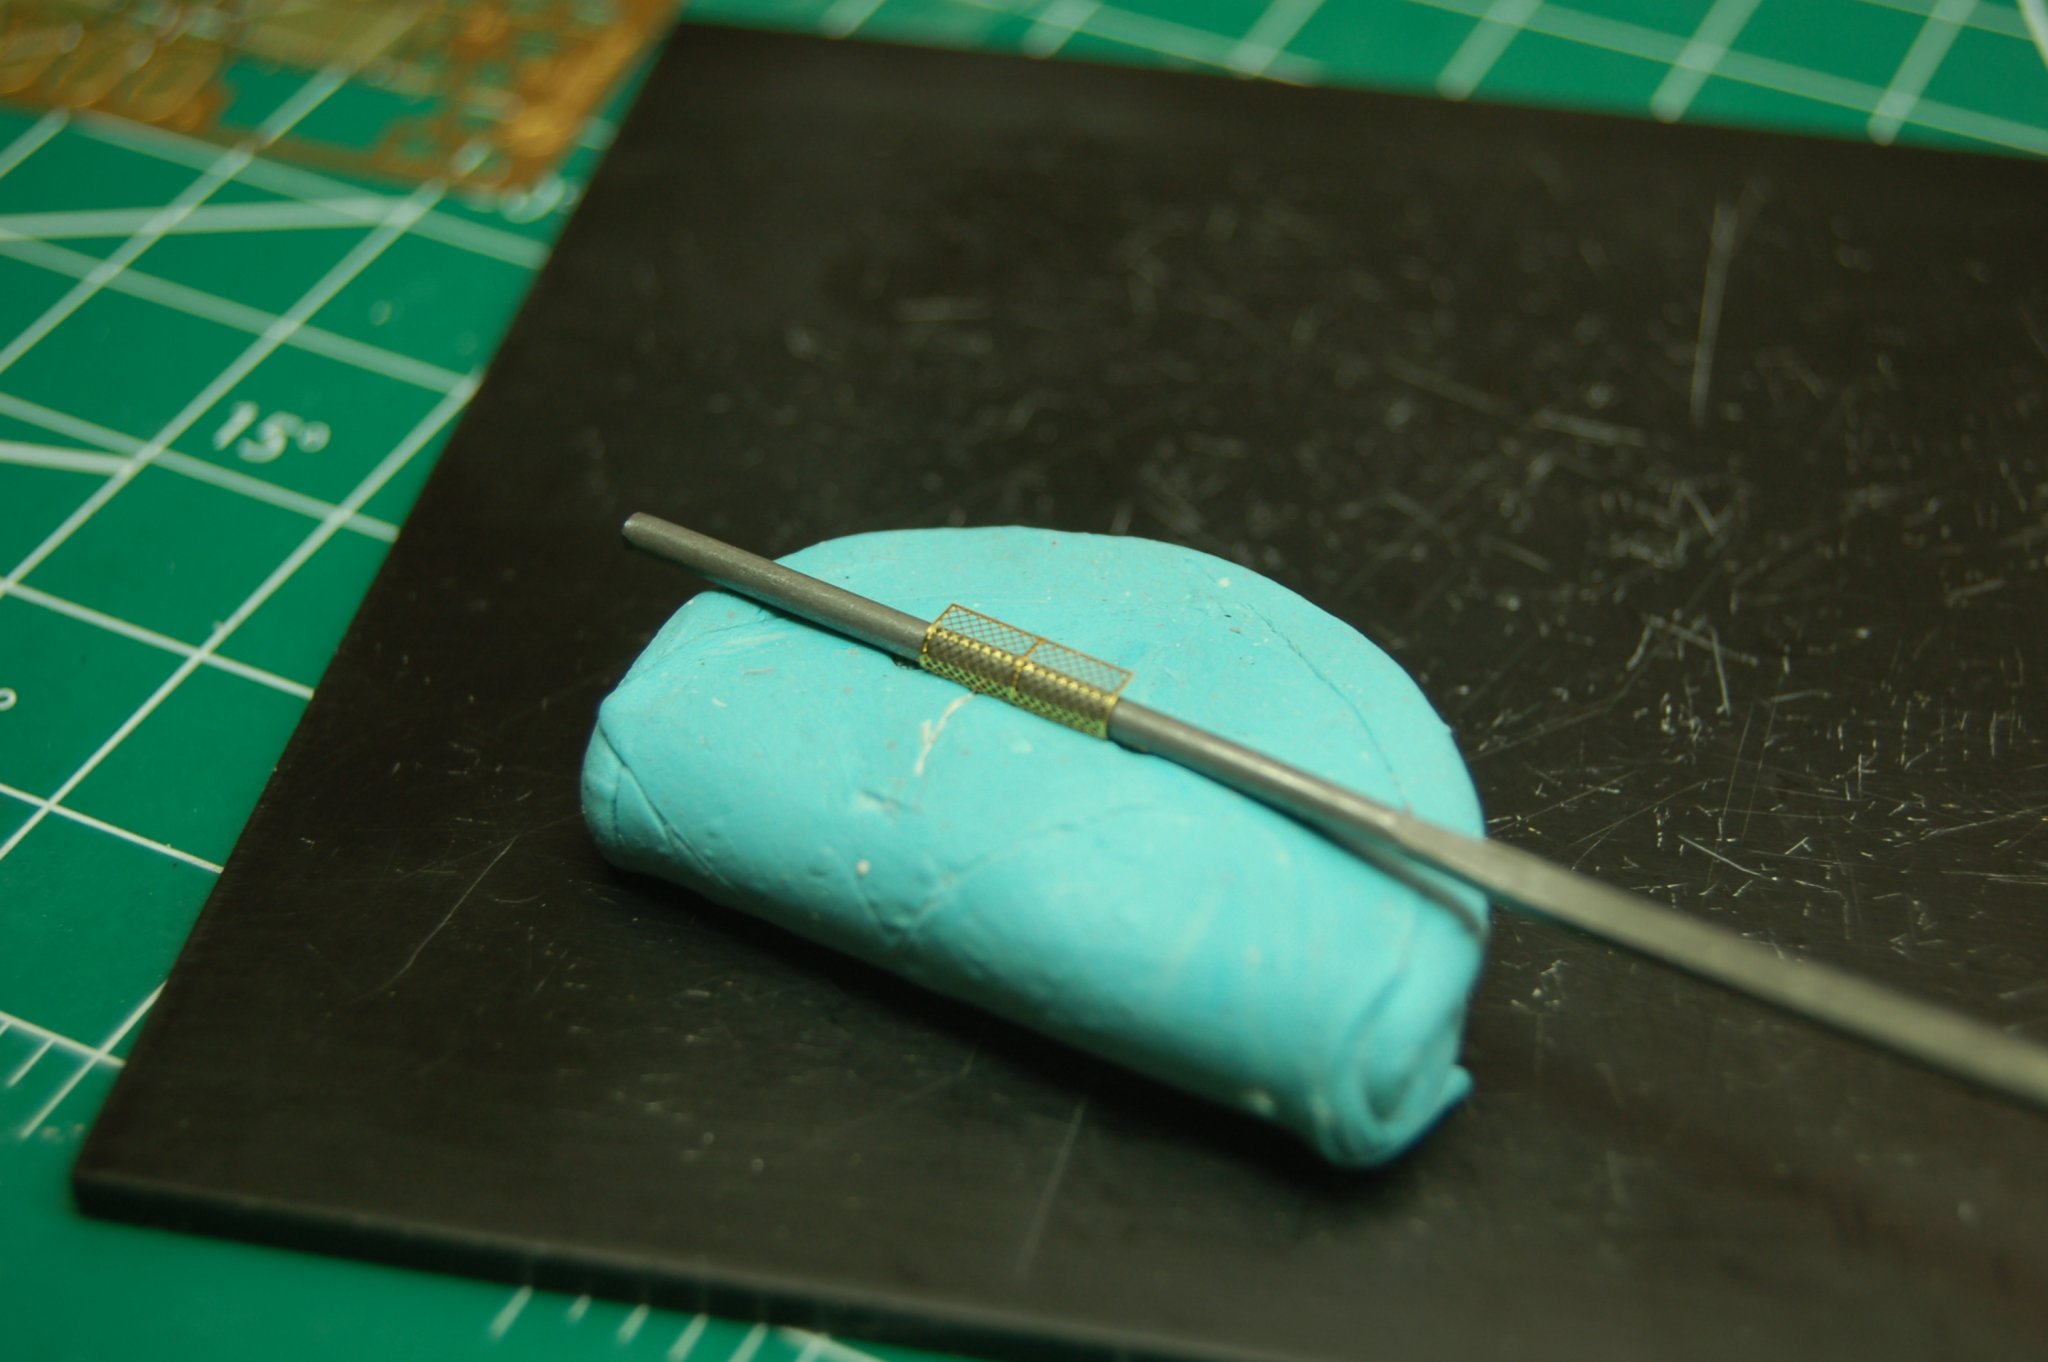
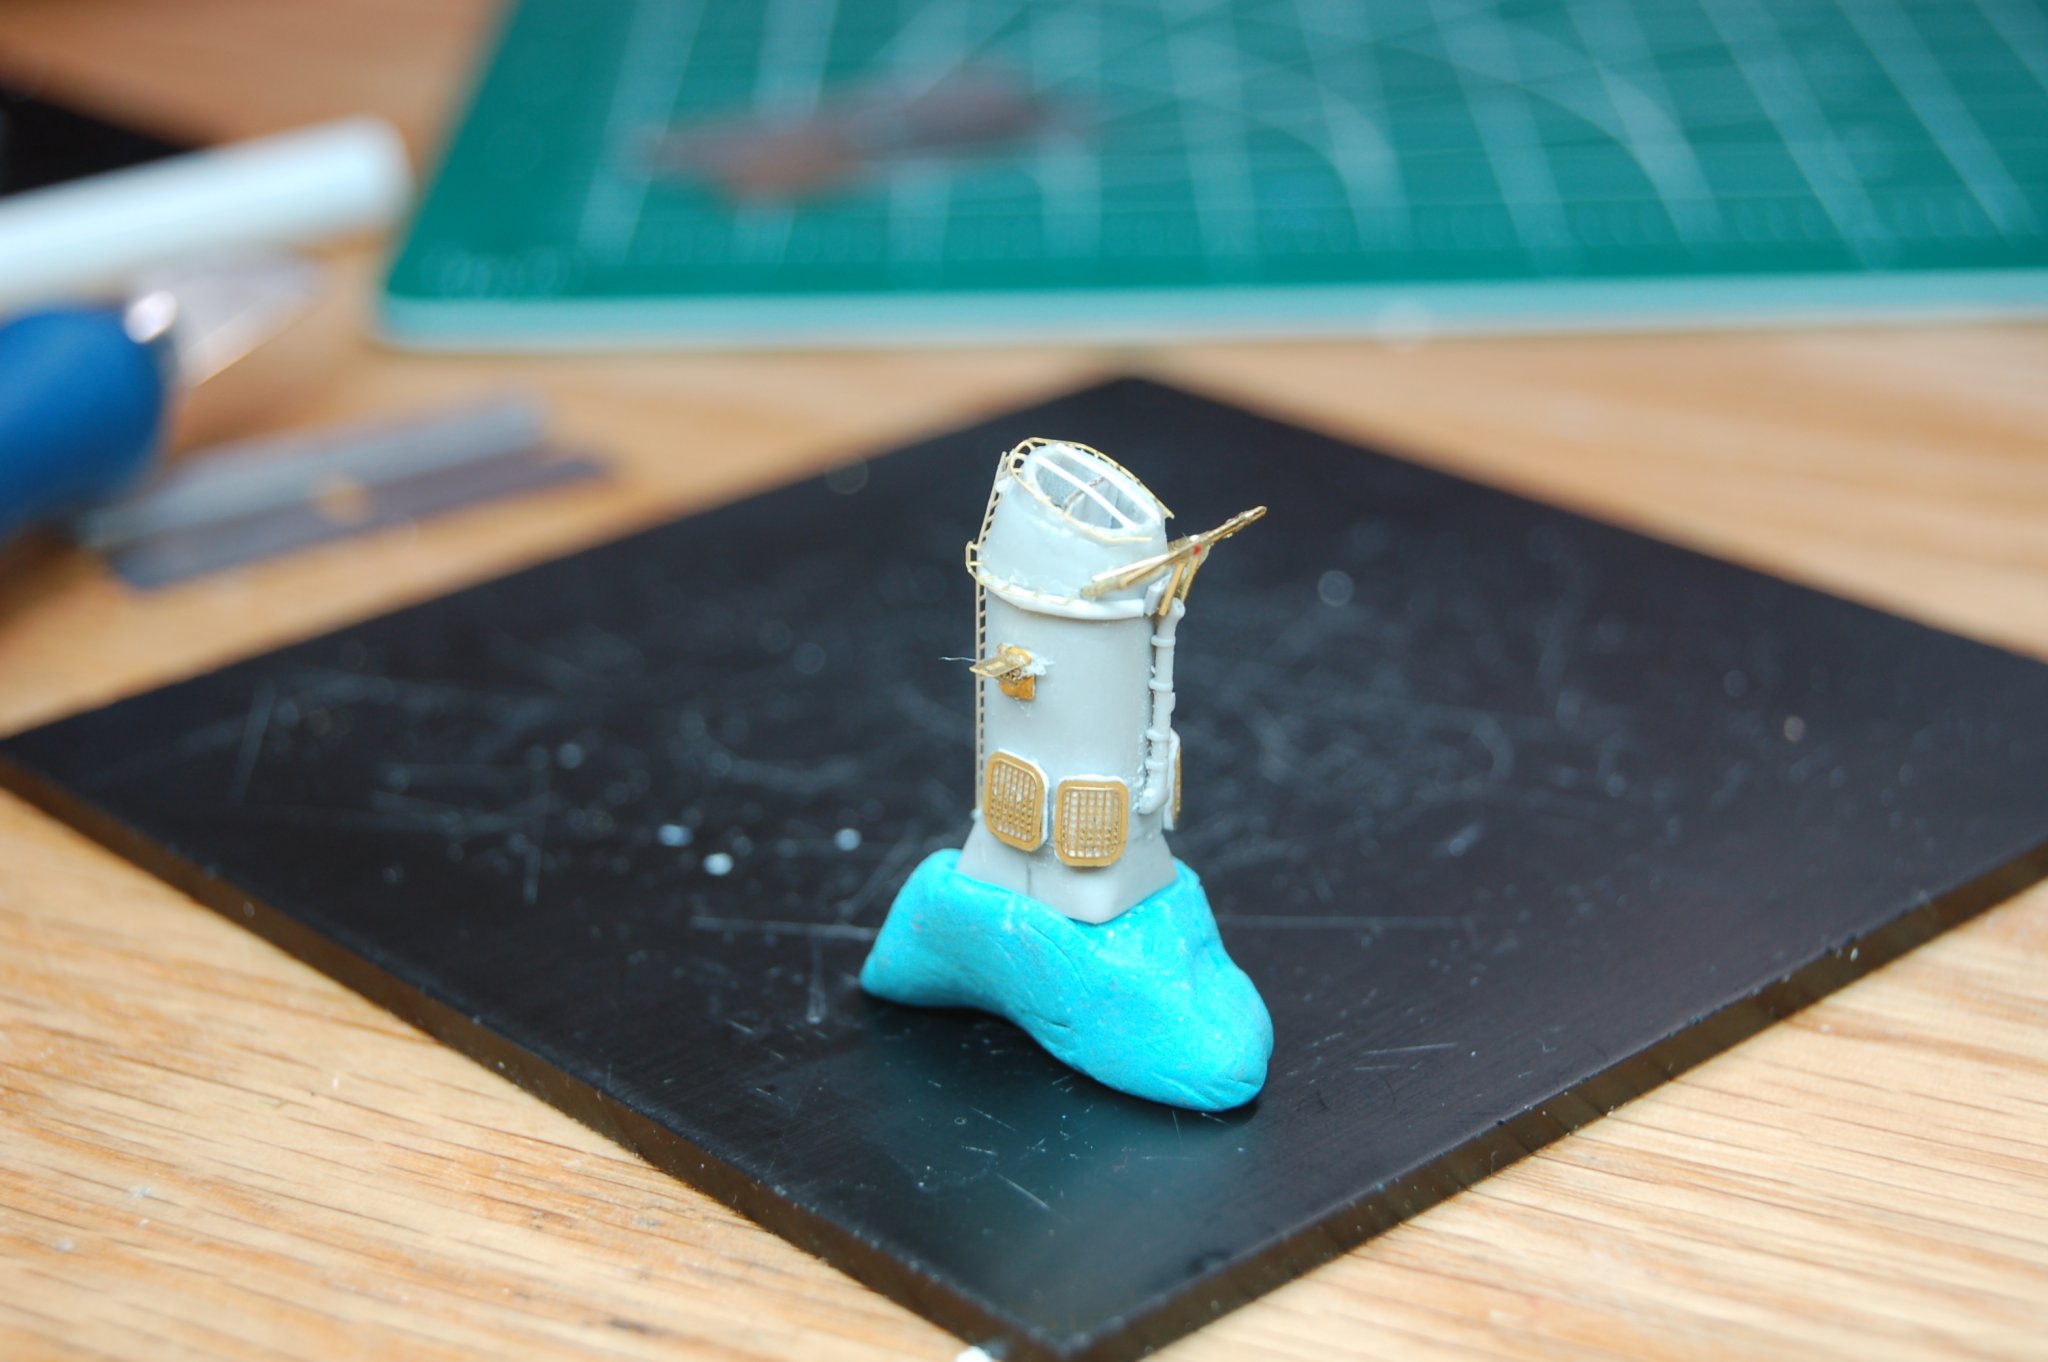
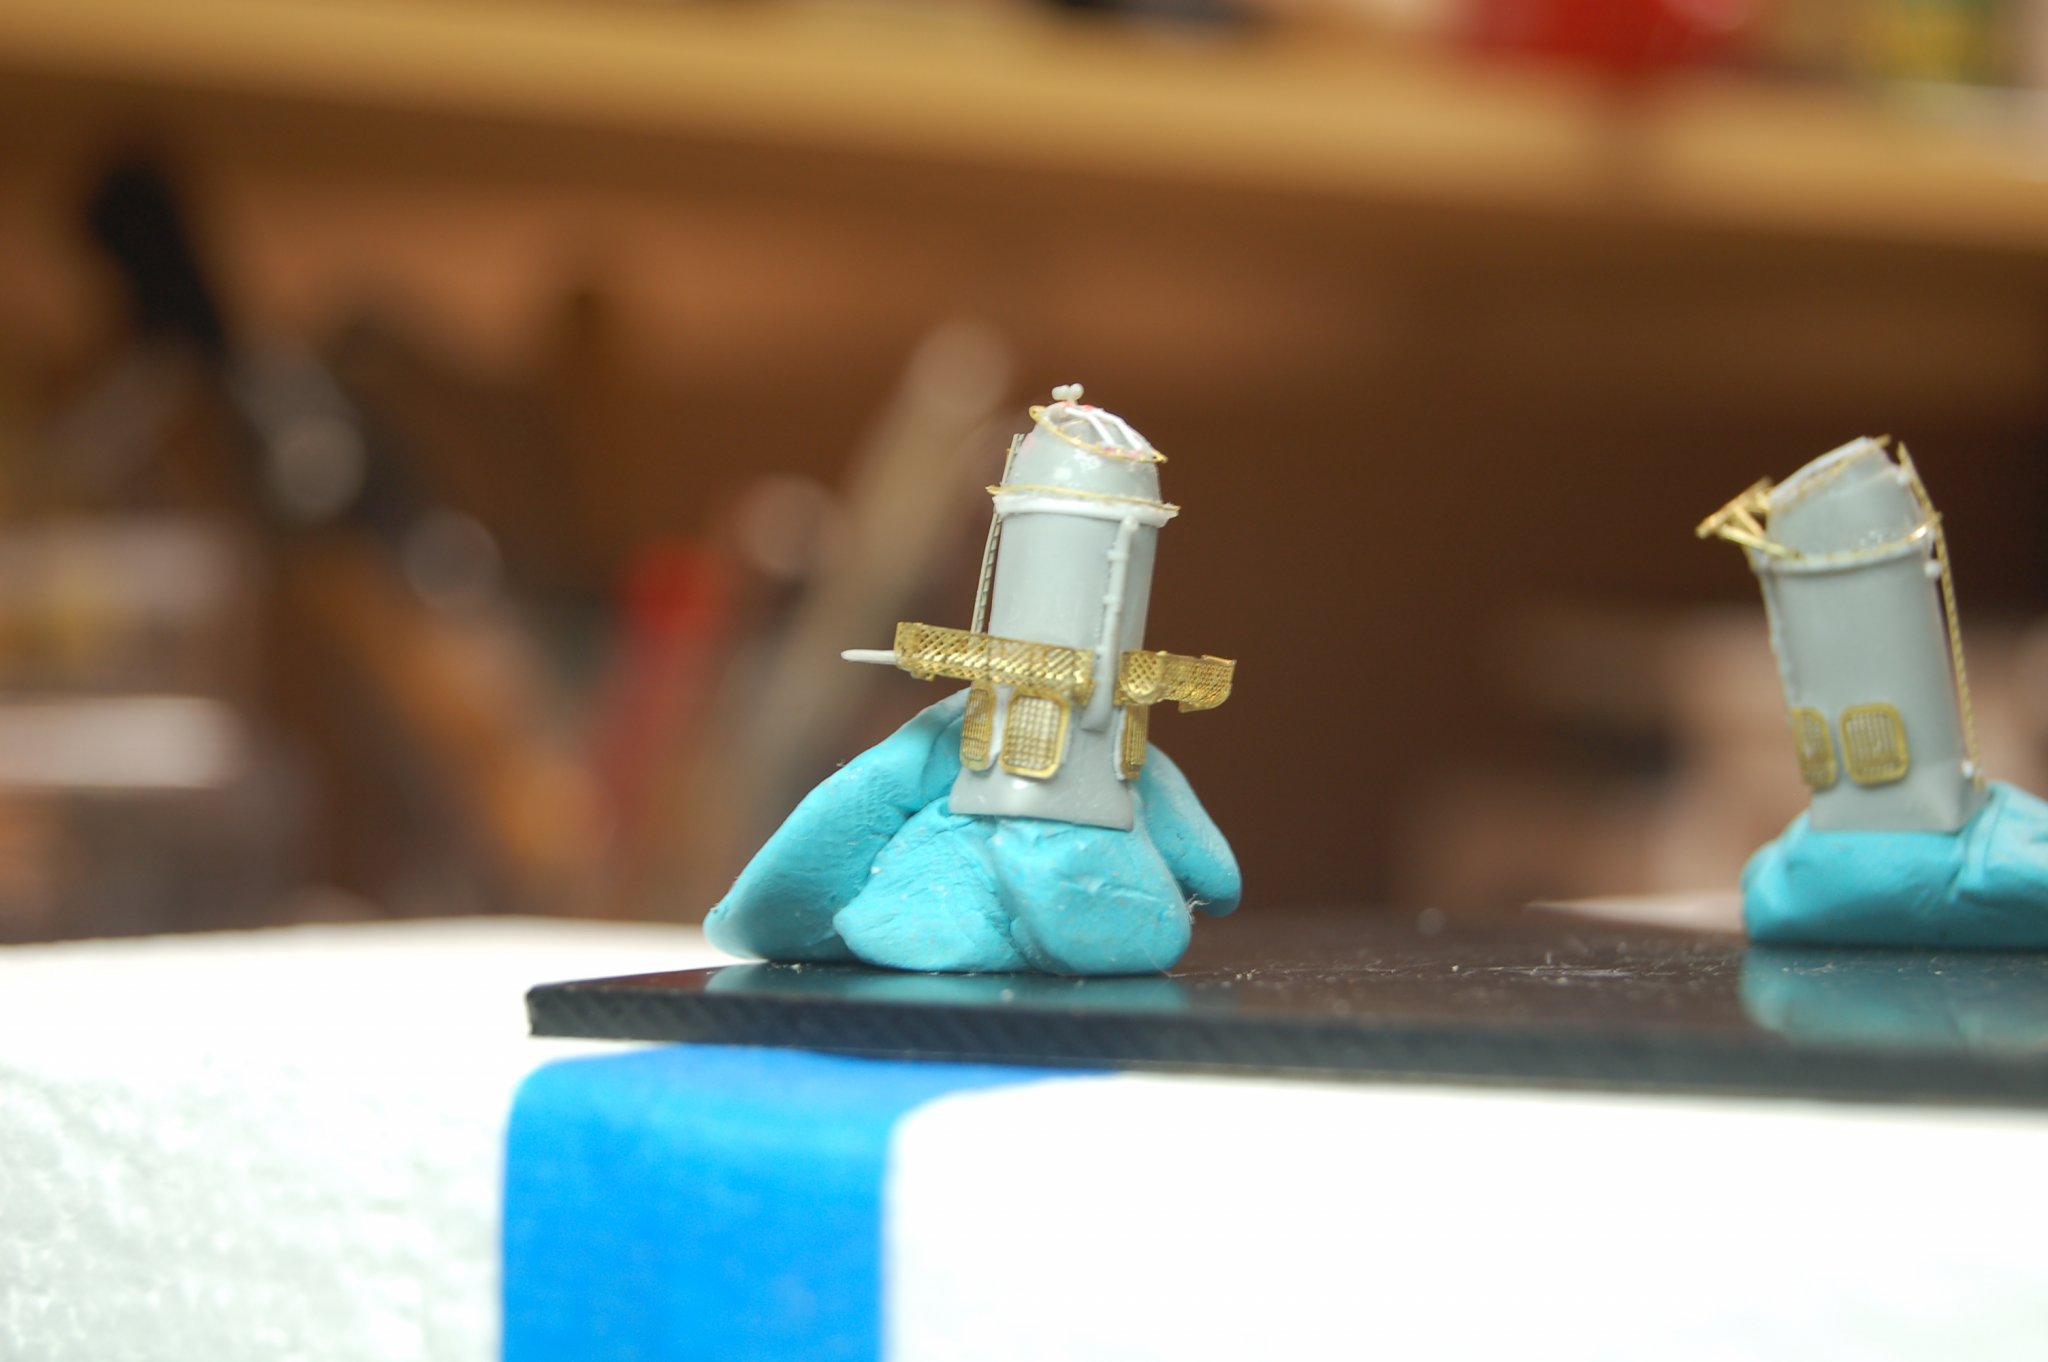
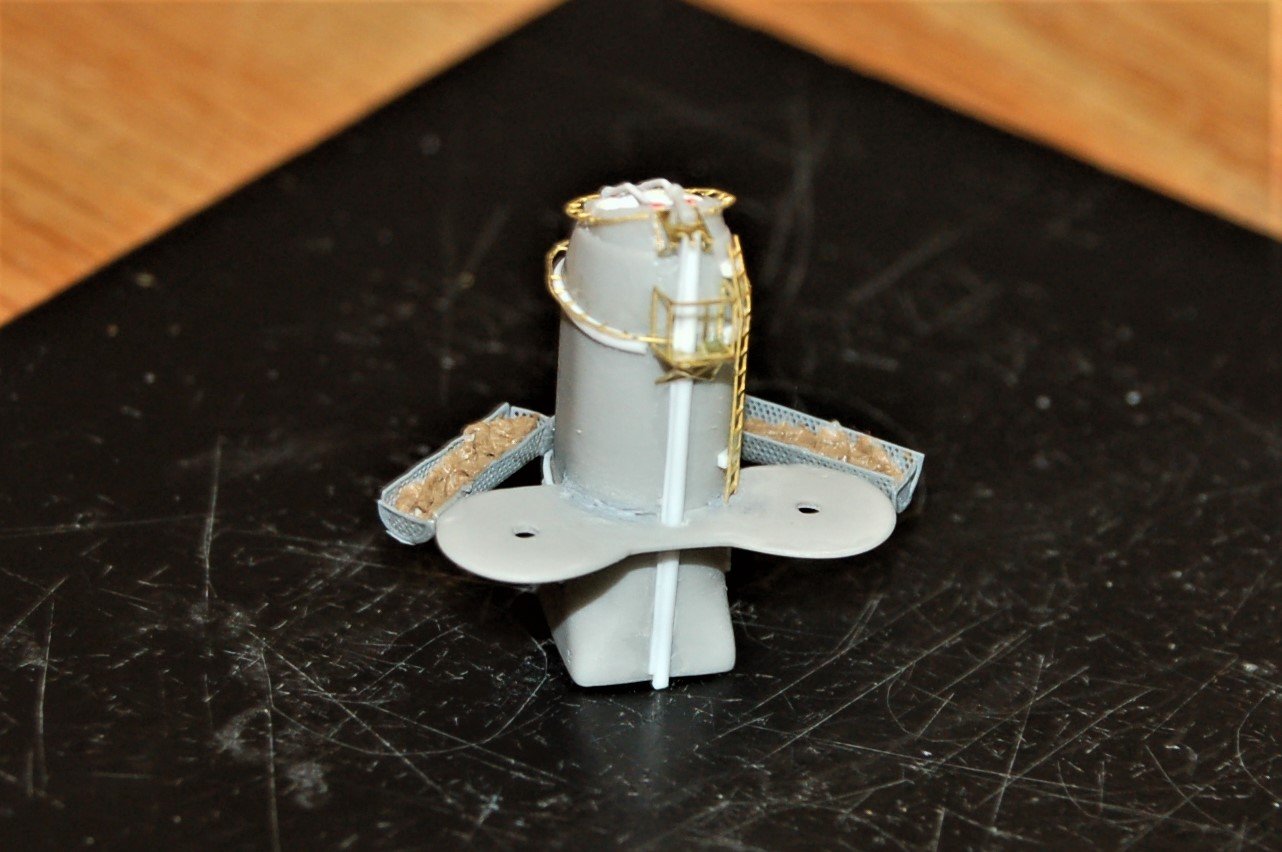
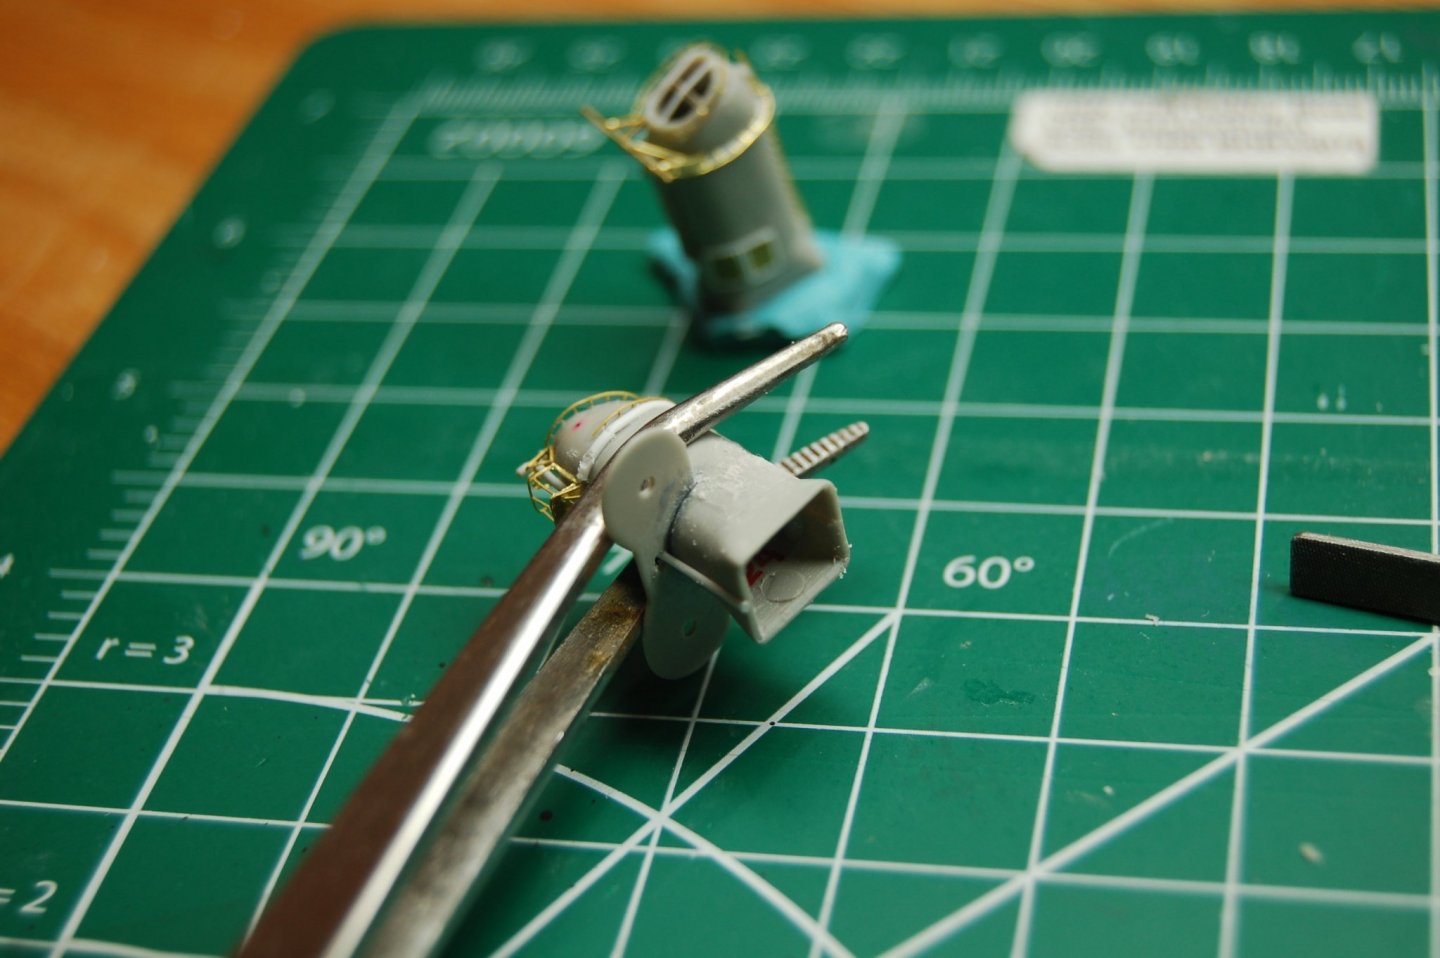
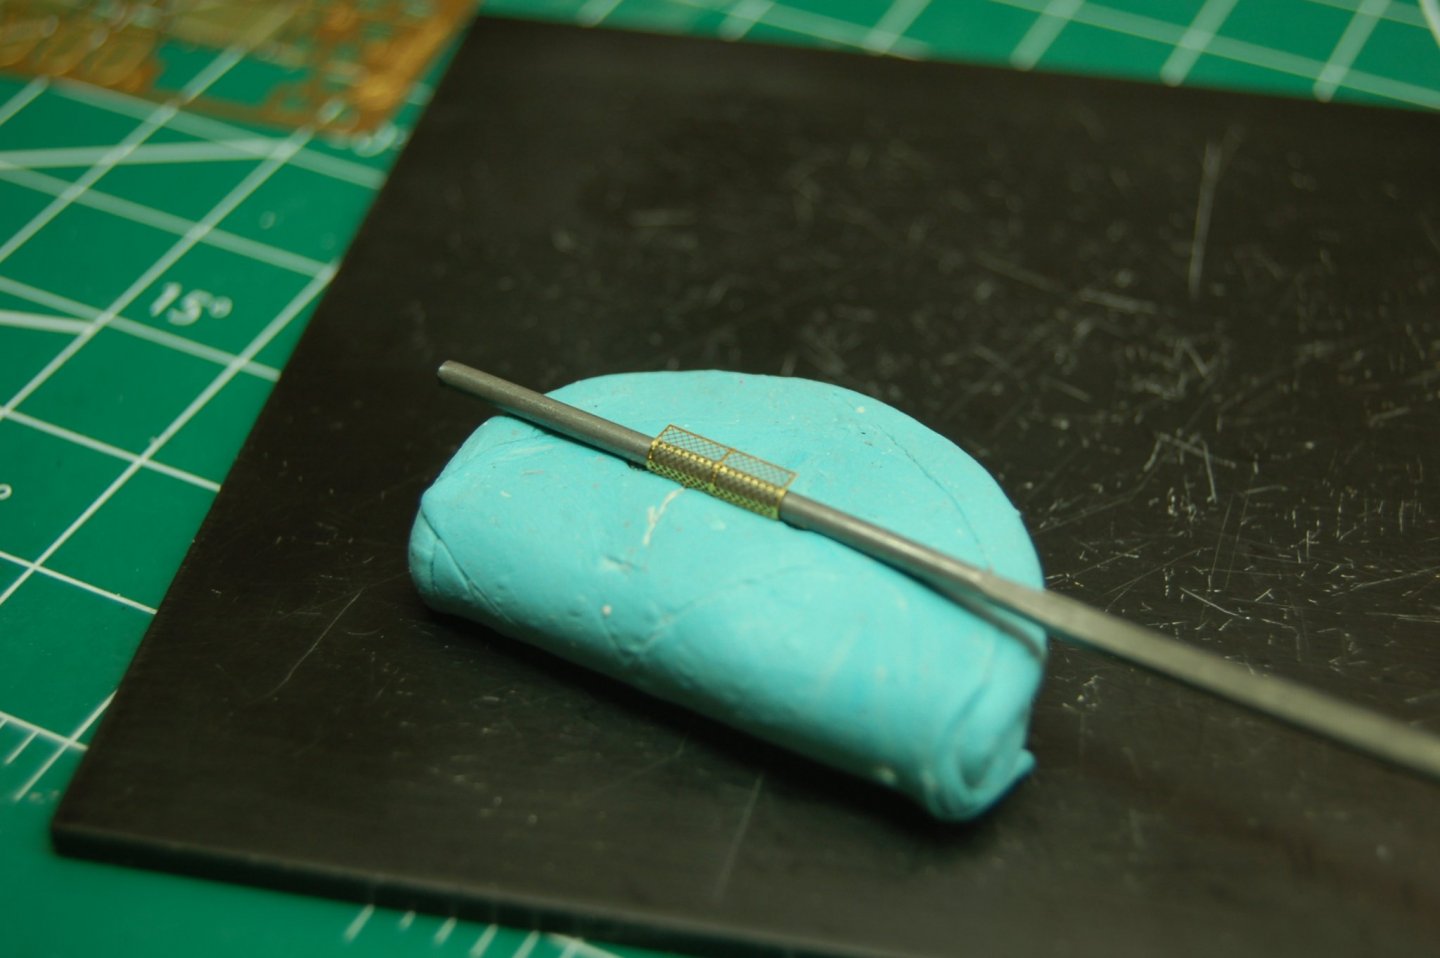
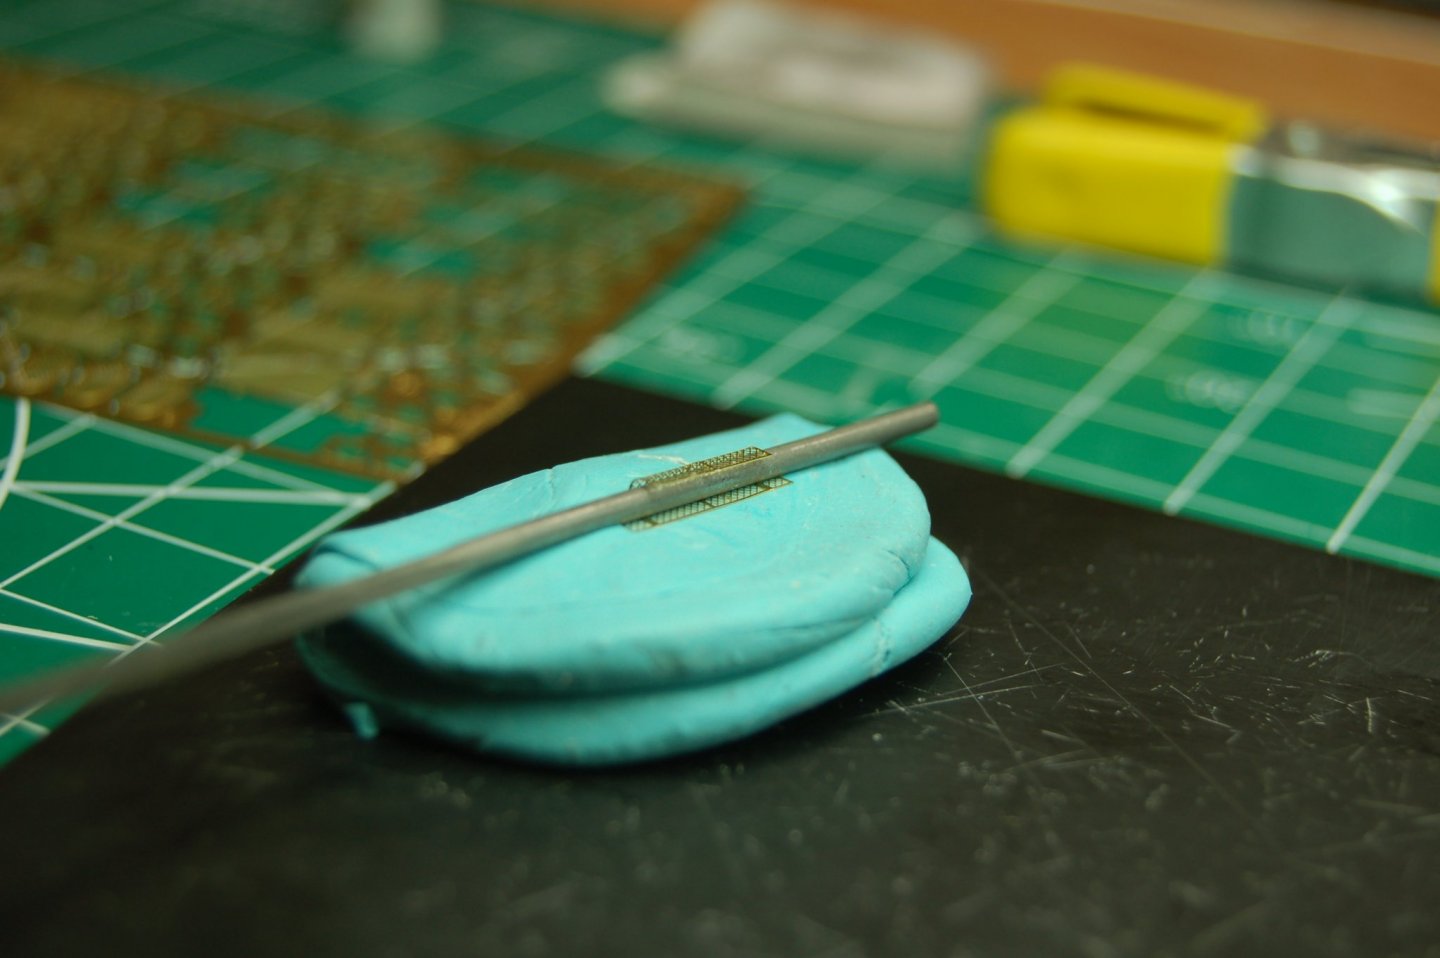
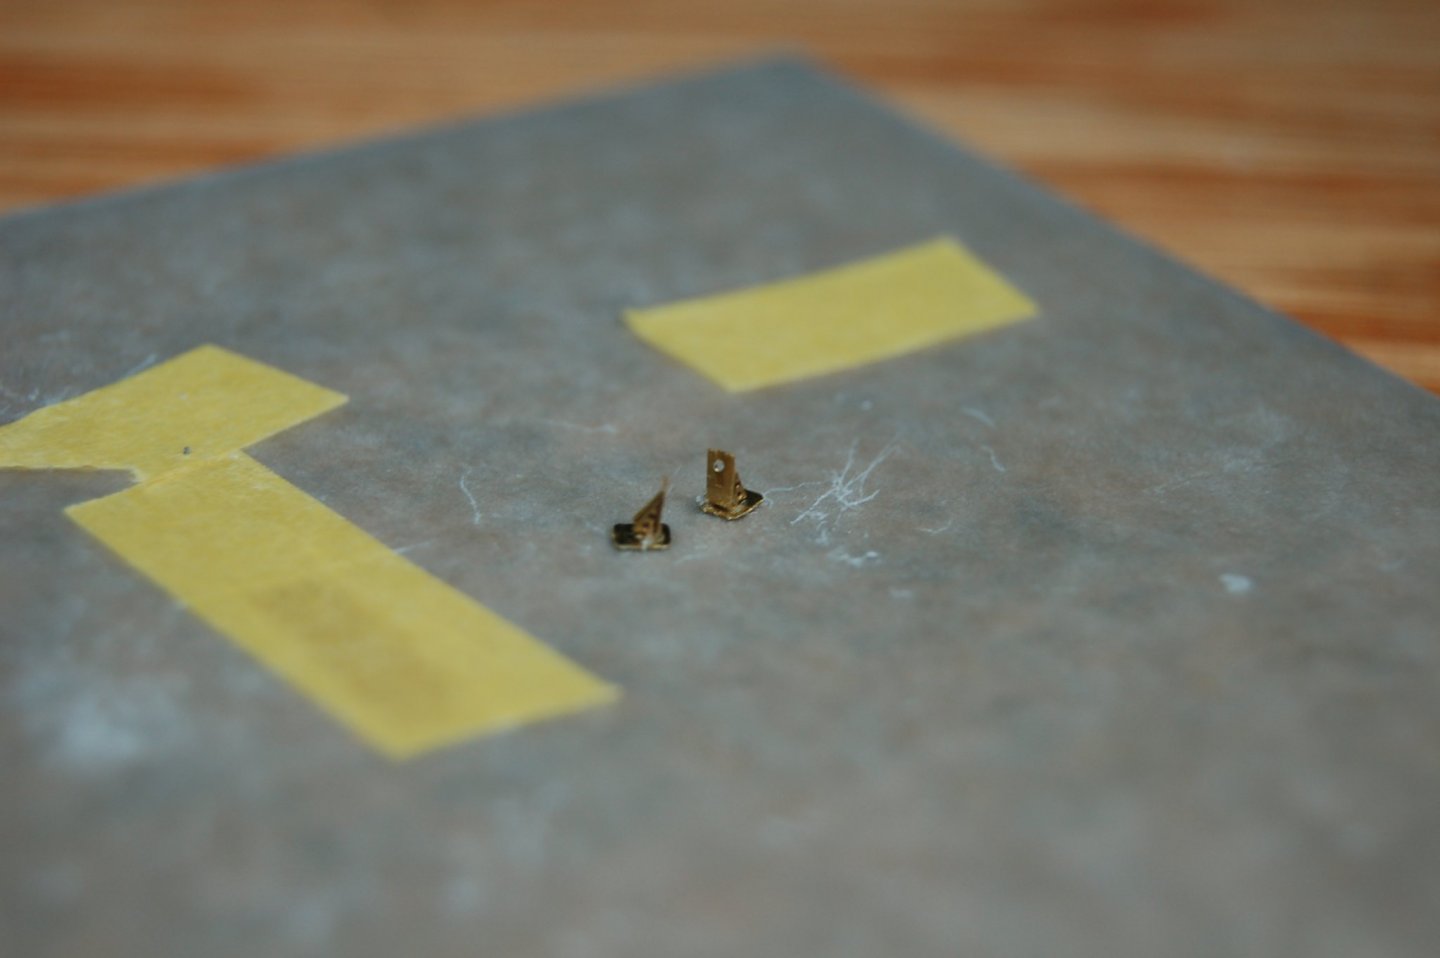
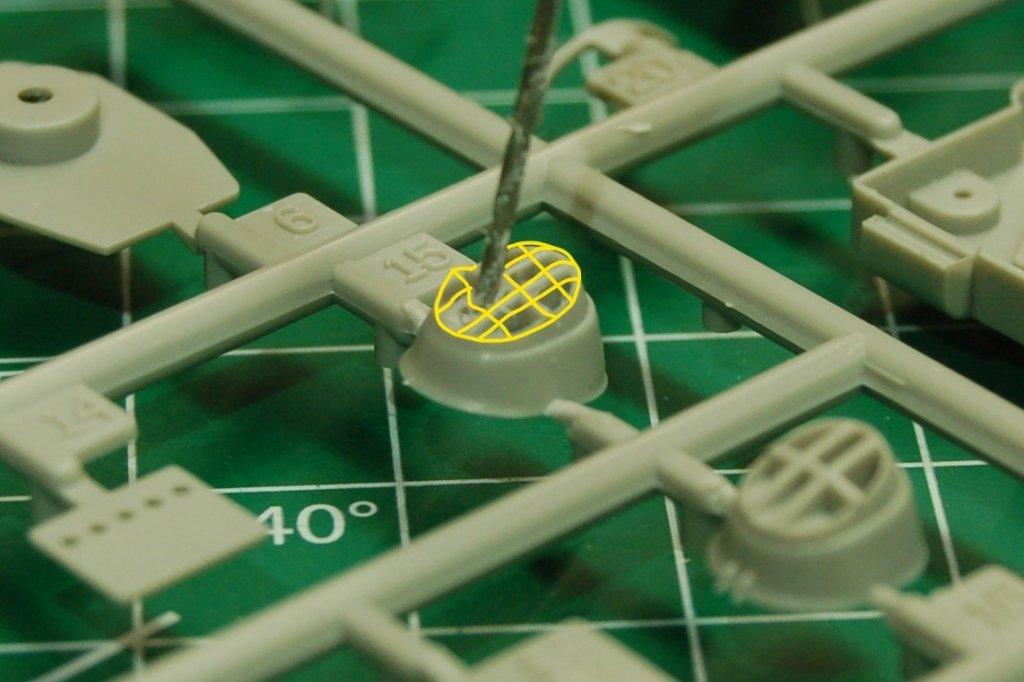
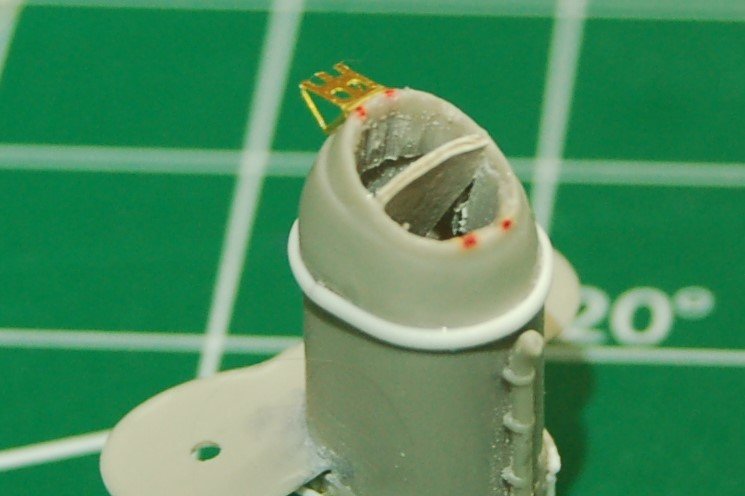
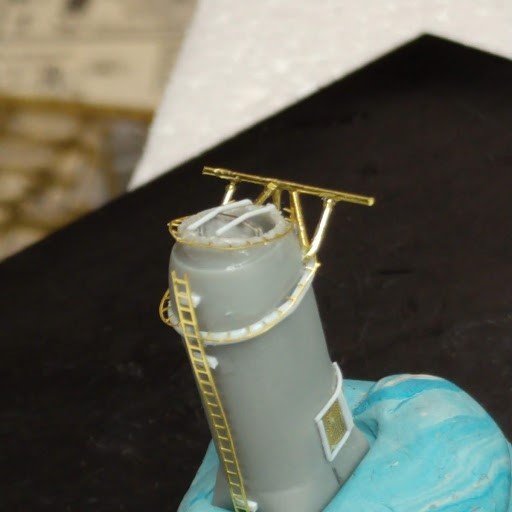
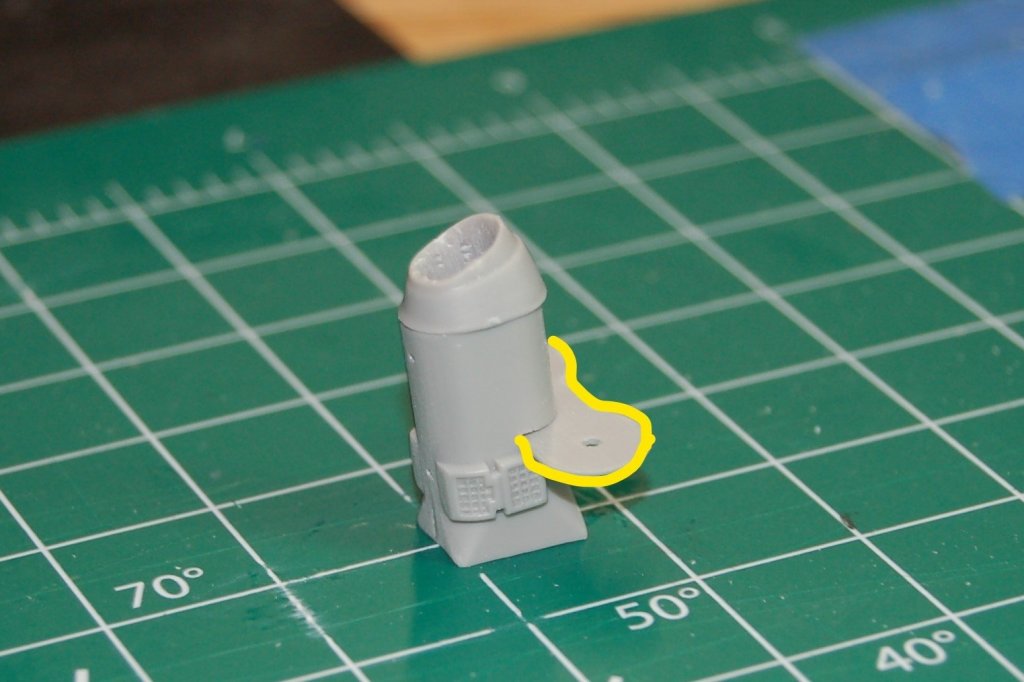
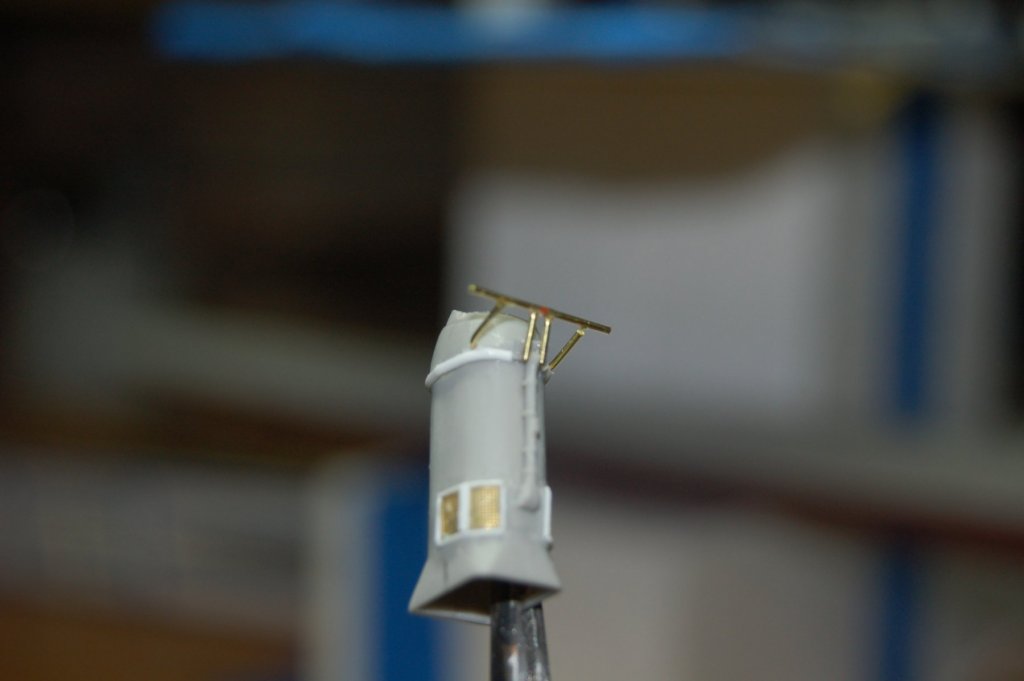
Getting stacks ready for priming. Some of the more fragile PE pieces will be assembled later. The first ventilator and floater net baskets are now .V2 Removing ventilators- New ventilators - New Ventilators installed- Floater net baskets shaped by rolling with mandrel on clay- Antenna brackets for rear stack, scratch PE- Brackets installed- Ready for first prime- More to follow--


- 55 replies
-
- 14
-
-
Thanks John, saved for when frustration starts to overcome the fun.
-
Welcome aboard from Coconut Creek
-
What Yves says, an outstanding effort and a well done log.
- 82 replies
-
- 3
-
-
- carl vinson
- trumpeter
- (and 2 more)
-
Looking good, your structured approach can keep the builder out of trouble down the road. Enjoy, Harley
-
The flight simulator in the background peaks ones interest, mirrors to check your six! Hope the hands continue to improve. Cheers, Harley
- 1,135 replies
-
- 1
-
-
- model shipways
- syren
- (and 2 more)
-
Many ships that have gone into ordinary have come out to have brilliant voyages, we wish you the best. Calm seas and following winds.
-
Good beginning on a big project. What are shooting your pictures with? Log is a good start also. Cheers, Harley
-
I like your minesweeper. It looks like a nice scale to work in. This is the place to expand your modeling horizons. Enjoy, Harley
-
Very nicely done, a project to be proud of.
-
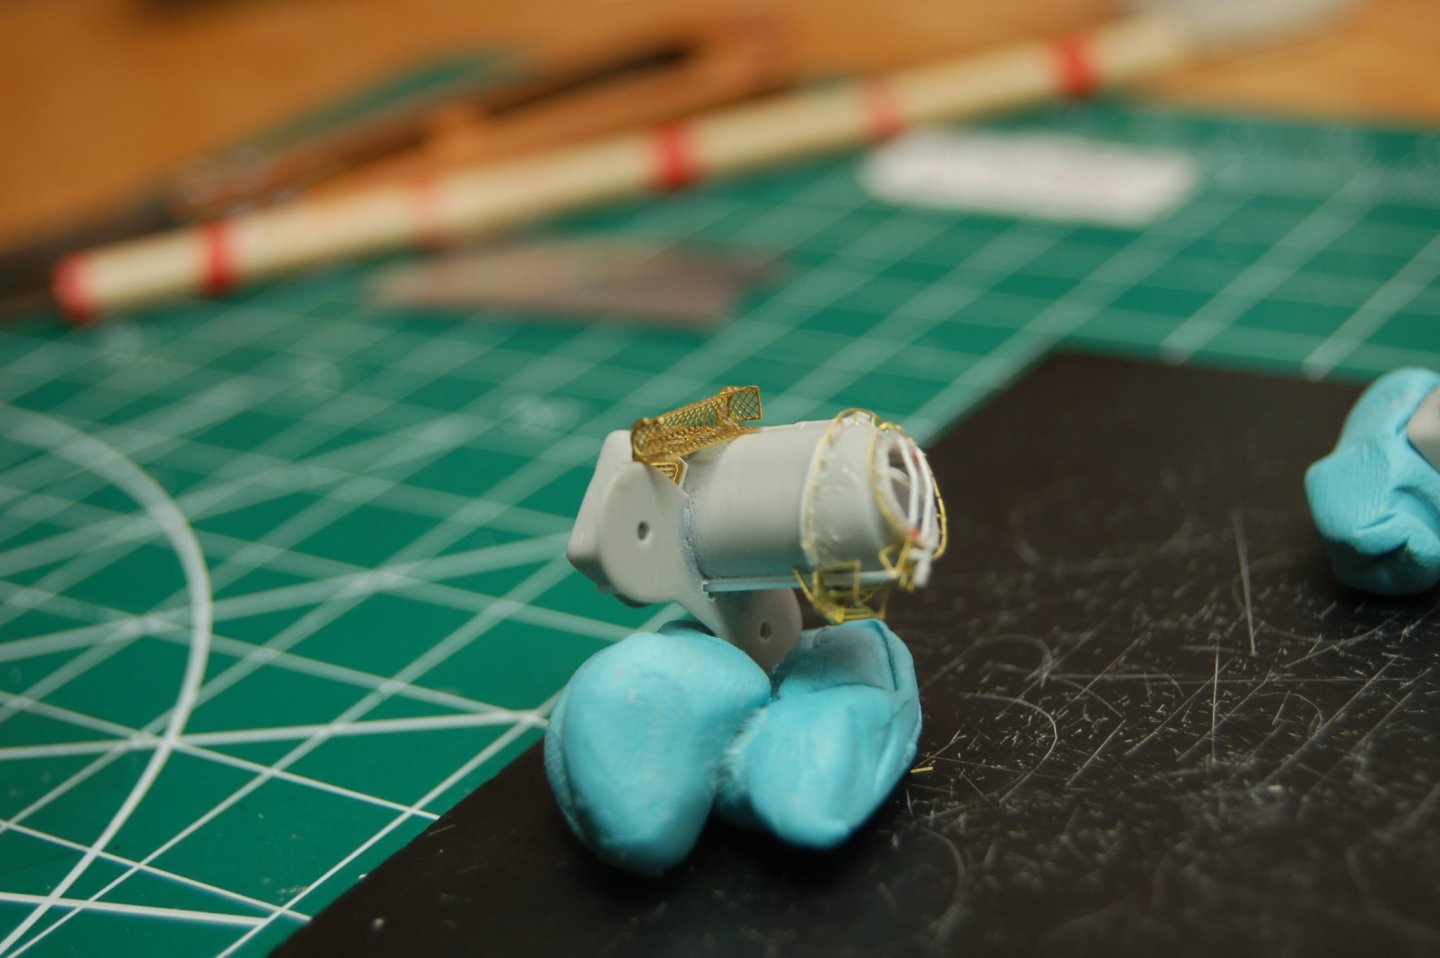
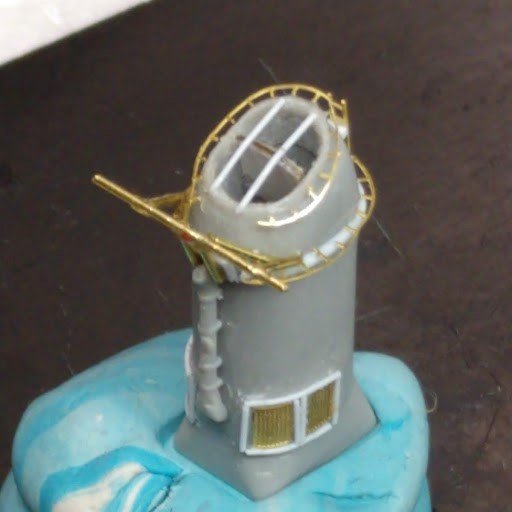
The stacks can be a bit of a project if one looks at the various photo references long enough. Because of the poor fit of the top piece of the stack I trimmed the sides flush and used a ½ round .08mm rod to simulate the joint between the top and body of the stack. The plastic cross member on the rear stack is replaced with a brass rod structure. The inside of the tops of the stacks was cut out and replaced with a combination of paper and plastic. A review I read pointed out that the ventilators on the kit stacks were too thick. Checking a number of photos proved that to be correct. The ventilators were removed and replaced with PE grills and framed by Plastruct .010 strips. The plastic around the searchlight platform has been removed and will be replaced by canvas covered PE rail. Floater net baskets were added as were pipes up the front of the stack. PE was borrowed to make up the railings around the top of the stacks. The PE ladders seem a bit massive and will be replaced.

- 55 replies
-
- 14
-
-
Welcome to the crew. Confederacy is a great kit with instructions to match. Your Syren was just a warm up for the big time. I followed the same route.. Enjoy your quest for excellence. Cheers, Harley
-
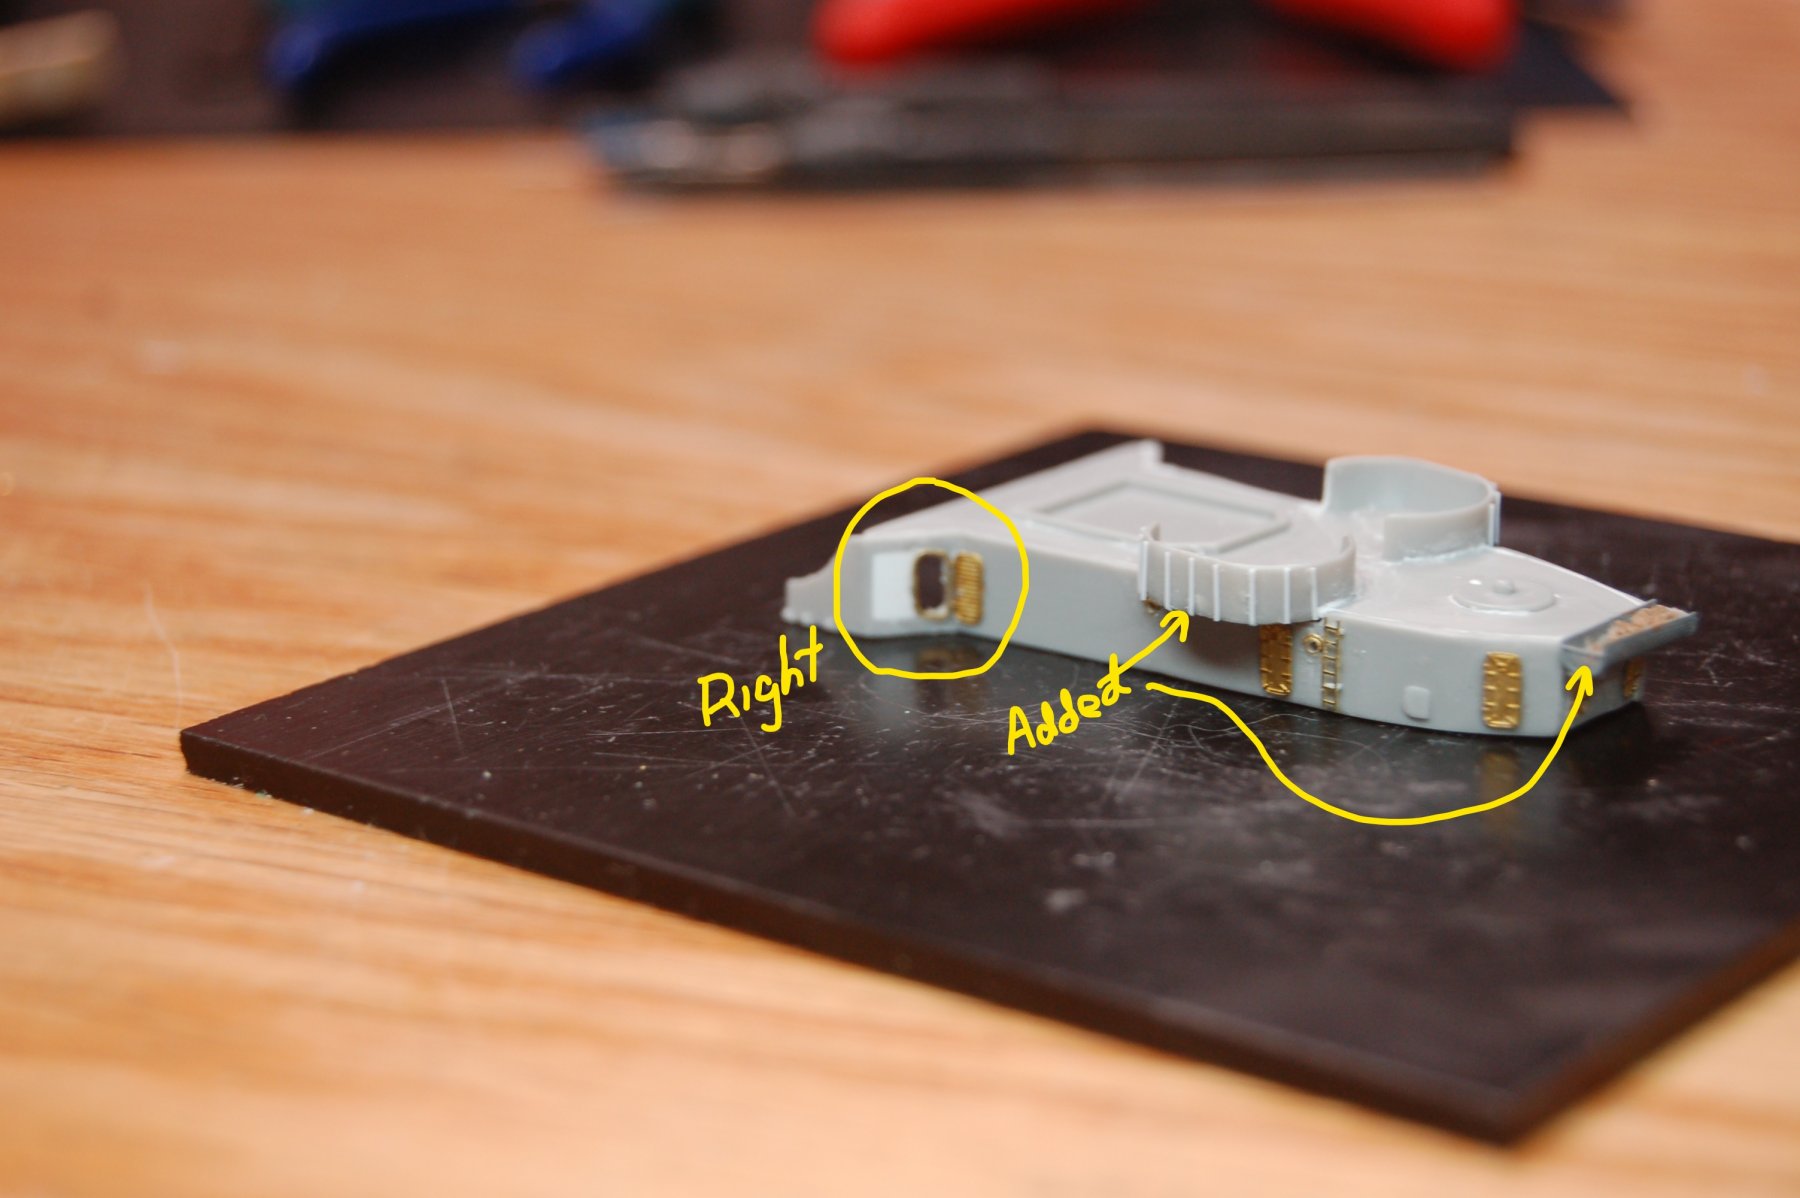
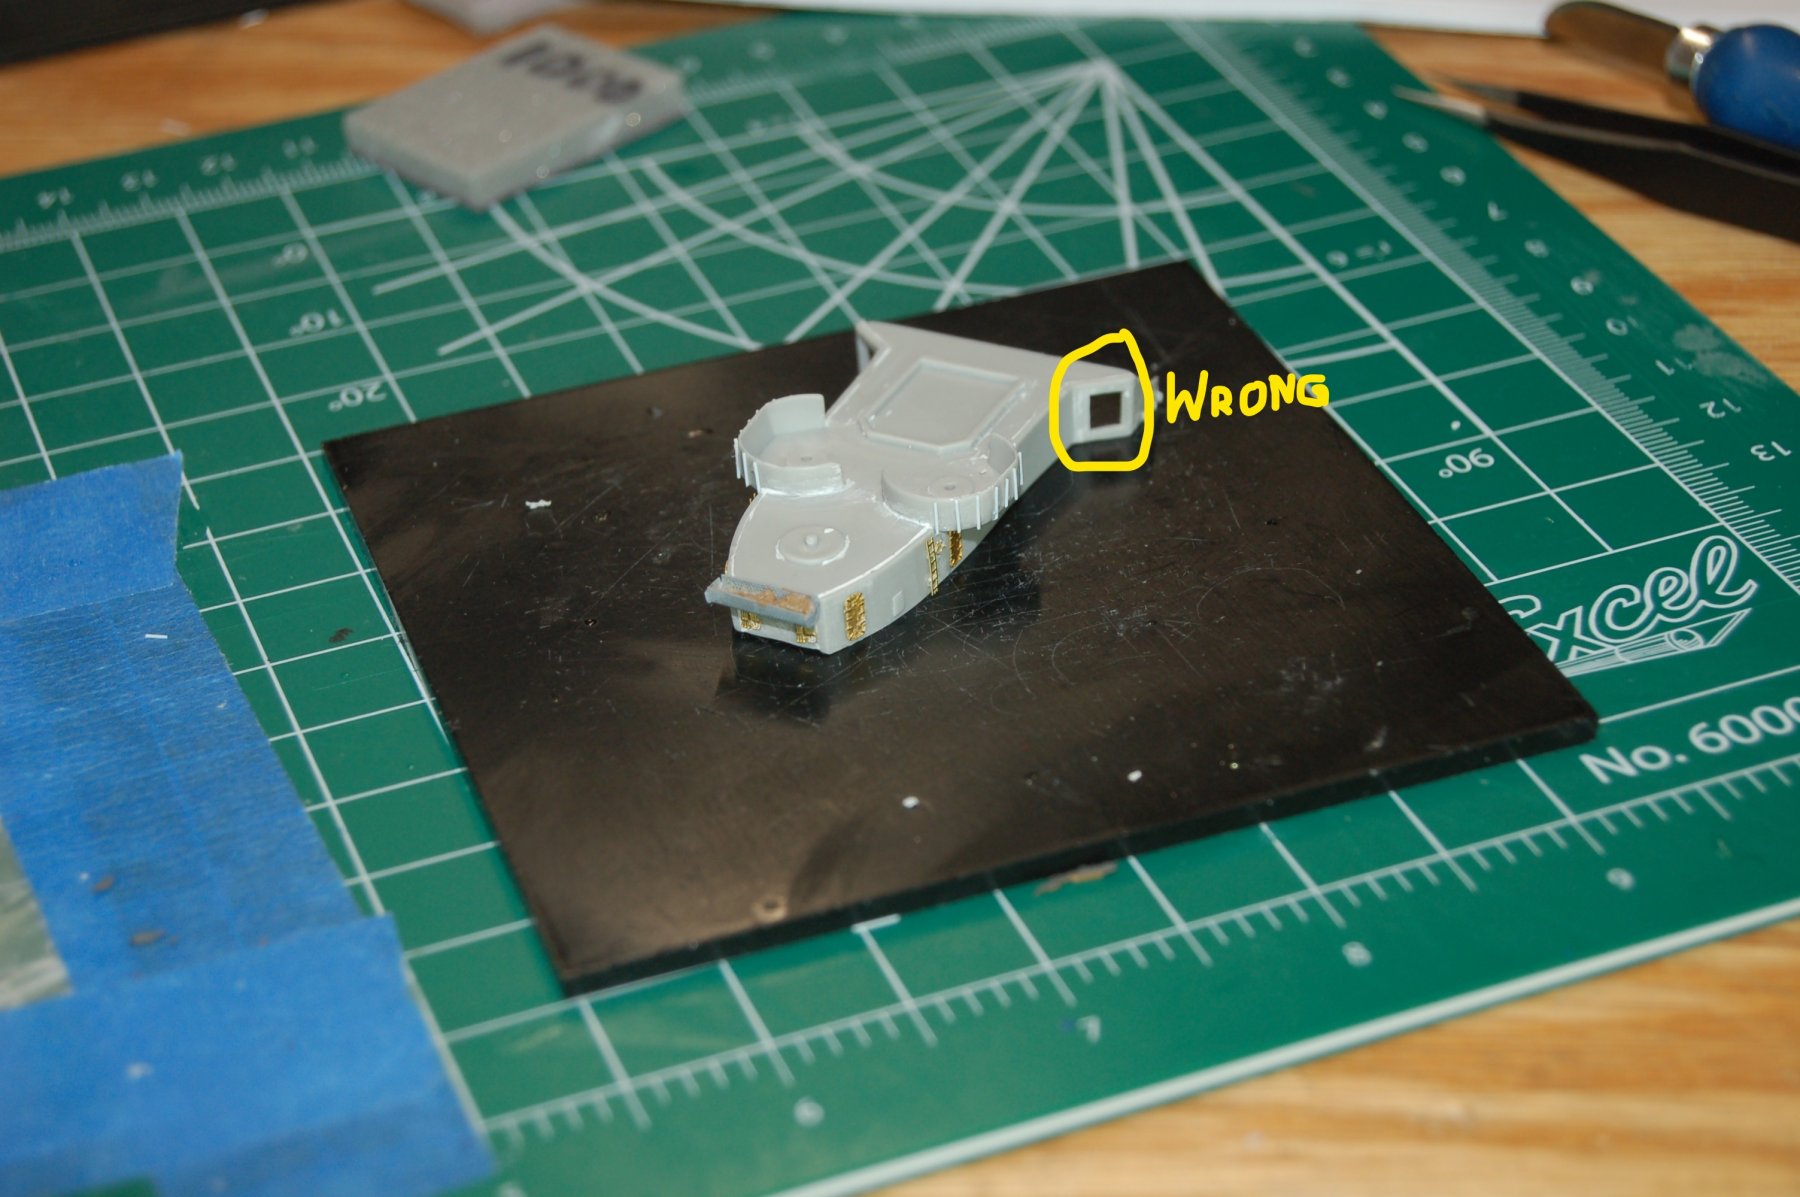
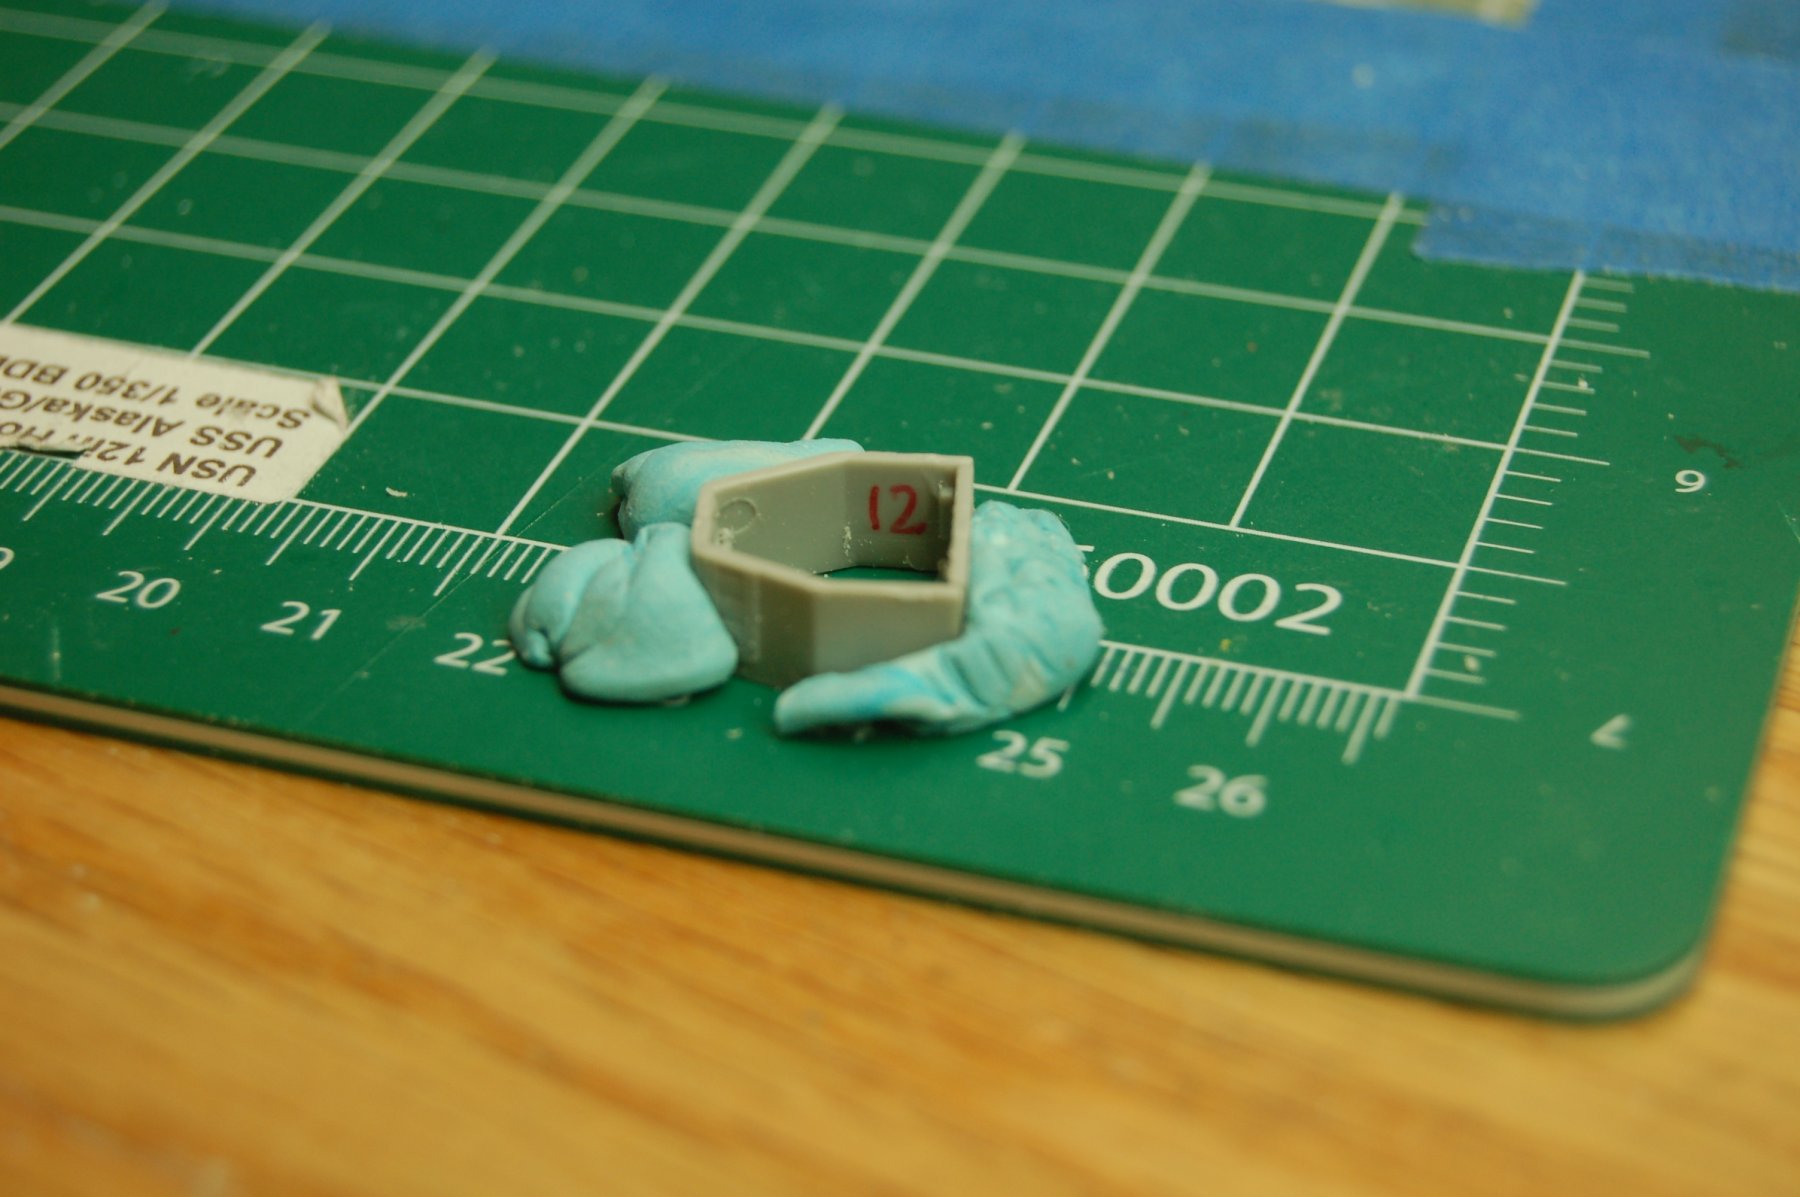
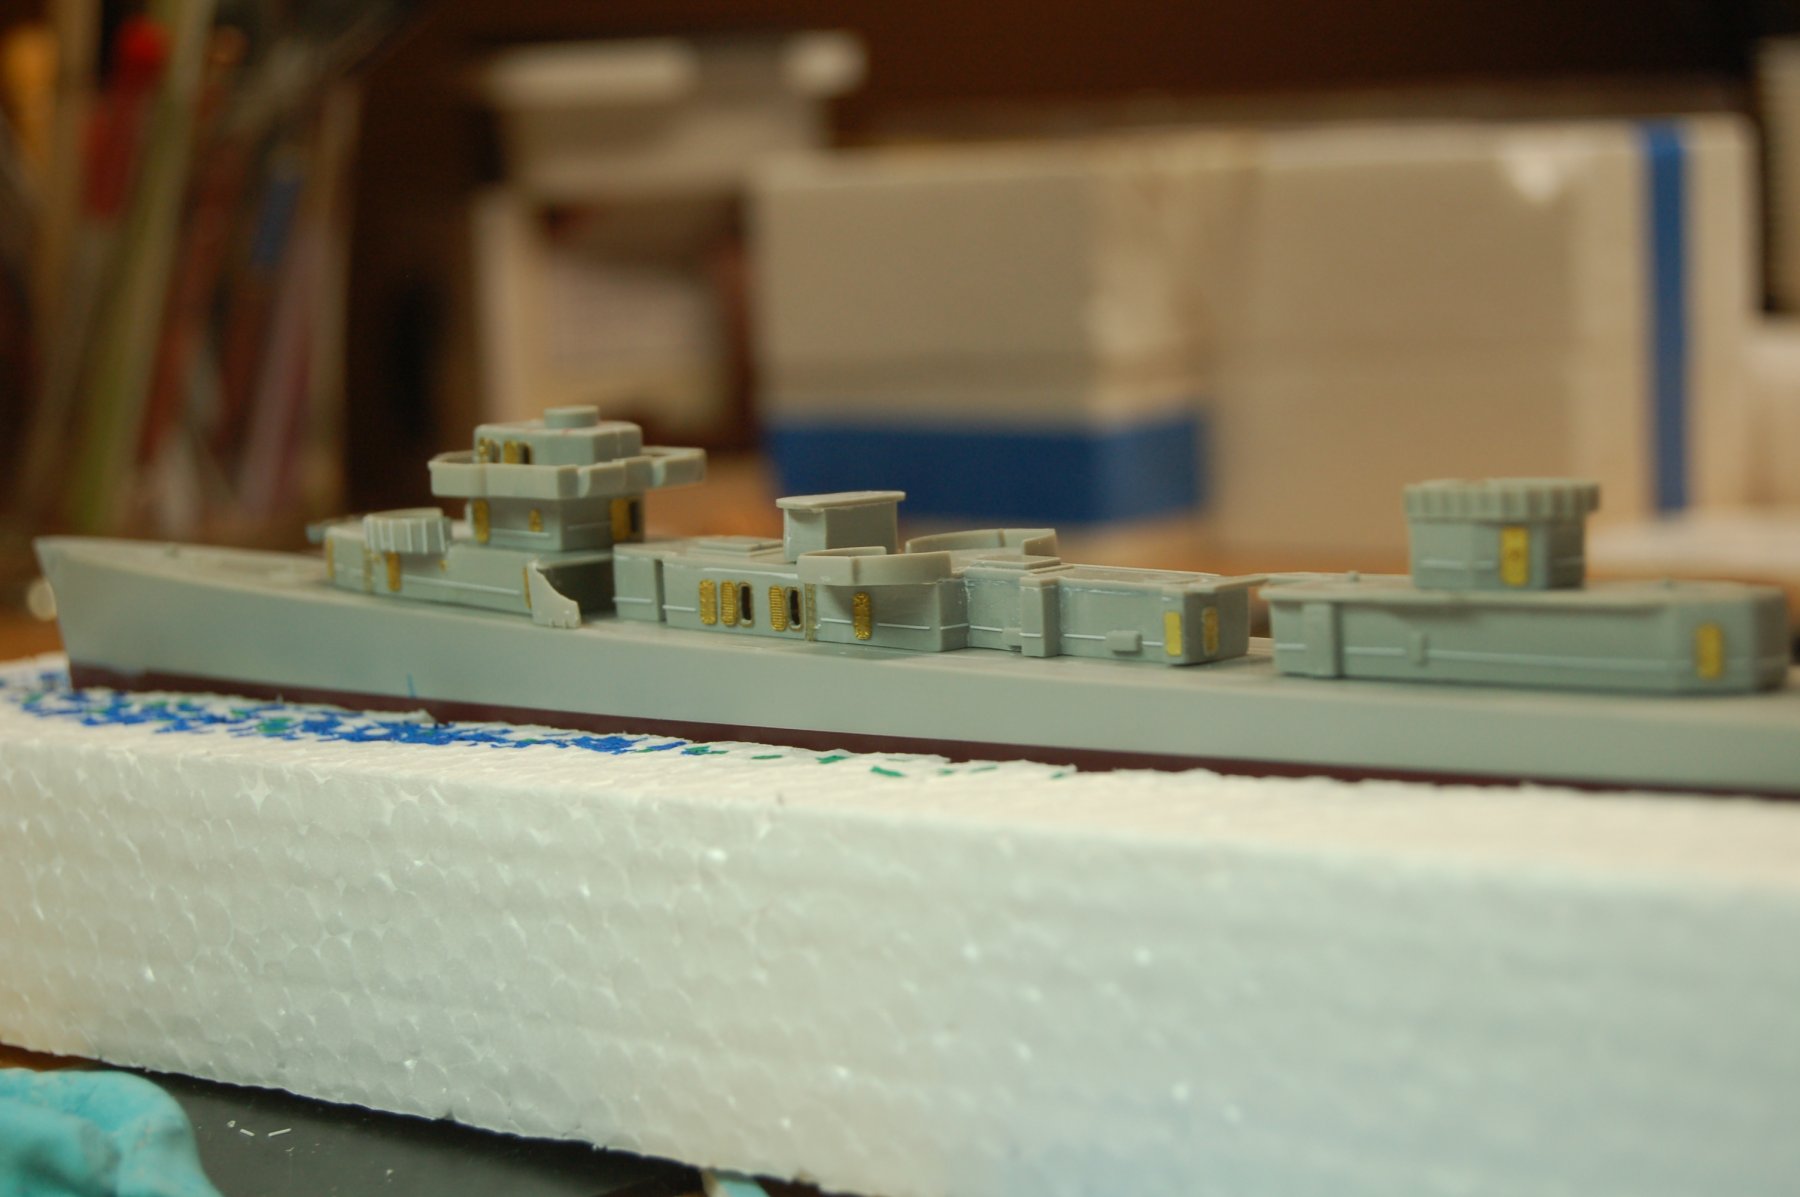
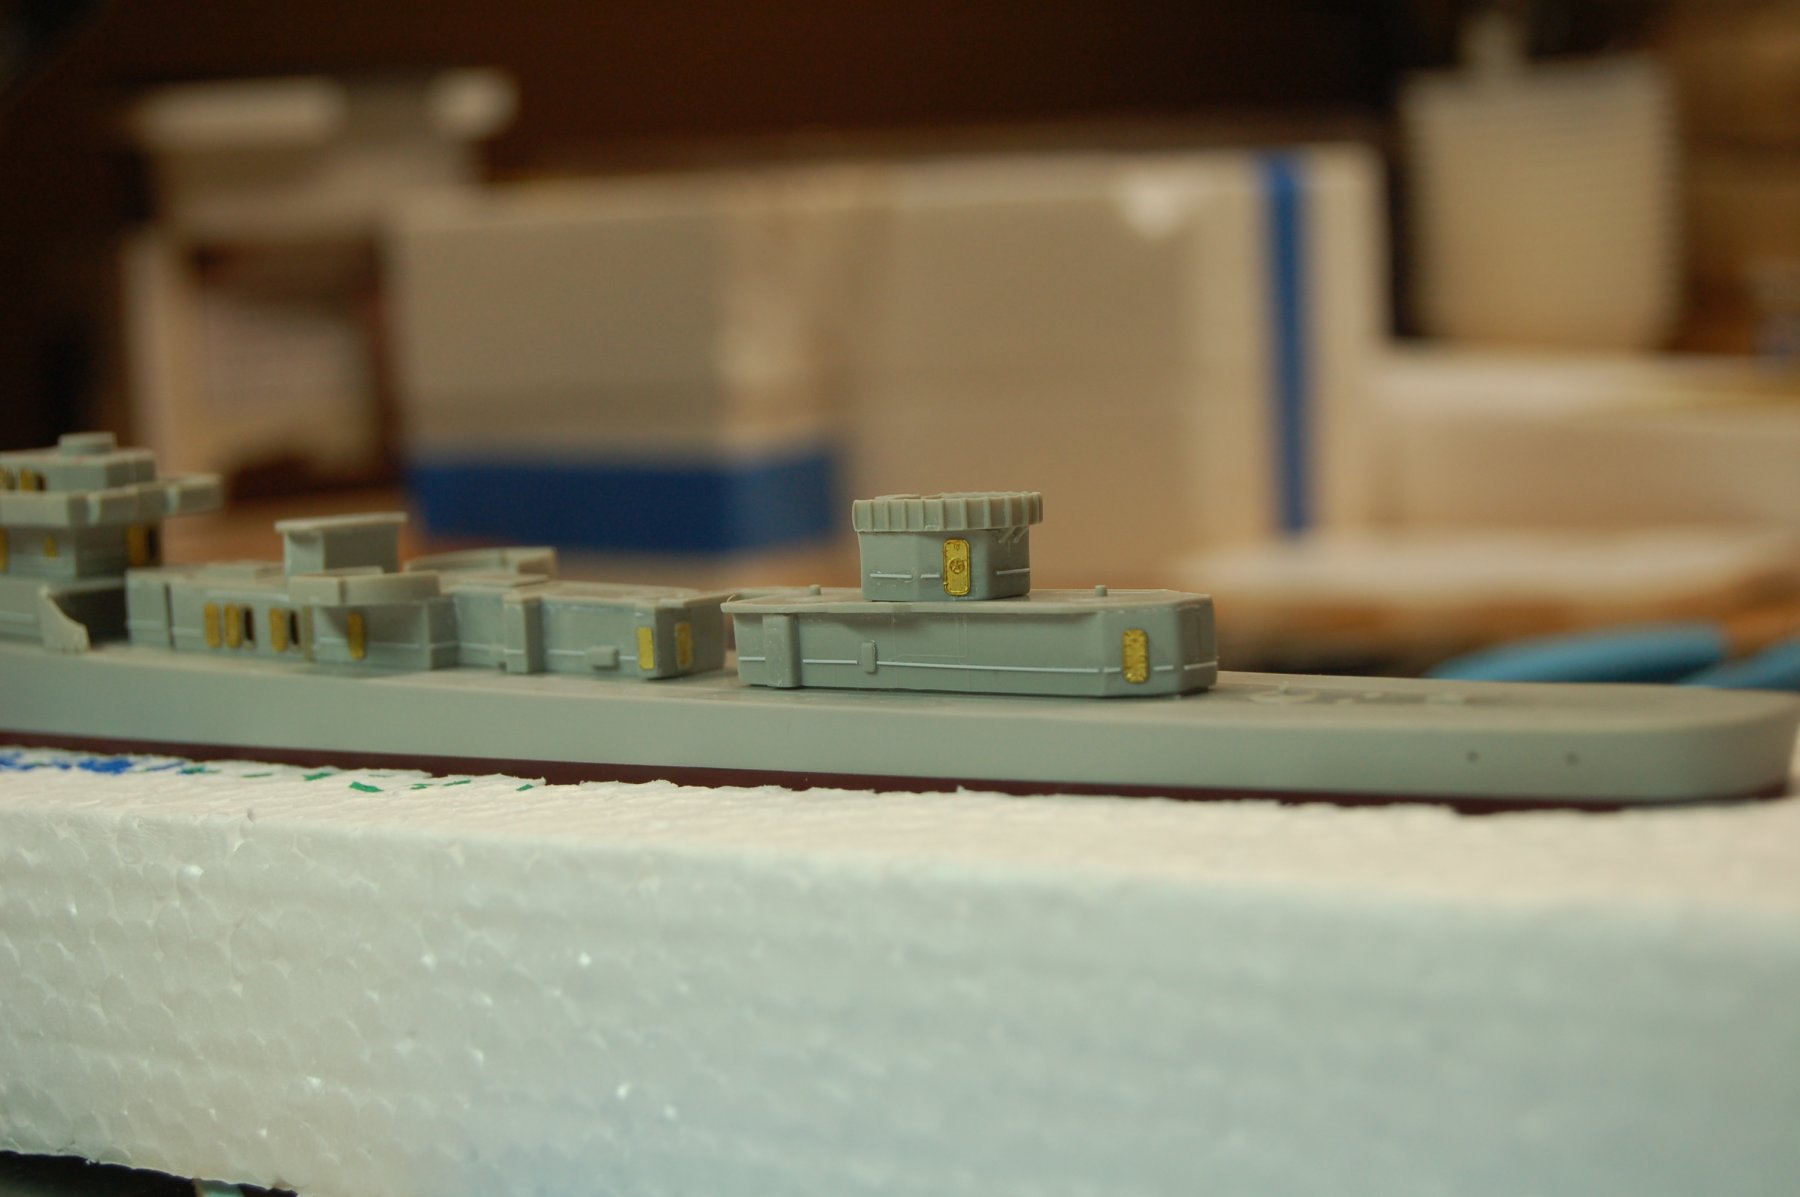
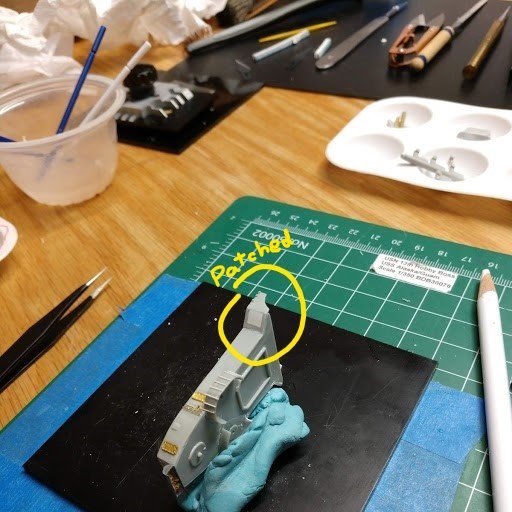
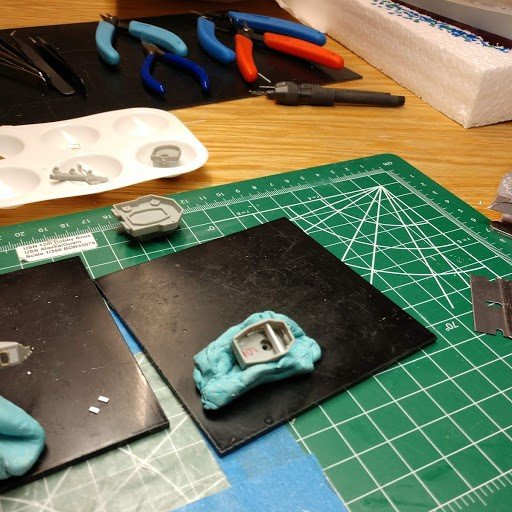
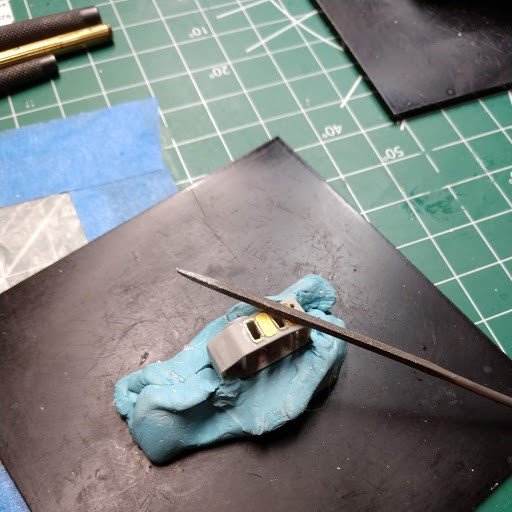
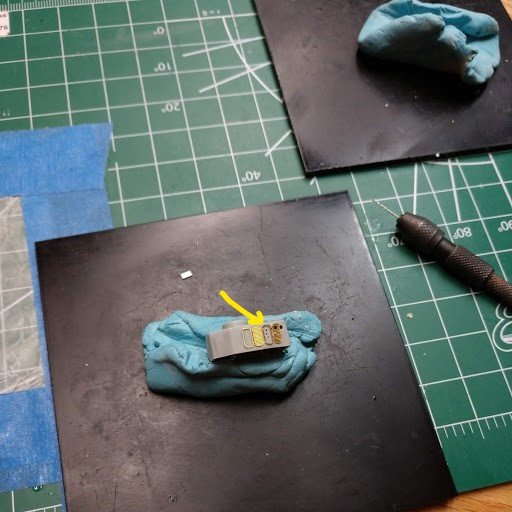
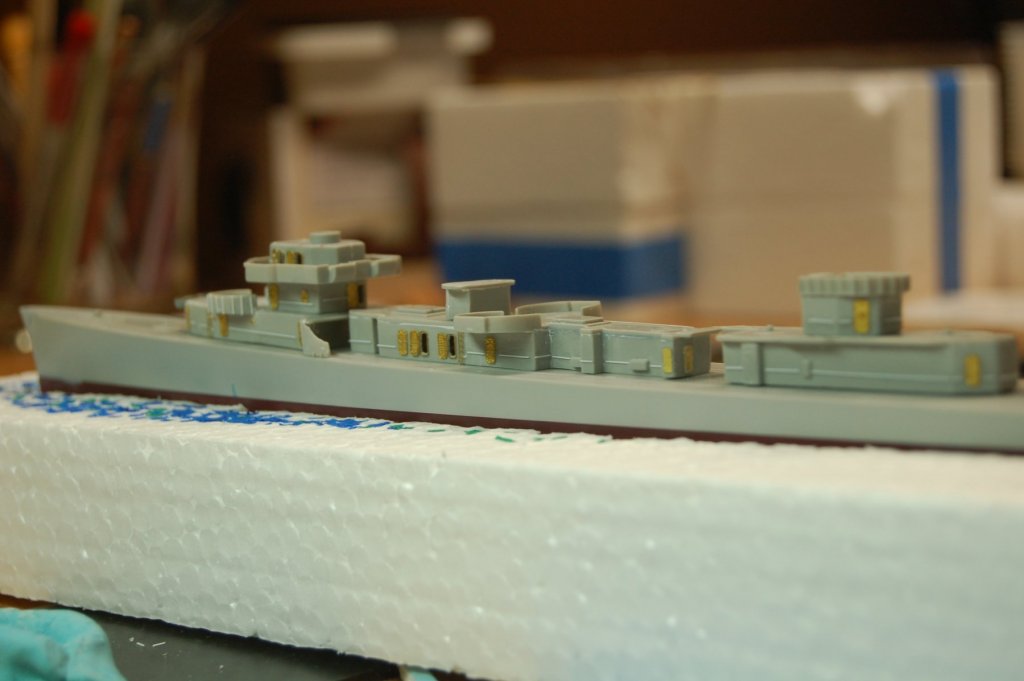
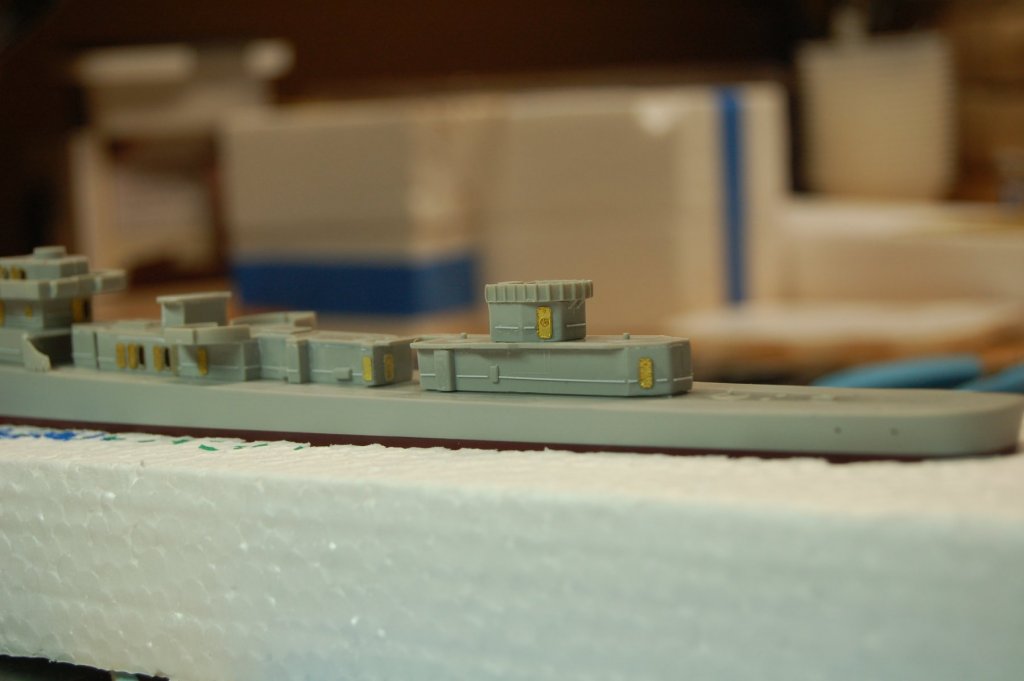
Assembly of the deck structures required some patching. I am using a putty which is new to me. Perfect Plastic Putty manufactured by Deluxe Materials works well and has no odor at all. While forming a construction plan, I decided to not follow the kit instruction sequence. I have to consider painting and detail/PE installation. I’m building subassemblies with the less fragile PE parts installed. All the subassemblies will be brought to the primer stage so I can prime them in groups. I recently completed the 1/350 USS Alaska. That experience is proving to be a blessing and a curse. Construction experience particularly with PE is a blessing. The research material and the MSW build logs shows what details are possible to recreate, sort of a curse. Now I see details in pictures that I previously didn’t see or wouldn’t think of trying to build. I find myself spending a lot of time checking photos on the various references that I have gathered. Meanwhile trying to make sure that I stay as close to the Kidd configuration as possible. The superstructure components were assembled, patched where necessary, had base PE like hatches/doors, ladders, and fire hoses added. .3mm plastic strip is used for rails on the super structure etc. Some of the hatches are shown open using White Ensign doors. Clay makes a handy part holder. A bulkhead was added to reinforce the structure because of the open doors. The wheelhouse needed the windows enlarged a hair. The open hatch/door needed a port added because it overlaps the port in the bulwark. To open the doorway I drilled progressively larger holes and then finished the shaping with a file-carefully. Some views, nothing glued to the deck-- More to follow- - -


- 55 replies
-
- 14
-
-
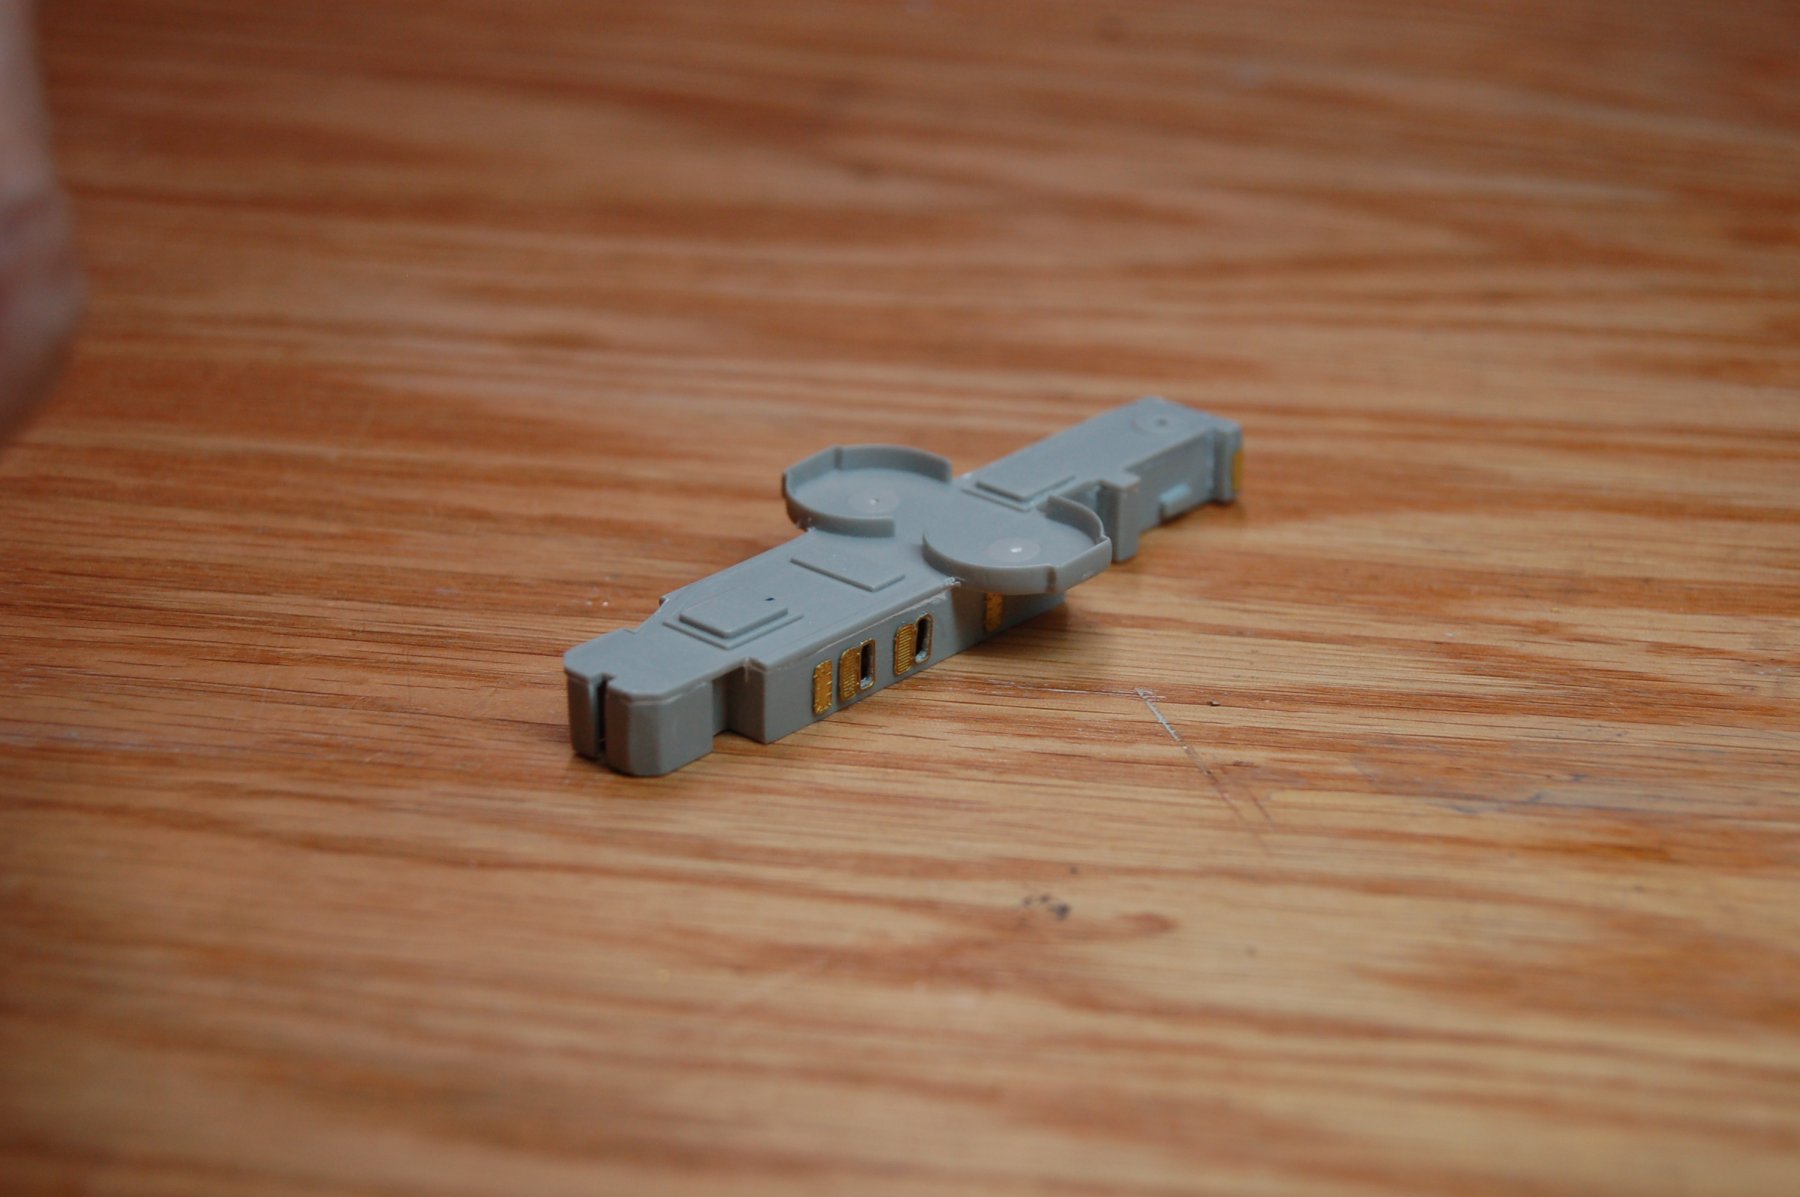
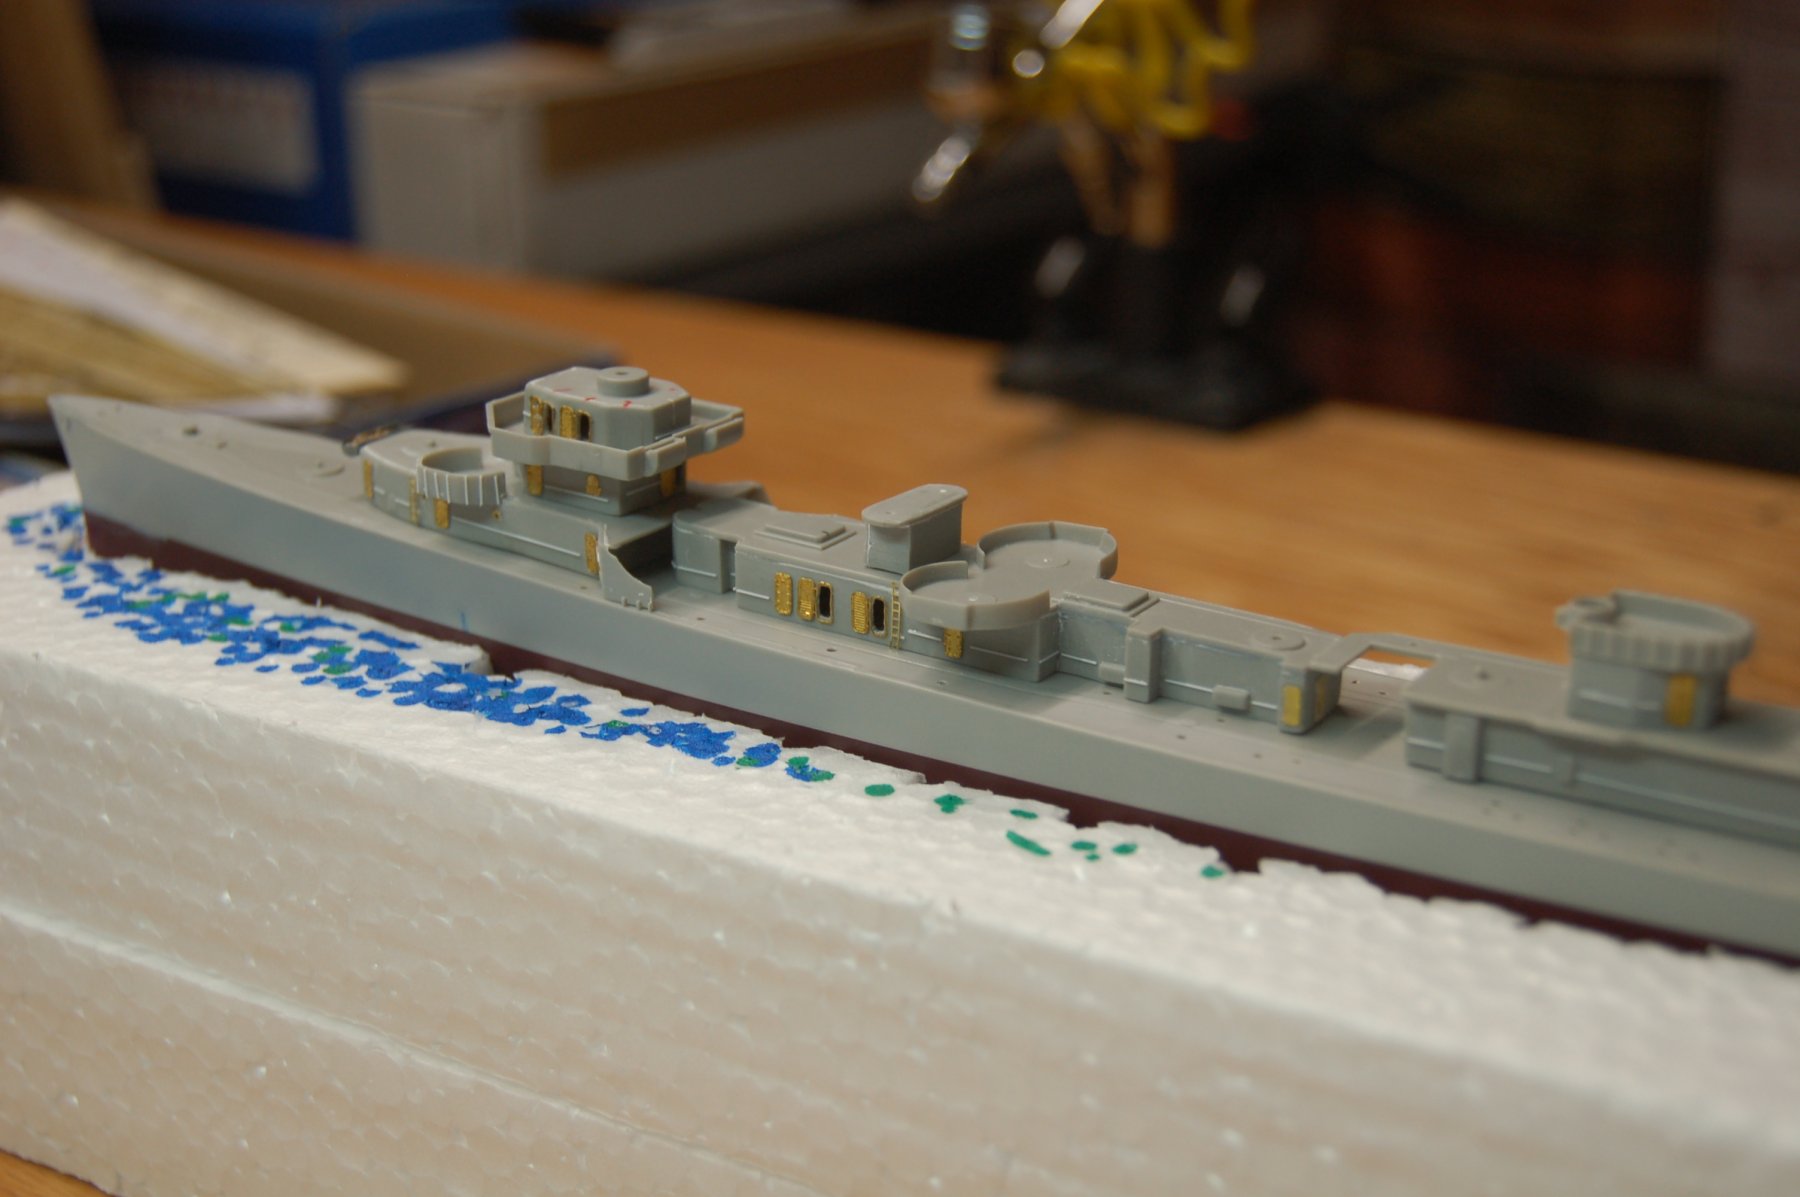
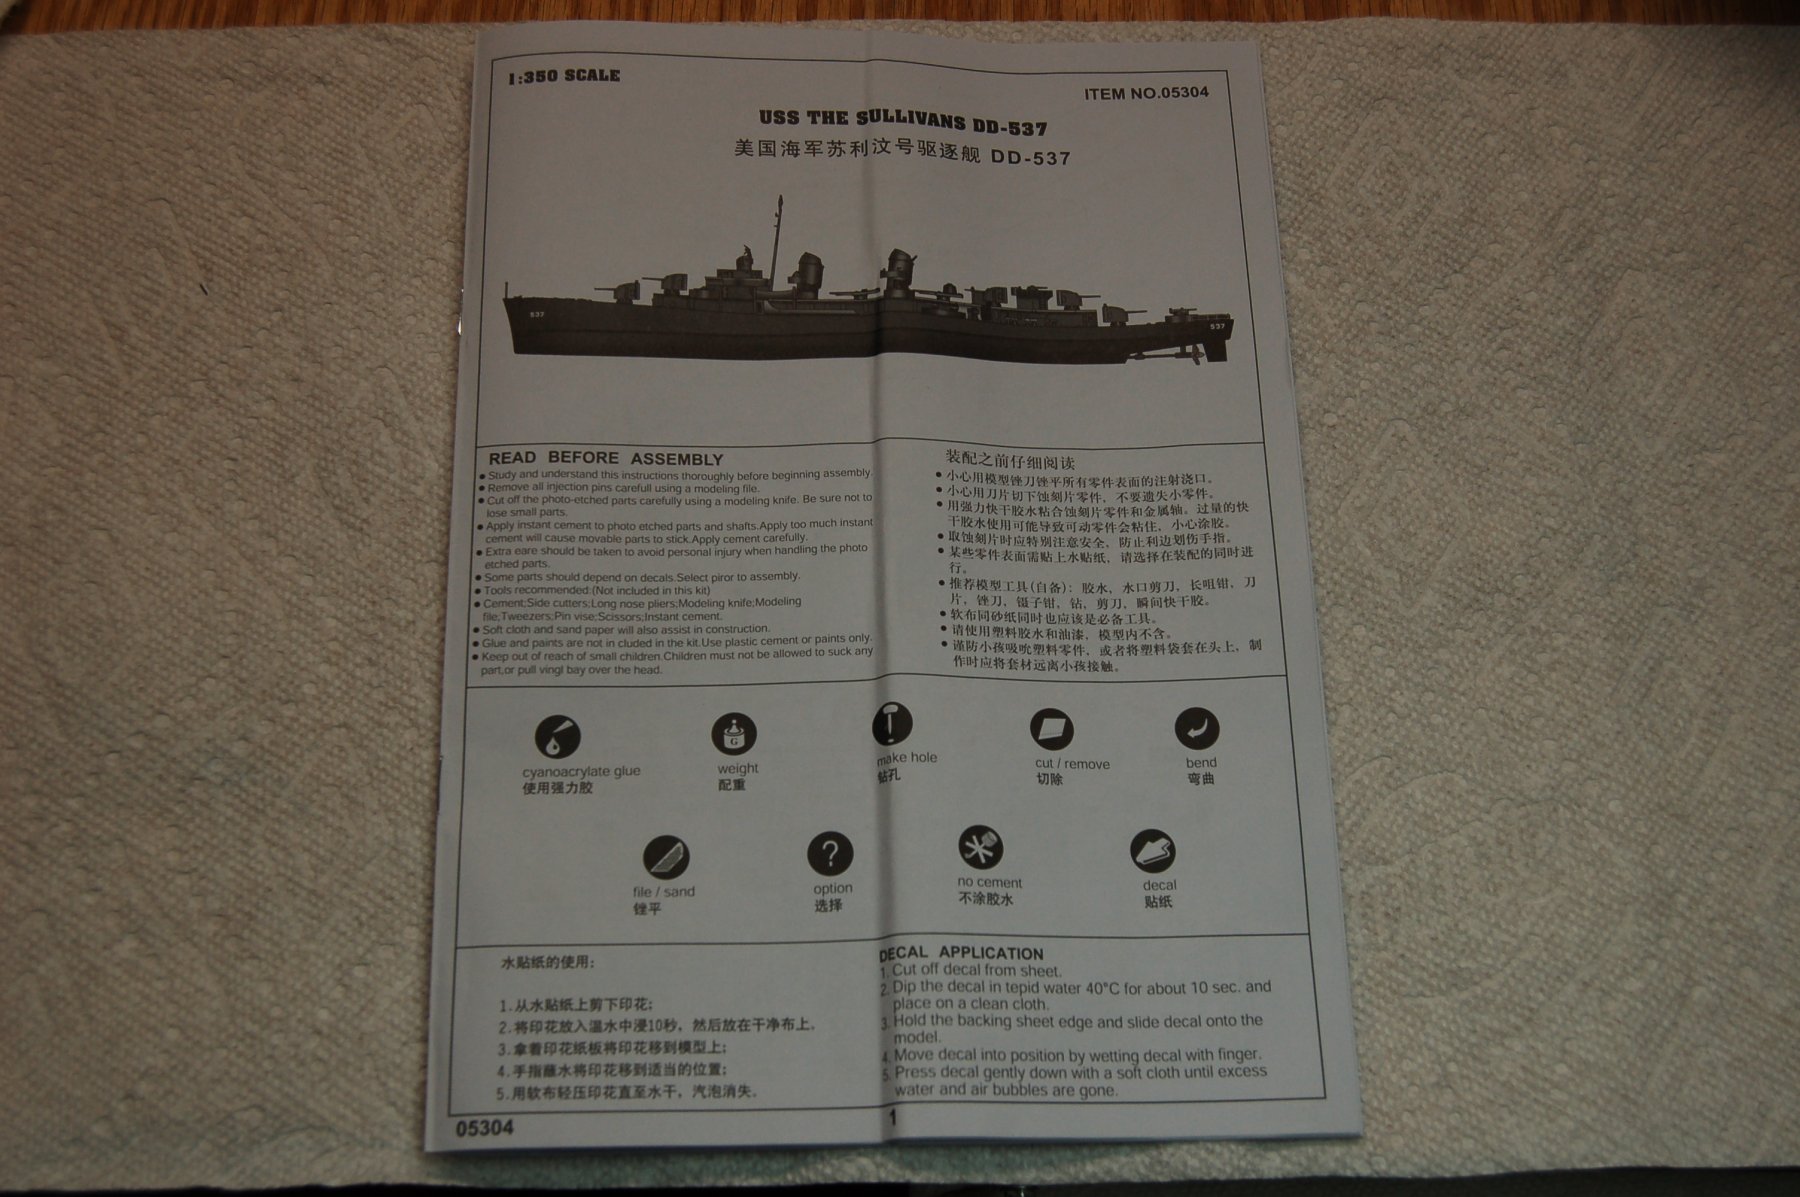
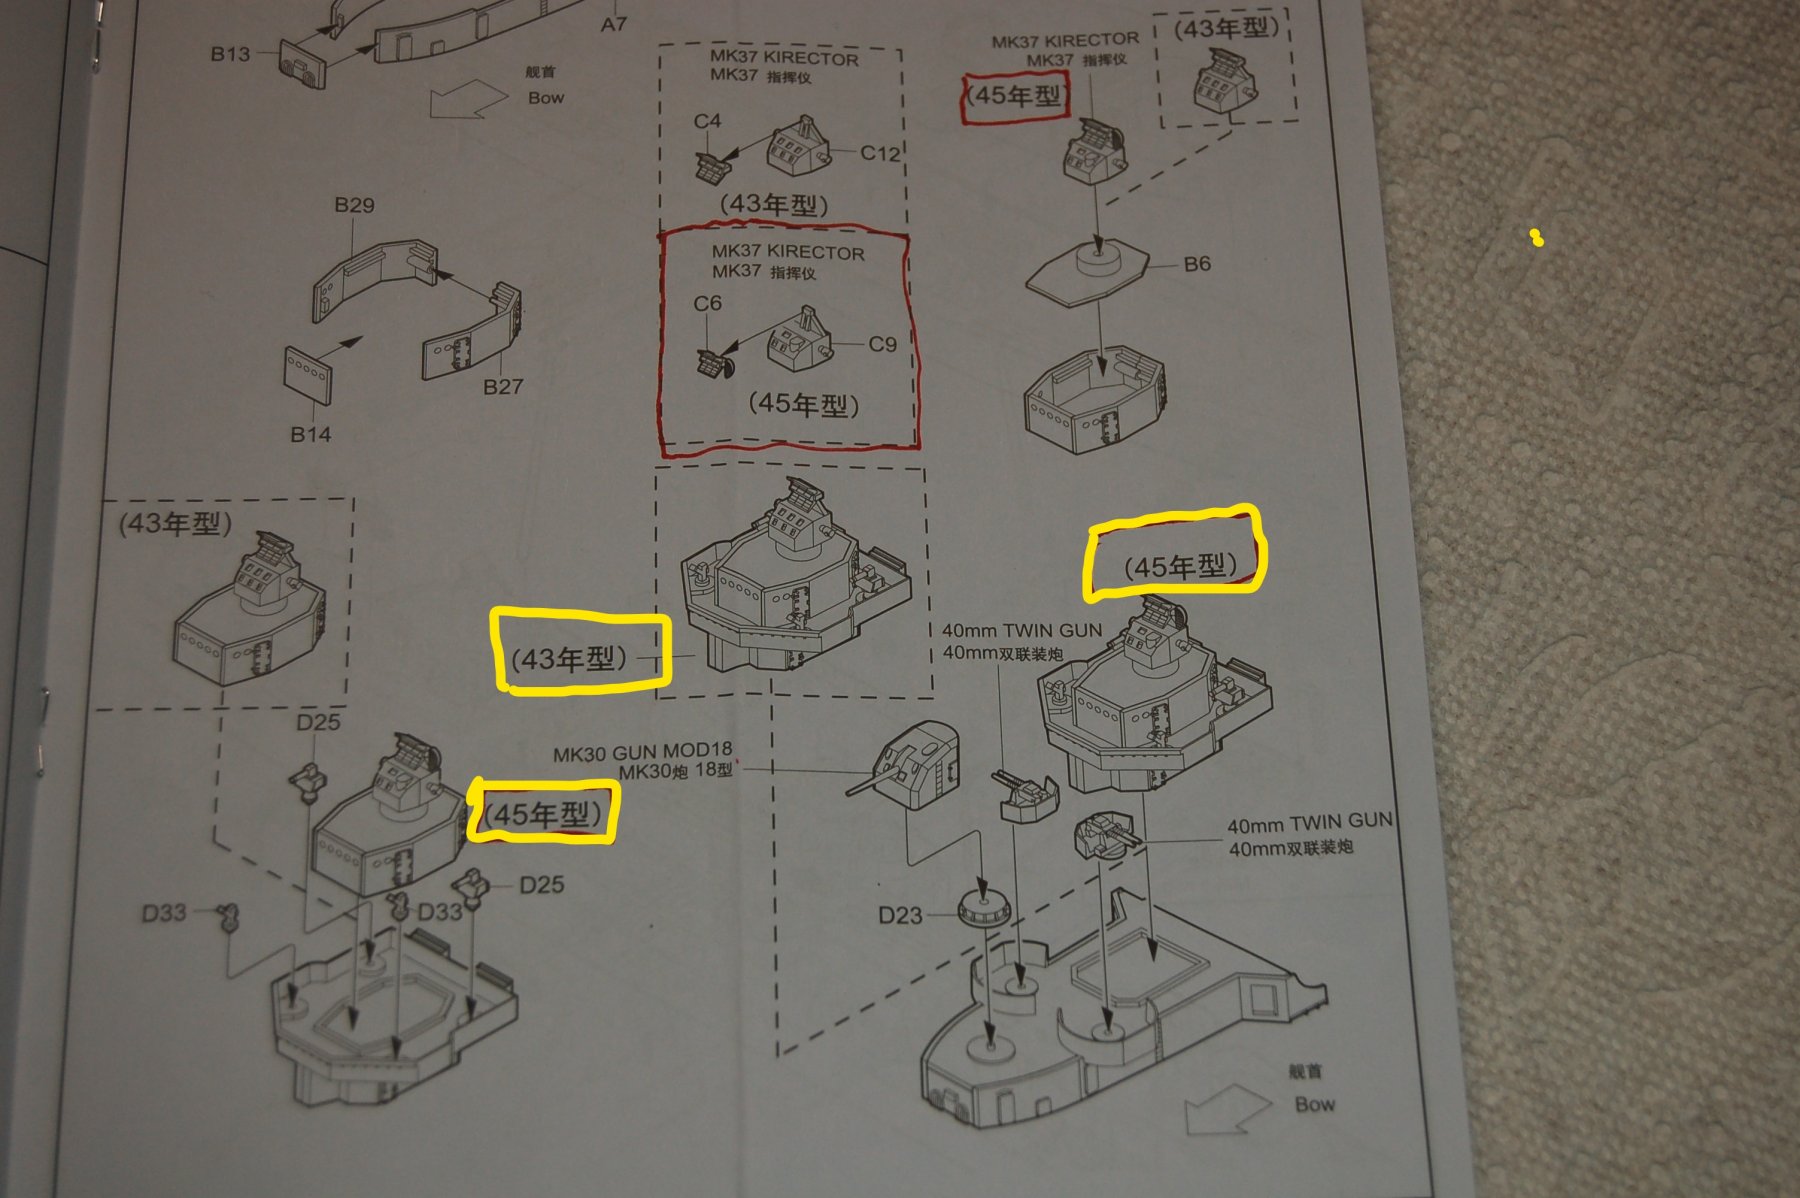
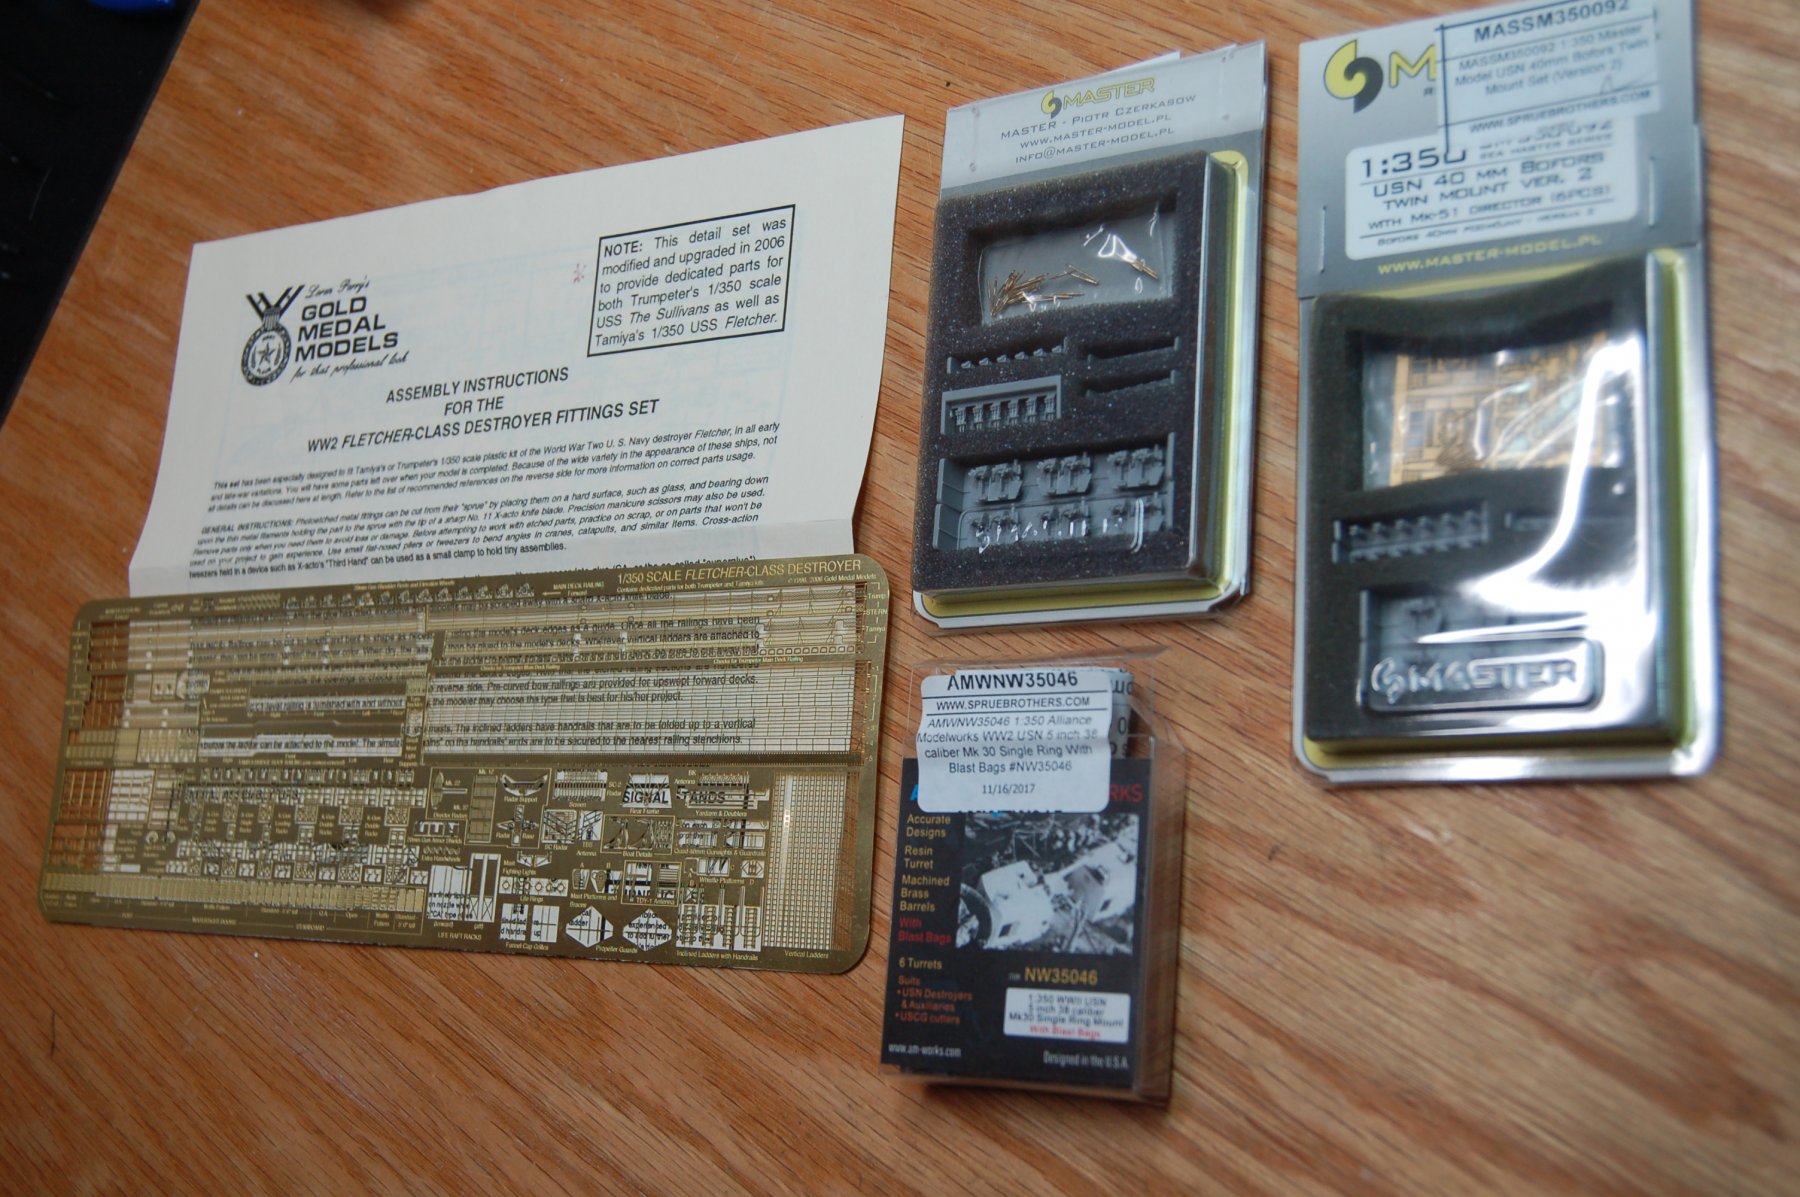
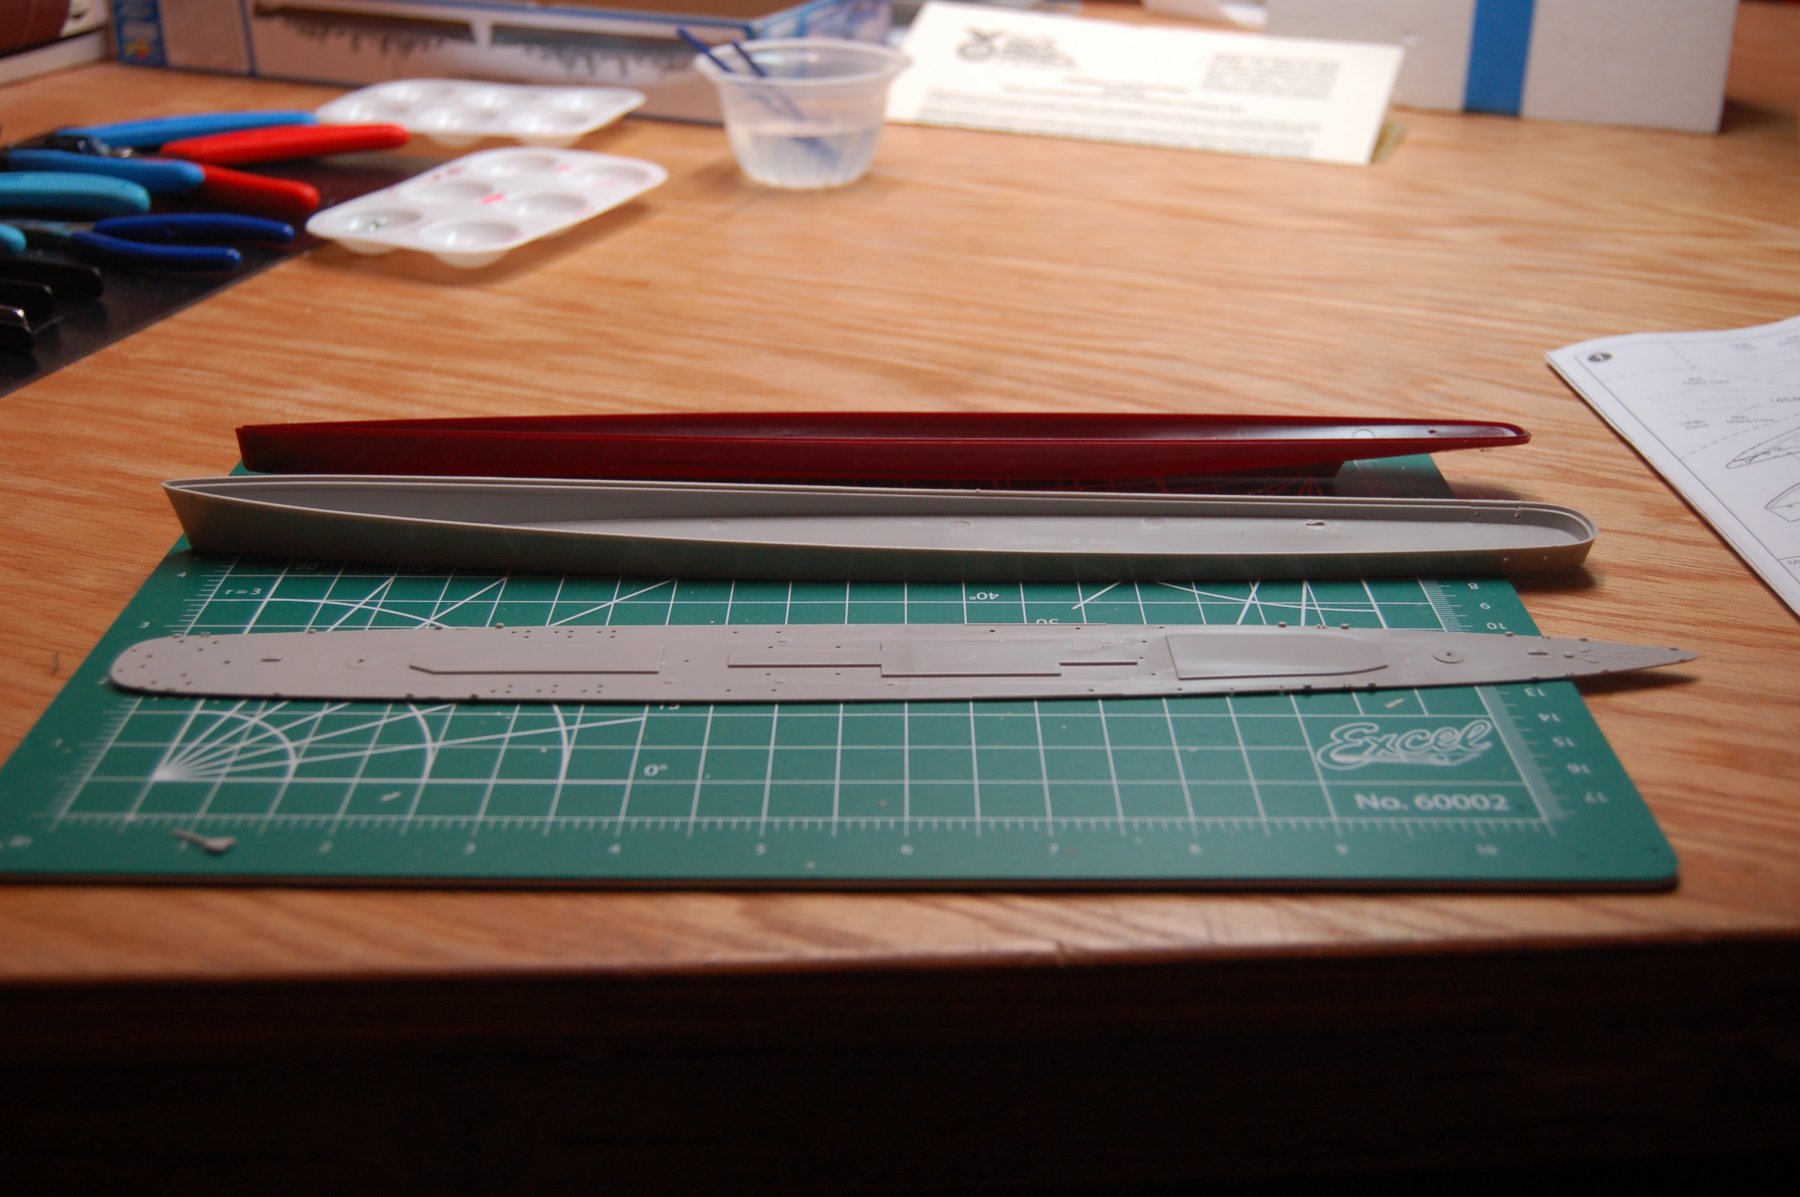
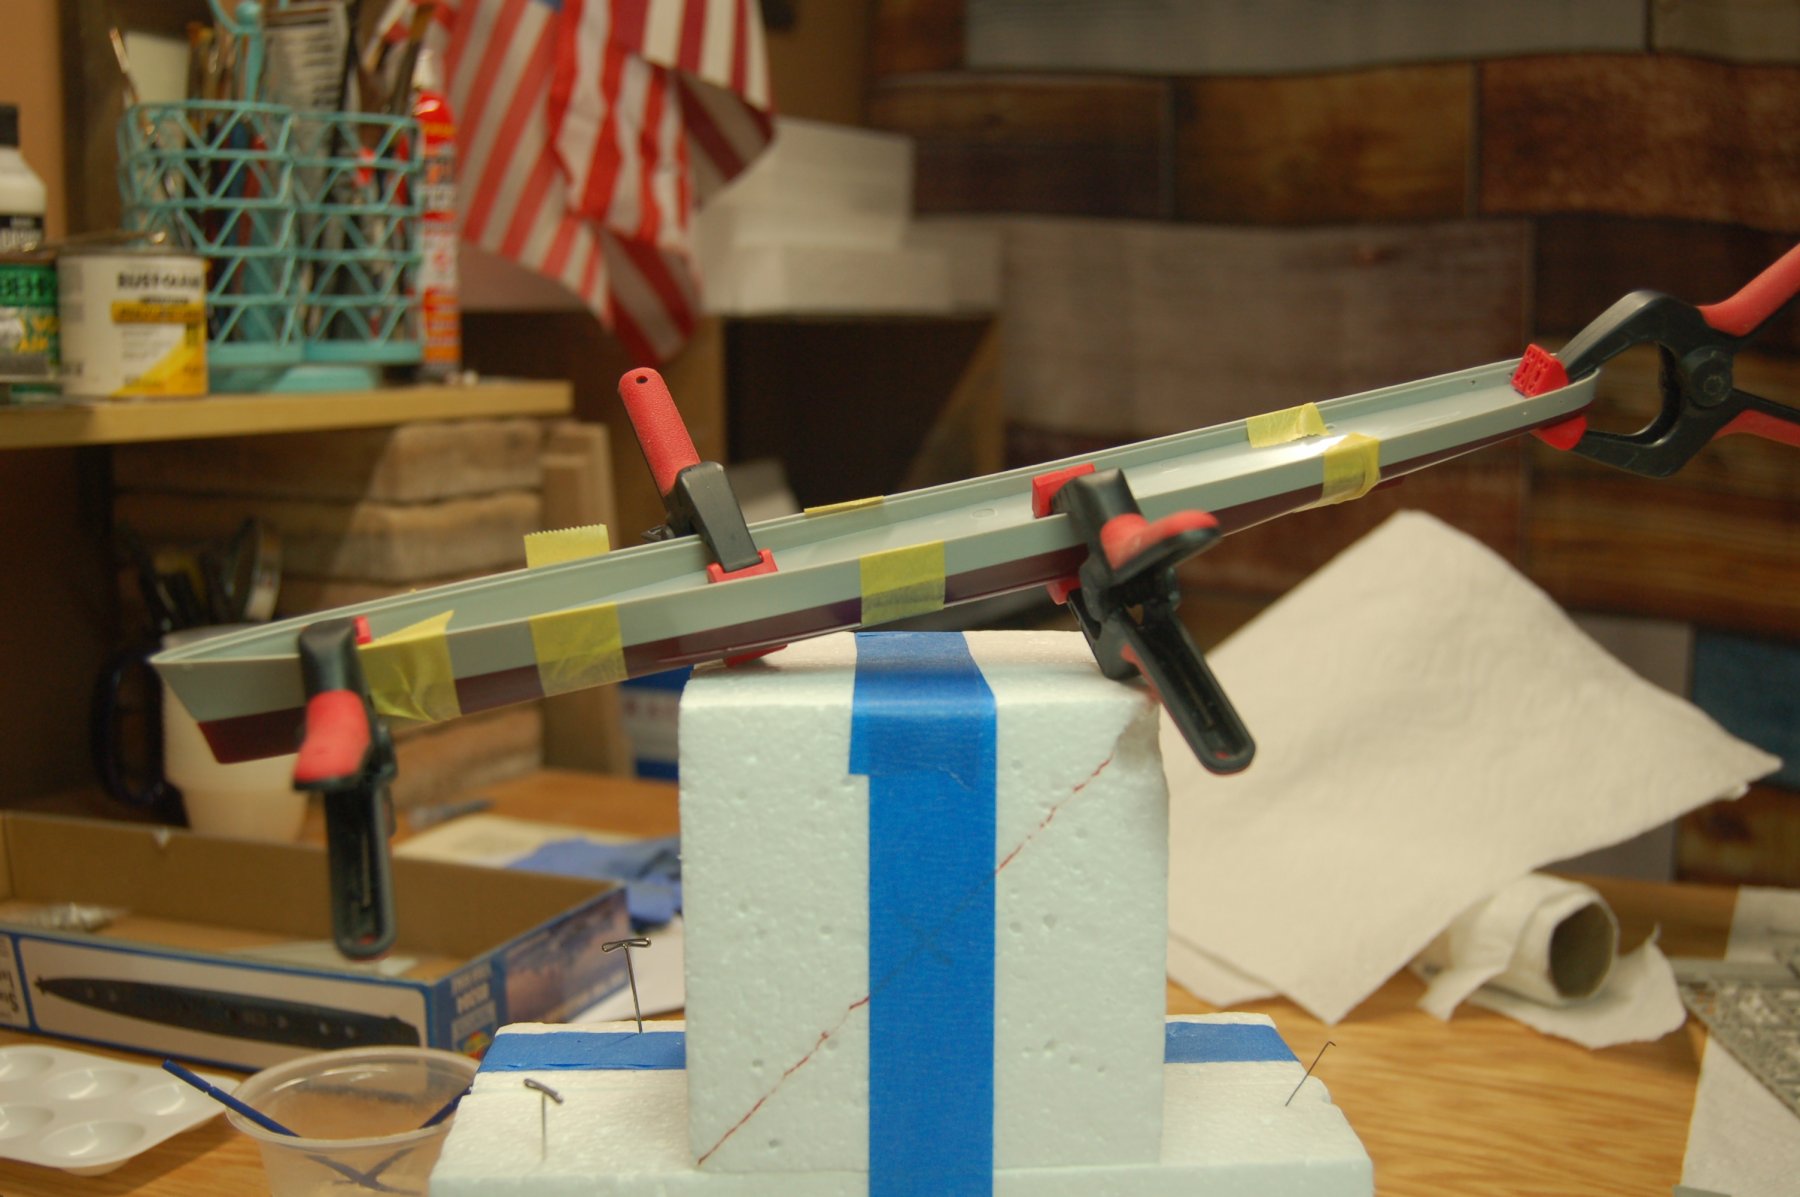
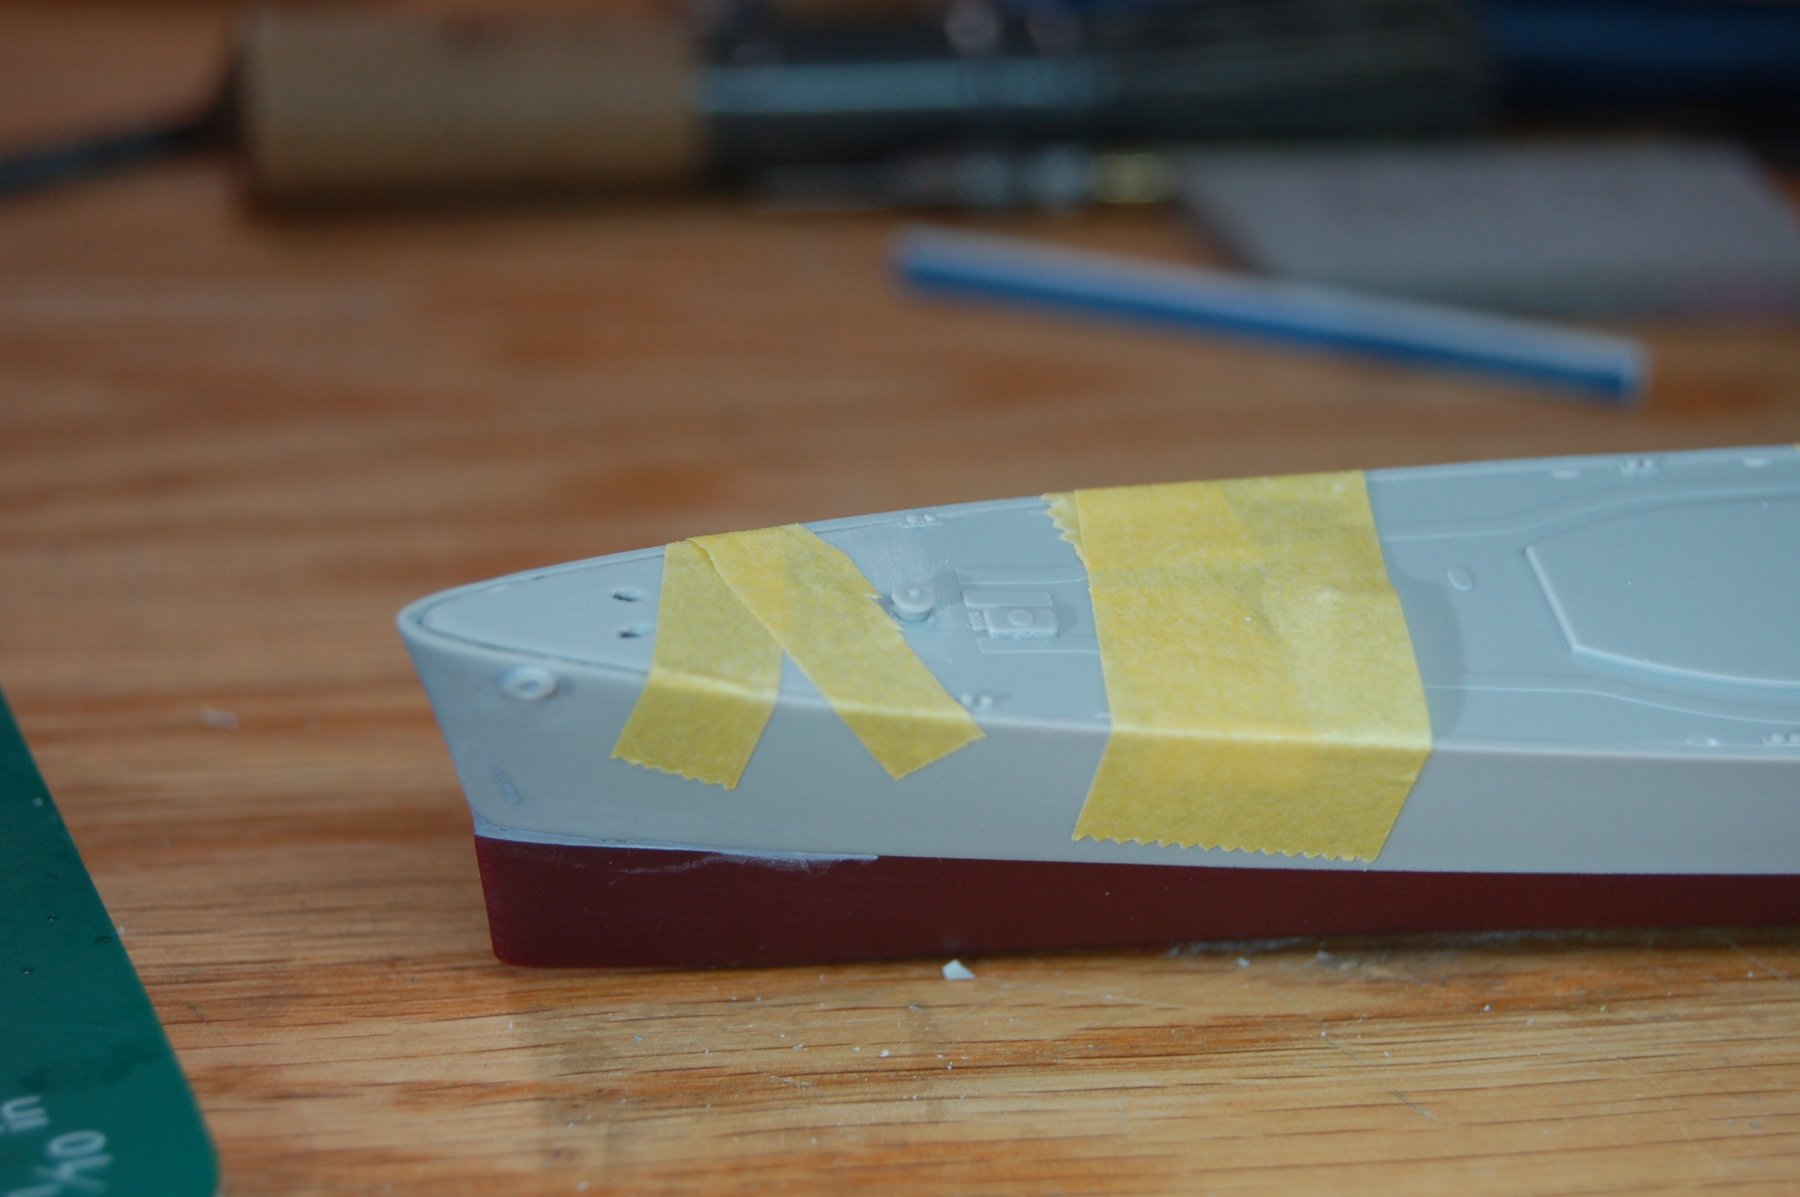
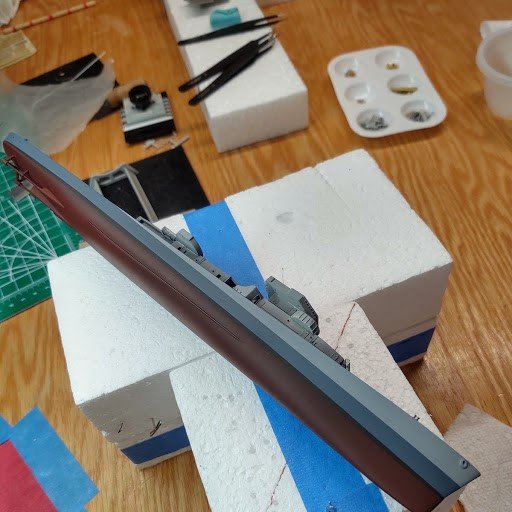
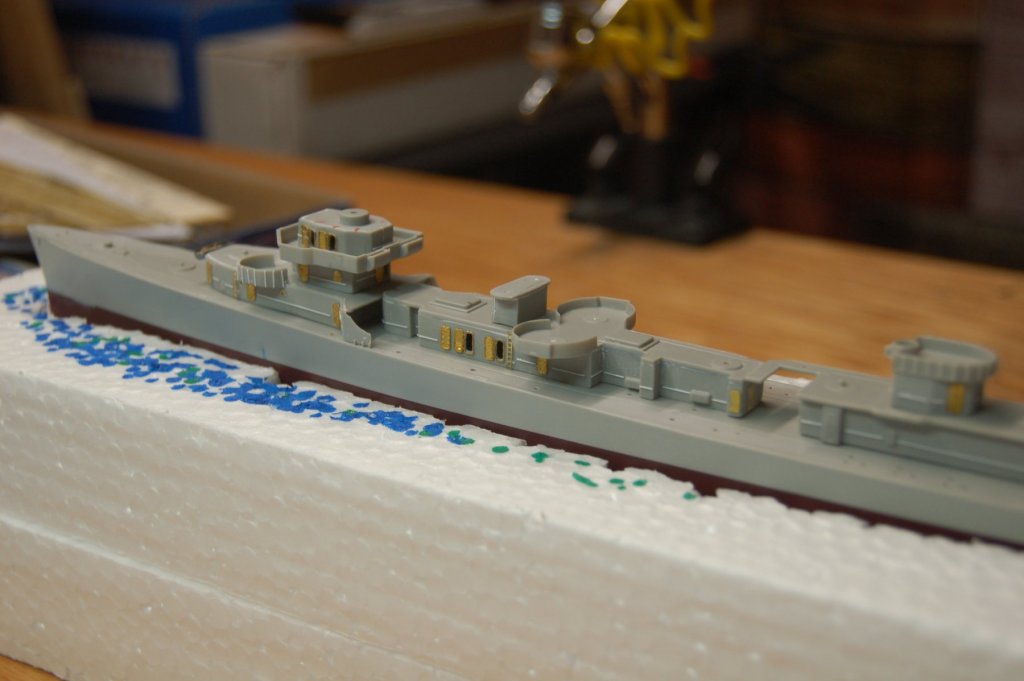
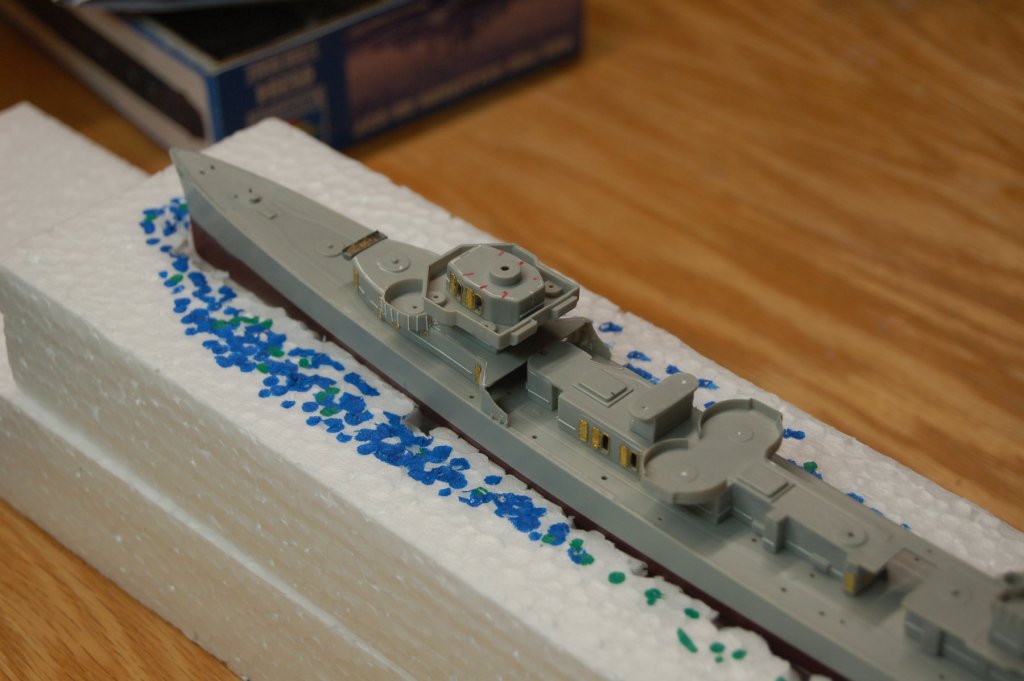
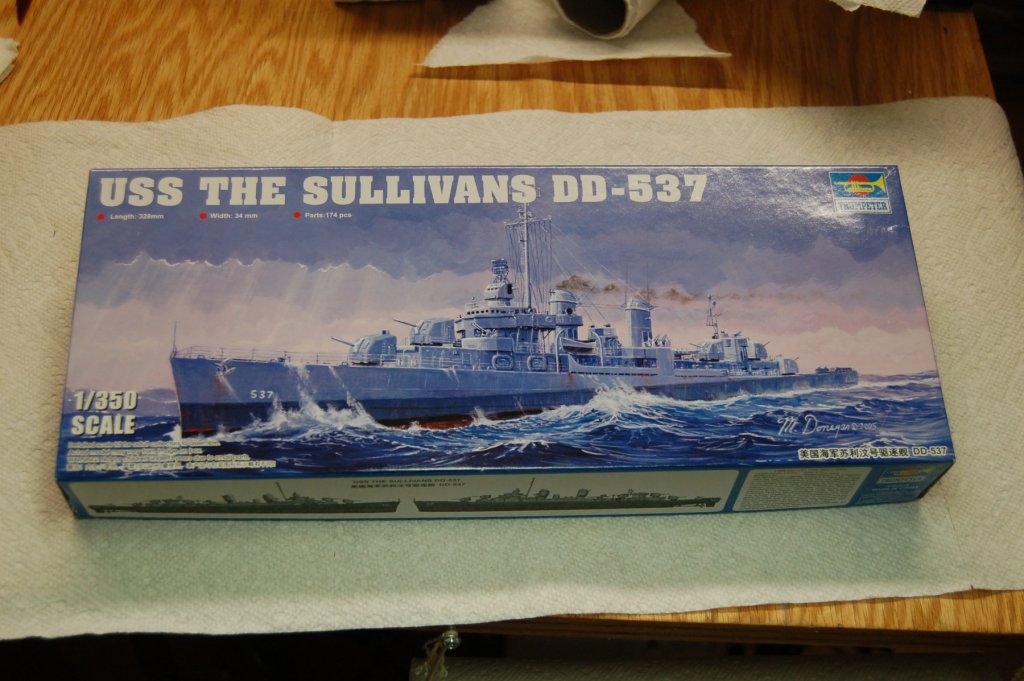
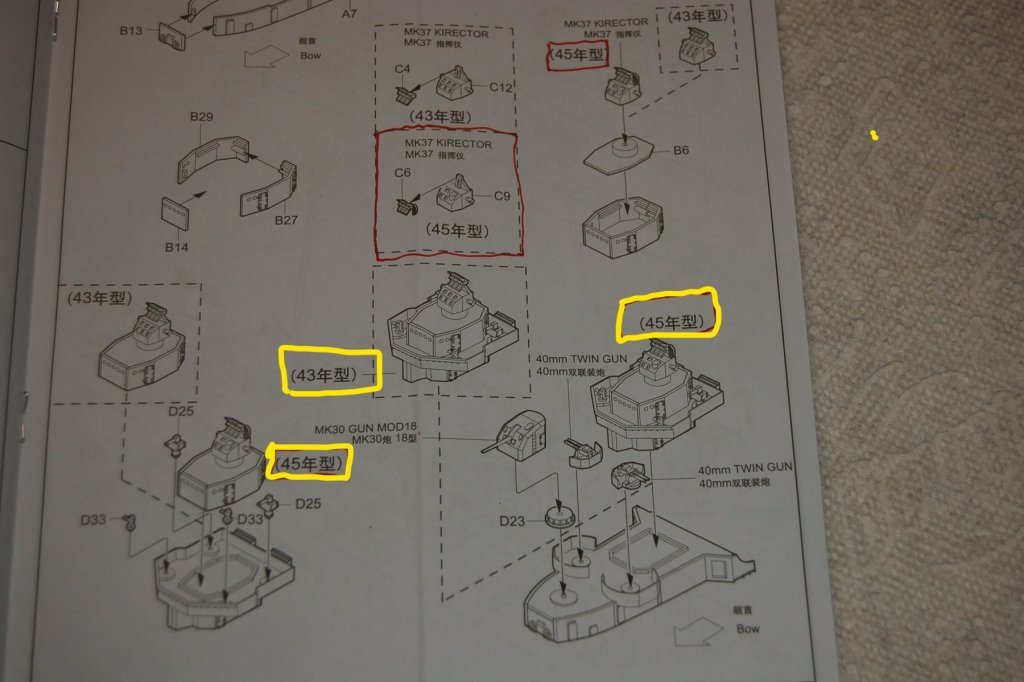
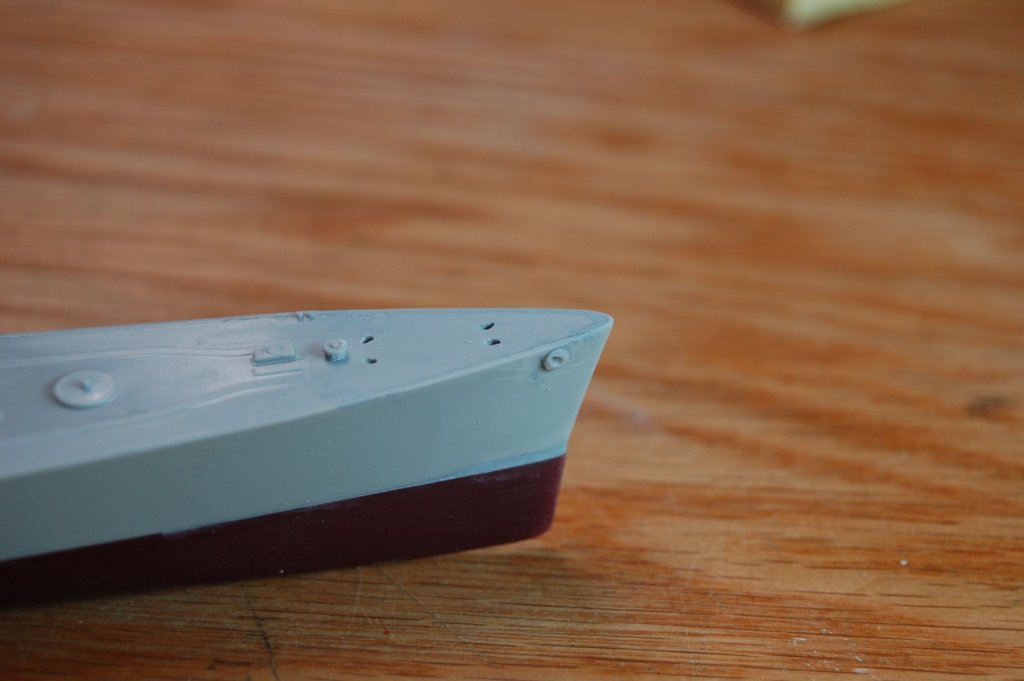
I wanted to build the “Anti-Kamakasi” upgrade of a Fletcher class destroyer. The kit is The Sullivans DD-527, offered by Trumpeter. The Sullivans was not upgraded to the Anti-Kamikasi configuration during the war. The USS Kidd did have the upgrade so I'm making the necessary changes to the Trumpeter kit. Referred to as the Anti-Kamikaze Mod (AKM), the main upgrades include replacing the midship 40mm twins with 40mm quad mounts. The Mk 51 directors for the quads are moved from the rear stack to a structure where the forward torpedo tubes had been. The four midship 20mm Orlikon singles are replaced by four 20mm double mounts. Two twin 20mm mount replace the three single mounts on the fantail. There were other various electronic/radar/jamming installed. Each ship varied in their configurations The Kidd was named after Rear Admiral Isaac C. Kidd who perished on the bridge of the USS Arizona at Peral Harbor. The Kidd is a National Historic Landmark berthed on the Mississippi River in Baton Rouge, LA. The Trumpeter kit has components for a 1943 and a 1945 version. The instructions clearly define each version. As usual it’s important to go through the instructions particularly to avoid mixing up the 43 and 45 parts. The kit is supplemented with photo etch mainly from Gold Medal Models. The GMM PE supplies parts compatible with the Trumpeter and Tamiya Fletcher models. Master Model.PL, Alliance, Black Cat, Infini, White Ensign, and the parts box all provide additional details for this project. Main reference: Classic Warship Publishing #45 Square Bridge Fletcher Ready to start I intend on mounting the Kidd on an ocean base so the hull was formed in a full hull configuration rather than the optional waterline configuration. This gives me more room for the water effects. The rudder and screws will be left off for now. The lip(?) around the hawse pipe got sanded away while working on the bow. New ones were formed from plastic parts from the scrap box. After the hull was assembled the deck was secured to the hull. The anchor detail was sanded off. The anchor gear will be replaced with real chain and a new capstan. The bollards and chocks are removed. The bollards will be replaced and the chocks are part of the PE railings--- More to follow


- 55 replies
-
- 15
-
-
A gallant project. May I ask where you acquired the explosion diagram or is that your own work? Will watch with great interest. Thanks, Harley