-
Posts
1,605 -
Joined
-
Last visited
Content Type
Profiles
Forums
Gallery
Events
Everything posted by vaddoc
-
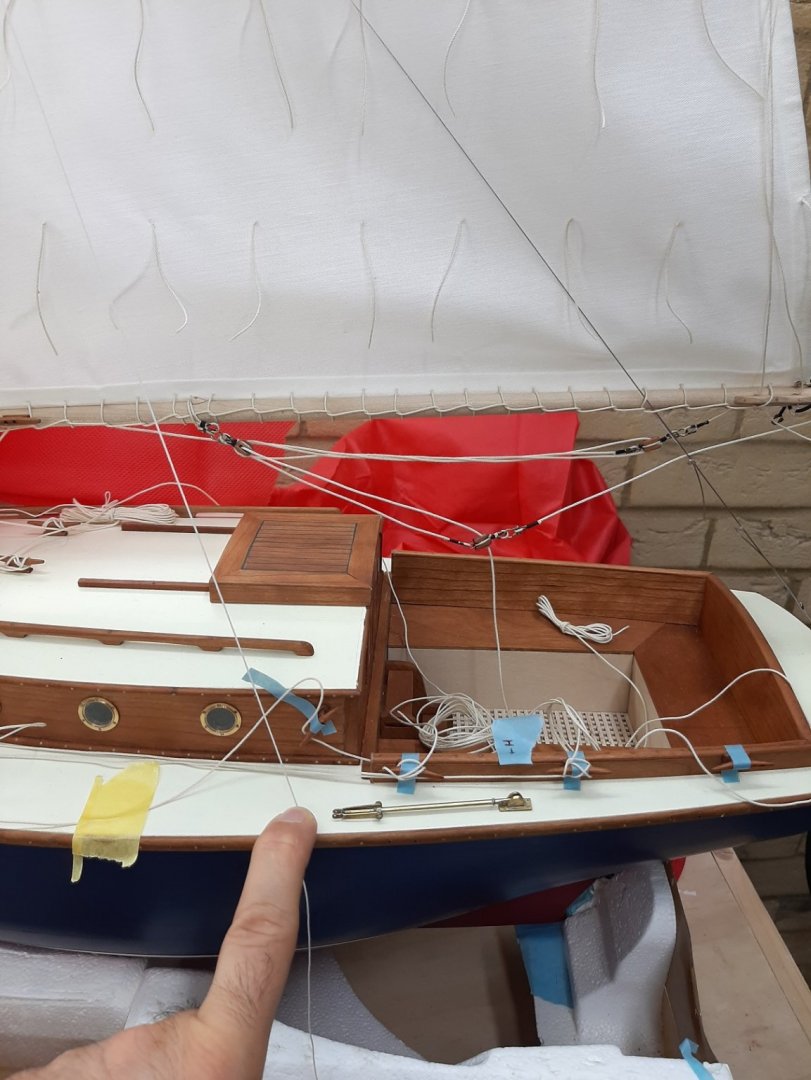
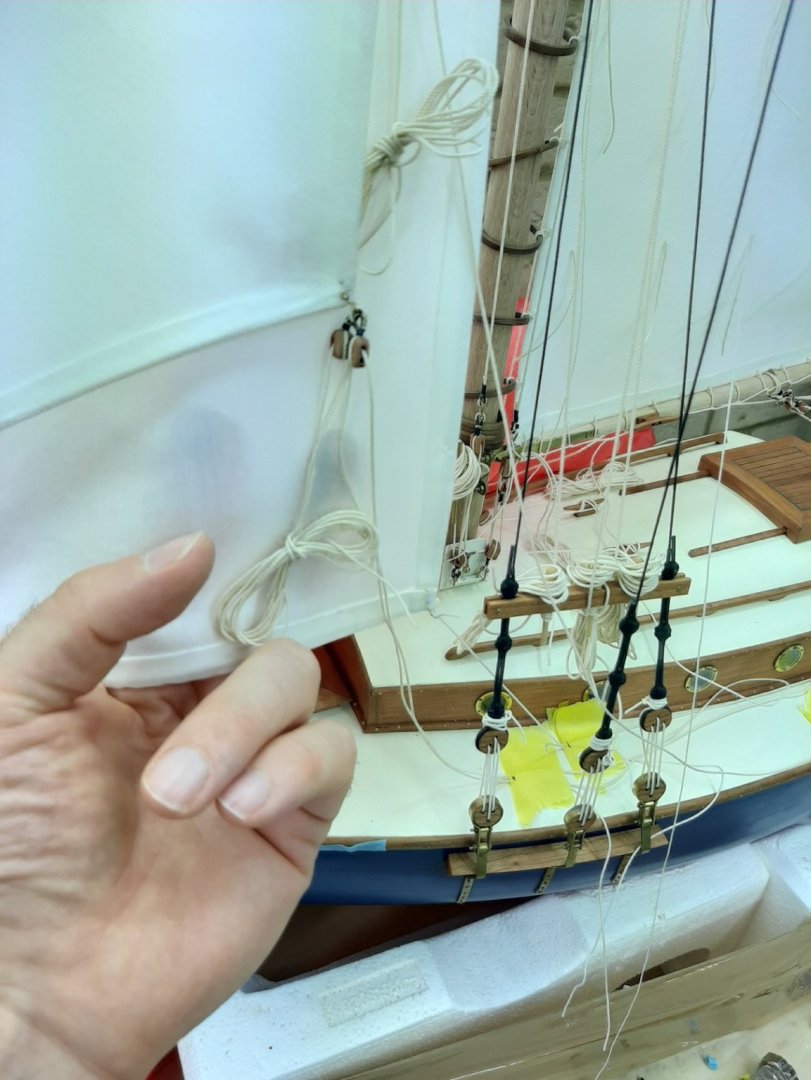
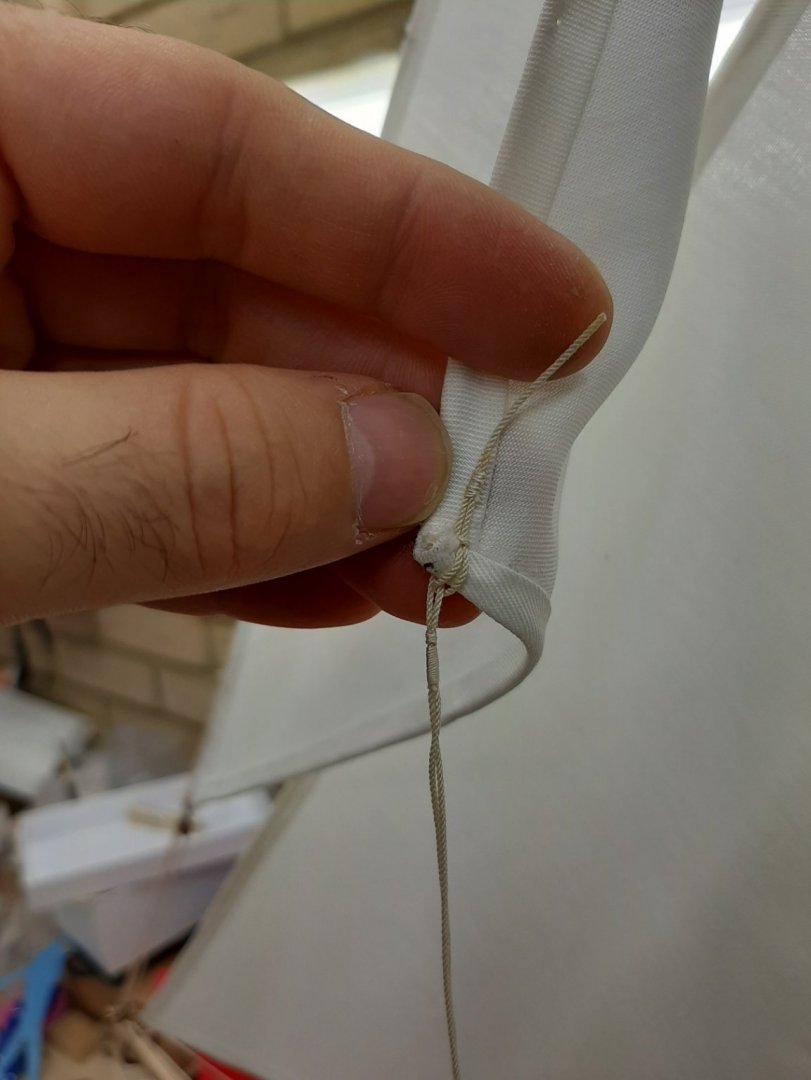
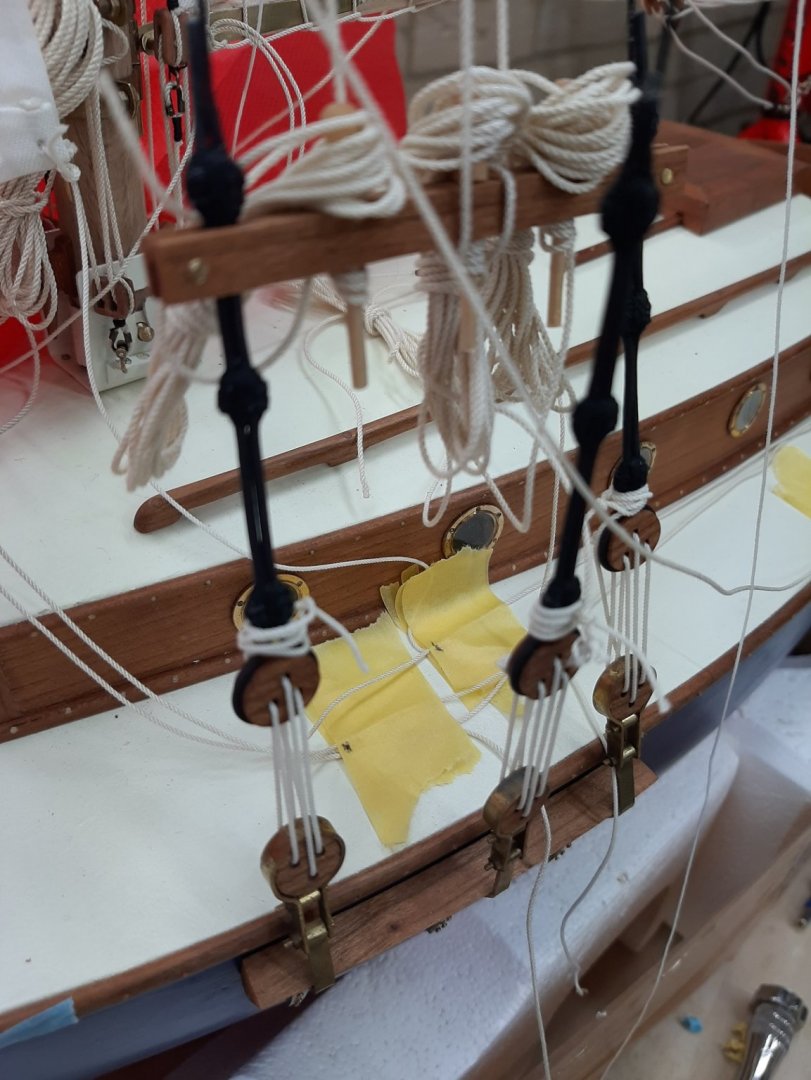
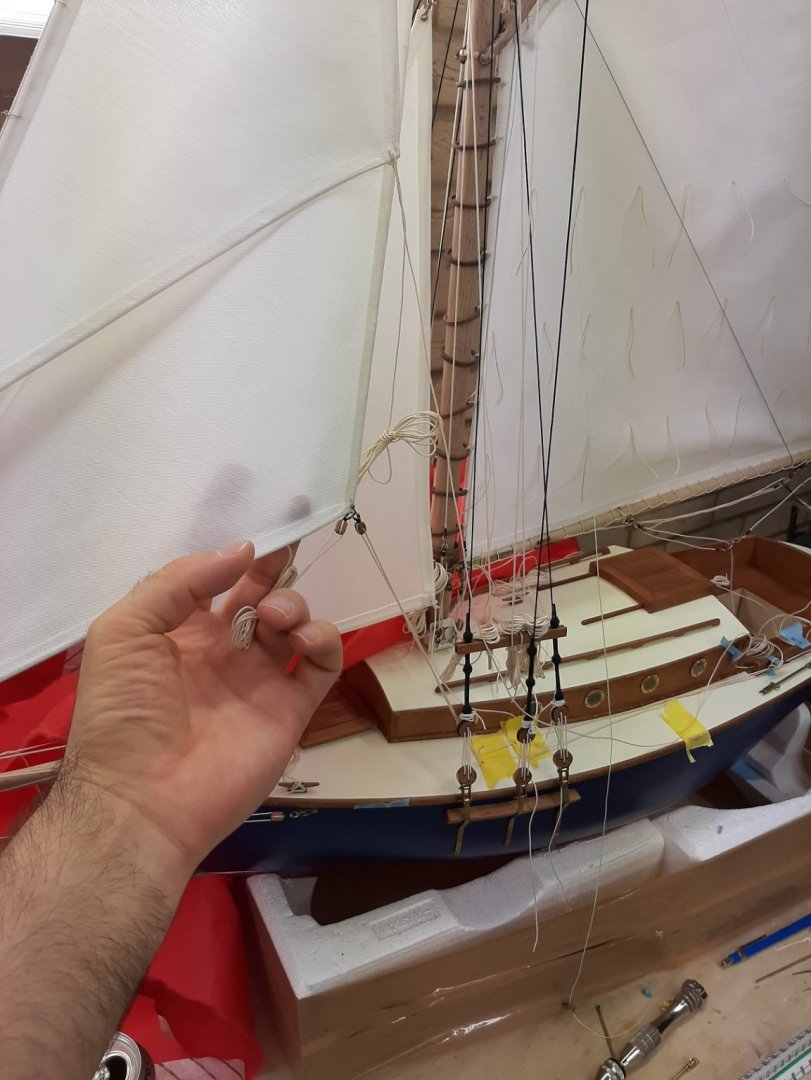
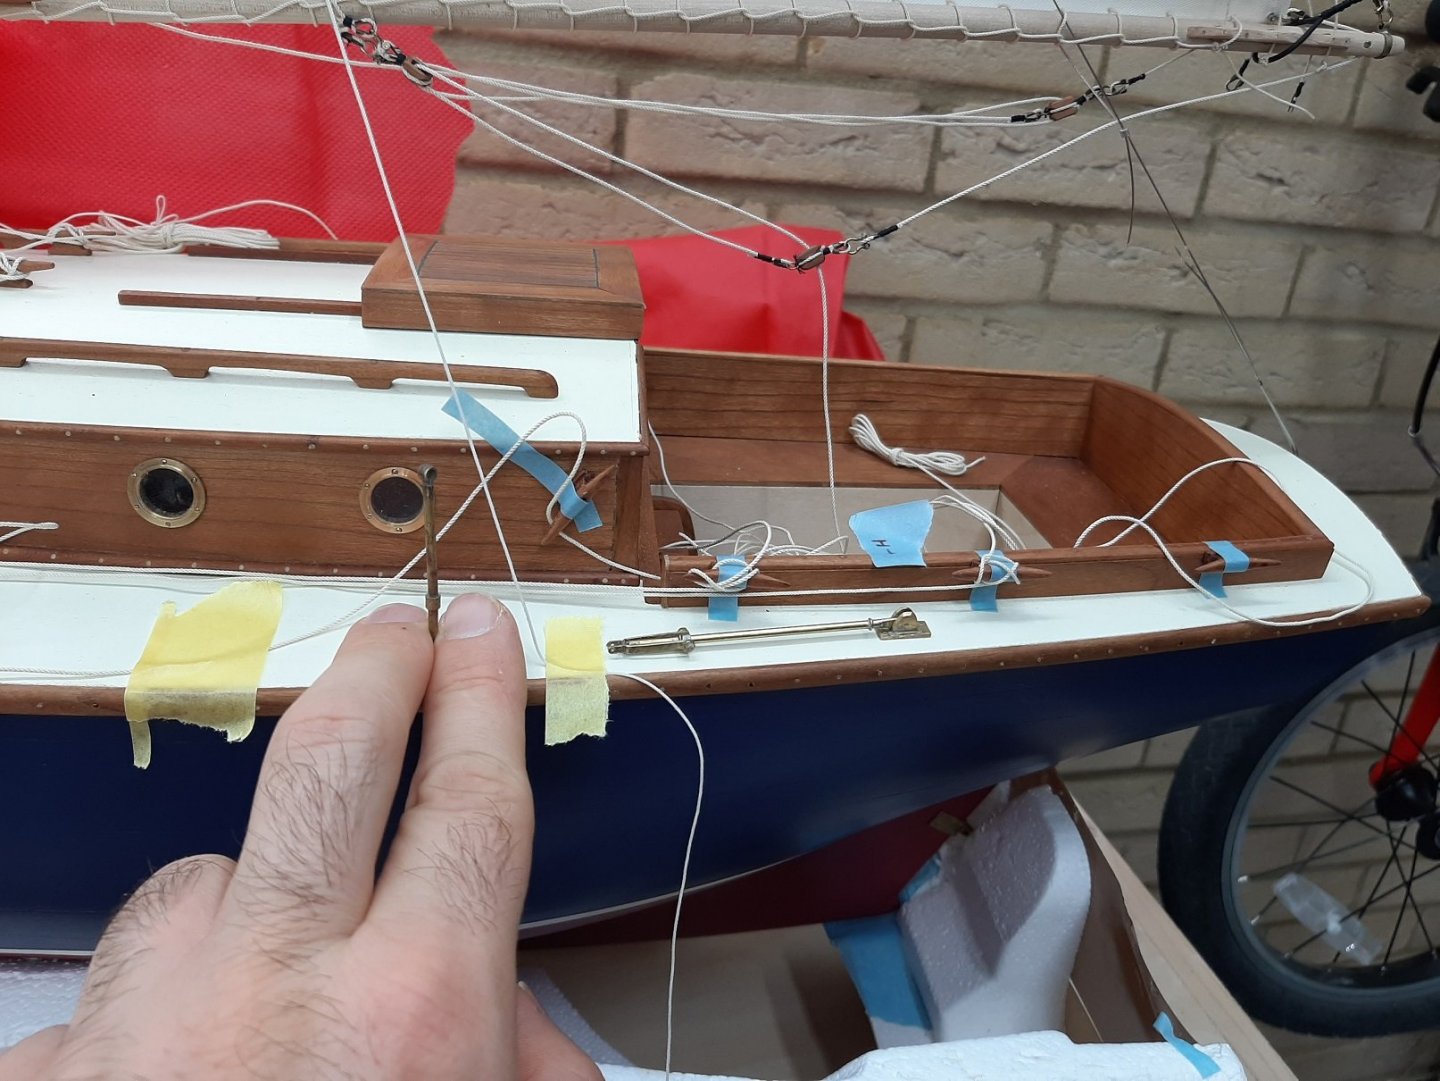
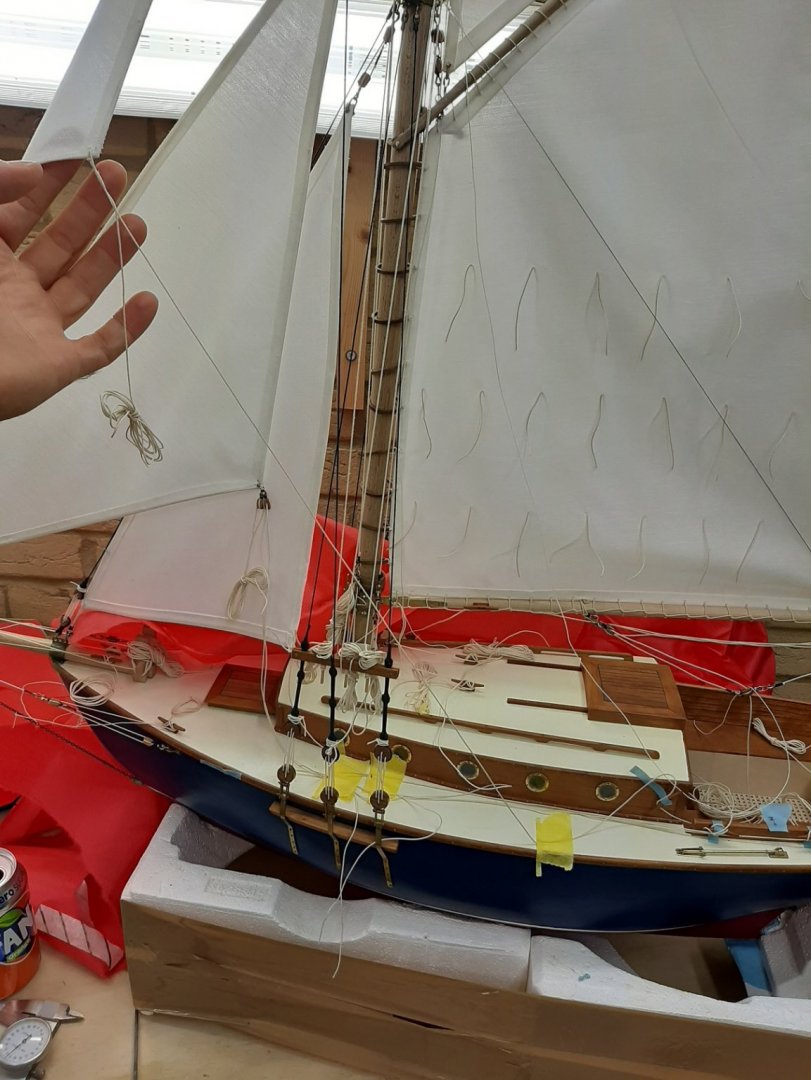
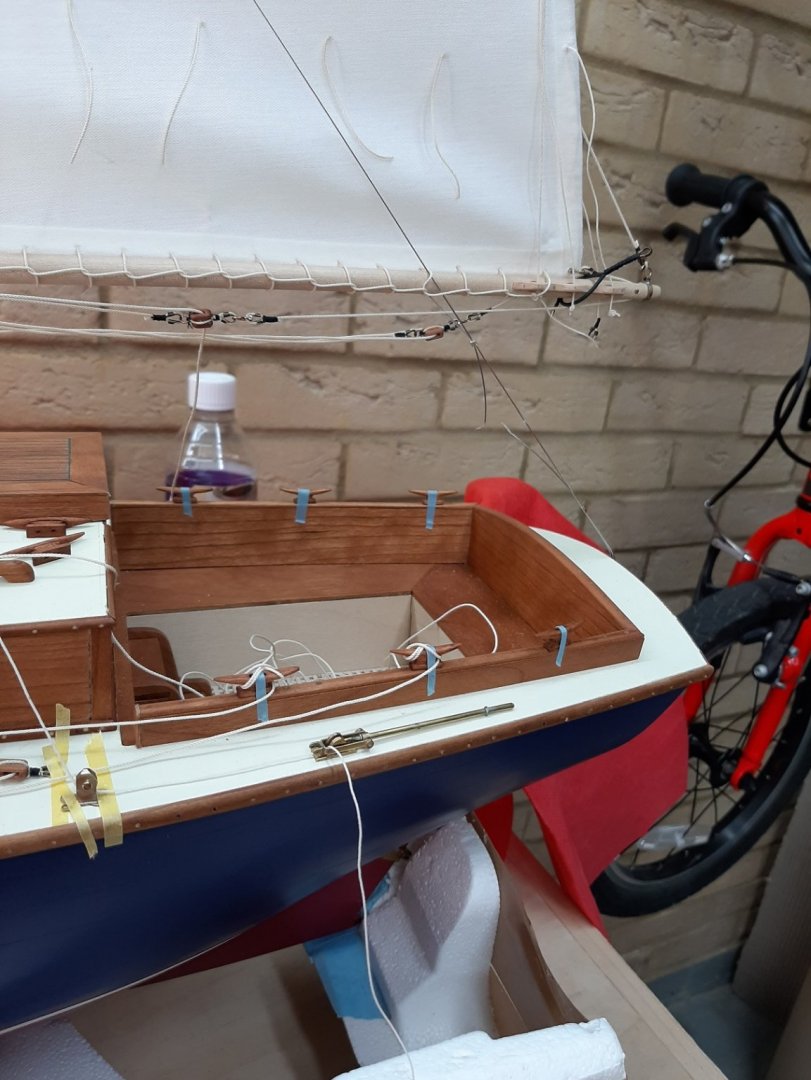
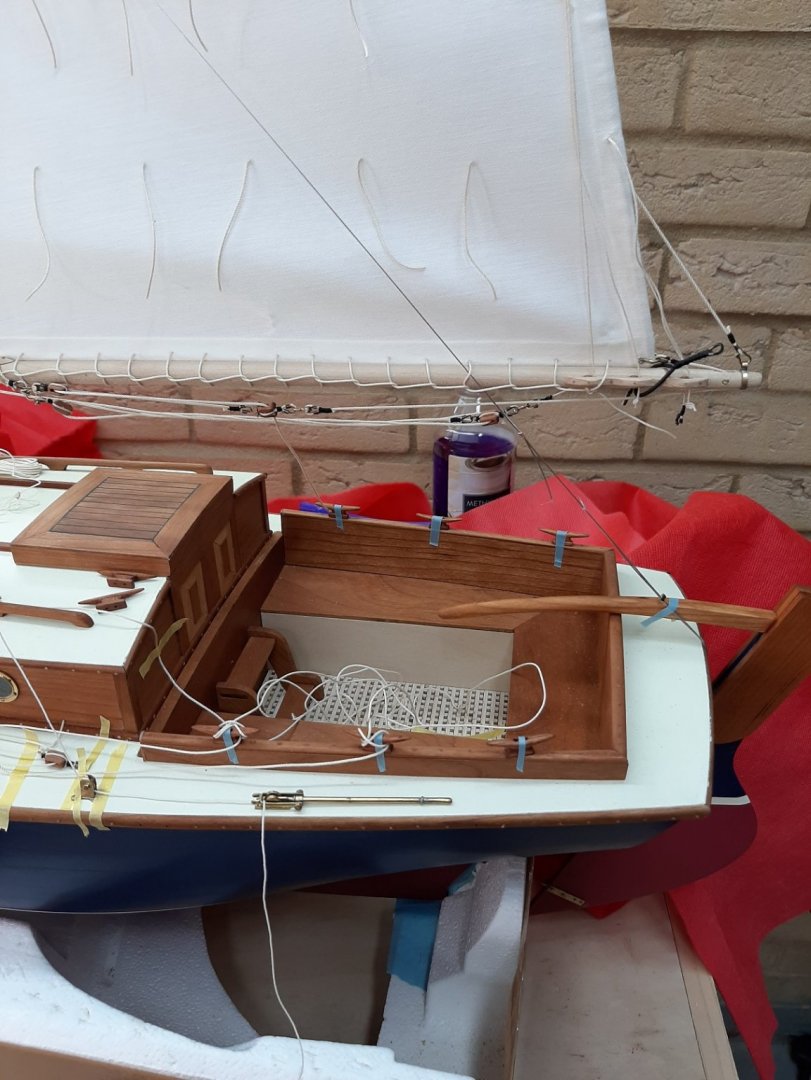
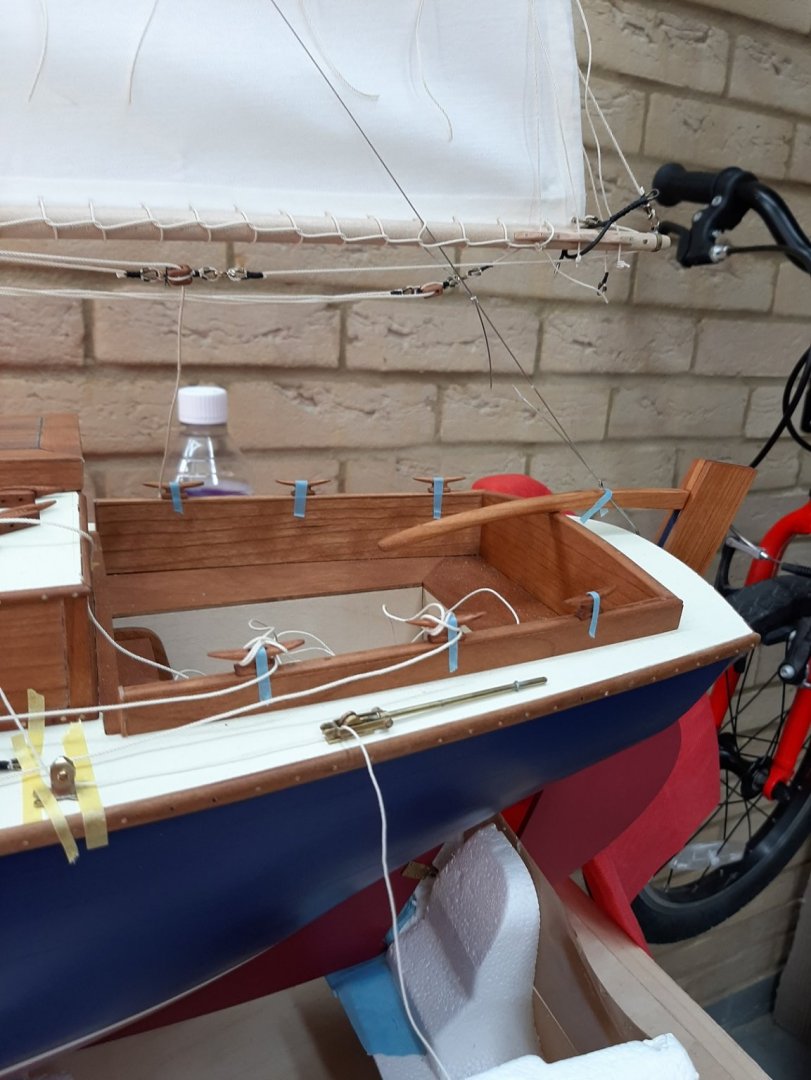
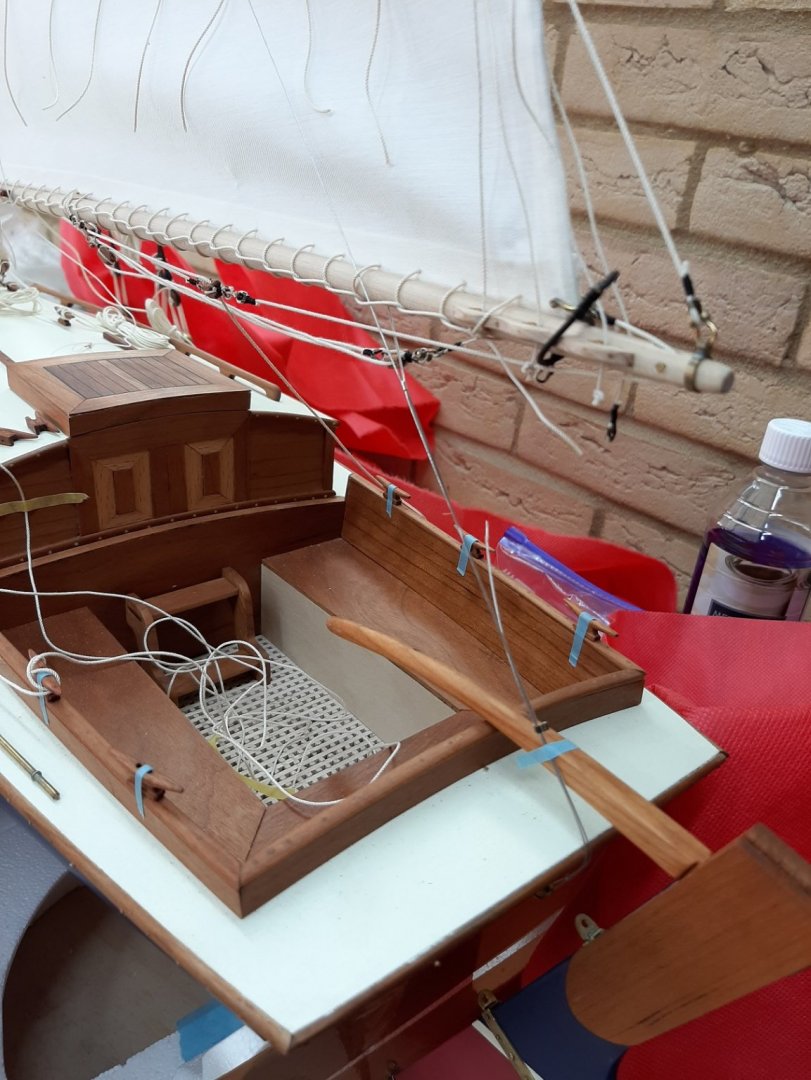
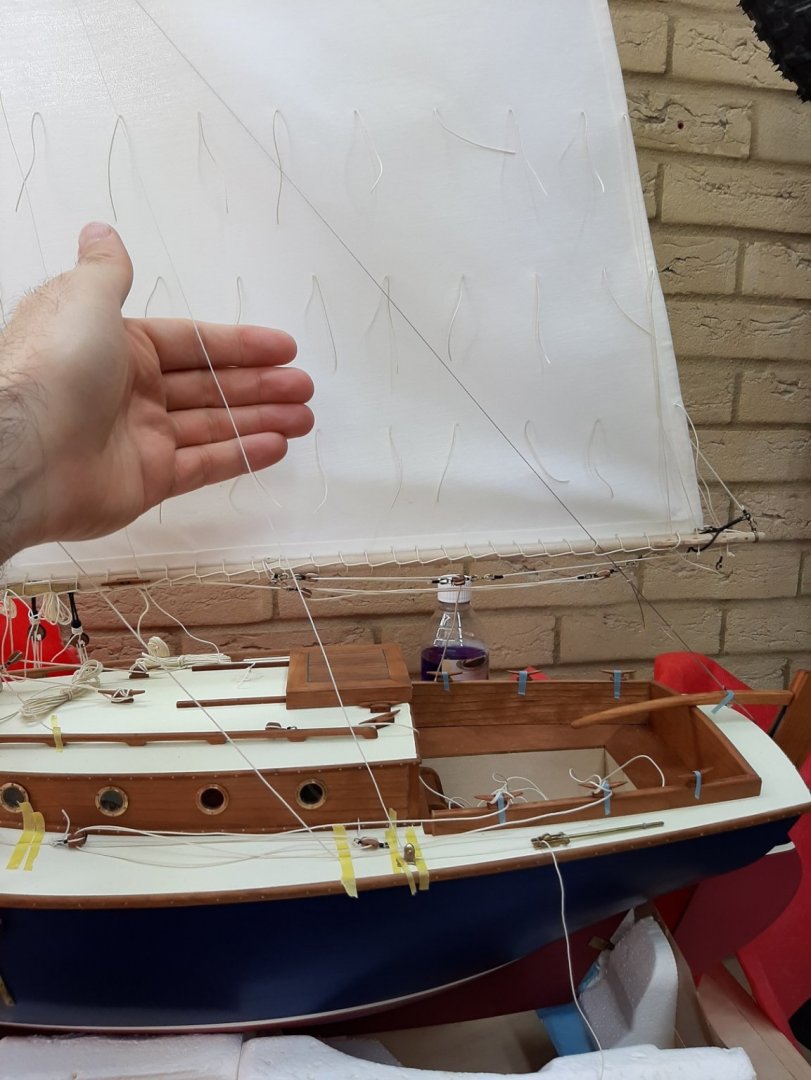
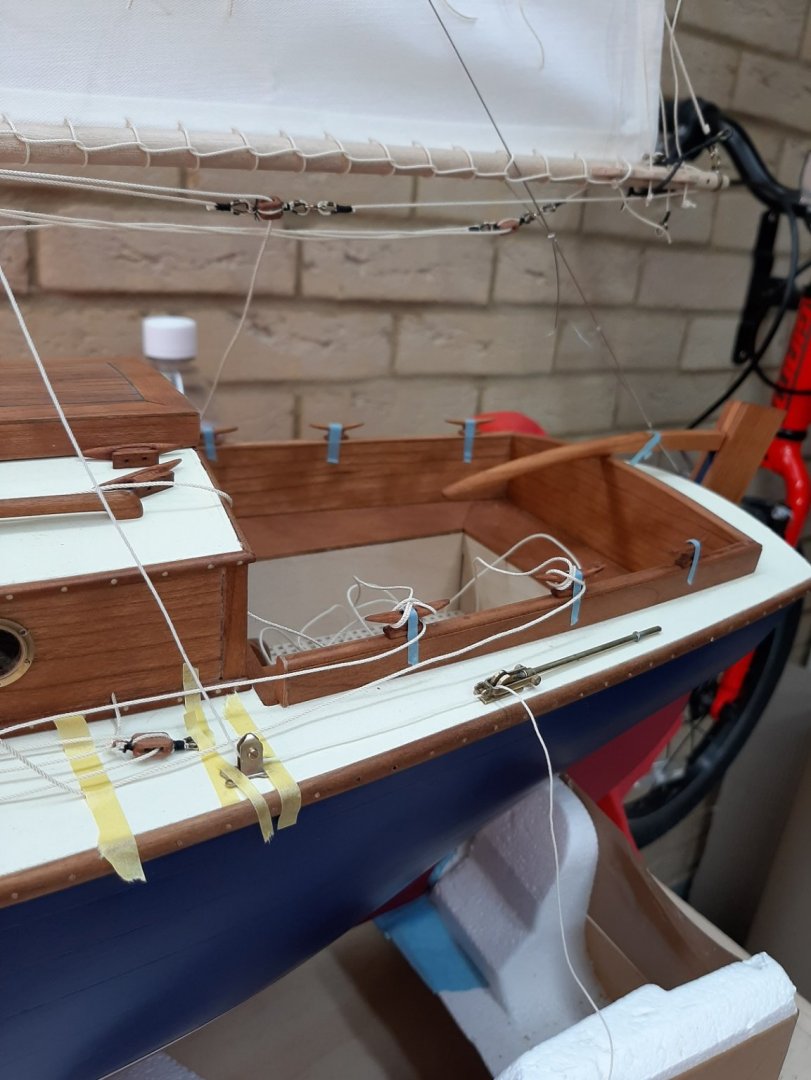
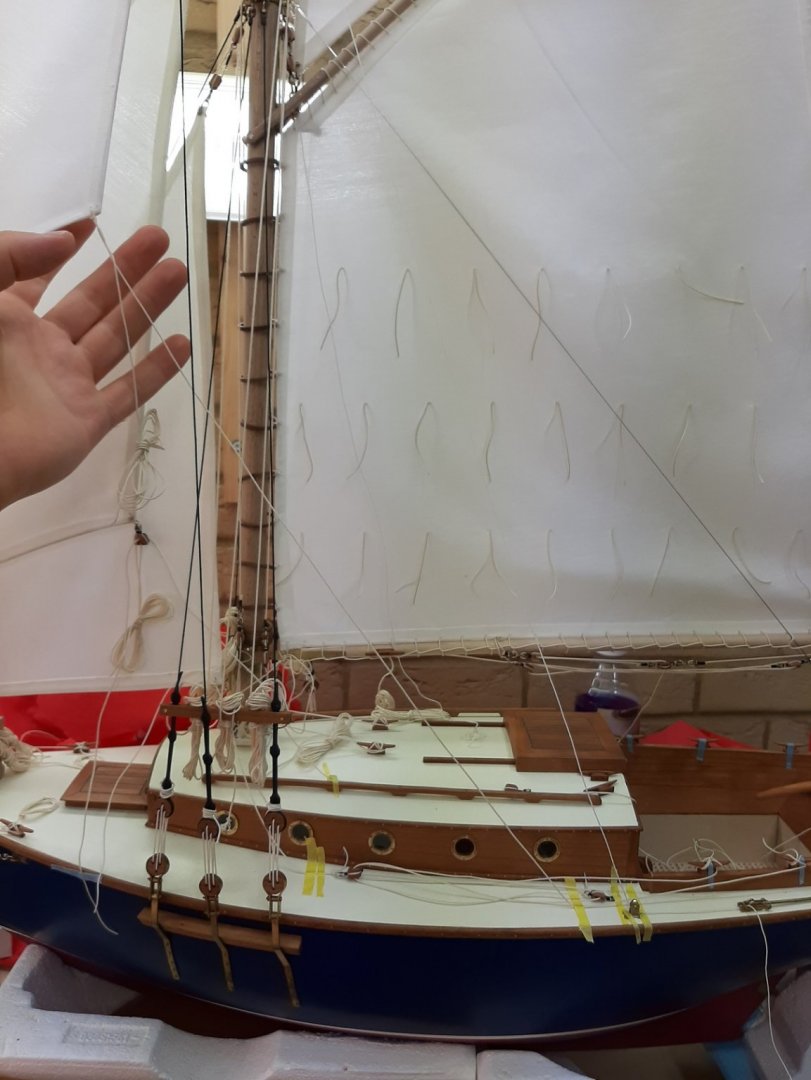
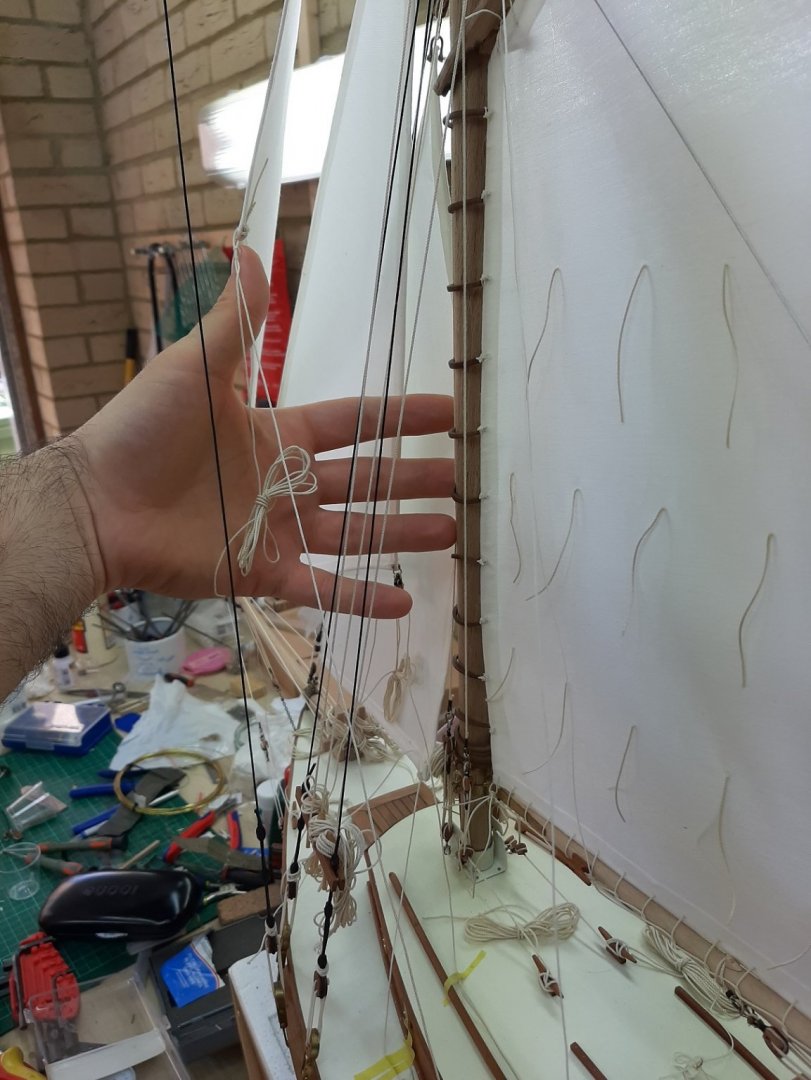
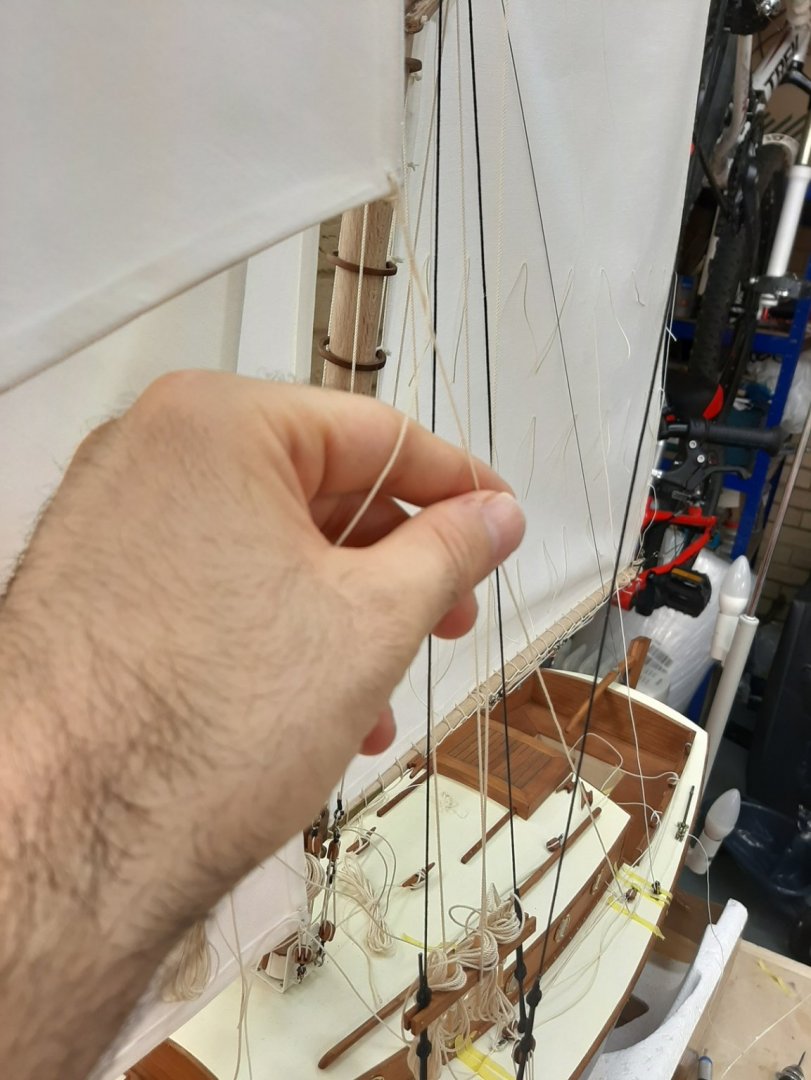
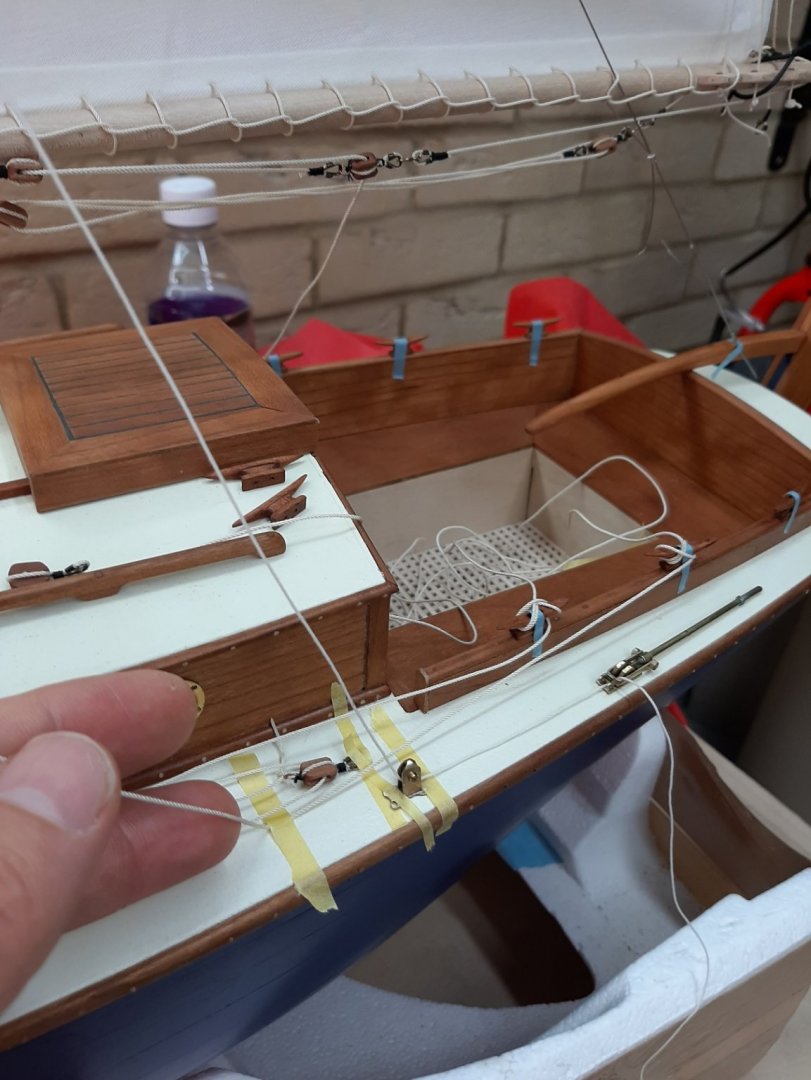
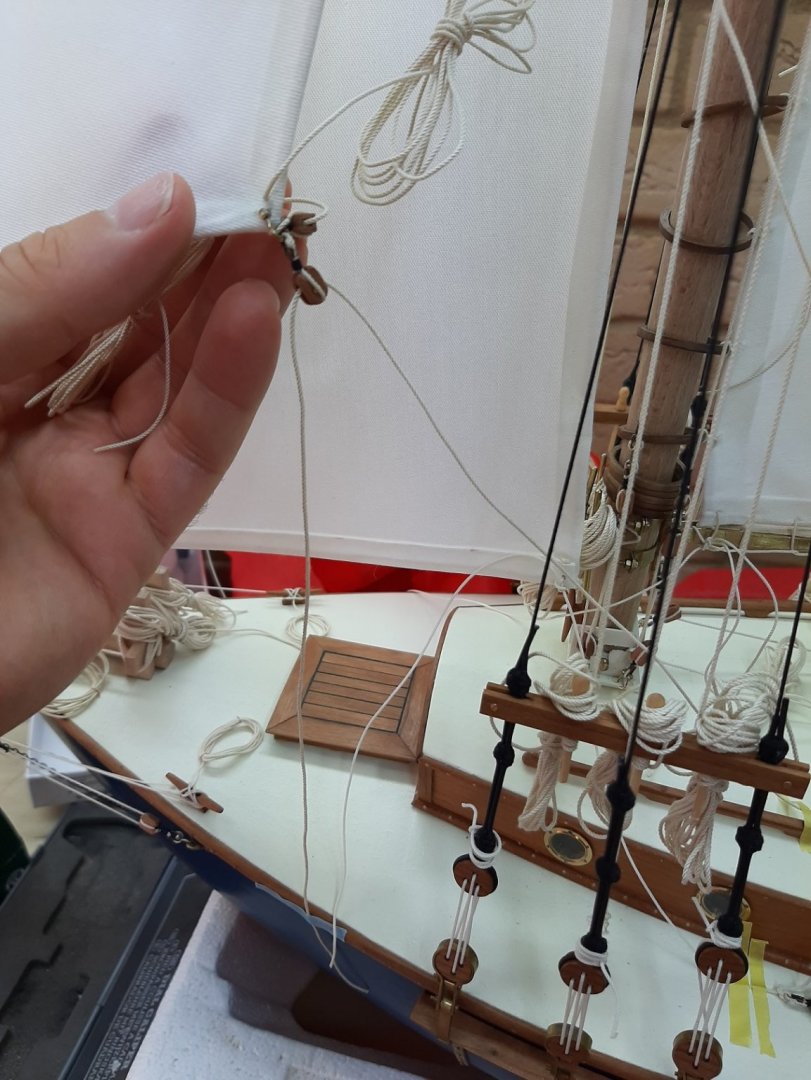
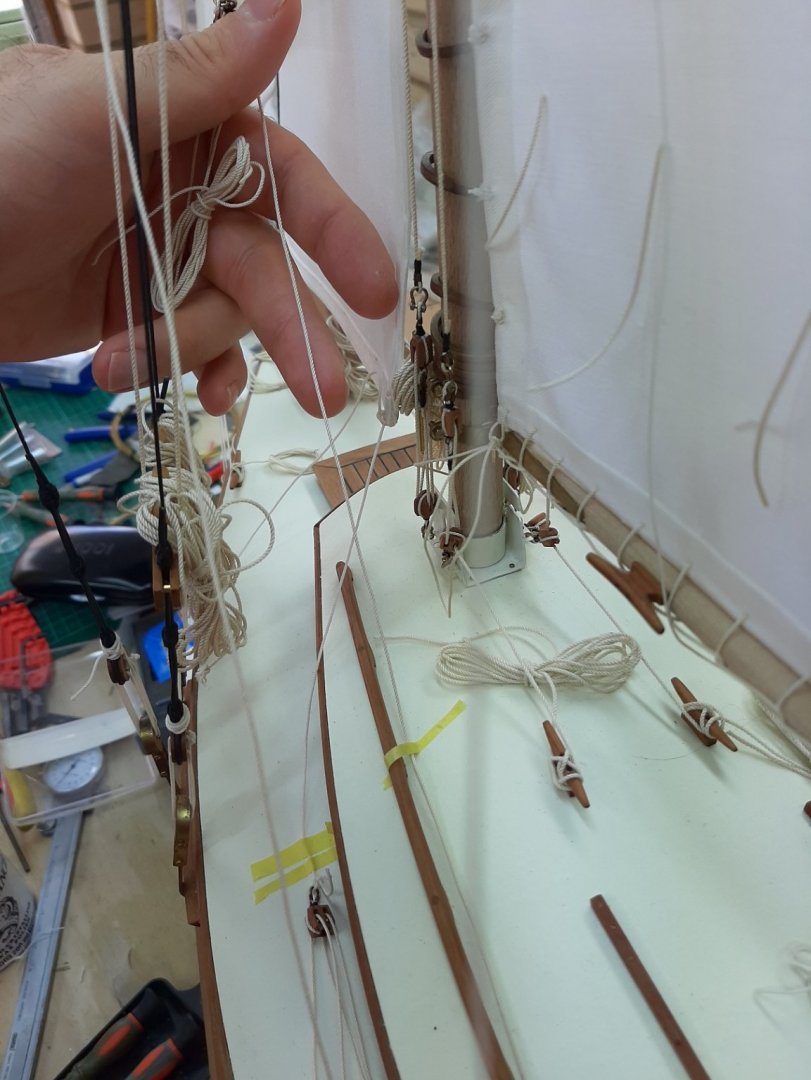
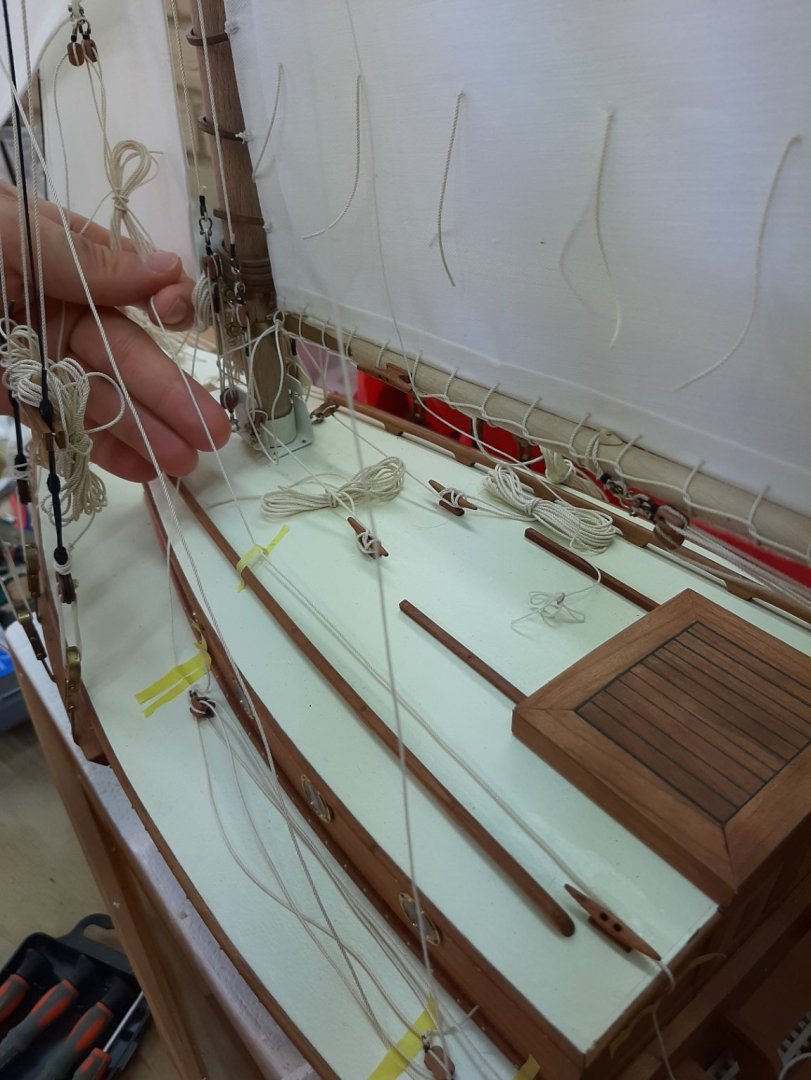
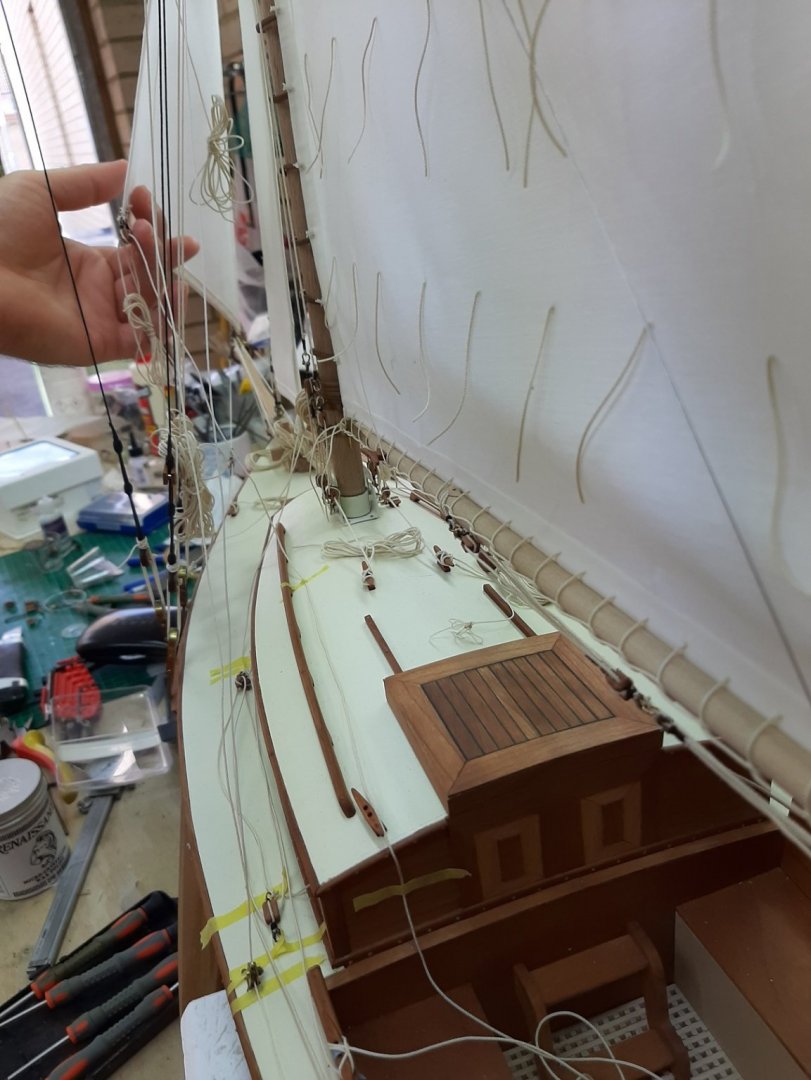
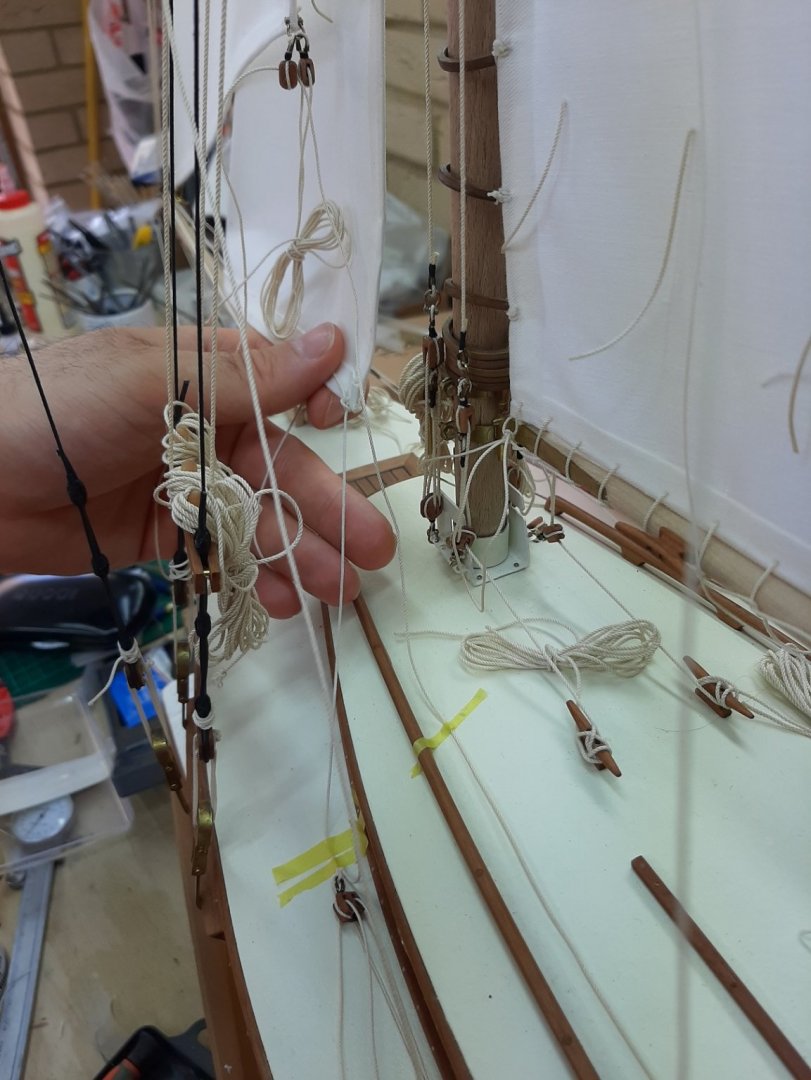
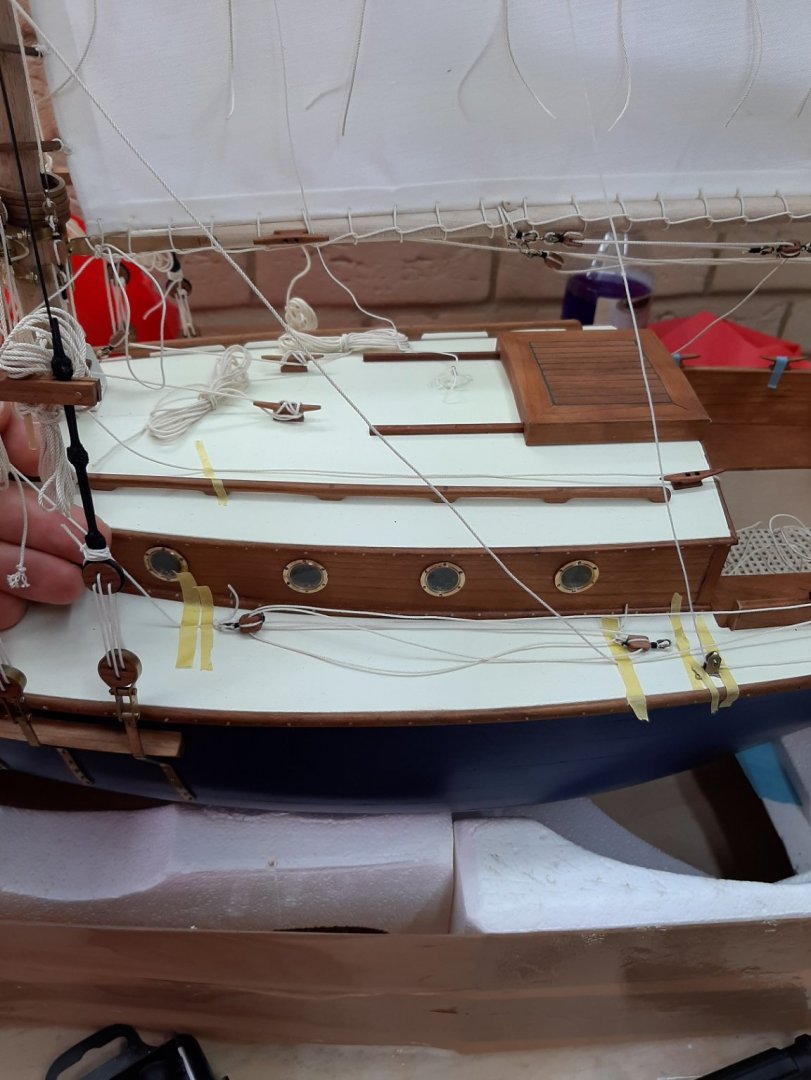
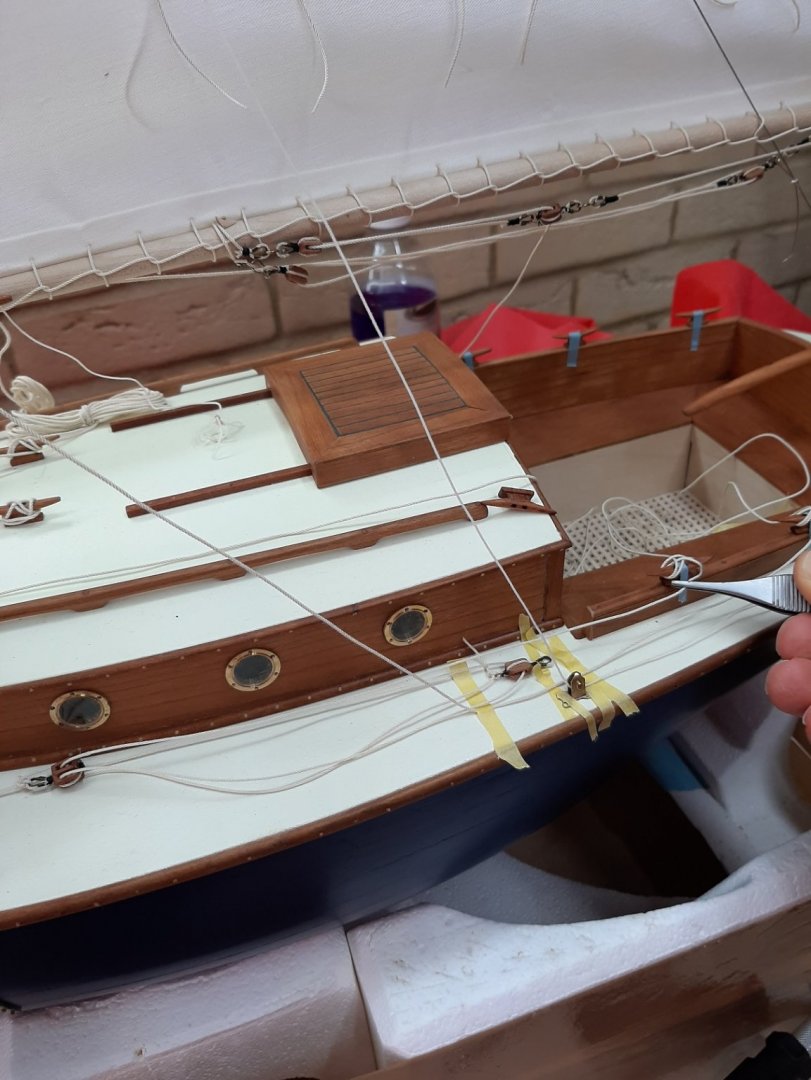
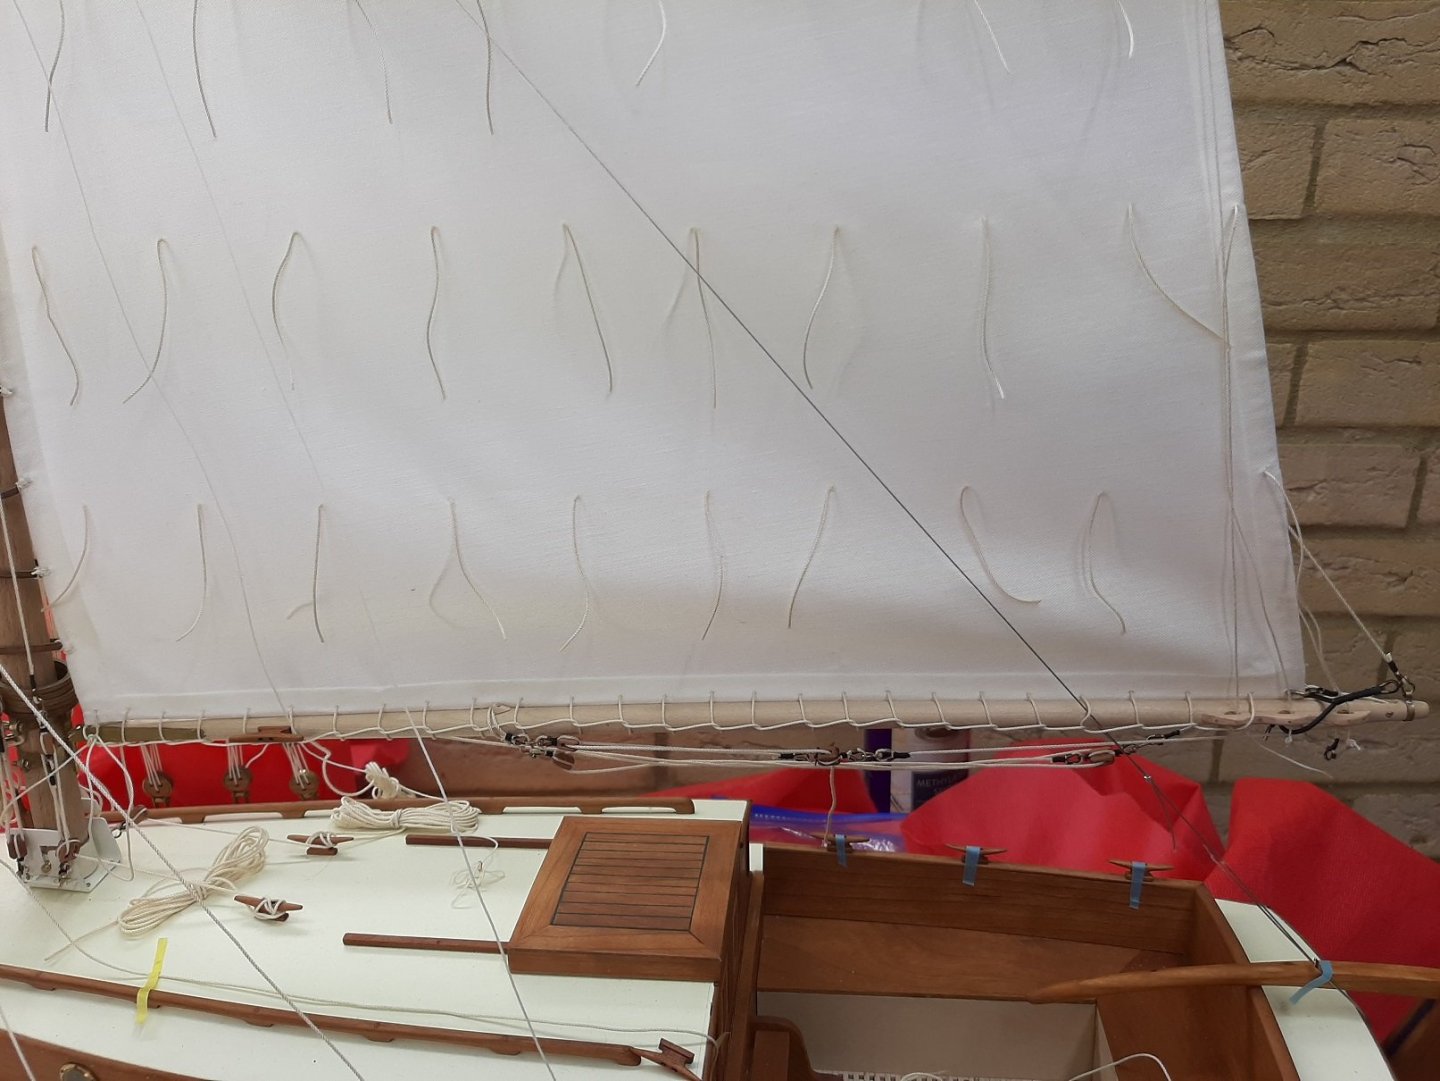
Thanks Michael, blocks it is then. The end is so close that I am starting to become impatient! To feel like a child is very rare in our ages but it does happen... Some more pictures to explain the progress. I am not sure if they help because my camera is terrible, the boat large and there are ropes everywhere. Anyway, here it goes The two dots are where the sheets will land, the inner for the staysail (inner jib) the other for the flying jib (mid jib). They will not rub. The flying jib in set position The staysail in set position Michael, this is the knot you mentioned, no shackle needed the top jib (outer jib) in set position, landing on deck and tied to a cleat on the side of the cabin However, there are more ropes. The backstays land on deck and need to be clear of other ropes. The highfield levers actually have quite a travel and also need to clear sheets and cleats. This is the optimal position and we are not done yet. There will be a rail, the aft most pole will be round about there and the 2 ropes through the pole will meet the deck somewhere close to the lever, these ropes need to stay clear away of everything else. I need a leap of faith I think and start drilling. Michael (and everyone else), common blocks will do to guide the sheets when they meet the deck or do I need to make some special sheaves/blocks?
-
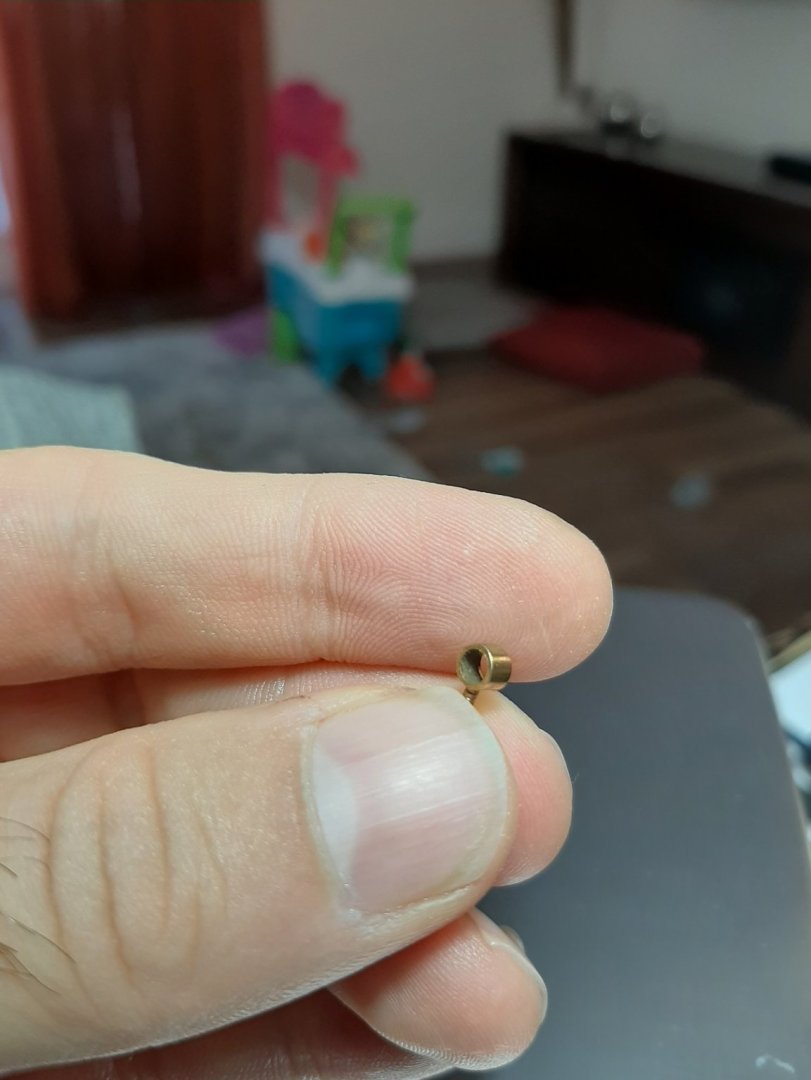
I think it is time for another post. Michael and Mark, again many thanks for your comments. I ve spent some time thinking about things, searching the net and reading. When I started building this boat, I wanted to make it as complex as I could, so I could learn. But it is still a small 7 m boat so space is very limited. Regarding the main sail, I did not make it very well thus the sag. Lifting the gaff does not correct it, it is not square enough. Now, the lacing, this is a misunderstanding from my side. I was not aware that it is kind of either or, outhaul or laced. I am now committed because the sail is full of holes and the boom full of hardware. I ll just pretend that the boat was built to allow the captain to use both ways and that the mainsail has had so much use that has stretched and needs changing. The sails will be furled either way. Regarding the rest 1. Cleats will be moved to the outside of the coaming, with one cleat added to the side of the cabin 2. The outer jib sheet will course on the outside of the shrouds. Indeed this sail is set very loose so the sheet will not rub on anything. 3. Mark you are very right, Tom Cunliffe I thinks calls blocks on clews "widow makers". Still, looking on photos, many large sail boats use them. In all honesty however, I think for this size boat a simple sheet with no blocks at all should be enough. 4. On the forestay (inner jib) I will reduce the power of the blocks, a 1:1 system should be enough I played around on the boat, trying to arrange the eyes and sheets so that they don't rub. I think it will work but at the stern, everything will be very camped, mainly due to the highfield levers that take on a lot of space and need to move without catching. I tried to tape things and have a complete rigging before I do anything irreversible but it is impossible as strong tape will lift the varnish and low tuck tape cannot hold thing firmly. So I will need to drill and install a few things. I think I will start with the eyes for the sheets of the 3 foresails and also I ll install the cleats. In summary, could I ask for your advice on the following: 1. Is it ok if the flying jib (the middle jib) is sheeted straight without any blocks/purchases? 2. When the sheets reach the deck, do they need to go through a block/sheave or is a simple brass ring/tube like bellow adequate? Regards Vaddoc
-
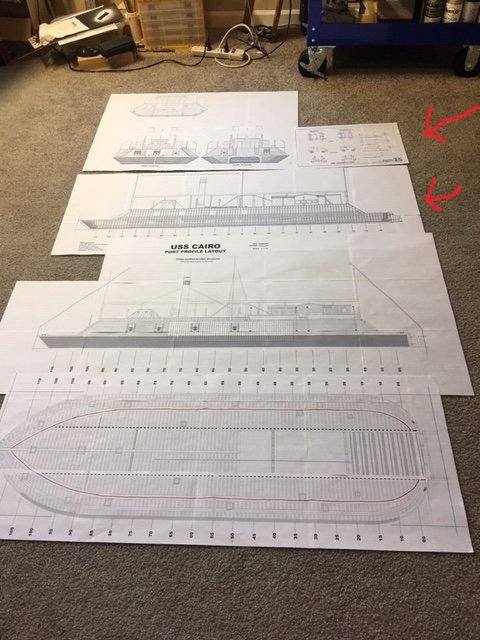
Brian, could you post a few more photos of the plan, I am trying to understand how the hull works. In your initial photo of the plans, the upper right one and the second row, could you show a close up photo?
-
Bob, it will be interesting to see how many coats you ll need to cover the grey primer. Hand brushing it took me a dozen or so Regarding marking the waterline, this is the method I used. Advantage that you can just wipe it clean and start over. https://modelshipworld.com/topic/18455-another-way-to-mark-the-waterline/?tab=comments#comment-567858
-
If it wasn't for the rudders, I d say that the stern is only vertical at the midline, and gets a gradually steeper slope as it extends sideways. Maybe I am completely wrong though, difficult to orient on the photo of the plans
-
This is very interesting. I must admit it is not easy to visualise how the ship will take shape but it is indeed fascinating to follow
-
Looking very good Kevin. I really like this boat. Mahogany is not only difficult to work with, it is very difficult to finish. I remember with a mahogany deck I struggled a lot, then after a few years the red colour has faded and is almost brown.
-
.thumb.jpg.6fd4c1b78768bb3efd745ab810936005.jpg)
Being a newbie
vaddoc replied to Edwardkenway's topic in Using the MSW forum - **NO MODELING CONTENT IN THIS SUB-FORUM**
What a wonderful way to describe modelling! These last few weeks I seem to spend more time on my knees looking for pieces on the floor than on my stool. -
.thumb.jpg.6fd4c1b78768bb3efd745ab810936005.jpg)
Change Theme
vaddoc replied to cog's topic in Using the MSW forum - **NO MODELING CONTENT IN THIS SUB-FORUM**
Sure, no problem! -
.thumb.jpg.6fd4c1b78768bb3efd745ab810936005.jpg)
Change Theme
vaddoc replied to cog's topic in Using the MSW forum - **NO MODELING CONTENT IN THIS SUB-FORUM**
Well, with the grey one, it just scrolls down, no issues With the brown, as it scrolls down it keeps the strip with the "browse, Gallery, group projects etc" buttons locked and carries it down. You see on the photo I have scrolled down to the bottom but that strip is still there -
.thumb.jpg.6fd4c1b78768bb3efd745ab810936005.jpg)
Change Theme
vaddoc replied to cog's topic in Using the MSW forum - **NO MODELING CONTENT IN THIS SUB-FORUM**
A minor problem with the new theme is that there is a wide strip with buttons that does not disappear as you scroll down, this eats valuable screen space on my 14 inch monitor. On the old theme this bar is not present. -
I always seal the wood before painting, it leaves a very smooth surface, I do not like to paint raw wood. I often use primer, to improve adhesion but mainly to have a uniform colour as a base and reduce the number of coats of paint needed I ve used automotive primers in the past and they are not very good for modelling. They spray very thick, take a long time to cure and are smelly. For a long time now I ve been using Humbrol primers that come in red, white and grey, the latter I find is the most useful. They are expensive but very nice-no nasty smells. It leaves the surface smooth but a quick pass with 400 grit could be done. My experience is that trying to fill imperfections with primer will not work, I remember spraying layer after layer of thick automotive primer and sanding in between, still the imperfections were visible. Really the surface needs to be prepared before the primer goes on
-
Thanks Moab! Due to the large scale, it is easy to find a fabric that looks ok-ish. This one is curtain liner, off white, £8 per square meter.
-
Welcome Rick! Have fun building your boat.
-
Dear both I am really very grateful for your help. Now, I need some time to digest your advice and explanations. One way or another we ll get this boat rigged!
-
Rod's advice above is good. If you look into my Deben log, you ll see all these steps-I hand brushed though. I have the same issue with the raised edges. I just live with it. Apparently it is possible to wet sand the paint with 2000 grit or similar to get rid of these edges but it is too terrifying to do on a finished hull. I think this is something I should experiment with. One think that needs attention, the paint will find its way to even the tiniest of creases. If you suspect the masking tape is not firmly stuck to the hull, start over. Also remember, any imperfection after painting will be much more visible.
-
.thumb.jpg.6fd4c1b78768bb3efd745ab810936005.jpg)
New 1:48 scale POF kit of the Cutter Alert from Trident Models in China
vaddoc replied to MSW's topic in Wood ship model kits
Will this really be a kit? It looks great! -
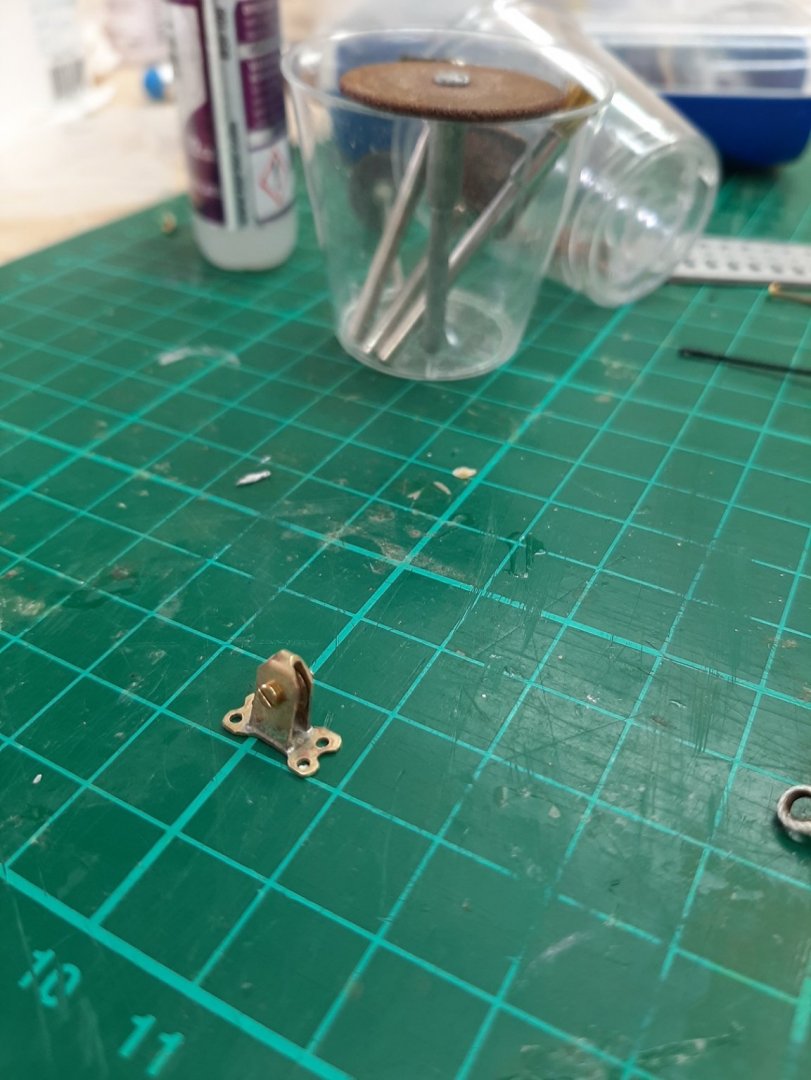
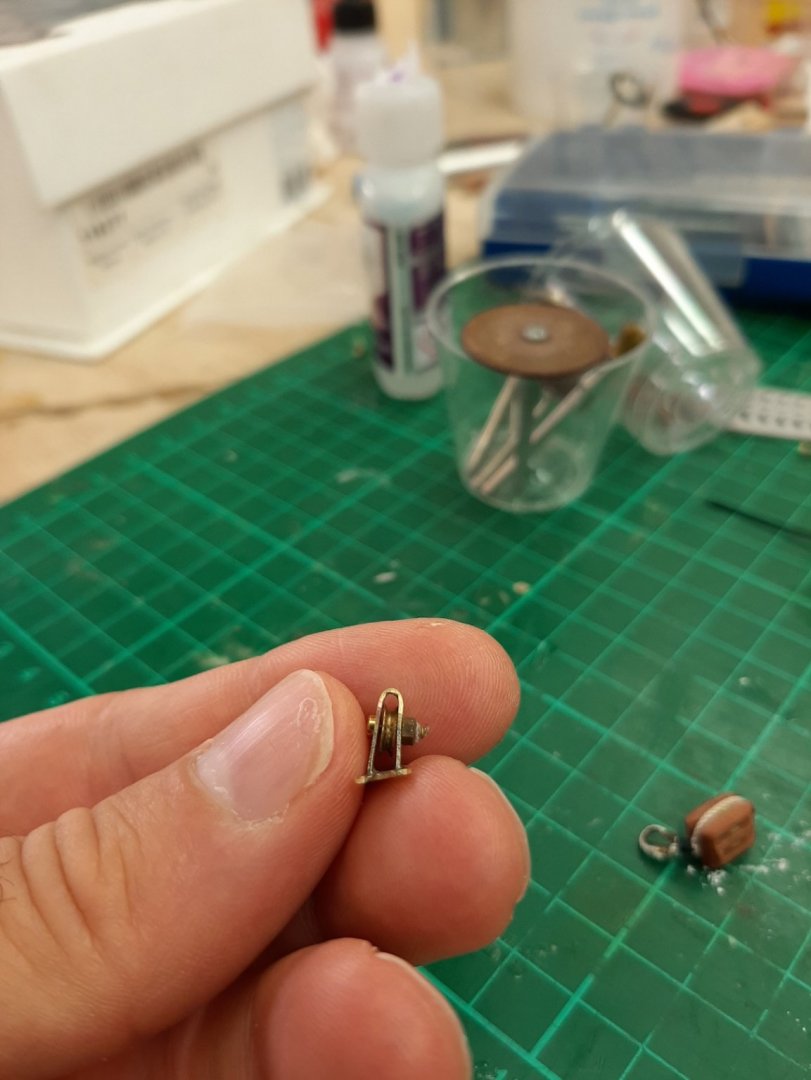
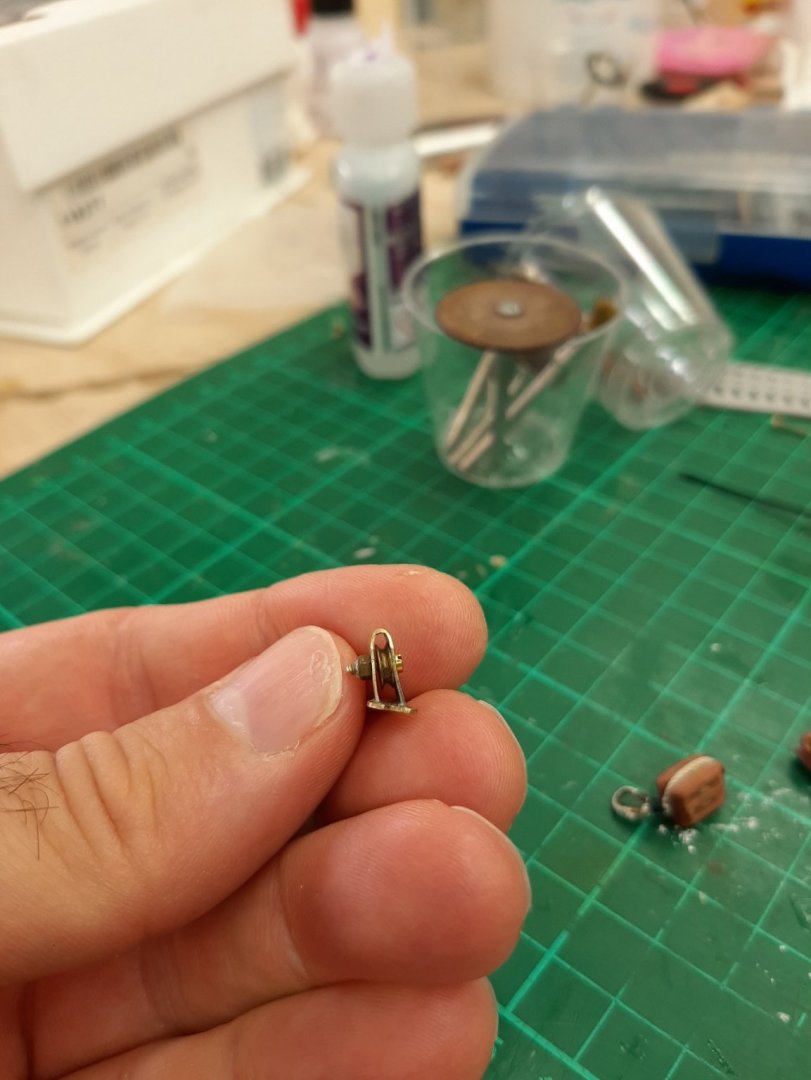
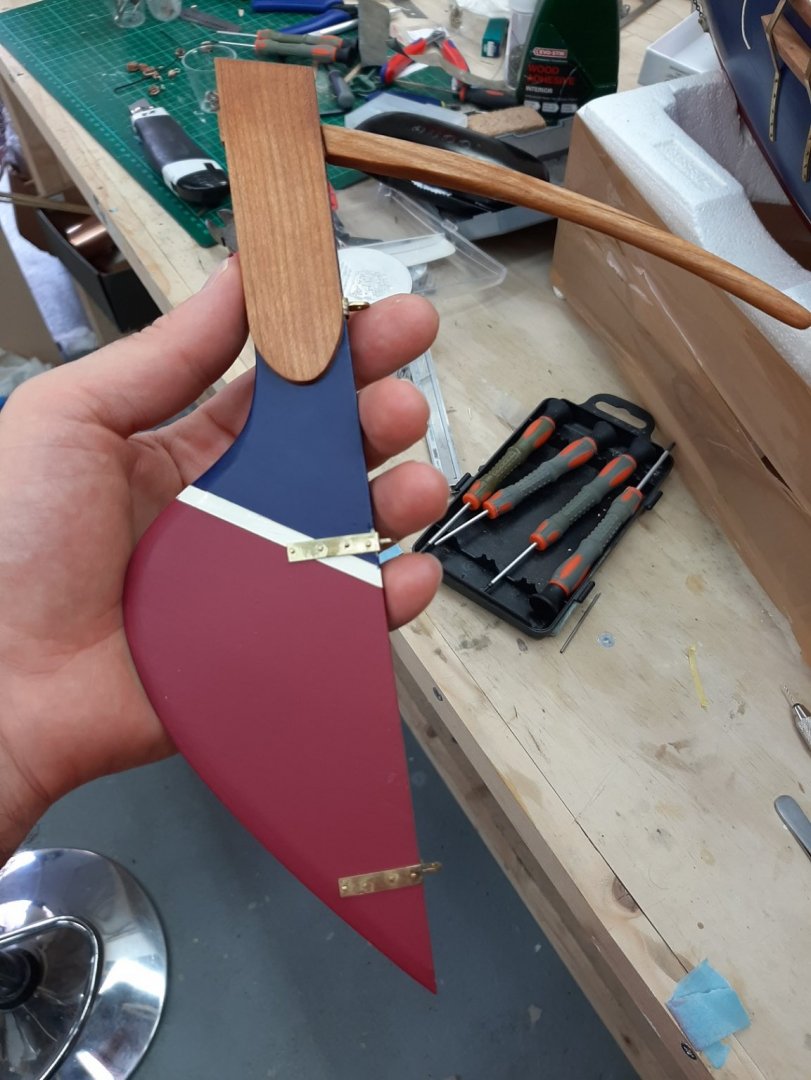
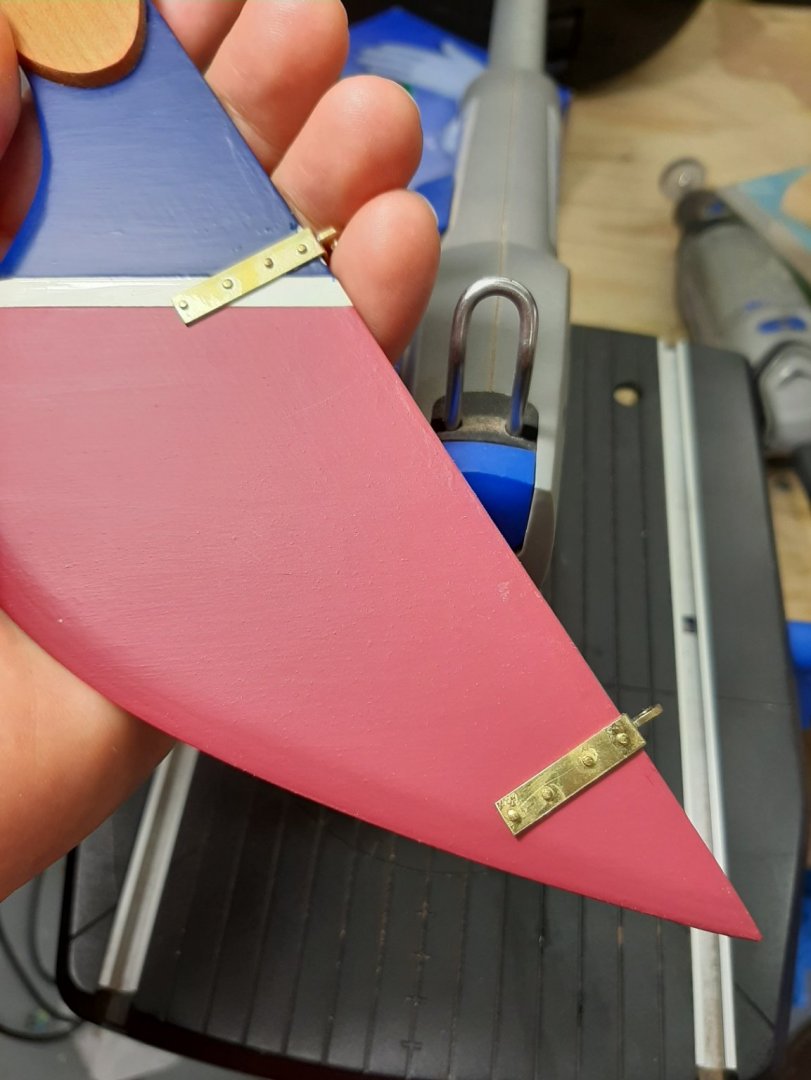
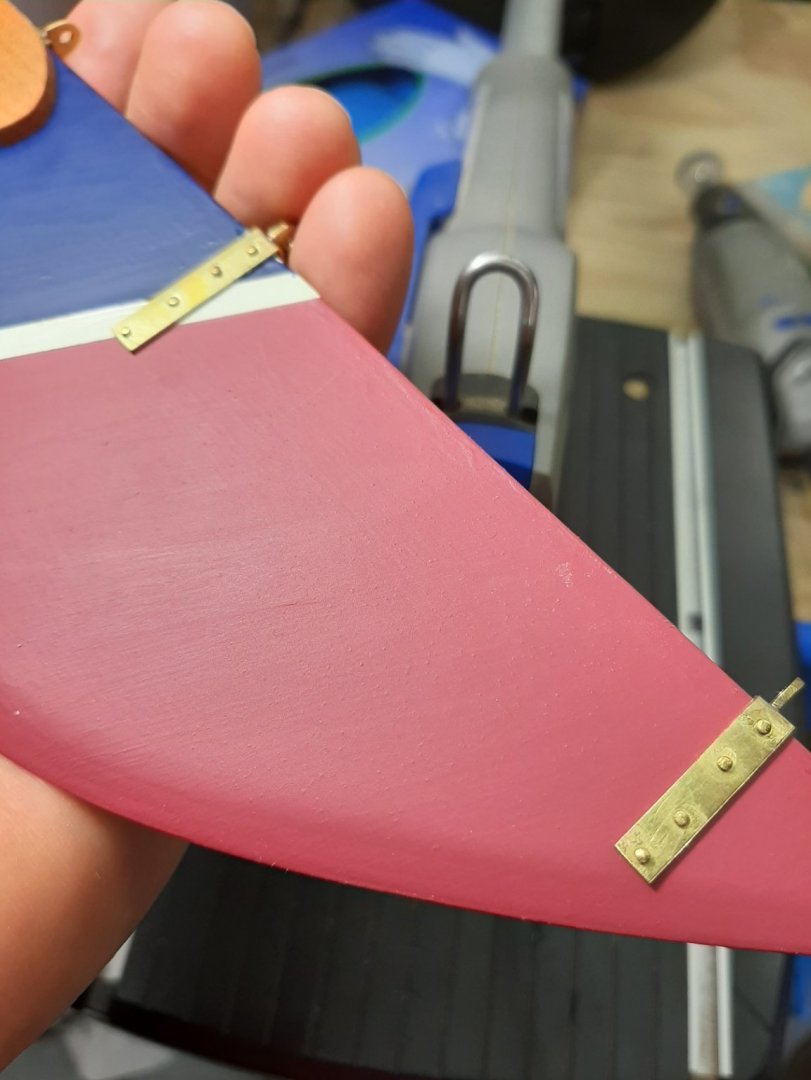
Well, the end is very near but I am struggling with the rigging and I badly need some advice! I will try and explain as best as I can and have taken a few pictures but please bare with me, the boat is large and my photo skills bad so if further pictures are needed to explain the situation please just ask. First of all I laced the boom I also made a brass pulley to re route the backstays from vertical to horizontal. These are offset inwards to follow the course of the backstays to the mast. There will be quite a lot of tension so I ll use screws to secure to the deck I took out the rudder I ve made a very long time ago, it is quite huge! It is painted with Valejo acrylics and satin and matt polyurethane varnish, no brush marks at all! Modern acrylics are amazing. Now, to get to the problems 1. I have very little space for cleats, I need at least three on each side. Is the position of the cleats on the coaming acceptable? If not I could make some round bases attached to the outside of the coamings to screw the cleats on but the coamings are very thick, as thick as the cleats. The next questions are about the sheets of the three fore sails, the top jib, the flying jib and the staysail. 2. The only way the sheet from the topjib will not rub and catch on anything is to go in between the shrouds that go to mid mast and the shroud that goes to the top of the mast. The sheet then will go through an eye on the deck and then to a cleat aft. Is this ok? 3. The flying jib will have a single block on the clew, one end of the sheet will go to the deck. However, the sheet, in order to clear other ropes, has to go to an eye or block on the cabin top and then to a cleat aft, next to the companionway. I ve never seen a jib sheet going to the cabin top, is this acceptable? 4. It seems that the staysail sheet is the easiest one. The books say that this is a powerful sail so two blocks will be needed to tension it, the sheet going aft to a cleat. How do people feel about this? The cleat that is closest to the bow in this proposed arrangement will be used for the mainsail sheet. Very many questions I know, I hope I ve explained adequately, any advice will be greatly appreciated! Regards Vaddoc
-
.thumb.jpg.6fd4c1b78768bb3efd745ab810936005.jpg)
Epoxy glue
vaddoc replied to Zooker's topic in Building, Framing, Planking and plating a ships hull and deck
It is a very thick putty, thicker than play doh or plastelin, and is the colour of porcelain. It hangs on to the rough edges of the broken pieces and cures rock hard. A tiny amount will be needed so invisible. It is very cheap. I tried to find that repaired piece but it has moved on.
About us
Modelshipworld - Advancing Ship Modeling through Research
SSL Secured
Your security is important for us so this Website is SSL-Secured
NRG Mailing Address
Nautical Research Guild
237 South Lincoln Street
Westmont IL, 60559-1917
Model Ship World ® and the MSW logo are Registered Trademarks, and belong to the Nautical Research Guild (United States Patent and Trademark Office: No. 6,929,264 & No. 6,929,274, registered Dec. 20, 2022)
Helpful Links
About the NRG
If you enjoy building ship models that are historically accurate as well as beautiful, then The Nautical Research Guild (NRG) is just right for you.
The Guild is a non-profit educational organization whose mission is to “Advance Ship Modeling Through Research”. We provide support to our members in their efforts to raise the quality of their model ships.
The Nautical Research Guild has published our world-renowned quarterly magazine, The Nautical Research Journal, since 1955. The pages of the Journal are full of articles by accomplished ship modelers who show you how they create those exquisite details on their models, and by maritime historians who show you the correct details to build. The Journal is available in both print and digital editions. Go to the NRG web site (www.thenrg.org) to download a complimentary digital copy of the Journal. The NRG also publishes plan sets, books and compilations of back issues of the Journal and the former Ships in Scale and Model Ship Builder magazines.


