.jpg.f26acc9a74319261612561bfa7da1303.jpg)
vaddoc
-
Posts
1,605 -
Joined
-
Last visited
Content Type
Profiles
Forums
Gallery
Events
Everything posted by vaddoc
-
.thumb.jpg.6fd4c1b78768bb3efd745ab810936005.jpg) Superphatic is actuallg marketed as CA glue alternative I ve used the Cornwall model aliphatic glue extensively, it is very nice but just an alipharic PVA, nothing more. I now use Titebond that seems to have a bit faster opening time.
Superphatic is actuallg marketed as CA glue alternative I ve used the Cornwall model aliphatic glue extensively, it is very nice but just an alipharic PVA, nothing more. I now use Titebond that seems to have a bit faster opening time. -
Epoxy glue
vaddoc replied to Zooker's topic in Building, Framing, Planking and plating a ships hull and deck
Never used BSI epoxy, but their CA glue is fantastic. -
Epoxy glue
vaddoc replied to Zooker's topic in Building, Framing, Planking and plating a ships hull and deck
For porcelain, best to get epoxy putty. It comes in two pieces of soft material (actually not too soft) that you mix well and then use to glue the pieces. I repaired a porcelain plate, the repair was invisible and rock solid. Google Milliput -
How to seal acrylic paint?
vaddoc replied to Bill97's topic in Painting, finishing and weathering products and techniques
Oh dear, I completely missed the plot then! -
Cheap vs expensive CA glue, I found there is a world of difference. Really I only use CA for metal to metal or metal to wood. White PVA, dries clear, longer opening time. Aliphatic, dries yellow, very short opening time. I use both depending on properties I need. Joints glued with PVA should be stronger than the wood itself. If you had failures, maybe the surfaces were contaminated or you did not apply enough pressure-PVA shrinks as it dries. Maybe lightly sand the surfaces and make sure they mate fully with enough pressure. All PVAs are pretty much the same, except for some being waterproof.
-
How to seal acrylic paint?
vaddoc replied to Bill97's topic in Painting, finishing and weathering products and techniques
I remembered that once I used Rennaisance wax over wood treated with Tung oil (after it had cured). This wax is completely transparent, did not change the colour at all and did not really add any shine-the wood though was pear sanded to 400 grit. This would certainly seal and waterproof the wood. Maybe this would have been a option but not over painted wood. -
A very nice boat at a proper scale! Excellent. I hope I won't get stoned but how would the hull look in gold? 😁
-
You ve made very good progress Bob. I really like your planking job, I would think that as this boat is not very large quite a lot of spilling would be needed but you did a fantastic job, pretty impressive considering you used straight planks! Really nice. Did you have to bend the strips across their width? Elmer's filler is the one I use after trying many alternatives. Try using a razor (the one that they use to cut carpets) on your hull, you ll be amazed how smooth it leaves it but take care with 1 mm thickness, much quicker than sand paper too. Maybe also in future consider maple for planking, it is fantastic and holds an edge that lime does not. This is a lovely boat and lends it self to even larger scale. I am looking forward for the rest of the journey.
-
Keith, I just finished catching up, it was such a pleasure, your work is fantastic. Indeed, a calendar with 12 selected photos would work very well! An incredibly tidy and clean model. Regarding brass staying bright, I use Renaissance wax, I think museums also use it. I have brass pieces that are shiny 10 years down the line with no maintenance. I ve also used it in wood, completely invisible.
-
Just to add regarding the Valejo, that the thinner for air brushing and for hand brushing are very different and not really interchangeable. For hand brushing, it is important to use the proper thinner to get good results, I did not have good results using the air thinner that comes in a very big bottle or water. However, using the hand thinner with a bid of retarder and thinning the quite thick paint to a milky consistency, painting is a dream with no brush marks at all. This is why I do not have an airbrush despite the large scale I work at.
-
ancre Salamandre by cafmodel - 1:48 - bomb ketch
vaddoc replied to cafmodel's topic in - Build logs for subjects built 1751 - 1800
Yes, this is great, I d love to see more. -
Welcome Dave!
-
New 1:48 scale POF kit of the Cutter Alert from Trident Models in China
vaddoc replied to MSW's topic in Wood ship model kits
This looks really nice, I never really felt attracted to kits previously but this is one I would be interested in building. I also do not like the rivets, far too much out of scale but this could be corrected. -
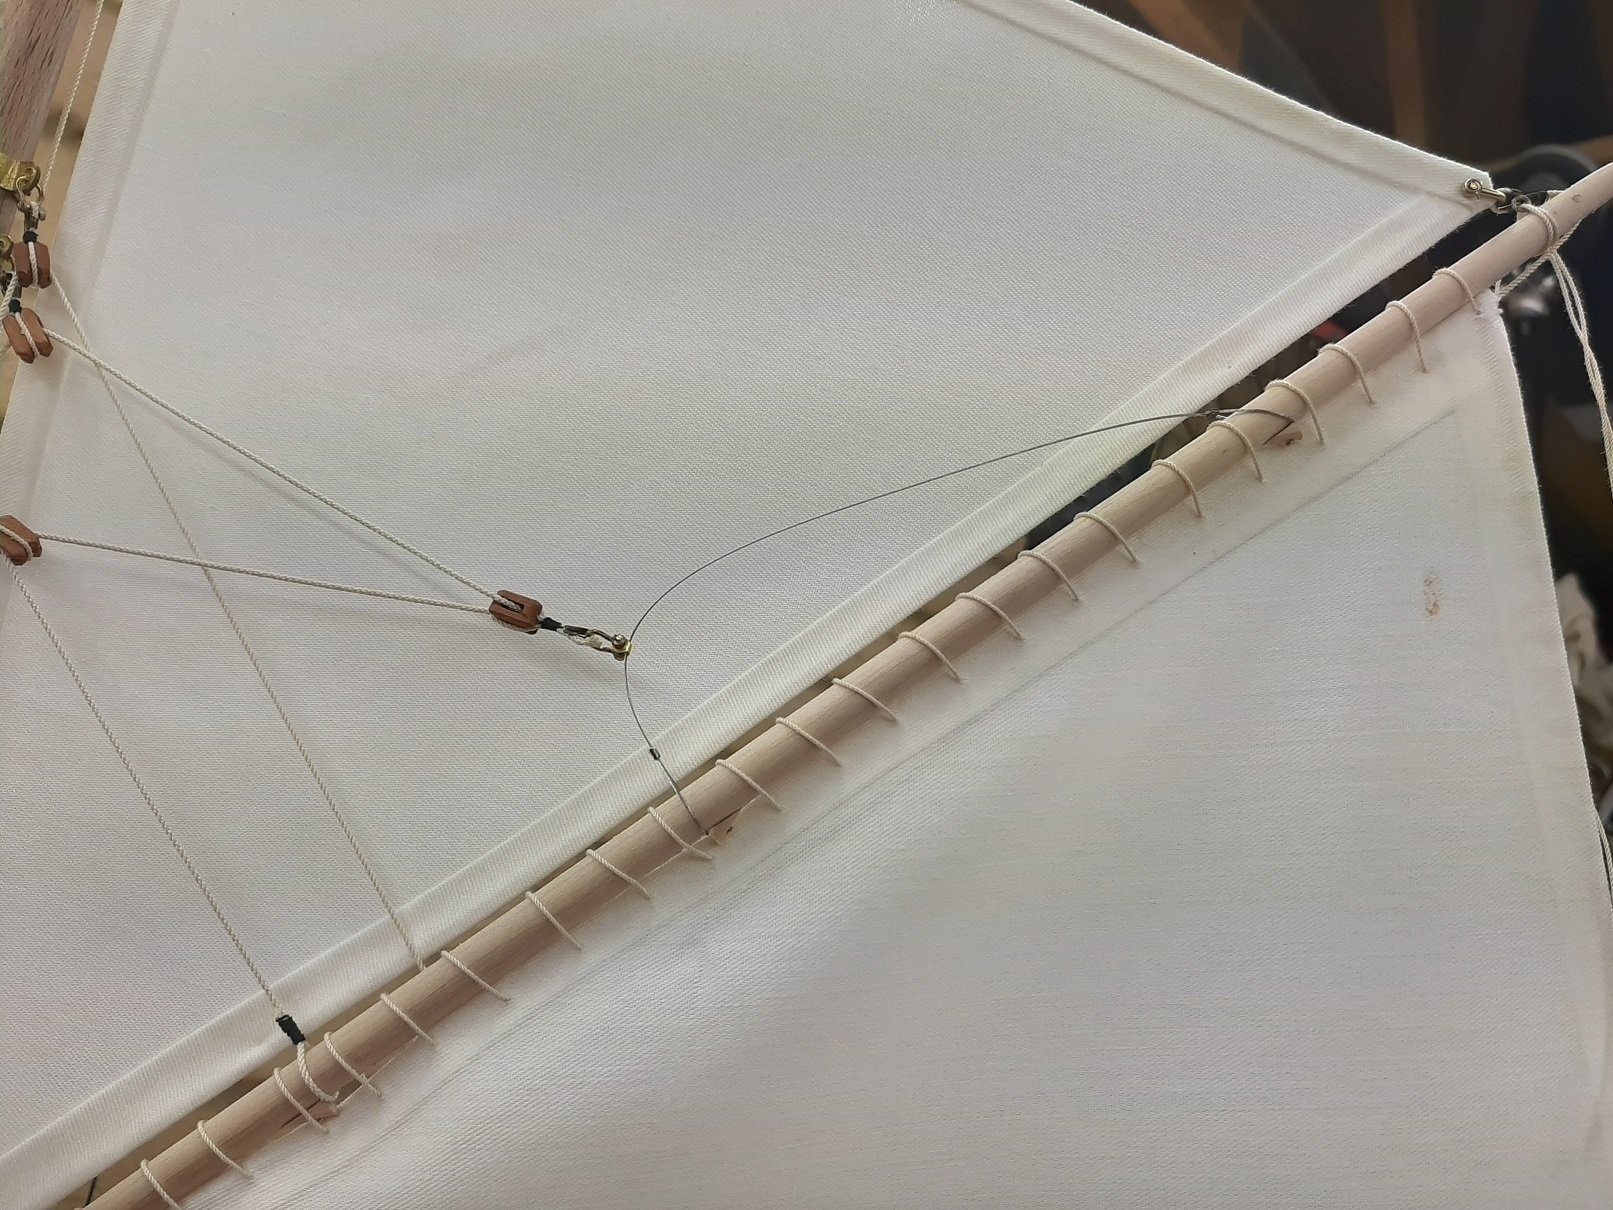
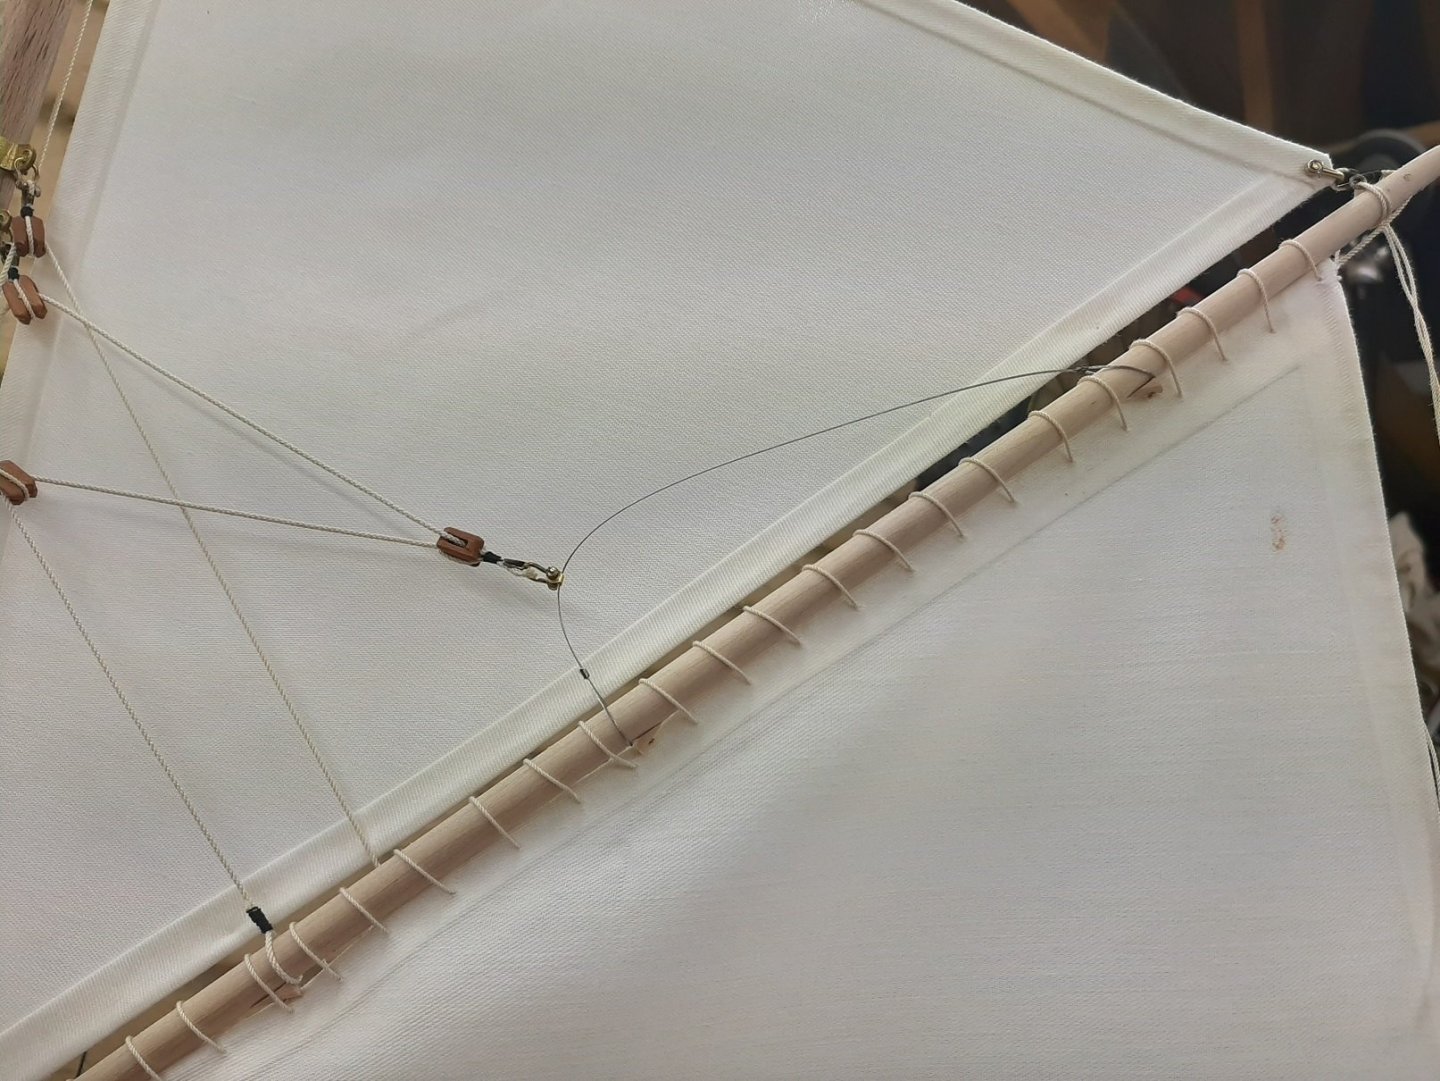
Thanks Mark! No, I will lace it, it is just that I find the task boring so I keep putting it off. It involves drilling the fabric, dilating the hole, pass a tube, pass the rope through the tube, then around the boom and through the previous loop and then repeat 40 odd times! I ve been visiting your log, your plans have had 90 years to mature which is plenty enough!😉
-
Welcome Suparno! Have fun building your boat.
-
This is an unusual boat Brian. Very beamy and little draught as you mentioned but also very little overall height and those slopping sides would guide waves over the ship. Was it intended for open water or just for coastal/river cruising? You are doing a good job and indeed, this is a big boy!
-
Keith, I just finished going through your log, very nice work on a very interesting ship! I think I ll have very little to contribute unfortunately but I am looking forward for the rest of the journey. Regards Vaddoc
-
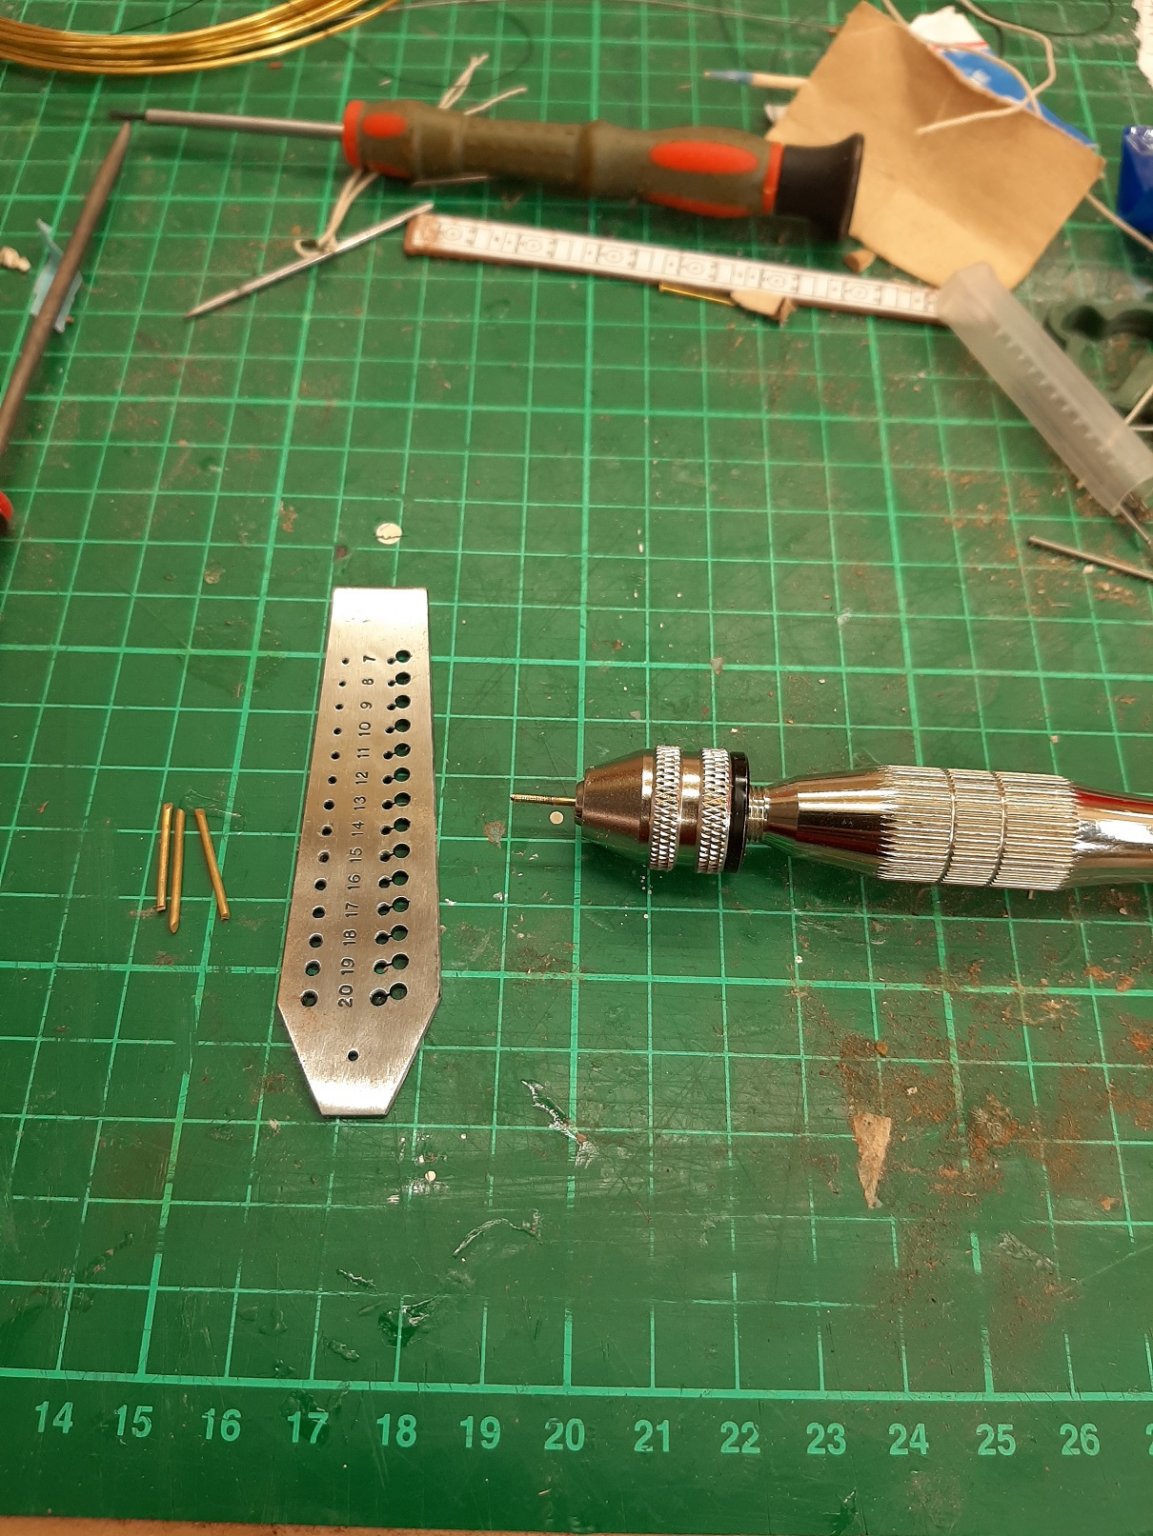
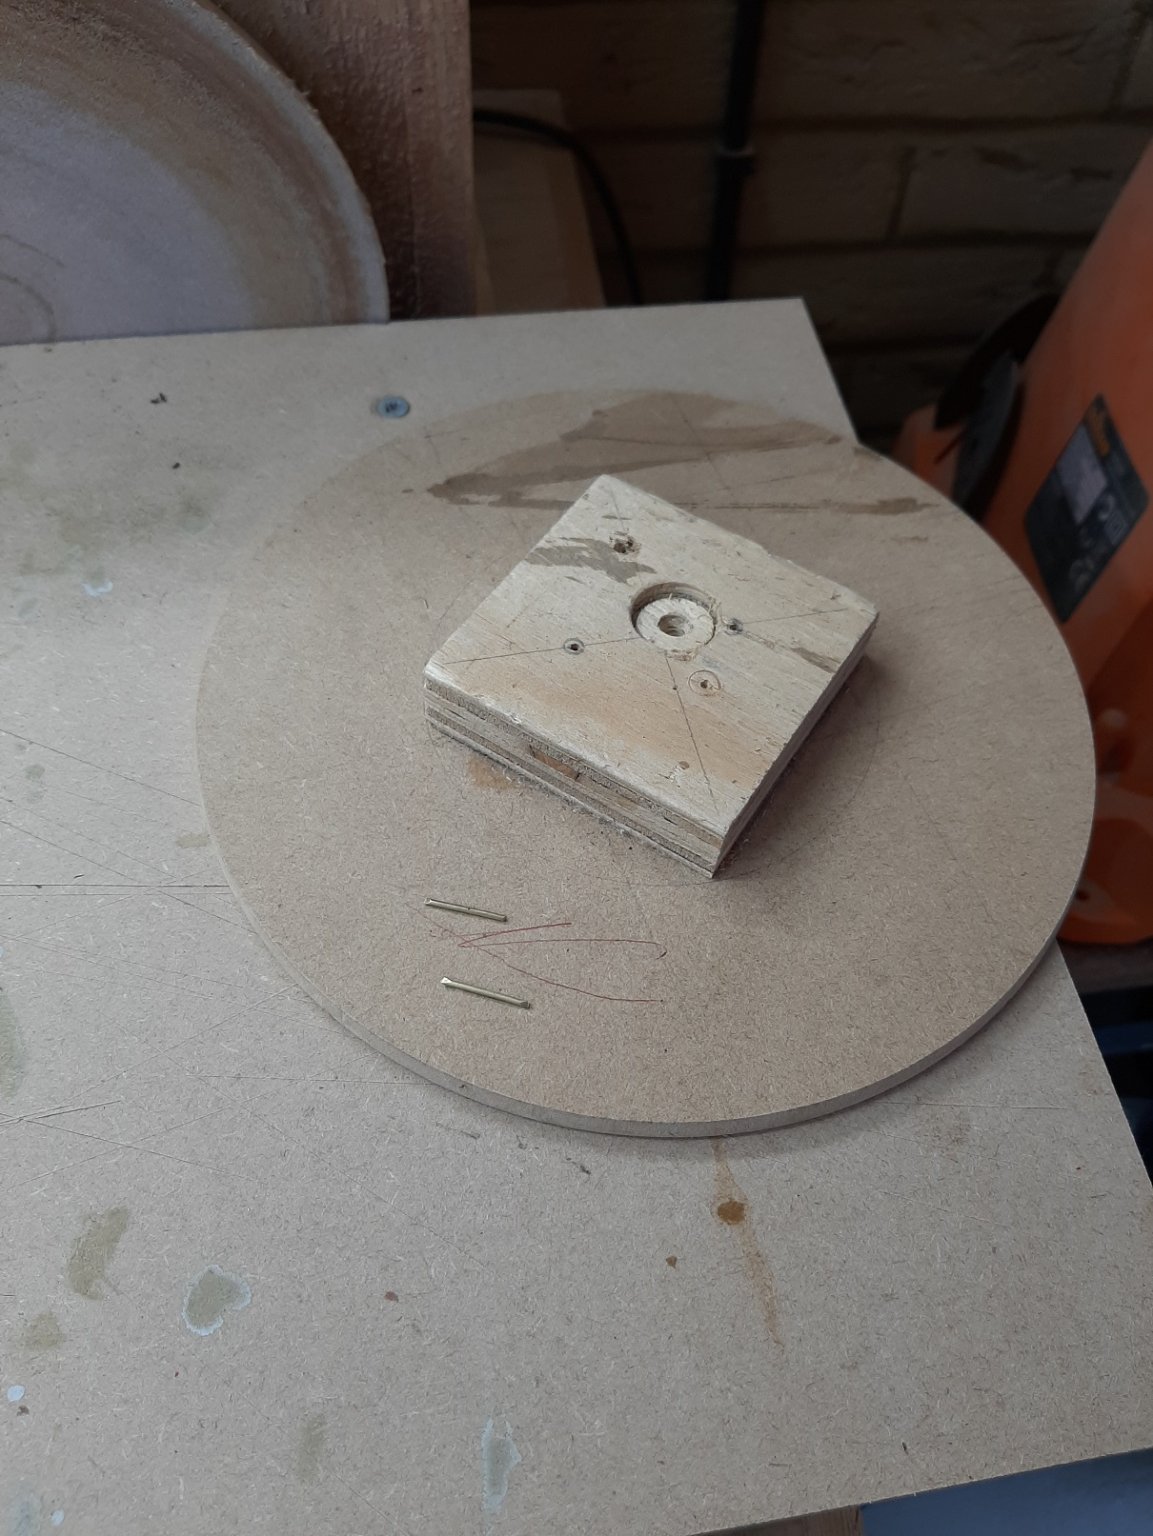
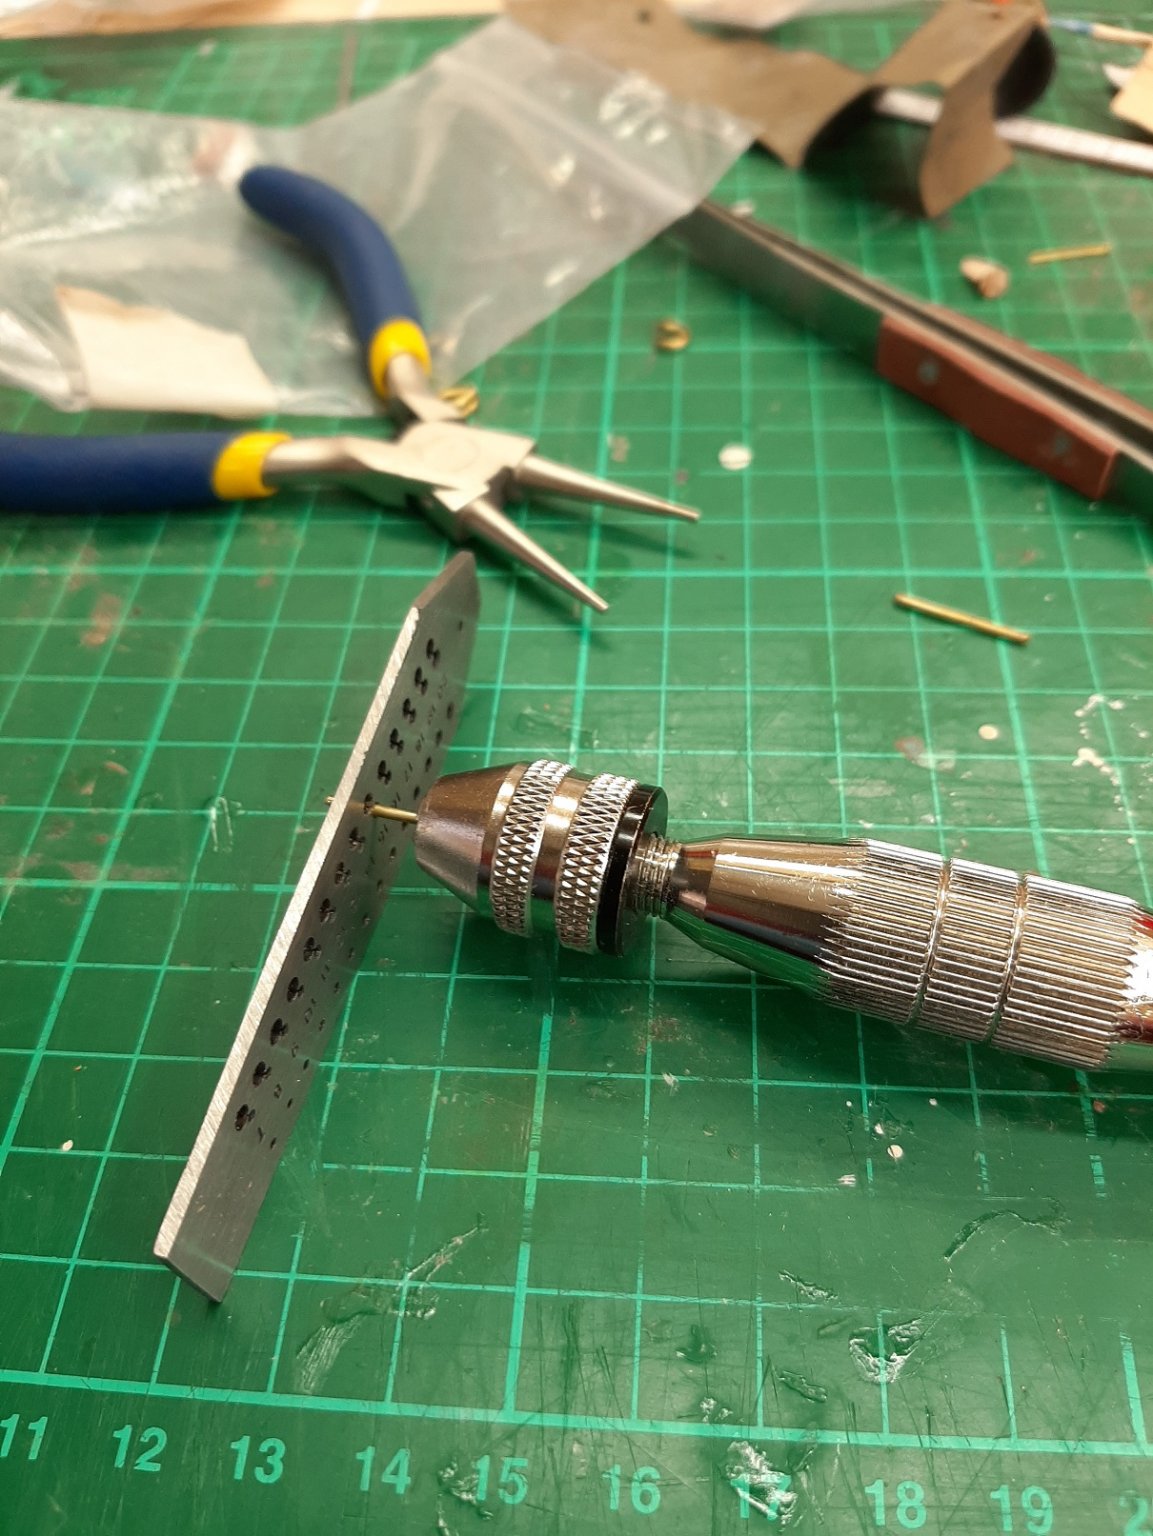
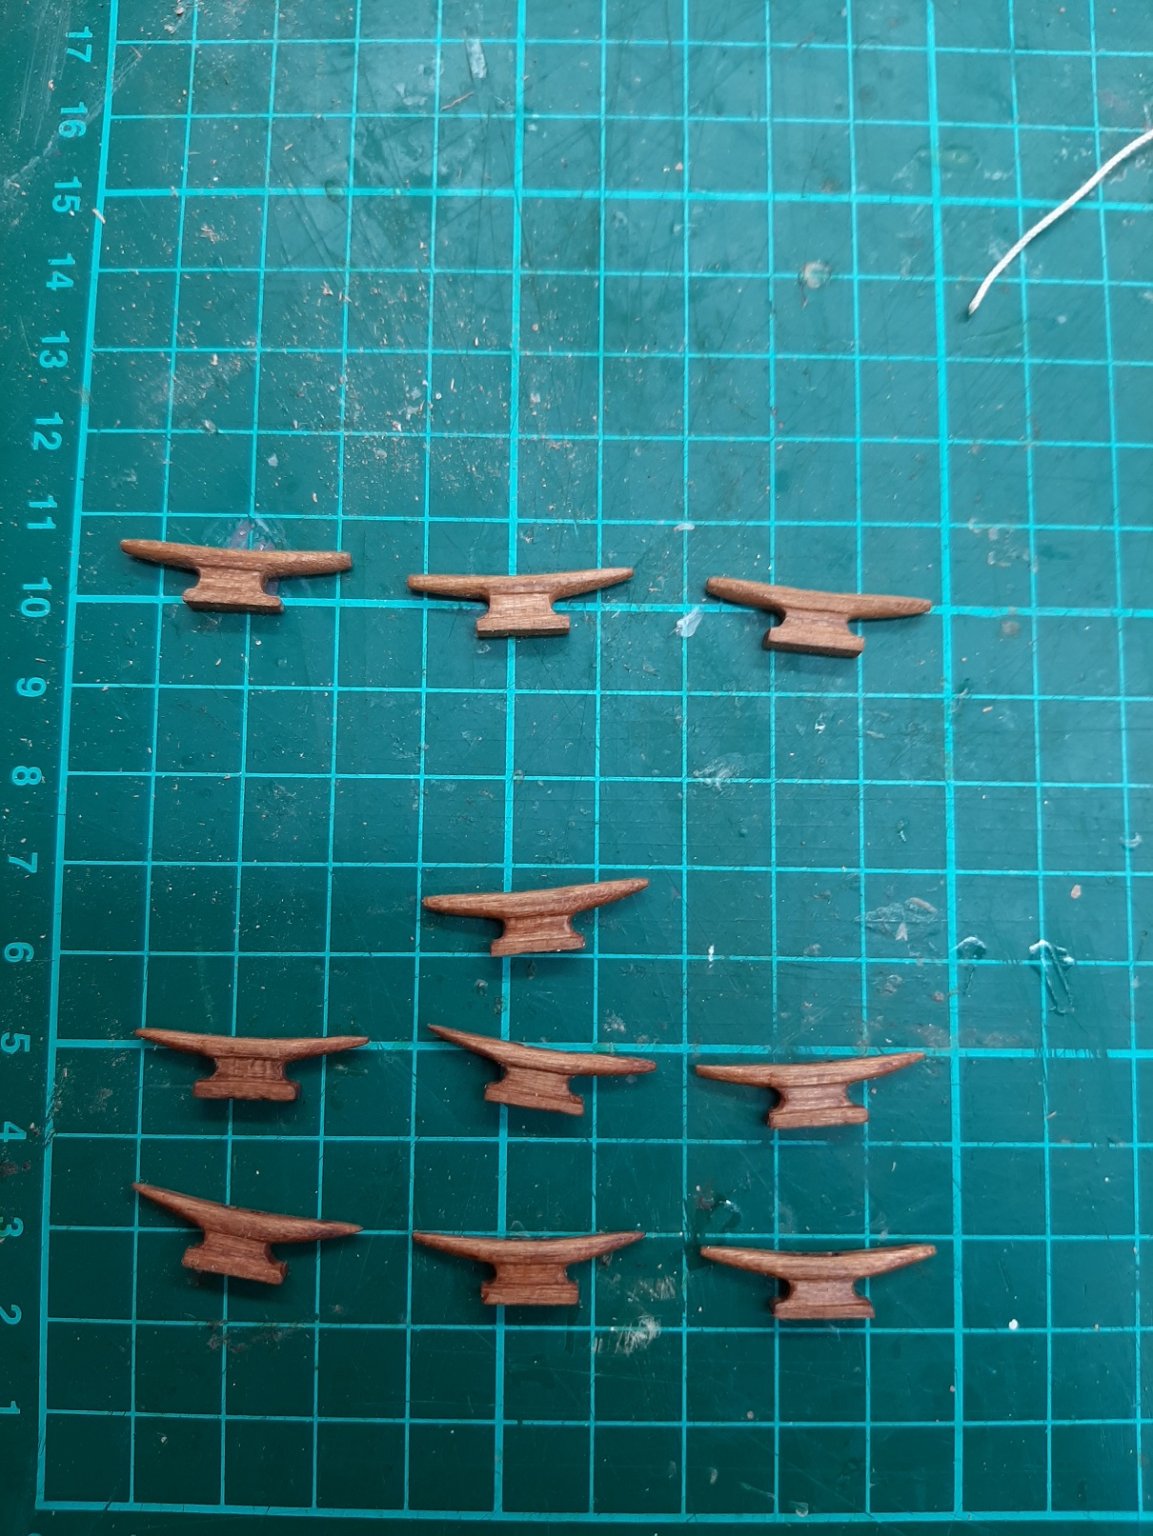
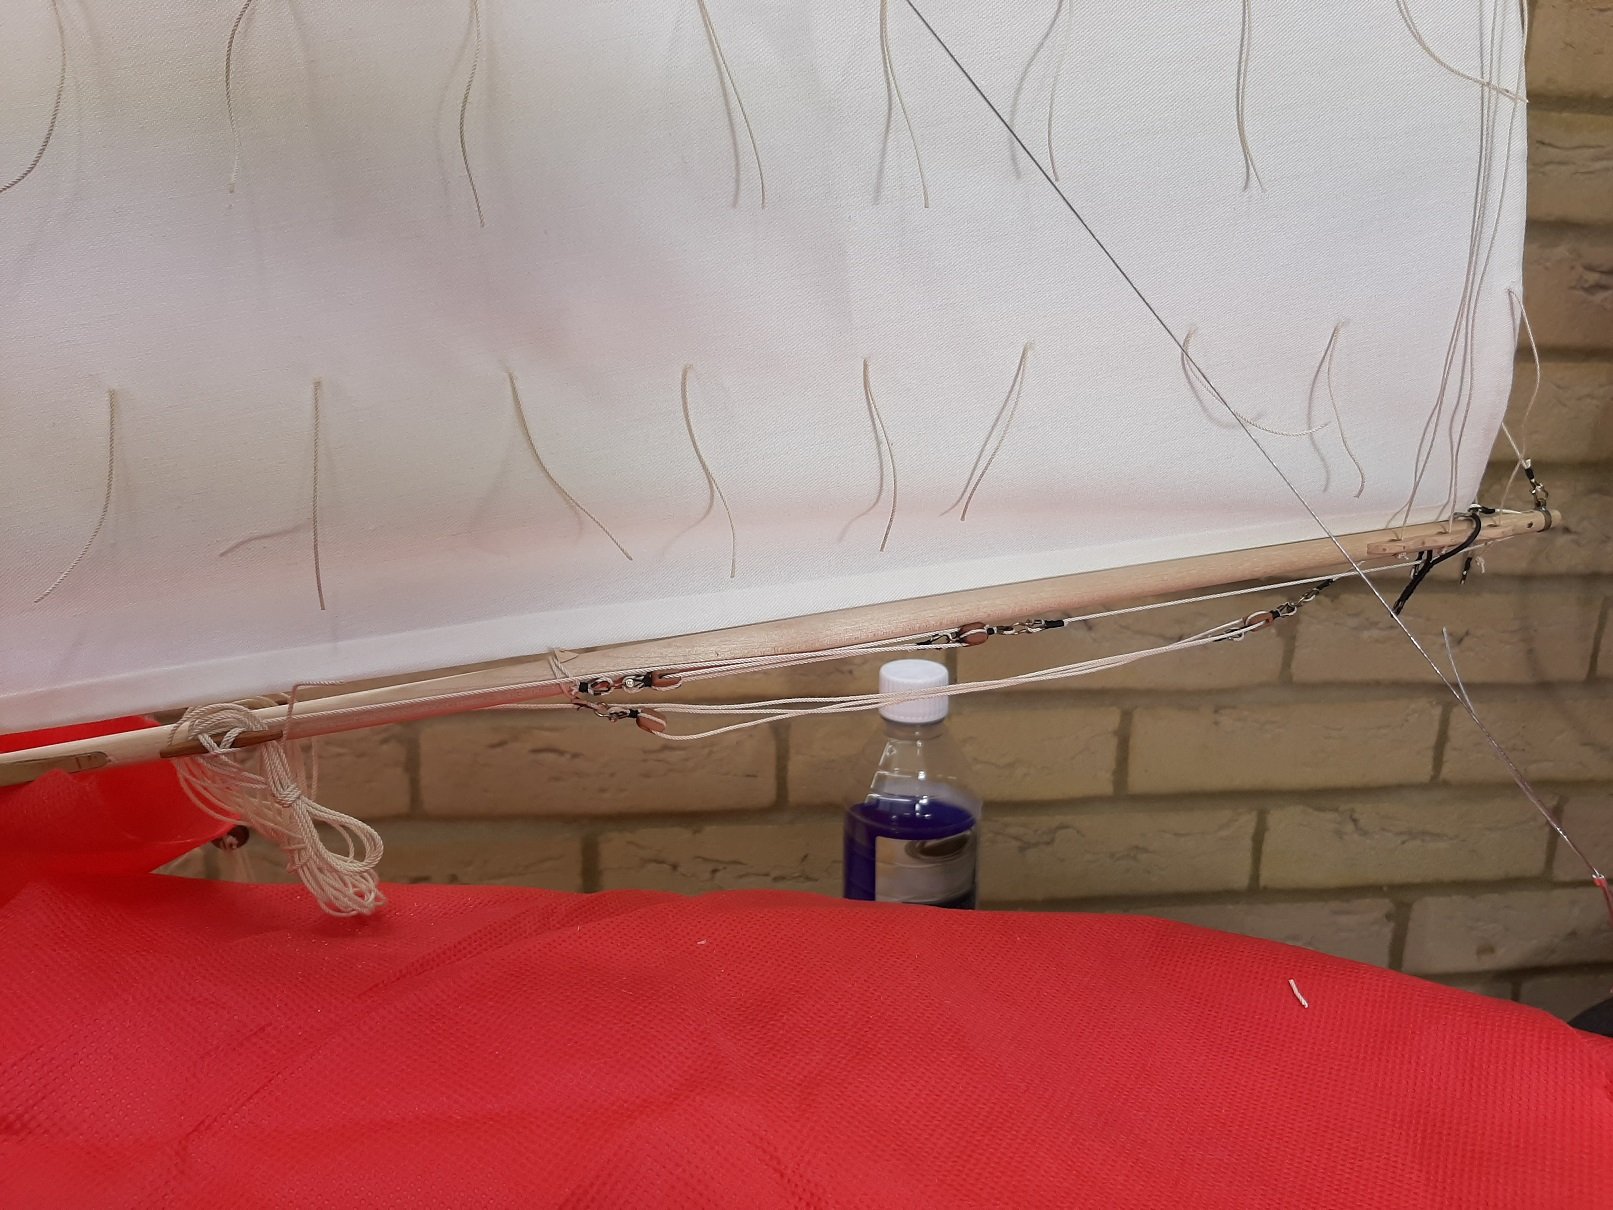
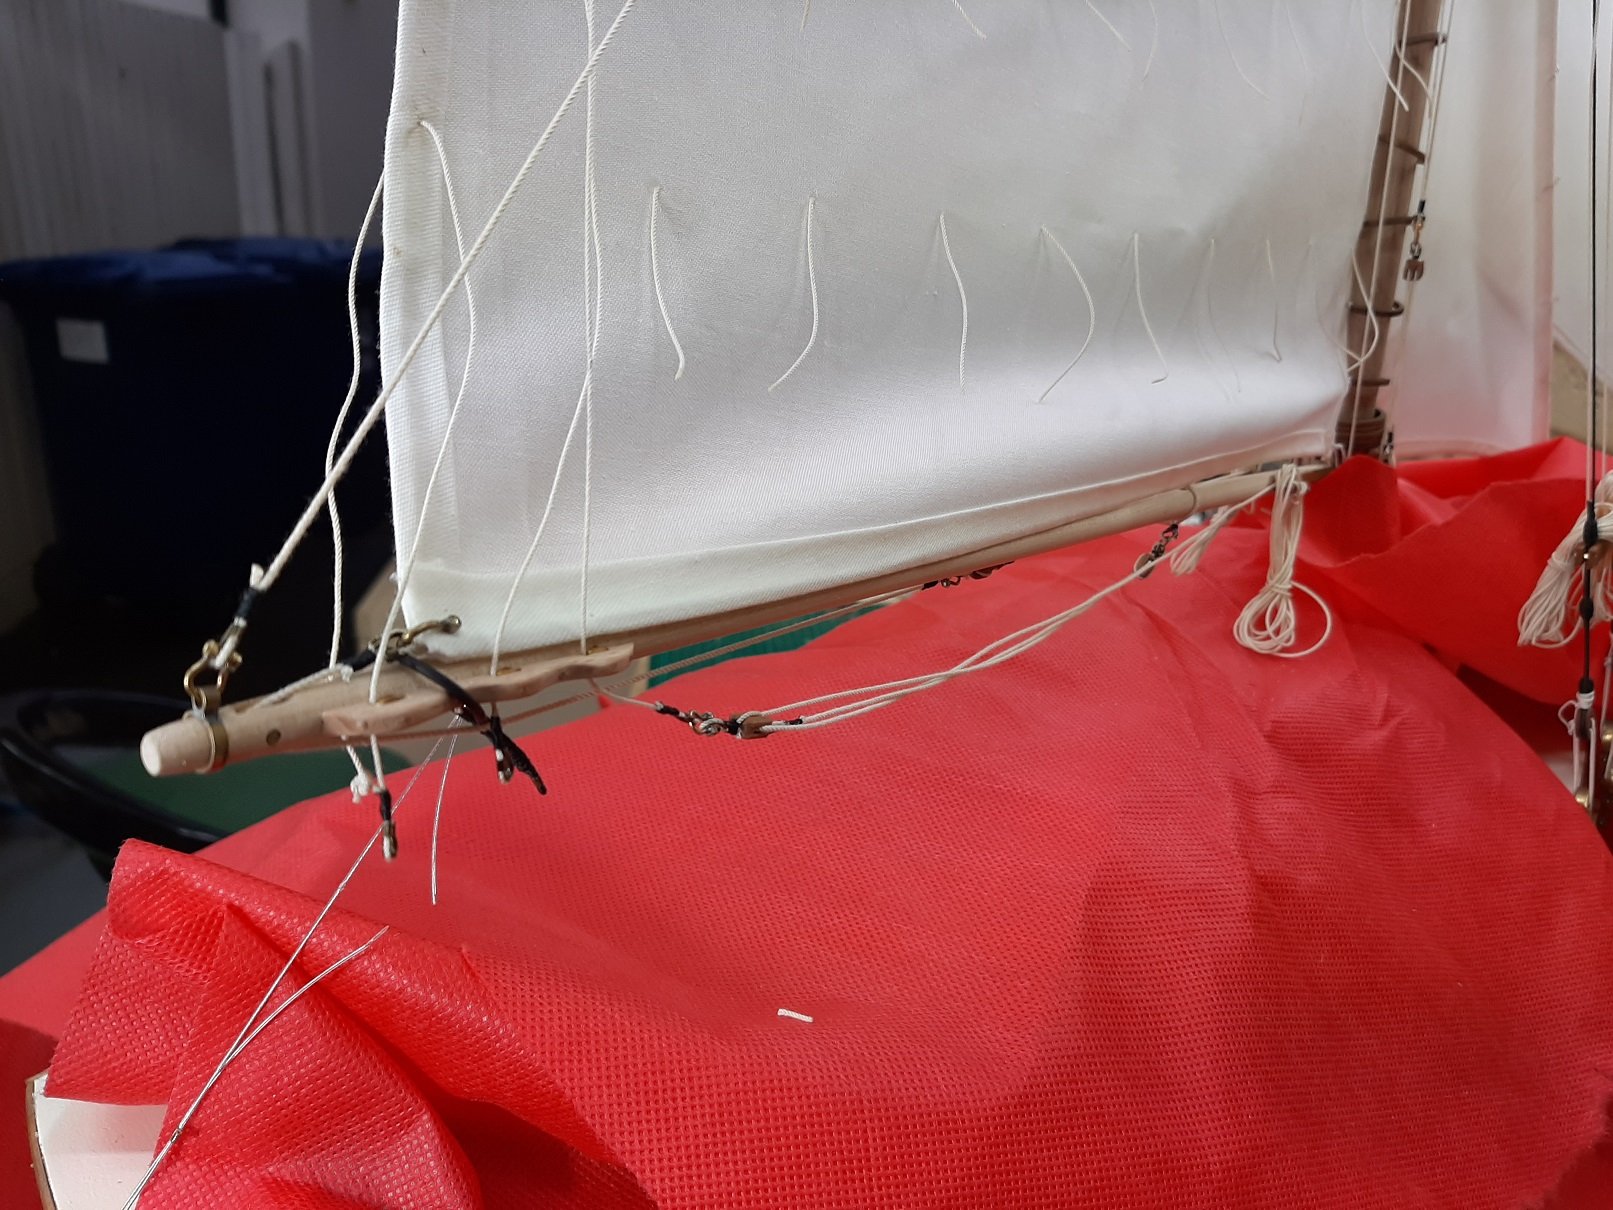
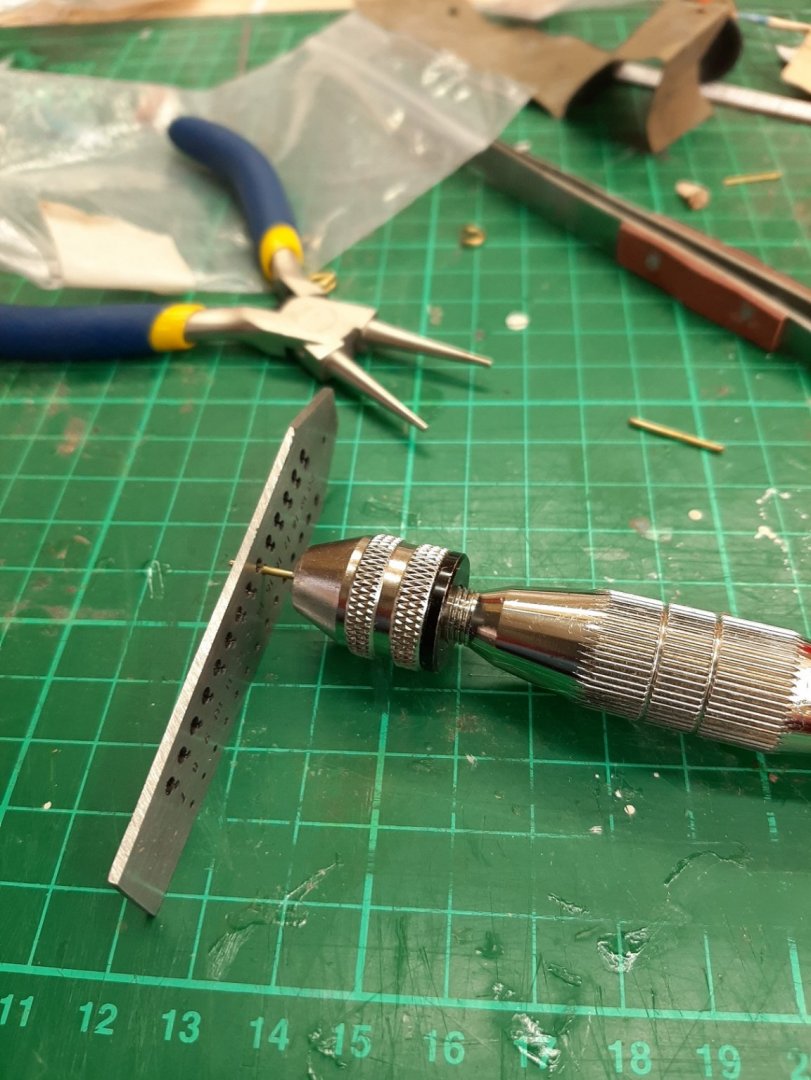
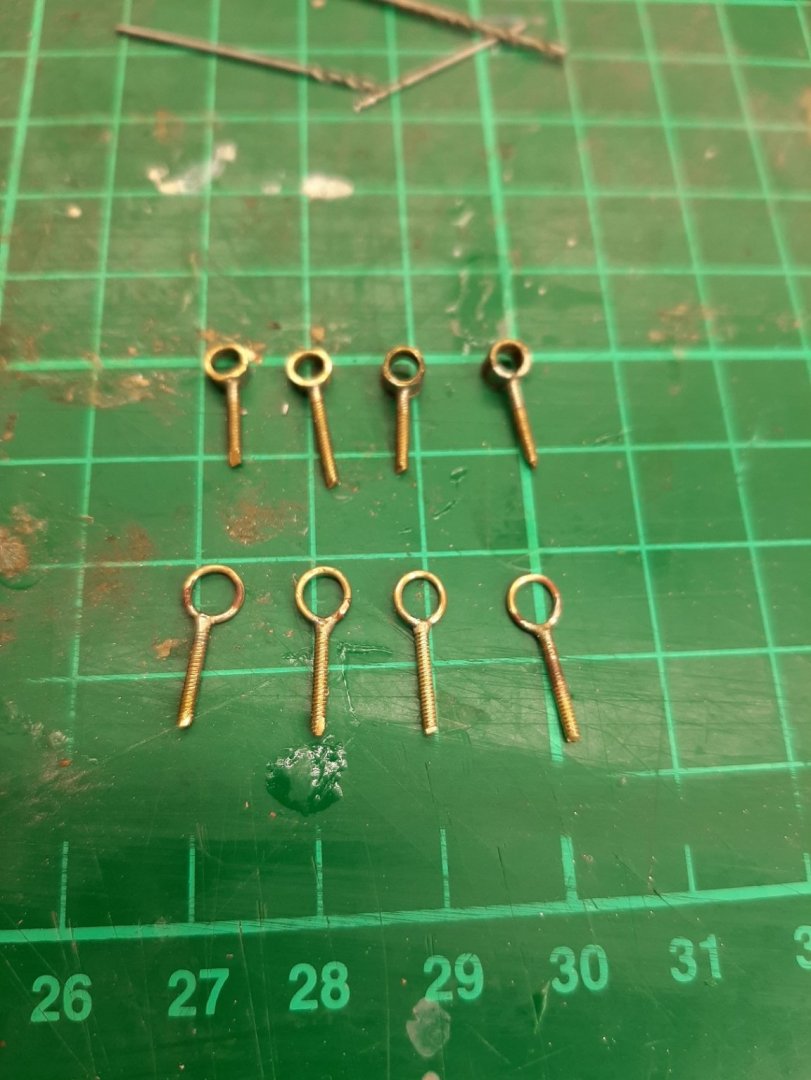
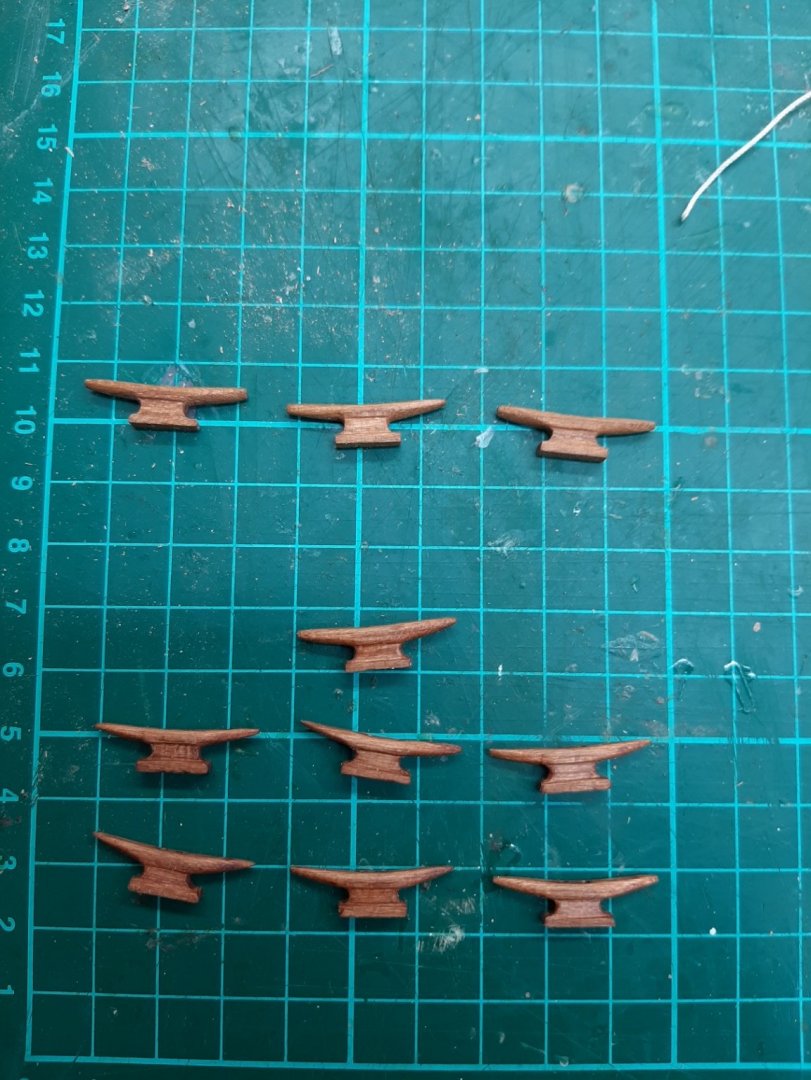
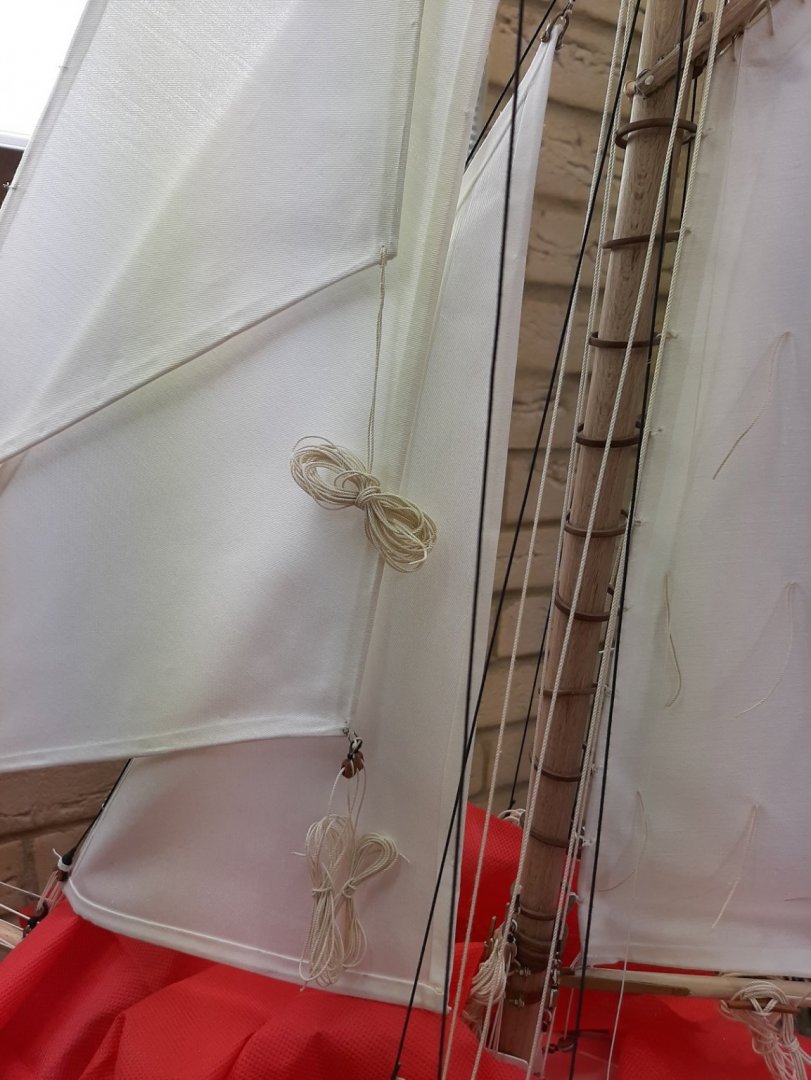
Thanks Druxey and Mark and everyone that visited and hit the like button! Slowly I am nibbling at the jobs left. Today I replaced the gaff traveller wire as the lacing went on the wrong side of it, much easier than to re-lace the sail. I also finished the remaining rigging for the boom, that is the clew outhaul and the reefing blocks. I installed two more cleats on the boom. I also rigged the sheets and blocks for the top and flying jibs. Next job was to make more cleats. I thought I had made enough but I ll need more, thankfully I had some blanks left, already drilled and counter-drilled. I am now thinking how to route the sheets from the fore sails to the cockpit. I will need some tethering points as well as some conduits. However, I recently got a new toy, a cheap micro tap and die set so I thought I ll give it a go. I used 1.2 mm brass wire, first annealed by heating it red hot, then rolled between 2 flat MDF surfaces to straighten it. Then I secured it on a hand drill and cut the threads. I am not sure how this should be done, I just tried holes until I found the first one that the wire would not fit and used that one. It was dead easy to cut the threads. The threaded wire now screws very easily in 1.1 mm hole and very securely, there will be no need to use any glue. I think this skill will be useful in the future. I then made a few parts that I think will do the job. They still need to be polished and waxed. I think next I should lace the sail to the boom, tedious task but must be done. Then I ll start bringing the sheets aft, I will not drill anything in place until everything is ready, my deck will for sure be very busy and crowded. I do have some concern that not everything will fit! Regards Vaddoc


- 536 replies
-
- 11
-

-
How to seal acrylic paint?
vaddoc replied to Bill97's topic in Painting, finishing and weathering products and techniques
This is a comforting thought Keith. I somehow doubt that my models will survive long after I am gone but who knows! -
How to seal acrylic paint?
vaddoc replied to Bill97's topic in Painting, finishing and weathering products and techniques
If the acrylic paint is to suffer any abuse, it needs protection as it scratches easily. Otherwise, not really necessary unless a bit of shine is desirable. -
How to seal acrylic paint?
vaddoc replied to Bill97's topic in Painting, finishing and weathering products and techniques
You can use pretty much everything, wait a few days for a good cure of the acrylics. "Fat over lean". The toughest finish would be enamel varnish, I like humbrol. However water based varnishes are so much easier to use. The valejo polyurethane varnishes are nice but not as tough as enamel. Take care with matt varnishes, they can be tempermental -
Epoxy glue
vaddoc replied to Zooker's topic in Building, Framing, Planking and plating a ships hull and deck
Zpoxy 5 min or 30 min will work, if it is epoxy you need but really any branded epoxy would be fine. However the opening time is very much temperature dependent, I found that sometimes the 5 min allowed very little window to arrange pieces. In the past I ve used the 30 min which I warmed beforehand so it would cure much quicker. If the broken pieces match well, you could just use PVA. Maybe drilling a hole, use 1 mm screws to hold pieces while PVA cures, then fill hole with dowel or just use tape. Probably cleaner solution. Epoxy is really very messy! Also, you will need to prepare and mix a new epoxy quantity for every repair you need to make Uncured epoxy being alkaline cleans well with vinegar, the acid destroys it immediately. -
Epoxy glue
vaddoc replied to Zooker's topic in Building, Framing, Planking and plating a ships hull and deck
Epoxies can have different properties, some cure flexible, some are more brittle. I use epoxy a lot, mostly for laminating and always thickened. I am not very happy with the results using it as glue unthickened-too brittle. I very much like Zpoxy, it is expensive though. I use the 30 min for gluing stuff and the finishing resin for laminating. Self life seems to be indefinite. If the hardener and resin become too thick and crystalise, 10 secs in the microwave restore to liquid form. I use gloves and syringes to accurately measure equal volumes.