

UdoK
-
Posts
171 -
Joined
-
Last visited
Content Type
Profiles
Forums
Gallery
Events
Posts posted by UdoK
-
-
Seems to be an interesting kit, I even didn't know that the Vanguard was produced by Model shipways.
-
-
A very impressive model, looks great!
-
-
Hi all,
It's time to do something on the Bounty again.
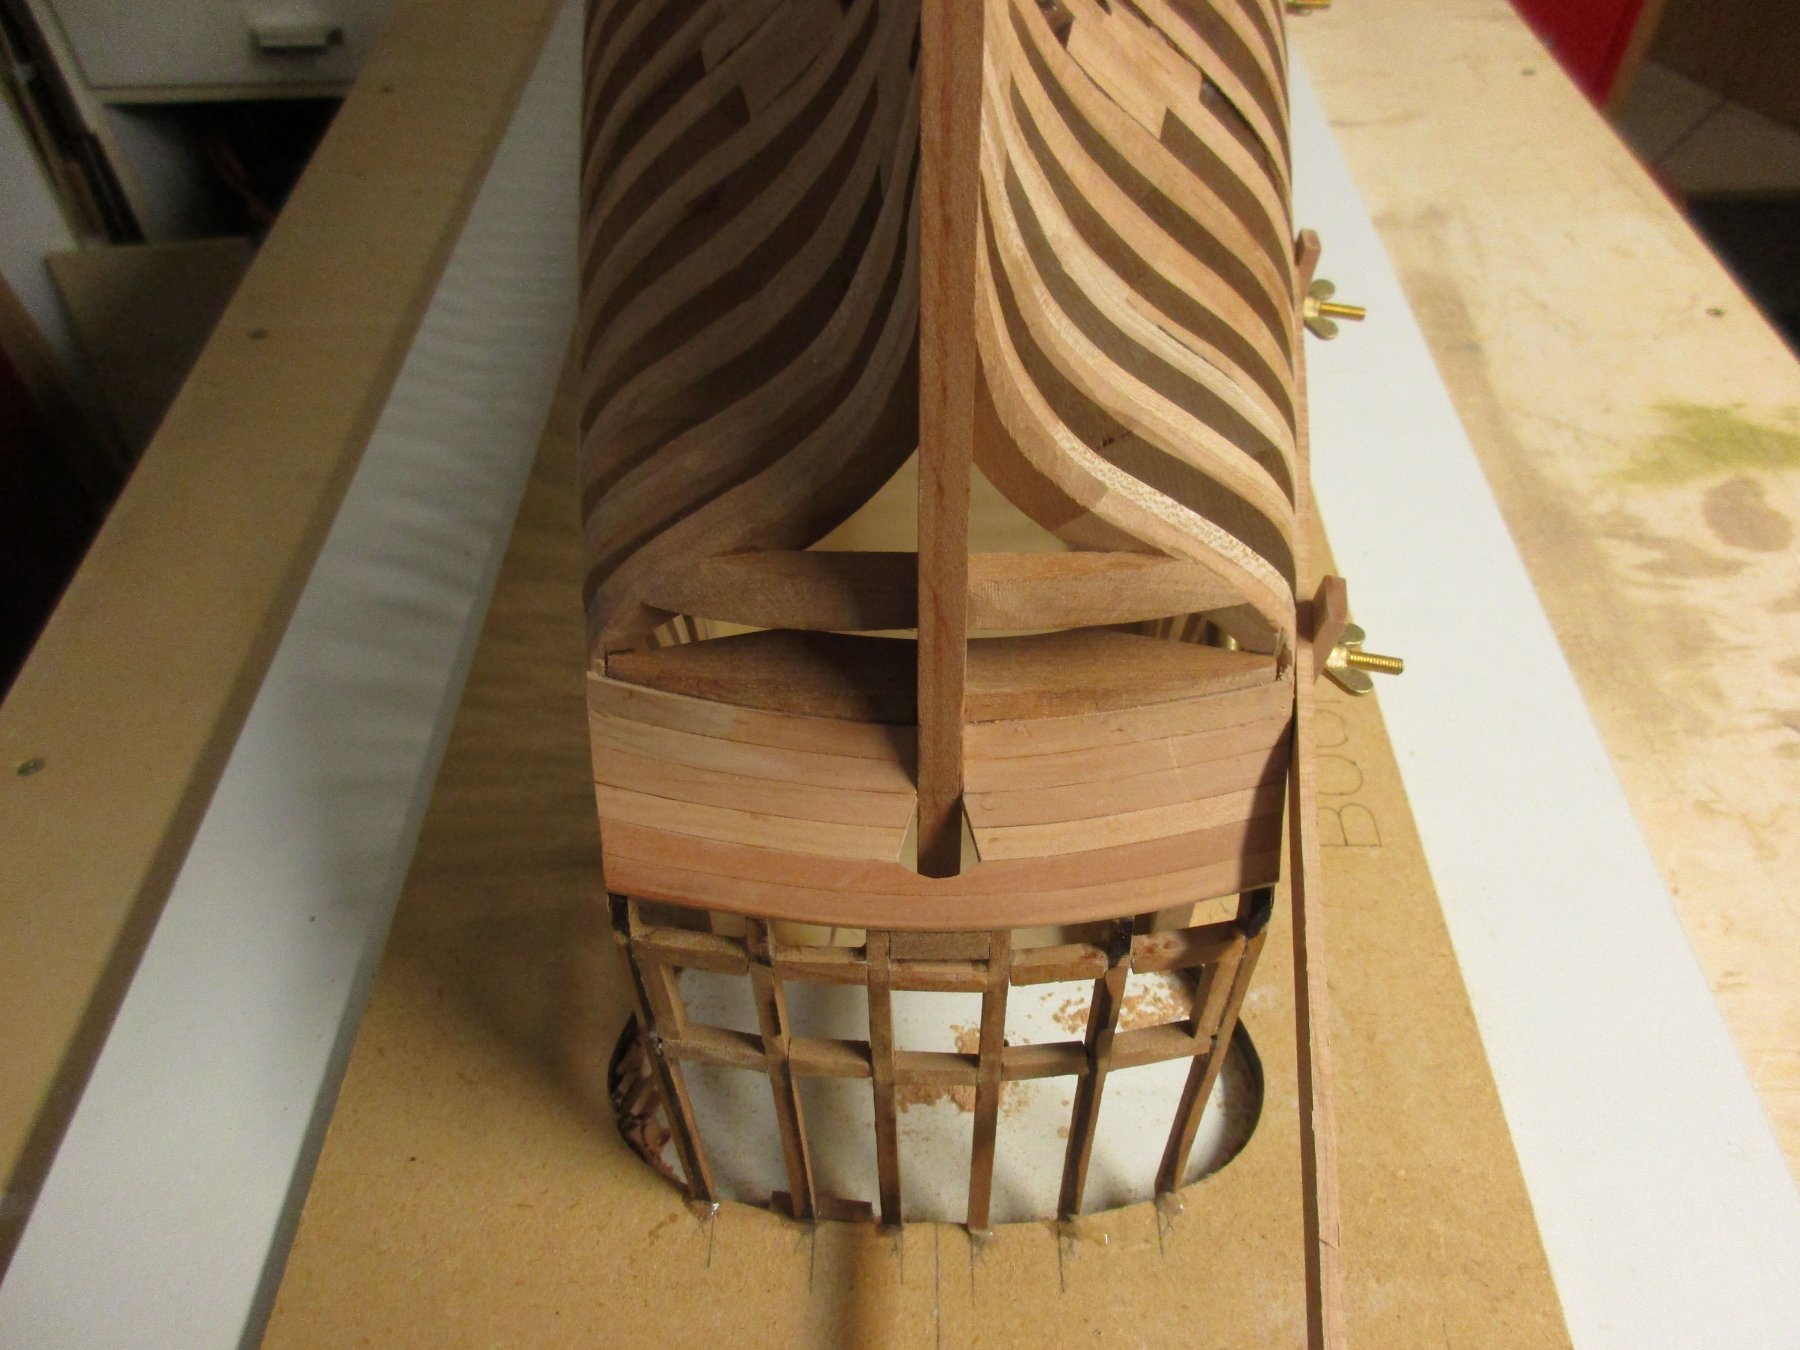
The lower transom is planked with the supplied pear wood planks. In order to obtain the lateral bending of the planks, I made a template with the required radius of the planks, soaked the planks in water and allowed them to dry in the template.
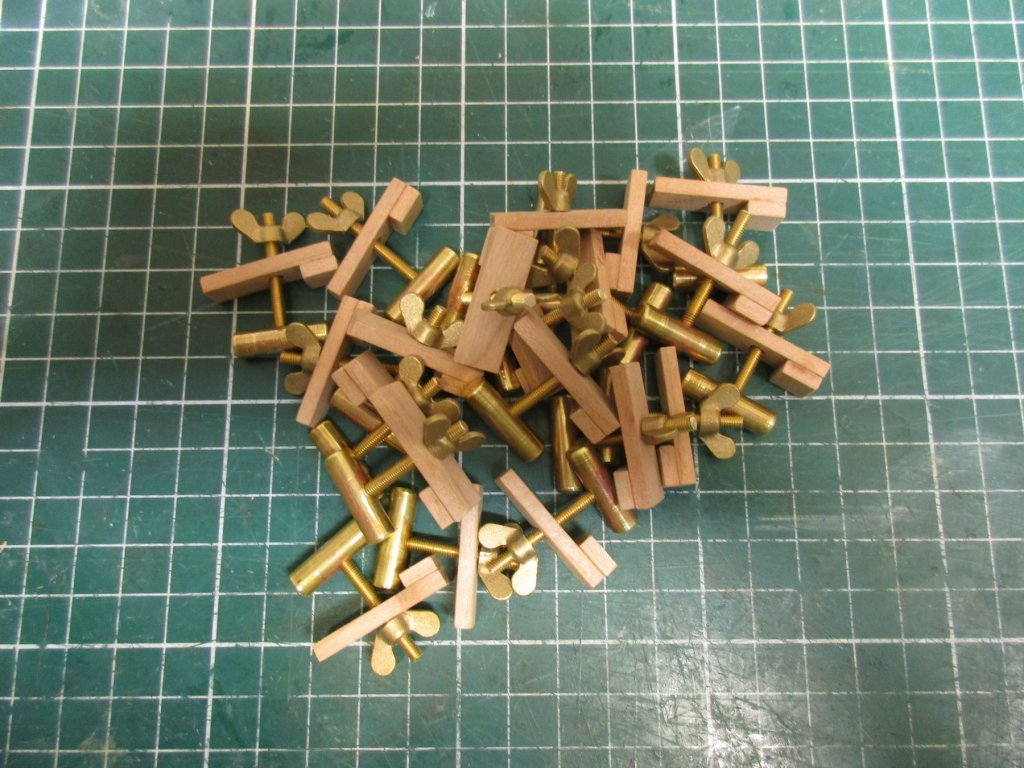
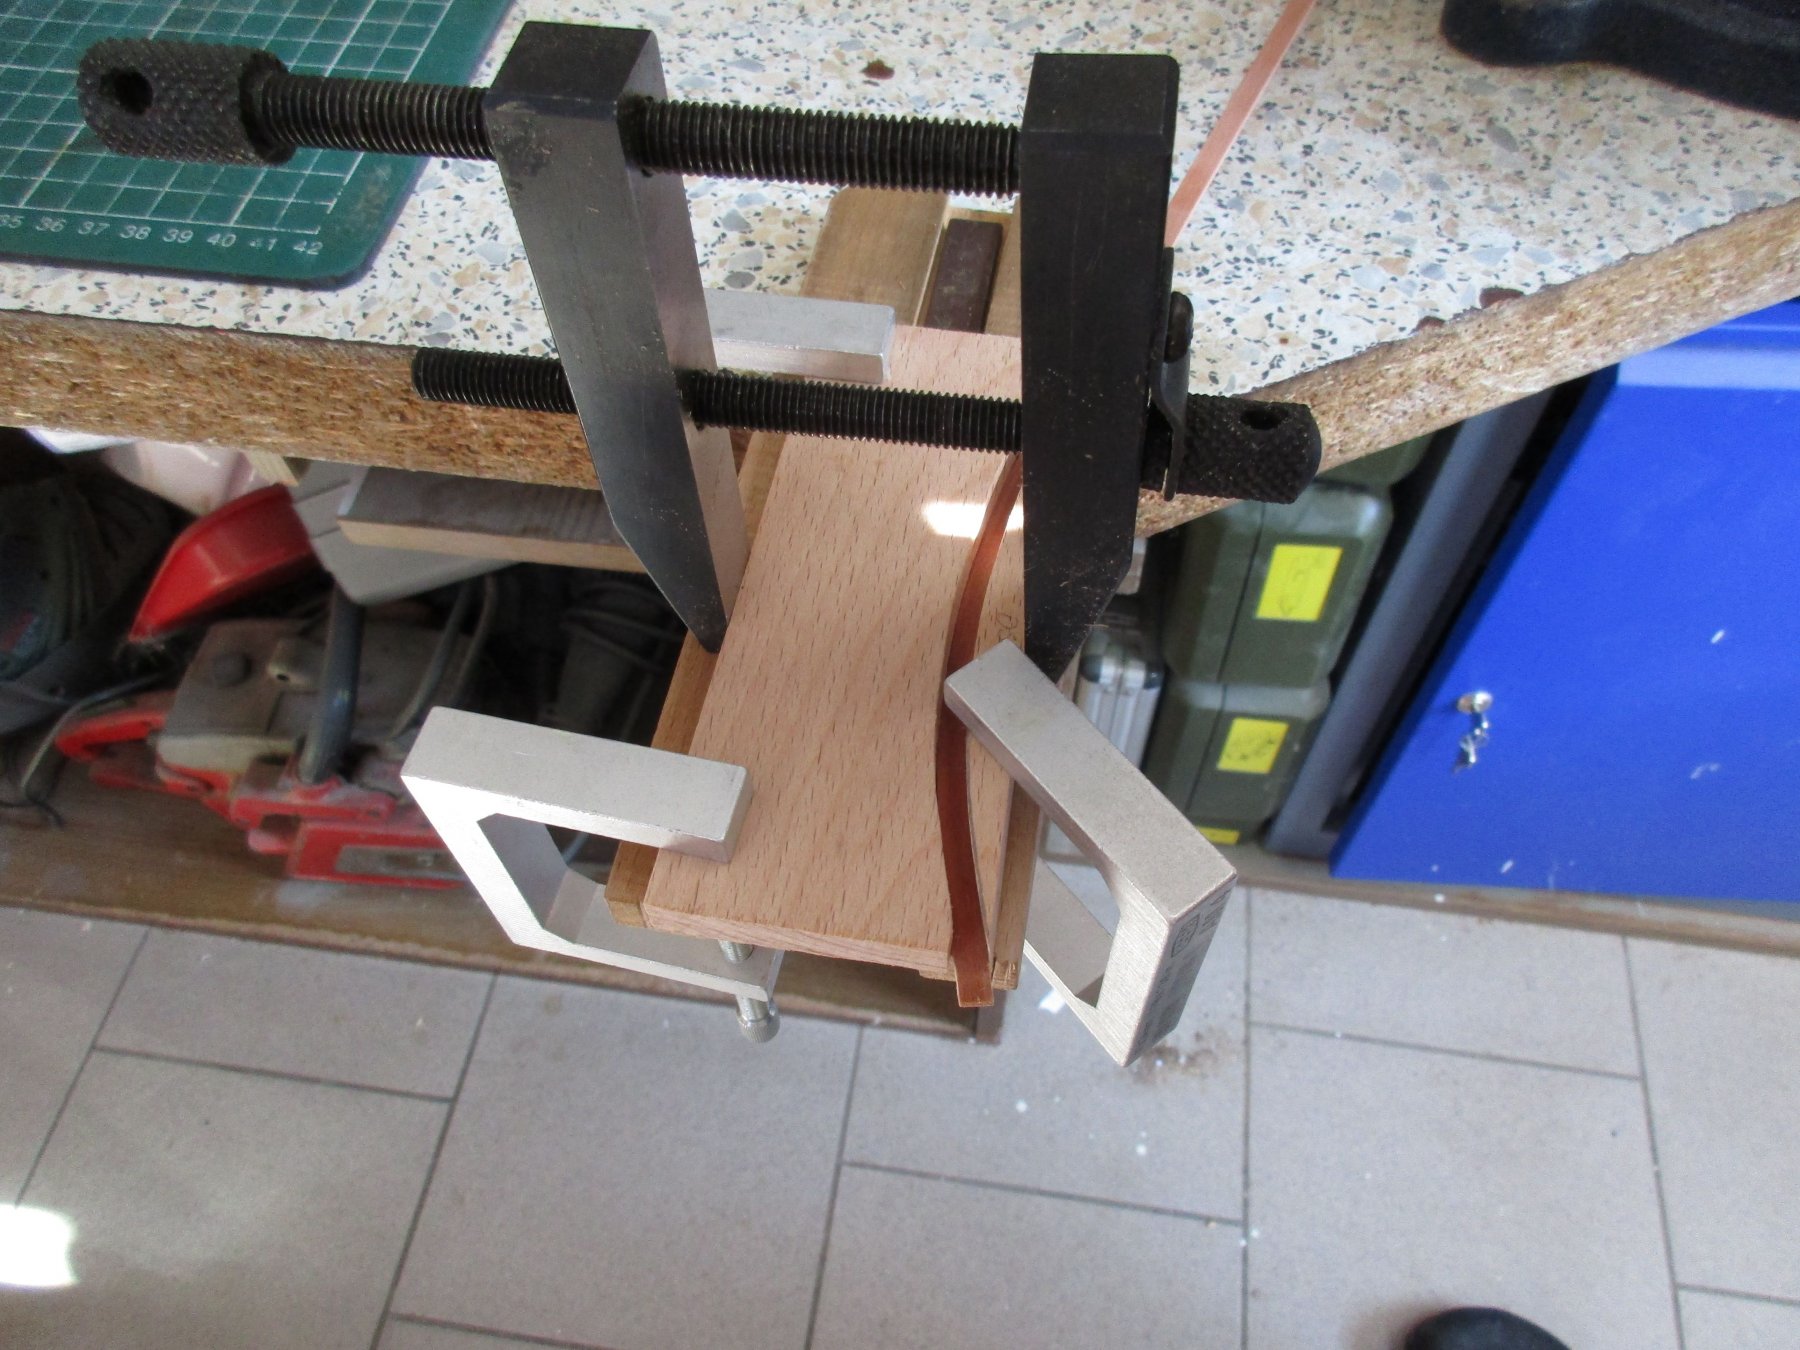
Before the first belt of the wales had been cut and attached I made some plank clamps from a brass rod, threated rod M 3 and cherry wood.


-
On 13.11.2017 at 9:17 PM, amateur said:
I checked Witsen
He describes grating as you made them:
the lower layer, measured about two inches high, two wide,
the upper layer nailed on top, battens half inch thick, about 3 inch wide,
I guess the lower layer is around two-three inches apart.
so you would be correct, as soon as you follow the advice of Hans: sand back until zero thickness
")
jan
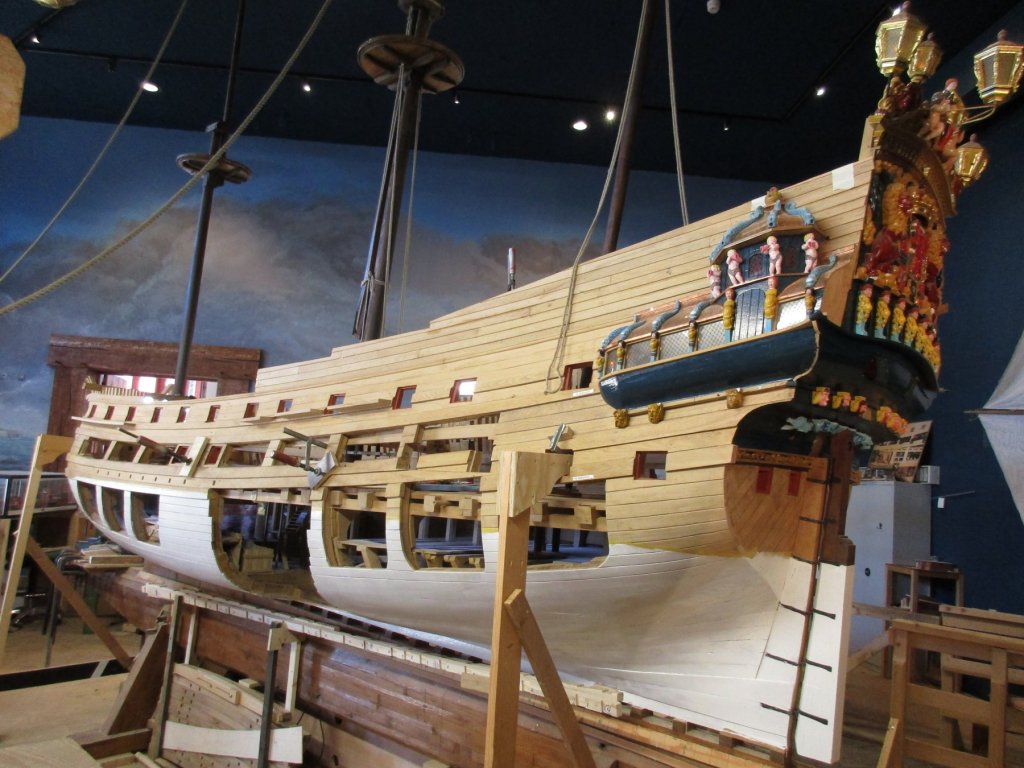
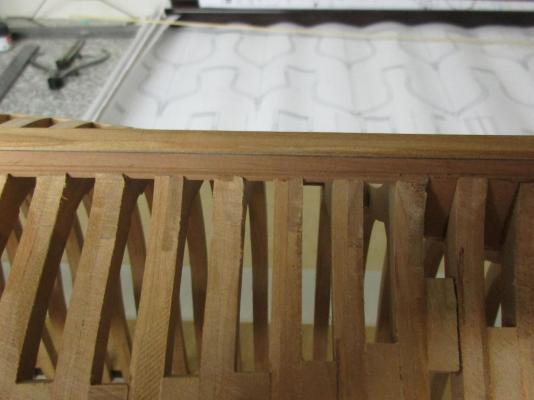
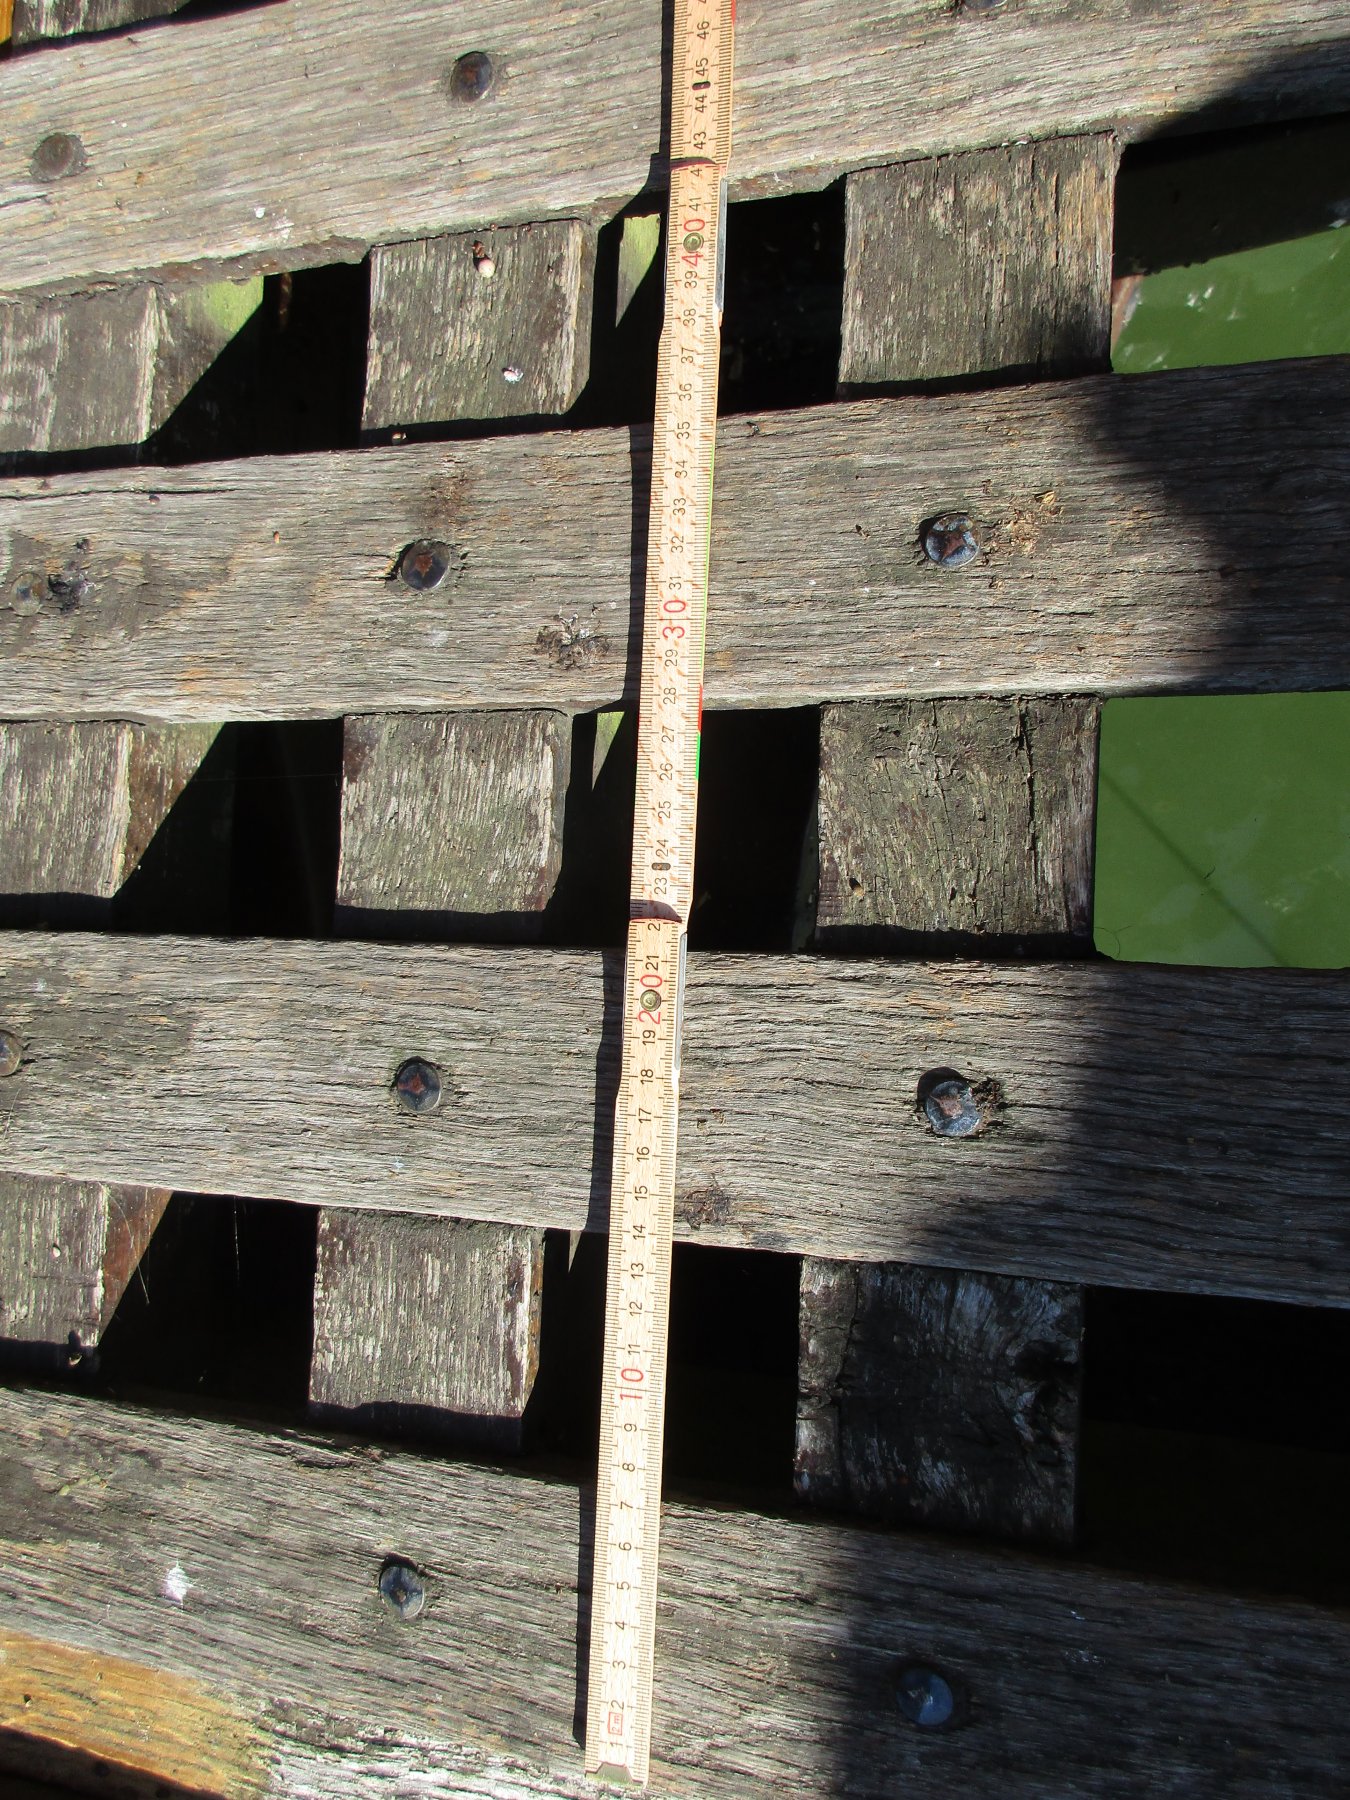
I' am probably a bit late to the Party, but here a Photo I took on the Batavia which shows the dimensions..

- CaptainSteve, Baker, zappto and 3 others
-
 6
6
-
Thank you Robin and Michael for the link,
although I have collected a whole bunch of photos I didn't know this one, awesome Pictures!
- Robin Lous and Piet
-
2
-
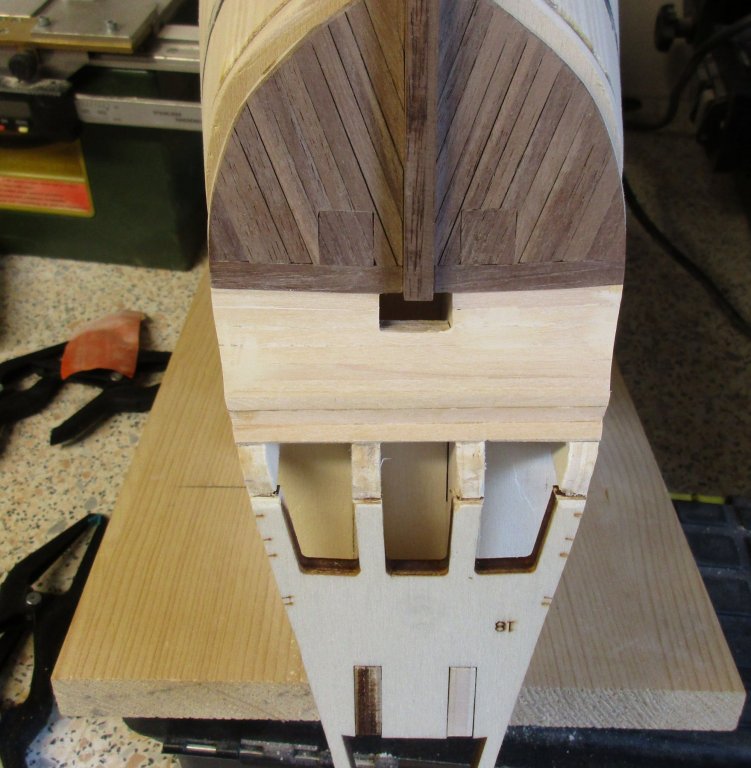
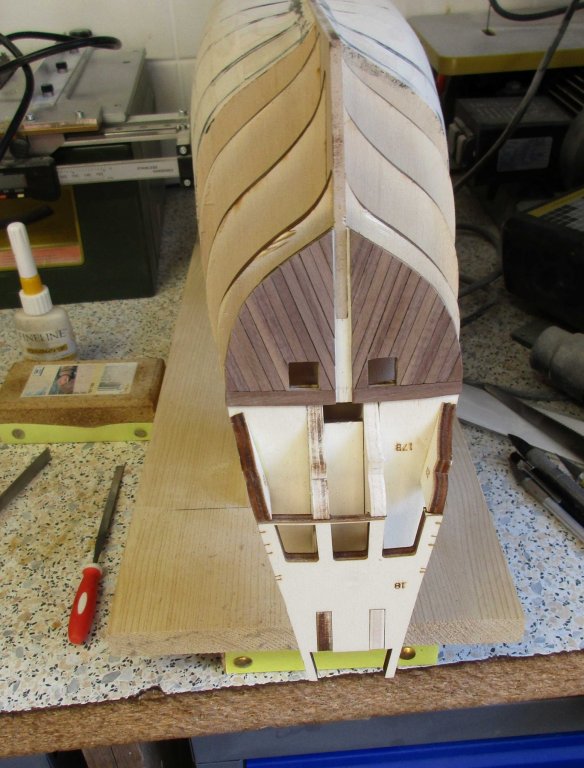
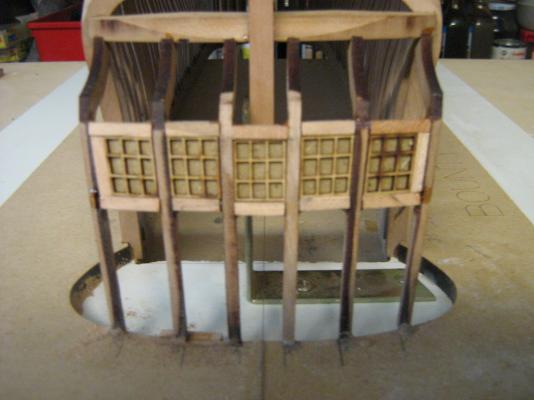
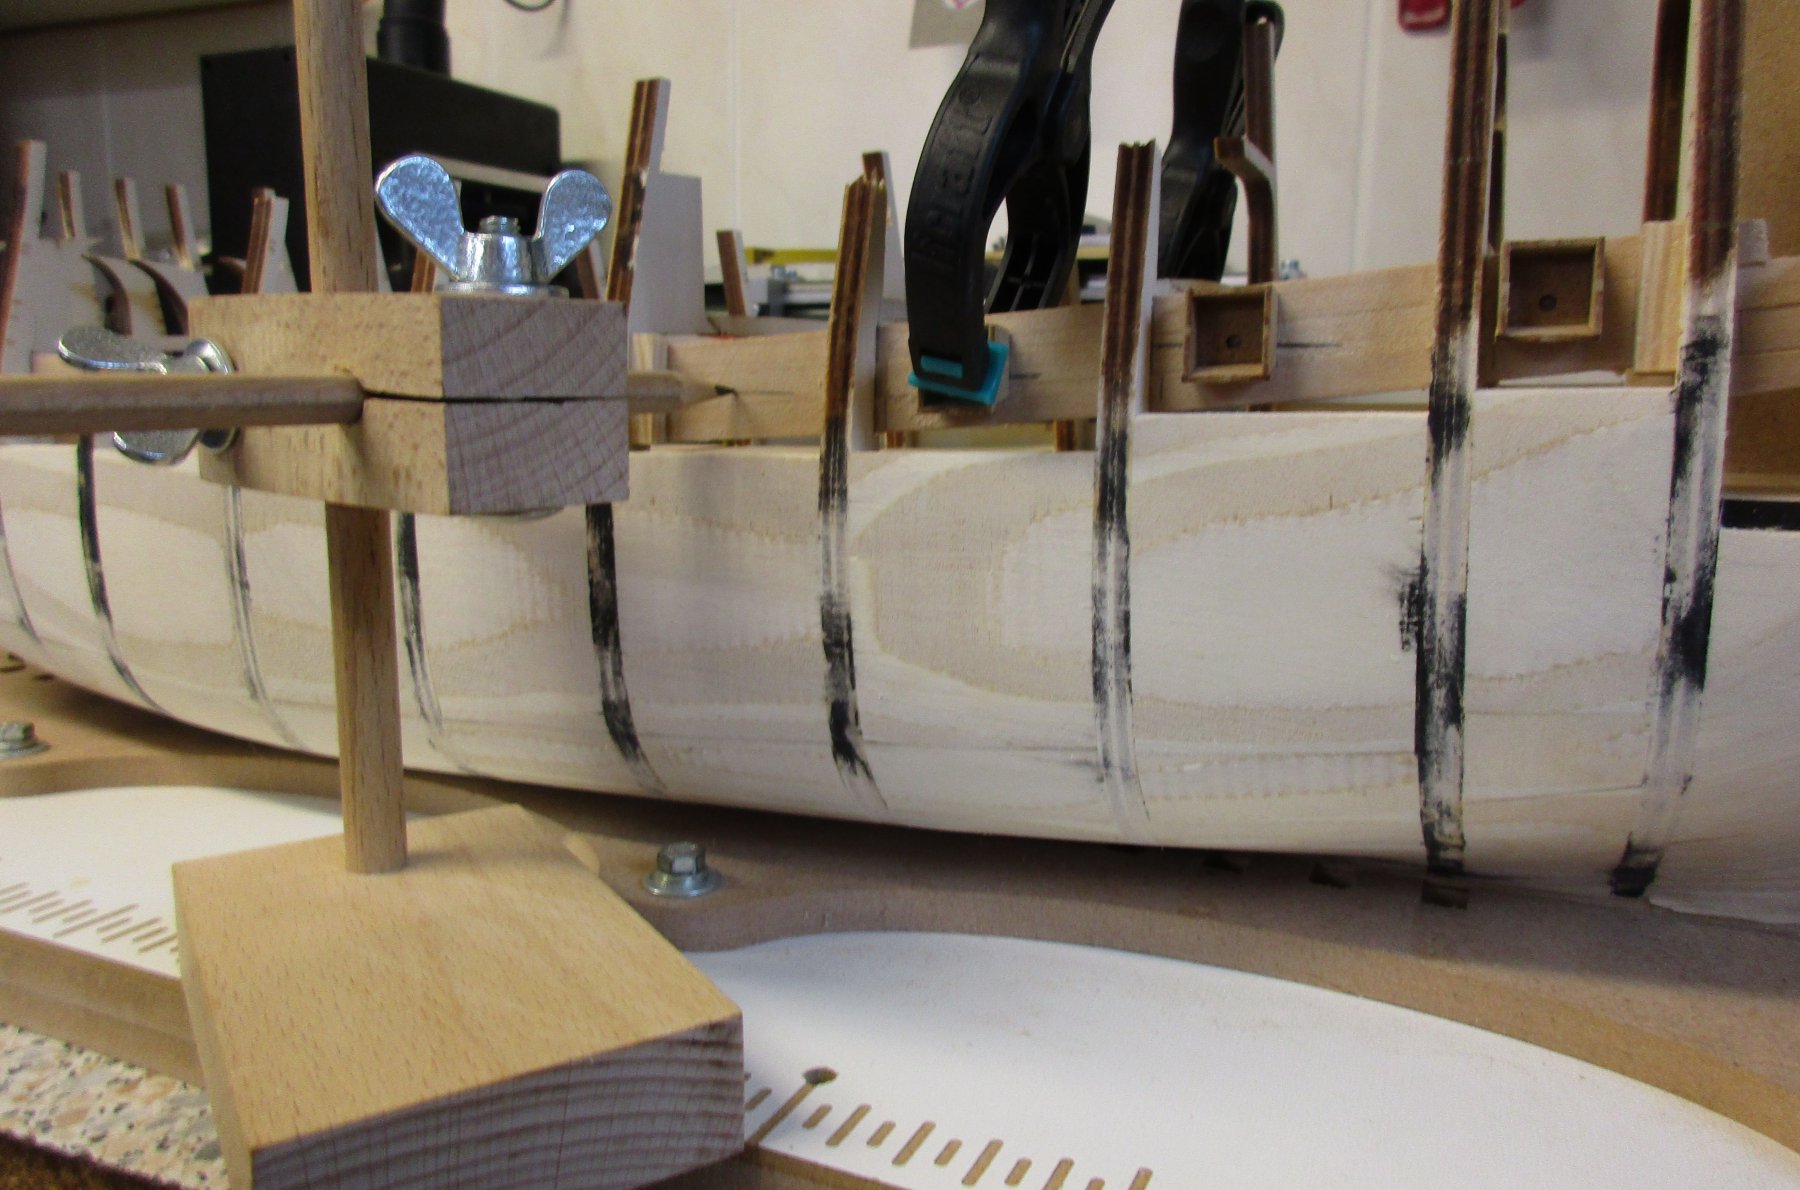
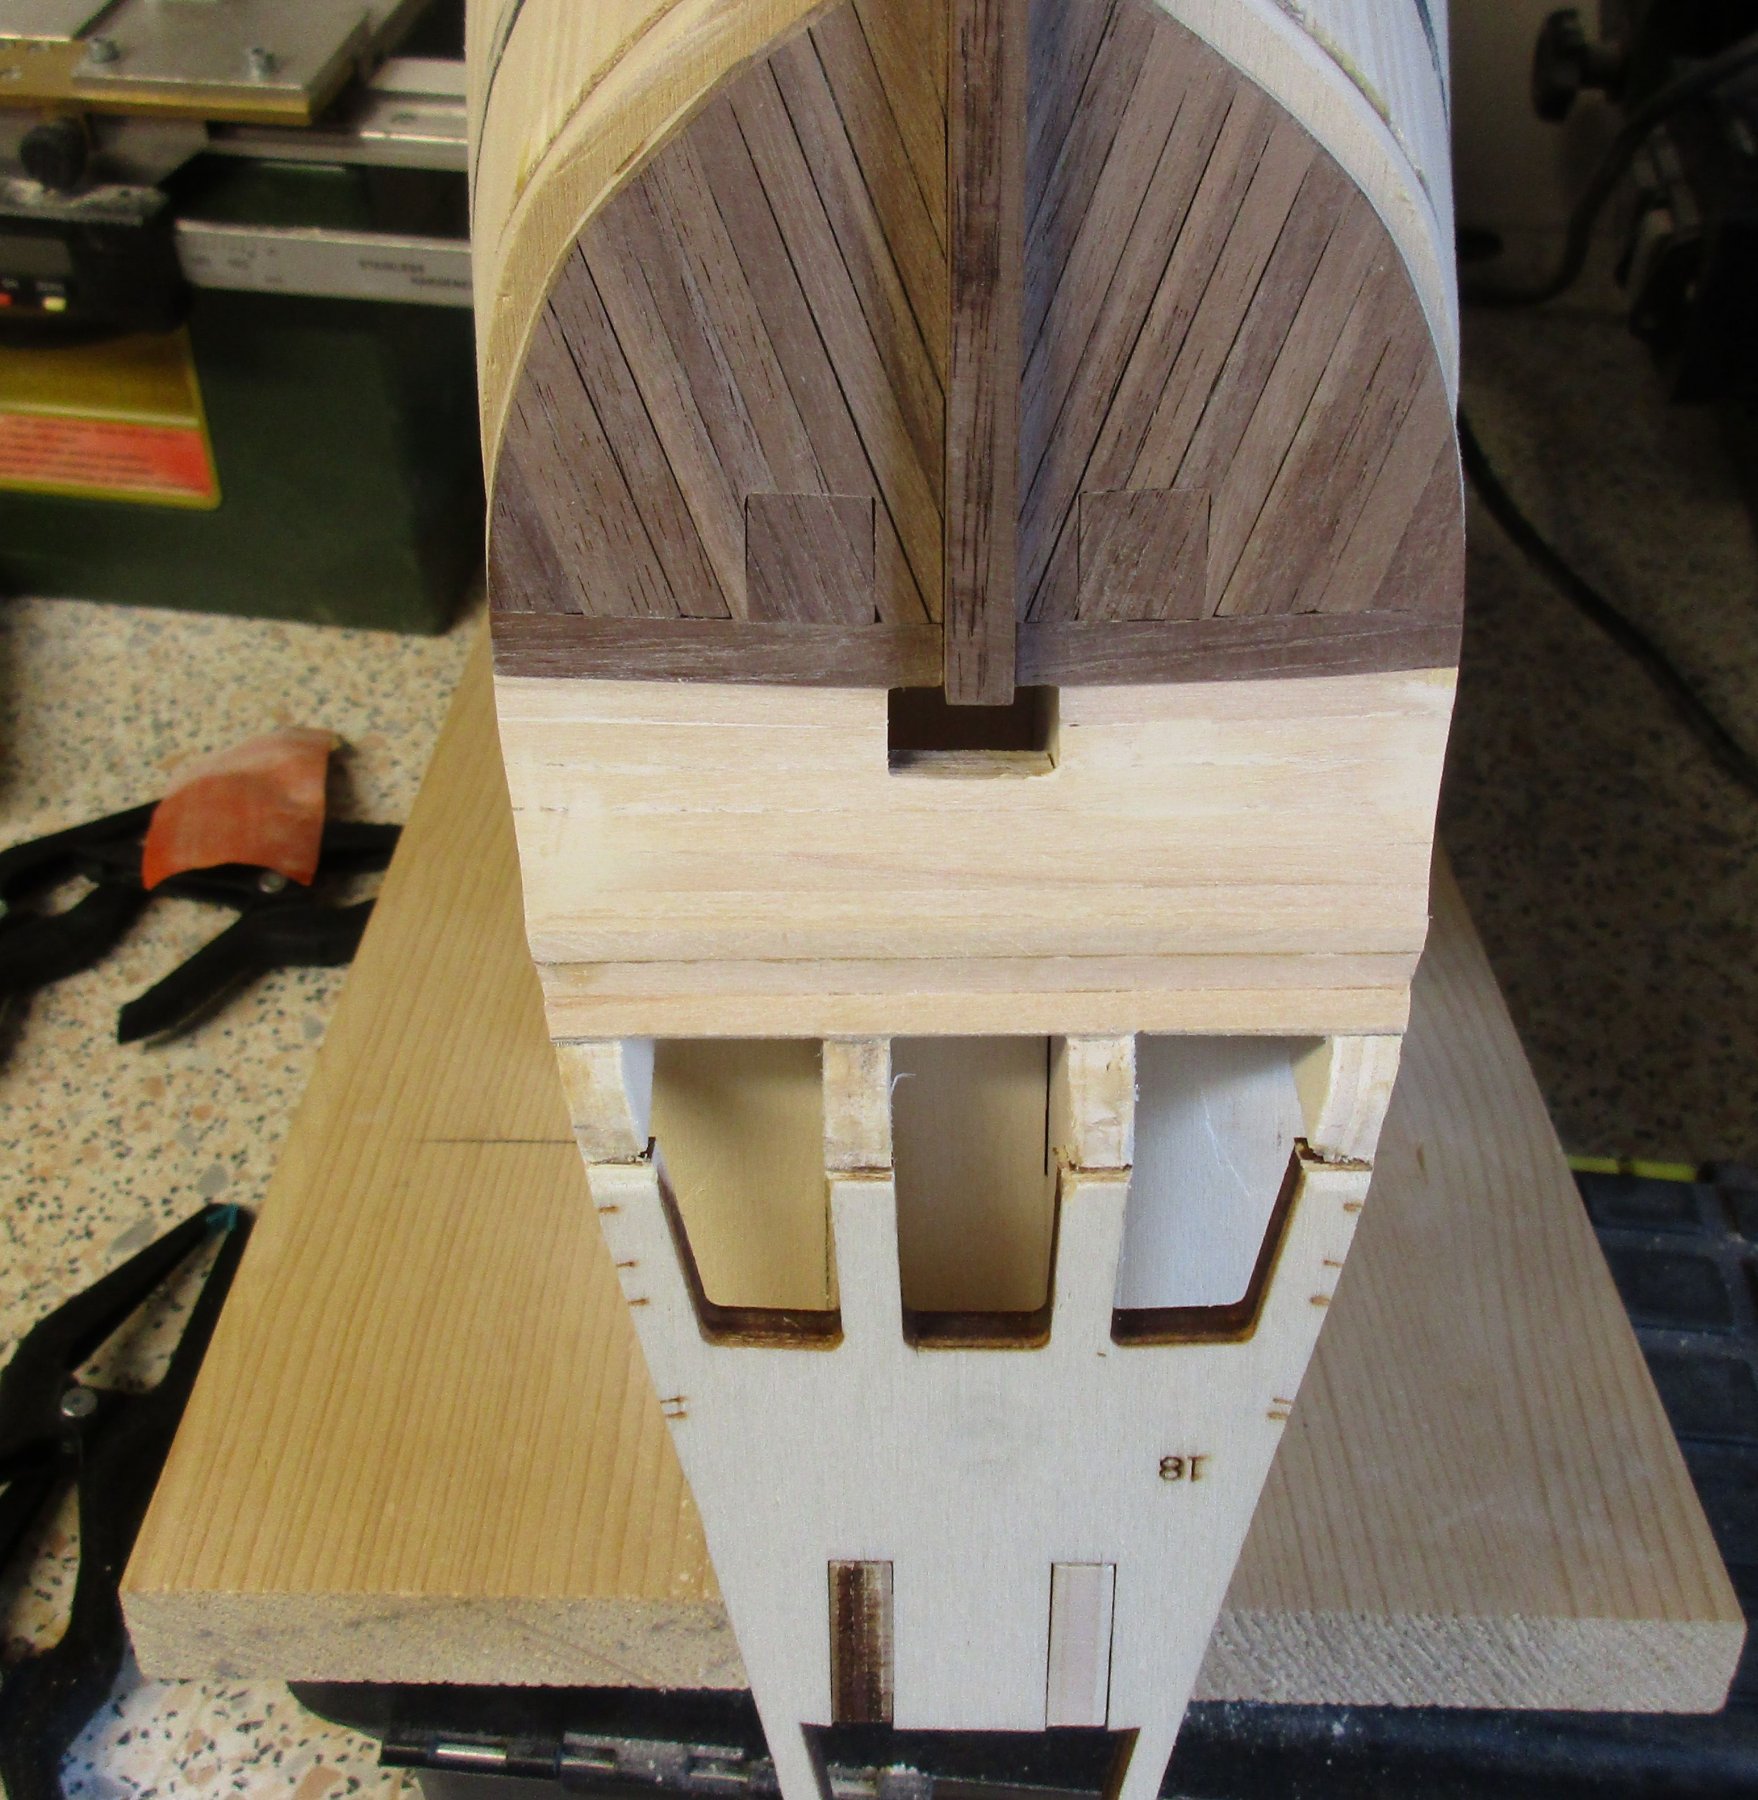
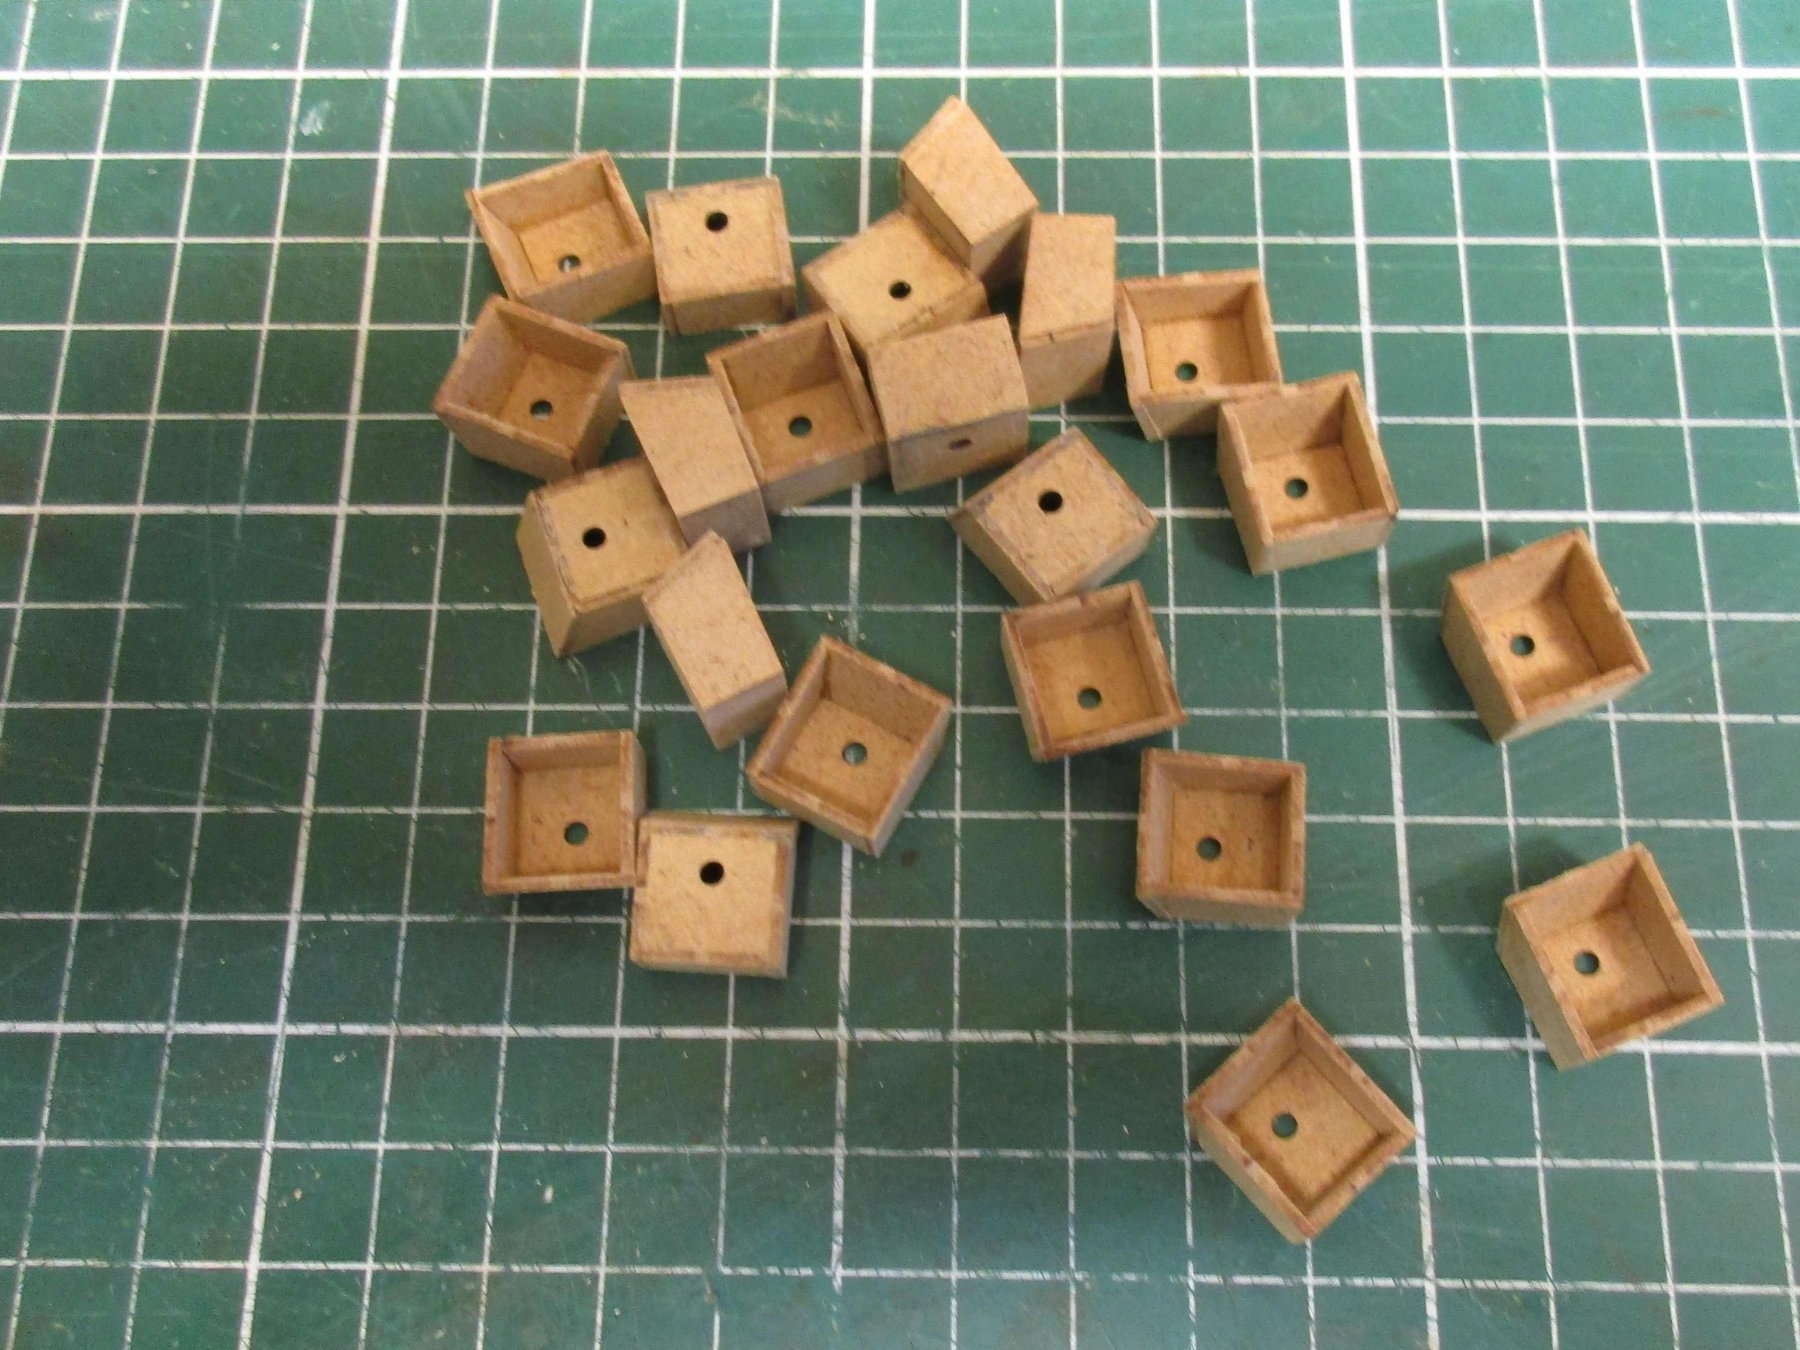
The positions of the gunports has been determined and the boxes have been glued in place. To add more strenght to the boxes and create a bigger lip for the surrounding planks some extra strips have been installed.
In order to determine the run of the wales and position of the gunports all the bulkheads come with laser marks for each wale. Basically a good idea, but due to my decision to close the hull with plywood not many of the marks are still visible. So I had to take the dimensions off the drawings and transfer it to the hull.
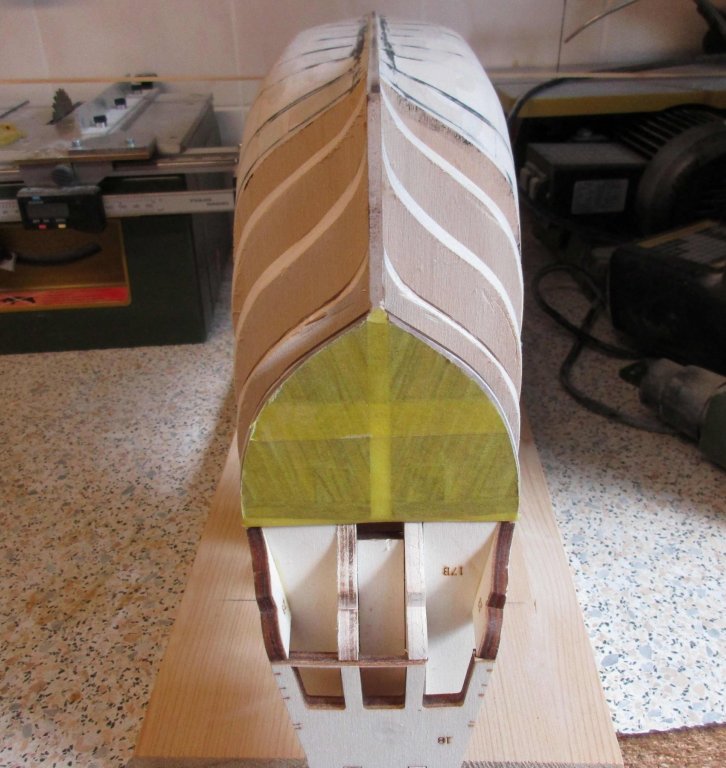
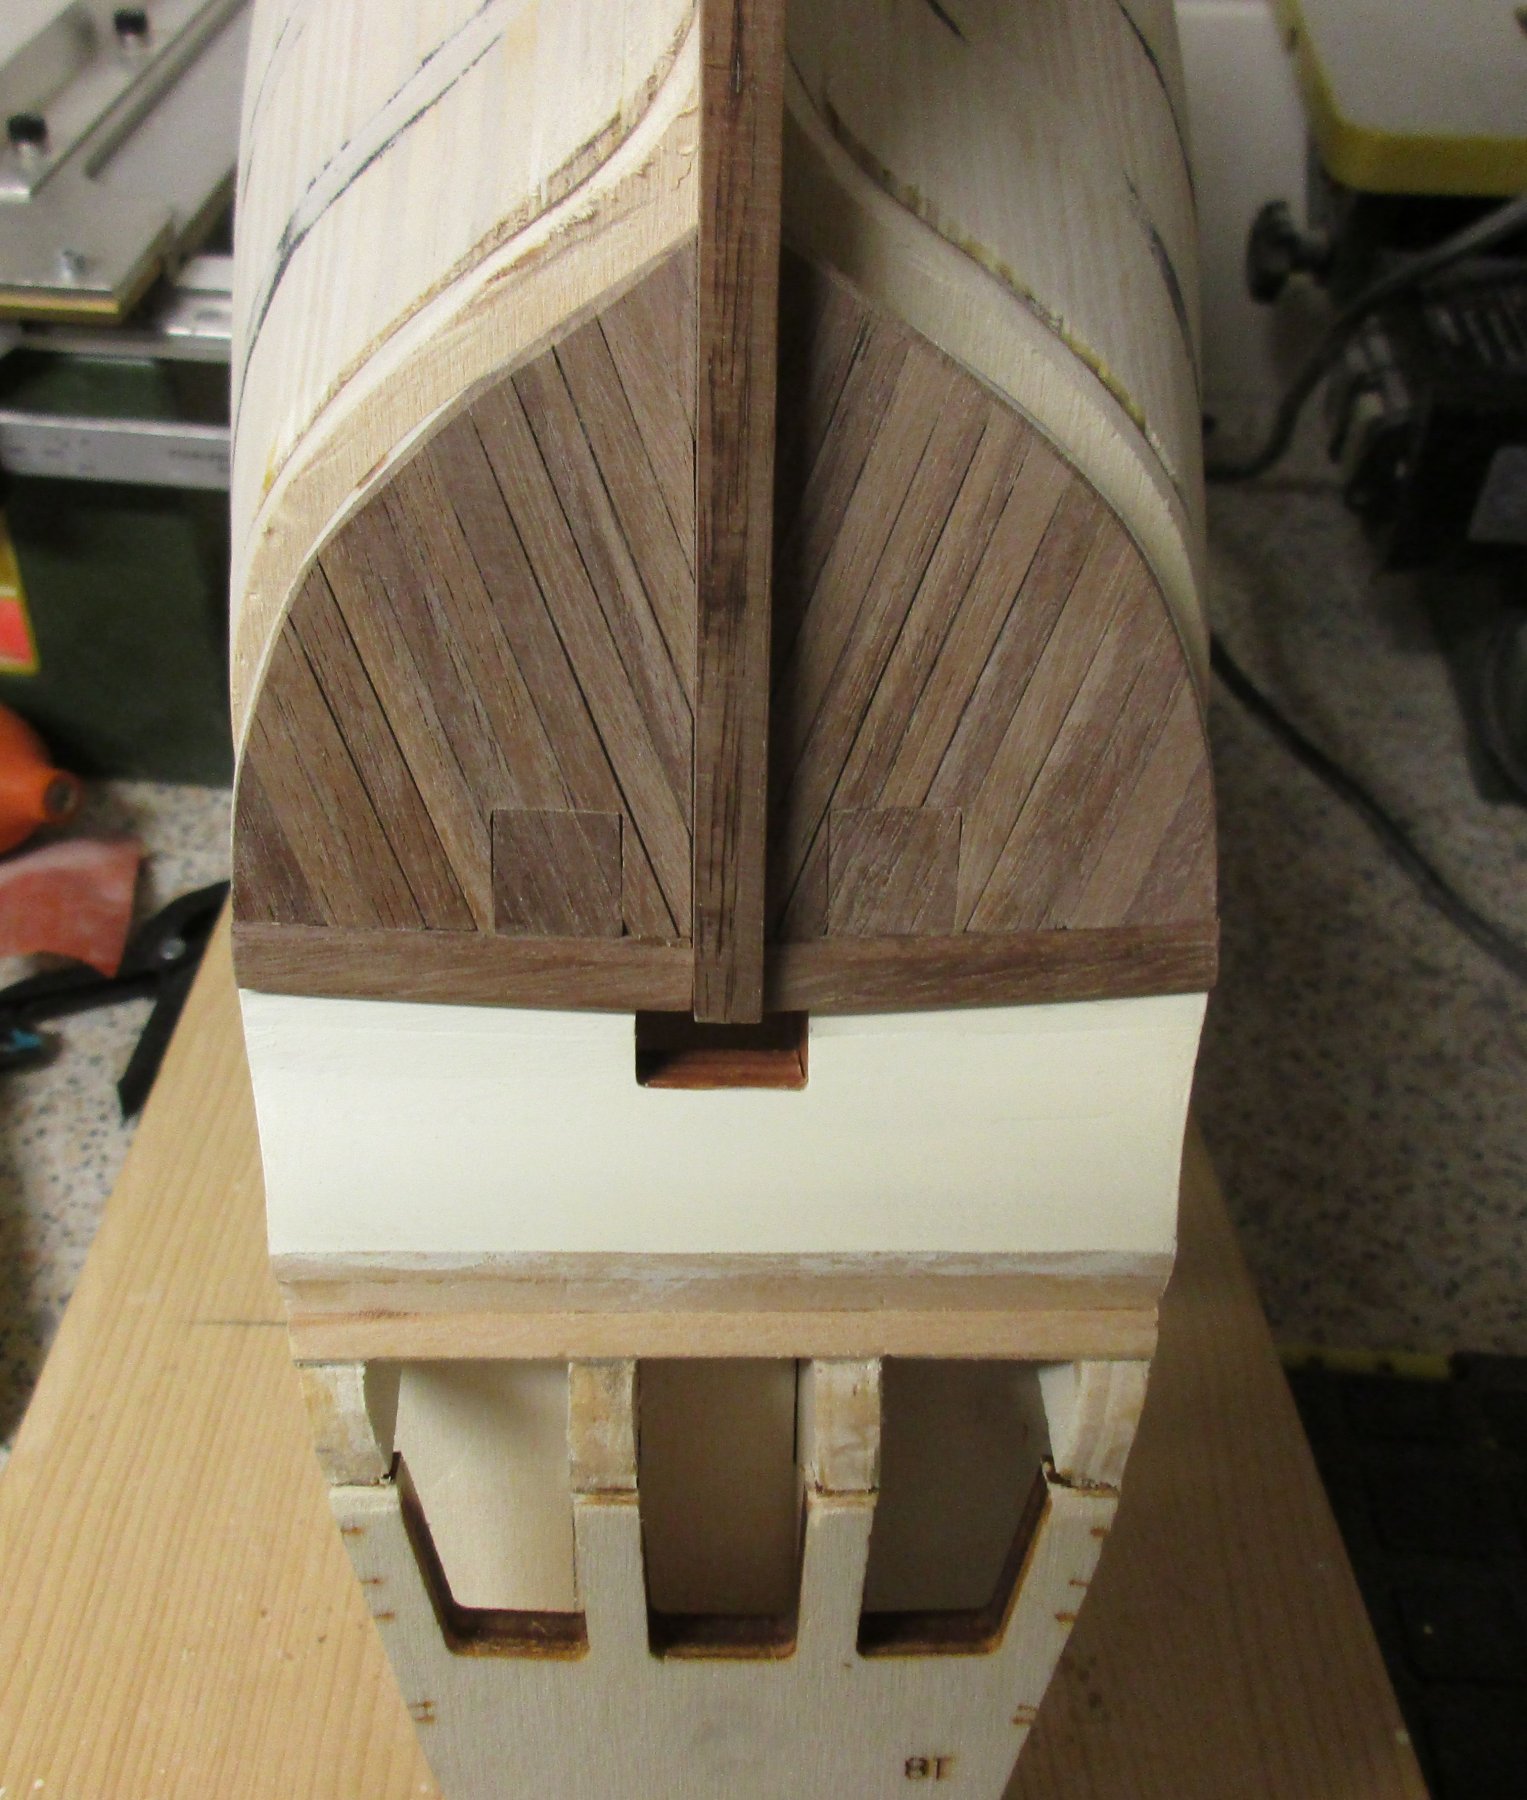
Before starting the installation of the wales I did plank the concave area above the transom with basswod strips 1x4 and sanded them to shape. After one coat of sanding sealer and intermediate sanding several coats of a acrylic paint (Ivory) were applied.
Finally I have prepared the transom wales from a walnut strip 1,5 x 5 and glued them into position.


- Erik H, Robin Lous, PeterB010 and 8 others
-
11
-
Thank you for your Likes, construction continues!
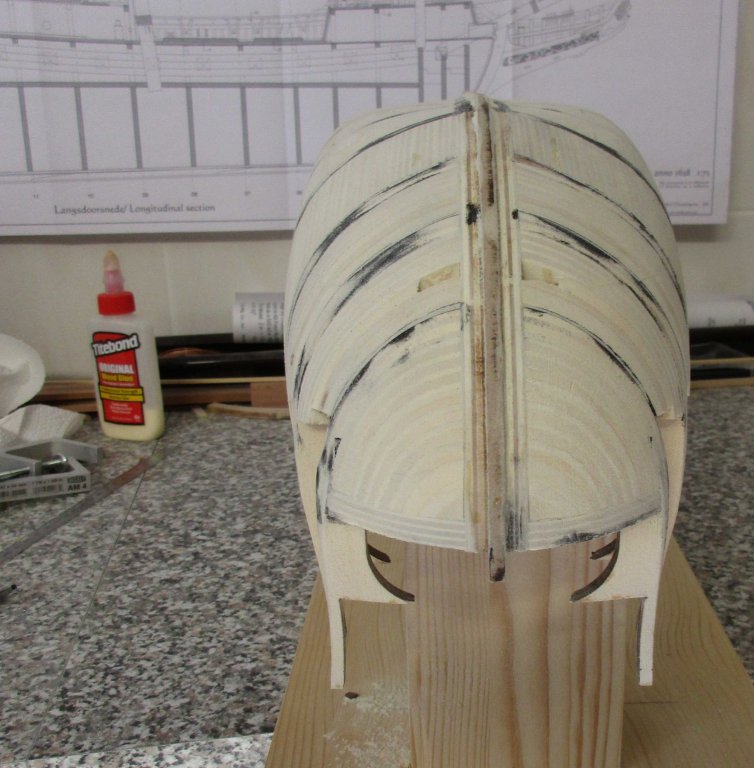
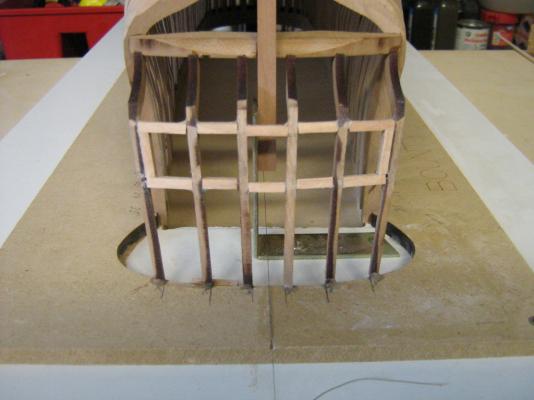
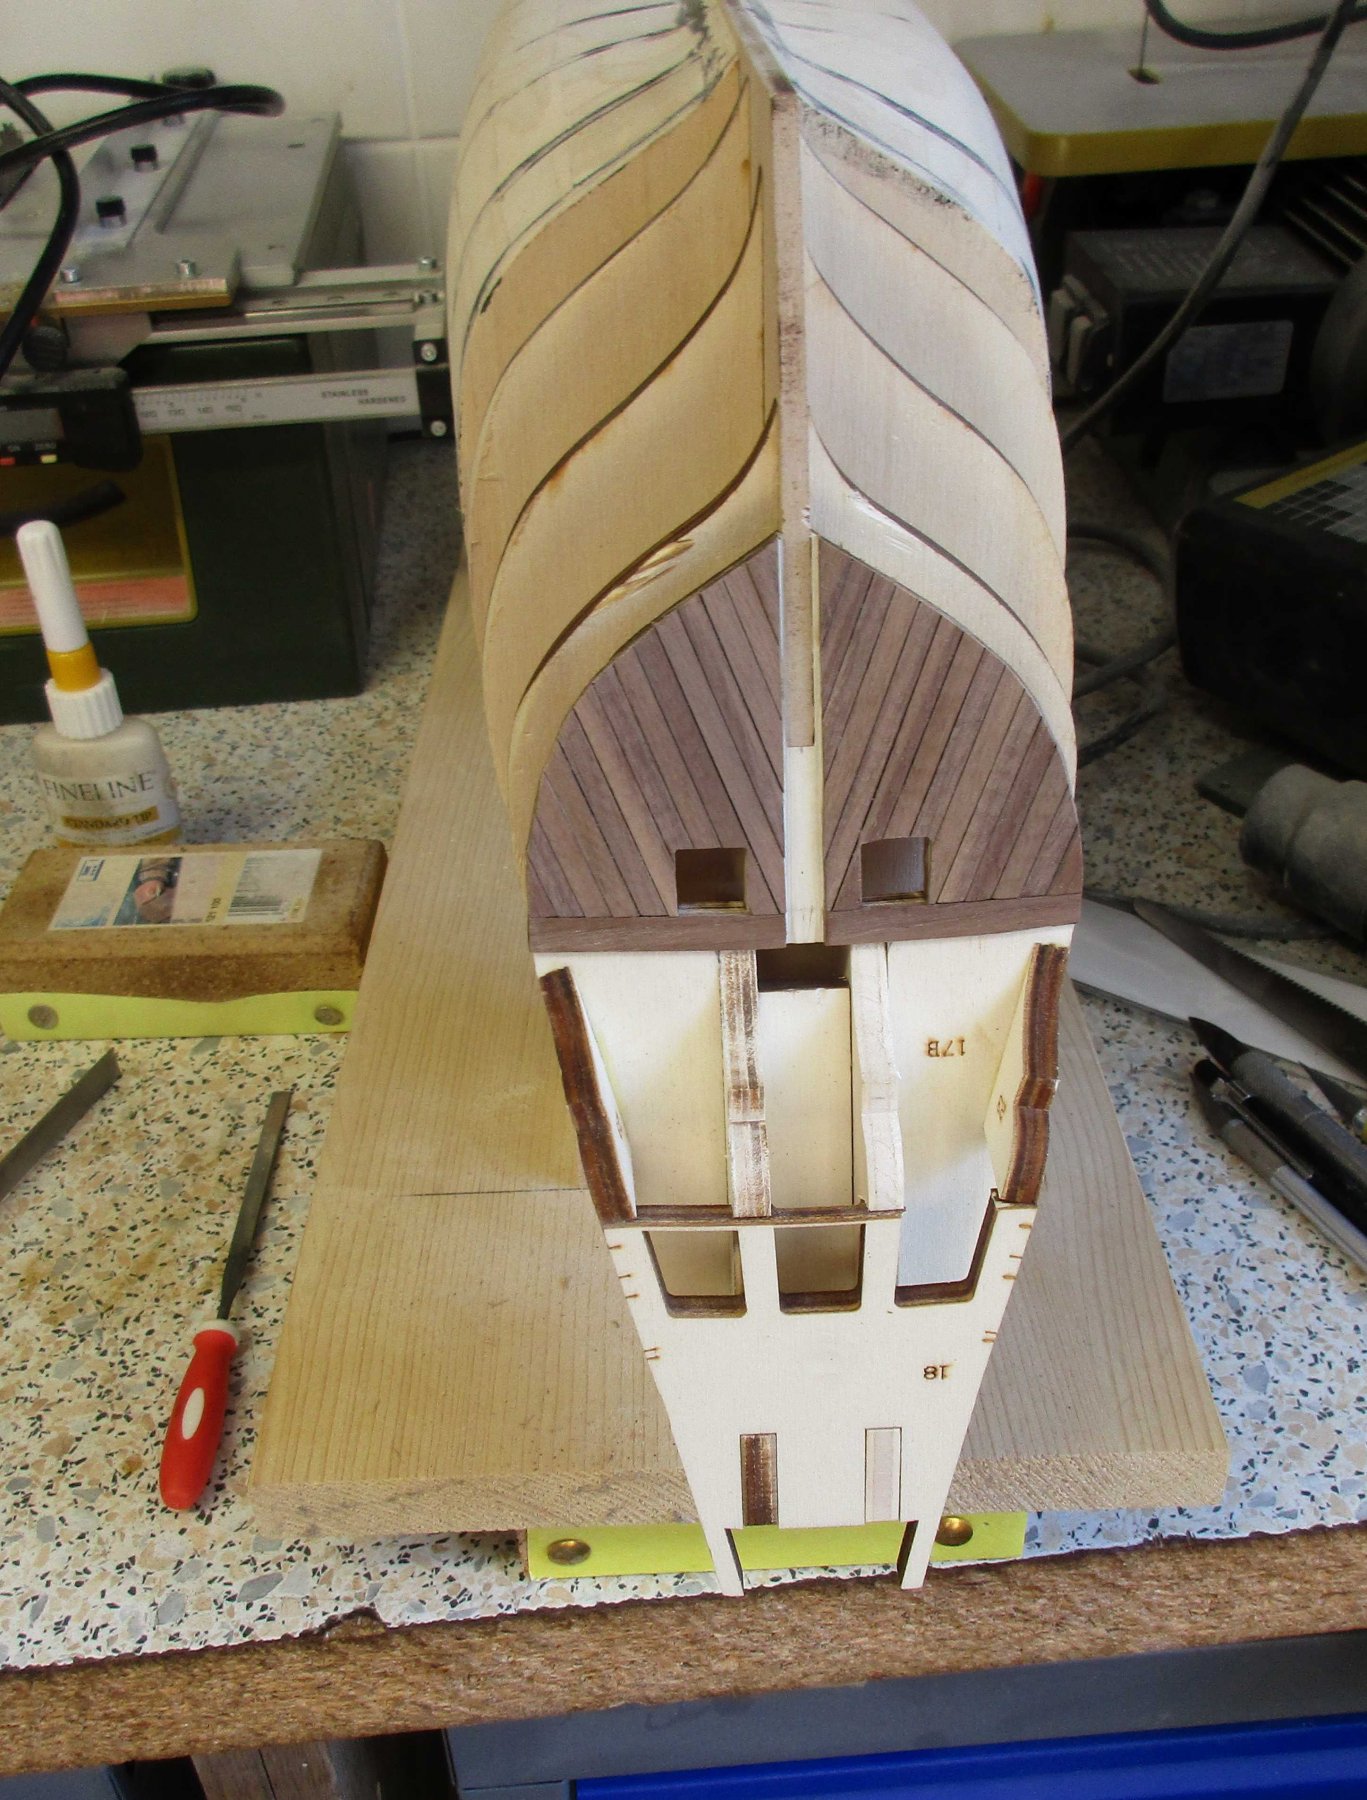
After planking the stern and closing the gun ports with walnut strips the last remaining bulkheads got filled with plywood and sanded to create the largest possible surface to fix the single planking.
Unfortunately a few of the very fragile bulkhead stubs broke off during sanding the hull, but not major issue, will be a easy fix.
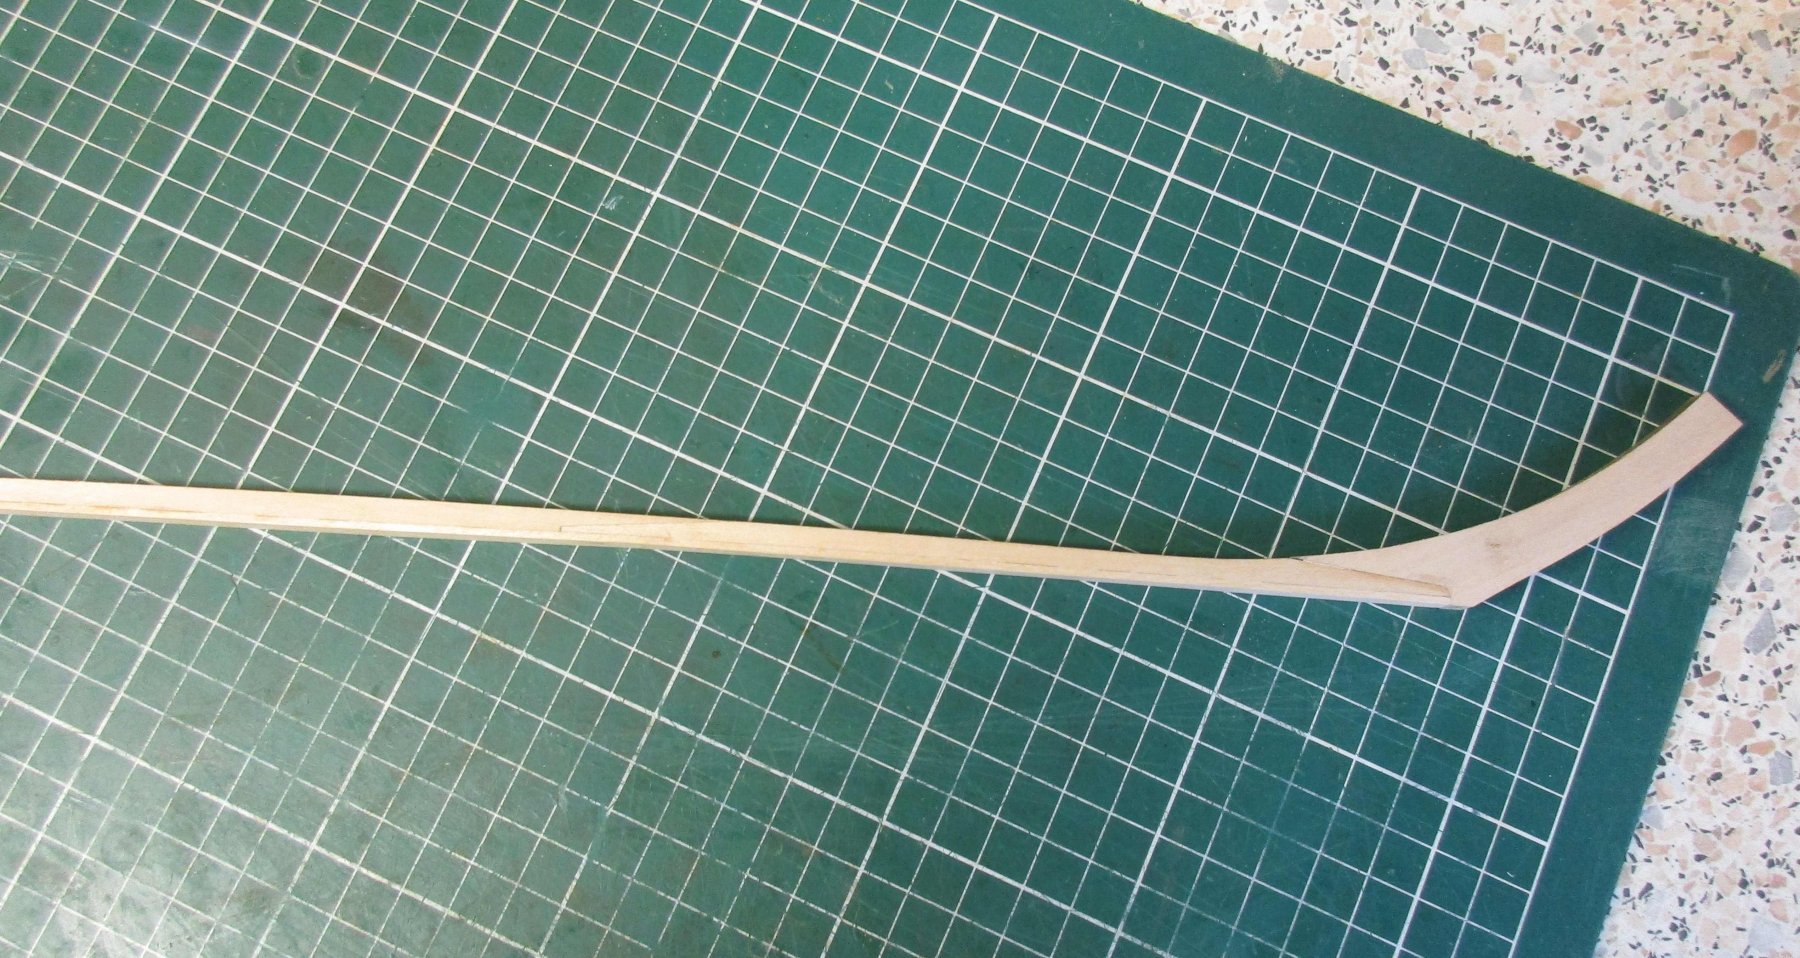
The lasercut parts for the keel are cleaned up and glued together along with a basswood strip to form the false keel. As the hull below the waterline will be painted the keel is made from basswood, the upper stem and stern parts are walnut.
While waiting on the glue to set I have constructed already the gunport boxes for the canon dummis from the lasercut parts.


-
-
Thank you Piet and Robin.
In the museum shop of the Batavia warf I had the opportunity to inspect the kit of the Duyfken, it is also a very interesting ship.
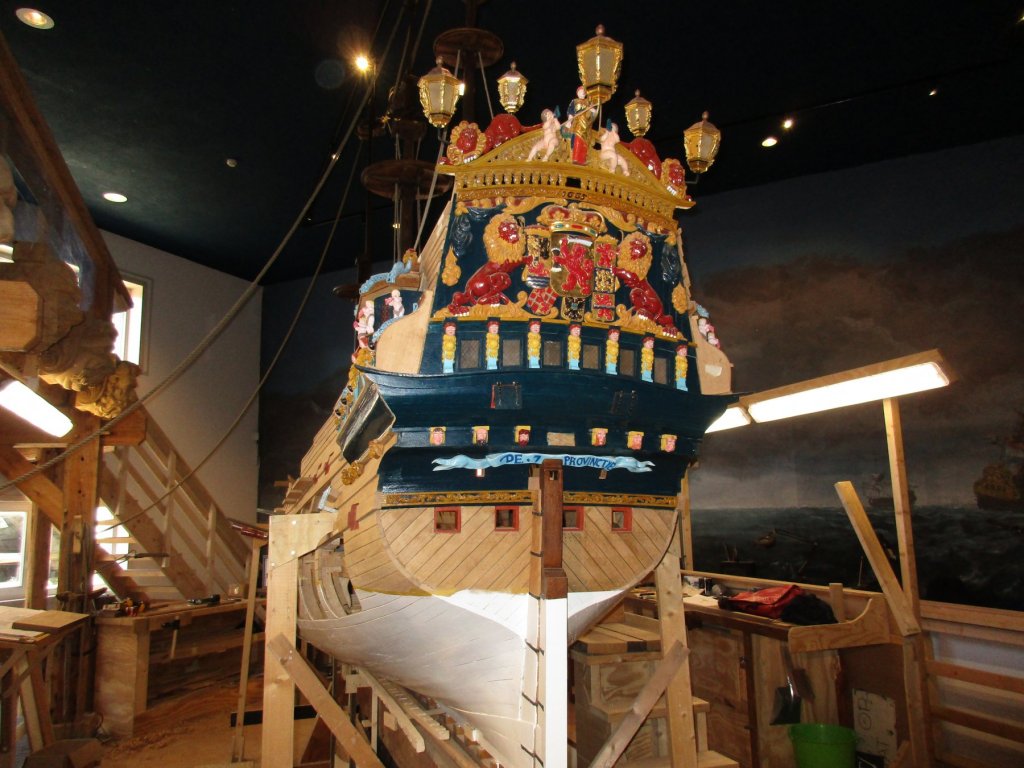
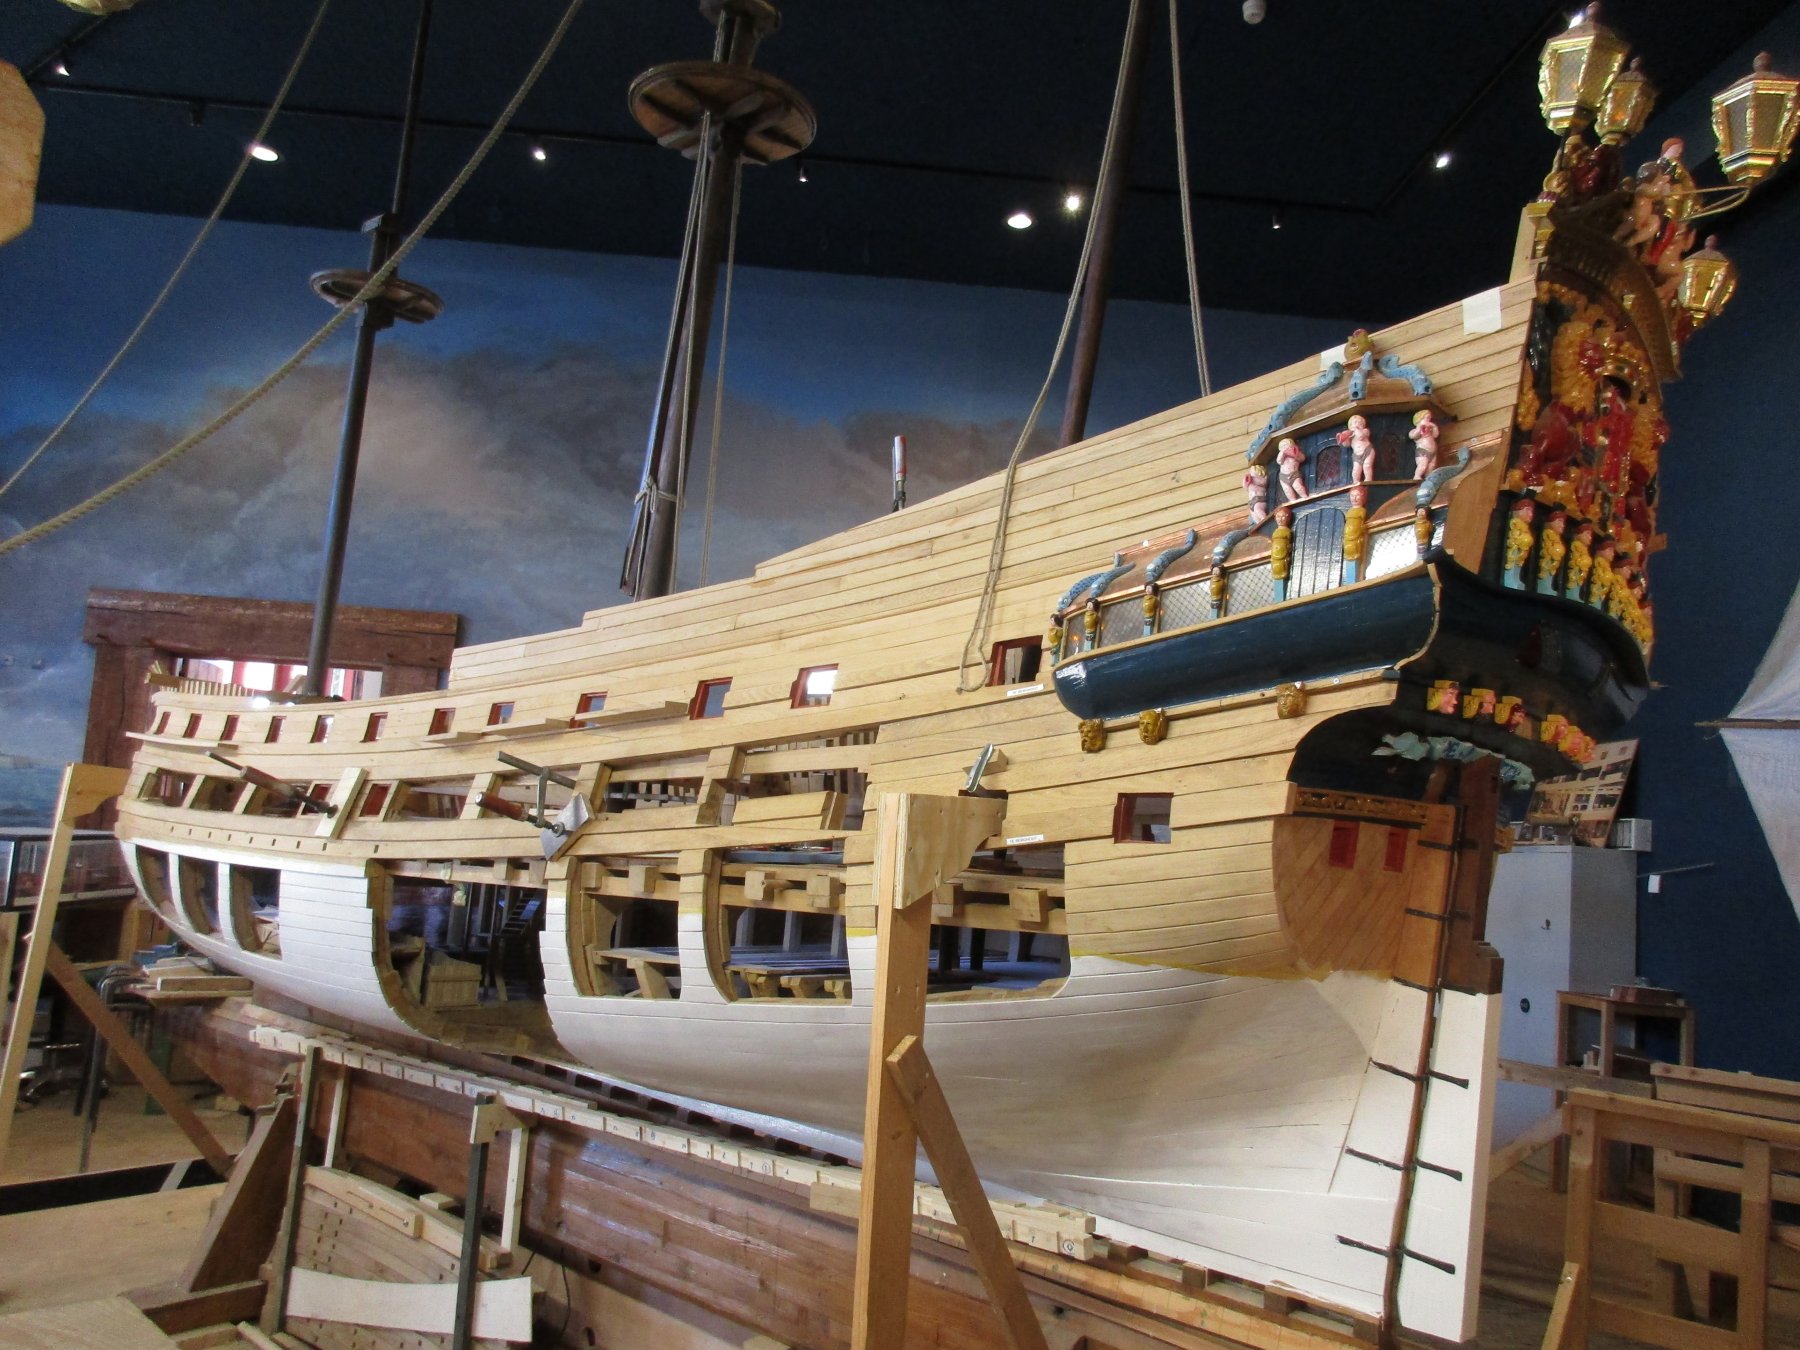
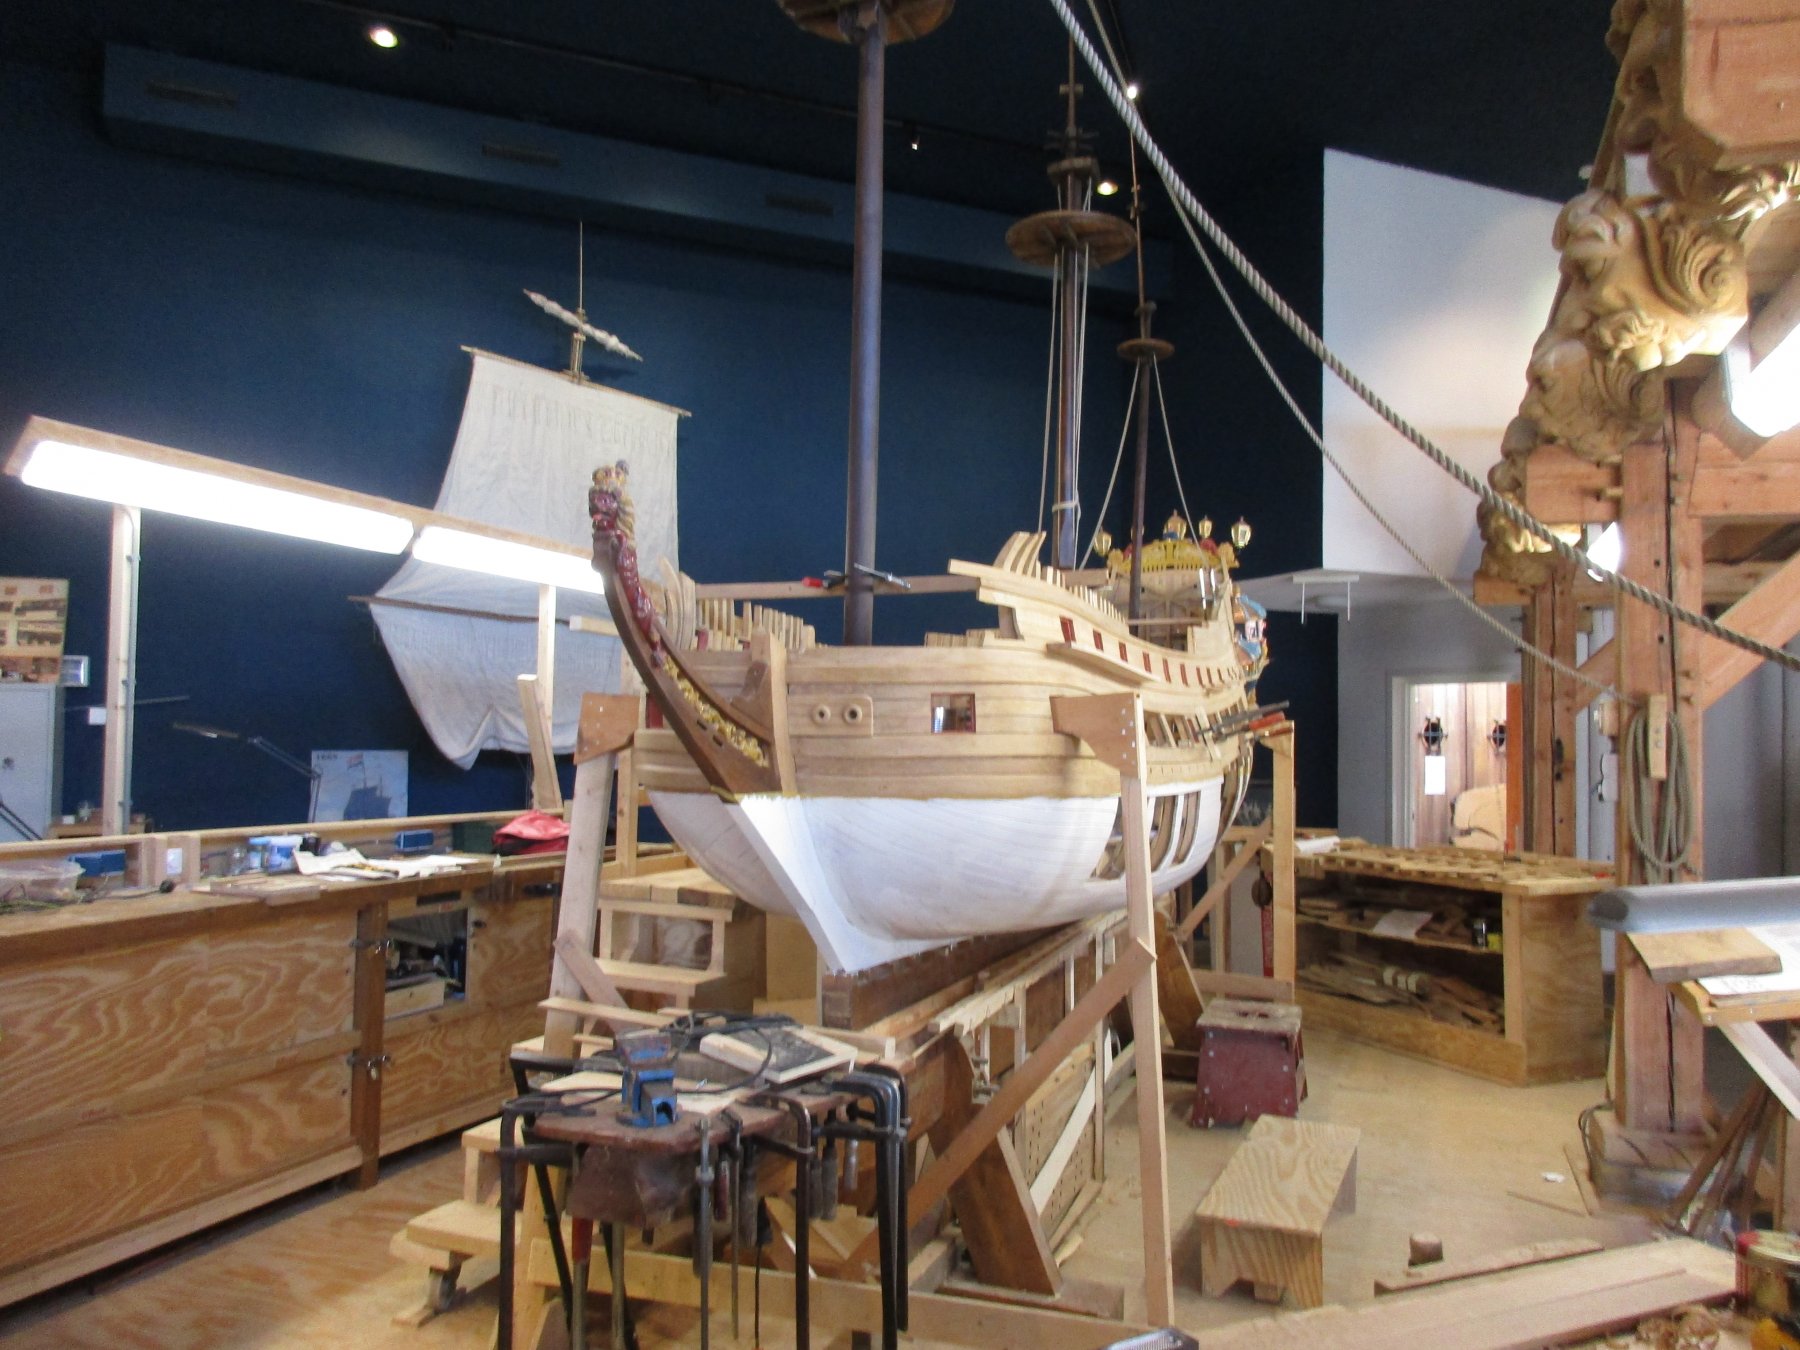
I am already very excited about the Kolderstok kit of the Zeven Provincien which is supposed to be released at the end of the year.
The pictures show the model of the Zeven provincien at a scale of 1/10 in the warf Workshop, it's huge!

-
Thank you Scott, this glue is my favorite too.
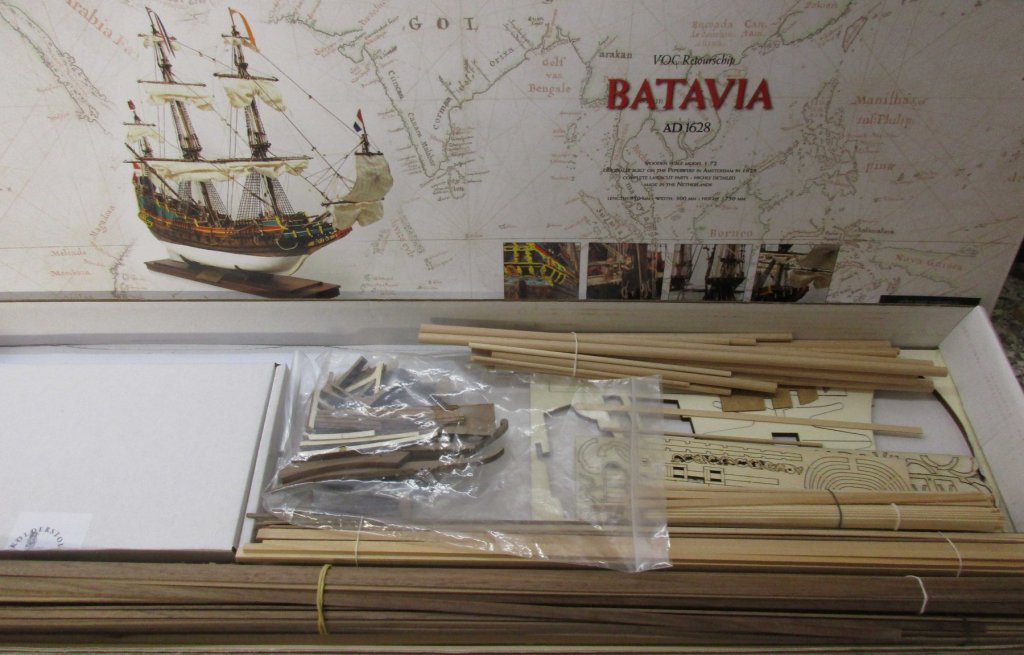
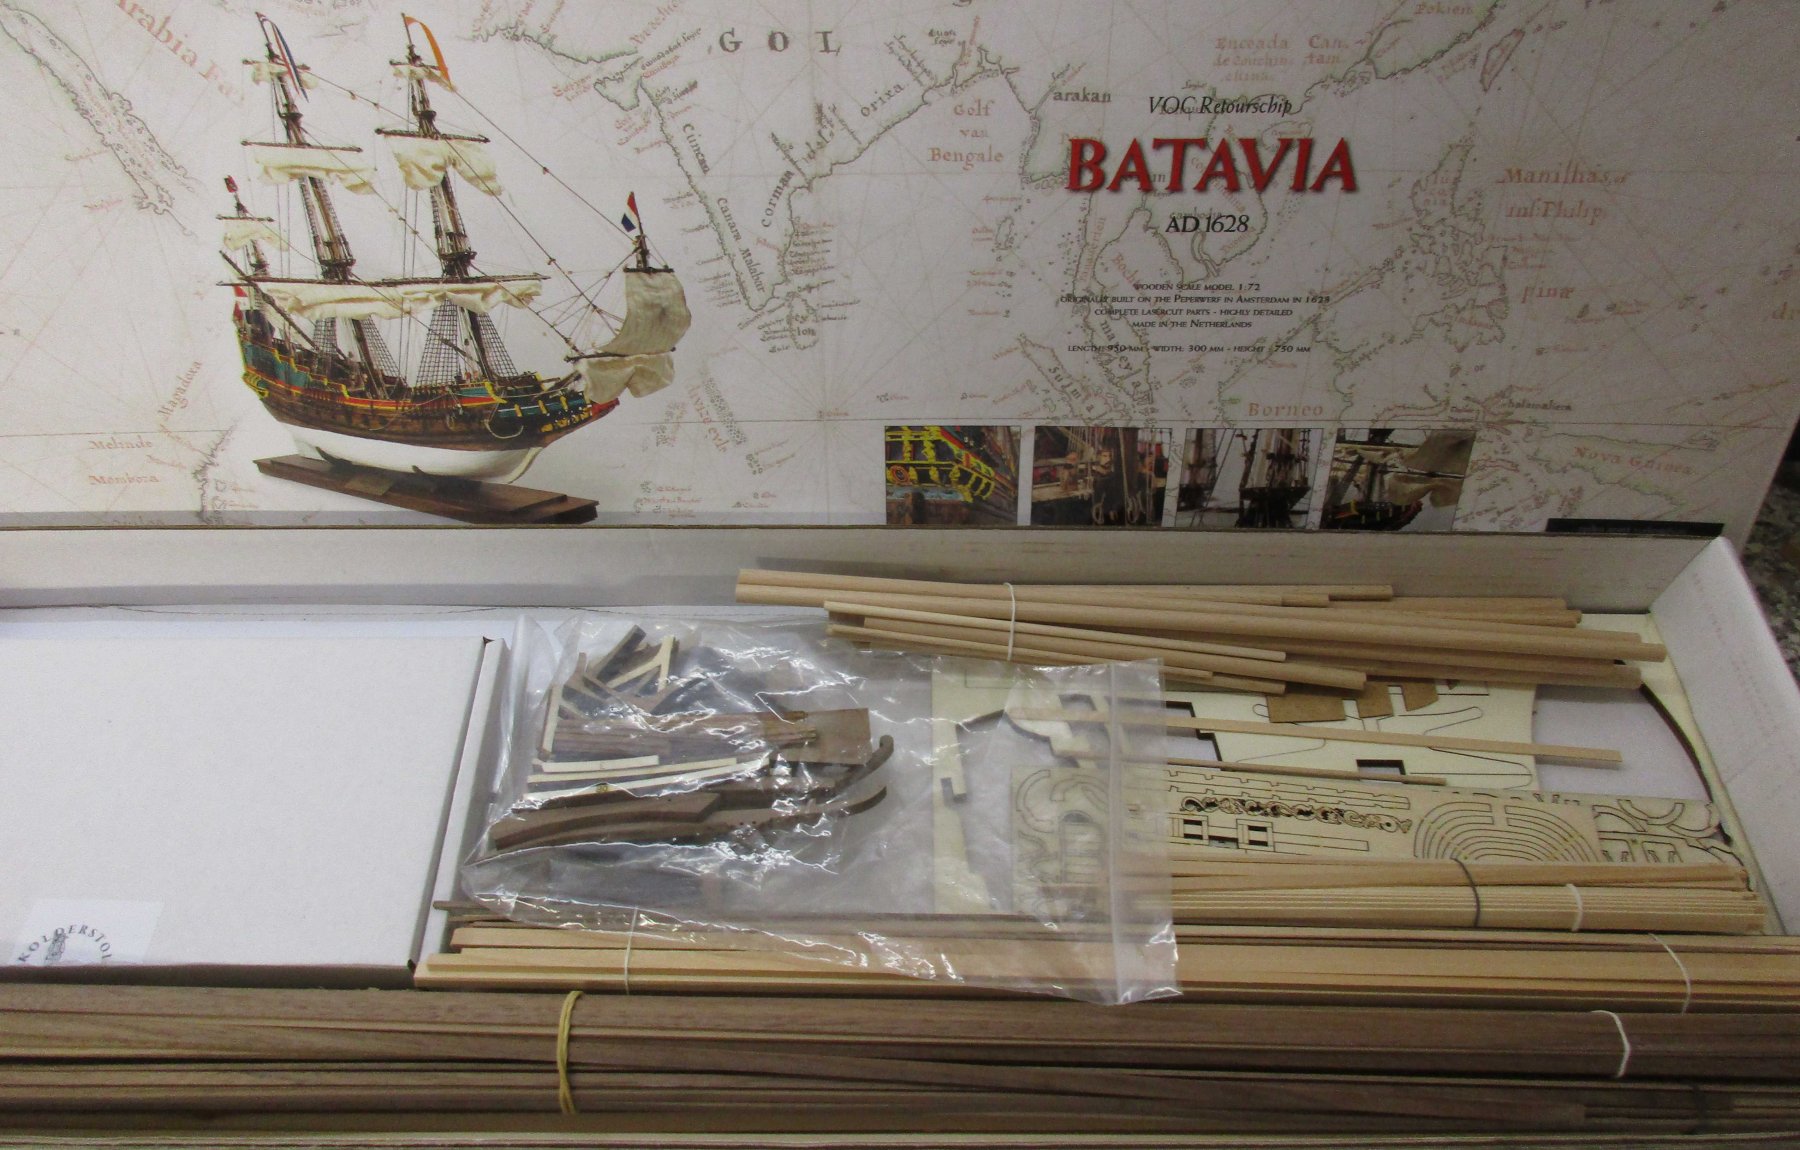
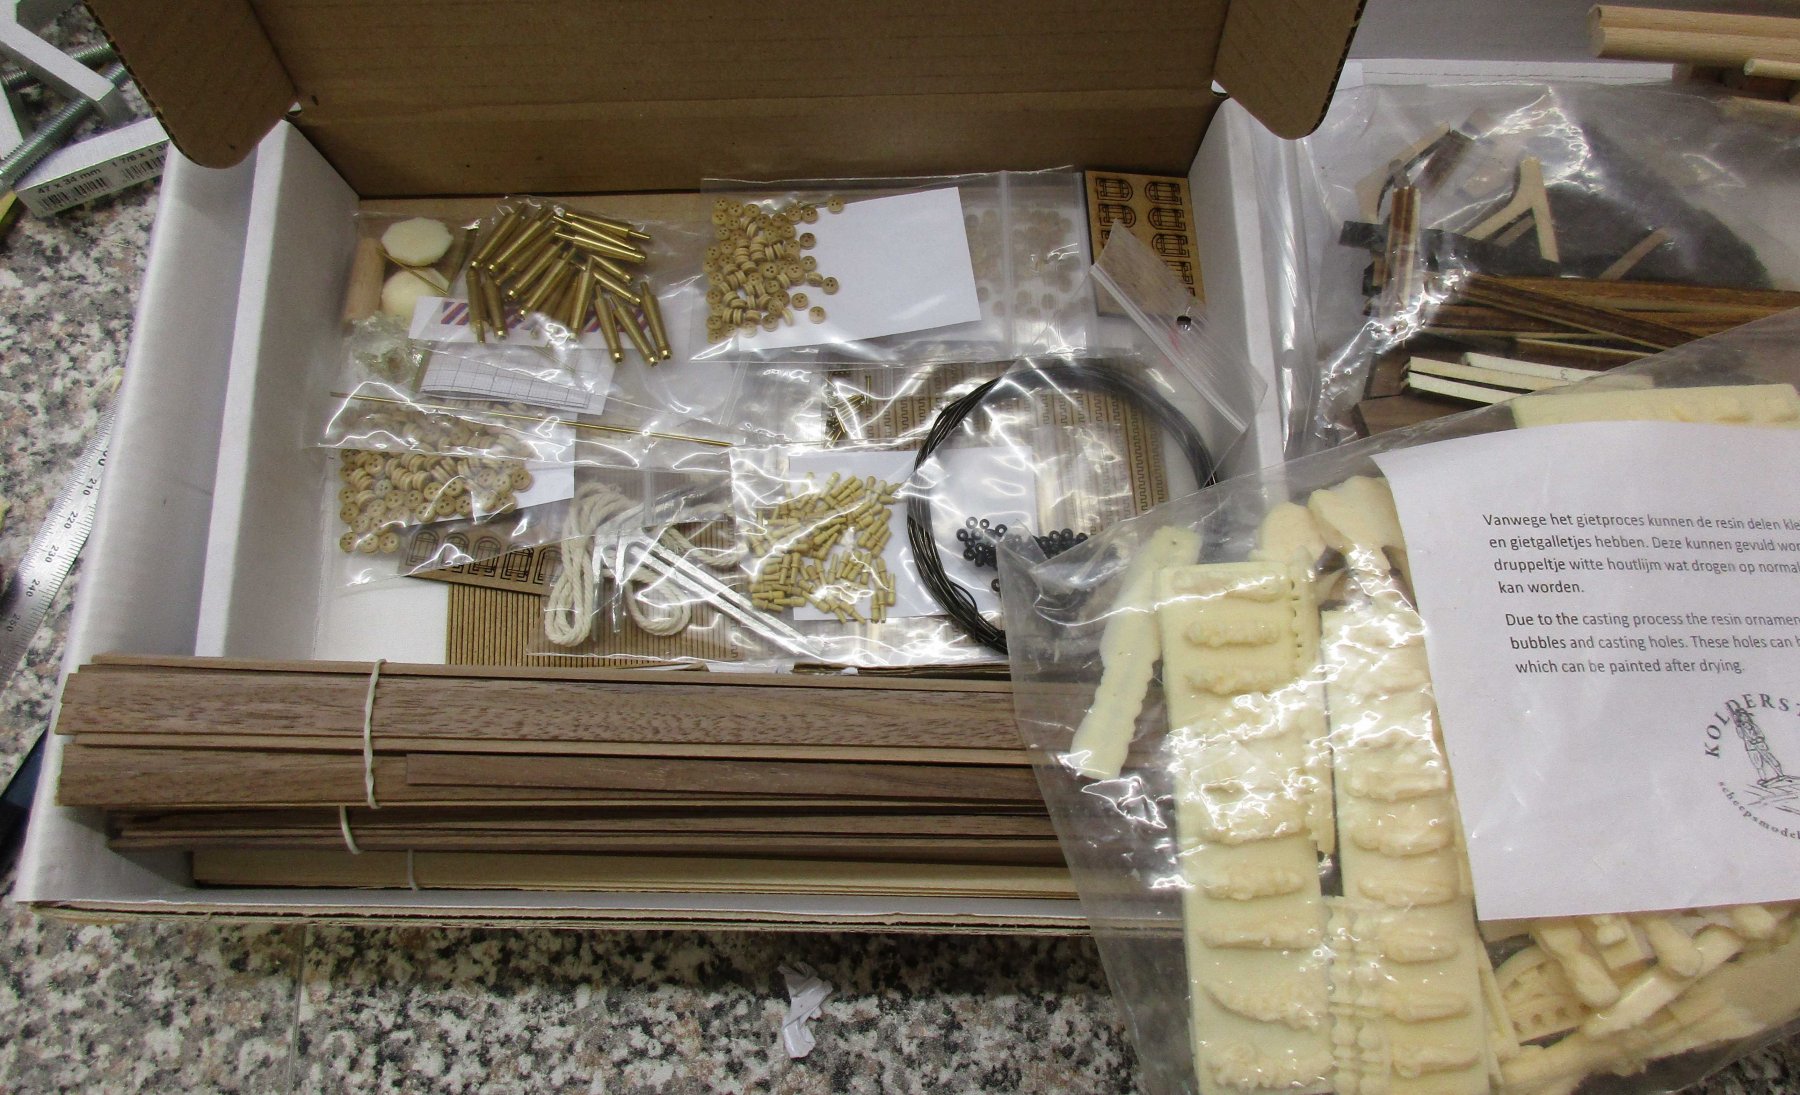
Before the construction goes on a short look inside the Kits box.
The wood is of very good Quality troughout, the Accuracy of the Laser cut parts like Bulkheads, Keel, Stem and Stern parts is excellent. Walnut strips are included for the single Planking and Furniture. The figures and carvings are casted from resin and obviously also very well done.
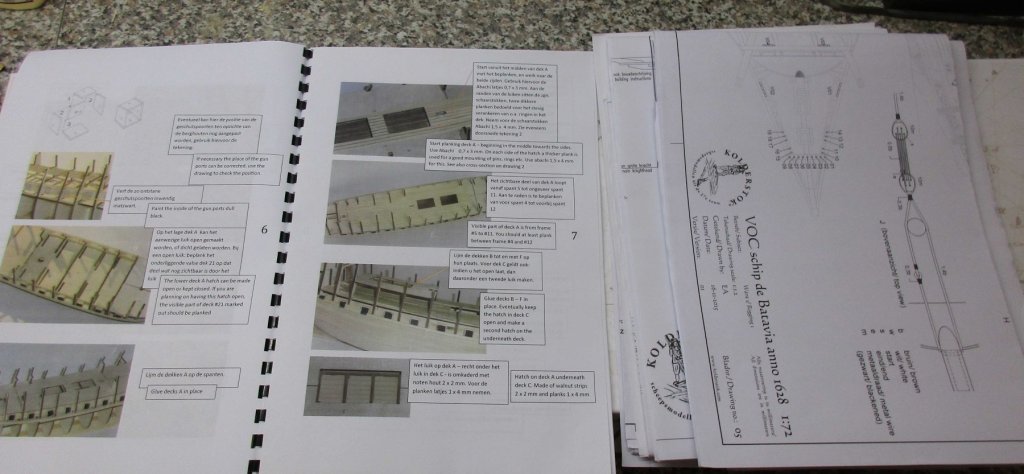
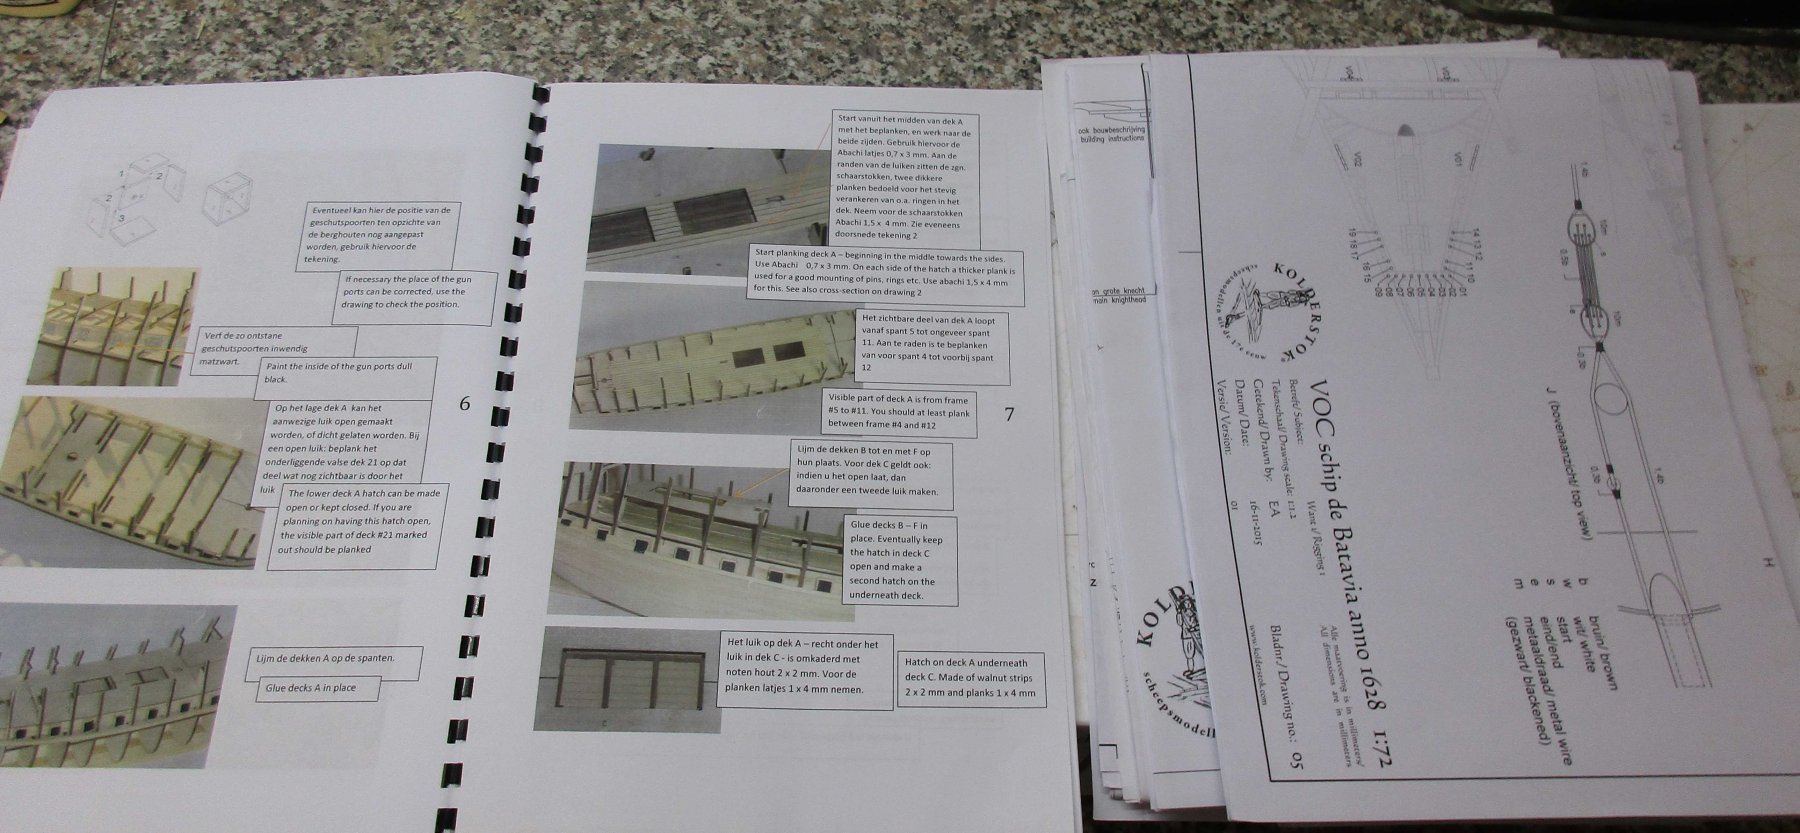
The Assembling guide consists of 6 sheets of Drawings plus a photo-illustrated booklet.

- AntonyUK, prutser, Robin Lous and 7 others
-
10
-
Hi all,
Because of the fact that I lost my interest and the enthusiasm for some of my started models, these were canceled and the corresponding build logs deleted.
Other projects such as the build of the Bounty, Gunboat William and the HMS Endeavor take a break.
After a visit to the Batavia shipyard in Lelystad / Netherlands, I finally started to realize my long-standing desire to build a model.
The Kolderstok kit was ordered and the construction began, this was in July already. Unfotunately I didn't take pictures from the beginning, so the Photos below show the Status as of today.
-
-
-
-
-
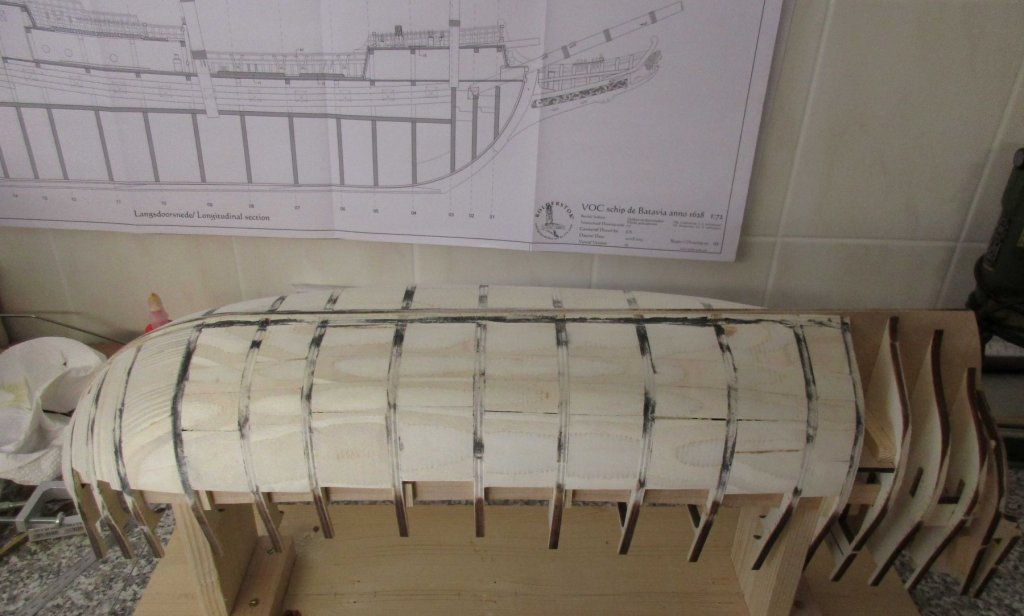
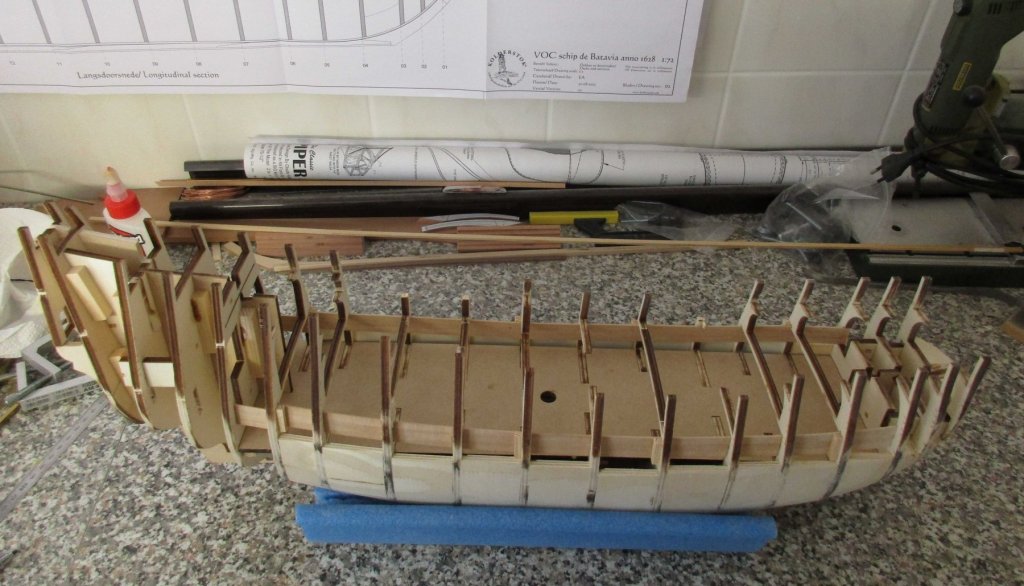
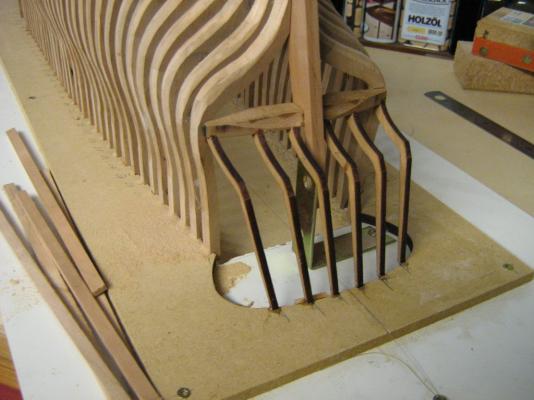
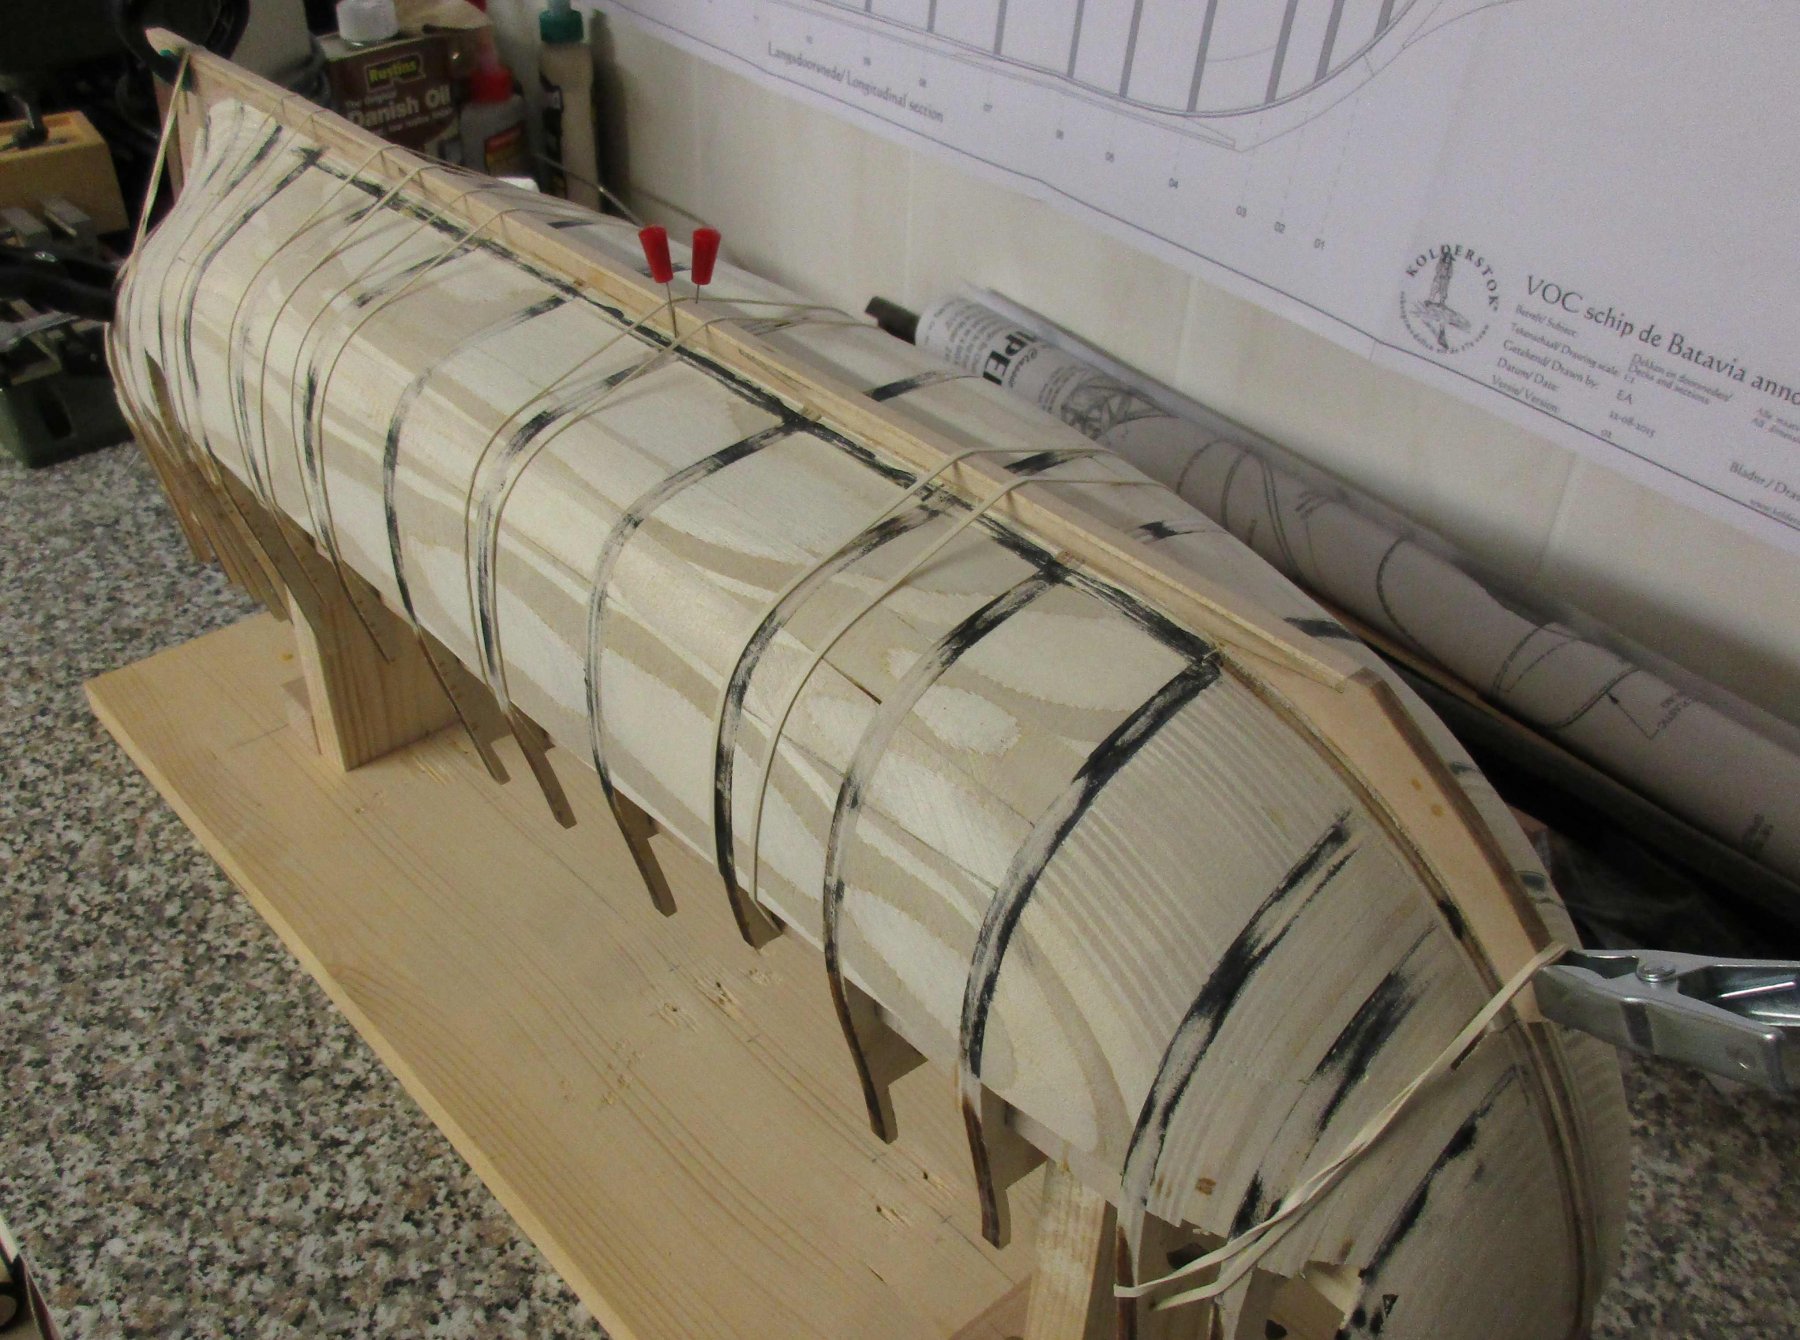
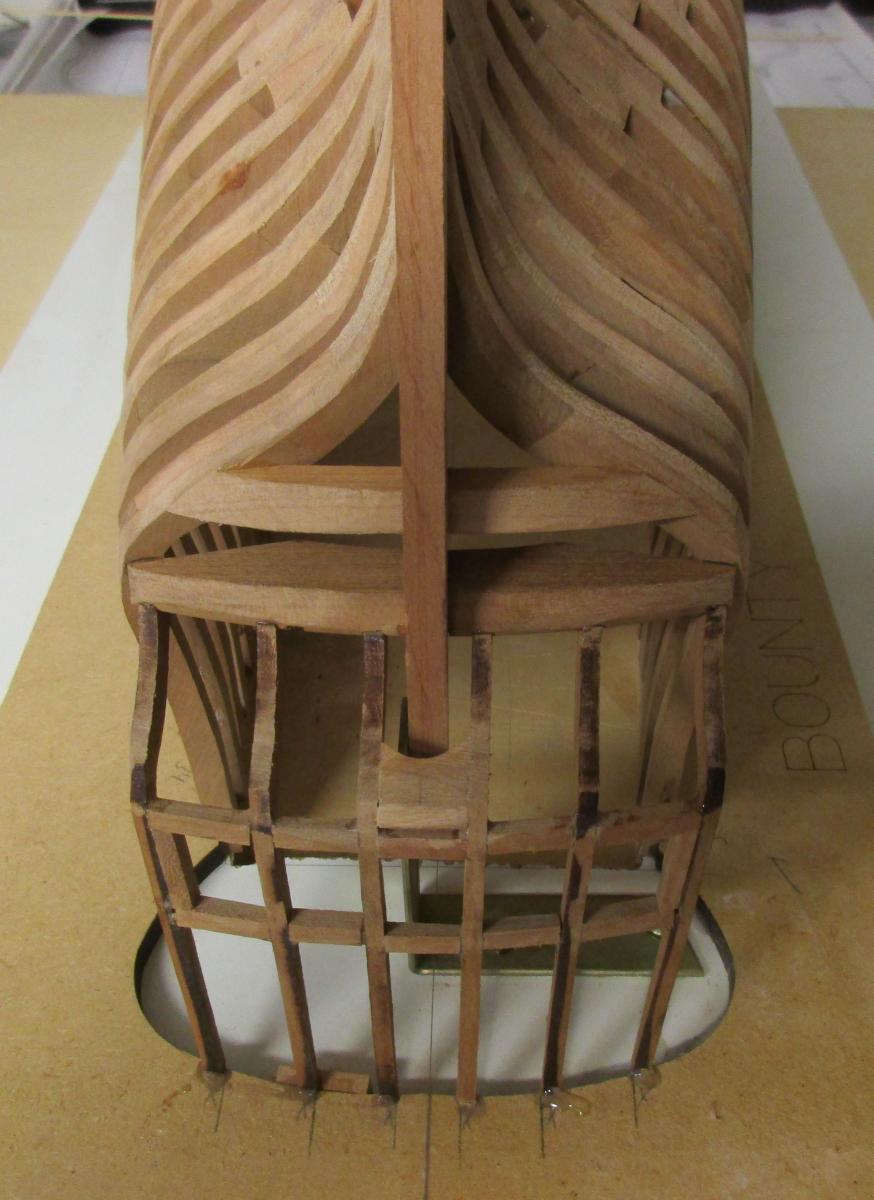
Almost one year since the last upate, time goes by but the build is still alive.
Hull fairing has been completed, all the low frames are filled and sanded again. I have installed one another transom wing and a Piece of wood to support the planking around the rudder opening. Now on to the wales.....
In the last Picture you can see some damge on the false keel caused by the 'heavy sanding equipment' during hull sanding. I will probably replace the after part of the false keel after planking is completed.


- Mike Y, mtaylor, GrandpaPhil and 2 others
-
5
-
-
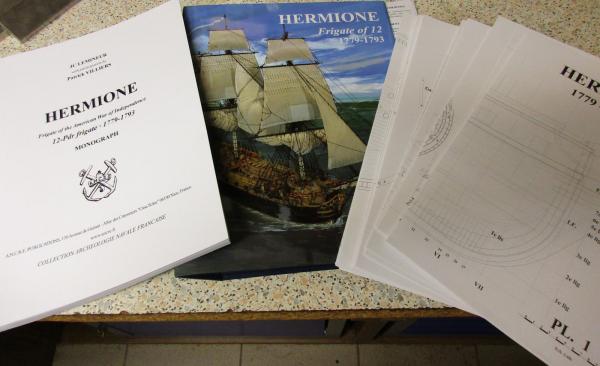
Hi all,
just want to let you that I have received my english copy of the monograph today. It missed Christmas by just a few days.
- Kusawa2000, Canute, avsjerome2003 and 4 others
-
7
-
-
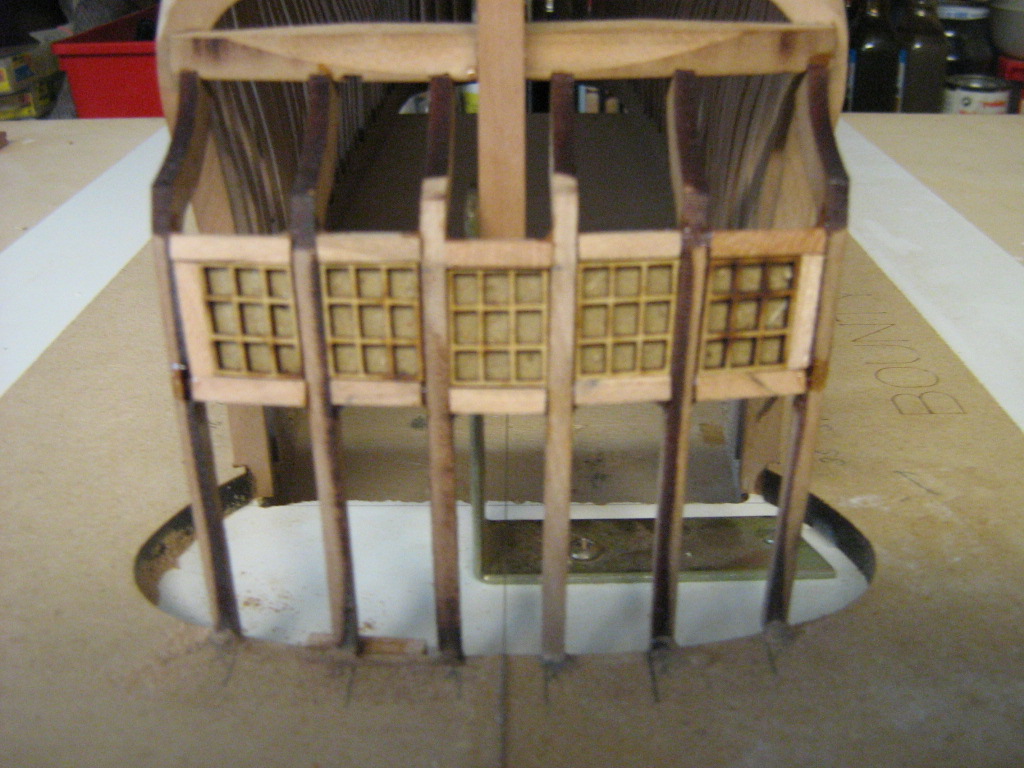
Thank you Nils.
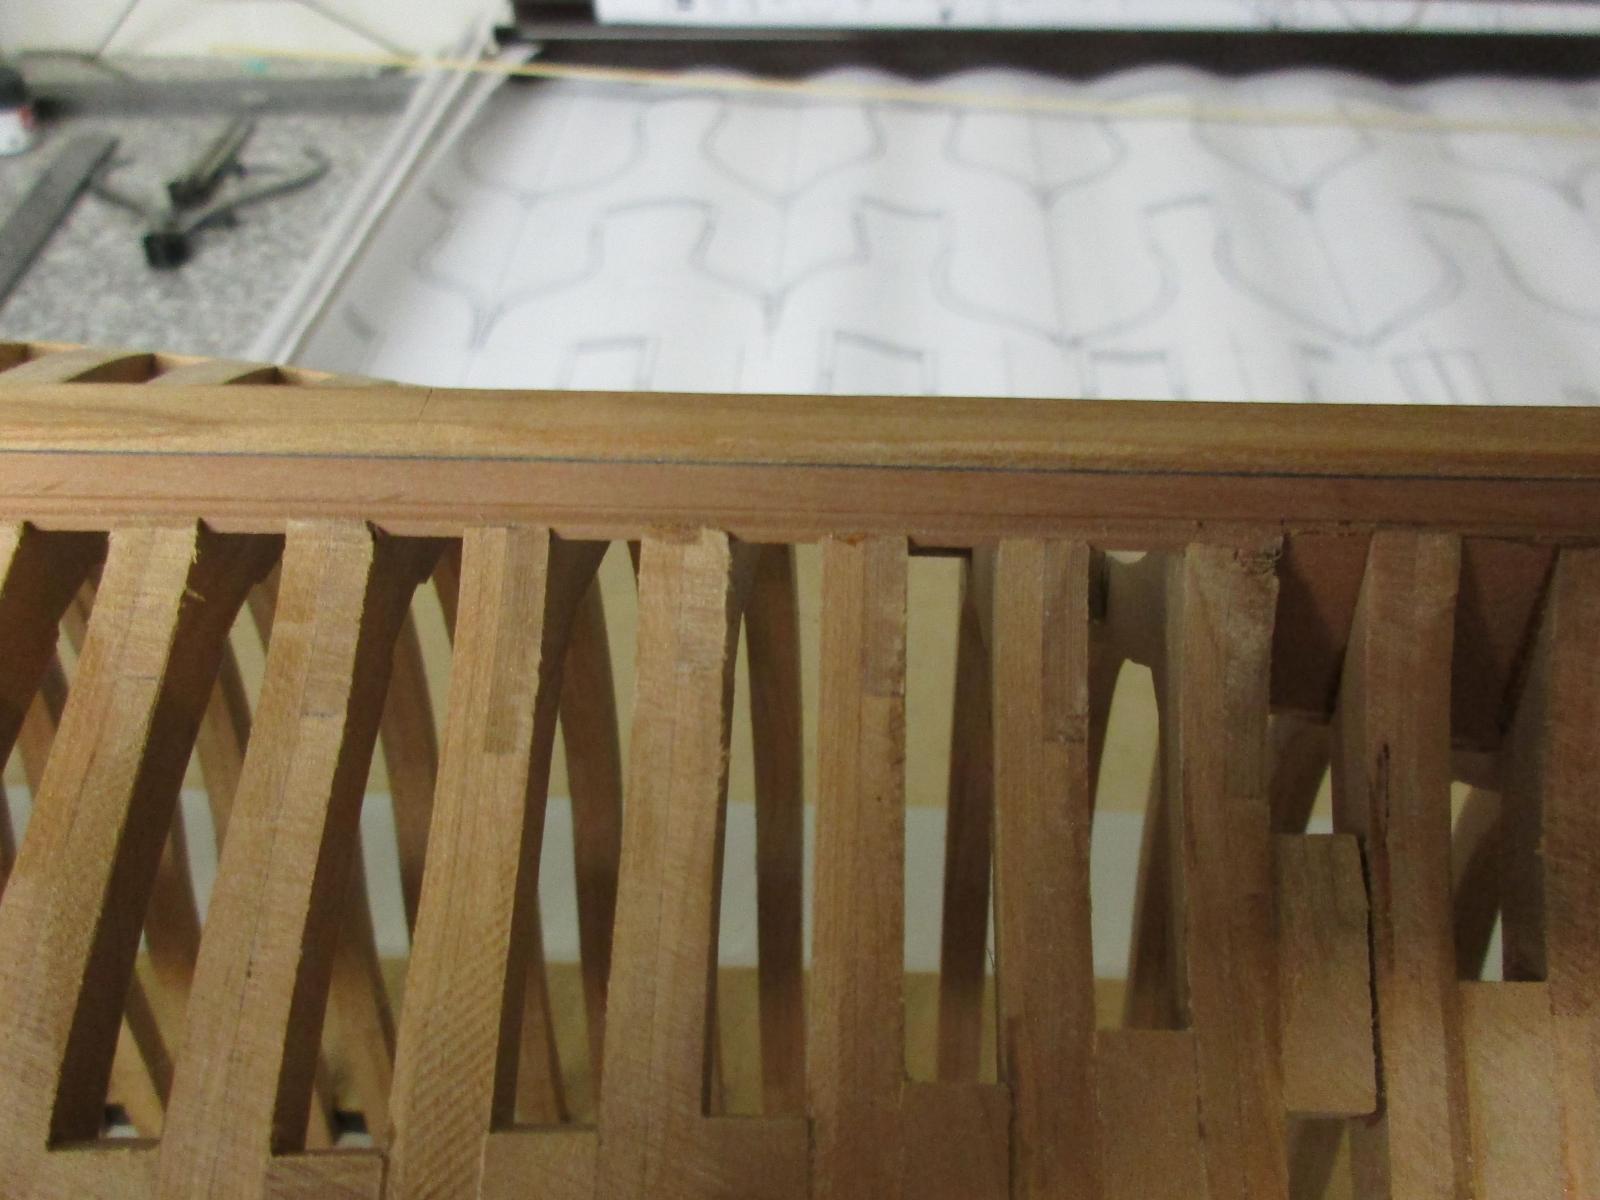
Window framing completed and I made some good progress on the hull fairing last weekend.
-
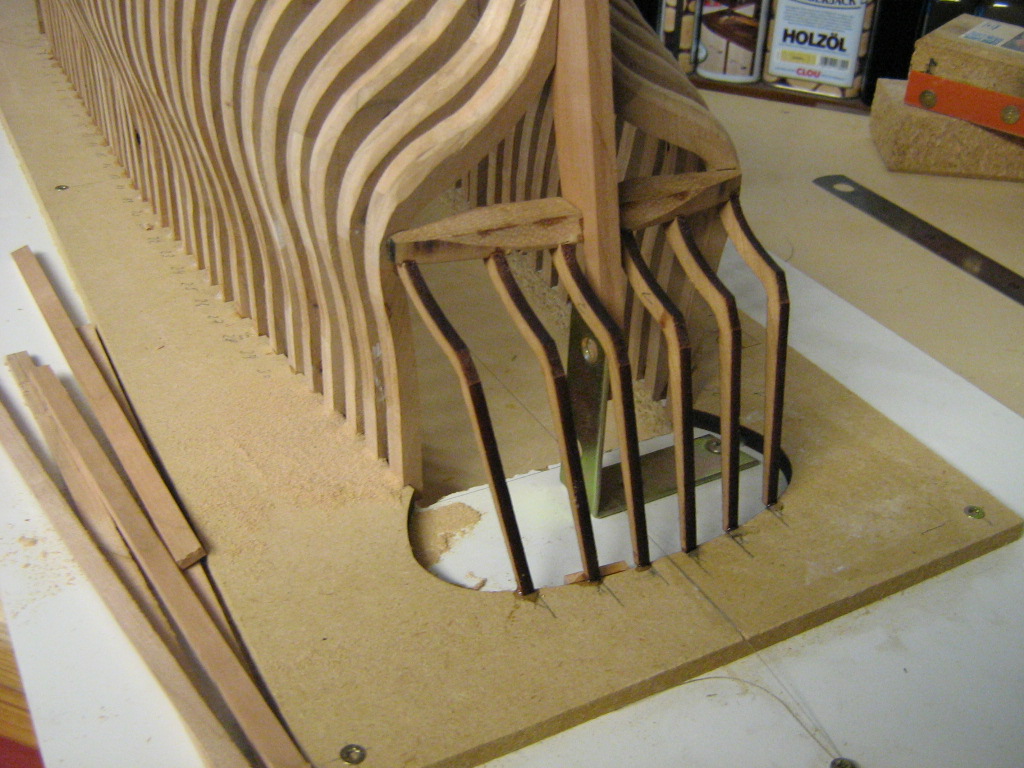
Hi all, waiting time is over, it continues...
Although hull fairing has not been completed yet I have started to fit the transom parts to have a break from sanding.
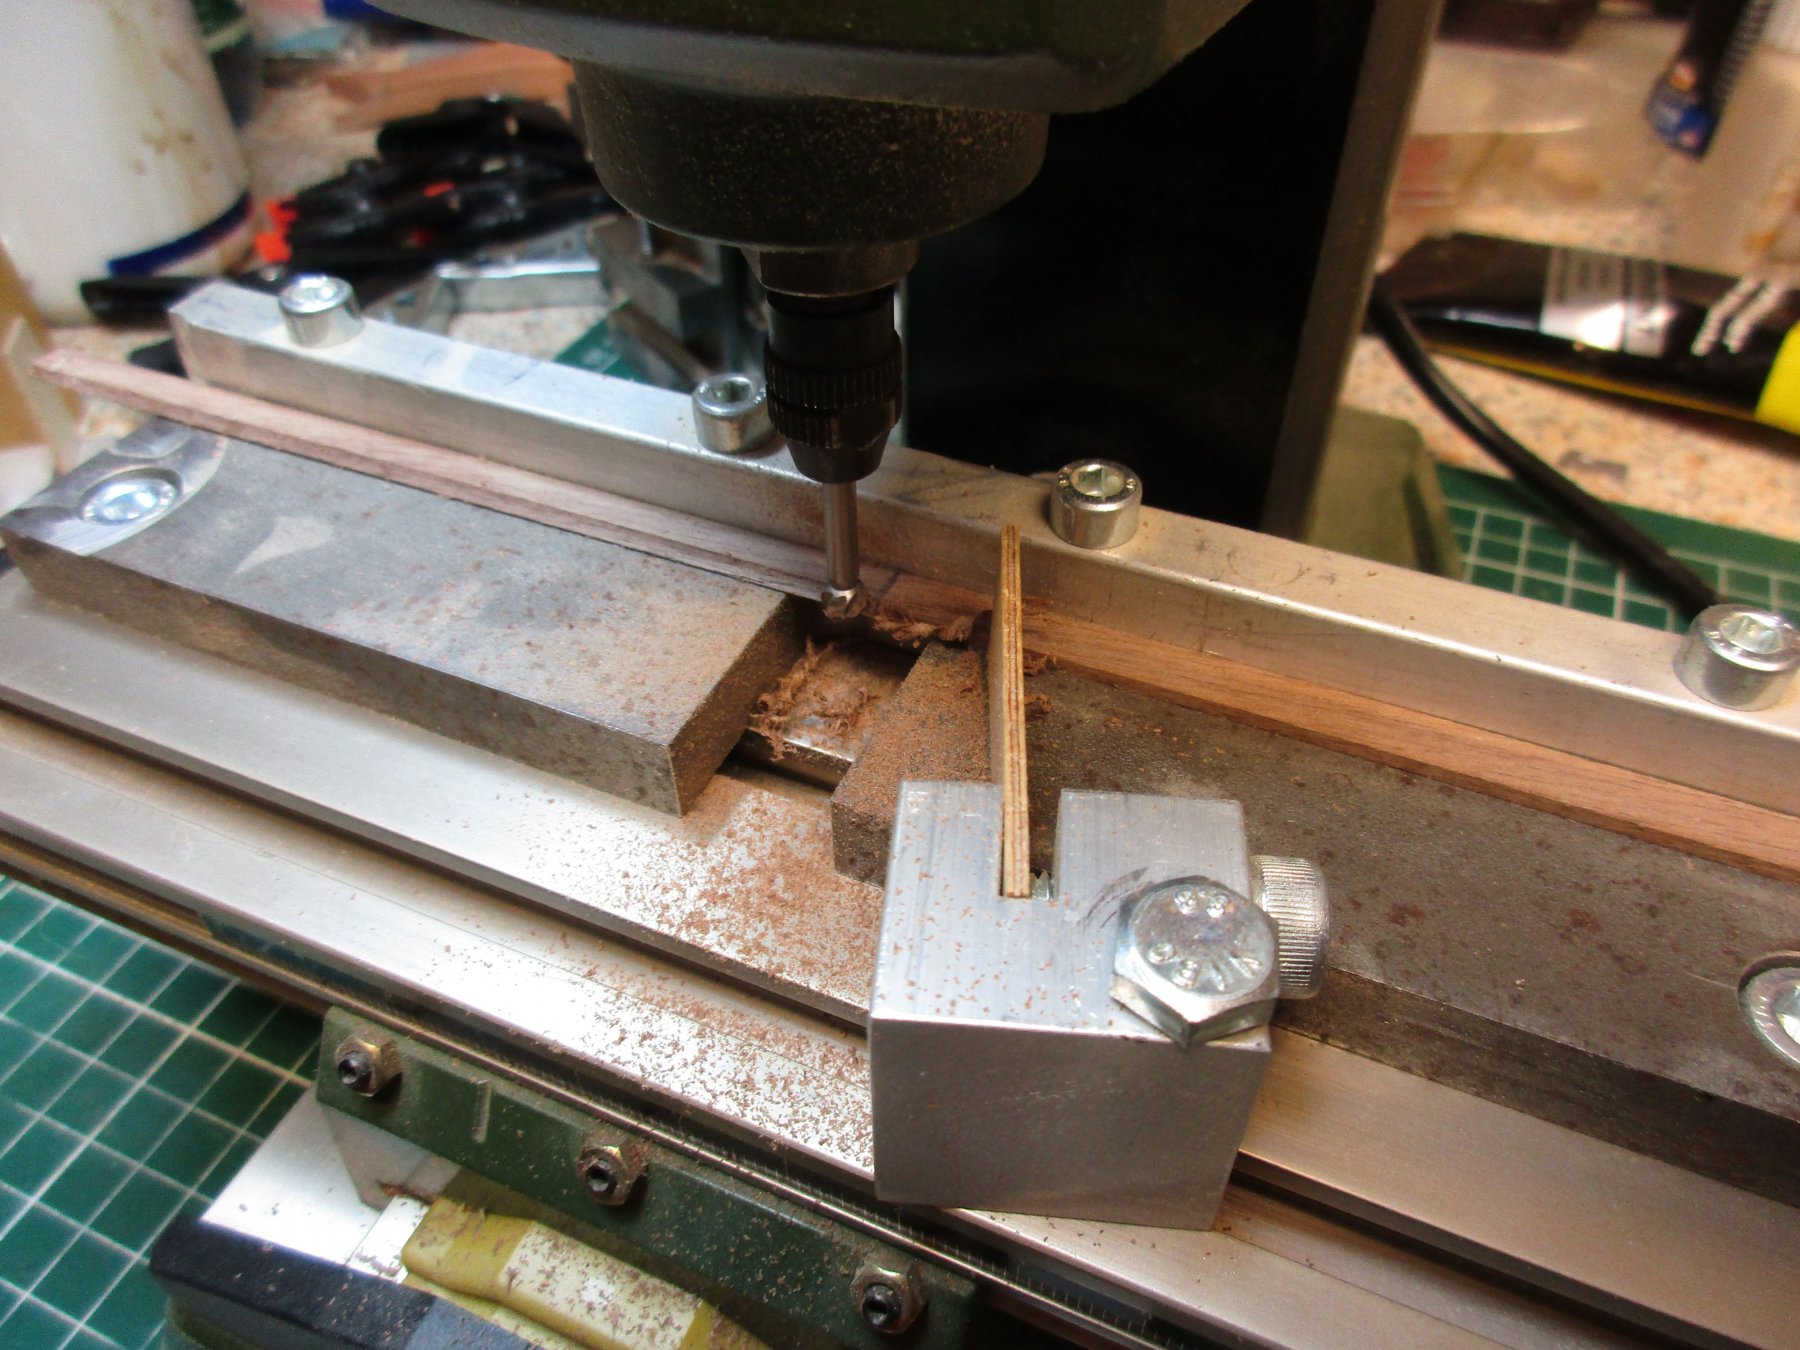
To complete the hull fairing a few more "low" spots on the Frames require attention. I will cut some left over material from Frame building to be cut to the Frame width, run it trough the thickness sander for approx. thickness and sand it to the hull shape after glueing.
- mtaylor, AntonyUK, GrandpaPhil and 5 others
-
8
-
Thank you for your Interest Antony!
Well, due to usual summer activities not much happend in the shipyard since the last update, but now the Bounty is back on the work bench.
I'am still busy with hull fairing and sanding, although the Frames were preshaped it is a lot left to sand.
A few Frames are undersized, don't know why, might be paper distortion from the copys or carelessness from my side. Anyway, got to fix those spots with adding woodstrips and sanding.
Hopefully it will be done in a few days.....


St Nectan by Kevin - FINISHED - Mountfleet Models - 1/32 - Steam Trawler - Completed June 2020
in - Kit build logs for subjects built from 1901 - Present Day
Posted
Congratulations to a beautiful build of a impressive and rare model.
Before i was reading your buildlog I did not even know anything about Mountfleet models.
When checking out their website I felt in love with their Model of the Boston Typhoon unfortunately currently unavailable, but i will keep an eye on it for sure.