HOLIDAY DONATION DRIVE - SUPPORT MSW - DO YOUR PART TO KEEP THIS GREAT FORUM GOING! (Only 51 donations so far out of 49,000 members - C'mon guys!)
×


mtaylor
-
Posts
26,273 -
Joined
-
Last visited
Content Type
Profiles
Forums
Gallery
Events
Everything posted by mtaylor
-
The patch looks great, Chris. Doesn't even need paint (hearsay on my part I'm sure).
-
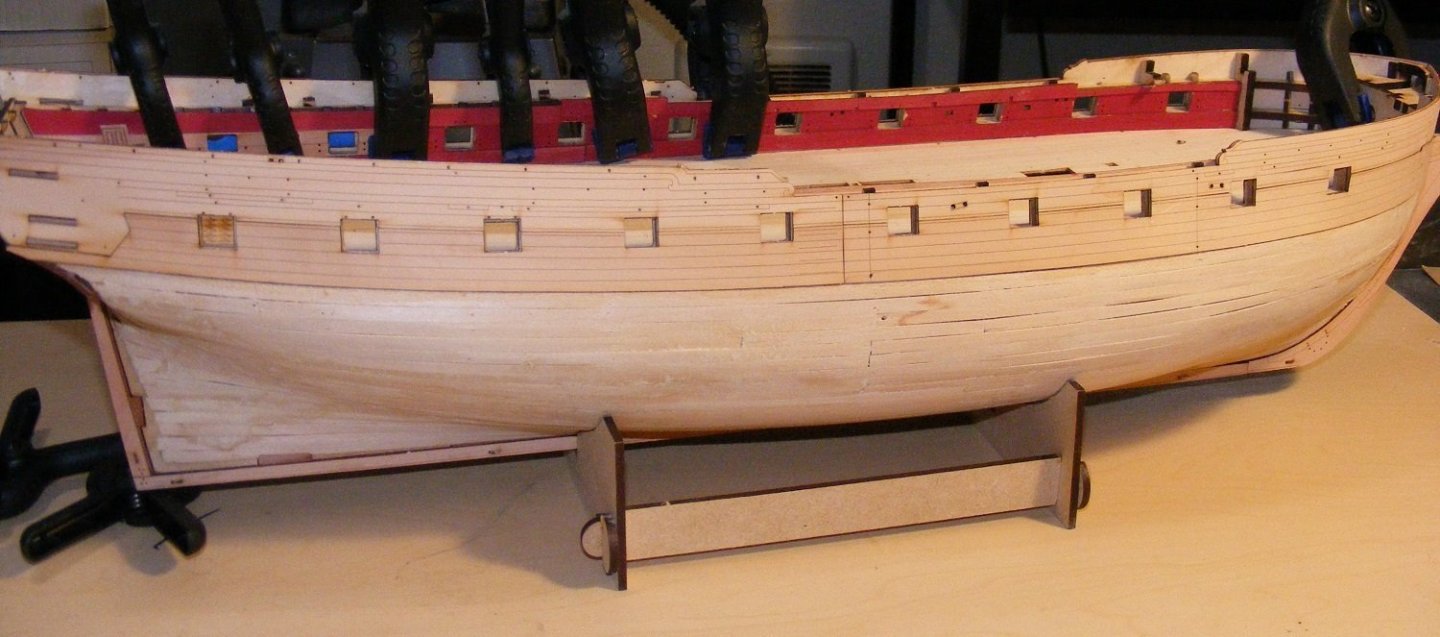
Thanks for the comments and likes. Jacek is correct. I've just finished the first two laser cut/carved pieces. If you'll go to Chris's website, the instruction might still be there to download as a pdf. Hoarding? Not hardly. LOL. Here's were I am today. The first two planking sheets are installed. I would have done more but life got in the way this week. Hopefully will pick up speed and ambition starting today. Here's a photo of the current state.
- 505 replies
-
- 24
-

-

-
- vanguard models
- Sphinx
- (and 1 more)
-
Better just to hang onto it and tell them "I'm thinking about it." when they ask. No point in starting a knock down, drag out fist fight at this point. Sadly, I've seen those fights among relatives over the years.
-
Welcome back home, Bug.
-
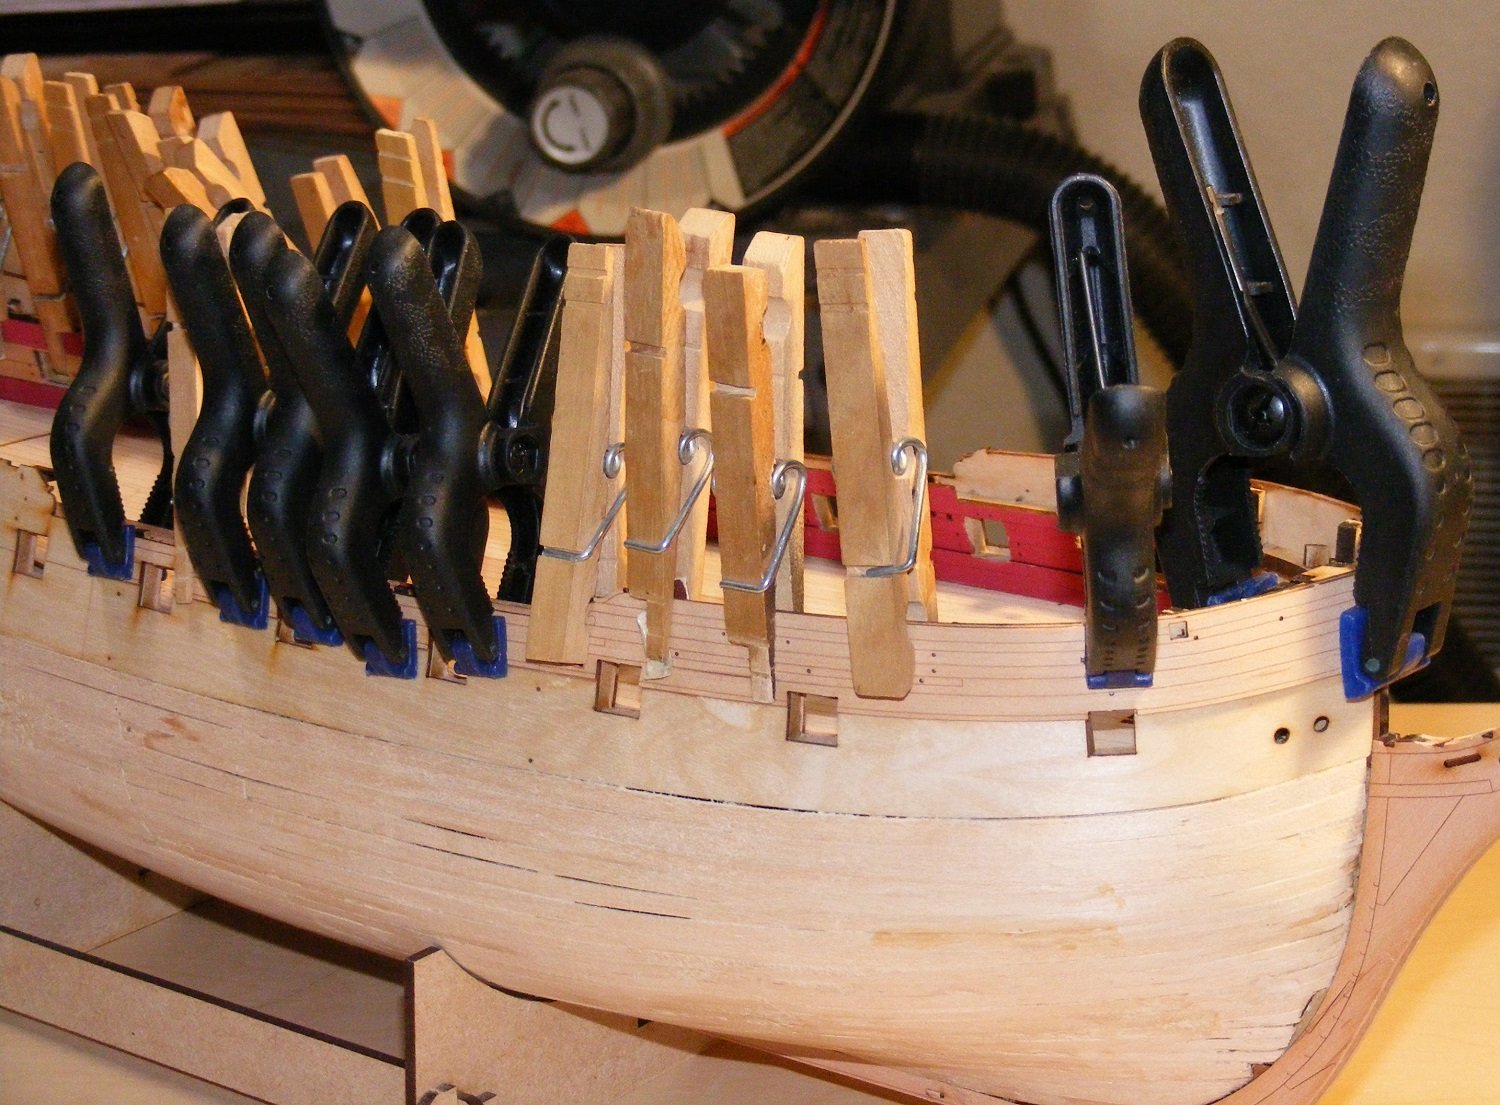
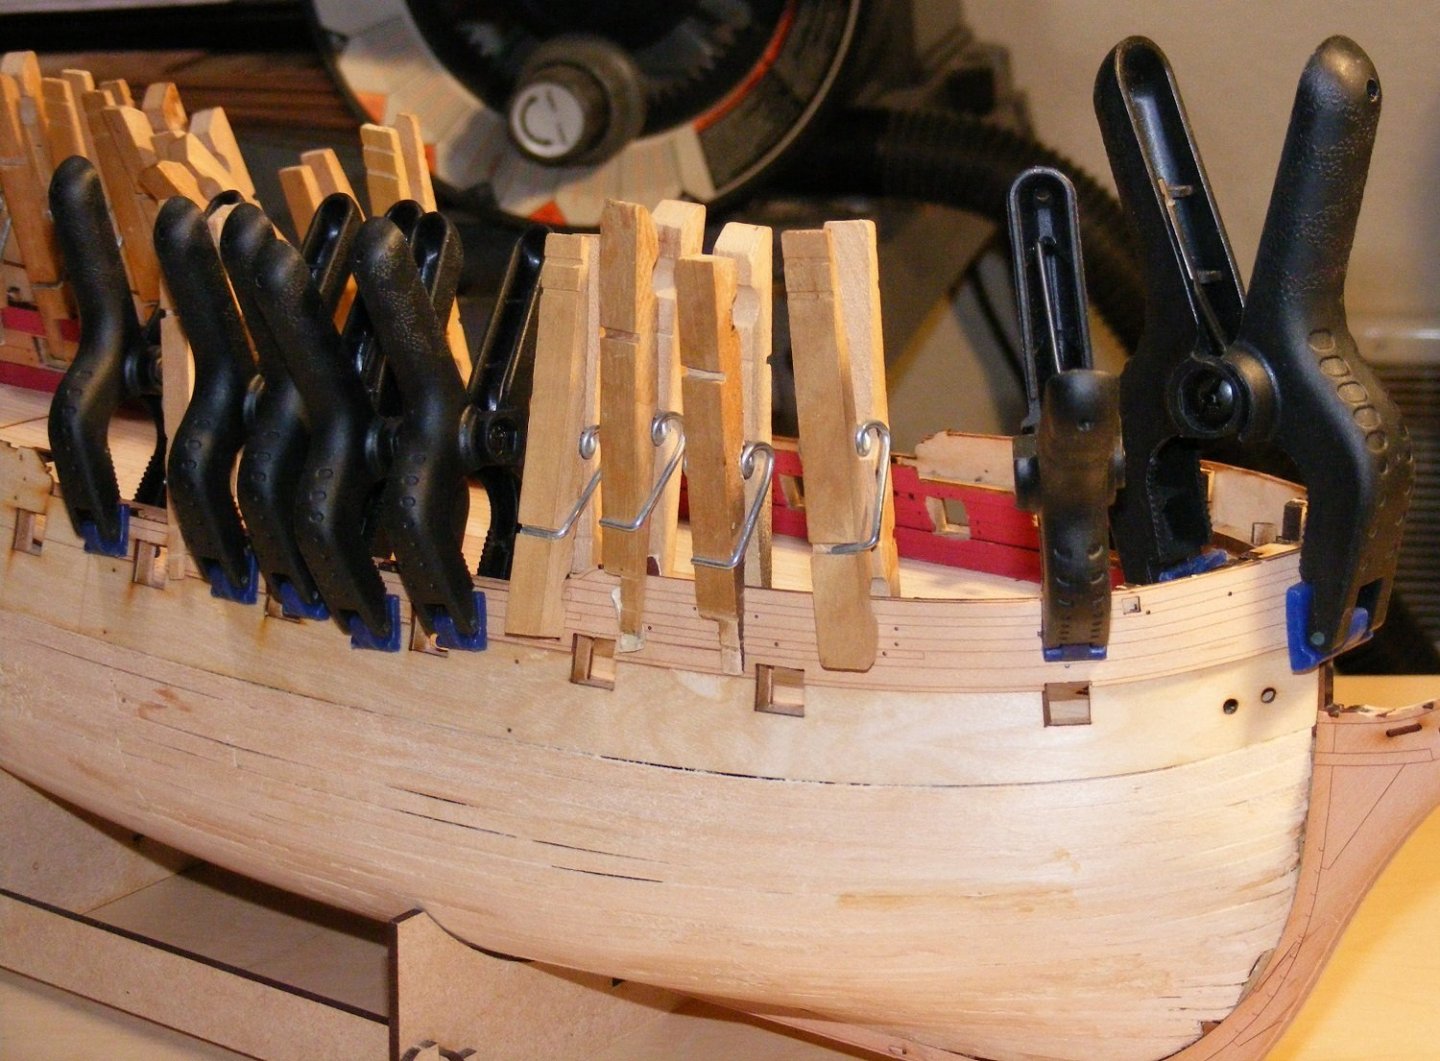
Not much to report as have had "other" things going on. I am working still on the skins. The top ones are in and the lower ones are works in progress. But then I took a pic today while glue was drying.... title it "you can't have too many clamps". I don't have enough and the hardware store I visited was out.
- 505 replies
-
- 22
-
-
- vanguard models
- Sphinx
- (and 1 more)
-
Laggard, there are quite a few on-line nautical dictionaries which are a big help.... like this one: https://webarchive.nla.gov.au/awa/20110215215247/http://southseas.nla.gov.au/refs/falc/contents.html A bit of Googling for "nautical dictionary" or "nautical terms" etc. you see quite a few. You can also use the search feature here to see what's been listed and discussed. It's at the upper right hand corner of any page. There's also dictionaries specializing in various languages. There's also this one which is a deep rabbit hole... http://www.boat-links.com/boatlink.html
-
We had a local museum that did that then they changed to a "children's museum". Now it's just a shell of it's former self. I do think that many libraries will take model ships even it's just for a "temporary" display... I'm going to give this more thought, perhaps when I finish my two current projects....?
-
I love these paintings. Wonderful to see again. You've been missed.
-
Laser Engraving/Cutting - Where To Start?
mtaylor replied to Kevin-the-lubber's topic in 3D-Printing and Laser-Cutting.
Engraving is different than cutting. With cutting, the beam will go through the wood to whatever is below the wood. It should be non-reflective and the wood piece should be above the base. Typically, engraving doesn't take much power but fumes and smoke can be a problem especially inside a structure where there's smoke alarms. Both cutting and engraving need a good exhaust method. Lasers typically use a hose about 4 inches or bigger and there's a fan on the laser to pull the smoke out of the cutting chamber and force down the hose to the outside. Many use an insert to fit into a window for the hose to connect to. The other issue is you need is something to enclose the laser cutting area to prevent the beam from bouncing out of the "box" along with interlocks to shut the beam down if any access lid/door is opened. Even clear plastic sheeting will work. I'd shudder to think firing off a 20 W or bigger laser without having at least that much material. Laser beams are nothing to trifle with. At a minimum, wear eye protection. Do check out Makerspace if you have one locally. They have experienced folks to help you set up your cutting/engraving and answer questions. -
Very impressive the amount of detail and workmanship, Yves.
- 321 replies
-
- 3
-
-
- Finished
- Flower-class
- (and 1 more)
-
Very impressive kit and build. And very impressive service from CAF. I hope you've disposed of the mildewed wood as I understand the spores are not nice to have in the air for breating and also contaminate anything around them. I've thought about this kit as a future project as I've wanted to build a 74 for quite some time, but the size is beyond what I would have to display it.
-
Well done on the pilot house and the boats. I was surprised reading what you said about putting more armor on the top due to the plunging fire at Fort Donelson. If I remember right, there were other forts along rivers on cliffs but not as high or close to the water as at Fort Donelson. The Union ships did get hit pretty hard by the batteries and the river boats didn't have enough elevation to fire back. If you ever get up that way, try to visit Fort Donelson. It's an interesting place to see. When i lived in the midwest it was always a nice day trip with their museum and re-enactments.
-
Cheers from Port Hope, Ontario, Canada
mtaylor replied to Peter Rumgay's topic in New member Introductions
Here's a pinned topic on how to do that. If you have questions, feel free to ask: -
Beyond cool looking and yes, it looks rather fragile. I can't speak for others, but I learned a few things watching your build. We do have an area for "non-ship" model builds and we do get trains there. If I may ask, how far do you need to transport it? Could you take it apart such that Isis, the barges and the ship could be removed?
-
Looks great, Grant. A wonder piece of equipment. As for the hose... I don't know if anyone makes the "hollow knit" type any more. They do make round laces that are solid centers (string) but then there's find some in the right diameter. Possibly one's for boots would be larger? Worst case.. email Model Expo about the hoses. Once you have the hoses, then hit them with the log copy and the errors.
-
Amen on knowing when to quit for the day/night.
-
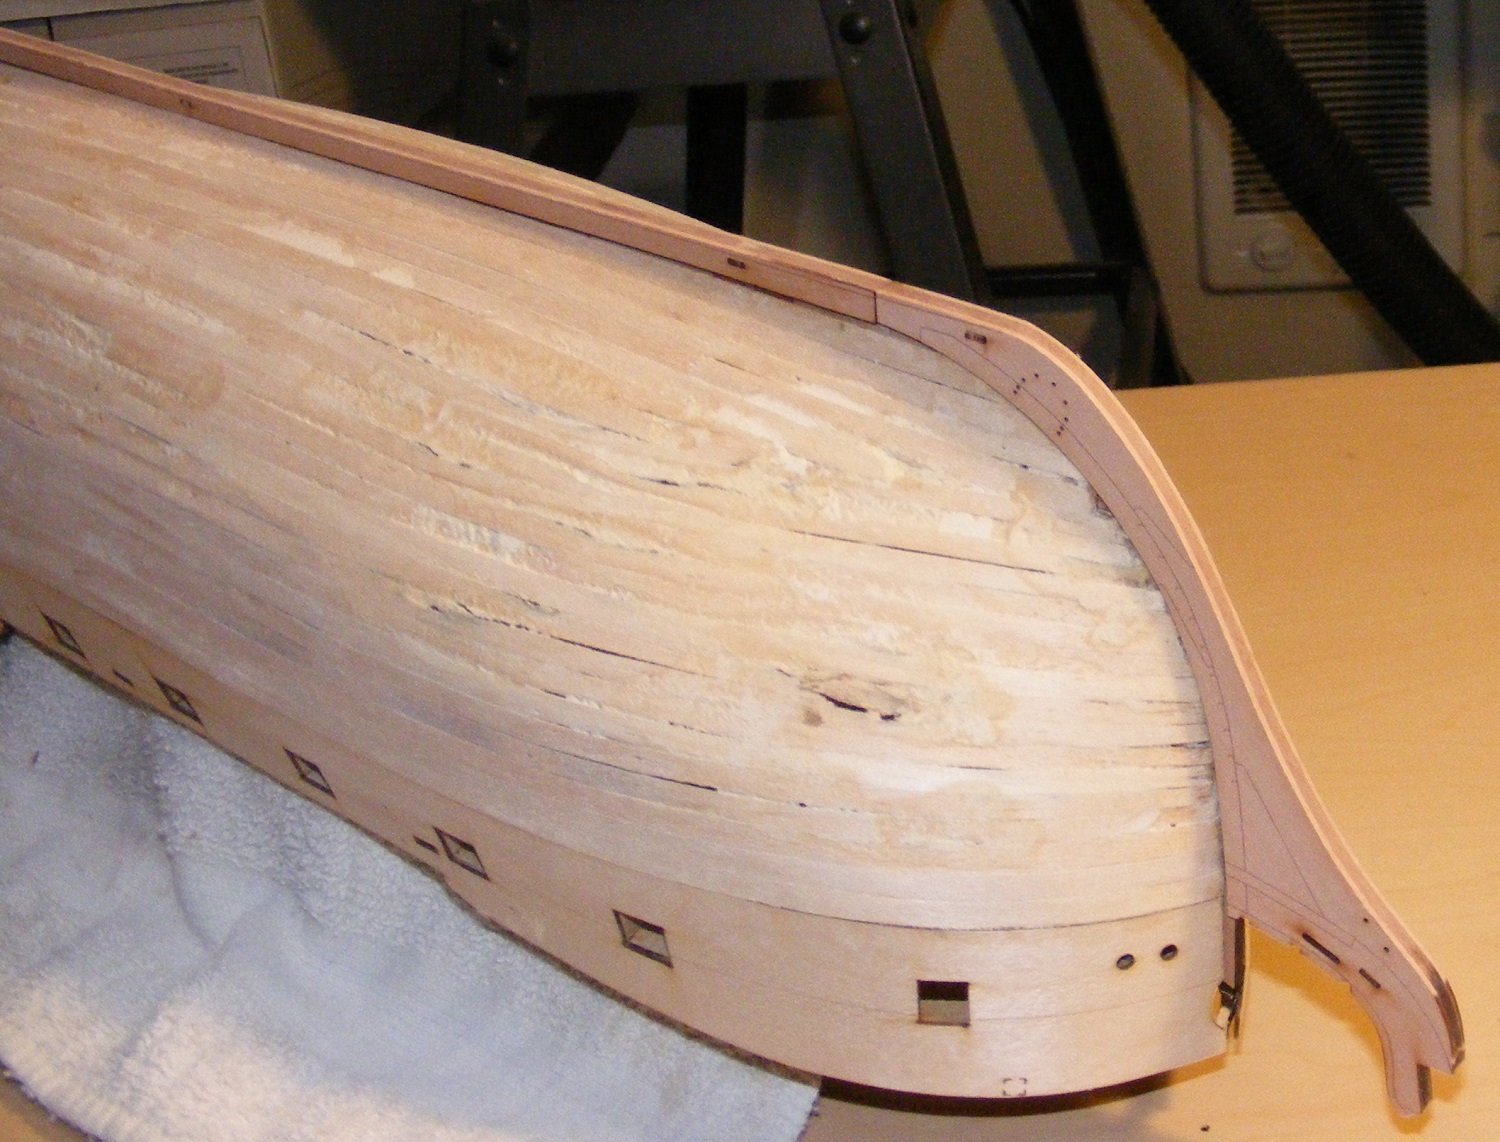
Tonite's update. I appreciate the likes and helpful comments. Not pulling my hair out yet nor reaching for a stiff adult beverage. The keel parts have been "skinned" and stern built up with it's skins. I took some time and removed as much char as I could (stayed in my comfort zone) without overdoing it. Since I'm not planning on painting the white stuff I thought this would help the appearance. If Murphy rears his ugly head, I may change my mind. And yes, there's a few spots where the fairing of the planking went too far and had to be "patched".

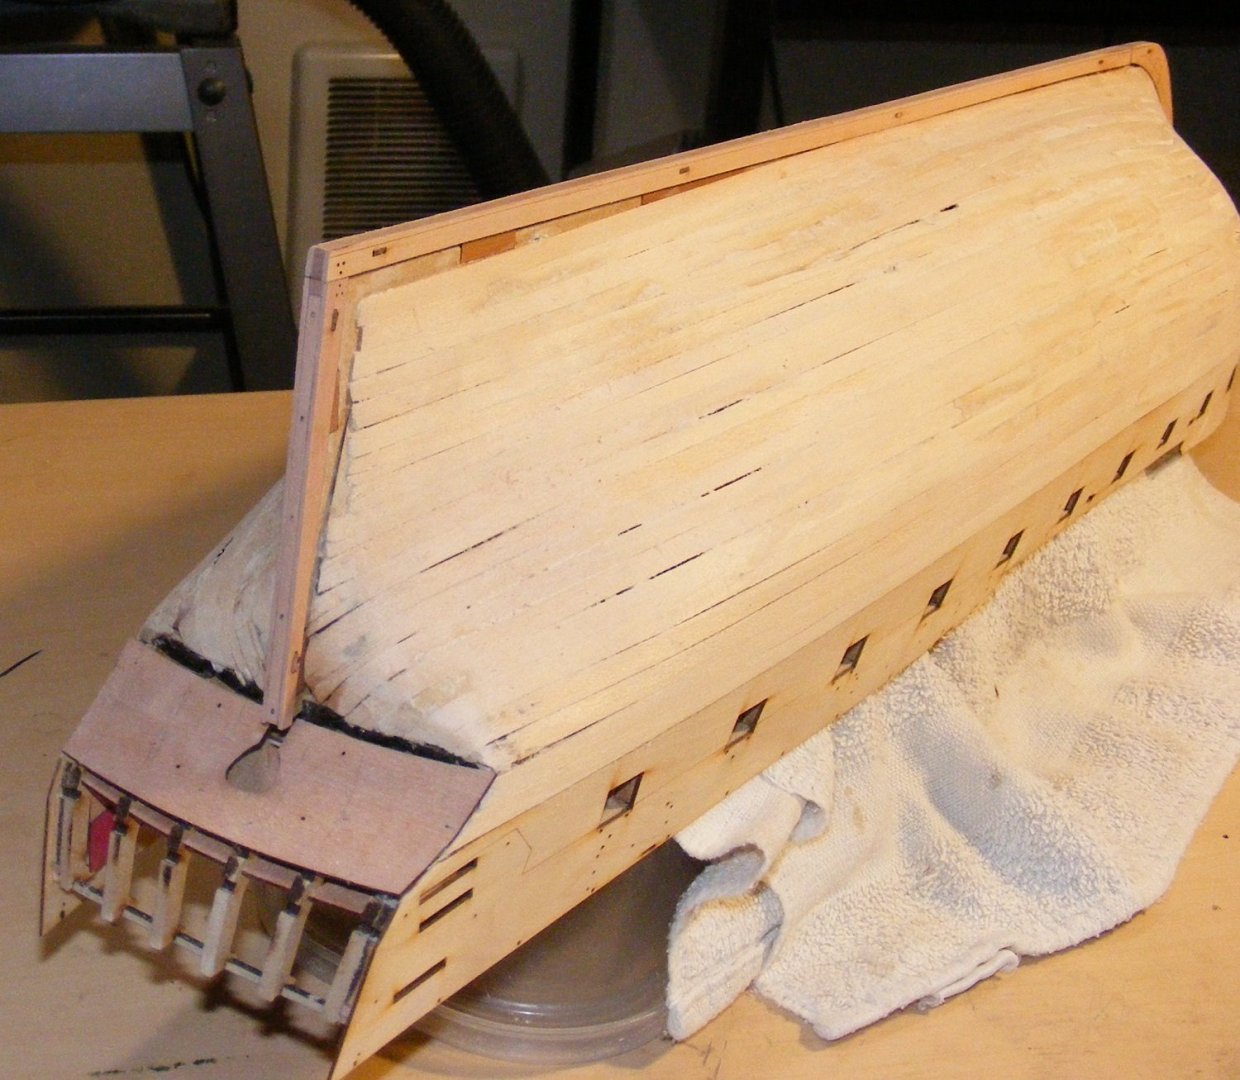
- 505 replies
-
- 21
-
-
- vanguard models
- Sphinx
- (and 1 more)
-
Nice work. No time pressure here as the hands need to stop shaking, the nerves need to calm and the eyes uncross.
-
HMS Bounty by AdamA - 1:48
mtaylor replied to AdamA's topic in - Build logs for subjects built 1751 - 1800
Looking pretty good from here. As for the frames moving, wobbling, etc. Put a spacer or two in between them. Once planked they won't be seen and if you're leaving off planks to show the framing, you can remove the spacers or just set them outside of the unplanked area. -
If you'll go to the article database here (https://thenrg.org/resource/articles) there's two relevant topics... The first is "Plans and Research" and the second is "Materials and Tools". Unless you're like many of us, myself included) and are a toolholic, only buy tools as you need them and as you progress on your modeling.
-
Pat is right. The basic rule is that if the bulkheads or frames and the backbone are unmodified, that it's a bash and goes in the kit area. You can add the word "bash" to the title.
-
I noticed that also but wasn't sure it was reason.
-
Cheers from Port Hope, Ontario, Canada
mtaylor replied to Peter Rumgay's topic in New member Introductions
Welcome to MSW, Peter. I suggest you open a log on your current project. -
Thanks, Glenn. I think I've got the right position at this point or at least "close".
- 505 replies
-
- 2
-
-
- vanguard models
- Sphinx
- (and 1 more)