mtaylor
-
Posts
26,273 -
Joined
-
Last visited
Content Type
Profiles
Forums
Gallery
Events
Everything posted by mtaylor
-
Brig Eagle by robnbill - 1:48
mtaylor replied to robnbill's topic in - Build logs for subjects built 1801 - 1850
Wonderful work on the anchor, Bill. -
Lovely work as always John. I do hope those health issues are only minor...
- 745 replies
-
- 4
-

-
- francis pritt
- mission ship
- (and 1 more)
-
Hmm... that's asking for trouble. To keep on the Admiral's good side, go buy her a new one and then offer to take her old one off her hands.
-
You'll probably need more than soaking... you'll need heat also. There's a lot of different ways to do it. I soak for about 30 minutes and that use an old curling iron set a max temperature. Others use a bender that heated like a soldering iron. It will probably take a couple of times to finally attain the twist that you need so be patient. When you heat it, put in the twist and hold it until it cools. Repeat as needed. I hope this helps. There's other ways of doing it but the soak and curling iron work for me. Once others have offered advice, try one or many until you find the one that works for you.
-
I great to see you back Vivian. I hope all is going well other than the phone, tablet, and camera.
-
Sweet work, Pat. Everything looks to be coming together in grand style.
- 517 replies
-
- 2
-
-
- Endeavour
- Artesania Latina
- (and 1 more)
-
Stunning work on that, Mobbsie. The gloss does show how smooth you did the planking. The wood choice just make the whole thing pop right off the computer screen.
- 129 replies
-
- 3
-
-
- armed launch
- panart
- (and 1 more)
-
Just fantastic, Patrick. I'm worried you'll finish everything and then not be able to put on one of your great paint jobs.
-
Spot on, Dave!!!! I wish I could hit the "like" button for that a 1000 times.
- 962 replies
-
- 8
-
-
- sovereign of the seas
- ship of the line
- (and 1 more)
-
I like your approach to the cannons. I turned the ones for my Constellation using brass rod, files, and dremel with a chuck. Wood is probably much easier on the hands I would hope. Looking great. I hope you get to feeling better and can get back to the bench.
- 1,306 replies
-
- 9
-
-
- syren
- model shipways
- (and 1 more)
-
I've had to come back and look at this several times. What appears to be a Rube Goldberg is really a marvel of engineering for the time. Beautiful work, Glenn.
-
I can see why you're doing a cross-section. I would imagine all the frames would be a long process. Looking good though...
- 649 replies
-
- 3
-
-
- dunbrody
- famine ship
- (and 2 more)
-
Hi Les, It depends on the wood itself, I'd say. If it's old, brittle, and open grained, you might want to think about replacing it. Run a couple of slices off and see what it looks like and if you can work with it.
-
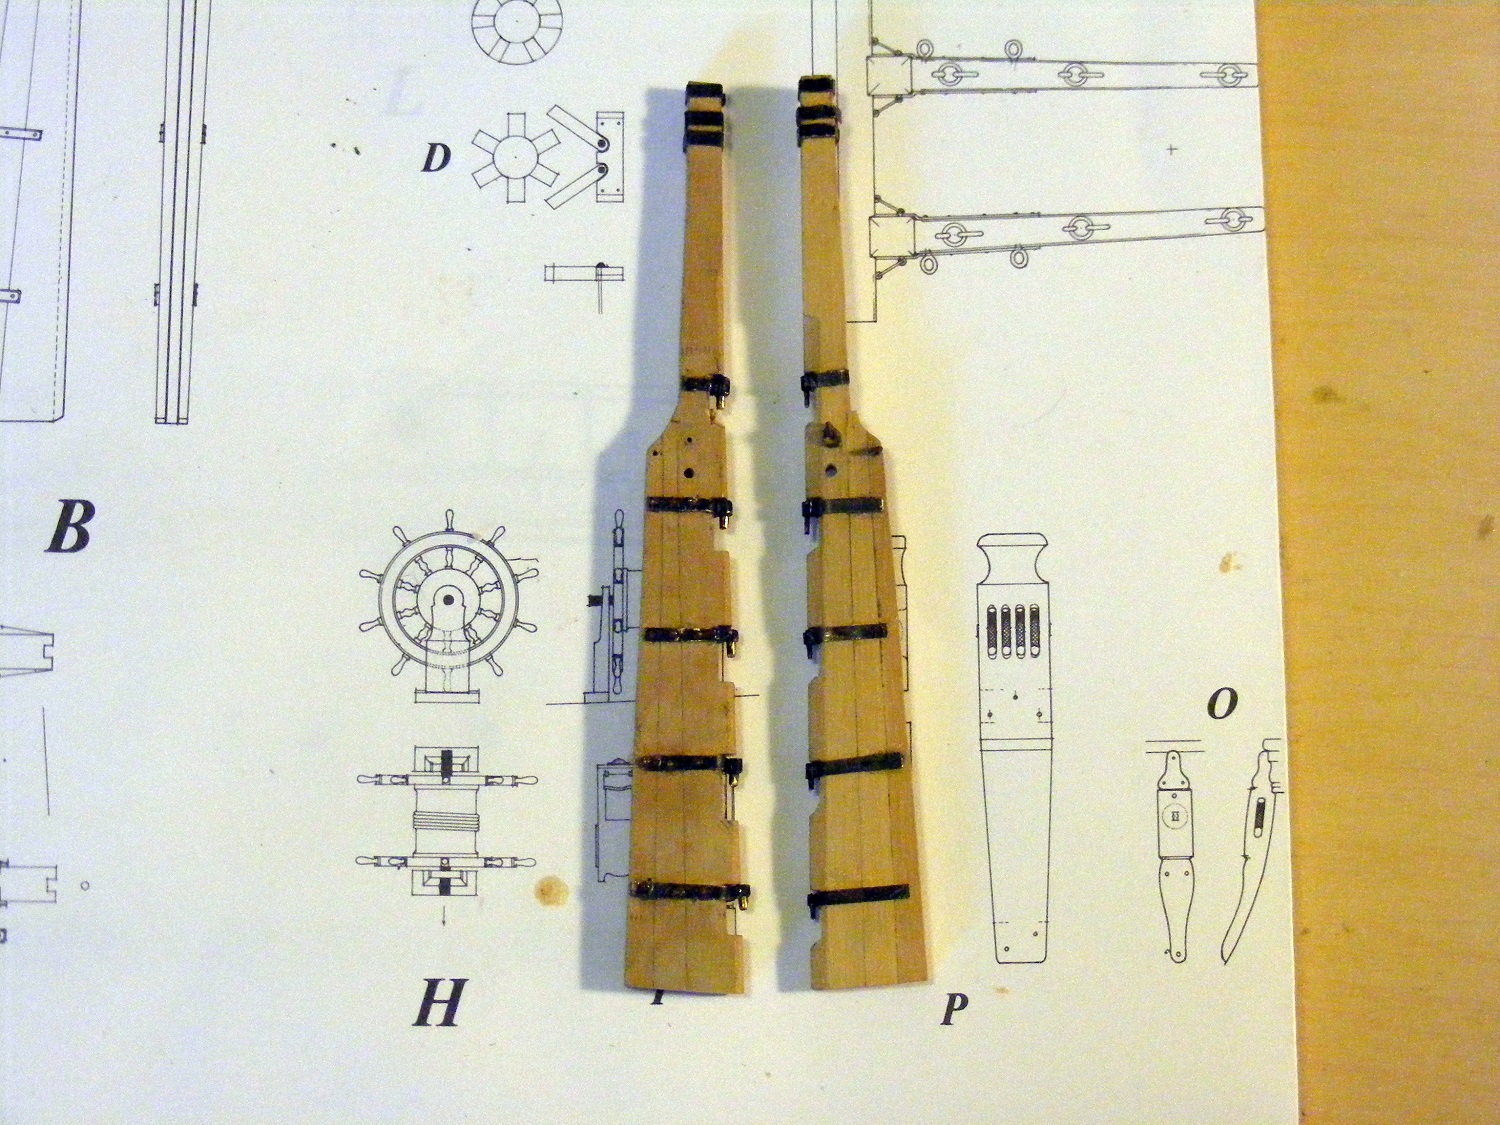
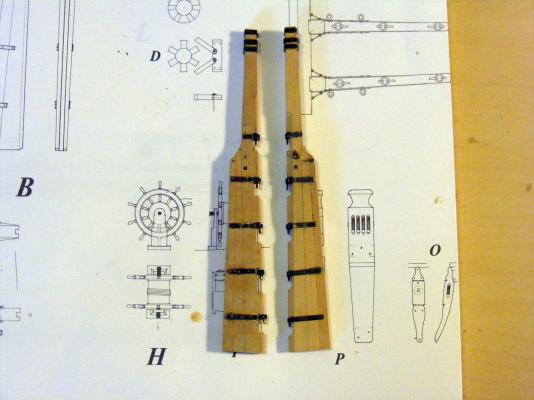
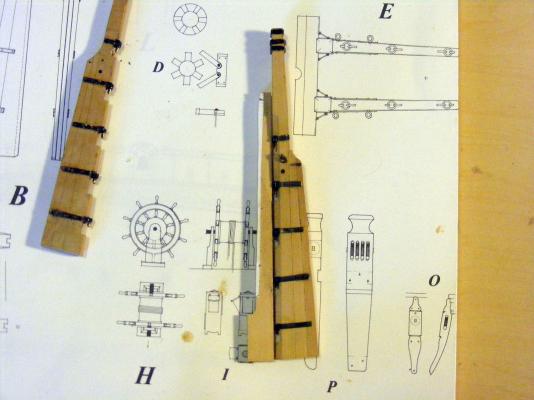
Thanks for the comments and the "likes"... Here's the rudder ready to hang. Once the cudgeons are on the hull, I'll add the rudder coat and mount it. I'll probably pin it to the sternpost from the inside of the hull just to keep it in place as I'll be flipping the hull over a few more times before cutting it loose and mounting it to a cradle. I made a judgement call after testing on some scrap about the bolts. Not going to happen. If the bolts are visible, they're oversize by an order of magnitude. If' they're just the right size, they're invisible. I also did some testing to compare Jax Black to Birchwood Casey Black. Not much difference except maybe the Birchwood Casey is a bit blacker and also seems to cover silver solder better. Been a busy of testing this stuff. Ok.. pictures..... First piccy shows the old and the new together. I'm happier with the new and the old is hitting the scrap box. The second pic has a dummy sternpost next to it. I've got a big smile on that one.
-
The might very well be what the painting shows. I'm surprised it's not on the sketch, though. Then again, different points in time and different looks/equipment.
-
Cutty Sark by NenadM
mtaylor replied to NenadM's topic in - Build logs for subjects built 1851 - 1900
Looks great, Nenad.- 4,152 replies
-
- 5
-
-
- cutty sark
- tehnodidakta
- (and 1 more)
-
A question for al you users of scroll saws
mtaylor replied to michael mott's topic in Modeling tools and Workshop Equipment
Really great, Michael. So when is the first production run that we can order these? I'm kidding about the production but that is a seriously good looking saw. -
Ah... the ubiquitous towel. I have one also... I think Douglas Adams was right about it being the most important thing. That is some wonderful planking going there, Erik. I find it amazing what can be done with clothes pins.