mtaylor
-
Posts
26,270 -
Joined
-
Last visited
Content Type
Profiles
Forums
Gallery
Events
Everything posted by mtaylor
-
John Have you tried double-sided tape? I've shifted over to using the sticky back sanding disks. Peel off the protective backing and they stick nicely to the sanding stick. The down side is that it seems to be limited on what grits are available.
-
Beautiful work, Nigel. And your carvings are coming out great.
-
Adding accessories to your milling machine
mtaylor replied to Modeler12's topic in Modeling tools and Workshop Equipment
Looks great, Jay. You're giving me ideas... I have a rotary table but just havent' figured out a satisfactory way of mounting it. -
I'm tempted, Clare... Let's see where I am when and if I get the current project finished.
-
Clare, It's real easy to spend $200 on plans. $200 for the kit gets everything you'd need to scratch it from wood...including the details since they're all printed out or laser cut. Just a matter of transferring them to wood. As for how much to change, it really has to be your call. Do it your way and dont' sweat what anyone else thinks because they don't have see the model everyday after it's finished. That my take....
-
How much indeed... I'm looking at some of the paper with the thought of scratch building them in wood. For example, the Wolf. It would cost a small fortune just for the plans... Some go "all paper/card" and some use alternatives. I daresay it's your choice, Clare.
-
Cutty Sark by NenadM
mtaylor replied to NenadM's topic in - Build logs for subjects built 1851 - 1900
That's a phone? Wow!!!! Excellent pictures and excellent work on the deadyeyes. Rigging... go from the inside (where there's room) to the outside on the lanyards. It will be a tight fit unless you can do the masts and shrouds and add the rest of the desk items later.- 4,152 replies
-
- 6
-

-
- cutty sark
- tehnodidakta
- (and 1 more)
-
Shipyard H.M.S. Wolf, 1754 - 1:72 Scale Laser Cut Kit
mtaylor replied to catopower's topic in Card and Paper Models
It is... I wasn't sure if it was in yet... but.. link: http://www.agesofsail.com/ecommerce/hms-wolf,-1754-1:72---shipyard-zl029-laser-cardboard-kit.html -
Happy to see that everything is coming to fruition, Paul.
-
The Billing's Wasa was my first kit... until after I opened the box and took a good look. I immediately backpedaled for a simpler kit (the AL Scottish Maid). So it ended up being my second ship... and took 11 years as life got in the way a lot.
-
Model workshop layouts
mtaylor replied to StebbinsTim's topic in Modeling tools and Workshop Equipment
We have a topic for that: http://modelshipworld.com/index.php/topic/3869-so-where-do-you-do-yours-then-model-making-that-is/ -
Shipyard H.M.S. Wolf, 1754 - 1:72 Scale Laser Cut Kit
mtaylor replied to catopower's topic in Card and Paper Models
Is there a link to a dealer? -
Cool Jeff. I was worried that at some point you'd wonder why we didn't say anything. When you're fitting it back, just sand/carve and the offer it up. Repeat until it's where you want it. I think you'll be a lot happier with it.
-
Go up and look at Charlie's post again. It's more of a "type" than a real ship.
-
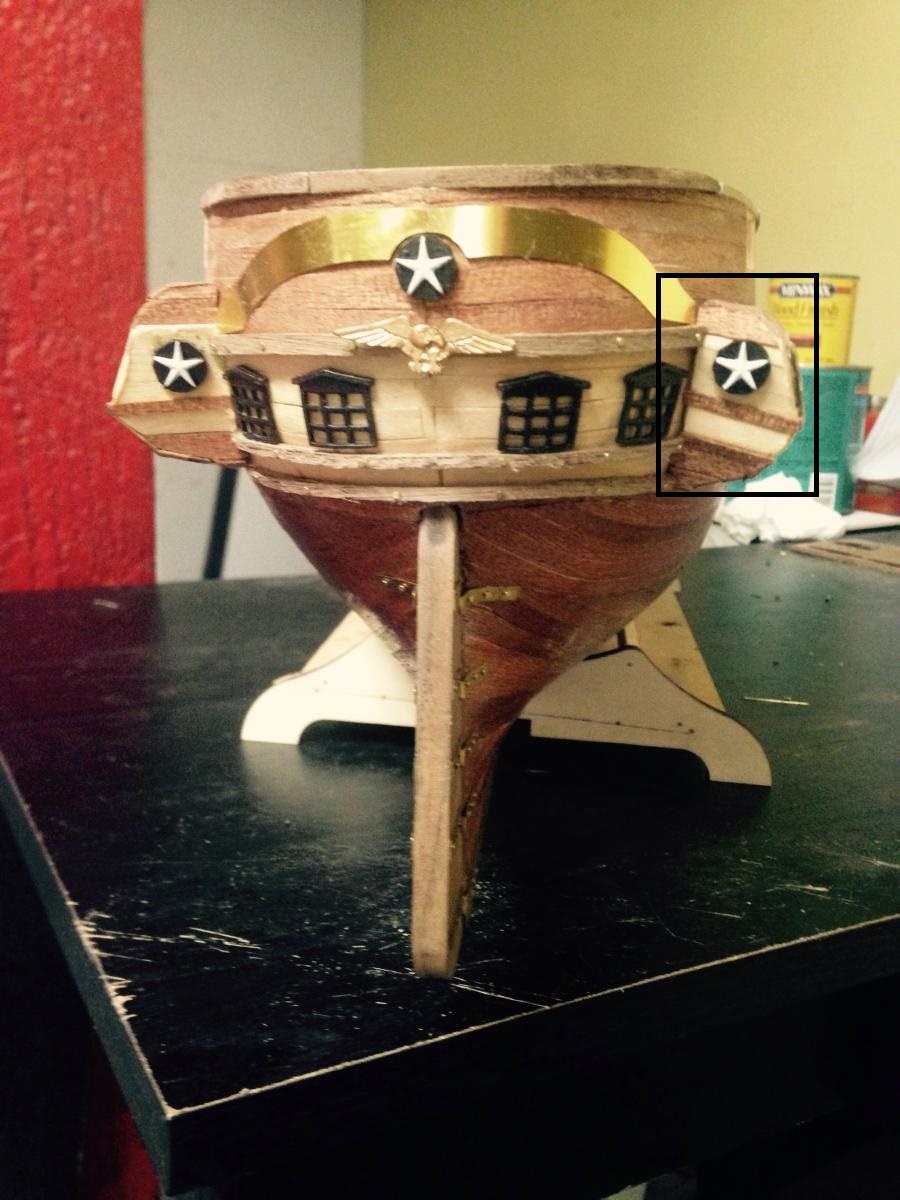
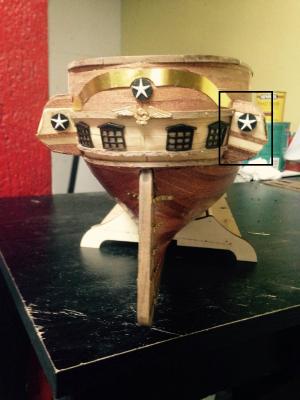
Jeff, I'm bearing bad tidings... that gallery on the right (I attached a photo). Can you take it off and probably sand back the top to rotate it? Or maybe build out the bottom of it? It's a bit on the droopy side.. If you put on the main mast main course brace support (I think that's the right term) it won't be straight out. And I think you'll be happier with the stern view. I like the way you're coming along on this build. It's not the easiest one to do.
-
Those aren't davits, Jeff... there's two davits that stick straight out from the stern and are actually (on the real ship) moveable. The can be slid inboard. What you're asking about (I'm not sure of the name.... brainfart) are where the mainsail lower course yard braces belay to. Check the rigging drawings.
-
Chris pretty much said it all. But I'd like to add: If the planks are glued, and the glue is yellow or white, the glue is probably PVA, soak the joint with alcohol. If it's clear or cloudy and seems to be a plastic, it's probably CA, use acetone to soak the joint. If you use acetone, work on it outside and stay upwind of the fumes if you can. Good luck and do try to have fun with it.
-
I've got to get out more and make a trip to the east coast, I guess.
- 15 replies
-
- 2
-
-
- Steelers
- drop planks
- (and 2 more)
-
Interesting. I've not seen the strakes hooked in like that before, Druxey. I learn something (sometimes 2 somethings ) every day around here.
- 15 replies
-
- 2
-
-
- Steelers
- drop planks
- (and 2 more)
-
I'm quietly following along, Mick. I too think I'll learn a thing or two.
- 504 replies
-
- 3
-
-
- washington
- galley
- (and 1 more)