


giampieroricci
-
Posts
891 -
Joined
-
Last visited
Content Type
Profiles
Forums
Gallery
Events
Posts posted by giampieroricci
-
-
-
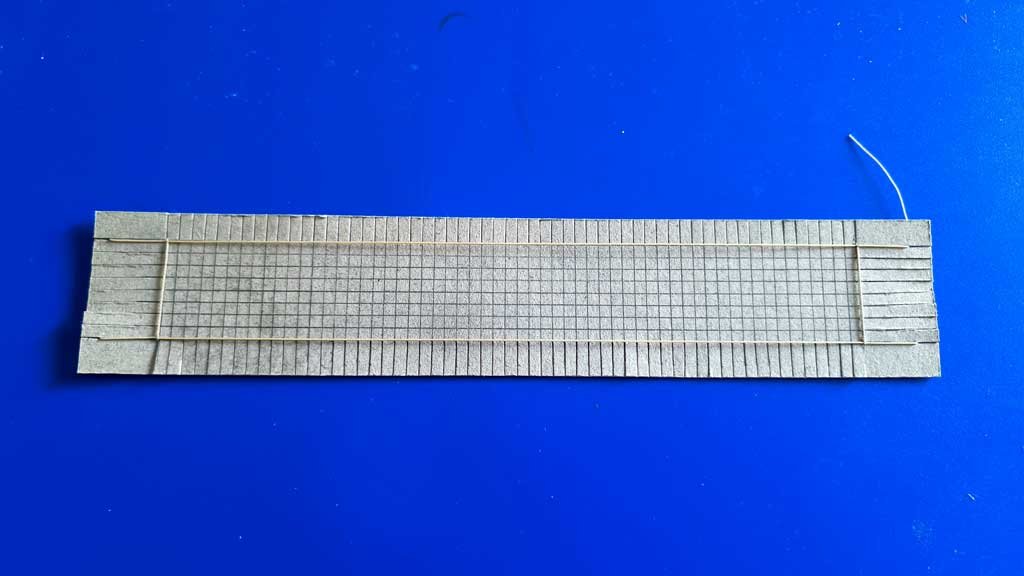
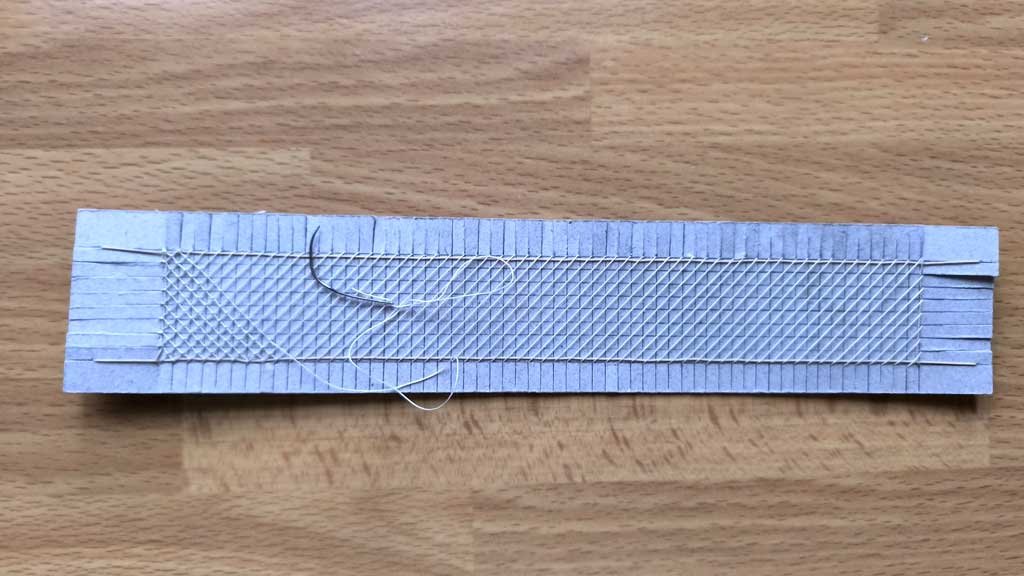
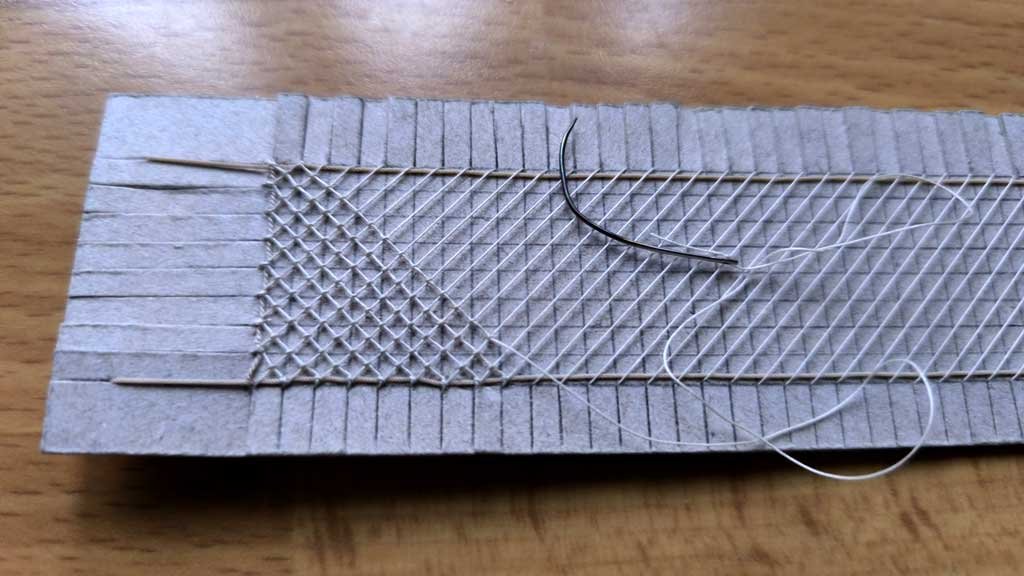
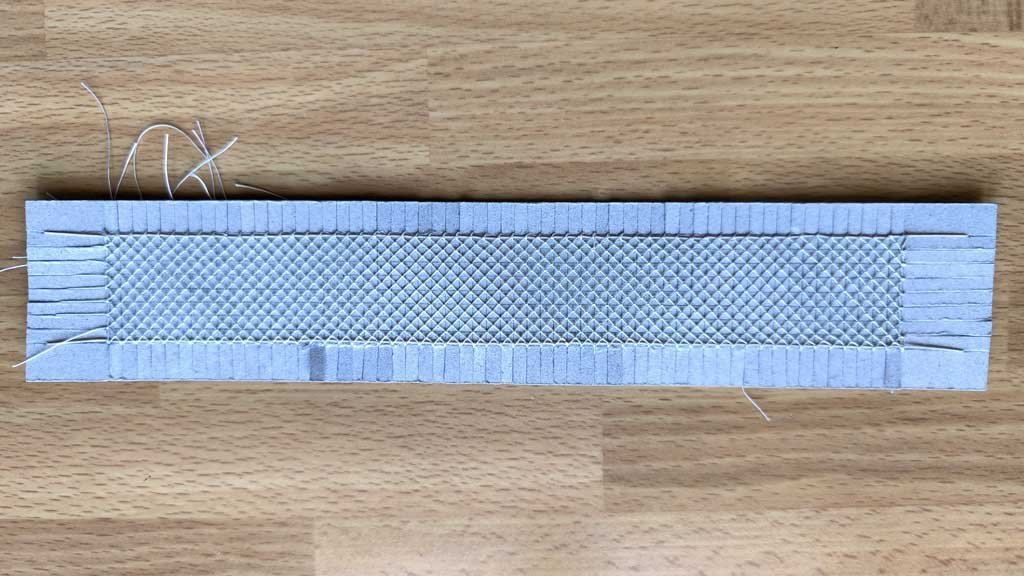
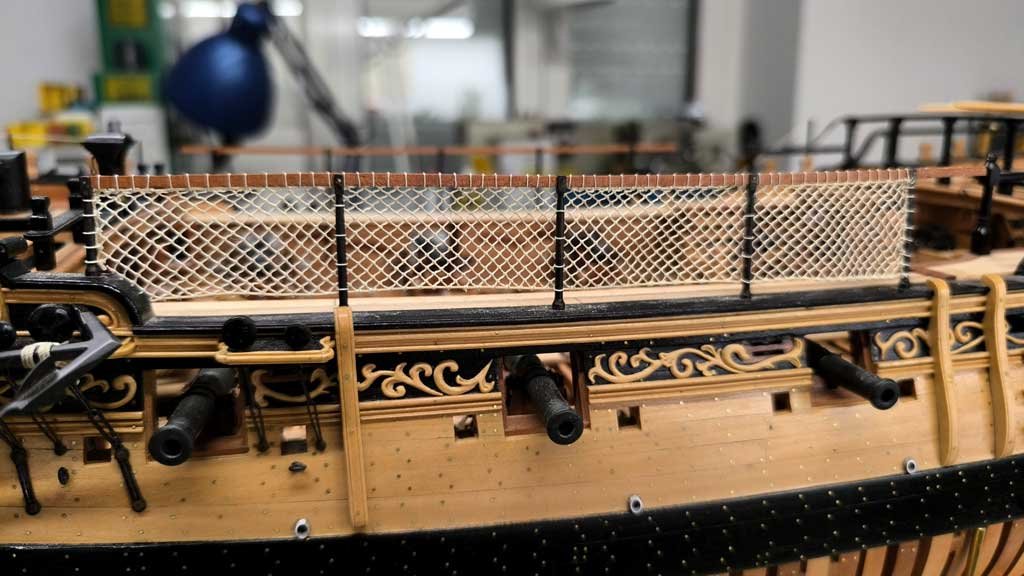
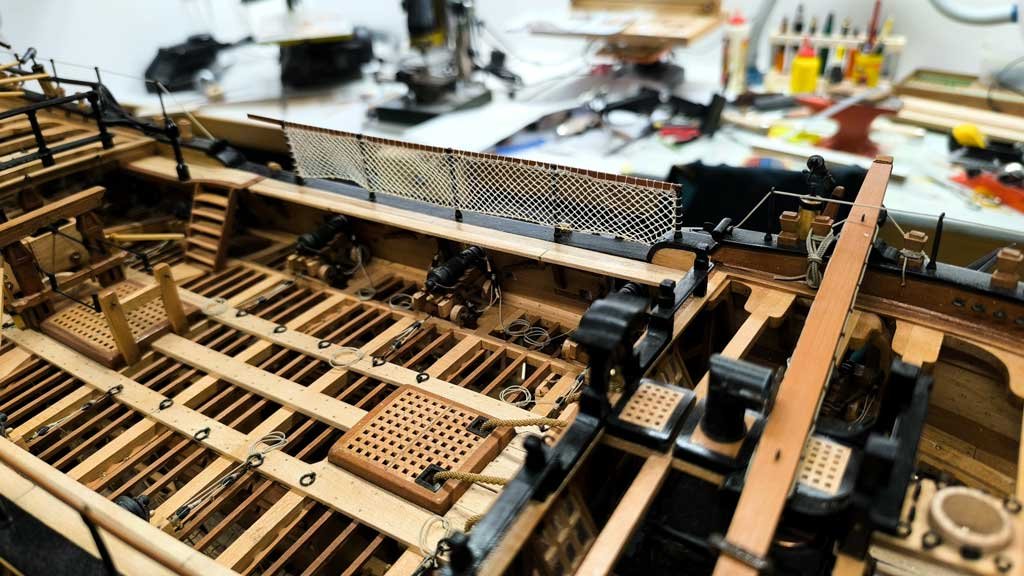
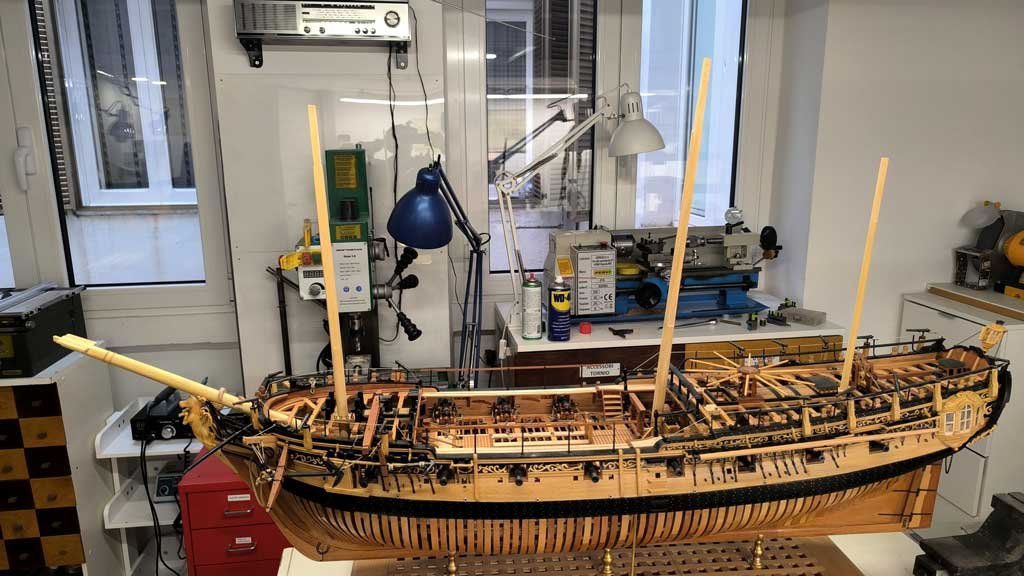
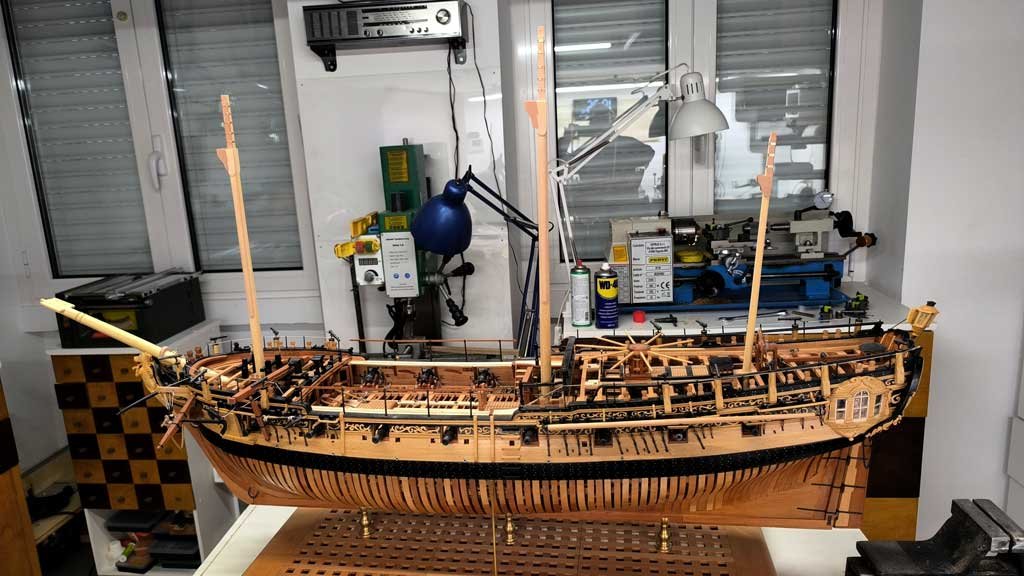
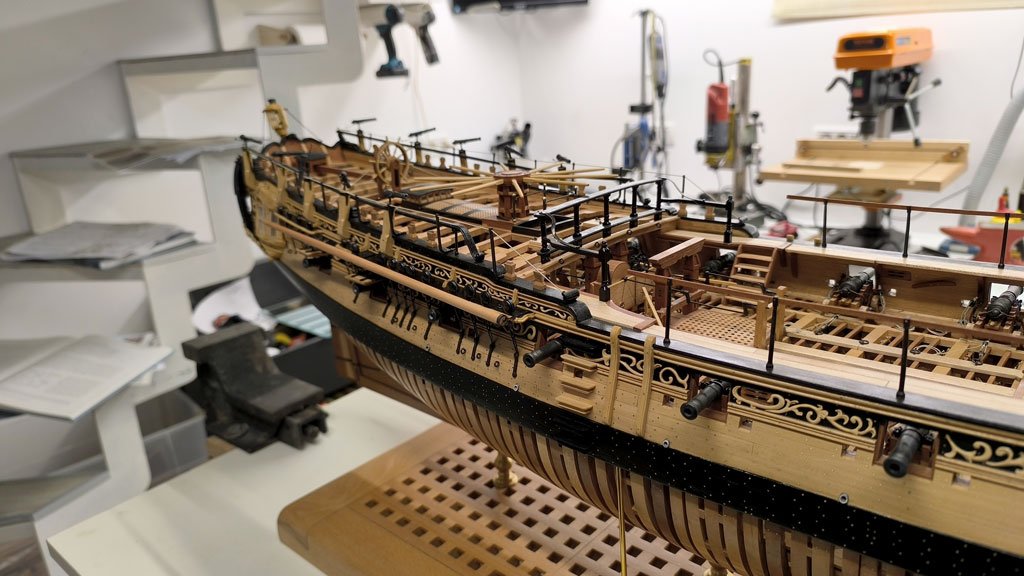
Last elements before starting with the masting: the nets of the gangways.
I used a cardboard holder of a suitable size, threading very thin cotton thread diagonally between the cuts and then using another thread in the opposite direction by tying knots in it

-
-
-
What an incredible job you are doing, Johann! Your model should be taken as an example for all those who want to equip their own!
Absolute perfection!!!
- cotrecerf, archjofo, Knocklouder and 3 others
-
 6
6
-
-
-
-
-
-
A modeller friend rightly pointed out to me that there is an official drawing of the time for this ship. I looked everywhere except where I should have looked!
Change of plan: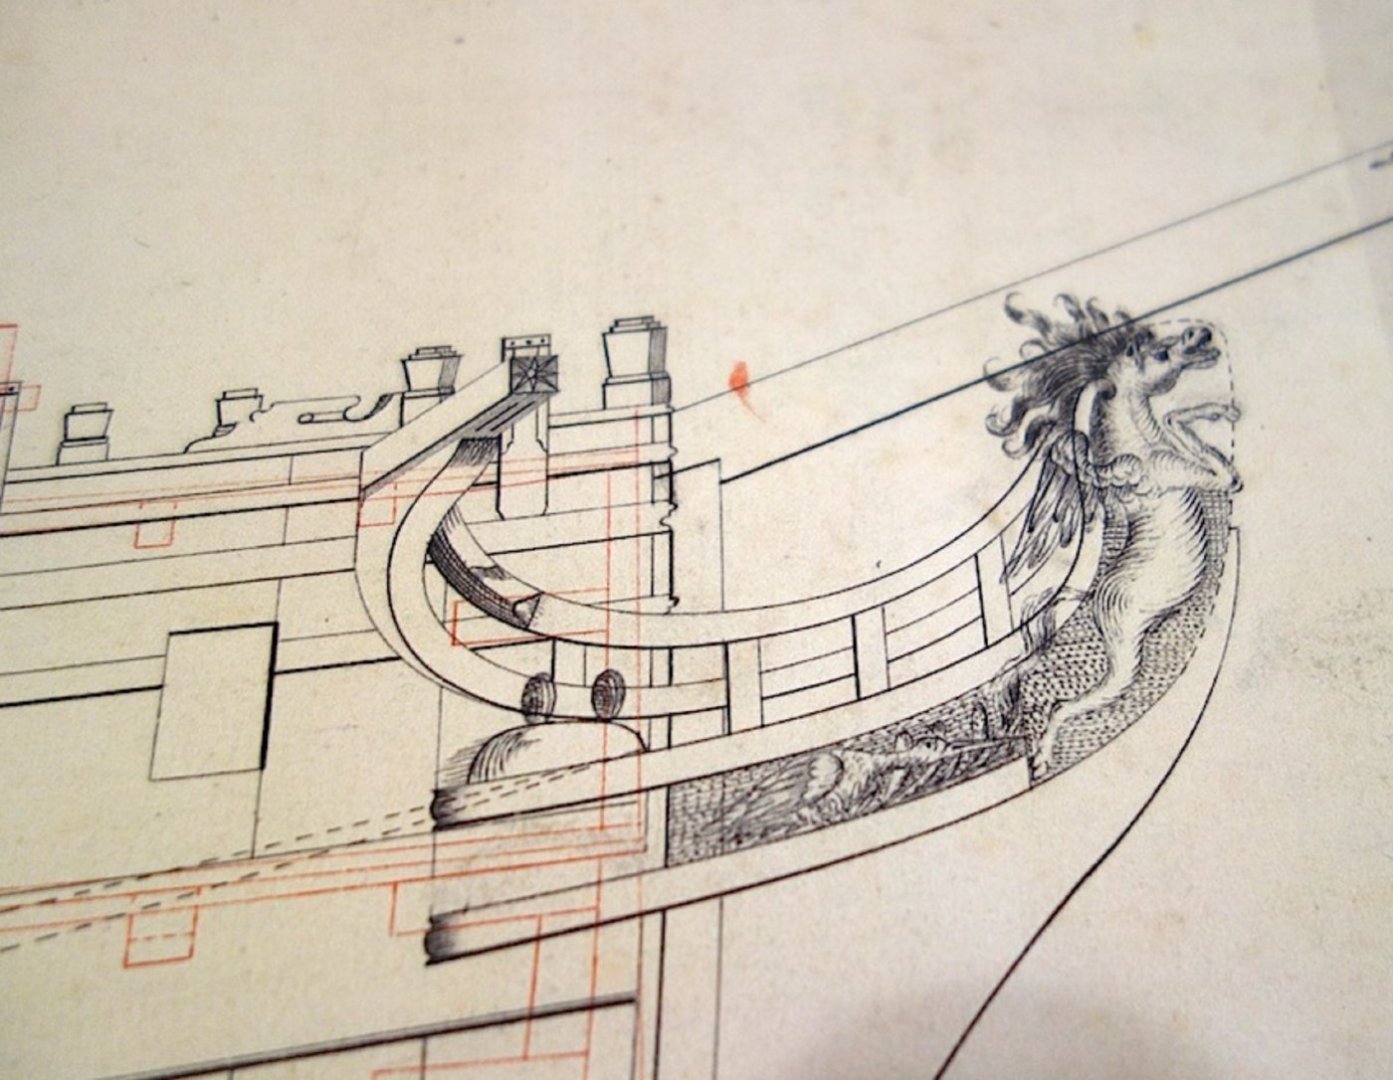
- KARAVOKIRIS, usedtosail, rybakov and 16 others
-
19
-
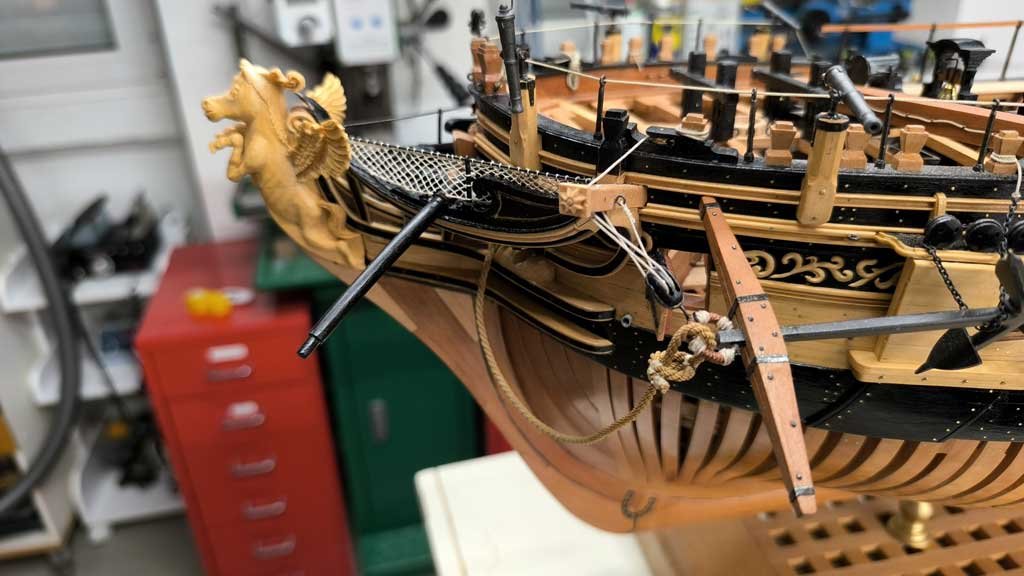
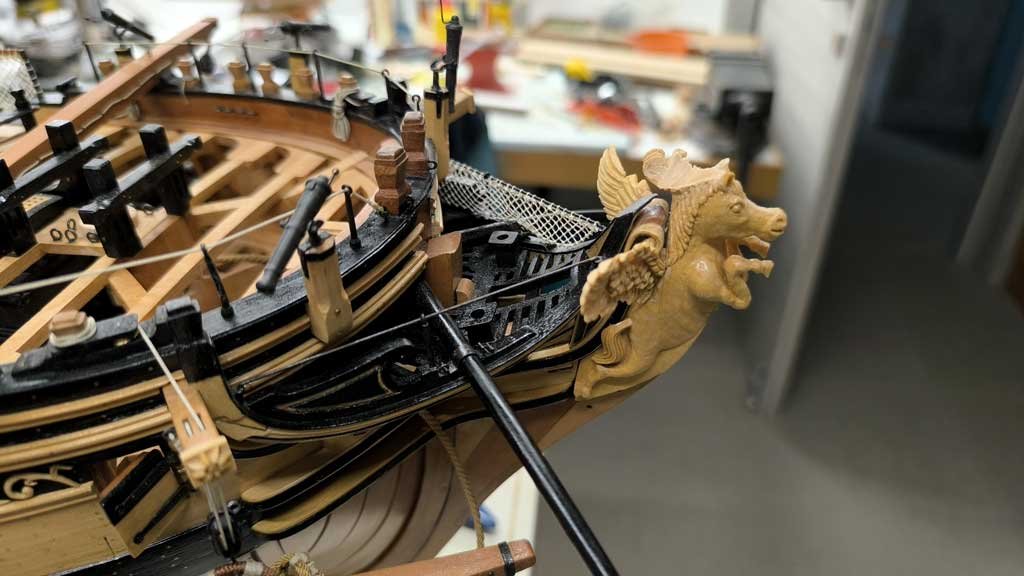
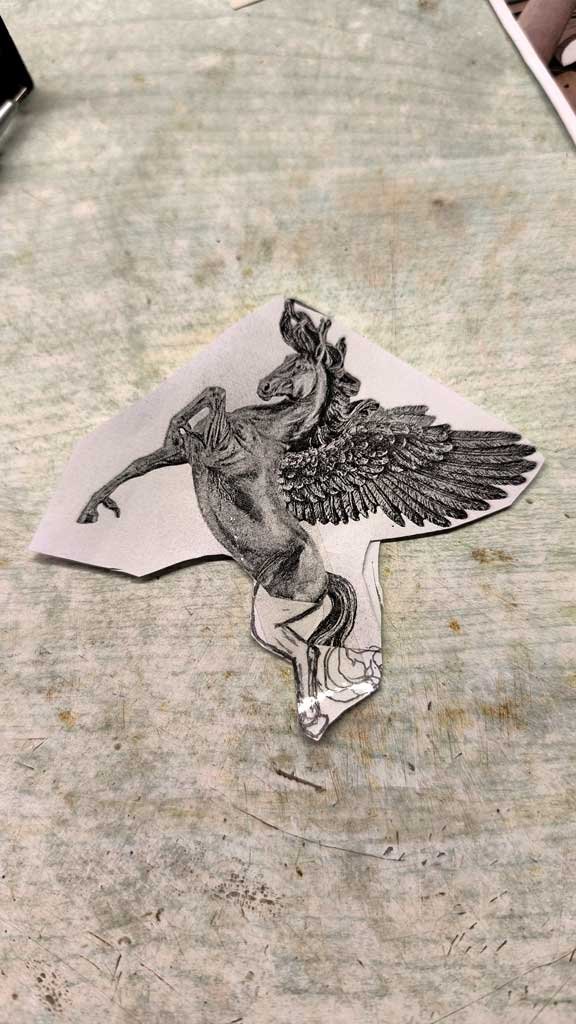
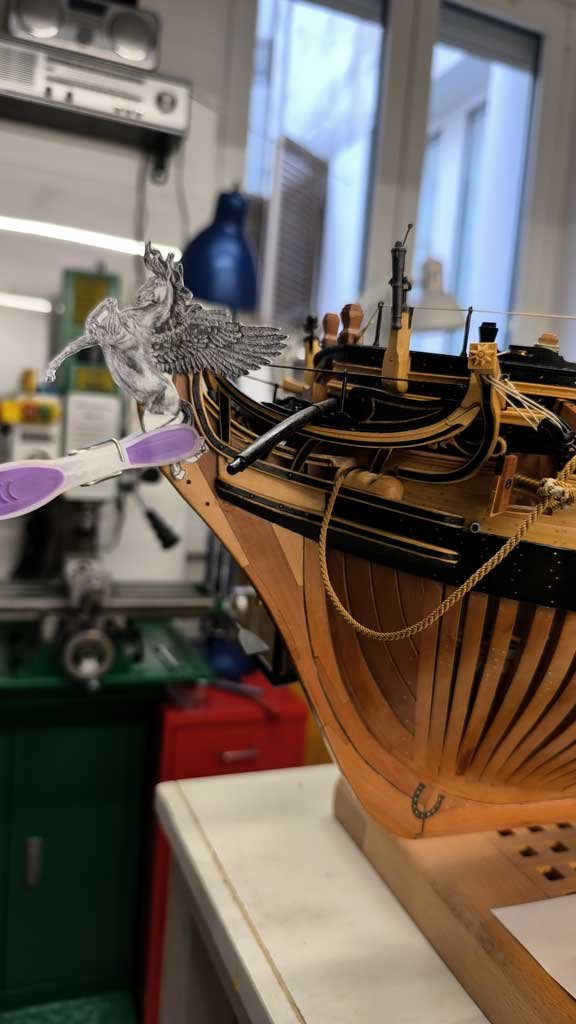
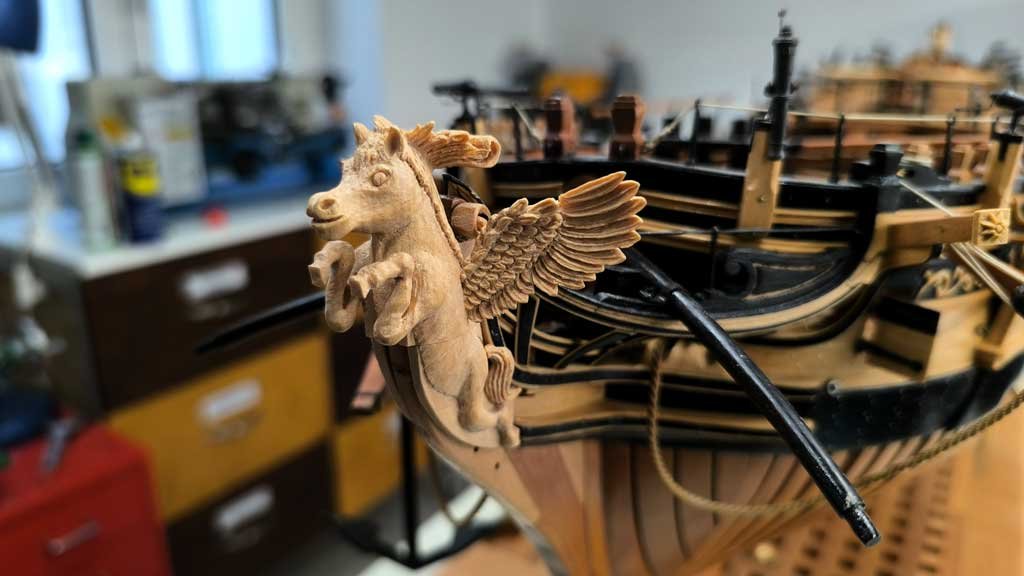
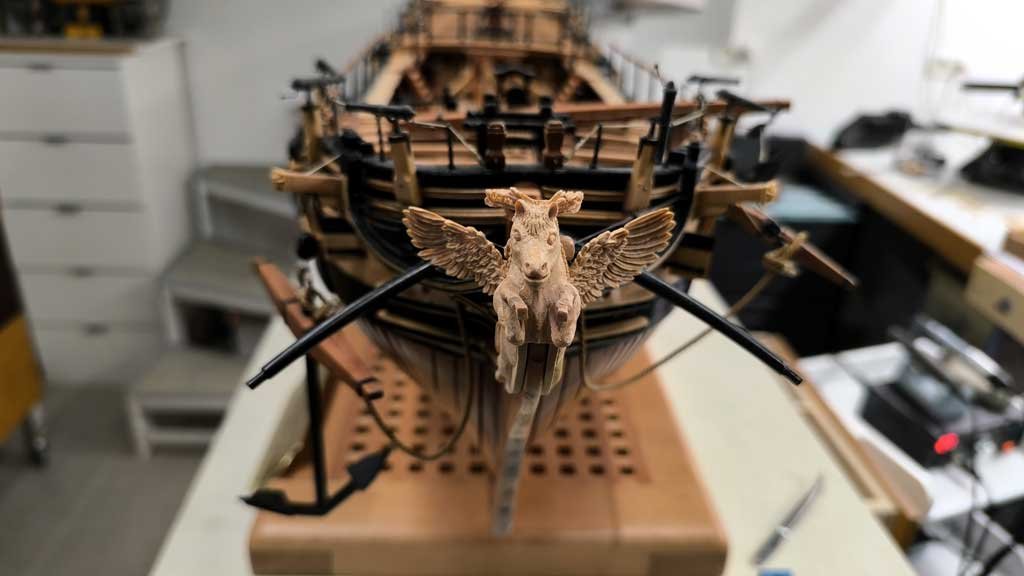
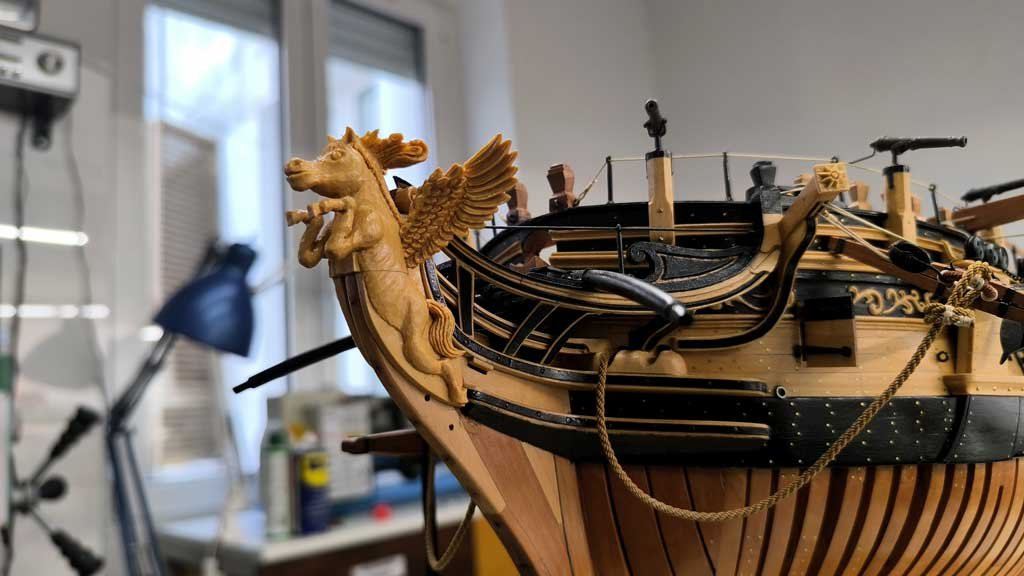
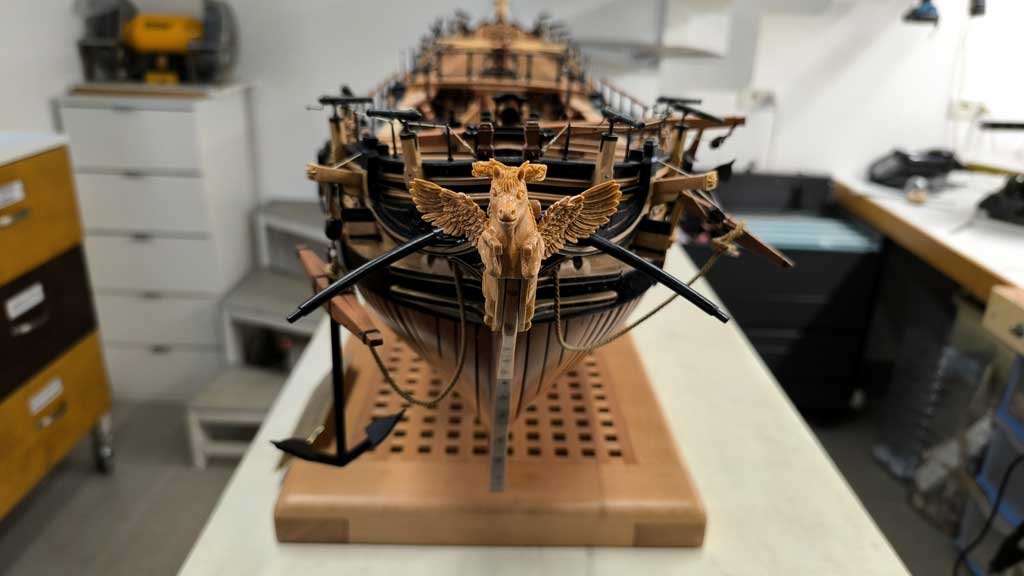
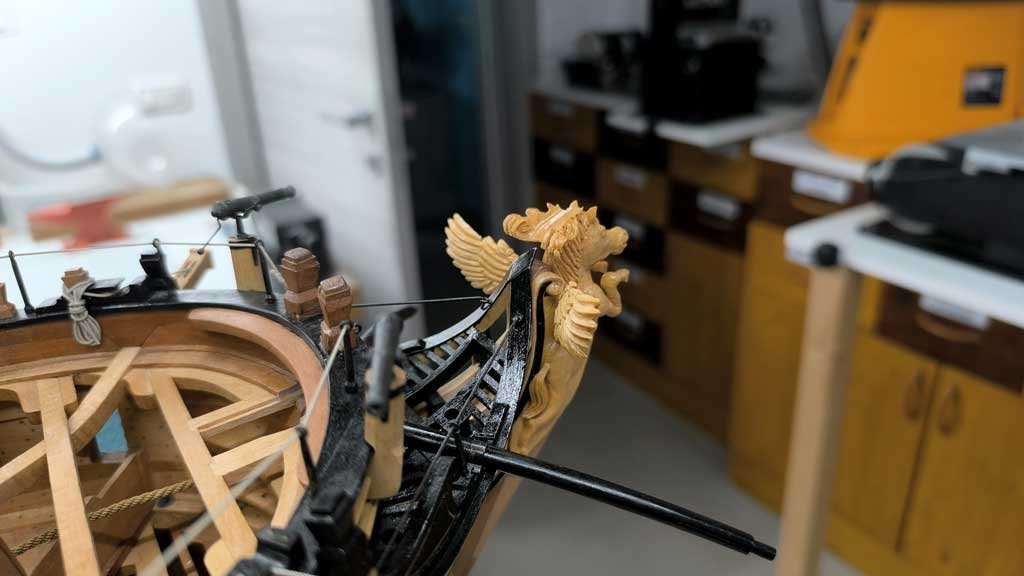
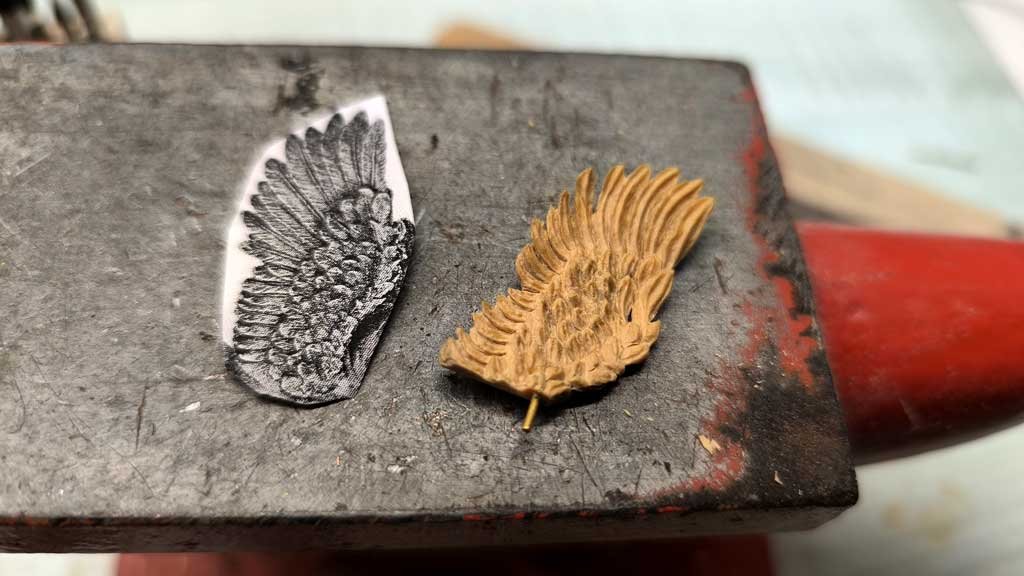
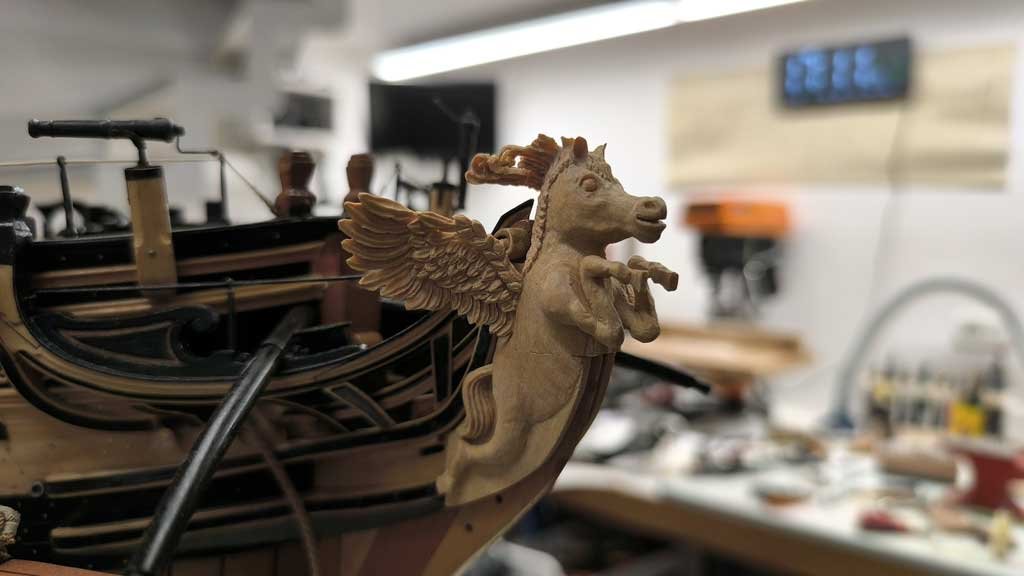
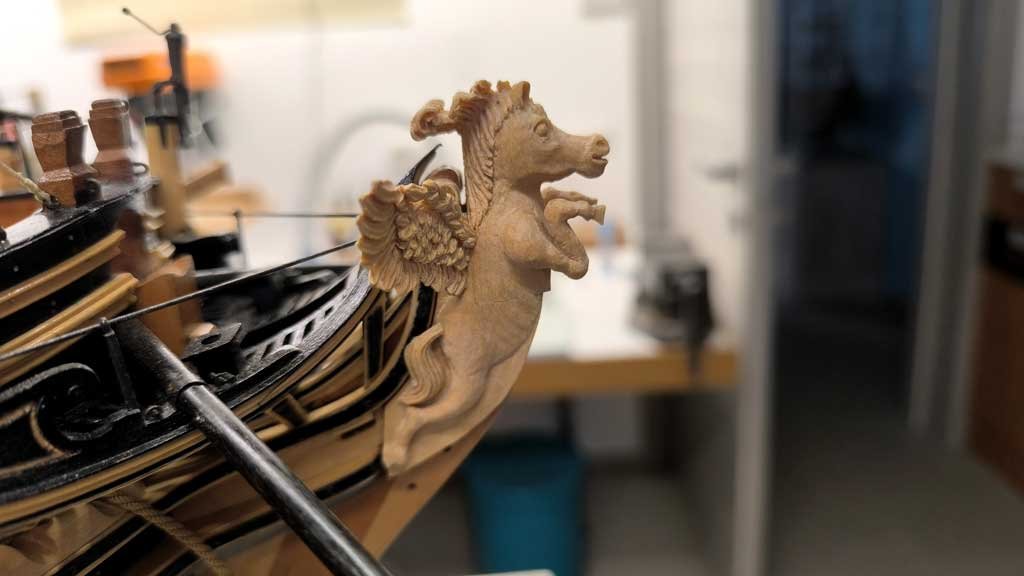
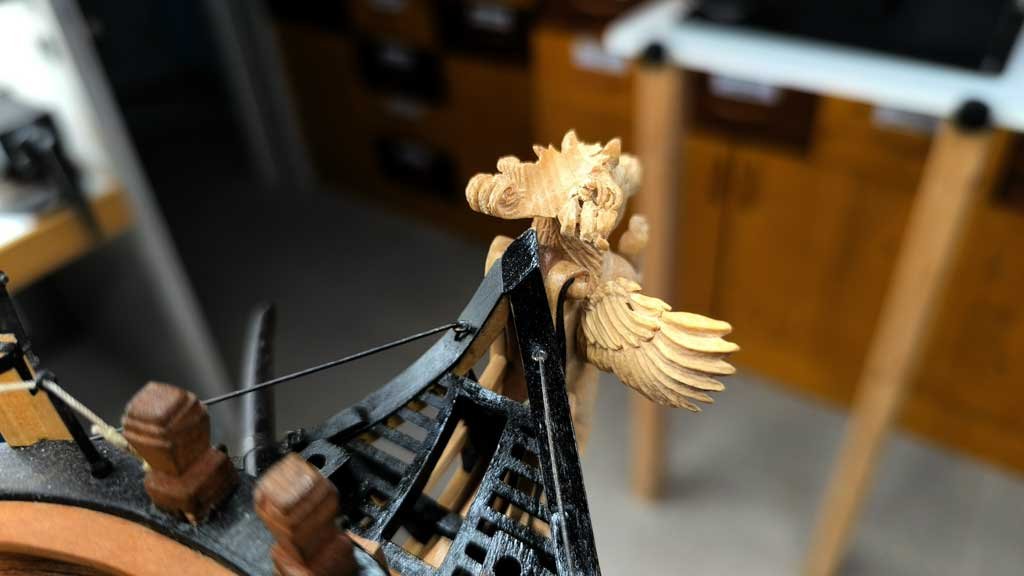
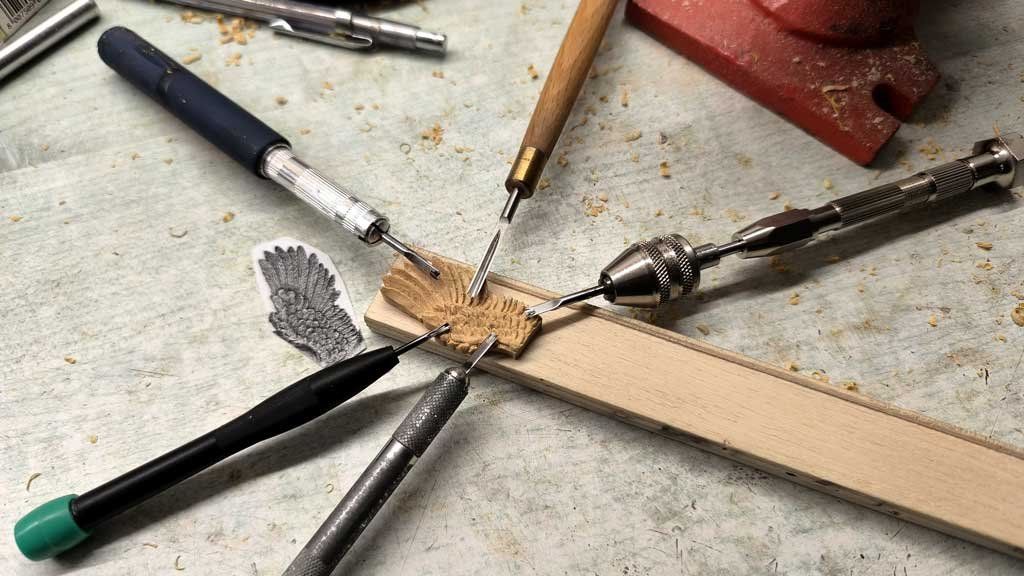
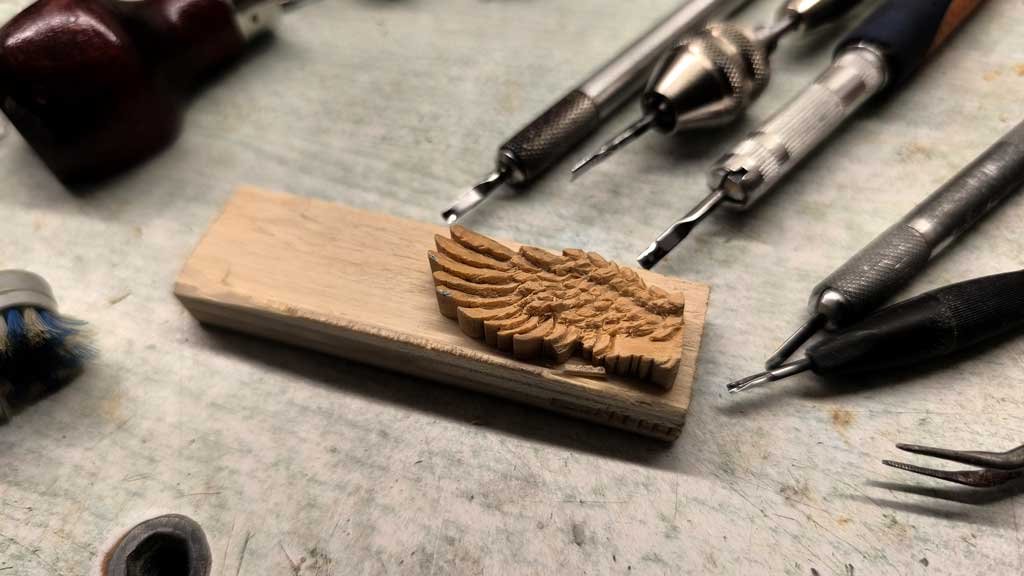
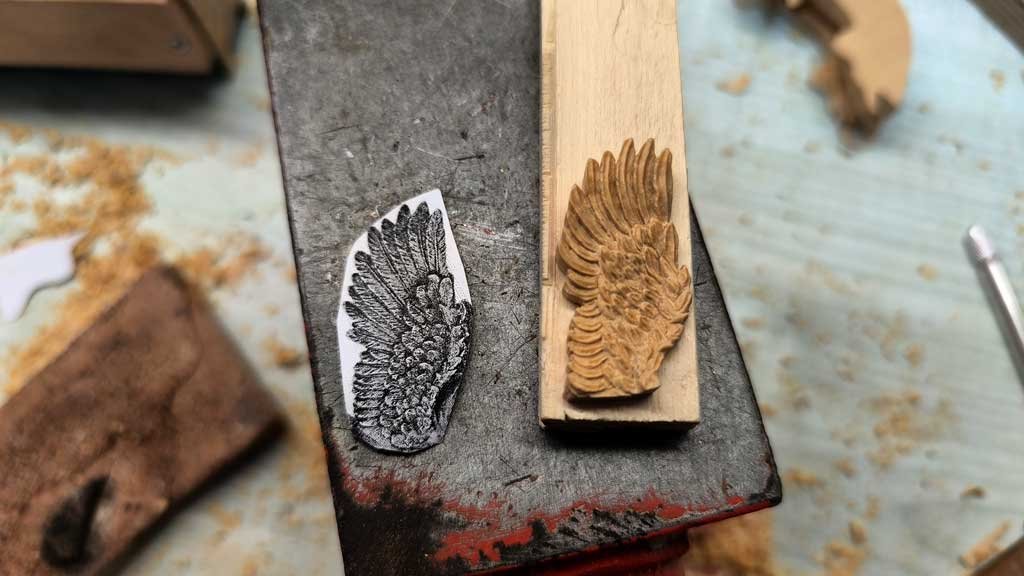
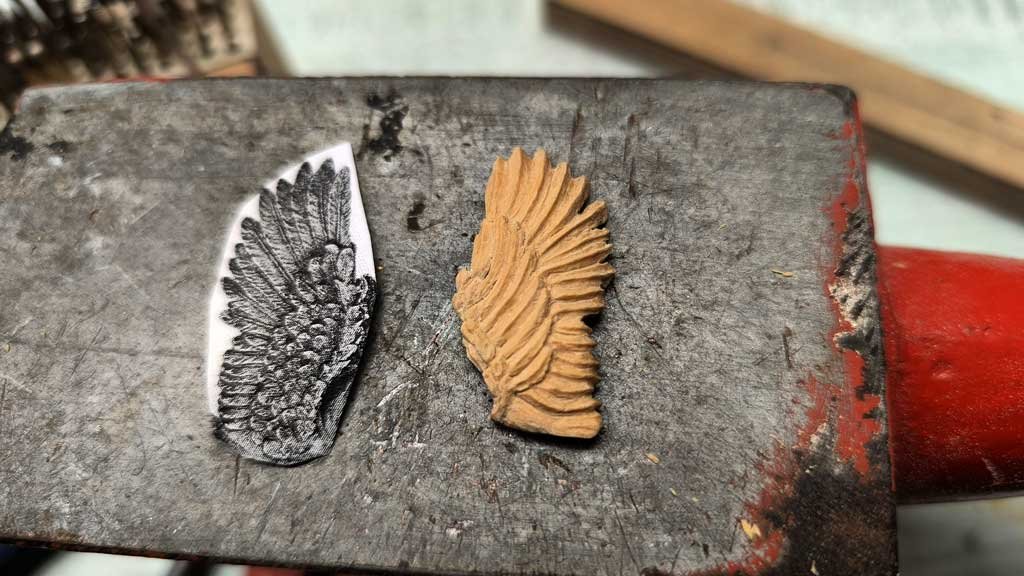
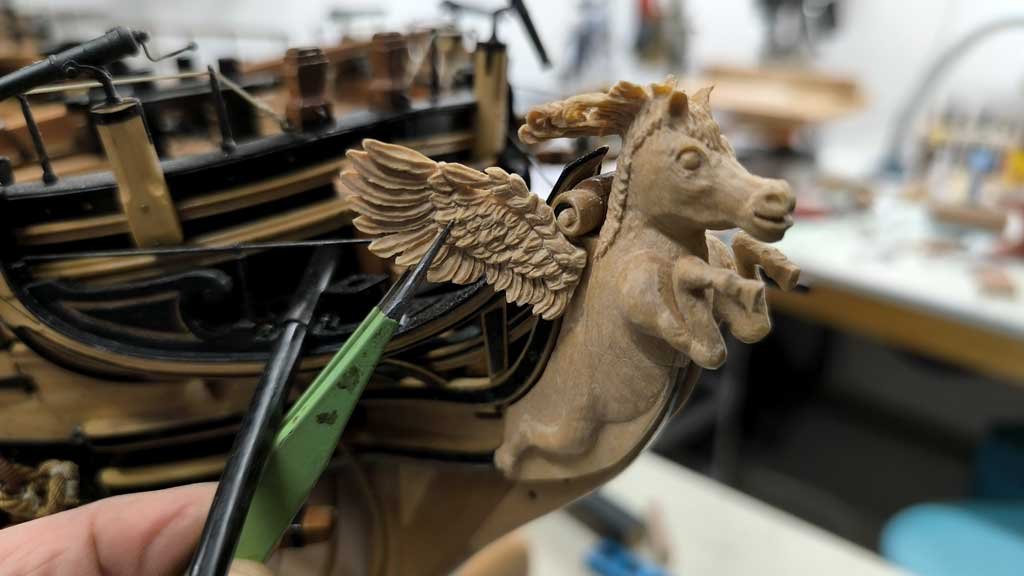
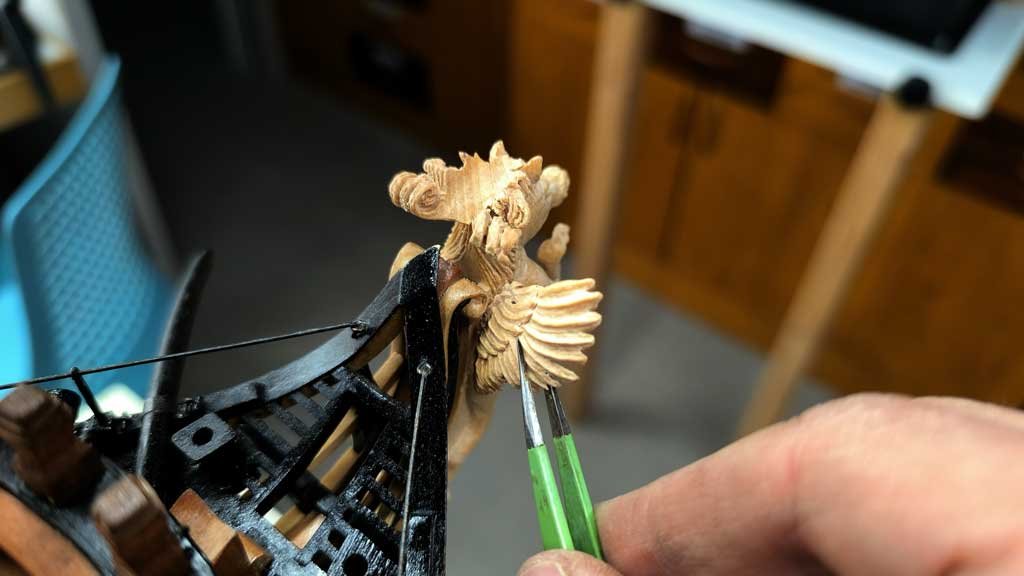
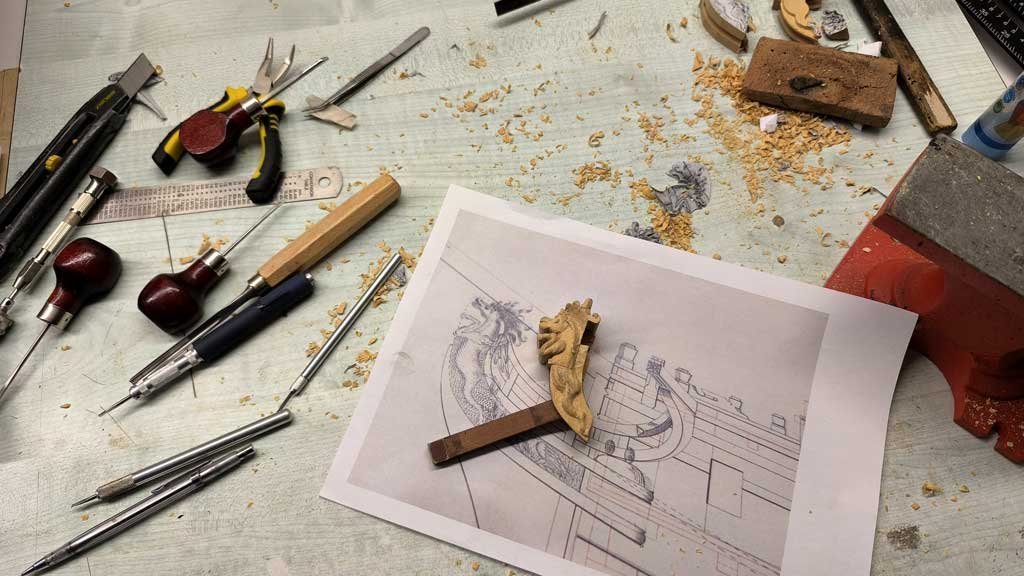
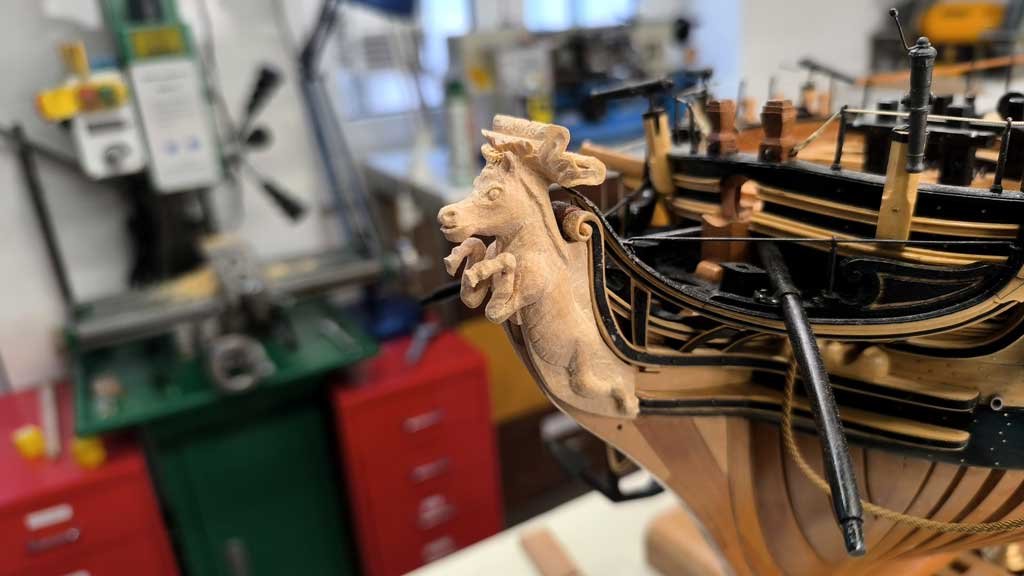
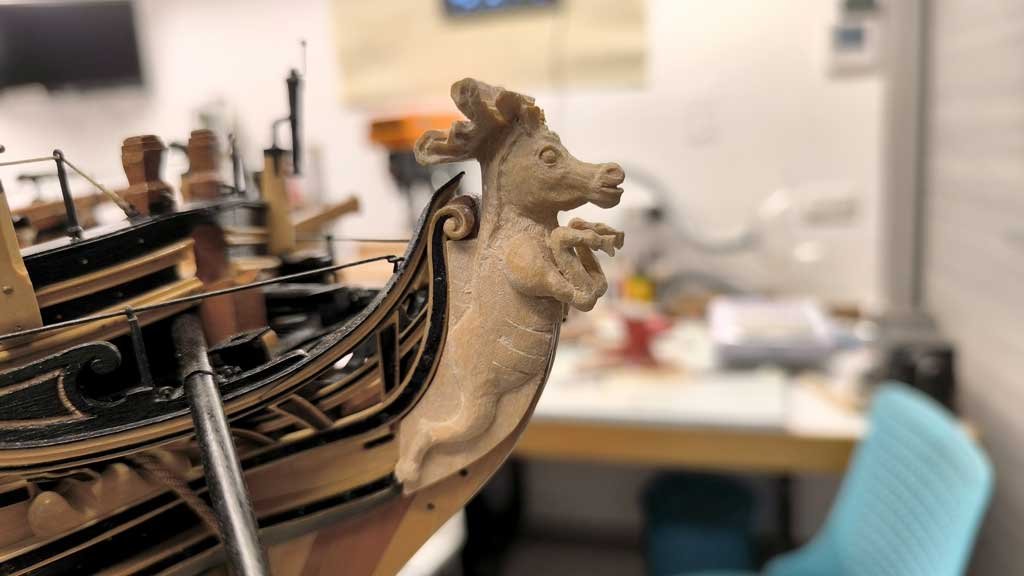
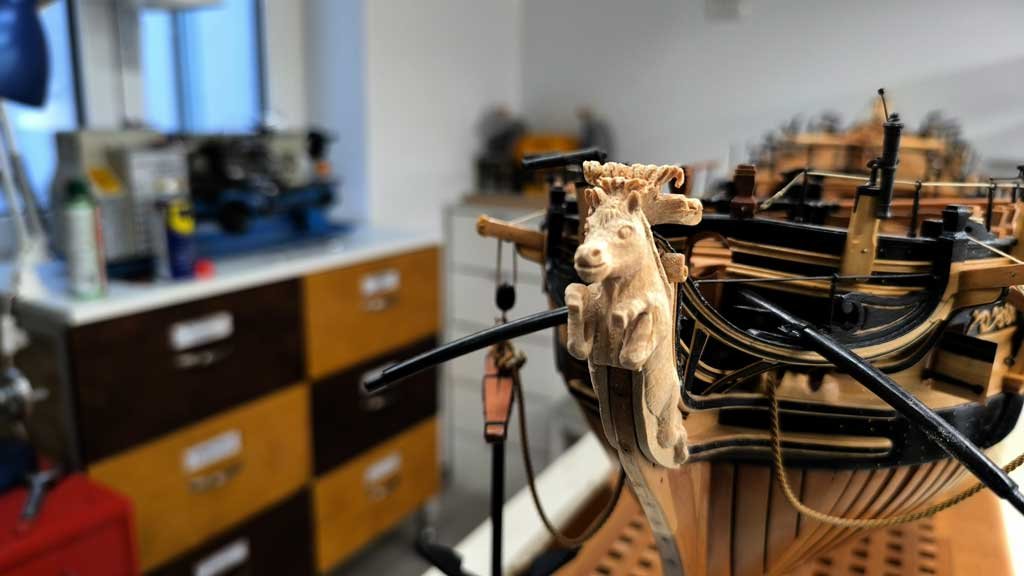
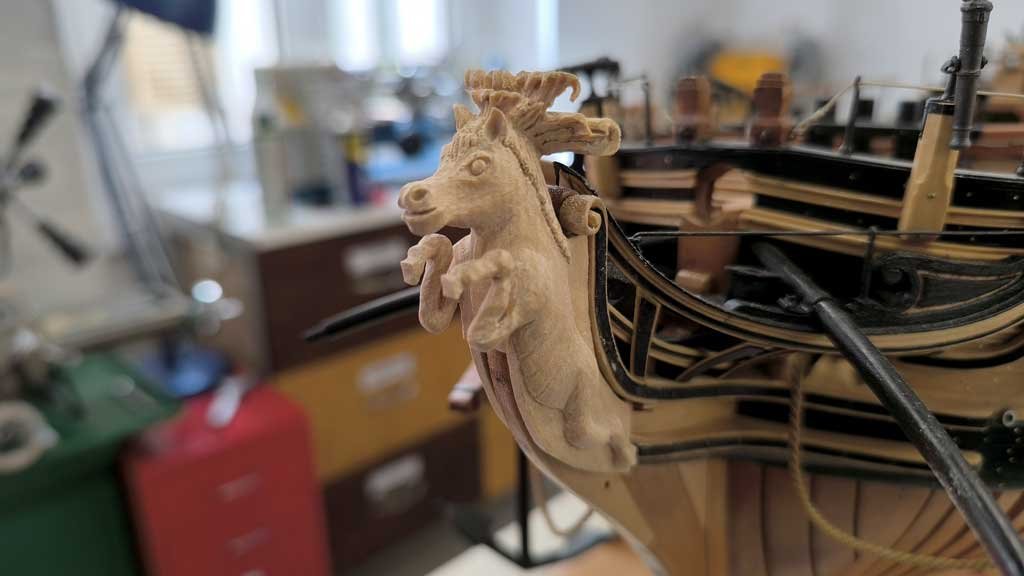
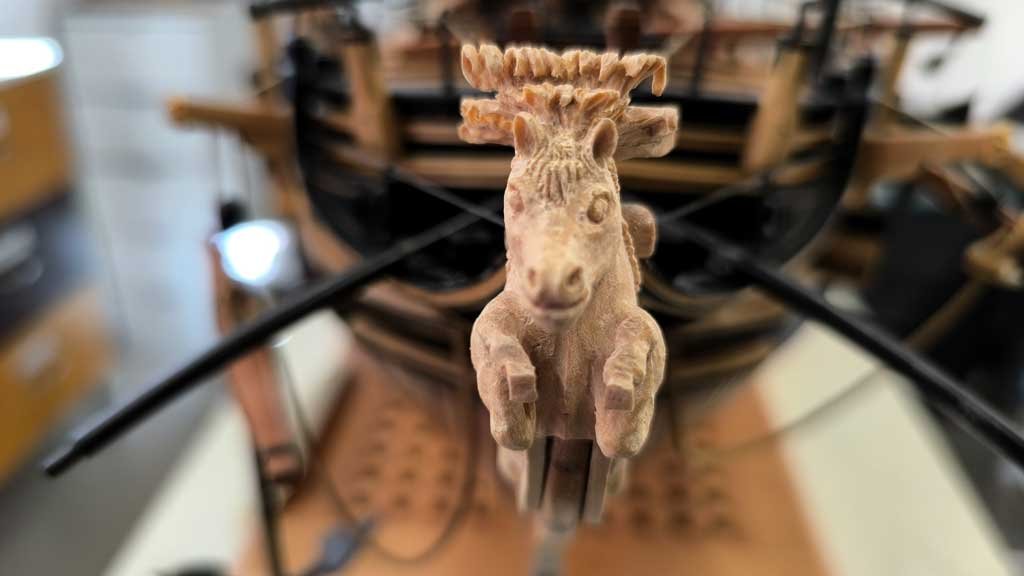
I started to set the figurehead. I looked for an image that would fit and among many, I chose this one, to be adapted in the back to fit into the spur. The challenge is very difficult, I don't know what will come out of it, I hope to achieve something acceptable
-
-
-
-
23 hours ago, cotrecerf said:
Buon giorno Giampiero,
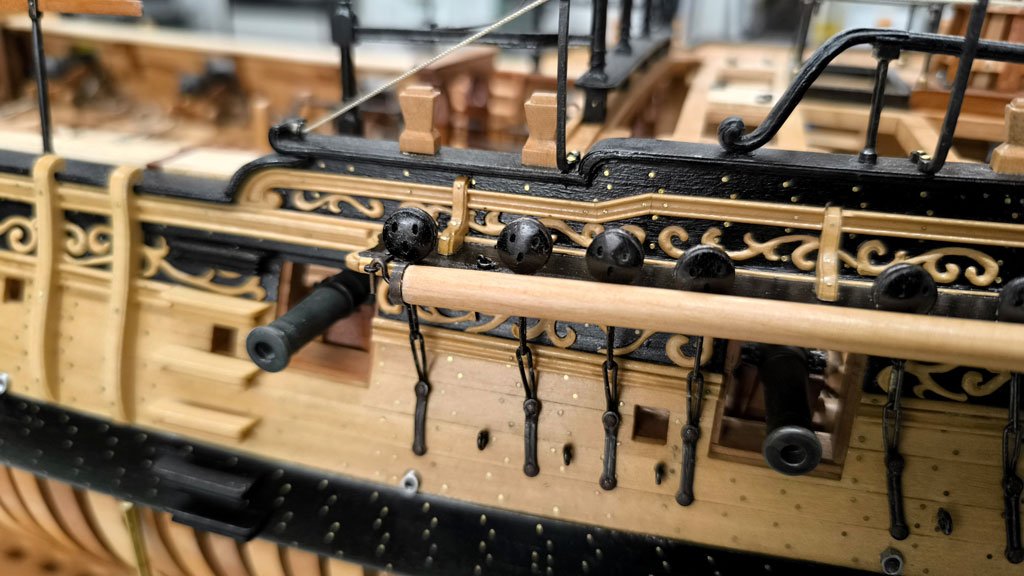
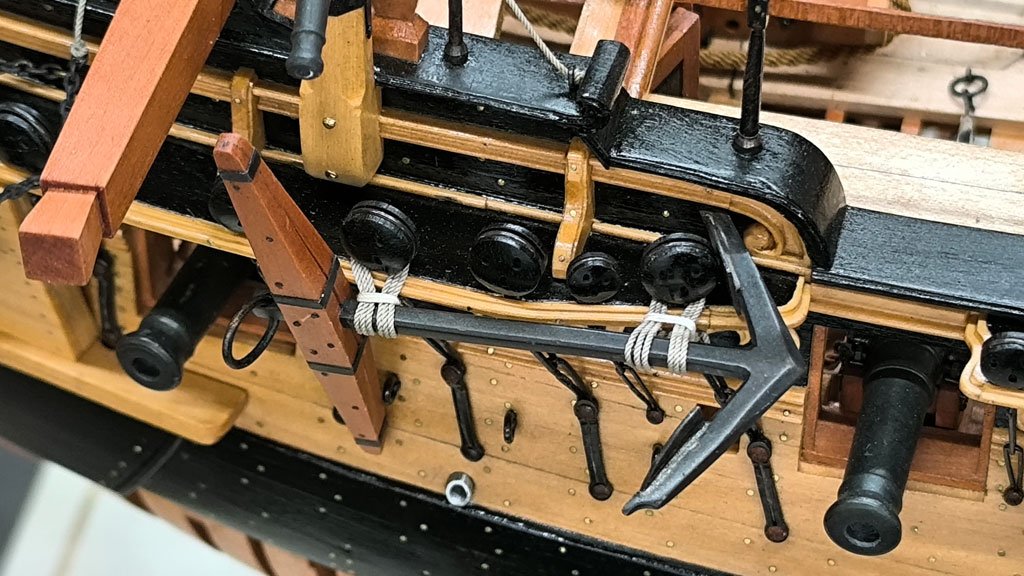
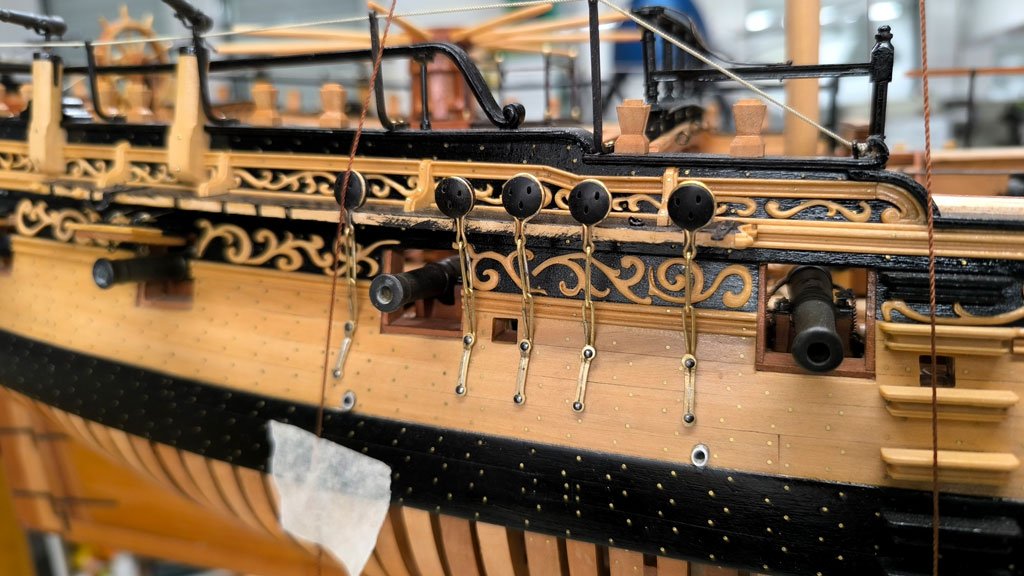
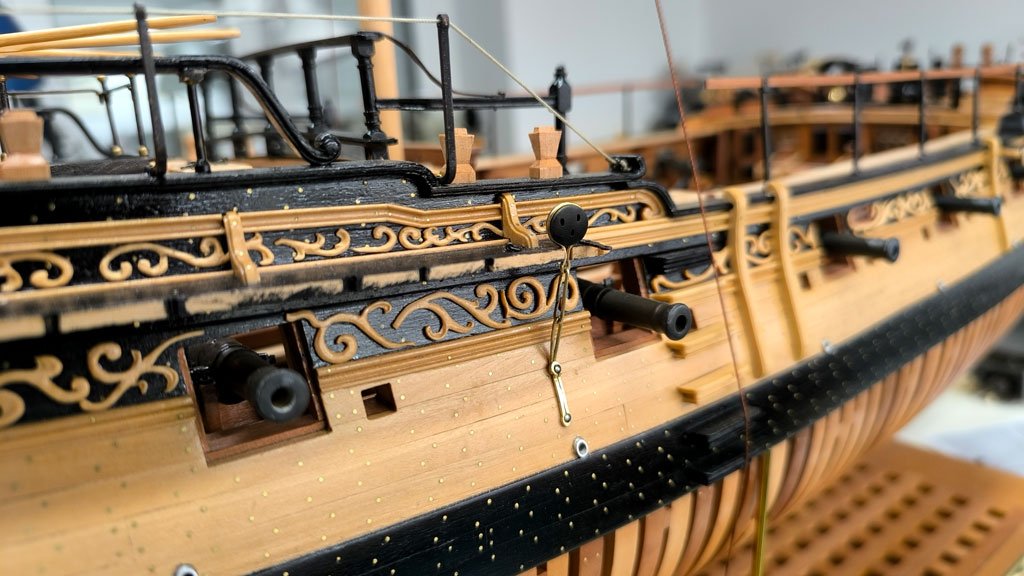
she is a real beauty! I see, that the blackened metal parts such as chain plates etc show no scratches or uncovered spots at all.
How do you proceed with the mounting of these parts:
1. Dry fit the un-blackened on the model first?
2. Take these parts all off again and dismantle the wooden components such as the deadeyes etc.?
3. Blacken (what is the agent?) all metal (brass?) first and then reinstall the wooden components again.? (great risk of hurting the metal and the blackening)
4. Finally fastening of the completed and blackened part on the ship ?
Or alternatively
1. Dry fit the un-blackened on the model first and then
2. Blacken them in situ? Not staining clear wooden parts with the blackening agent (Liver of sulphur?)
I would be very gateful if you enlighten me in these matters.
best regards
Joachim
Thank you Joachim!
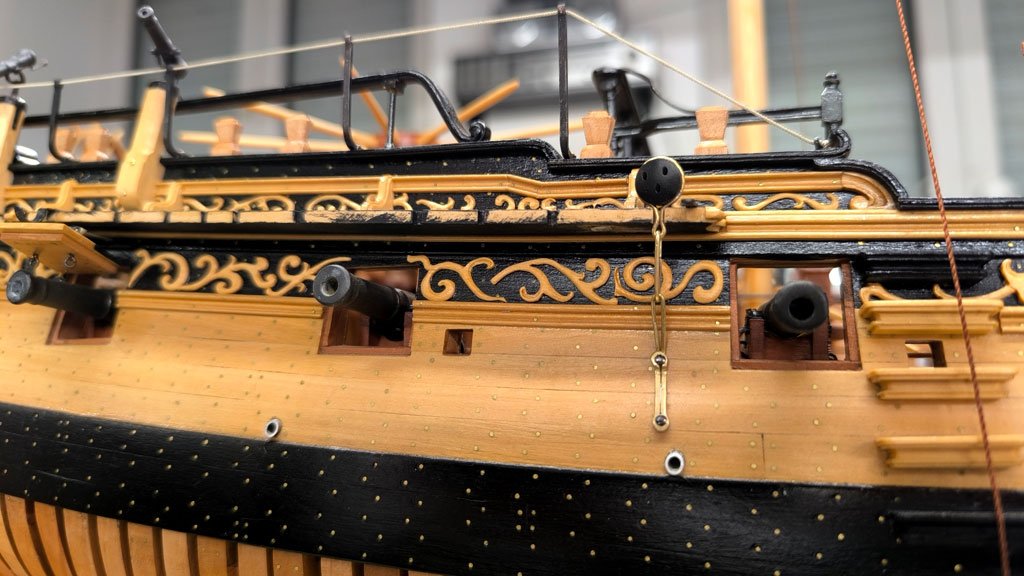
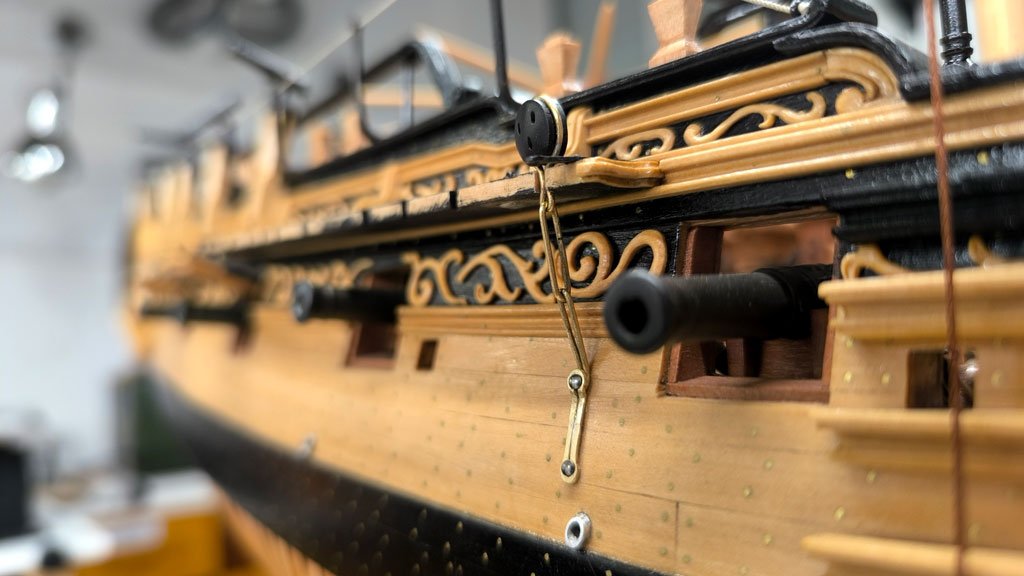
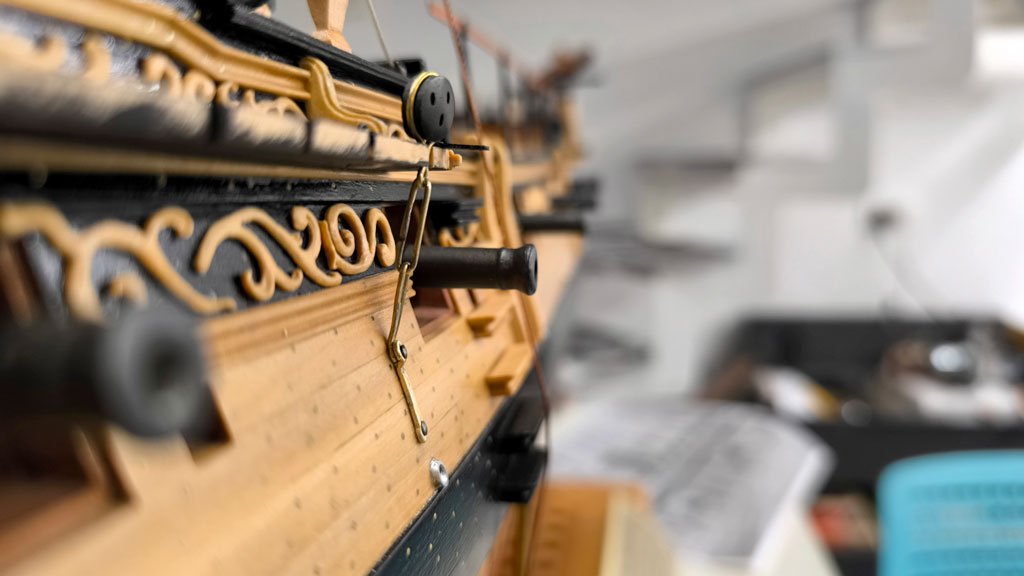
For burnishing metals (I almost always use brass or, alternatively, copper) I use this product that I bought in the armoury.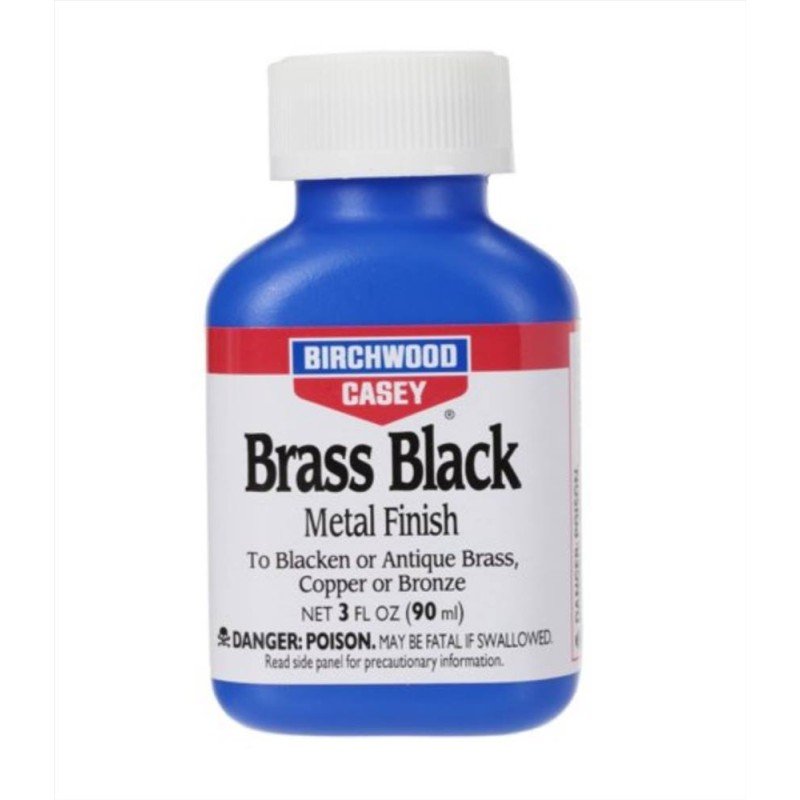
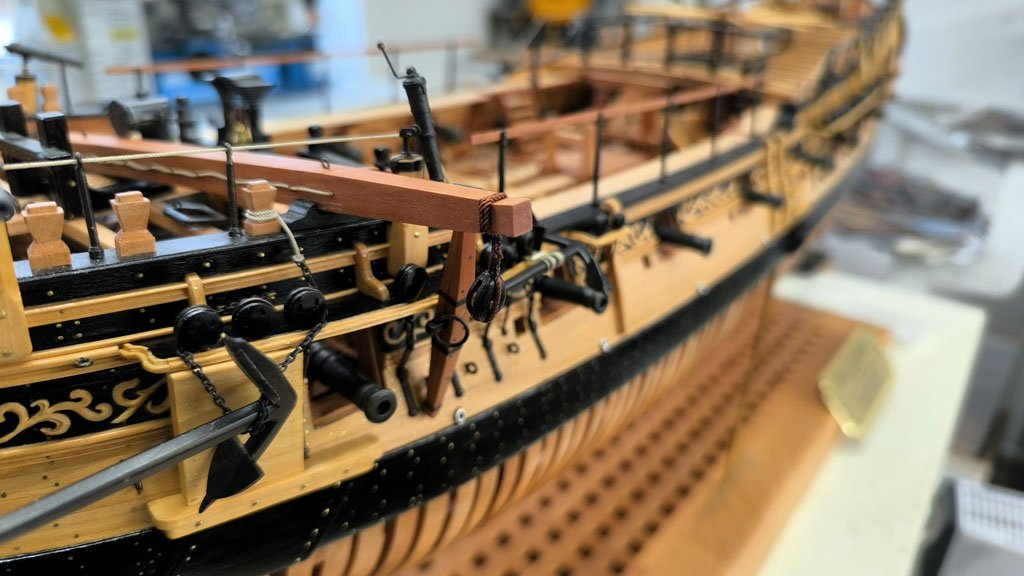
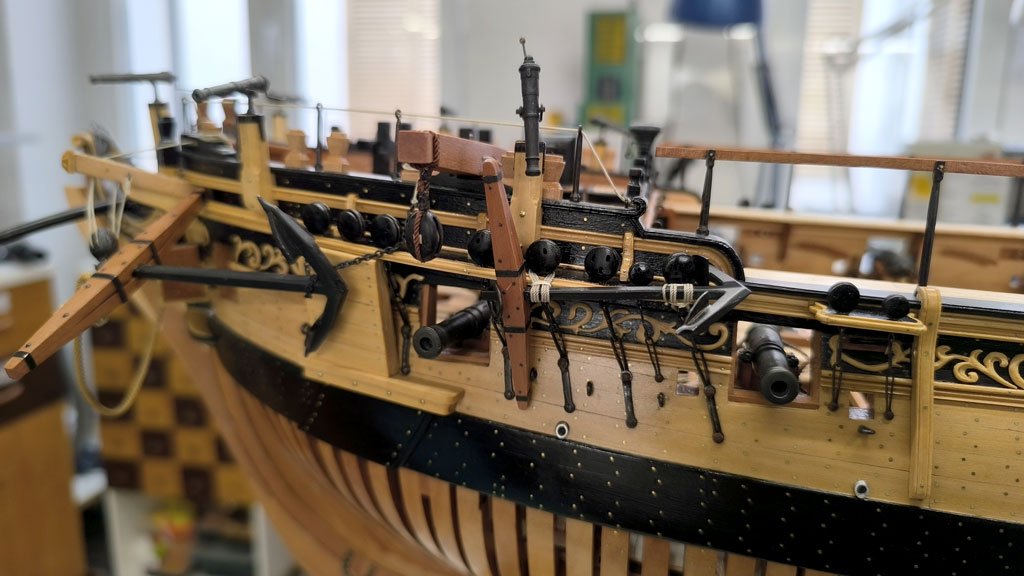
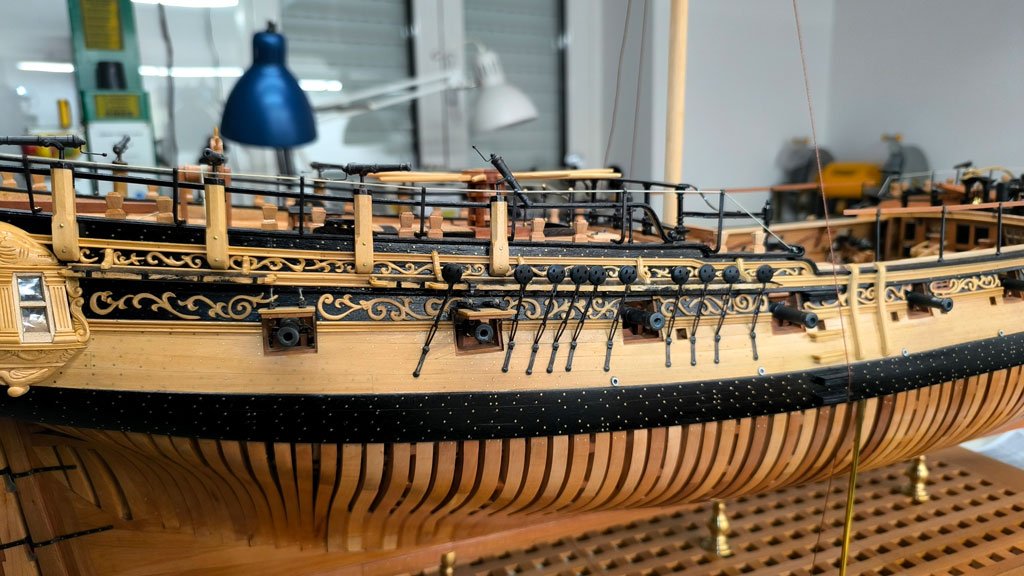
For the burnishing process, I prefer to burnish the metal parts after they are permanently attached to the model. First, however, it is necessary to treat the underlying wood with a coat of shellac to seal the pores of the wood and prevent the burnishing liquid from penetrating into the fibres and ruining their appearance with stains that are difficult to remove.
Translated with DeepL.com (free version)
- billocrates, KentM and cotrecerf
-
2
-
 1
1
-
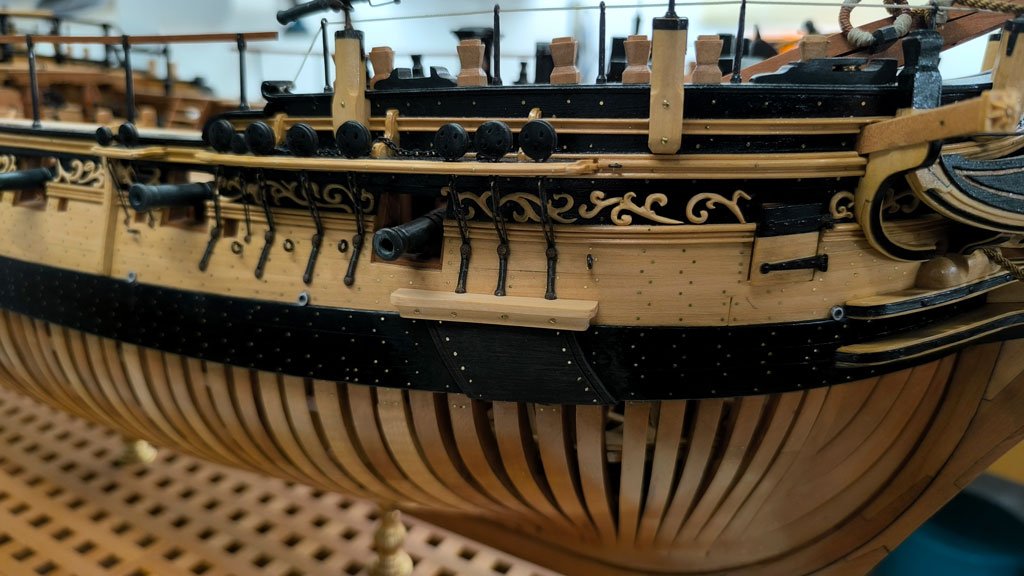
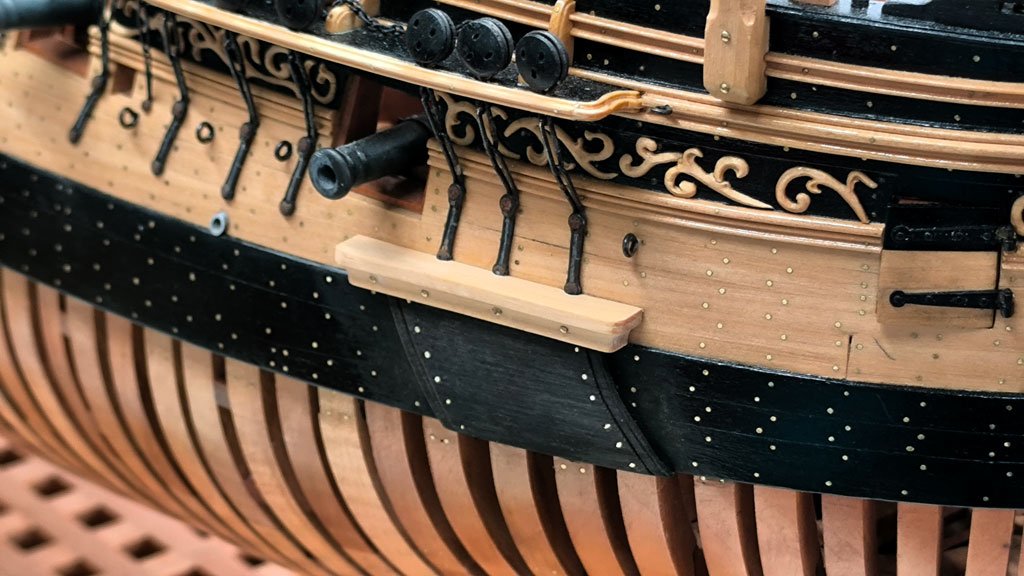
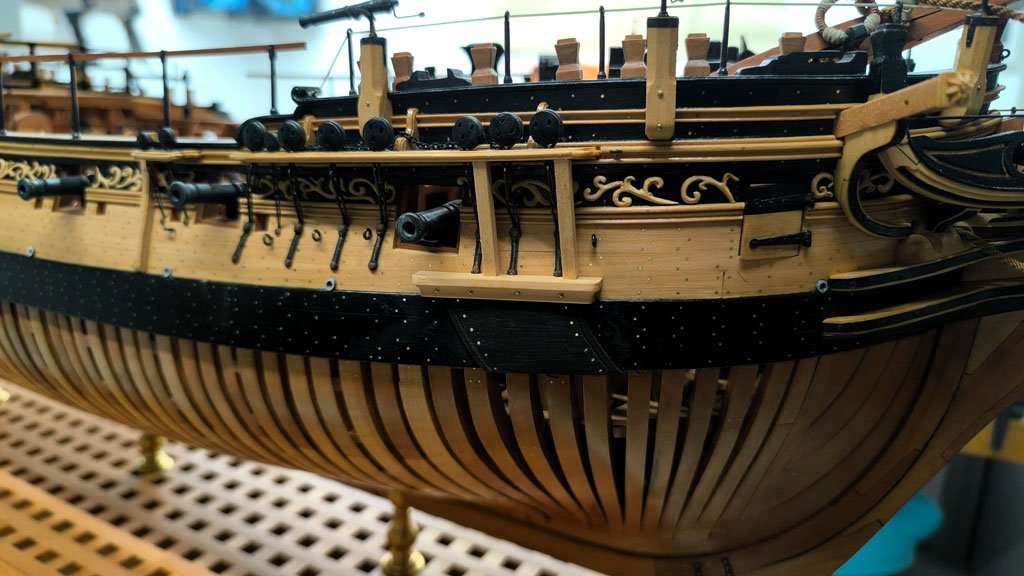
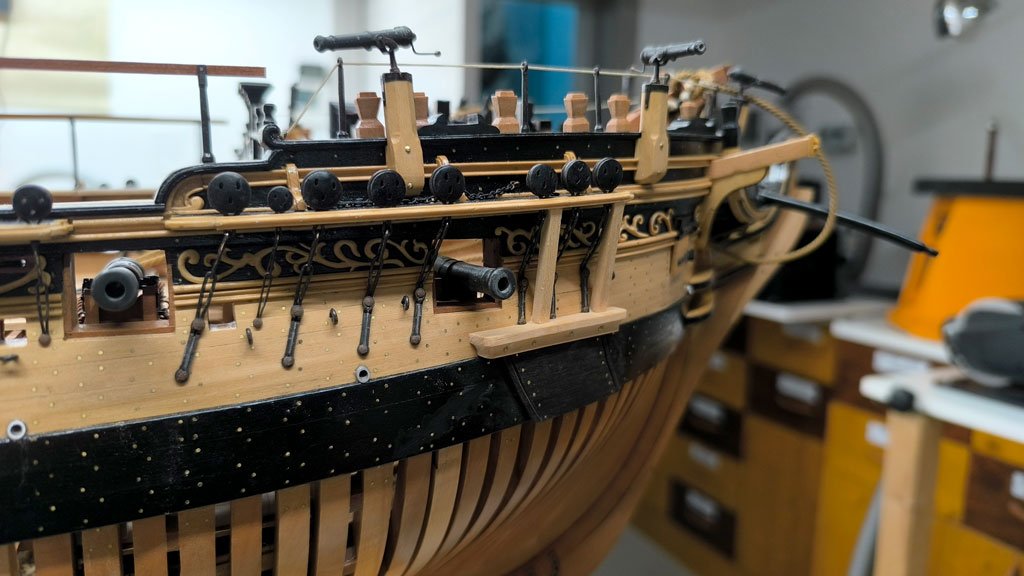
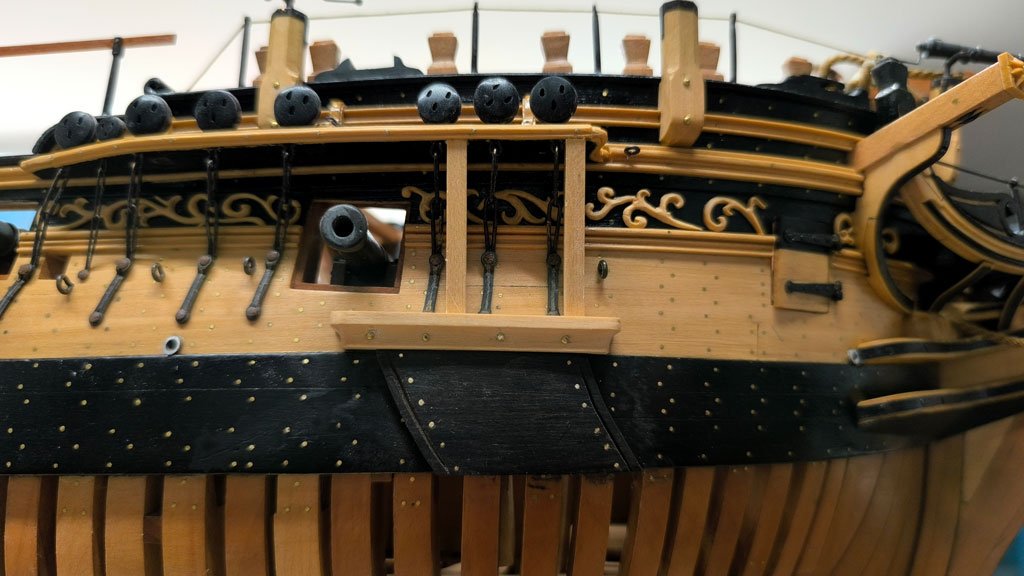
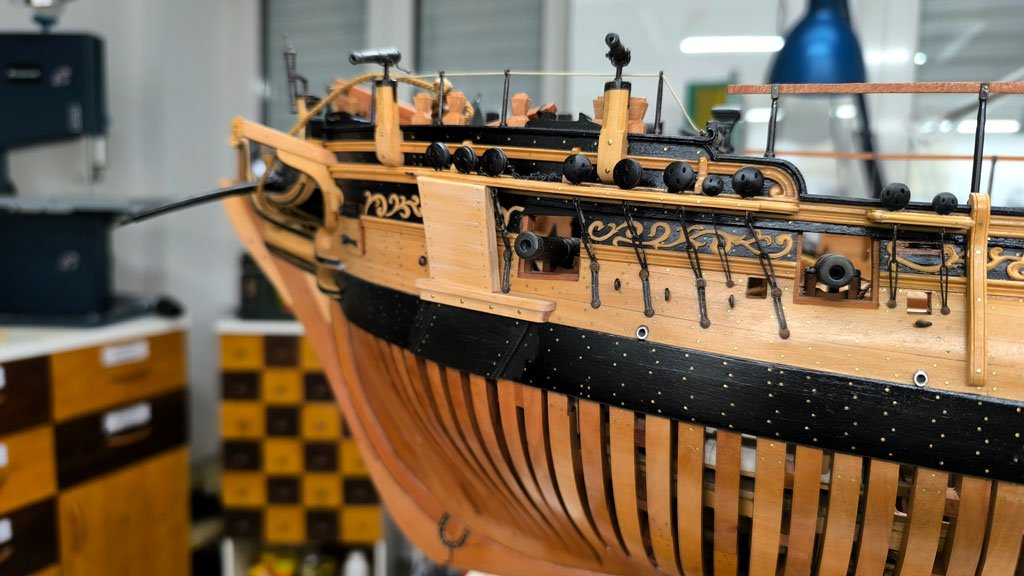
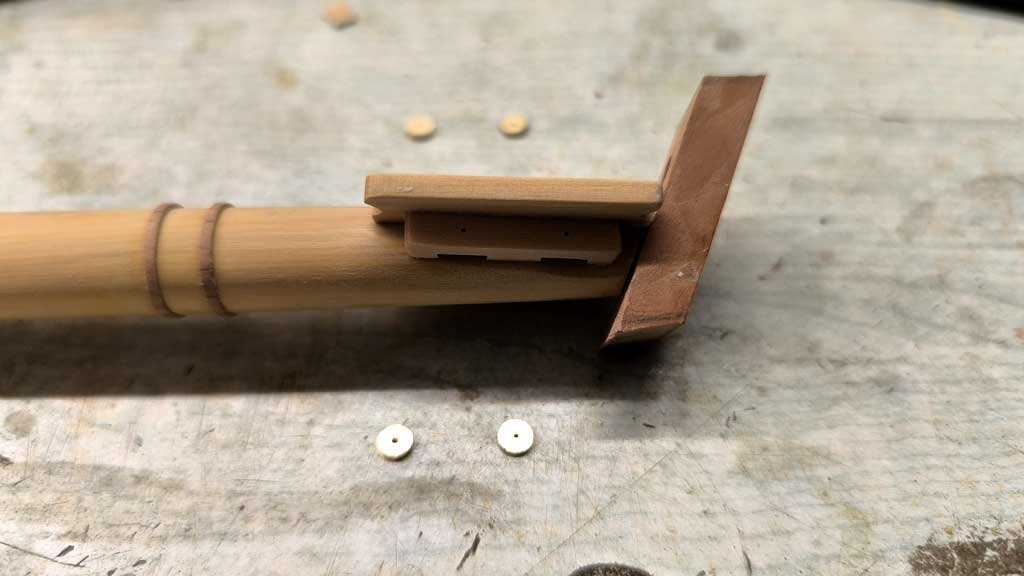
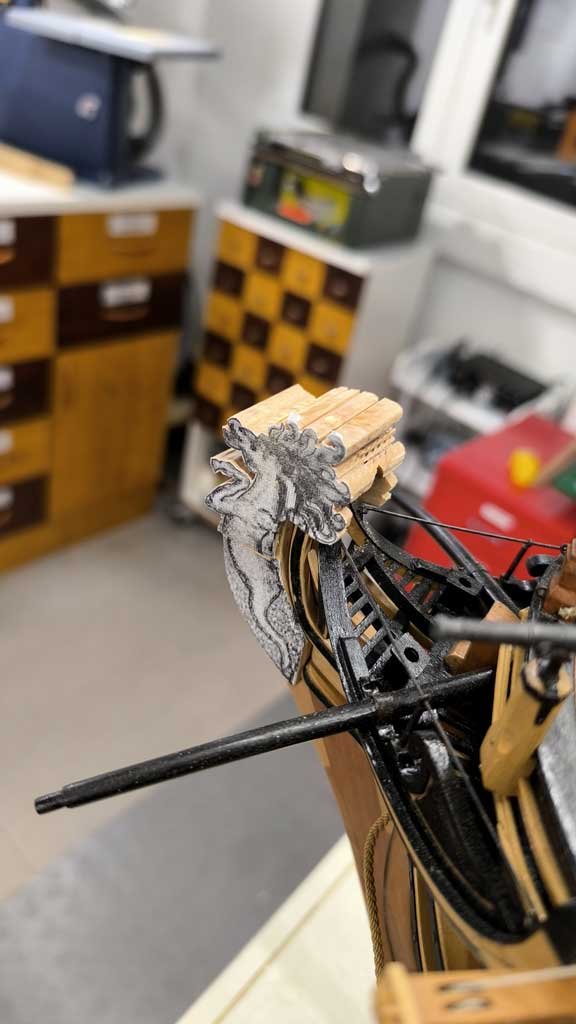
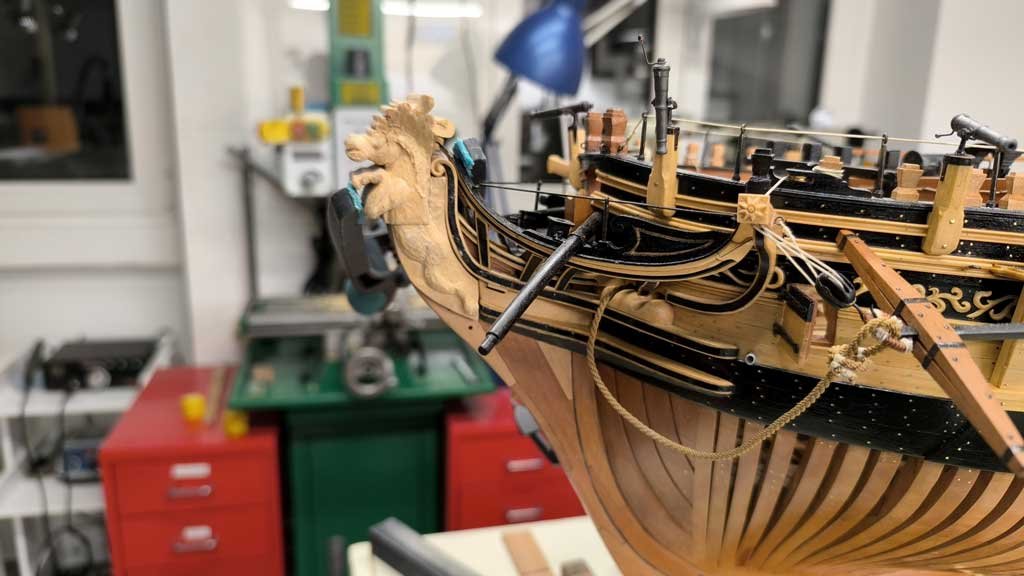
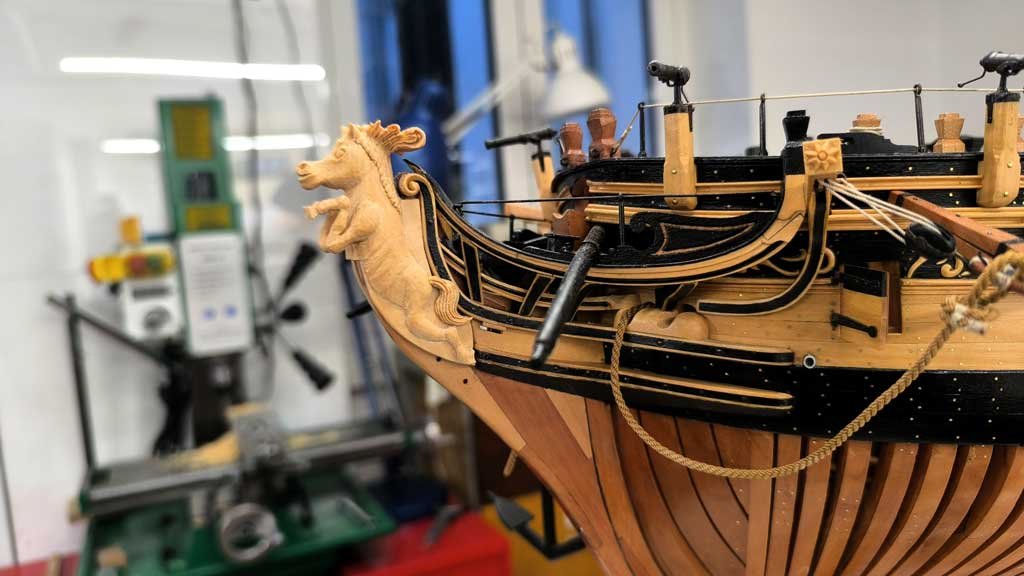
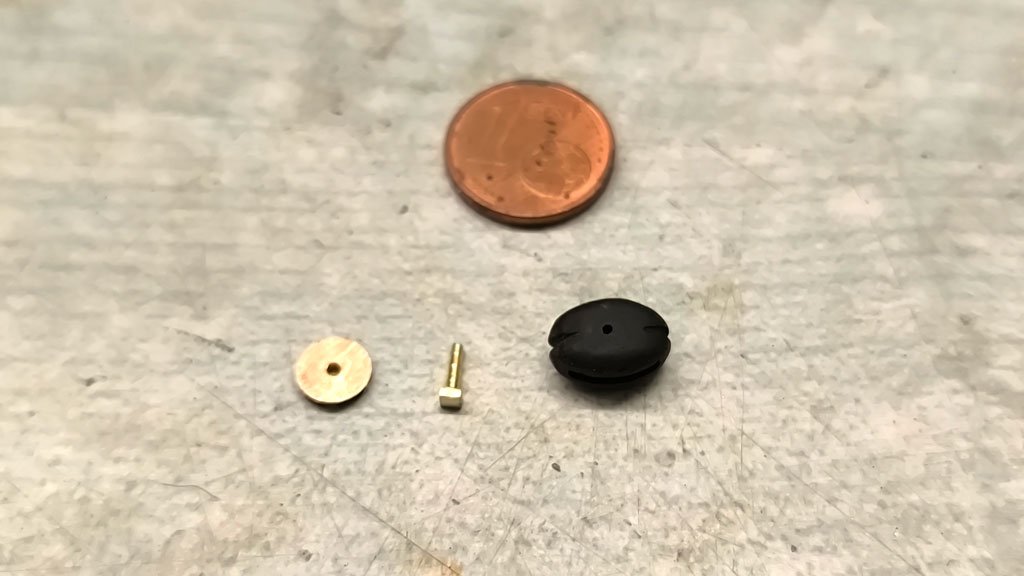
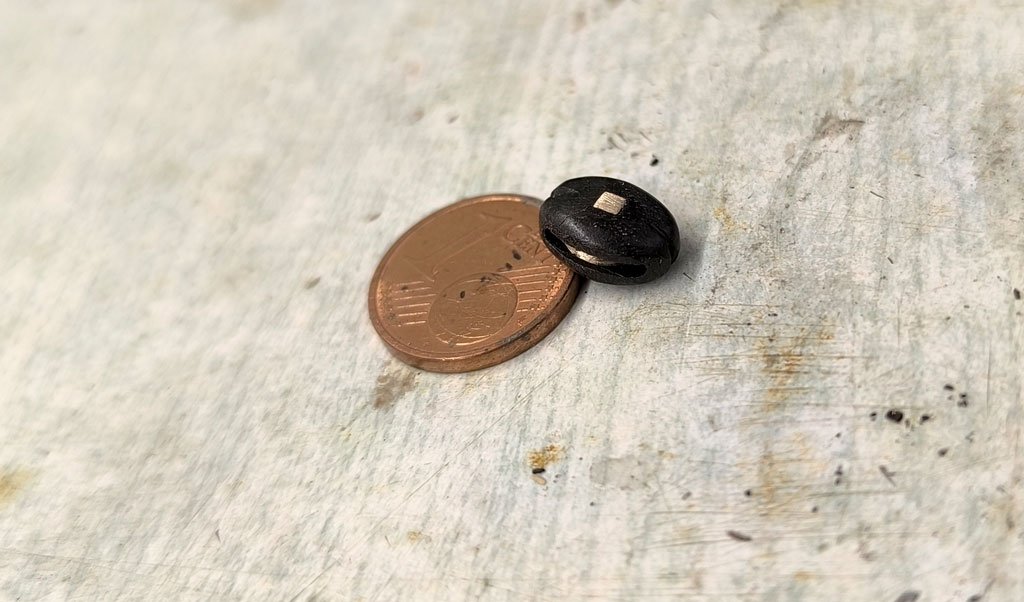
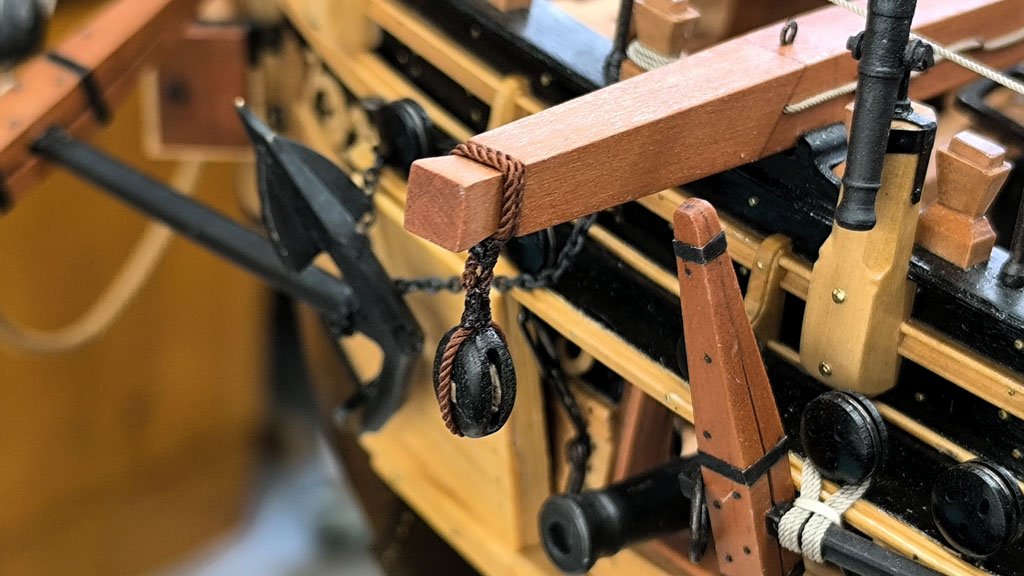
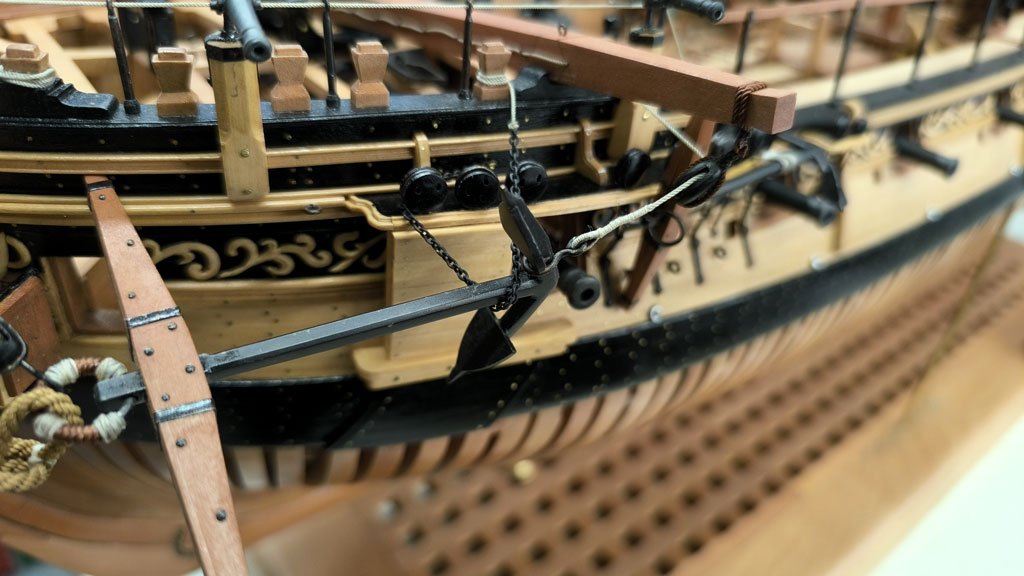
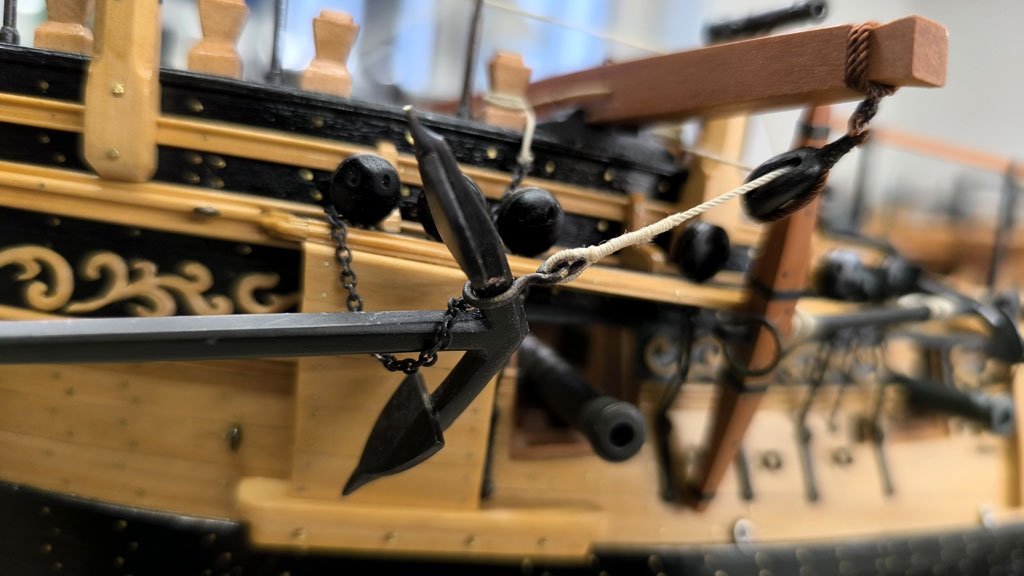
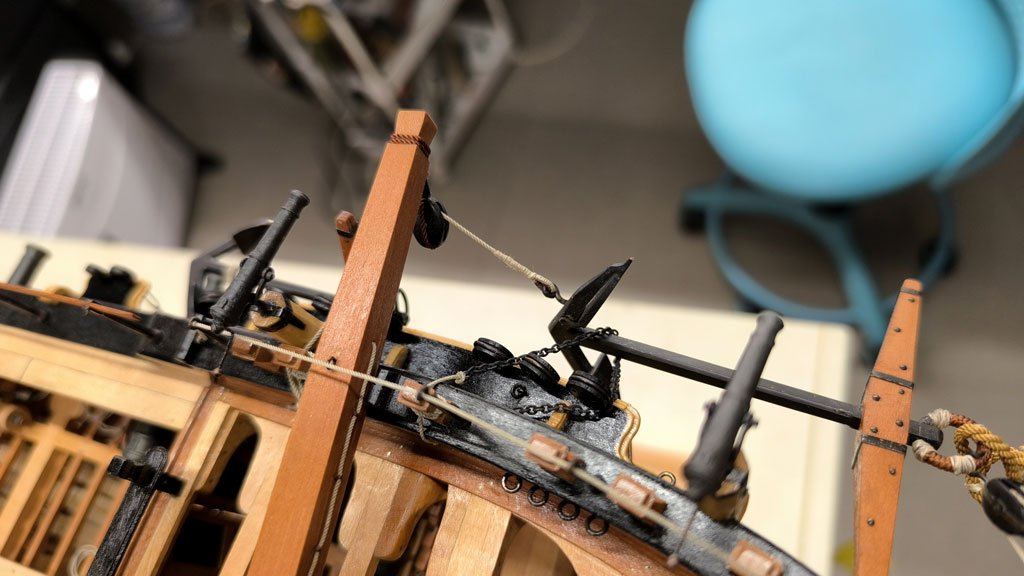
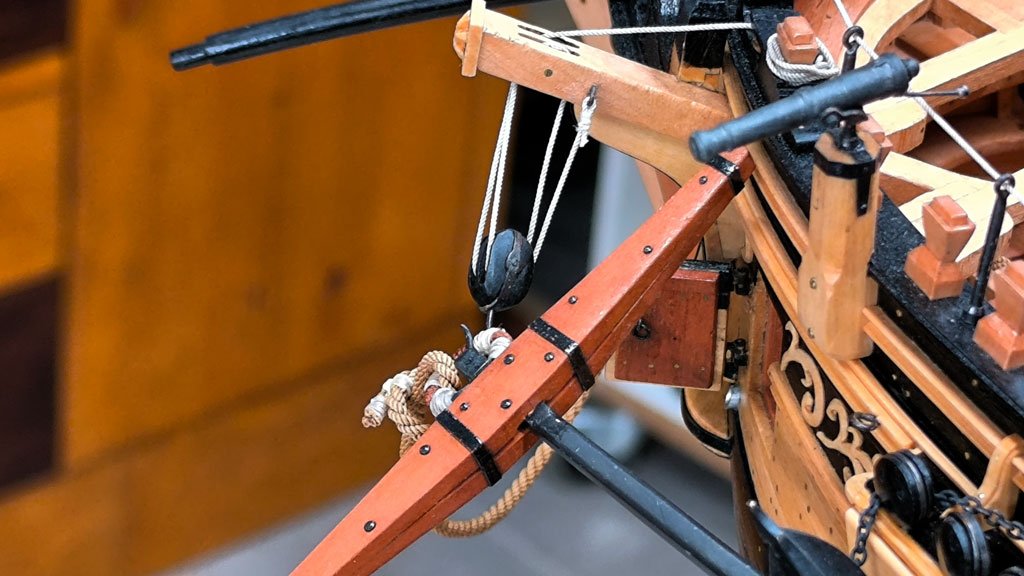
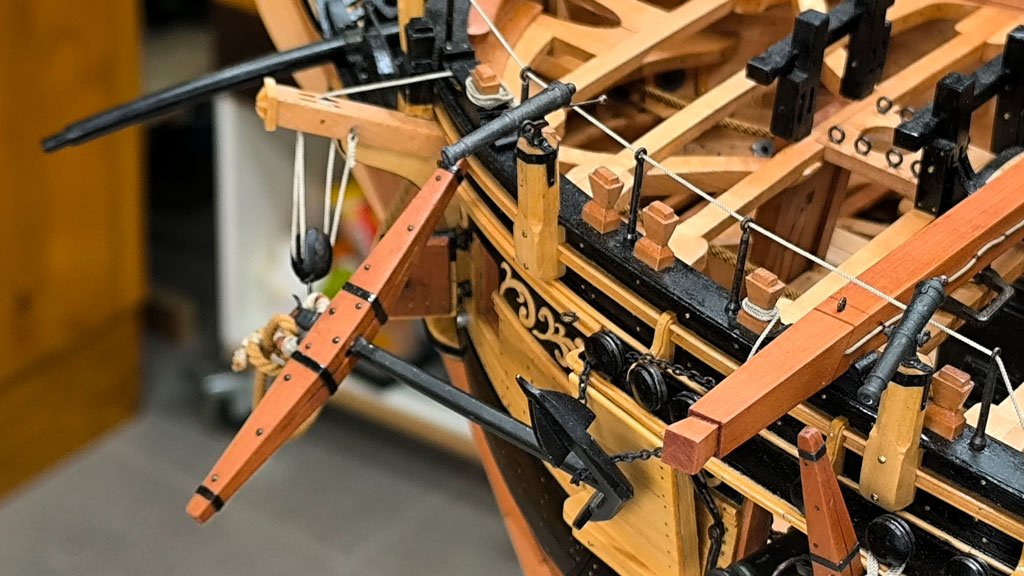
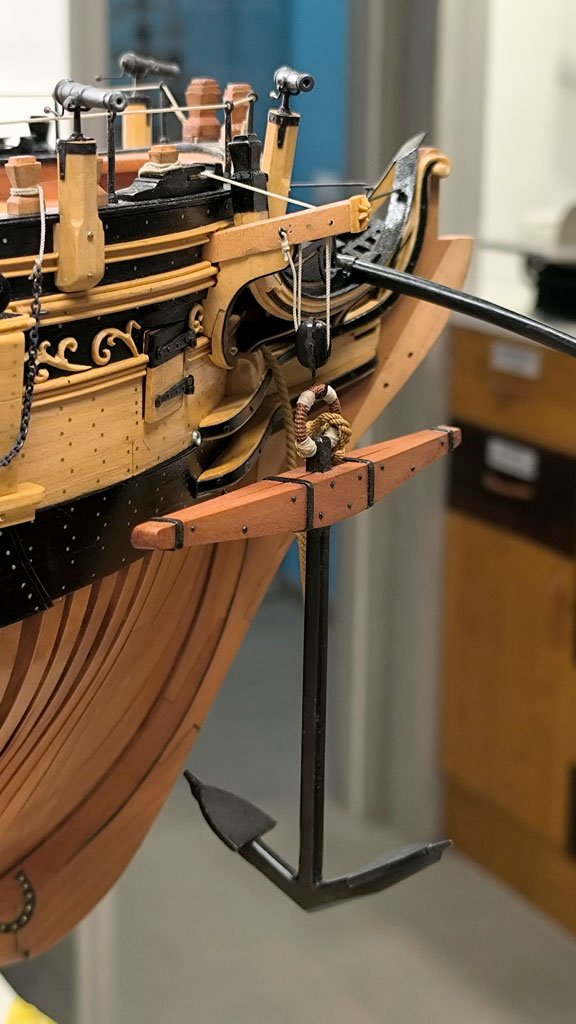
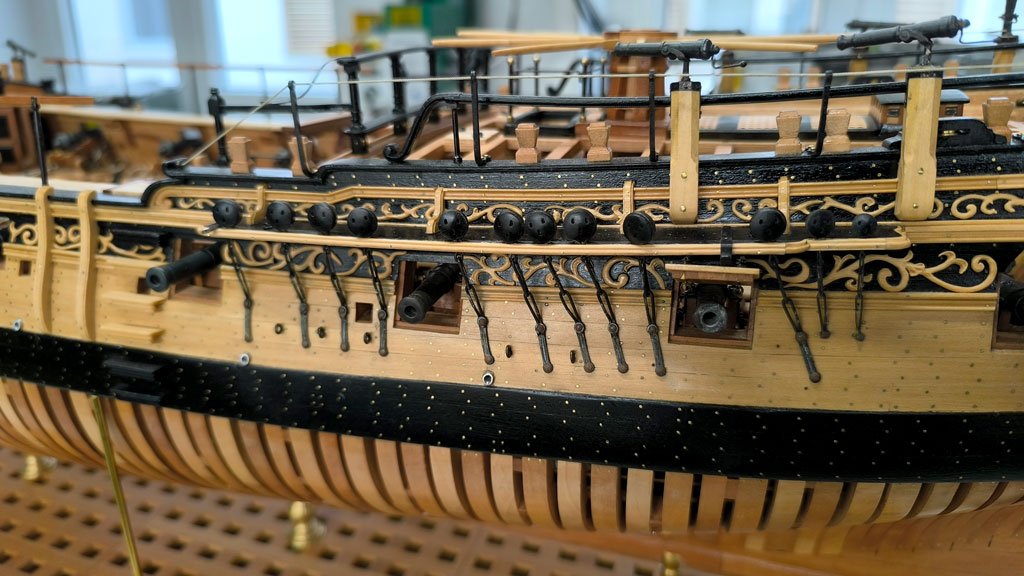
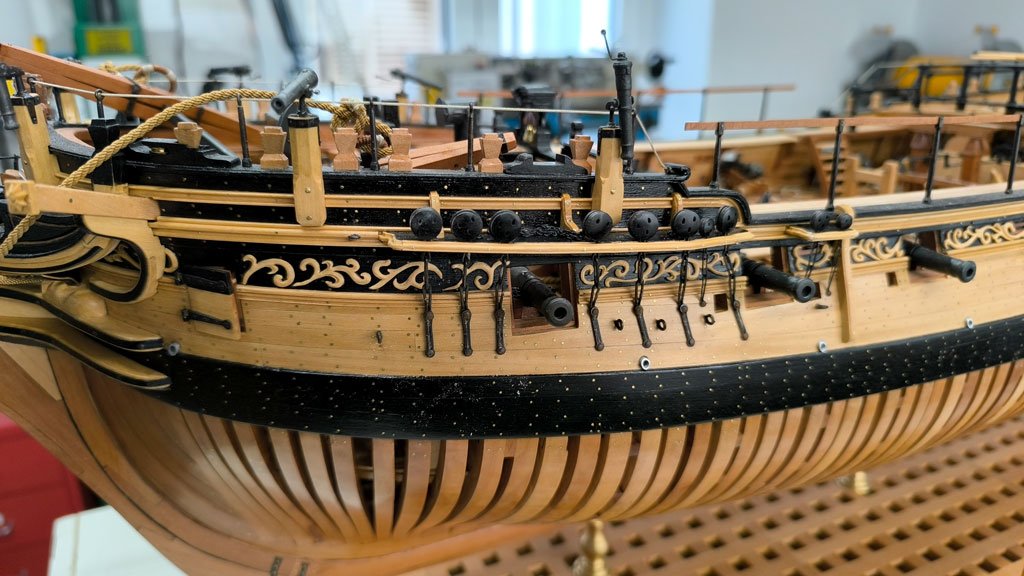
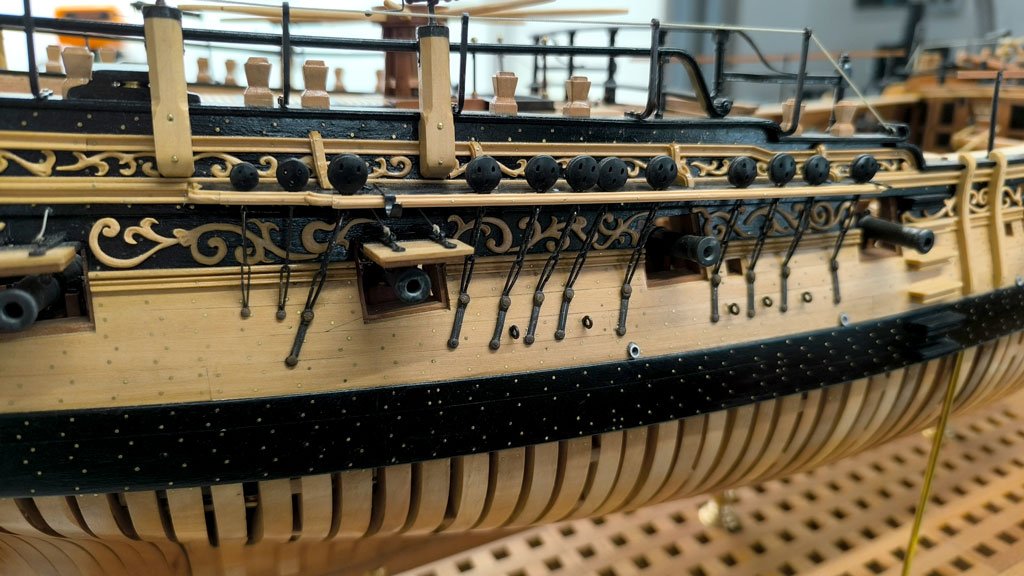
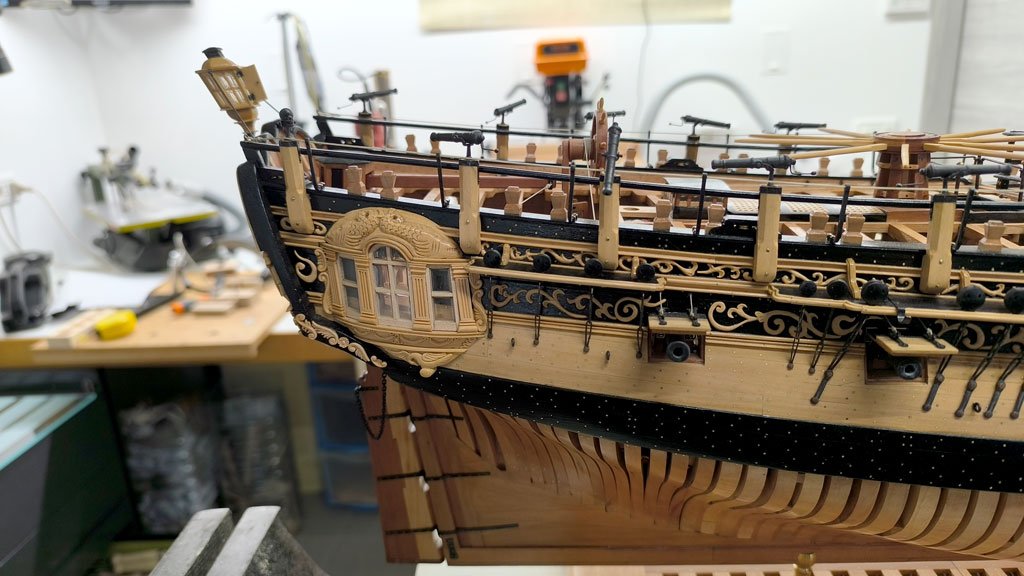
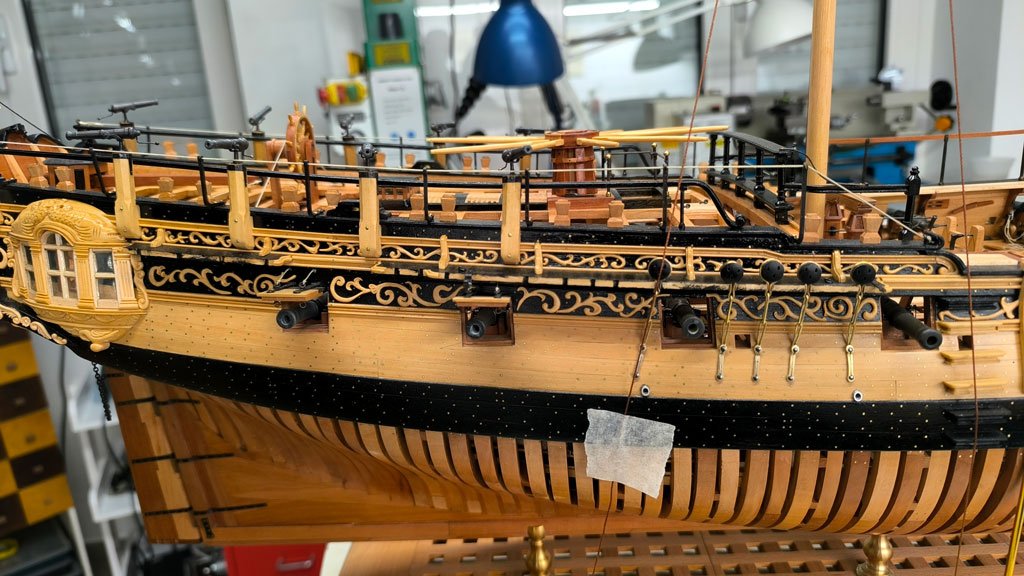
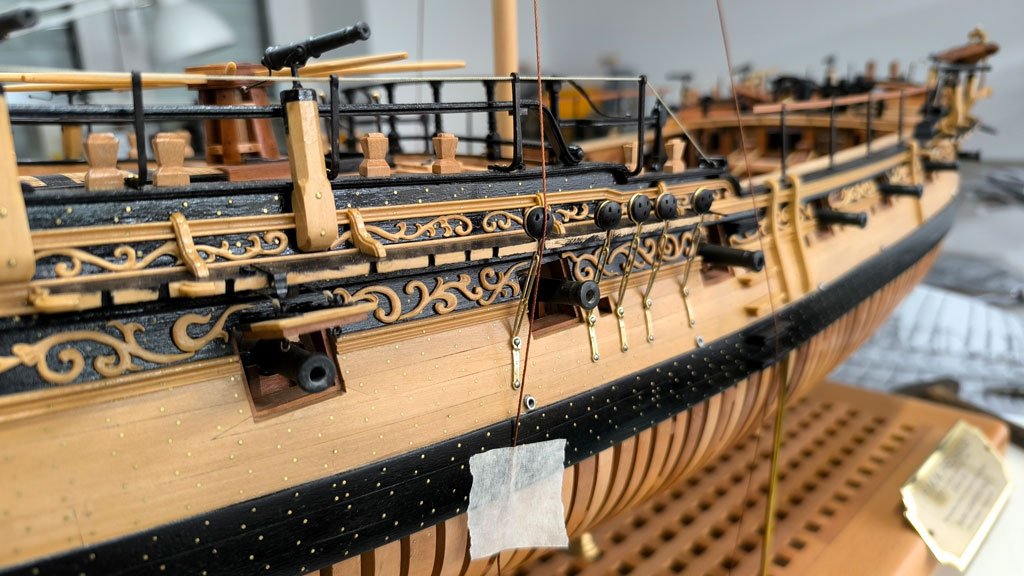
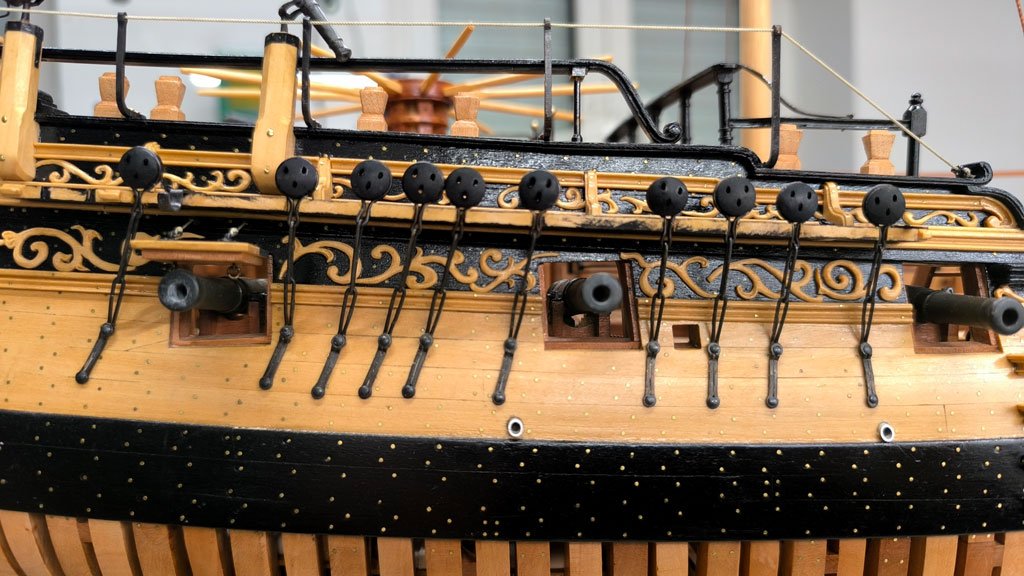
The billboard, bolster and lining:
- CaptMorgan, gjdale, wernerweiss and 28 others
-
25
-
 6
6
-
-
-
-
-
-
On 12/22/2024 at 1:24 AM, dvm27 said:
Fantastic video Giampiero! Silver solder will not work if gaps are present. Is this the same for resistance soldering?
For now, I am gaining experience with this type of welding, but I must say that it has undoubted advantages, if only for the convenience of use
-
I am sharing a video I made for those interested in small metal welding. Following some tutorials and videos, I built myself a resistance welder; it is a type of welder that they use mainly in model railways, where it is necessary to make many close welds. This type of soldering iron uses a 10 Ah transformer with 3-6V outputs and has the advantage that it heats, by means of a small graphite electrode and a ground wire, exactly the spot where the soldering is to take place for just a few seconds; this means that you can also make close-set soldering joints without running the risk of desoldering those previously made. Various types of tips can be used, including a ‘clamp’ system, which is very useful when parts to be soldered must be held together. Everything else is self-made and I must say that I am very satisfied with the results!
Translated with DeepL.com (free version)


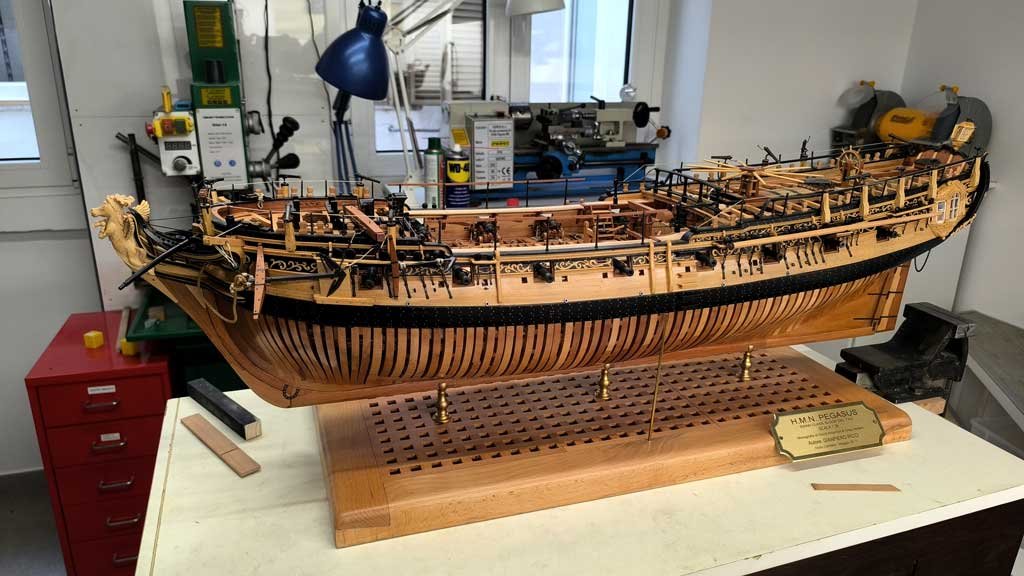
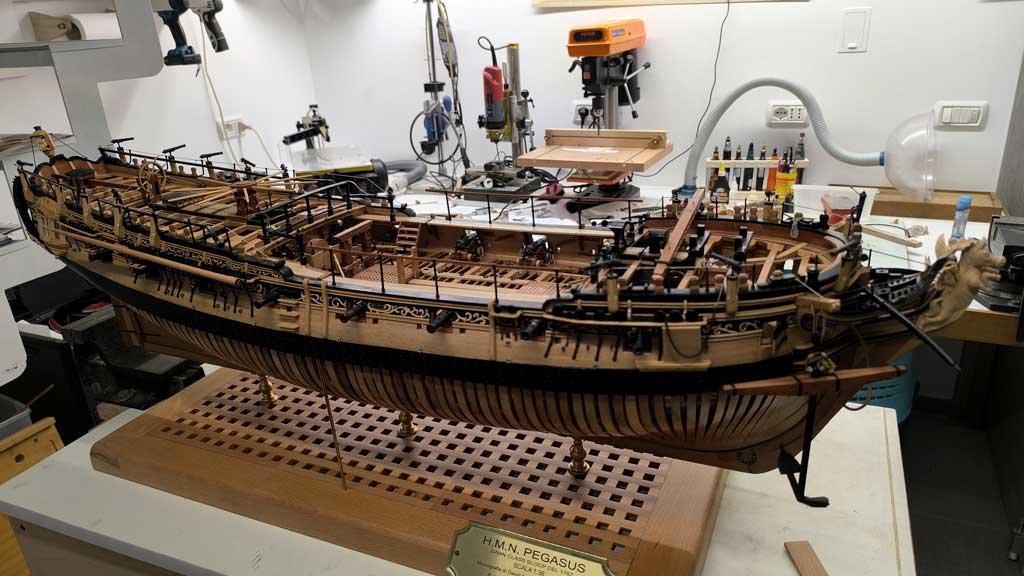
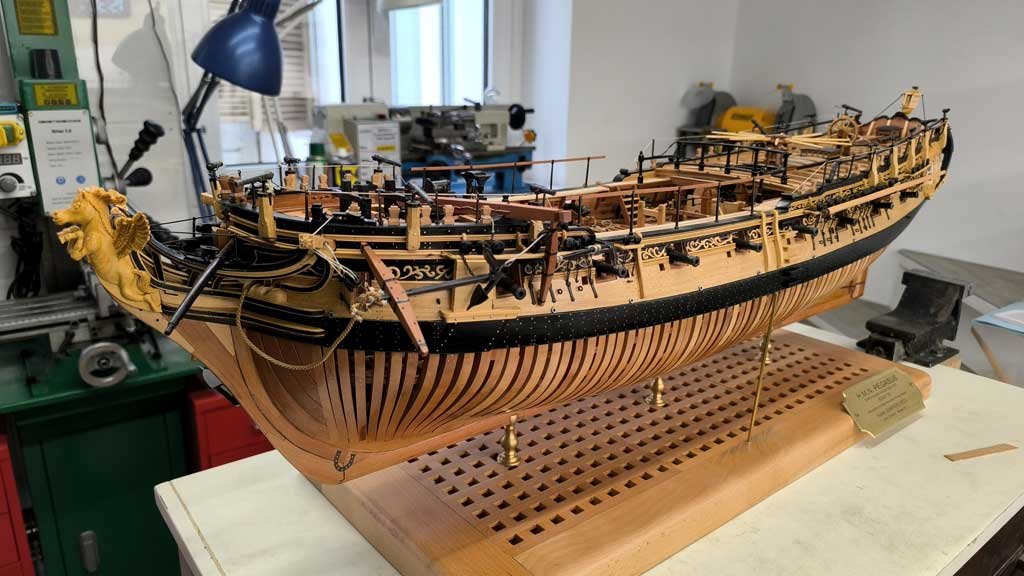
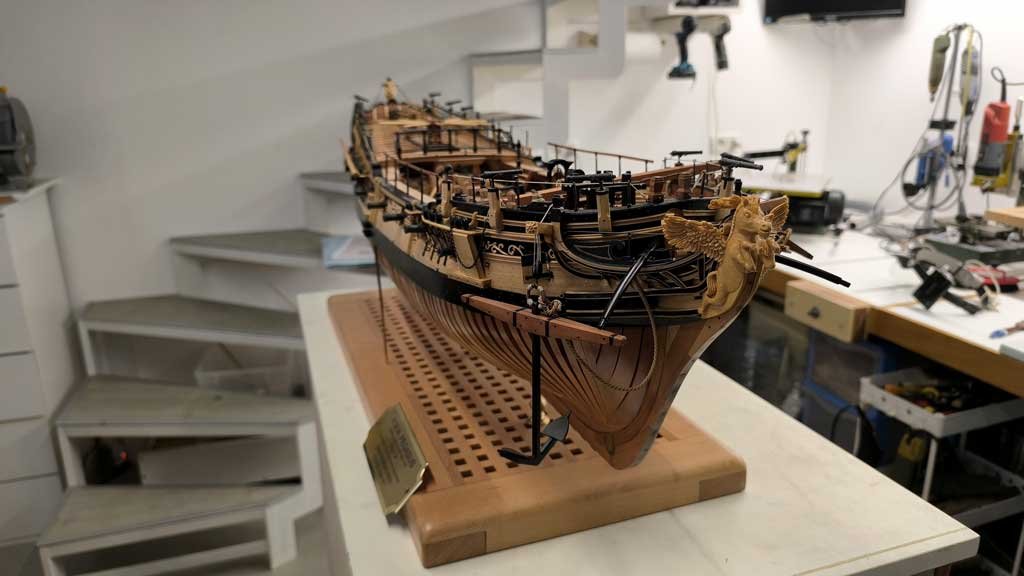

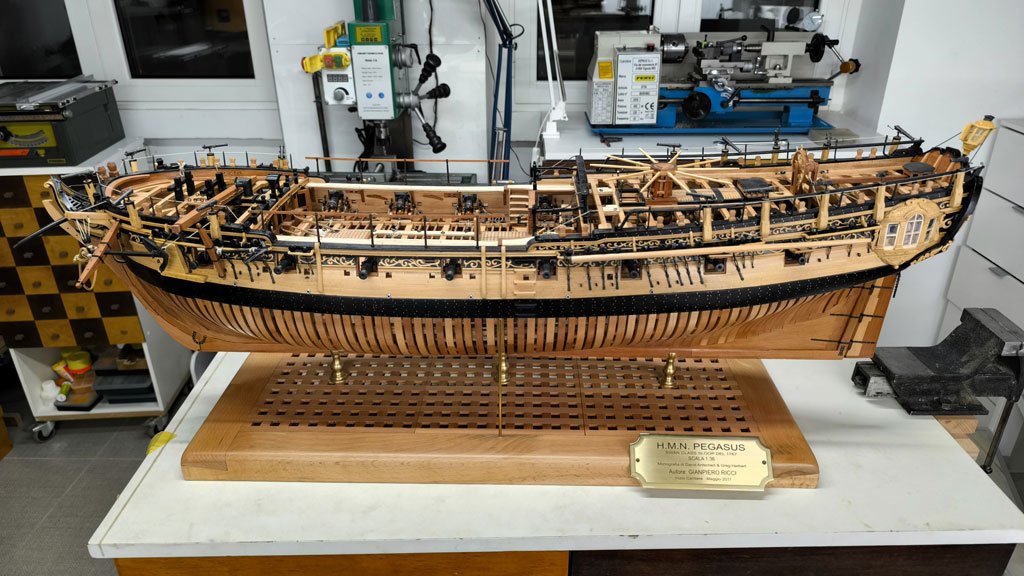
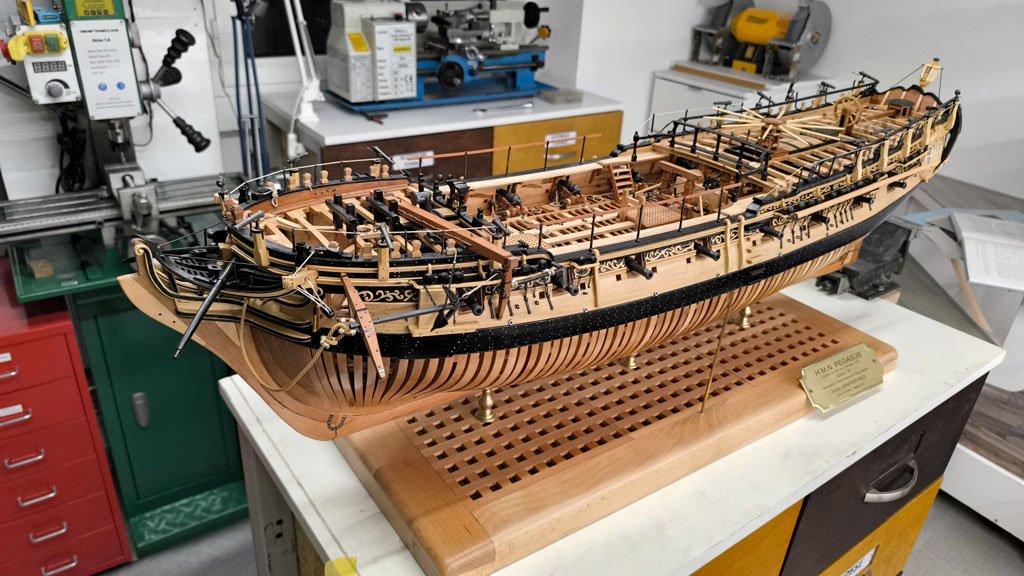

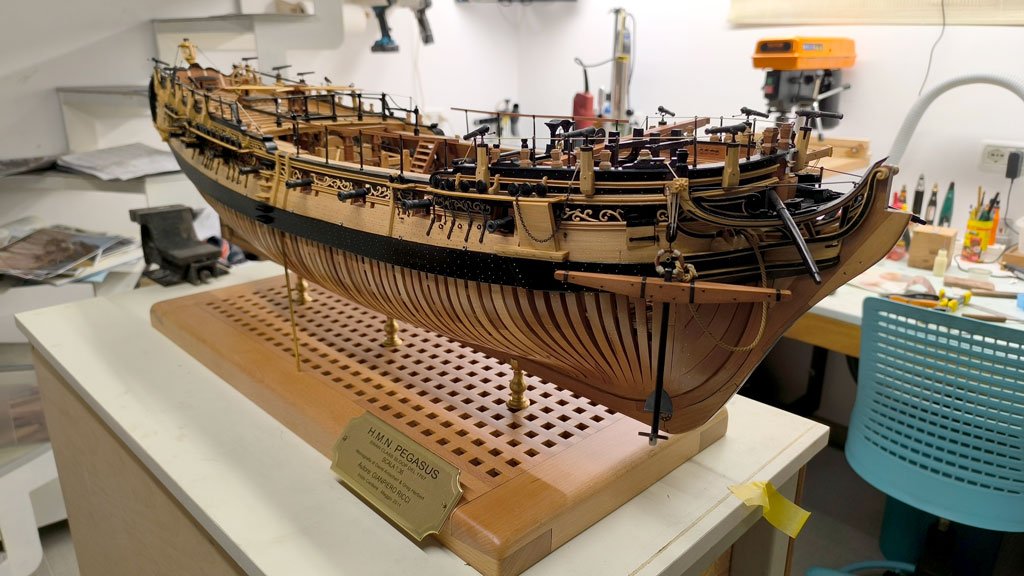
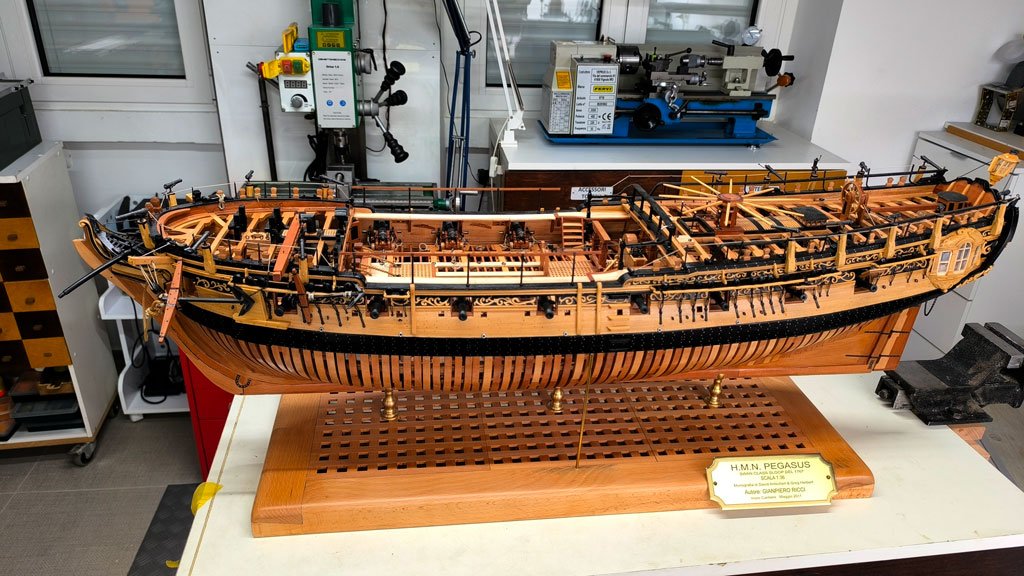
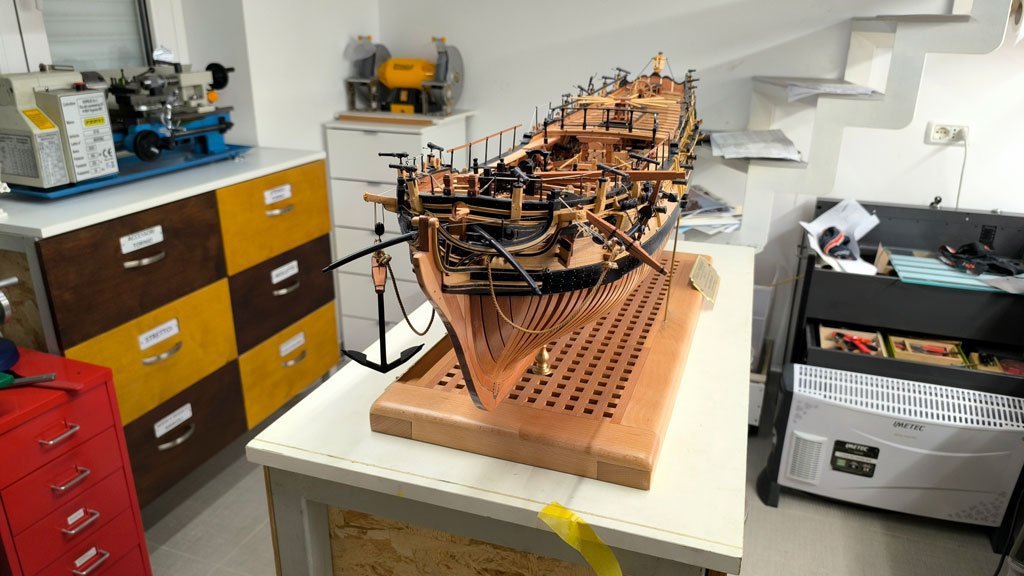
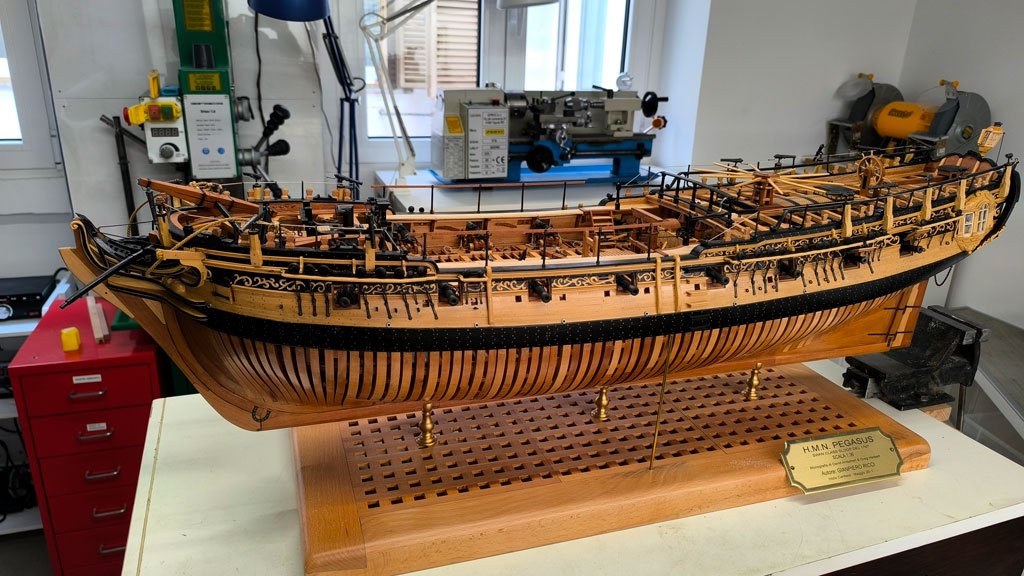
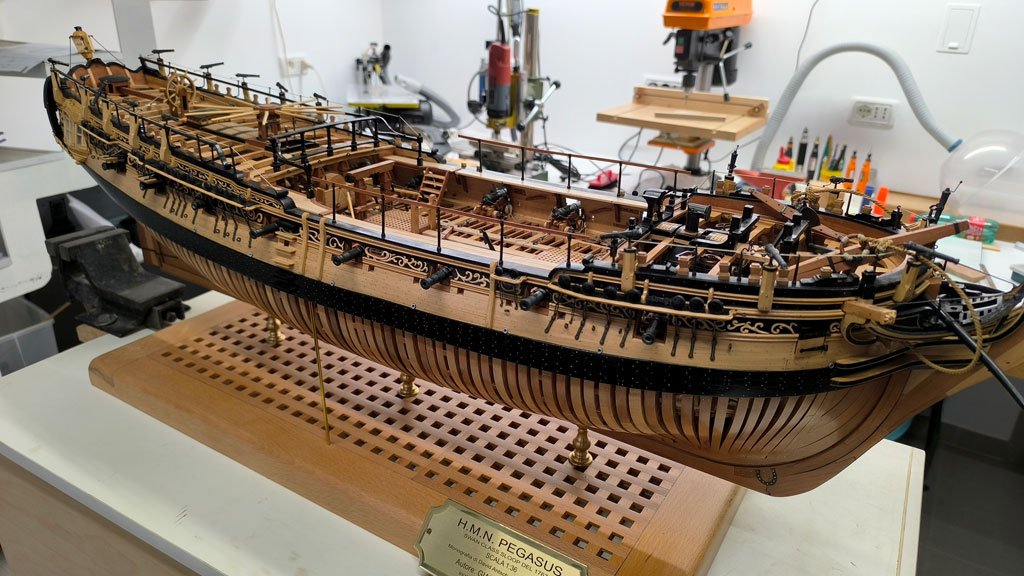
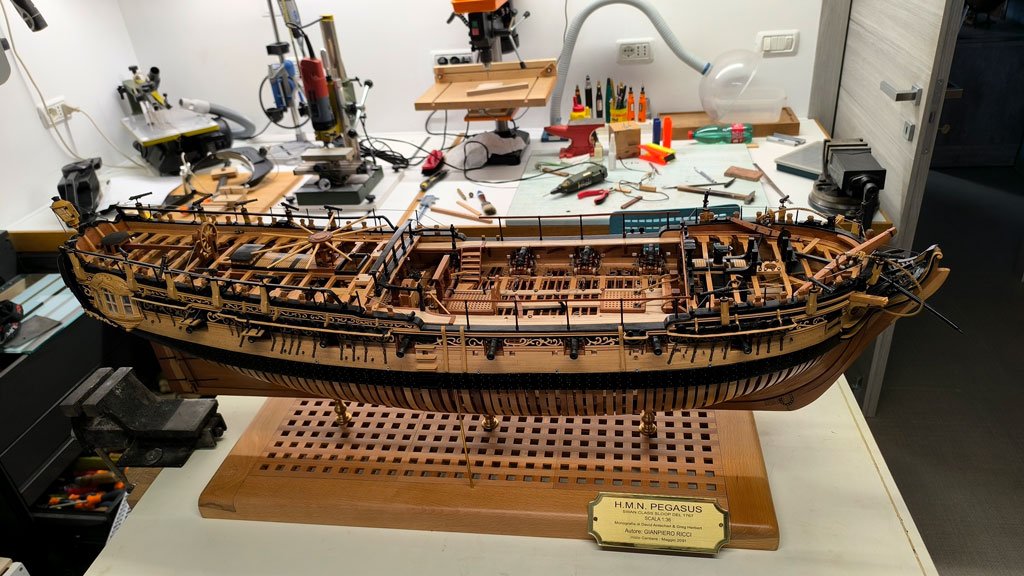
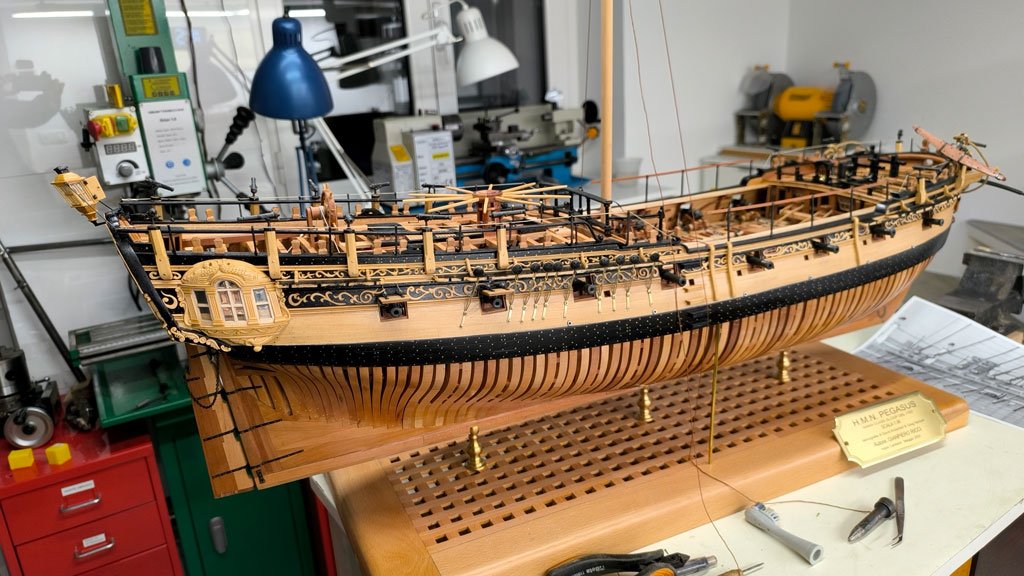
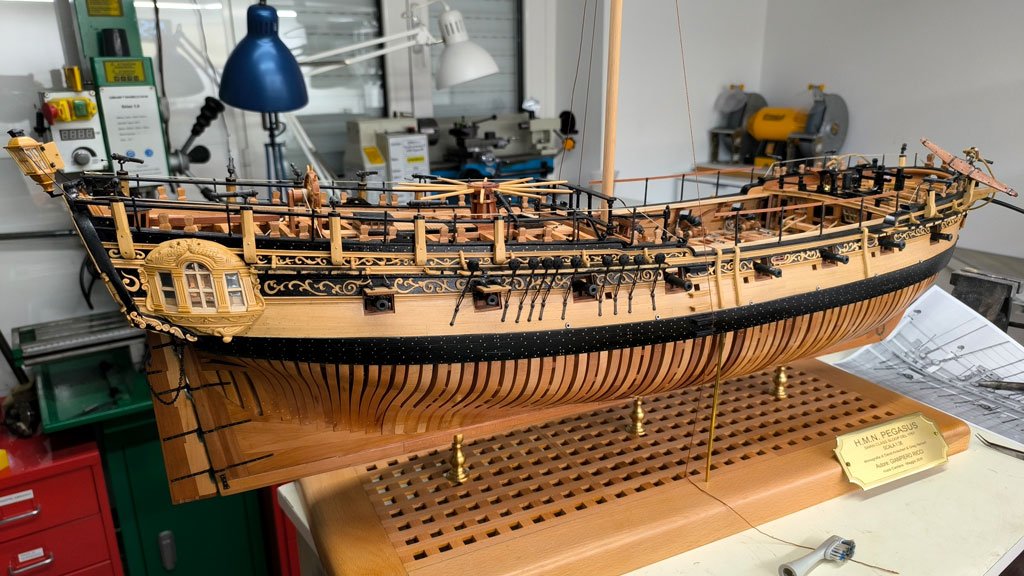
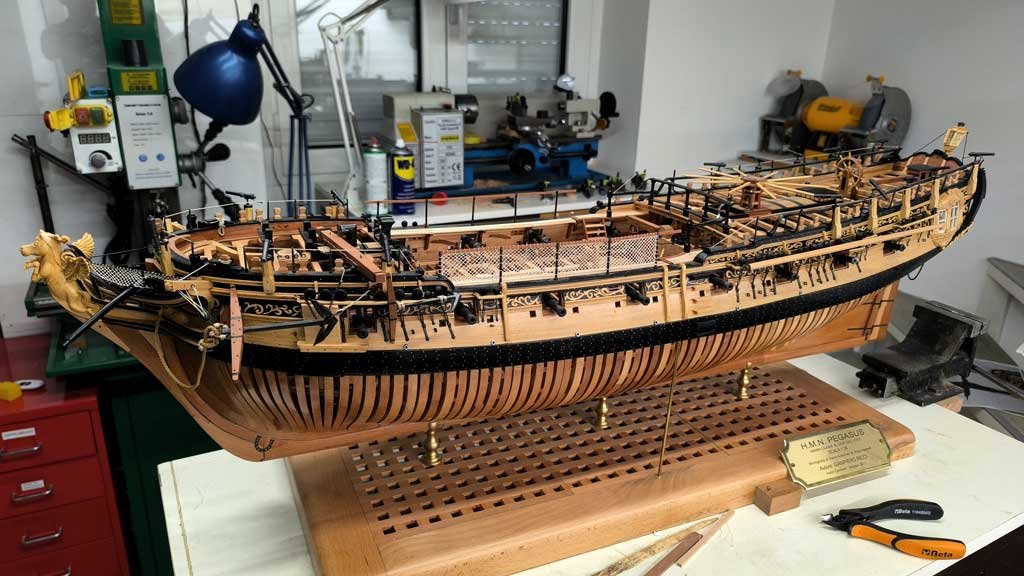
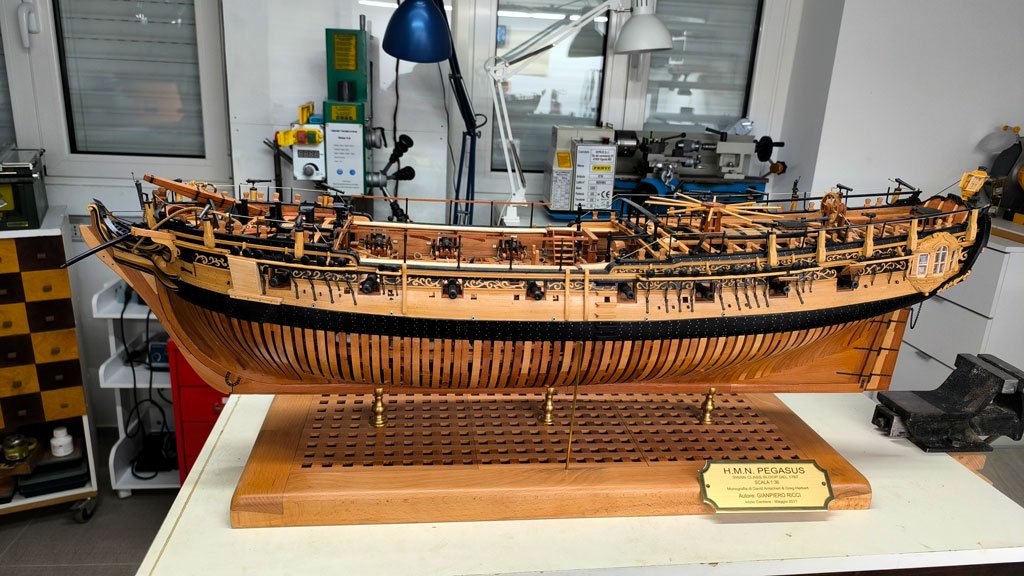
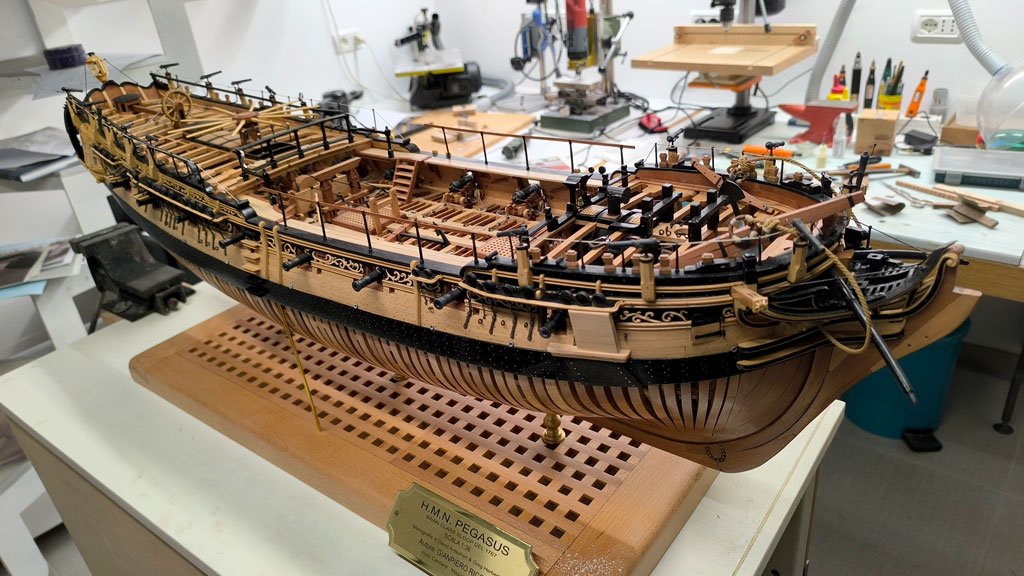
HMS PEGASUS by giampieroricci - Scale 1:36 - Swan-Class Sloop from plans by David Antscherl & Greg Herbert
in - Build logs for subjects built 1751 - 1800
Posted · Edited by giampieroricci