


Old Collingwood
-
Posts
11,997 -
Joined
-
Last visited
Content Type
Profiles
Forums
Gallery
Events
Posts posted by Old Collingwood
-
-
-
-
Great work - really moving on.
OC.
- Canute, Keith Black, Paul Le Wol and 2 others
-
 4
4
-
 1
1
-
-
She is looking Superb - so much detail, and as said - she still looks like a graceful ship not a tower block.
This is the only ship I have traveled on - very much smaller though -
OC.
-
Amazing work at this scale, I sure enjoyed working on my Hood kit in the same scale and make, it kind of feels more self contained at this scale despite all the tiny parts, with the brass barrel you used - I think when its painted it will not be noticable and will blend in.
OC.
-
-
-
-
Excellent work.
OC.
- king derelict, Canute, Jack12477 and 1 other
-
4
-
-
-
Excllent work, I still remember the day when she was lifted in the Solent - what an event on the tv.
OC.
- MikkiC and BLACK VIKING
-
2
-
You should check out the Original replica in Brixham Devon UK - lots of Photos of it on the net.
OC.
-
-
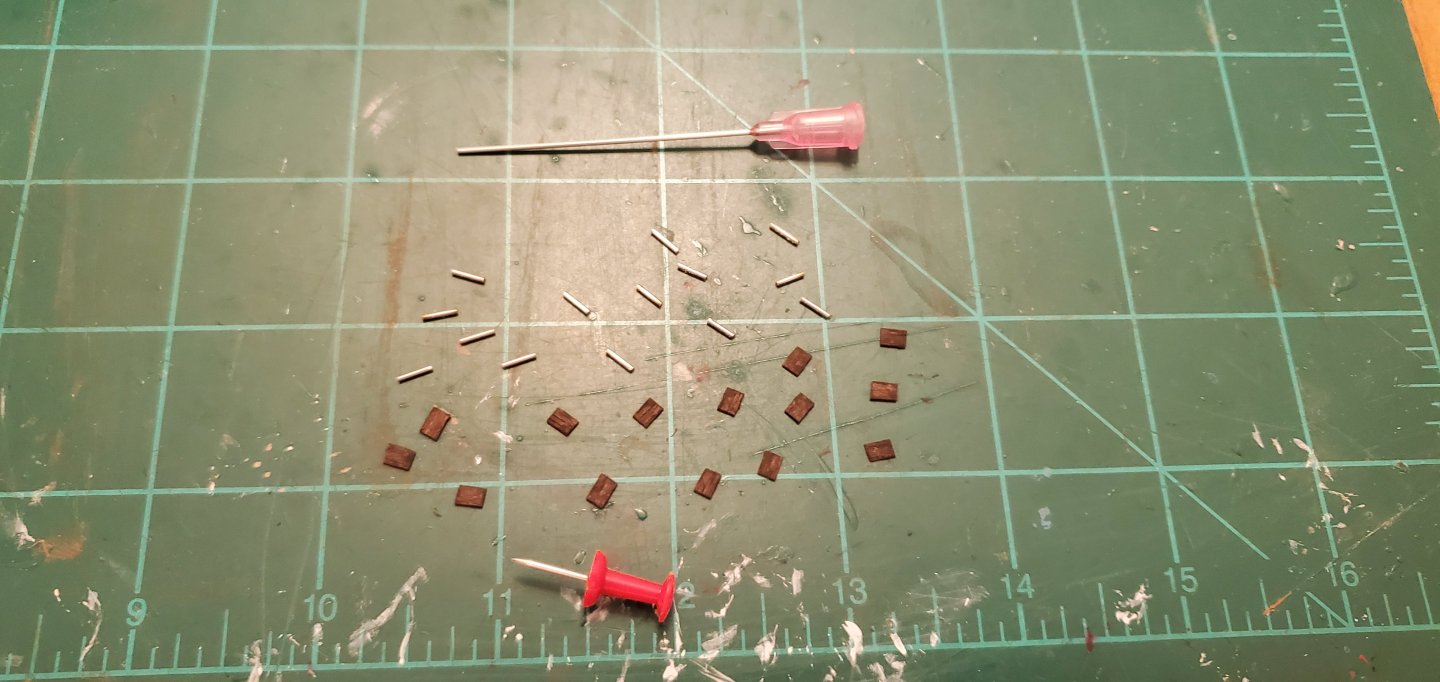
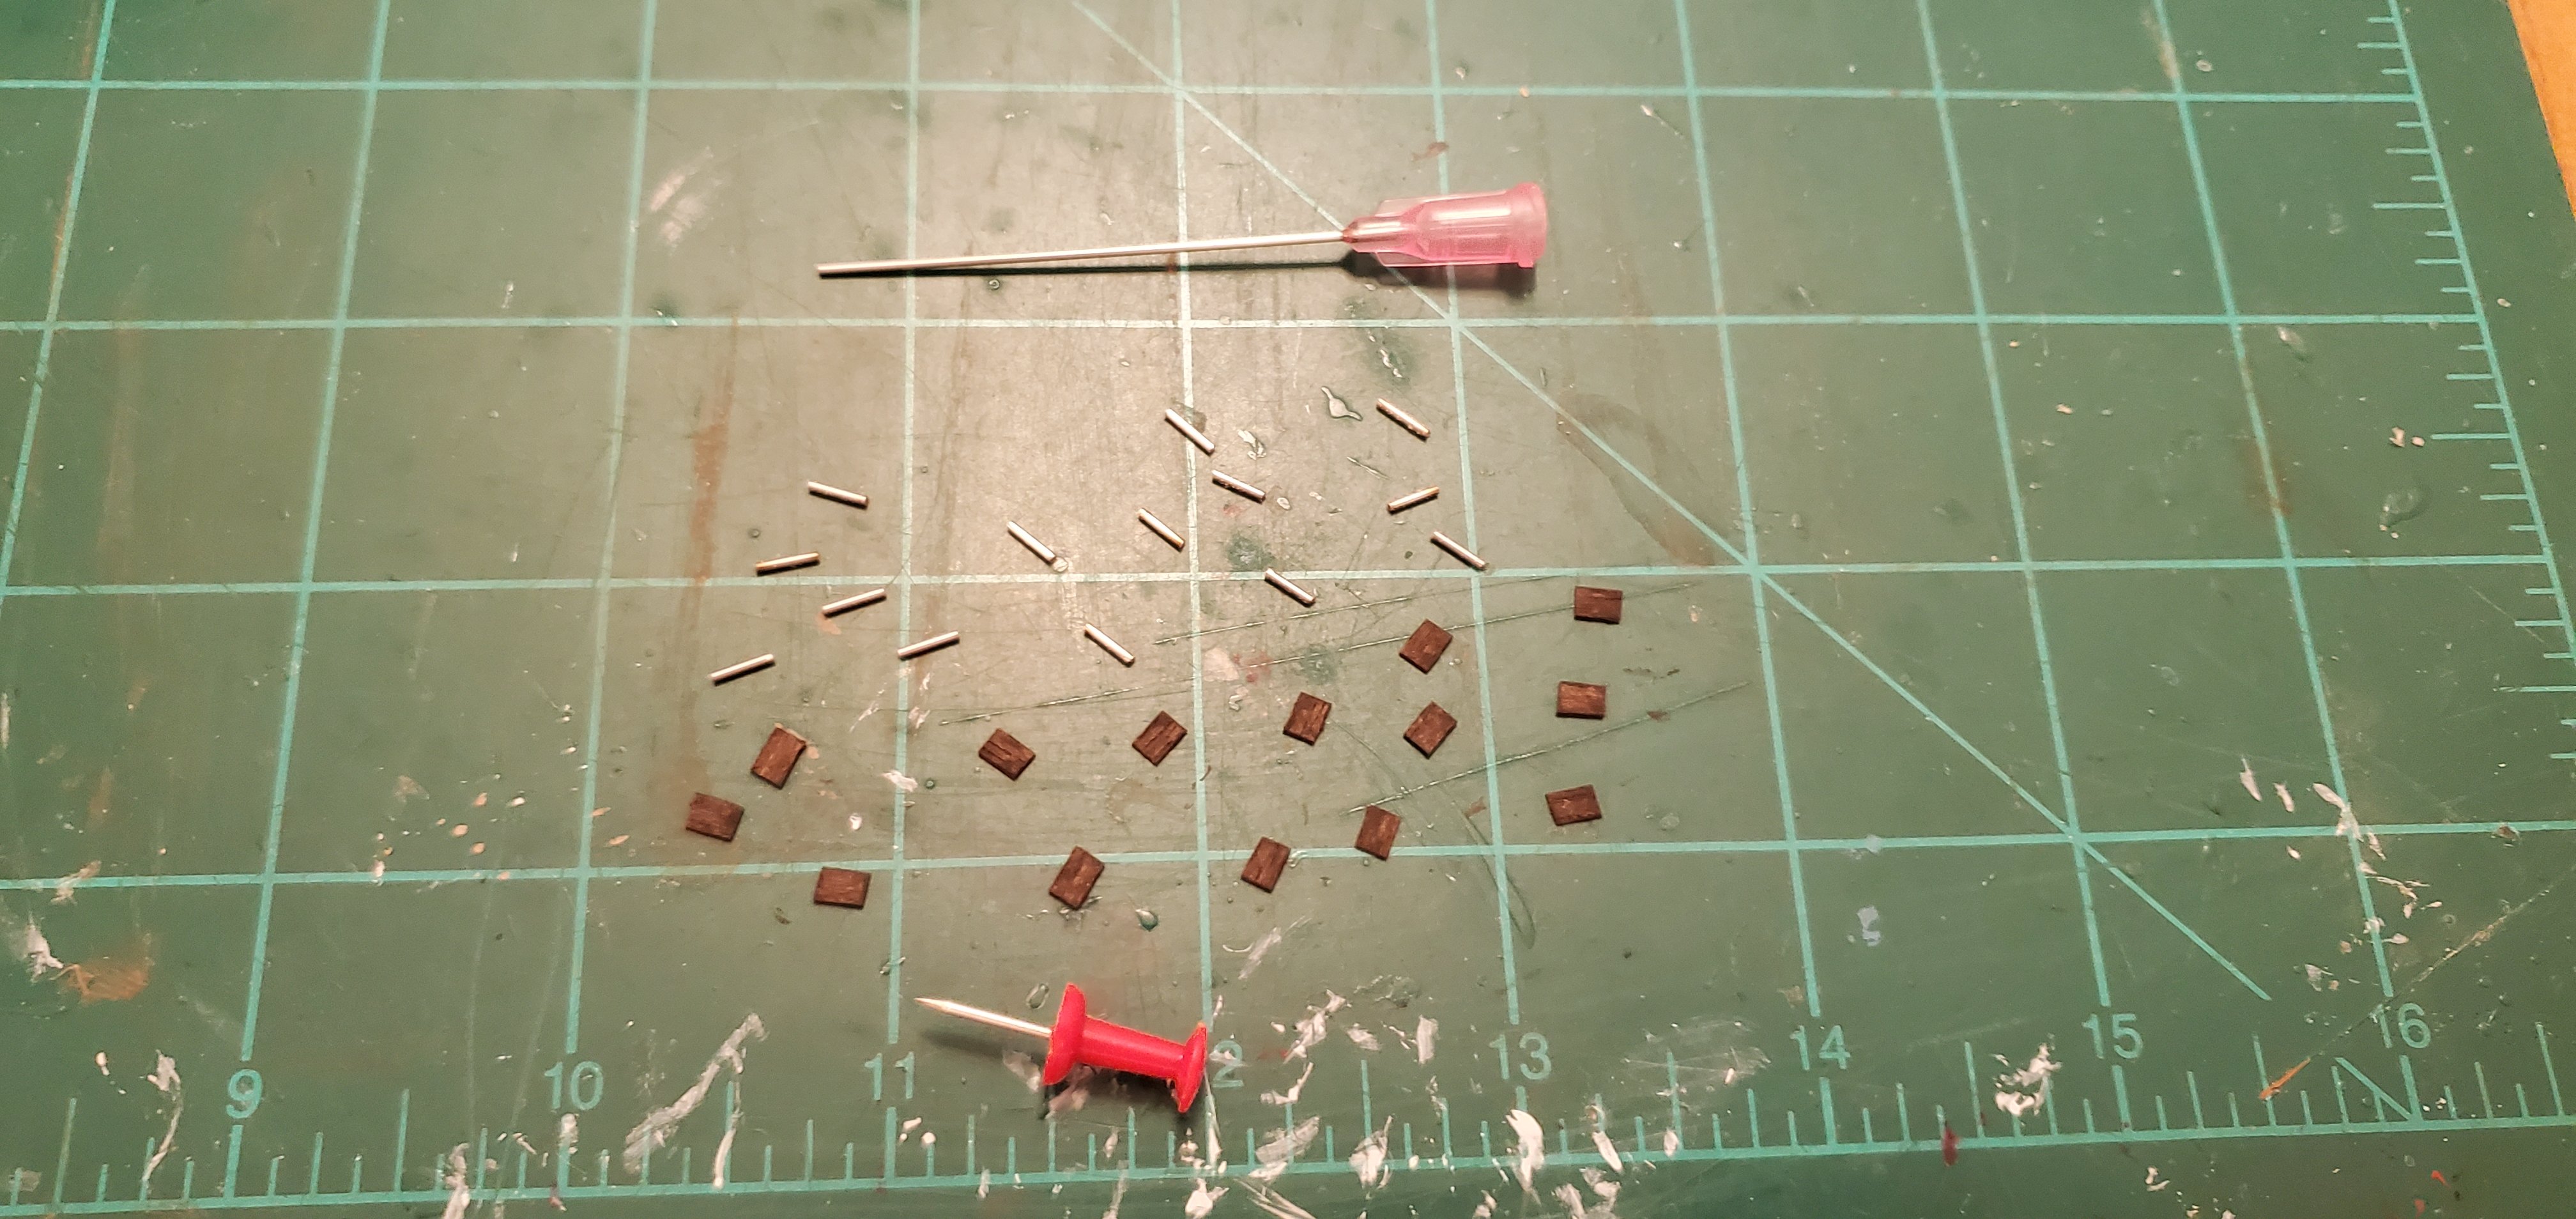
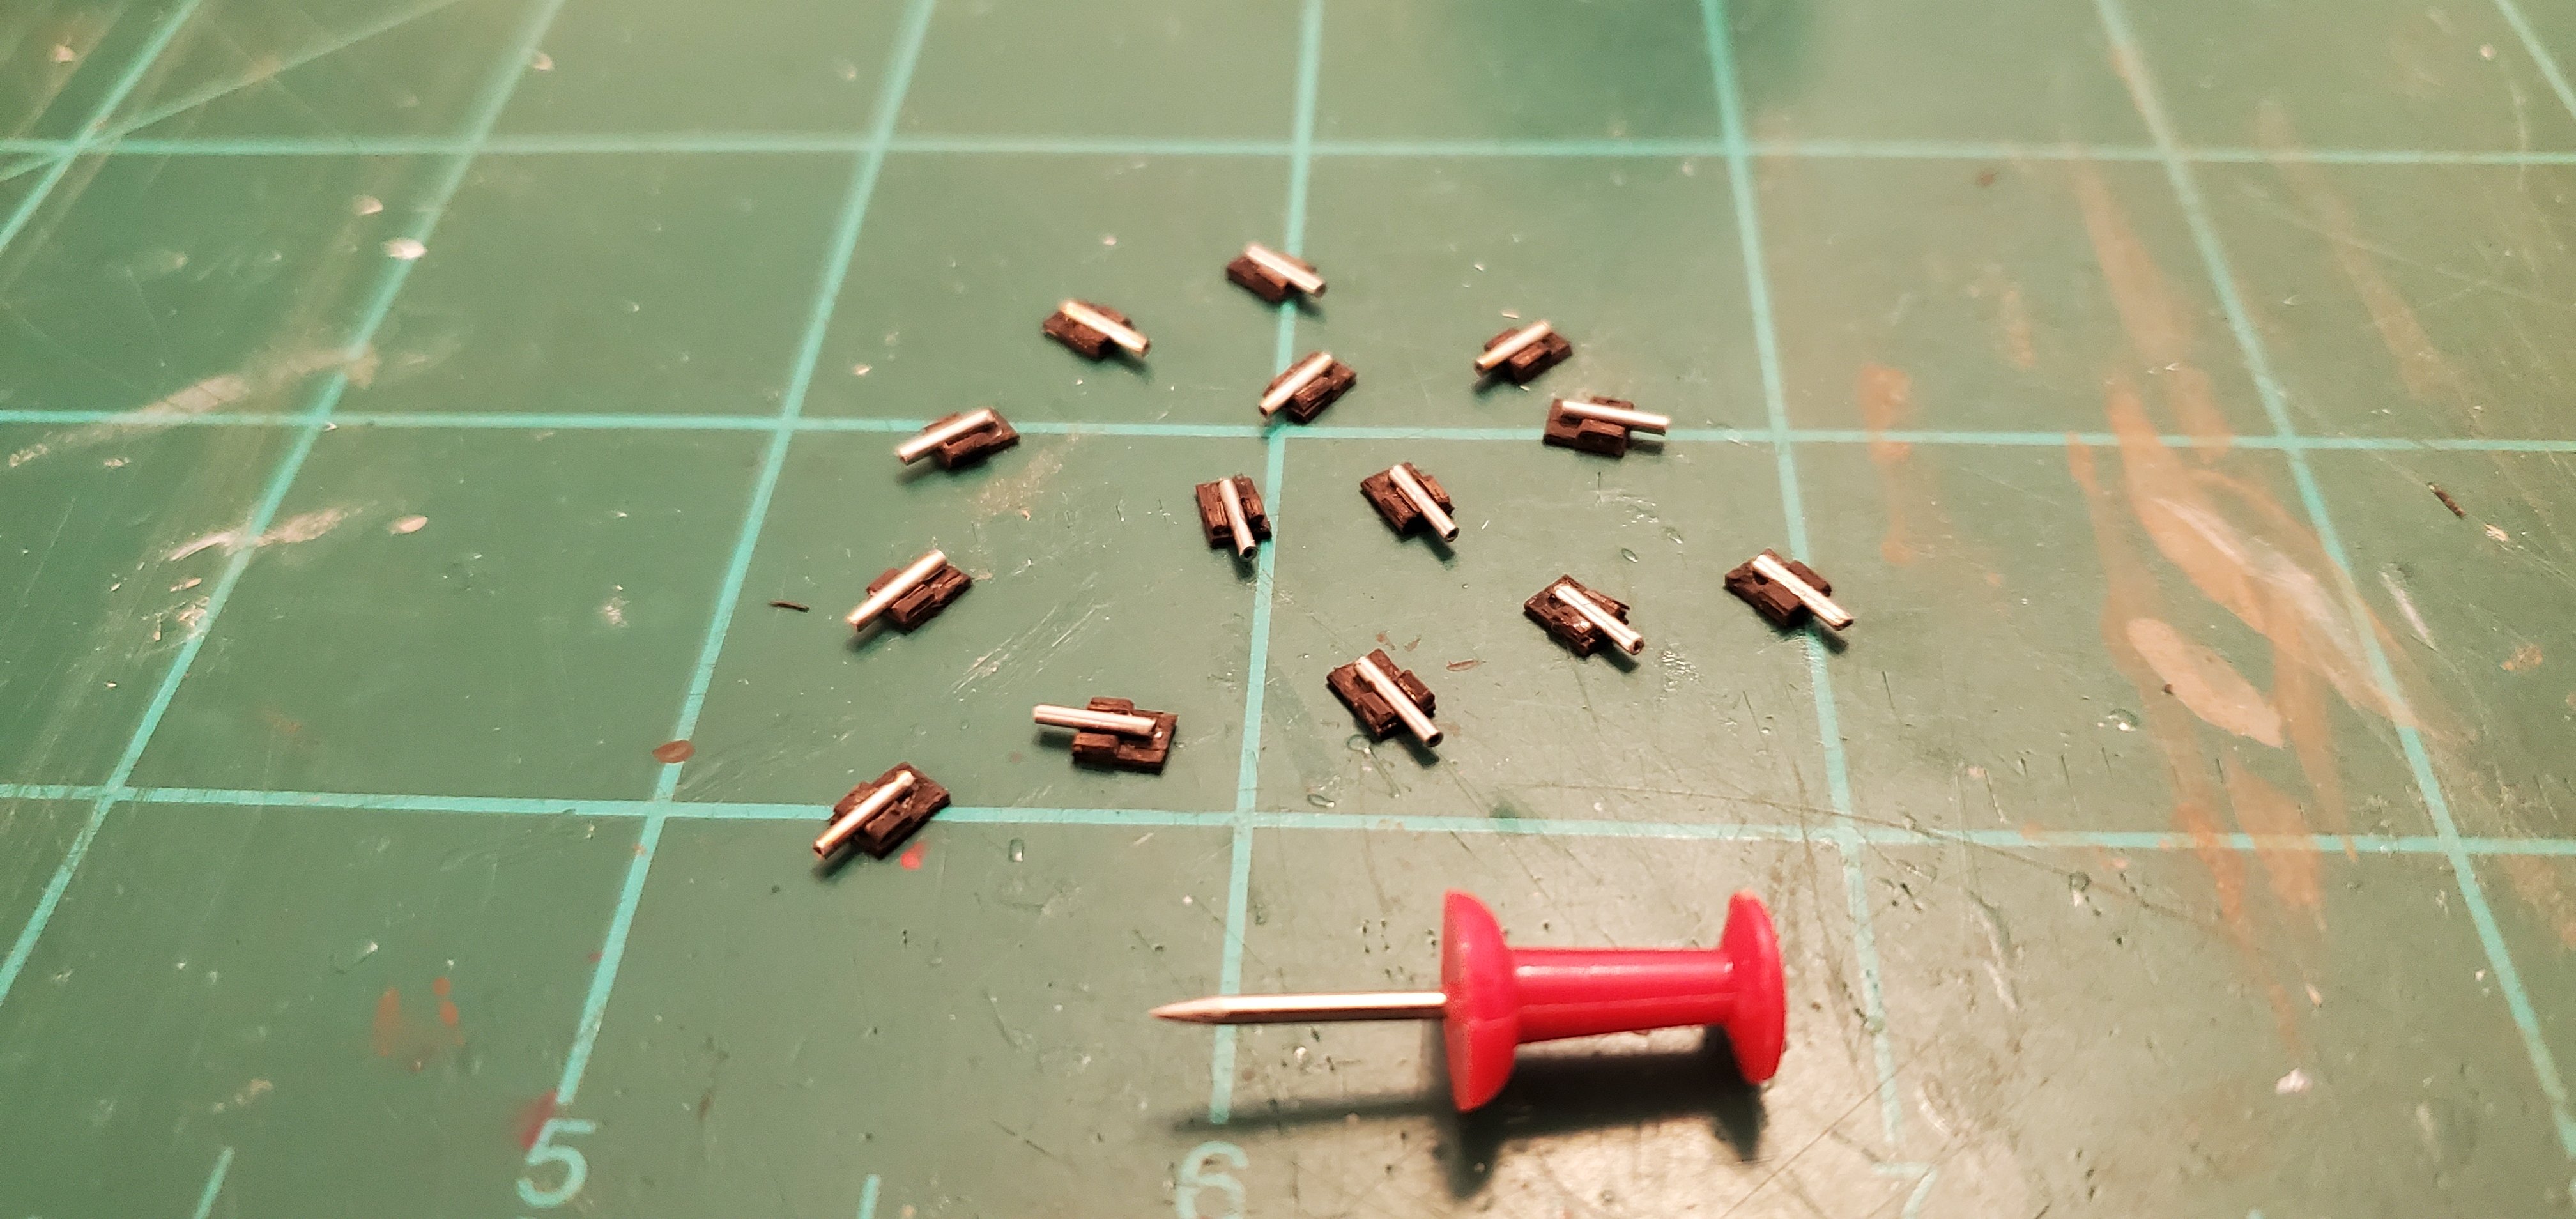
1 hour ago, Glen McGuire said:
Still patching whirlpool leaks, but in between, work continues on the Black Pearl. First up were the 14 cannons for the spar deck. The barrels are 20 gauge vet needles. The carriages are made from .5mm planking strips.

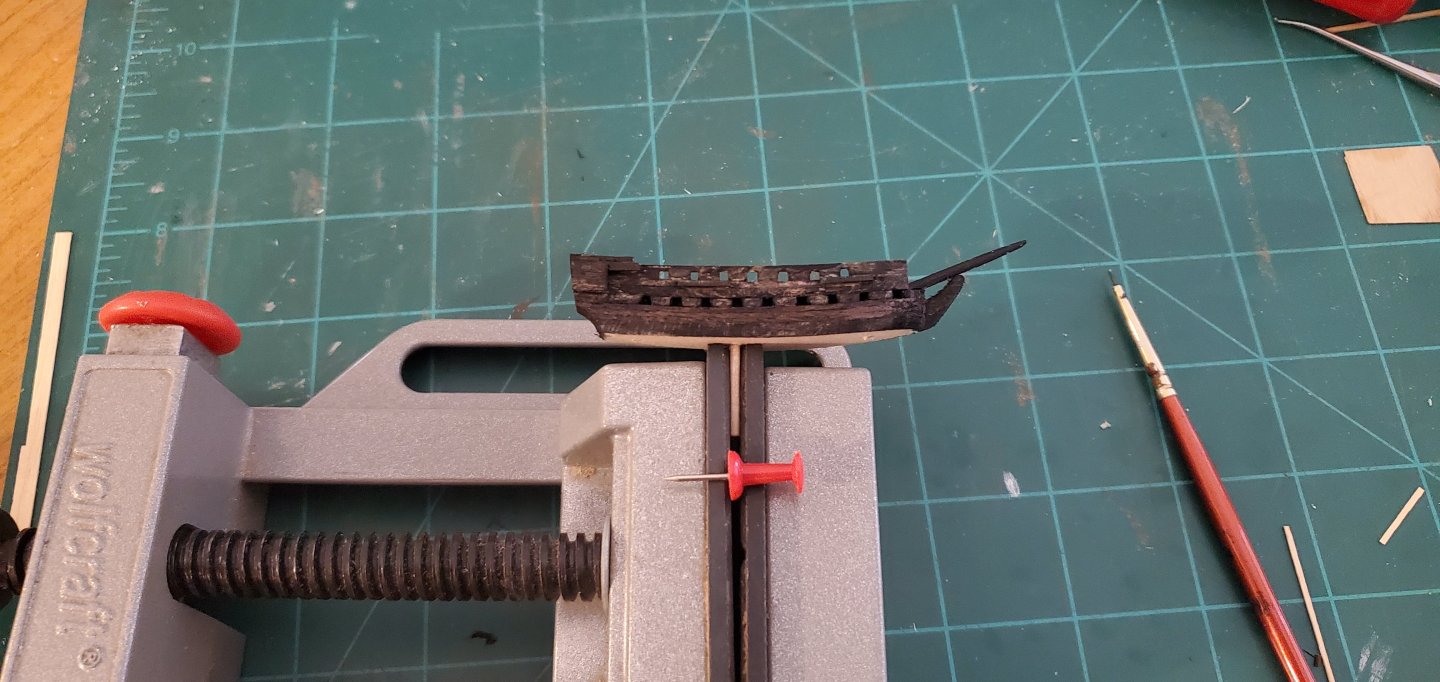
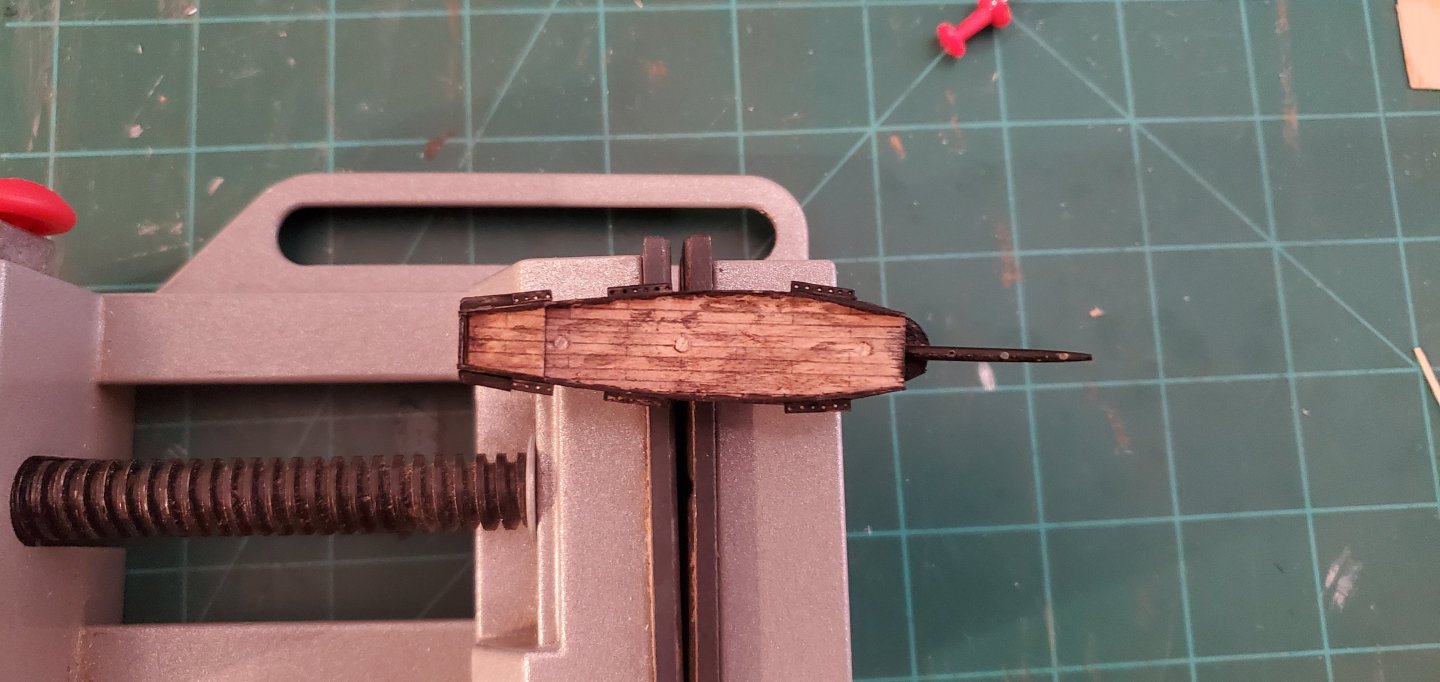
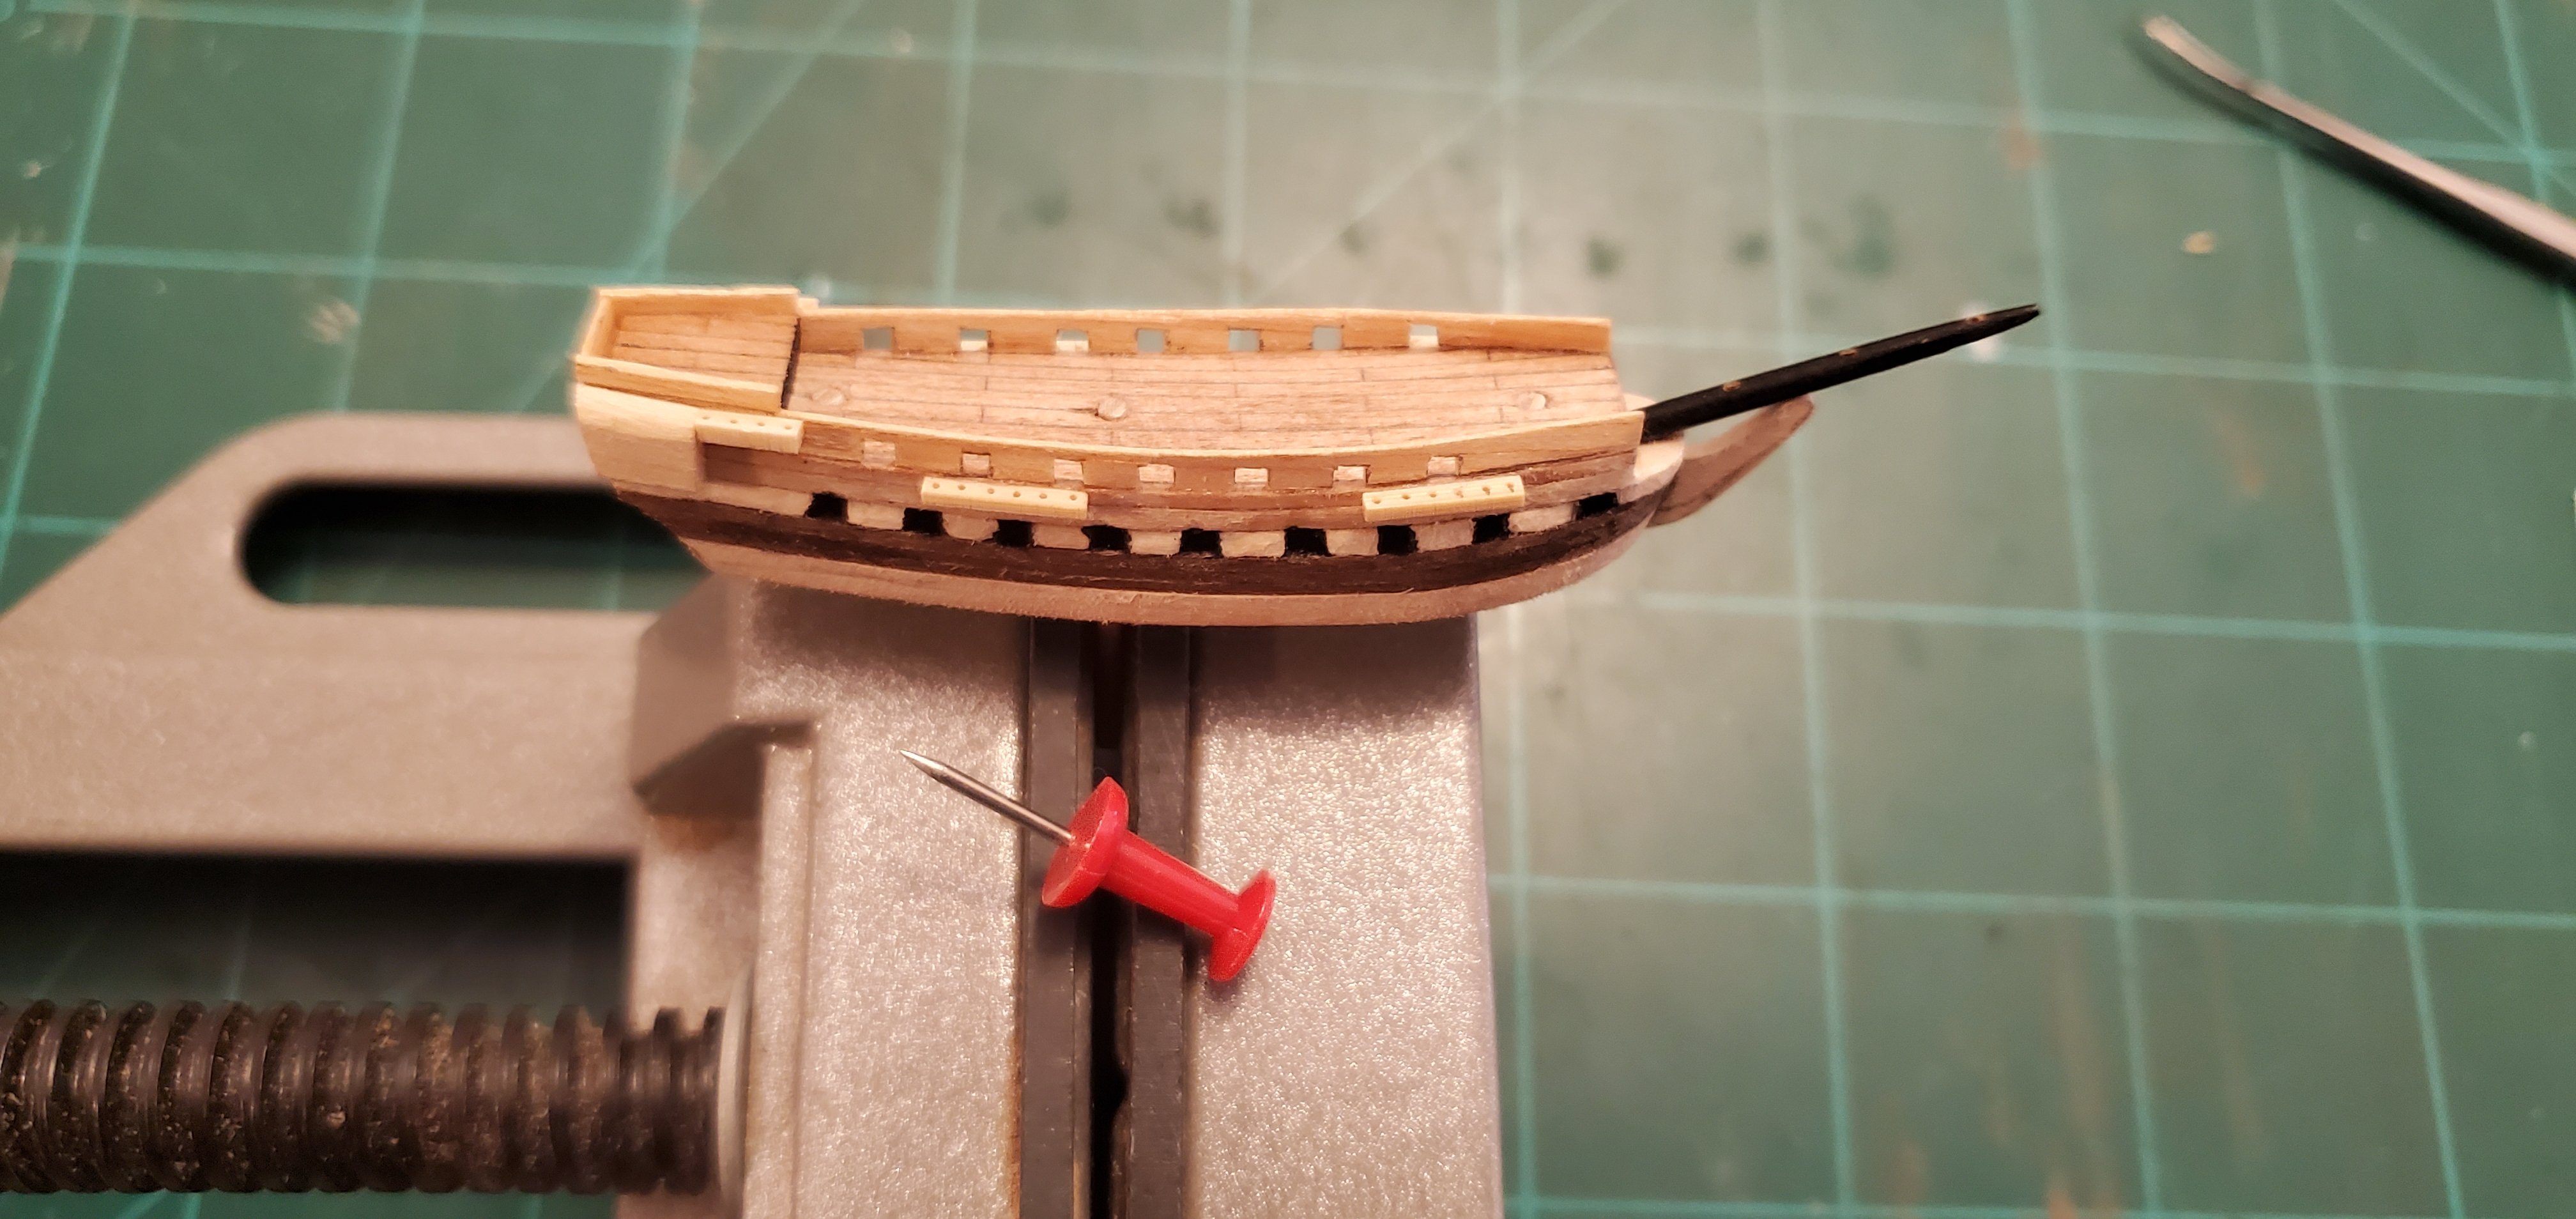
Next was carving the beakhead rails that extend from each side of the bow to the top of the keel. I have a hard time carving sharp angles that are so small. I use a scalpel with a fine pointed blade but it's still to big for some of the tight spaces.

Next, I carved and added the knee, channels, poop deck, and quarter galleries.

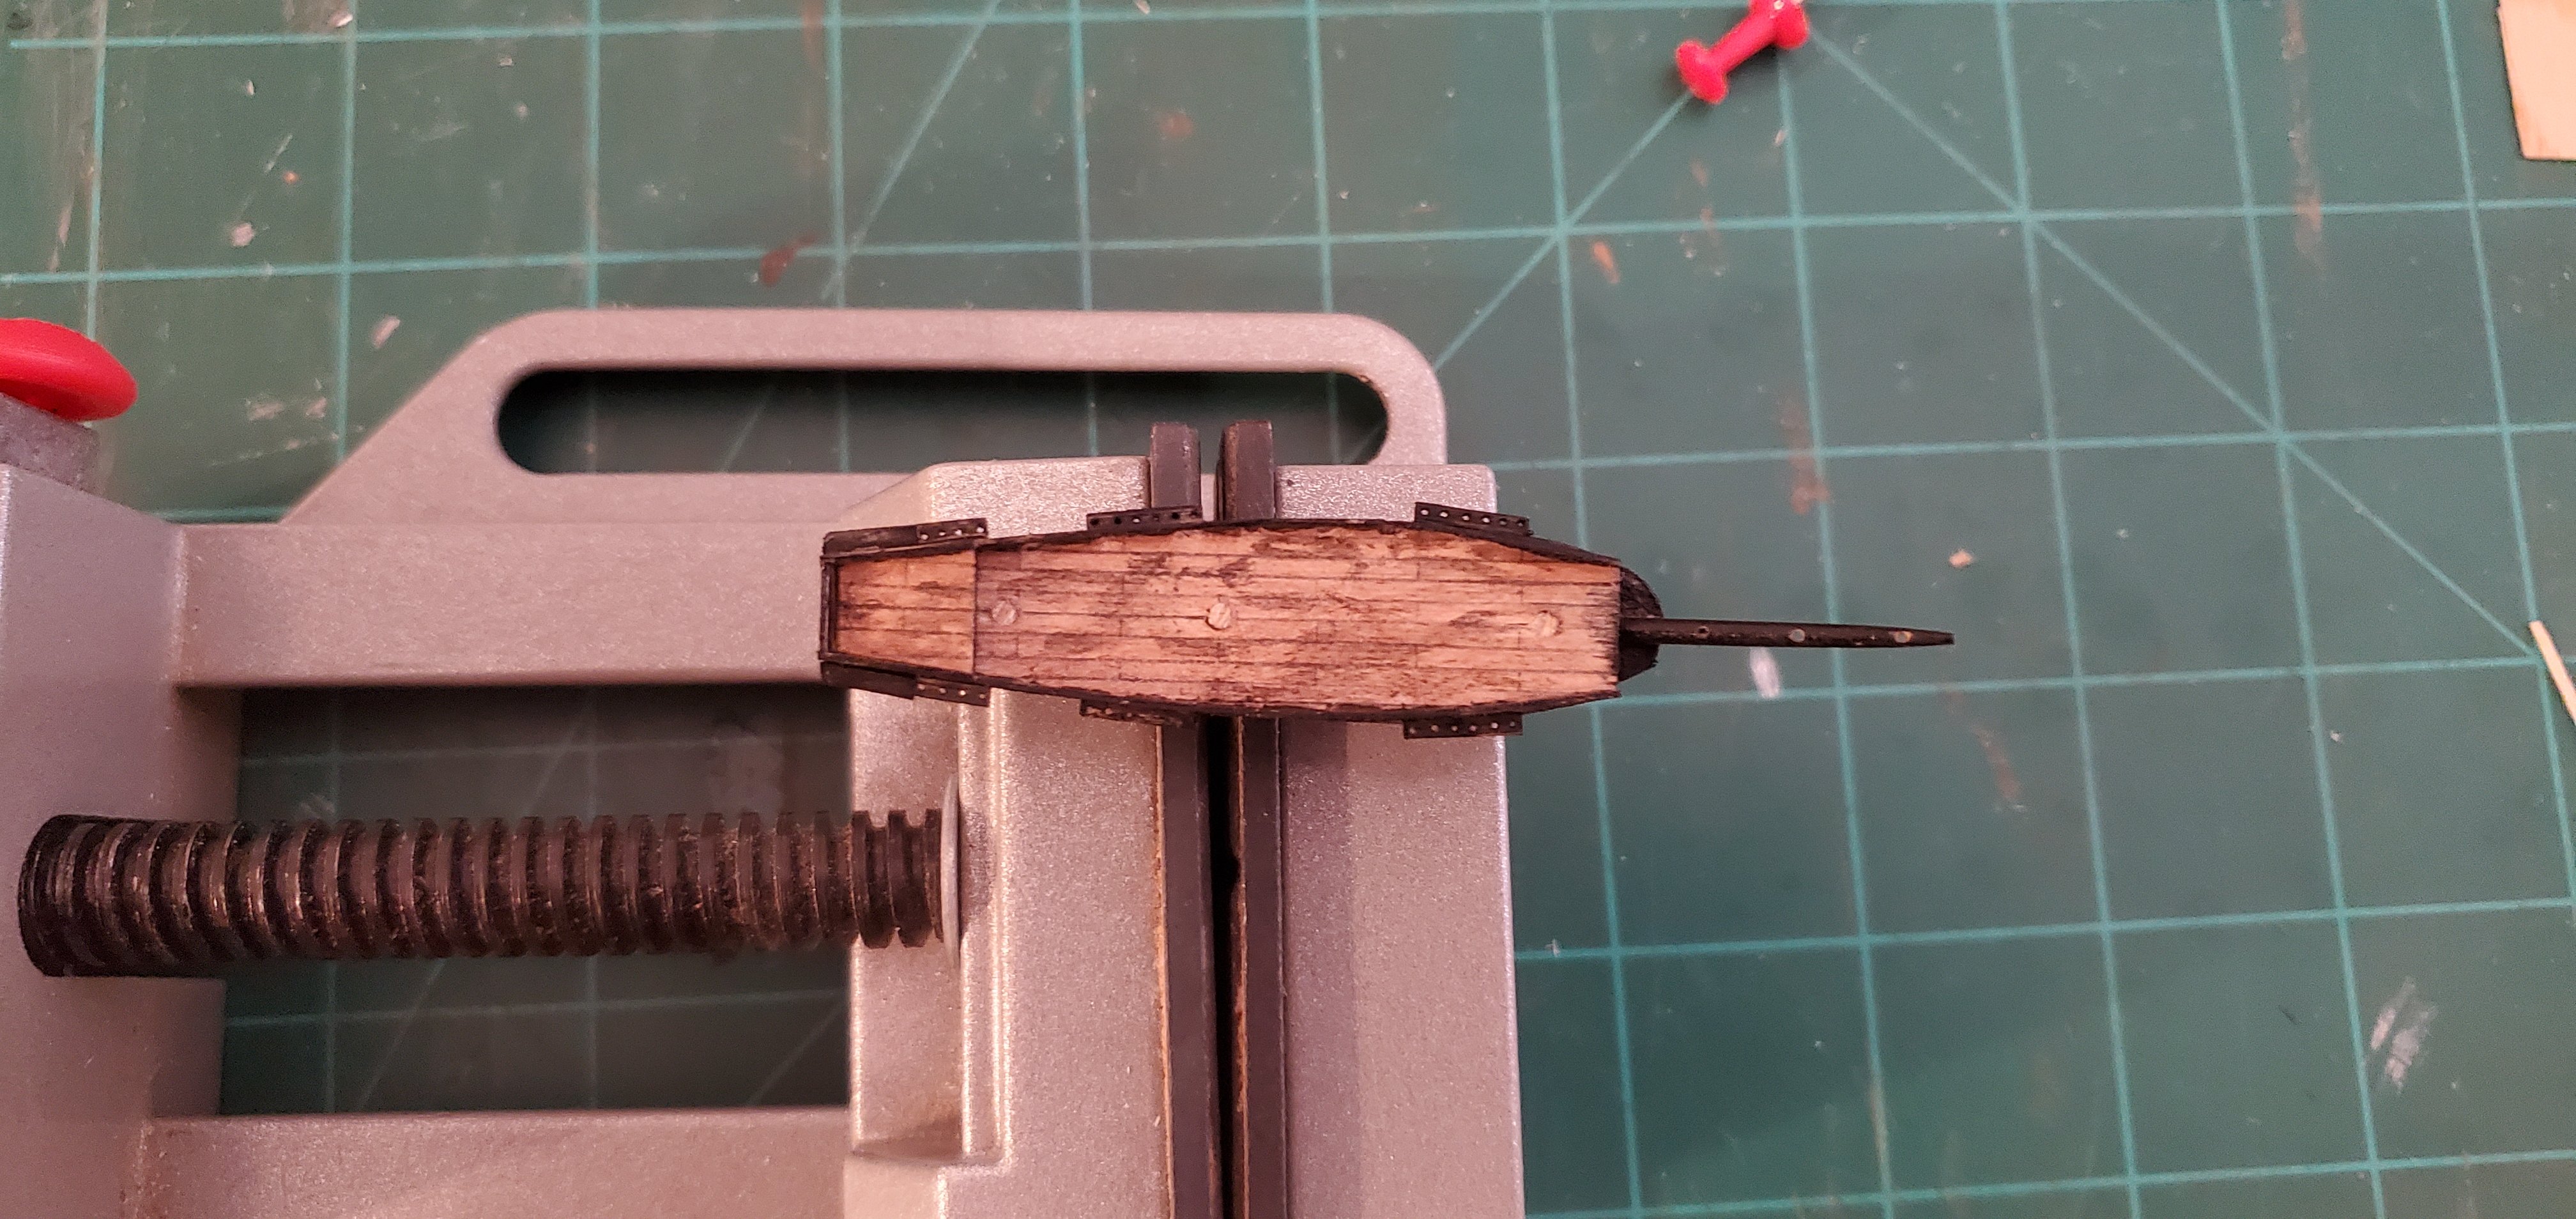
Finally, I gave it a paint job. Following @Old Collingwood tip, I wanted the to have something that resembled the storyline from the movie where the Pearl was set on fire and sent down to the bottom of the sea with Captain Jack Sparrow aboard. Sparrow sold his sold to Davy Jones and was allowed to raise the ship and continue his command. So the ship needed a dark look of charred wood. At the same time, I wanted to make sure there was enough color contrast between the Pearl and the dark gray Dutchman. So I made a black wash with liberal amounts of thinner (Tamiya black and acrylic thinner medium) and brushed it lightly over the hull making sure that a hint of the underlying wood color showed through. I left the deck a lighter color with some random streaks of ash color.
That looks excellent, so pleased I could help with the colour tips.
OC.
-
-
That looks so lifelike Greg.
OC.
- king derelict, RGL and Canute
-
2
-
1
-
-
The touch ups with the paint made all the difference Phil - brings it all together.
OC.
- Keith Black, Paul Le Wol, GrandpaPhil and 3 others
-
5
-
1
-
-
-
-
4 hours ago, Canute said:
OC, the quality of the resin prints and castings are so much better now that the amount of sanding is reduced from earlier models. Spaceman Spiff's ship, in modern kit builds, is an example of the older resin pours, which needed a lot of sanding to remove the over-pour. The over-pour nubs made for a lot of dust and the dust was an irritant for breathing. Well fit dust masks were required.
Greg, sorry for the hijack, but resin kits are a bigger part of the hobby now. Carrying over some old wive's tale will make people shy away from using this newer medium. Thank you for the opportunity to spread the truth.
Thank you Ken for explaining that, and also sorry Greg for the hi jack.
OC.


Flying Dutchman/Black Pearl by Glen McGuire - FINISHED - 1/700 - BOTTLE
in - Build logs for subjects built 1501 - 1750
Posted
Excellent and beyond Imagination - love it.
OC.