HOLIDAY DONATION DRIVE - SUPPORT MSW - DO YOUR PART TO KEEP THIS GREAT FORUM GOING! (89 donations so far out of 49,000 members - C'mon guys!)
×


scrubbyj427
-
Posts
1,690 -
Joined
-
Last visited
Content Type
Profiles
Forums
Gallery
Events
Everything posted by scrubbyj427
-
 Great job on those stanchions! Those a pretty tiny and easy to mess up.
 -
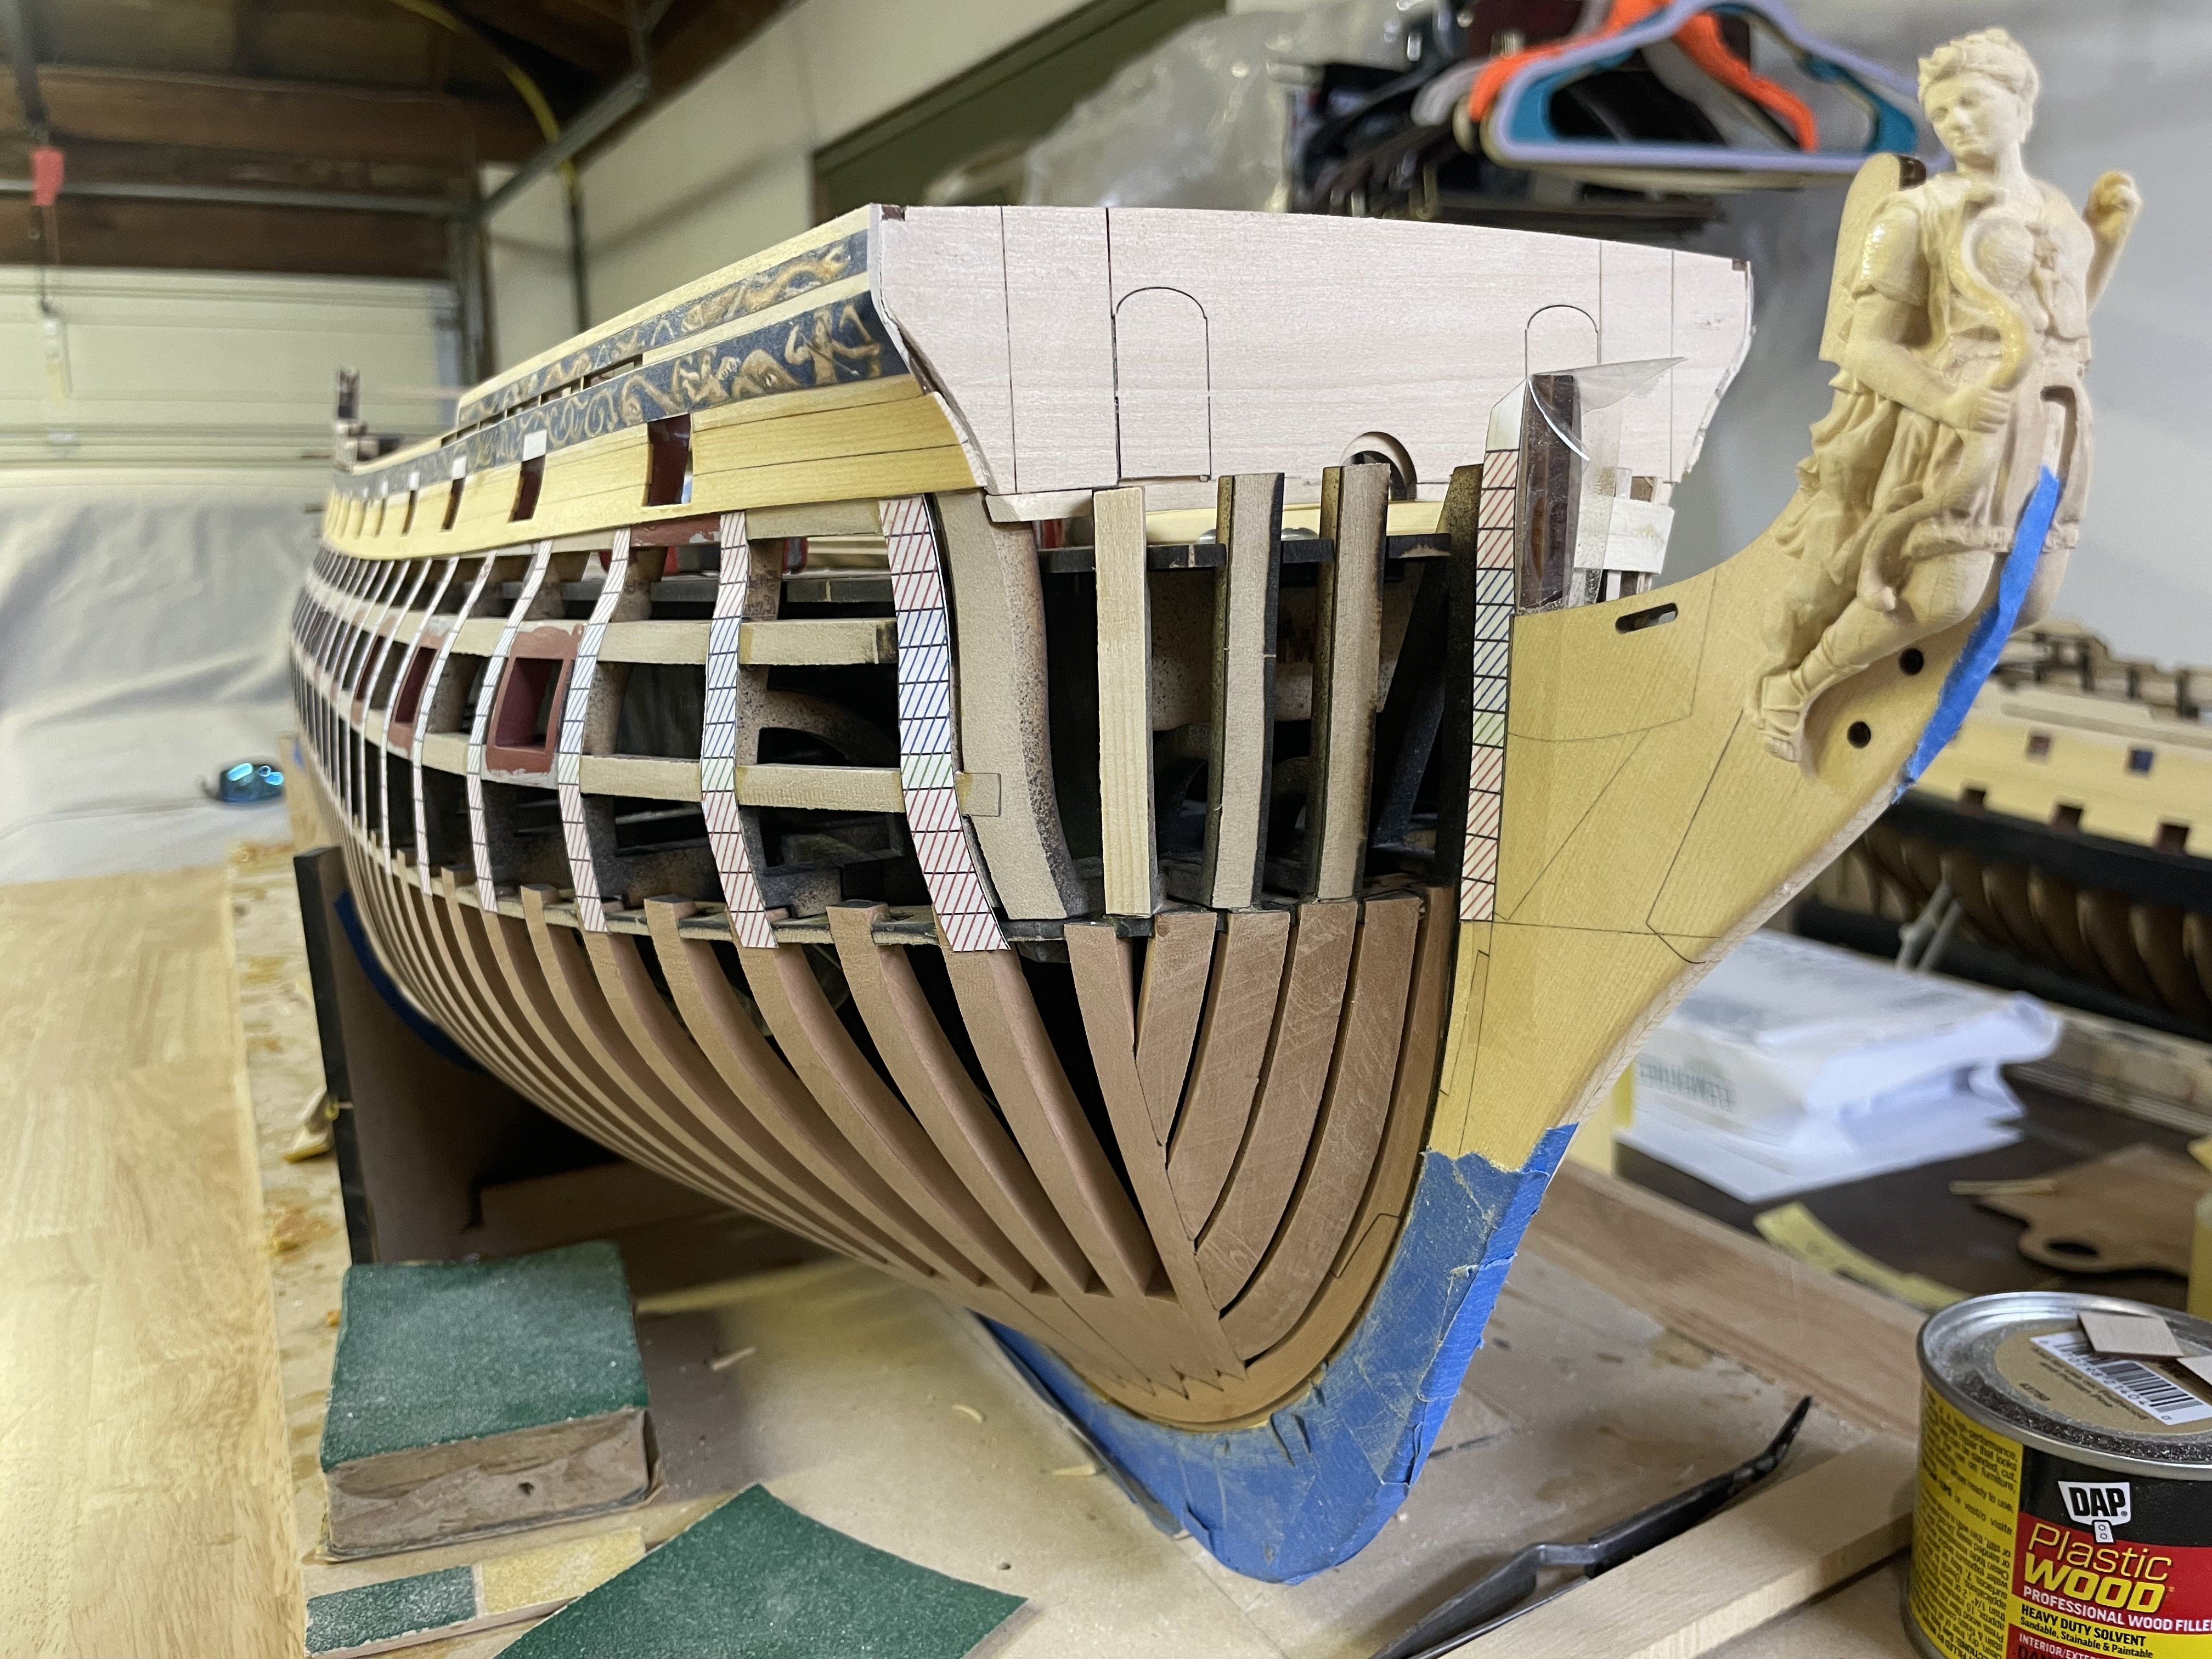
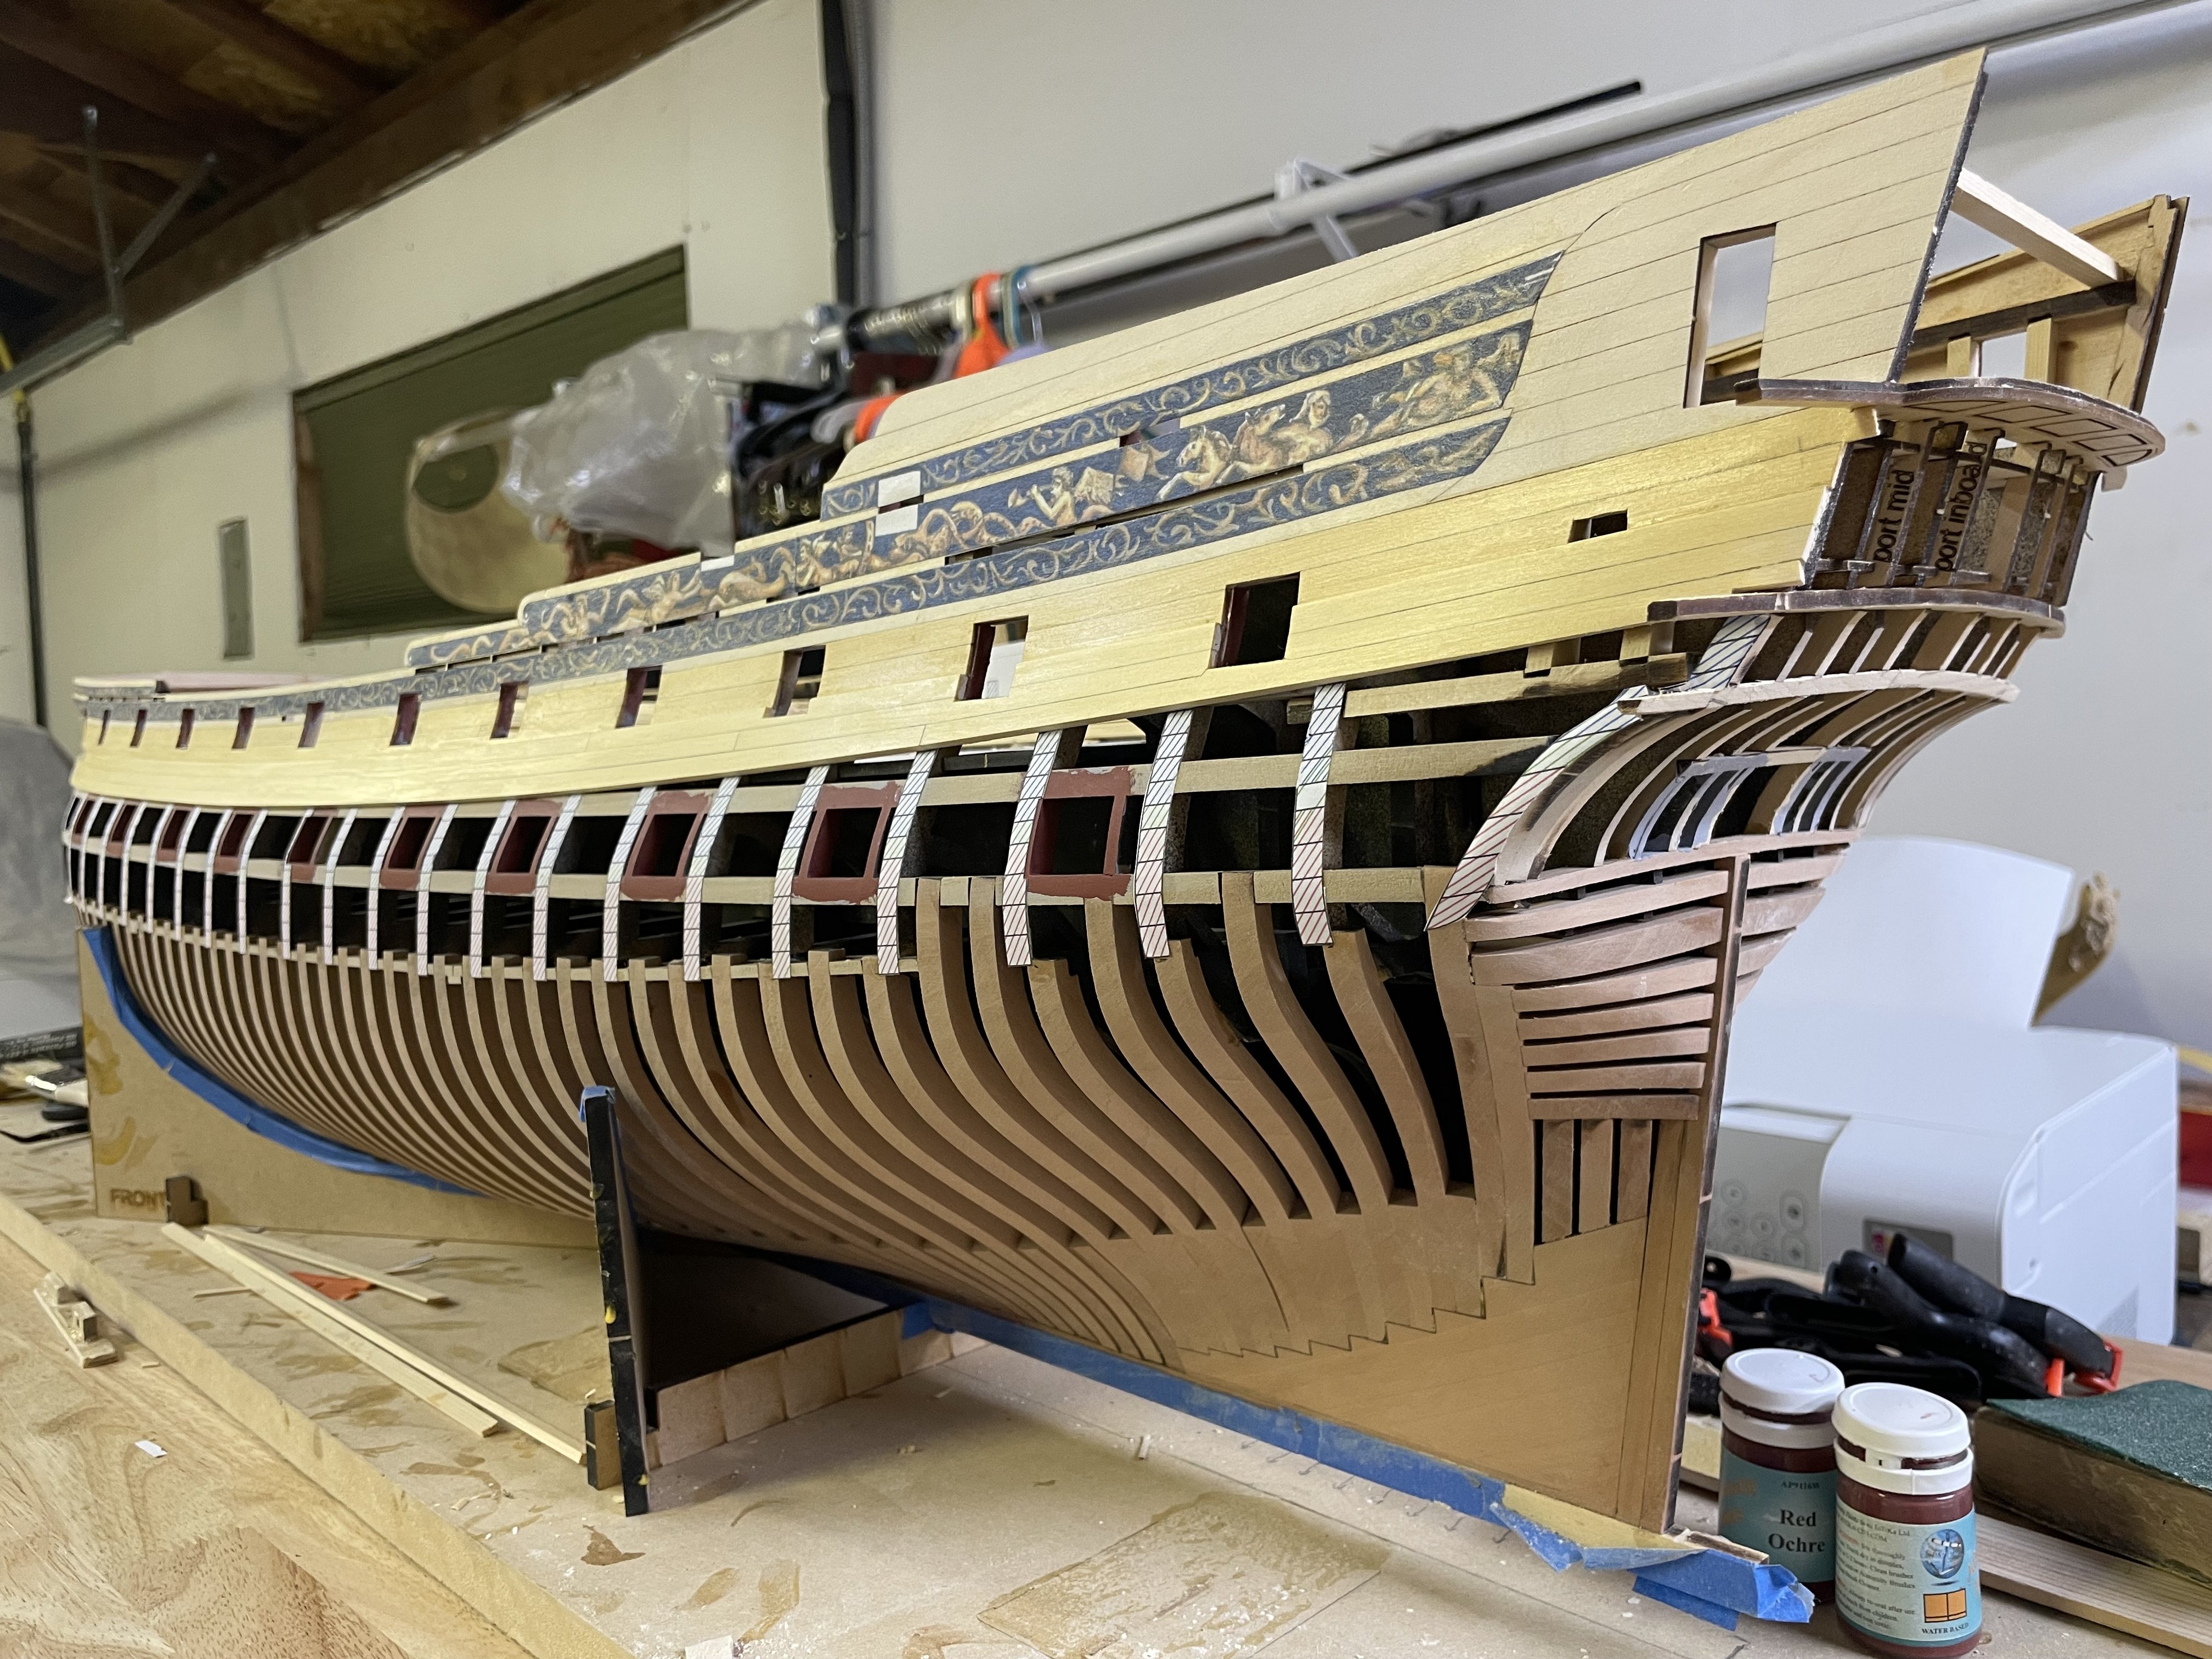
Today’s progress, moving at a glacial pace but I have some of the lower planking belt in place. I need to install the counter tomorrow and fair down the filler pieces on the side to define stern before I can progress any further with planking. Once the planking fully blocked down and is sealed with WOP I can then proceed with painting the gunports and the edges of the planking as I did on the POB version.


- 396 replies
-
- 18
-

-

-
Looks awesome Chuck, you could start construction on a 1/48 ocean liner with that table. And a nice view to go along with it when you just need to do anything but stare at the ship models!
-
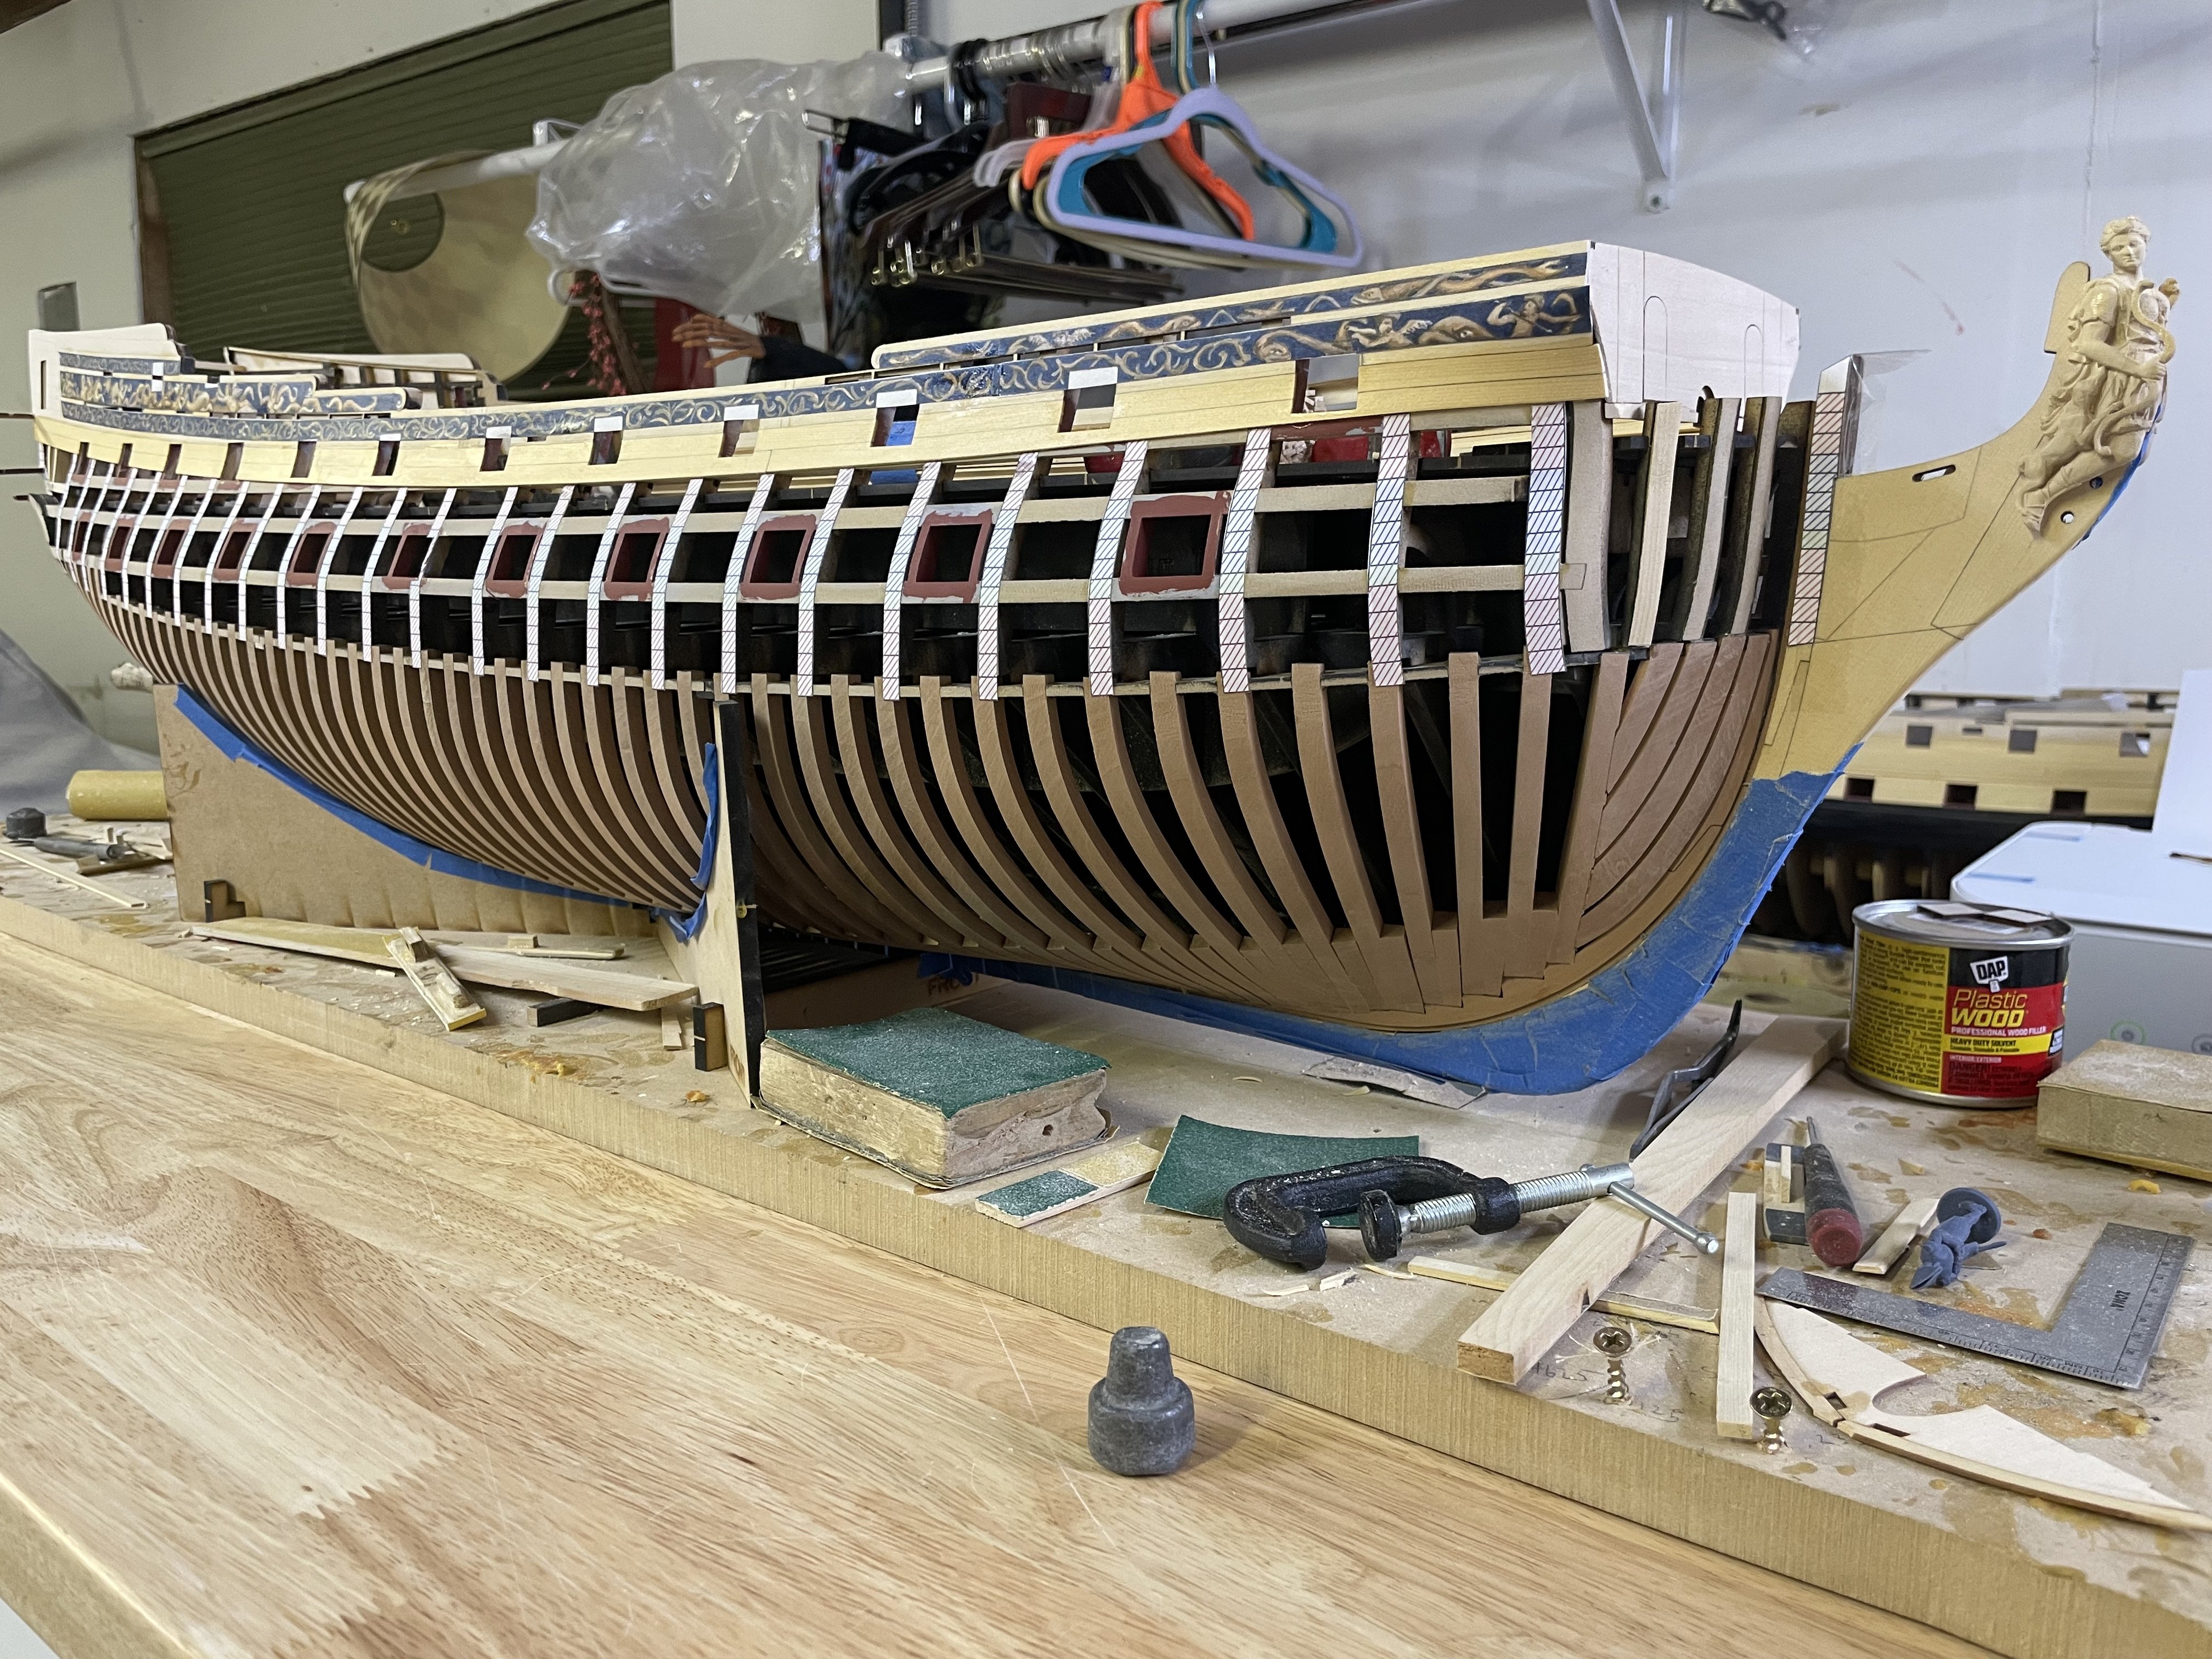
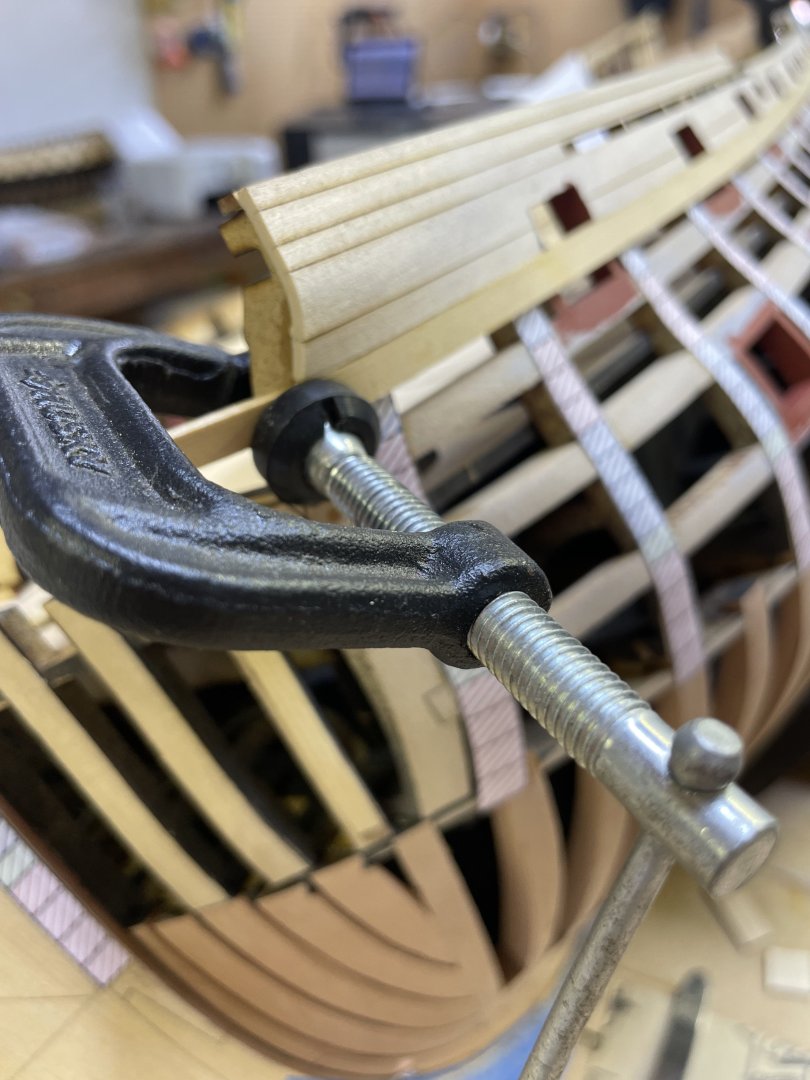
Stbd side channel wales done today, except for the forward upper plank. After I get a few more planks attached to the front I will pull the forward jigs and fair out the forward portion of the inner hull and then permanently install the beam and finish the last two planks.

- 396 replies
-
- 24
-
-
-
Ahhhh. Looks like I need to make a switch then. Not that the model will be in any kind of sunlight but those things can still fade.
-
Very nice plank work! Deck looks great, lots Of nice curves there.
-
Thank you hmcarlin! Glad to have you following along. Hopefully in the next couple months I can start getting some of these out the door. Chapter one is a heavy and massive beast of a box! Stay tuned!
-
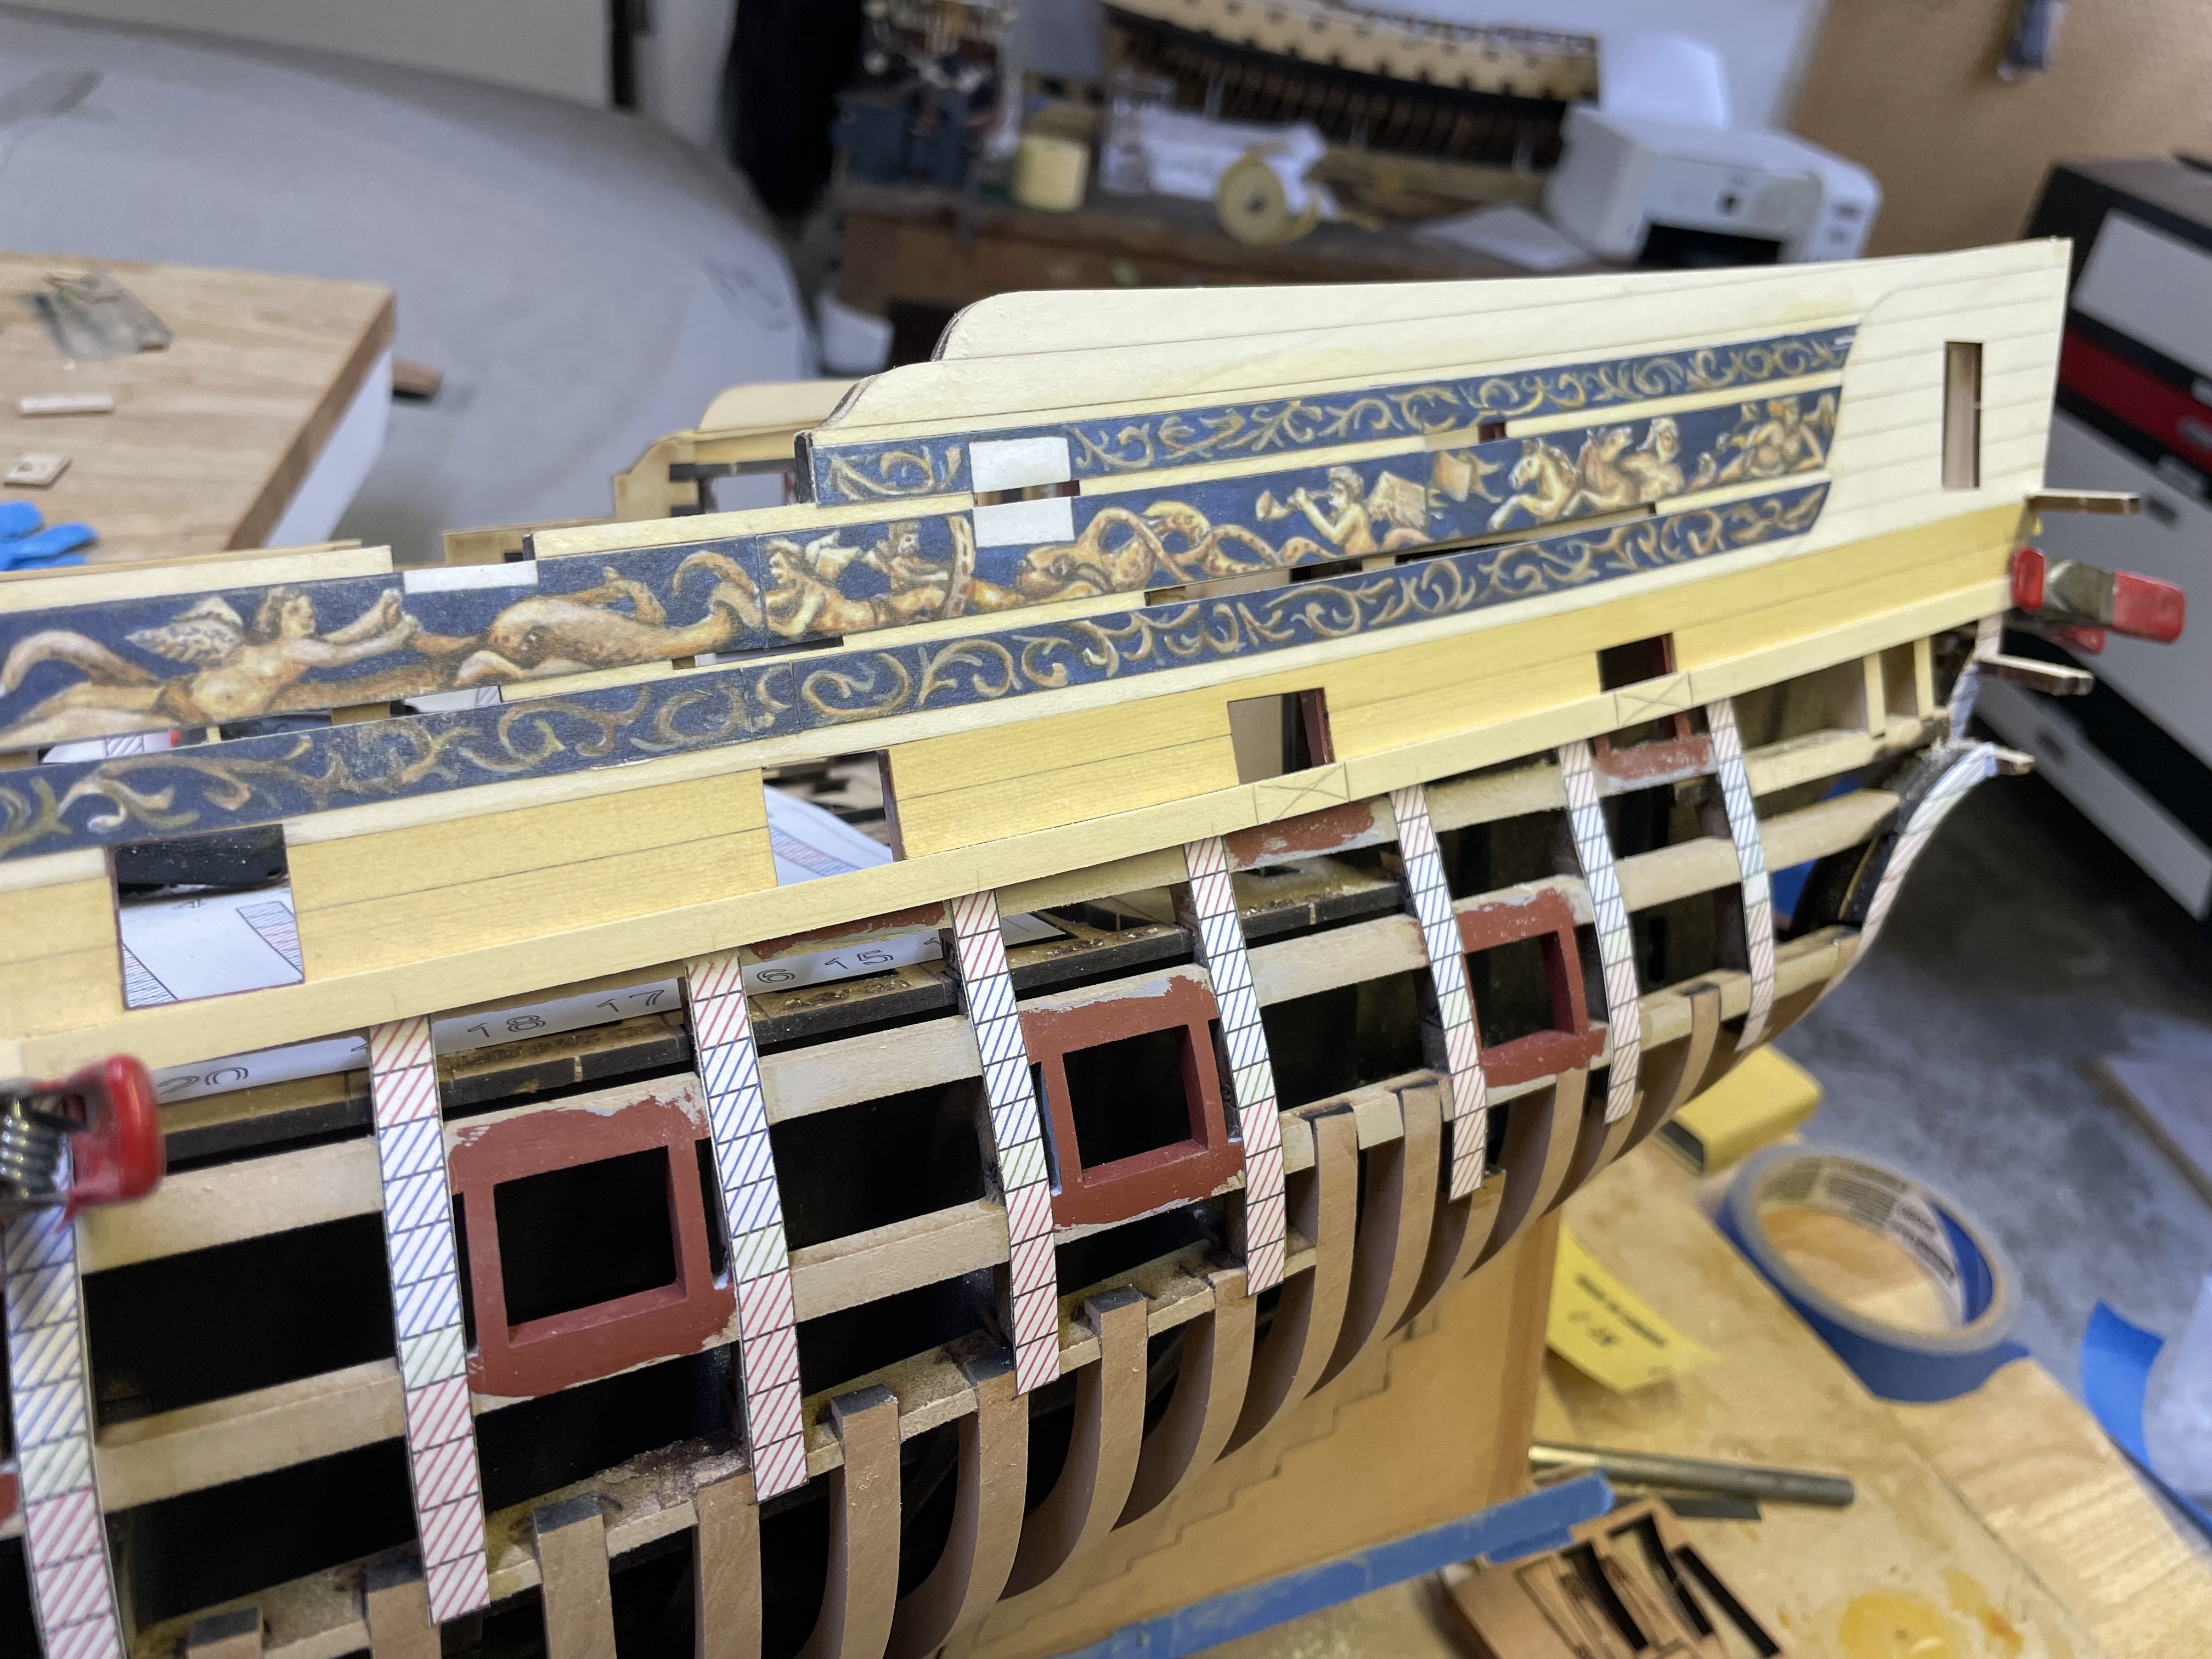
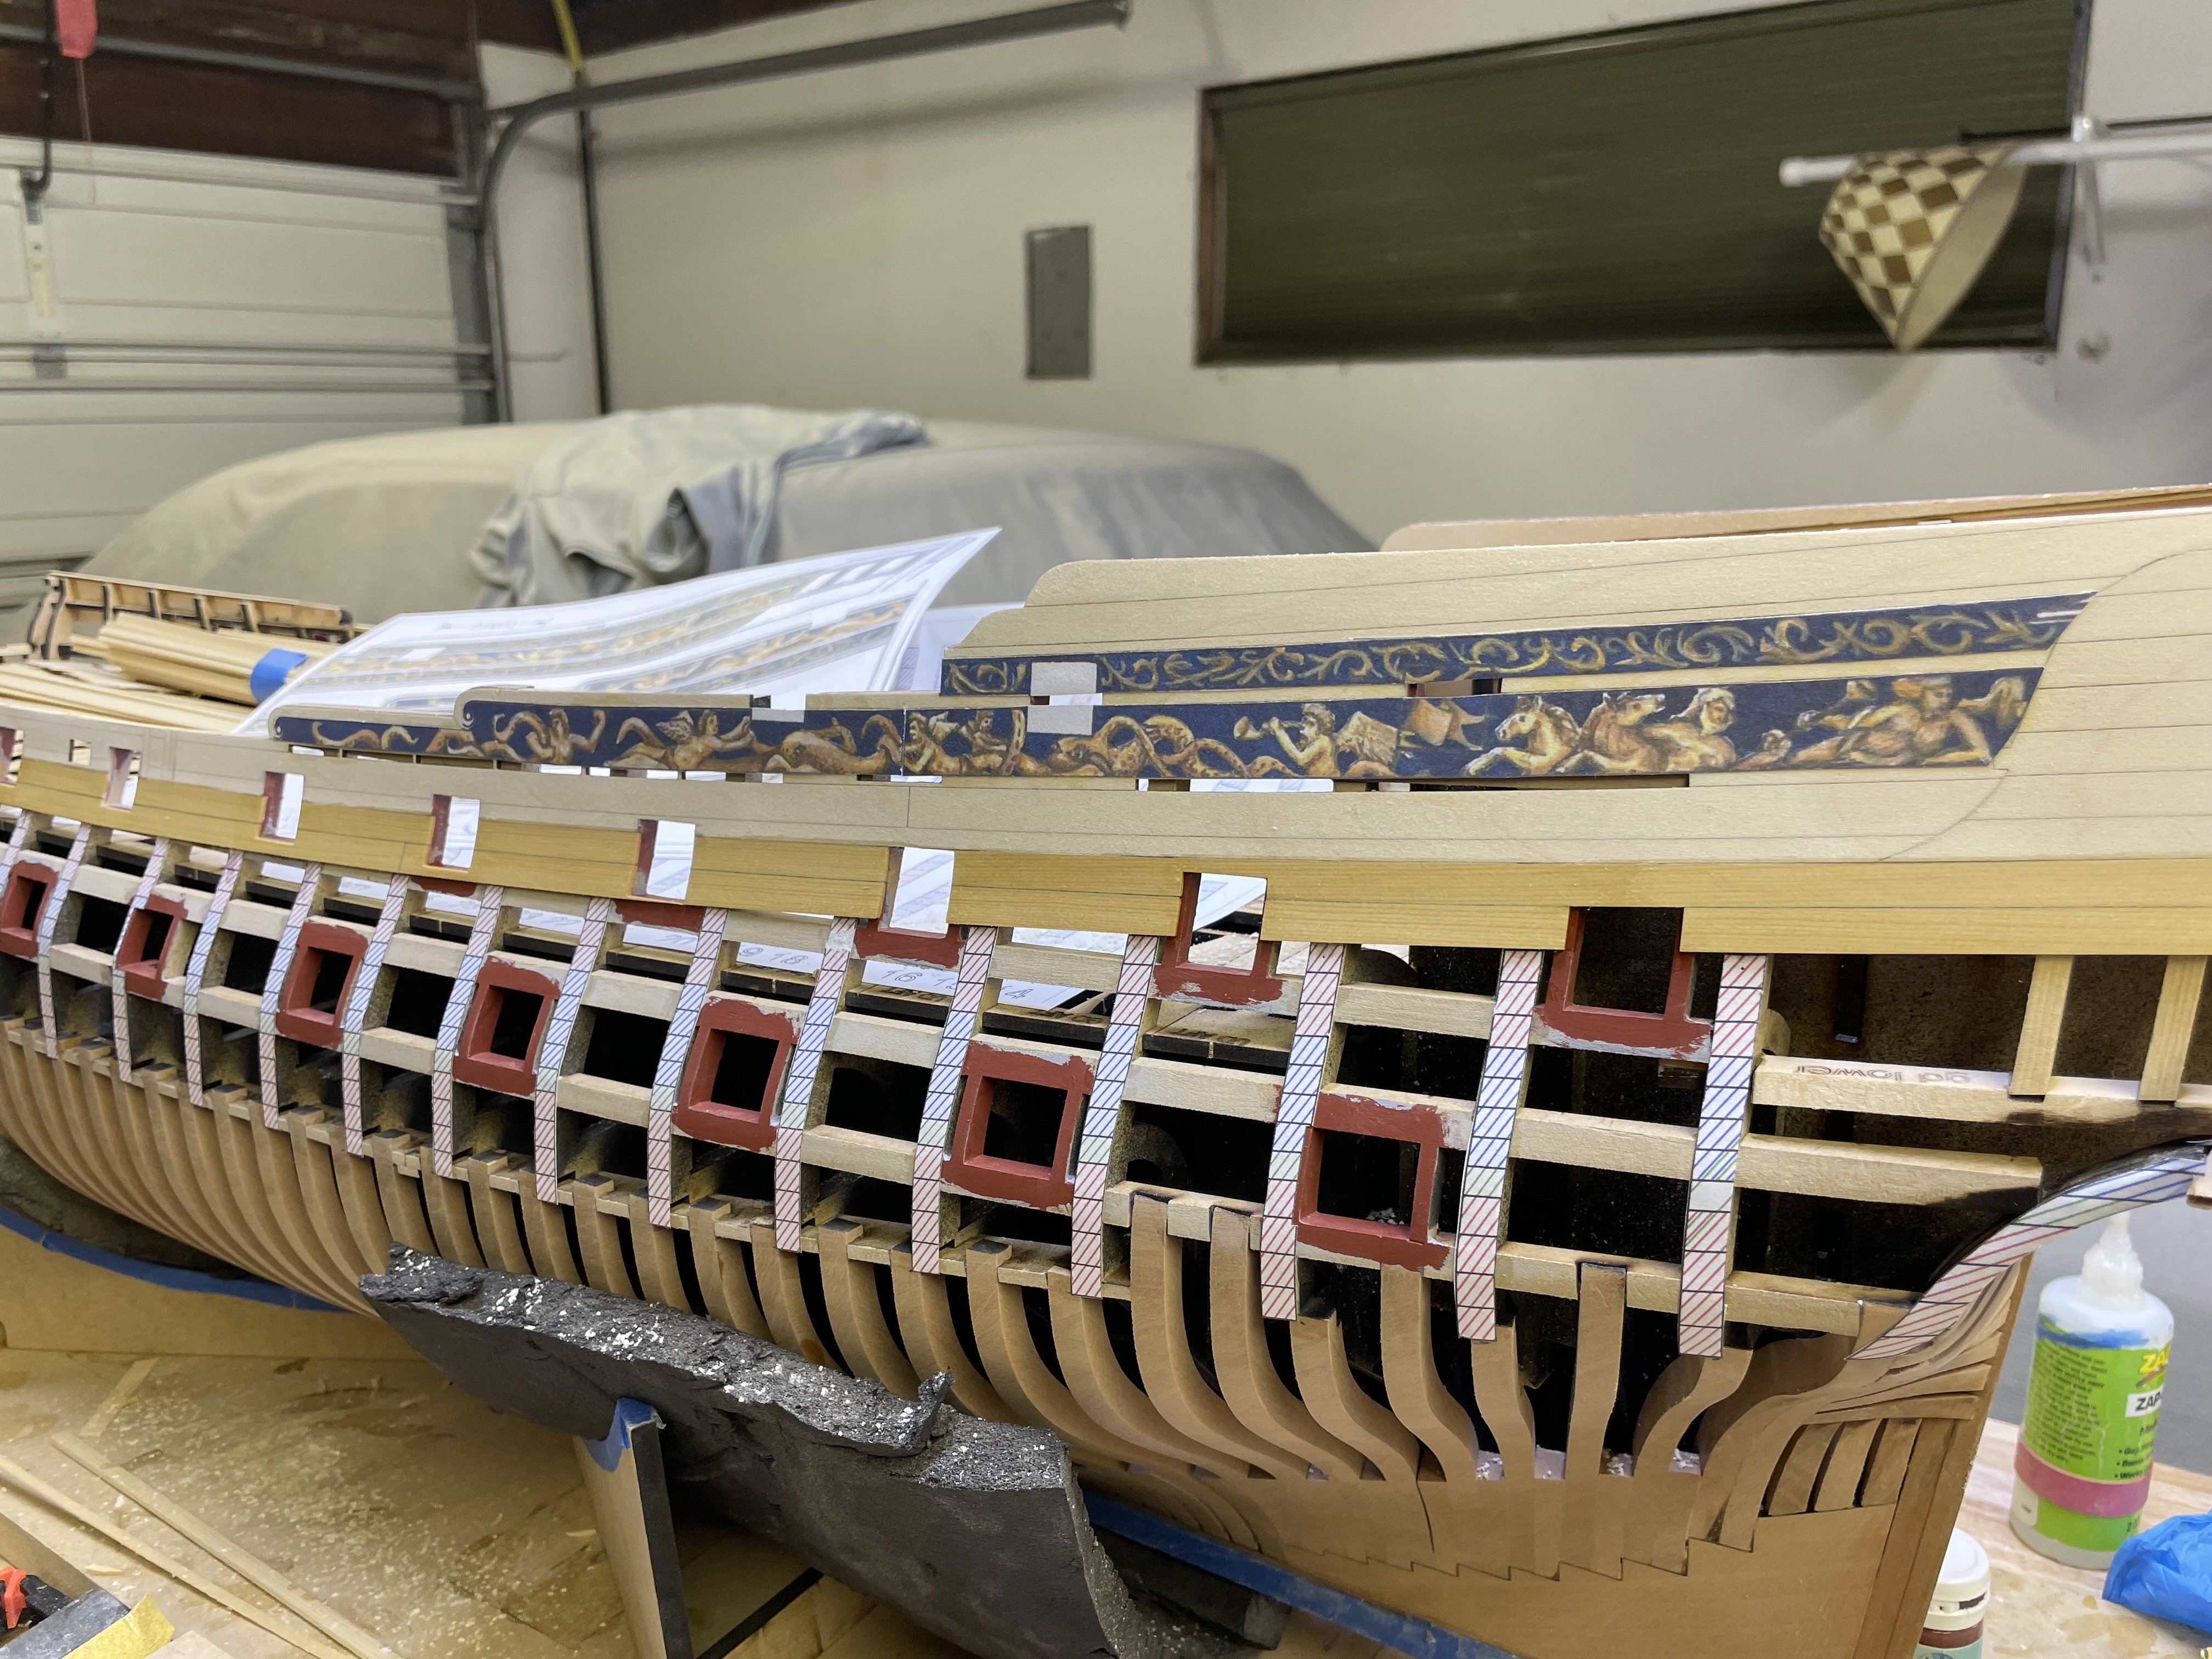
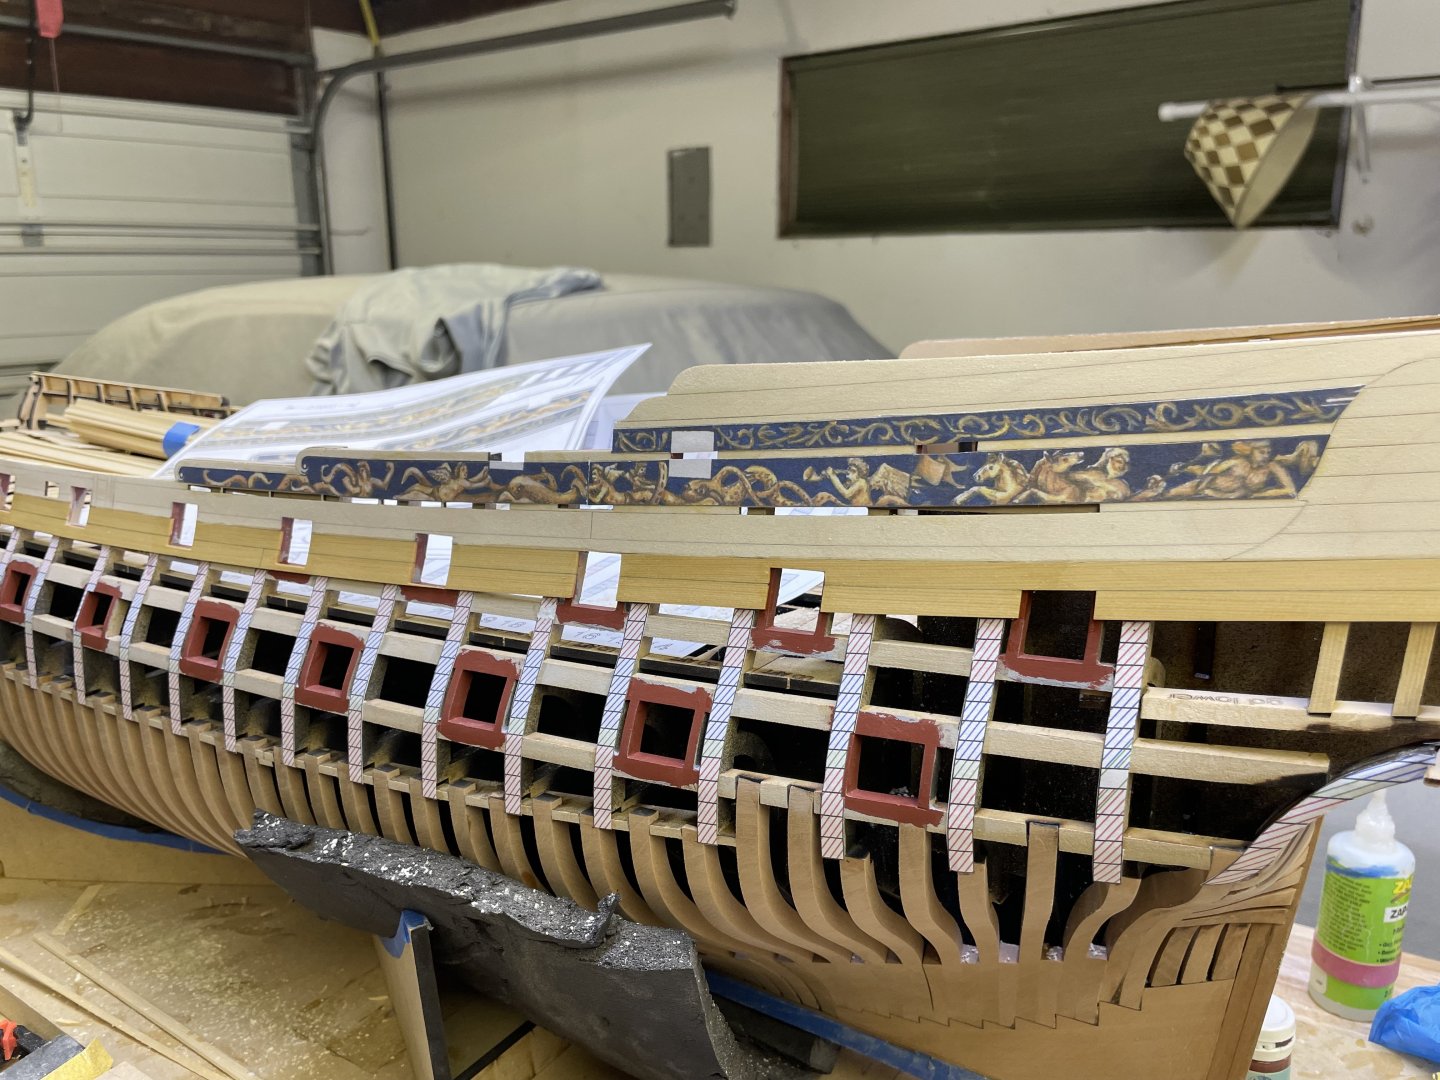
Thank you Yves. I couldn’t bear to look at those massive empty etched basswood panels any longer! They had to go on. Once attached I actually drown the friezes in WOP a couple times. It adds Some depth to the printing as well as protects them. Now when I go to touch up the gunports with red I can be semi messy and the paint will just wipe off. I did this with Winnie too and was happy with the results.
-
Today’s progress on Portland. I got the first belt completed on the stbd side and the friezes on and sealed with WOP. Think the planks may have turned out better on this side, especially the bow. Overall I’m happy with it. On to the channel wales tomorrow!


- 396 replies
-
- 26
-
-
-
Surprise or not, I NEED one of these on any one of my models!
-
Would be worth giving a try. Will see if I can find them locally. Thank you
-
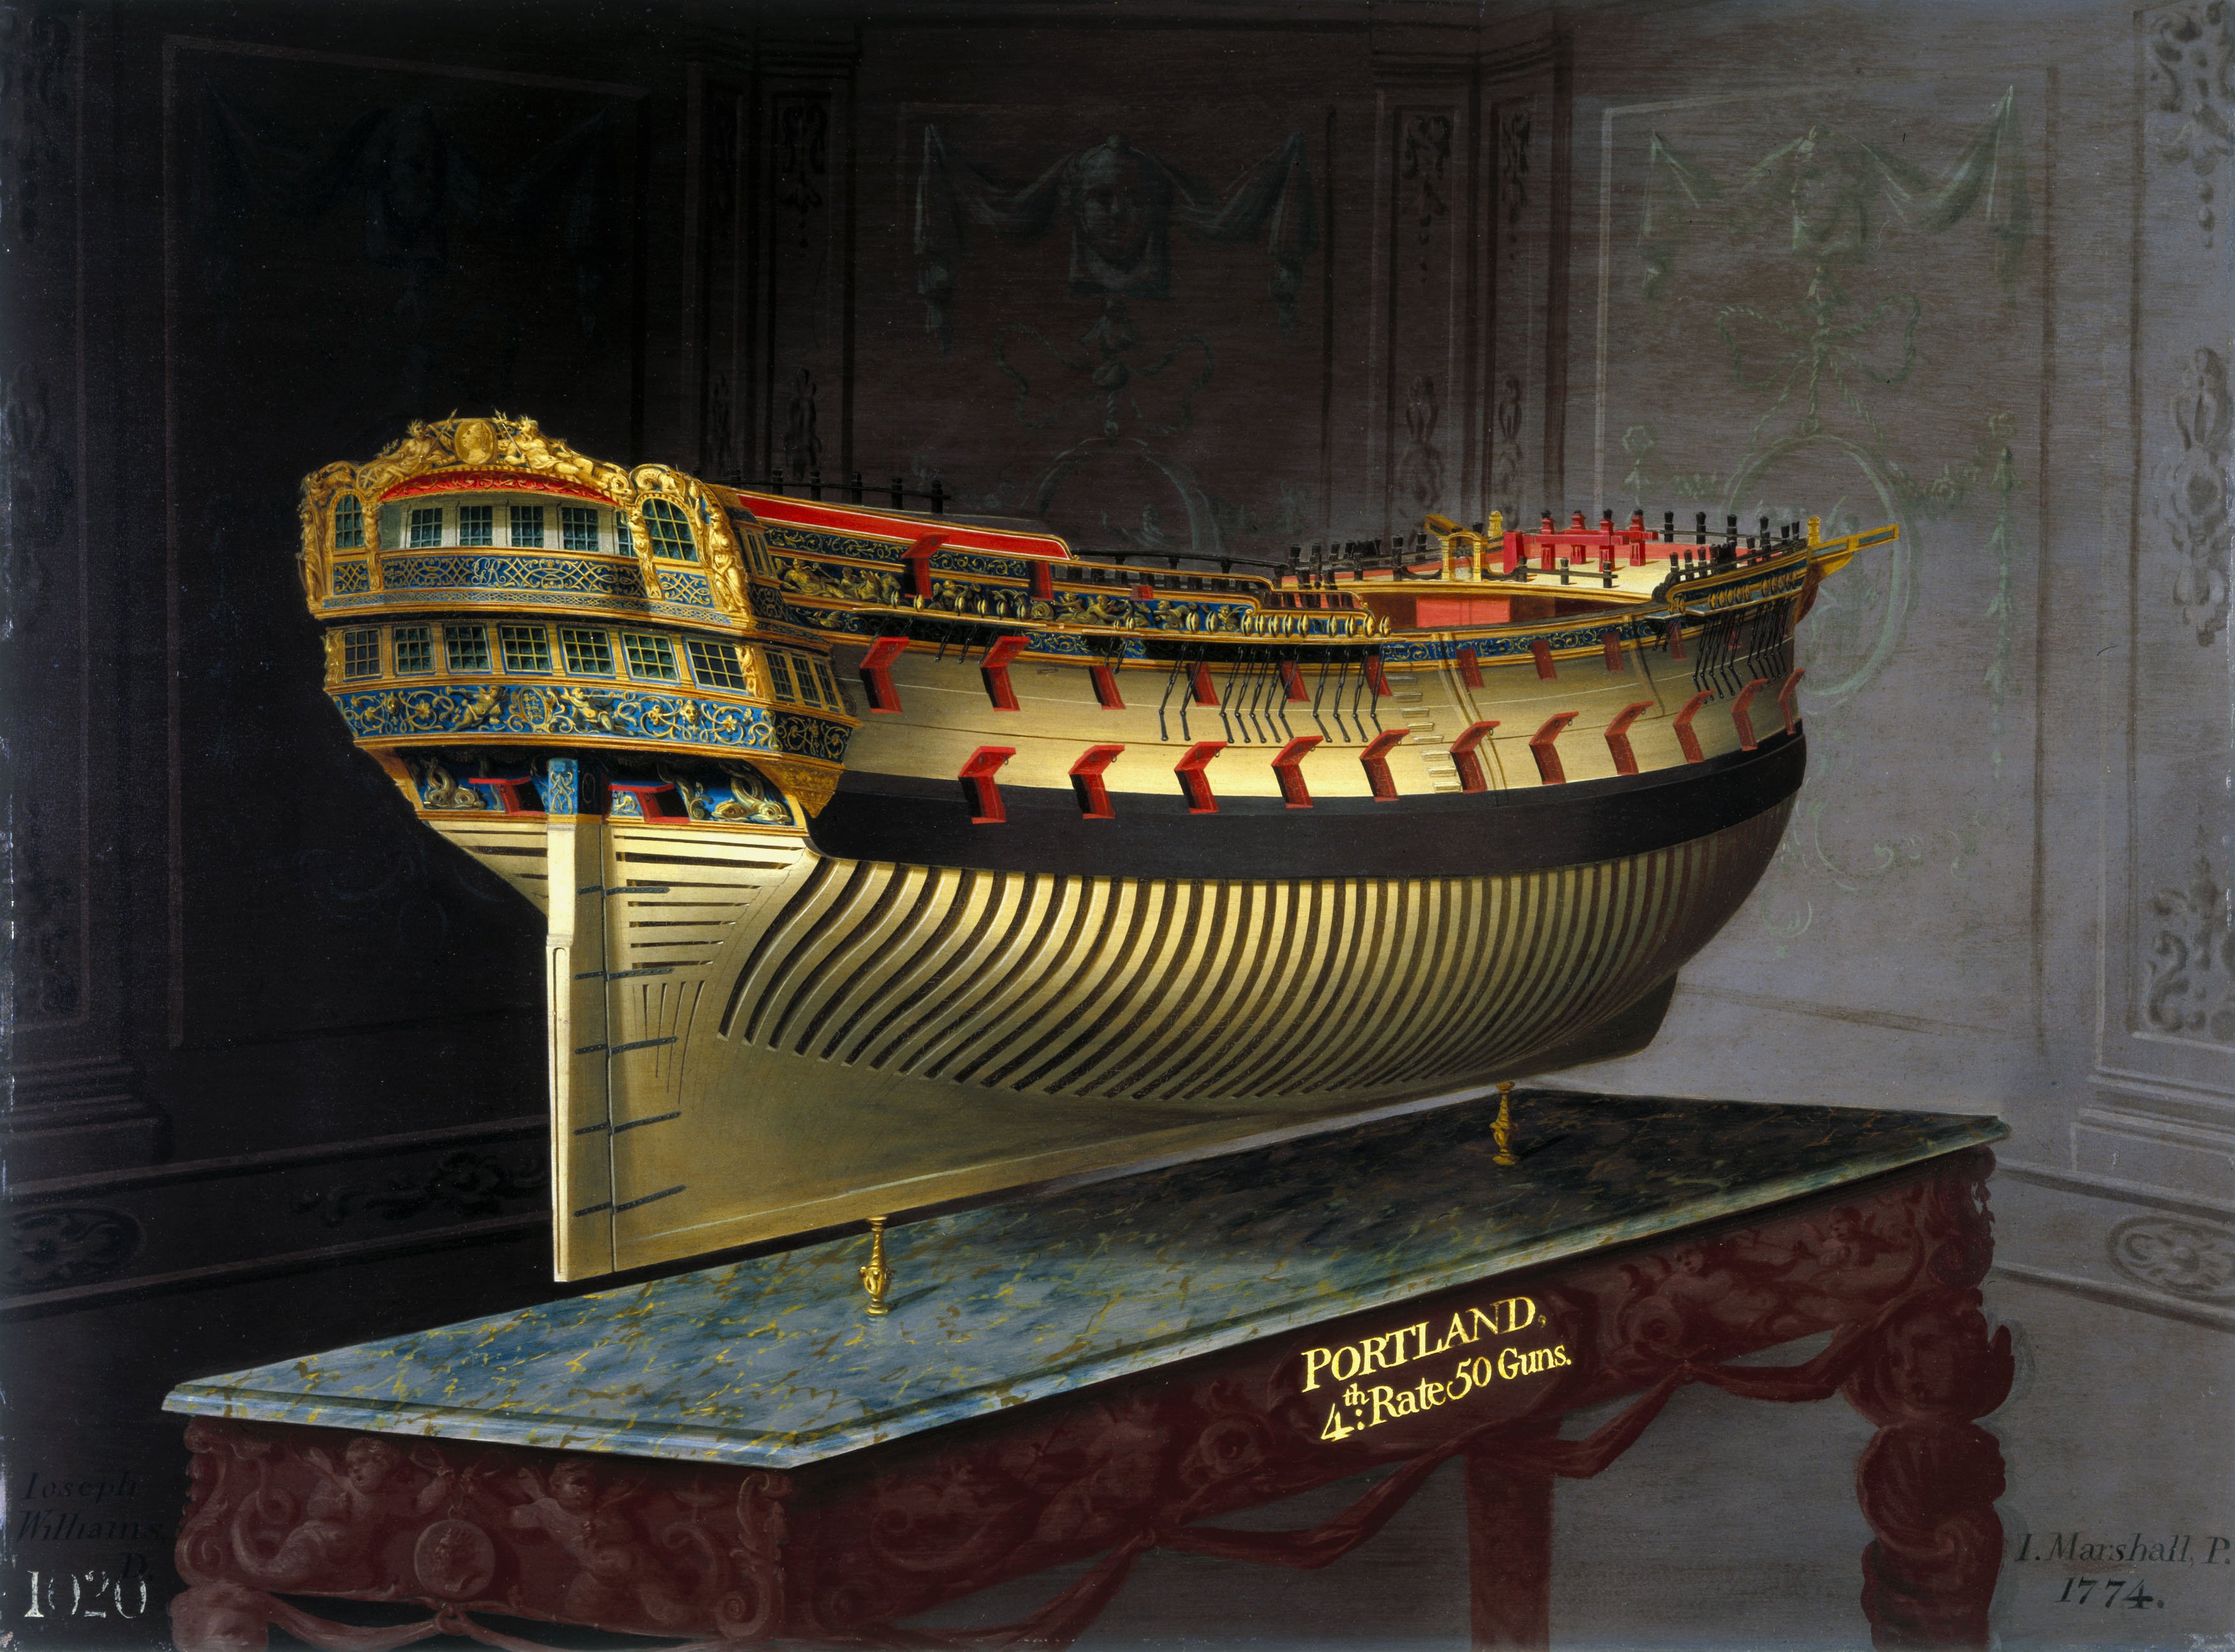
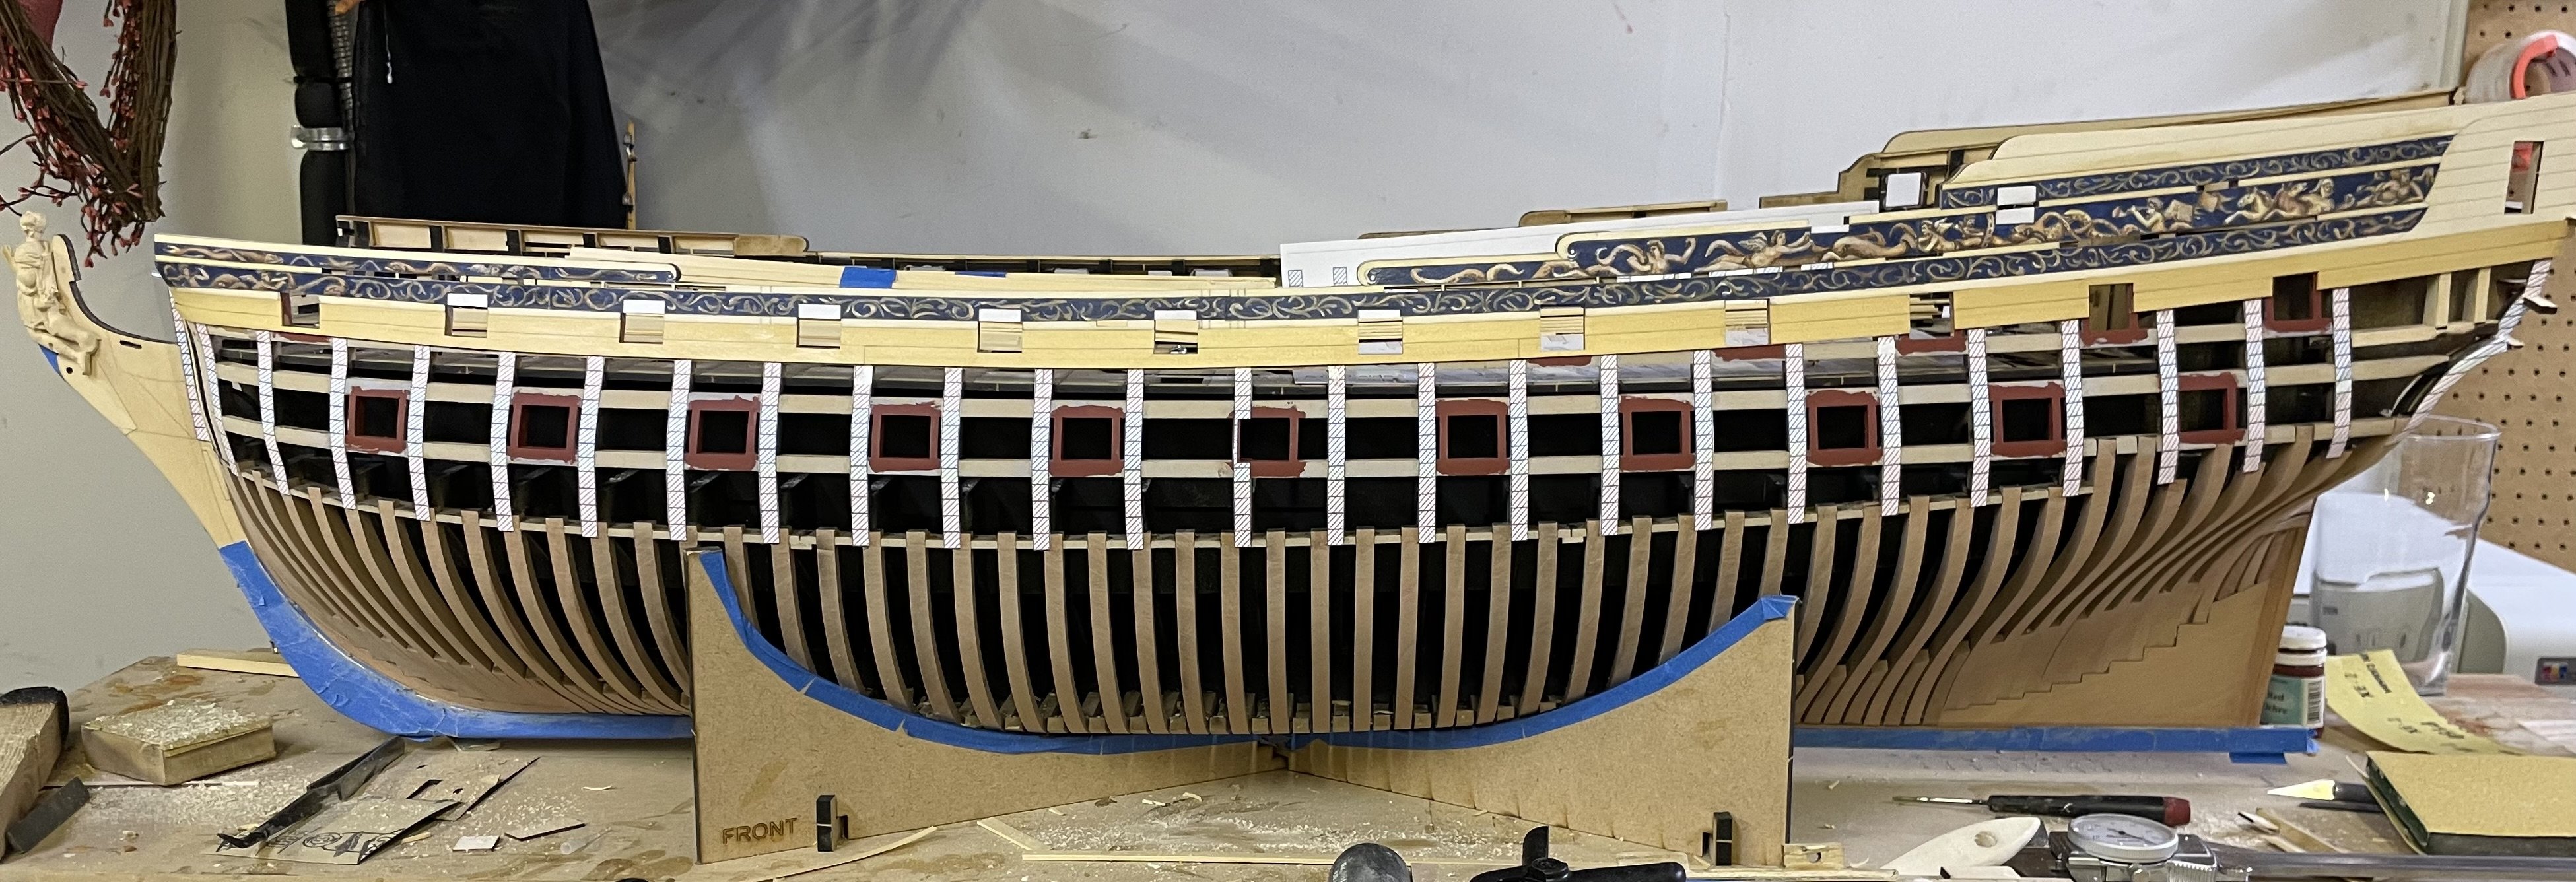
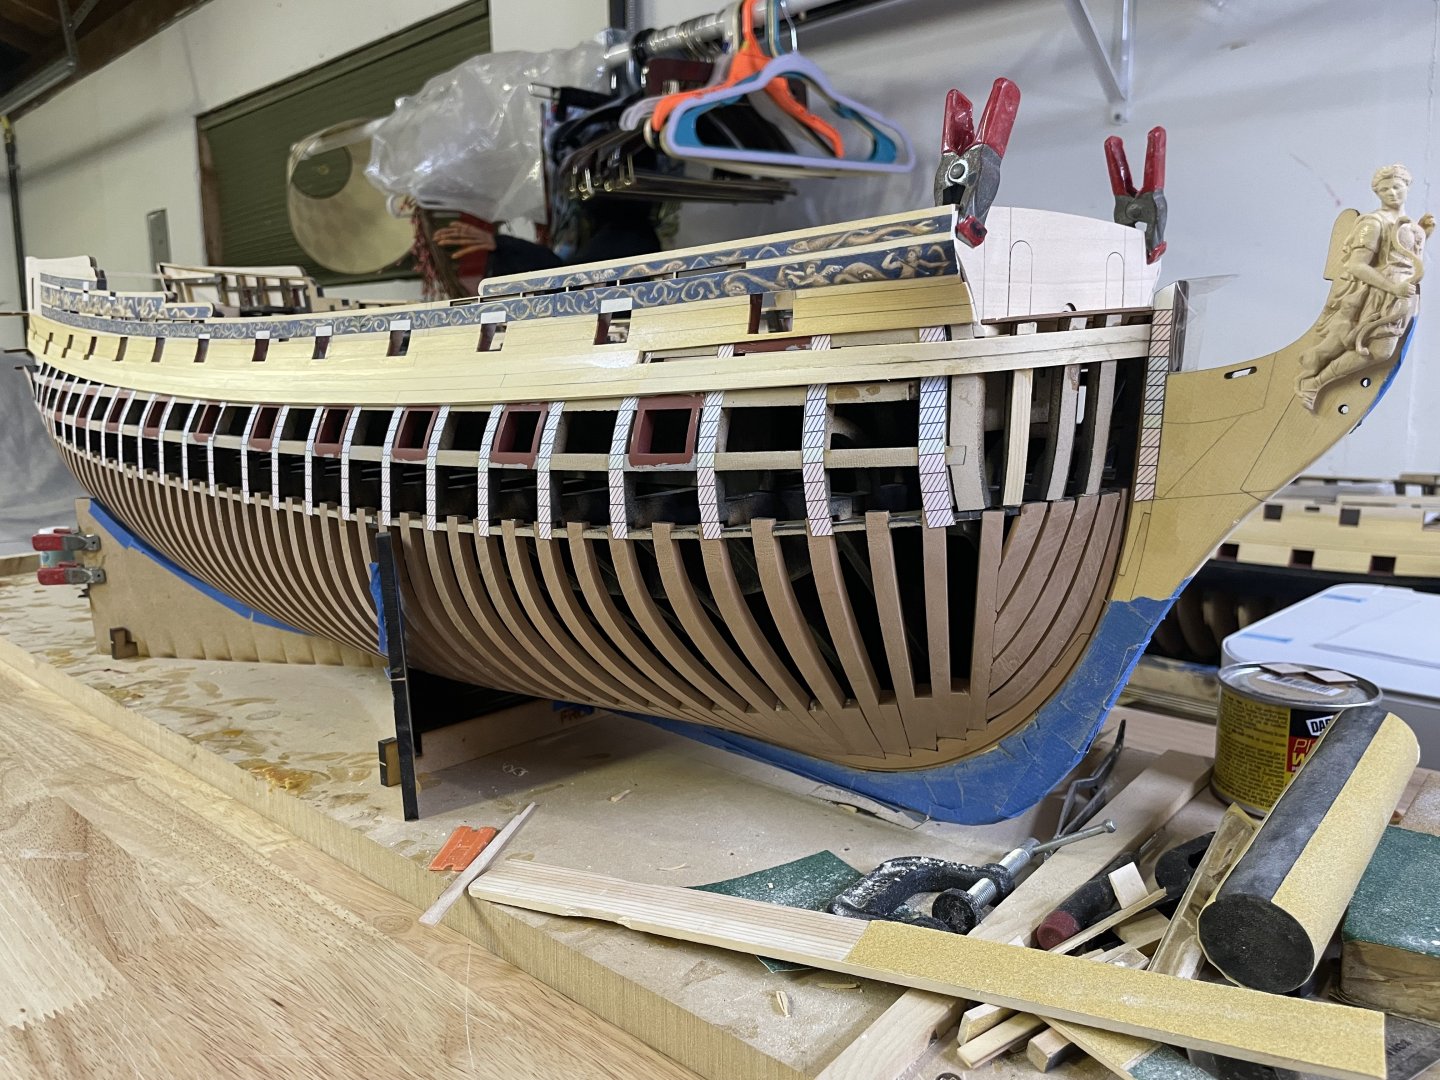
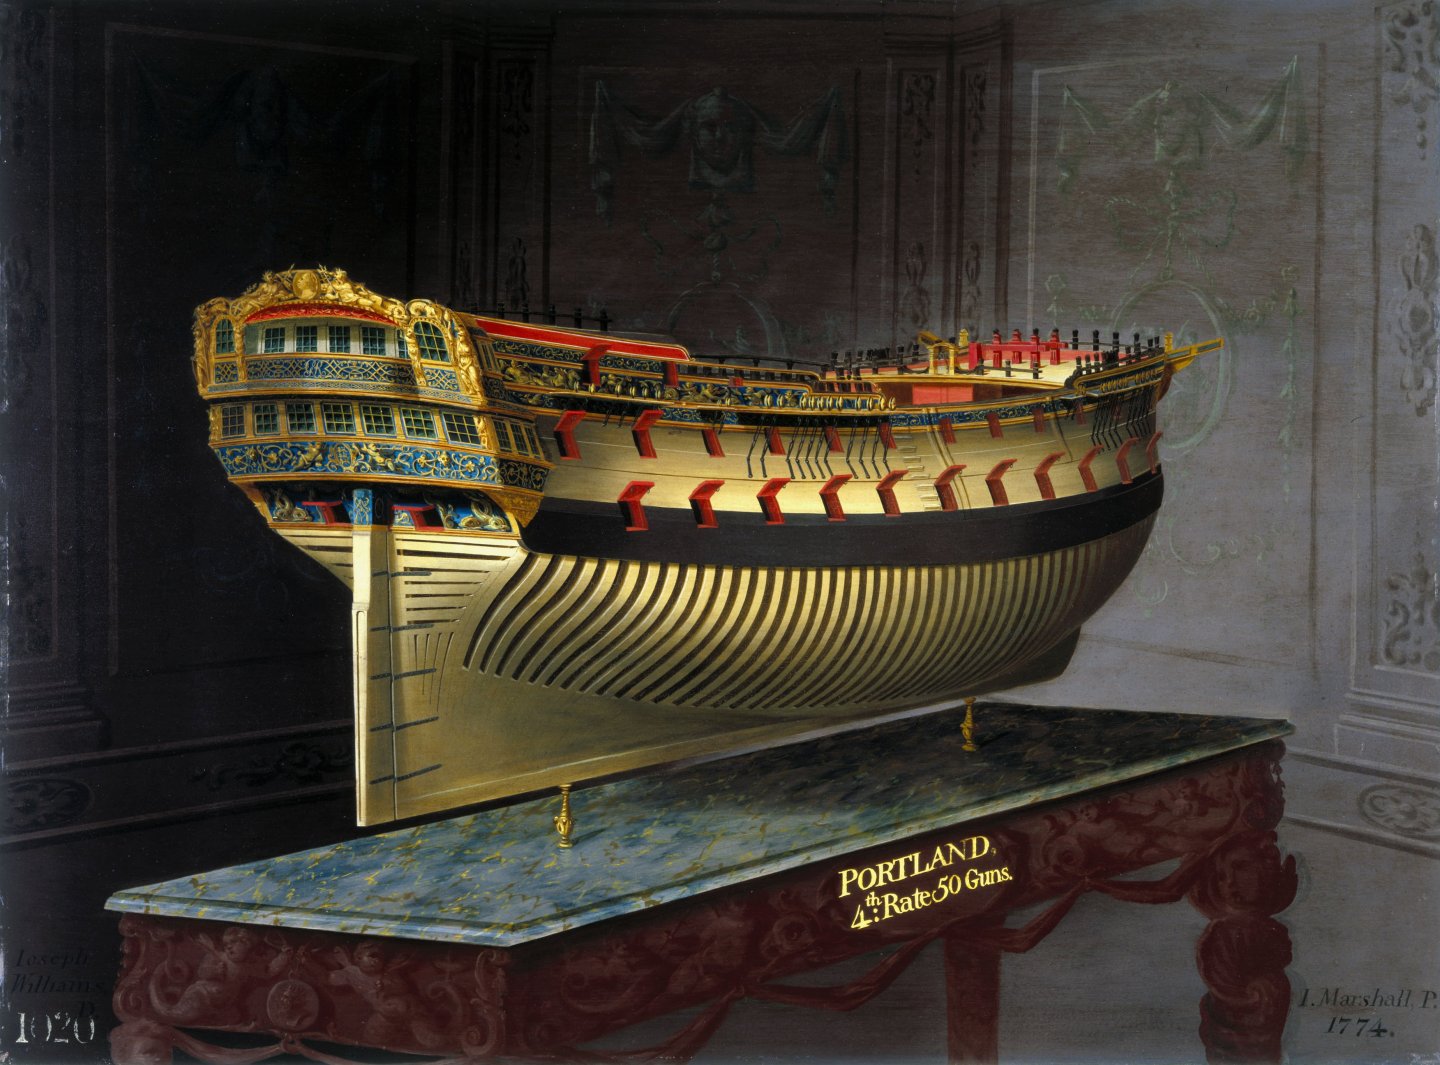
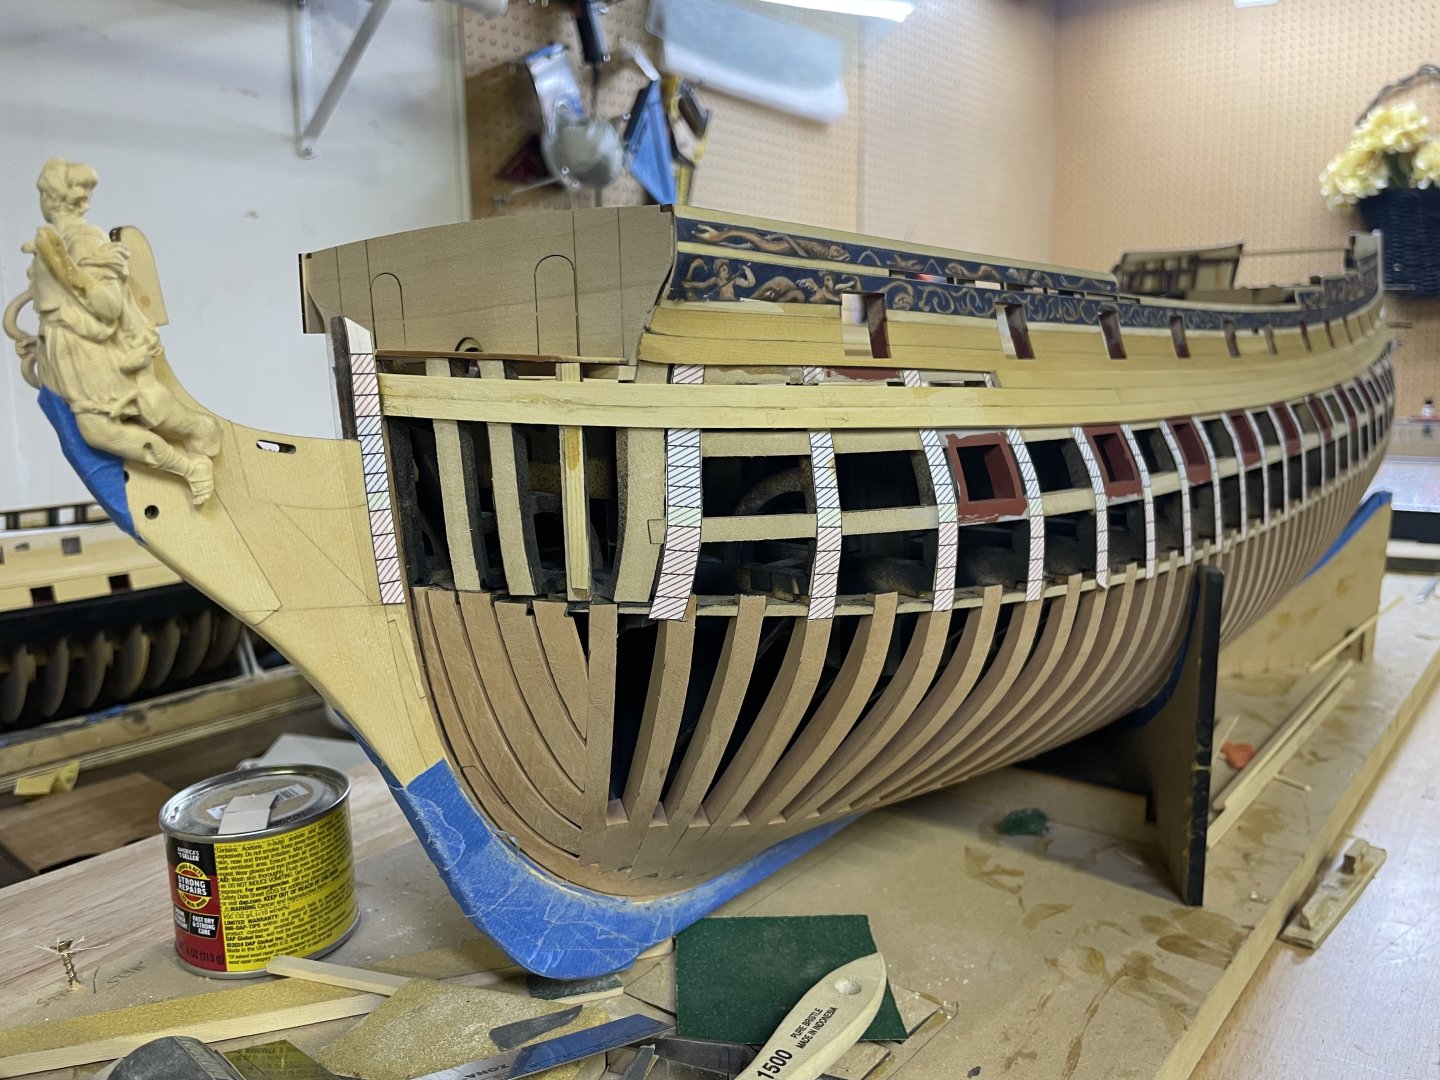
Hi Ronald, Thank you, it’s finally starting to look like Portland! I will only plank one or two planks below the wales, leaving the frames exposed as shown on the painting of the contemporary model. The model requires at least one plank below the wales, the gundeck at the stern is actually below the wales to it would visible through the frames.
- 396 replies
-
- 10
-
-
-
Thank you Matthias! There’s been no shortage of problems to solve! Im going to release it soon, I’d like to see the other two prototypes be well into chapter 2 or 3, I’m working on a website, so hopefully in a few Months I can start offering limited chapter one kits.
-
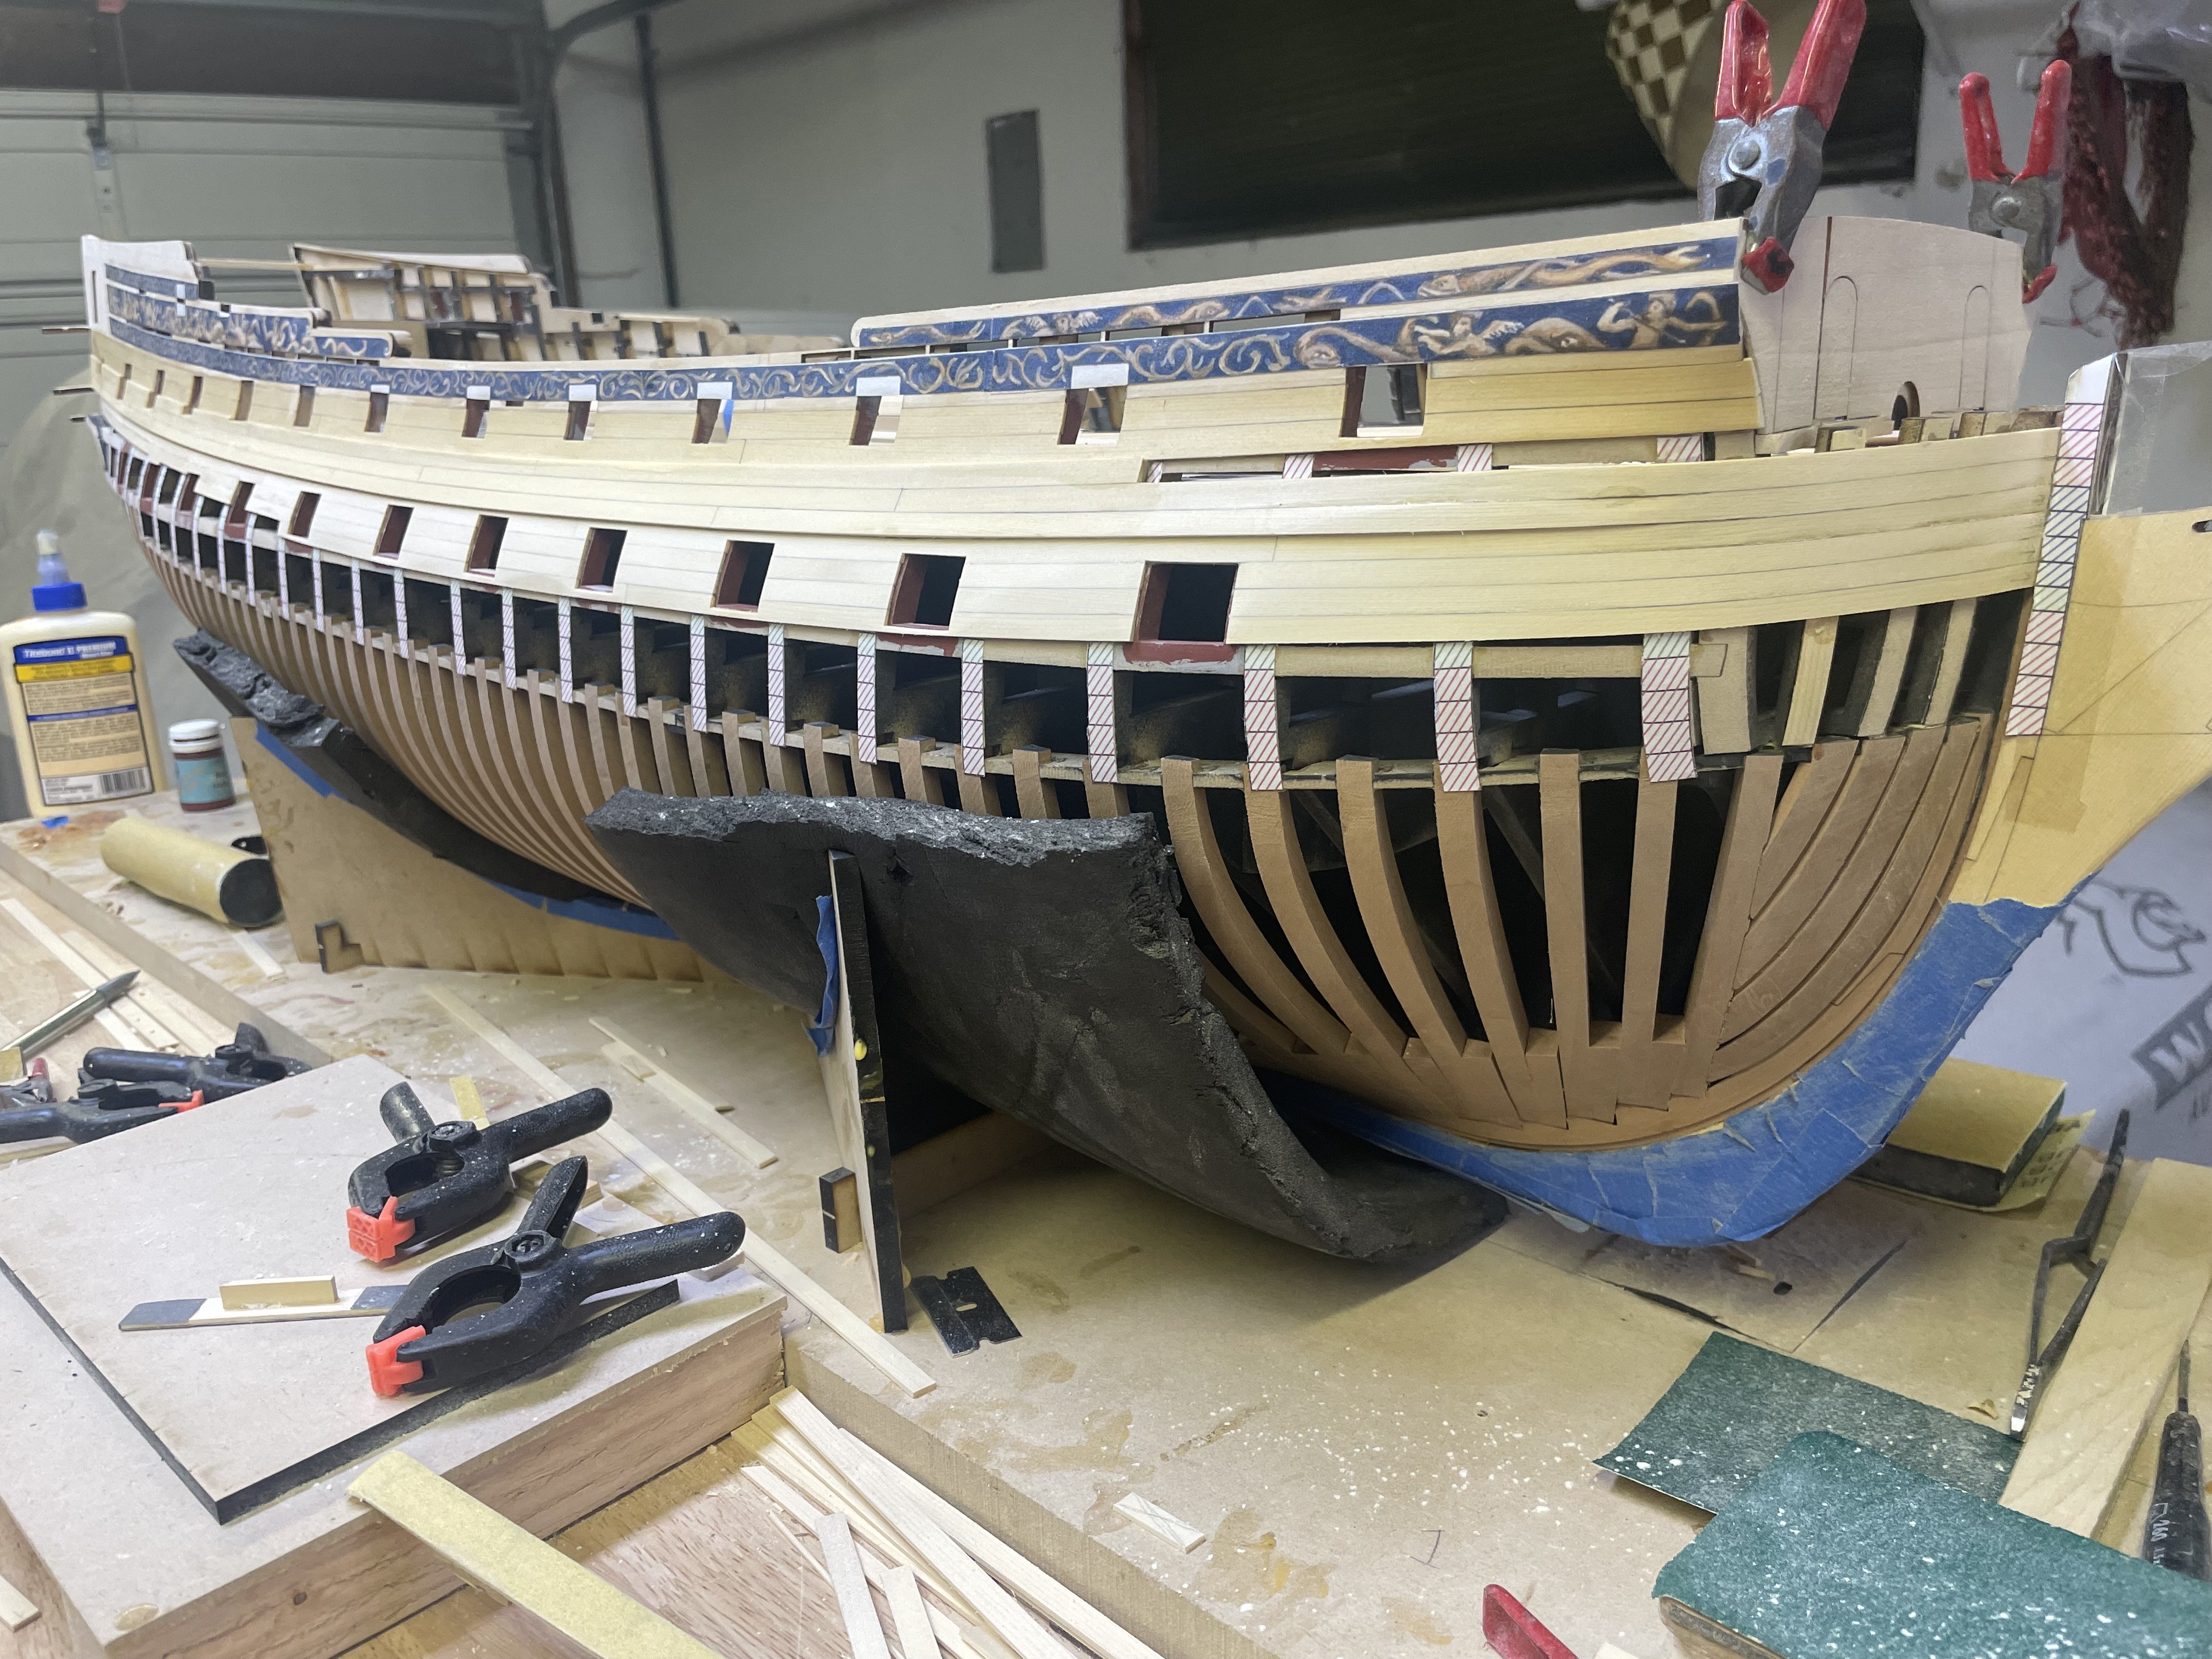
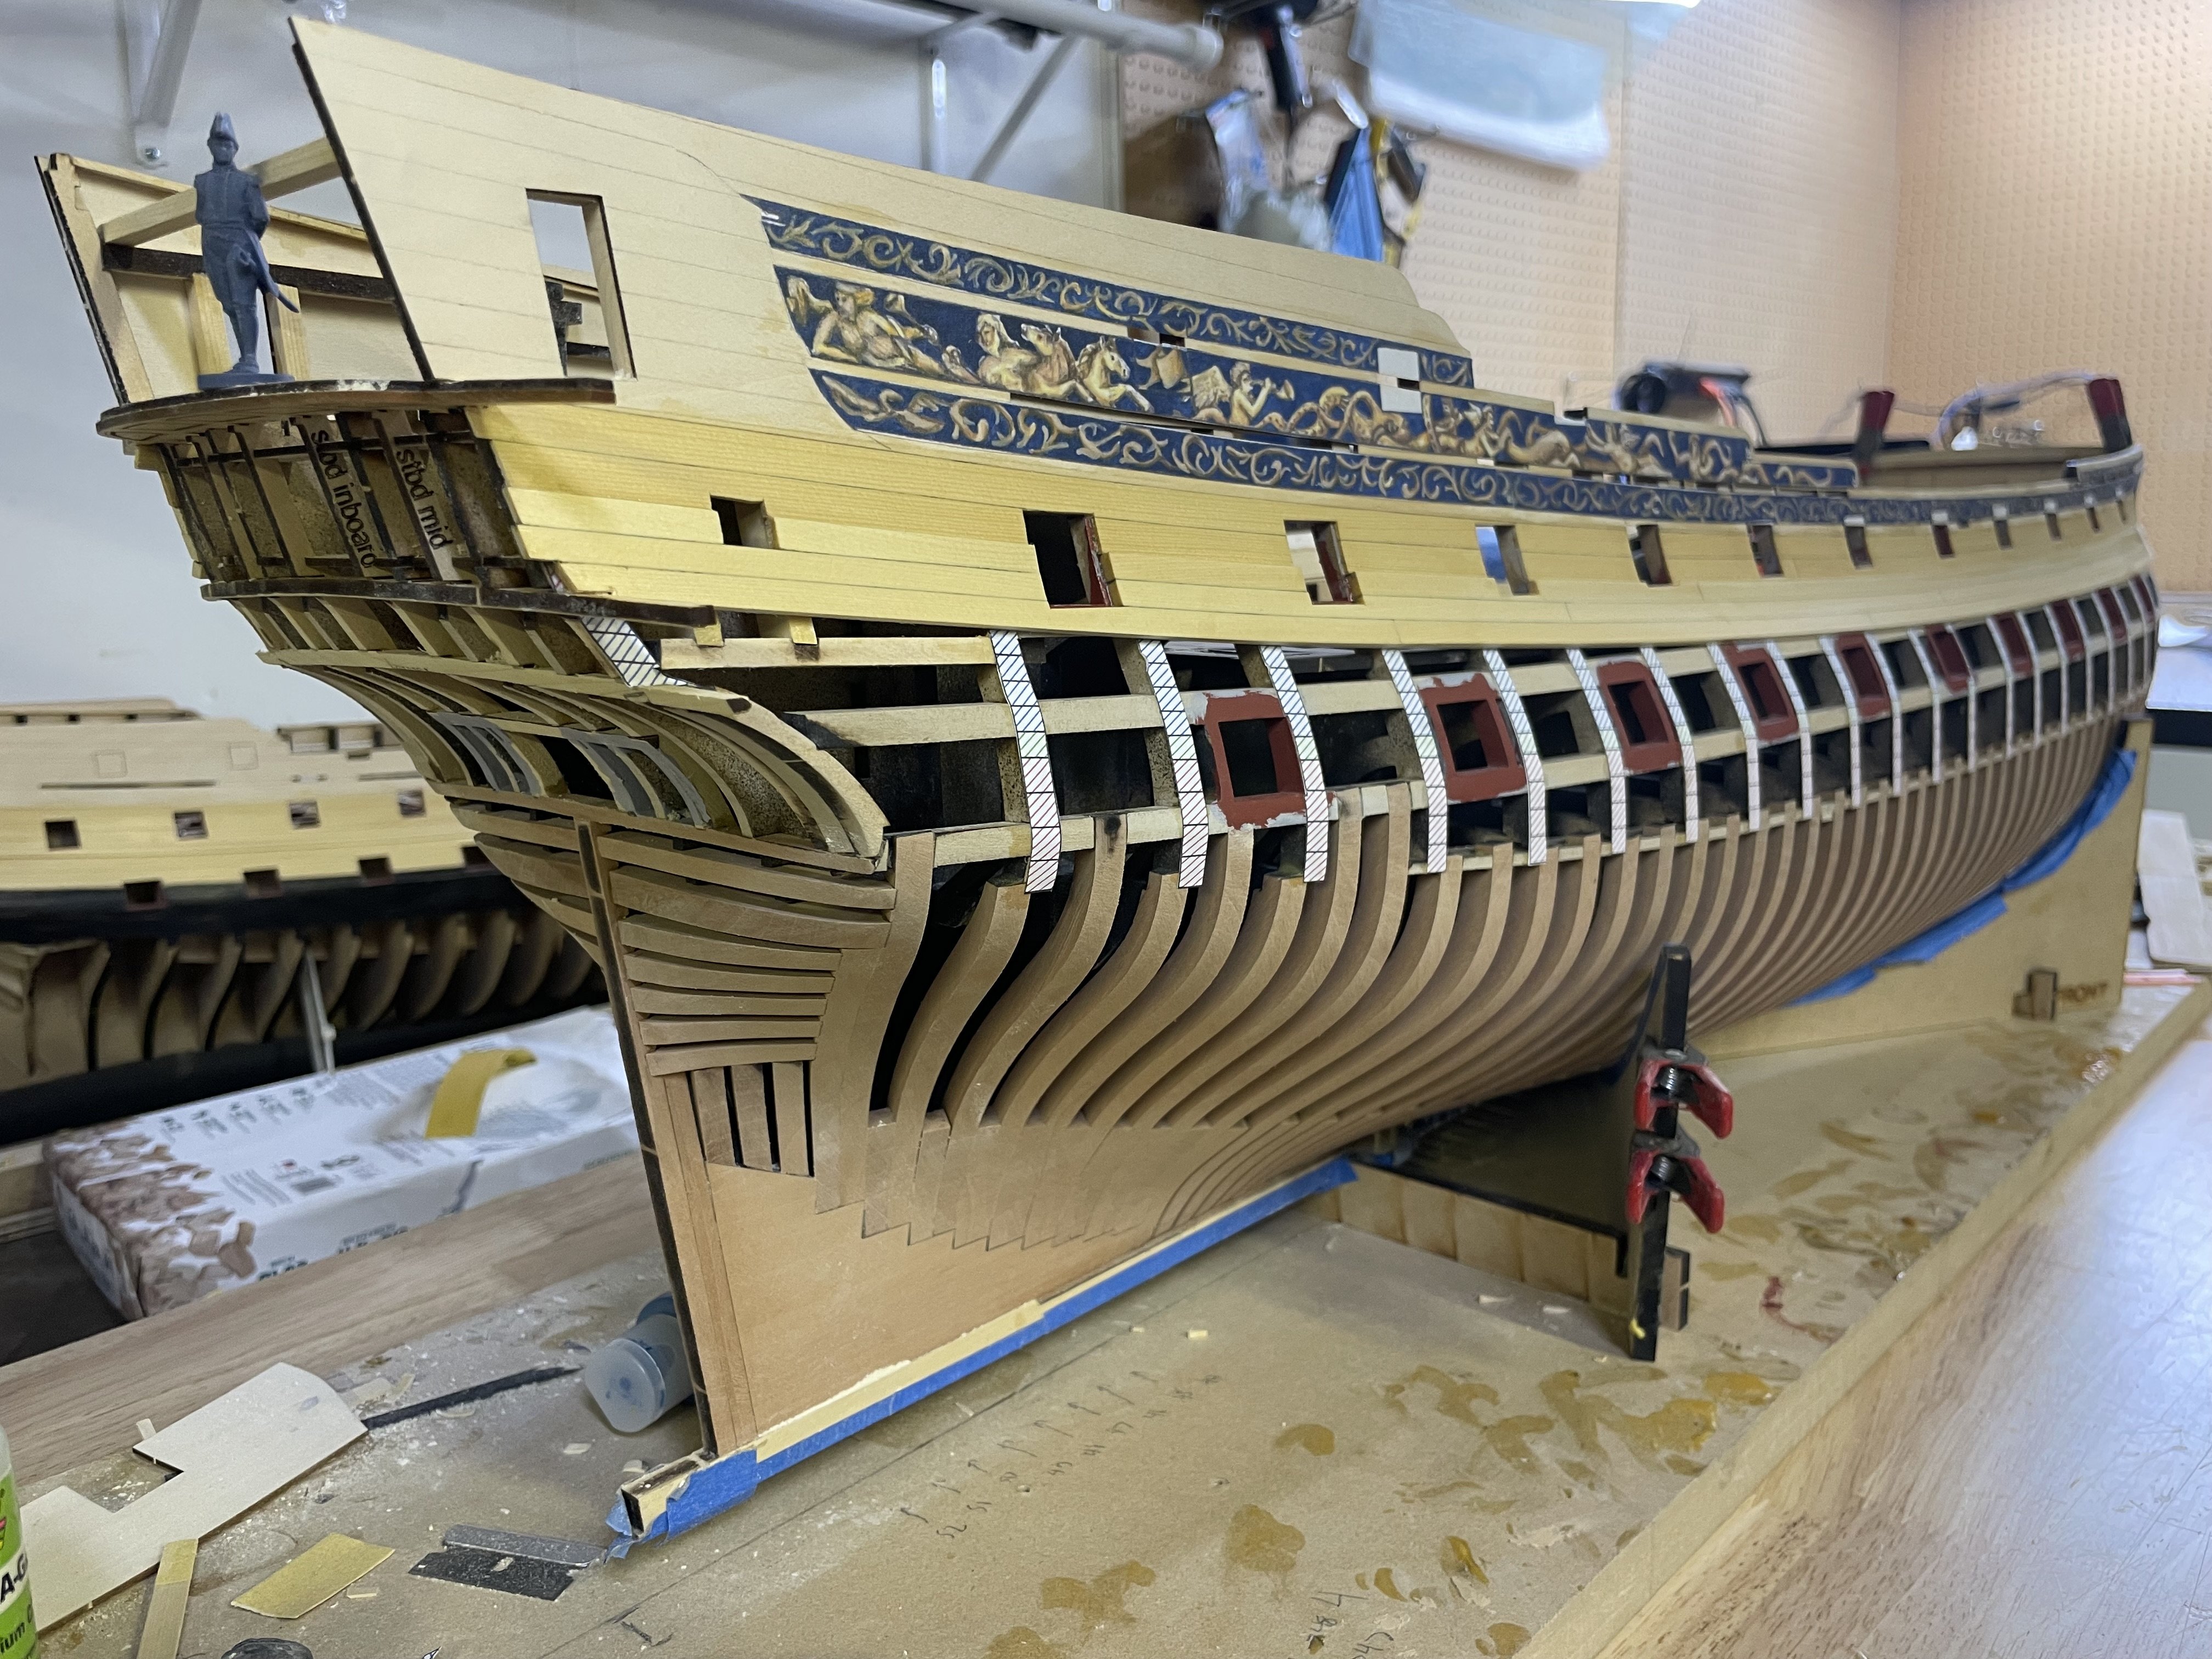
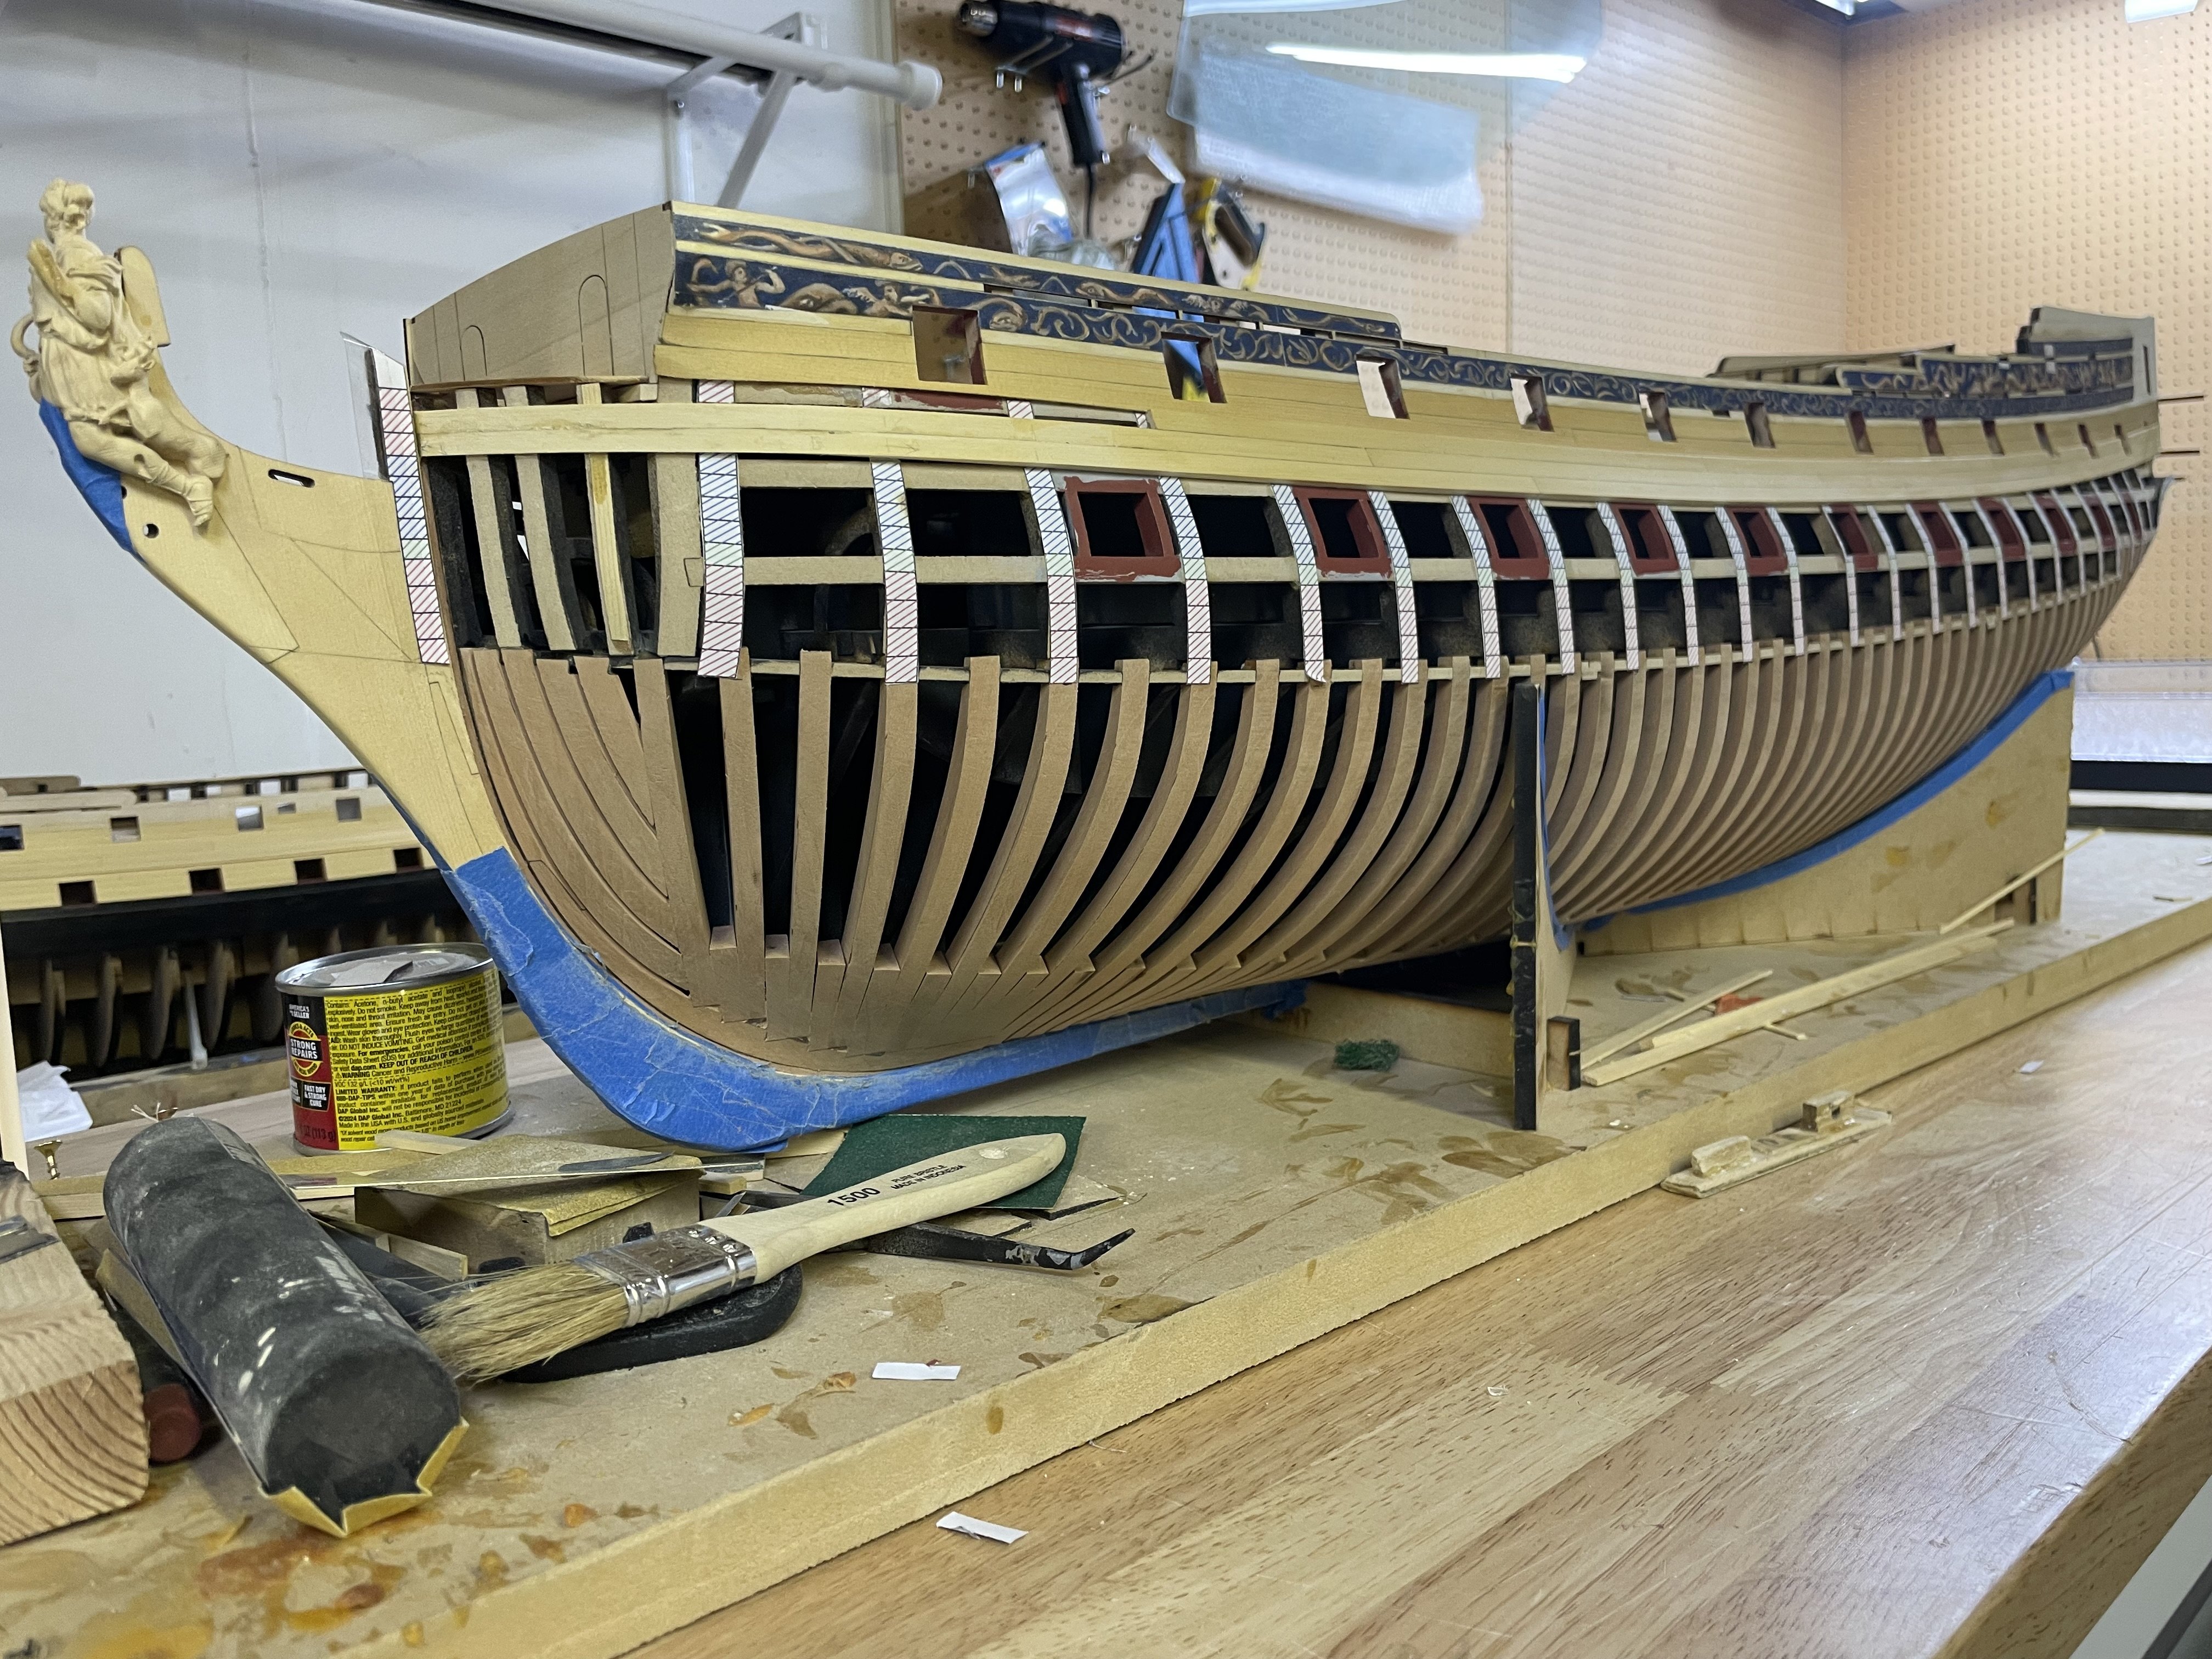
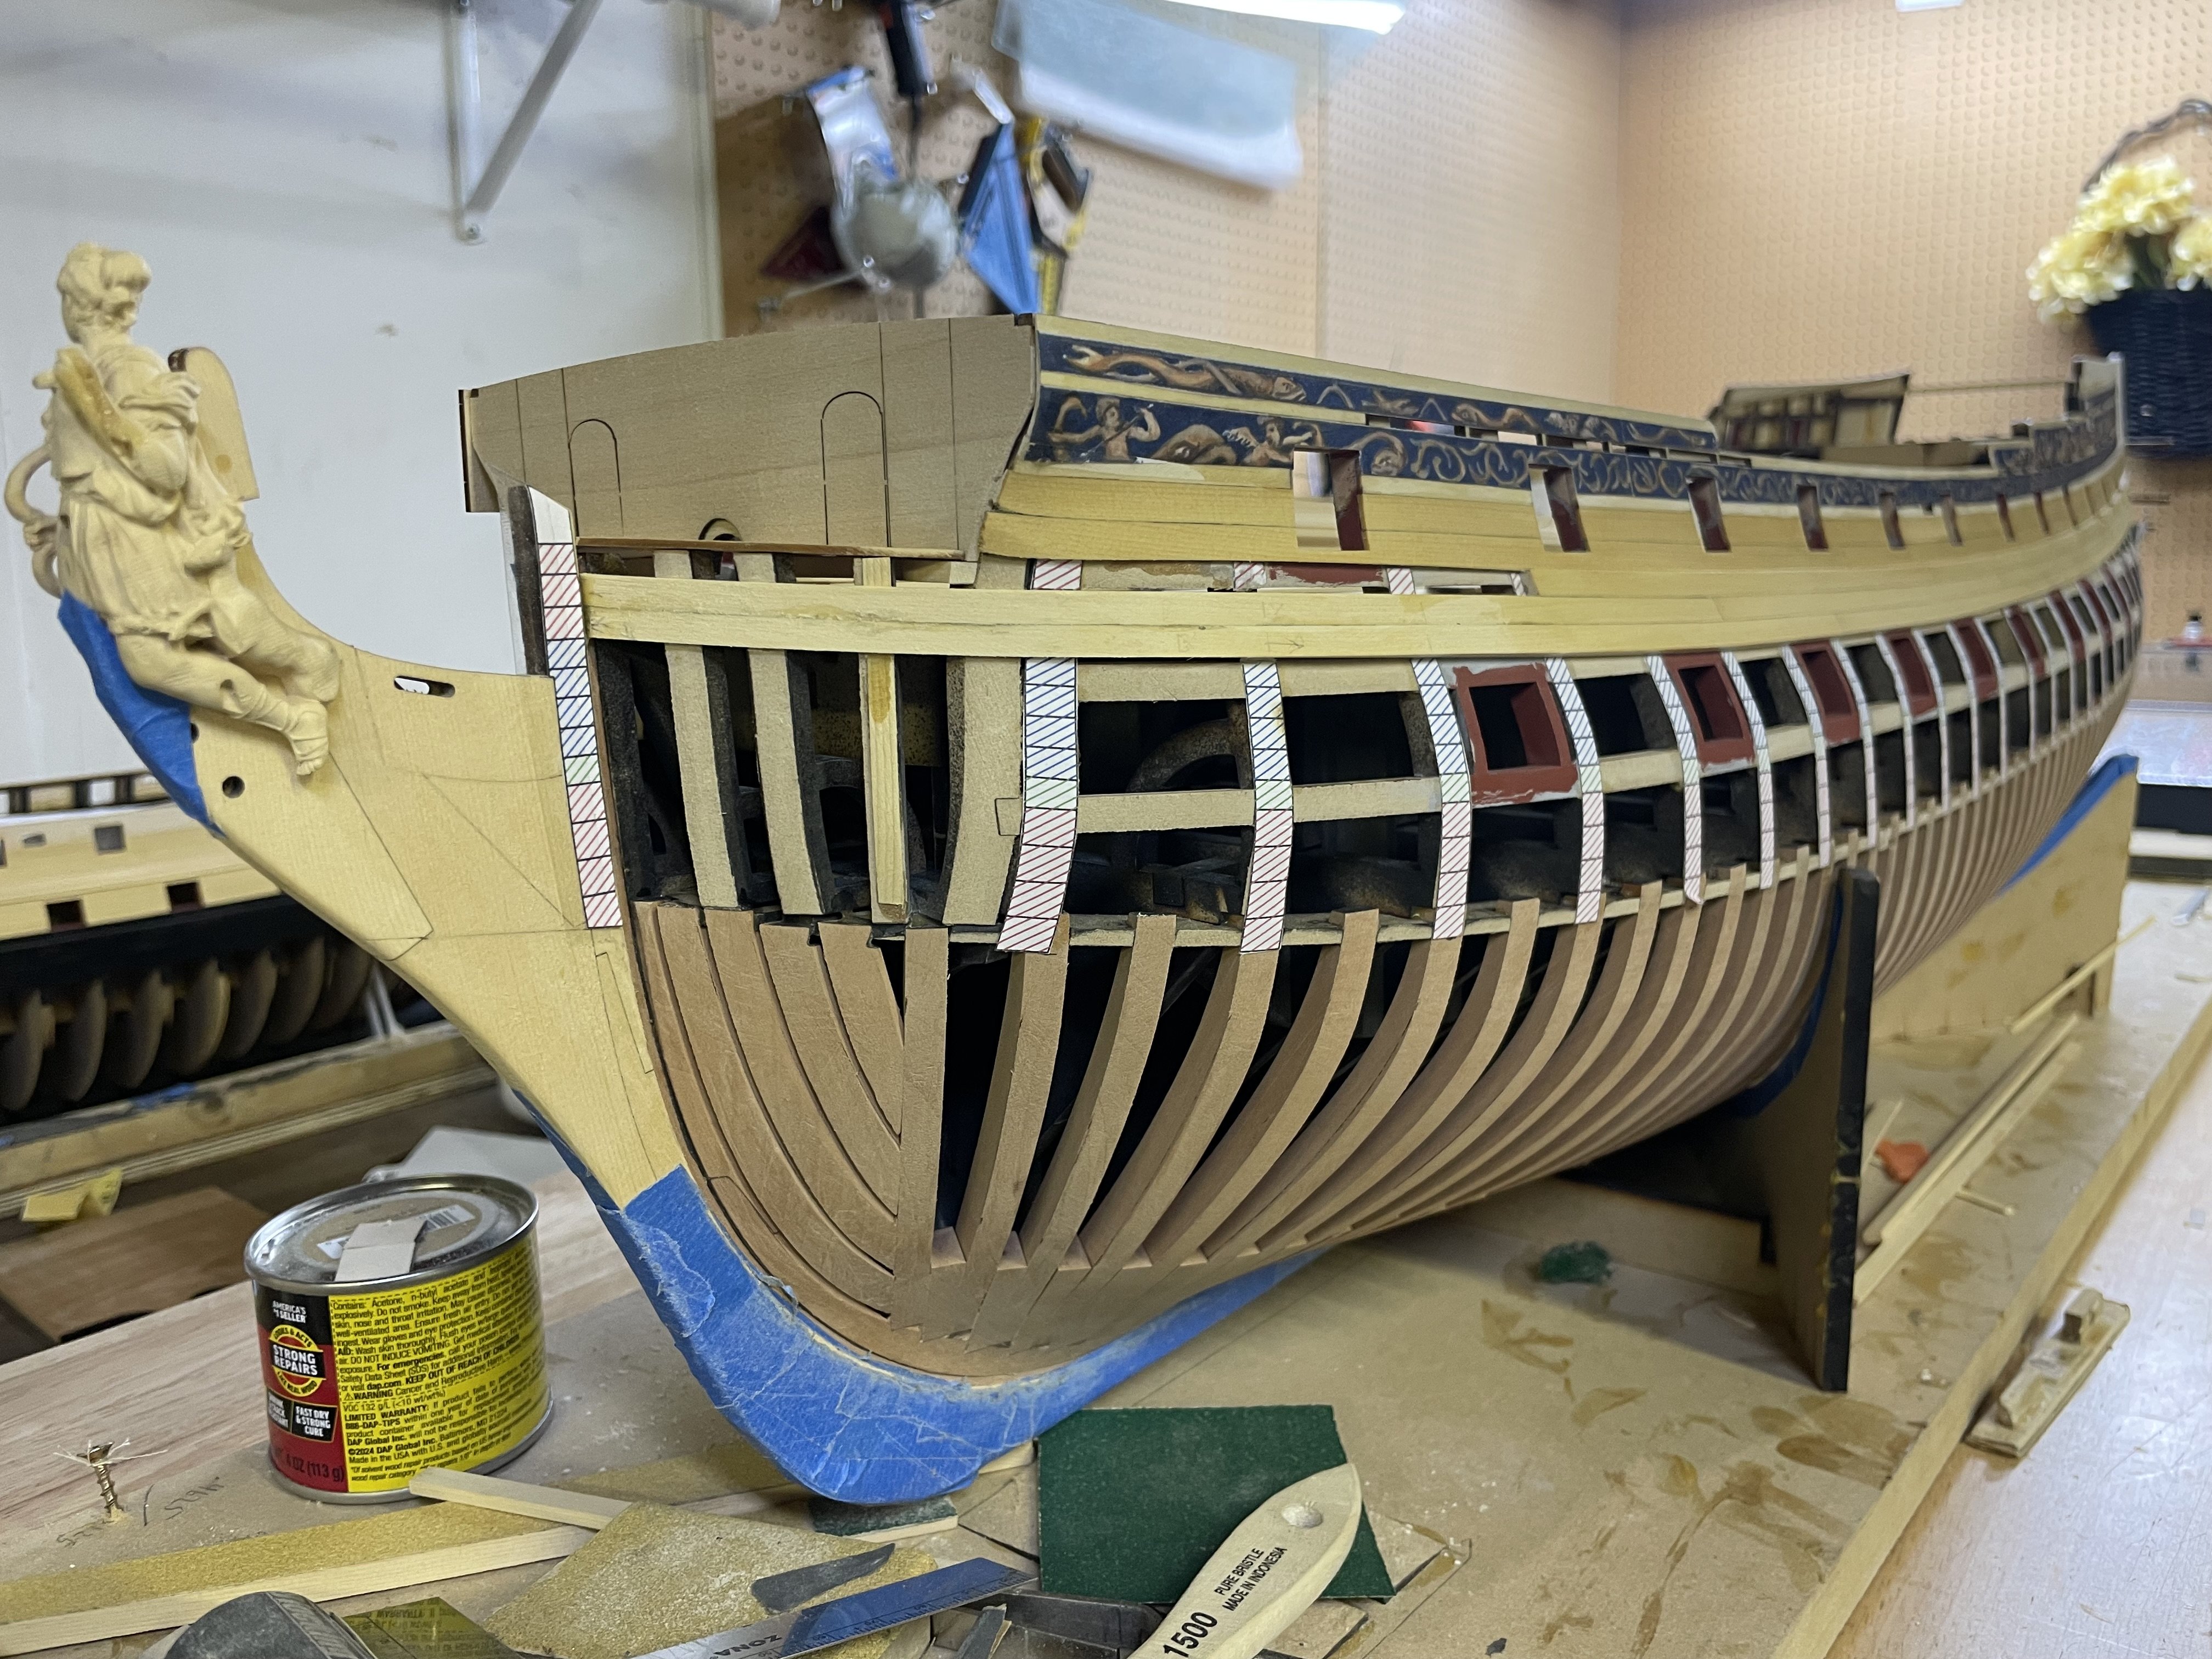
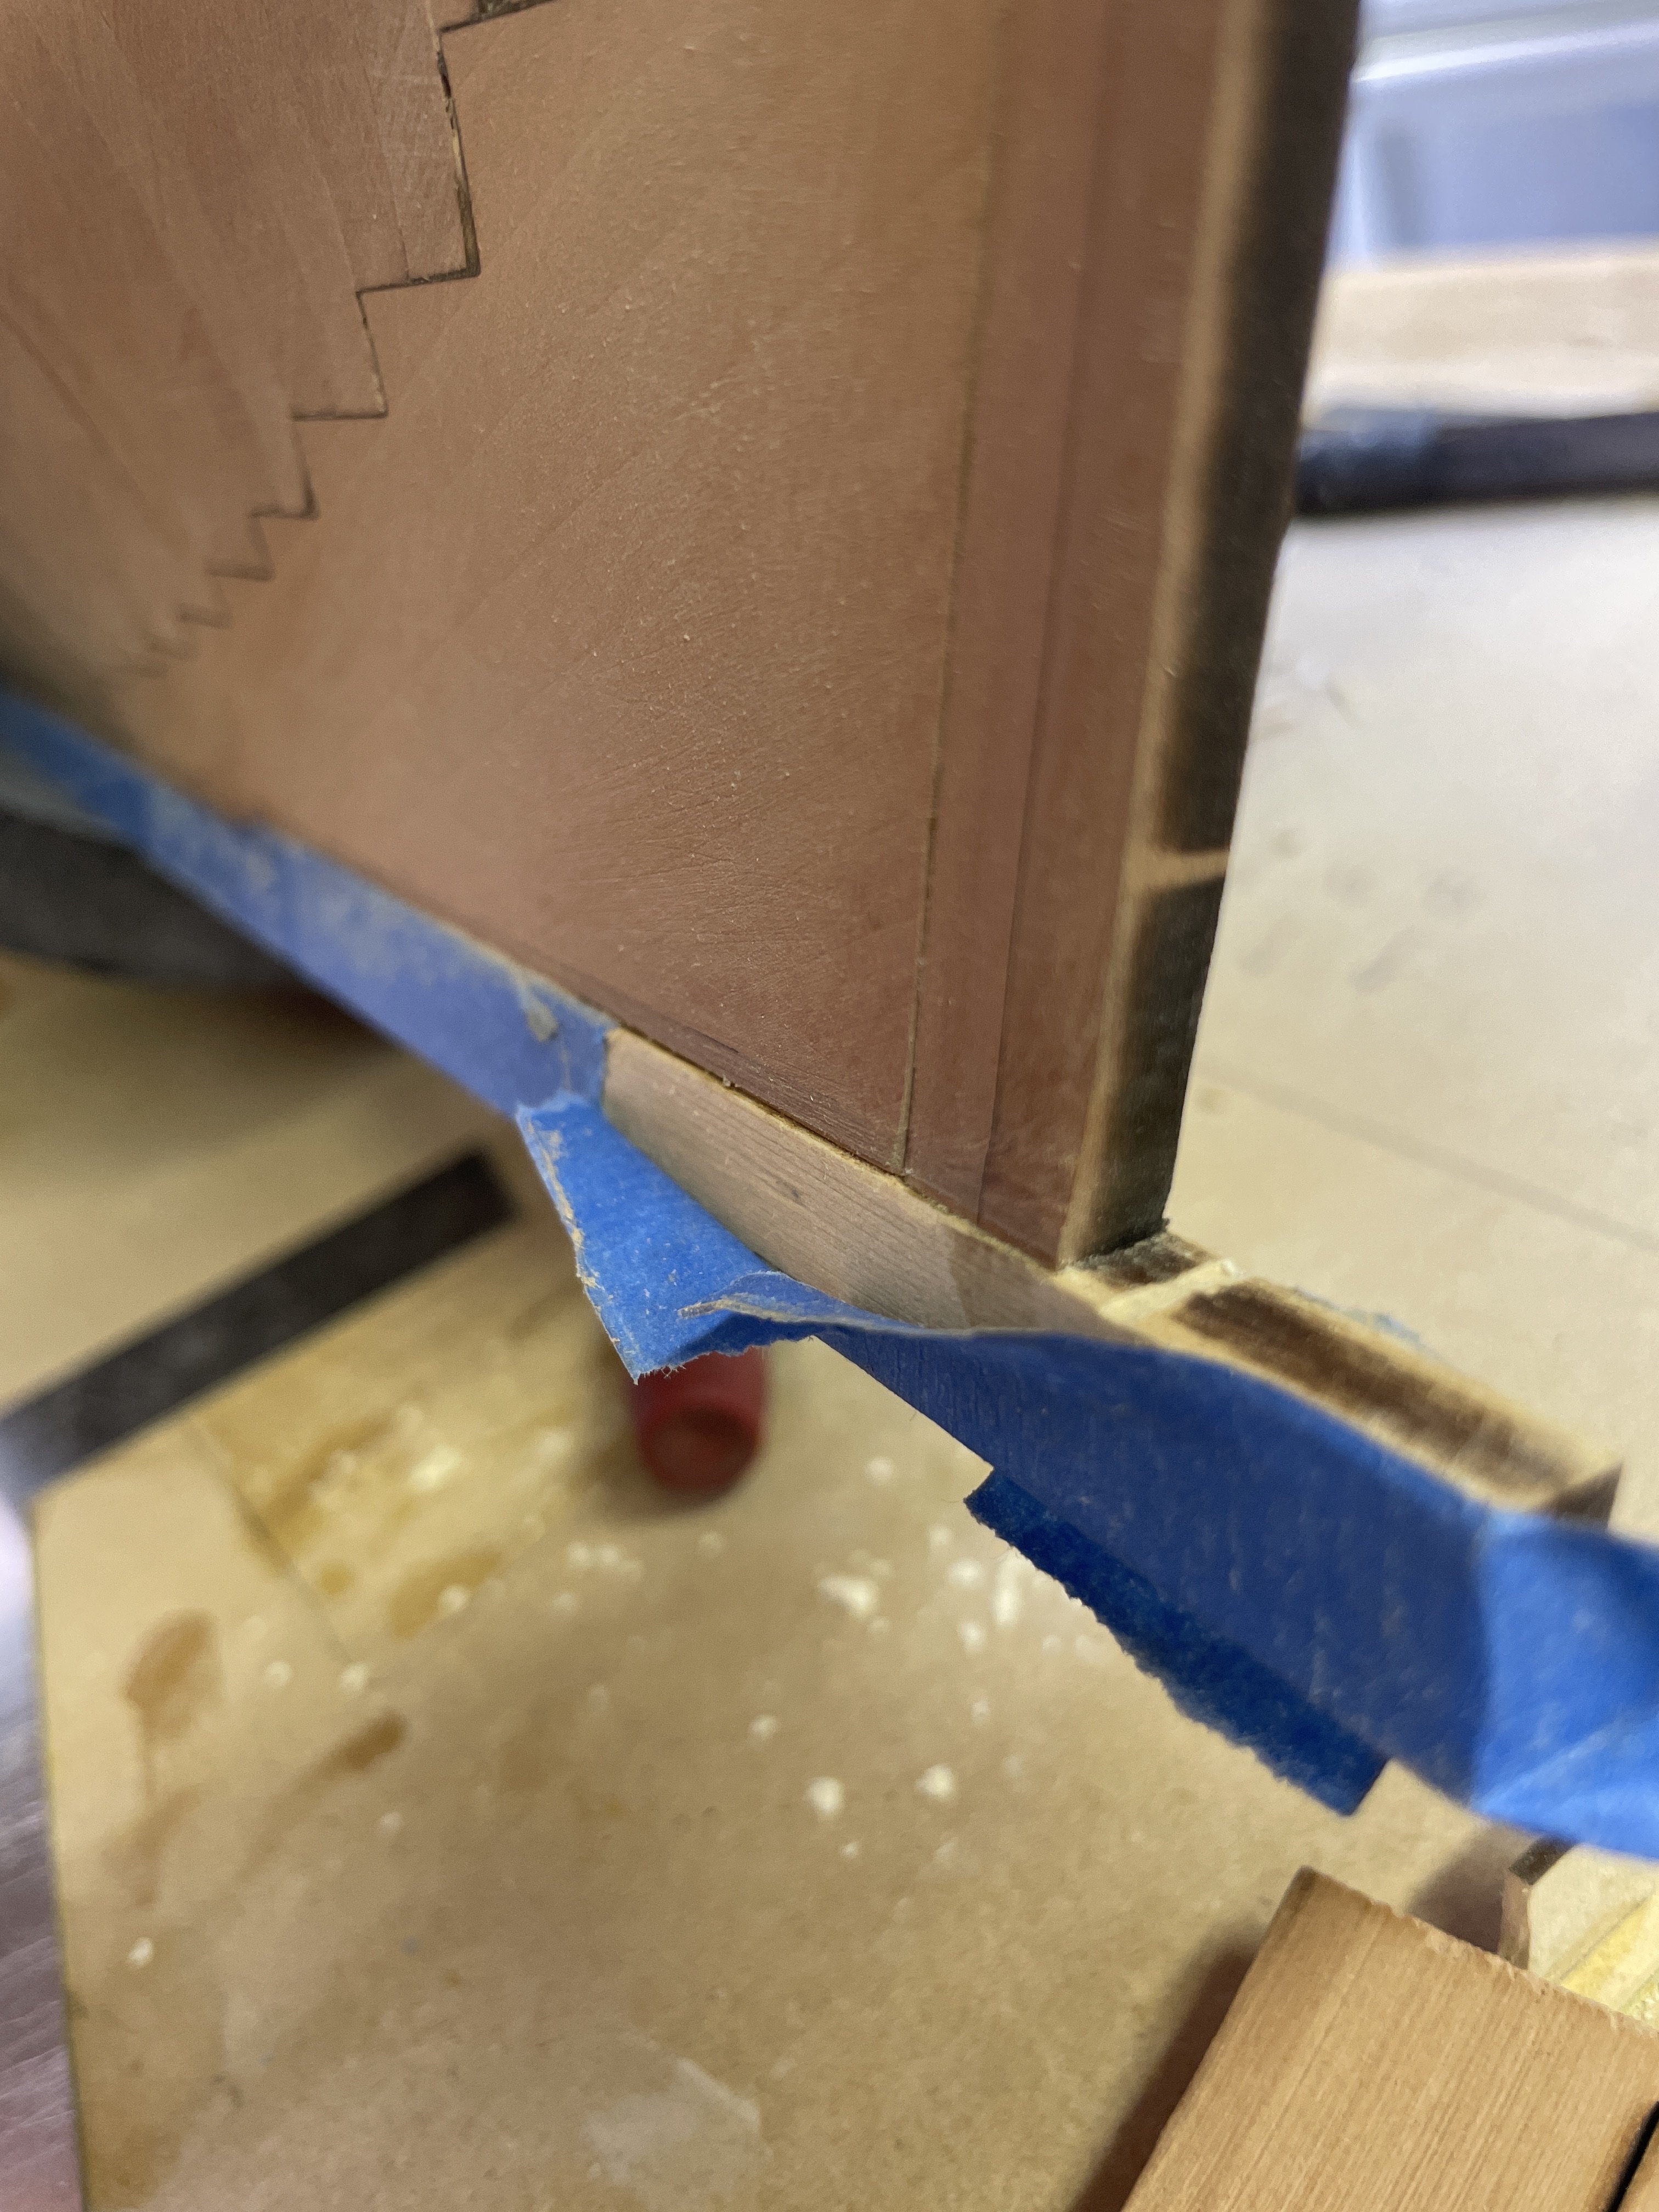
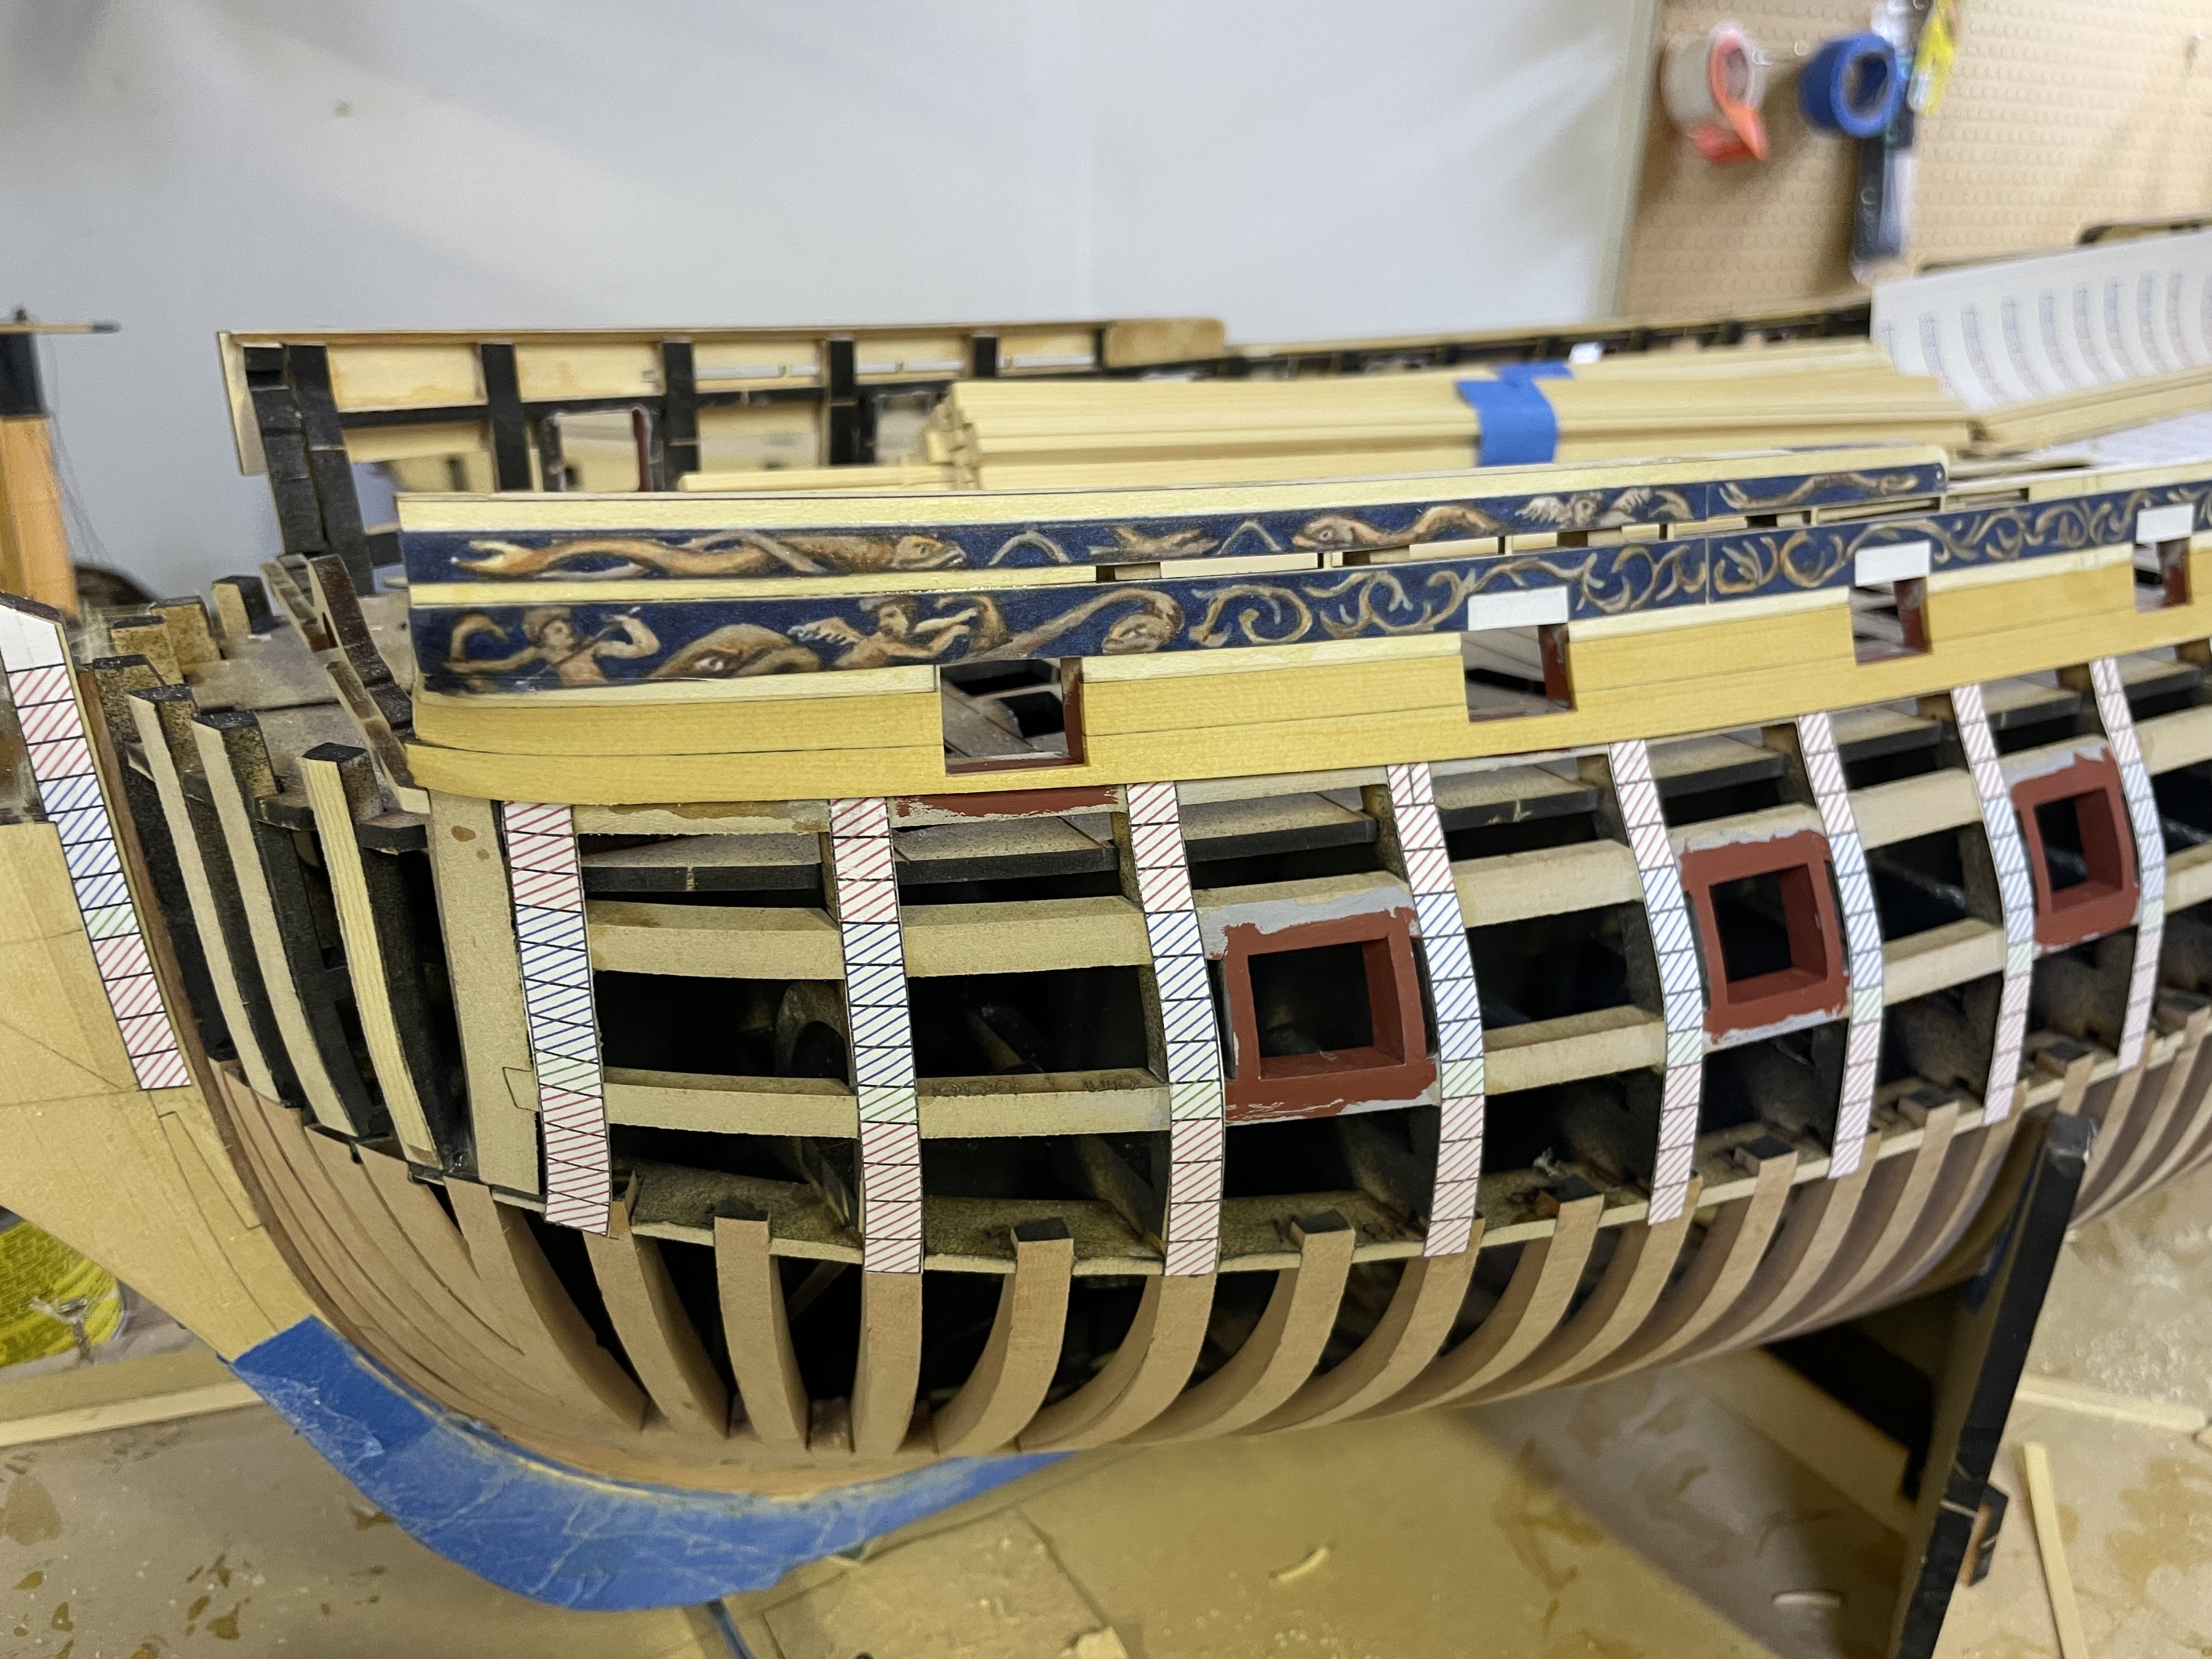
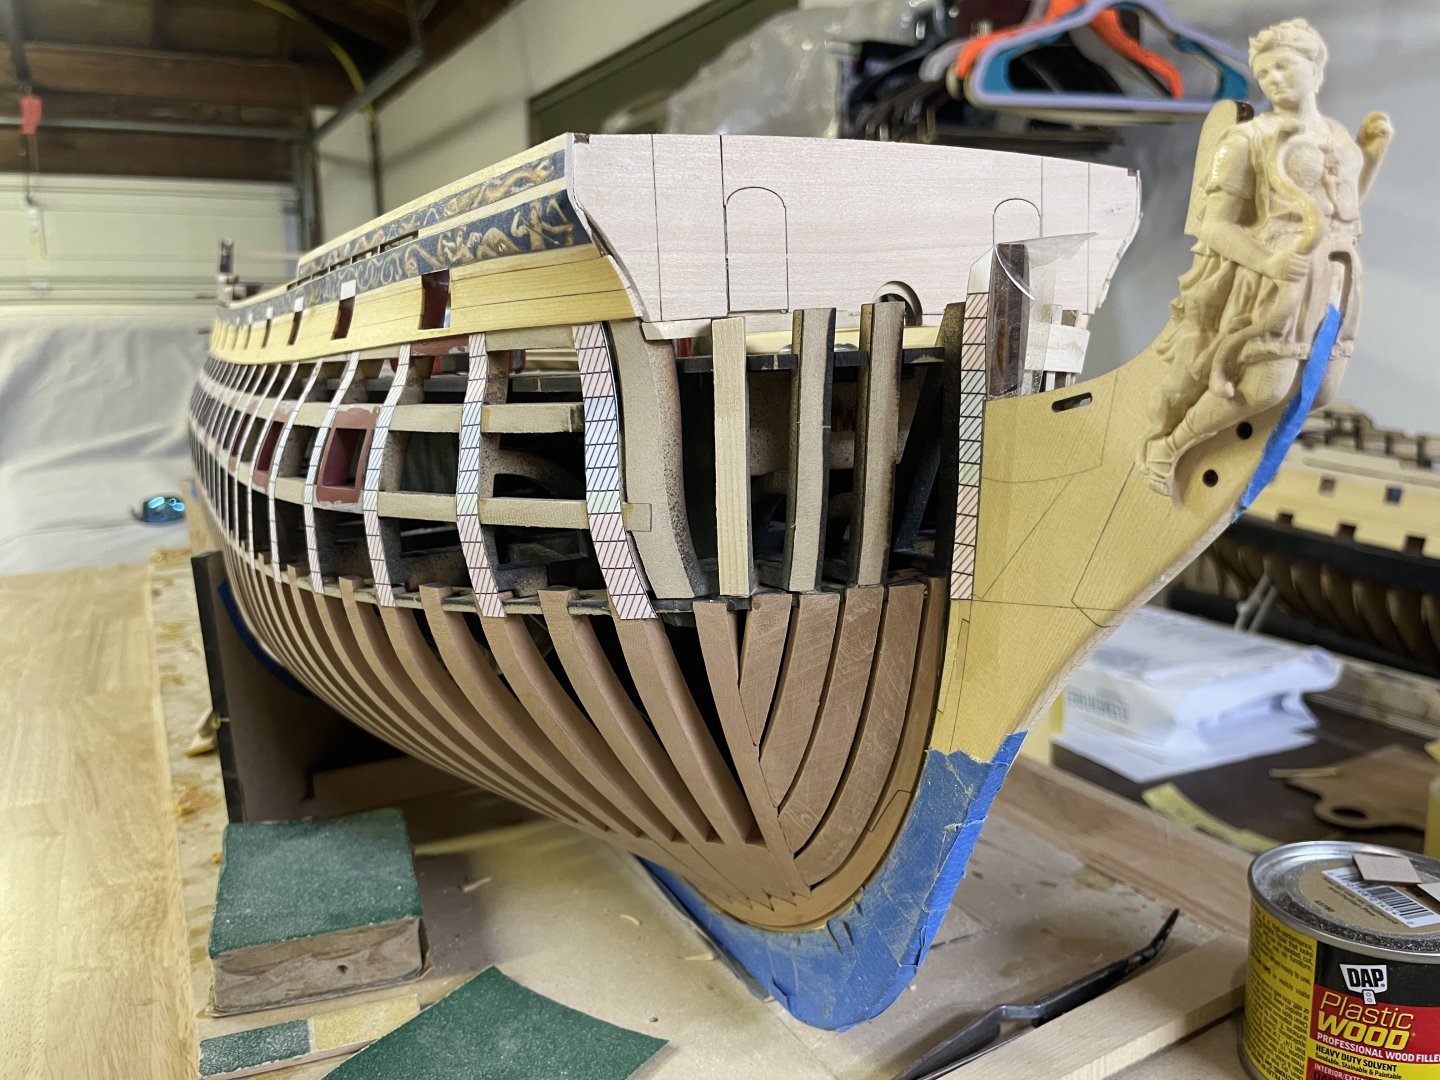
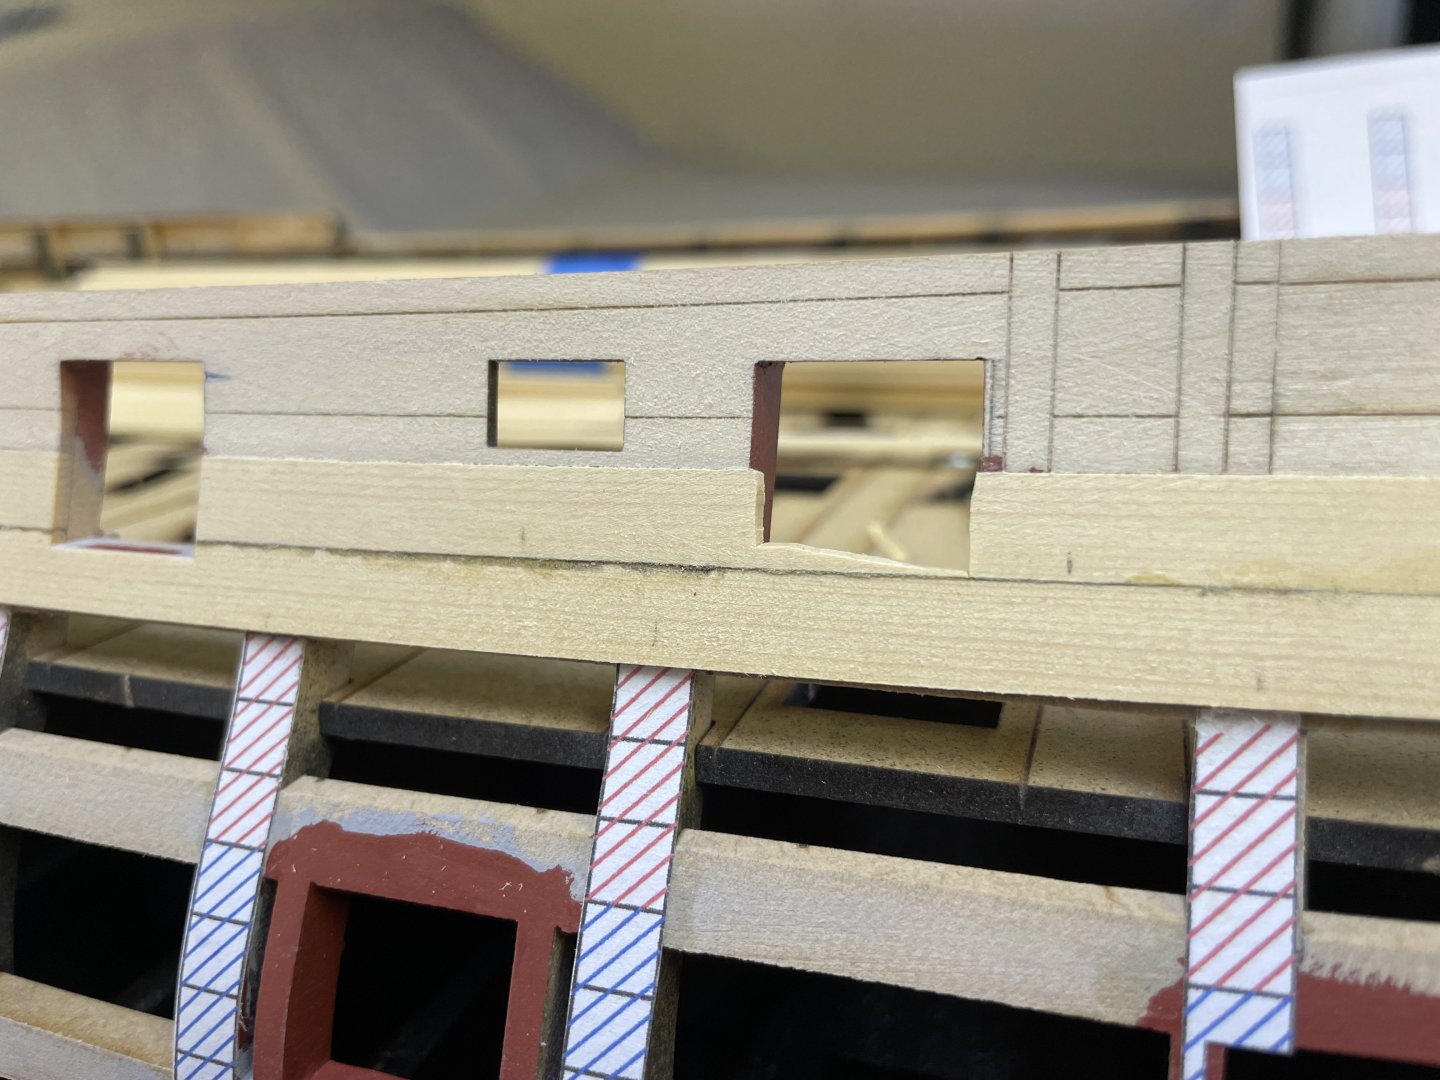
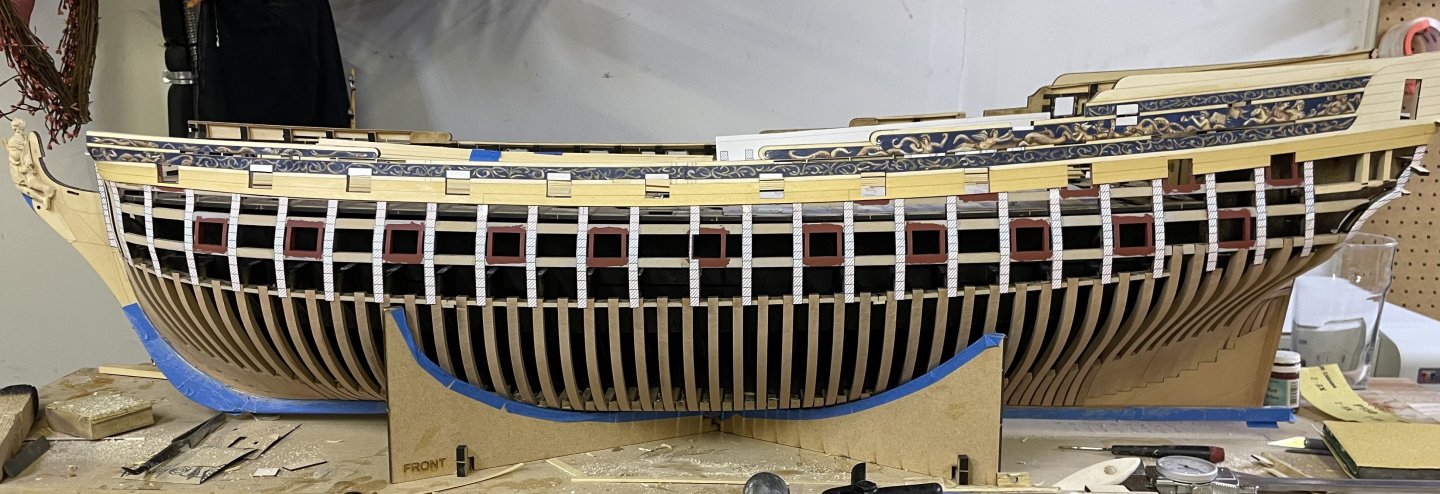
Today I got the channel wale on, the planks are just under 1/8” thick so there’s plenty to work with when you’re finished. These are very tricky at the front and take quite a lot of bends and tapers, they end up looking like an “S”, if that Isn’t enough they also need to be tapered down to .050” at the stem. You could sand them when they are in place but making all those bends in a 1/8” thick planks is a nightmare! a lot of eyeball testing took place as well as some adjusting once they were in place but I think I got them with a decent run. The upper plank is missing, there’s a reason for it and it involves removing the beak head bulkhead support beam one last time to remove the jig pieces to fair up in the inside of the Hawes pieces. By the time the last planking belt is on it will be safe to remove the inner jigs, nothing will move at that point. So I will just fair that inner forward area and permanently install the beam afterwards. More to come. I tapered the planks to fit the guides and made sure there was a nice curve to them, from there I would mark where they need to be cut for the gunports, this keeps a nice continuity in the taper once the plank is cut up and allows the next plank below to fit nice. Once I got all the planks down I block sanded them out with 150/220 and applied WOP to protect them. Tomorrow the poly will be dry and I can clean up and repaint the gunports on the upper deck. Tomorrow I’m going to turn the model around and repeat on the stbd side.


- 396 replies
-
- 20
-
-
-
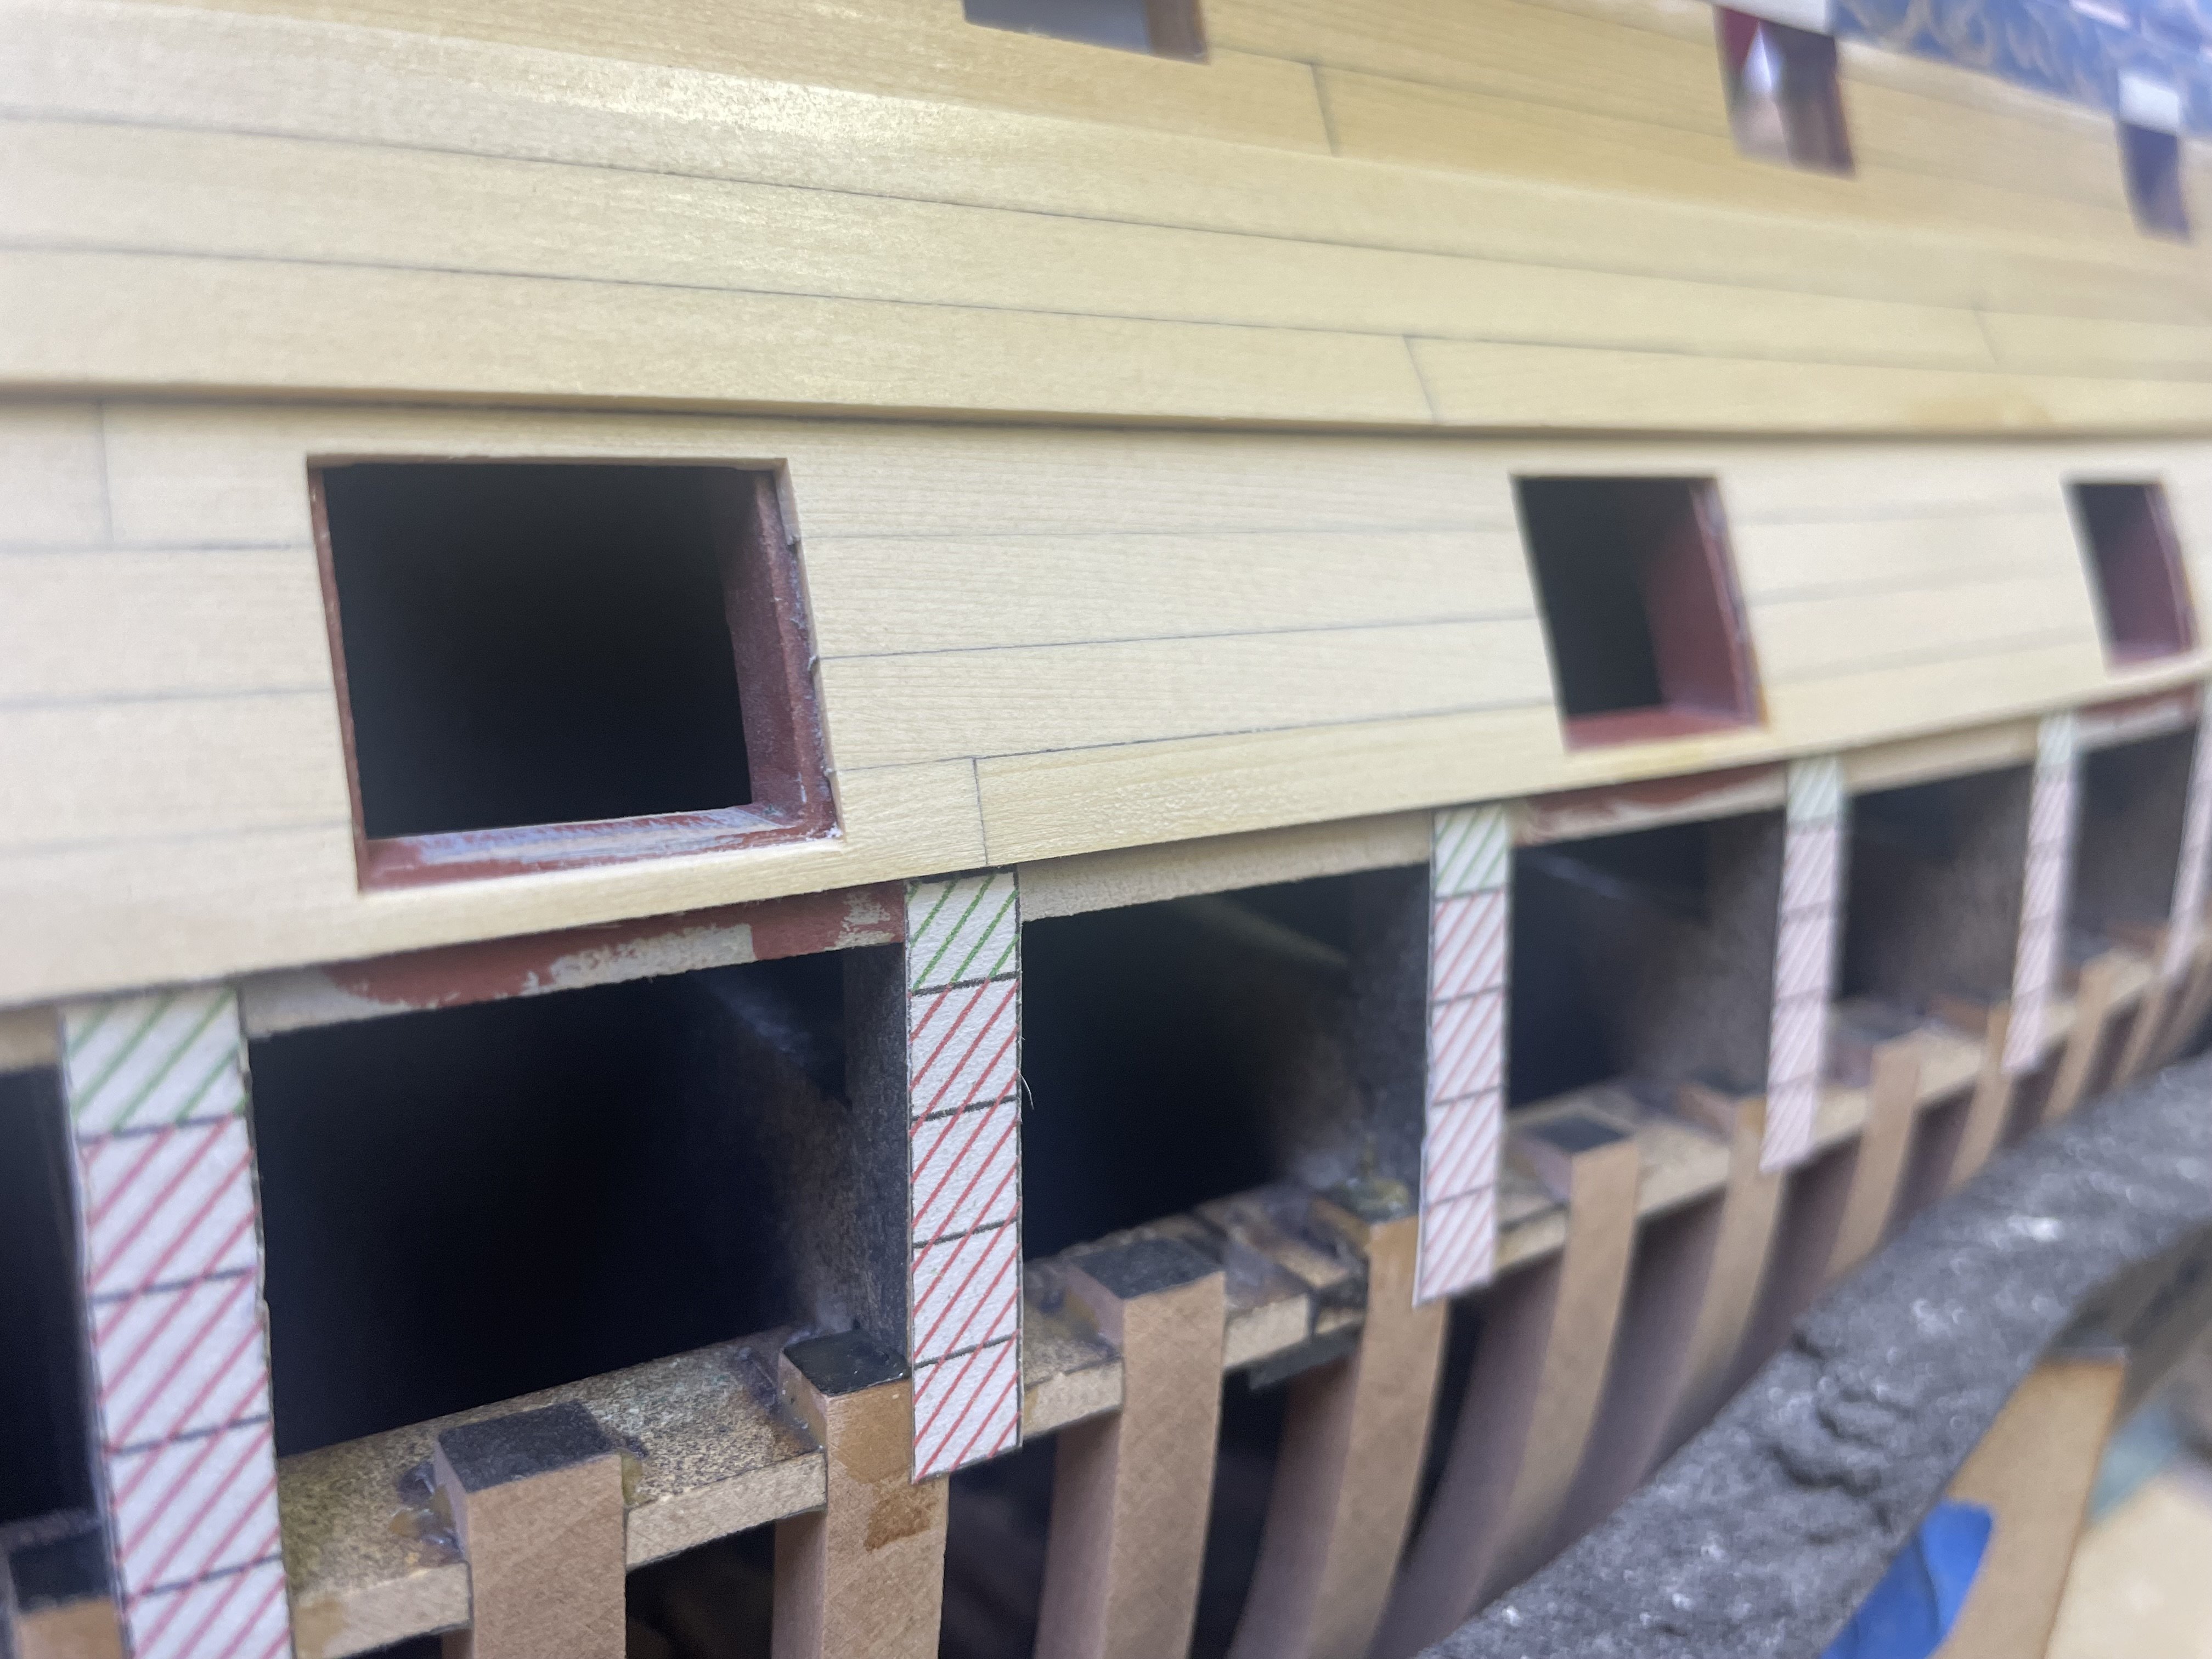
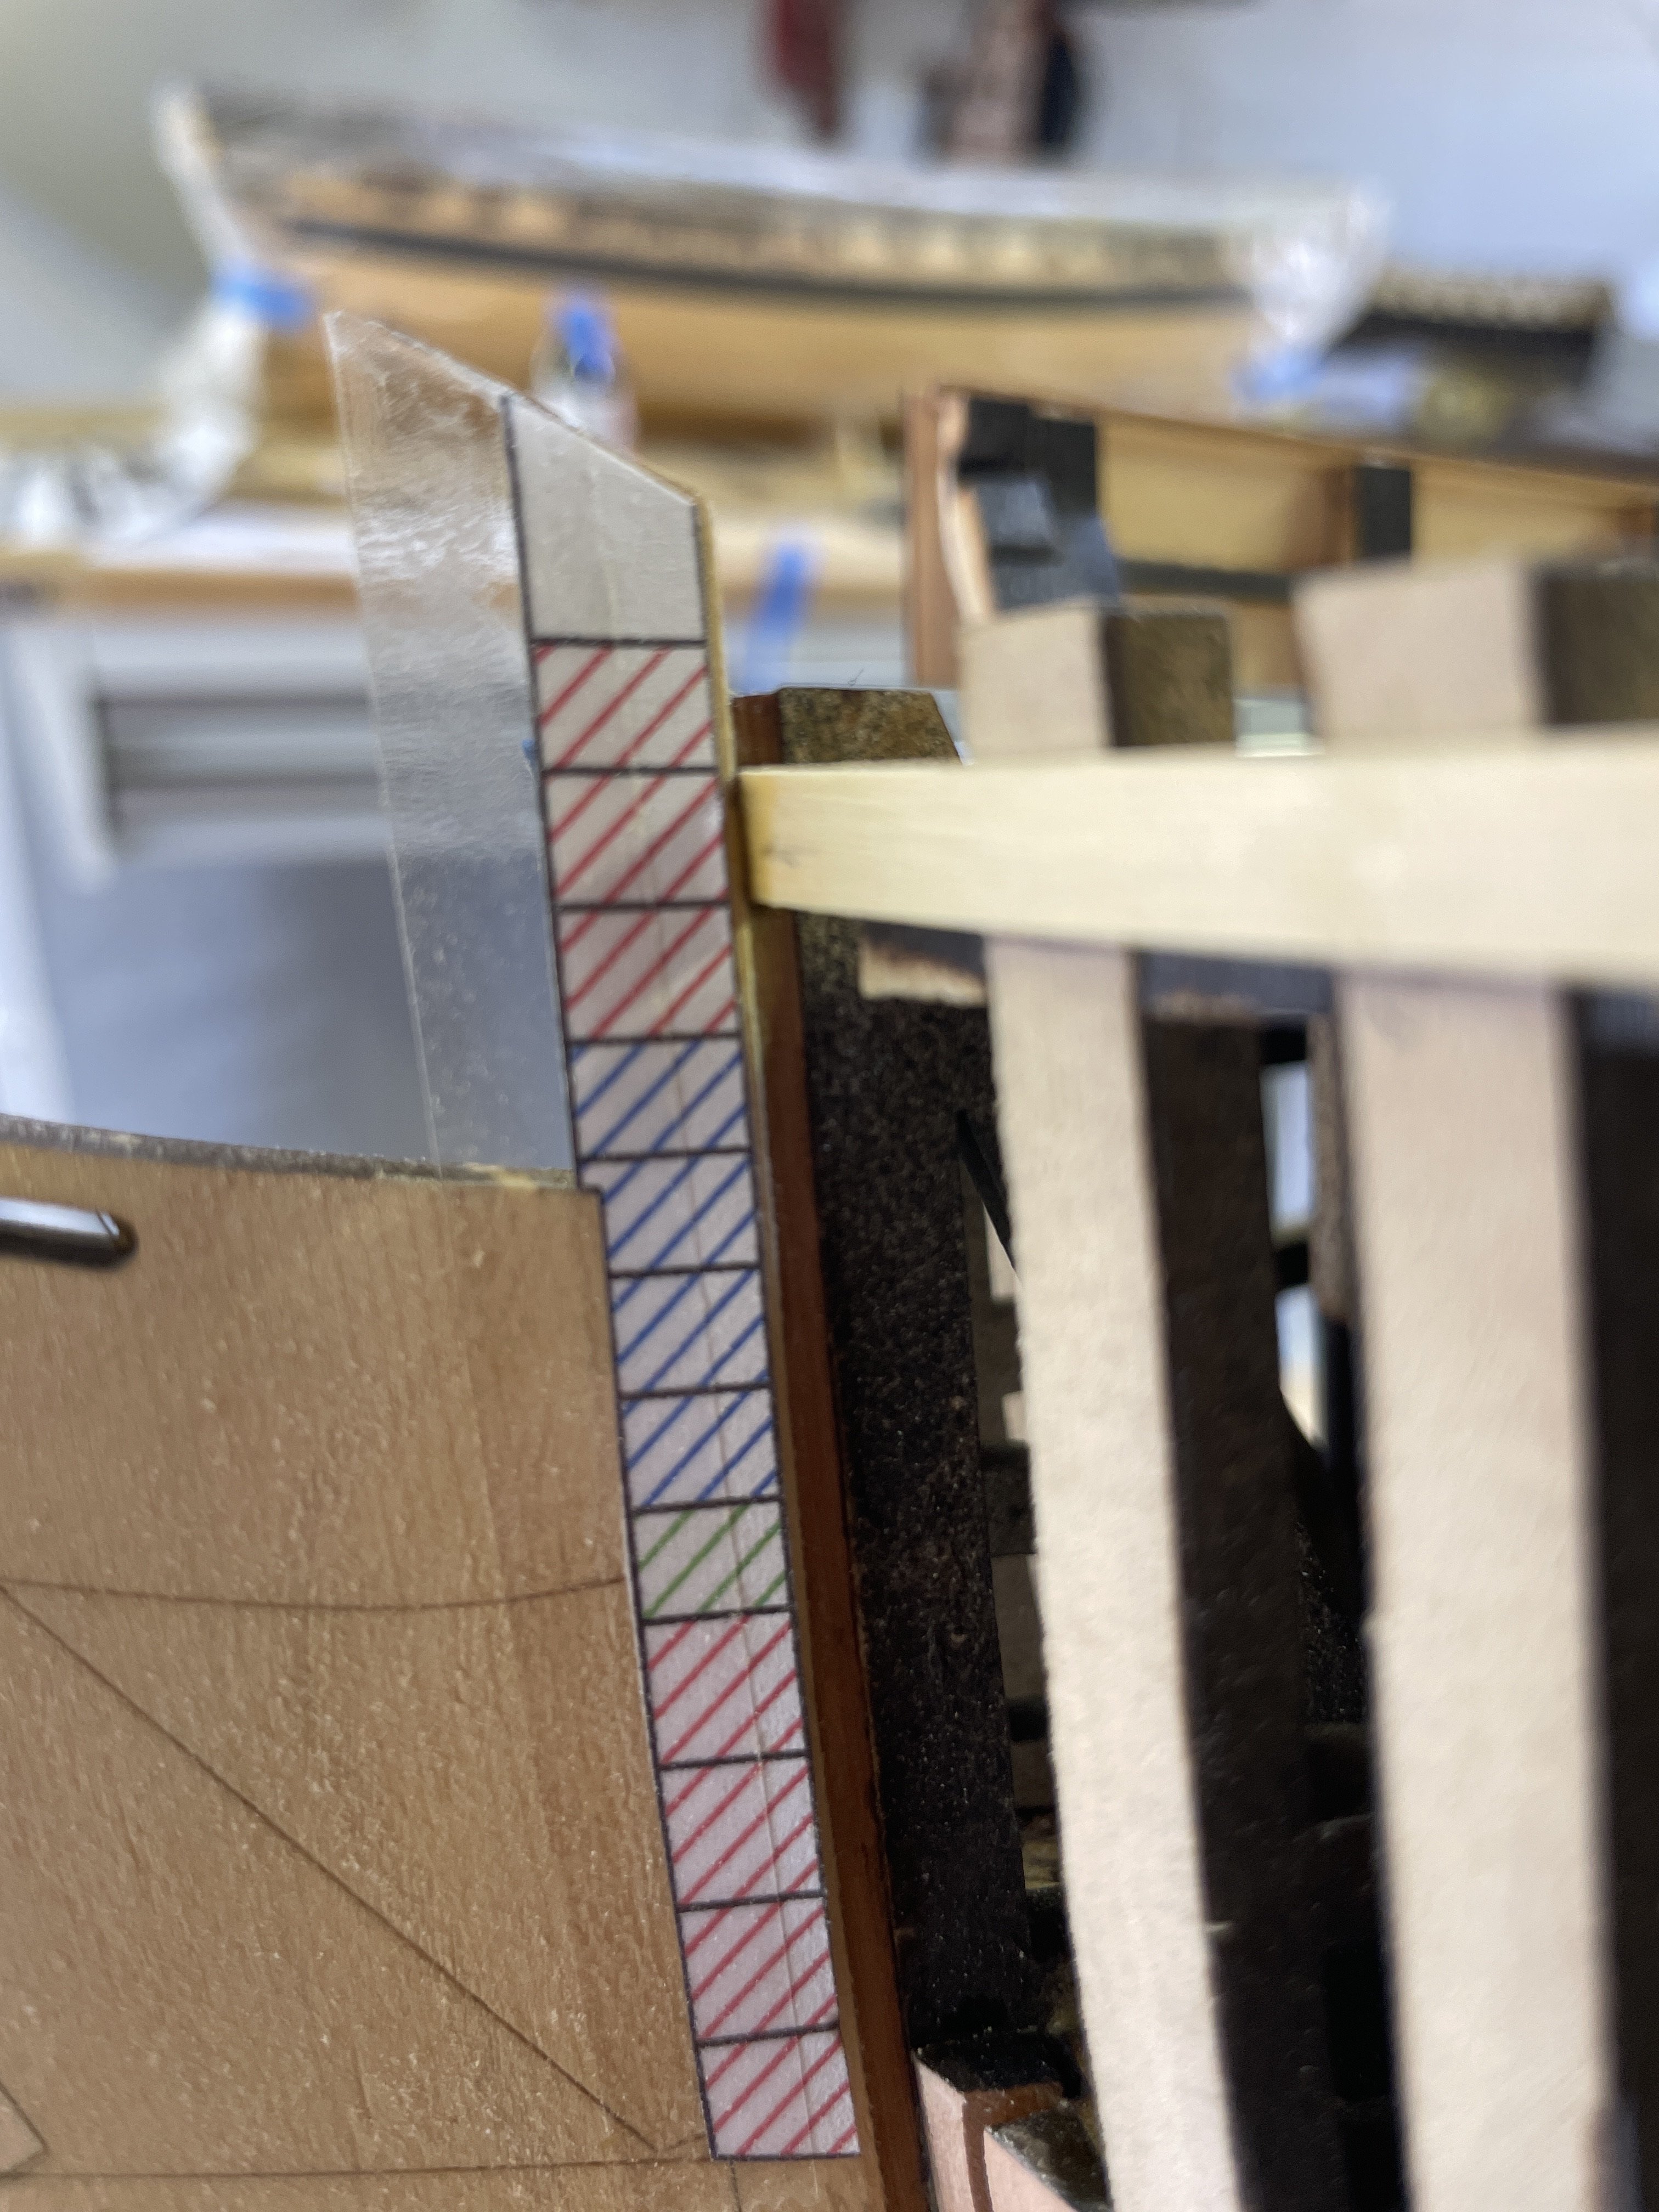
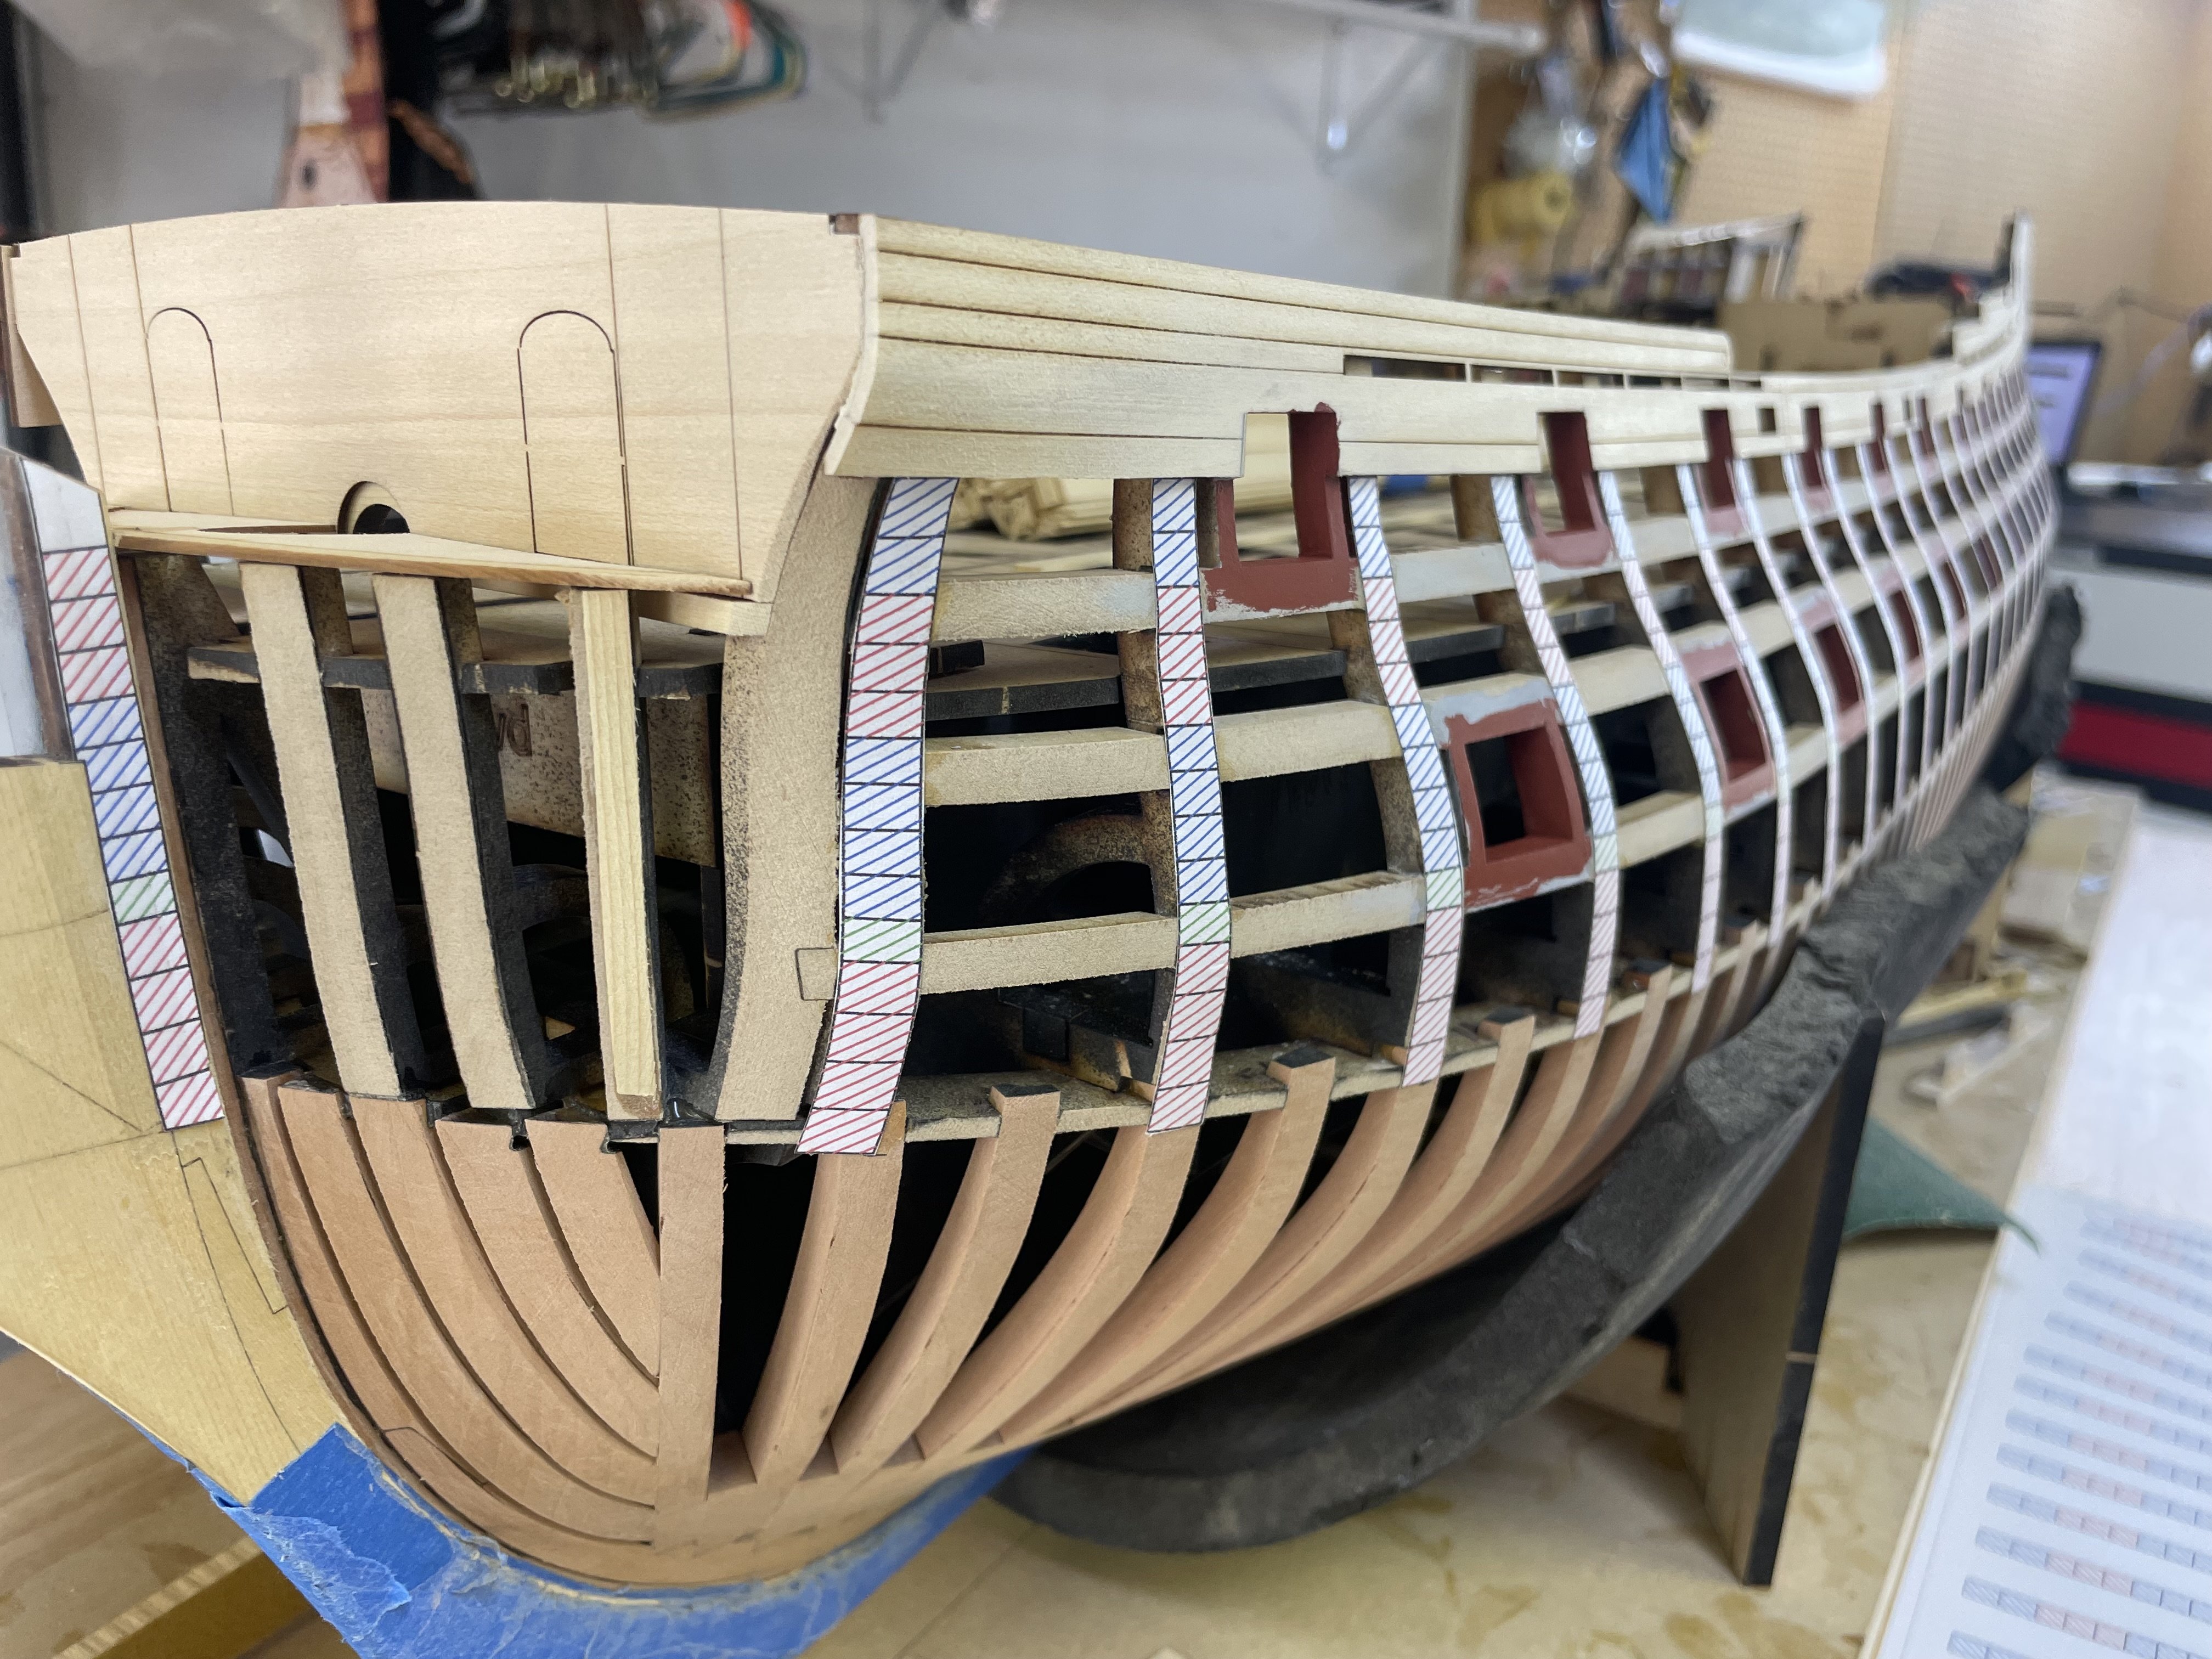
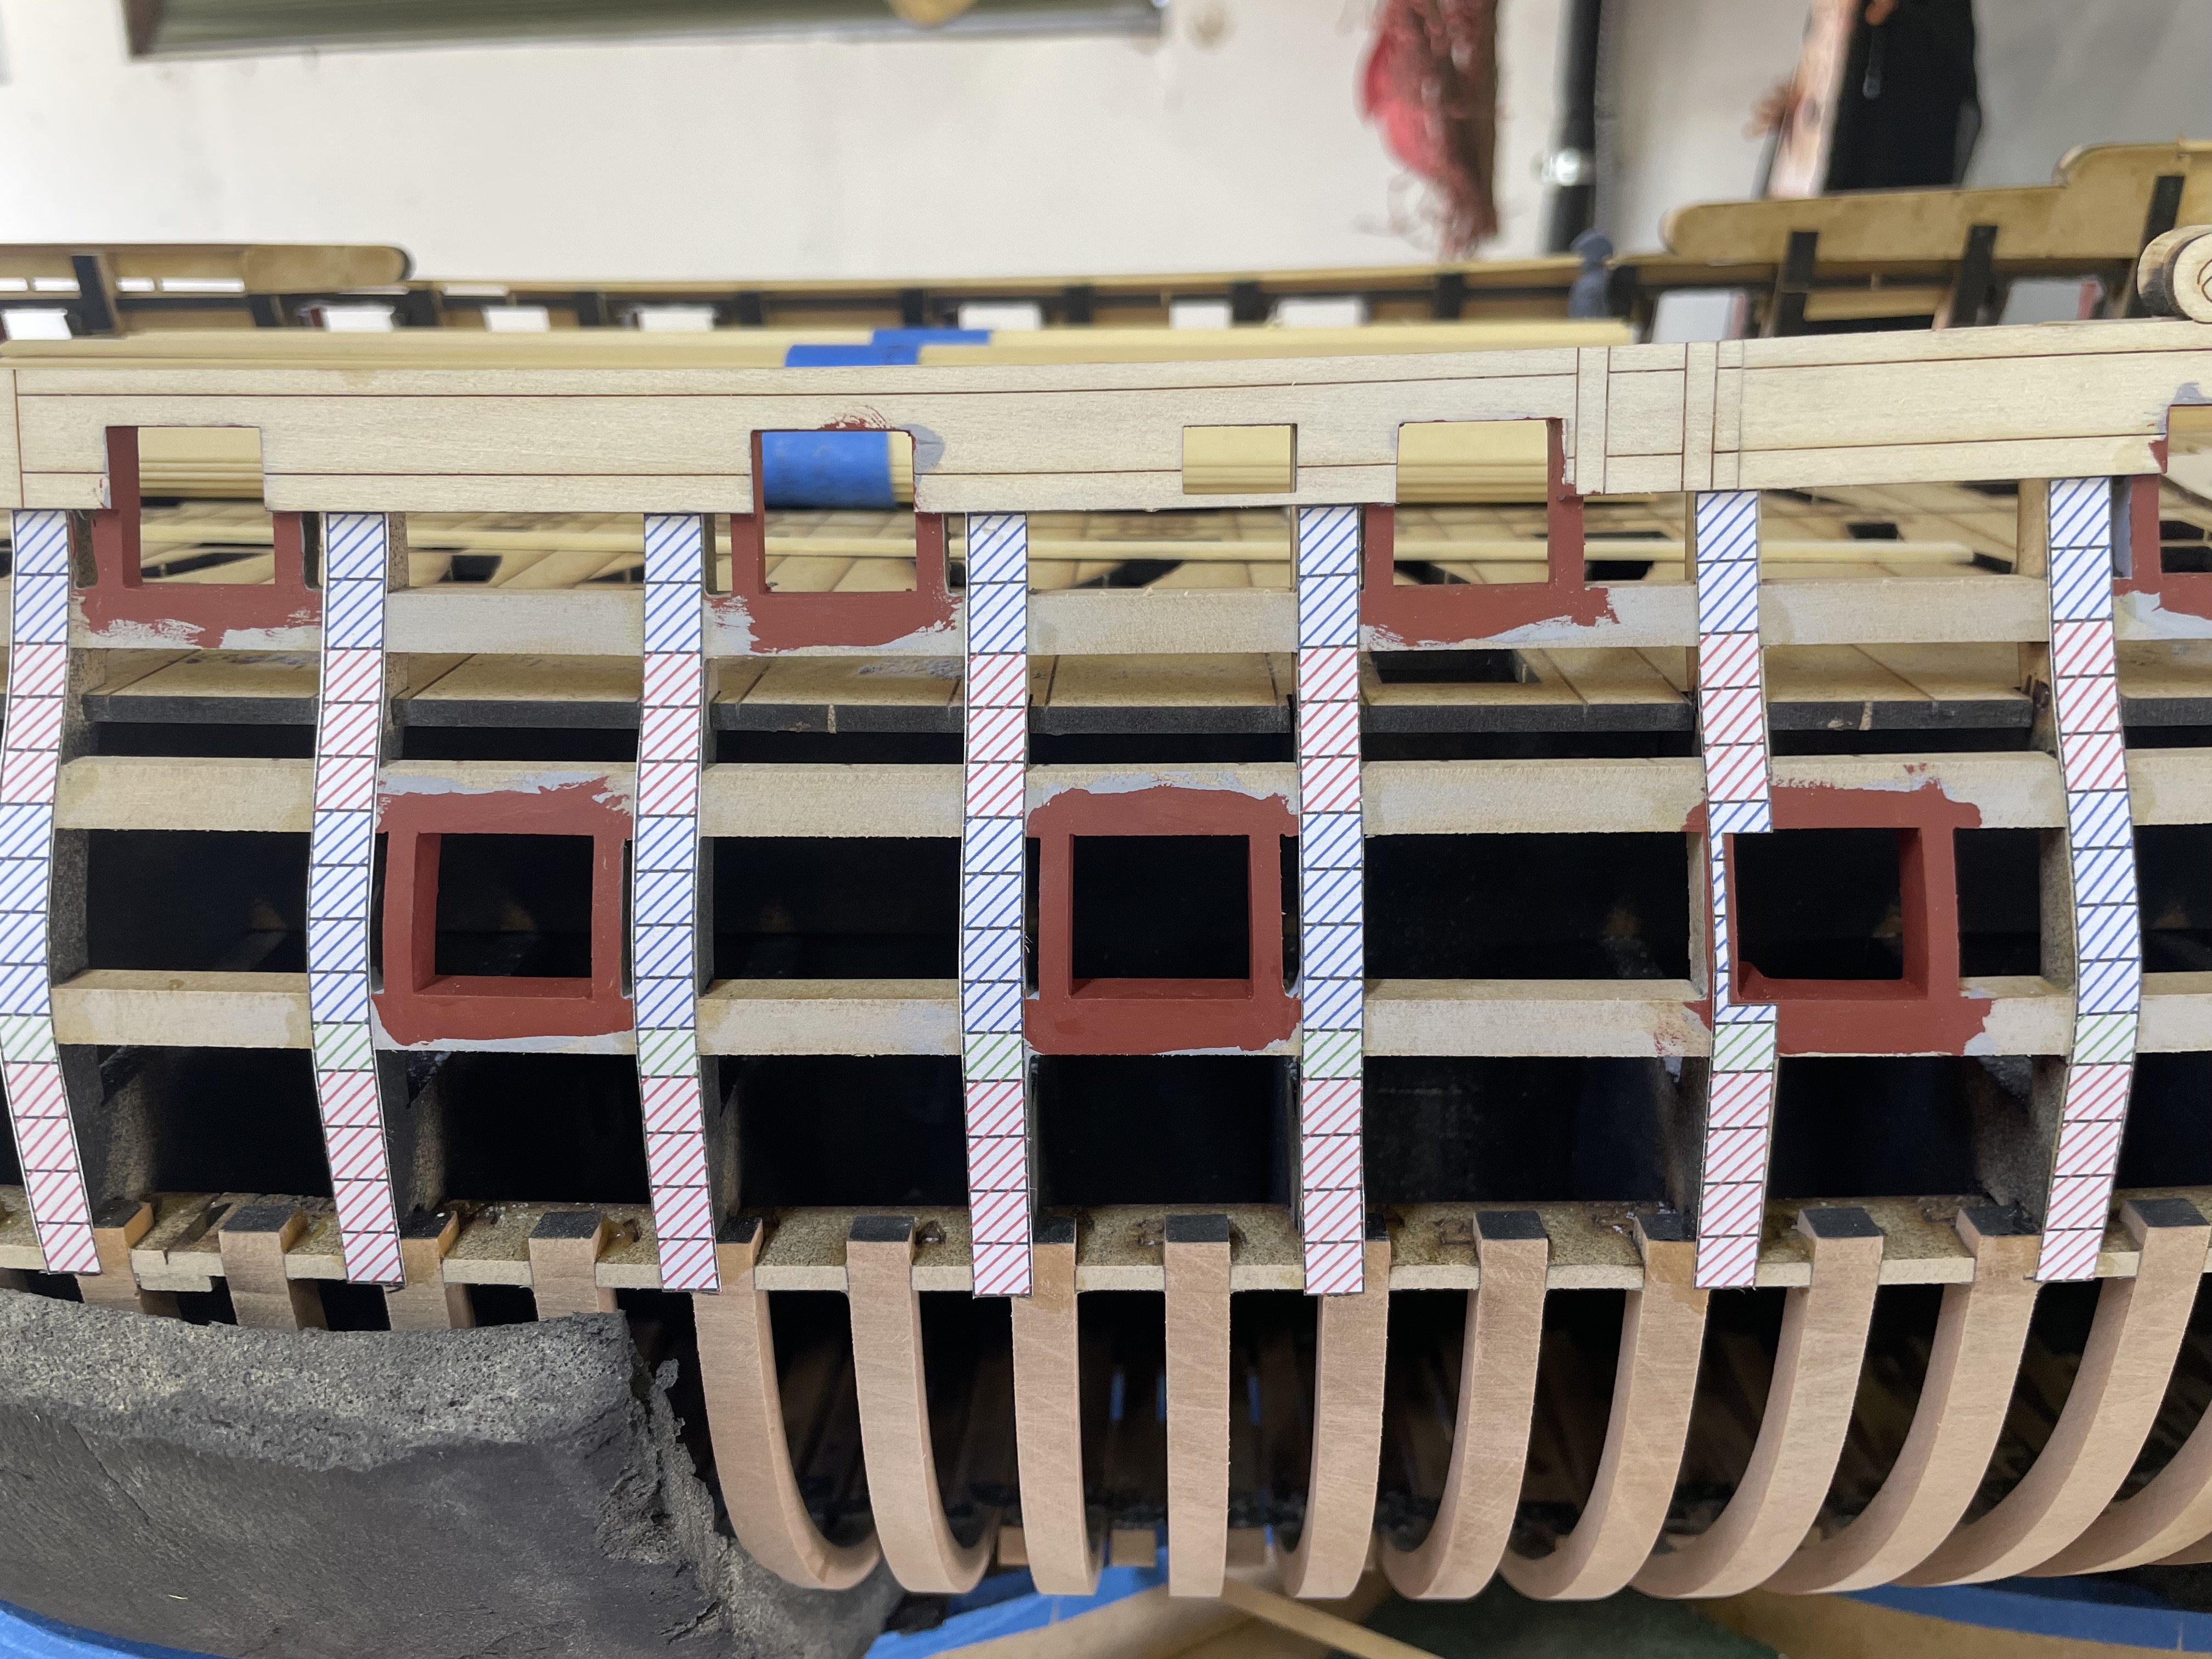
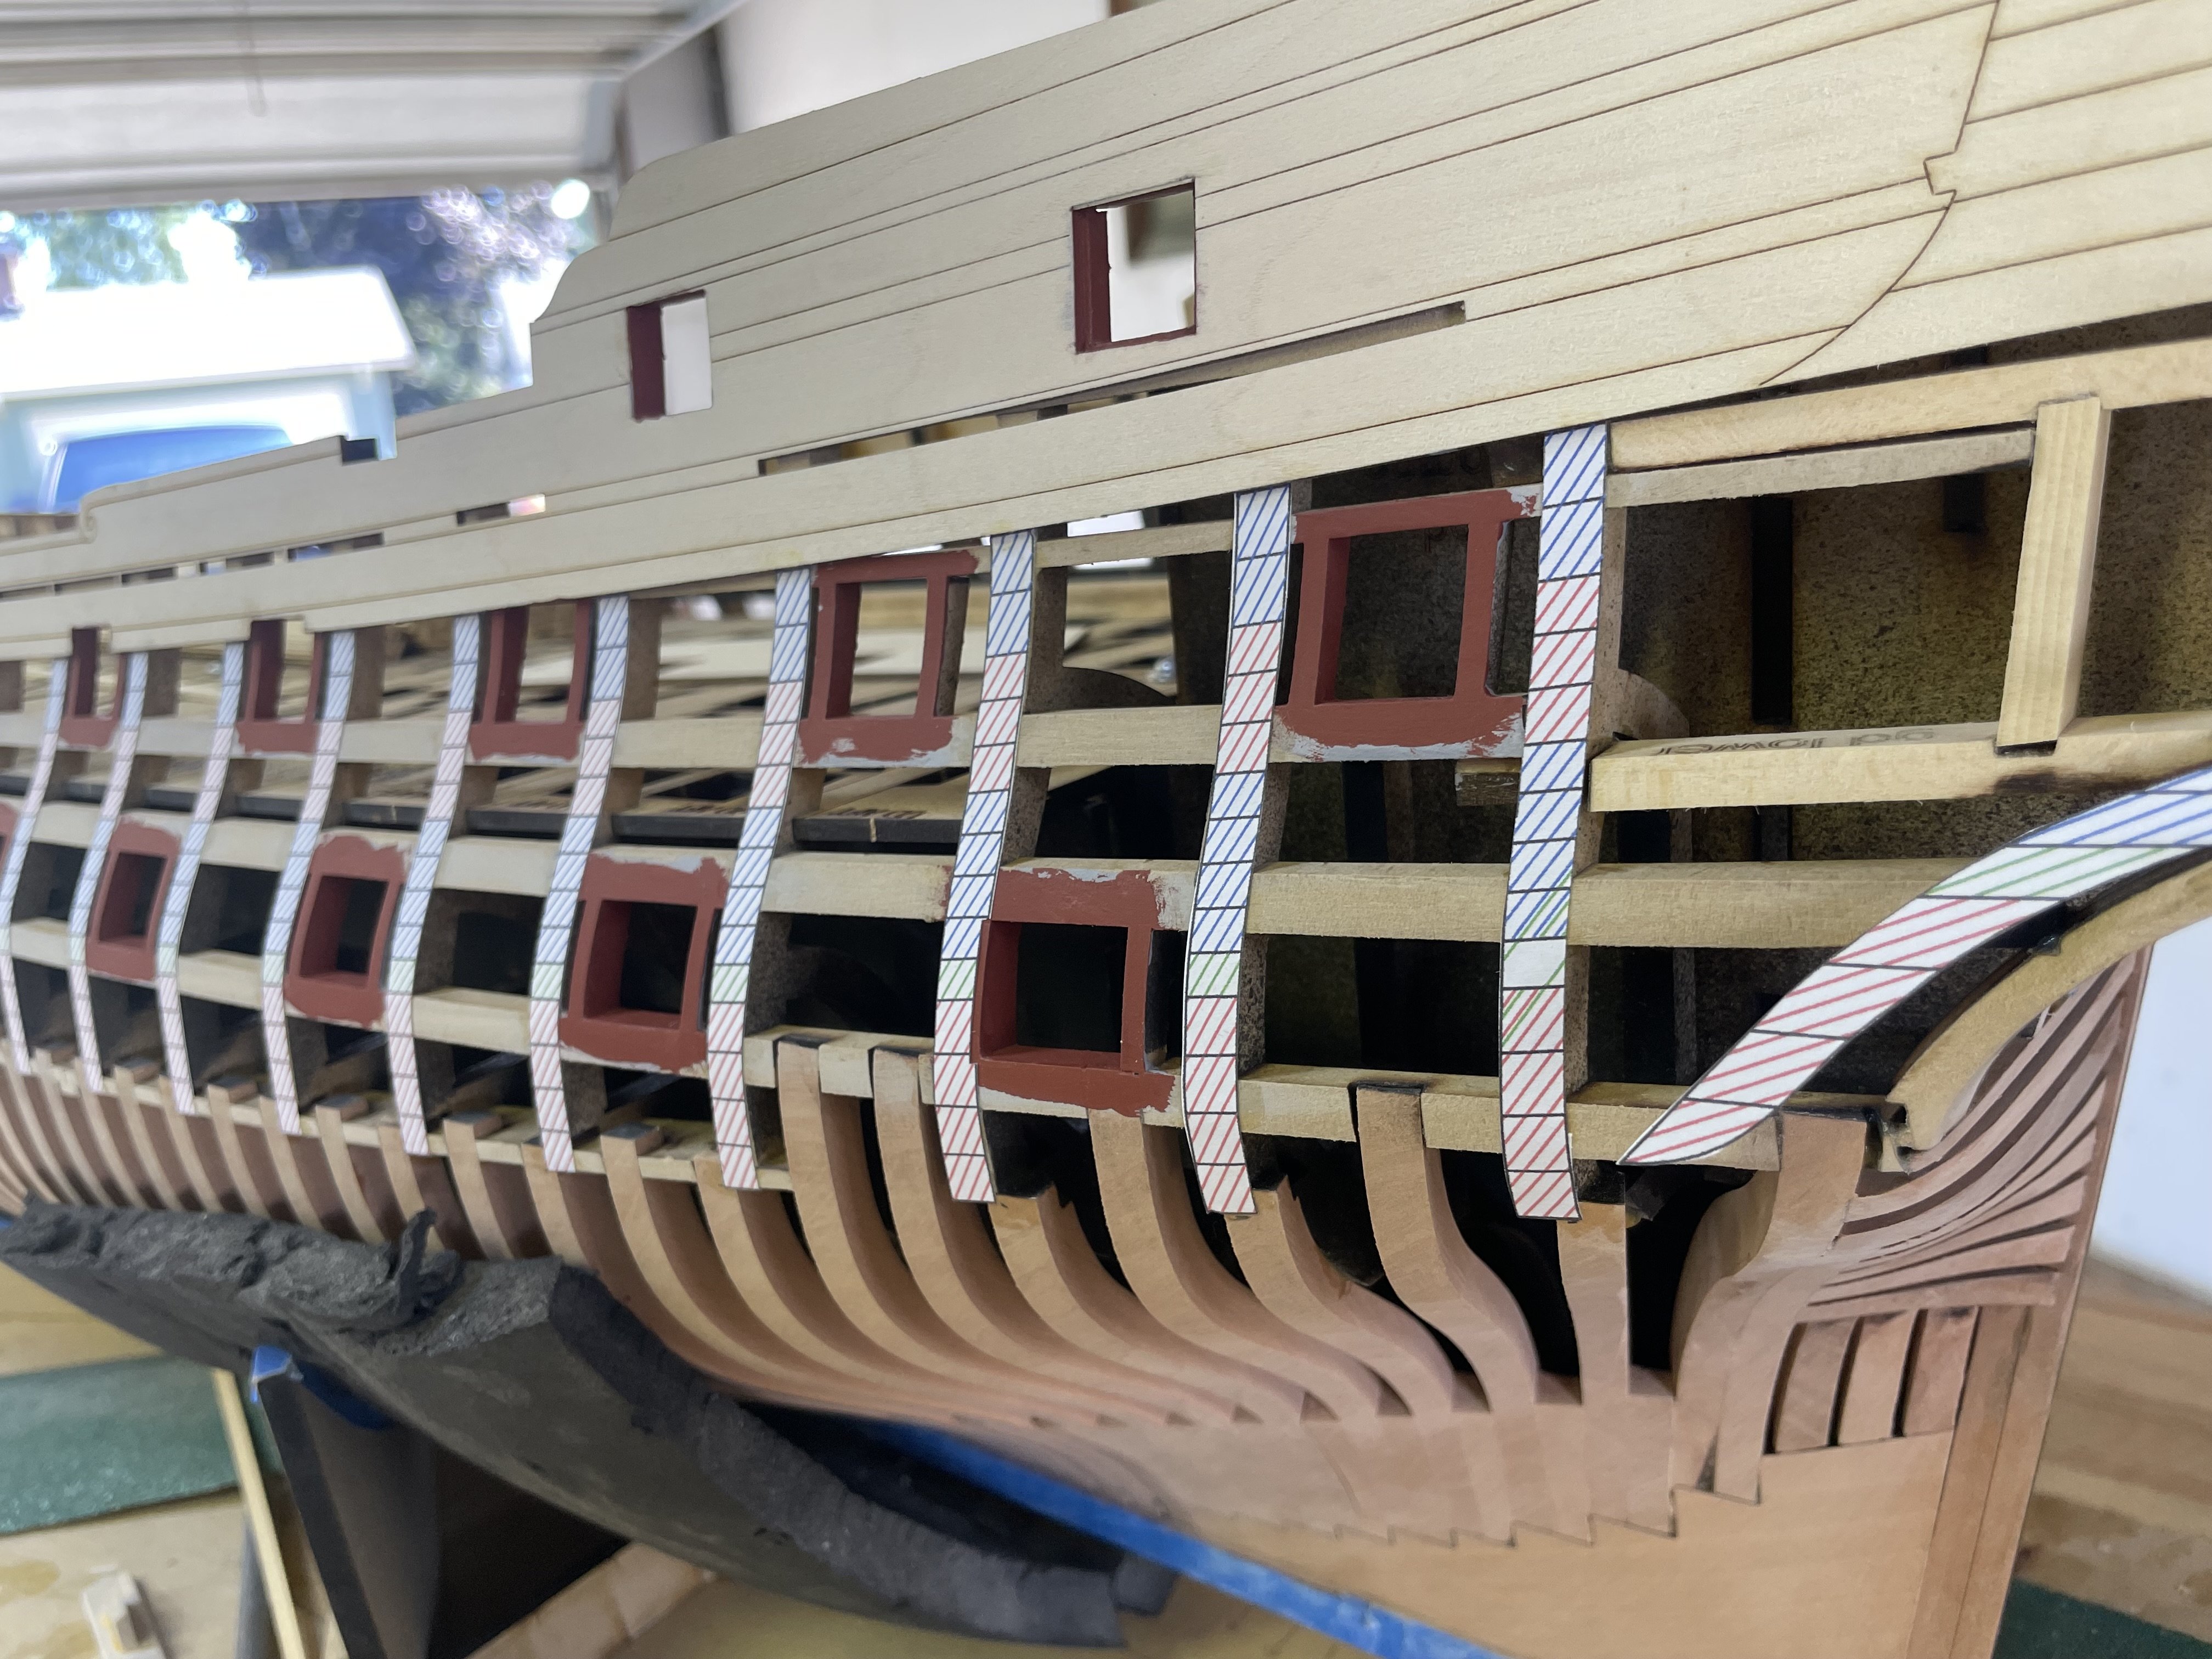
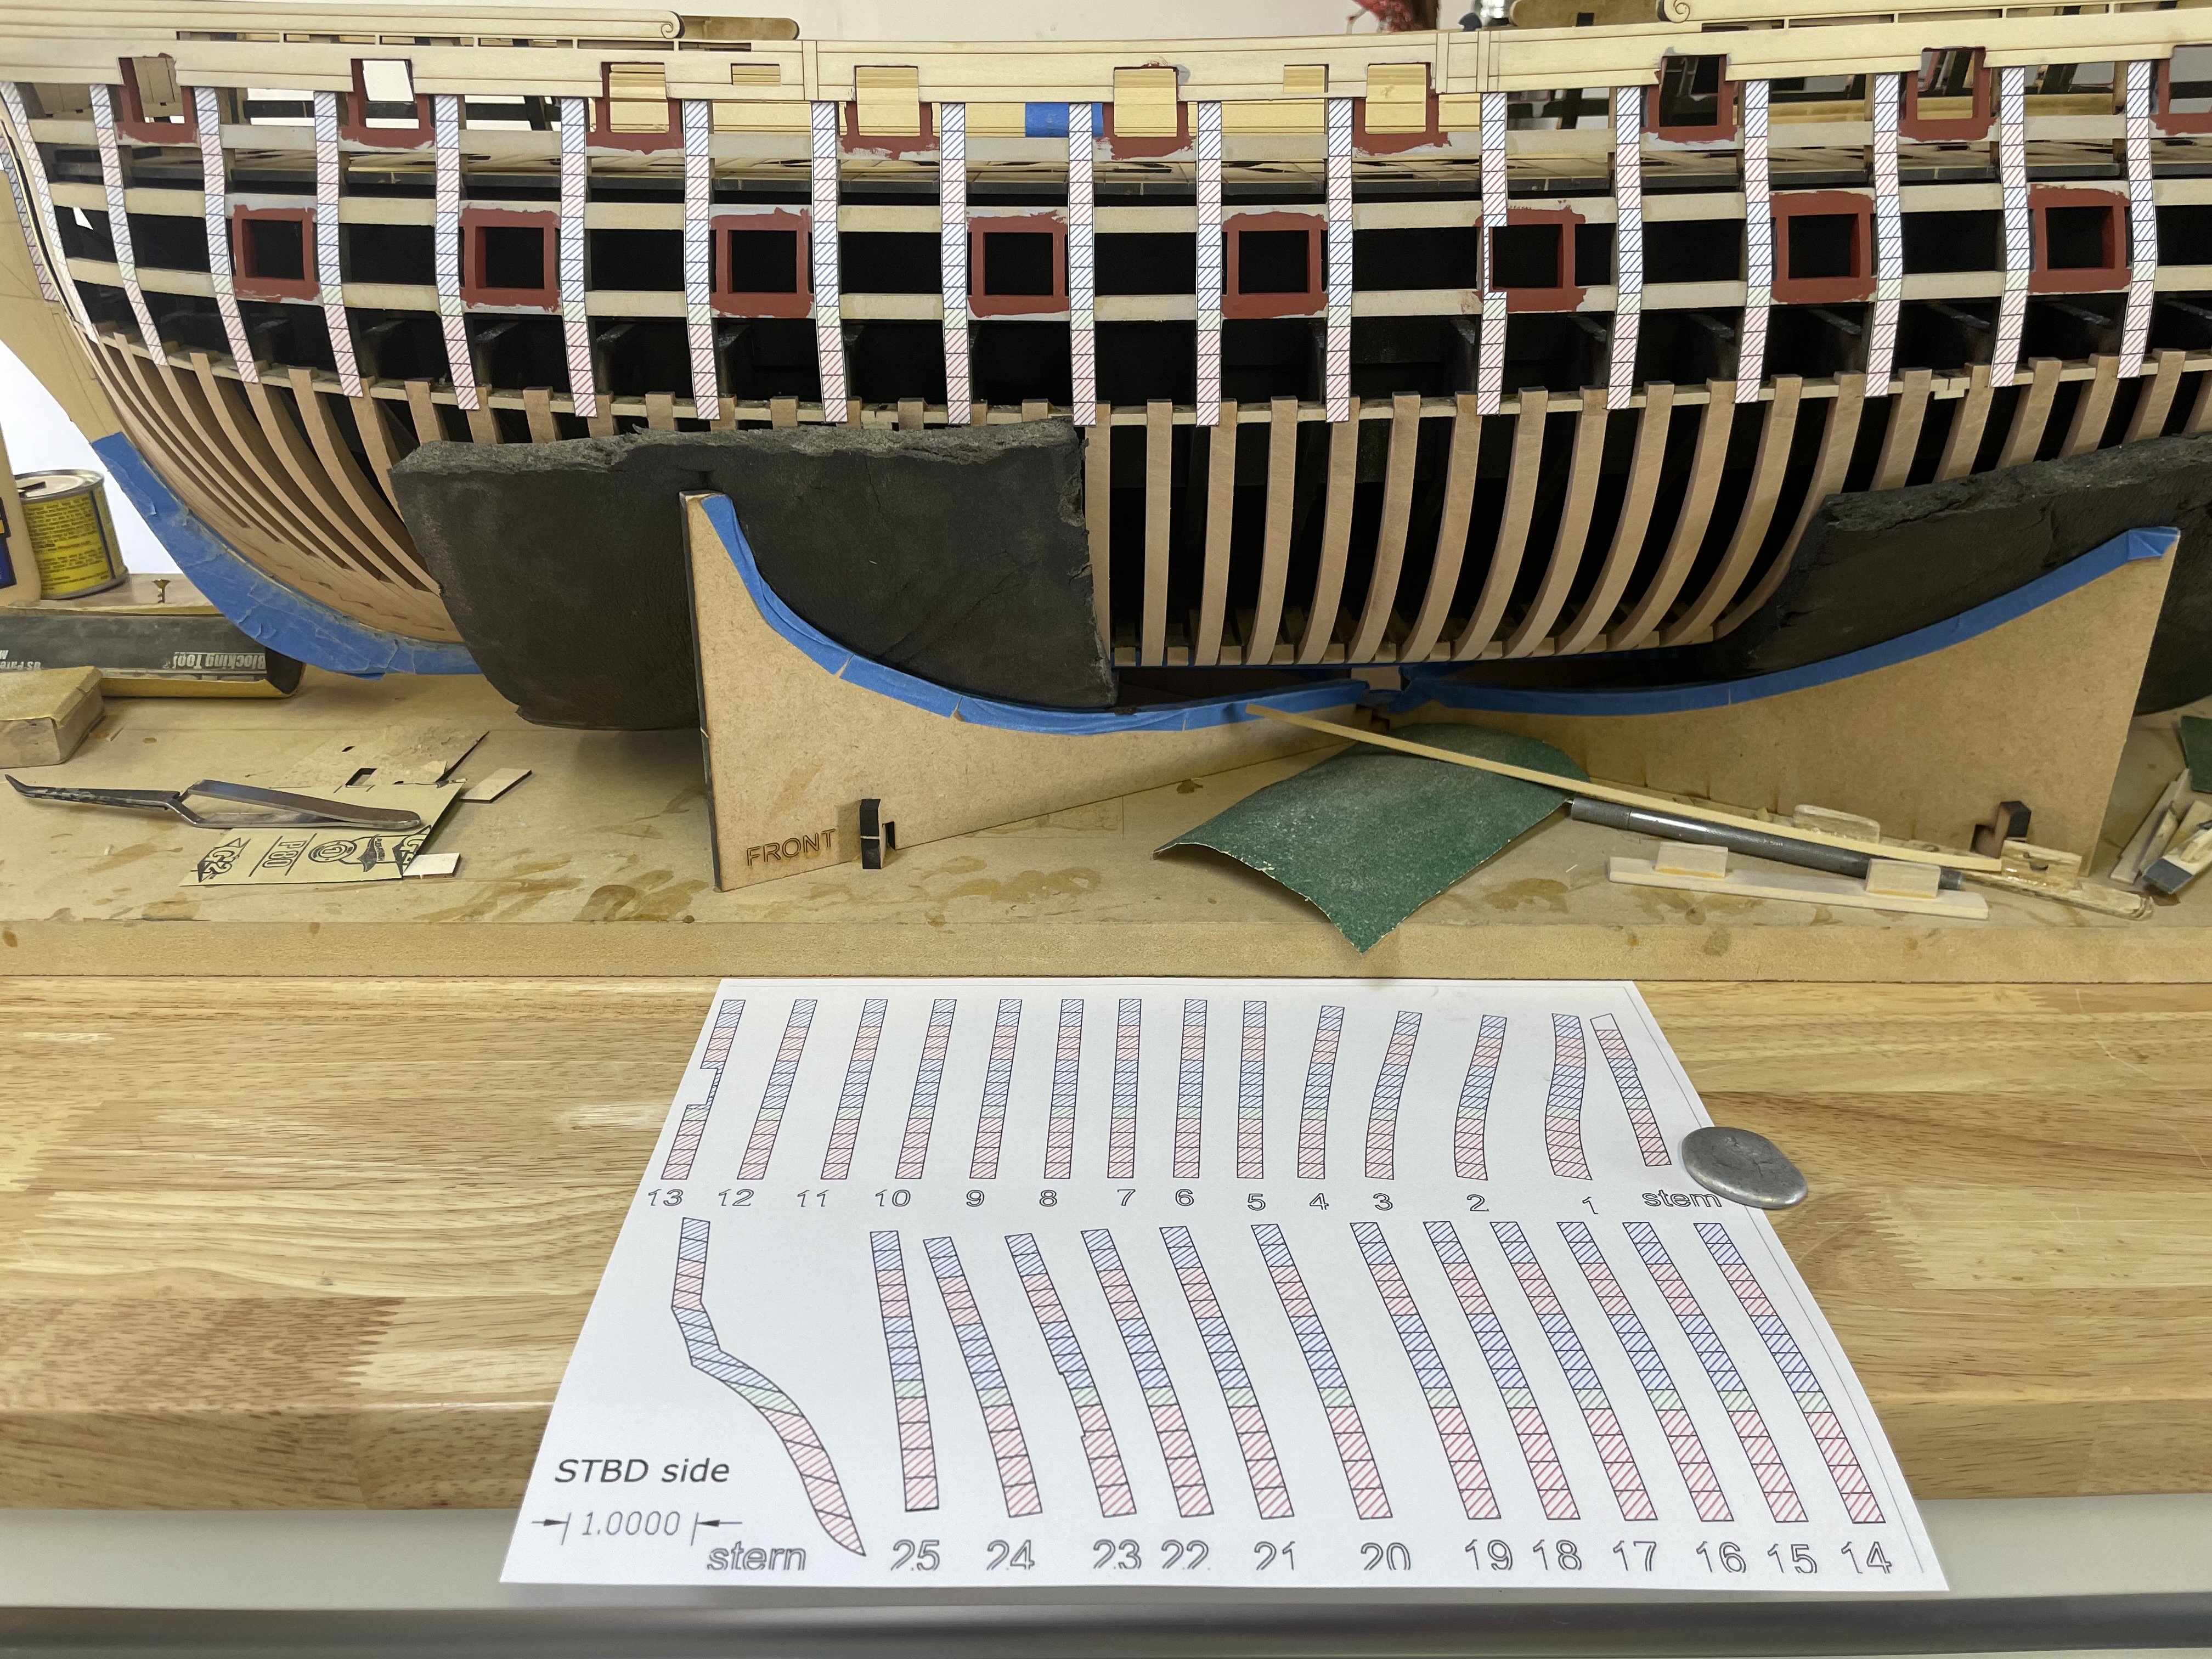
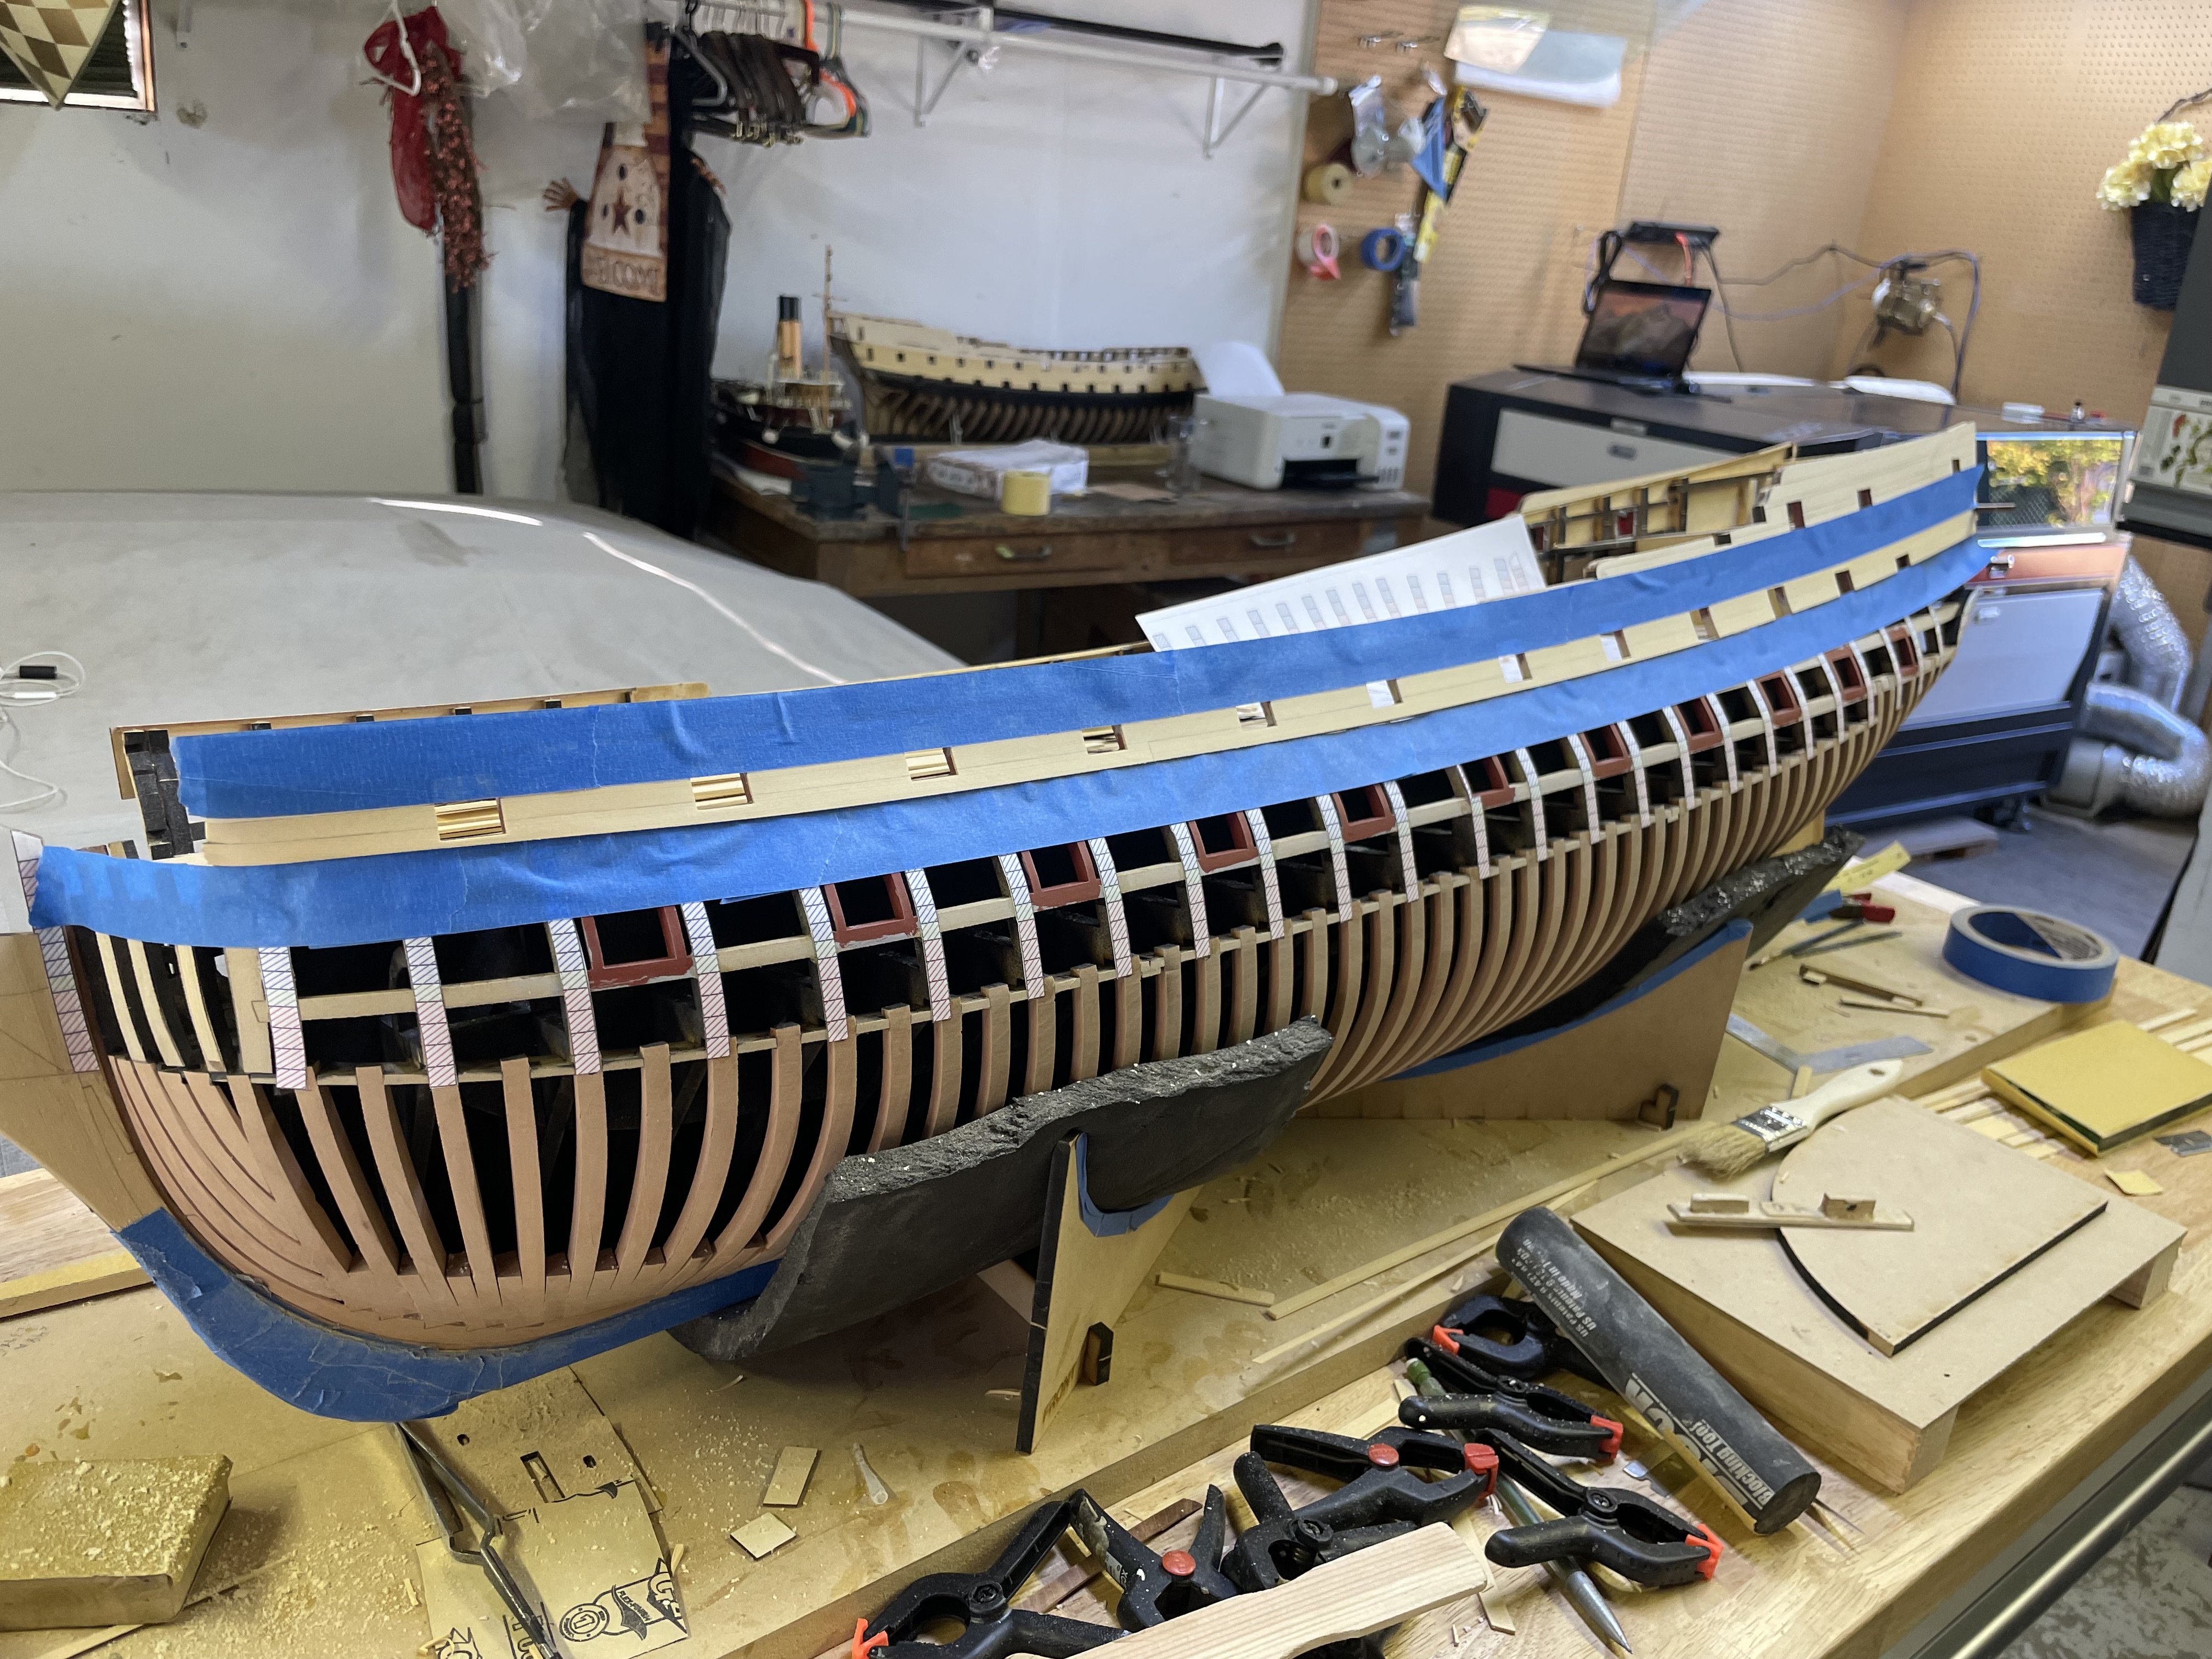
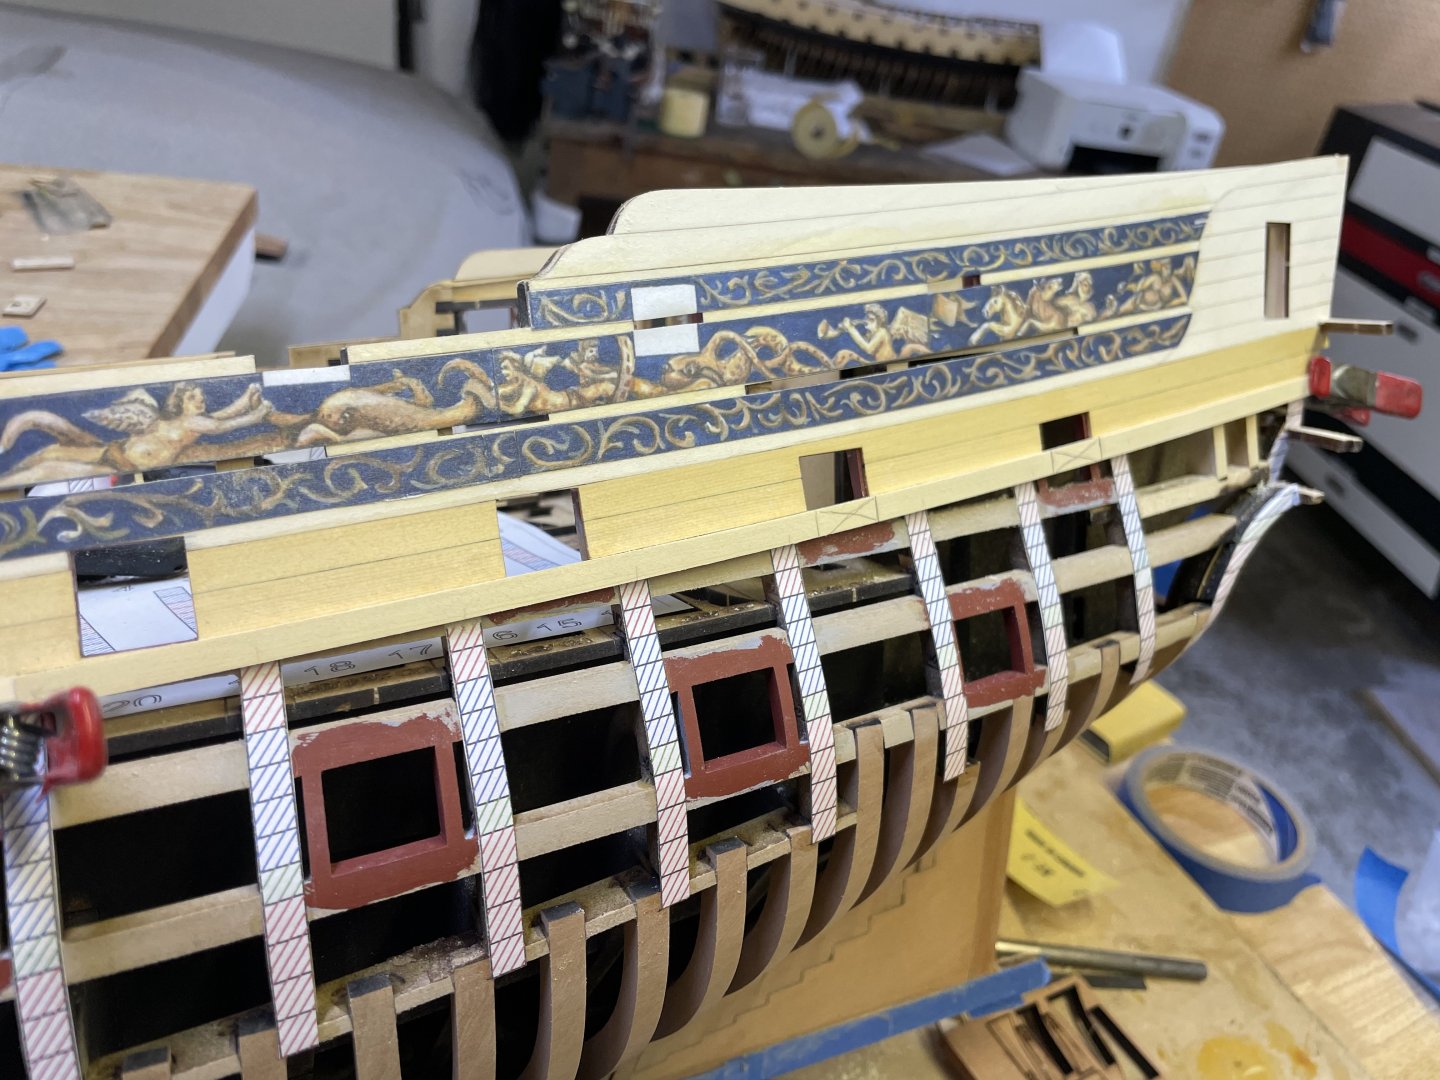
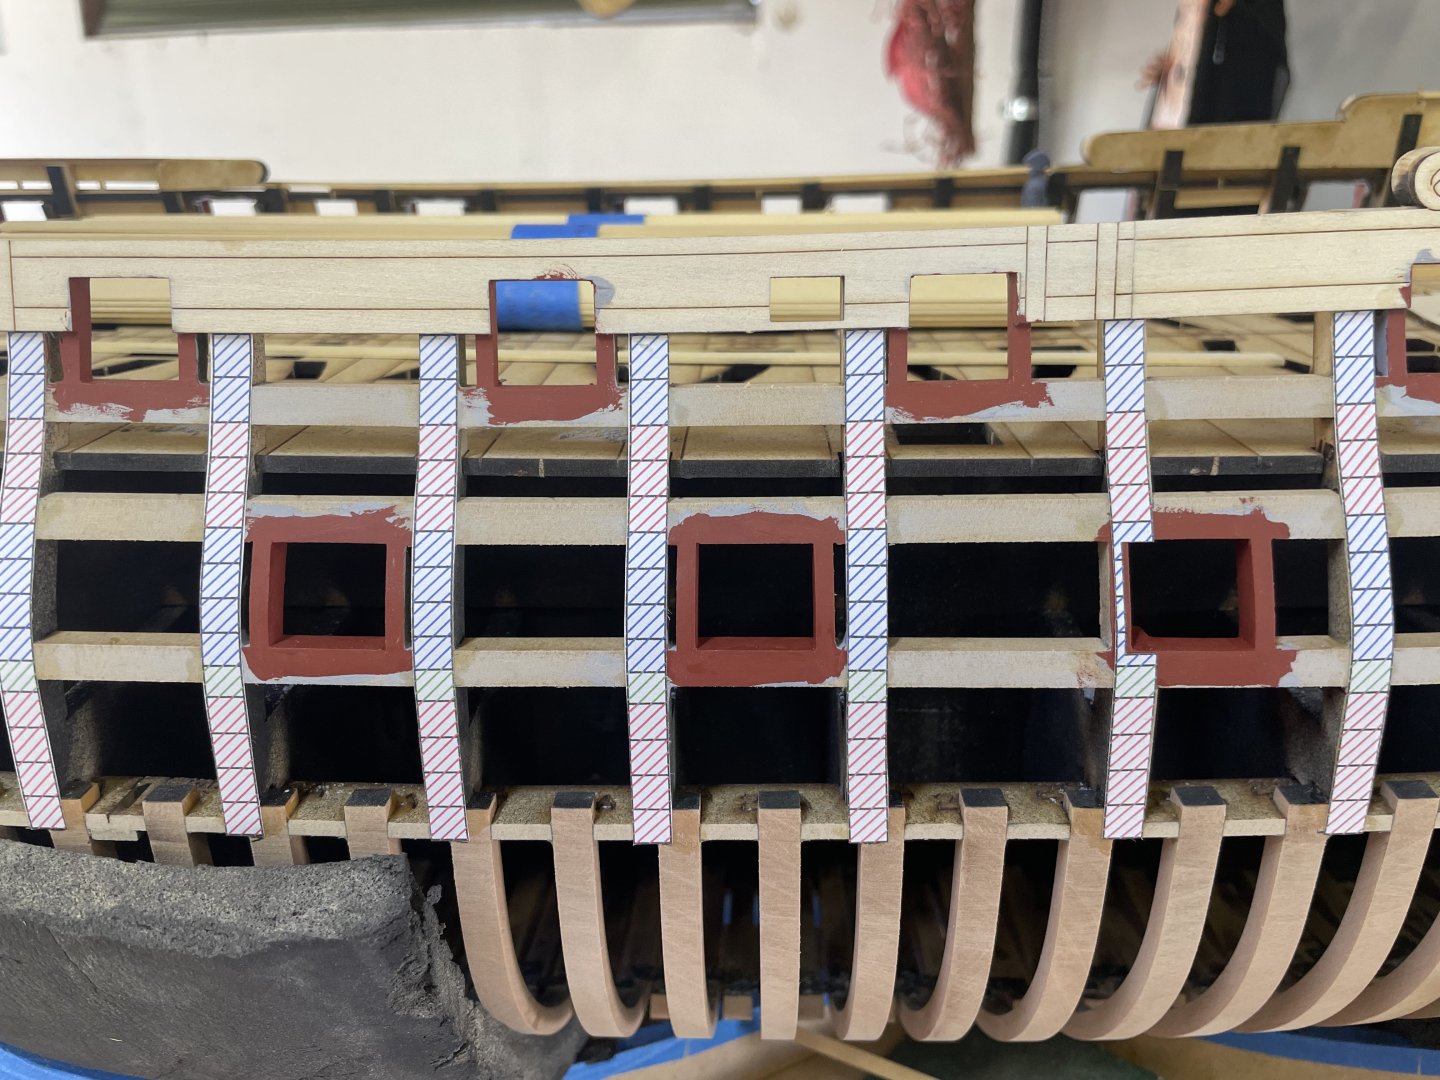
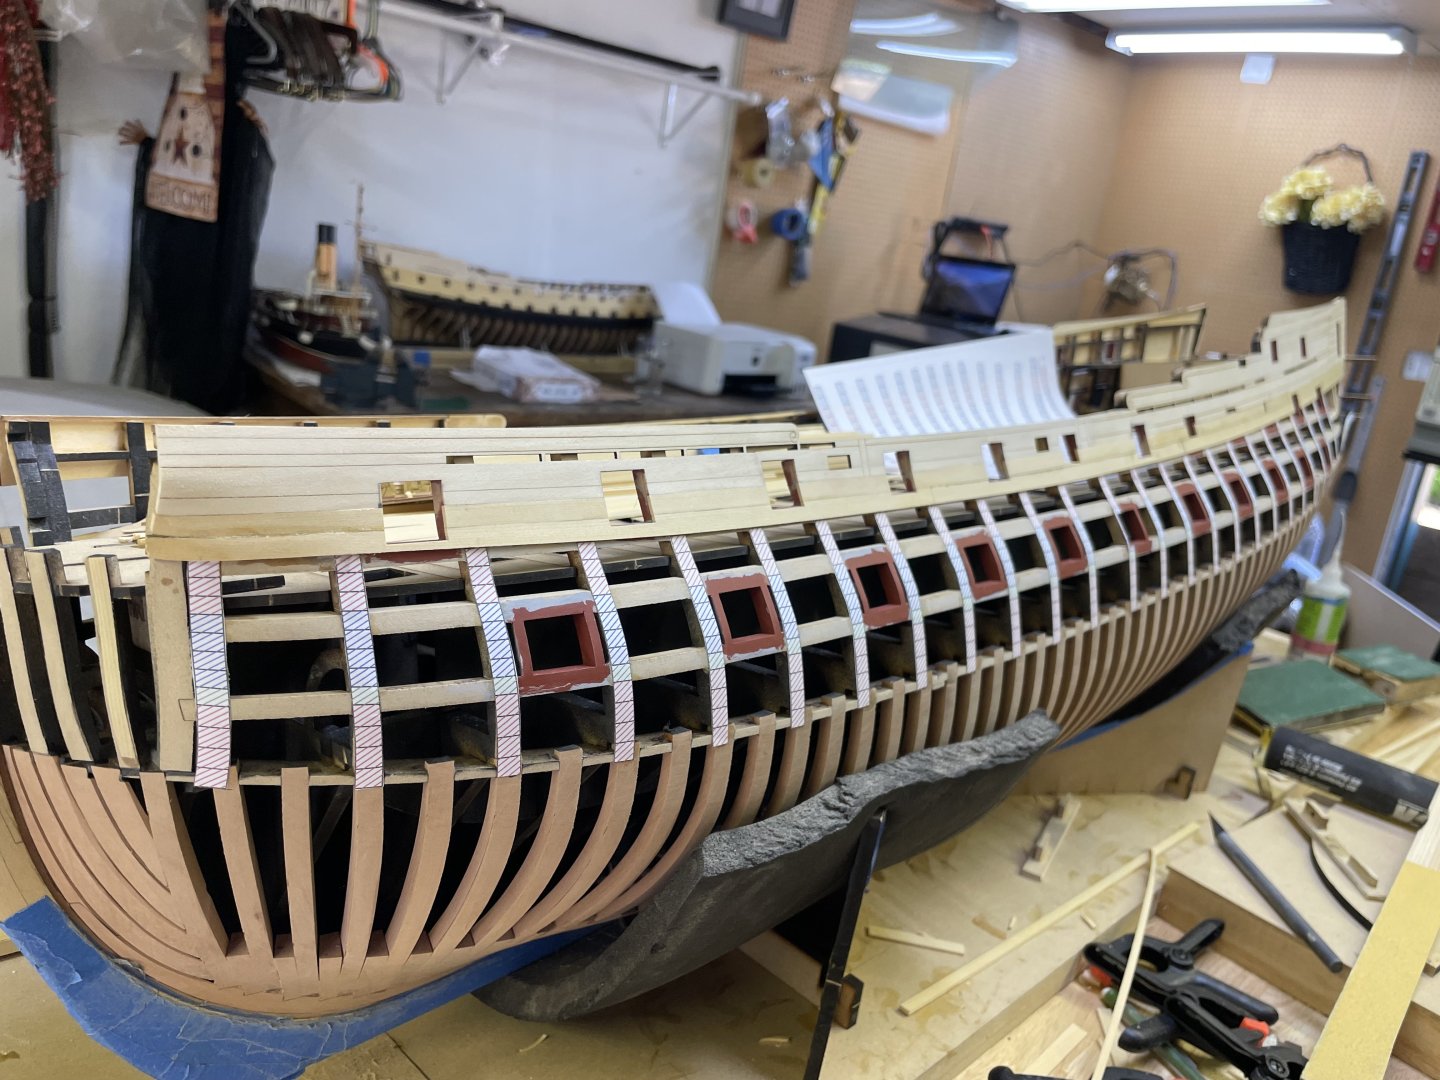
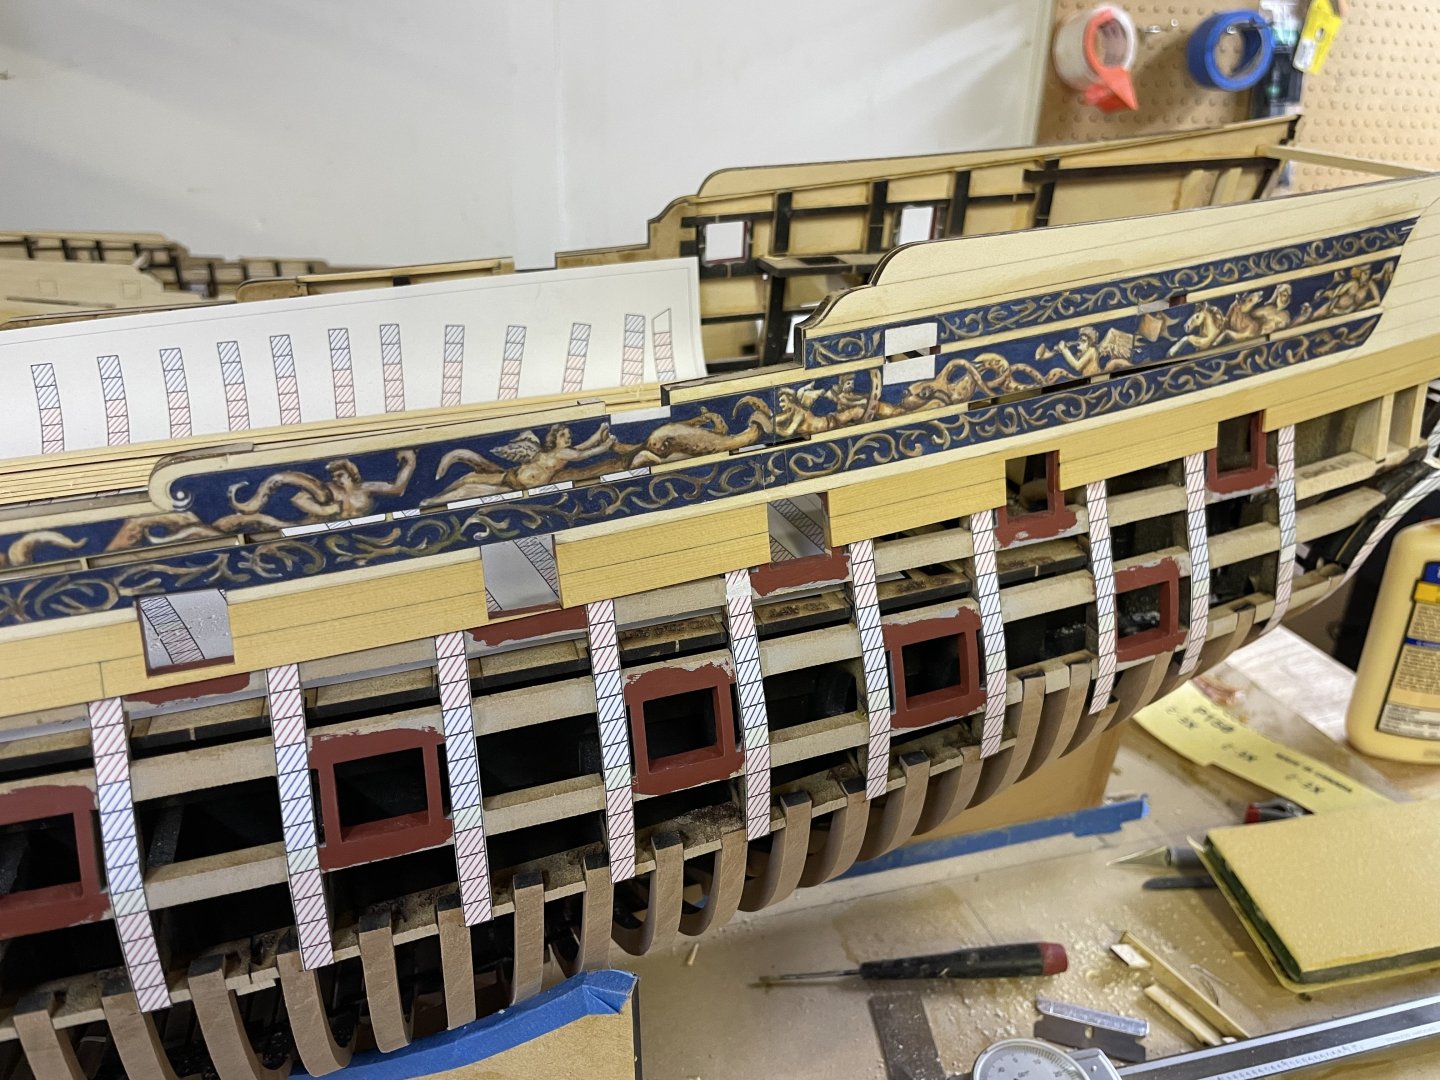
Those colors represent their respective planking belt. I will do a midship section diagram for the instructions. basically blue is regular planking .050” and red are the wales at .120-.140” with green representing the black strake. The lines are just hatching from CAD so I didn’t have to fill the whole thing with color.
-
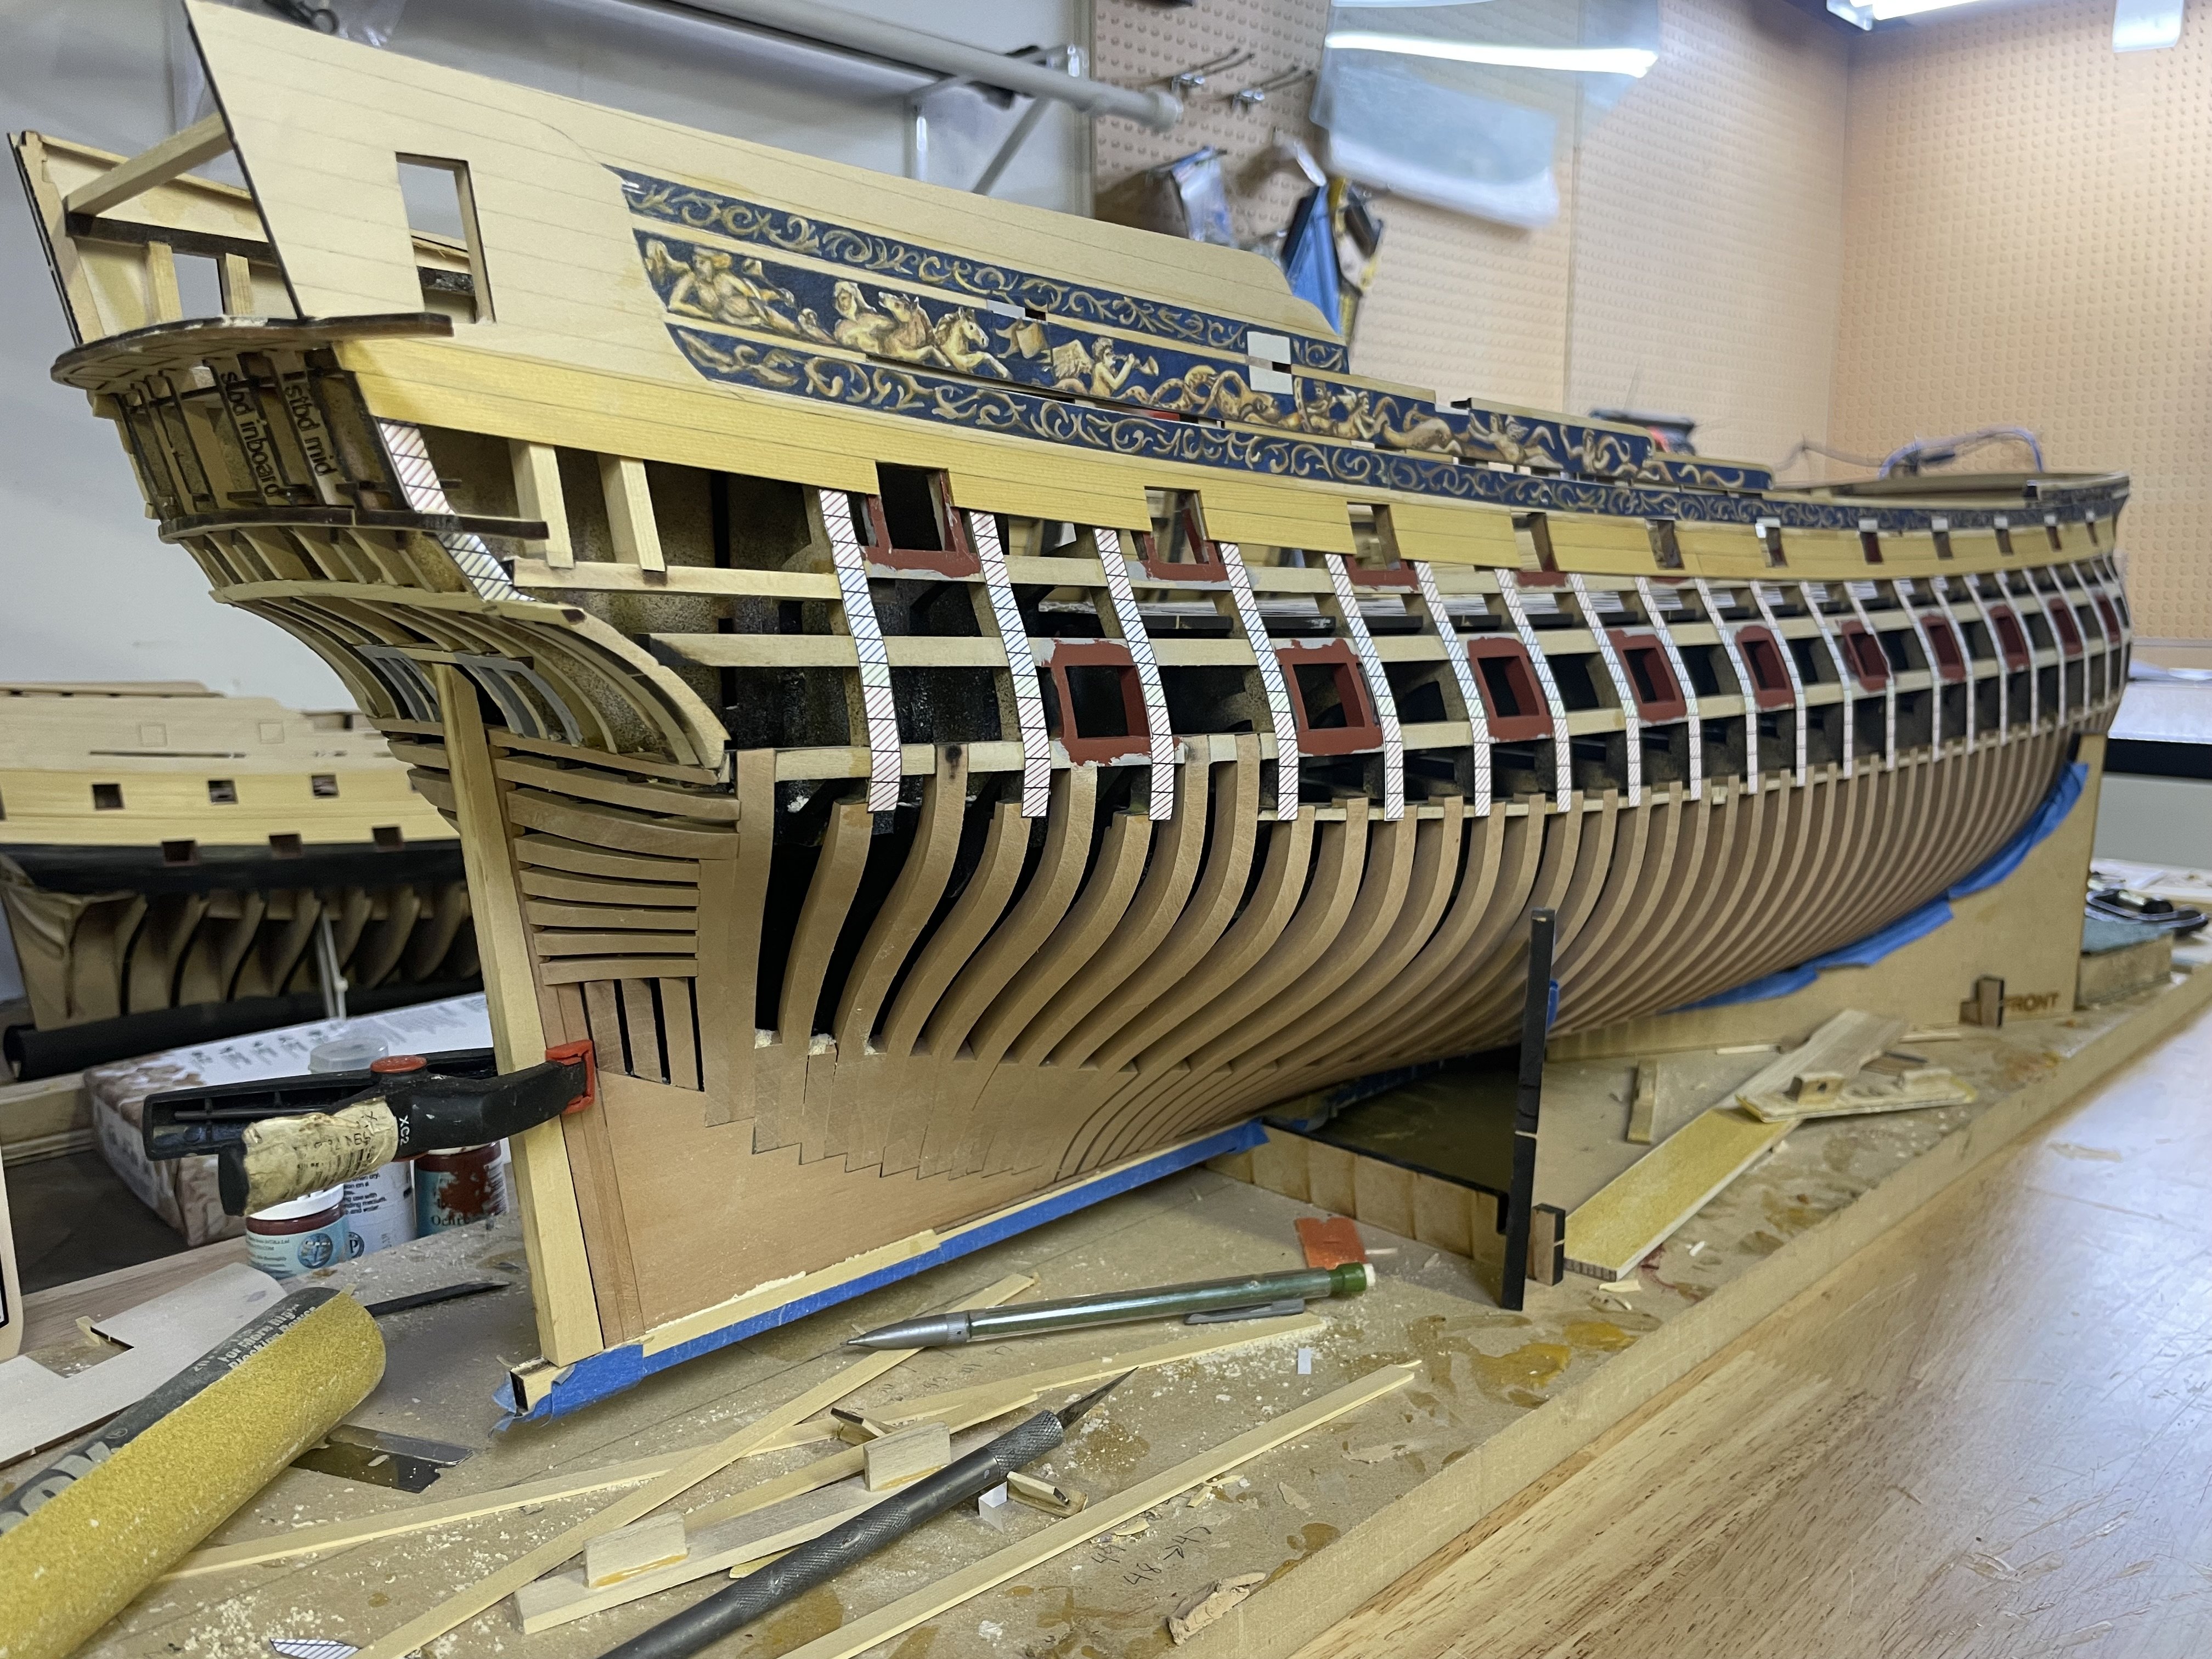
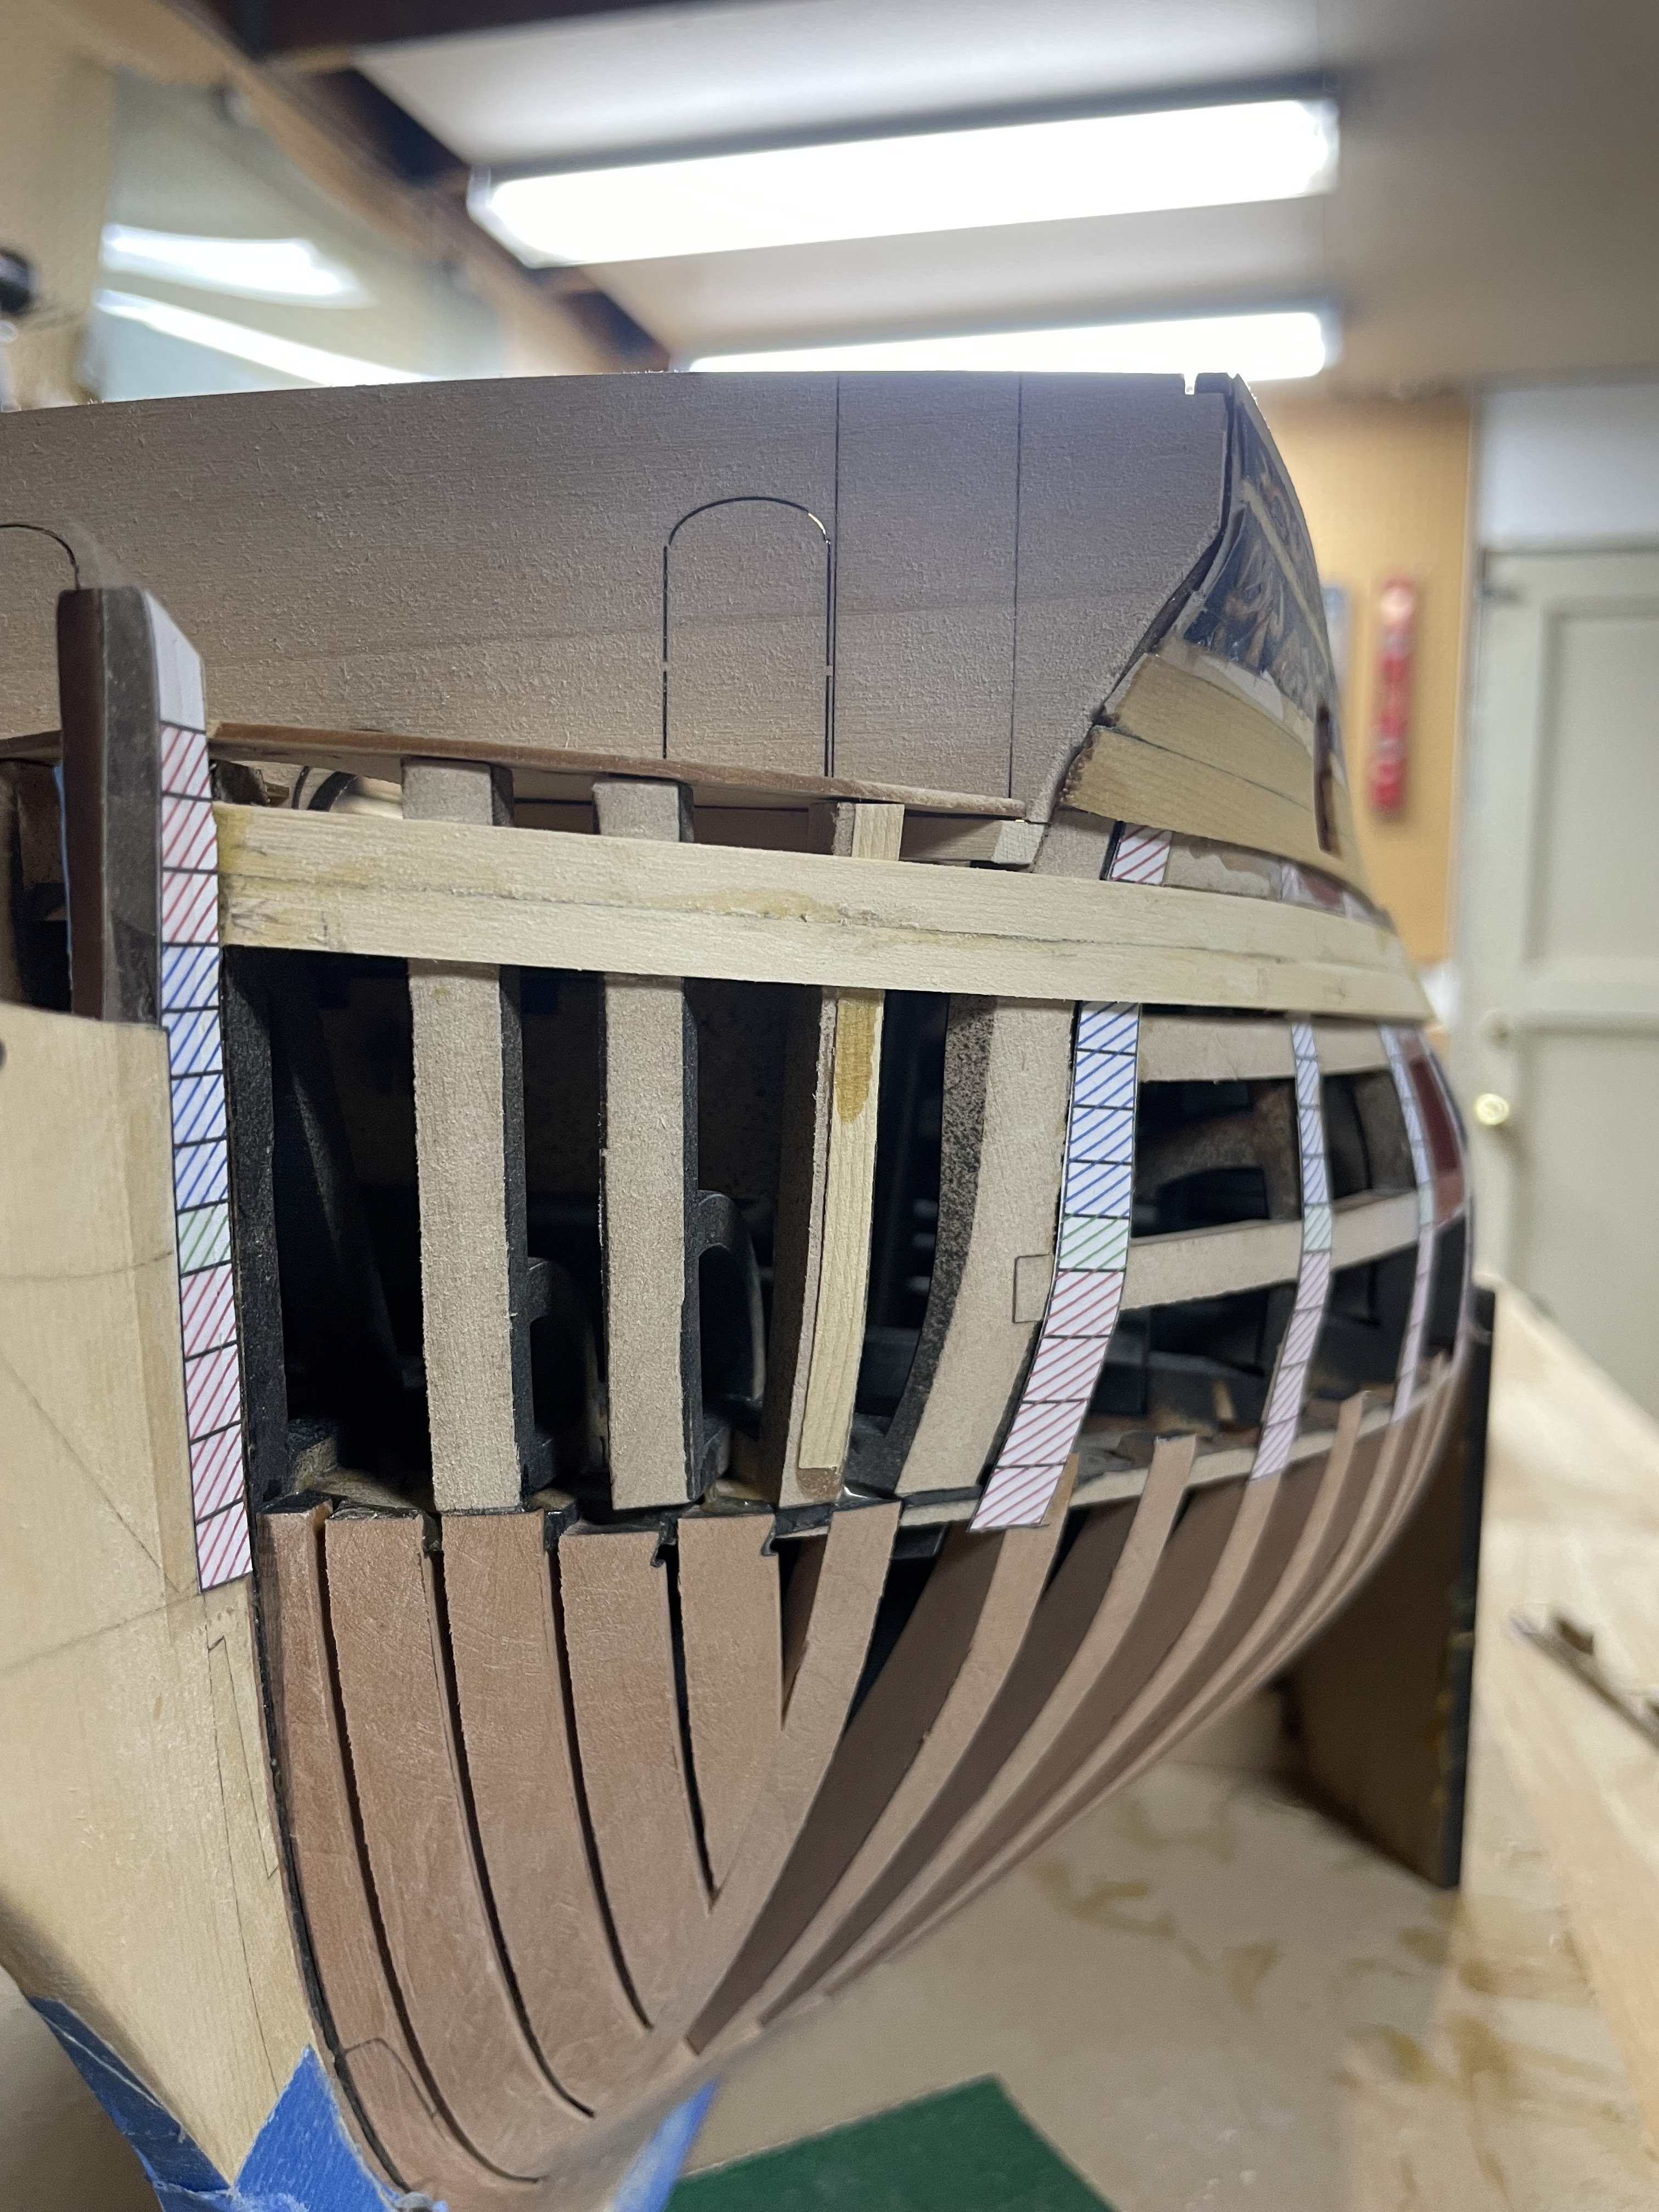
Been working on Portland all day. I started by gluing on the planking strips that I took off the 3D model, these were derived off of the 2D planking being projected onto the 3D hull and then flattening the surfaces and turning them into a printable 2D document. So far they are working as planned. I stated planking the first belt from the frieze panel down, this consists of two planks and took most of the day. I decided to run the planks right over the gunports as they won’t have doors over them, I can just sand the planks flush right to the frame. This really makes it easy to get a smooth running strake. I can simply carve out the port rough and file them down carefully. Once all the ports were opened up I block sanded the whole side down with 150/220 and then taped off that belt and sealed it with WOP to protect it, this will also allow me to paint the ports again with ease as any paint on the planks won’t soak in and will just wipe off with some alcohol leaving a perfect sharp paint edge around the port. I couldn’t resist any longer so I glued the friezes on, the fit was pretty good and I only have to make a few adjustments to the document. Overall I’m satisfied with how they turned out. I should have molding scrapers coming soon that are specifically designed to match Portlands molding profiles taken from the drawings and painting, it will be nice to tie up the blank spaces with some nice boxwood molding.


- 396 replies
-
- 28
-
-
-
Really looks good Chuck!
-
Looks great! Lovely work. You’re rapidly approaching the sanding circus!
-
That looks really good Dusan! Off to a great start. Even those cant frames move pretty quickly. The b frames actually take longer due to all the sanding.