HOLIDAY DONATION DRIVE - SUPPORT MSW - DO YOUR PART TO KEEP THIS GREAT FORUM GOING!
×

kiwiron
-
Posts
696 -
Joined
-
Last visited
Content Type
Profiles
Forums
Gallery
Events
Everything posted by kiwiron
-
 Thanks a lot Popeye,Not a bad idea with the sterm reinforcements much easier planking 0.6mm plank than 2mm.Just need to trim up the bow to look reasonable as well.
 -
Schooner Yacht by kiwiron - RESTORATION
kiwiron replied to kiwiron's topic in - Build logs for subjects built 1851 - 1900
Thanks for the advice Tom,i can do what i like to it as he gave it to me just see what people think is the best.The rest of the bowsprit is included and a few more blocks.Good idea with the sails and photo's.I would like to remove the deck to see how it is constructed underneath and who knows maybe a date of build.To do that i would possibly need to remove the cap rails.I have had a look under one of the cabins aft end the deck is quarter inch solid wood and looks like the hull is carved out of a solid piece of wood like a dug out canoe.We'll see.ron. -
Hi Mike, i think i just solved the mystery about why you needed to fill the stern.The 3rd to 6th filler pieces at the stern were the wrong way around.Good thing is you got around it and she looks great.The Endeavour hull has all sorts of funny shapes to it thats for sure.Sorry about this stupid underline,i can't get rid of it.
-
Poor man what a shocker you started with.
-
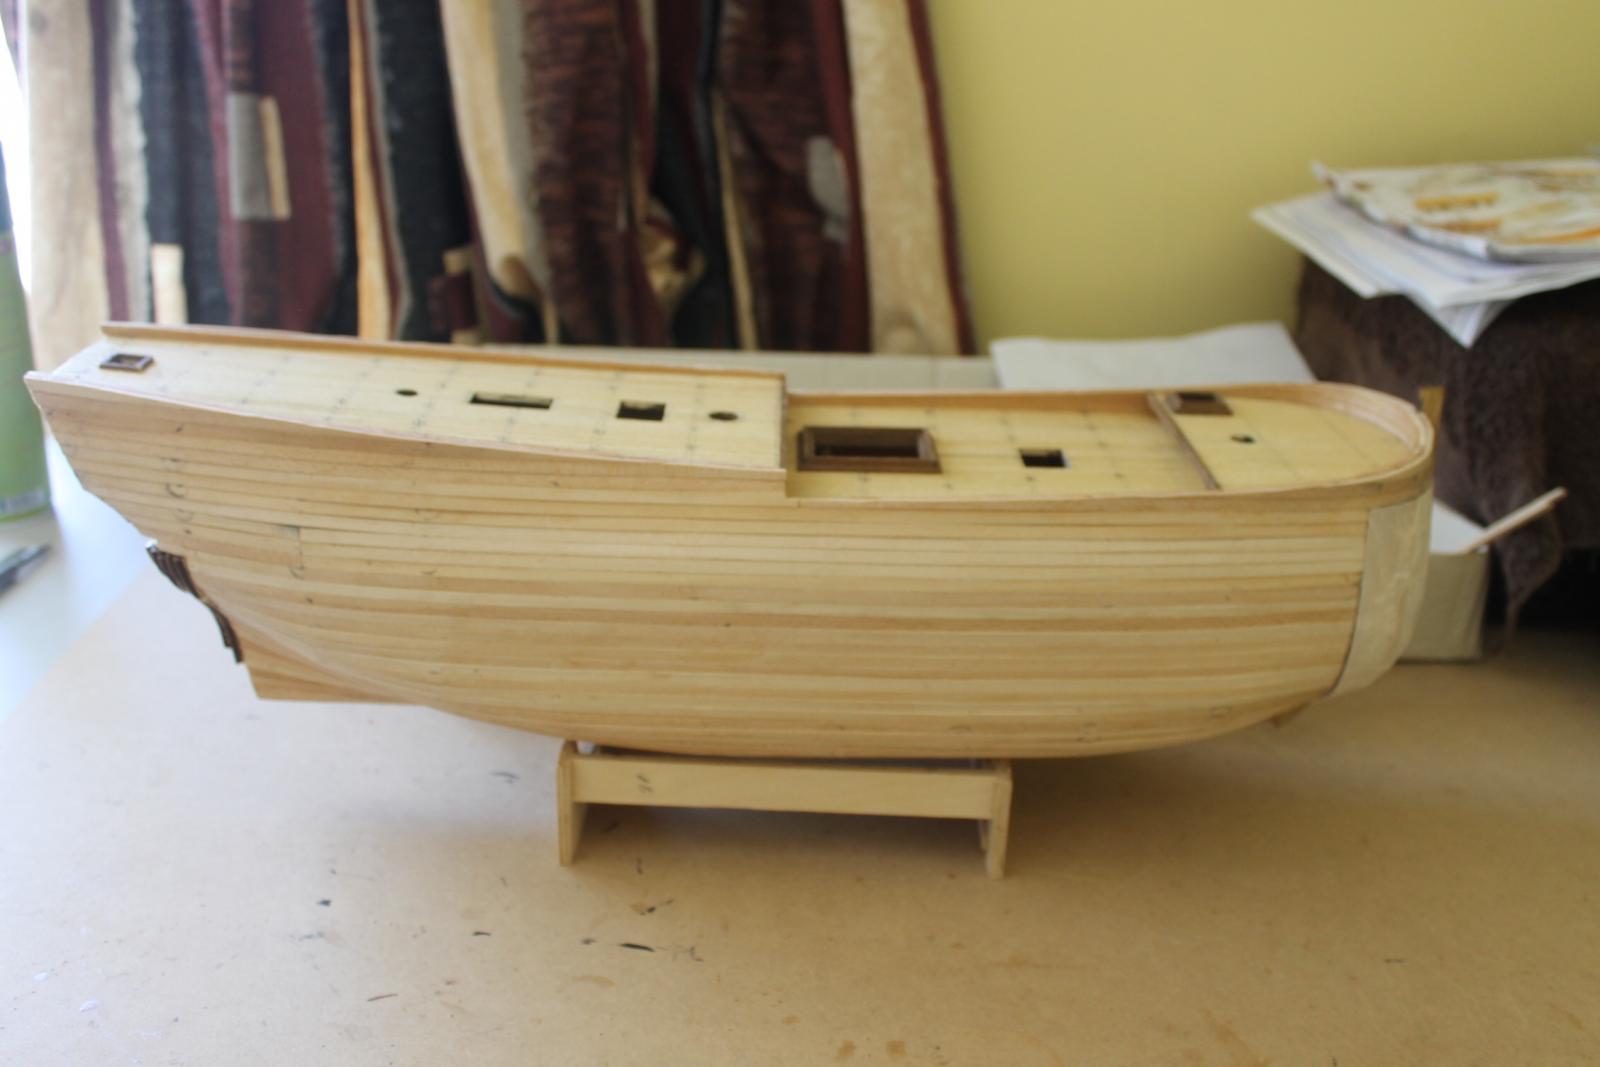
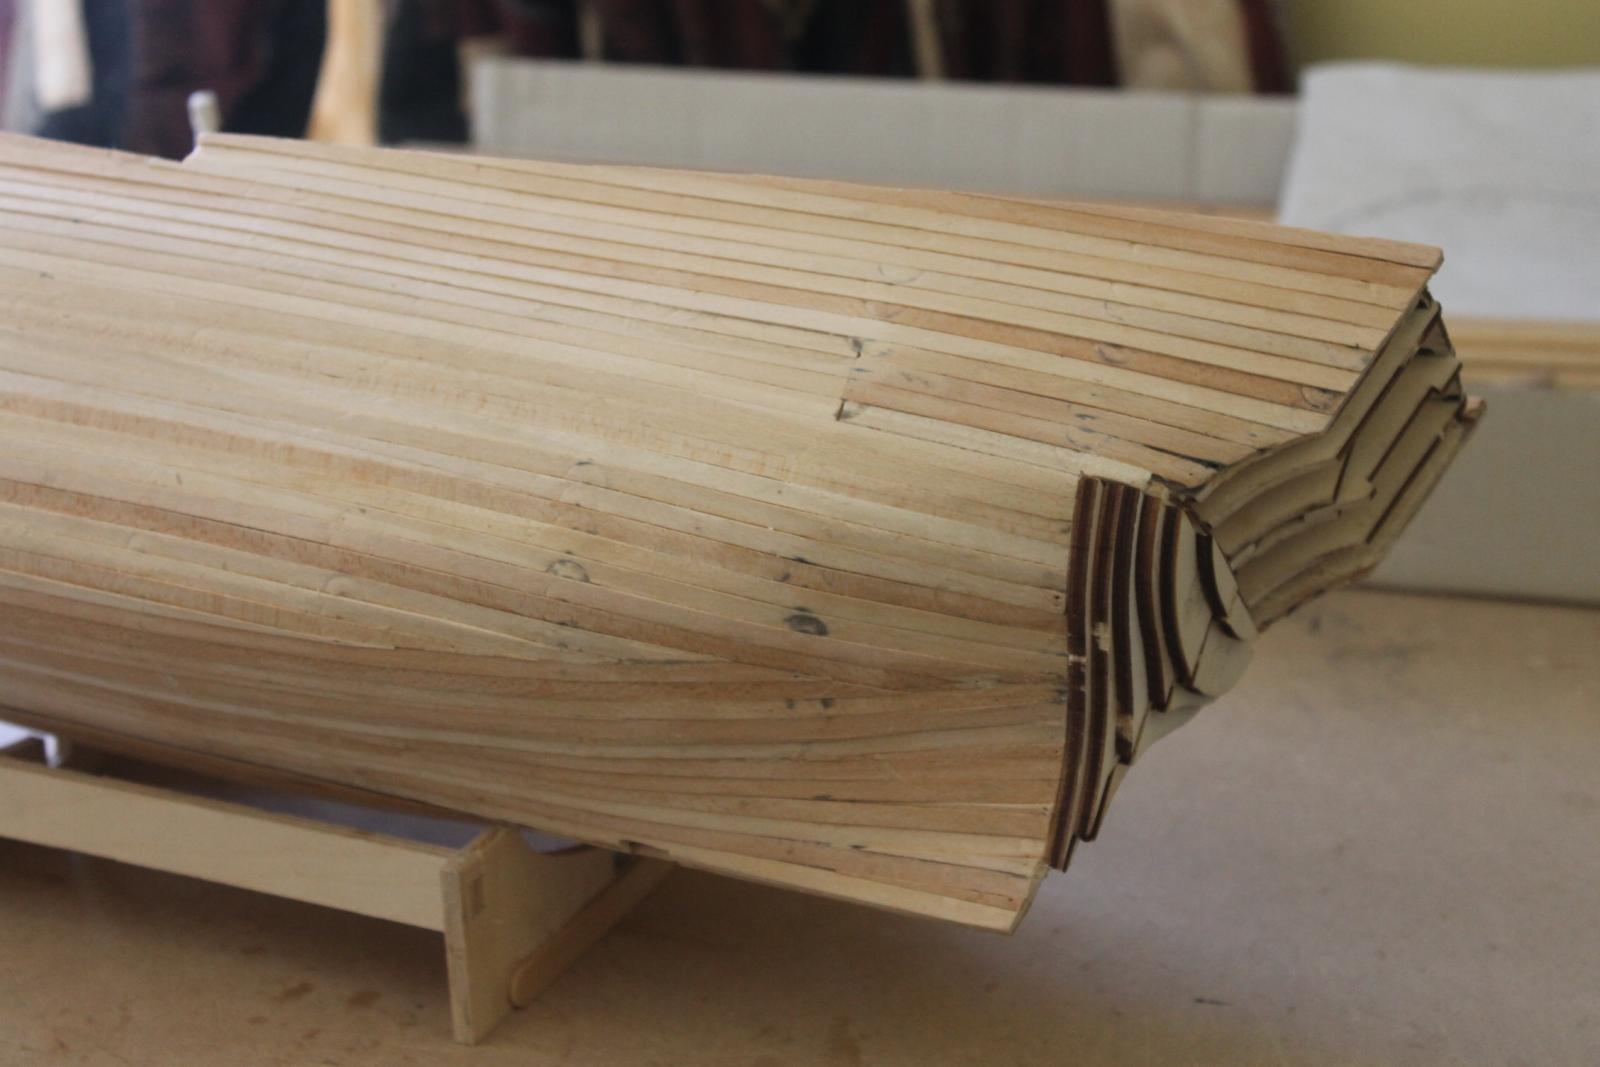
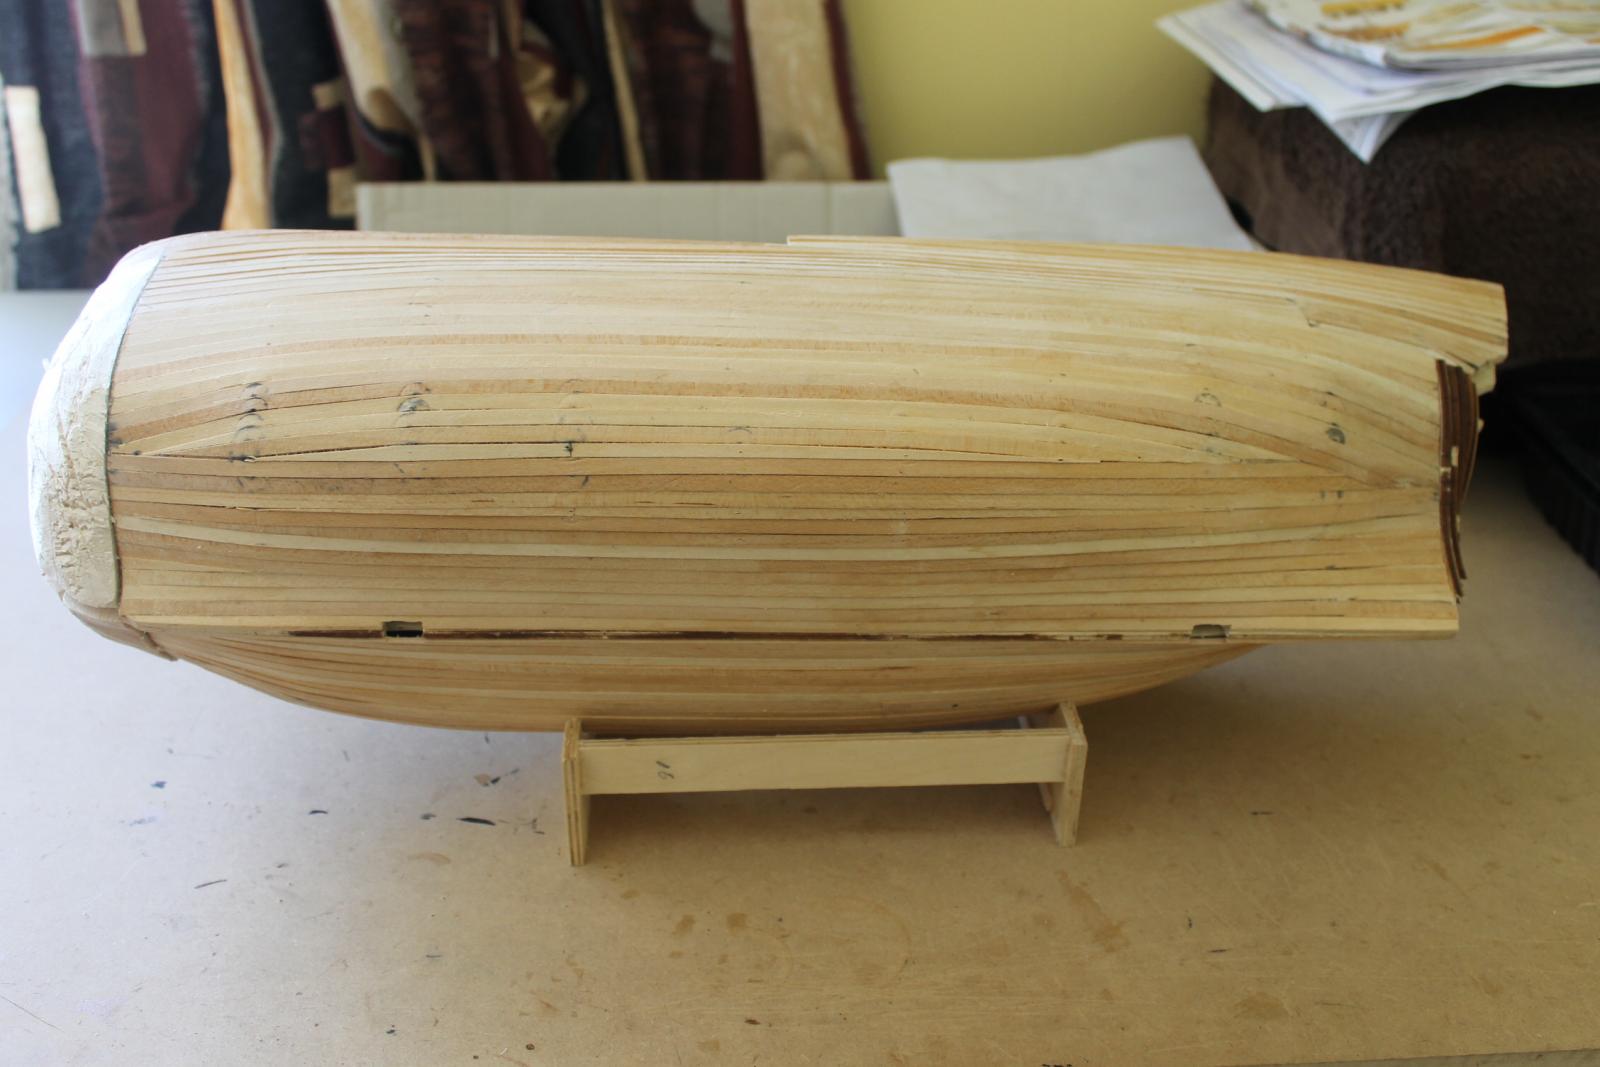
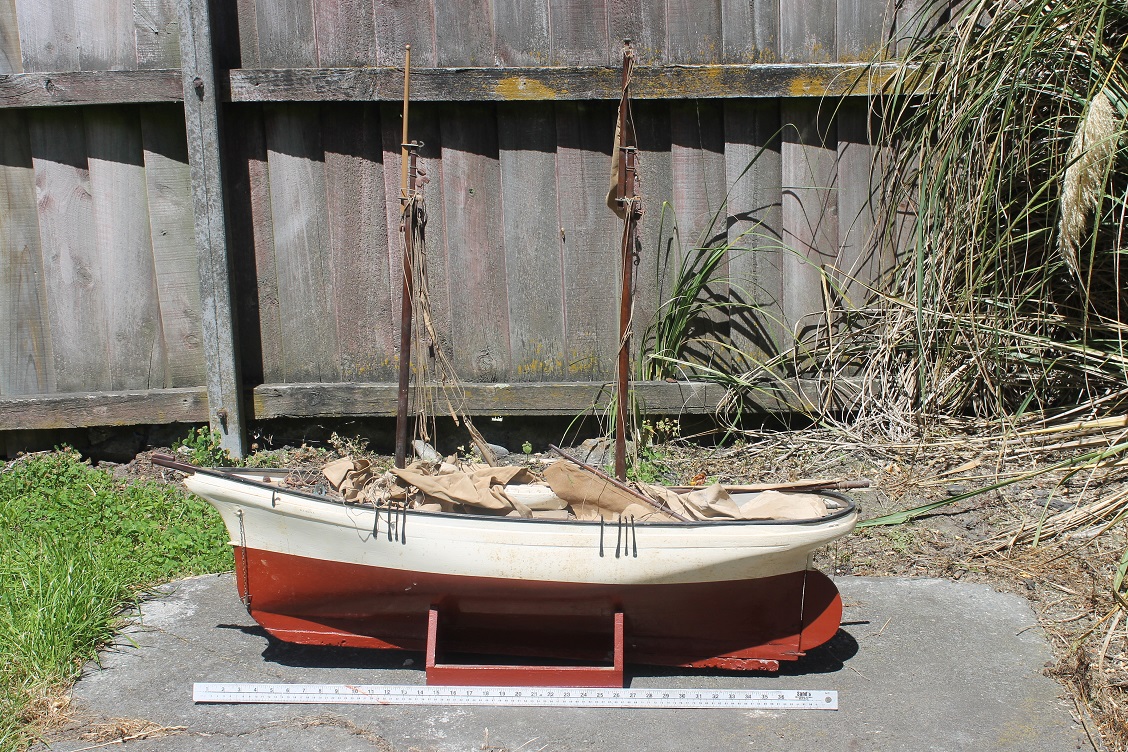
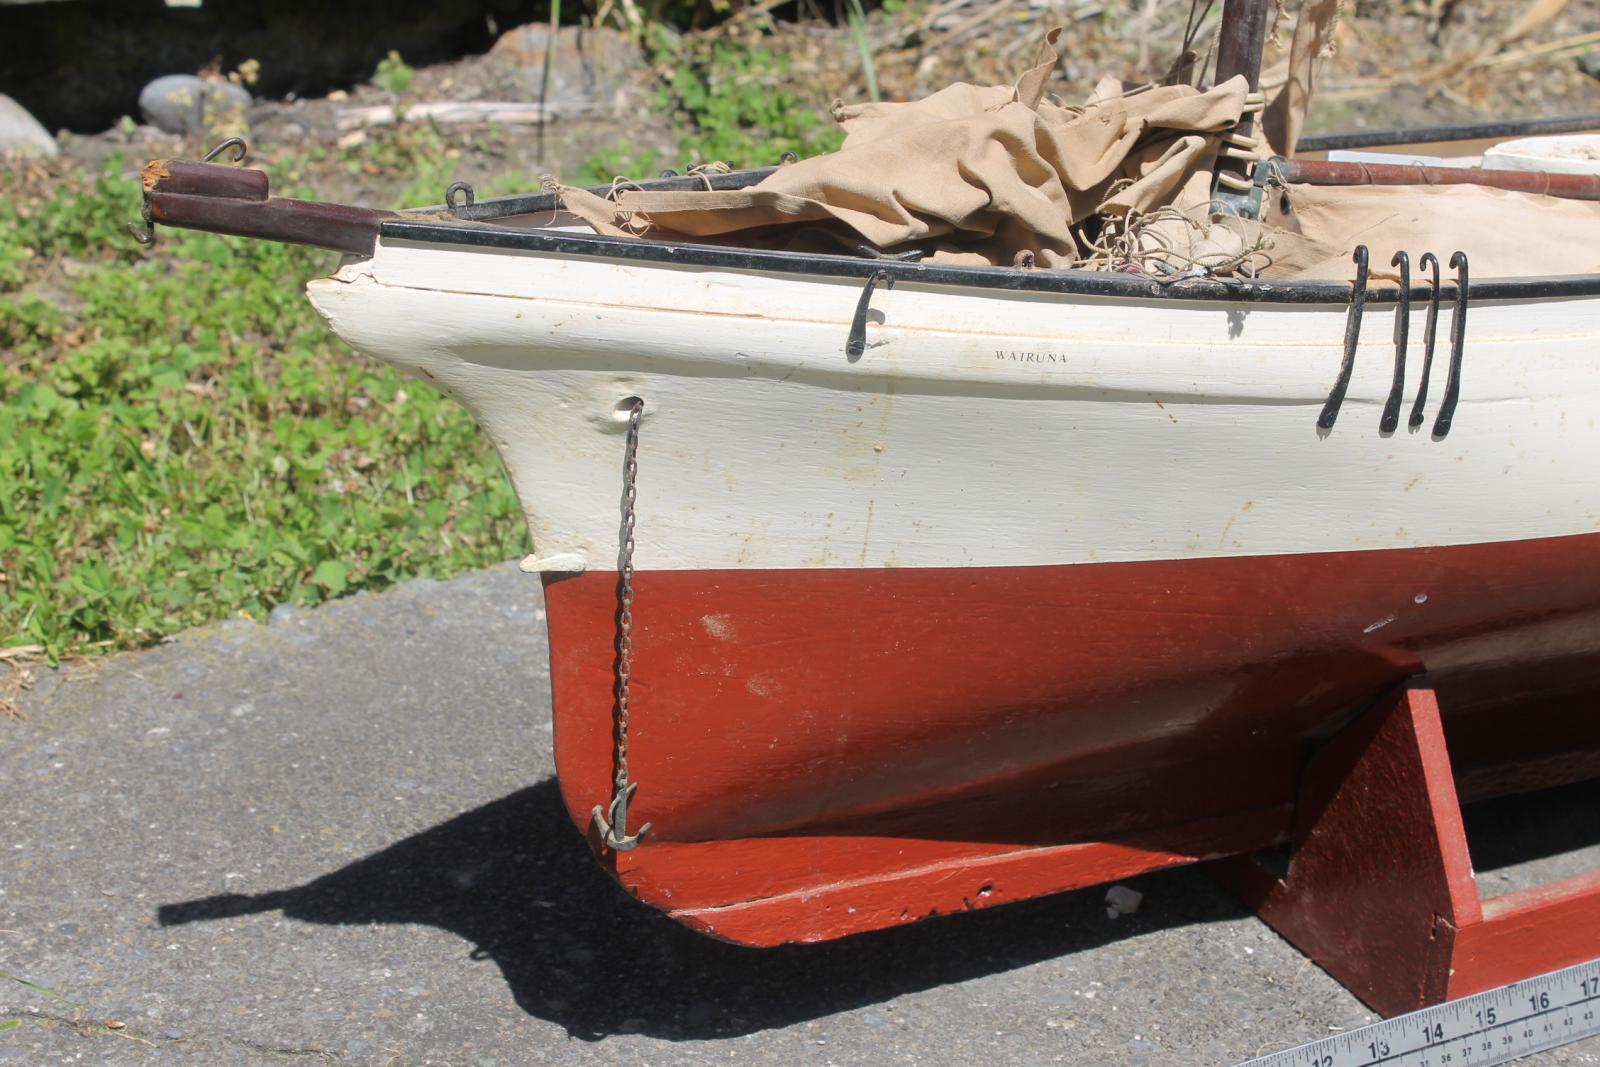
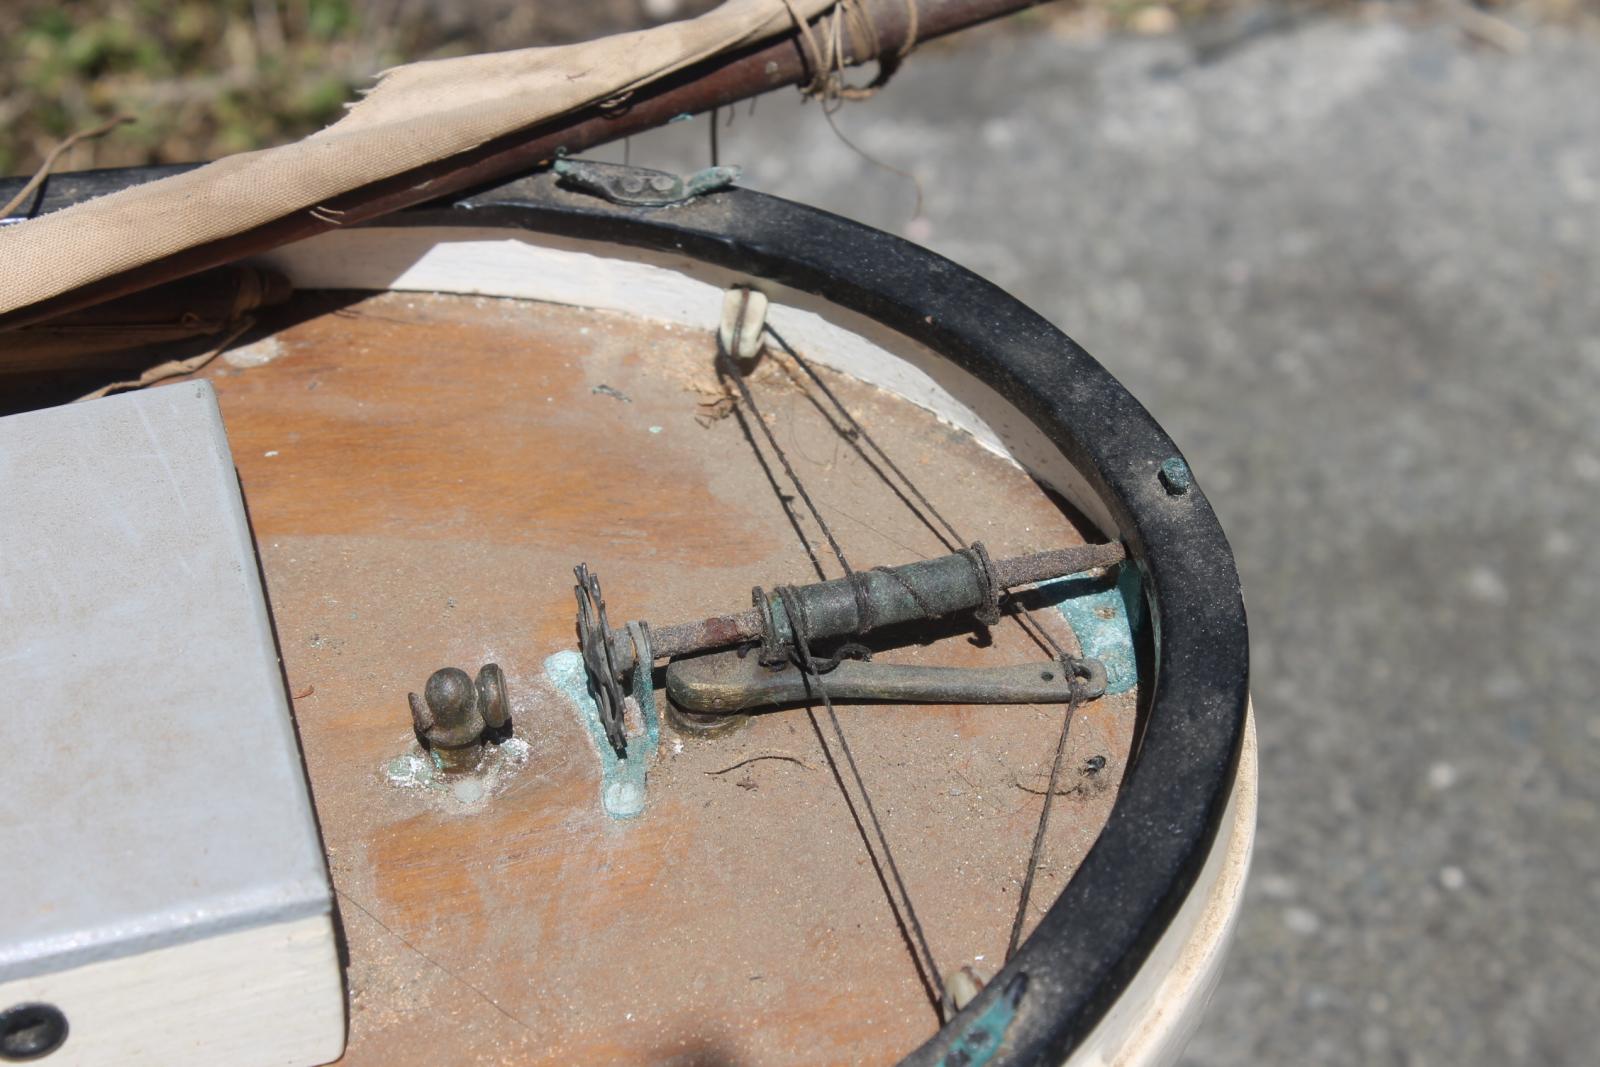
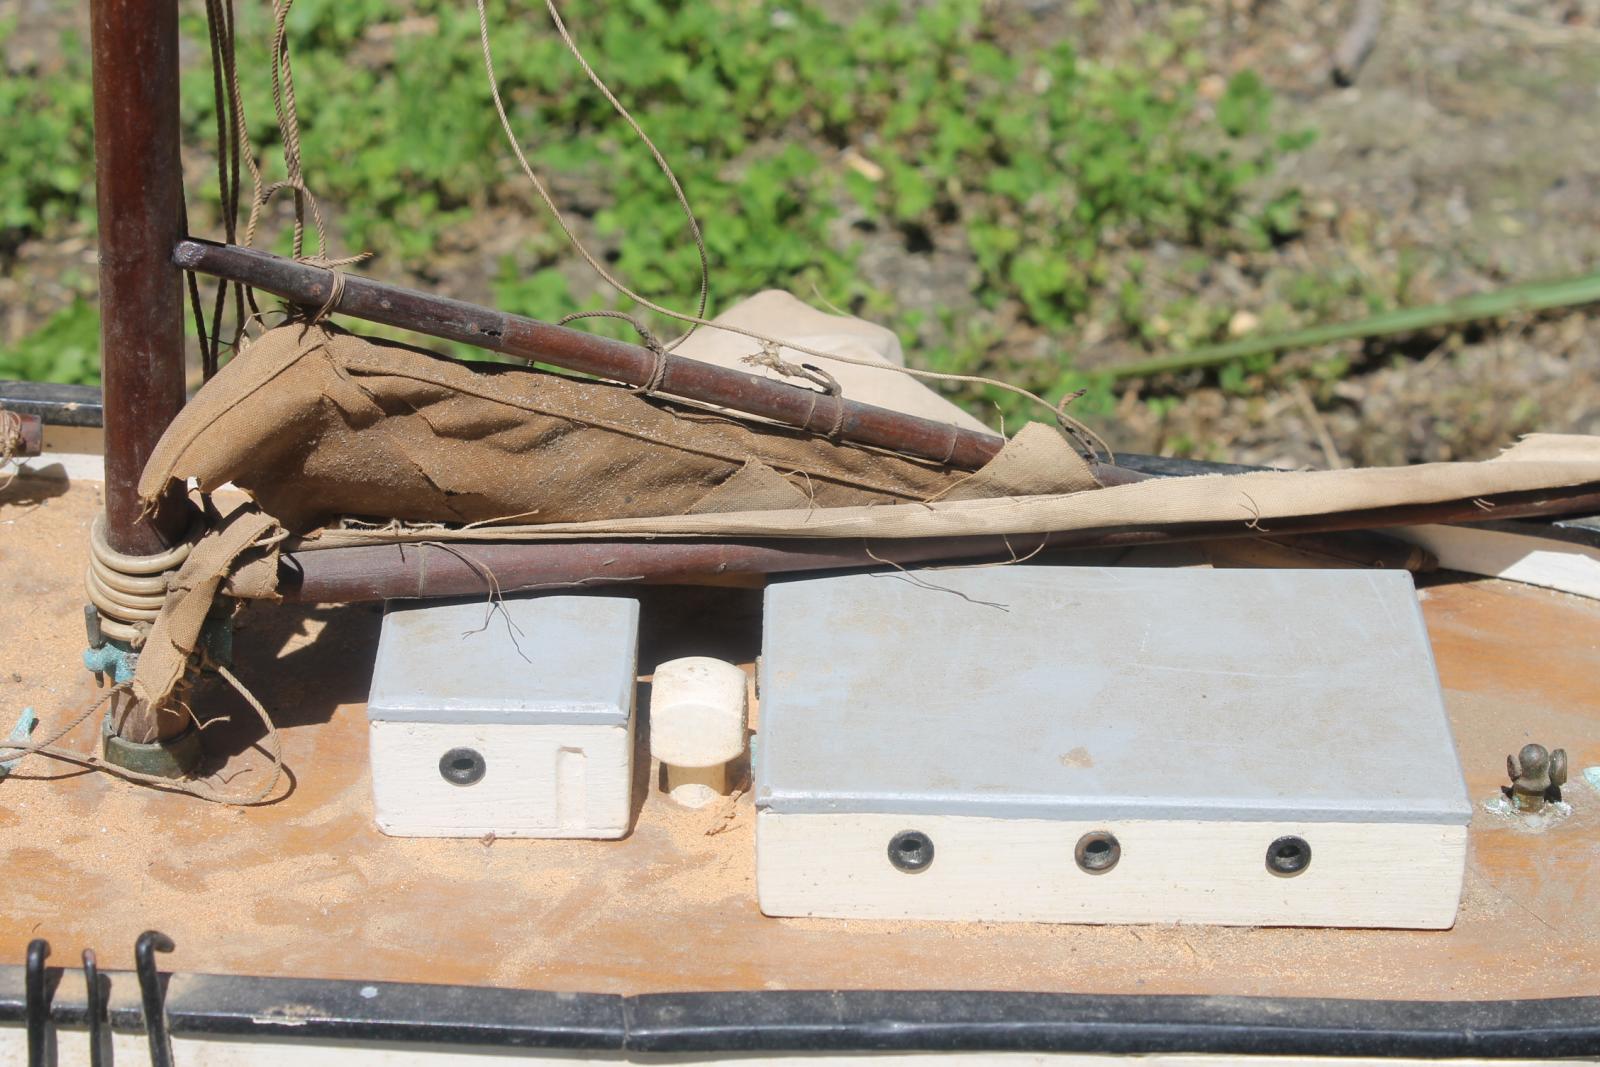
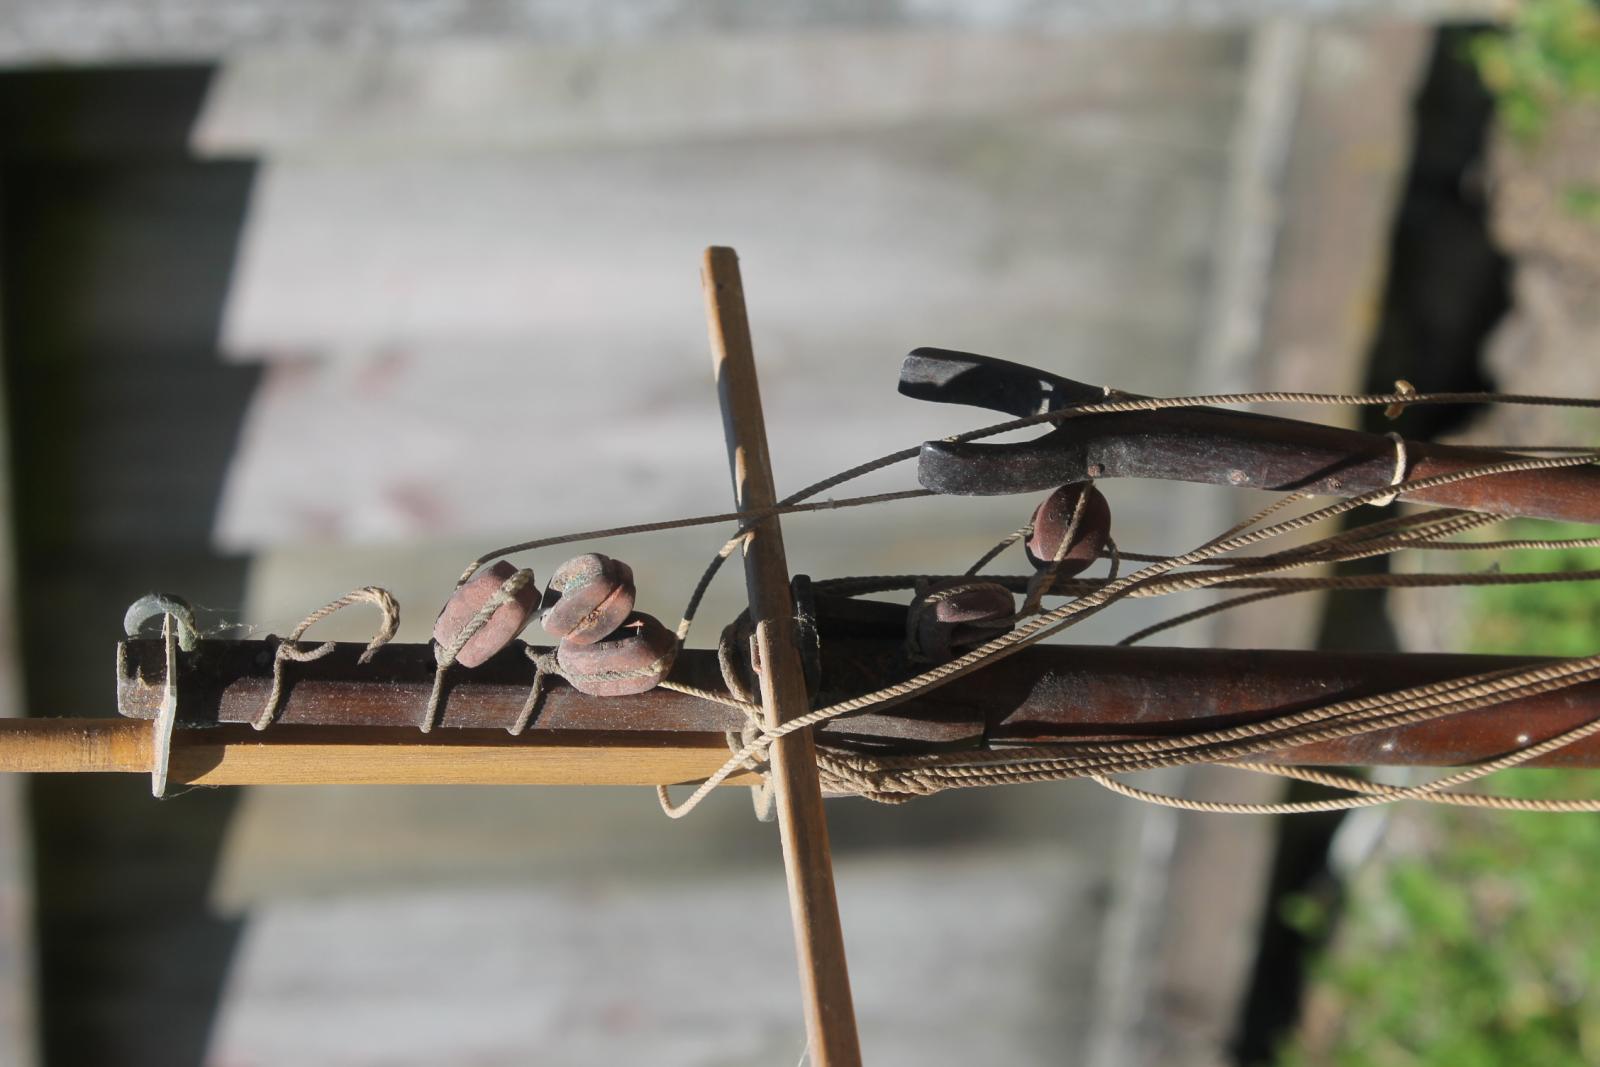
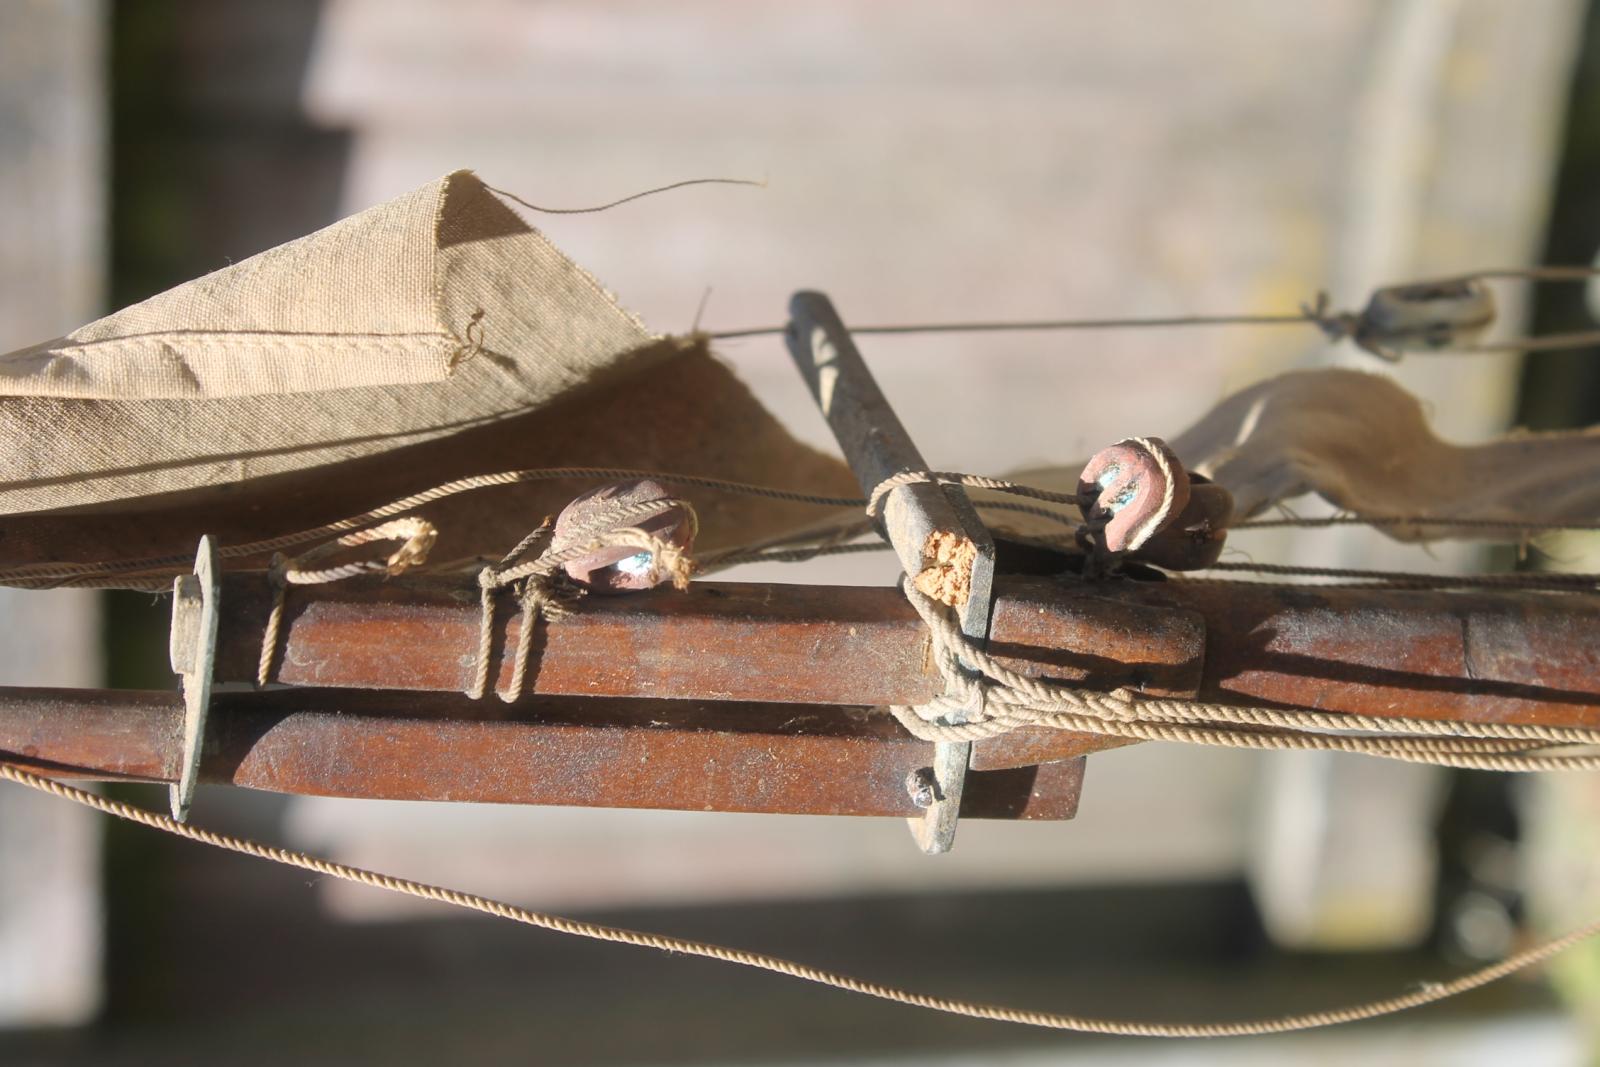
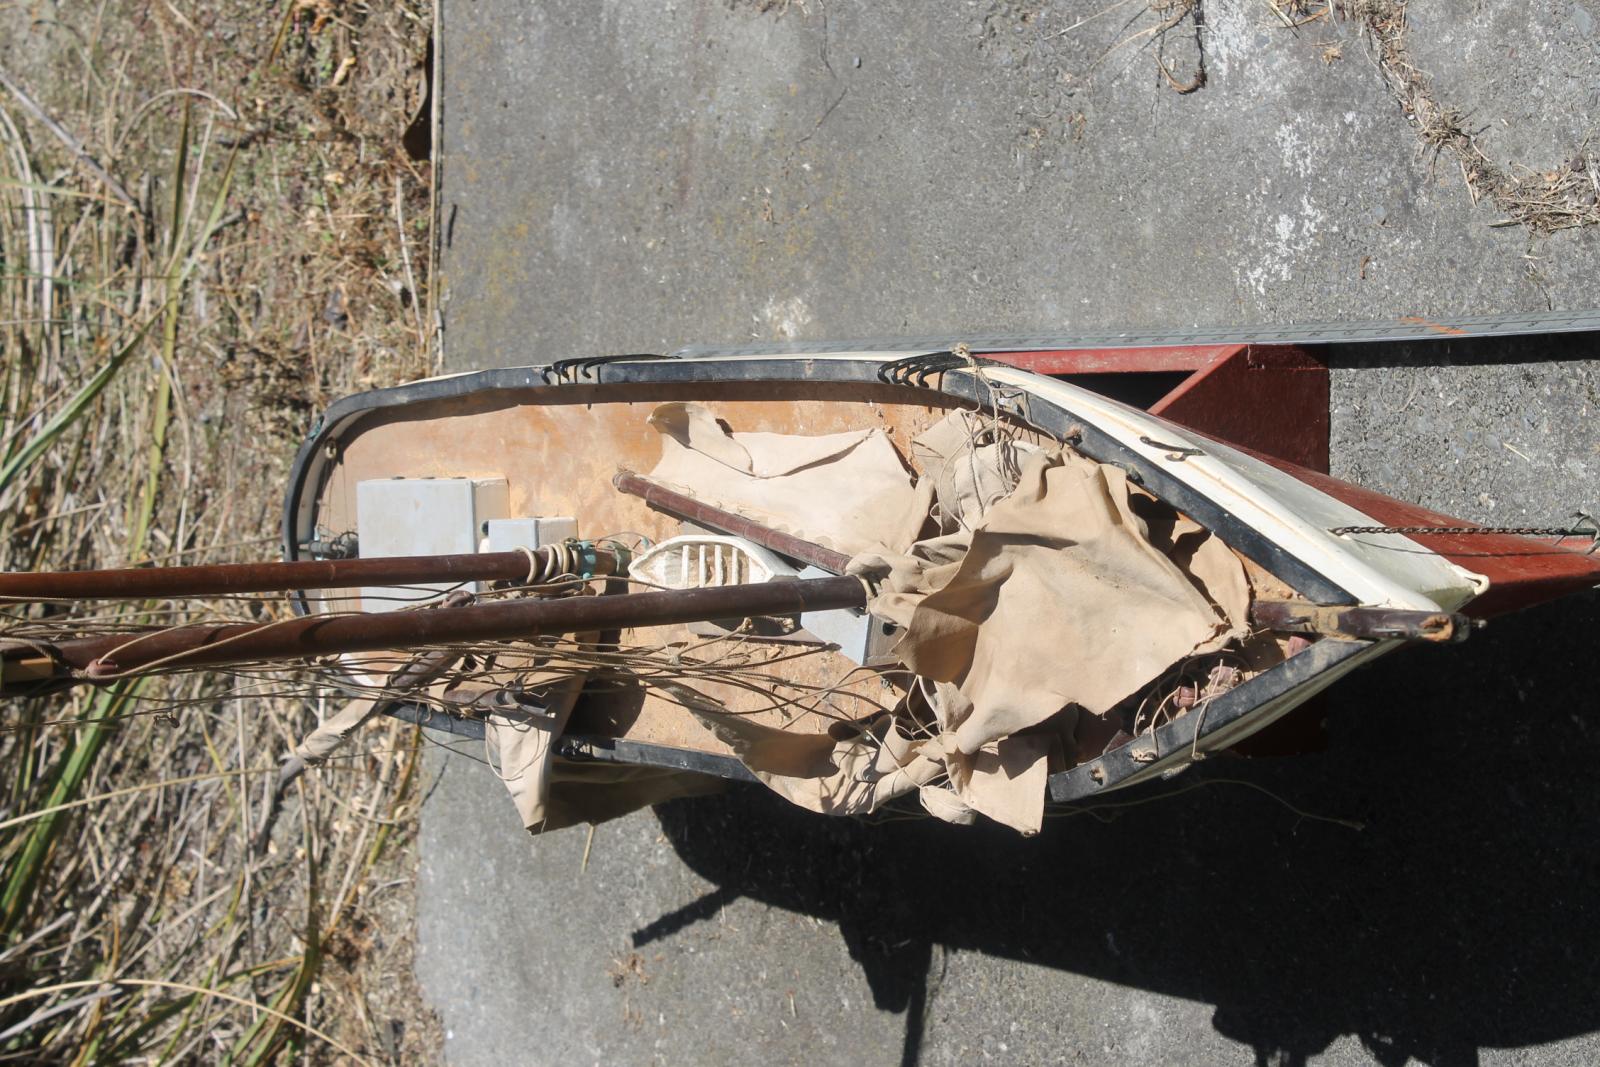
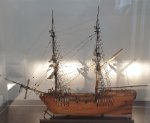
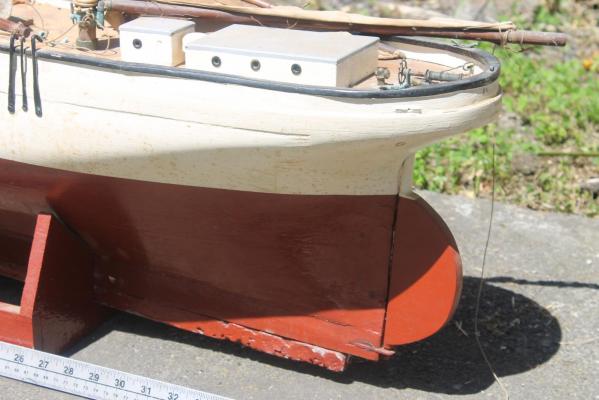
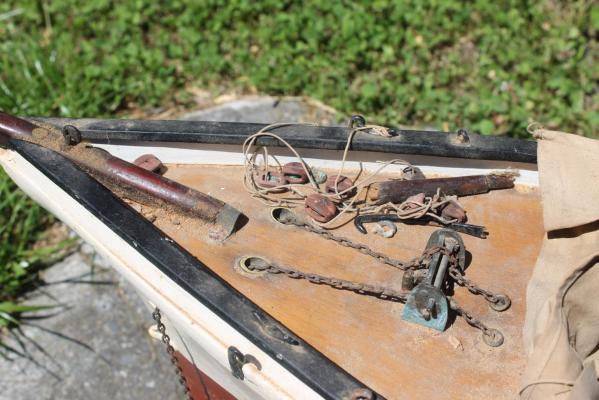
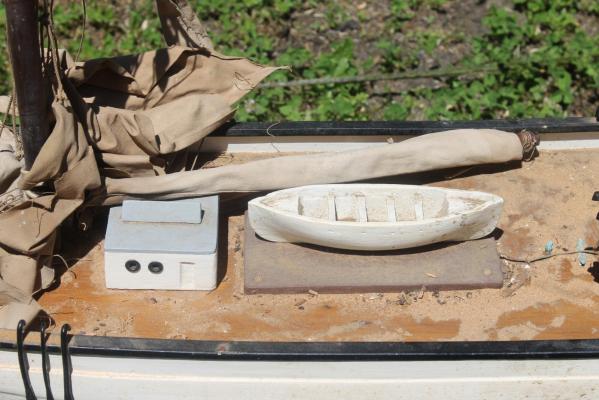
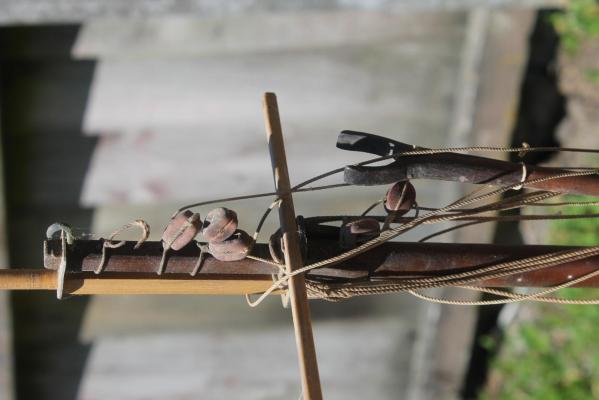
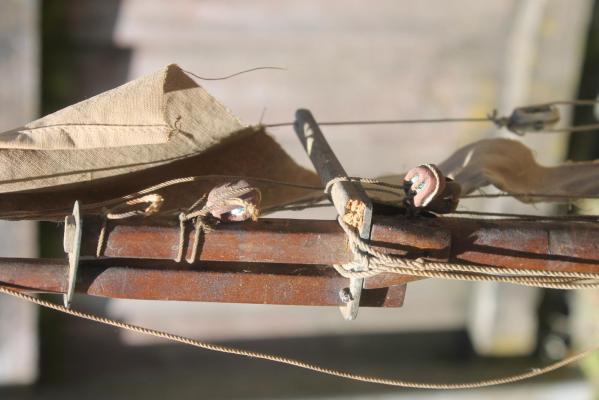
I have just been given this old yacht or coastal trader by a guy at work in his 60's,his dad used to play with this model as a young boy.It will be a slow restoration there is some good work on it,brass and some plastic.It looks like it's carved out of solid timber.It's about 1 metre long.The name on it is from a steamship that used to call into Lyttelton.I may strip all the paint off wait and see the deck is 10mm solid wood,the strip at the bottom is lead.Any info or advice to it's restoration will be greatly appreciated thanks ron.


-
Looking good Popeye happy new year i hope you get that Isuzu sorted soon.,i do love your fishing boats come pleasure craft come party boats for lost M&M's.
-
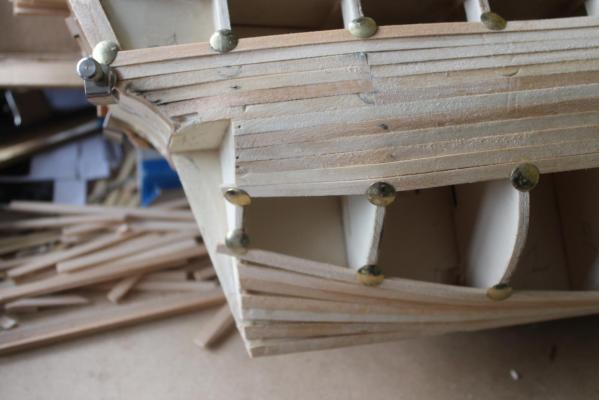
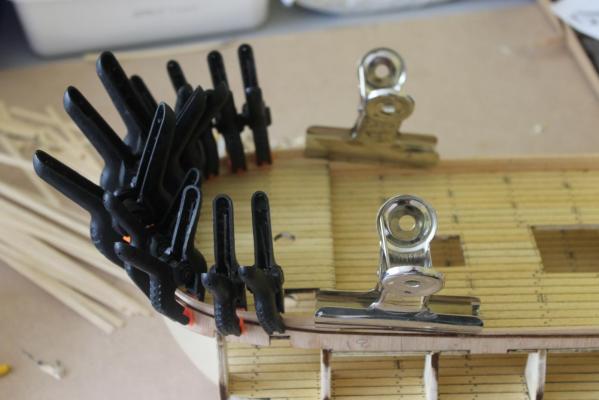
Thanks for your comments men,off into another year i hope everyone has a good ,healthy one.Might even get the house fixed this year ha,ha,ha.Alistair i will be using balsa for the bow and ply for the aft end.I'll haveto watch the stern flow shape, the bow is straight forward with the 0.6mm 2nd planking.Denis i use clamps on some planks that are to far out but can easily sand the rest to come out ok.Just watching the flow of the planks from all angles on this ship,ok so far.ron.
-
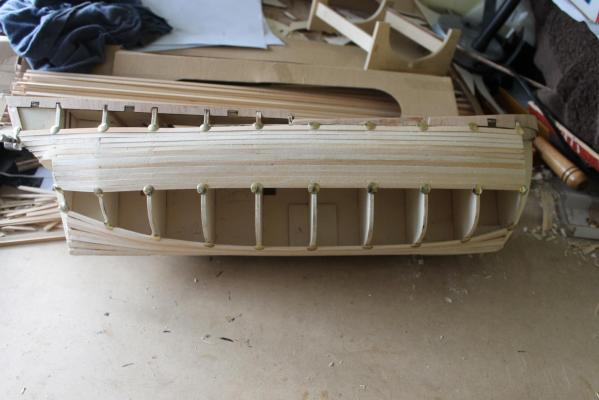
Happy new year,have a good 2014.1st Planking i re-did a bit at the aft end i was'nt happy with much better now.

-
Hi Frank this is with pencil a lot lighter than the felt pen i used to use.Looks good once all the deck work is done.How are your finnished pix going from your Supply?
-
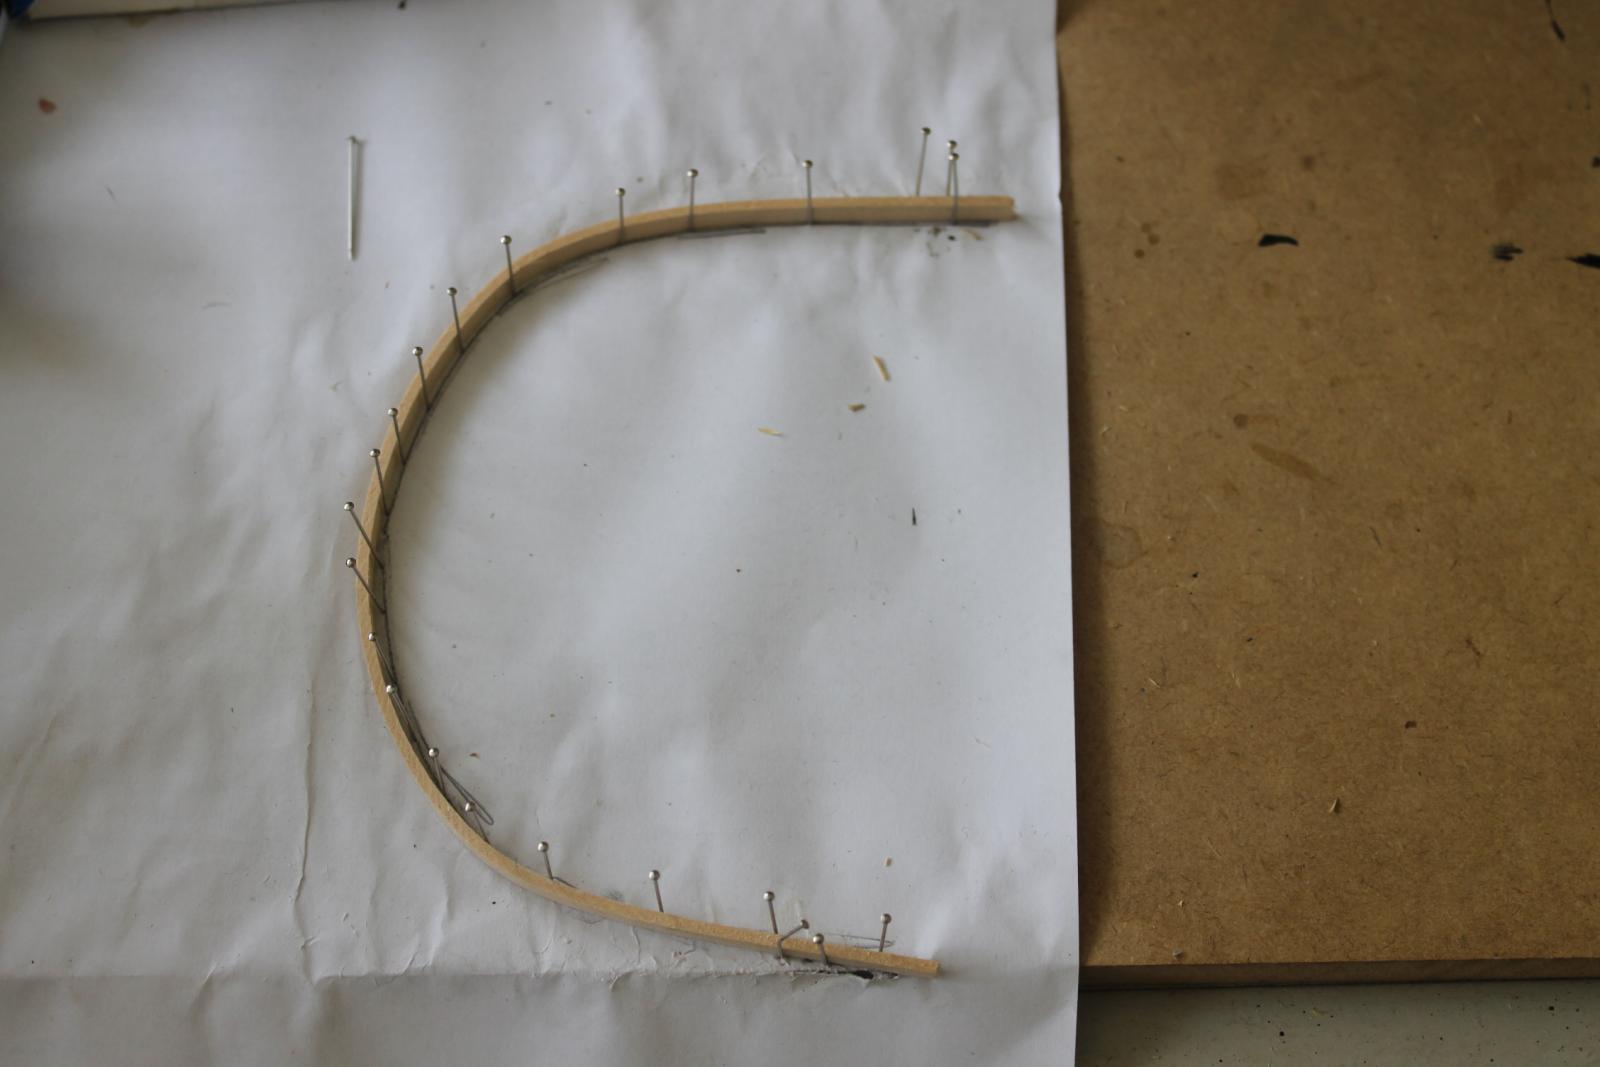
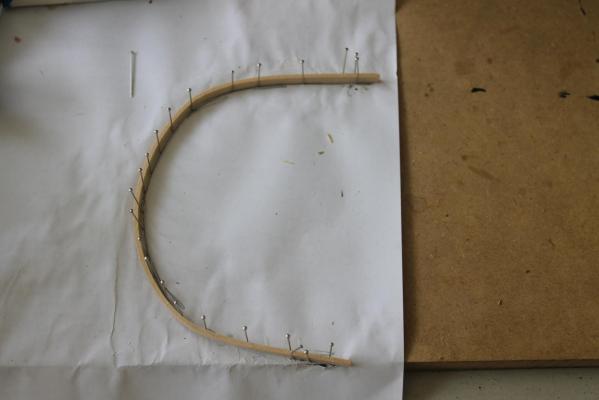
Thanks a lot men for your comments,the bulwarks were easy enough with soaking and a basic jig,held in place temporarily with pins.I must say it's better letting the planks dry before you attach them.
-
Gallant rail bending
kiwiron replied to kiwiron's topic in Building, Framing, Planking and plating a ships hull and deck
Sucess chaps soaking for 2 hours and gentle pressure did the trick,thanks ron.

-
Gallant rail bending
kiwiron replied to kiwiron's topic in Building, Framing, Planking and plating a ships hull and deck
Thanks a lot men that should read 300mm long and it is flat to be bent sideways,very carefully by the sound of it. -
Do you think i can bend 2mmx8mm wide limewood in about a 20mm curve with water and a jig about 30mm long?Thanks ron.
-
Looking good Doug,from here on lots of guess work.I think all of the Supply ships done are a bit differant depending on what other books are used.Good luck with sheet 6.
-
Hi Popeye,i've got some left but i'll use that above the wales,the yellow colour planks on the photo then it goes blue so see what i really need.
-
Thanks Popeye,Just thinking what to do about bulwark top lining if i use the deck planks i won't have enough for the upper hull.Maybe leaving the lower deck un planked would have been better.I'll scratch around to see whats left from other kits.
-
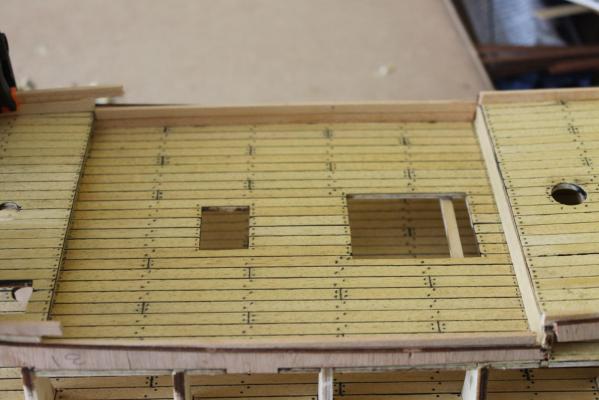
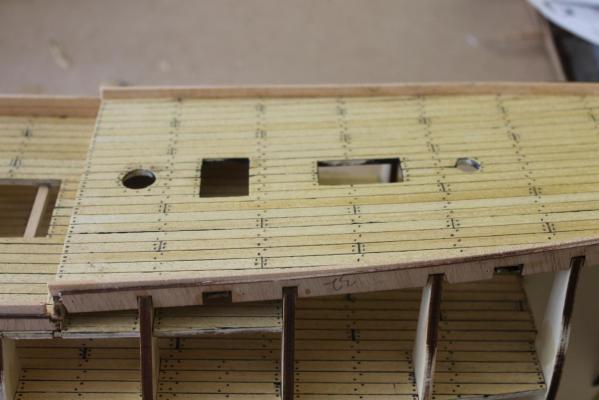
Thanks Jeff,the bulwark linings are trimming down easily.
-
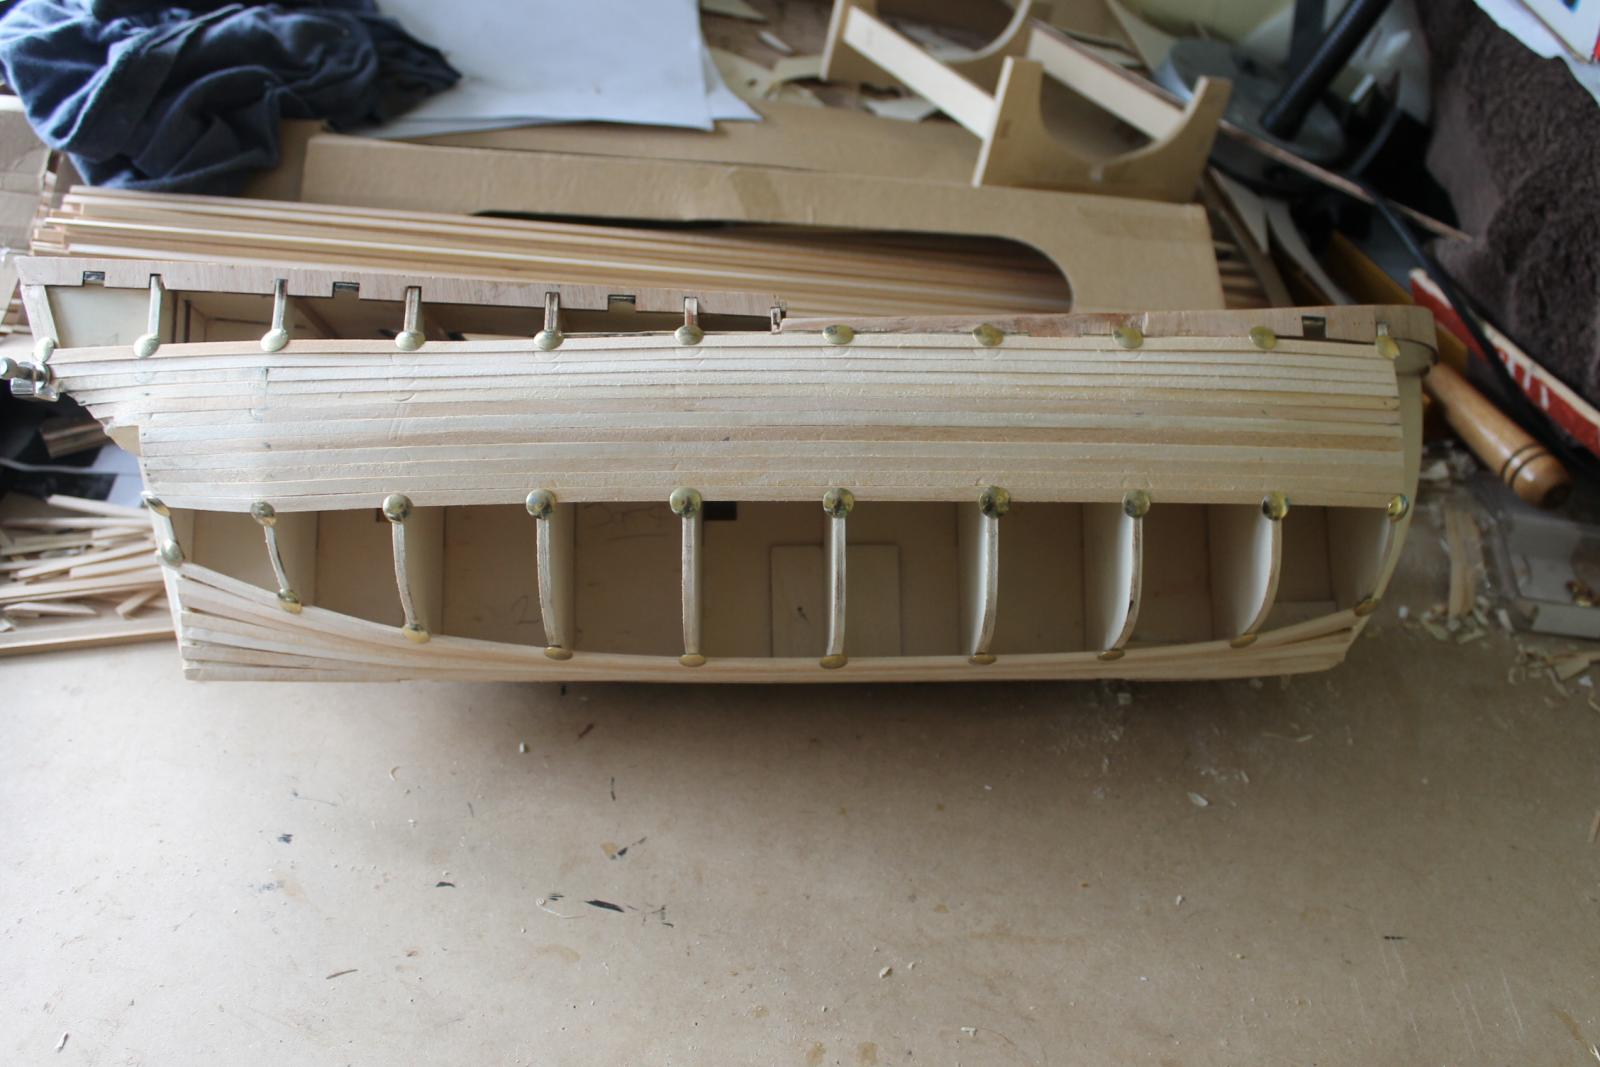
Just trying a simple jig seems to do the job.I'll make a better one later.Bulwarks linings with the odd clamp or two.

-
Thanks Denis,I like rigging but the boss won't give me time off to have fun so looks like you'll just haveto dream about it again.Can't get rid of this stupid underline either.
-
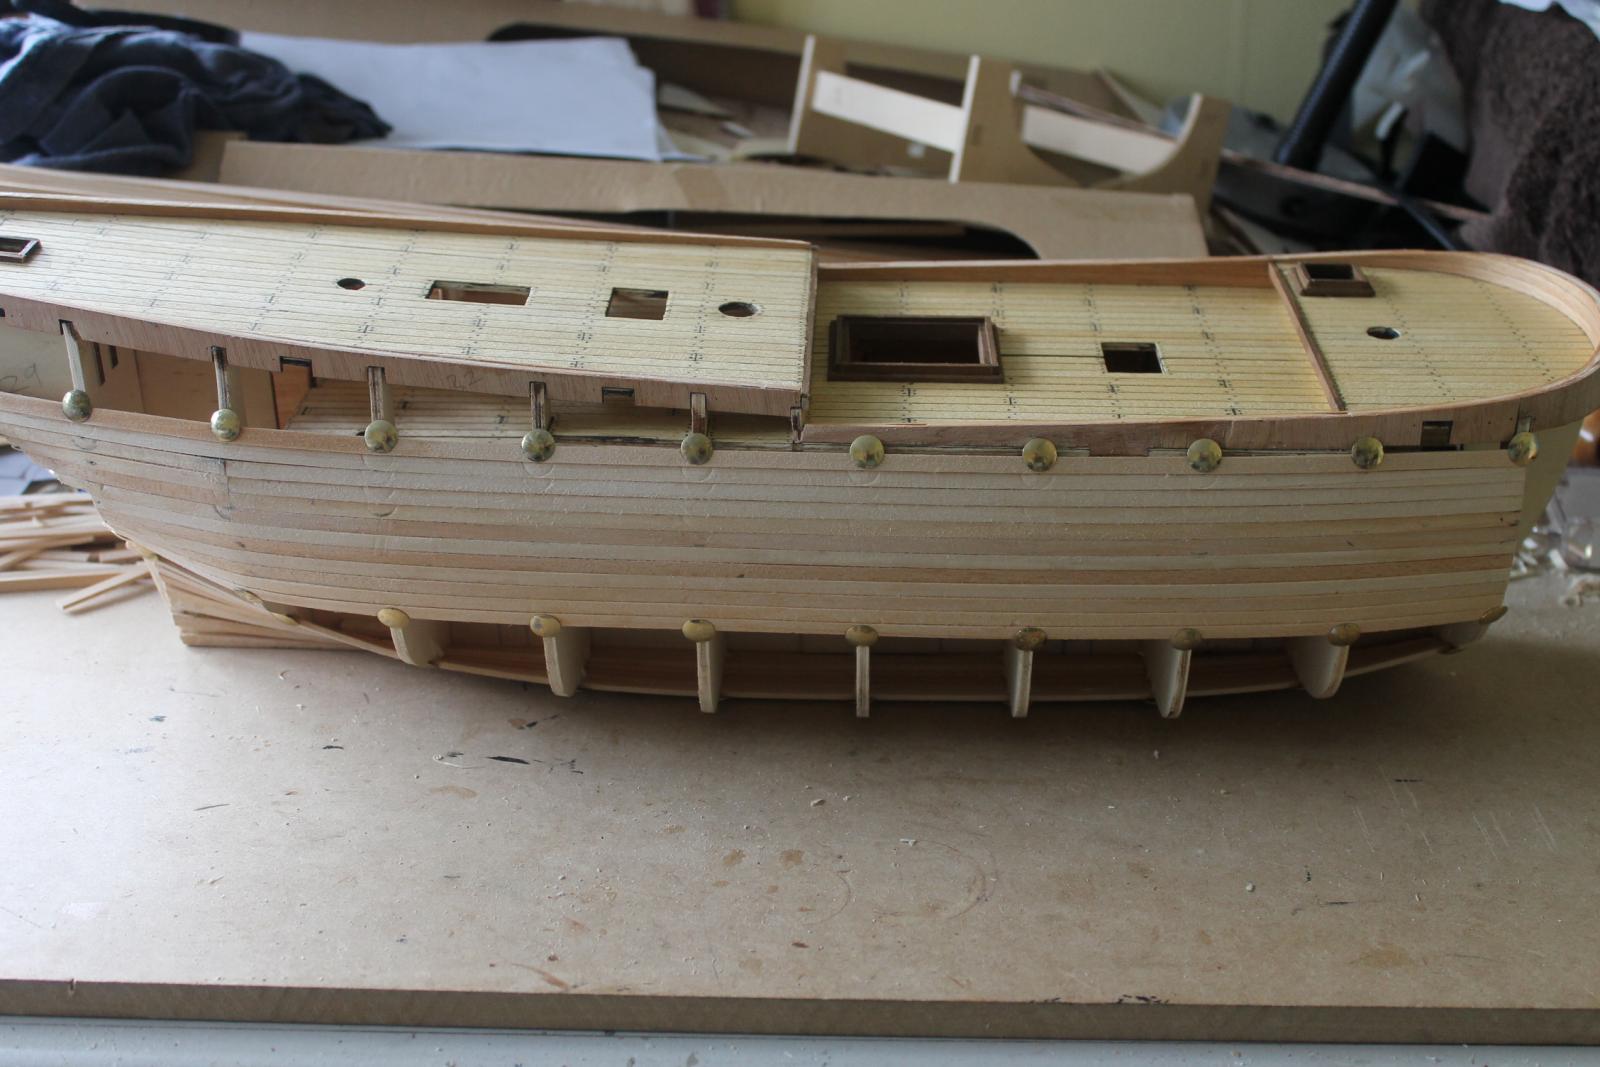
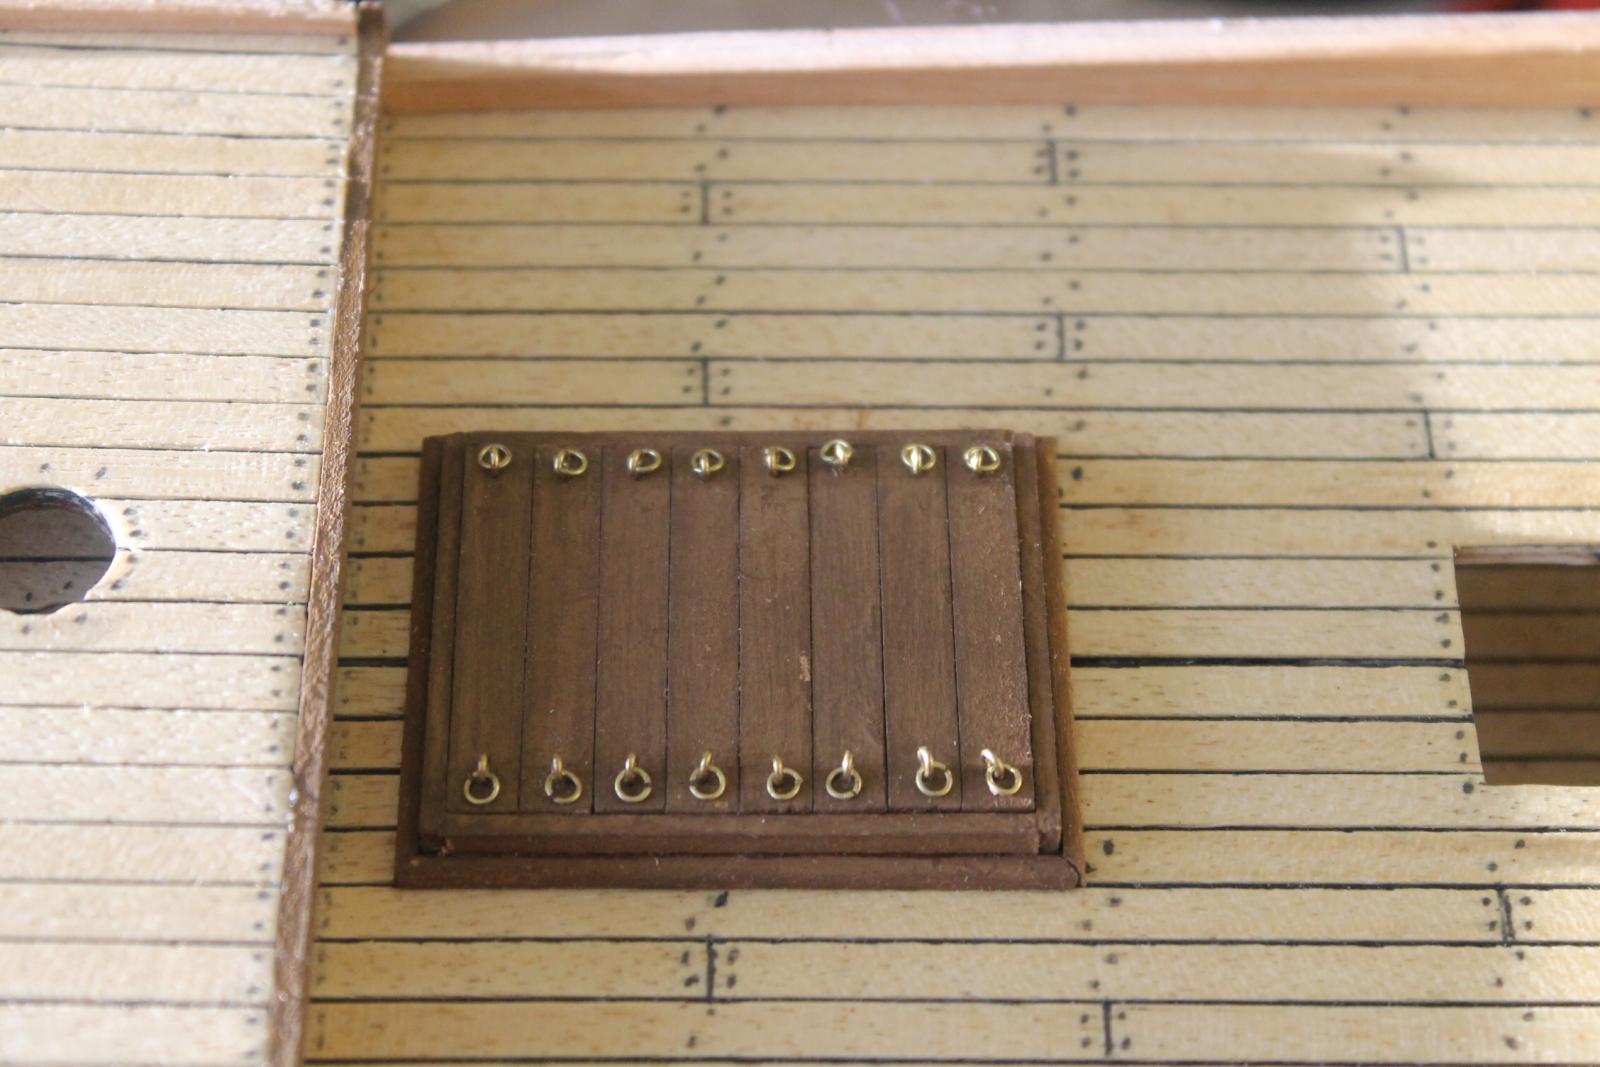
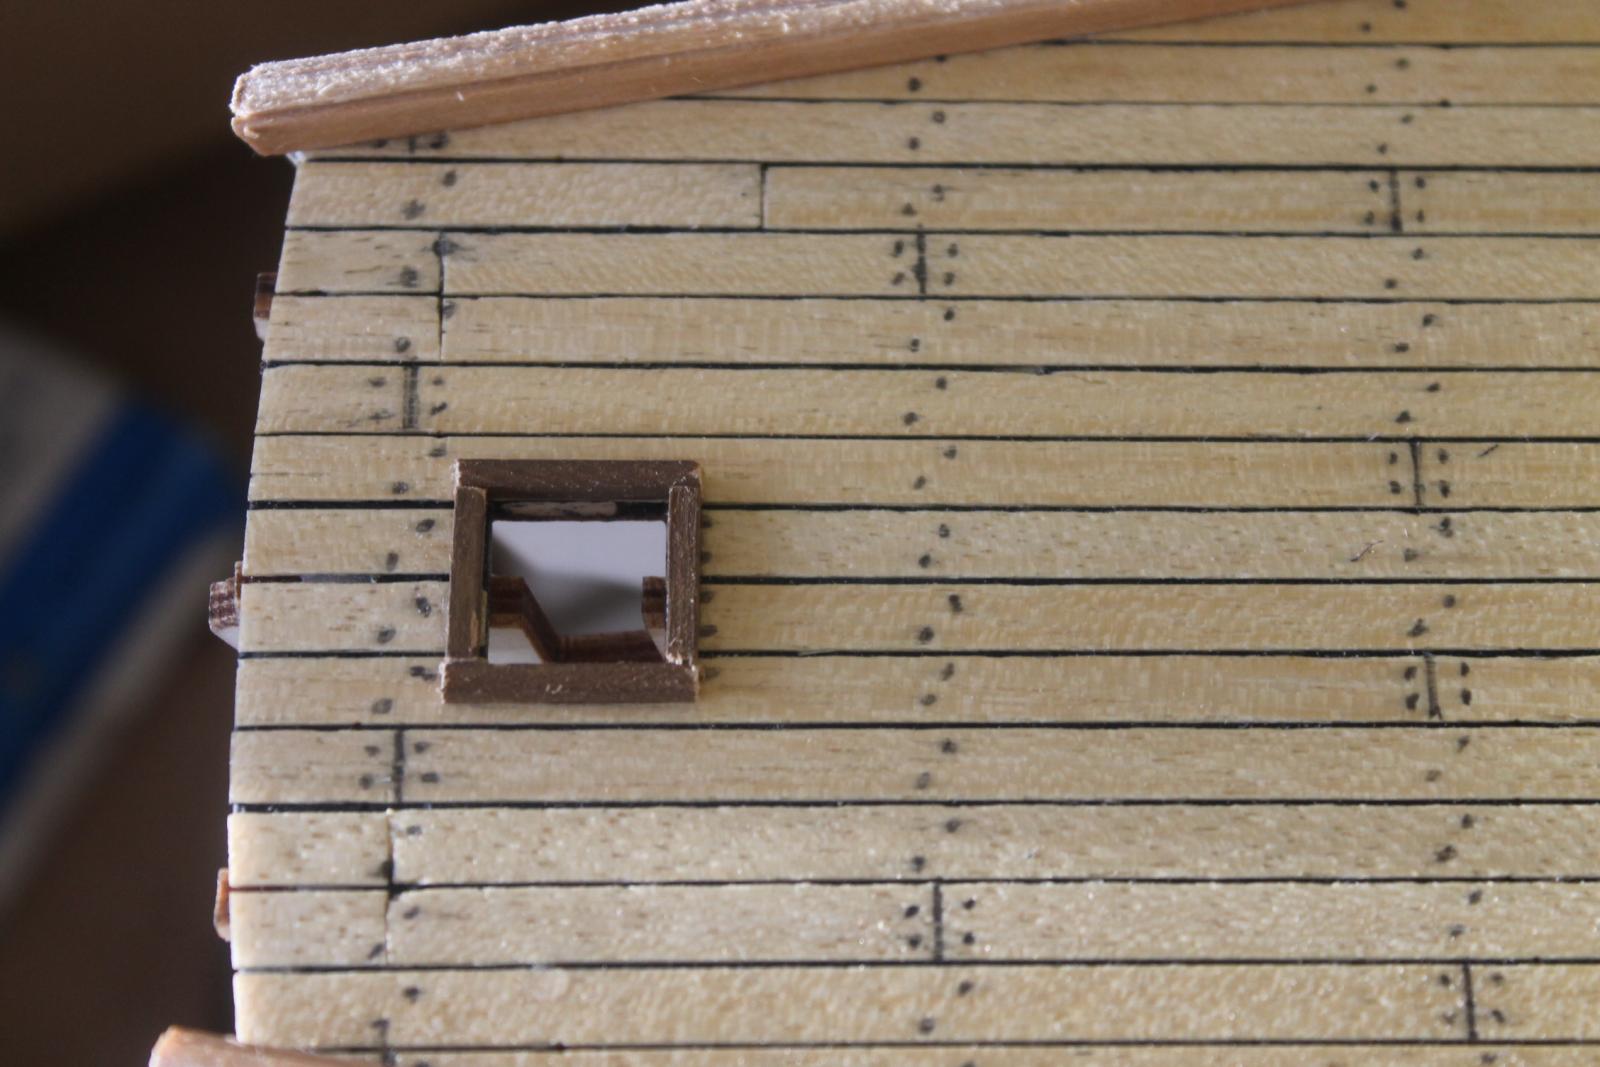
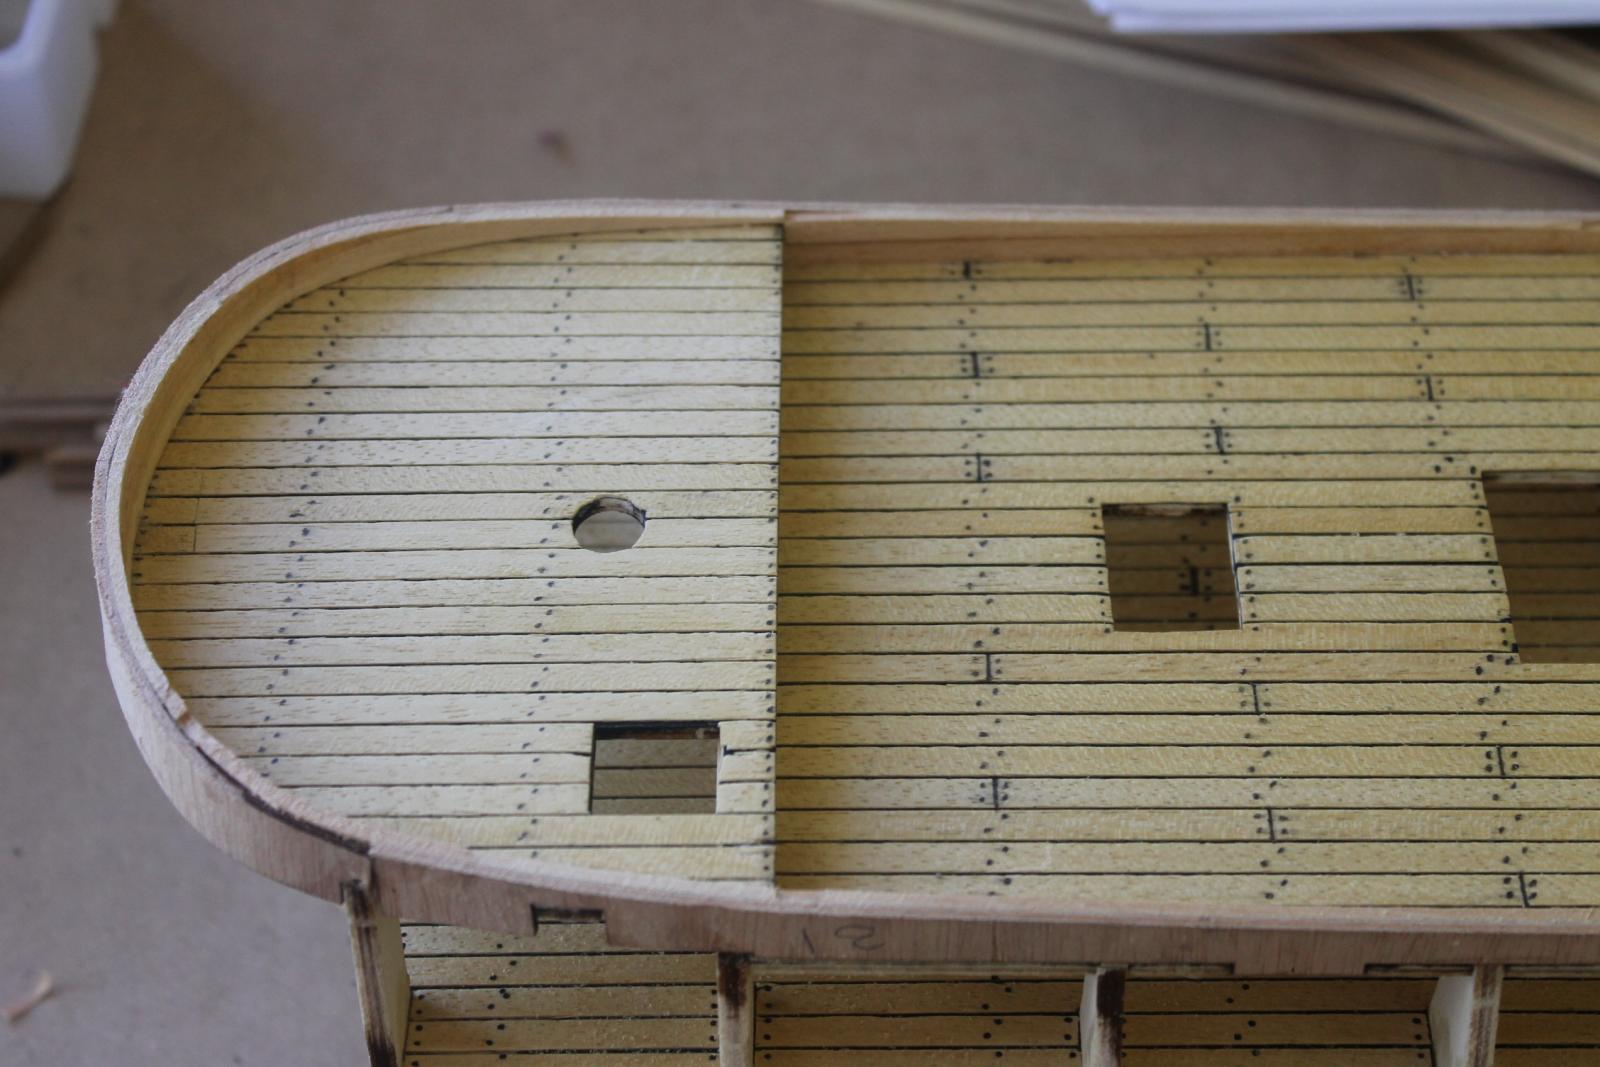
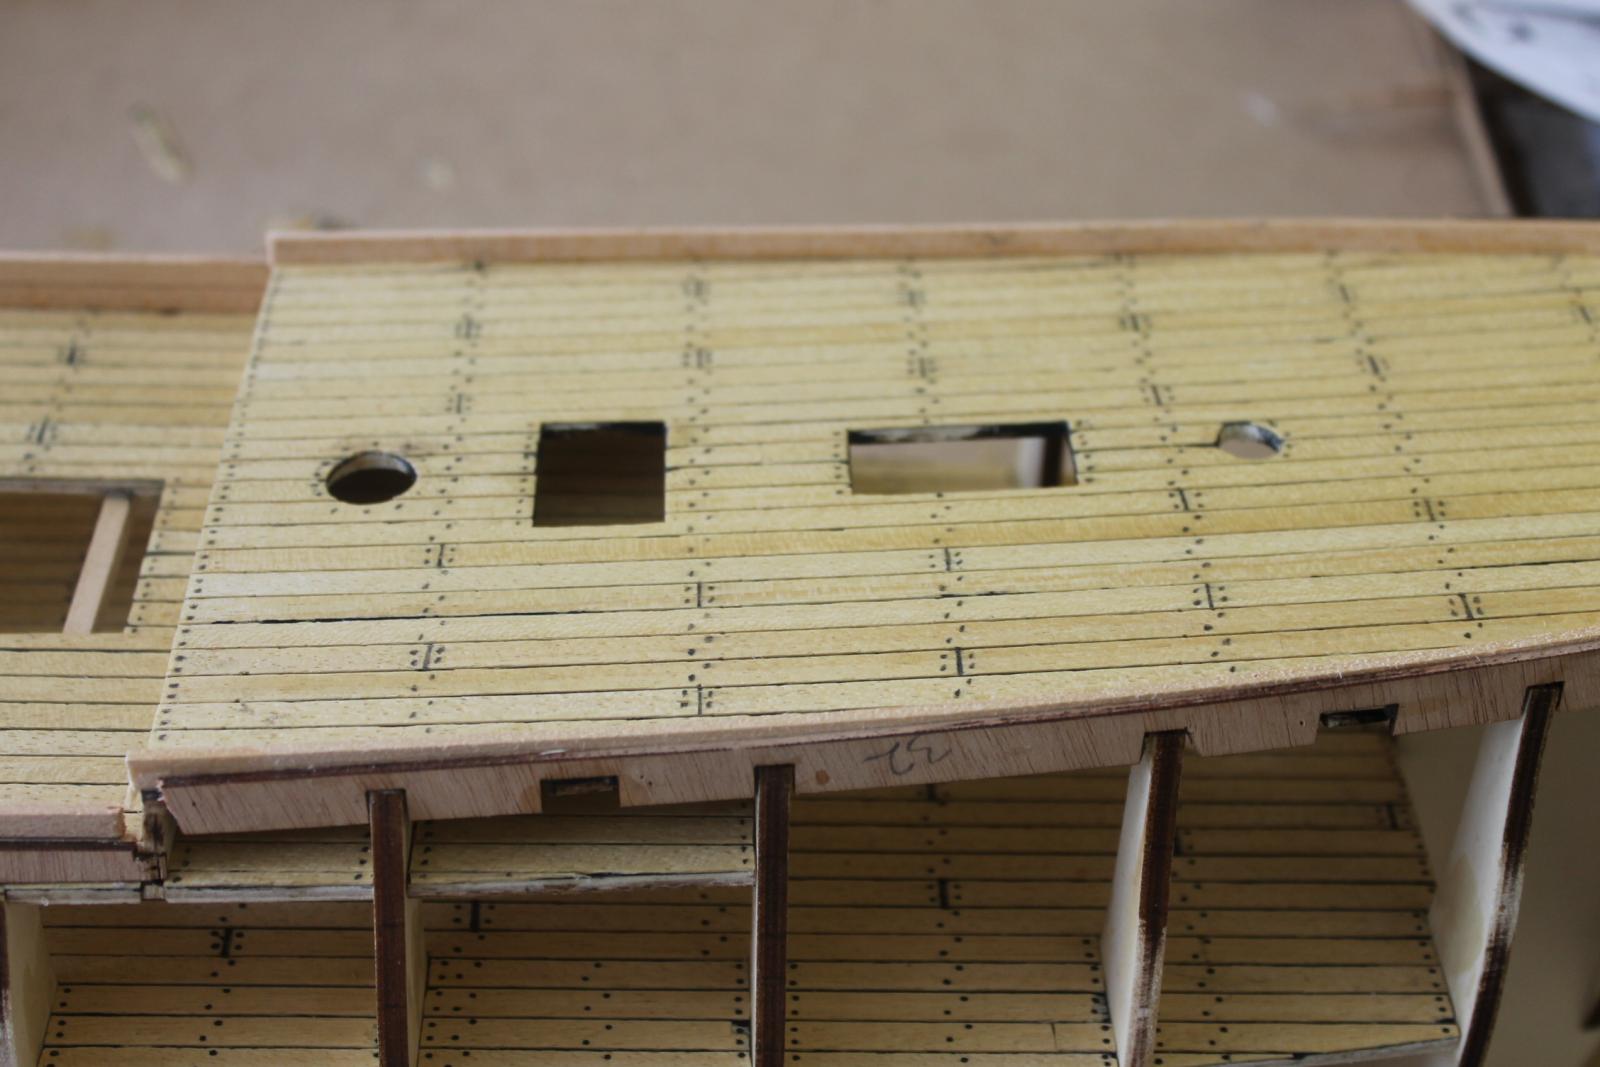
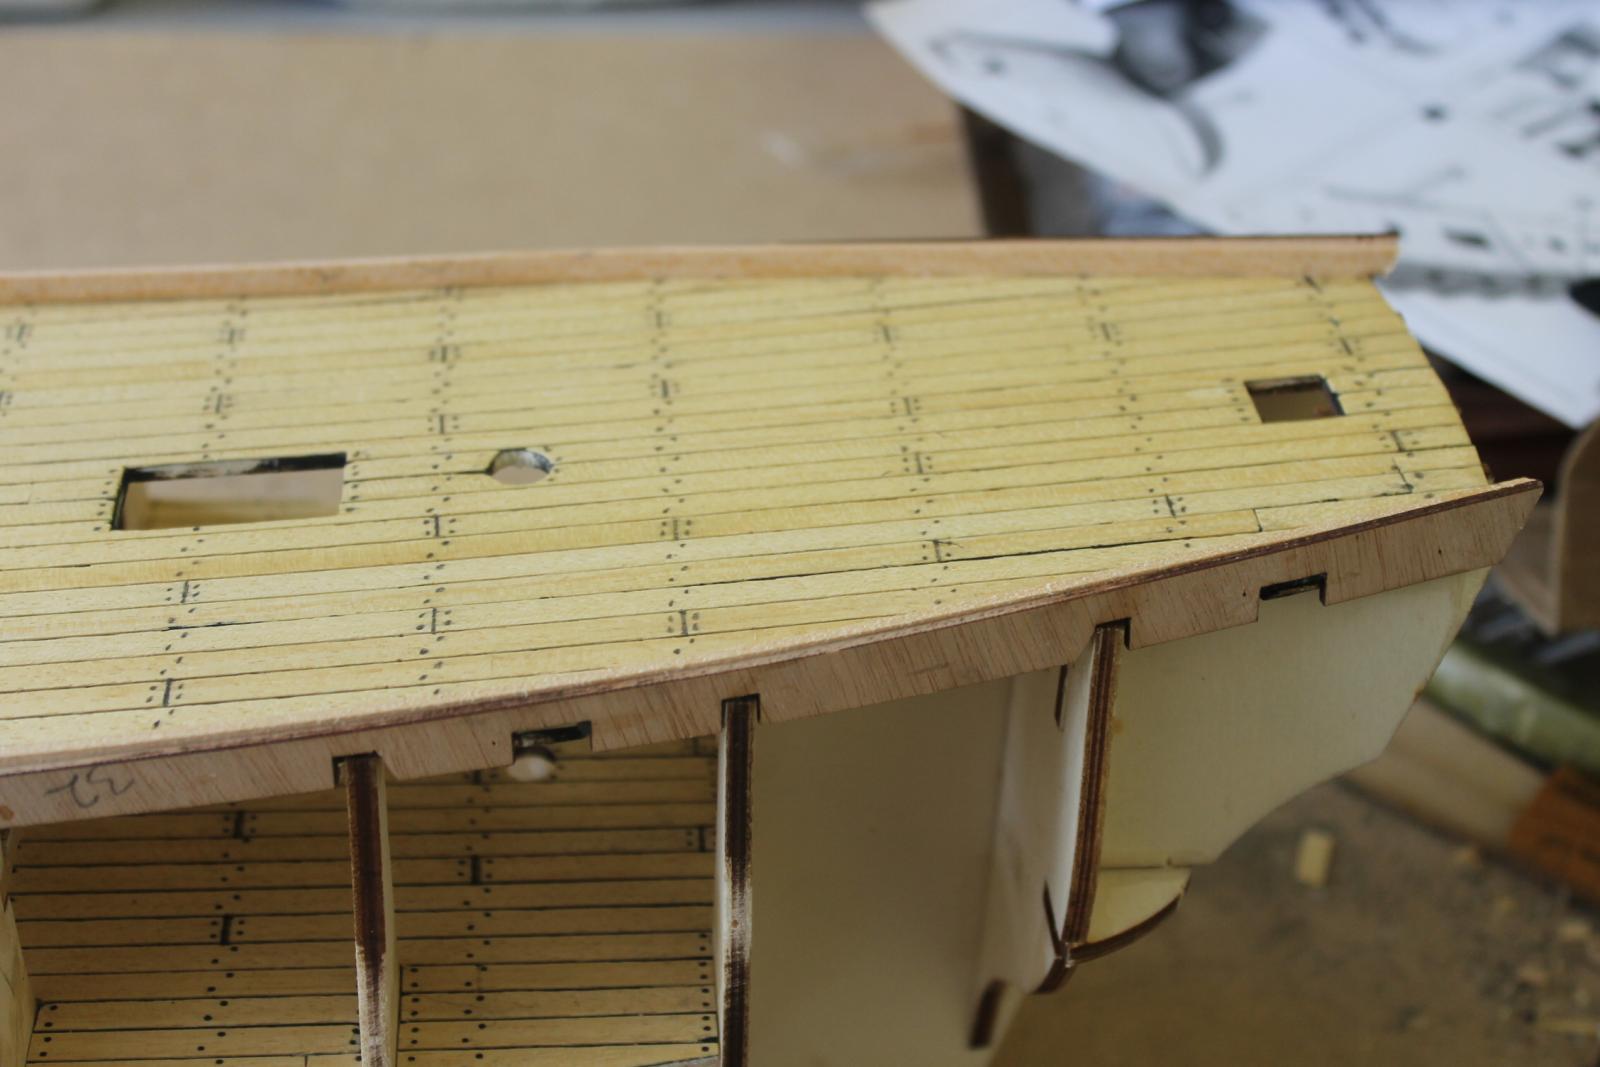
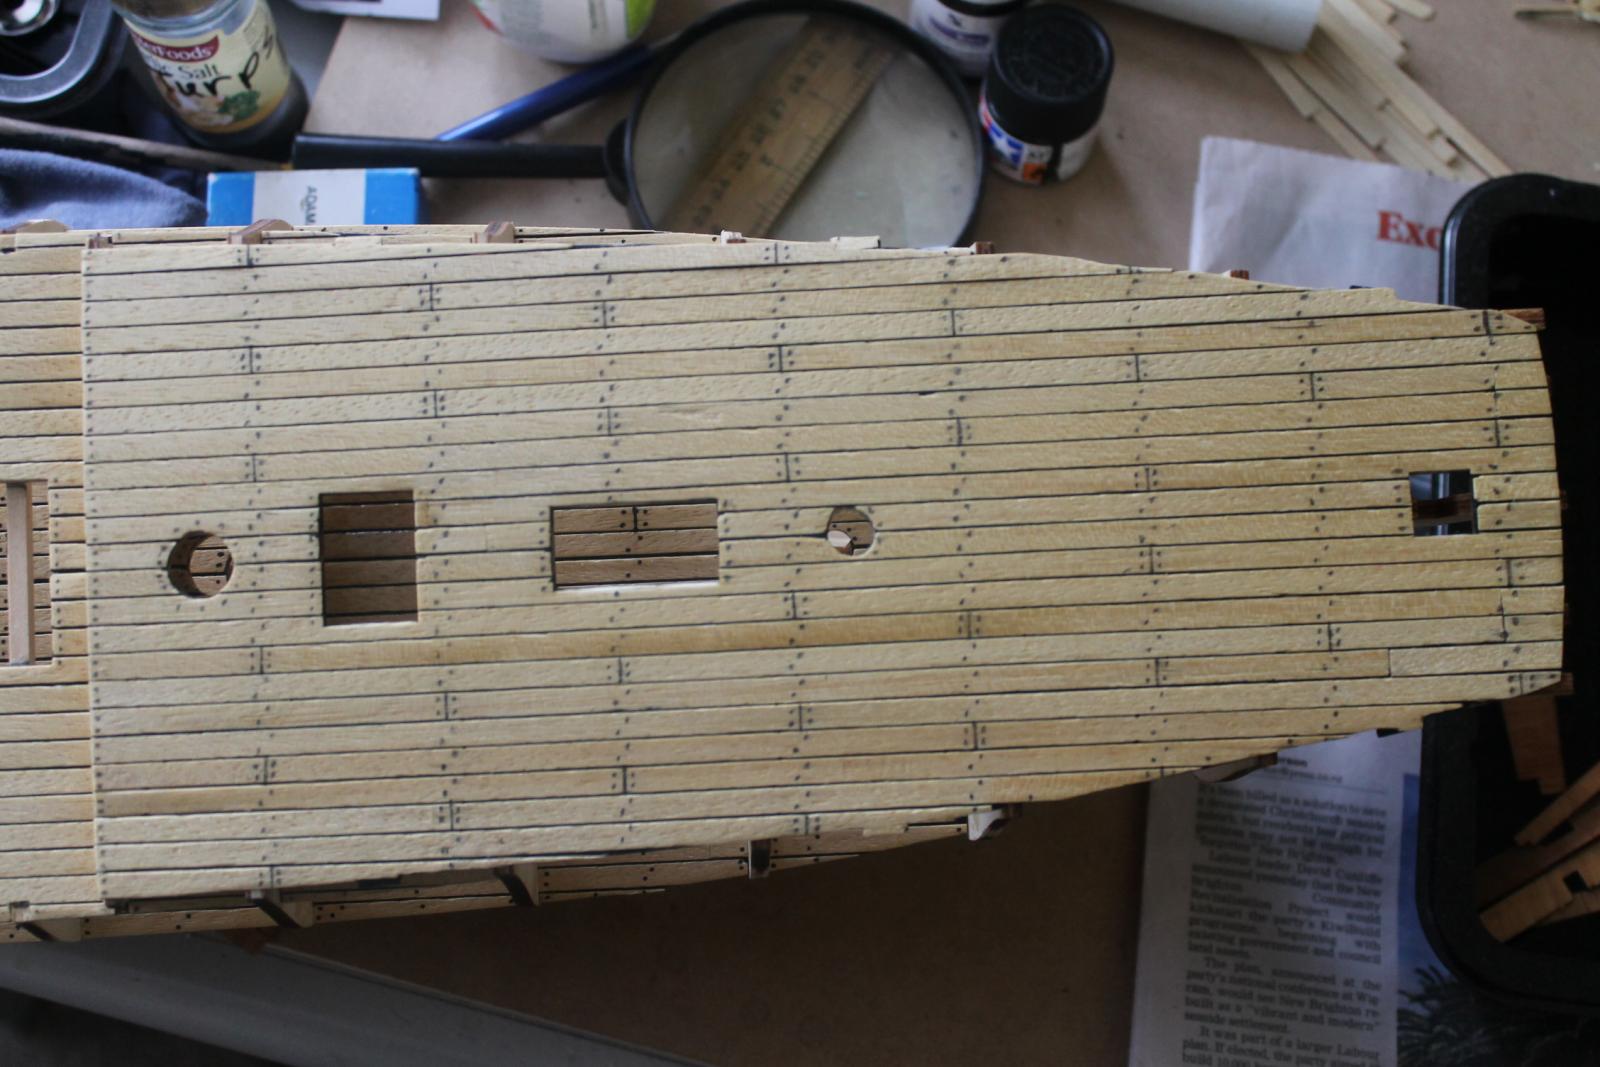
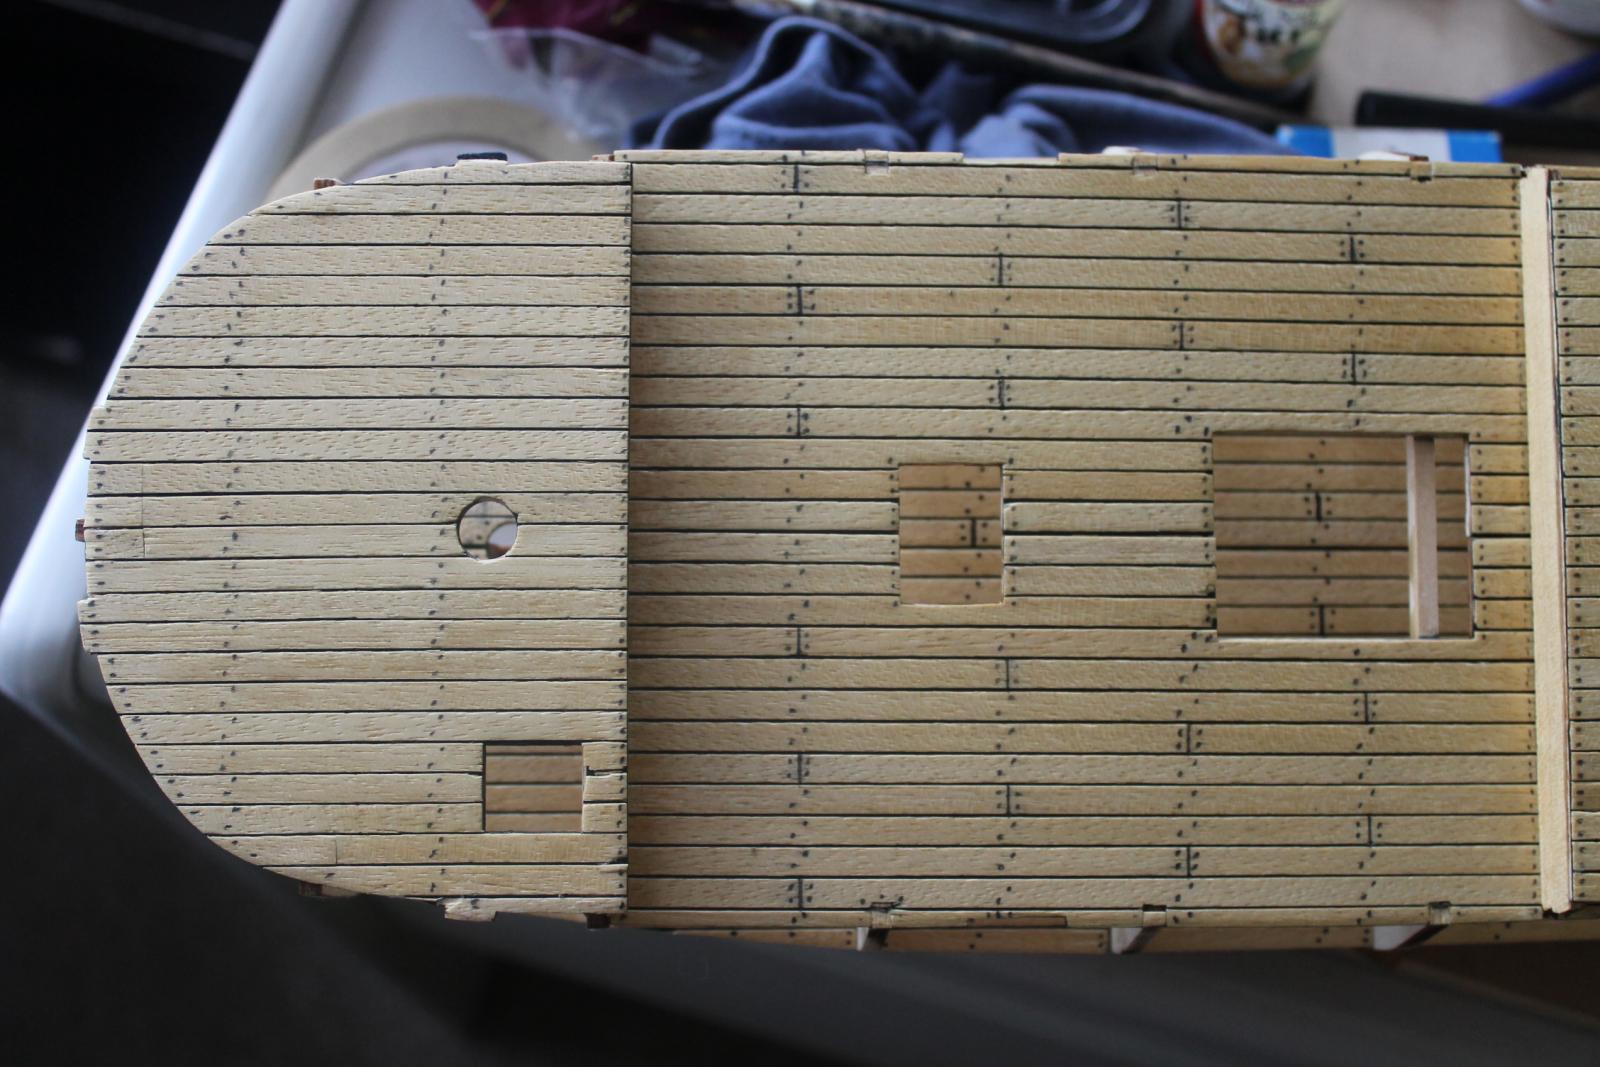
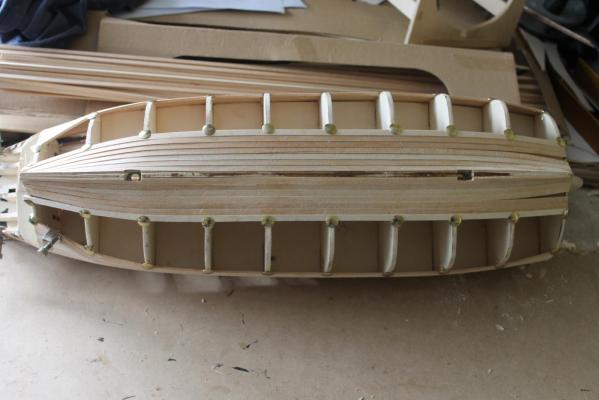
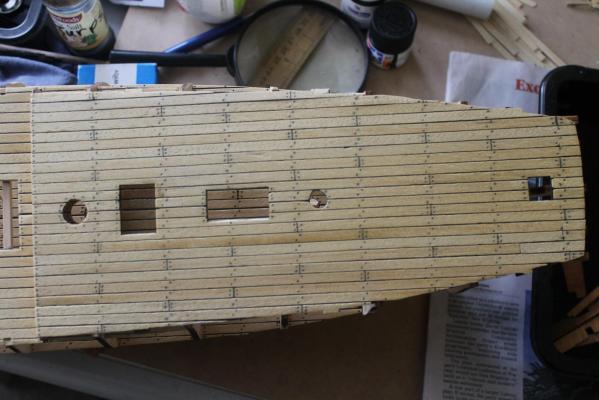
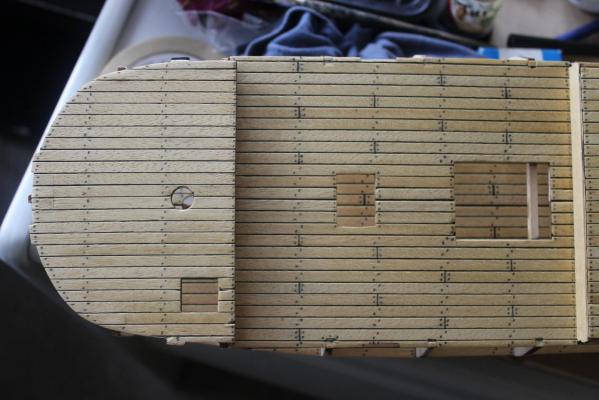
Decking done,the fore deck planks are all under full length so no joins there.onto the bulwarks now.Really enjoying it so far.
-
Brilliant work on the furled sails Denis,i like the vertical thread on the sails.