Nirvana
-
Posts
5,464 -
Joined
-
Last visited
Content Type
Profiles
Forums
Gallery
Events
Everything posted by Nirvana
-
 Steve Yes, those details are small but also a great training in patience.
 -
Mike, looks like Daria will become a 1st mate shipbuilder. Hope she will keep this spirit for the future. And now the Xmas is "assembled " too. Warm holiday greetings to both of you.
-
Wangiboy Welcome back to the building table, your longboat is taking shape. Read and re-read the instructions will save you. Happy building!
-
Thank you my friends, at least we're on the same "boat" It's always good to bounce an idea before next step.
- 335 replies
-
- 5
-

-
- 18th century longboat
- Finished
- (and 1 more)
-
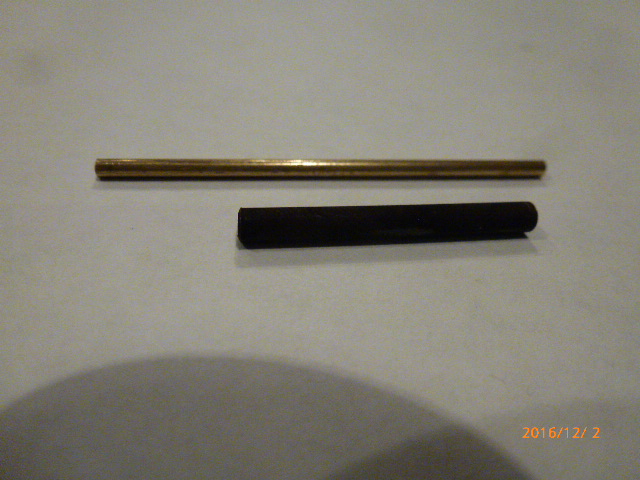
Well, to get the help or rather an input ..... This is my considerations. Brass as is or blacken-ed. I am leaning towards glossy brass.... but what do you think?
- 335 replies
-
- 6
-
-
- 18th century longboat
- Finished
- (and 1 more)
-
Steve, it seems like we are the only two working on the long boat. Question to all, black or natural pedestals? Material is a metal.
- 335 replies
-
- 3
-
-
- 18th century longboat
- Finished
- (and 1 more)
-
Amalio, I don't know if anyone has asked this question, but considering all the material I am very qurious about the weight as it is right now and your estimated final weight? She is a big lady and once she is done you will need a sturdy display.
-
And specially for that price. Bamboo as for planking? Wondering if DeAgostino is doing this to all the "subscription" kits?
- 305 replies
-
- 5
-
-
- deagostini
- vasa
- (and 1 more)
-
Karl, Your approach of shaping after each layer is a good idea. The lifeboat looks nice.
- 164 replies
-
- 1
-
-
- Model Shipways
- Finished
- (and 1 more)
-
Steve, All I am using for the moment is three light sources, not the best. So I will update the light when money and good led comes around. I do appreciate your input. Thank you
- 335 replies
-
- 3
-
-
- 18th century longboat
- Finished
- (and 1 more)
-
Time to pull up a chair and getting a front row position. Always fun with a different build. Now I am waiting for that special smell..... of popcorn
- 62 replies
-
- 4
-
-
- bosphorus
- tersane model
- (and 1 more)
-
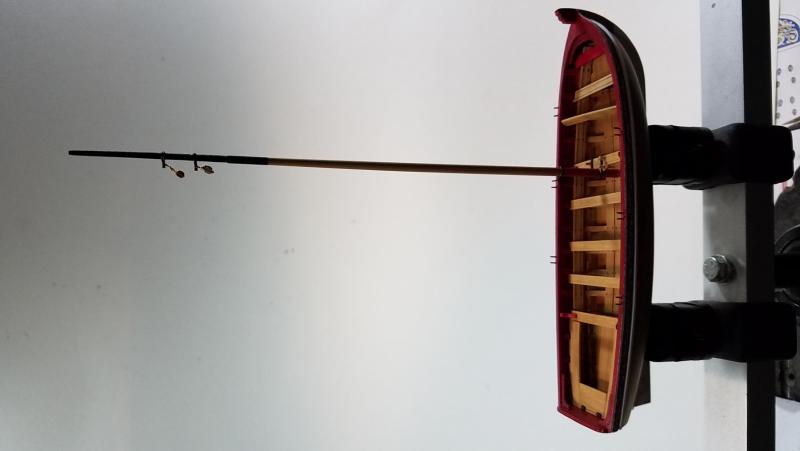
I don't want to get sued because members are getting neck problems due to the orientation of pictures......
- 335 replies
-
- 5
-
-
- 18th century longboat
- Finished
- (and 1 more)
-
Nope just a regular camera. Been trying several editors to rotate before posting, but lately all my pictures become published landscape.
- 335 replies
-
- 3
-
-
- 18th century longboat
- Finished
- (and 1 more)
-
Some more pictures Ps. Don't understand why MSW is changing the orientation of the pictures. Is it only me it happens to?

- 335 replies
-
- 6
-
-
- 18th century longboat
- Finished
- (and 1 more)
-
The surprise is made, waiting to be attached. But not for the moment, best part with the surprise, is that it can the very last piece, if I wish.
- 335 replies
-
- 5
-
-
- 18th century longboat
- Finished
- (and 1 more)
-
Steve, the base is too small for a glass cover. This is the first part of the display. But thank you. Wish there were bigger ones to hold the model, could had been a fun way to show her.
- 335 replies
-
- 3
-
-
- 18th century longboat
- Finished
- (and 1 more)
-
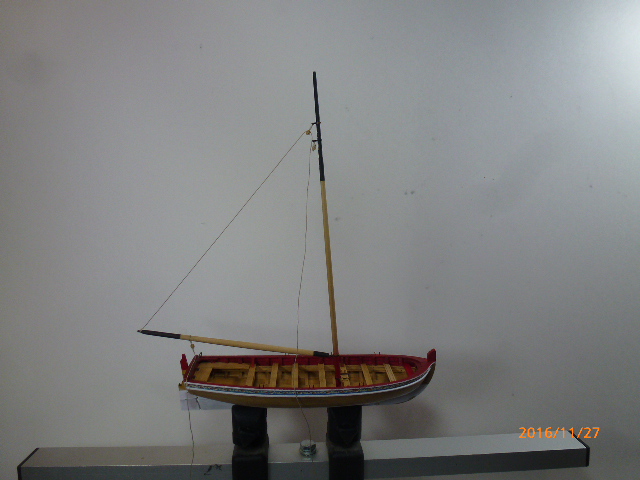
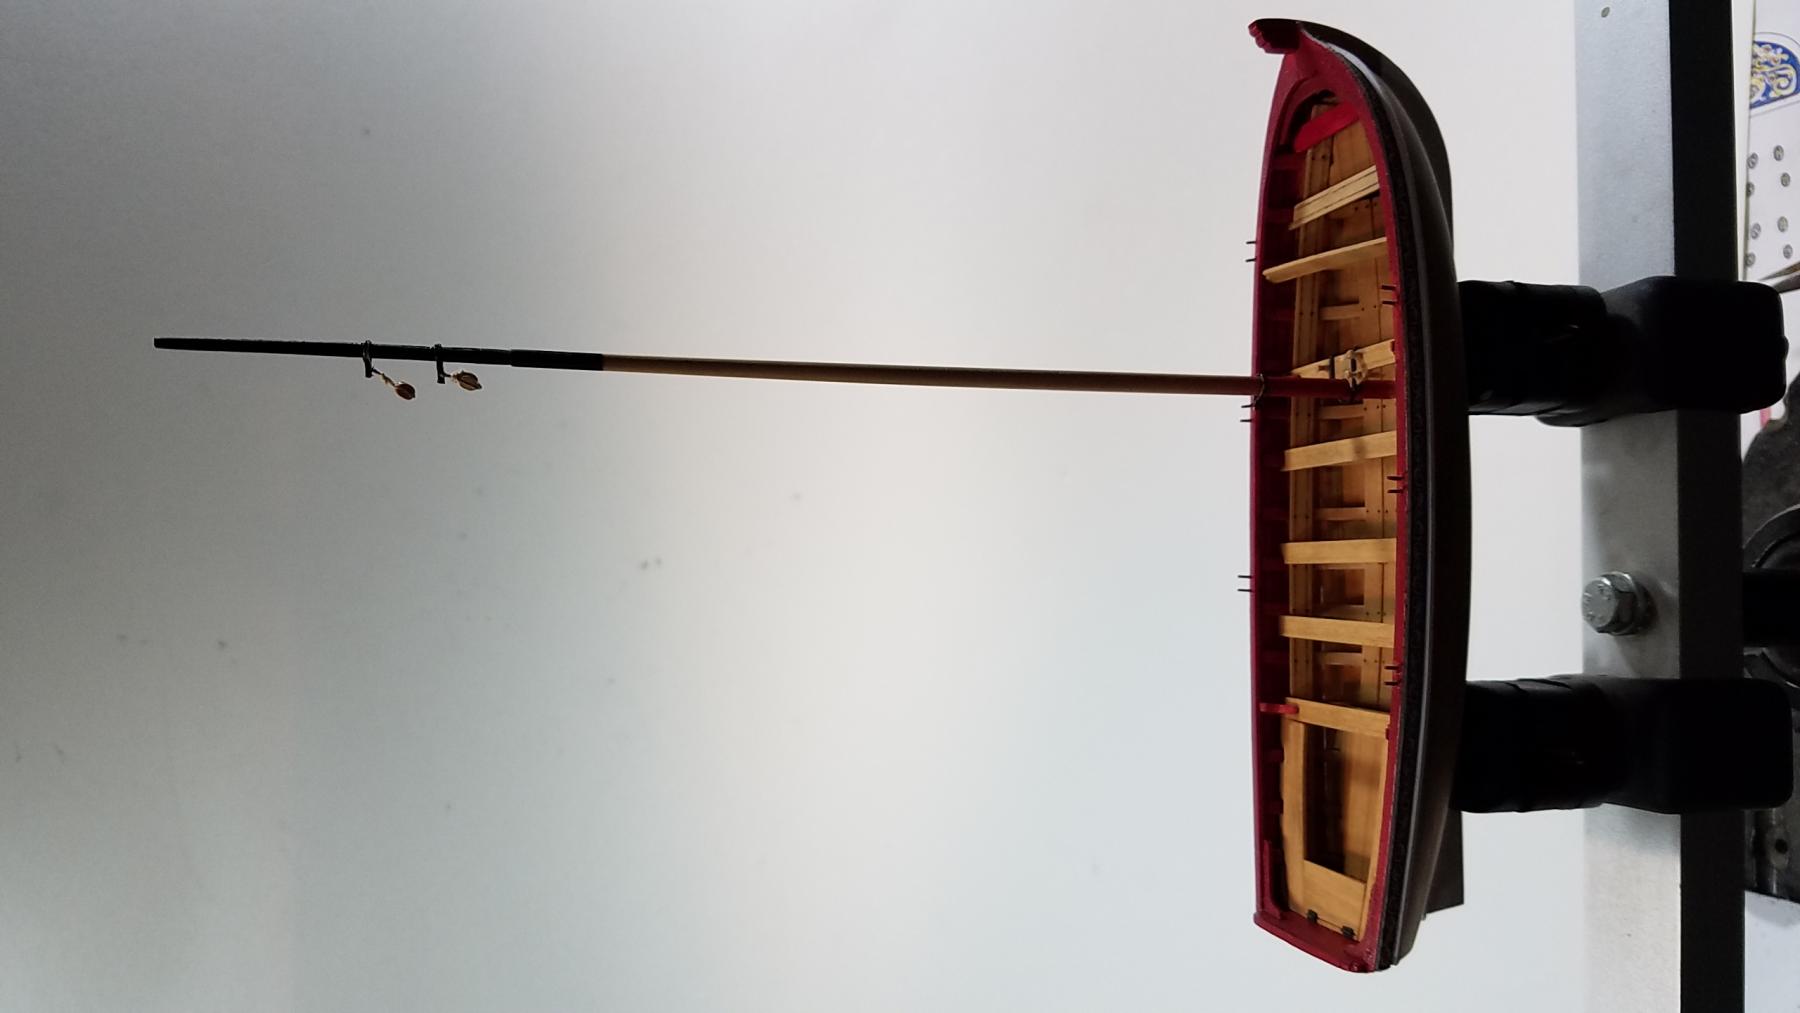
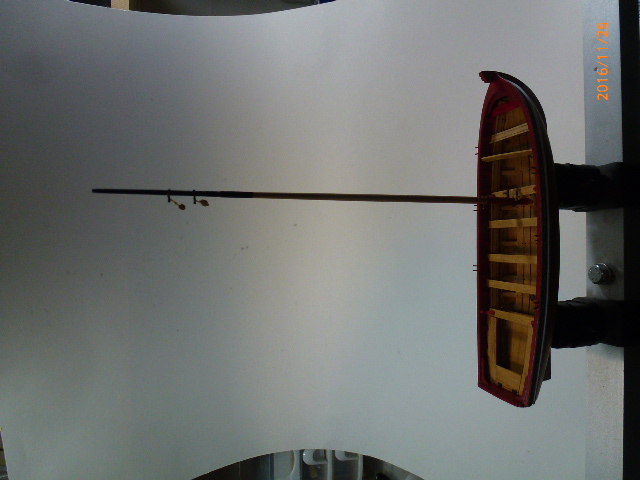
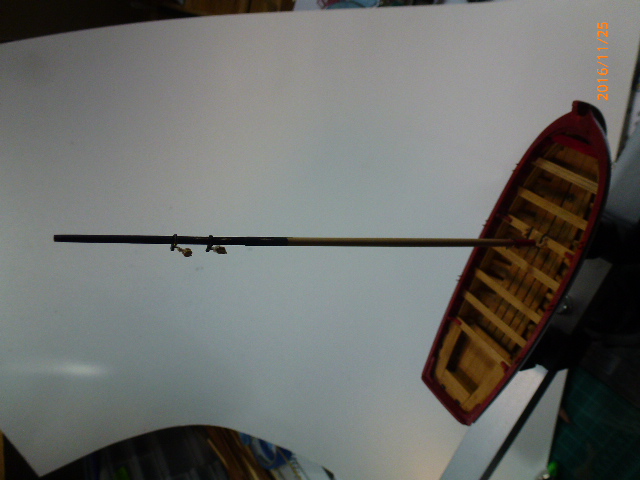
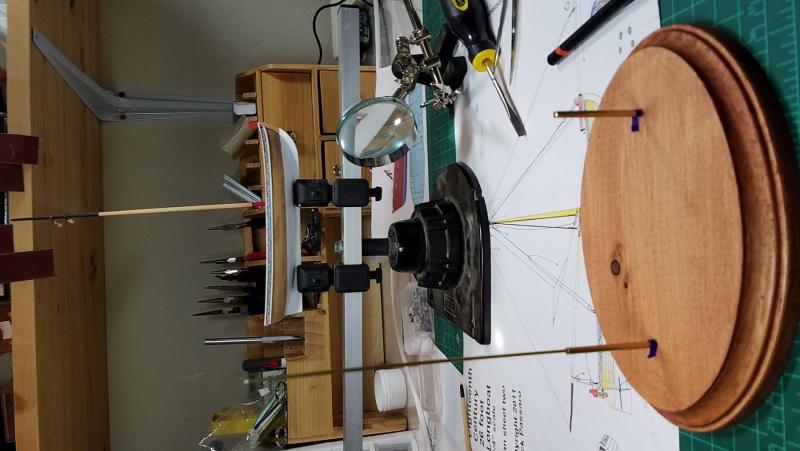
Progressing. Working on several areas at the same time . Stayed up wayour to long last night.
- 335 replies
-
- 11
-
-
- 18th century longboat
- Finished
- (and 1 more)
-
Maury, What a great idea using mono-filament as for simulated bolts. How did you figure out the right amount of joints?
- 525 replies
-
- 3
-
-
- anchor hoy
- hoy
- (and 1 more)
-
Steve, the support strips under made a huge difference.
-
Julie, Hmm, wondering if double sided tape could be to help! This way you can cut and adjust all the pieces, once that is done you will have a port and starboard side and it's just to glue into place. May be to late at this stage.
-
Steve, I bought rigging and running lines from Chuck. Such better quality.
- 335 replies
-
- 6
-
-
- 18th century longboat
- Finished
- (and 1 more)
-
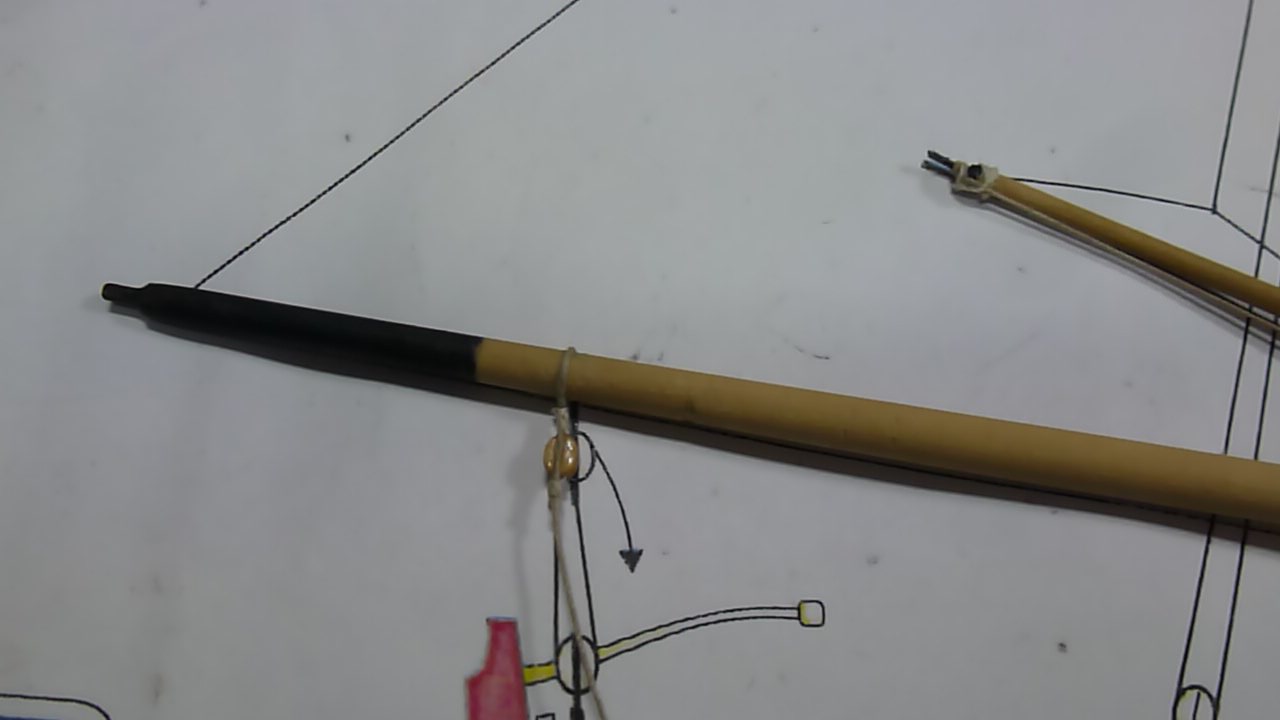
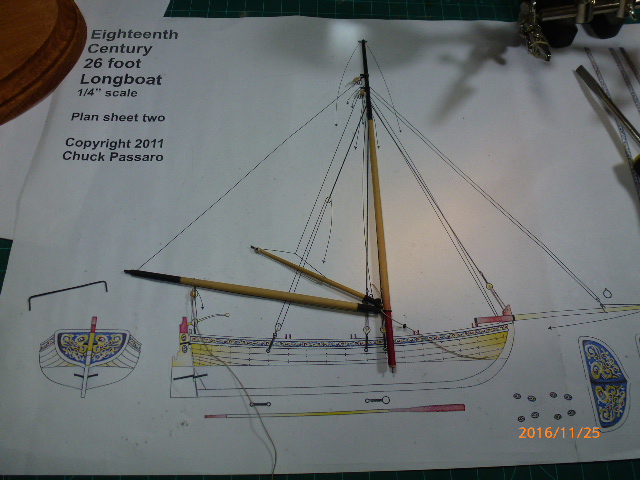
Well, It's amazing how small things can "disappear". I think I have re-made the bands three times because of their capabillity of "flying". Had another made yesterday. Meanwhile I seized the line on the gaff. The line will get shaped with a light touch of glue before the peak halyard is seized in place. I am starting to enjoy the seizing even though it is very fiddly and small work to do. I bought a poly/cotton line from a fabric store, stronger than regular cotton but still easy to work with.


- 335 replies
-
- 9
-
-
- 18th century longboat
- Finished
- (and 1 more)
-
Chris, Micro-Mark has such products. Take a look at this page.
-
Steve, Make paper template of the platform and glue the planks in place. Let dry. Notch carefully, in segments. Hope that will help.
- 165 replies
-
- 2
-
-
- finished
- model shipways
- (and 1 more)