Supplies of the Ship Modeler's Handbook are running out. Get your copy NOW before they are gone! Click on photo to order.
×


Louie da fly
-
Posts
7,982 -
Joined
-
Last visited
Content Type
Profiles
Forums
Gallery
Events
Everything posted by Louie da fly
-
 I like the protruding eye, and it is similar to other "figureheads". The colour scheme sounds good - I'm sure they would have made it nice and colorful just to show off. If anything, you might be being a bit too conservative!
 -
That's a difficult bit of carving. It'll need a lot of care to avoid it breaking - they're quite thin. How many do you have to do? Ah, just checked the diagrams - looks like you'll need four. I can't answer your first question but for the second, the piece carries out the same function as a deadeye, so in the absence of an official name that's probably as good as anything else. I suppose you could put quotes around it and call it a "deadeye" to indicate that it really isn't one.
-
I like your new configuration for the bowsprit. It makes sense. and . . . Sounds good to me . . .
-
Very nice work on the counterweights. Unless I miss my guess, that is the stone called soapstone in English, or steatite. Sceatha used it for his ship, too.
- 158 replies
-
- 2
-

-

-
- byblos ship
- Egyptian
- (and 1 more)
-
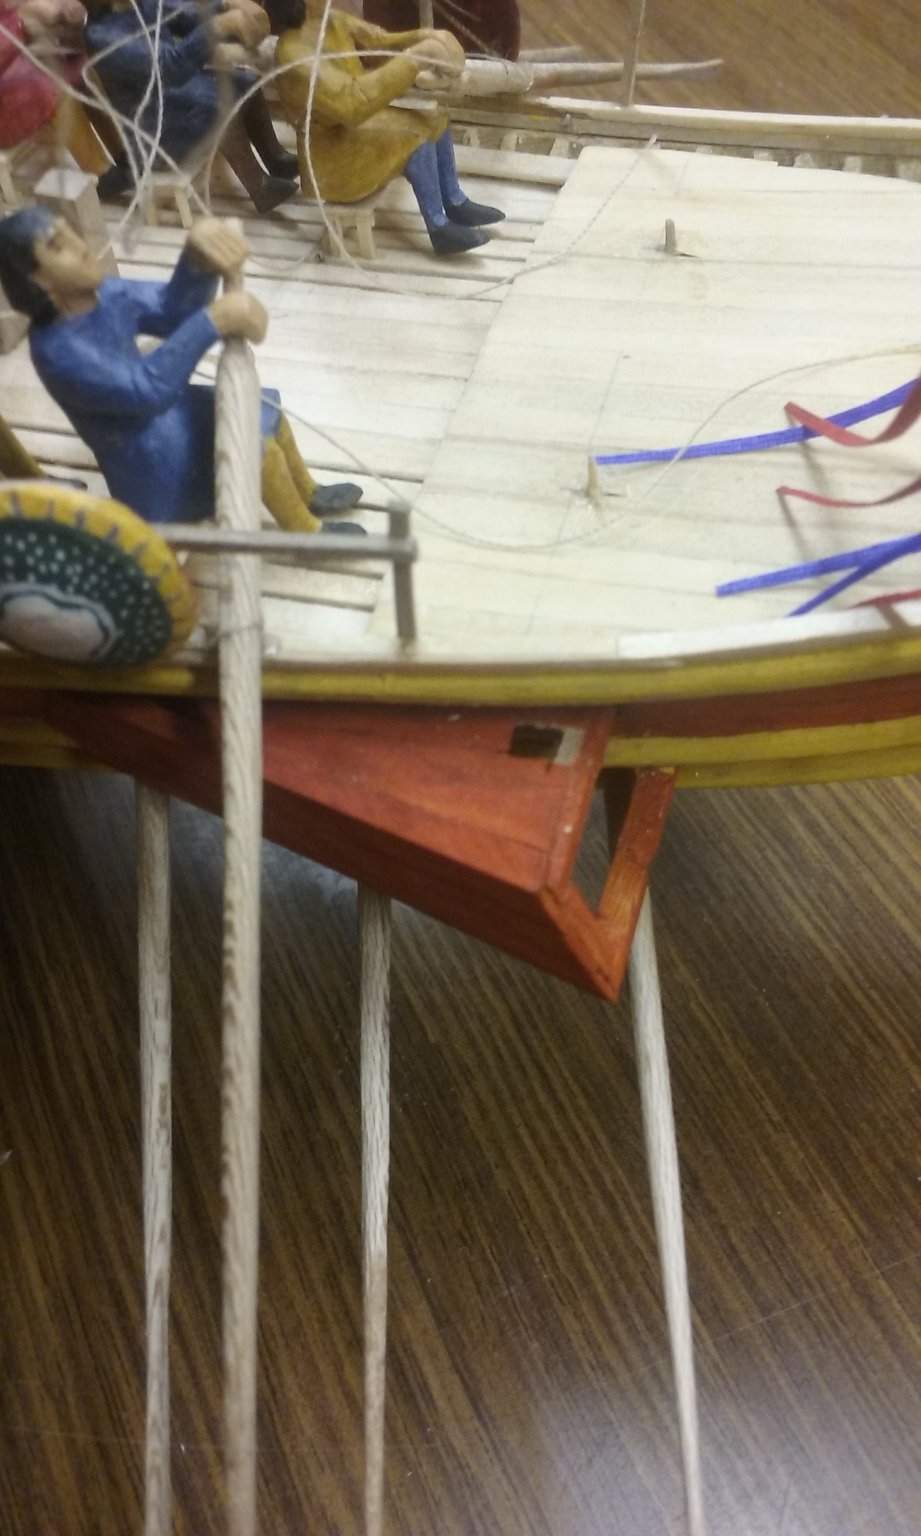
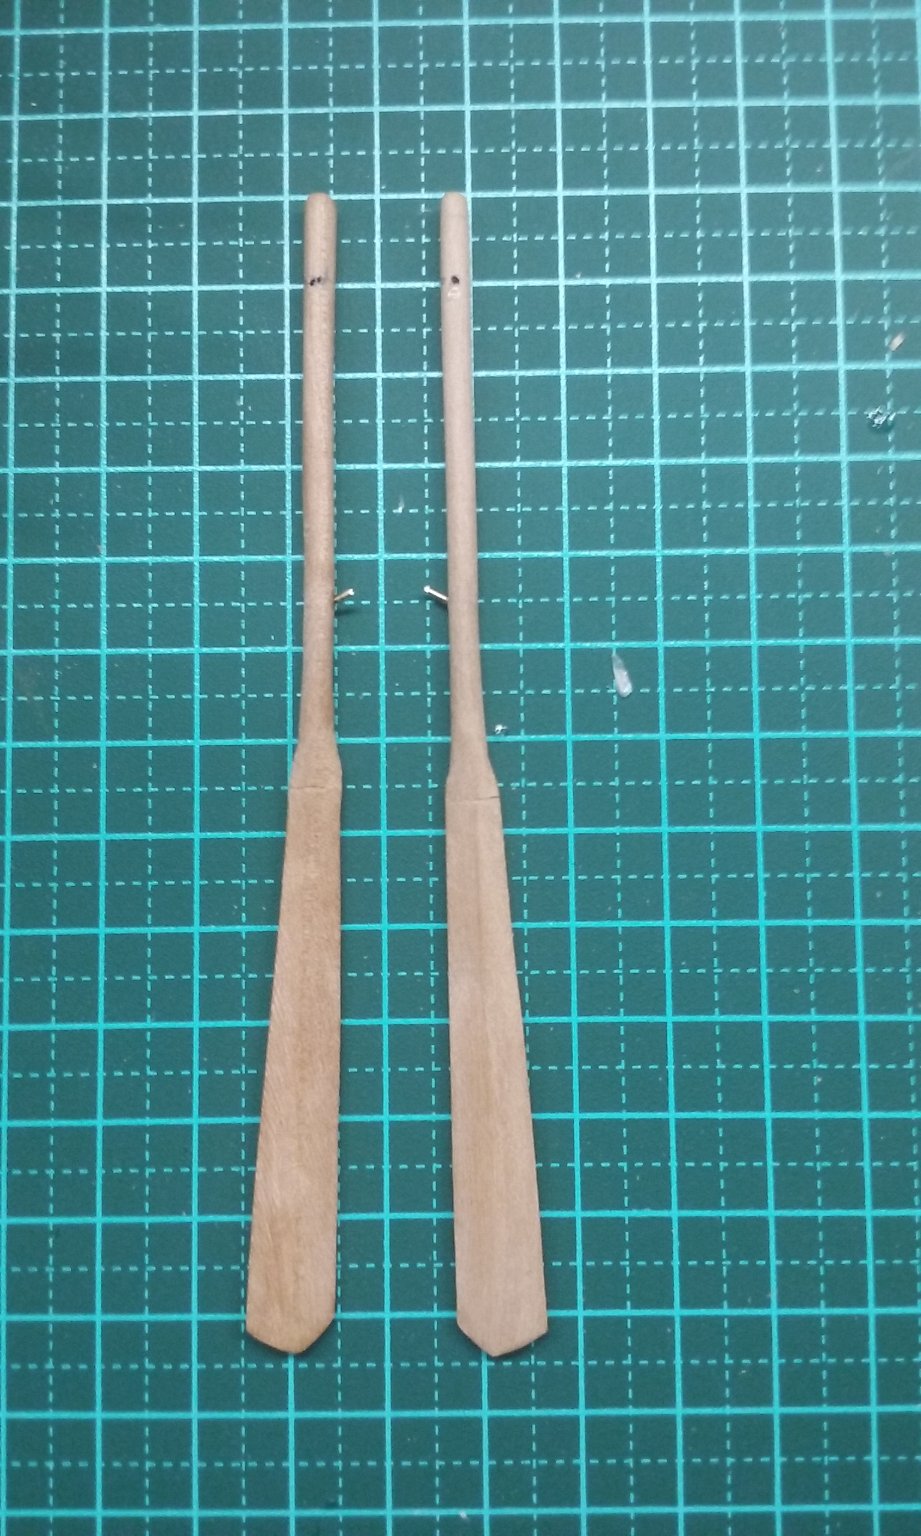
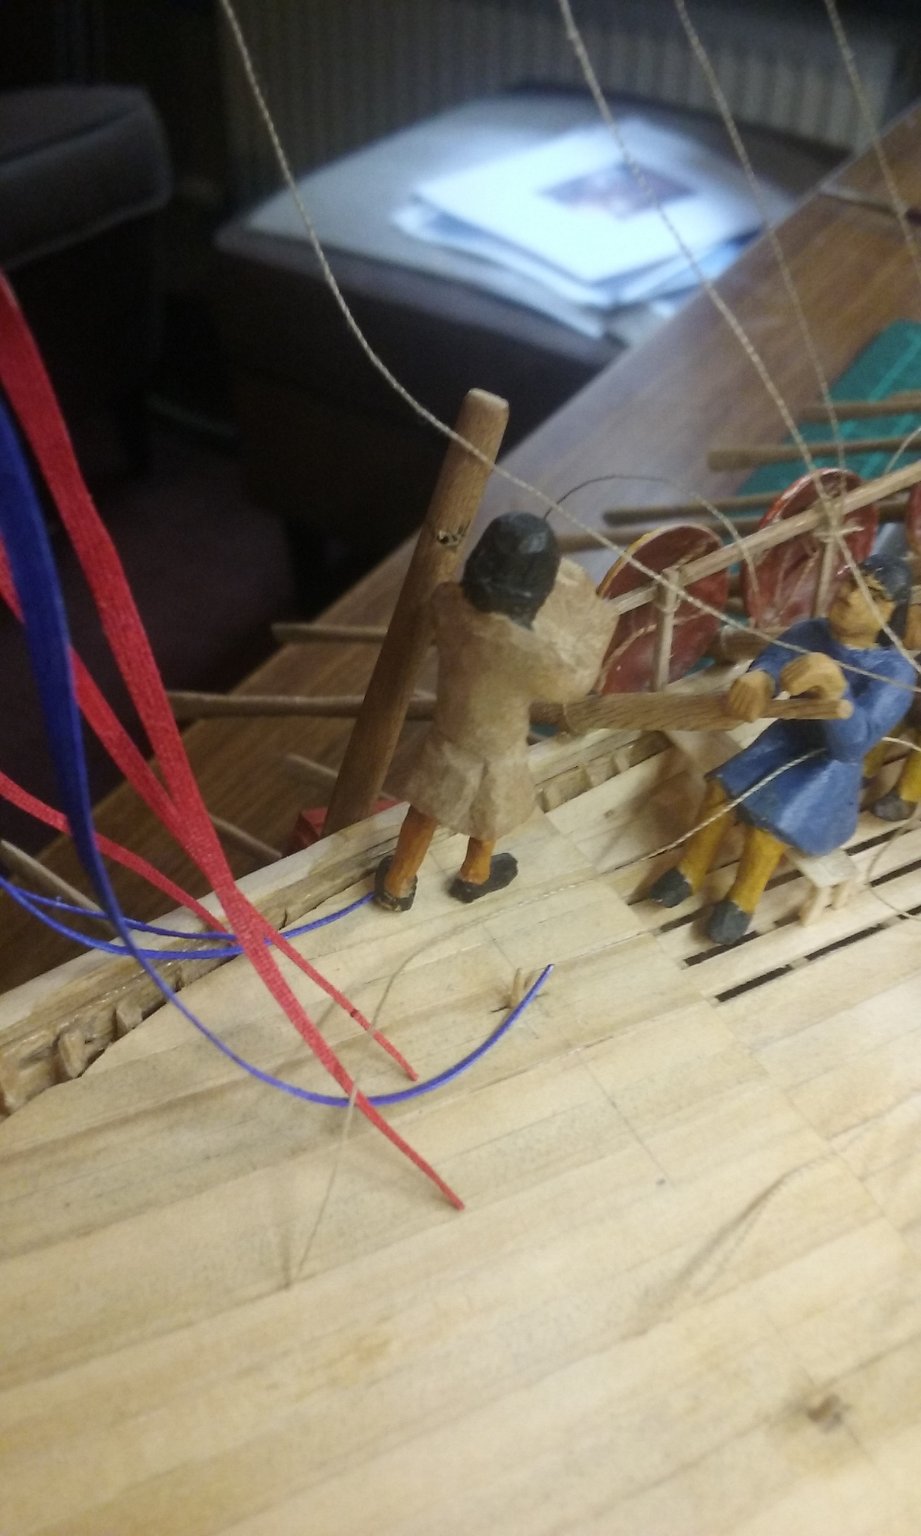
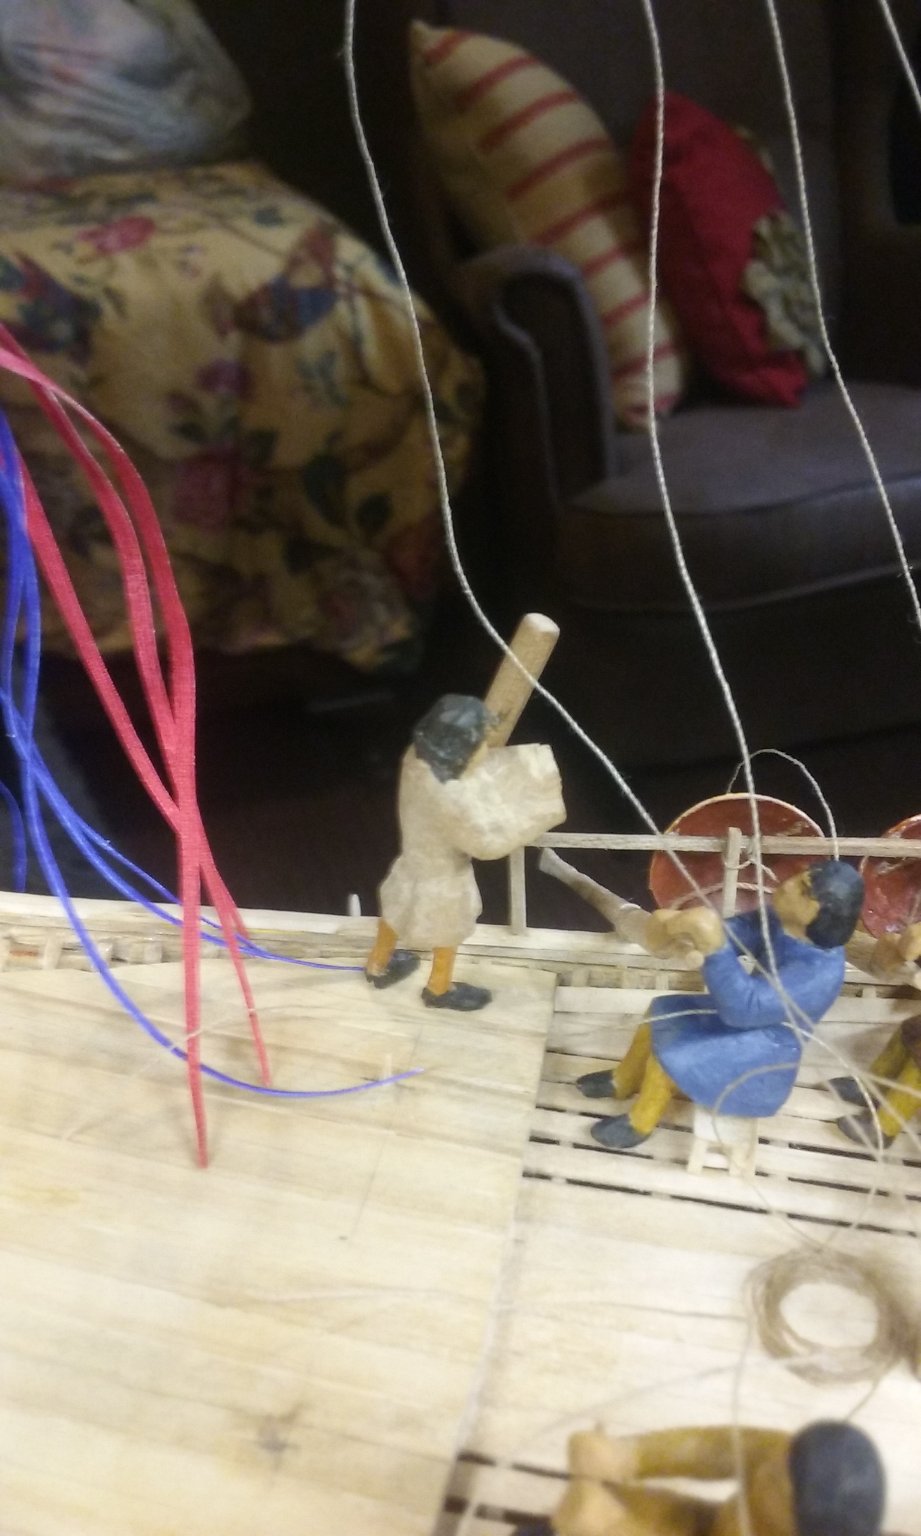
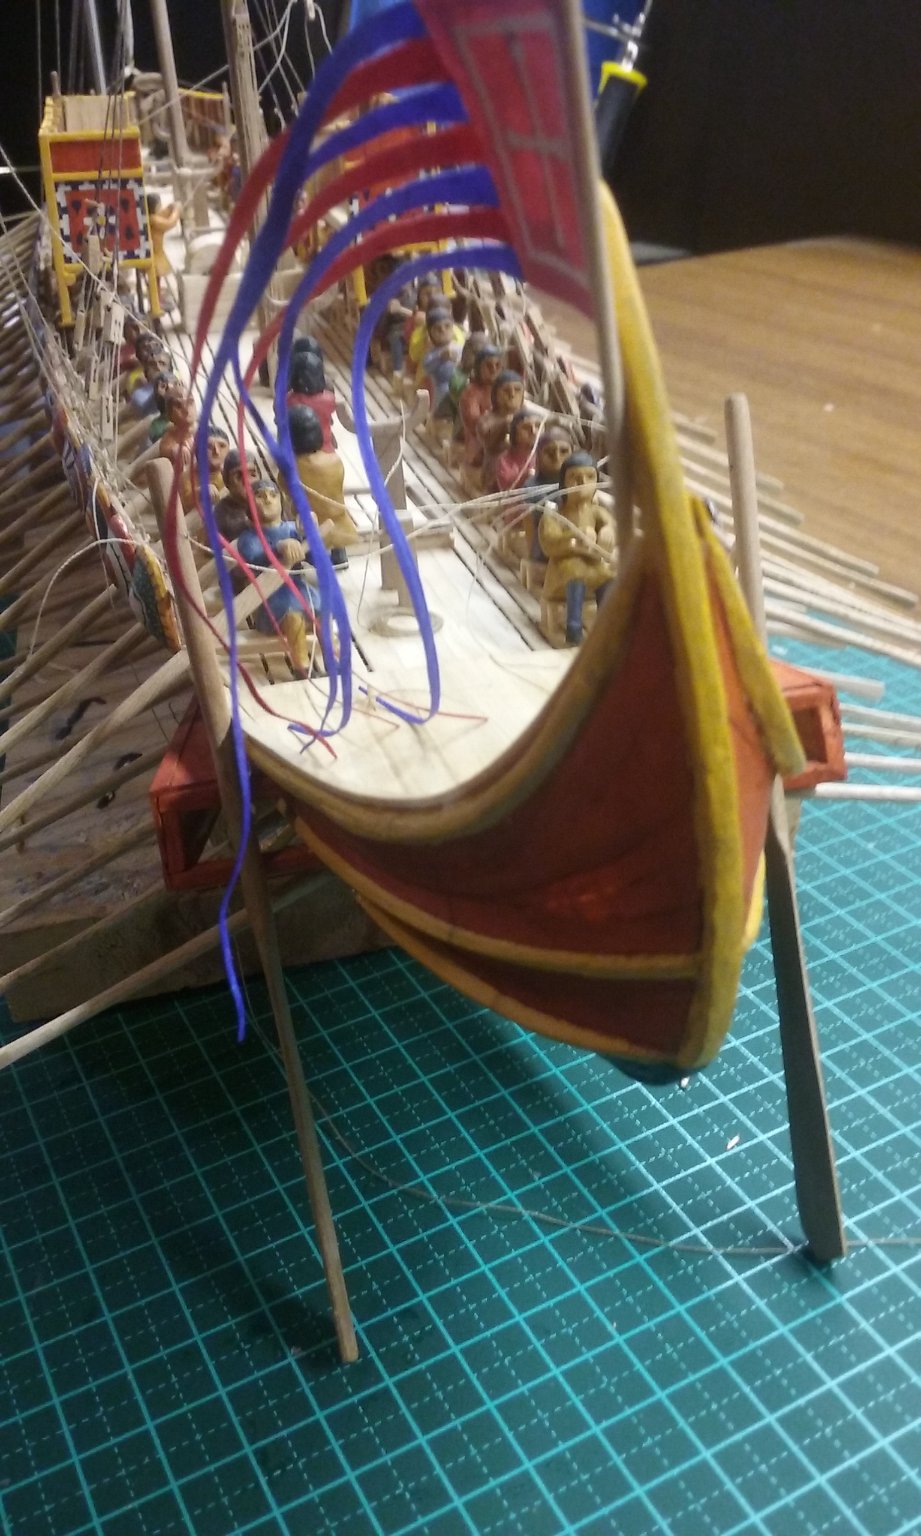
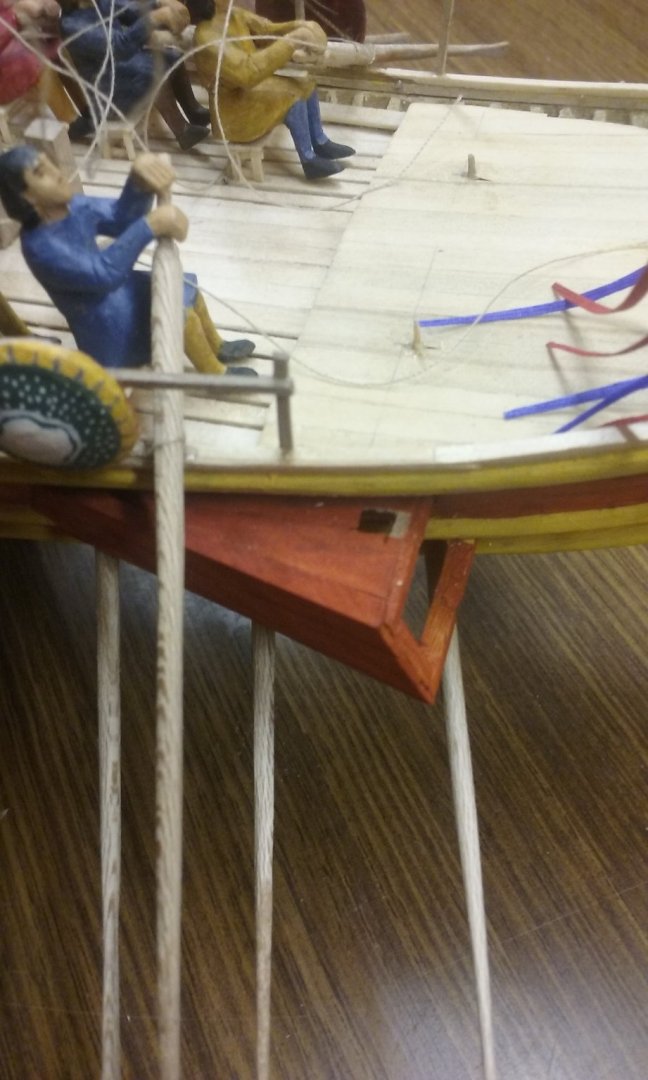
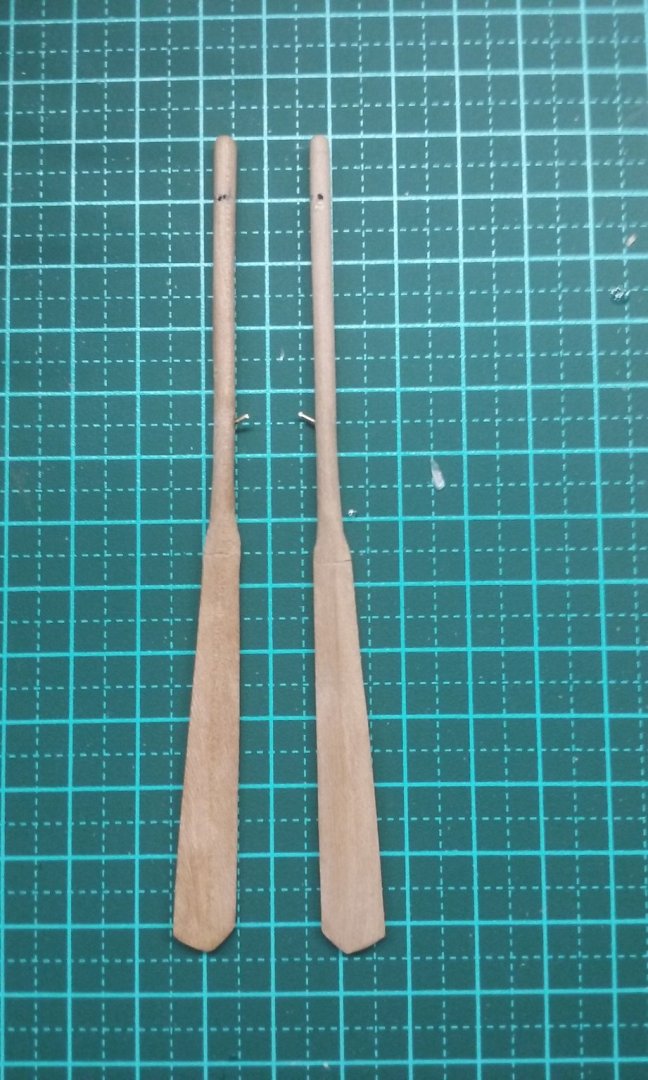
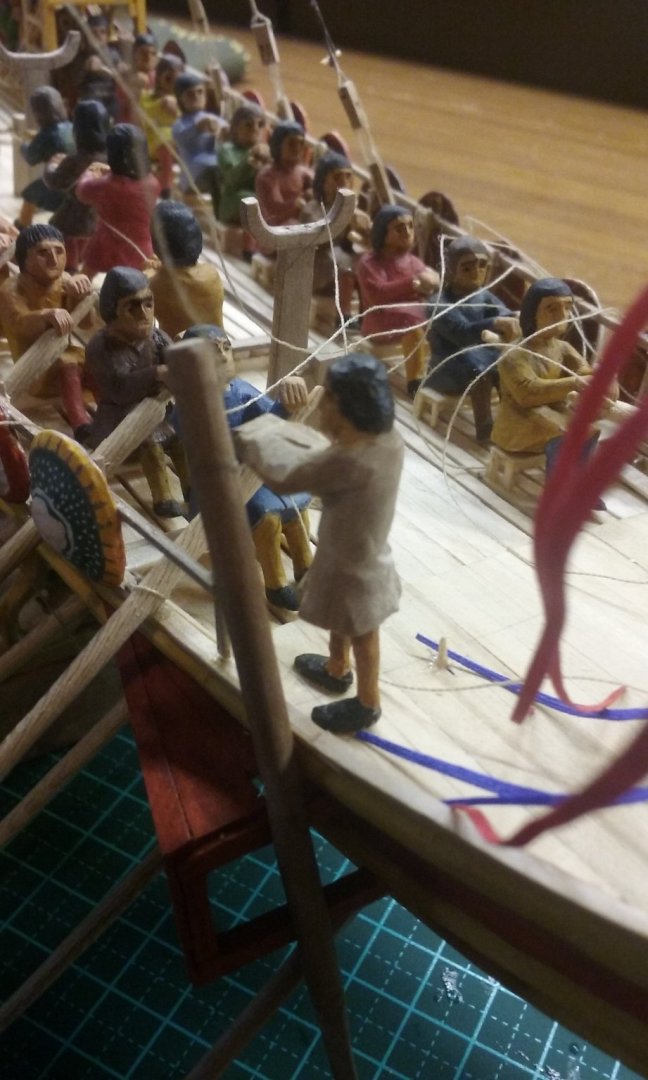
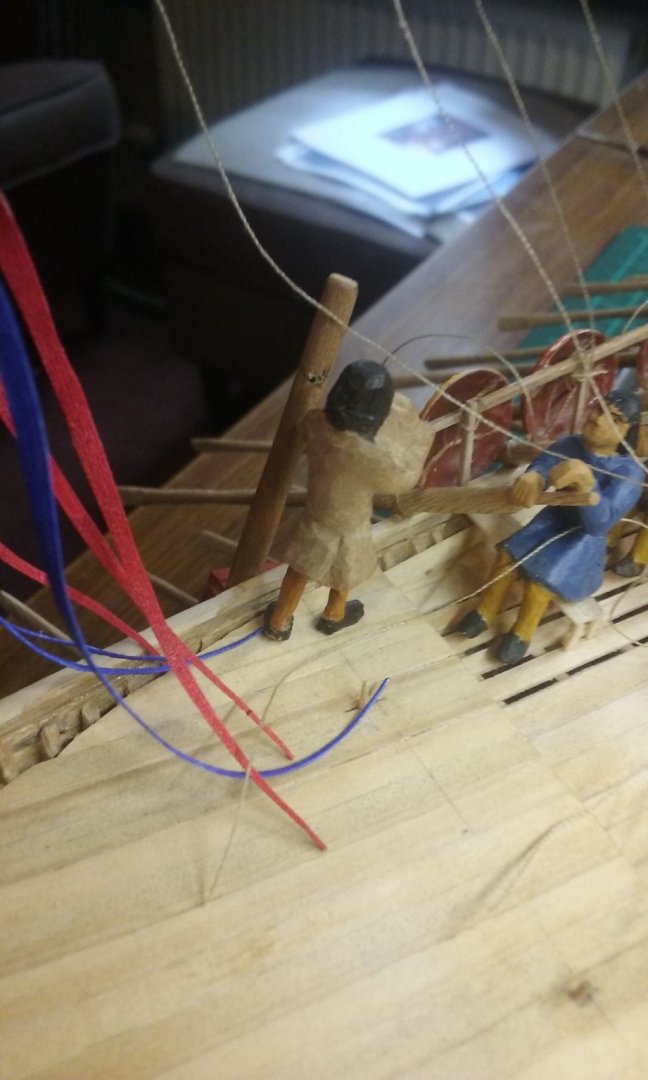
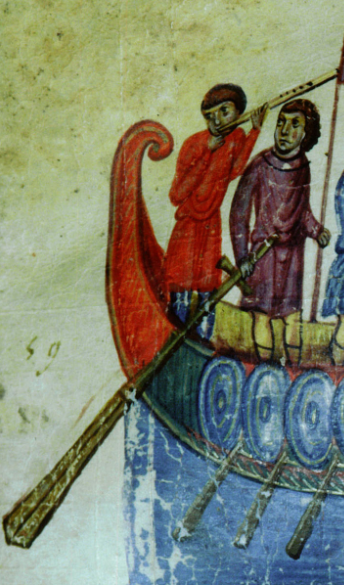
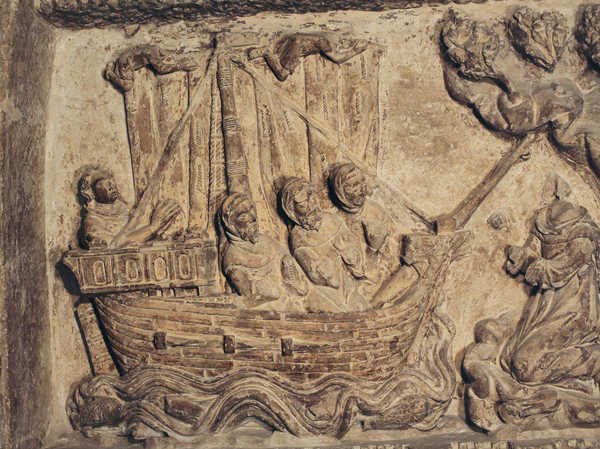
While I'm thinking about the anchors, I'm also working on the side-rudders (steering oars if you prefer) . I'd originally intended to attach the rudders to the lower through-beam on each side, but I realised it wouldn't be able to pivot upwards if I did, so I used the upper beam instead. So I had to cut a hole in the planking on top of the support structure, for the rope that fixes the rudder to the beam. The rope allows the rudder to pivot around its vertical axis (for steering), and with a bit of luck it will also allow it to swing upwards out of the way when only one rudder is in use. The kind of lashing or whatever that was used is (of course) unknown, so I'm going with the theoretical one from the TAMU paper "The Development of the Rudder, 100-1600 A.D.: A Technological Tale" by Lawrence V. Mott ( https://nautarch.tamu.edu/academic/alum.htm) to see if it works. I drilled a hole in each rudder and inserted a brass pin. and a corresponding hole in the upper beam on each side of the ship Here are the rudders dry fitted There is only one Byzantine picture that shows a tiller on a side rudder: I'm probably going to copy that for my own. To get the tillers at the right height I put the steersman in place next to one rudder and marked where the hole for the tiller would have to be. Note that I haven't yet finished the steersman's arms - I'm holding off till the tillers are in place. I wasn't sure if I wanted one tiller to be swung up out of the way, but I think it'll look better with them both in operation. Which means I have to carve another steersman.

-
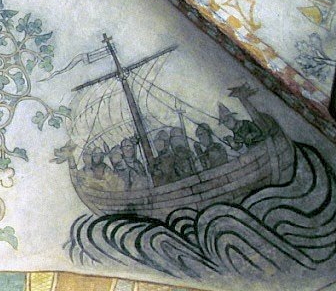
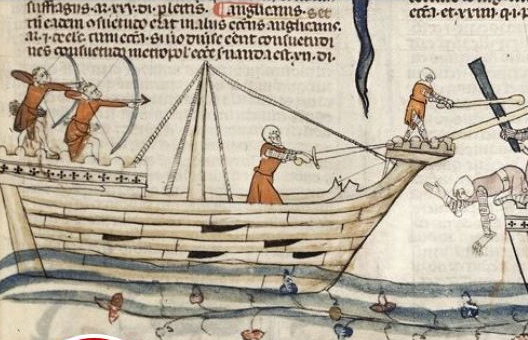
Yes, I would have thought that from looking at the cross-sections. It has a very low freeboard - looks like it would get swamped easily. By the way, here is a picture of a longship with a stern rudder, from about 1300 AD. It's from Skamstrup Church, near Kalundborg, Denmark. Note that the tiller is curved, to go around the sternpost.
- 179 replies
-
- 6
-
-
- longship
- Helga Holm
- (and 1 more)
-
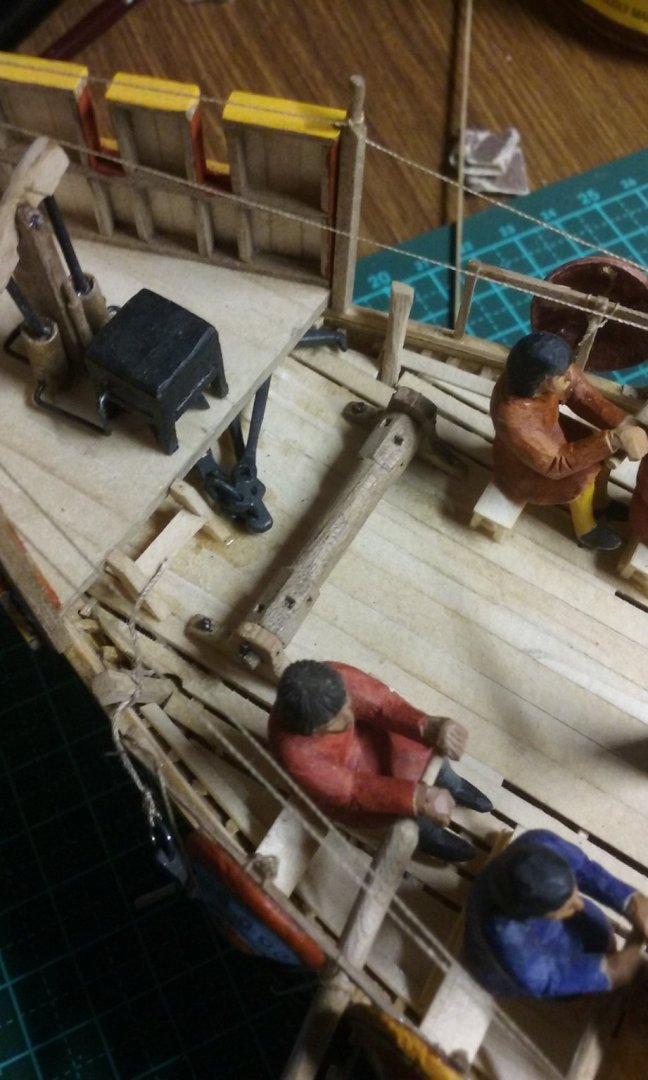
Dislodging the anchor could be done by "sailing (or rowing!) it out". Yes, maybe the windlass wasn't really needed . . . But it does look good, and I think I will wind one anchor cable around it, if only for the look of the thing. And I'm sure there'd be plenty of other jobs on board ship that could need the windlass's help (such as Mark's suggestion of using it to raise the masts). Thanks very much. And thanks everybody for all the likes -they are much appreciated. It's getting to the point where I can actually see the end in sight. Still quite a bit to be done, but there's definitely a light at the end of the tunnel (I hope it's not an approaching train!)
-
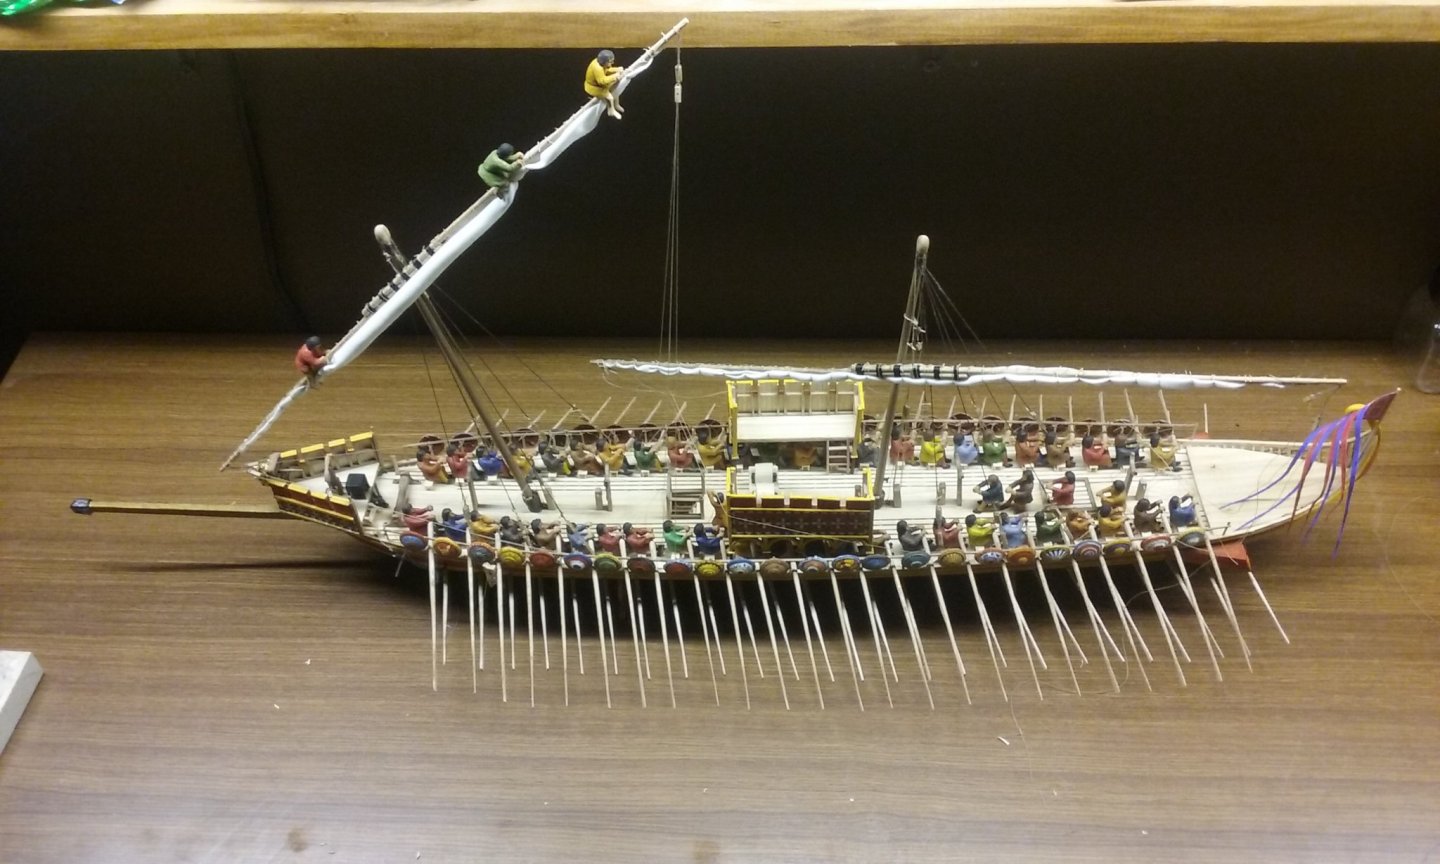
They look good to me, Christos. I found I had the same problem when I made my oars - I concentrated too hard on the (tiny) faults in each individual oar. But when the oars are seen all together, those things become almost invisible. What you are aware of is the overall picture - a whole lot of oars all together. And if there are individual differences between the oars you really don't see them. Dan, both methods of fixing the oars to the pivots are and have been used, but one is certainly better than the other. Why doesn't everybody use the more efficient method? "Because we've always done it that way, and what was good enough for grandad is good enough for me . . ."
-
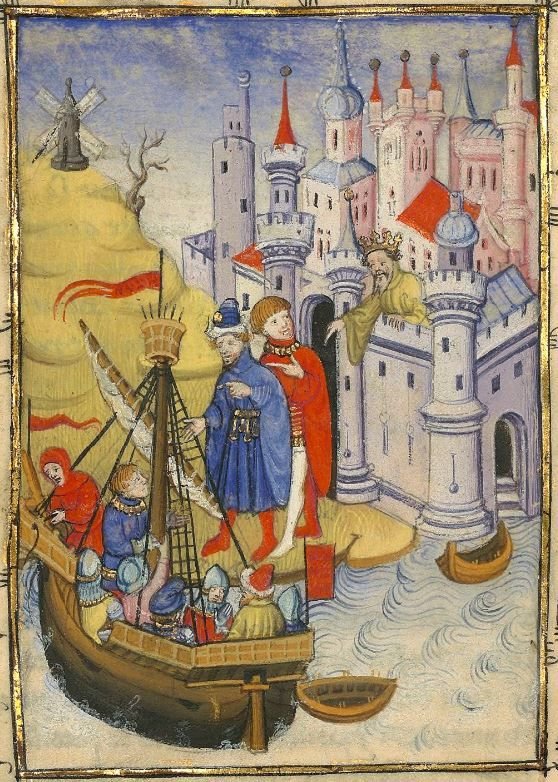
Contemporary representations sometimes show the stay fixed to the bowsprit, sometimes to the hull - and sometimes it's hard to tell. The Bodleian Marco Polo picture shows the stay running to the hull and the bowsprit used for braces running forward from the yardarms. A lot of representations show the fixing point at the base of the bowsprit - perhaps fixed to the stempost? The Marco Polo picture certainly suggests that.
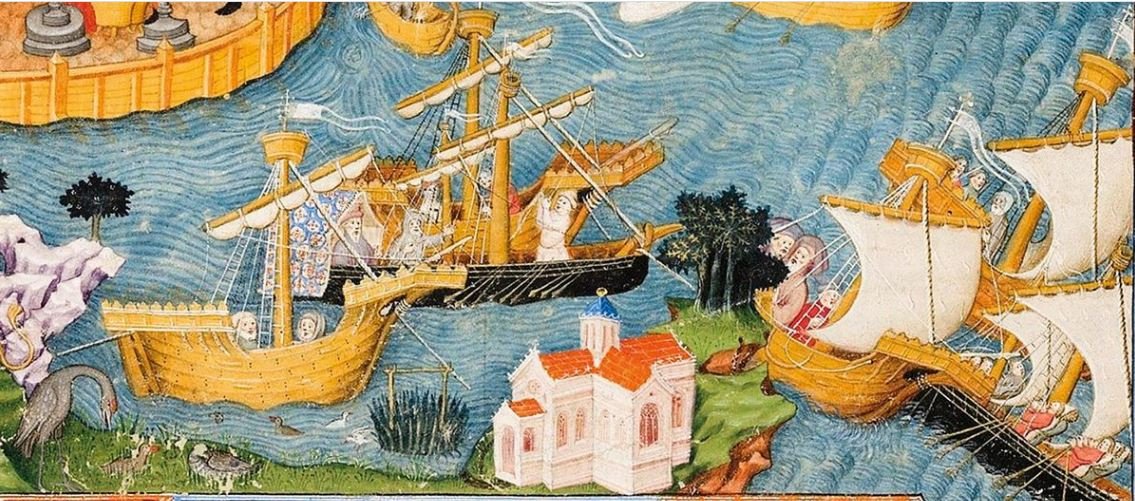

DetailFolio208v.JPG.baee127adc81f92907f831aa0cc192d7.JPG)
-
Yes - it's from c. 1325, well into the period when stern rudders were in use. But I agree, a longship with one is quite strange.
- 179 replies
-
- 2
-
-
- longship
- Helga Holm
- (and 1 more)
-
This is wonderful! Yet another of the growing band of people making models outside the general run of the mill. And particularly mediaeval ships (my own particular passion). I'll be following with great interest.
- 179 replies
-
- 2
-
-
- longship
- Helga Holm
- (and 1 more)
-
Yes indeed
-
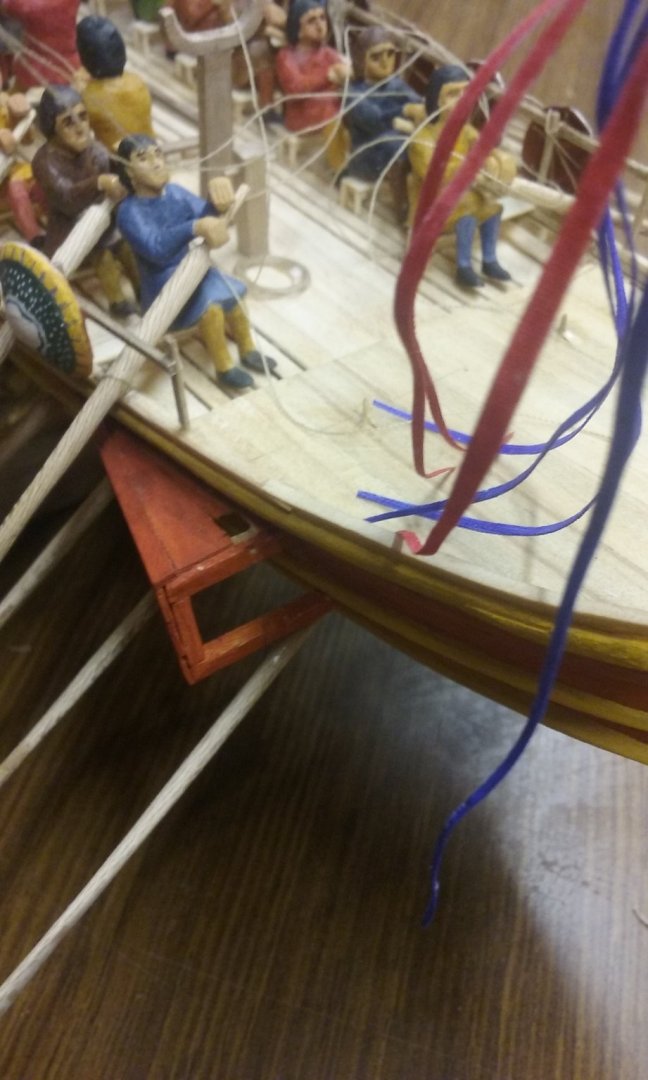
Thanks, Pat. My understanding is that they were beached stern-first, rather than bow, but the principle is the same - in fact it would make it easier to use the windlass to haul the vessel off the beach. But they were so light the stern could apparently be hauled well up onto the beach, which would help protect against changes in the sea direction. And of course the Mediterranean is all but tideless. There were apparently a lot of islands across the Mediterranean with adequate supplies of water and a good beach, and they would have been part of any good skipper's local knowledge. If they were too far away from the next one they could spend the night at sea, but preferred not to. Apart from anything else, it only took a very few days for the on-board water supply to run out. If they were beached stern-first and the anchor was over the bow, the cable would have been stored in the bow rather than the stern. Which is how I've been thinking of all this. However, it seems that there would have been at least one anchor somewhere in the stern - when anchors are so light you can't have too many. The Serce Limani glass wreck had nine of them - six of which were stored one on top of each other in two piles somewhere near the bow. Apparently the ship was caught by a storm near the coast, they dropped the stern anchor to give them a chance to get the rest of the anchors and make sure of her - but the anchor itself snapped before they could, and she was driven ashore. I haven't made that many anchors - only 5 - two catted and fished (one each side) and the rest stored in the bow (even though I should probably put at least one at the stern). Anyway, perhaps I'll have one anchor cable connected to the windlass and the other just vanishing under the forecastle.
-
Well it's pretty much accepted that they put in to land every evening if possible - if only to replenish their water supplies (which they used up rather fast - rowing will do that to you). But I have an anchor on each side of the bow - I doubt that both cables would be attached to the windlass. Perhaps if I do it with one cable and have the other one coiled up ready to attach when needed? (In fact I'd probably have it run under the forecastle and pretend there was a coiled up cable there). Which would mean I wouldn't need a hole in the deck leading belowdecks? Maybe I never needed the windlass at all, but I'm committed now . . .
-
And probably at the stern as well. Unfortunately kit manufacturers often supply the planks the same width the whole length, when in fact their width varies right along their length to allow for the complexity of the shape of the hull. Adjusting the width is called spiling, and it needs to be done otherwise you end up with gaps between planks at some points and overlaps at others. I'd suggest you have a good read through the planking primers - take your time, until you're happy you understand them (and even then it's possible to make mistakes - don't ask me how I know), and then have another go at your planking. Don't worry - it is possible to get it right! The other thing is it looks like you haven't faired your frames - that is to bevel them at the edges to follow the smooth run of the planks, so the planks rest against a surface rather than just an edge. The edges of the frames shouldn't be at right angles to the frames themselves, they should be at the appropriate angle to let the planks rest smoothly against them. (I hope that makes sense). Planking is probably the most difficult job you'll have in making your model. It's worth putting in the time and study to get it right. You'll be glad you did. And ask questions - lots of questions. Plenty of experienced people here to help you.
- 16 replies
-
- 3
-
-
- Golden Hind
- Constructo
- (and 1 more)
-
Roter Löwe 1597 by Ondras71
Louie da fly replied to Ondras71's topic in - Build logs for subjects built 1501 - 1750
Exquisite work, Ondras! -
You learn something new every day - if you're not careful! Looping the forestay around the foremast would mean it avoids transferring any forces to the foremast - which if it's very far forward as in Backer's diagrams, would be a good idea.
- 756 replies
-
- 3
-
-
- galleon
- golden hind
- (and 2 more)
-
The centre of effort should be as close to the centre of resistance (i.e. resistance by the water to the movement of the vessel) as possible. it will depend on the rig and on the shape of the boat - obviously the "sharp end" presents less resistance to the water than the "blunt end" - but it usually means the mast should be as close to the centre of the boat as you can make it. Is the boat to be lateen rigged? If the mast lines up with the centre of the yard, there'll be more force acting on the back of the sail than on the front, because it's a triangle with the small end at the front. That's why the mast on lateeners is often a little forward of centre, and also why the mast often leans forward. See (such a beautiful sail!) and to see a small lateener being rigged: -
-
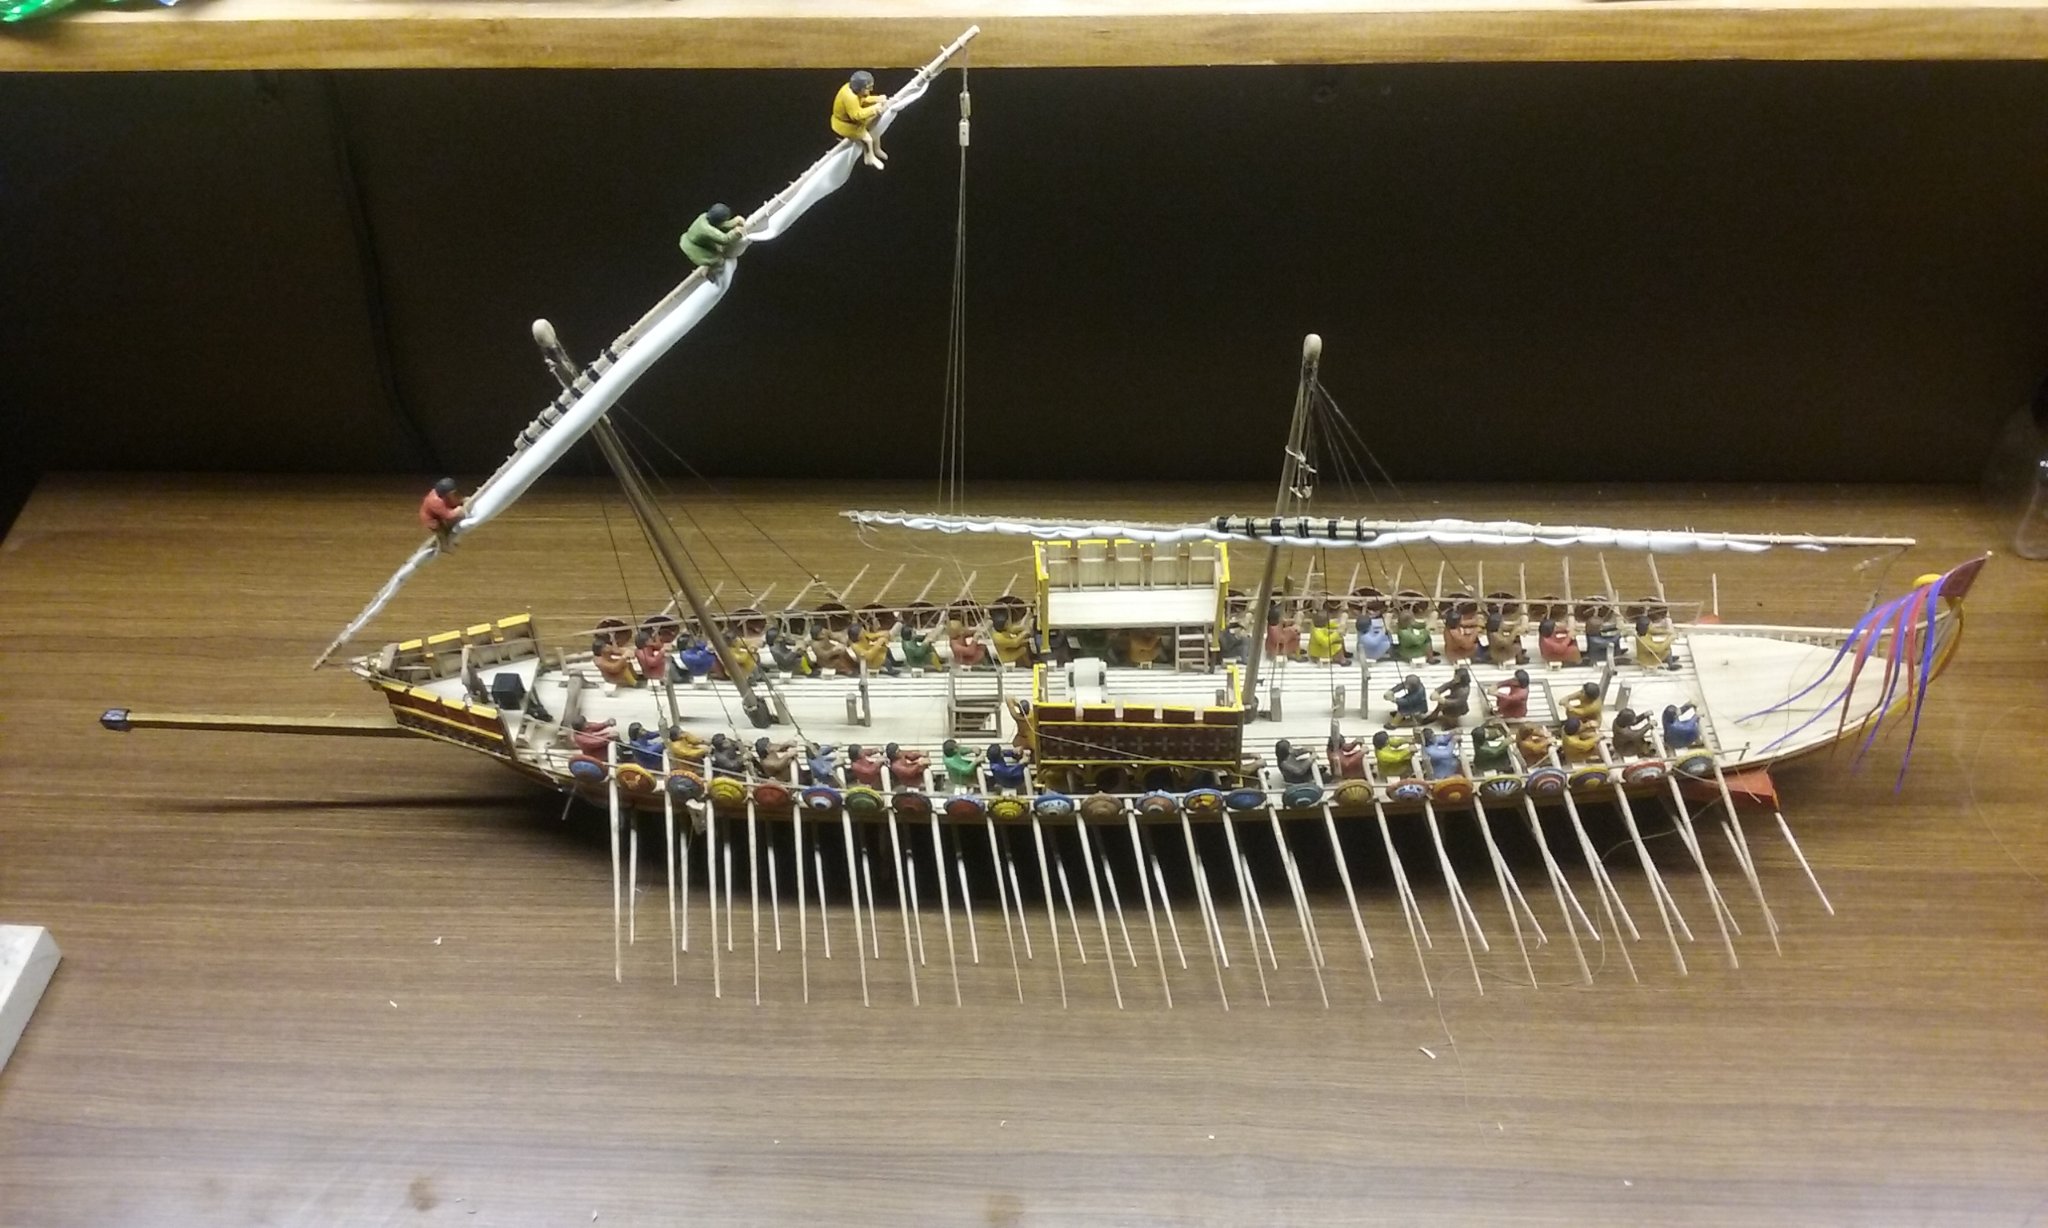
Apart from the awning over the poop deck and the steering oars, everything's pretty much done except for the fiddly stuff. Mark, the anchors ranged from 47 to 67 kg (103 - 147 pounds). Probably two or three people could haul one up without a windlass, but this isn't something I'm qualified to comment on. Any ideas on whether this is too heavy to be hauled up by hand and would have needed a windlass instead? But yes, it could certainly be used to raise and lower the masts as well.

-
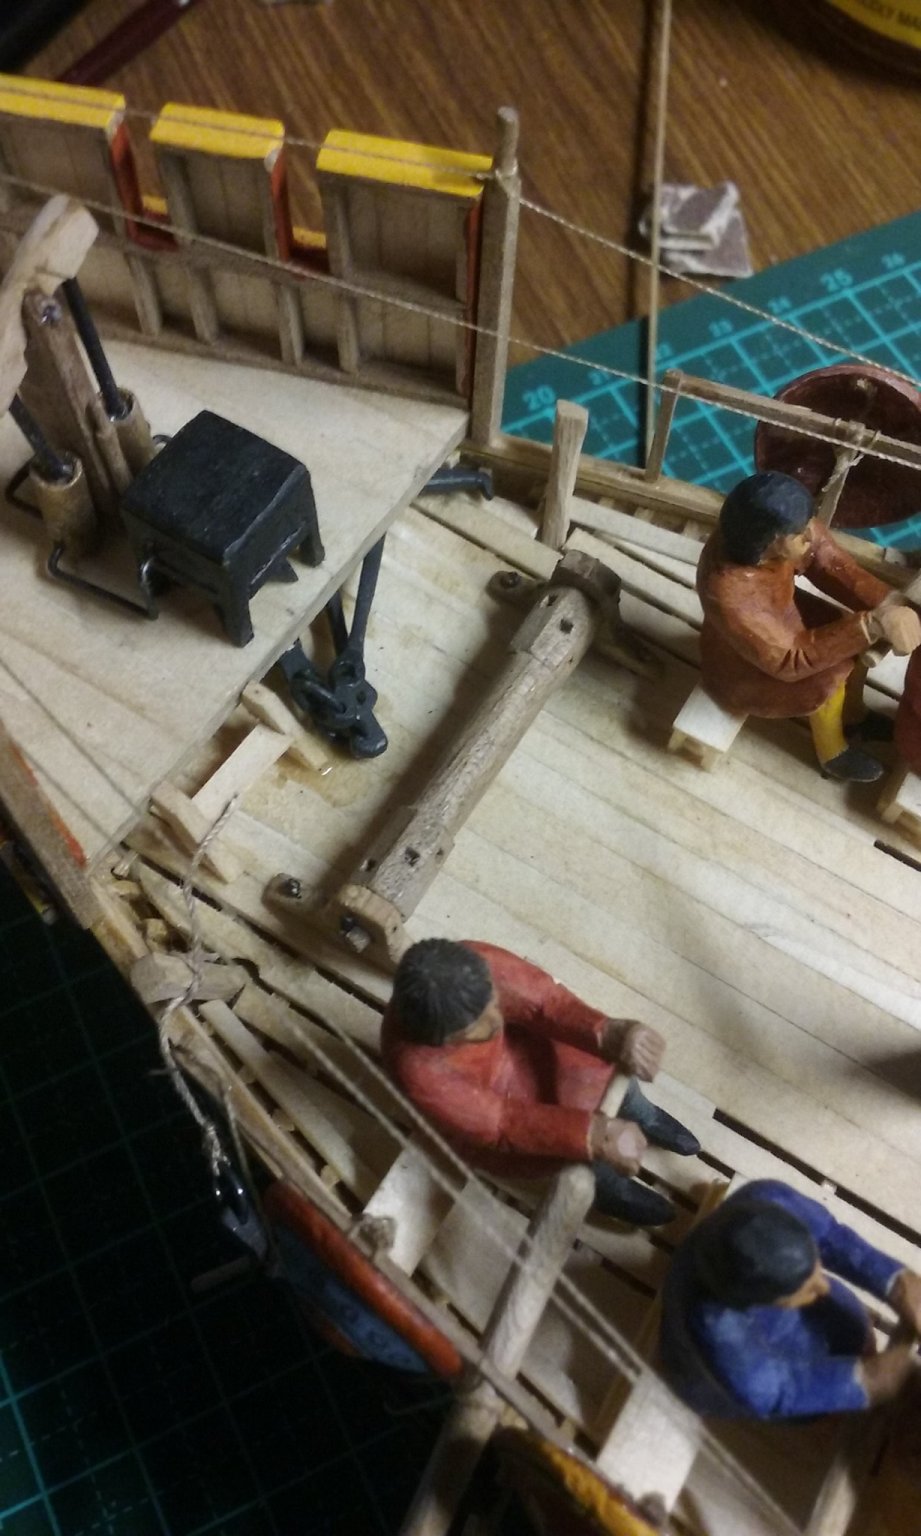
But (and I'm really showing my ignorance here) it would only be one anchor, right? You only raise one anchor at a time? So perhaps one anchor cable is wound round the windlass from the anchor, and down a hole in the deck (in the photo below it would be aft of the windlass) to the cable locker below the deck. And the other anchor cable goes directly to the cable locker through the same hole? So to put the anchor cable on the windlass, the cable would first have to be untied from the anchor, wound around the windlass and then re-tied to the anchor? (having trouble getting my head around all this).
-
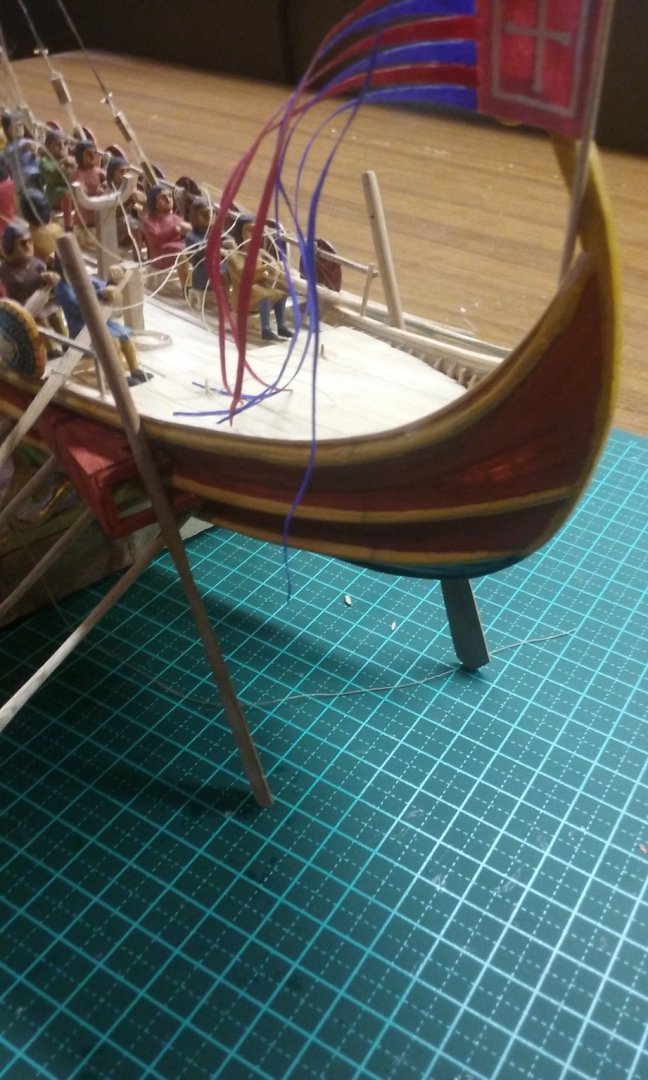
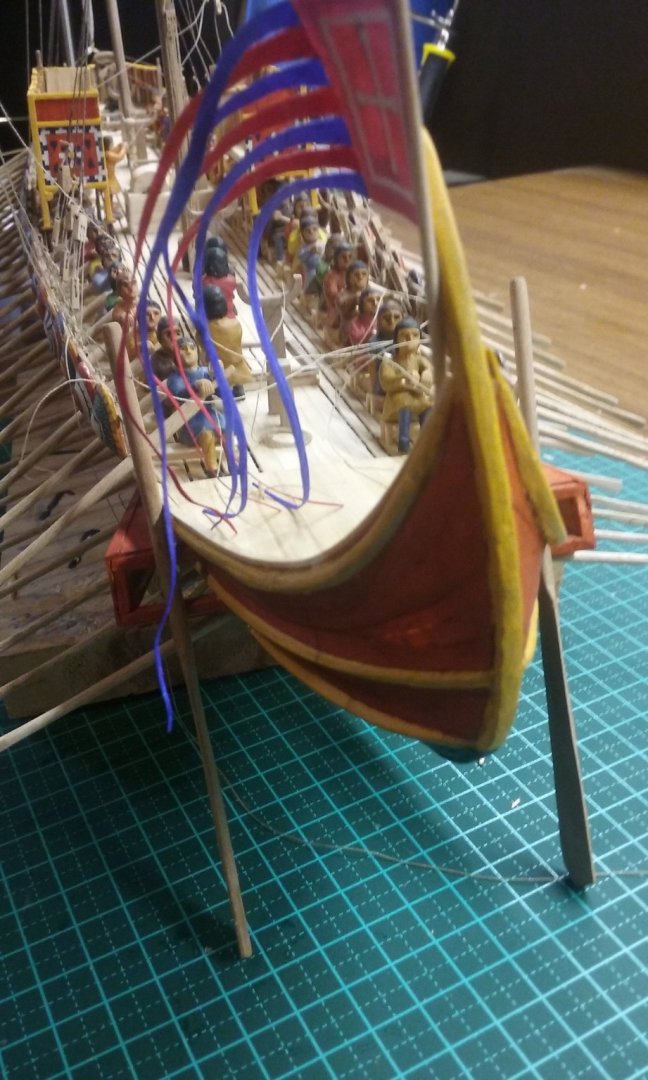
Looking good. I agree about the little stands supplied with the kits. A while ago one of our members spent a long time restoring a big model of a steamship for a museum. The ship had turned turtle on its stand and crashed to the floor, with horrible results. Anything that can be done to avoid that is worthwhile in my book.
- 35 replies
-
- 1
-
-
- english man o war
- revell
- (and 2 more)
-
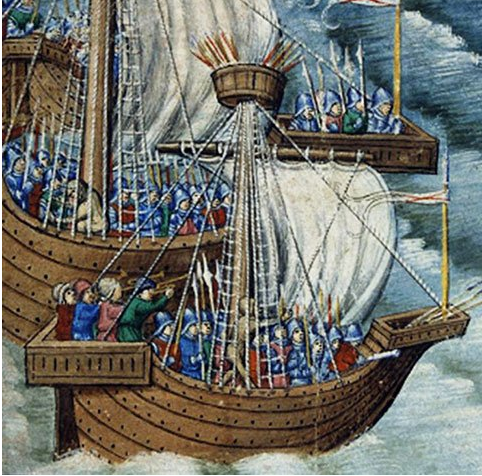
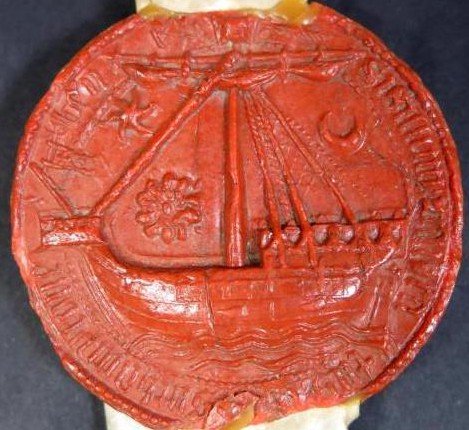
Well that picture certainly suggests the bowsprit was used to cat the anchor. Probably a block would be ok -it all depends on having a block that's robust enough to take the forces involved, and they may not have been all that big. Anchors were fairly small at the time - Byzantine ones were made individually by a blacksmith, hammer-welding individual bits of bloomery iron together to make a whole, and I'm sure the same would have applied in Northern Europe. (I've got quite a bit of information on the anchors from the Byzantine "glass wreck" of c. 1025, found at Serce Limani if you're interested). As far as I know, grapnels on chains attached to the bowsprit didn't come into use until about the 1440's. A number of early 15th century representations show a pennon or flag attached either directly to the bowsprit or to a vertical "flagpole" attached to it - but I think a modest sized cog like yours wouldn't have had one.
-
Oh, wow!