MORE HANDBOOKS ARE ON THEIR WAY! We will let you know when they get here.
×


BobG
-
Posts
3,109 -
Joined
-
Last visited
Content Type
Profiles
Forums
Gallery
Events
Everything posted by BobG
-
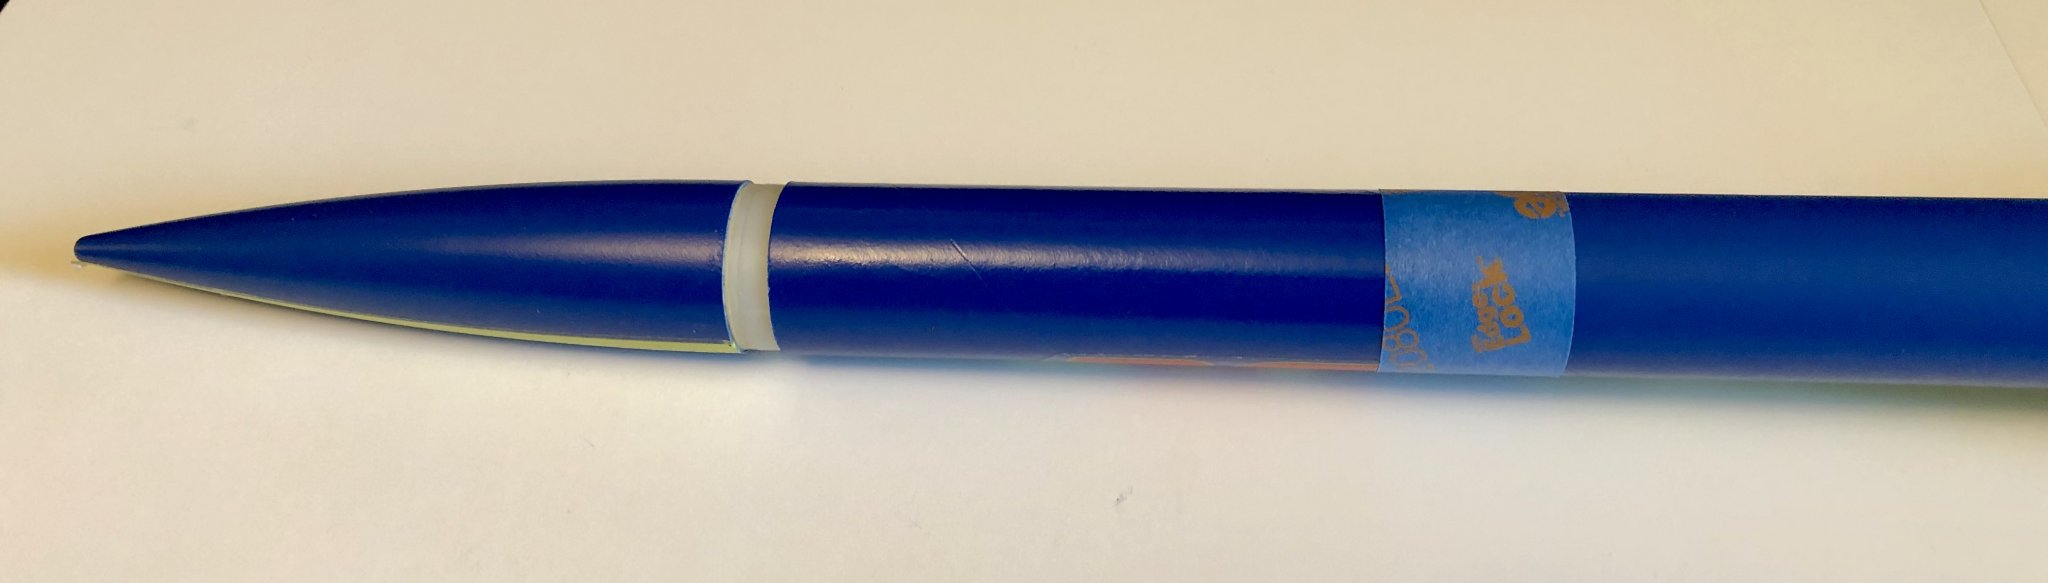
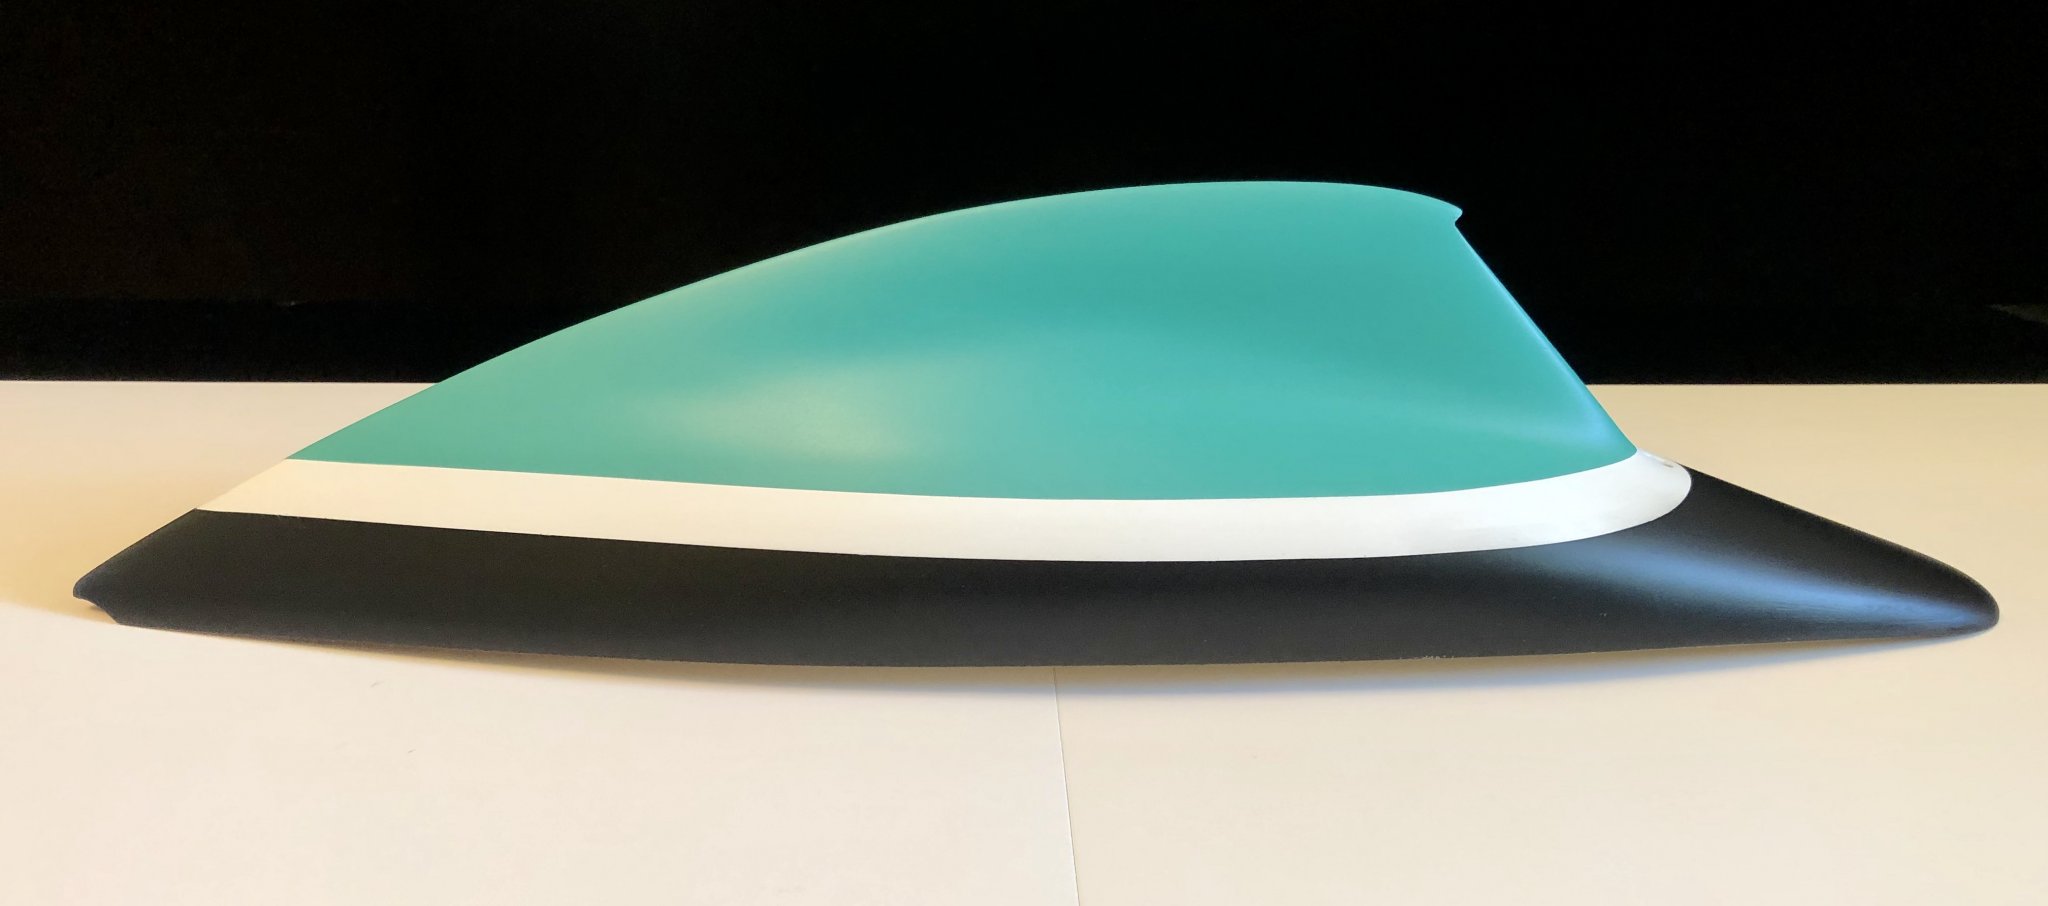
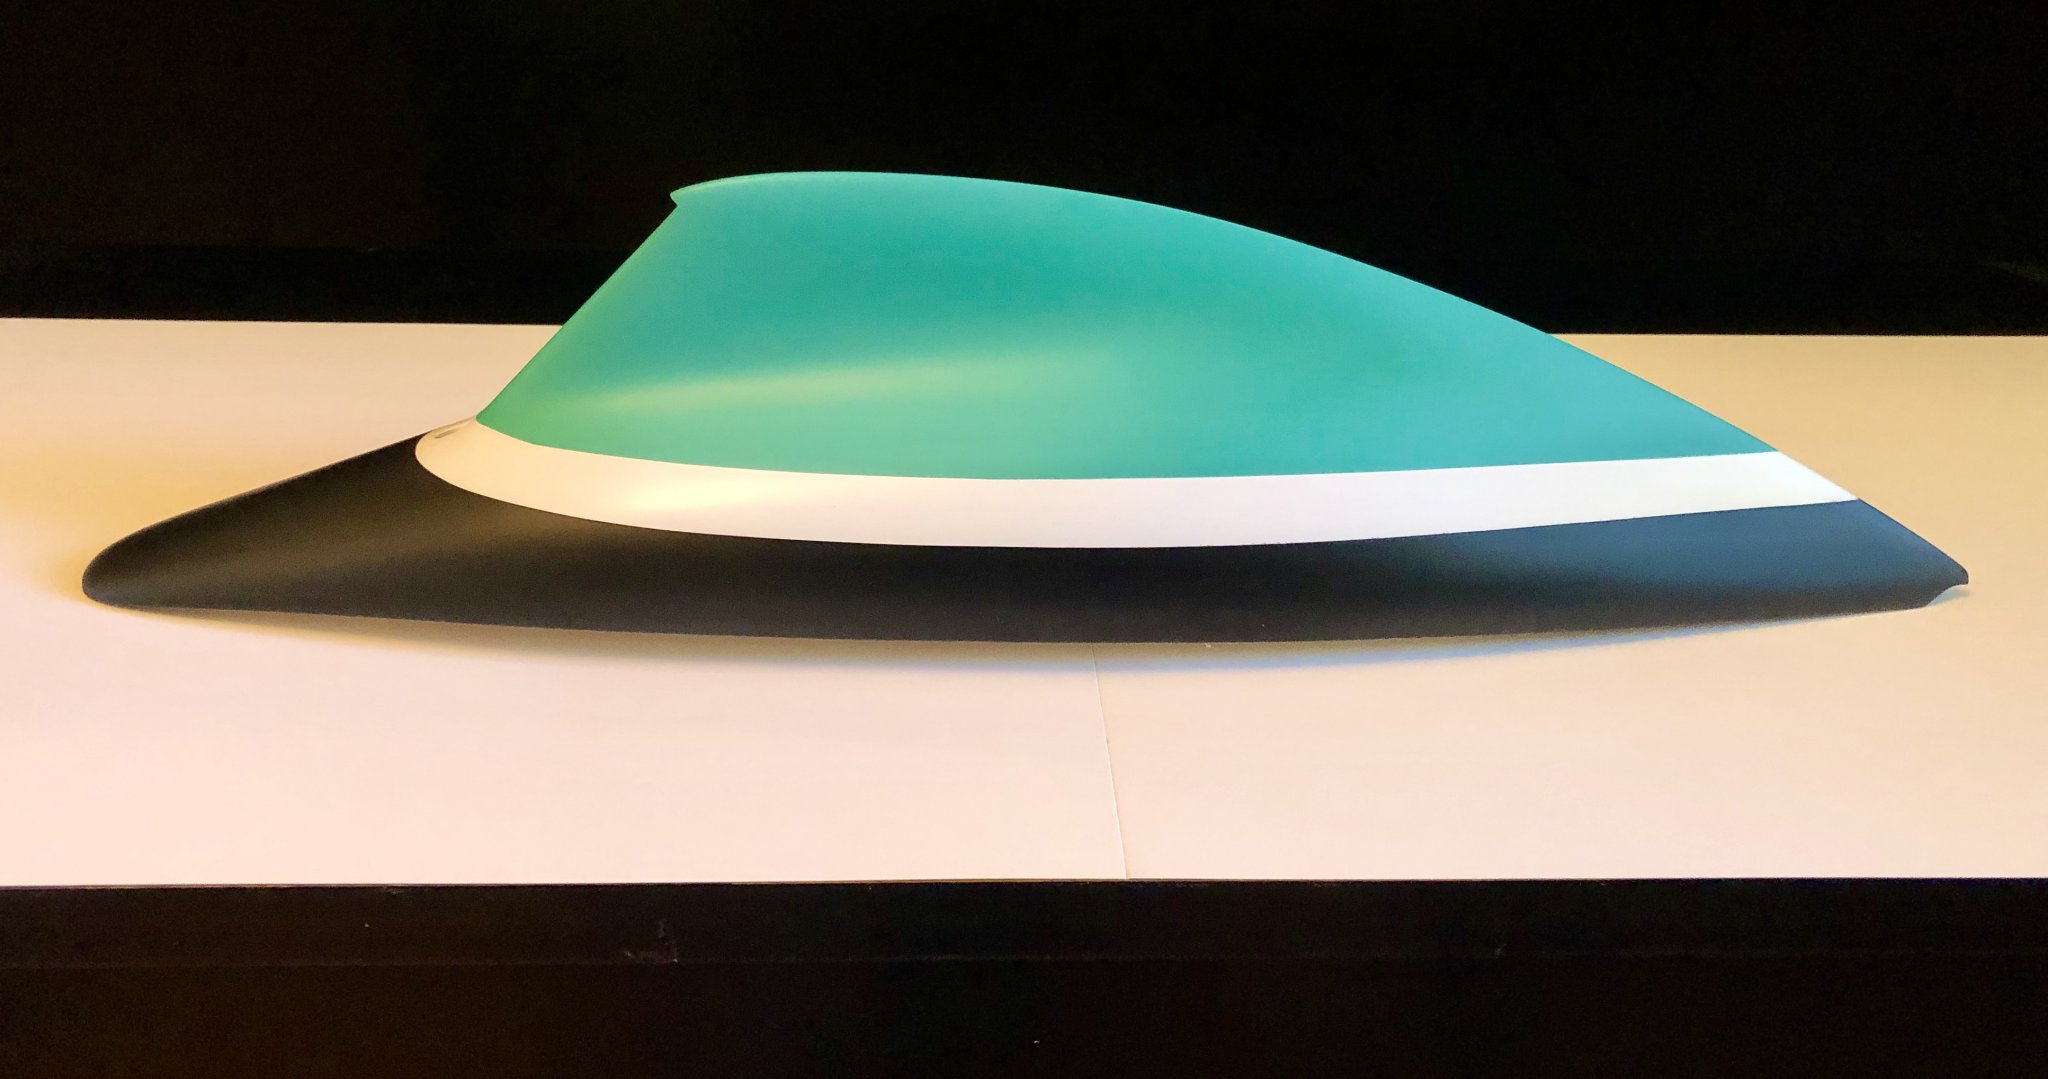
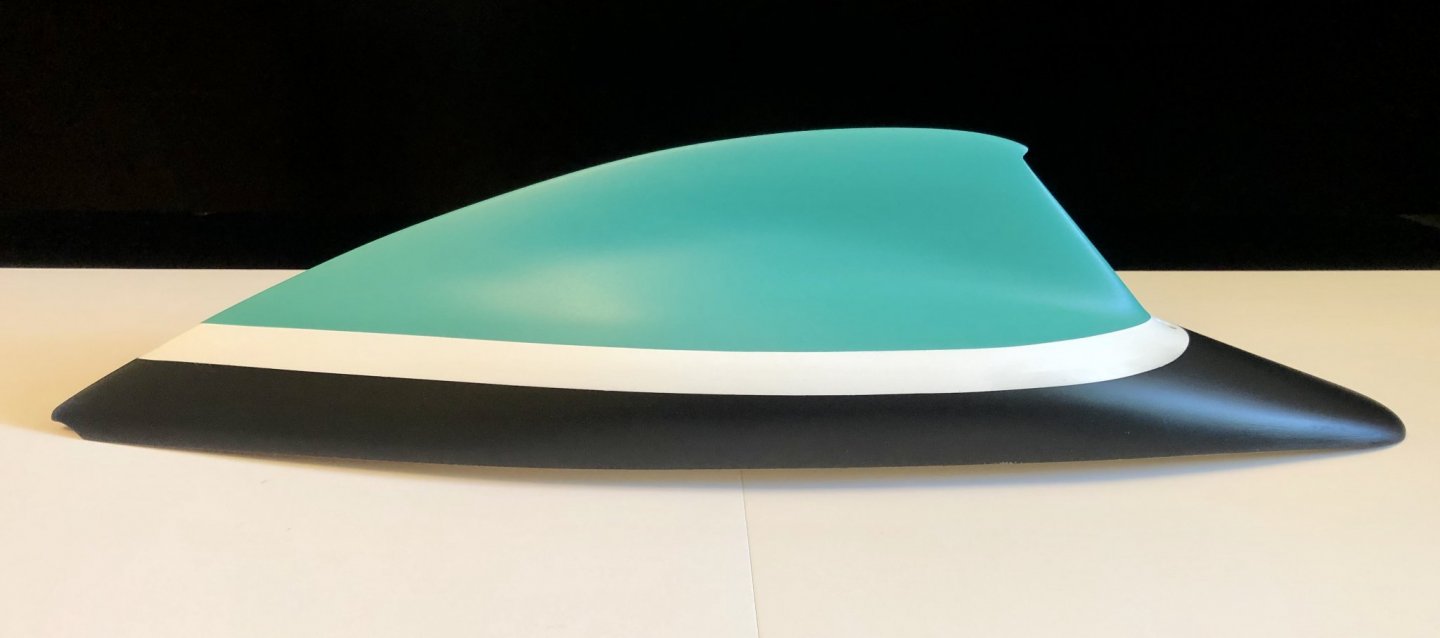
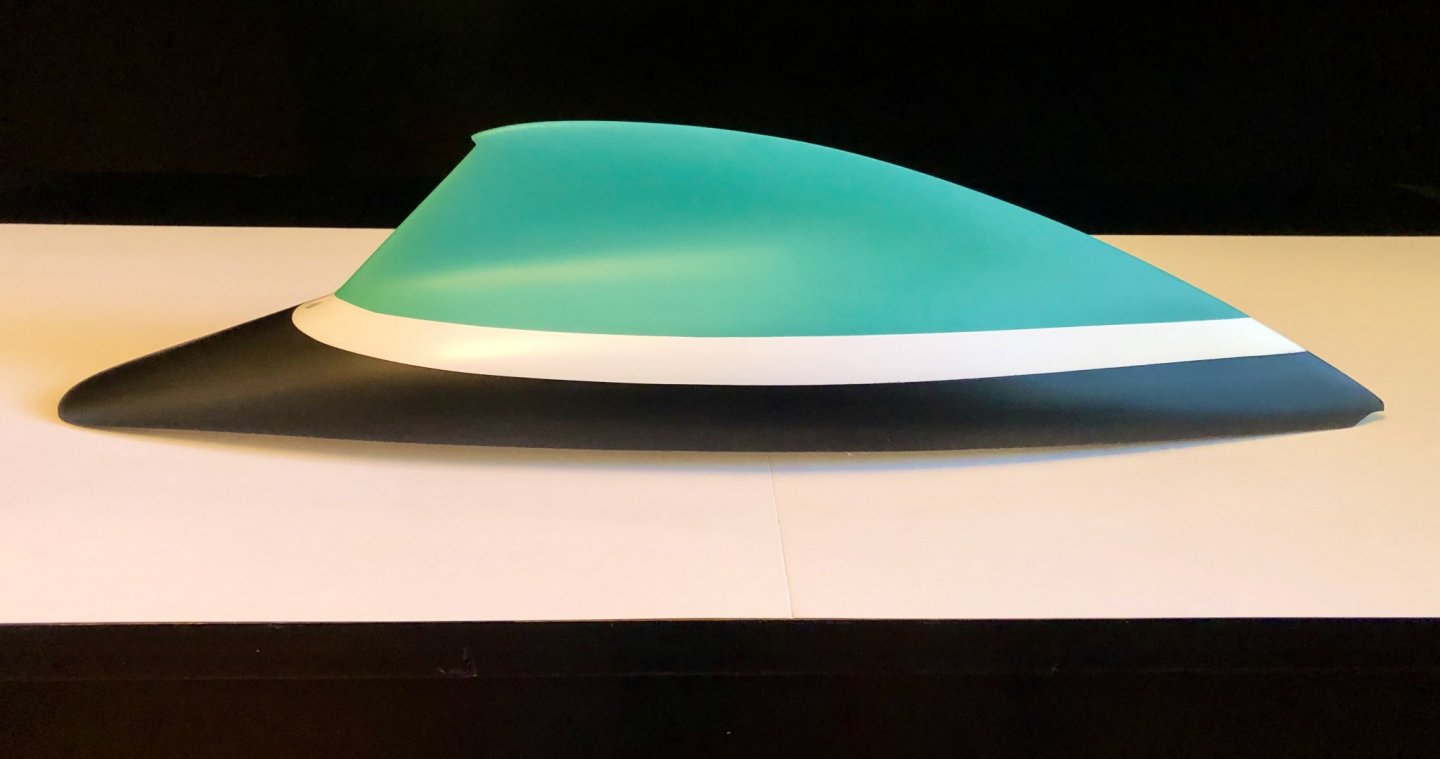
Thanks, vaddoc! Success! My third attempt at airbrushing the hull and clear coating it with varnish is done and I'm happy with it. This has certainly been a learning process for me since this model is my first time painting with an airbrush. I made some mistakes along the way which required me to dig deep into my perseverance and roll with it without giving up but, in the end, it has been worth it. I did a test run today on an old model rocket I had in the garage that I had painted gloss blue from a rattle can many years ago. Vallejo Varnishes come in matte, satin and gloss. I wanted a sheen on the finish that was somewhere between satin and gloss. So I sectioned off the rocket into 3 areas and sprayed the first section with satin, the second section with a mixture of 2 parts gloss to one part satin, and the final section with a 50/50 mix of gloss and satin. I also added one drop of Vallejo Thinner and one drop of Vallejo Flow Improver to each drop of varnish and mixed it well in the airbrush paint cup. I lowered the air pressure to about 20 psi and sprayed from a distance of about 3 inches from the rocket using a .3 mm fan spray nozzle for a wider, vertical spray pattern since there is a lot of surface area to cover. I sprayed the varnish on fairly wet but nowhere close to risking any runs. I'm not sure how well you can tell the difference in the sheens in the below photo but the section on the right is 100% satin, the middle section is a 2:1 gloss to satin mixture and the section on the left (the nose cone) is a 50/50 mixture of gloss and satin. I decided that I liked the 50/50 mixture and that's what I ended up using on the hull which is shown in the second photo below. We all hate to learn through our mistakes but here's what I learned to do differently from the first time sprayed the clear coat and ended up with orange peel. The first time I sprayed the clear coat I did it outside in the garage. The air temperature was too warm and the spray was drying too quickly. In addition, I had the ears on the .5 mm fan spray nozzle cap in the wrong orientation which resulted in a narrow, horizontal spray pattern so I was applying way too much varnish in narrow, concentrated area as I made passes. This time I sprayed indoors in my airbrush spray tent and I switched to a .3 mm fan spray nozzle with the ears oriented for a vertical spray pattern. I also thinned the paint to a consistency close to 2% milk and added Flow Improver to help prolong the drying time just a little bit and I paid attention to keeping the distance of the spray gun to the hull consistent with nice, even passes while spraying. I would take the hull and inspect it closely after each coat of varnish to see how it looked. I ended up putting on 3 coats. It looked good at that point and I've learned that more is not necessarily always better in anything I do in ship modeling! Thanks to everyone for your comments and encouragement even when I was making a mess of things. It is much appreciated. Cheers,

-
It's a combination of getting the sheen I would like and protecting the paint. The acrylic paint never feels rock hard to me and, although the model certainly won't be handled a lot, it's easy to mar the paint finish with little scratches, tiny dents and even fingerprints. I considered leaving it alone but it just seems fragile to me. Another thing I've considered is using Satin Wipe-on-Poly over the acrylic paint. They seem to be compatible with each other from what I've read. I'm about to try to airbrush some varnish samples and I'll see how it goes.
-
Thanks, Harry. I plan to do a test piece just as you recommend. I used to build flying, model rockets with my son when he was young. We had a blast firing them high into the sky but sometimes they would catch the wind and float away to some other part of town never to be seen again while sending him into tears. I still have a couple of these in the garage and I've decided to practice varnishing one of them with my airbrush as a trial run. I'll be trying a combination of the Vallejo Varnishes. They come in matte, satin and gloss. I would like to have a semi-gloss sheen on the hull so I will try various combinations of the varnishes and see if I can find a sheen that I'm happy with. I really do not want to mess up the clear coat again. I've spent way too many hours already sanding and painting and resanding and repainting the hull to have it all go wrong again with the clear coat. I'm apprehensive about spraying the clear coat but the hull really does need to have a protective coat over the acrylic paint. Fingers crossed... 🙏
-
Thanks, Don. I've been following your Winnie build. What a gorgeous ship that's going to be!
-
🤣 Yeah, nothing like skipping the practice runs and just ploughing through until you get it right!
-
The first time I painted the hull it turned out great. Then I botched up the clear coat and, after another series of missteps, I finally have a pretty nice paint job on the hull. I'm going to let it dry thoroughly for a day or two and then I'll cross my fingers and try to clear coat it again. Hopefully, the third time will be the charm!
-
Hello Harry, Not much progress to report recently but the adventure continues. I've slowed down to a snail's pace with trying to get the hull painted to my satisfaction. I'm still working on my third go at it and I'm hopeful that this will be the last time I paint it. I've currently got the white and green done and will paint the black today and then see how everything looks. I'm determined to get it done well, not perfect, but very nice. I've found out that I'll never get it perfect! I think I have managed to encounter just about every problem, mostly of my own doing, that you can have when it comes to getting a perfectly smooth paint job on a hull like this one. I've encountered problems with orange peel, masking tape leaks and pulling up paint, airbrush clogs, and little flaws showing up in new places after redoing the painting. I ran out of the emerald green paint also and had to reorder it online and that took a while to arrive. So, long story short, I'm still afloat...took on some damage but I'm not ready to abandon ship! Cheers,
-
This is a wonderful model and you certainly did her justice. Congratulations!
- 38 replies
-
- 2
-

-
- vanguard models
- fifie
- (and 2 more)
-
Beautiful model. Well done!
-
It's great to see a build log of this model, PJG, and a waterline diorama to boot! I look forward to following along with your progress. By the way, Sea Watch Books has an excellent book on creating waterline dioramas: Waterline Dioramas - A Modlebuilder's Artform by Justin Camarata. I have it and it's excellent. https://www.seawatchbooks.com/ItemDisplay.php?sku=107002
-
I've been saying that I need to clean up and organize my small workspace for about 2 years now. Somehow, though, I never get around to doing it. I seem to know where most everything is among the clutter and, if I were to reorganize it all, I probably wouldn't be able to find anything! I have this model on the shelf and I am really enjoying watching you build this beauty.
-
I'm glad to see a build log of this interesting model here on MSW. She looks great so far! I'm curious about how you used wood spacers for the caulking between the deck planks. It looks really good and is very uniform. Were these spacers included in the kit or is this your own modification? Will you eventually add color to them also? I look forward to following along on your build. Good luck!
-
Wonderful craftsmanship, BE! This will indeed be the definitive build log to consult for anyone building the Lady Eleanor in the future. Can't wait to follow you when you start building the Lady Isabella.
- 195 replies
-
- 1
-
-
- lady eleanor
- vanguard models
- (and 1 more)
-
Great information about tapering the planks. Beveling the planks always confuses me. How do you determine where to start beveling the upper edge of the planks so that they fit tighter to the plank above ? I find this is a hit and miss operation for me.
- 778 replies
-
- 2
-
-
- cheerful
- Syren Ship Model Company
- (and 1 more)
-
Chris, will the Flirt be available from Ages of Sail in the near future as well. I ask since I live only about 1 & 1/2 hours from the store and it would eliminate shipping costs cost from across the pond.
-
This is a beautiful and interesting model to add to your line-up. I'm glad you aren't just focusing on big warships only. Will this model have masts, rigging and sails?
-
I ran a small test once using PVA on two pieces of wood with and without char. After letting the glue dry, I tried to break the joints apart by hand and they were both very strong. I don't worry about gluing joints with char on them anymore.
-
Once I get a bulkhead perfectly squared up and set I'd like use a glue that gives me a little wiggle room but sets up quickly enough that nothing moves. I can then move on to the next bulkhead without waiting a long time. Is there something about the size of this model that makes getting the bulkheads set properly that requires you to use Titebond Extend instead of regular Titebond or a similar PVA glue?
-
Thanks Paul. It's a learning process for me and I enjoying learning how to use my airbrush properly.
-
Thanks very much!
-
Holy cow! 😲
-
I found this out the hard way! I need to learn when to stop...
- 778 replies
-
- 5
-
-
- cheerful
- Syren Ship Model Company
- (and 1 more)
-
I think I've sanded so much I've lost track! Yes, I did actually sand the hull a second time. When I sanded the orange peel off some of the paint came off also but I thought I could probably paint over those areas when I repainted the hull. So I started by spraying the white stripe again but, when I removed the masking tape, it pulled off some of the previous paint and left a distinct edge. I tried to lightly sand those areas hoping I could still salvage the paint job without sanding off all the paint and priming the hull again. That didn't work either so I sanded all the paint off and primed the hull again. I have now sprayed the white stripe again and, today, I will paint the green and maybe the black. Hopefully, the third time will be the charm!